![Digimon UP Tier List [Supports, Buddies, and Partners]](/wp-content/uploads/2026/07/digimon-up-tier-list.jpg "Digimon UP Tier List [Supports, Buddies, and Partners]")
Digimon UP Tier List [Supports, Buddies, and Partners]
These Digimon will get you UP the leaderboard.


![Haze Seas Boss Drops [Chances, Locations, and How to Spawn]](/wp-content/uploads/2026/07/haze-seas-boss-drops.jpg "Haze Seas Boss Drops [Chances, Locations, and How to Spawn]")

Welcome the Women’s Murder Club: Little Black Lies walkthrough on Gamezebo. Women’s Murder Club: Little Black Lies is a hidden object adventure game played on the PC created by I-Play. This walkthrough includes tips and tricks, helpful hints, and a strategy guide for how to complete Women’s Murder Club: Little Black Lies.
Welcome the Women’s Murder Club: Little Black Lies walkthrough on Gamezebo. Women’s Murder Club: Little Black Lies is a hidden object adventure game played on the PC created by I-Play. This walkthrough includes tips and tricks, helpful hints, and a strategy guide for how to complete Women’s Murder Club: Little Black Lies.

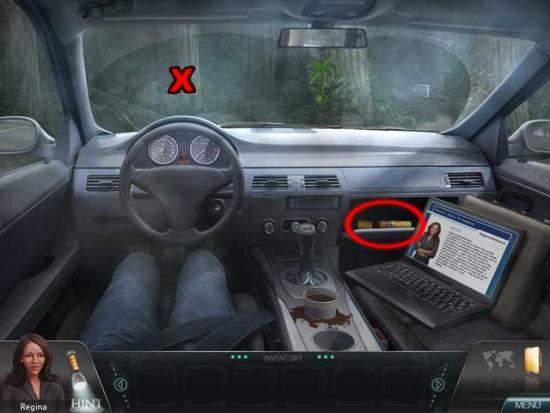
Crime Scene

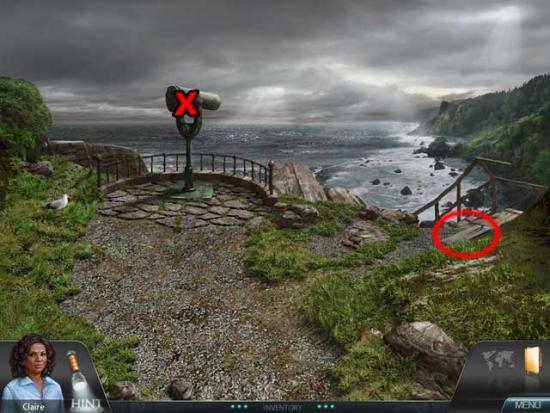
Scenic Overlook

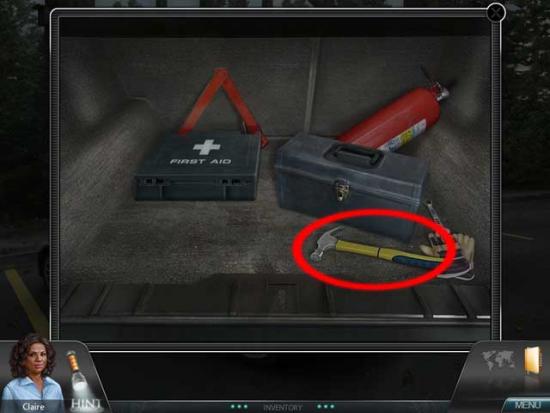
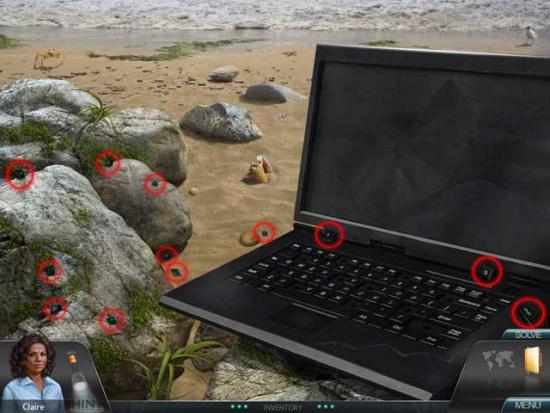
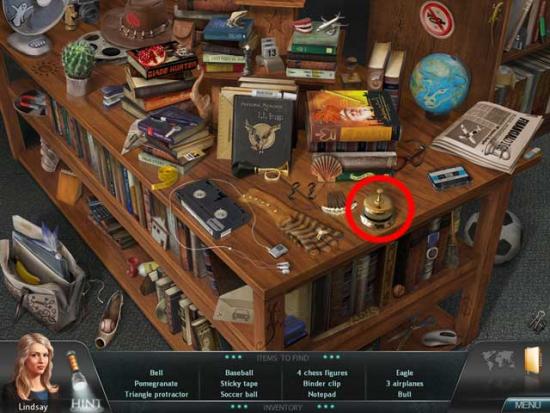
Laptop Restore
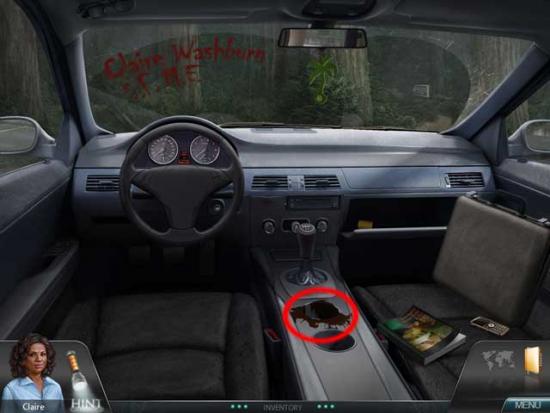
Crime Scene
Scenic Overlook
Laptop Restore

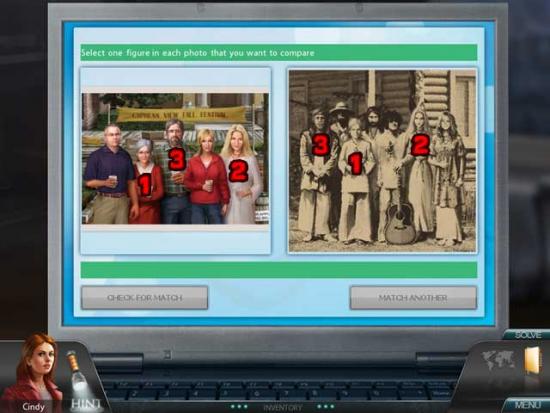
Crime Scene
Scenic Lookout
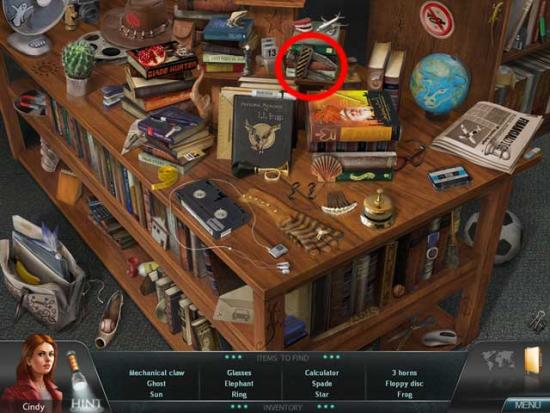
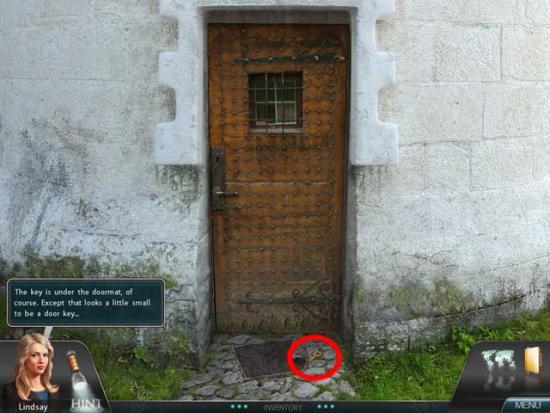
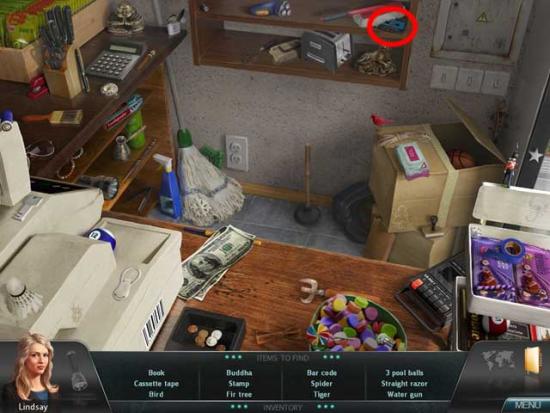
Crime Scene
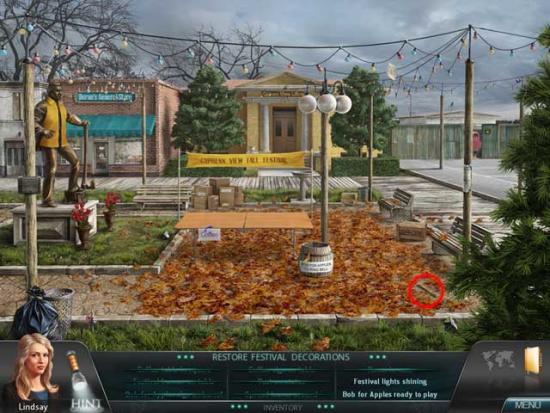
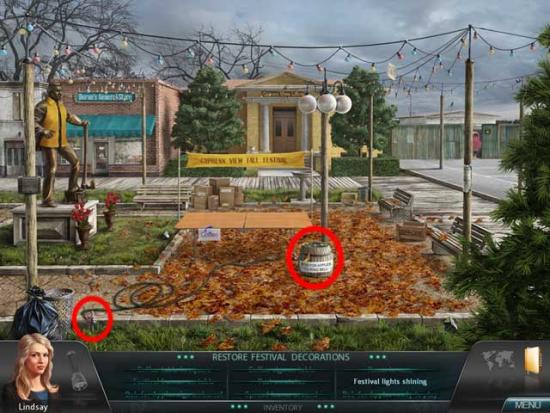
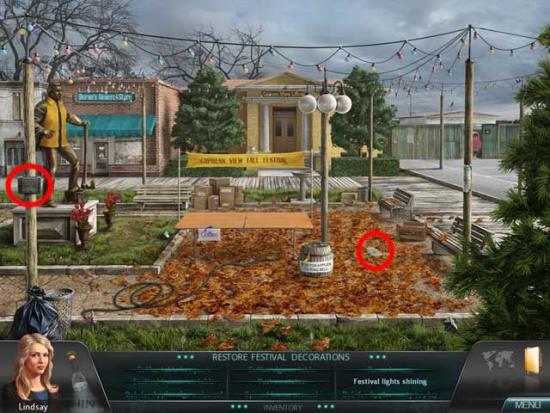
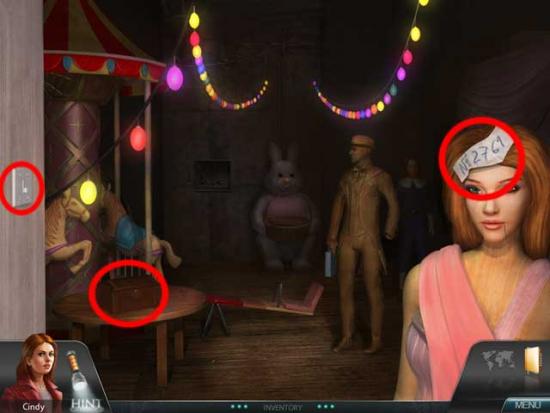
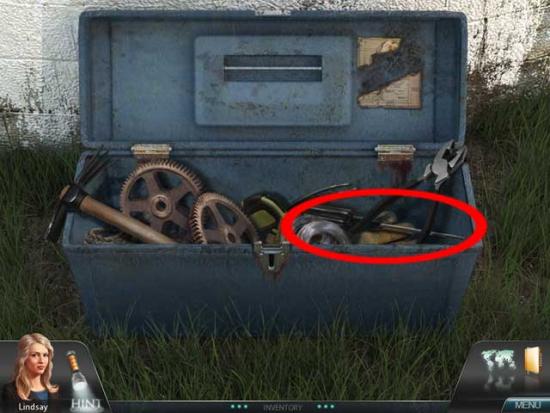
Town Square
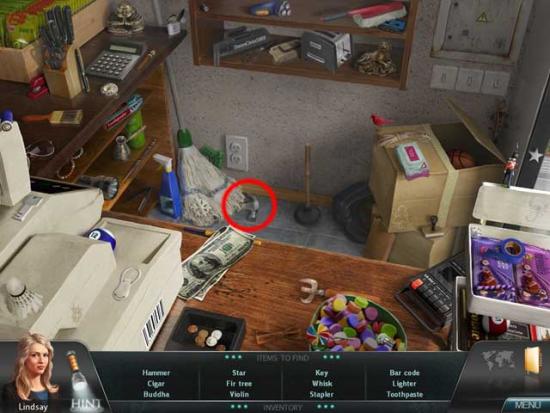
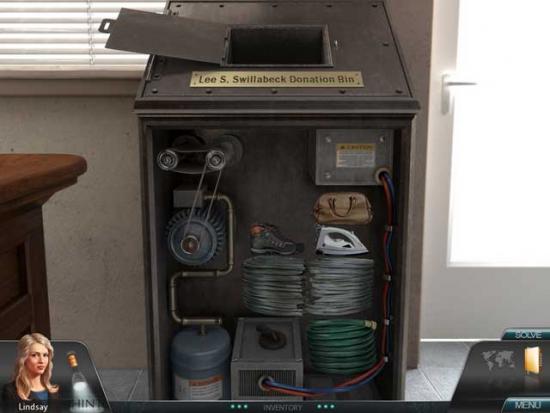
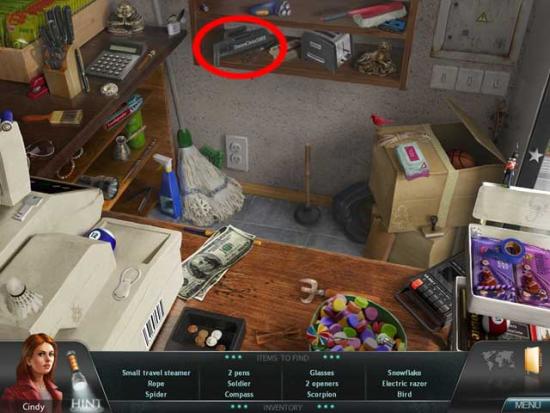
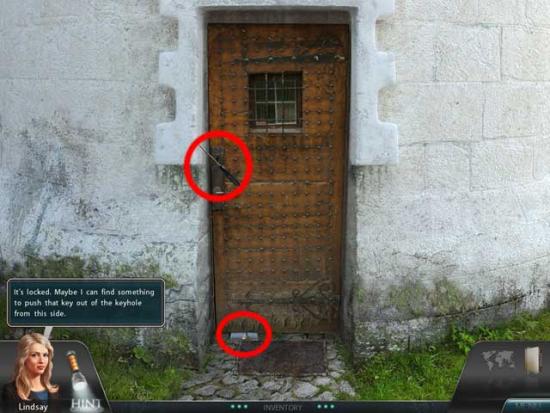
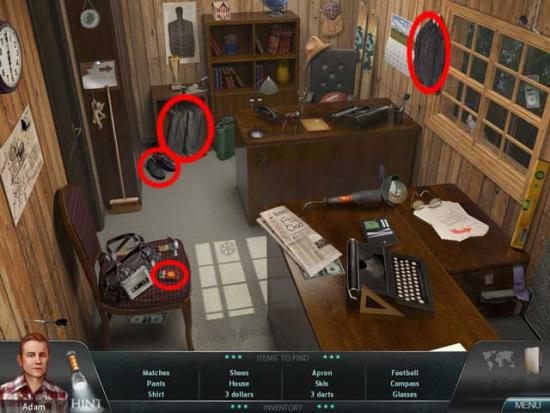
General Store

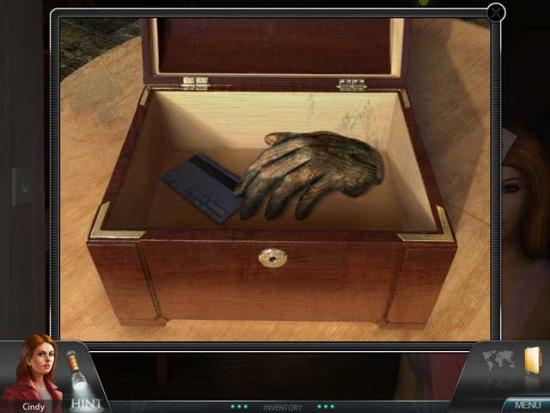
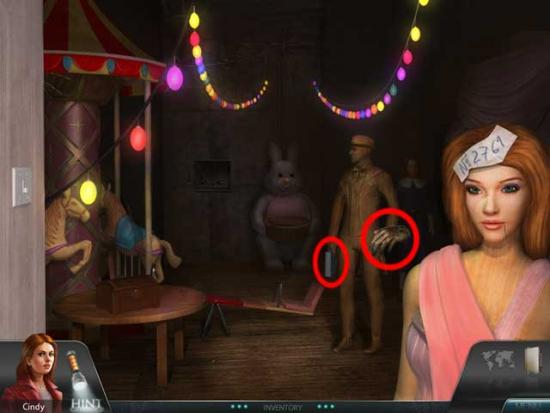
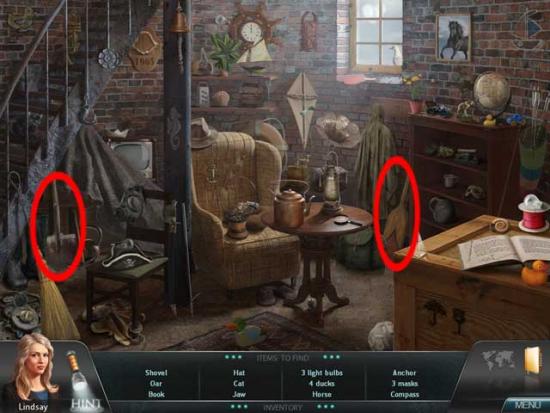
Town Square
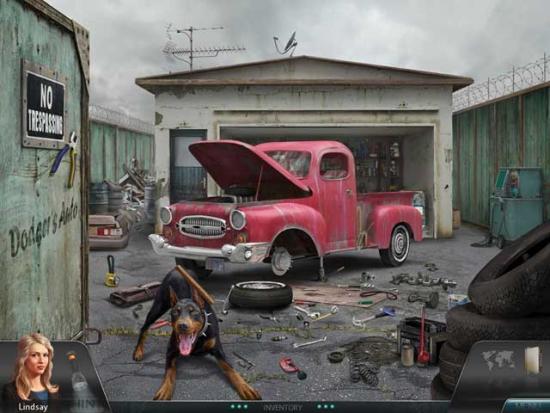
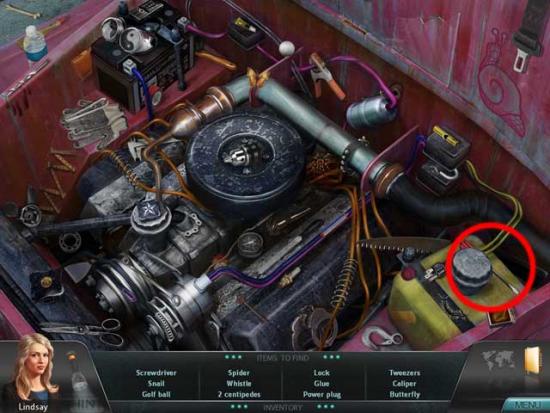
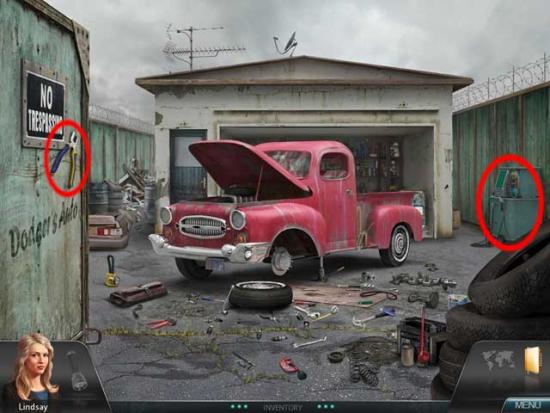
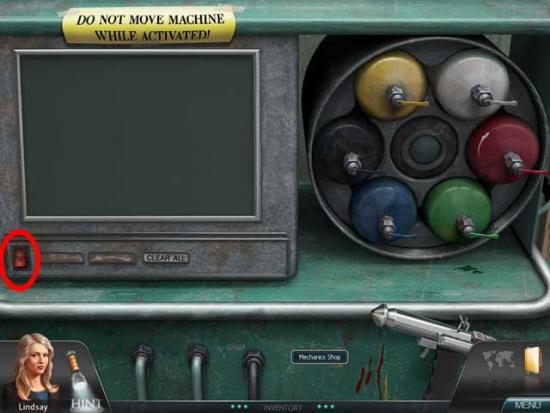
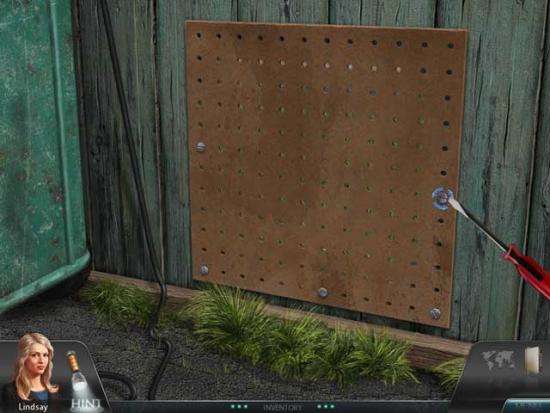
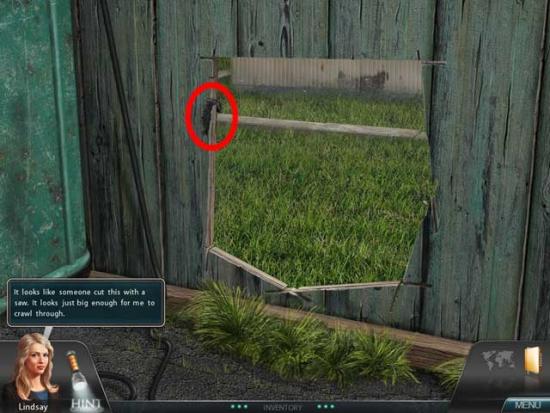
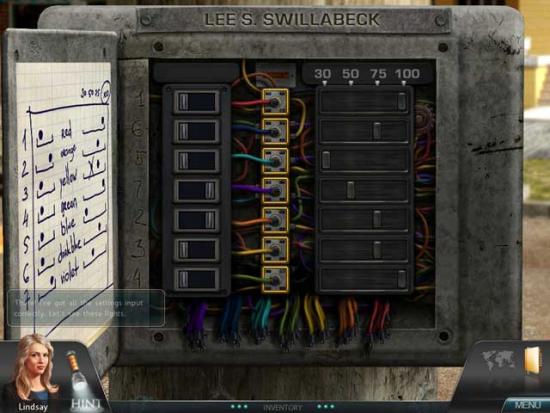
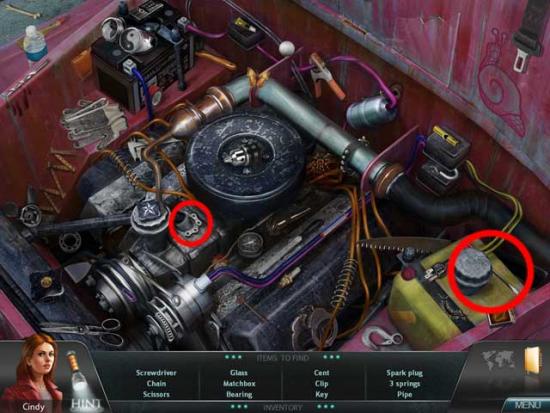
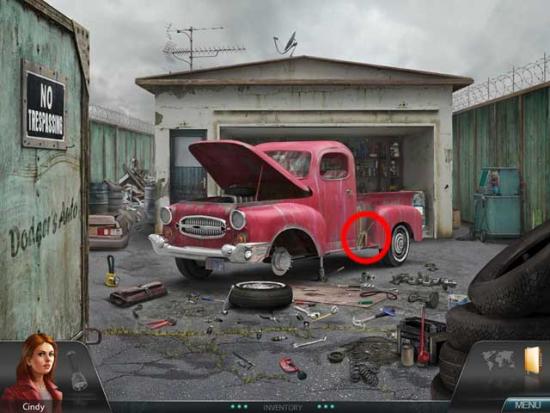
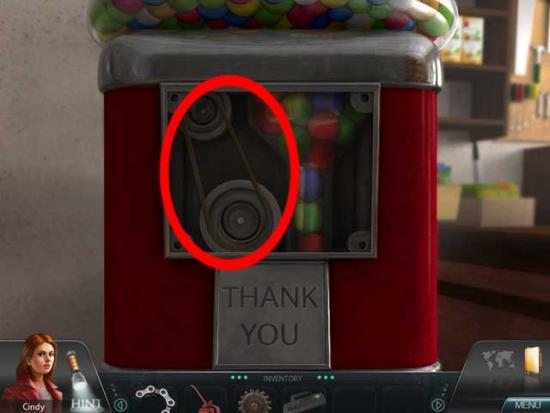
Mechanics Shop
Town Square
General Store
Town Square
Town Square
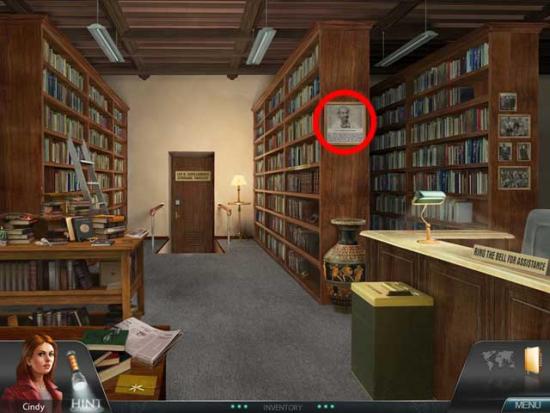
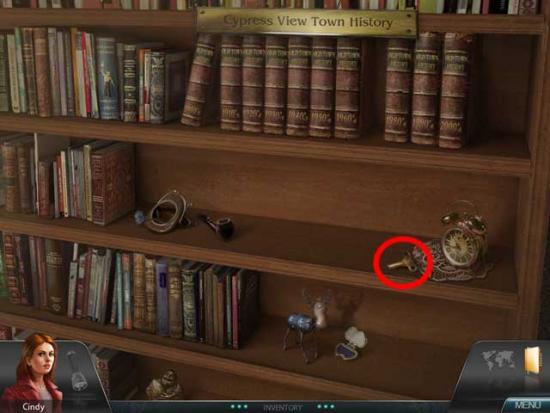
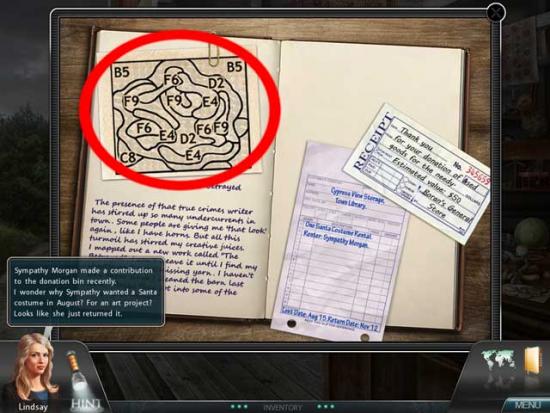
Library
Mechanics Shop
Town Square
General Store
Library

Town Square
Library
Town Square
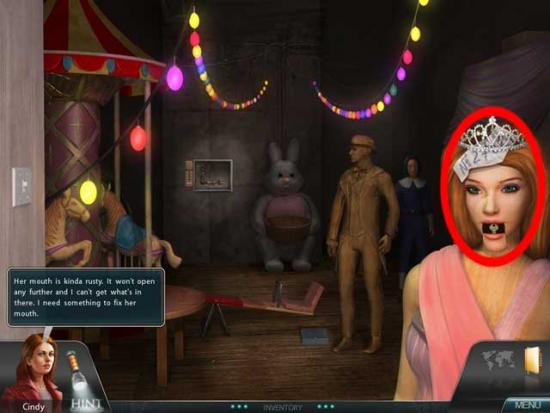
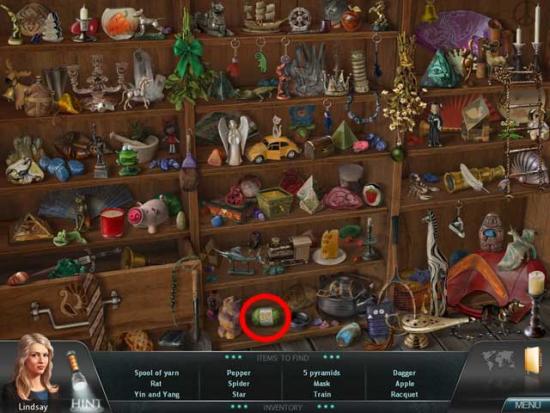
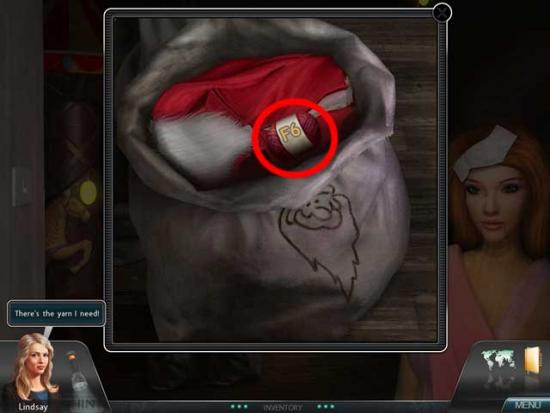
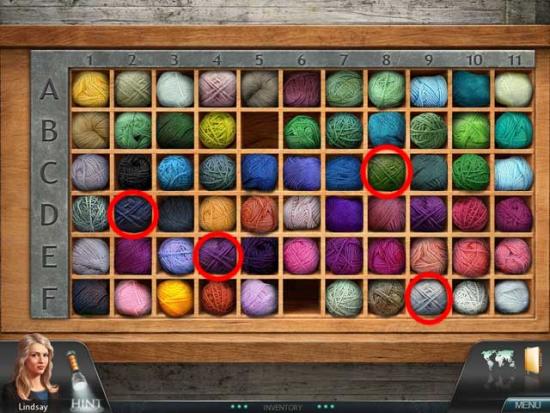
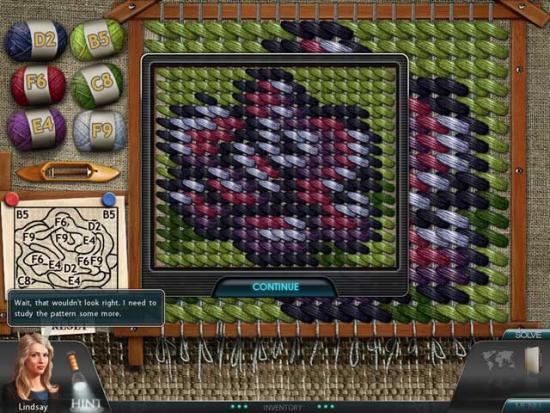
Crystal Barn
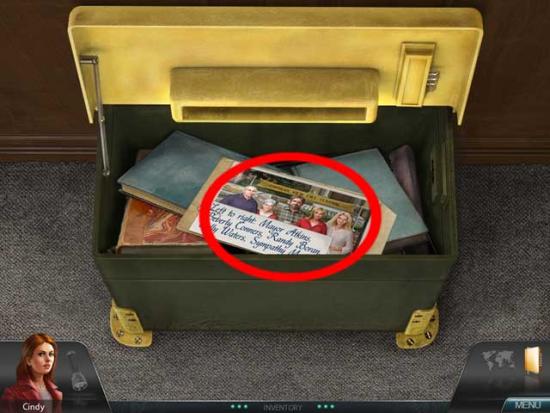
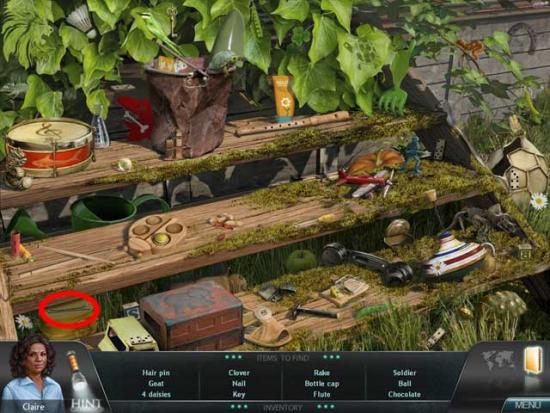
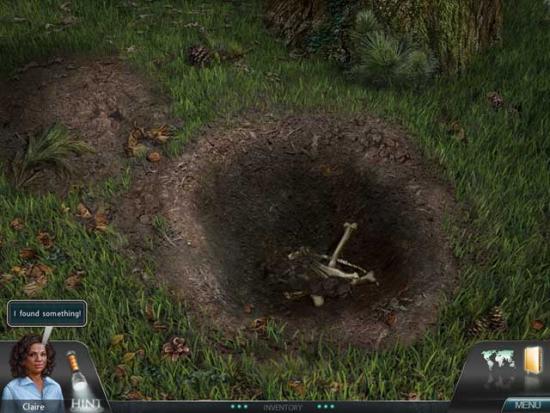
Morgan Woods
Town Square
General Store
Morgan Woods
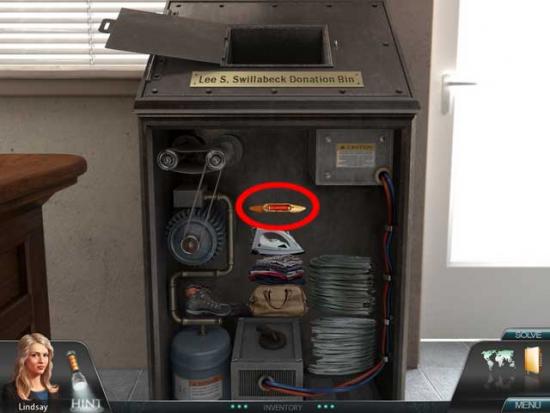
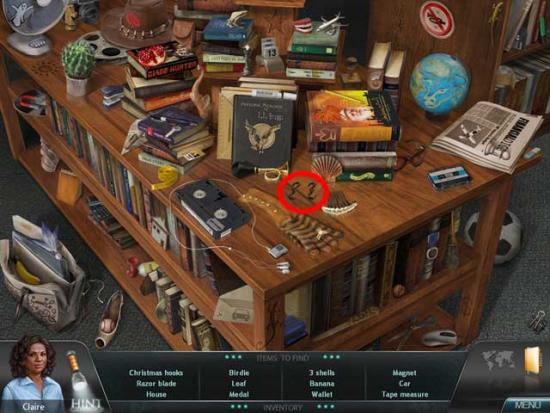
Mine Maze
Town Square
Crystal Barn
Library
General Store
Crystal Barn
Town Square
Library
Crystal Barn

Mine Maze
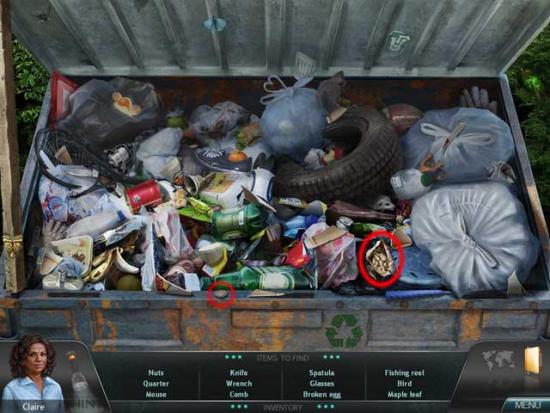
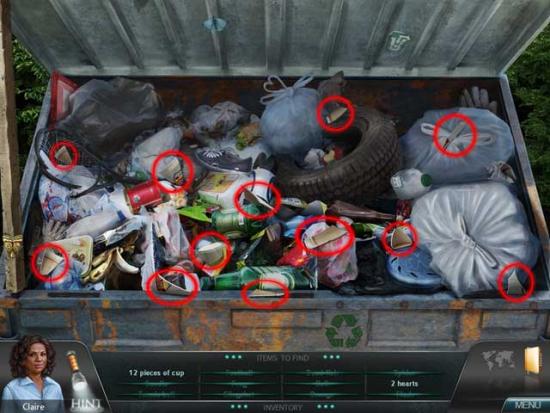
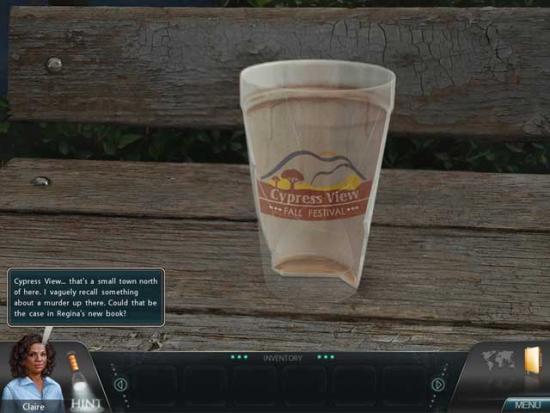
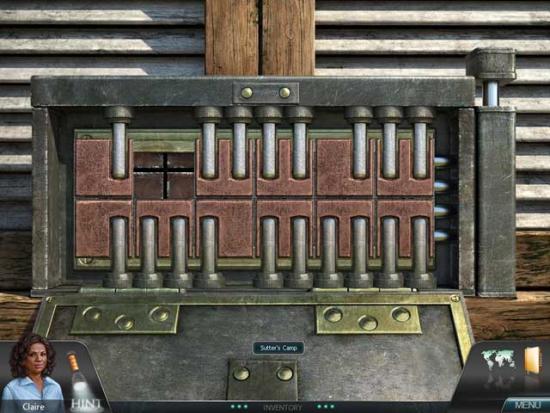
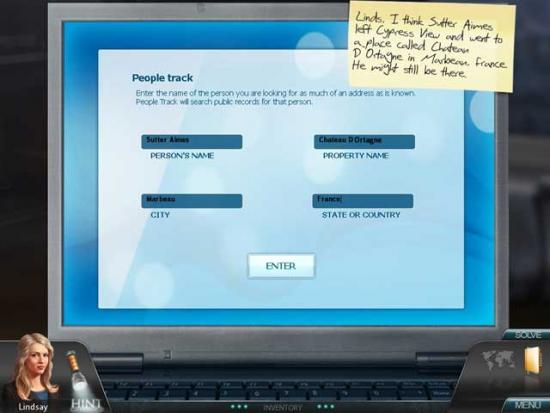
Sutter’s Camp
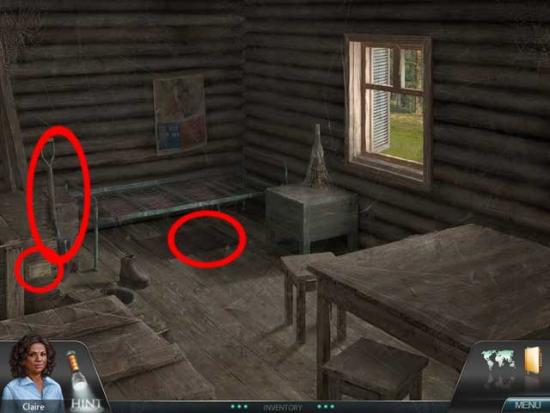
Sutter’s Cabin Interior
Sutter’s Camp
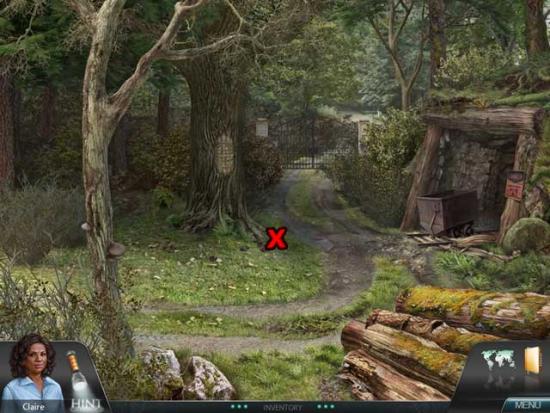
Morgan Woods
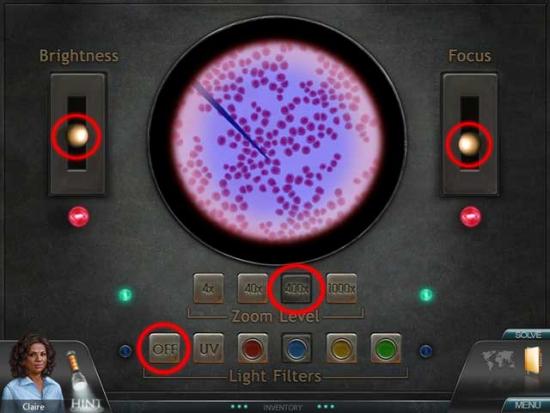
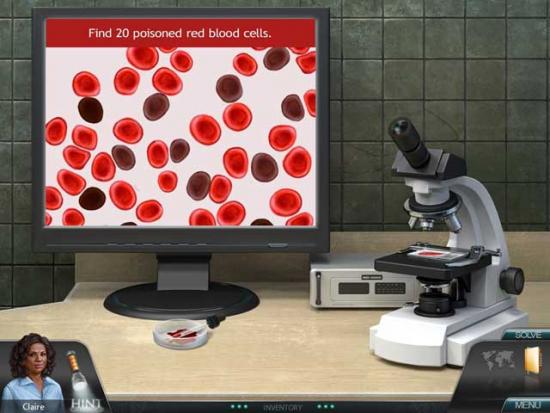
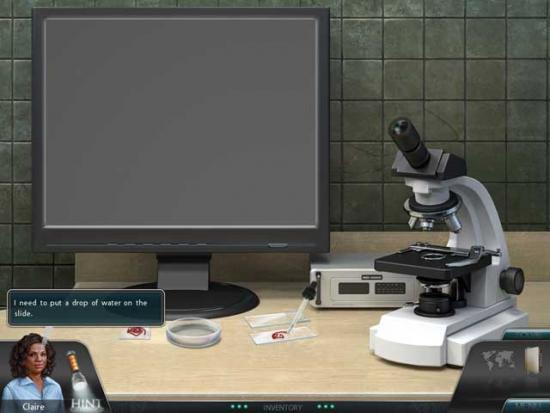
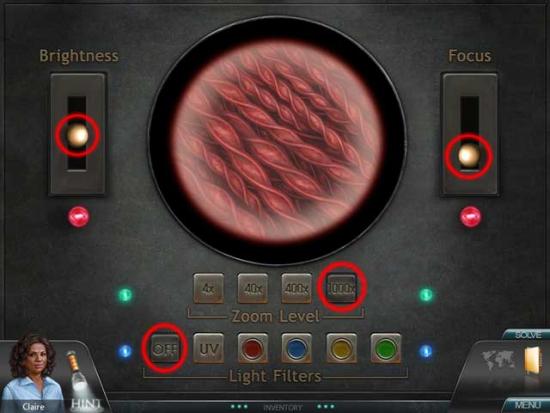
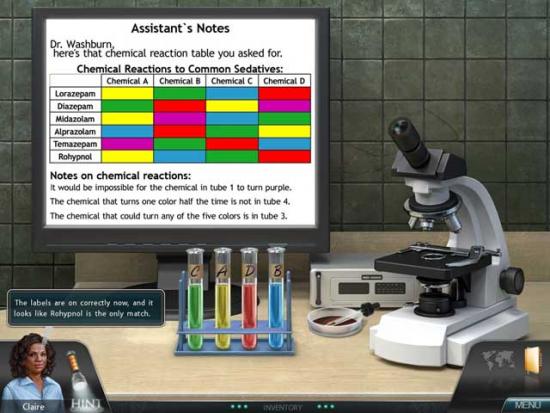
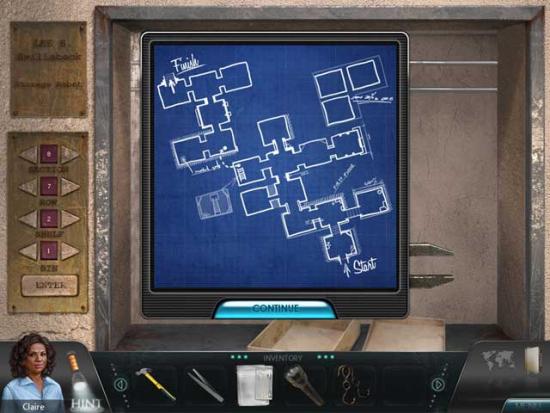
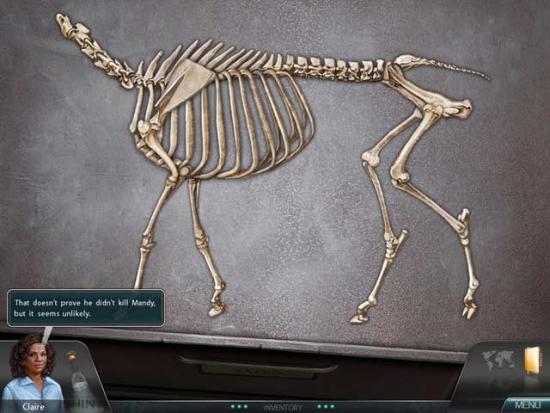
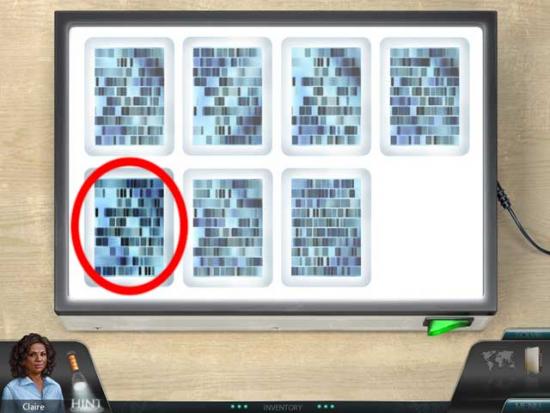
Crime Lab
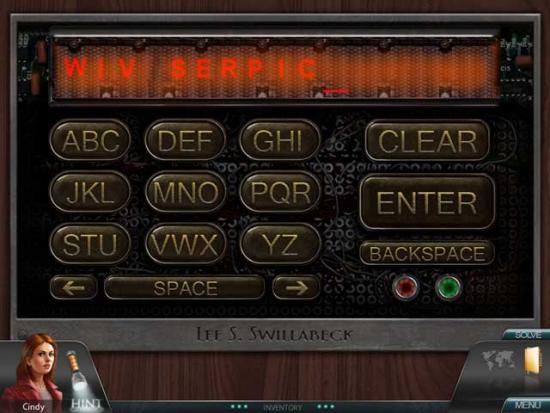
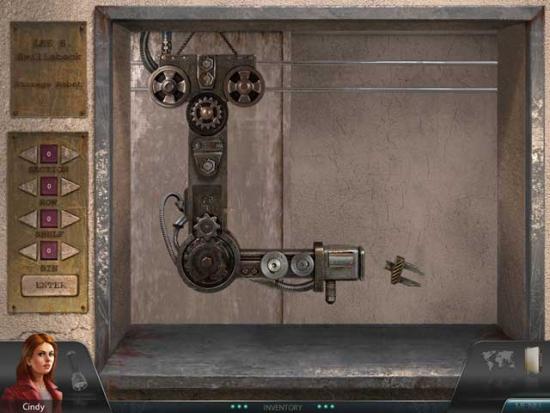
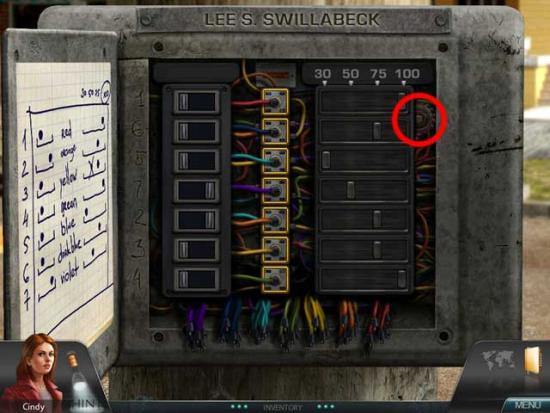
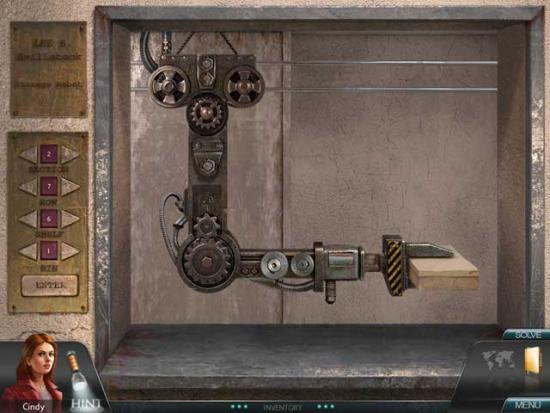
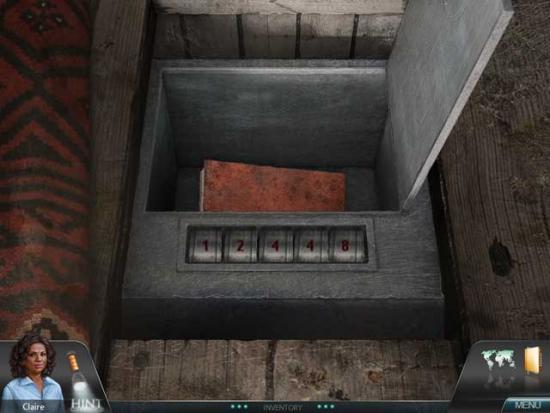
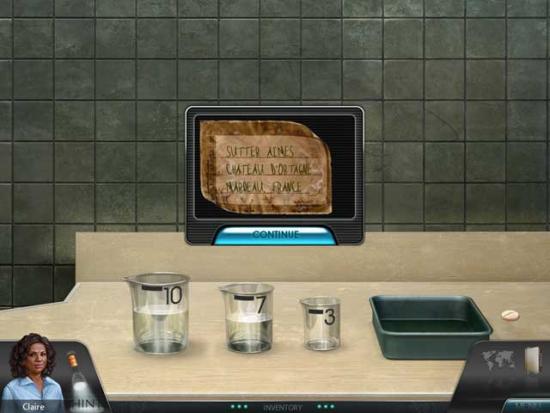
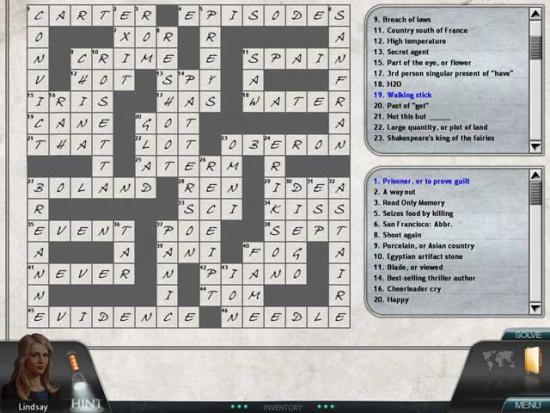
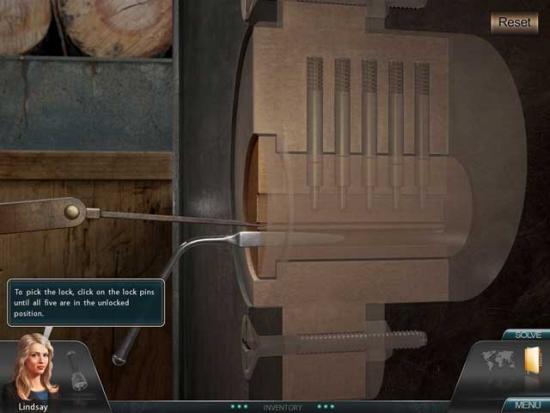
? 10 to 7, 7 to 3, 3 to 10, 7 to 3, 3 to 10, 7 to 3, 10 to 7, and 7 to 3, leaving 5.
Town Square
General Store
Library
Town Square
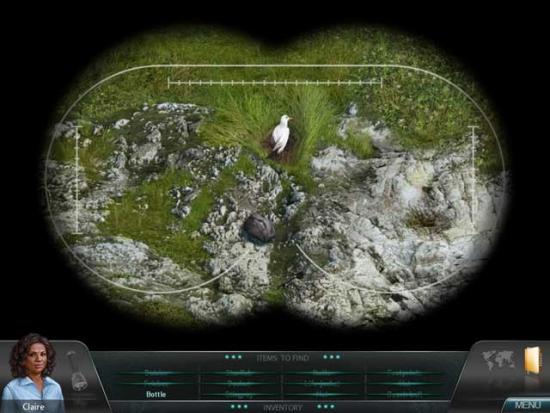
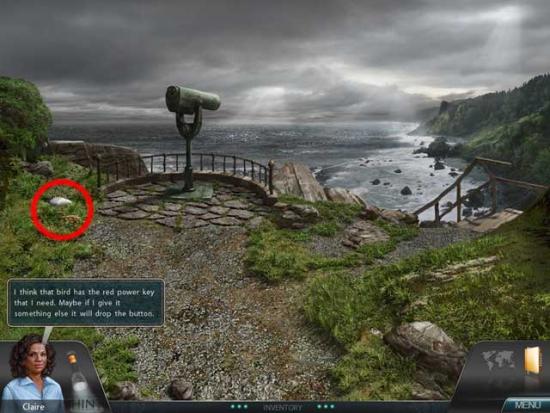
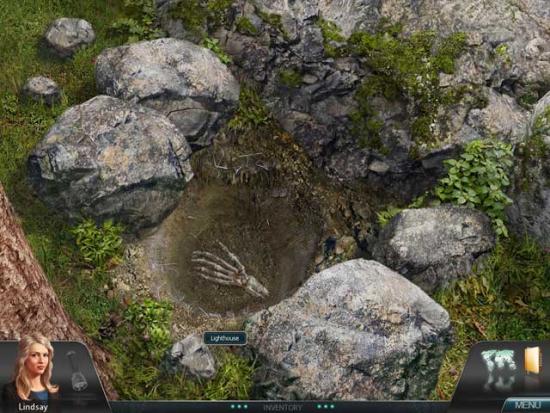
Pacific Point Lighthouse

Crime Lab
Town Square
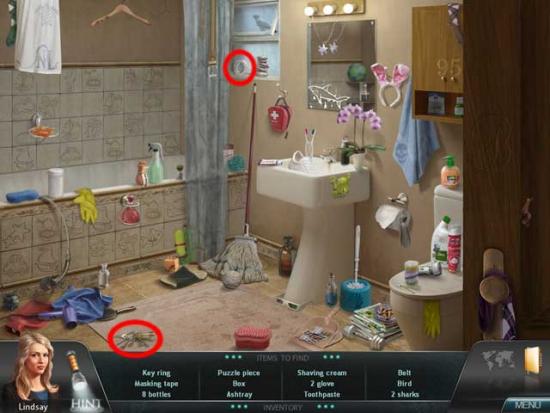
Hillcrest Apartments

Walton’s Apartment Interior
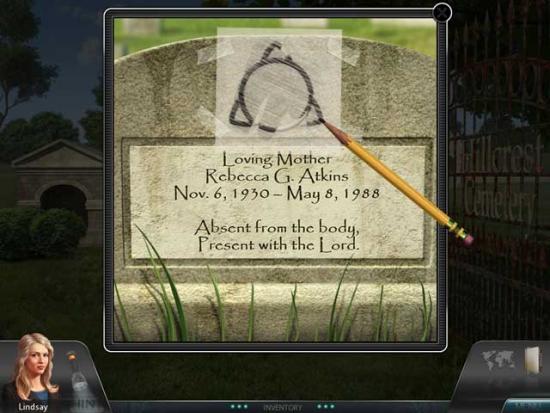
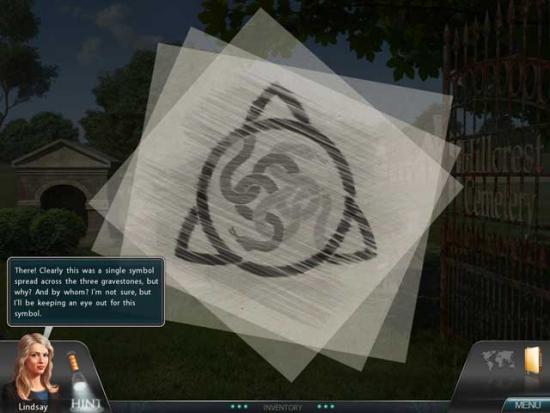
Hillcrest Cemetery
Morgan Woods
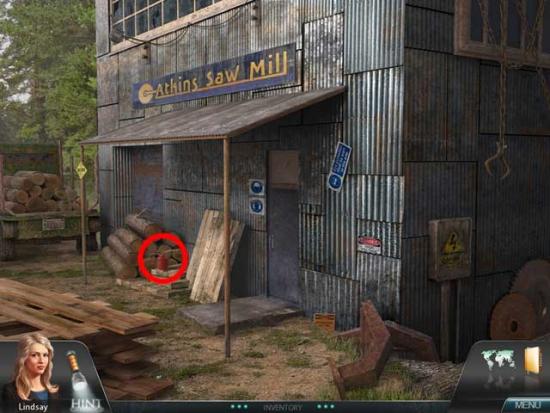
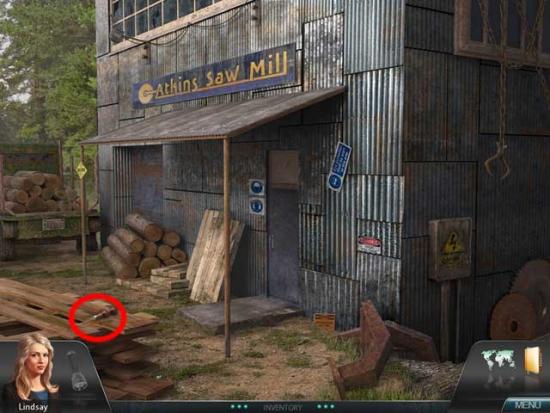
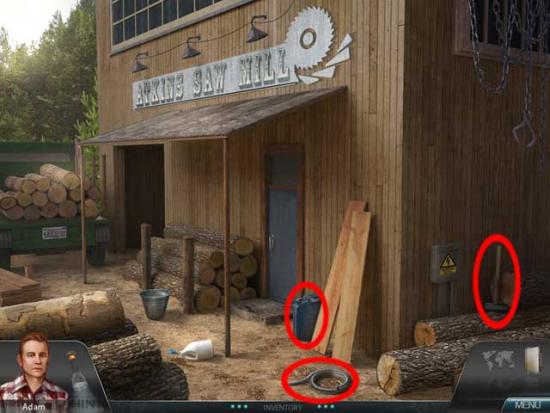
Atkins Saw Mill
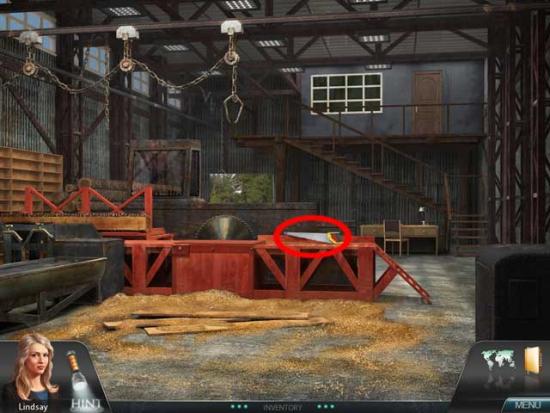
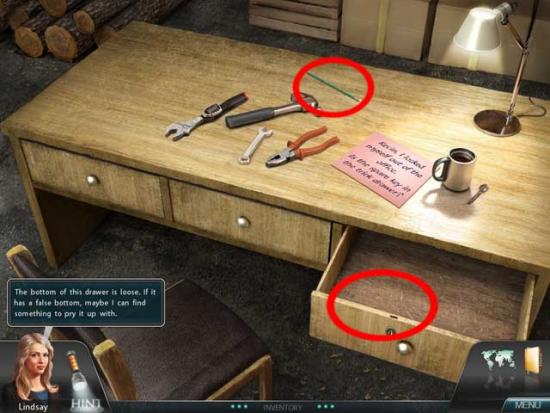
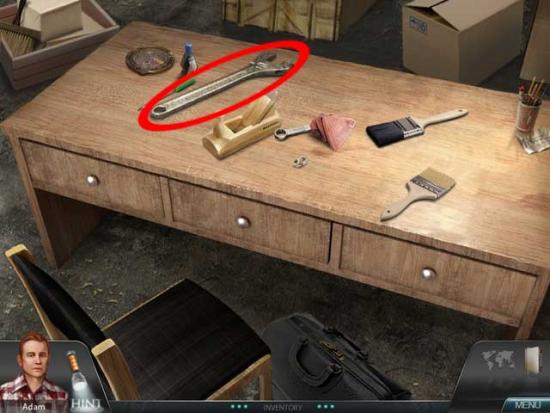
Saw Mill Interior
Atkins Saw Mill
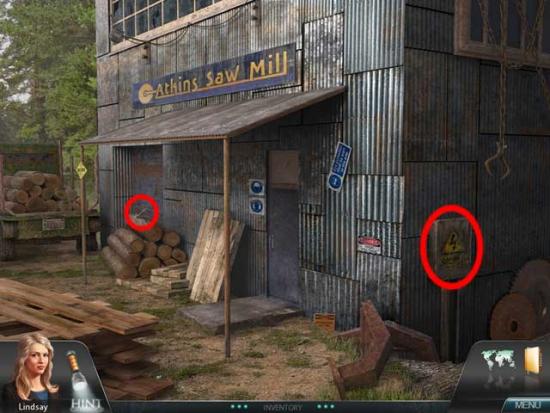
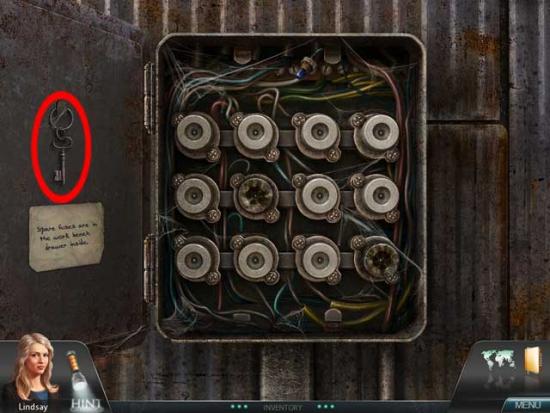
Saw Mill Interior
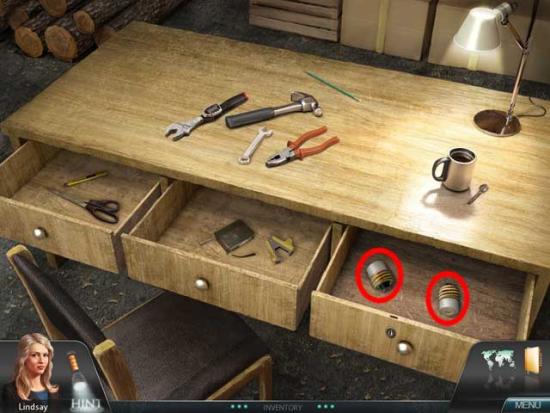
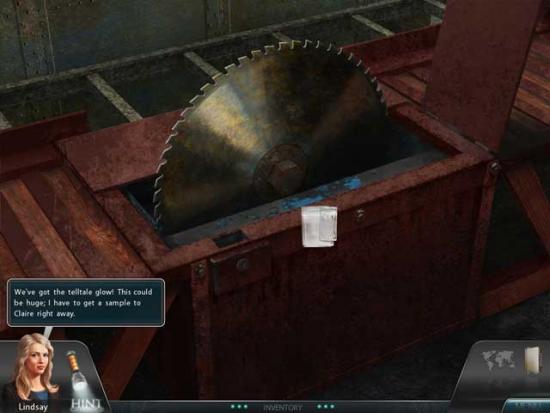
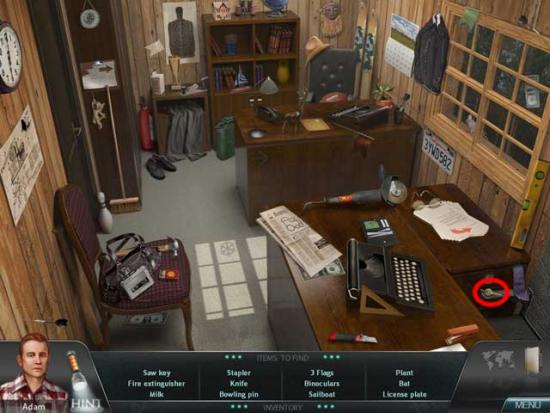
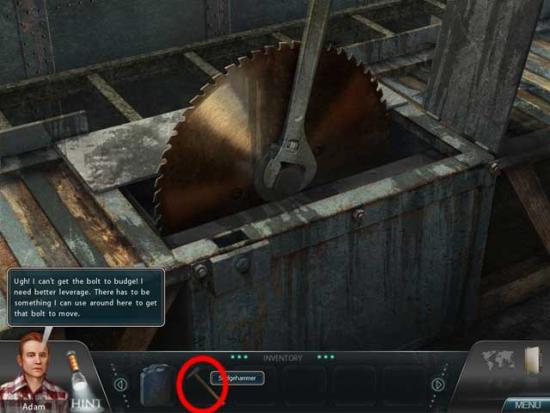
Atkins Saw Mill
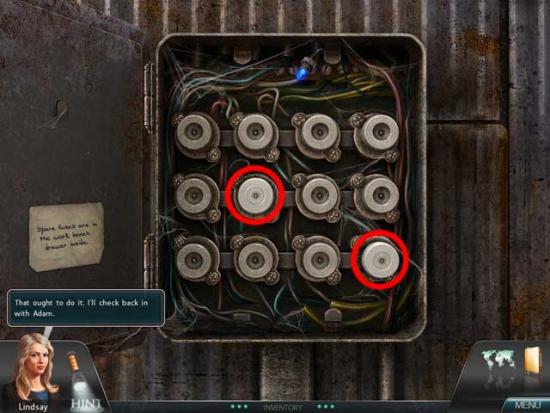
Saw Mill Interior
General Store
Town Square
Atkins Saw Mill
Saw Mill Interior
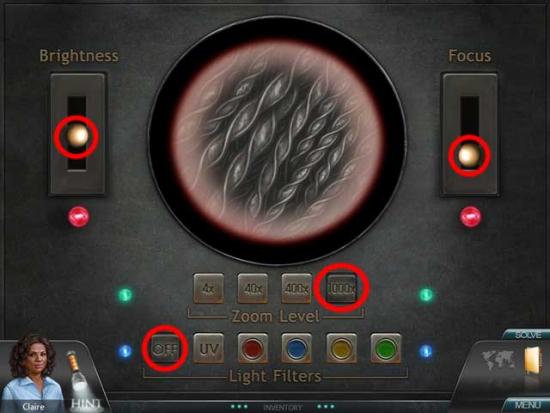
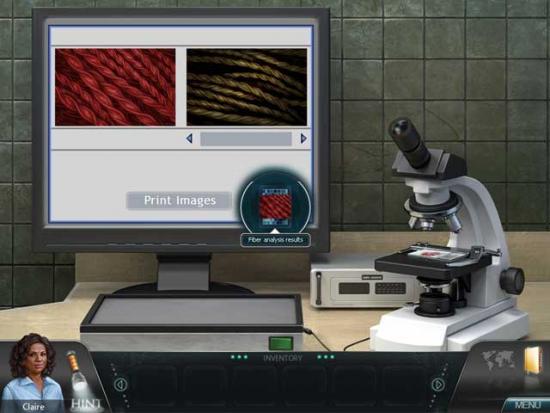
Crime Lab
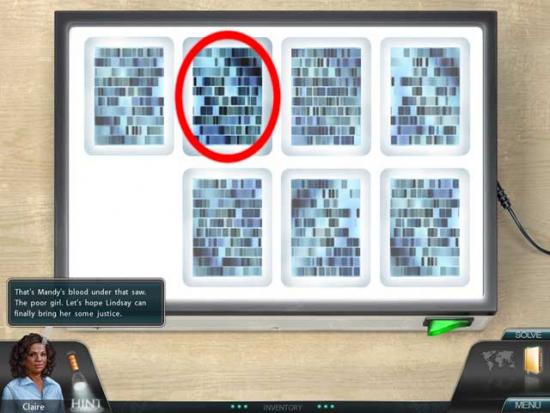
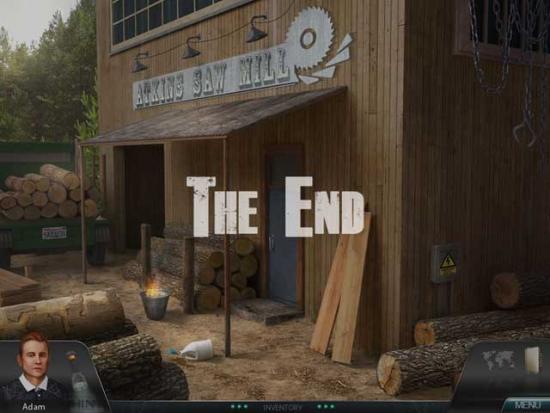
Atkins Saw Mill
Congratulations, you’ve completed the main portion of the game! Now go back to the main menu and try Epilogue or Find-All Mode.
The following is a bonus mode unlockable from the main menu of the game. It contains spoilers as to the ending of the main game so it should not be read prior to completing the main story.
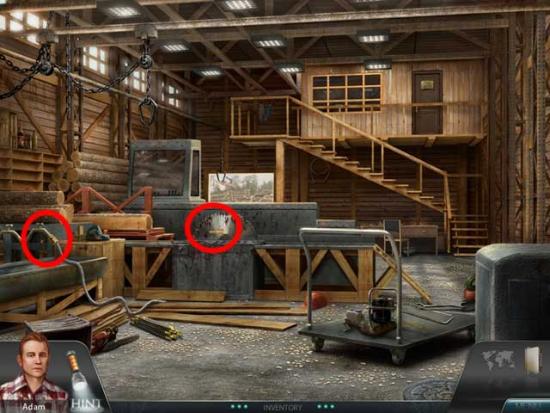
Saw Mill Interior
Saw Mill Exterior
Saw Mill Interior
Saw Mill Exterior
Congratulations! You’ve completed Women’s Murder Club: Little Black Lies!
