![Digimon UP Tier List [Supports, Buddies, and Partners]](/wp-content/uploads/2026/07/digimon-up-tier-list.jpg "Digimon UP Tier List [Supports, Buddies, and Partners]")
Digimon UP Tier List [Supports, Buddies, and Partners]
These Digimon will get you UP the leaderboard.


![Haze Seas Boss Drops [Chances, Locations, and How to Spawn]](/wp-content/uploads/2026/07/haze-seas-boss-drops.jpg "Haze Seas Boss Drops [Chances, Locations, and How to Spawn]")

Check out our walkthrough and strategy guide for Wolfgang Hohbein’s The Inquisitor.
General Tips:
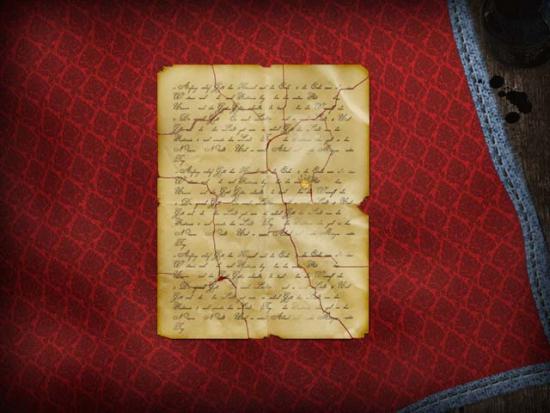
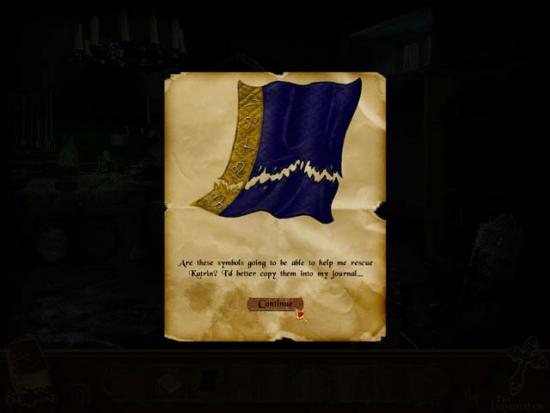
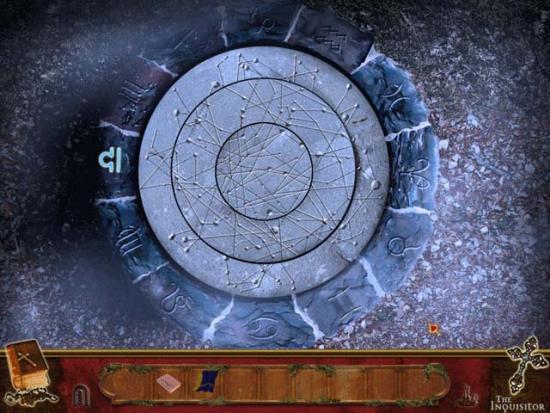
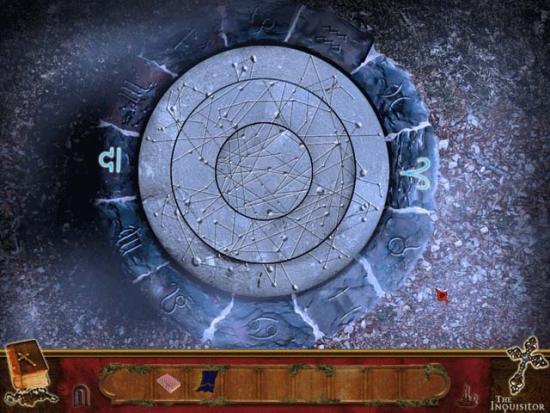
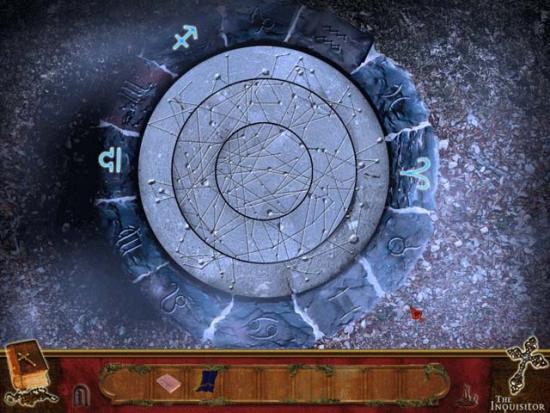
Chapter 1: A Mysterious Letter
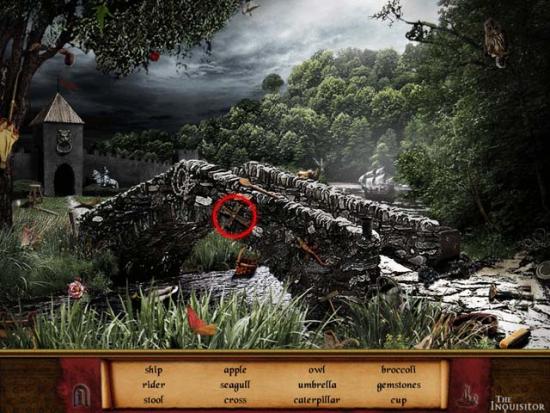
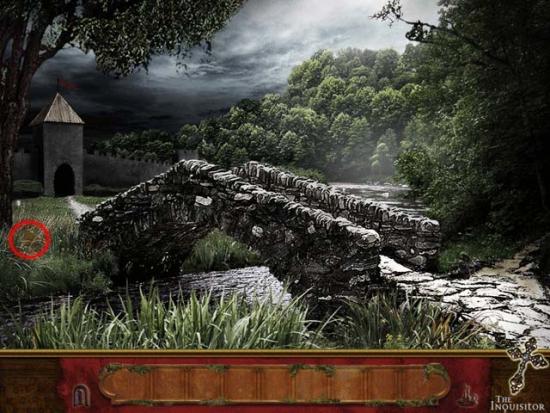
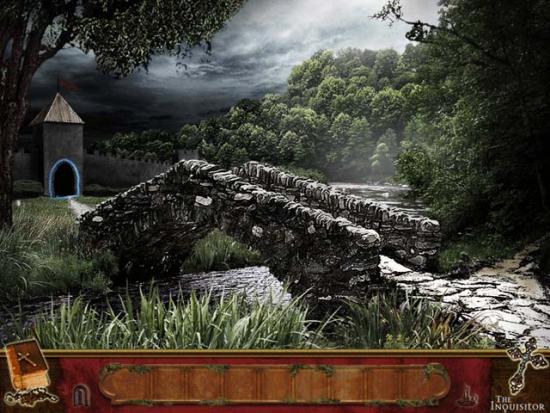
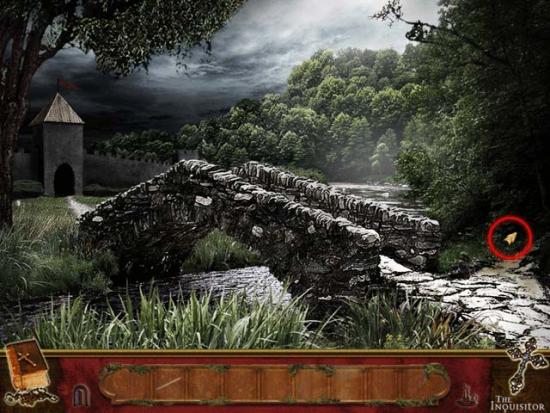
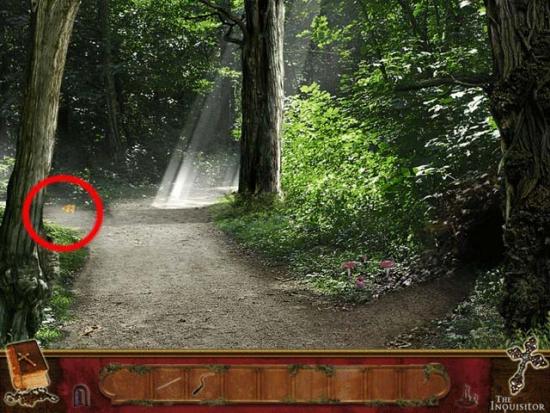
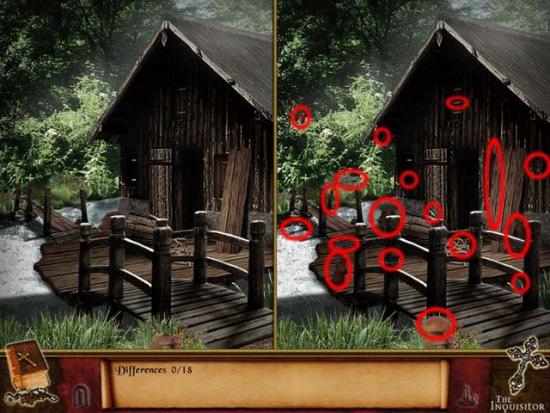
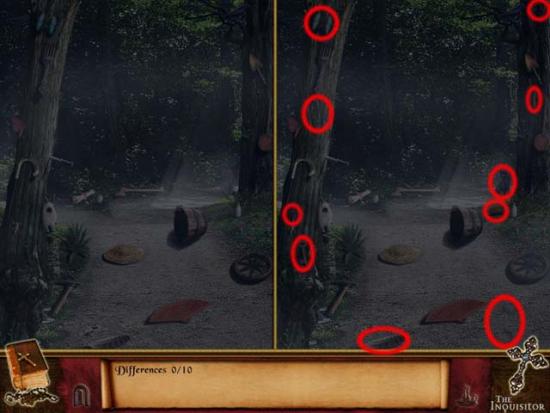
Bridge to Buchenfeld

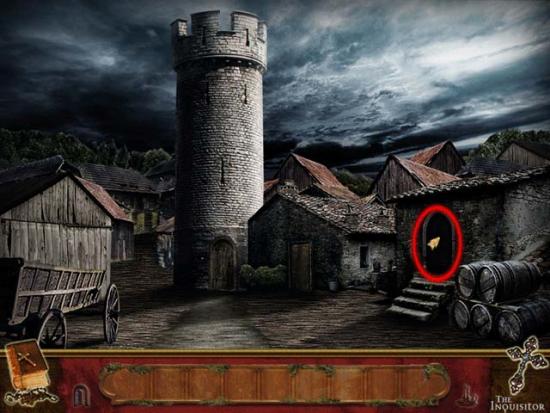
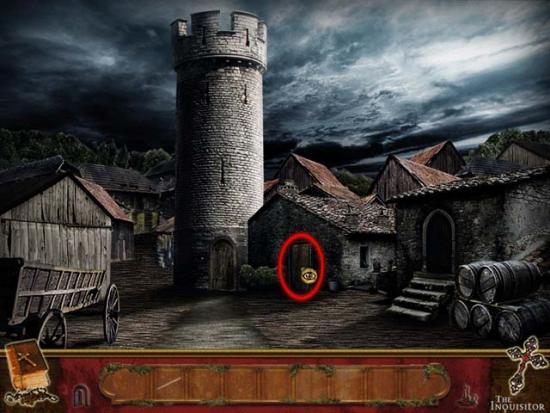
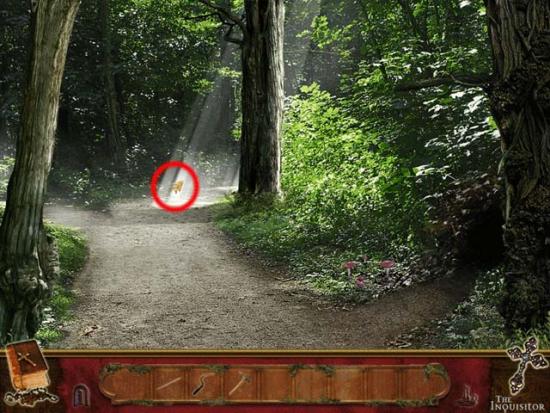
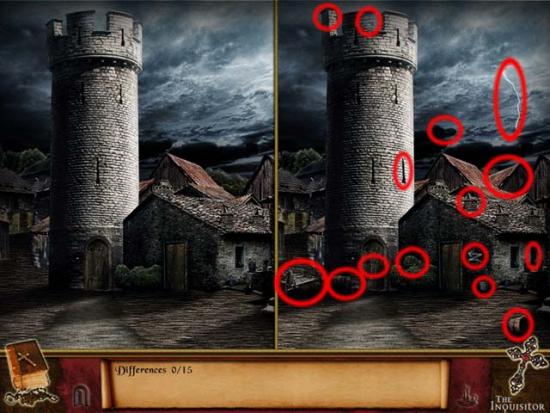
Buchenfeld
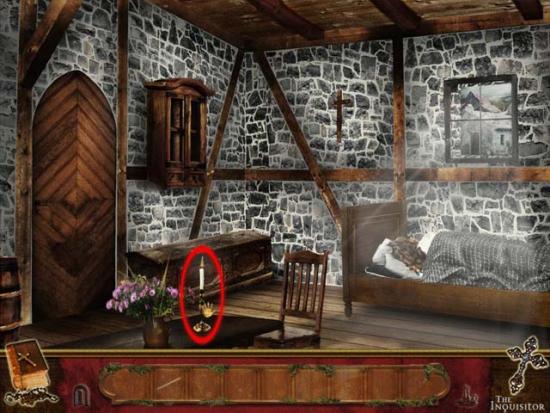
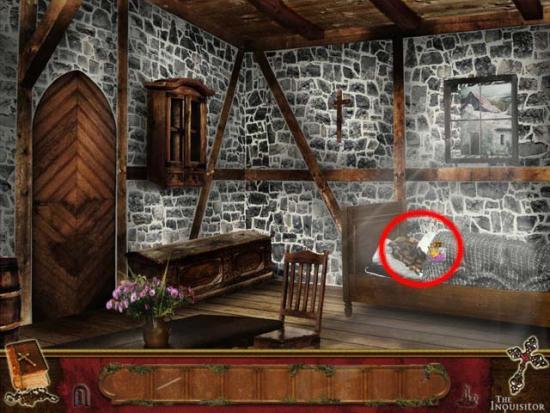
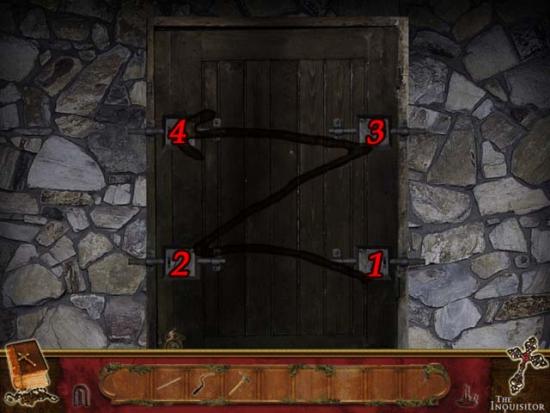
Bresser’s Cottage
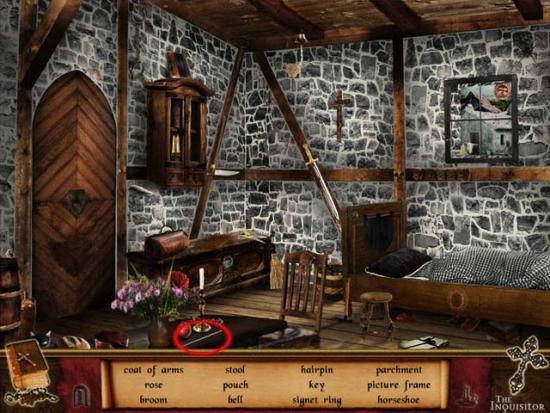
Buchenfeld
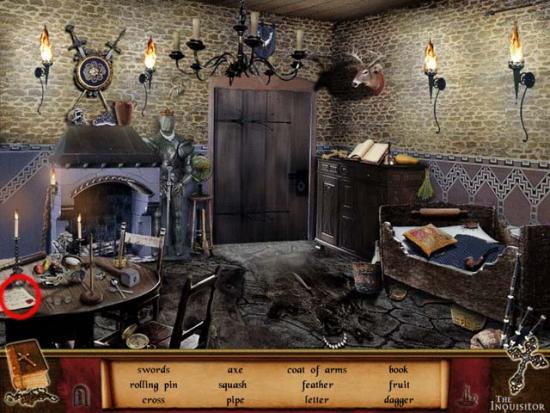
Pharmacist’s House
Chapter 2: Shadows of the Past
Bresser’s Cottage

Pharmacist’s House
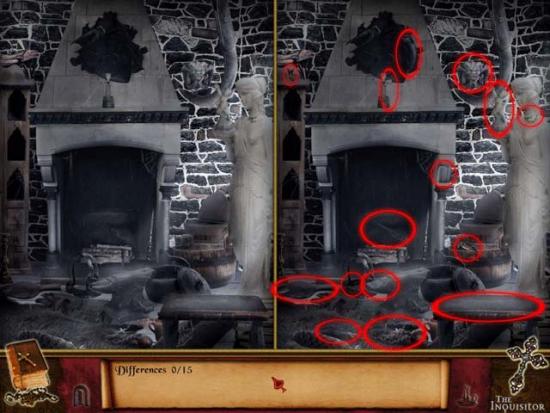
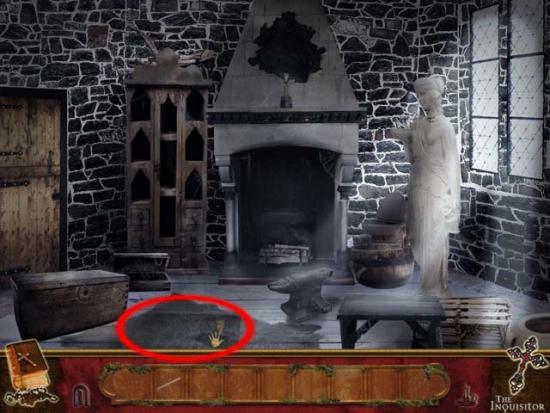
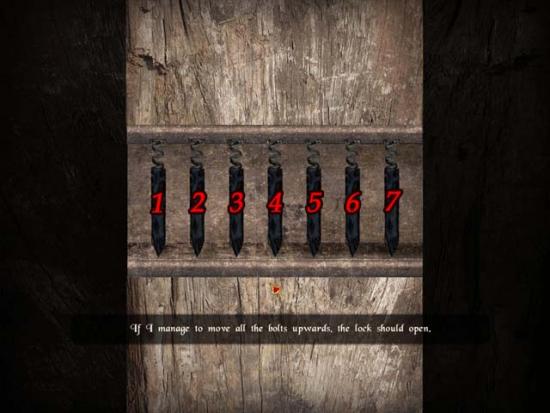
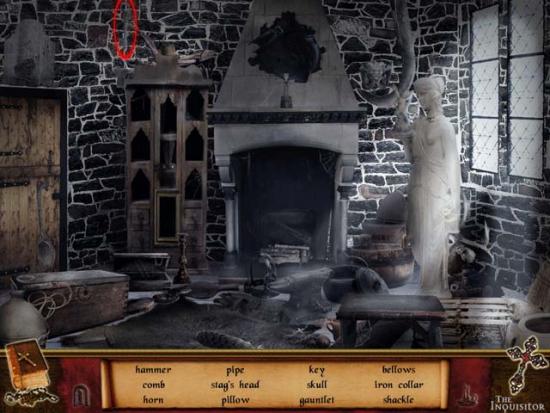
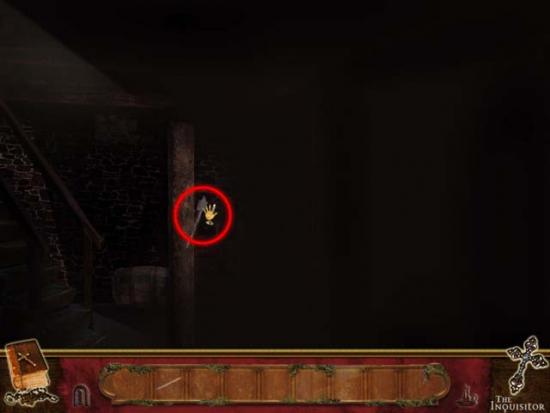
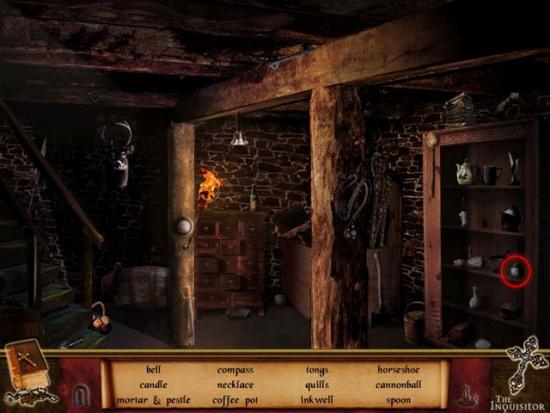
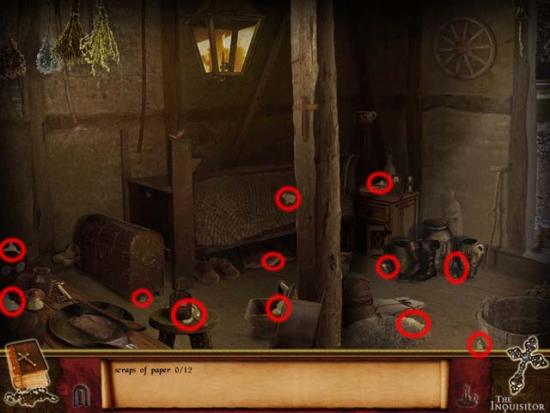
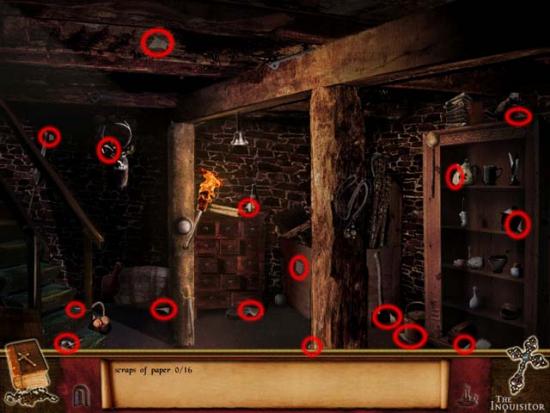
Basement
Bresser’s Cottage
Basement
Bresser’s Cottage
Chapter 3: On the Trail of a Witch
Bresser’s Cottage
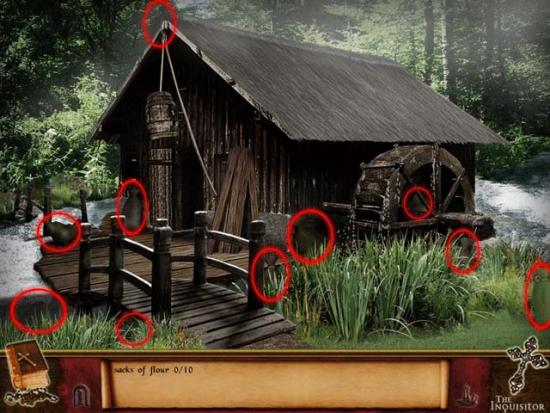
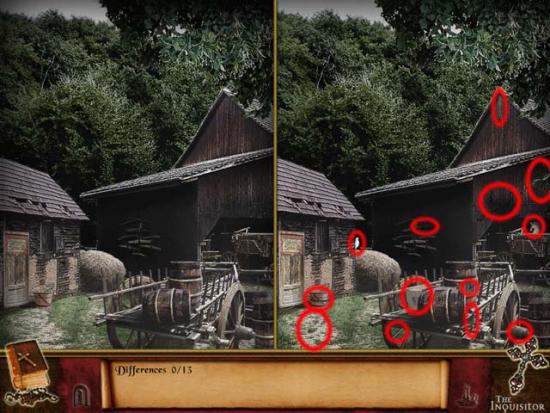
Mill

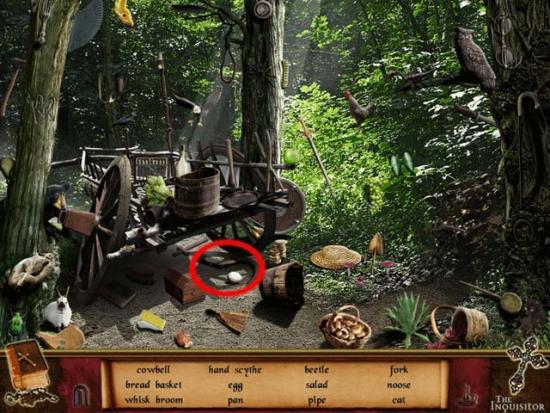
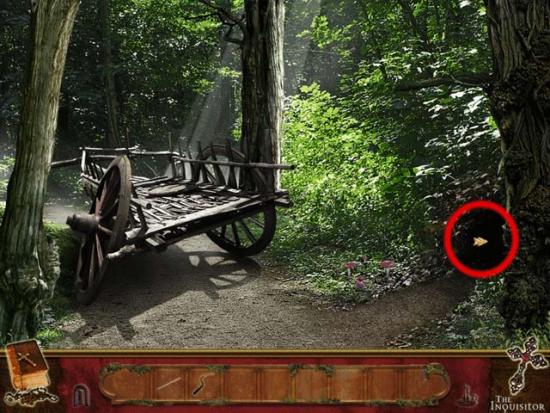
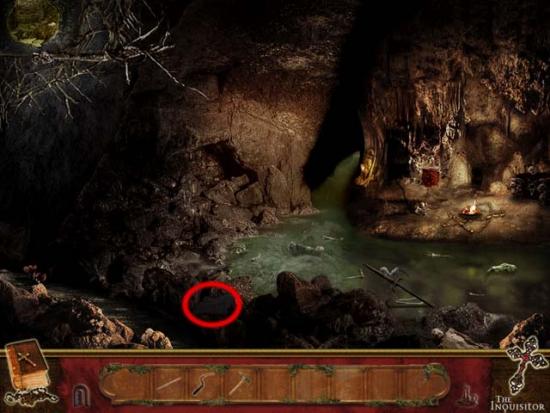
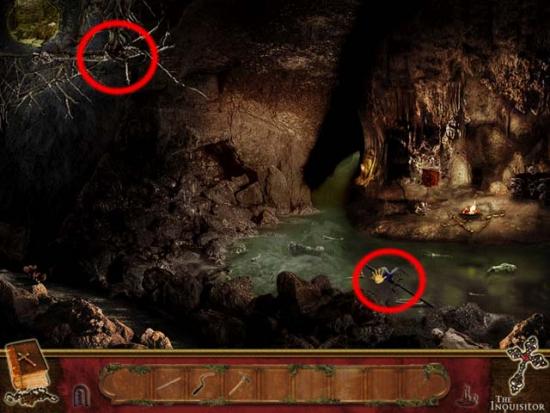
Crossroads
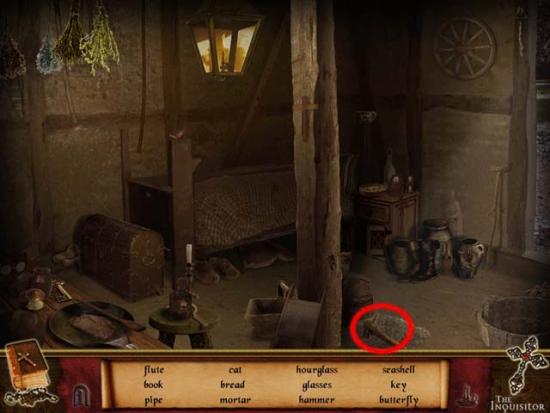
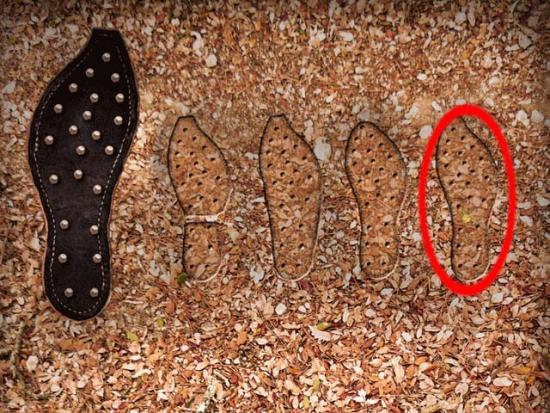
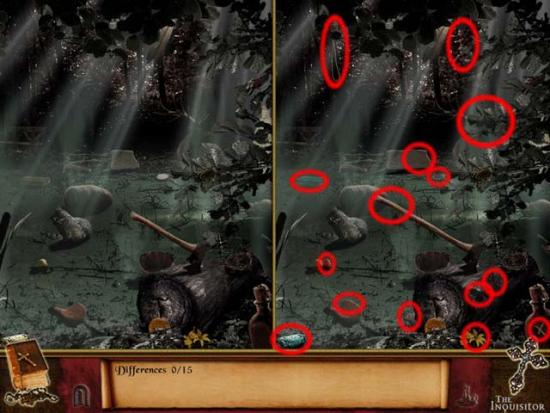
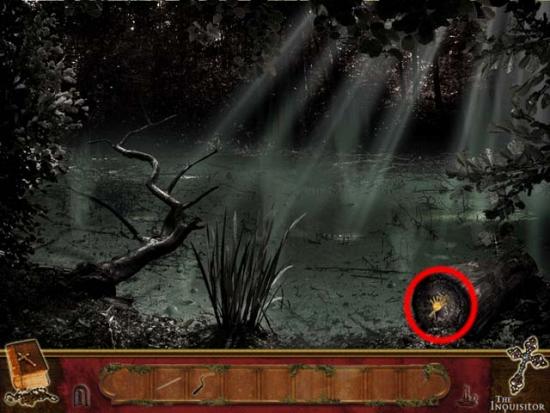
Cesspool
Mill
Chapter 4: Friend or Foe?
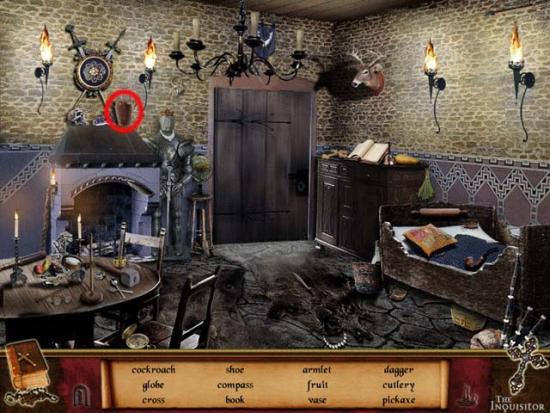
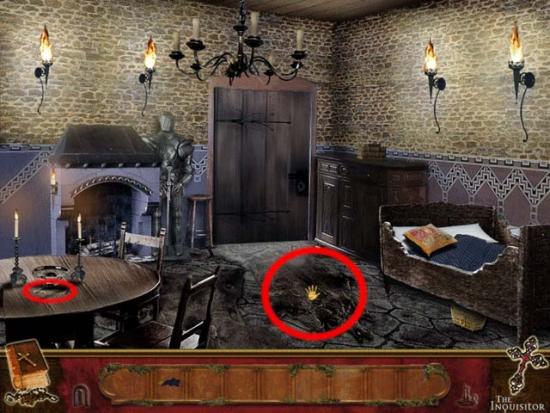
Bresser’s Cottage
Farm
Feast House
Derwalt’s Cottage

Farm
Mill
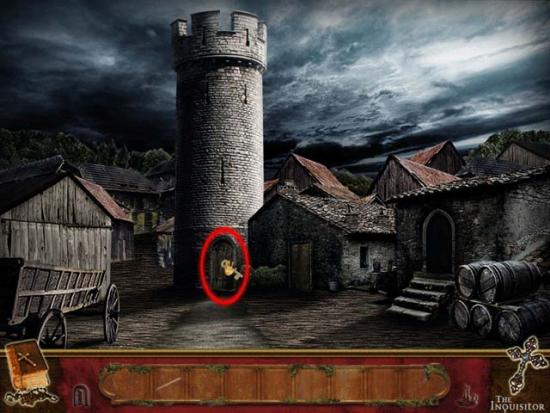
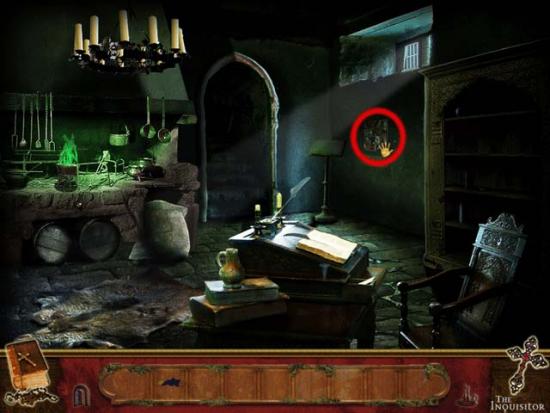
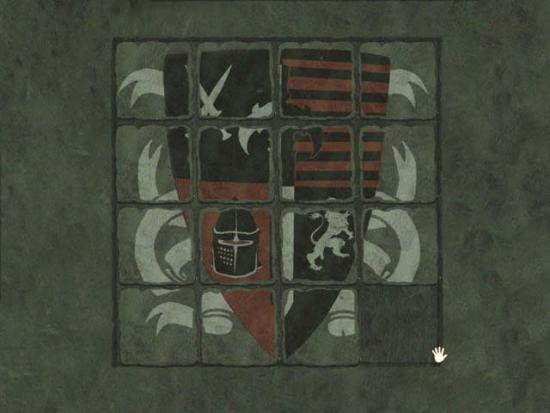
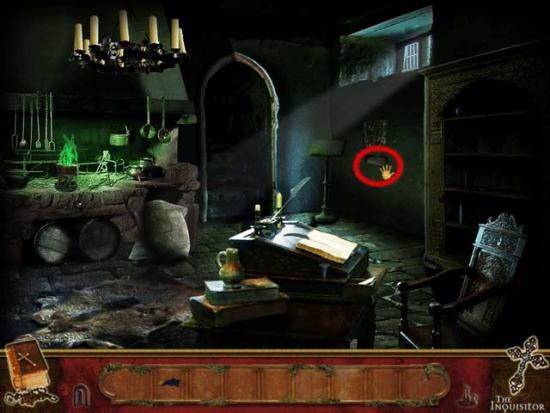
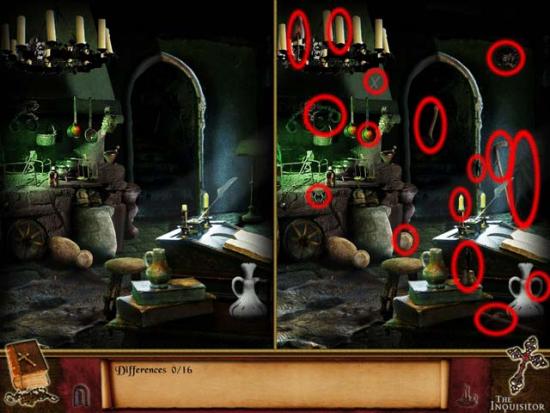
Castle
Chapter 5: Riders of the Apocalypse
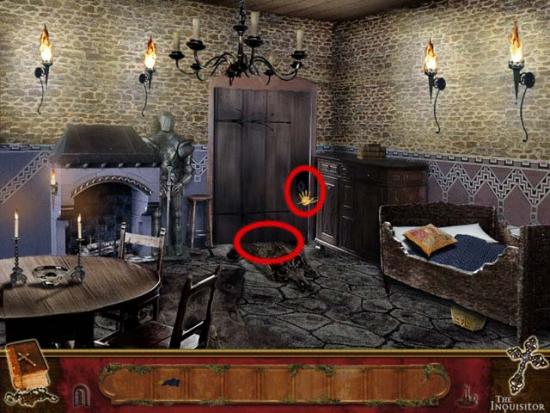
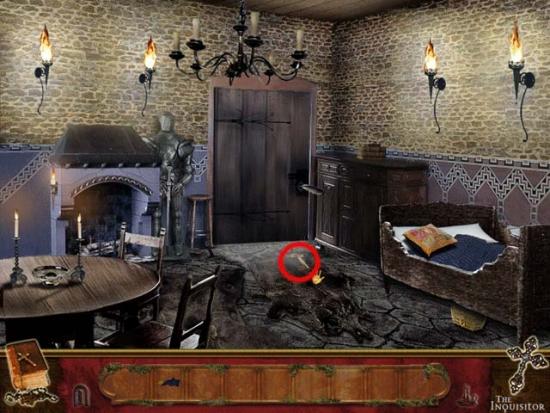
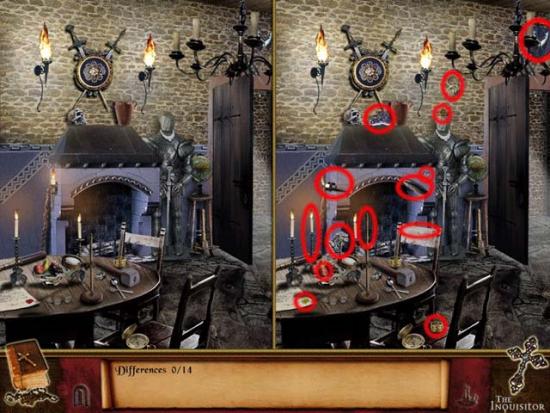
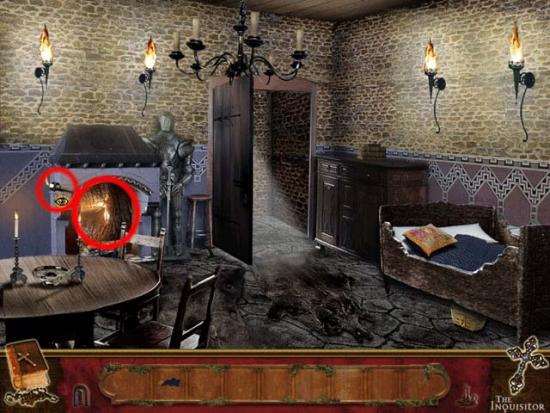
Castle Guest Room
Farm
Derwalt’s Cottage
Crossroads
Chapter 6: In Pursuit of the Truth
Bresser’s Cottage
Buchenfeld
Pharmacist’s House
Basement

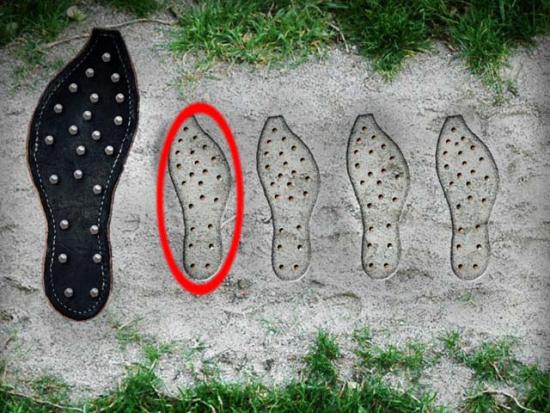
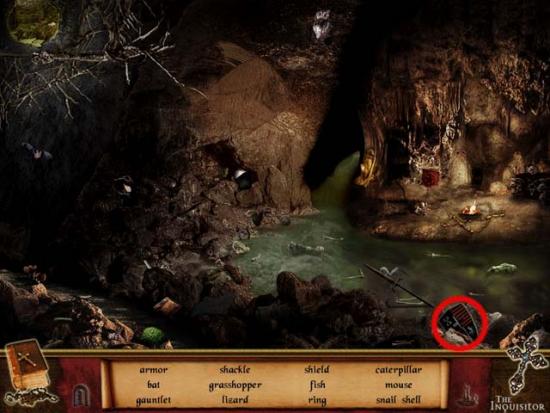
Cesspool
Secret Chamber
Chapter 7: Lucipher’s Messenger
Castle Guest Room
Buchenfeld
Castle Guest Room
Secret Castle Chamber

Castle
Congratulations, you’ve completed the game!
