![All VV Ultimatum Titles [How to Get]](/wp-content/uploads/2026/06/vv-ultimatum-titles.jpg "All VV Ultimatum Titles [How to Get]")
All VV Ultimatum Titles [How to Get]
Do titles provide buffs?


Welcome to the Urban Legends – The Maze walkthrough on Gamezebo. Urban Legends – The Maze is a Hidden Object Game played on the PC created by Elephant Games. This walkthrough includes tips and tricks, helpful hints and a strategy guide on how to complete Urban Legends – The Maze.

Welcome to the Urban Legends – The Maze walkthrough on Gamezebo. Urban Legends – The Maze is a Hidden Object Game played on the PC created by Elephant Games. This walkthrough includes tips and tricks, helpful hints and a strategy guide on how to complete Urban Legends – The Maze.
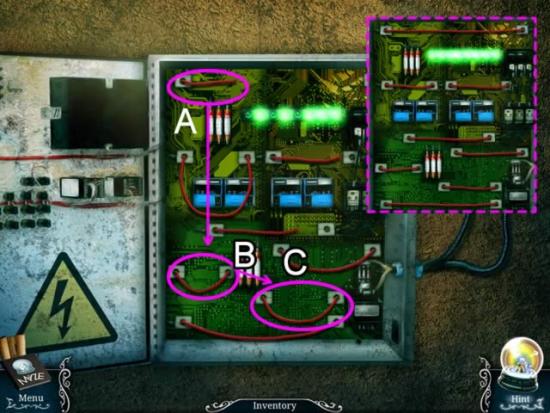
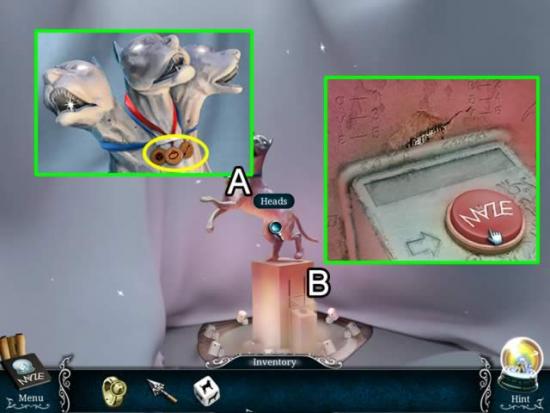
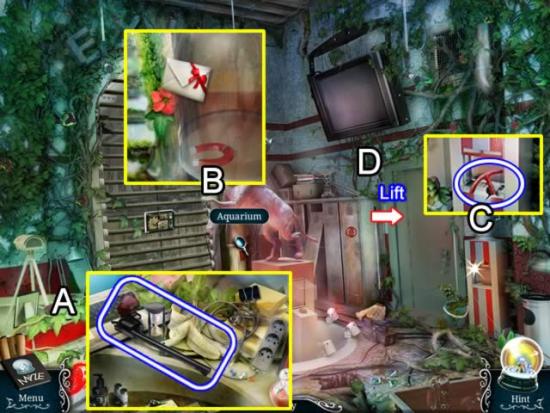
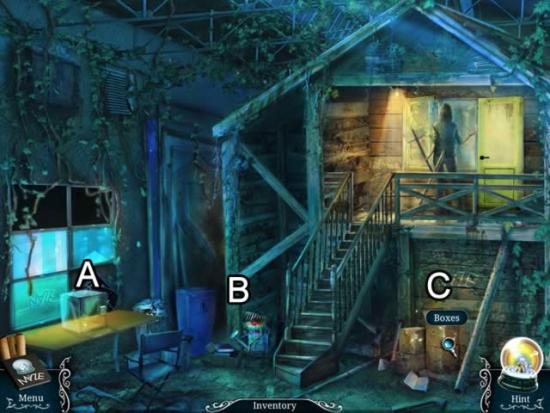
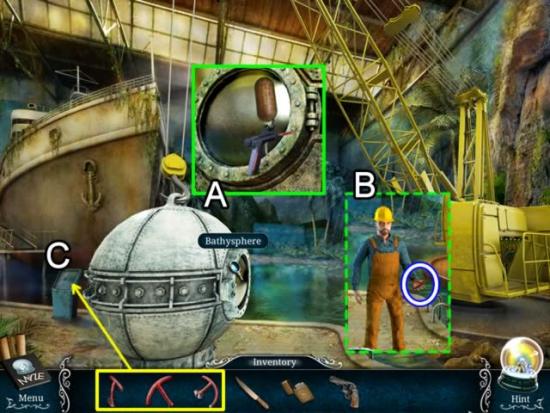
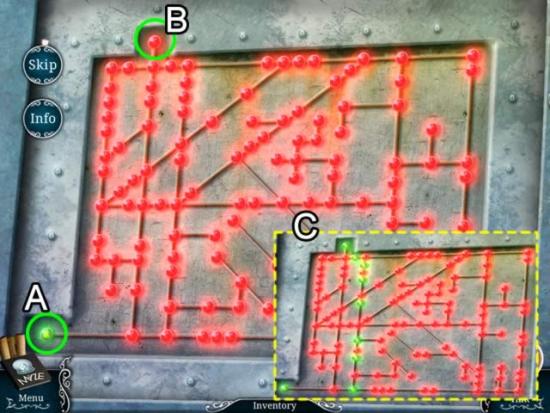
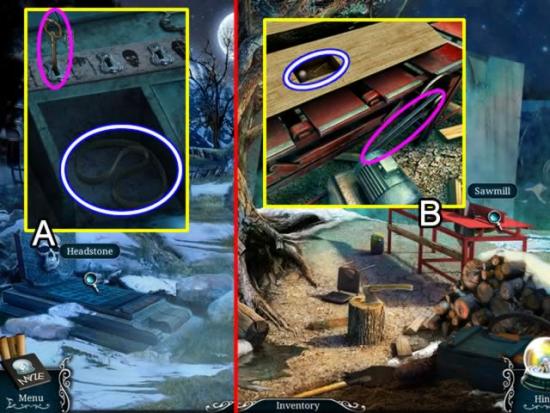
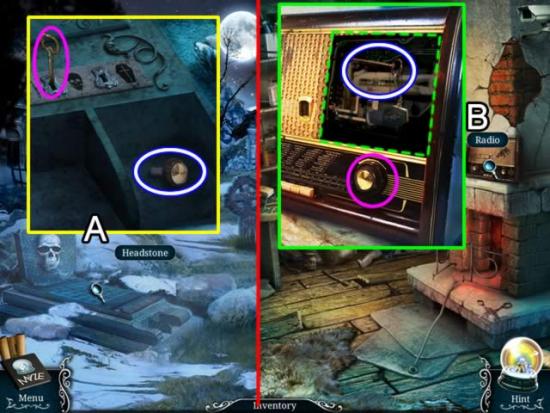
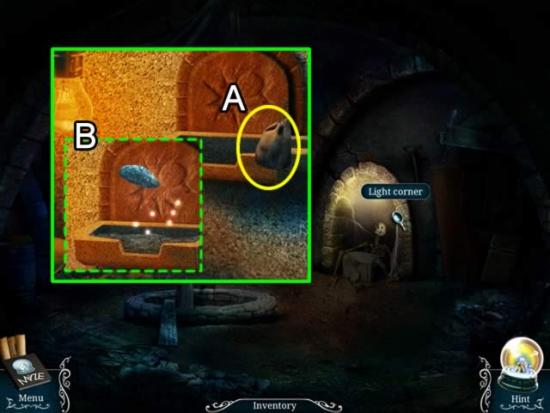
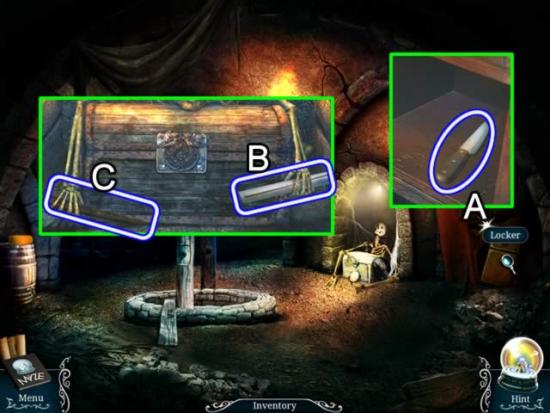
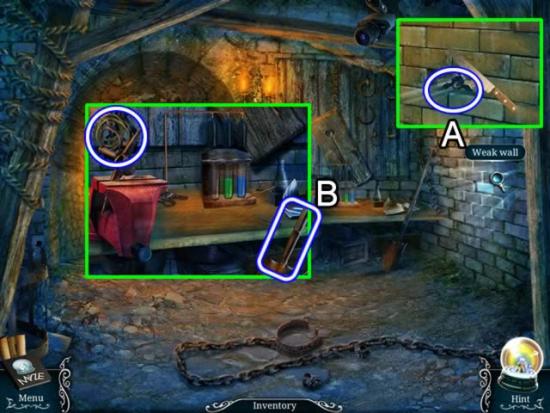
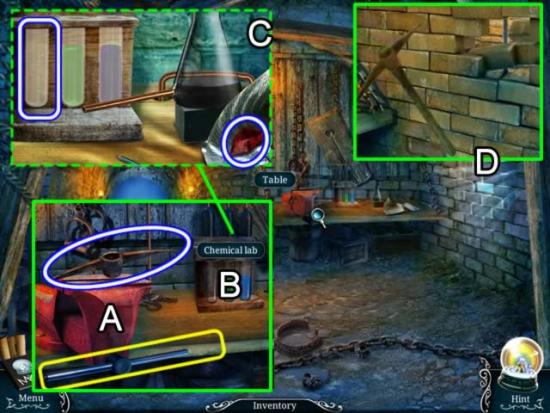
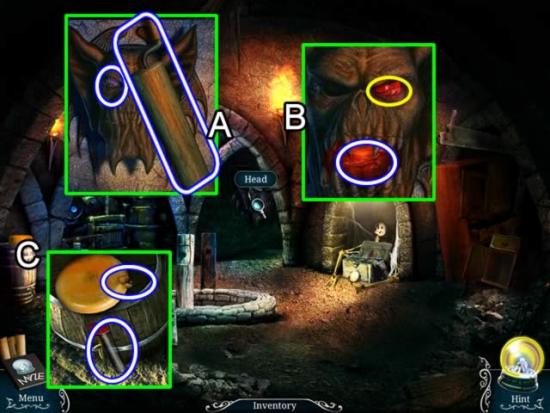
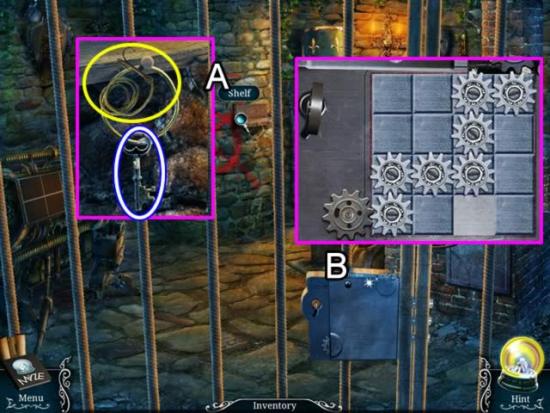
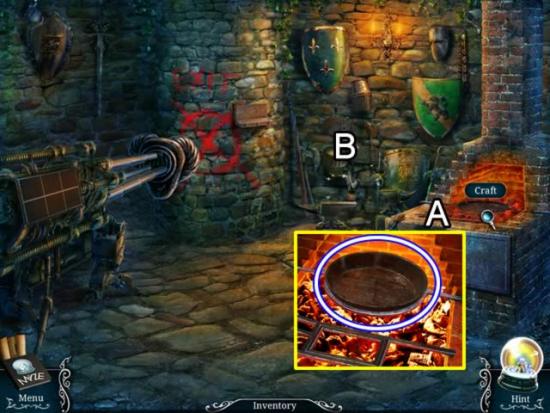
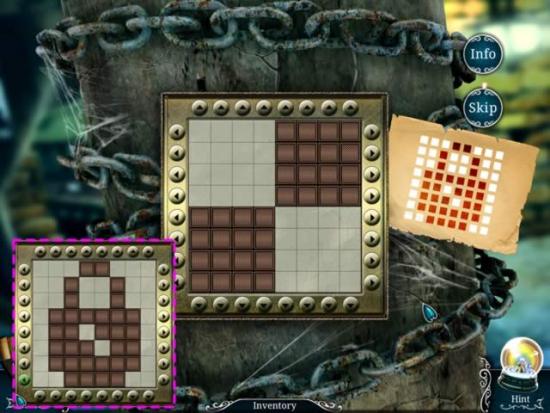
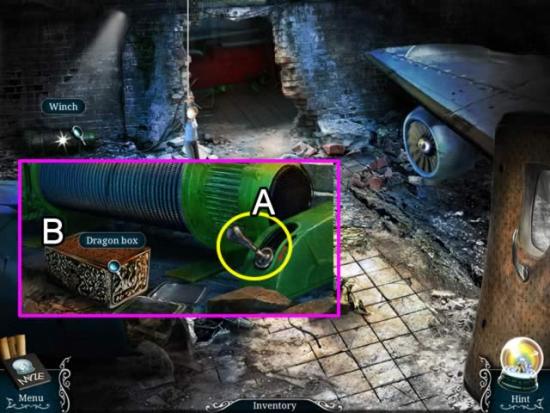
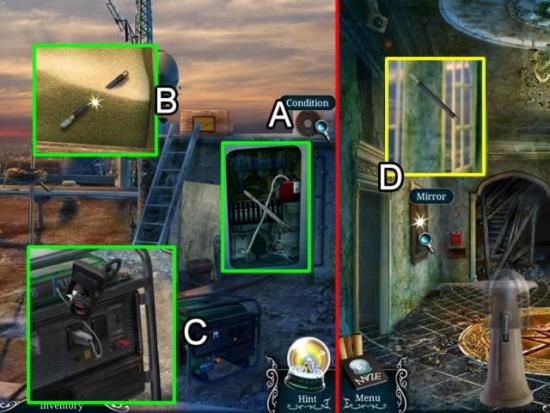
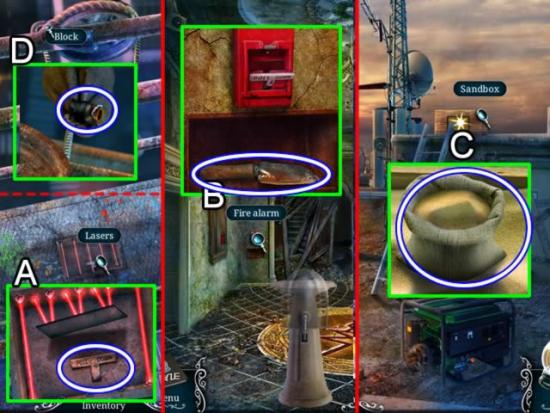
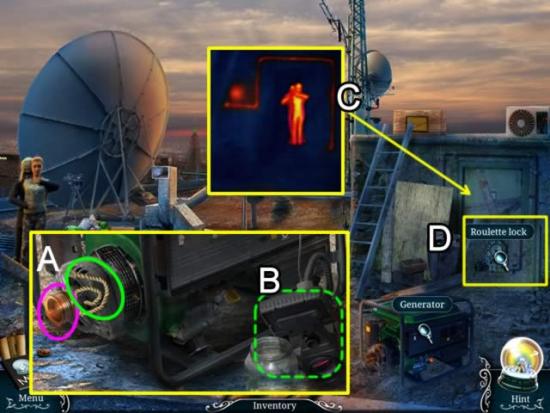
This hidden object game requires visiting several locations and using inventory items to advance play.
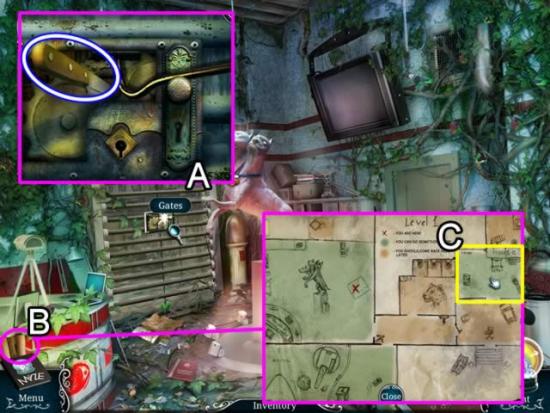
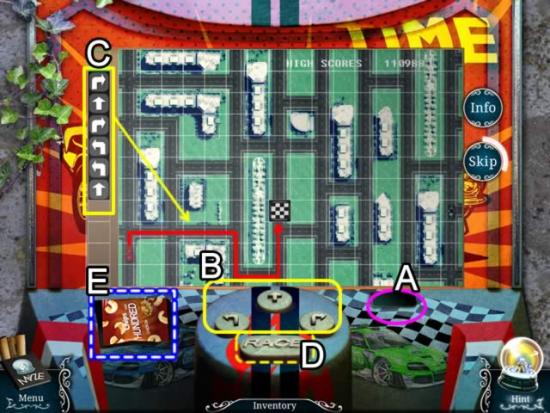
Main Menu:
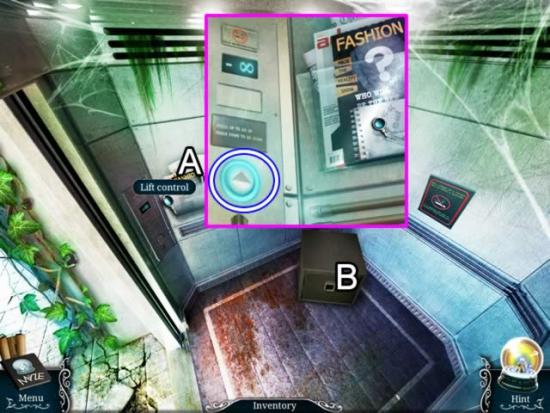
Screen Navigation:
A short clip explains the background and introduces the story line for play.
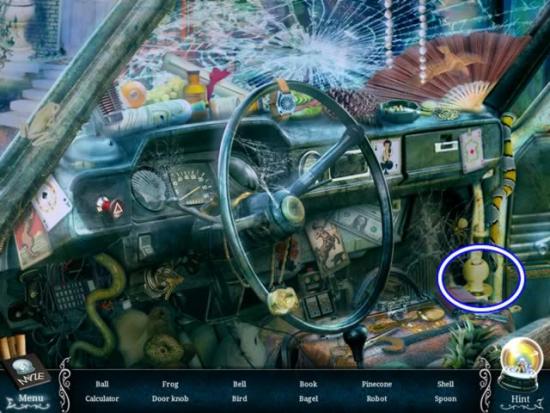
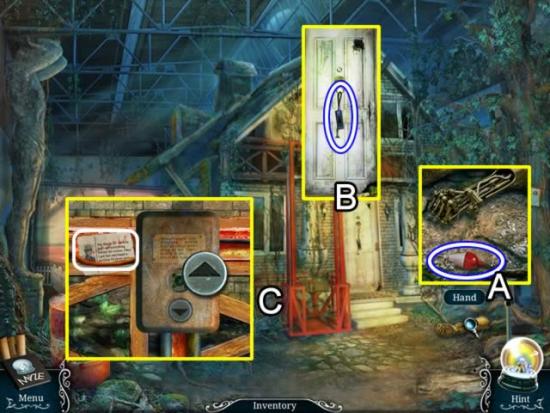
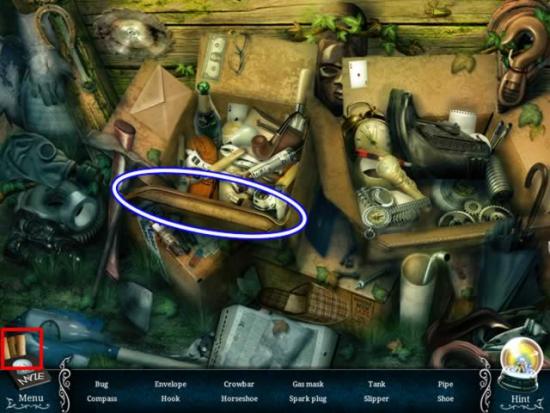
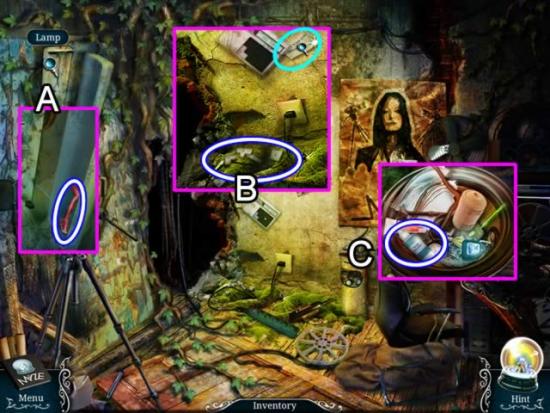
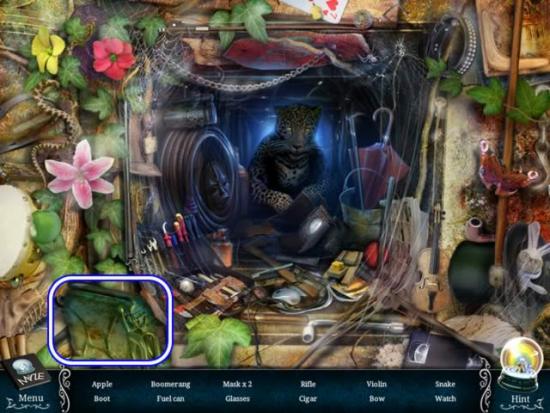
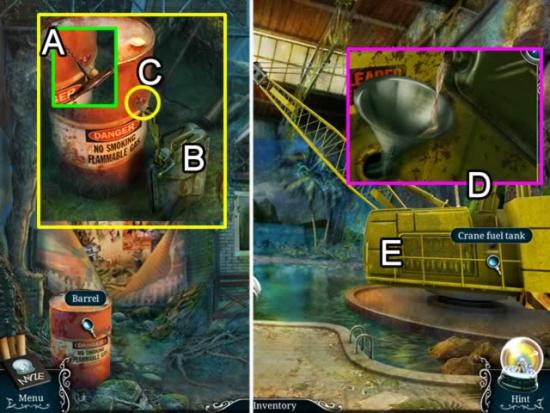
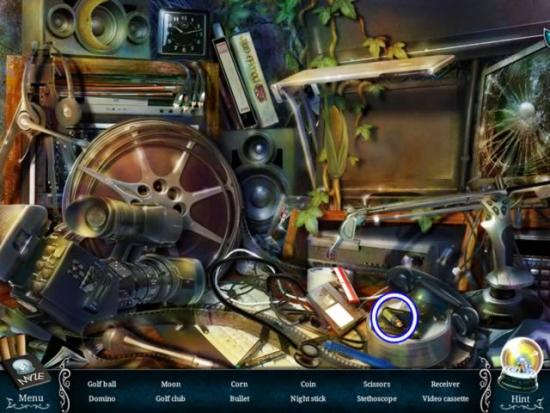
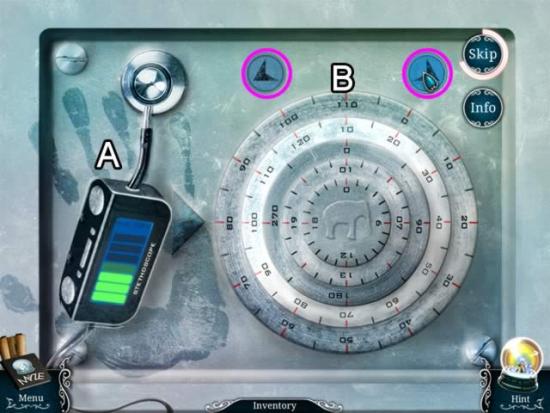
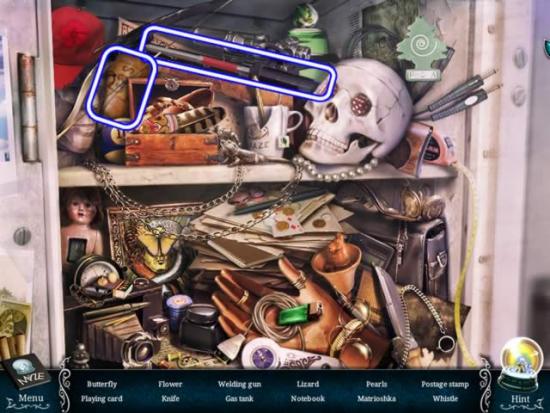
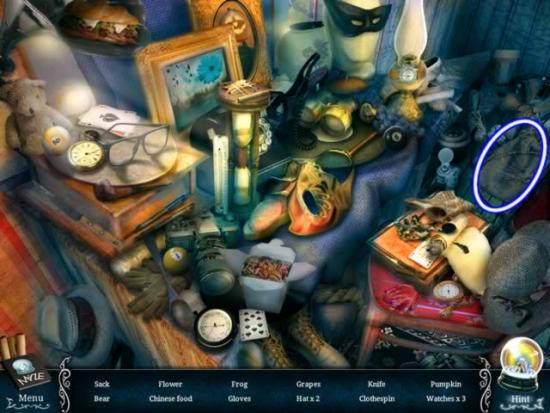
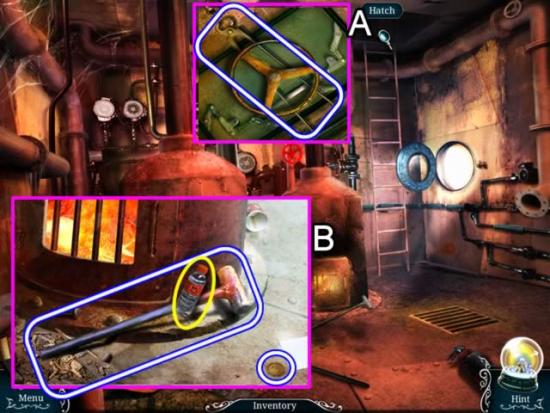
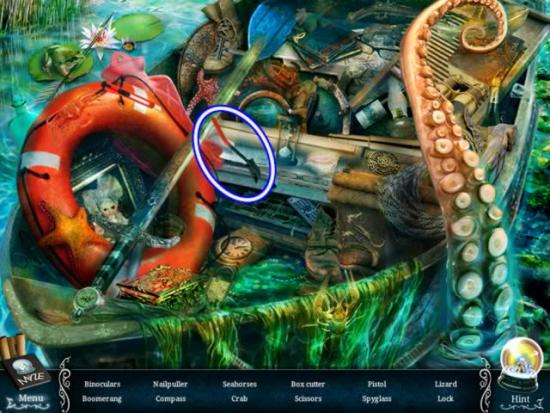
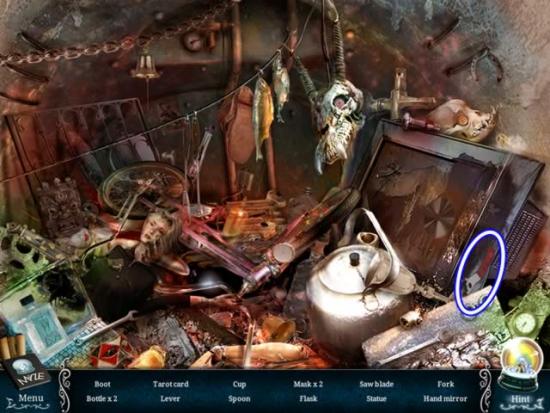
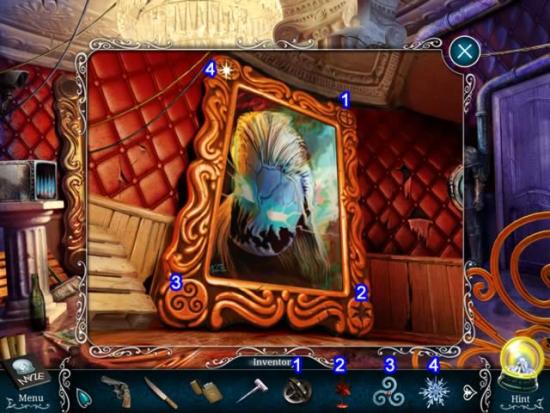
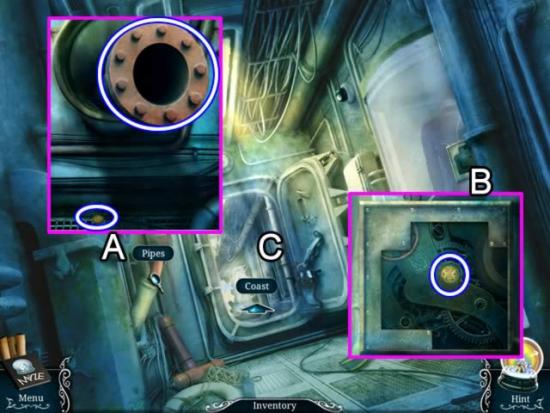
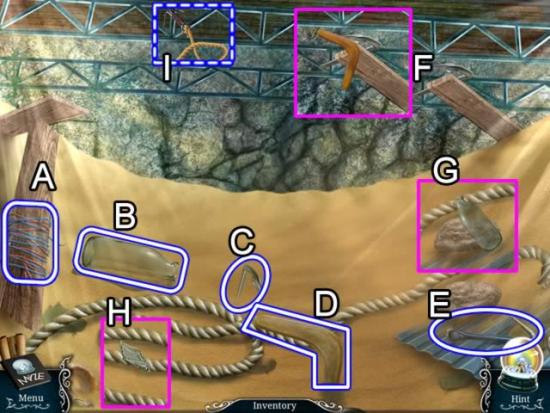
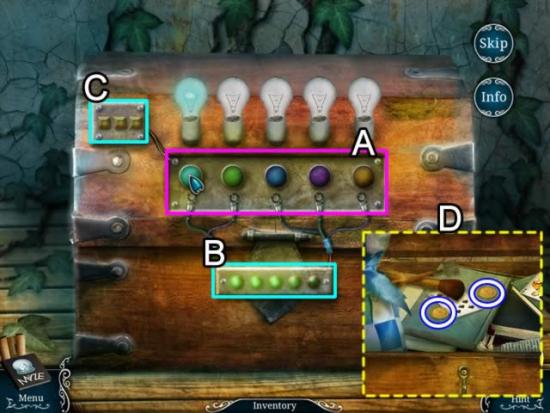
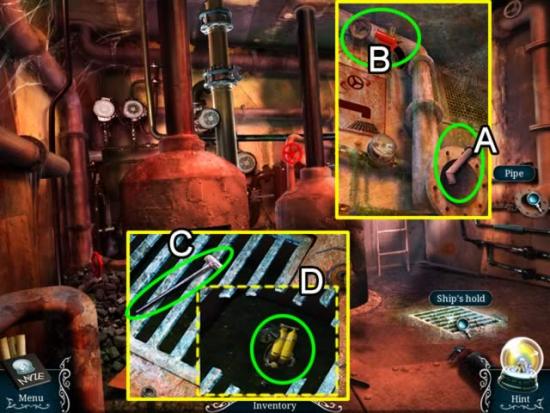
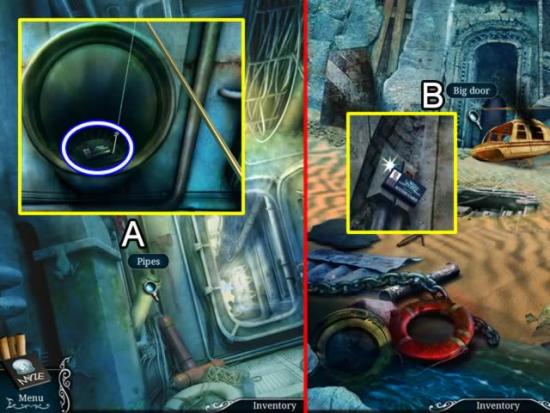
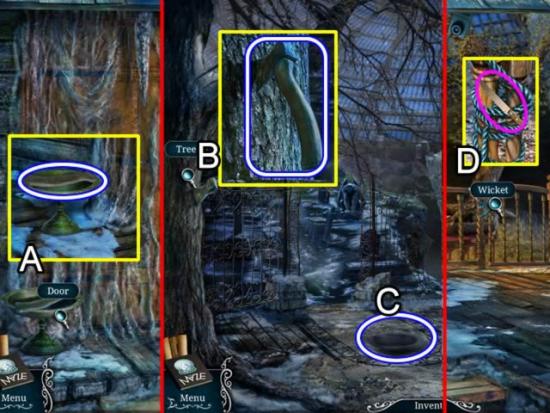
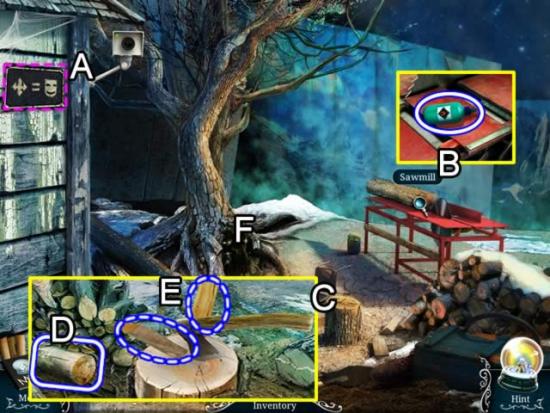
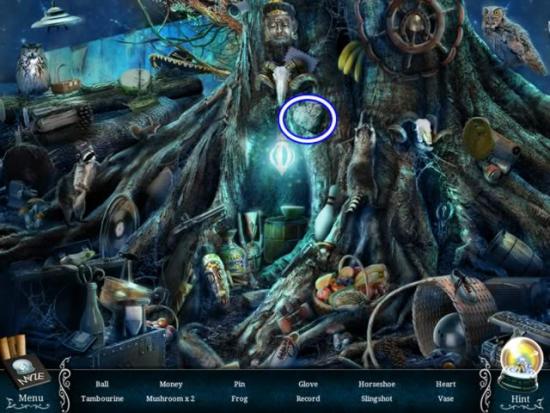
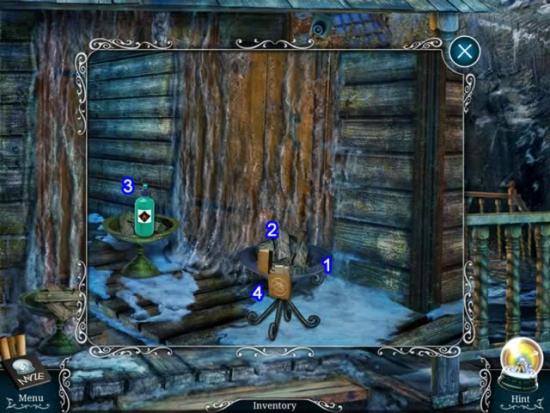
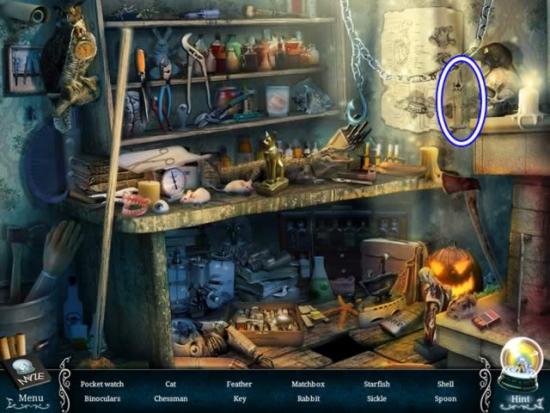
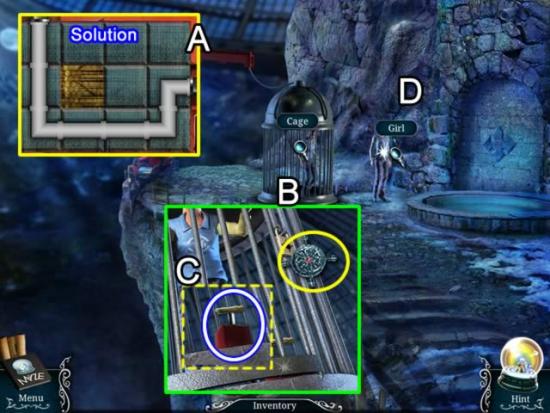
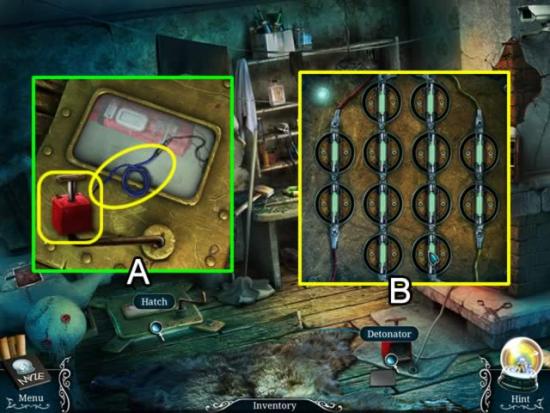
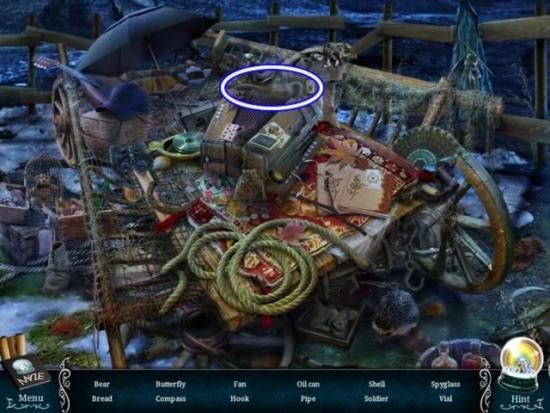
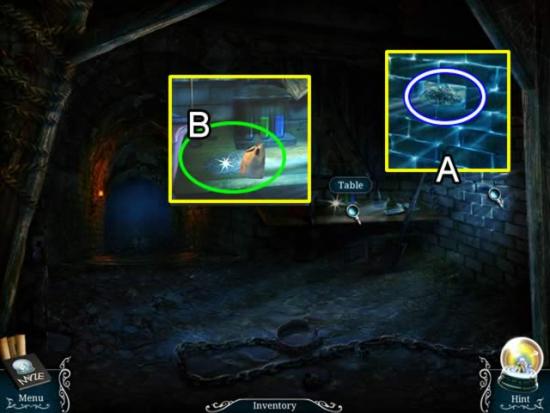
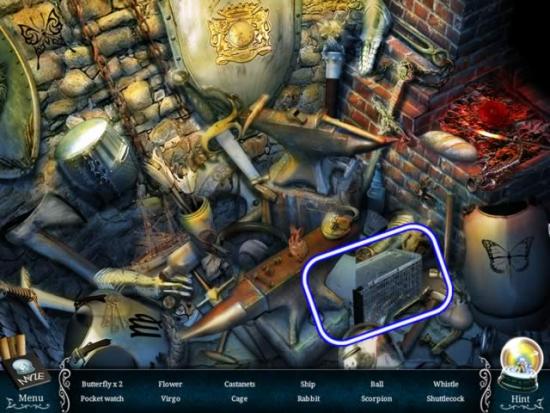
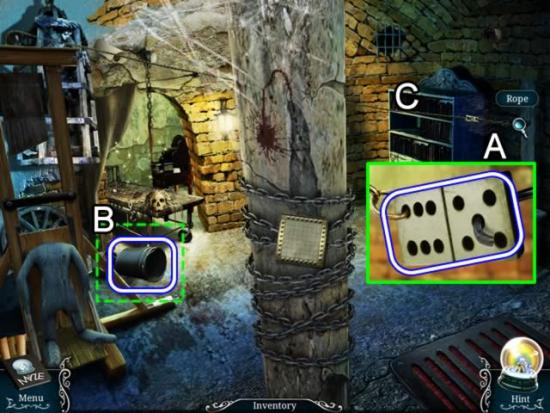
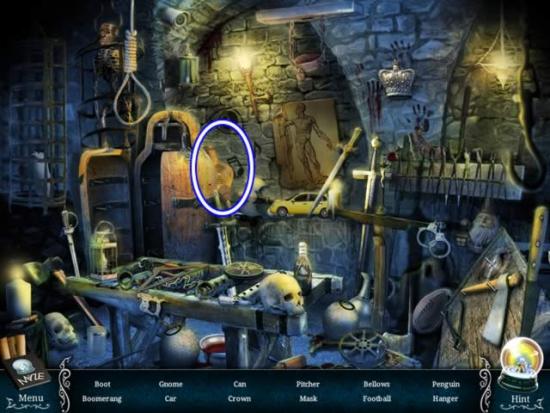
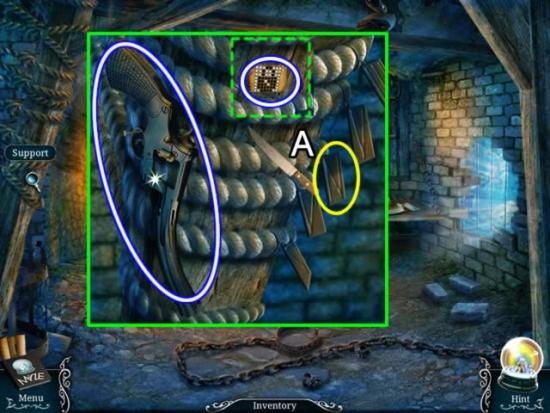
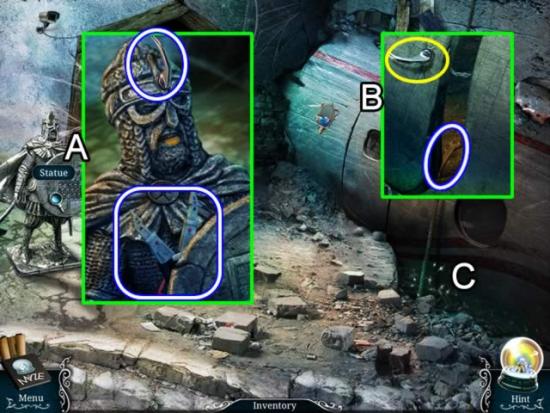
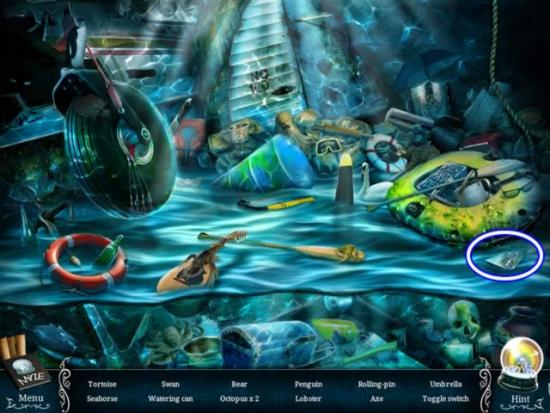
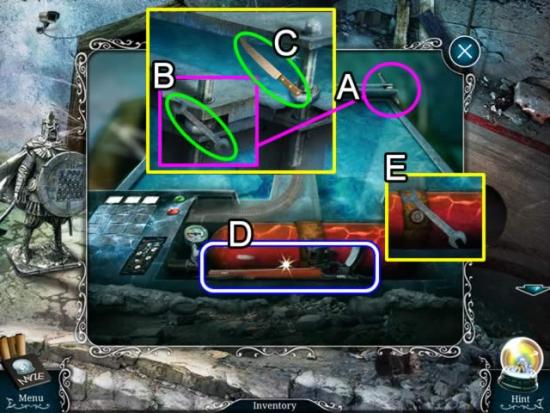
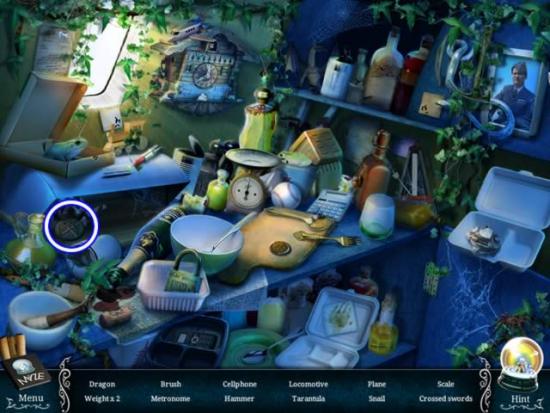
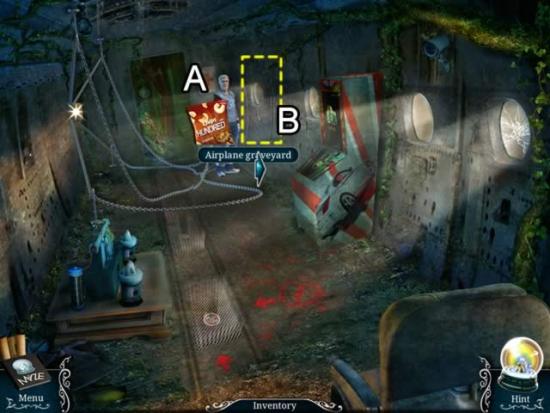
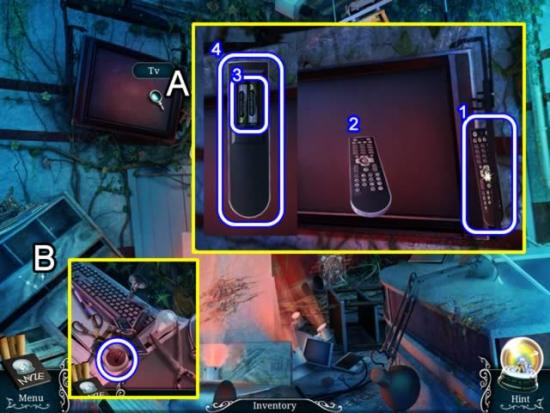
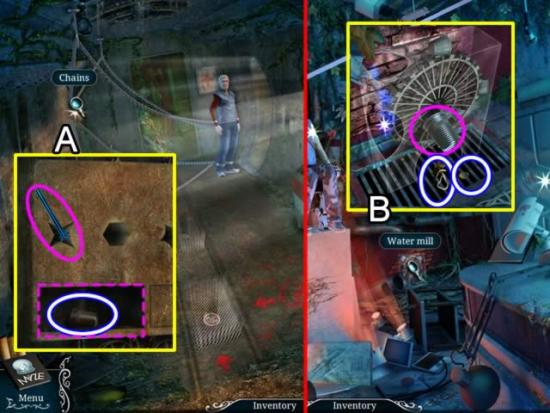
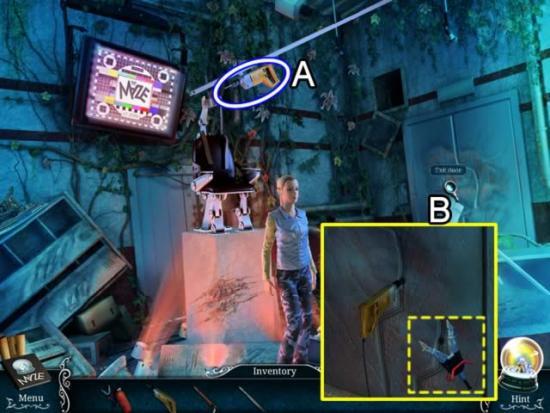
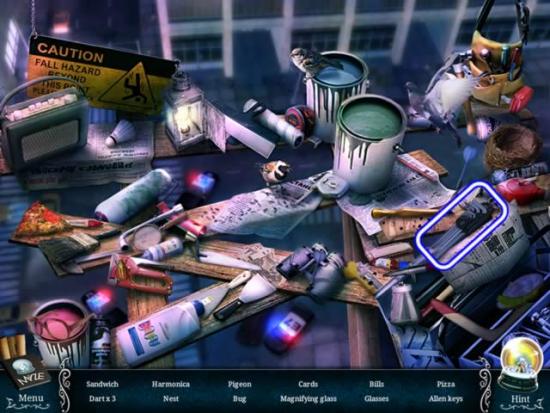
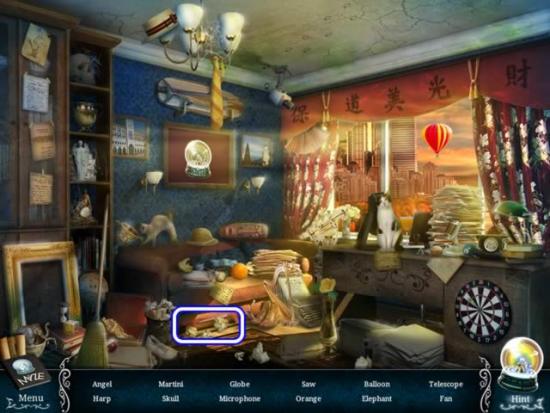
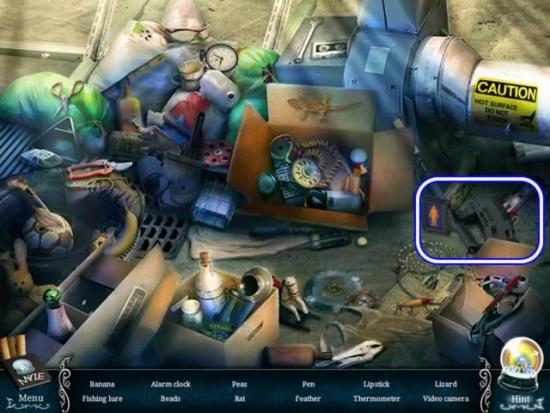
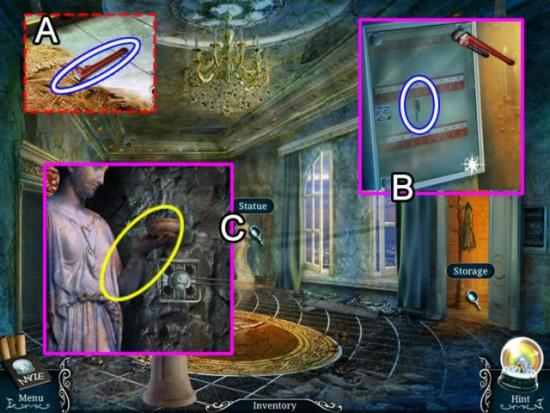
Only inventory items are identified in hidden object scenes. They are highlighted in white with a blue border.
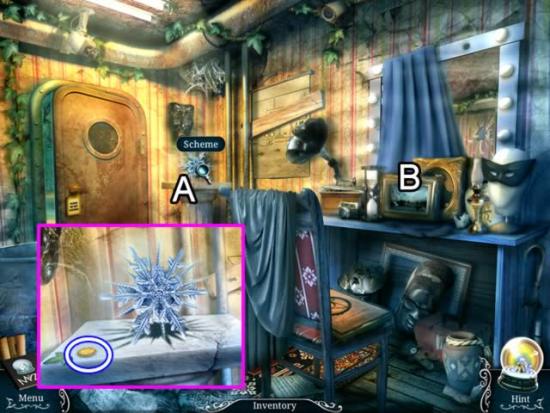
With the exception of a hidden object area, most inventory items are not collected from a scene until they are needed.

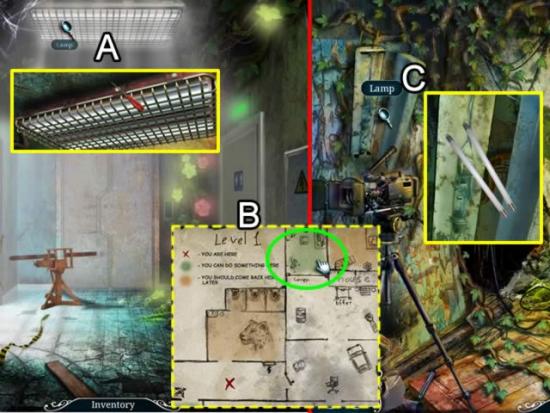

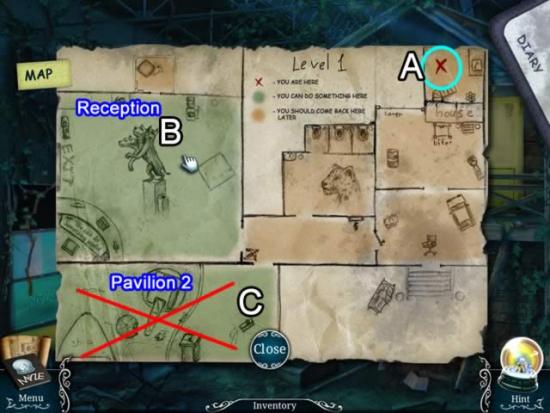
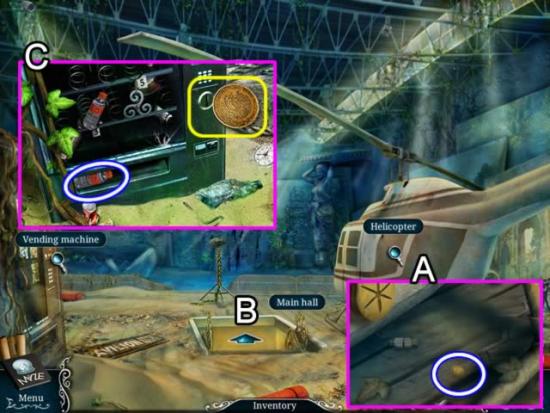
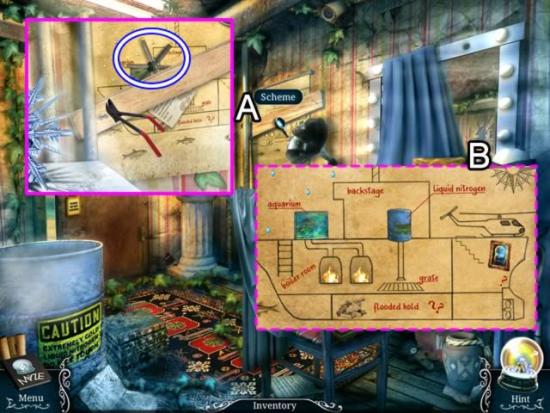
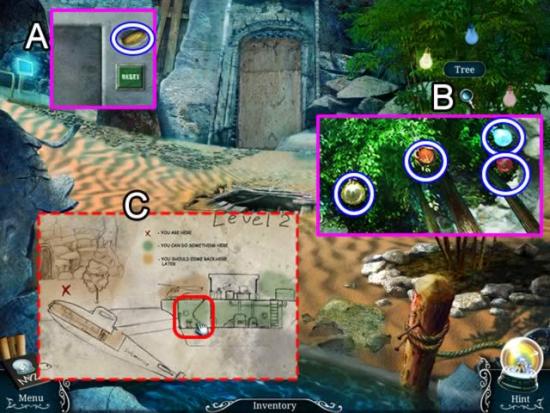
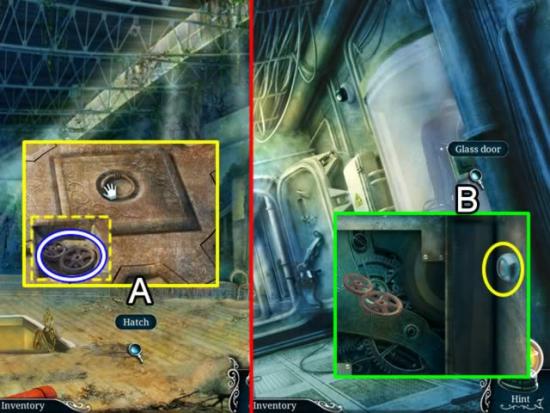
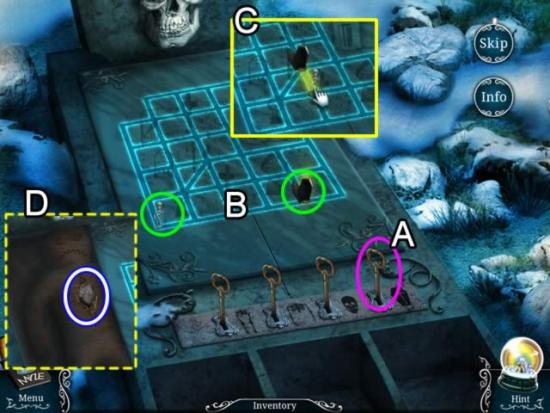
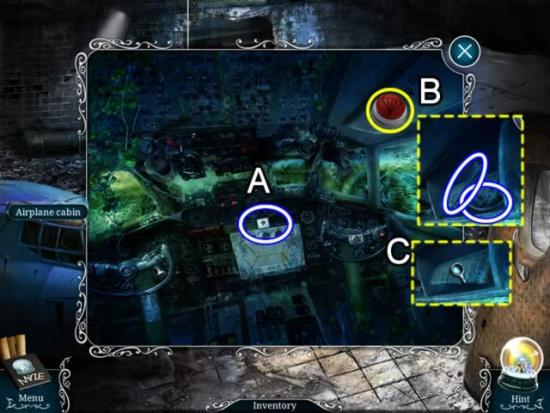
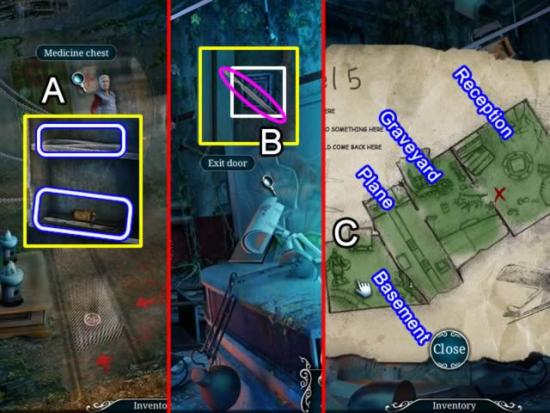
The map is a handy way to avoid all the direction clicking associated with changing locations. It also can give a hint on where you should go next.

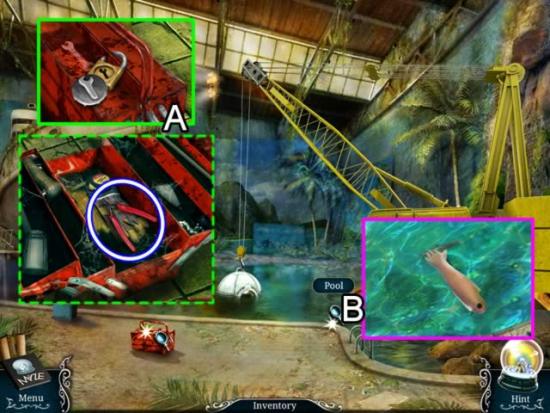


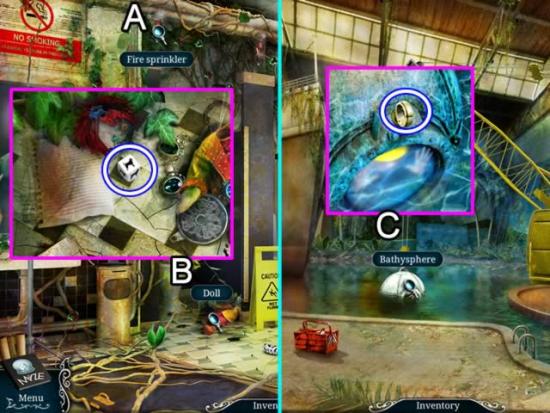
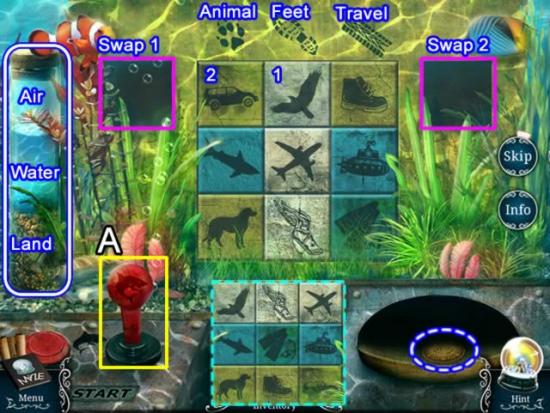
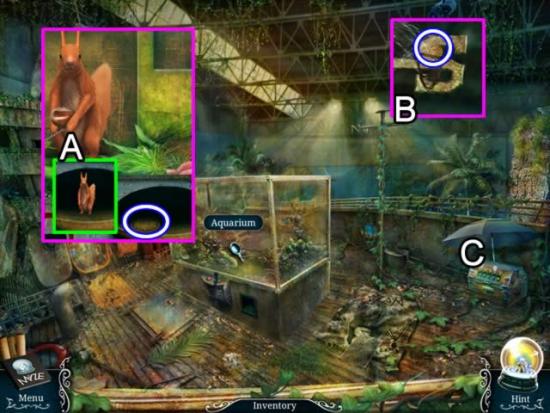
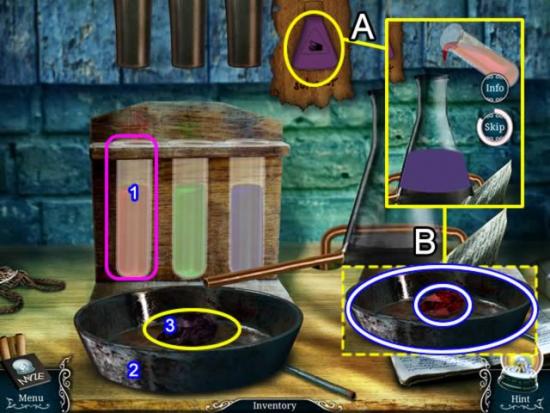
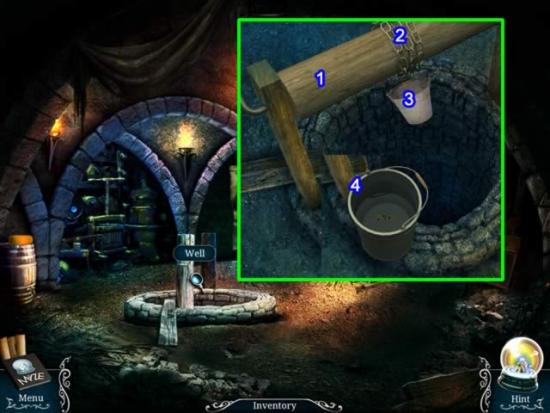
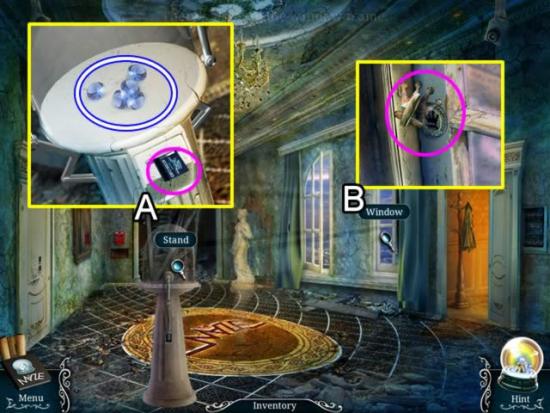
-Put the FLOAT in the aquarium (1).
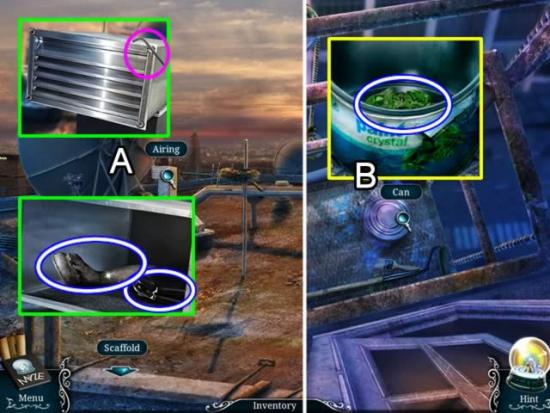
-Fill the tank with the FULL WATERING CAN.
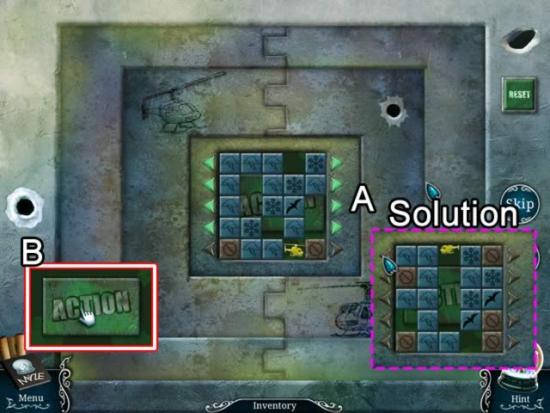

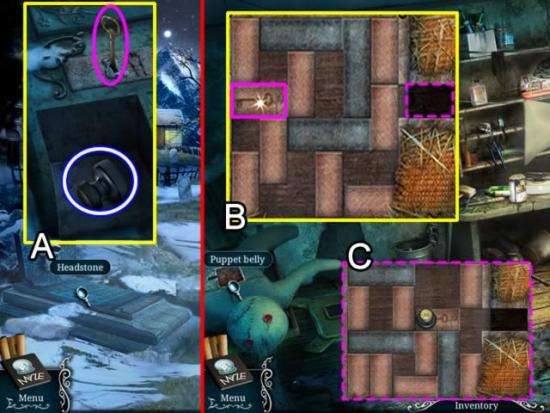
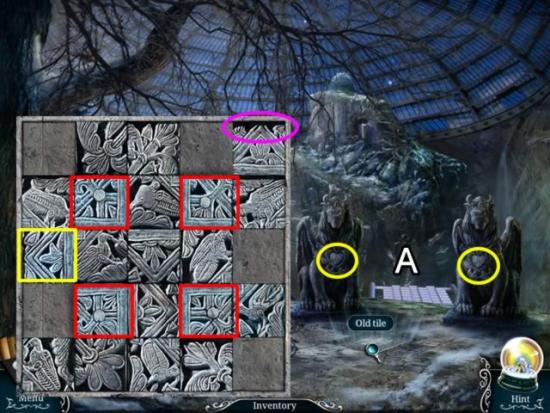

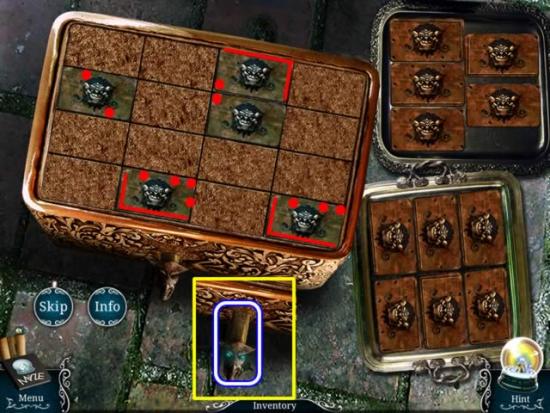
– Move the sun over and down to eliminate both tiles.
– Move the apple over to fill in the space in the column.
– Move the trophy on top of the apple to create an unbroken path.
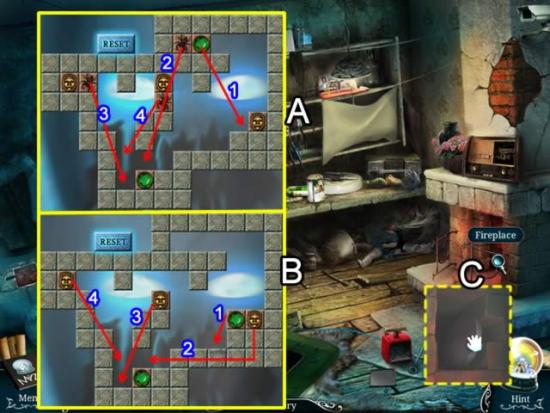
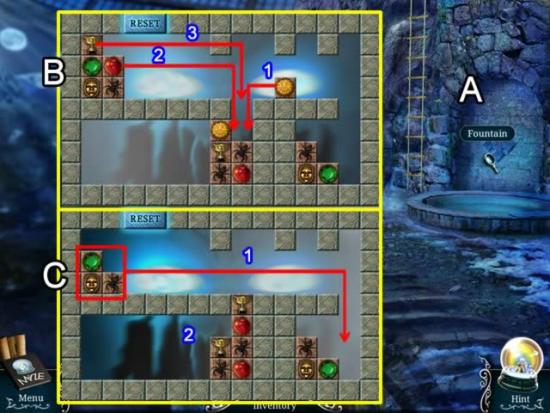
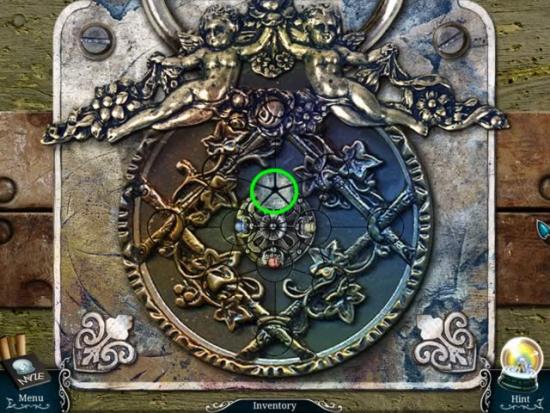
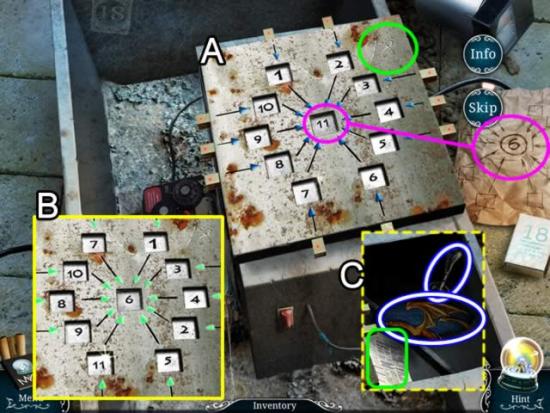
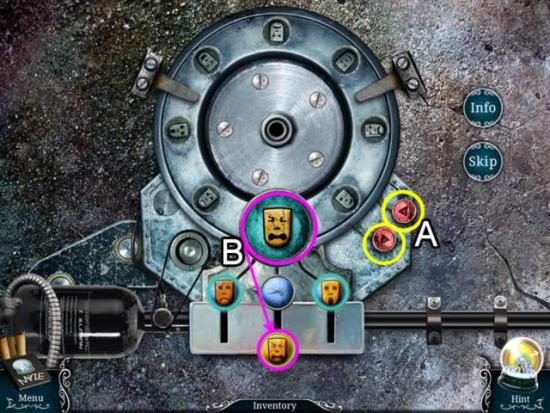
– Move the gem to the next lowest level (1) to free the spider.
– Move the spider (2) to the space above the center gem.
– Move the next spider (3) to the empty space beside the gem.
– Move the last spider (4) on top of spider (3) to eliminate all three.
– Move the gem to the next lowest level (1) to free the sun.
– Move the sun (2) to the top of the center gem.
– Move the next sun (3) to the empty space beside the gem.
– Move the last sun (4) on top of sun (3) to eliminate them all.
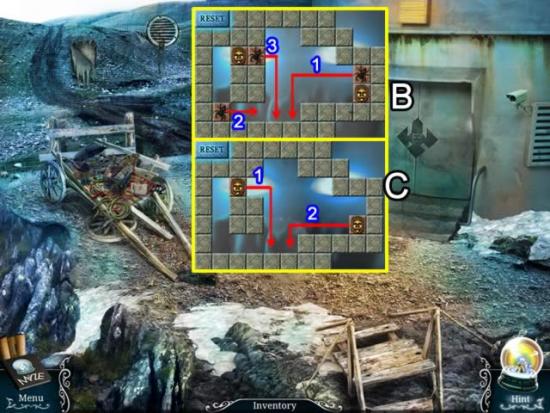


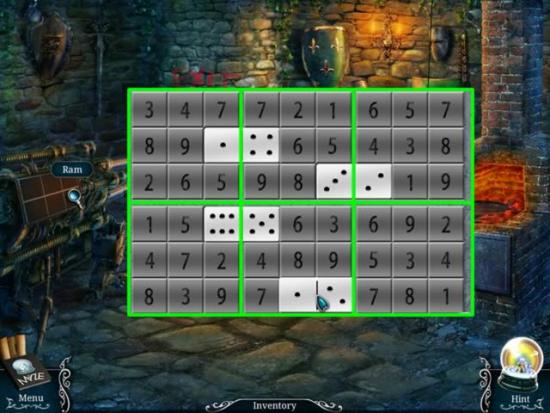

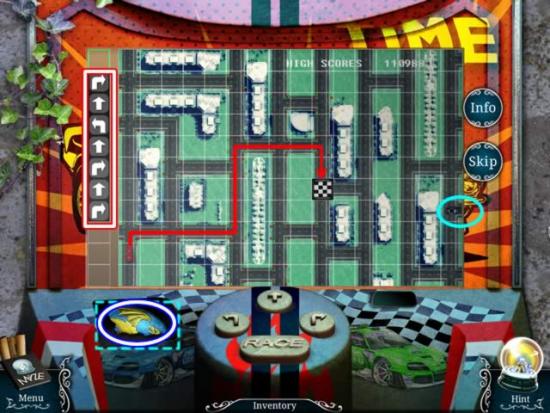

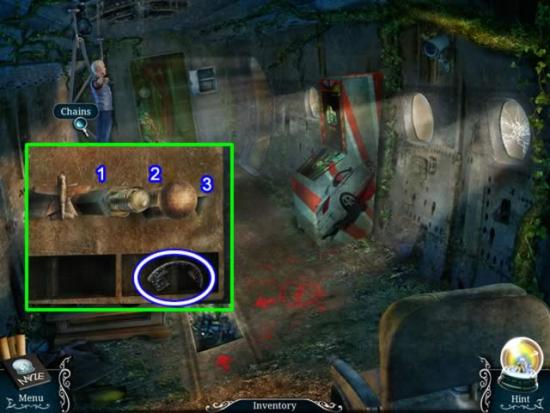

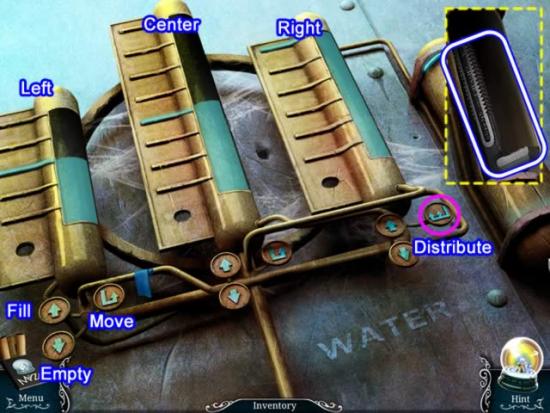
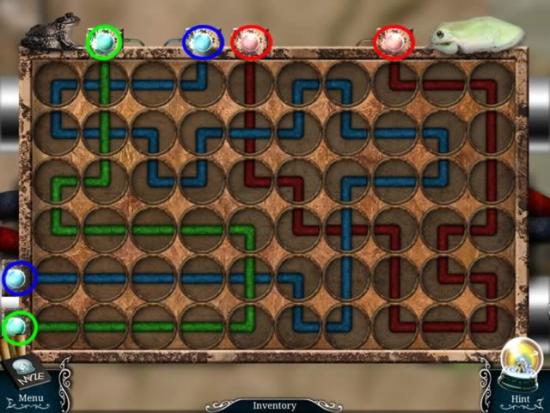
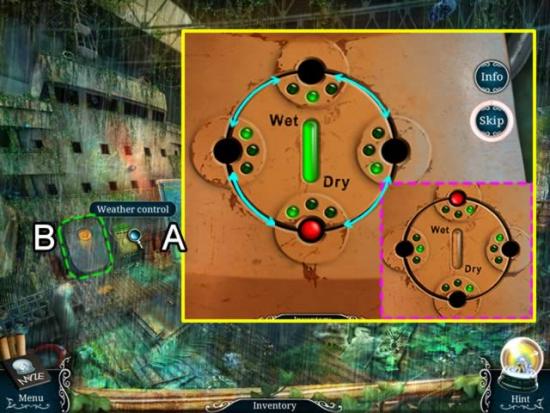
– Fill Right. Distribute. (Left 3; Center 3; Right 0)
– Empty Left. Move Center. (Left 0, Center 0; Right 3).
– Distribute Right. (Left 2; Center 1; Right 0)
– Empty Left. Fill Right. (Left 0; Center 1; Right 6)
– Distribute Right. (Left 3; Center 4; Right 0)
– Fill Right.


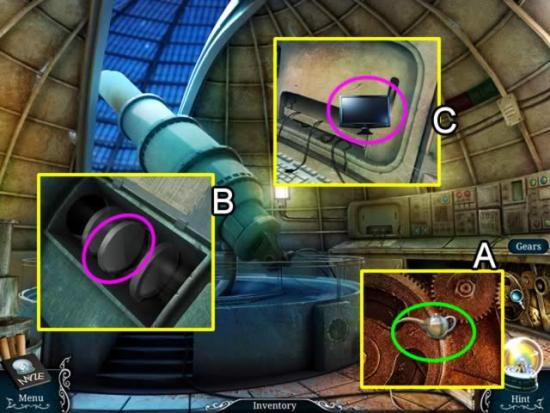
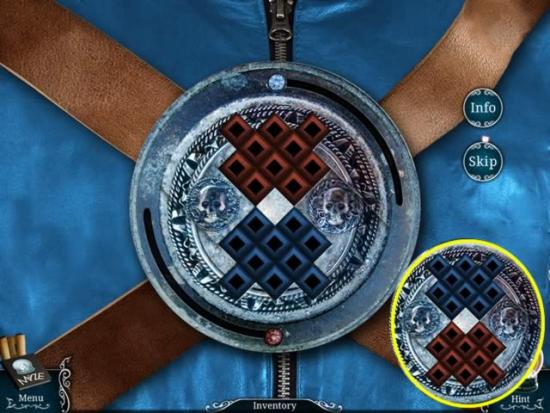
– 1 blue = 3 red. So the number of blue crystals needed to equal 12 is 12 divided by 3: 4. Put four BLUE CRYSTALS in the lower box.
– 1 green = 2 blue. That means the value of one green crystal is equal to two blue crystals. The number of green crystals that equal 12 is half of 4: 2. Put two GREEN CRYSTALS in the upper box.


Congratulations! You have completed playing Urban Legends – The Maze.
