- Wondering how to get Monopoly GO! free rolls? Well, you’ve come to the right place. In this guide, we provide you with a bunch of tips and tricks to get some free rolls for the hit new mobile game. We’ll …
Best Roblox Horror Games to Play Right Now – Updated Weekly
By Adele Wilson
Our Best Roblox Horror Games guide features the scariest and most creative experiences to play right now on the platform!The BEST Roblox Games of The Week – Games You Need To Play!
By Sho Roberts
Our feature shares our pick for the Best Roblox Games of the week! With our feature, we guarantee you'll find something new to play!Type Soul Clan Rarity Guide – All Legendary And Common Clans Listed!
By Nathan Ball
Wondering what your odds of rolling a particular Clan are? Wonder no more, with my handy Type Soul Clan Rarity guide.
The Tarot’s Misfortune Walkthrough
Welcome to Gamezebo’s strategy guide for The Tarot’s Misfortune.
General Tips

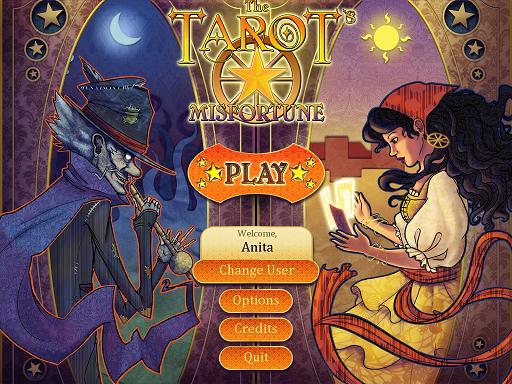
Main Menu
- Options – Adjust the music or sound effects volume.
Game Play
- The first chapter is a tutorial that explains the game play.
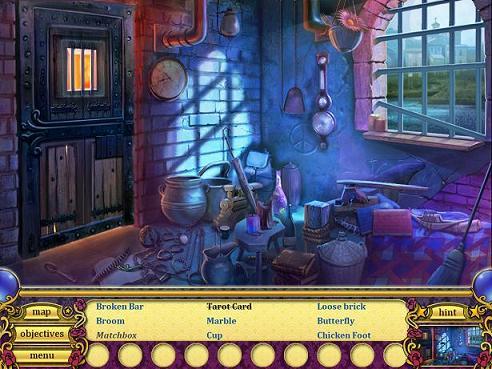
- Hidden object:
- Find all the items from the list (bottom of screen);
- Blue items can be found right away; and
- Grey italicized items cannot immediately be found.
- In some cases, I could not even see the item. Even after using a Hint, I still could not distinguish the item.
- Scrolling in the scenes
- The tutorial does not immediately explain that in some cases, you are not seeing the entire scene. Run your mouse to the very left or right of the scene to see the entire scene.
- The scenes are sort of three-dimensional. If you are having trouble finding an item(s), use your mouse and drag the scroll bar slowly back and forth. Different angles allow you to see different things.
- If you use a Hint, it will scroll the scene to show the item.
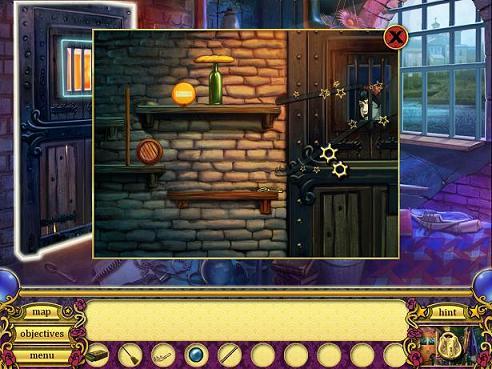
- Inventory items
- Inventory items are found below the hidden object list.
- Stars mean you can use an inventory item.
- Tip: Stars only appear when you already have the inventory item needed. If you are stuck, revisit a scene. You may not have had the necessary inventory item when you were last at a scene.
- IMPORTANT: Spinning gears indicate where you must place the inventory. Only use an inventory item when the cursor has the spinning gears, otherwise the action won’t register and the inventory item will be returned to its place.
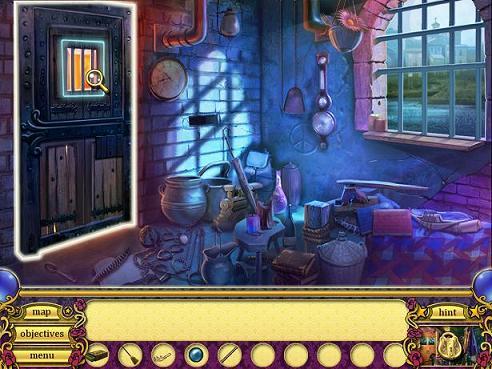
- Investigative areas are highlighted in blue.
- Hints are unlimited and take about 20 seconds to regenerate.
- Objective – tells you what you need to do.
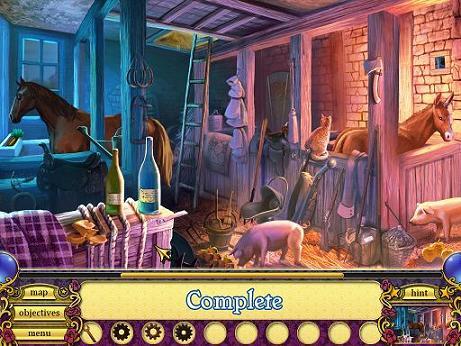
- When there is nothing left to do in a scene, the word Complete appears where the hidden object list was.
- There is no timer.
- There are no trophies.
- Clicking Menu, then Exit and Save removes you from the game entirely, it doesn’t return you to the Main Menu.
Using this Walkthrough
- Inventory items will be written in bold italics.
Tip: When items from the hidden object list are added to your inventory, their names often change. When telling you what inventory item to use, I will use the name that is given if you hover over the item with your mouse.
Walkthrough- Chapter 1: The Break Out
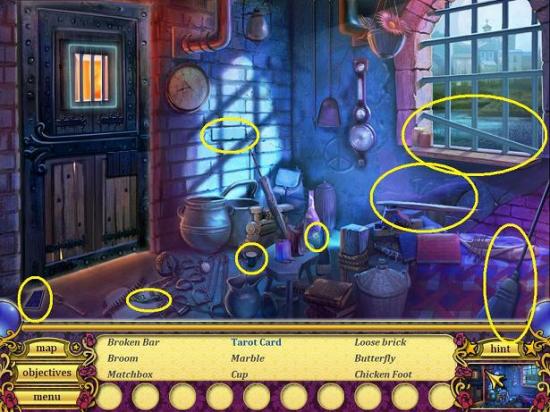
- Before you can search for items, you have to click on the tarot card that just floated into the scene (landed in front of the door). Then you can proceed.
- Find all the items. This level plays a tutorial to give you the idea of the game play.
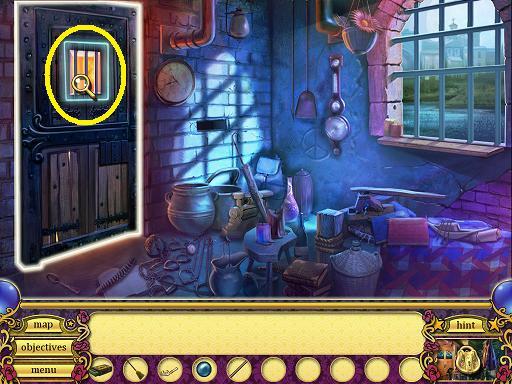
- Click the jail cell window. You have to use inventory items to get the key.
- Pay attention the stars and the spinning gears. Stars indicate inventory items must be used, the gears indicate where they must be used.
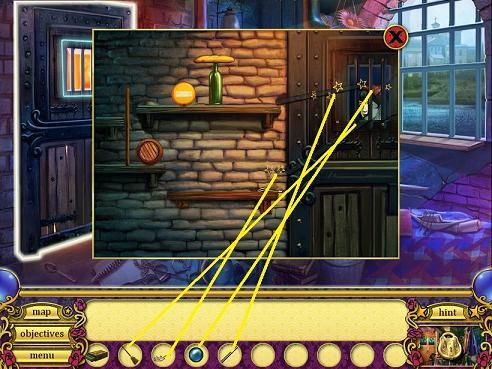
- Place the broom so it leads to the lower shelf; put the severed chicken claw at the end of the broom (again, only over spinning gears); place the hollow metal tube so it’s pointing to the top shelf, then put the marble above it.
- This opens the door and you can go to the next area.
- Go to the jail cell.
- The tutorial does not tell you that you are not seeing the entire scene. Use the yellow scroll bar or move your mouse to the far light or right to pan and see the entire scene.
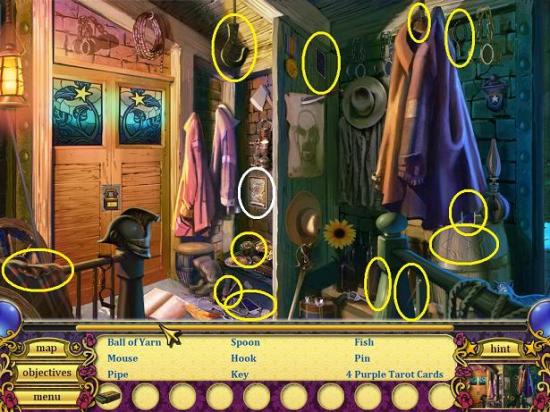
- Find all the items.
- Click the tarot card on the wall (circled in white). Find the differences.
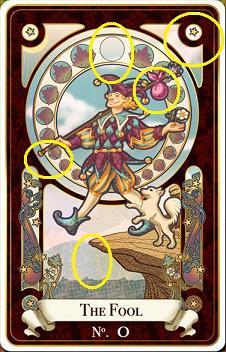
- The tarot tells you to find a kettle to learn the combination needed to escape the jail.
- Scroll to the very left of the scene and go into the jailer’s office.
- You now get the explanation of scrolling within the scene. Pay attention to the crystal balls on either side of the scroll bar, if they are showing stars, there are items to find.
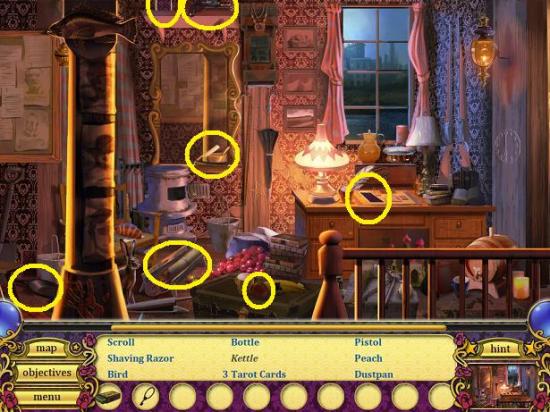
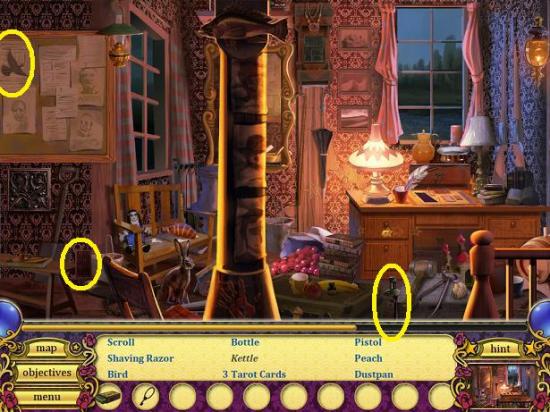
- Find all the items.
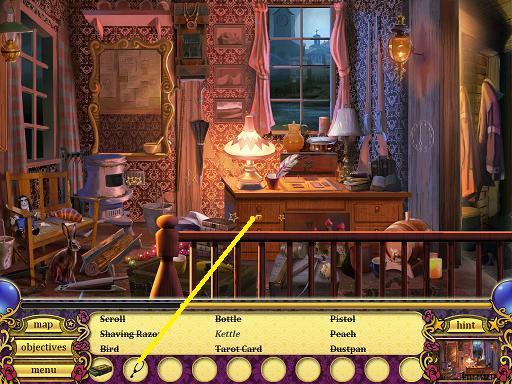
- Use the iron key on the desk drawer. Take the kettle.
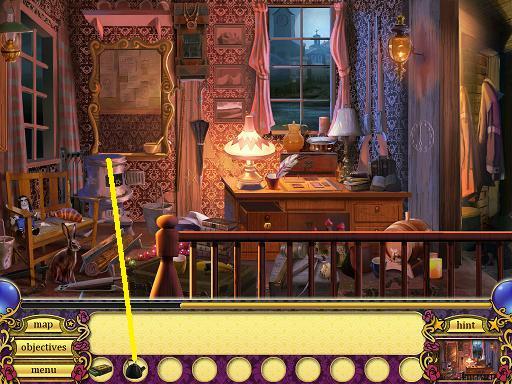
- Place the box of matches inside the stove and the kettle full of water on top of the stove.
- The steam reveals the code: 27531.
- Scroll to the far right of the scene and return to the jail entrance.
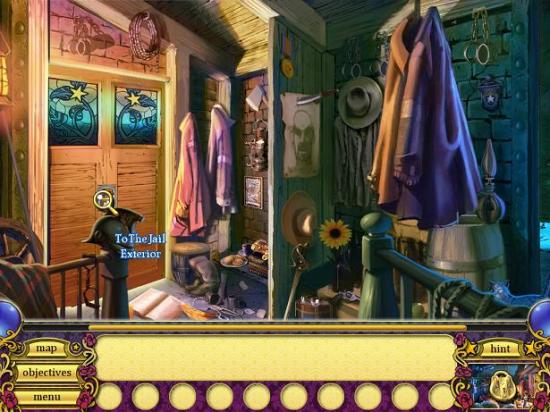
- Click the jail exterior lock. Enter the combination: 27531.
Go through the door to the jail exterior.
Chapter 2: Hard Road
Three tarot cards are turned over. It doesn’t matter which one you click, they will be revealed from left to right.
You have to find the gears in order to lower the drawbridge.
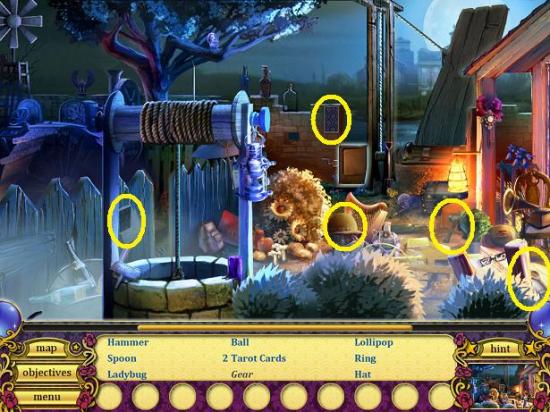
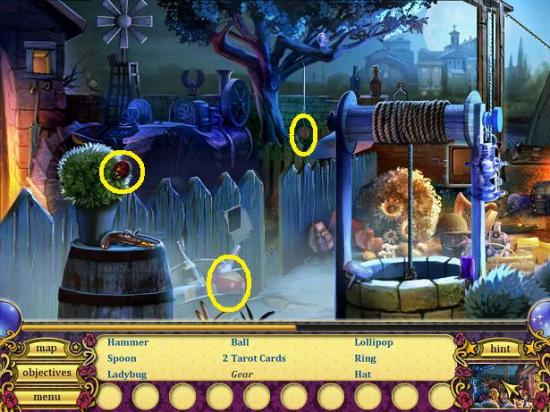
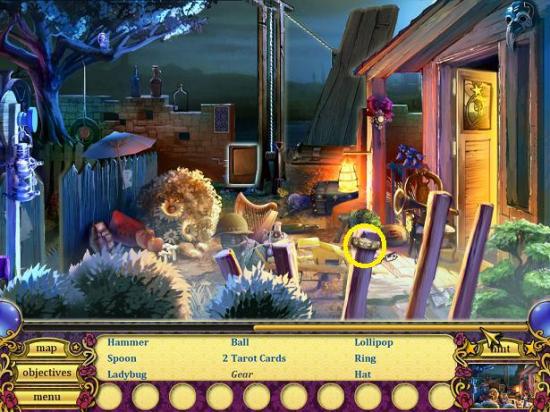
- Find all the items.
- Go through the break in the fence to the farm exterior.
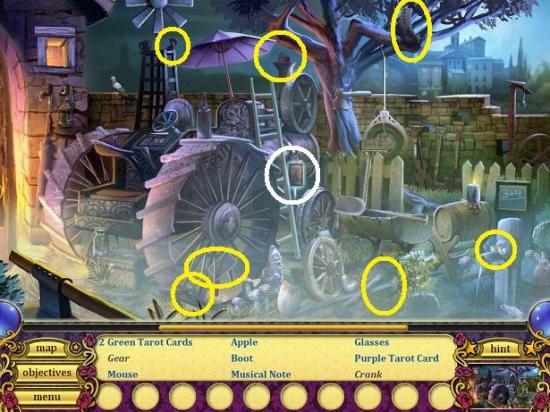
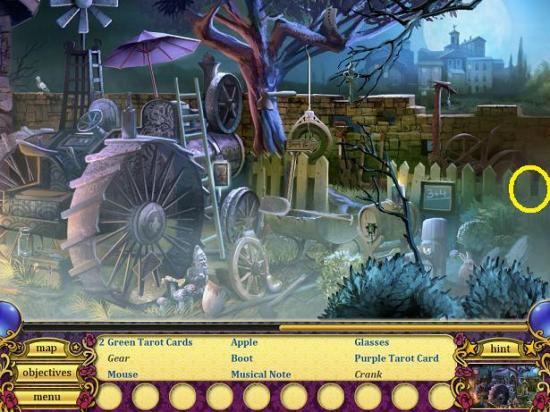
- Find all the items.
- Click the glowing tarot card (circled in white). Find 5 differences.
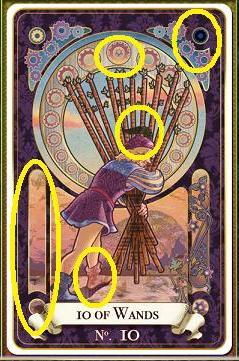
- The tarot tells you to move the horse away from the ladder in order to reach the hayloft.
- The only two items left are italicized, you can’t find them yet.
- Scroll to the far left and go through the door to the stable.
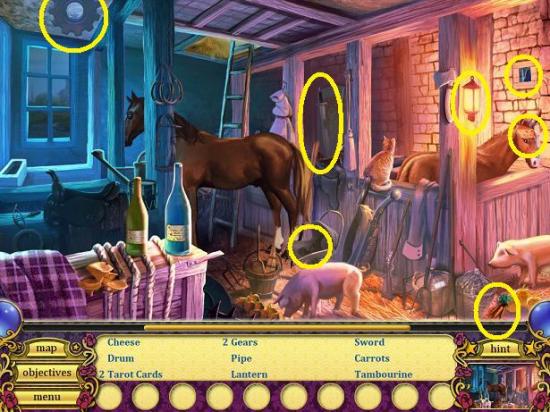
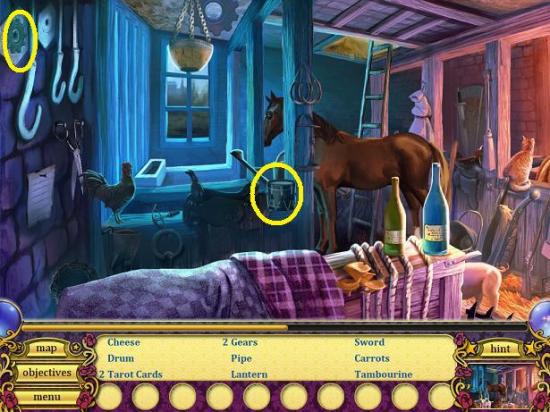
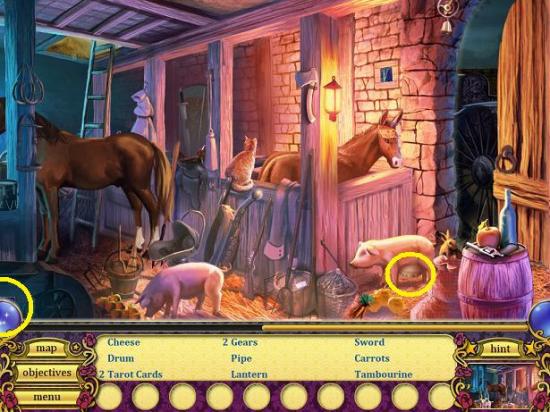
- Find all the items.
- Once you’ve found all the items, scroll to the far left. The stars appear in the stall below the window.
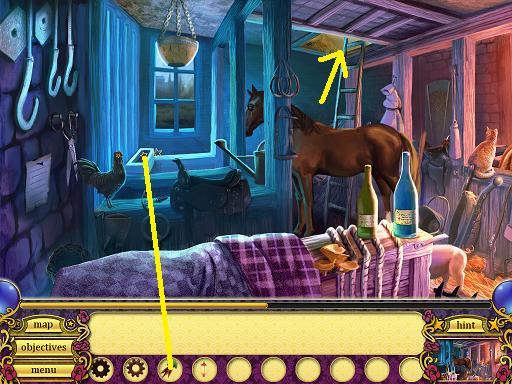
- Place the bunch of carrots into the active area. The horse moves, allowing you access to the ladder to the hayloft. Climb the ladder
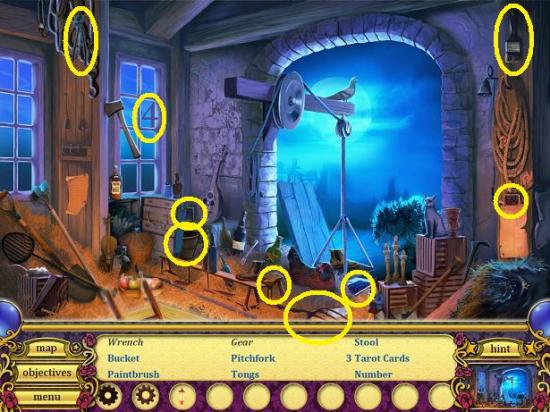
- Find all the items.
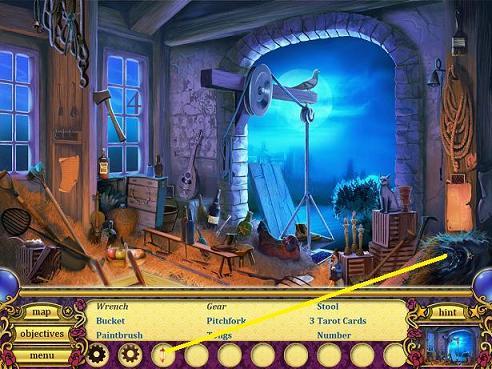
- Place the candle lantern in the bottom right of the scene. Take the gear and wrench.
- Go back down to the stable (place your mouse at the bottom of the scene) and leave the stable (far right) to the farm exterior.
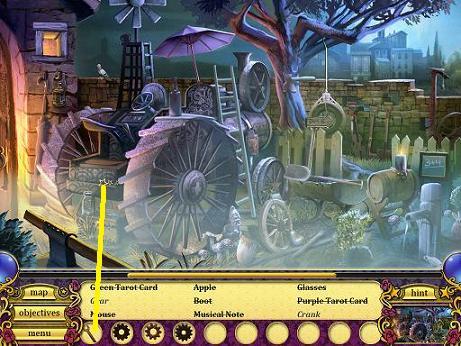
- Use the large wrench on the tractor’s panel. Click the area and take the gear and crank.
- Head to the jail exterior (middle of scene, through fence opening).
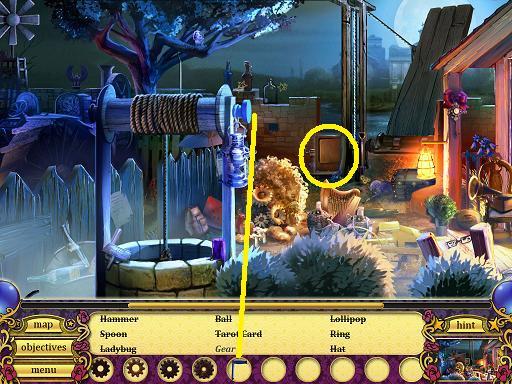
- Place the crank on the well’s pulley (click when you see the rotating gears). Take the gear.
- Click the panel beside the drawbridge (circled).
- Place the gears in their proper position. Match the larger gears to the larger spaces. Or simply, click a gear onto each axis, it will attach once you click on the right position.
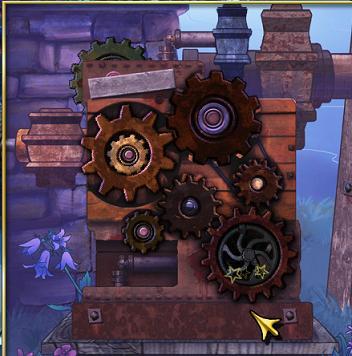
Head across the bridge to East Town.
Chapter 3: Sleeping Village
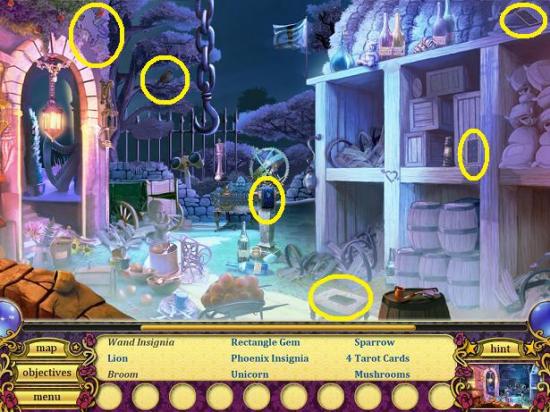
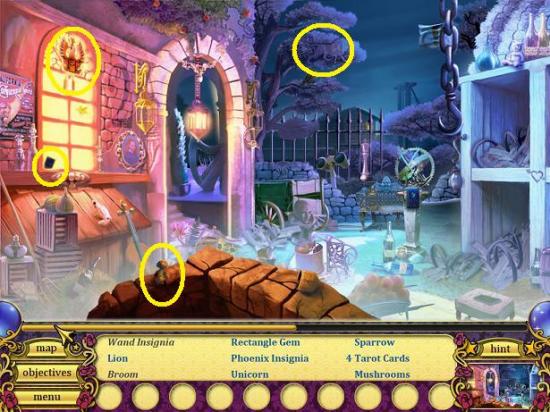
- Find all the items.
- Go through the door to the Town Center.
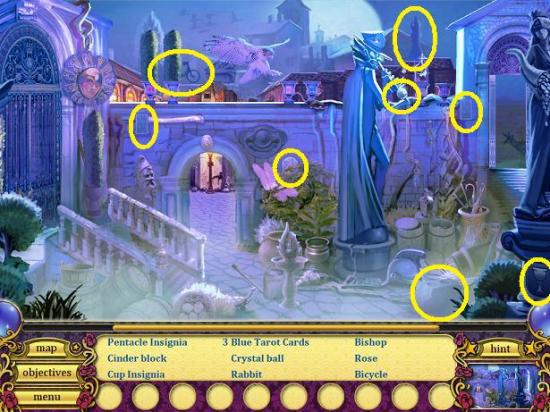
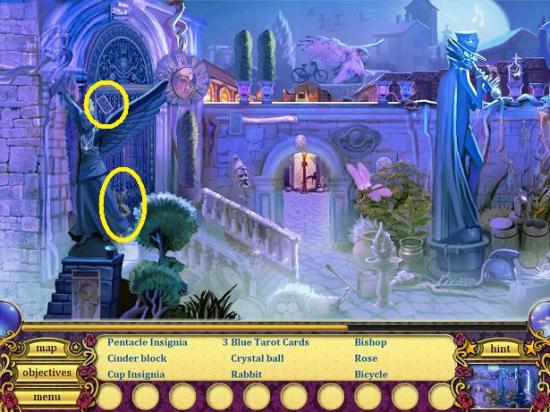
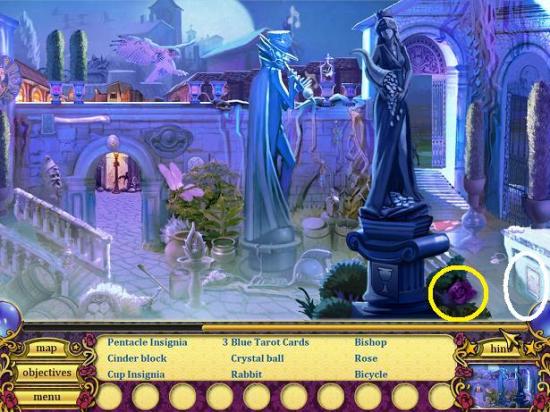
- Find all the items.
- Click the glowing tarot card on the far right (circled in white). Find 5 differences.
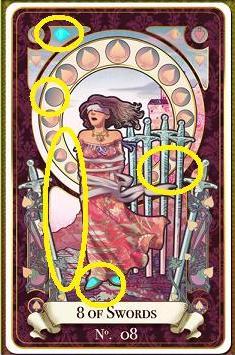
- The tarot tells you to destroy the barrels.
- Go through the arch to the North Town.
- Find the missing parts to finish the gate.
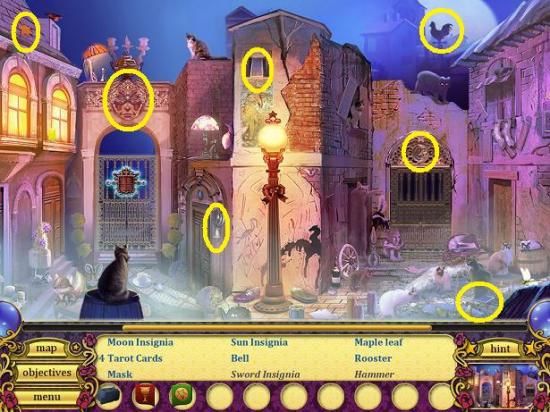
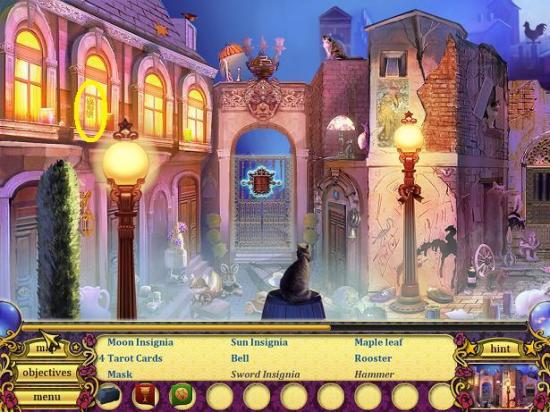
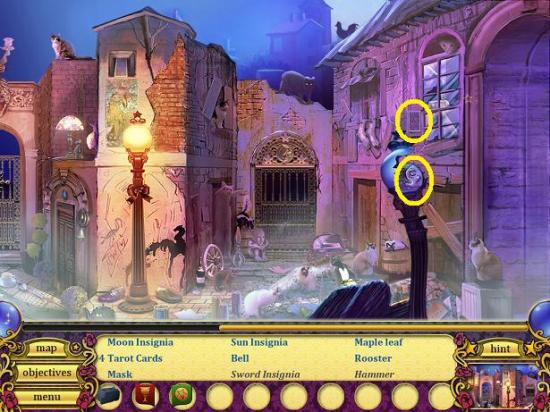
- Find all the items.
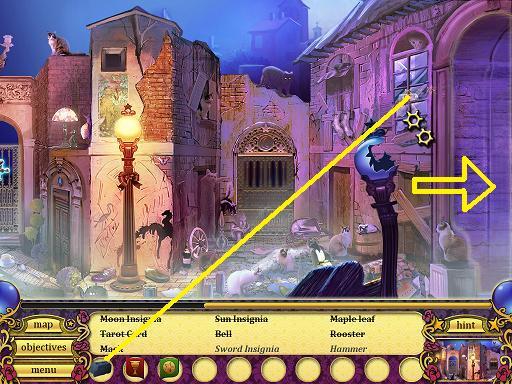
- Scroll to the far right to see stars on the second floor window. Use the cinder block on the window, then take the hammer and sword insignia.
- Click to return to the Town Center.
- Click the archway to go to East Town (right of the scene).
- Scroll to the far right.
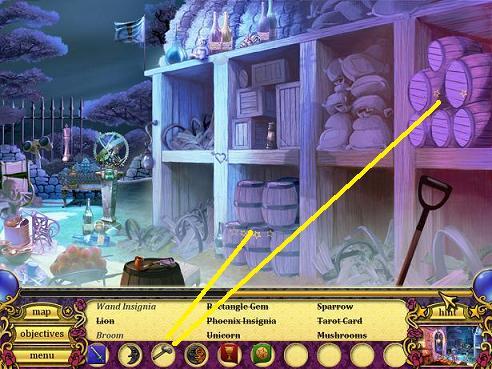
- Use the hammer on the 2 sets of barrels and then take the wand insignia and broom.
- Head back through the Town Center and into the North Town.
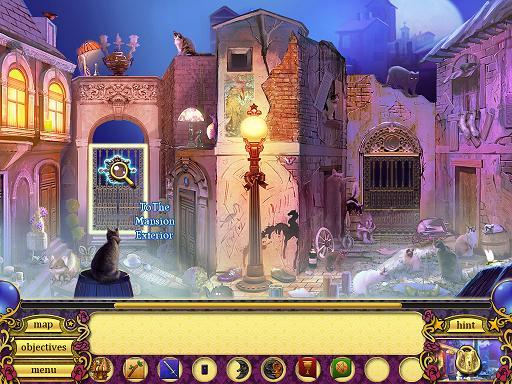
- Click the gate to the mansion exterior.
- Place all your inventory items into the appropriate position.
- Tip: All the shapes match.
- Tip: The small rectangular gem goes below the iron phoenix (previously called griffin).
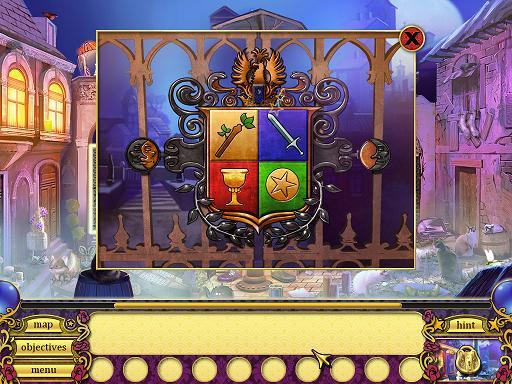
Go through the gate to the mansion exterior.
Chapter 4: Who Are You?
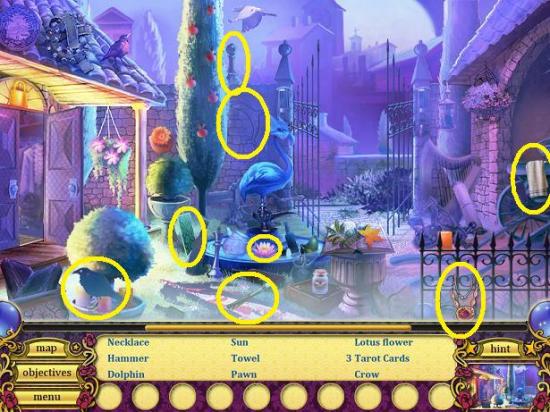
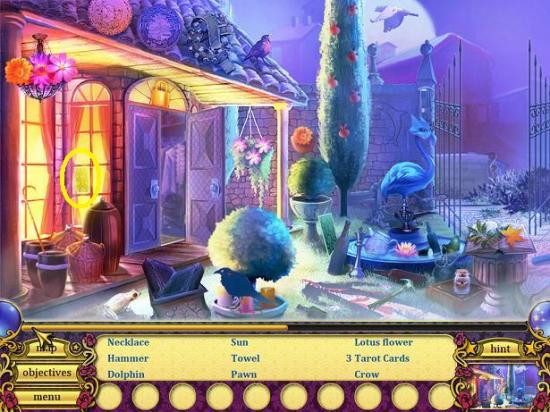
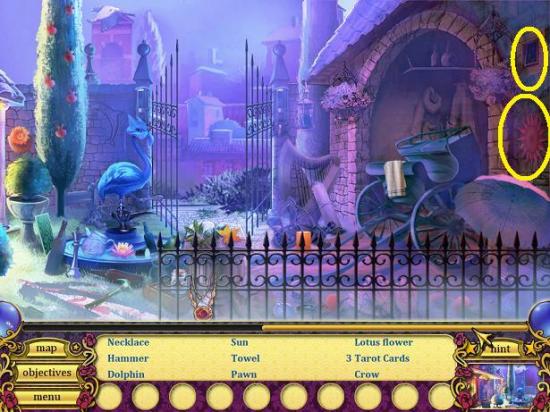
- Find all the items.
- Go through the door into the mansion entrance
- Your goal is to get rid of the plant in order to go to the mansion den.
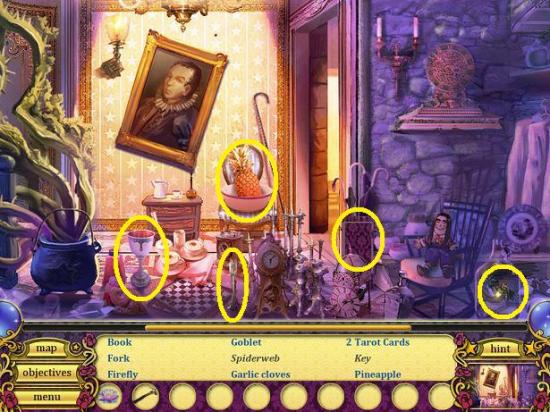
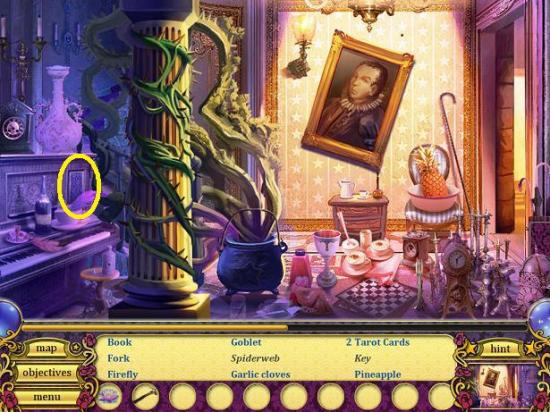
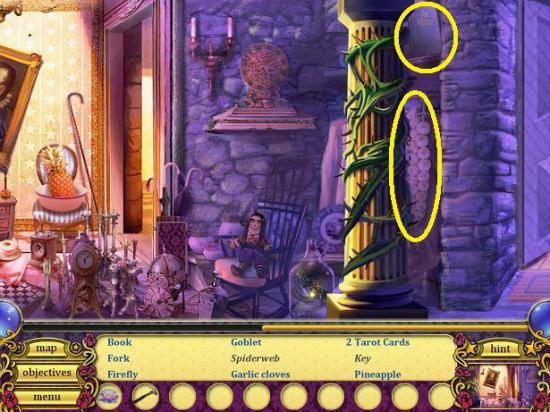
- Find all the items.
- Go into the mansion’s kitchen (through the door, to the right of the scene)
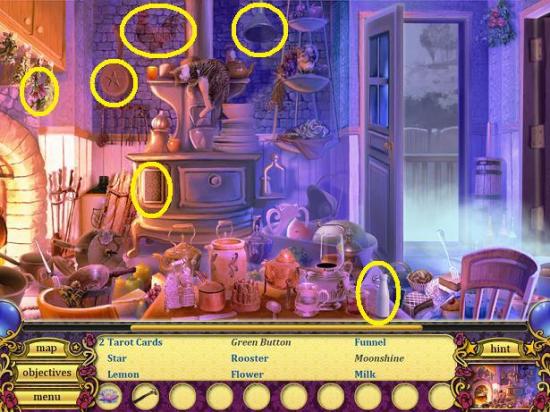
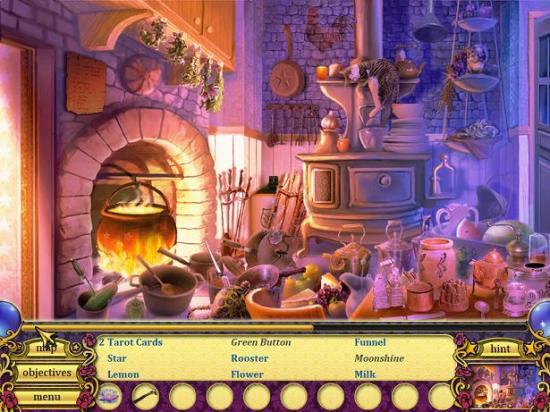
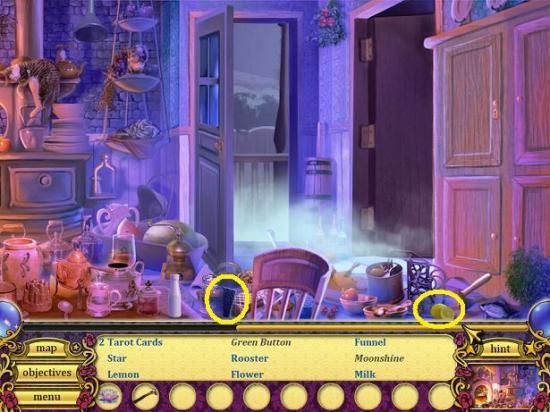
- Find all the items.
- Scroll to the right and go out the door to the mansion’s yard.
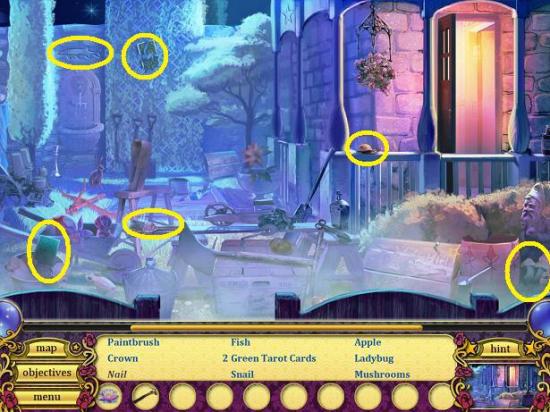
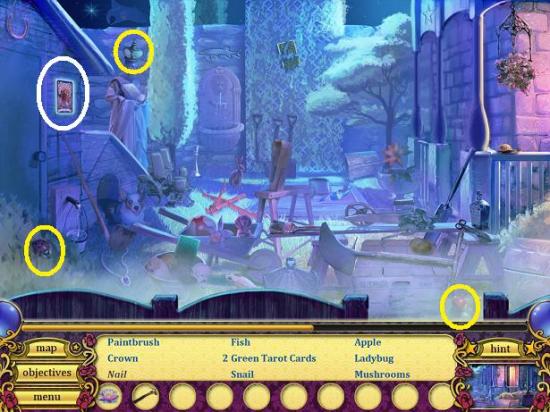
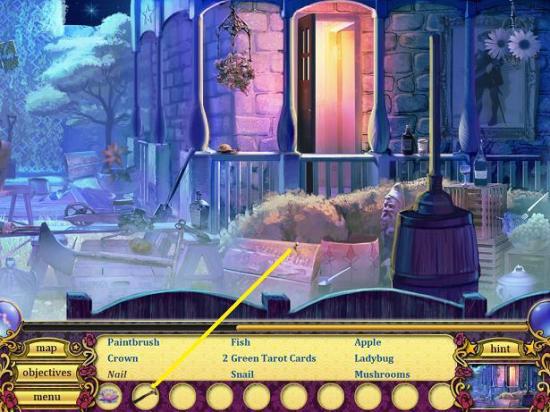
- Find all the items.
- Scroll to the right and use the hammer on the wood to remove the nail. Take the nail.
- Click the glowing tarot card (circled in white). Find five differences.
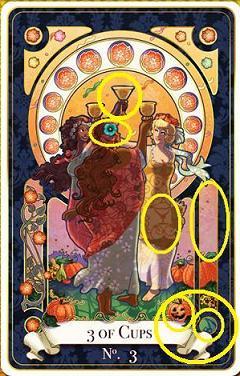
- The tarot tells you to create a magical brew in the kitchen using a recipe found on the wall.
- Go back into the mansion’s kitchen and then scroll all the way left and go into the mansion’s entrance.
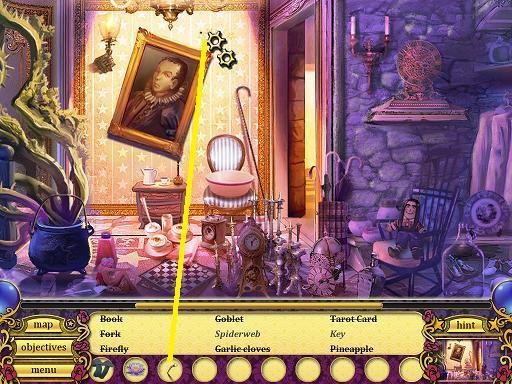
- Use the rusty nail on the crooked painting.
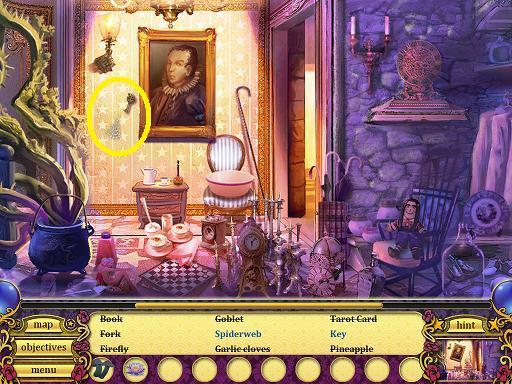
- Take the spider web and the key.
- Go back into the mansion’s kitchen and scroll to the far right.
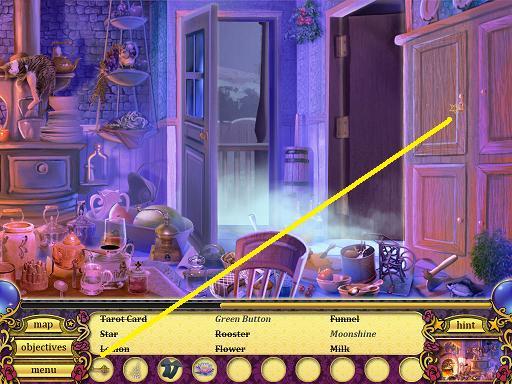
- Use the small metal key on the cabinet’s lock. Click to examine.
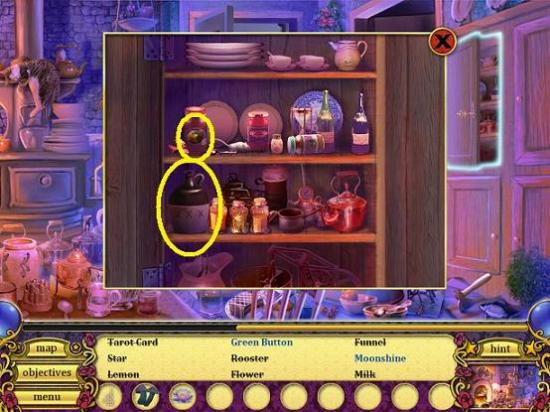
- Take the green button and the moonshine.
- Go through the door into the mansion child’s room.
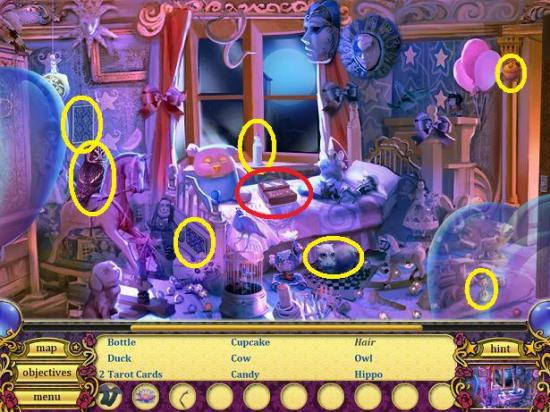
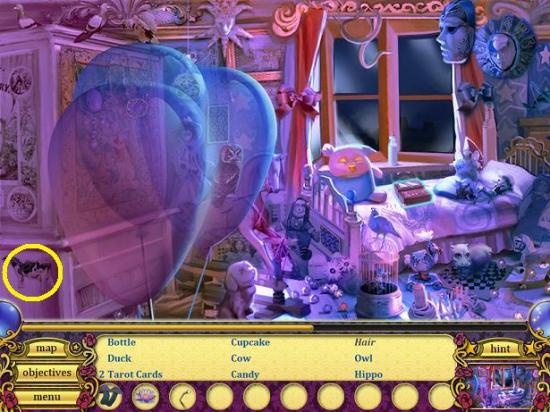
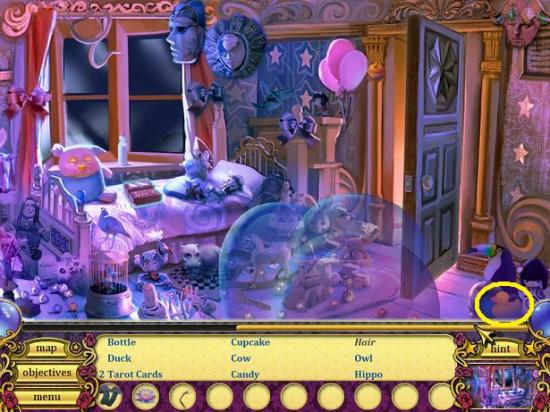
- Find all the items.
- Click the glowing object on the bed (circled in red).
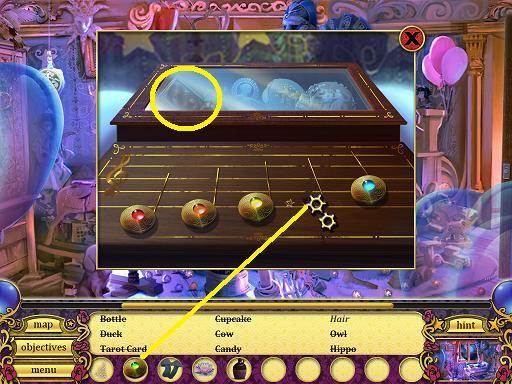
- Put the green button (game calls it a greeb music button) where the missing button hole is. Take the lock of hair from the small frame.
- Go through the door to the mansion’s kitchen and scroll to the very left, to the cauldron.
- Click the note above the fire.
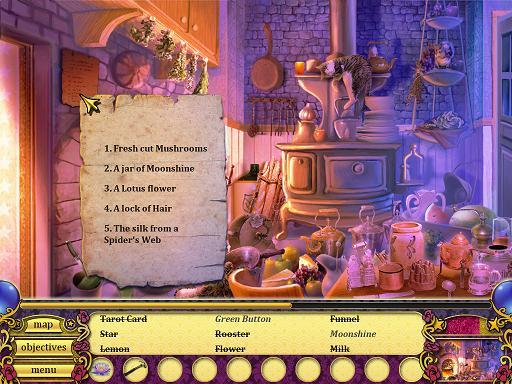
- This is the recipe for a potion. You should have all five items.
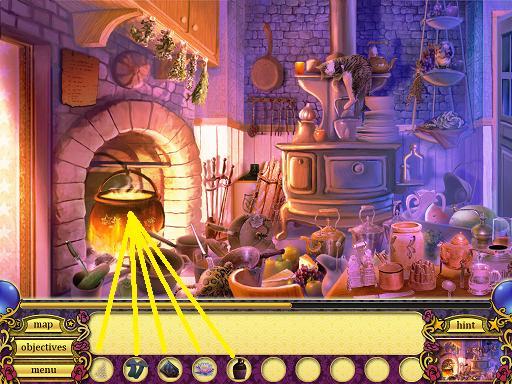
- Add the five items to the cauldron in the order they appear in the recipe:
- Some wild mushrooms
- A jug of moonshine
- A lotus flower
- A locket of hair
- A silk spider web
- Go out the door (left) to the mansion entrance.
The plant blocking the den slowly disappears (wait a few seconds). Go up the stairs to the mansion’s den.
Chapter 5: Tomorrow’s Dream
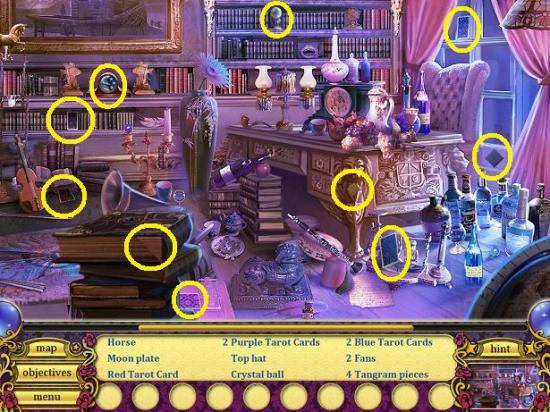
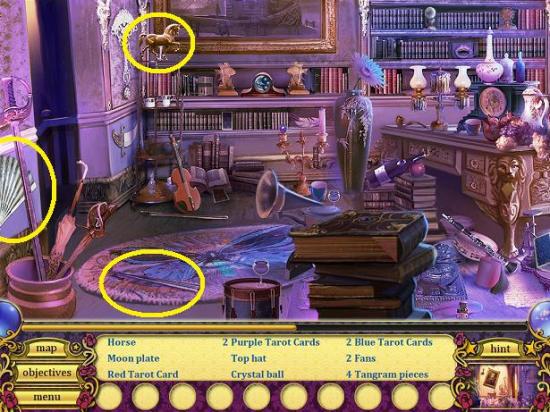
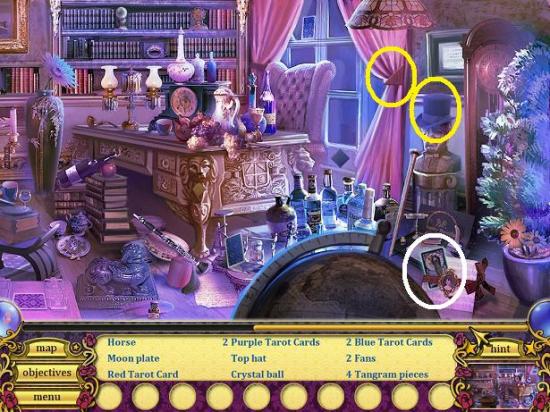
- Find all the items. Scroll slowly to the right to find the pencil, it’s behind the pillar (on the right).
- Scroll right and click the glowing tarot card (circled in white). Find five differences
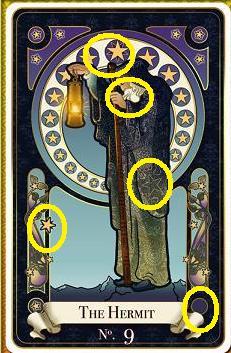
- The tarot tells you to look outside for more Tangrams hidden in pillars and on bricks.
- The story in the chapter’s introduction said to investigate the orphanage (located in North Town). Exit through the door to the mansion entrance, then scroll to the far right and go to the mansion exterior, then out the gate to North Town.
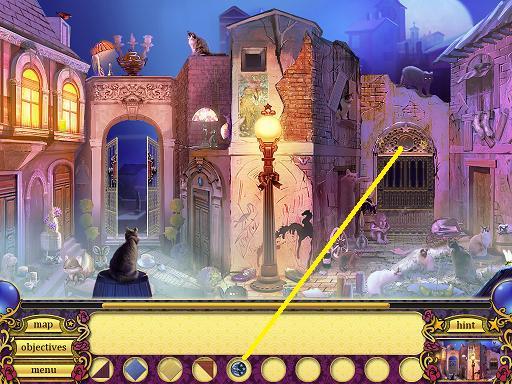
- Put the moon faced plate in the slot over the gates.
- Go through the gate to the orphanage exterior.
You meet the hermit whose card you saw in the intro. He tells you what has happened to the town and how you must help.
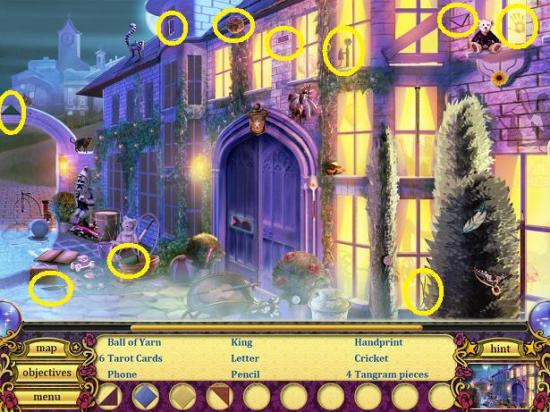
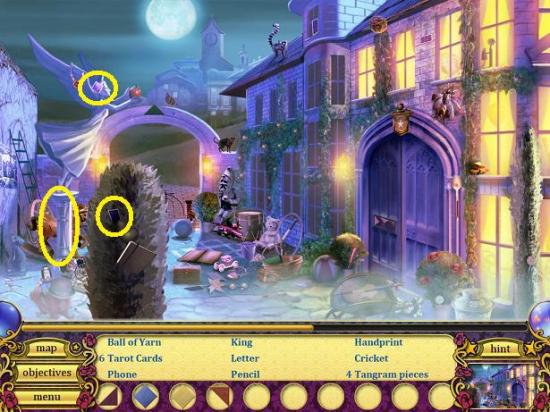
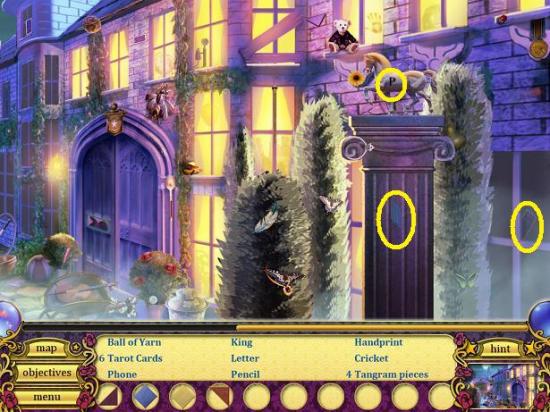
- Find all the items.
- Click the glowing area on the door.
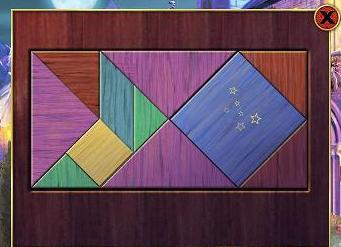
- Place the Tangram pieces in the correct position. The pieces cannot be rotated so it’s quite easy to place them.
Go through the door to the orphanage lunchroom.
Chapter 6: Hole in the Sky
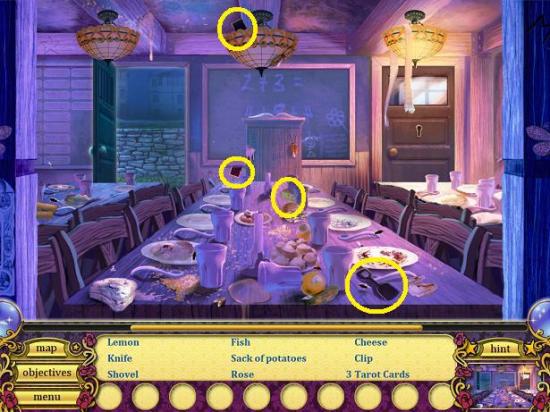
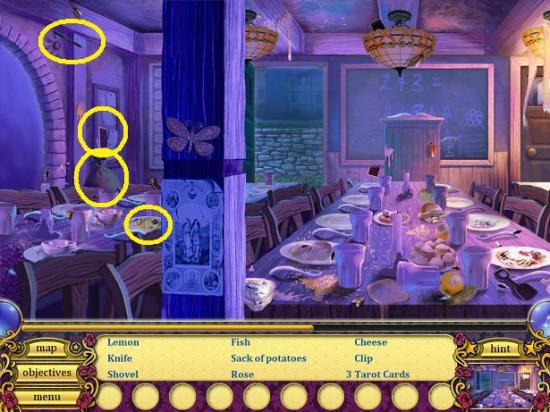
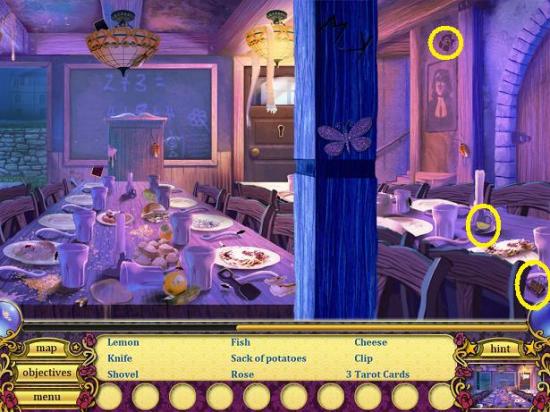
- Find all the items.
- Go out the door to the orphanage playground.
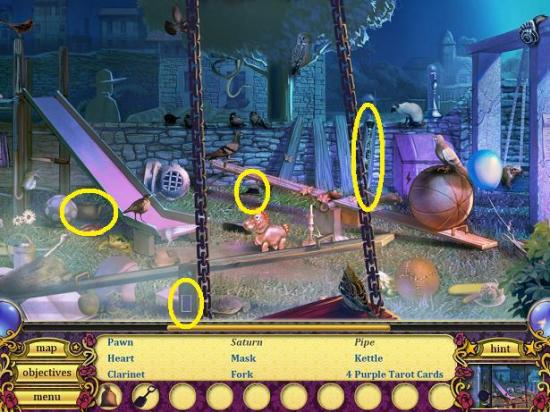
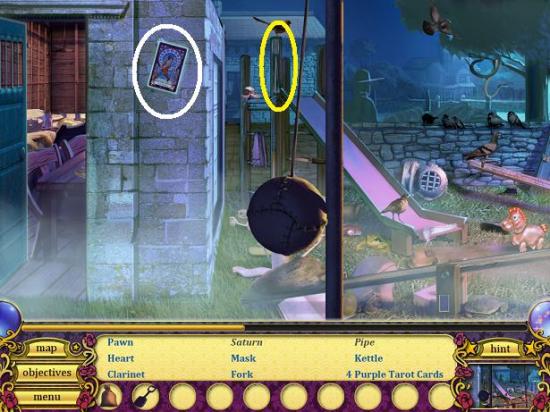
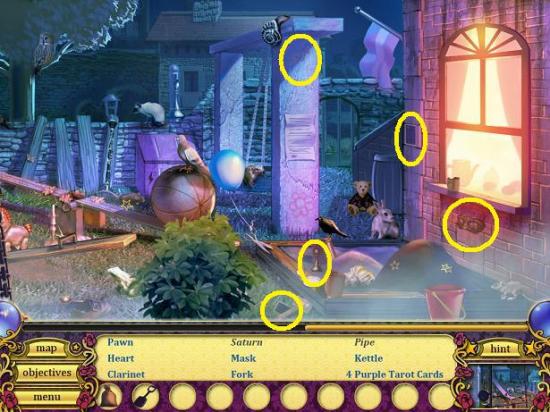
- Find all the items.
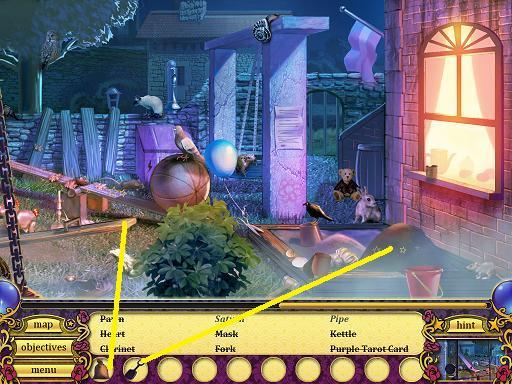
- Use the small sand shovel on the sandbox. Take Saturn.
- Use the heavy bag of potatoes on the seesaw. Scroll left (if necessary) and take the pipe that’s been revealed.
- Scroll to the far left and click the glowing tarot card (circled in white, above). Find five differences.
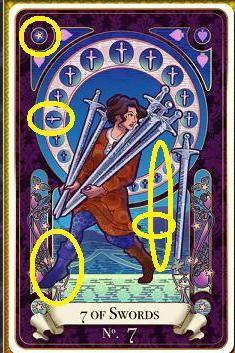
- The tarot tells you to find the doorknocker in order to open the headmaster’s door.
- Go back into the orphanage lunchroom and scroll to the far right and go up to the orphanage bunkroom.
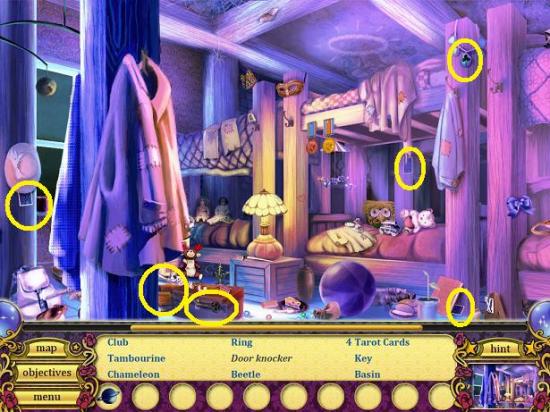
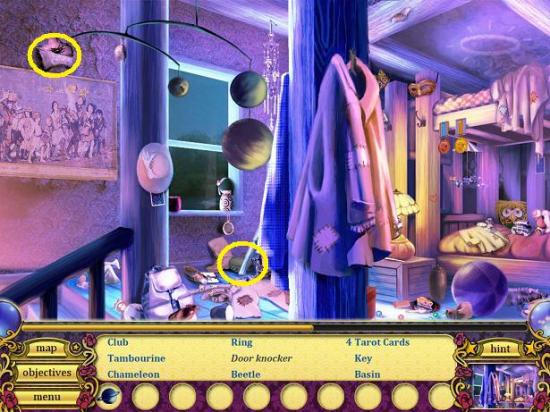
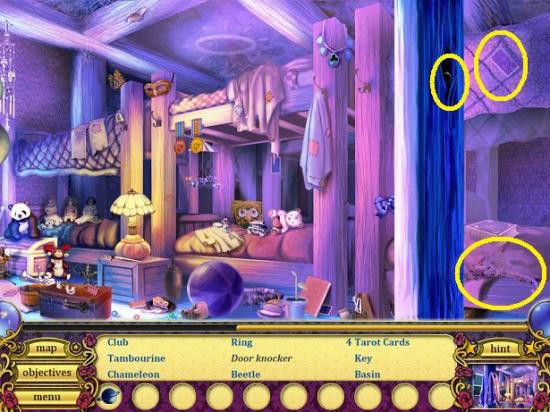
- Find all the items.
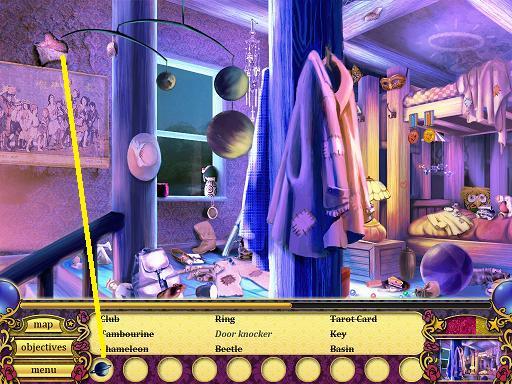
- Place the model of the planet Saturn on the mobile.
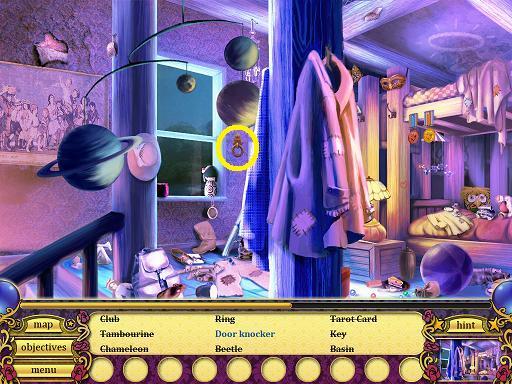
- Take the doorknocker that has been revealed because the mobile moved.
- Go down the stairs to the orphanage lunchroom.
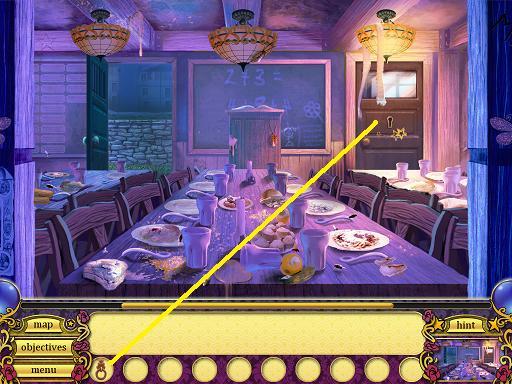
- Put the doorknocker on the door.
- Tip: Place the doorknocker near the hole. It took me many clicks, just keep trying.
Enter the orphanage headmaster’s room.
Chapter 7: Wheel of Confusion
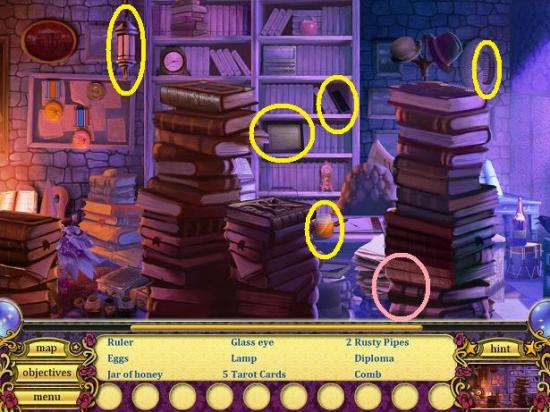
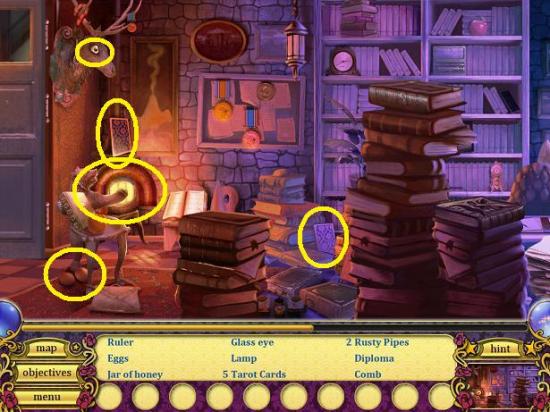
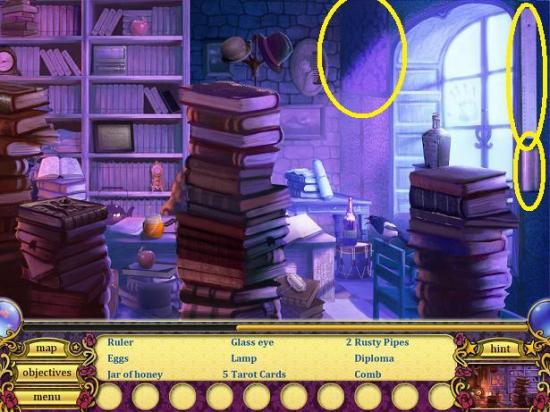
- Find all the items.
- Tip: There is a tarot card behind a stack of books (circled in pink).
- The introduction mentioned a bridge. Return to the drawbridge.
- Scroll to the far left and go out the door to the orphanage lunchroom.
- Scroll to the far left and go out the door to the orphanage exterior.
- Go out the gate to the North Town.
- Scroll to the far right and go to the Town Center.
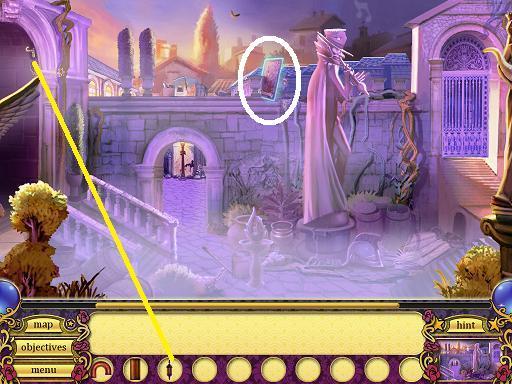
- This area doesn’t say Complete.
- Click the glowing tarot card atop the fence (circled in white). Find five differences.
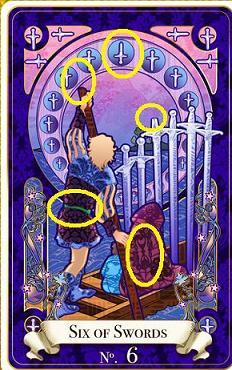
- The tarot tells you to lower the bridge by placing the pipes in the Piston Box.
- Place the lamp on the hook outside the entrance to West Town.
- Go through the gate.
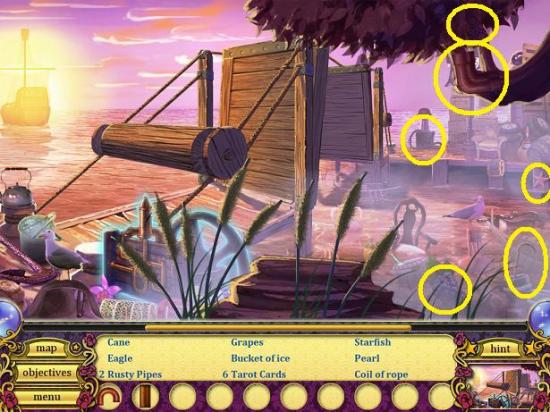
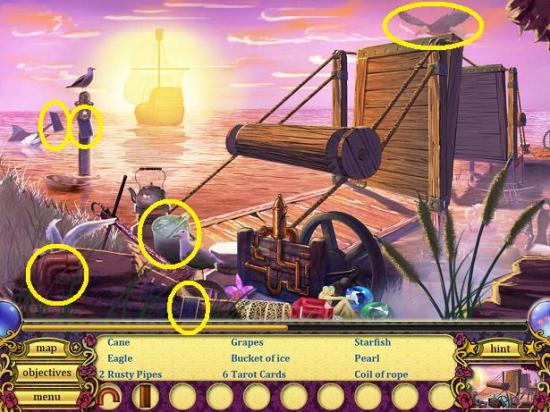
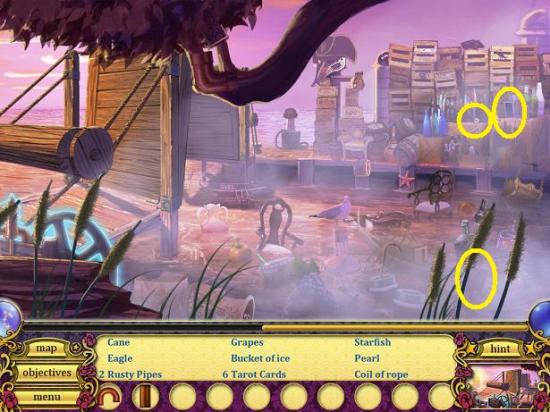
- Find all the items.
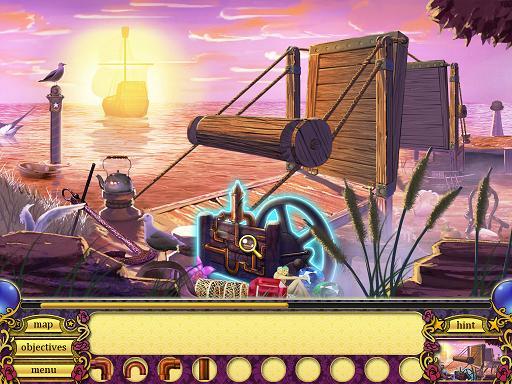
- Click the gearbox in front of the drawbridge.
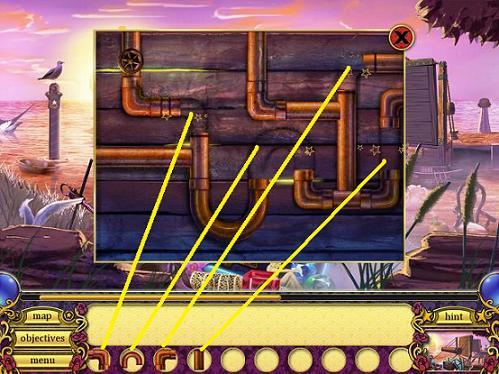
- Place the pipes in their proper location.
- Tip: Match the outline of the pipe.
Scroll to the right and go to the dock gate.
Chapter 8: Children of the Sea
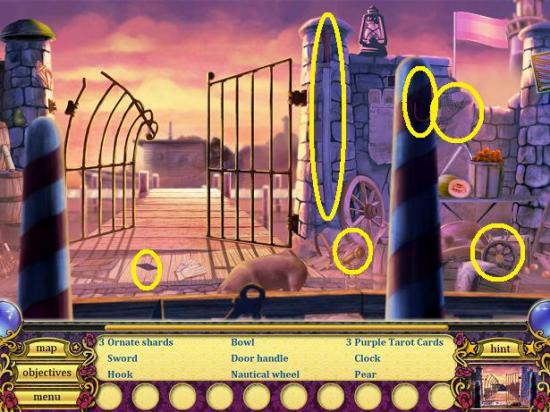
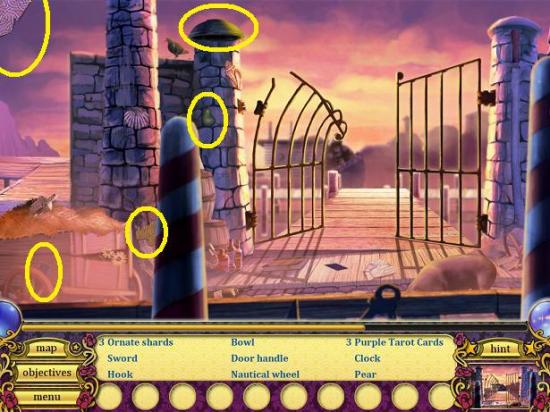
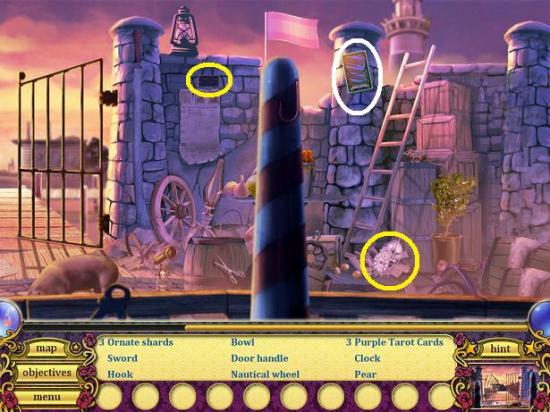
- Find all the items.
- Click the glowing tarot card (circled in white). Find five differences.
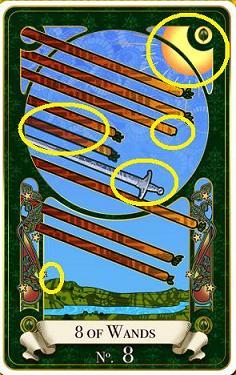
- The tarot tells you to find the scattered shards in order to get to South Town.
- Go out the gates to the pier.
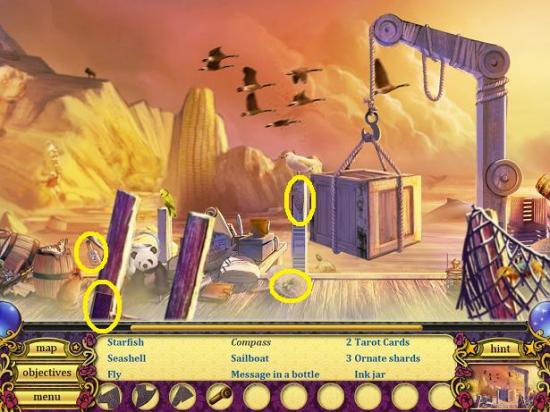
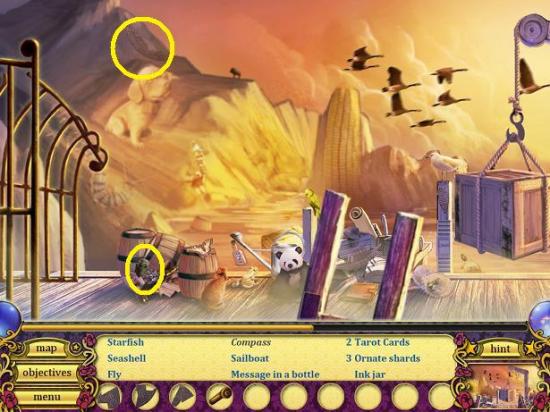
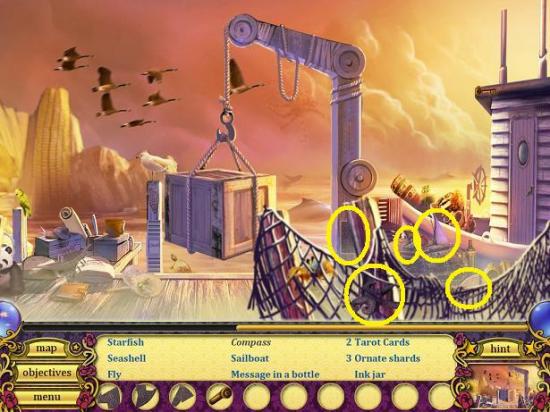
- Find all the items.
- Scroll to the far right and go to the boat.
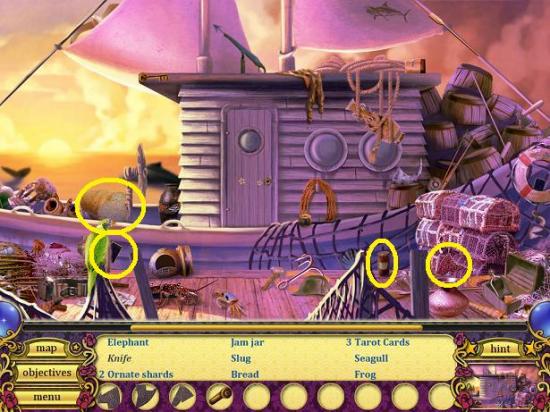
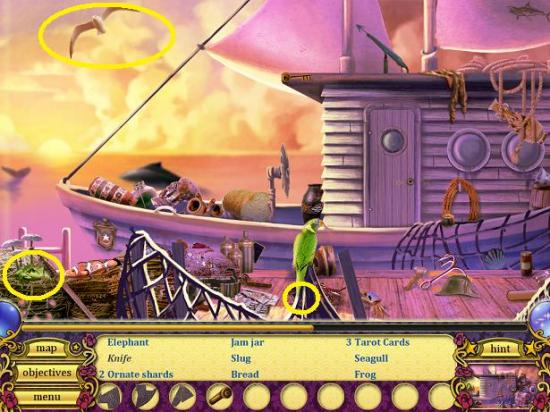
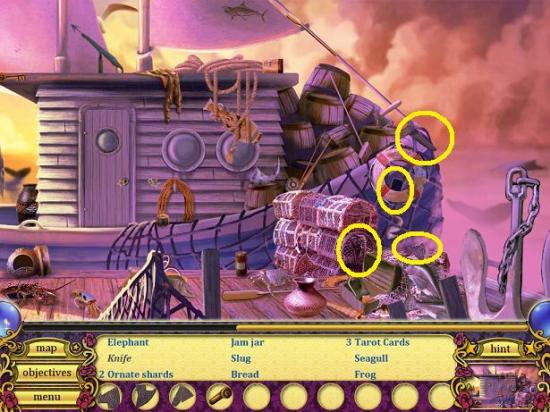
- Find all the items.
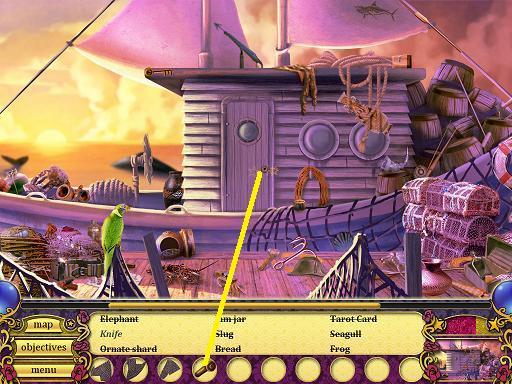
- Put the bronze door handle on the door. Then click to examine the door.
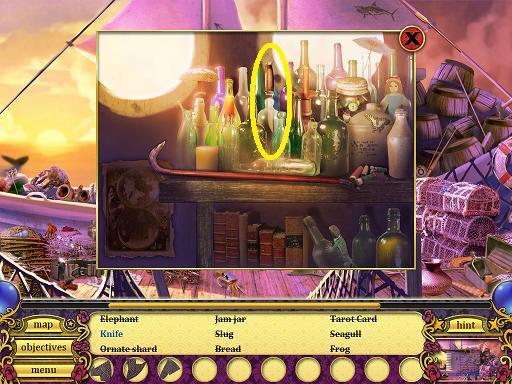
- Take the knife.
- Scroll to the far left and go back to the pier.
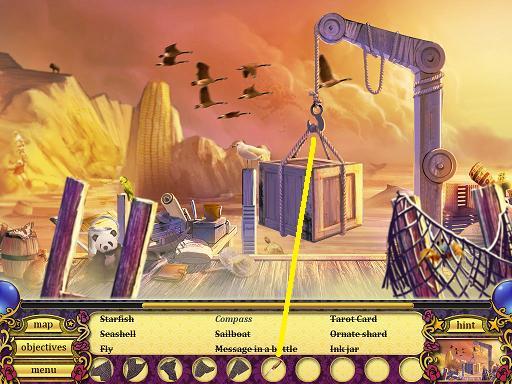
- Use the sharp knife to cut the rope.
- Click the fallen crate.
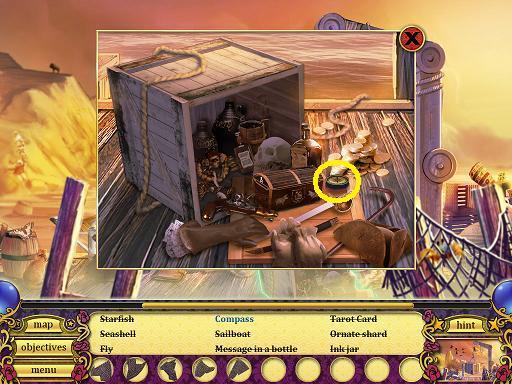
- Take the compass.
- Scroll to the far left and return to the dock gate.
- Scroll to the far left and go to West Town.
- Scroll to the far left and go to Town Center.
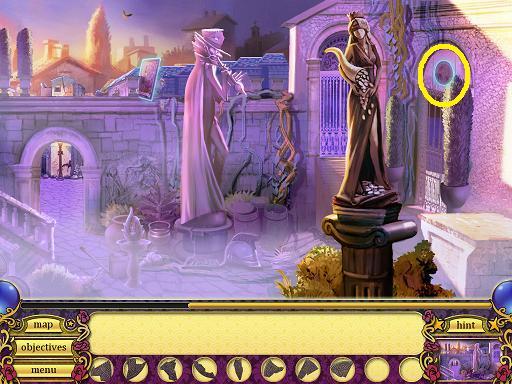
- Click the glowing area above the South Town gate.
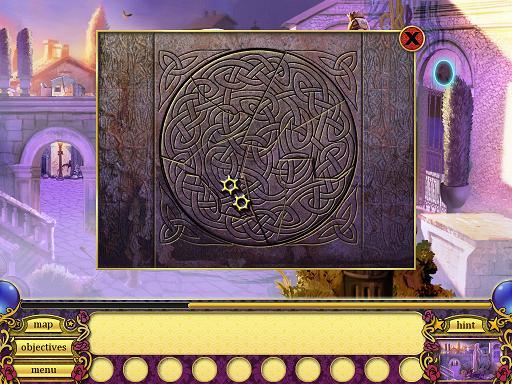
- Place the ornate shards in the proper position.
- Tip: The pieces cannot be rotated so it is easy to see where they belong.
Go through the gate to South Town.
Chapter 9: Into the Void
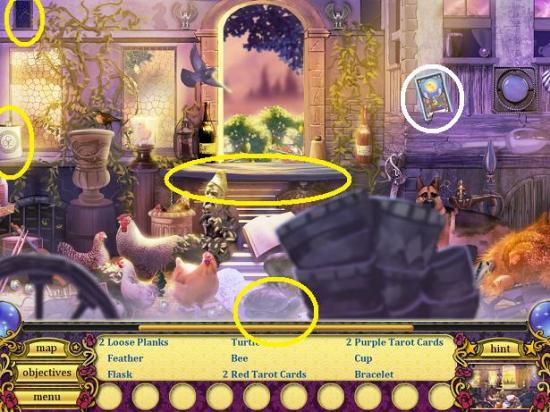
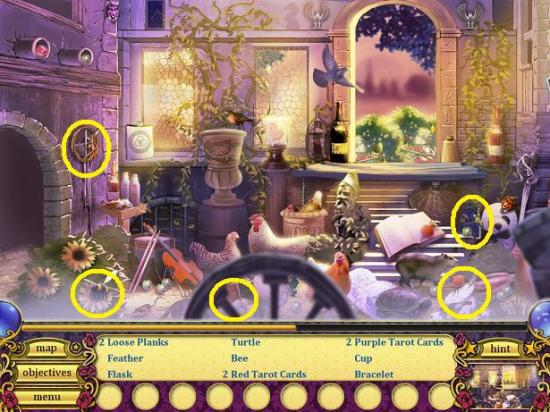
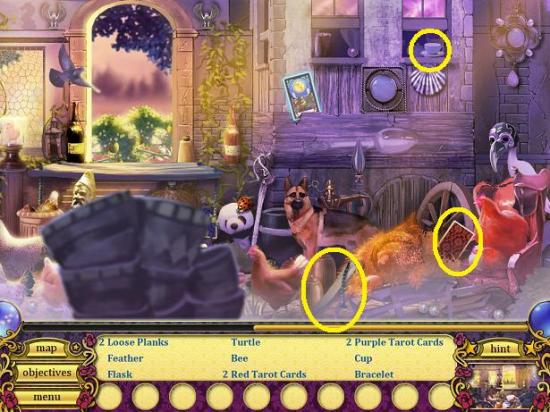
- Find all the items.
- Click the glowing tarot card on the wall (circled in white). Find five differences.
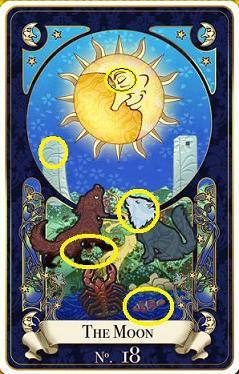
- The tarot tells you the panda hides a secret card.
- Head outside to the forest entrance.
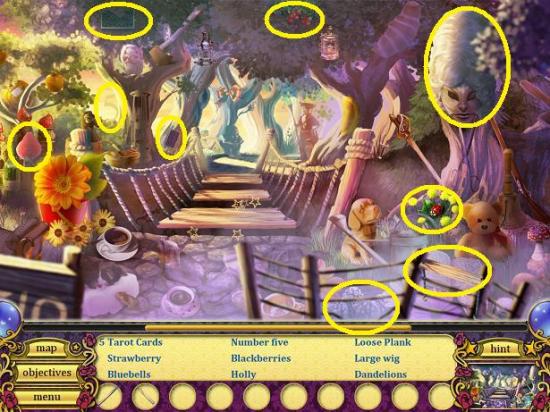
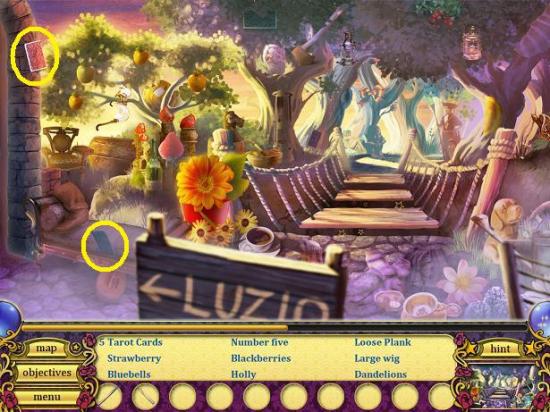
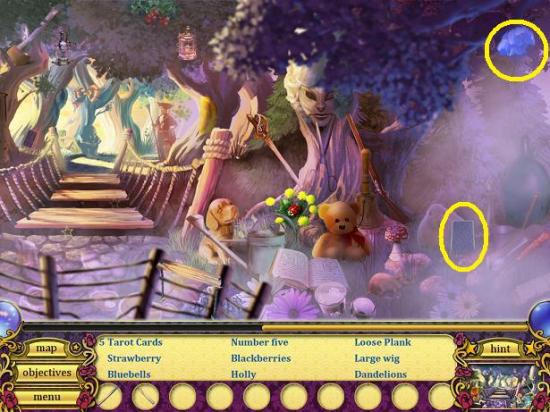
- Find all the items.

- Use the wooden planks to fix the bridge.
Cross the bridge to the oak tree.
Chapter 10: Call of the Wild
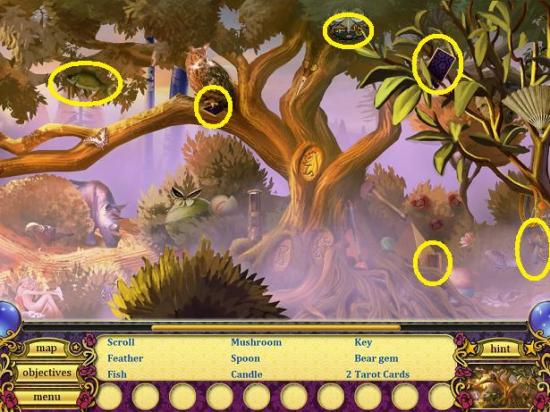
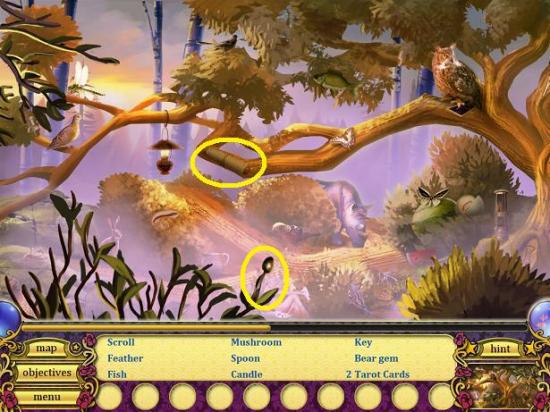
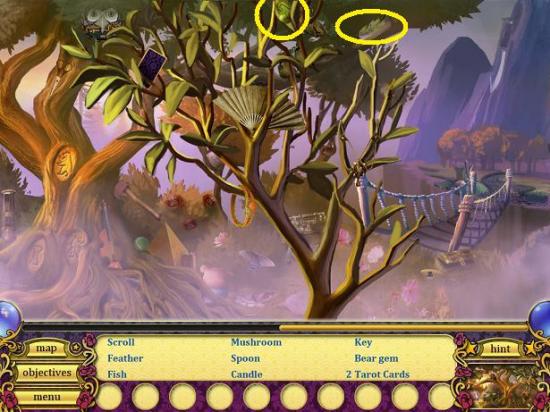
- Find all the items.
- Find all the gem stones and place them in the oak tree in order to clear a path.
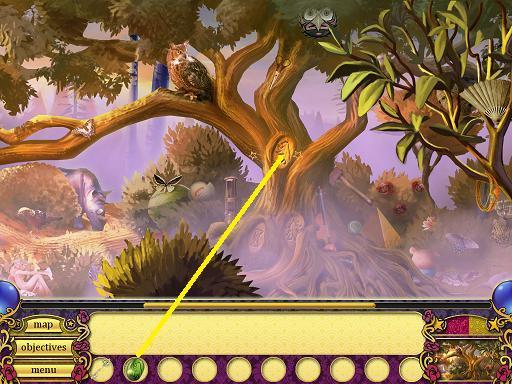
- Put the gem with bear insignia in the slot.
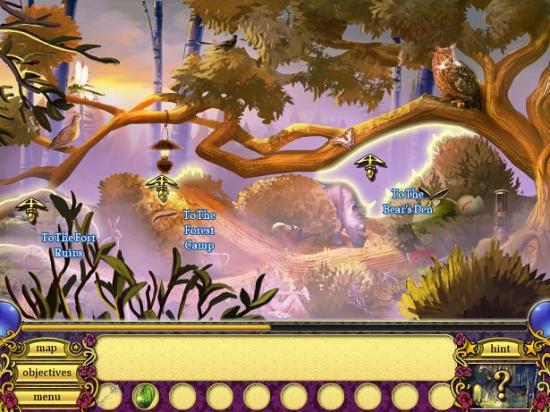
- This scene has three areas to go to, the fort ruins, the forest camp, and the bear’s den.
- Head towards the bear’s den (middle of the scene).
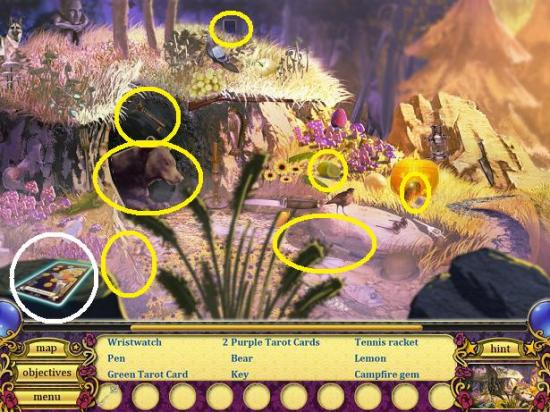
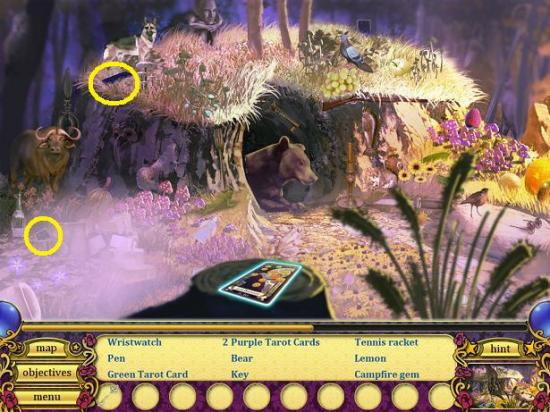
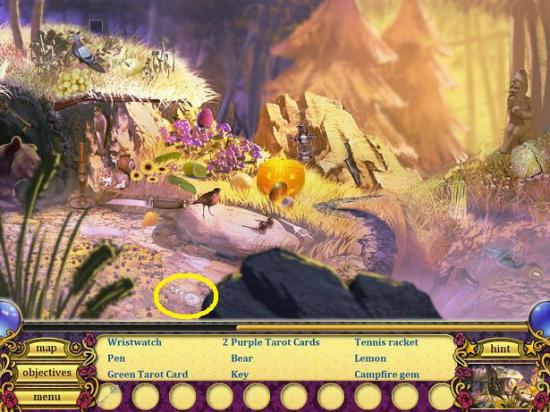
- Find all the items.
- Click the glowing tarot on the rock (circled in white). Find five differences.
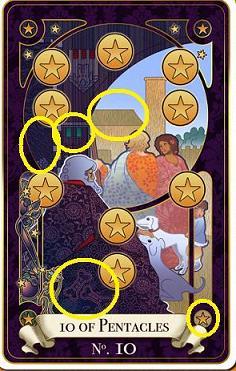
- The tarot tells you to move the car to unblock the path.
- Scroll to the far right and return to the oak tree.
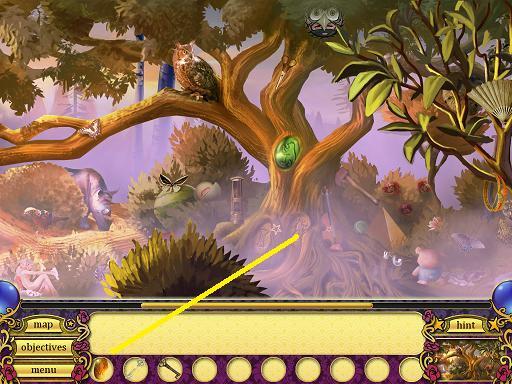
- Put the gem with camp insignia in the slot.
- Go to the forest camp (towards the left of the scene).
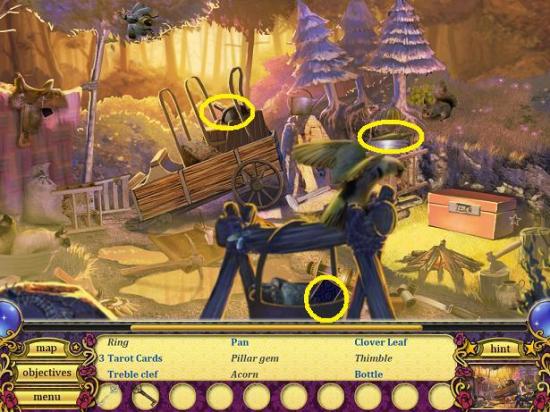
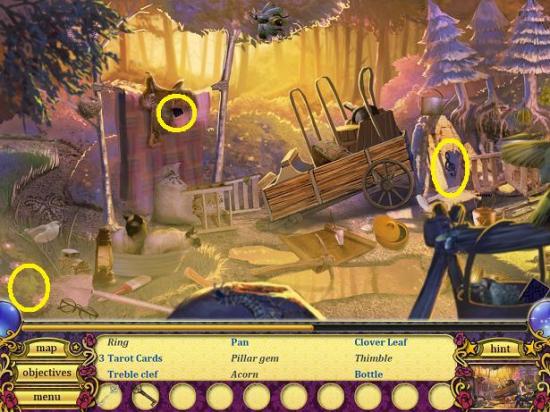
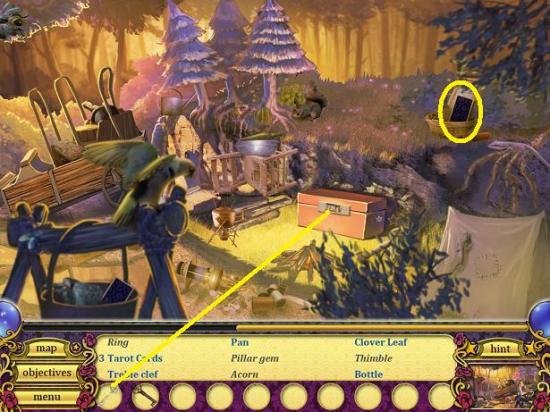
- Find all the items.
- Use the toolbox key to unlock the toolbox. Click to examine it.
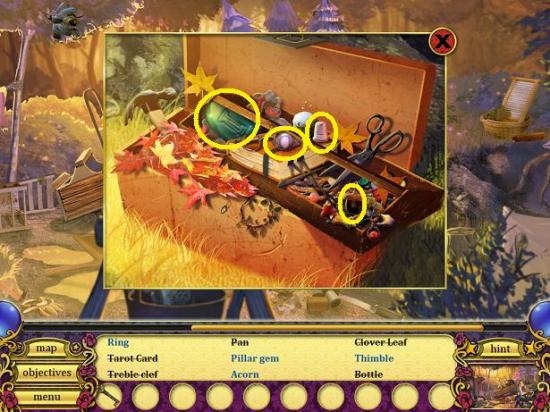
- Take the ring, thimble, acorn and gem with fort insignia.
- Scroll to the far left and go to the oak tree.
- Place the gem with fort insignia in the slot
- Scroll to the far left and go to the fort ruins.
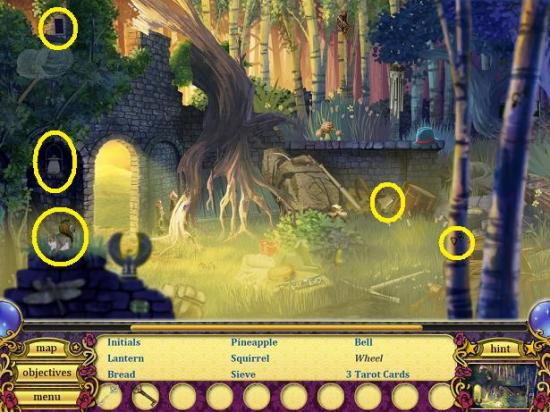
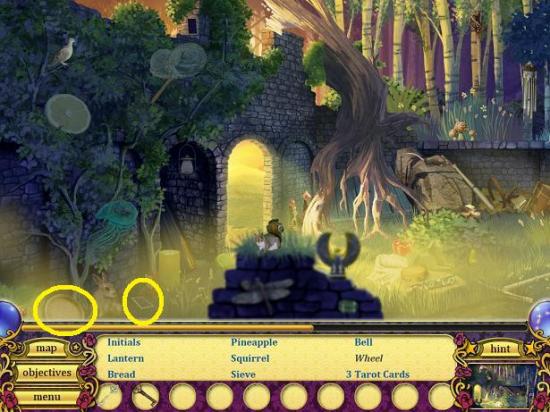
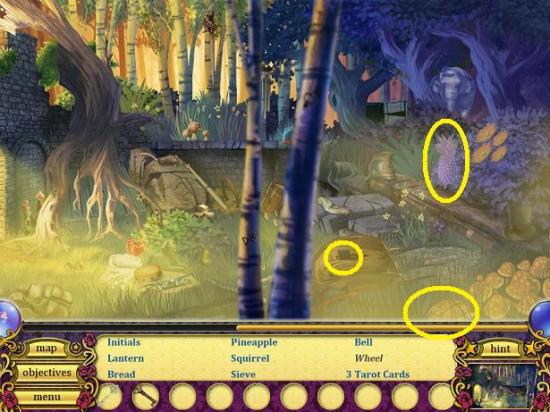
- Find all the items.
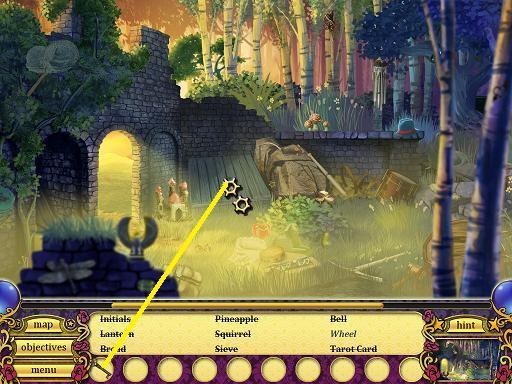
- Use the cellar key on the cellar. Take the wheel.
- Return to the oak tree.
- Return to the forest camp.
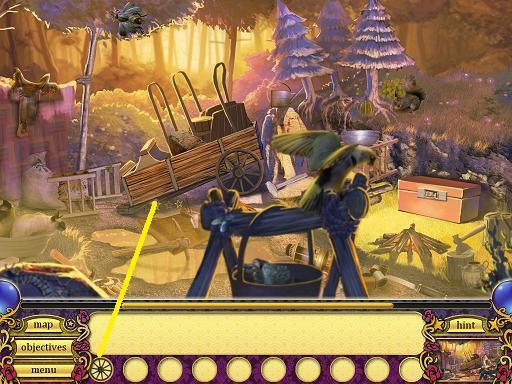
- Place the wagon wheel on the cart.
Head down to the mine mouth.
Chapter 11: The Warning
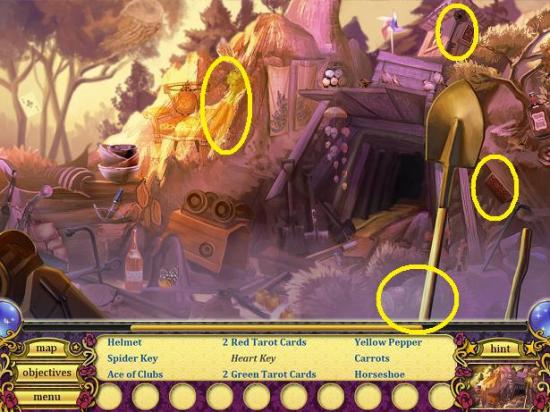
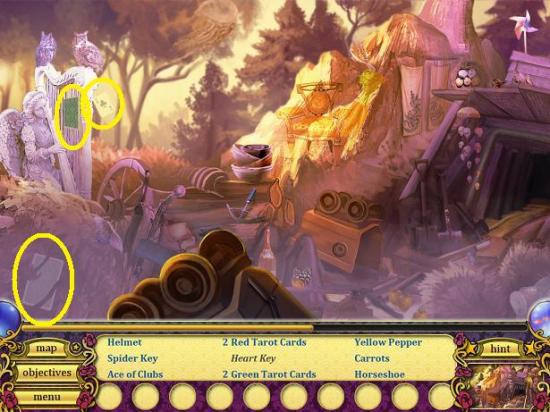
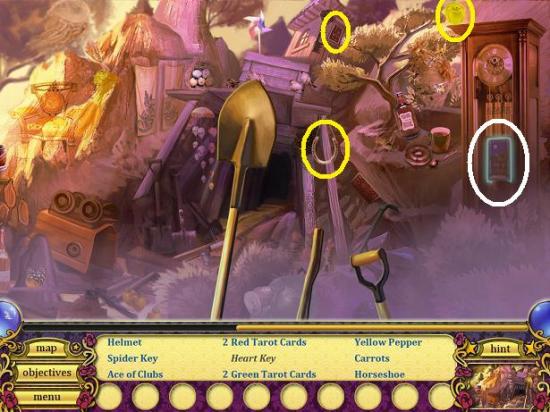
- Find all the items.
- Scroll to the far right and click the glowing tarot card. Find five differences.
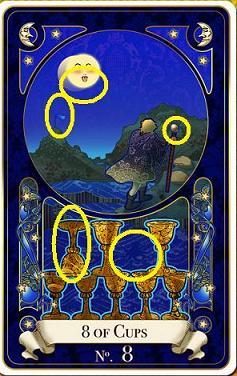
- The tarot tells you to place like-coloured keys with their locks near the Hermit’s room.
- Head into the mine entrance to the messy cart.
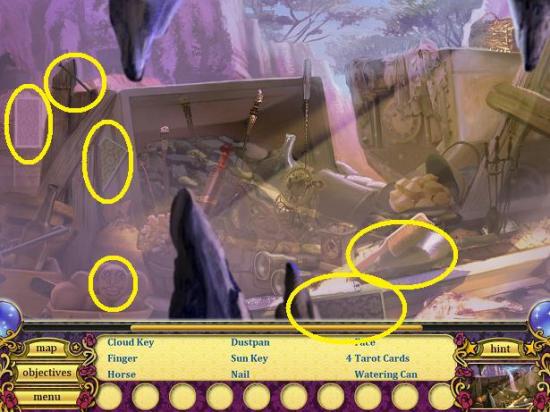
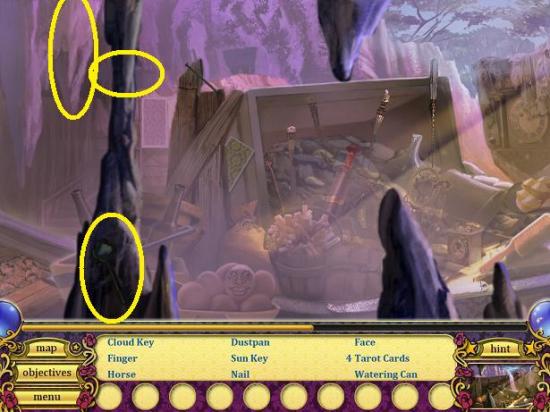
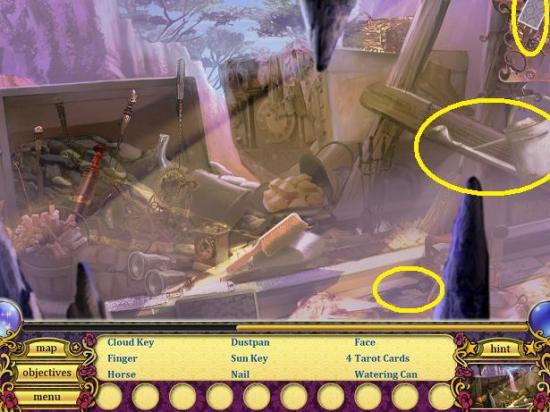
- Find all the items.
- Scroll to the right and enter the hermit’s room.
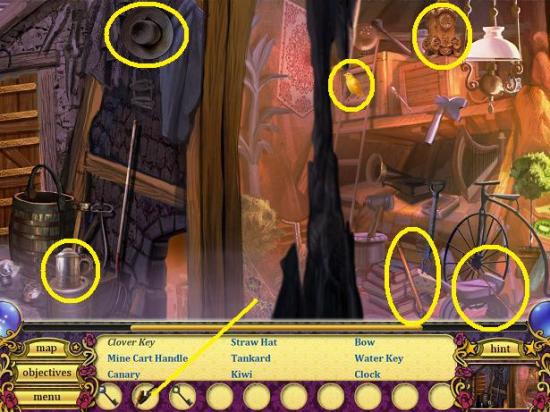
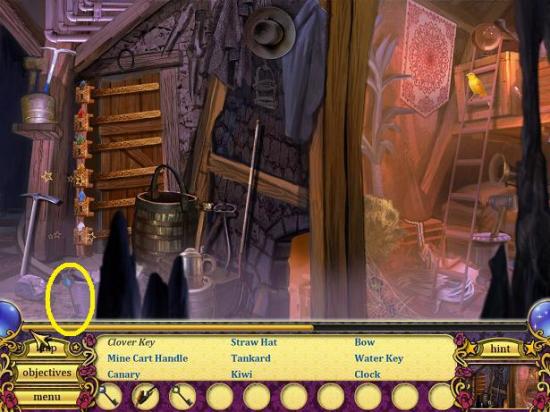
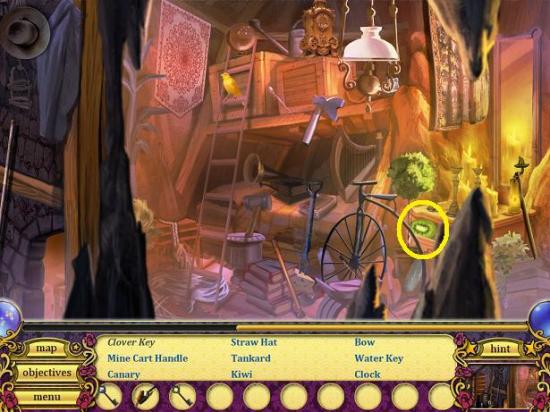
- Find all the items.
- Use the broom and dustpan on the spider web. Take the clover key.
- Scroll to the far left and go to the messy cart.
- Scroll to the far left and go to the mine mouth.
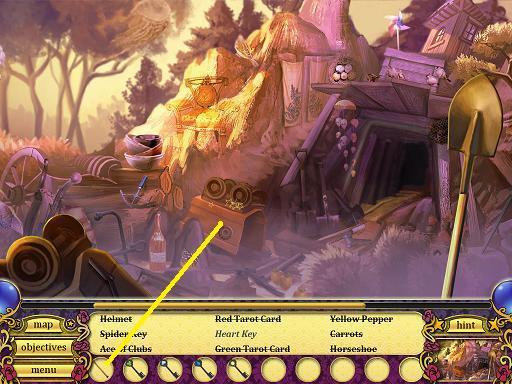
- Use the staff on the overturned cart. Take the heart key.
- Return to the hermit’s room.
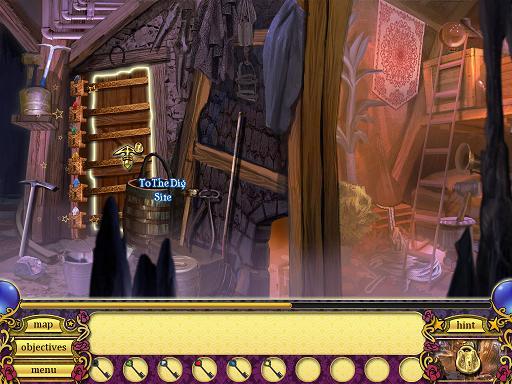
- Match the colour of the key to the colour of the lock.
- Tip: Before clicking on a lock, ensure you see the rotating gears.
Go through the door to the dig site.
Chapter 12: The Wizard
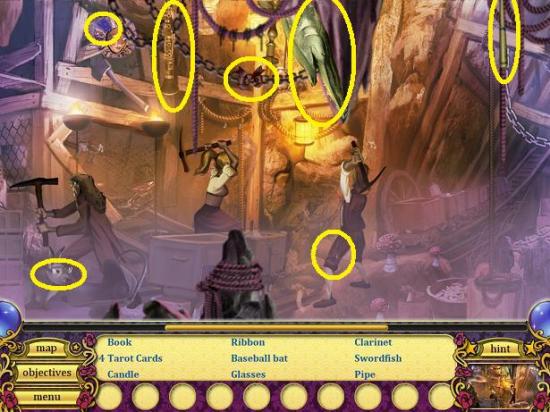
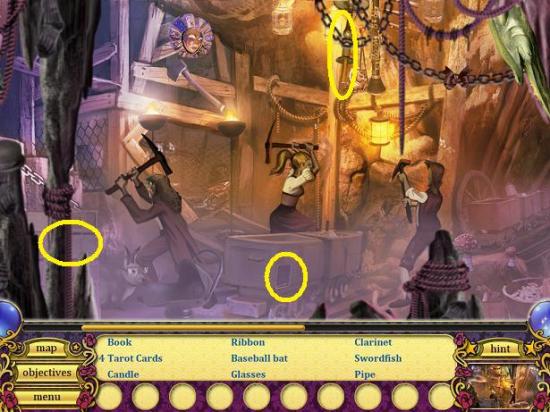
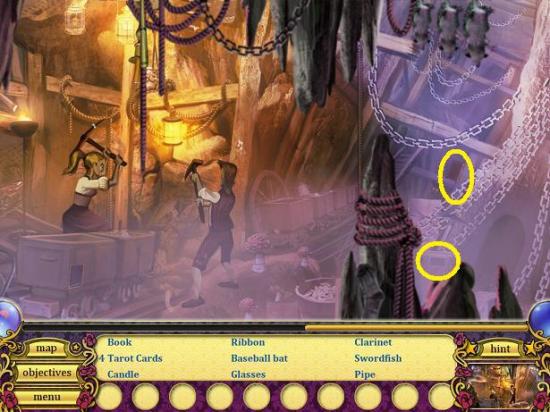
- Find all the items.
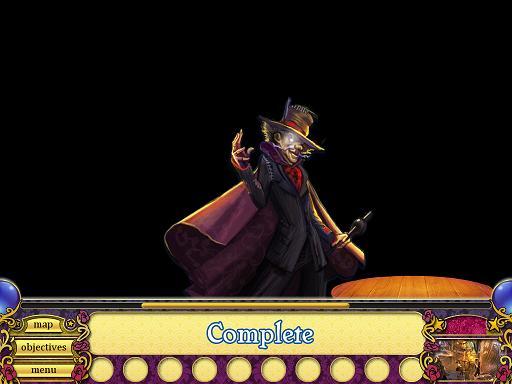
- Click the magician. He challenges you to a game. If you win, everyone goes free, if you lose, you are imprisoned as well. You have no choice but to accept.
- Click the magician’s special tarot card to take away his powers.
- Cards will appear. The Devil card will be shown to you, then turned over and the cards shuffled. You then have to select the Devil card. You will do this twice with three cards, once with four cards and once with five cards. The cards are not shuffled fast, just keep your mouse over the Devil card and follow it.
The end
More articles...
Monopoly GO! Free Rolls – Links For Free Dice
By Glen Fox
Wondering how to get Monopoly GO! free rolls? Well, you’ve come to the right place. In this guide, we provide you with a bunch of tips and tricks to get some free rolls for the hit new mobile game. We’ll …Best Roblox Horror Games to Play Right Now – Updated Weekly
By Adele Wilson
Our Best Roblox Horror Games guide features the scariest and most creative experiences to play right now on the platform!The BEST Roblox Games of The Week – Games You Need To Play!
By Sho Roberts
Our feature shares our pick for the Best Roblox Games of the week! With our feature, we guarantee you'll find something new to play!Type Soul Clan Rarity Guide – All Legendary And Common Clans Listed!
By Nathan Ball
Wondering what your odds of rolling a particular Clan are? Wonder no more, with my handy Type Soul Clan Rarity guide.


