![Digimon UP Tier List [Supports, Buddies, and Partners]](/wp-content/uploads/2026/07/digimon-up-tier-list.jpg "Digimon UP Tier List [Supports, Buddies, and Partners]")
Digimon UP Tier List [Supports, Buddies, and Partners]
These Digimon will get you UP the leaderboard.


![Haze Seas Boss Drops [Chances, Locations, and How to Spawn]](/wp-content/uploads/2026/07/haze-seas-boss-drops.jpg "Haze Seas Boss Drops [Chances, Locations, and How to Spawn]")

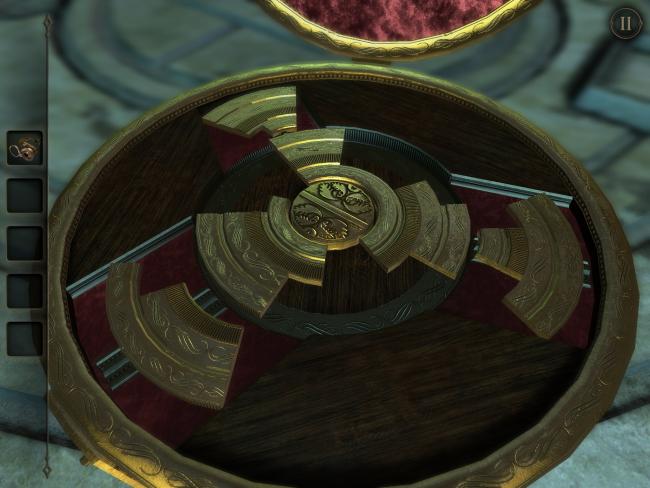
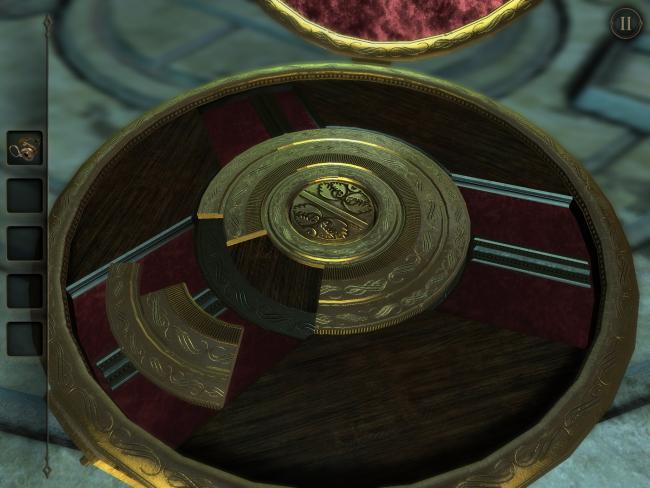
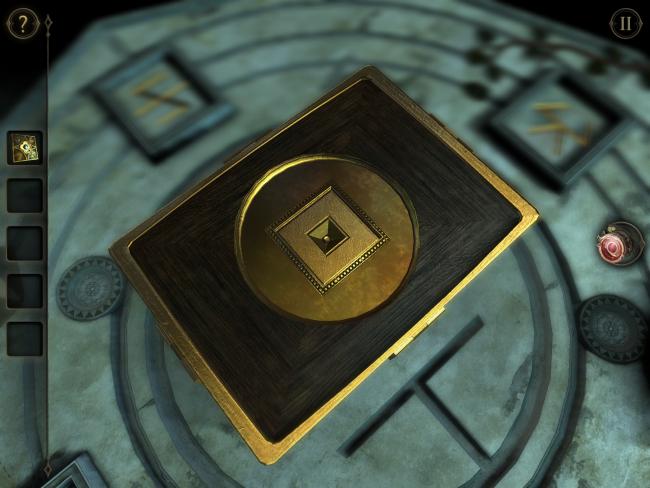
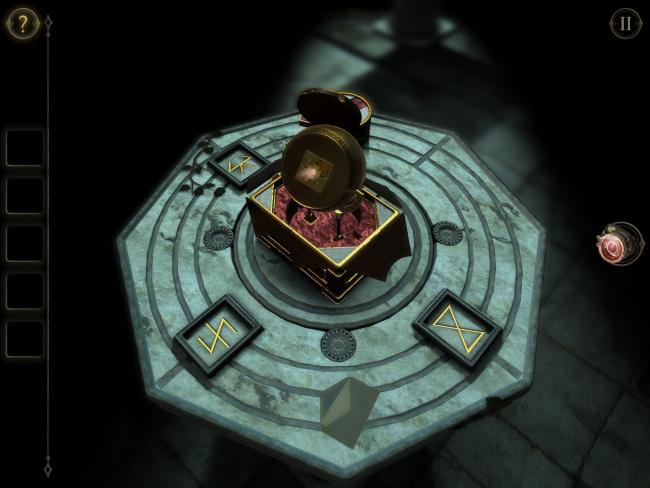
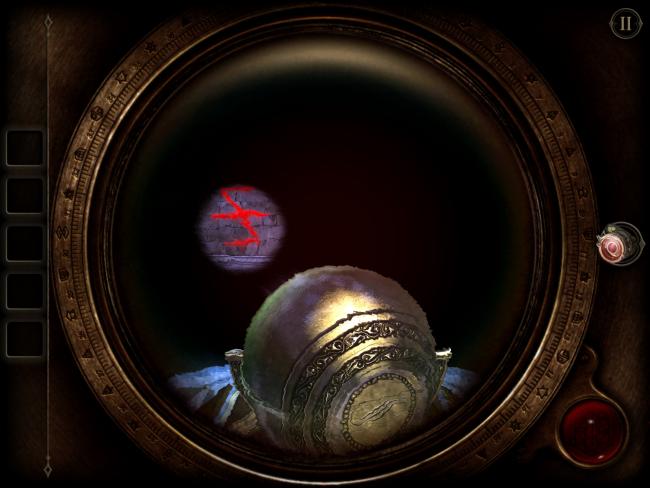
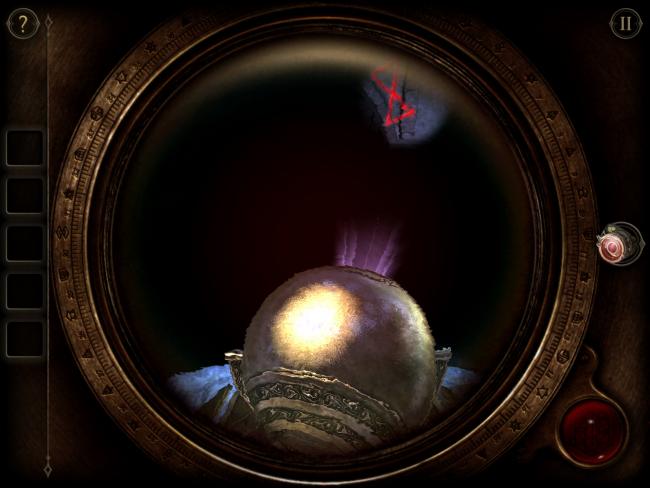
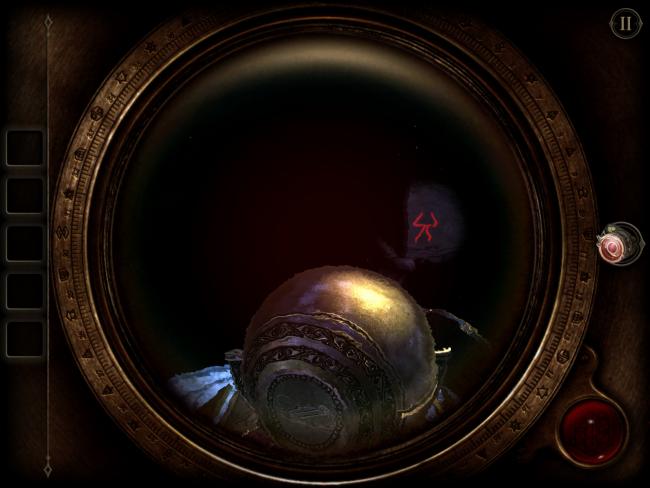
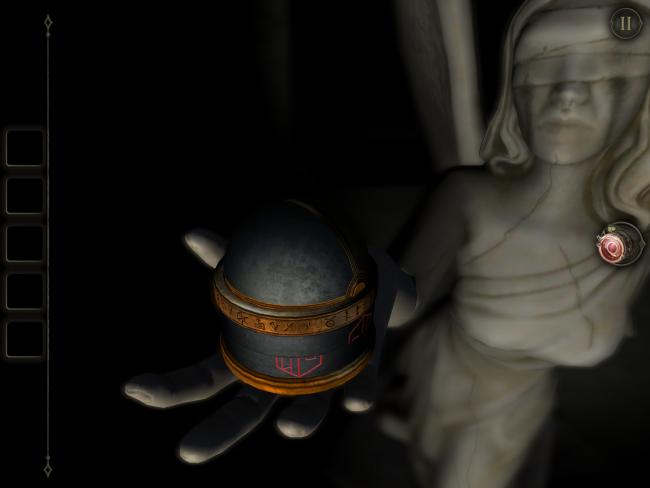
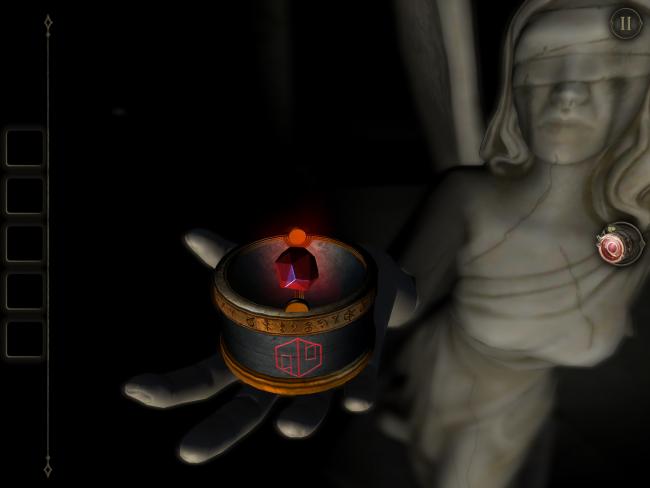
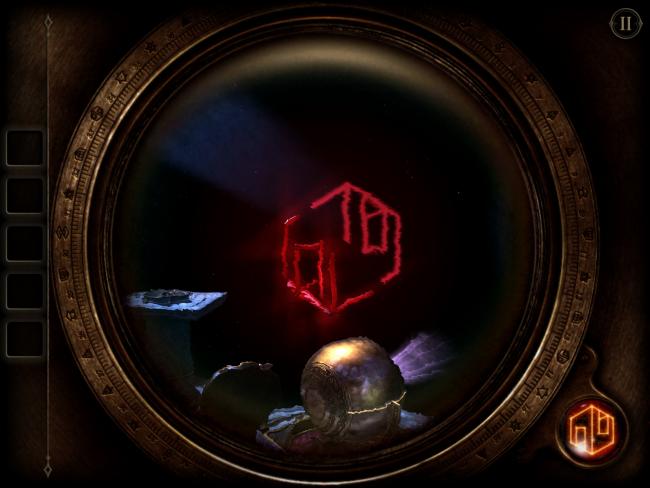
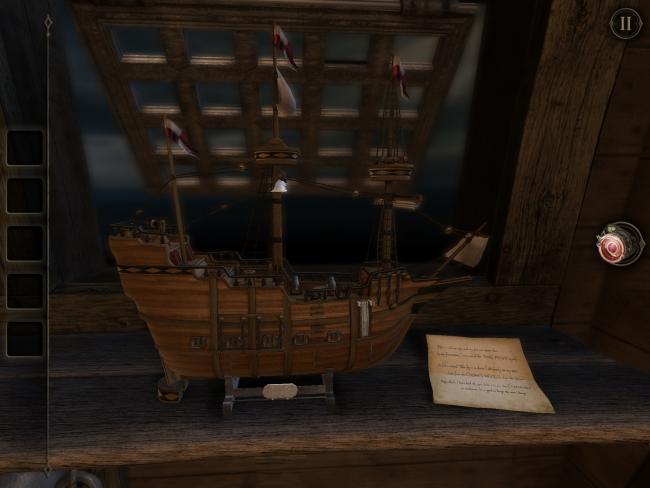
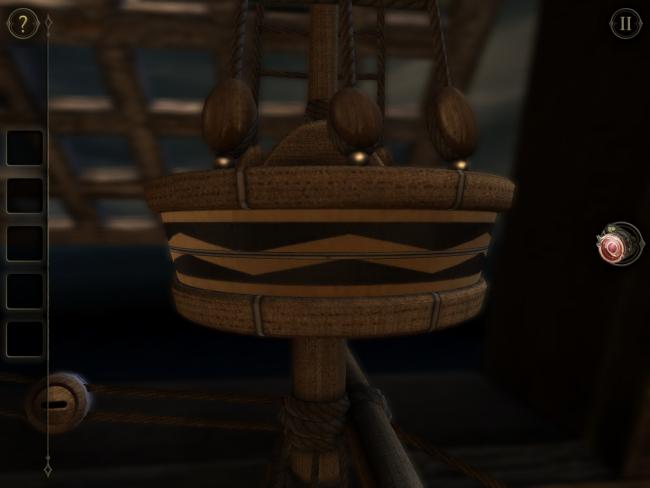
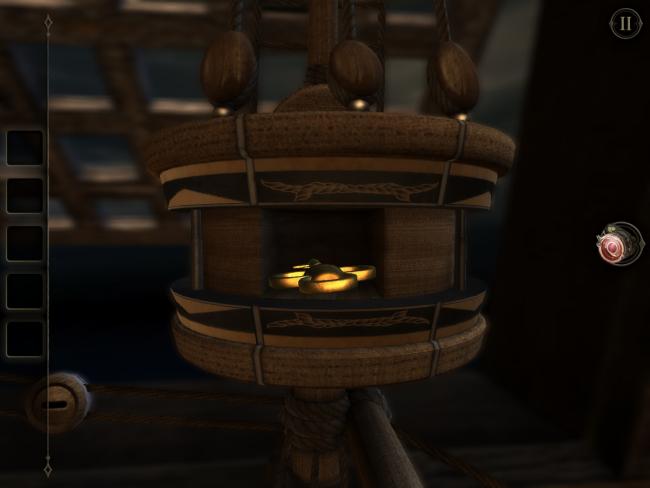
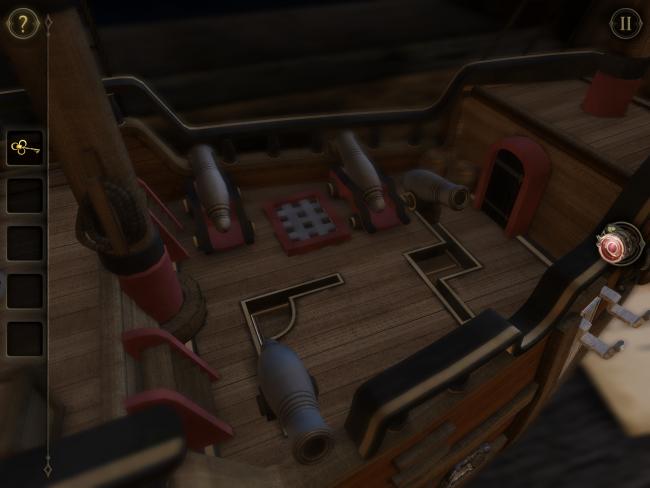
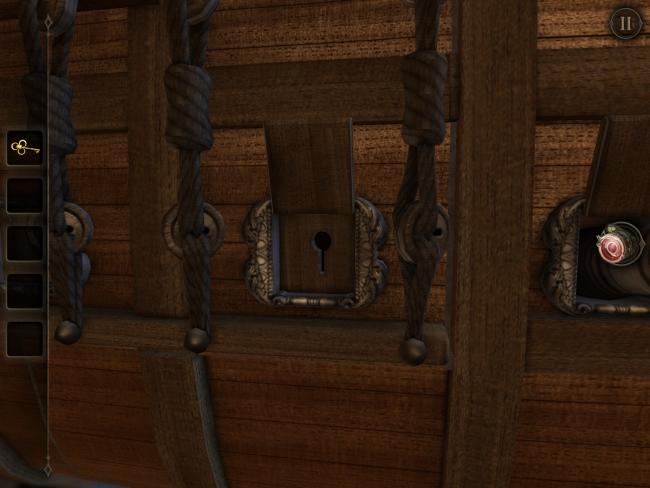
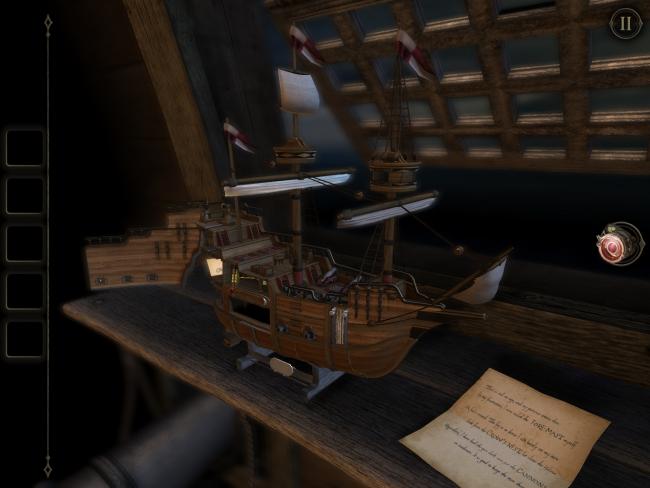
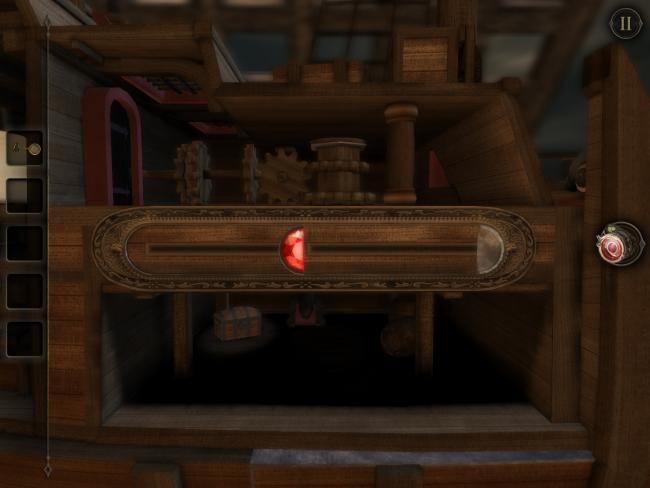
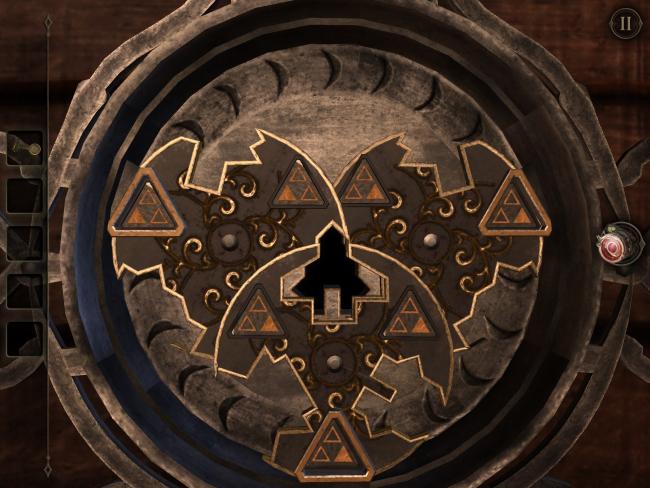
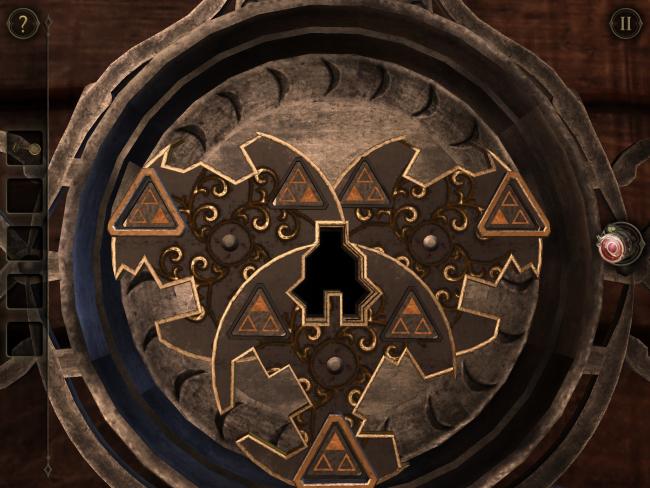
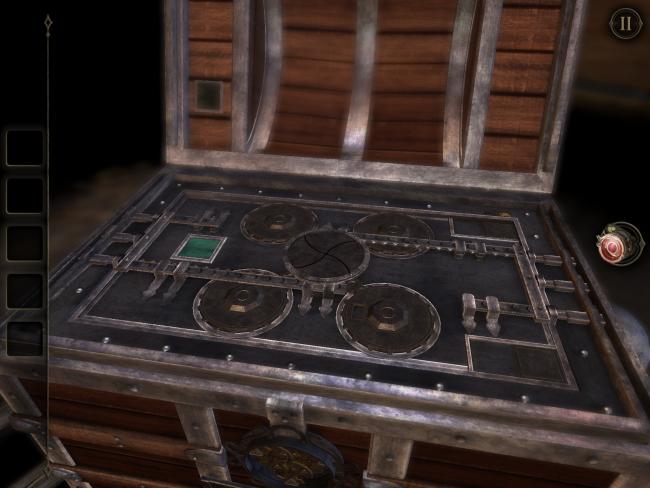
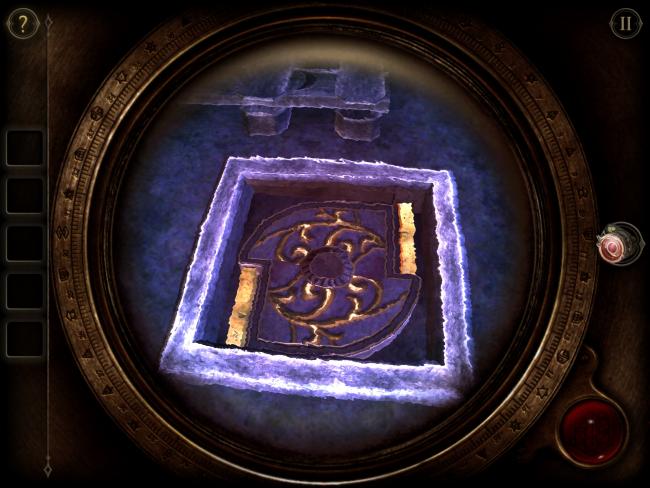
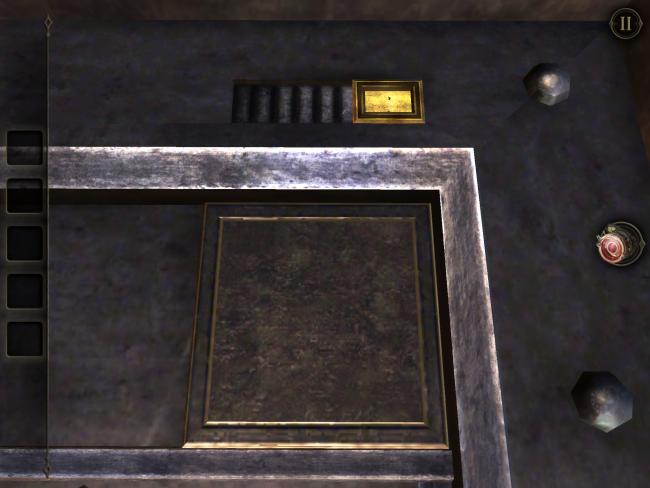
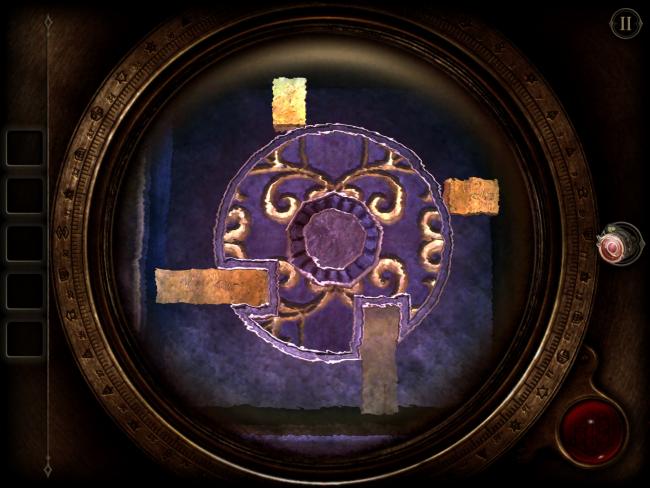
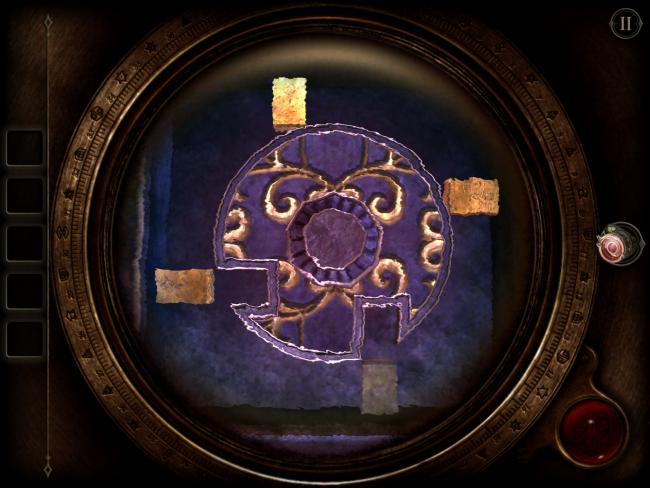
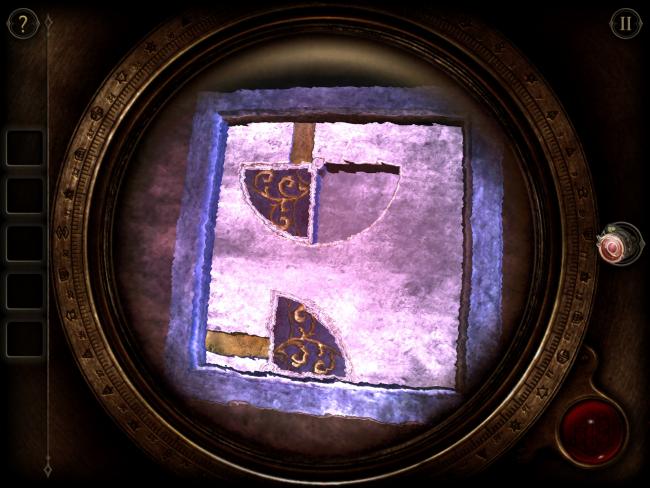
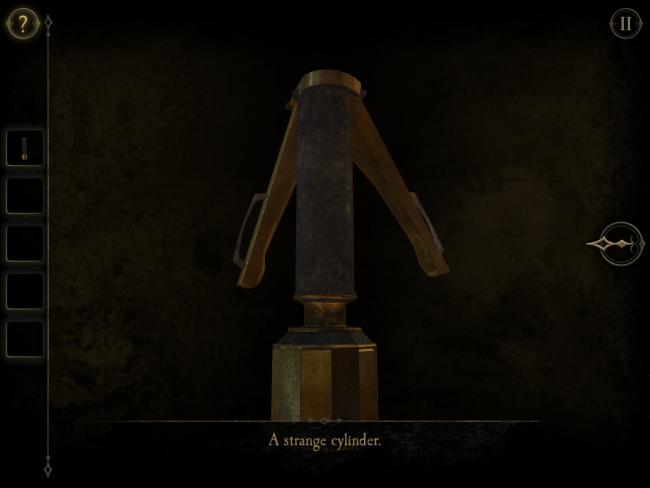
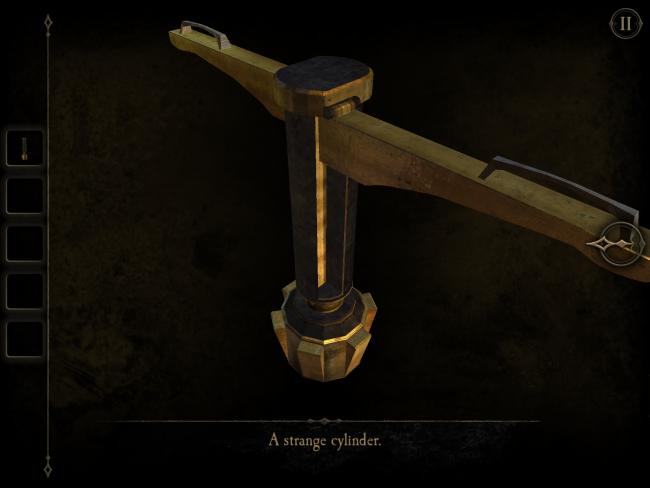
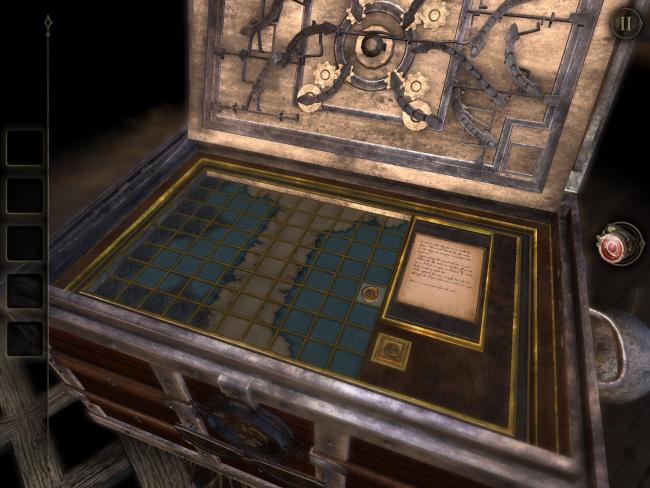
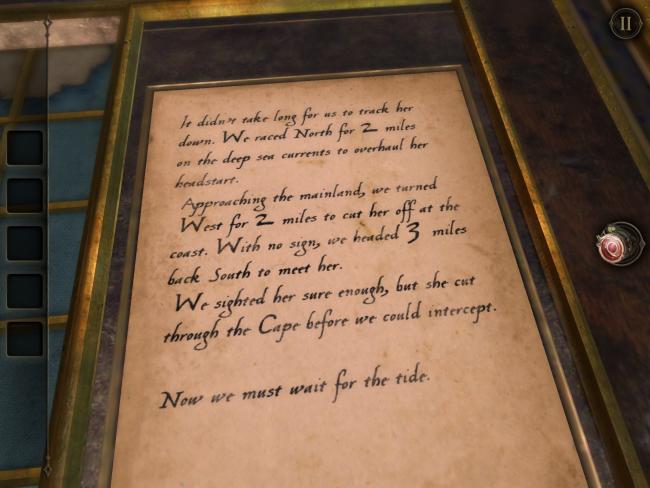
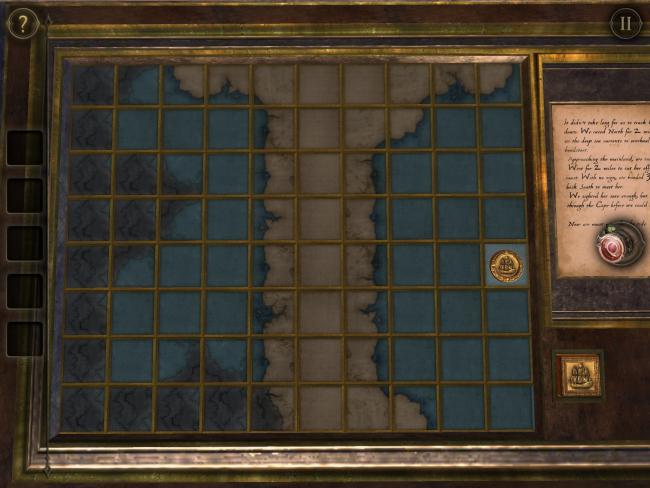
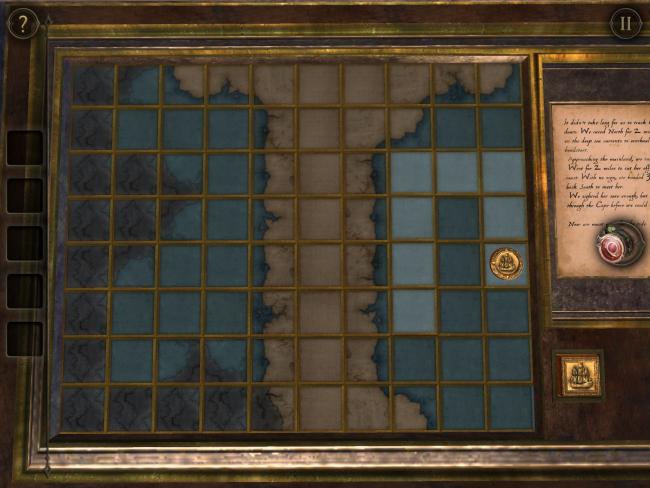
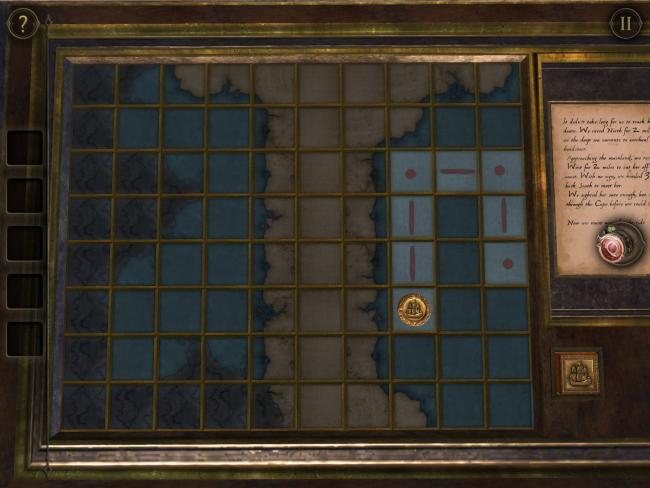
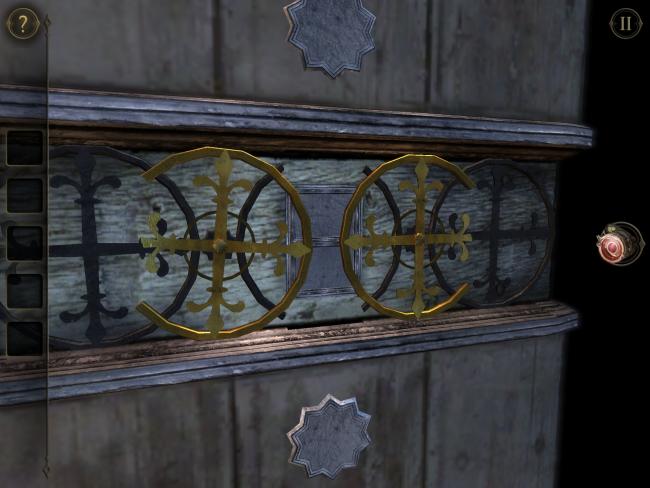
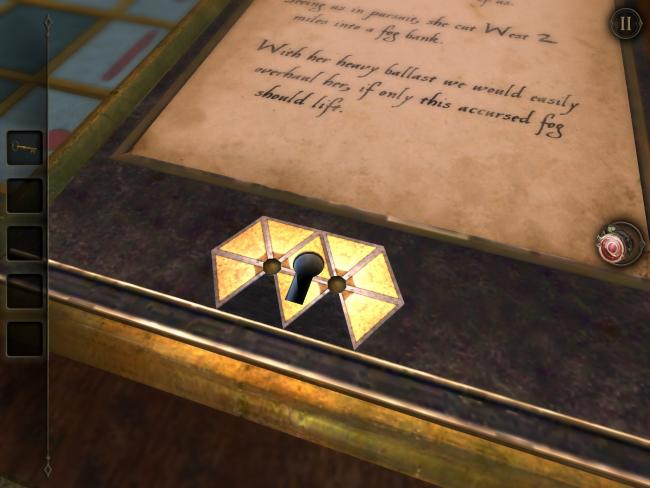
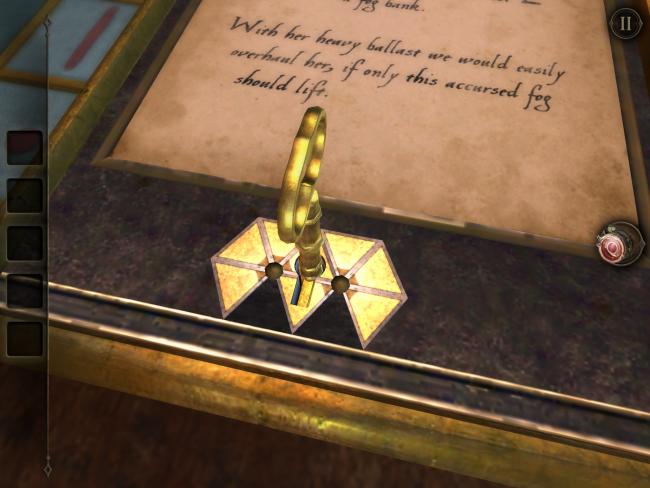
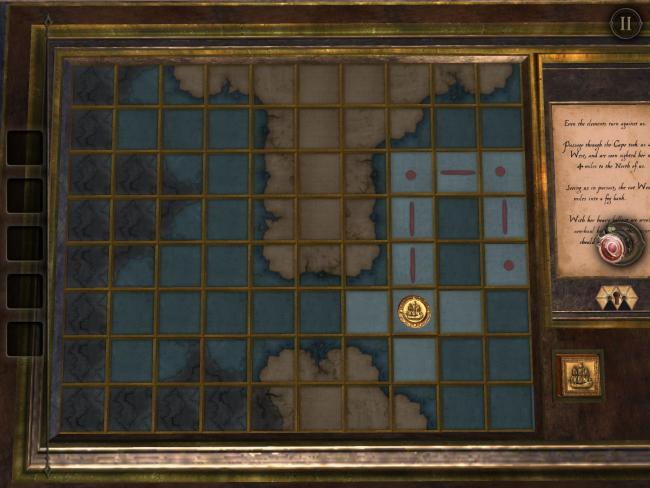
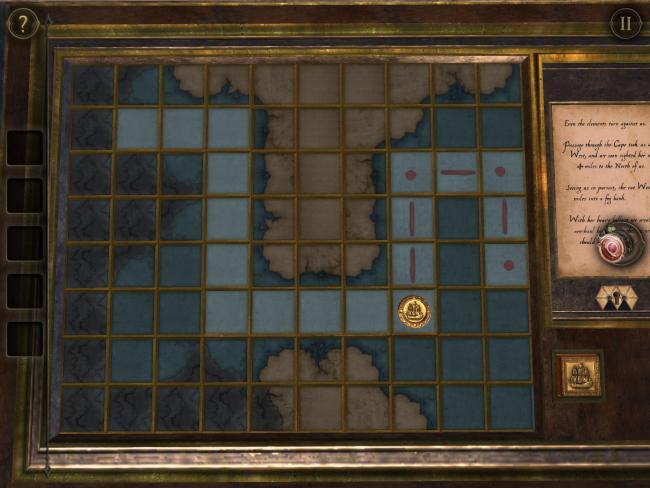
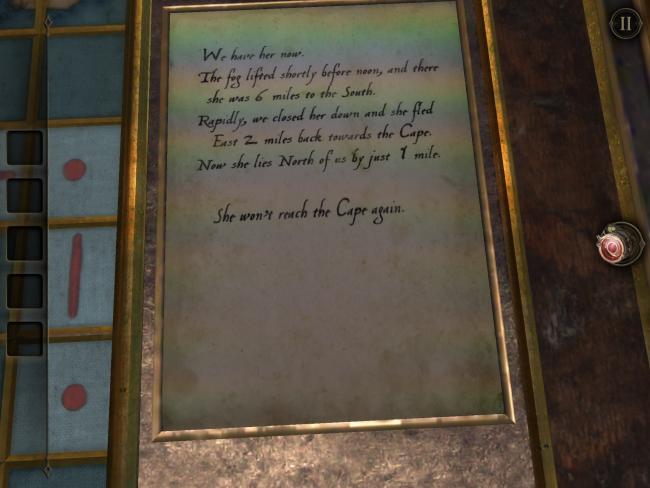
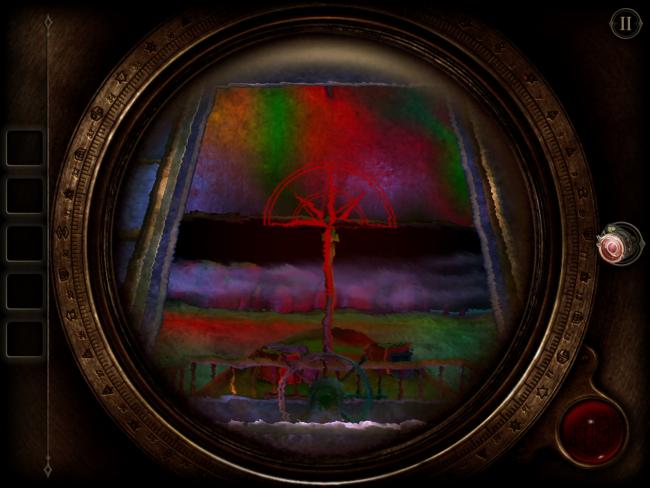
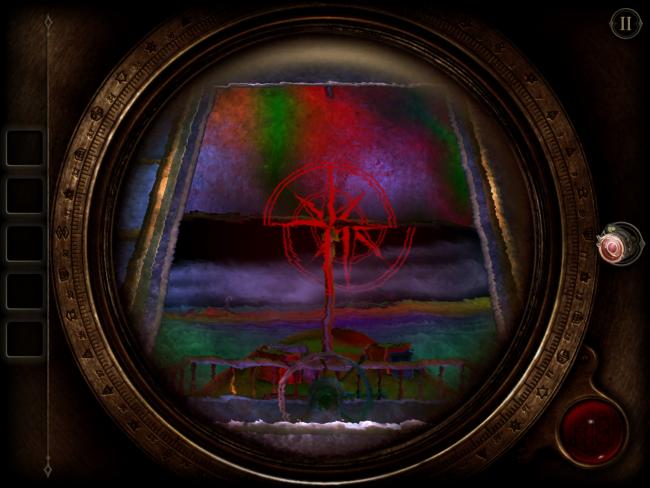
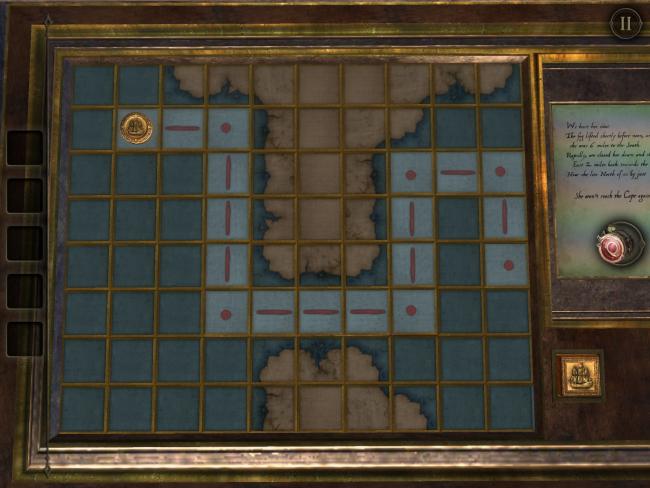
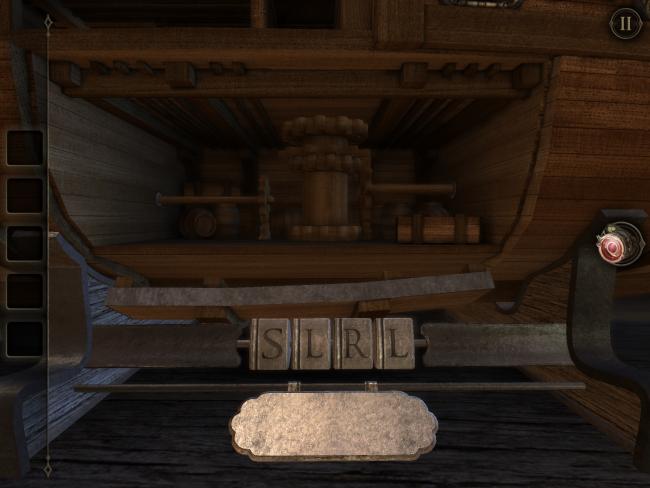
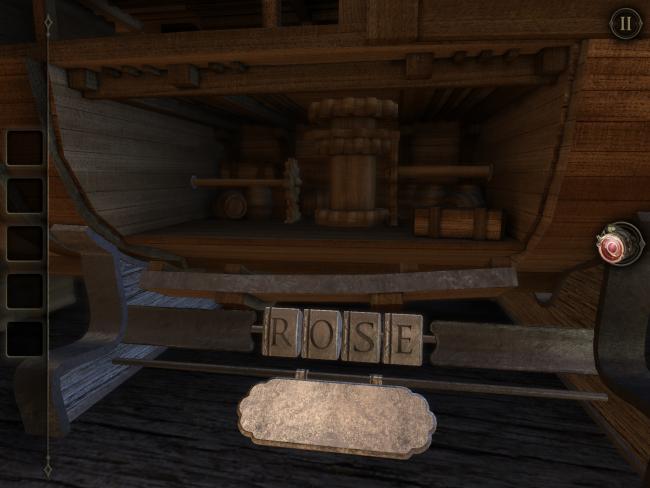
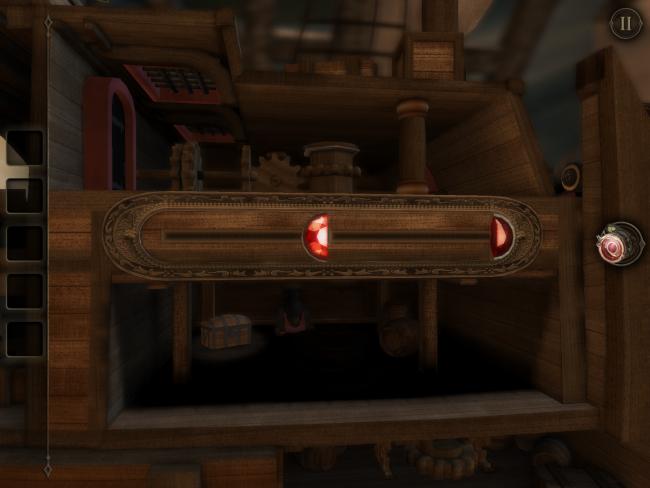
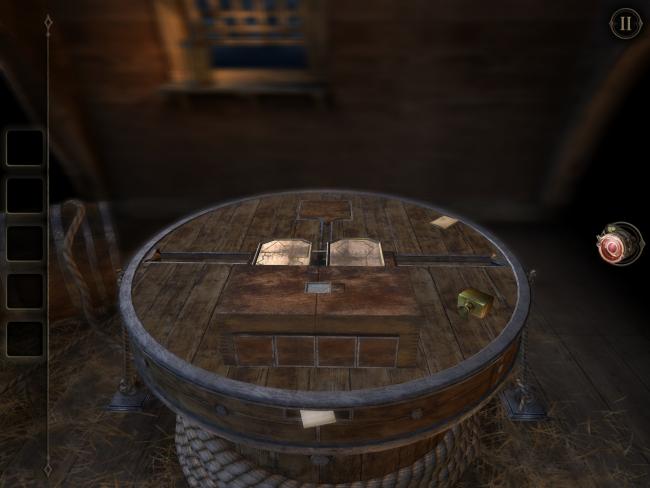
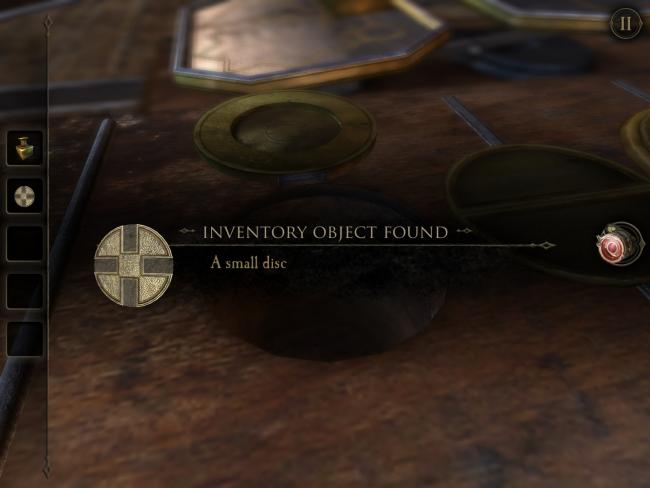
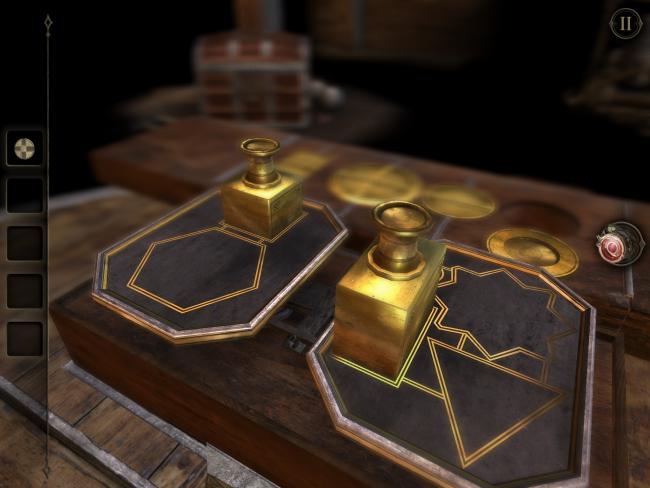
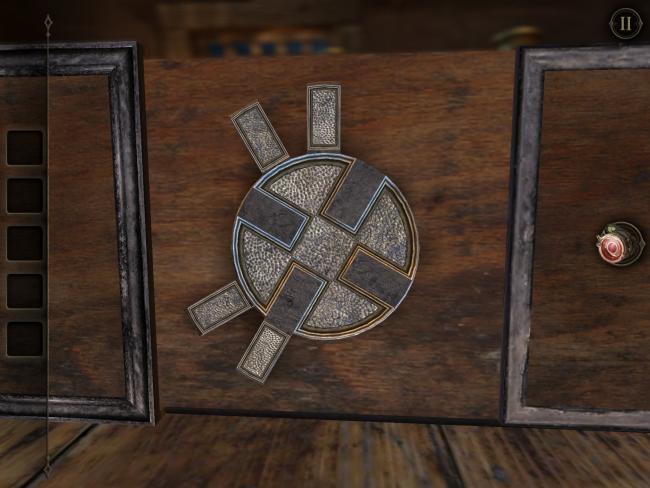
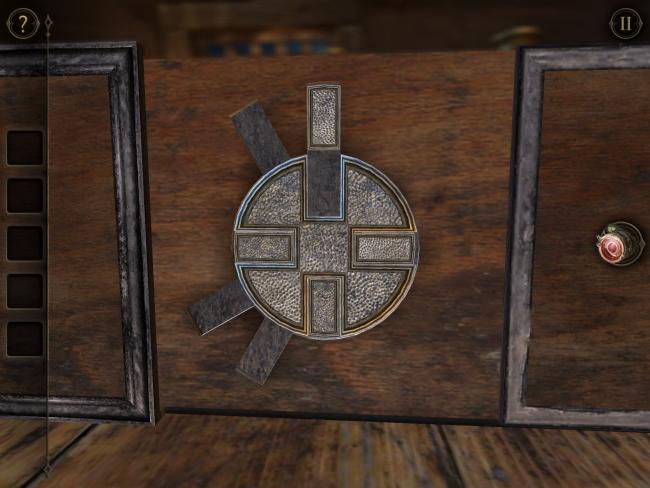
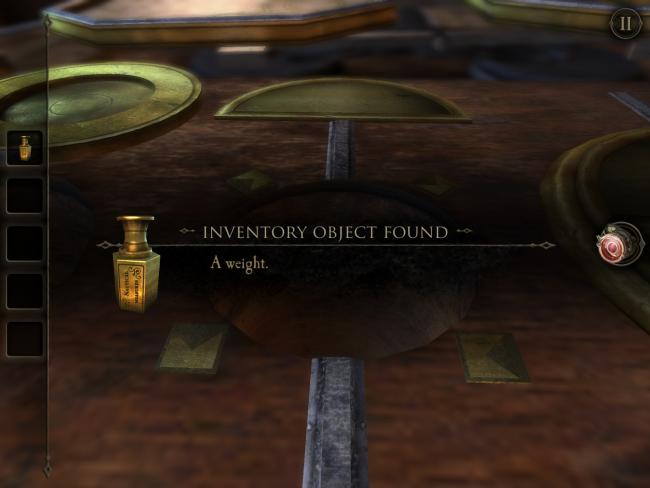
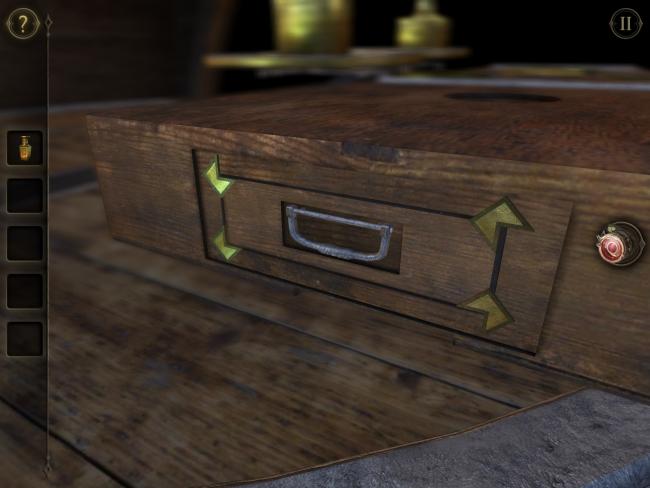
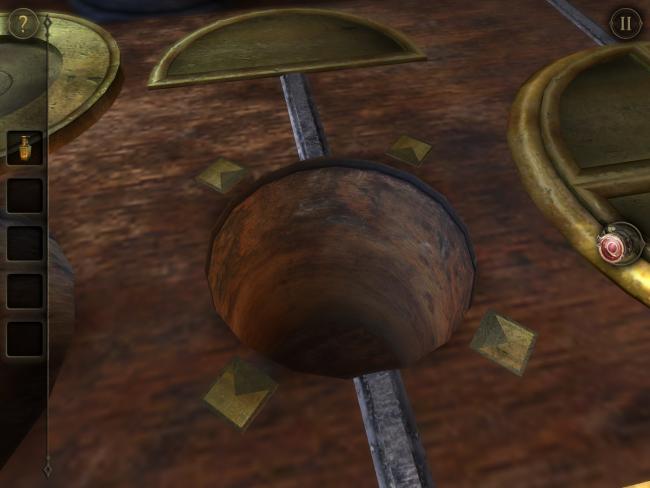
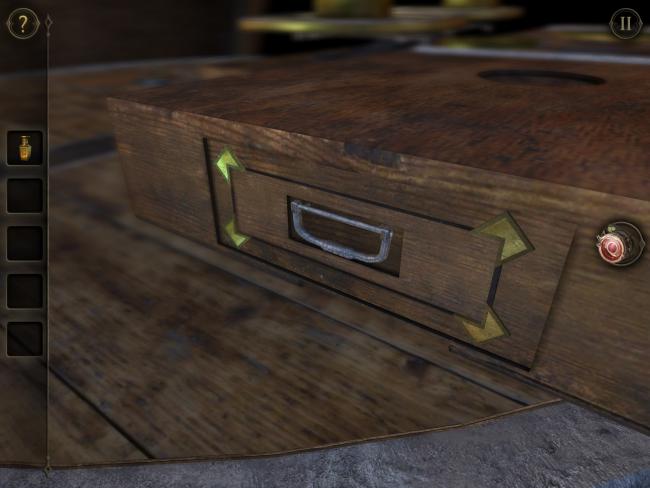
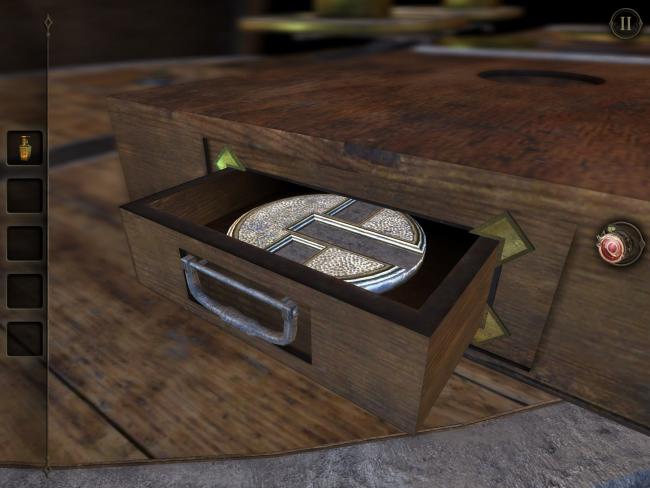
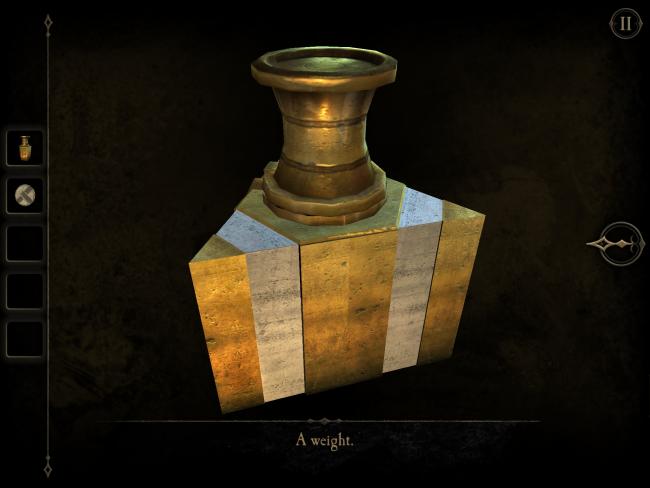
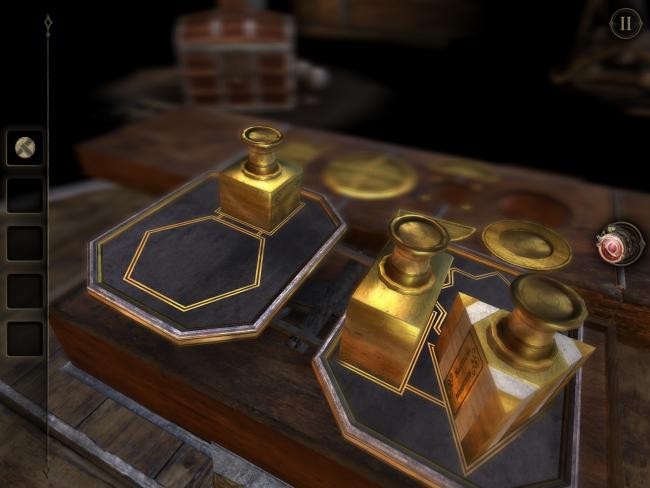
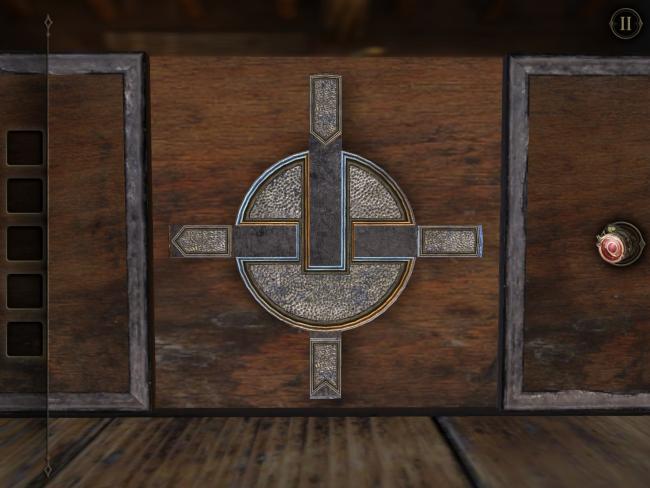
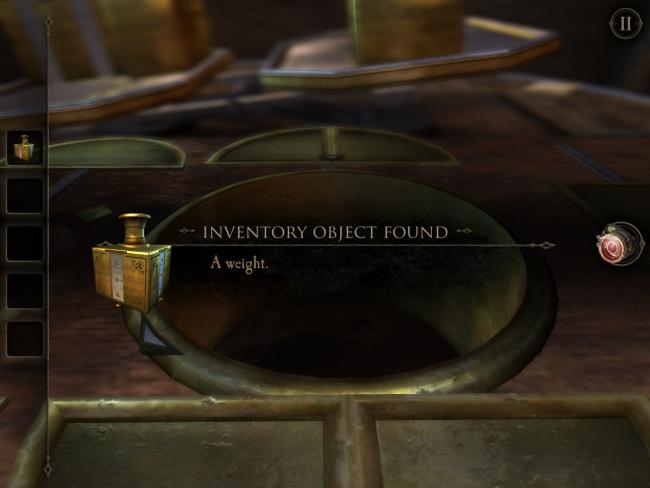
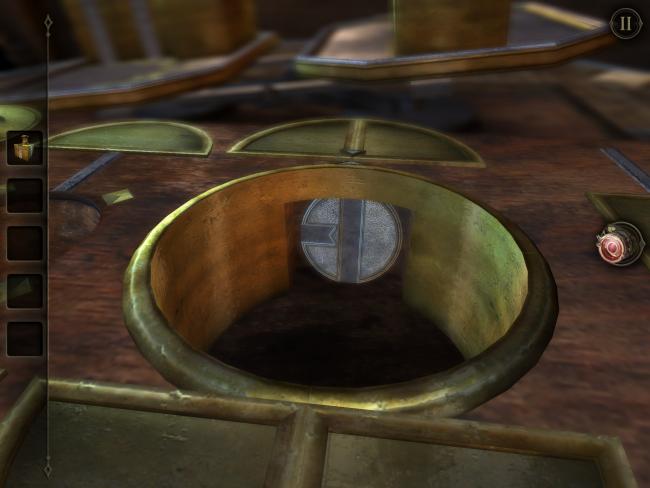
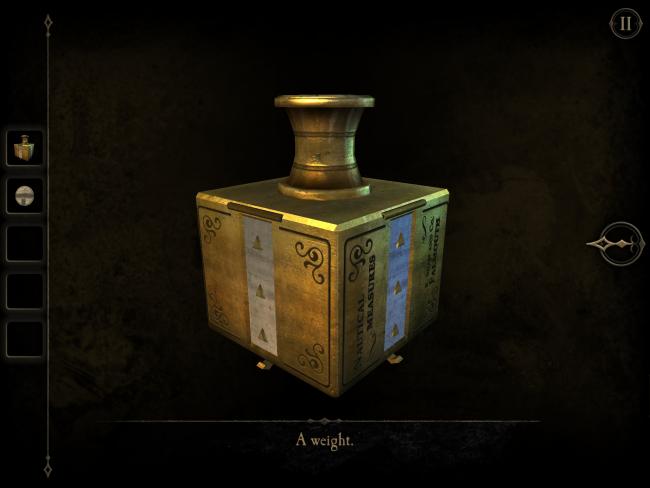
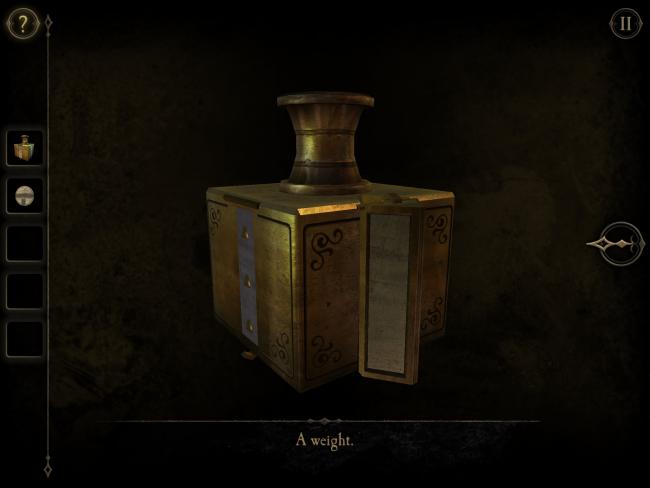
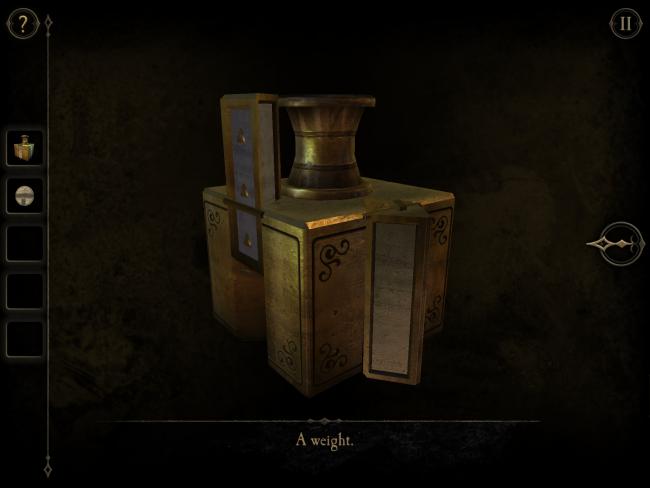
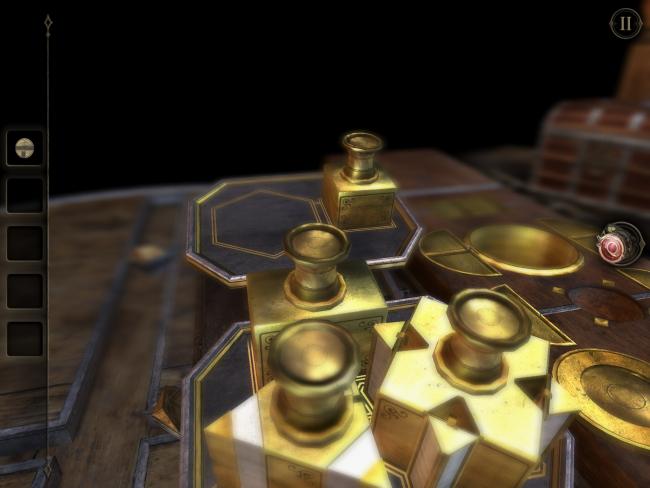
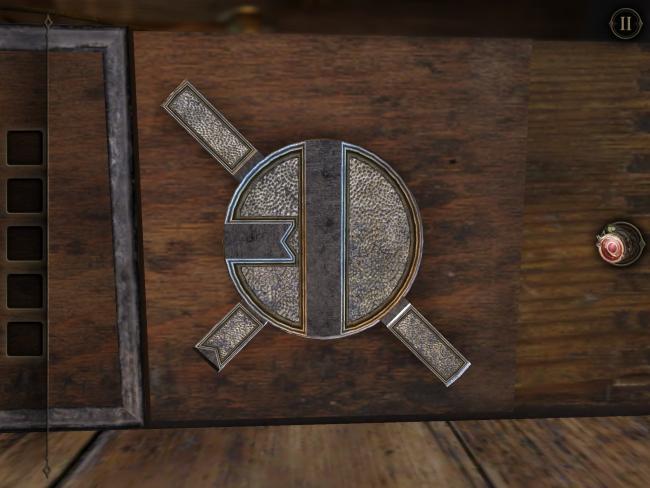
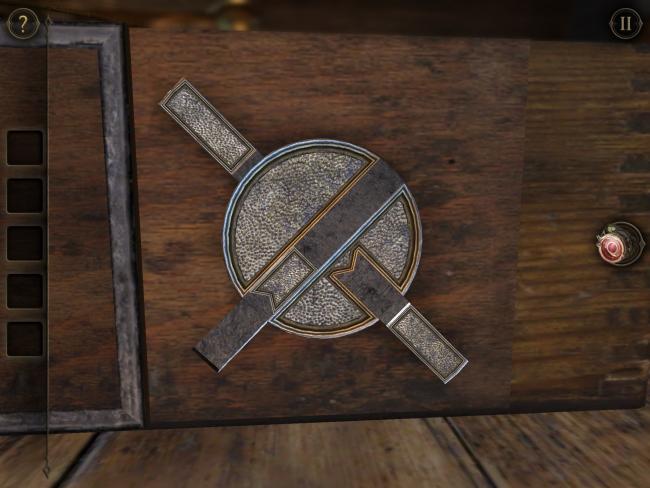
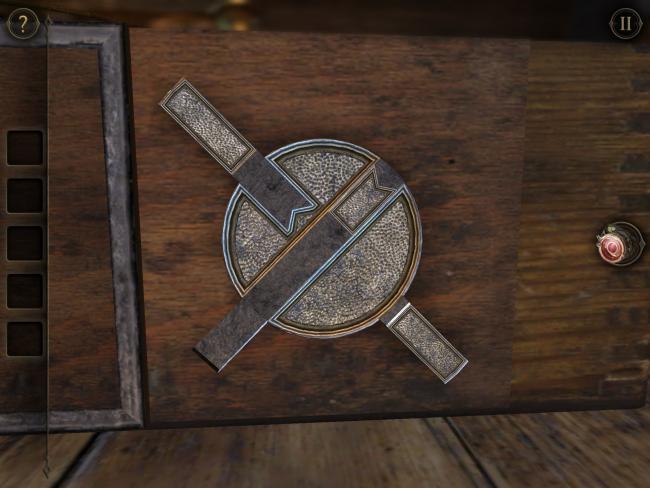
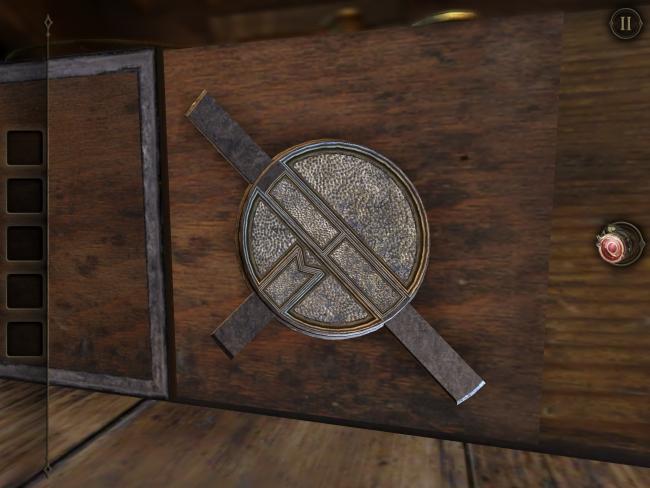
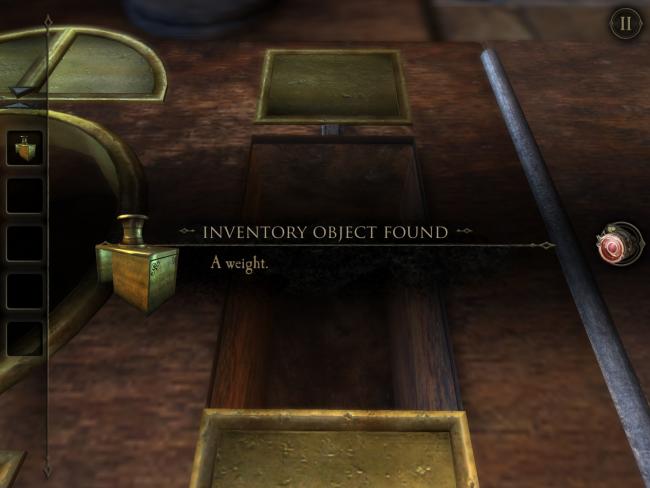
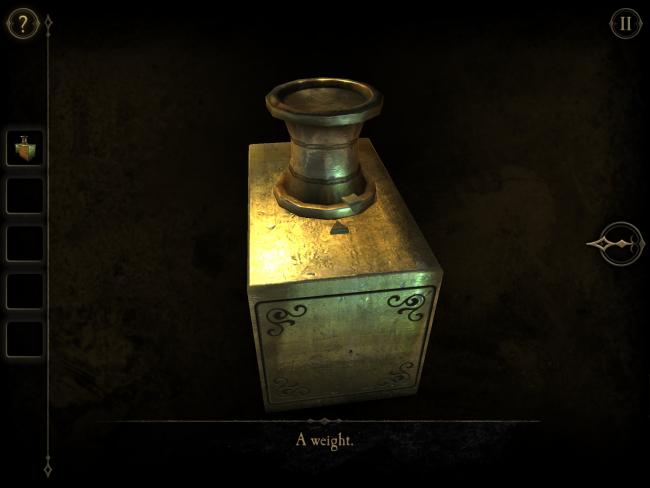
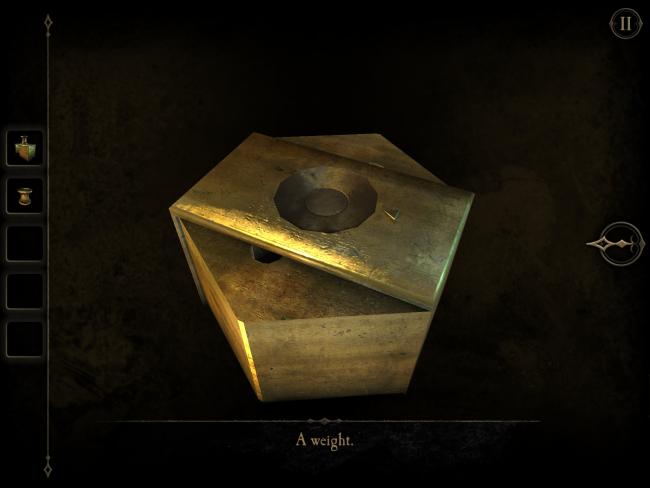
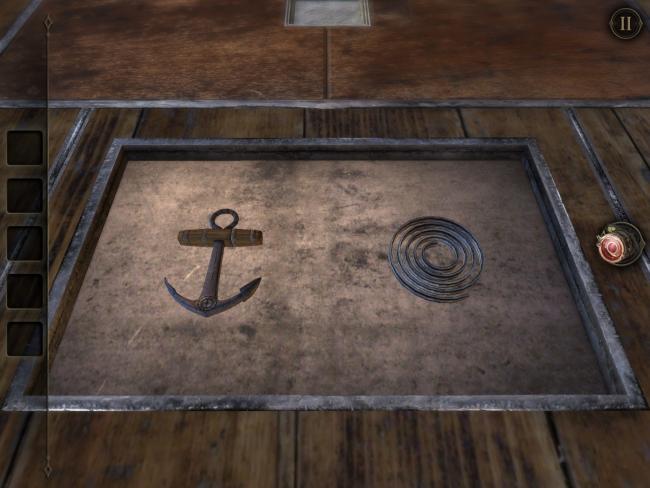
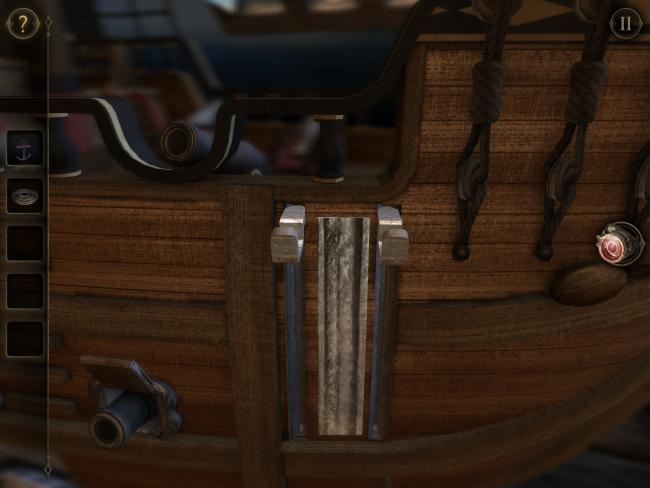
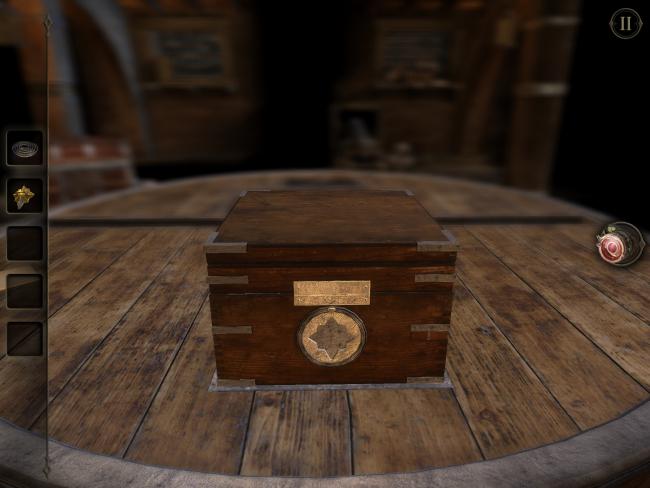
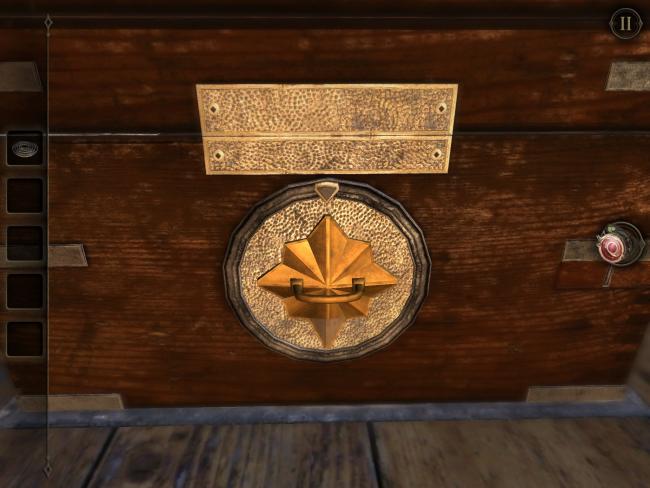
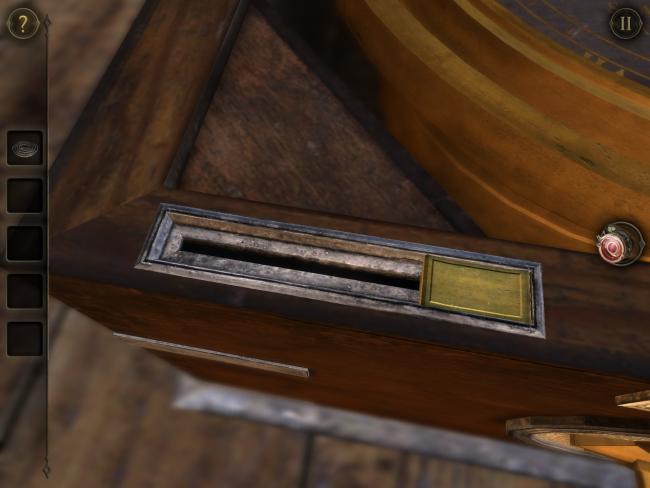
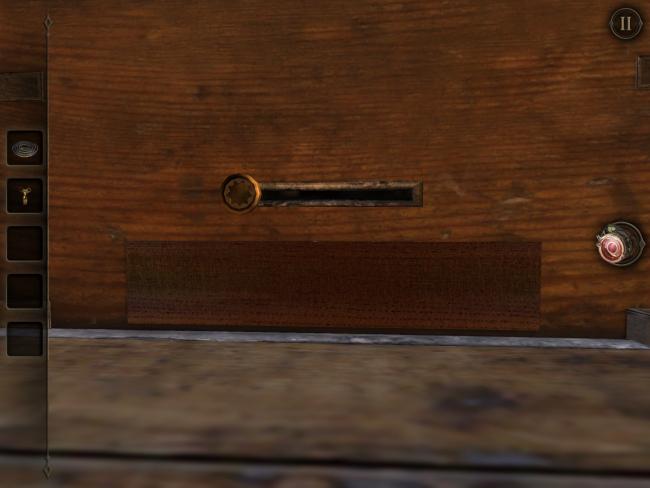
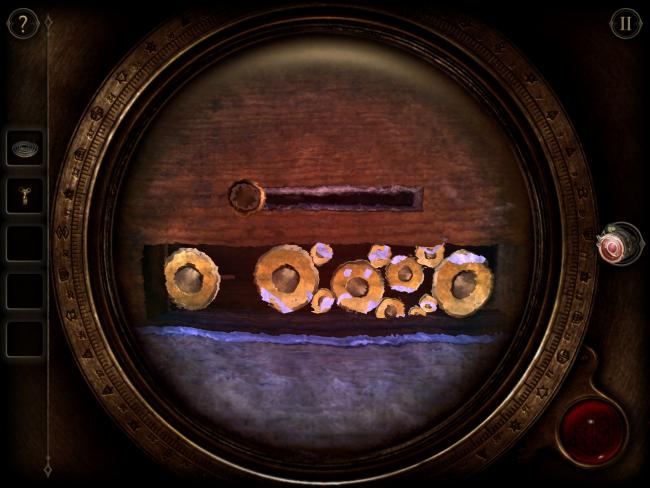
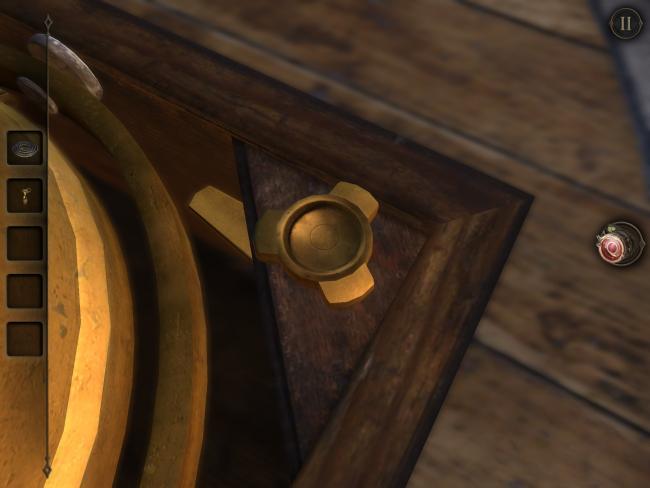
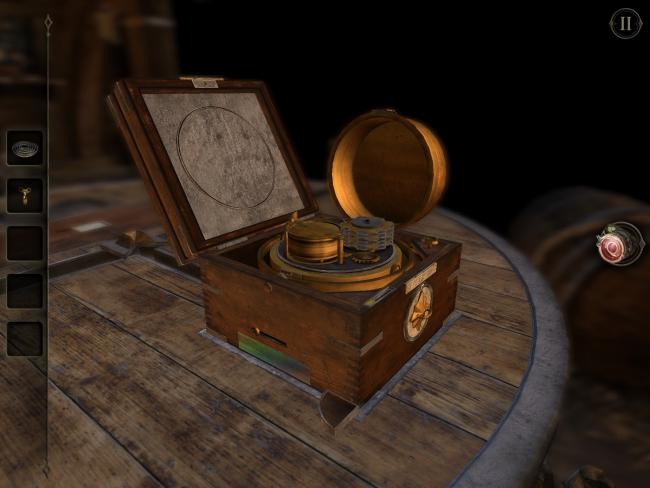
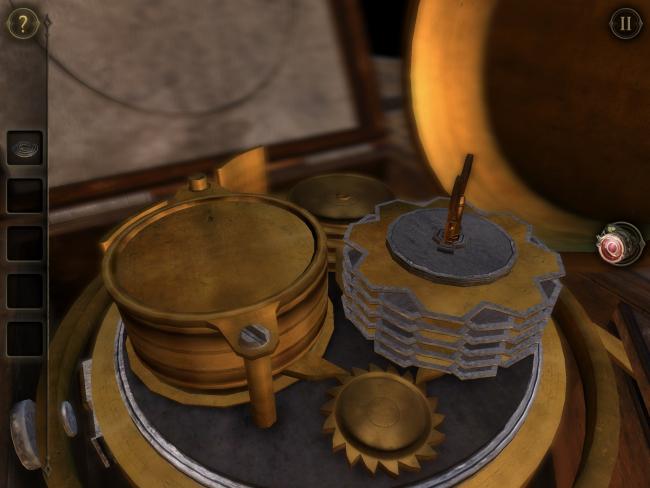
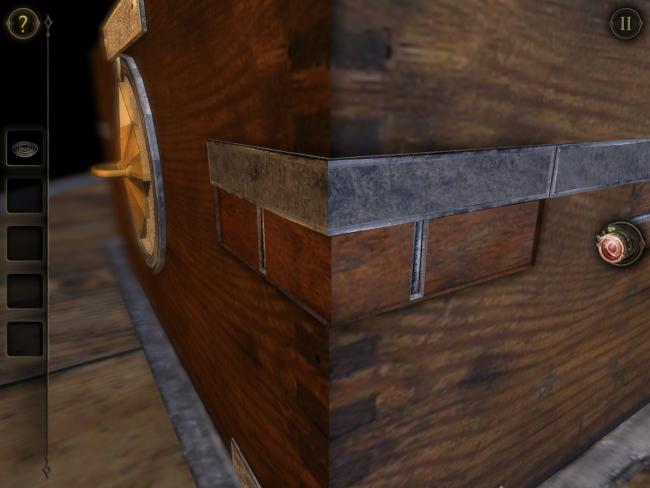
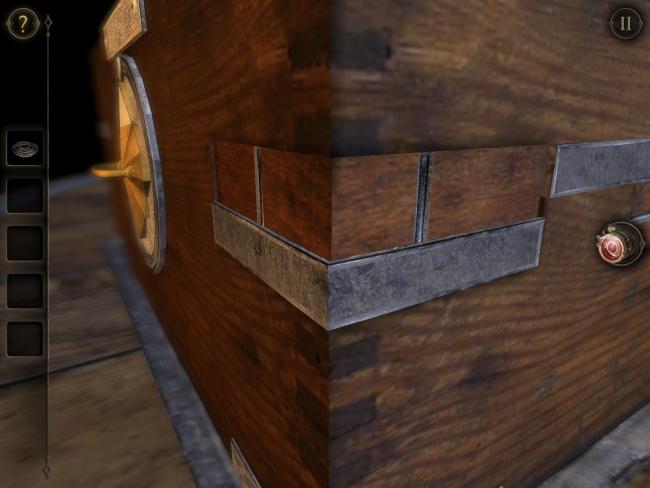
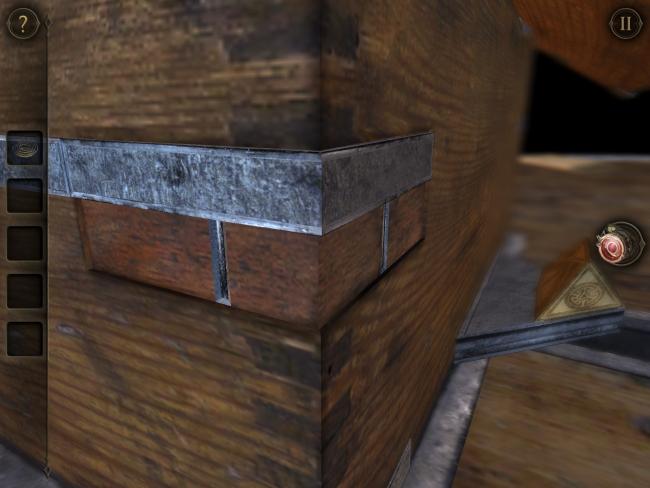
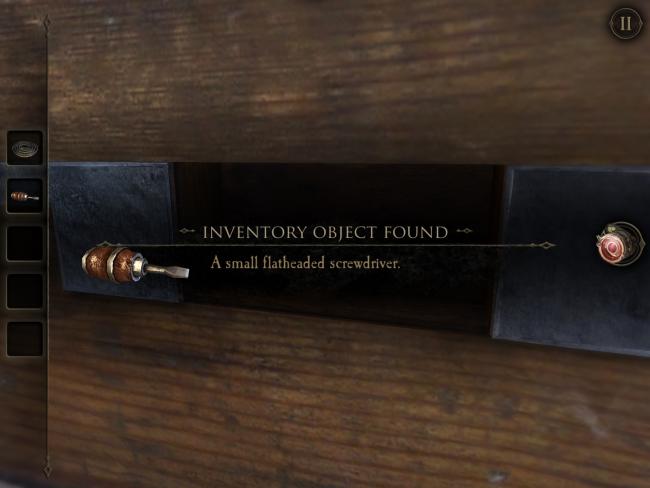
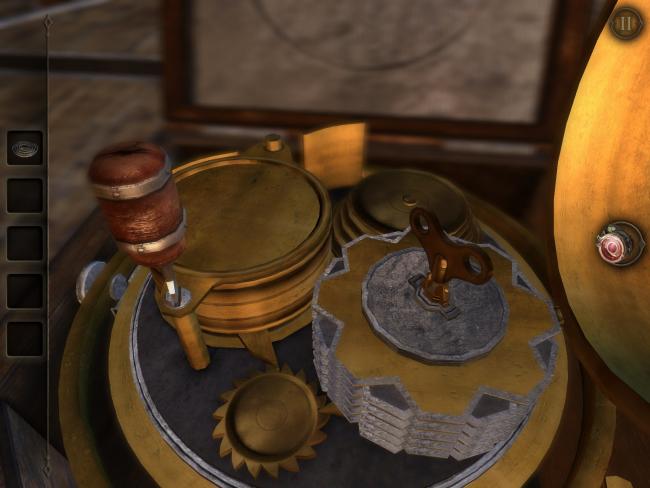
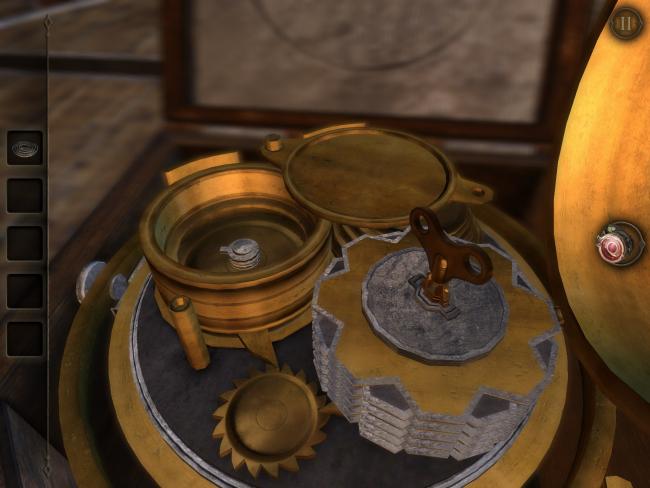
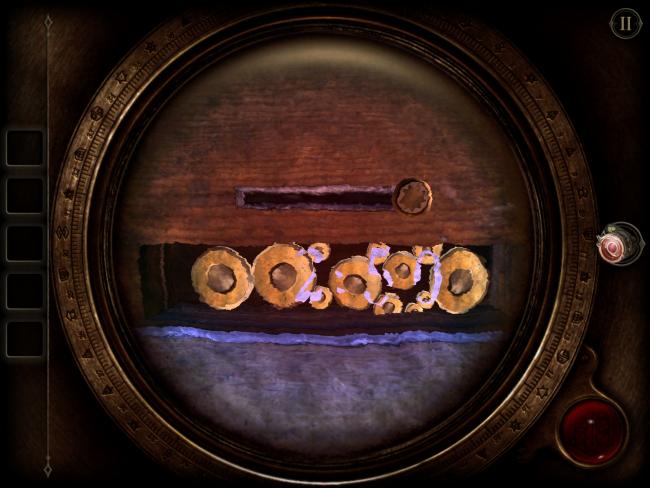
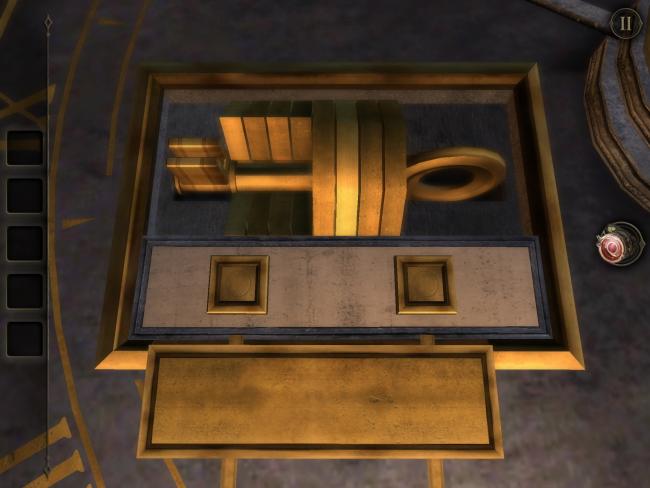
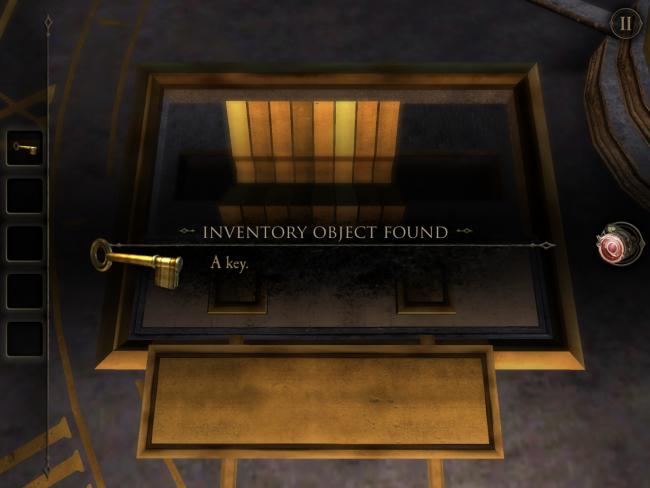
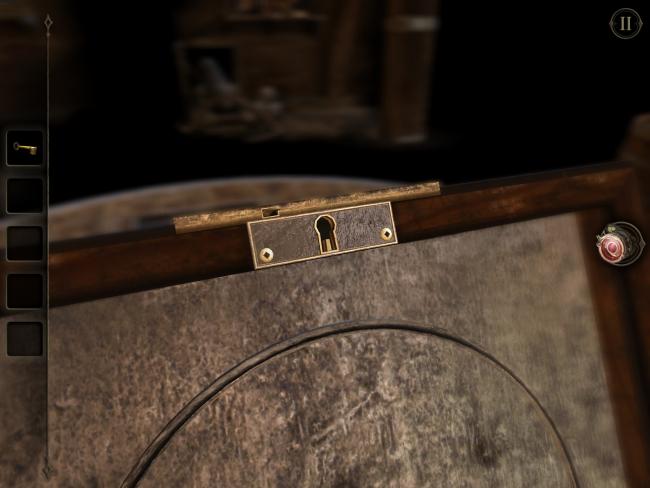
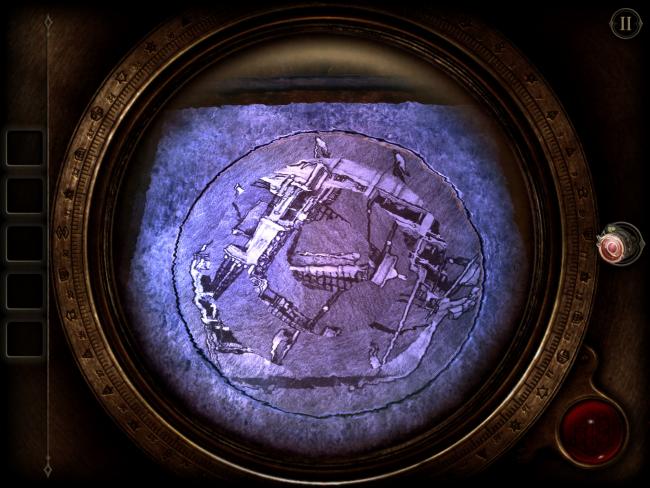
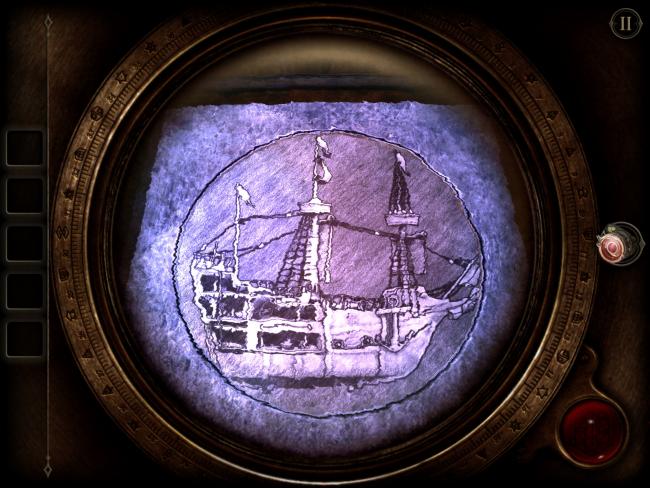
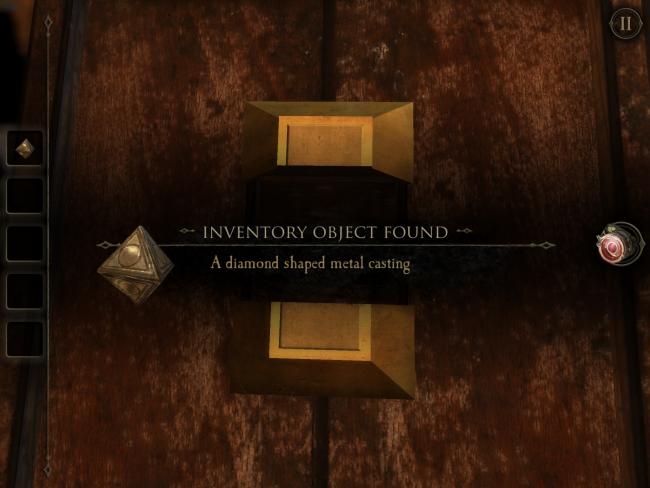
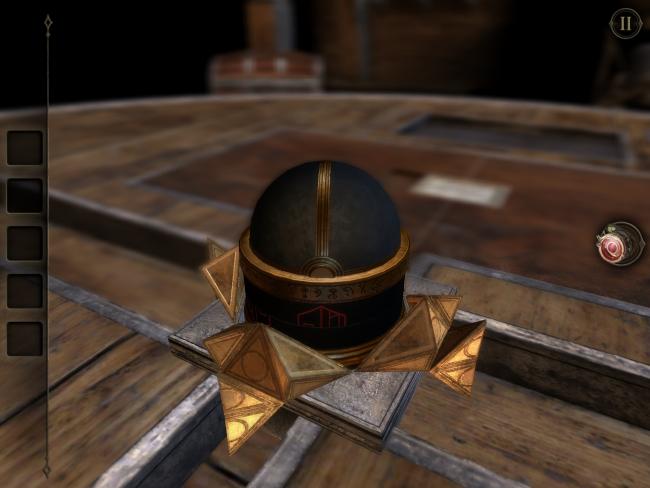
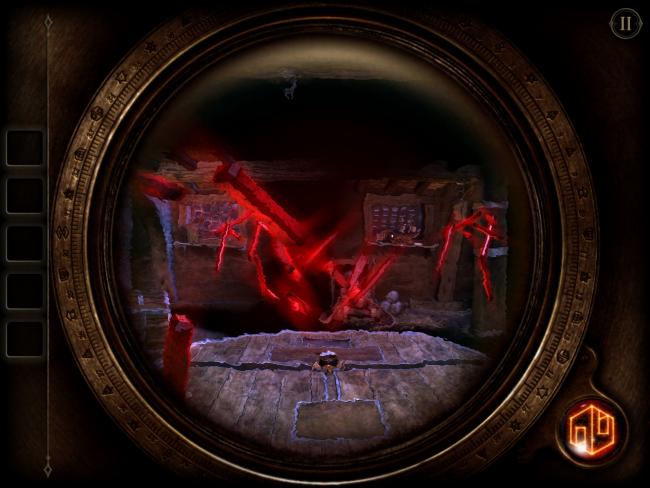
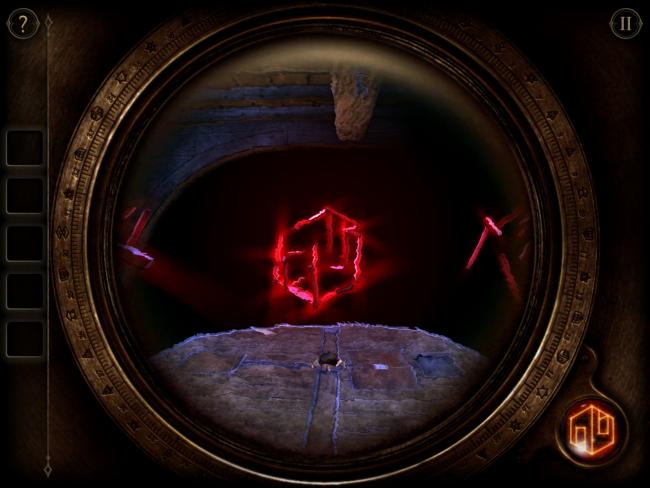
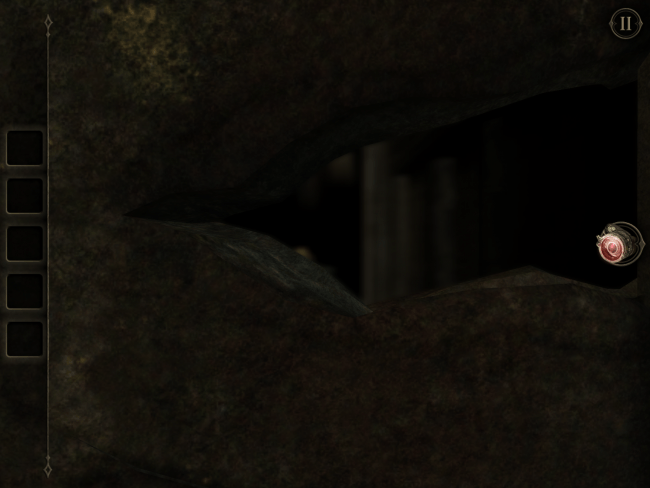
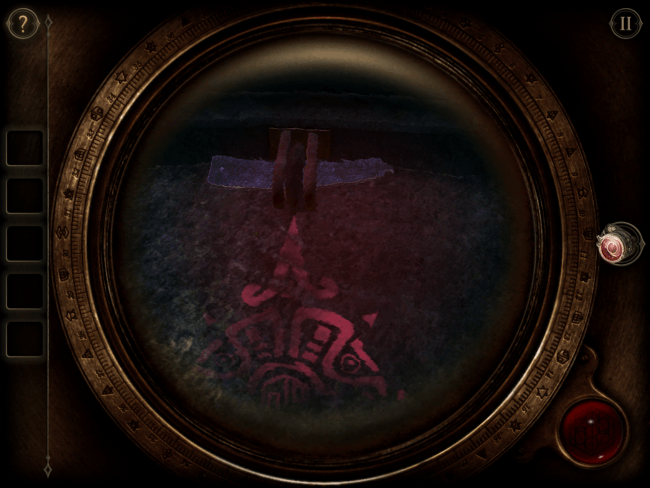
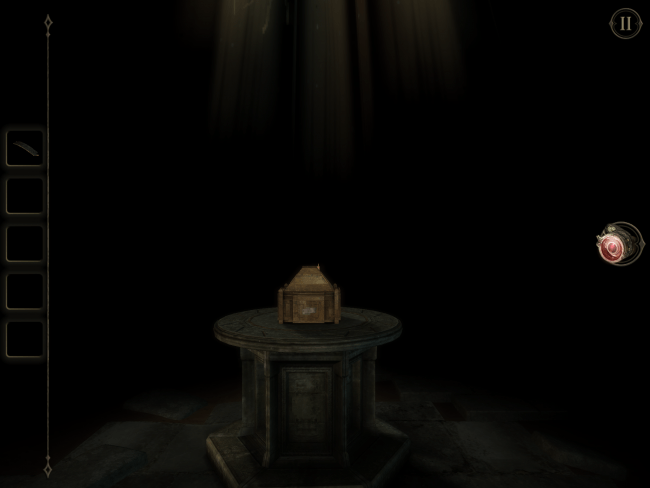
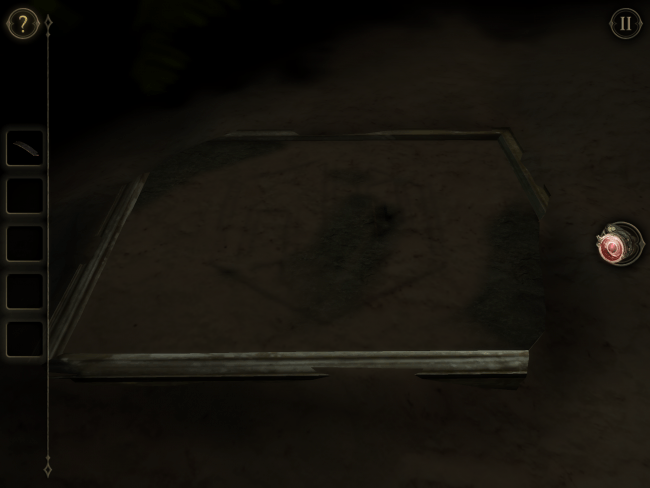
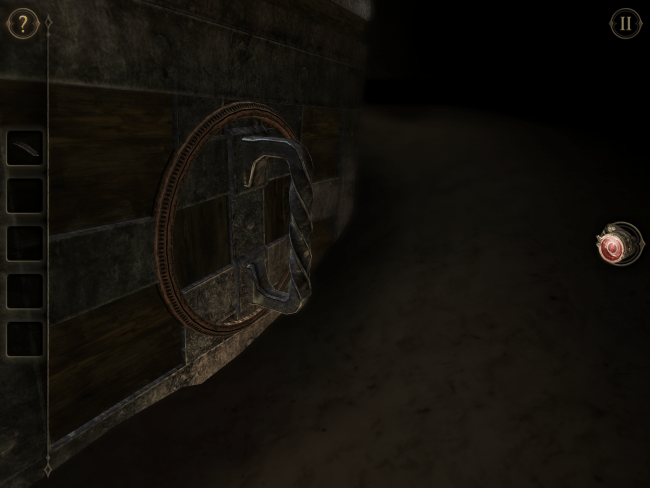
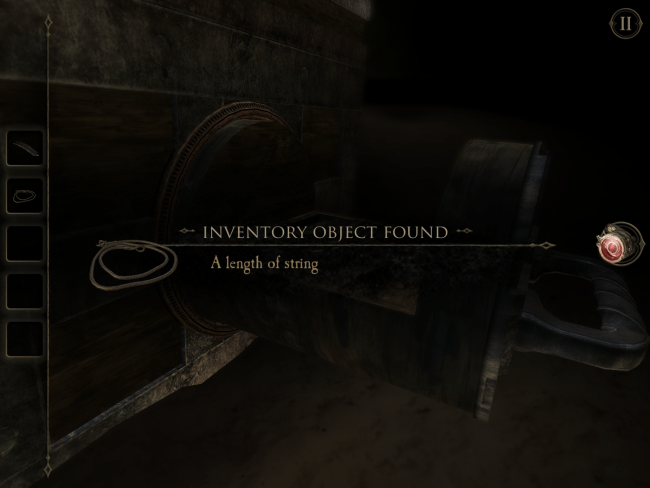
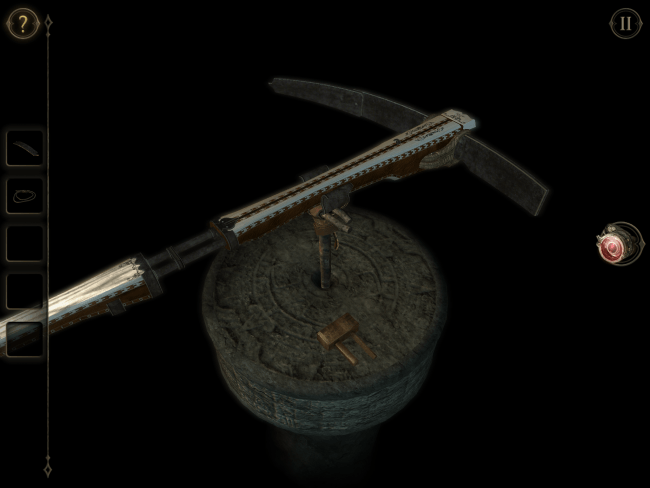
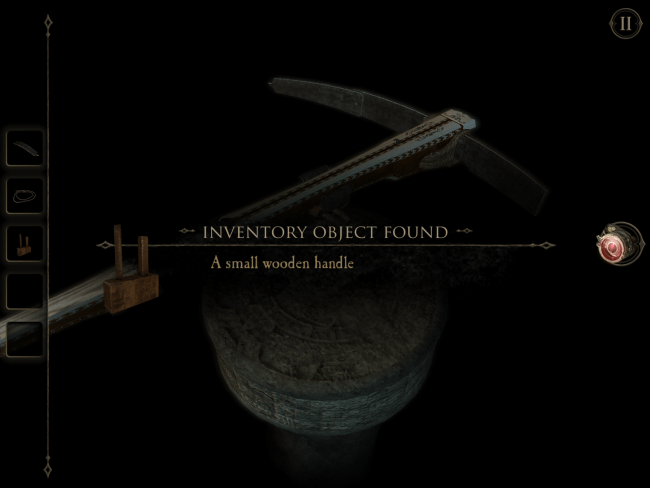
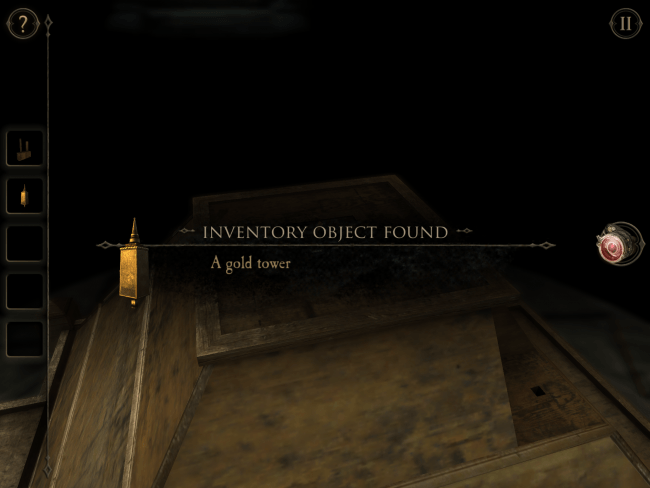
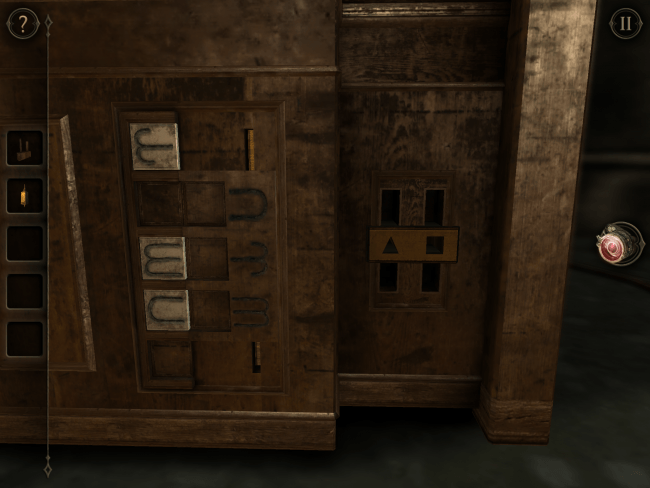
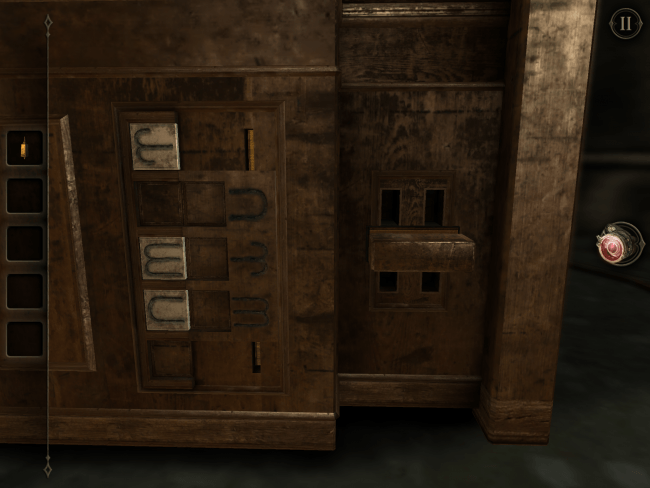
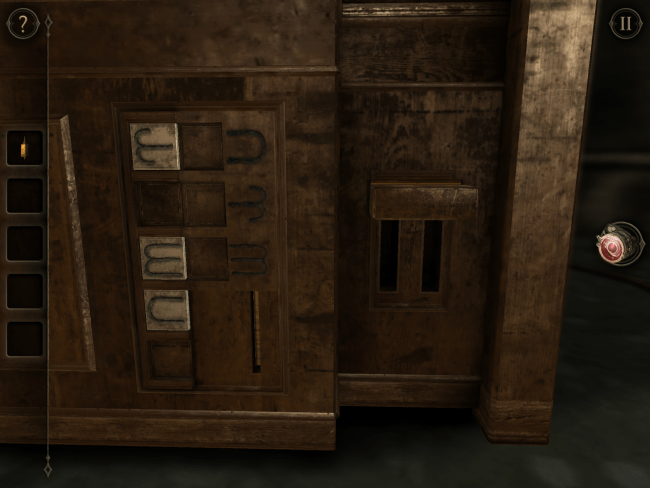
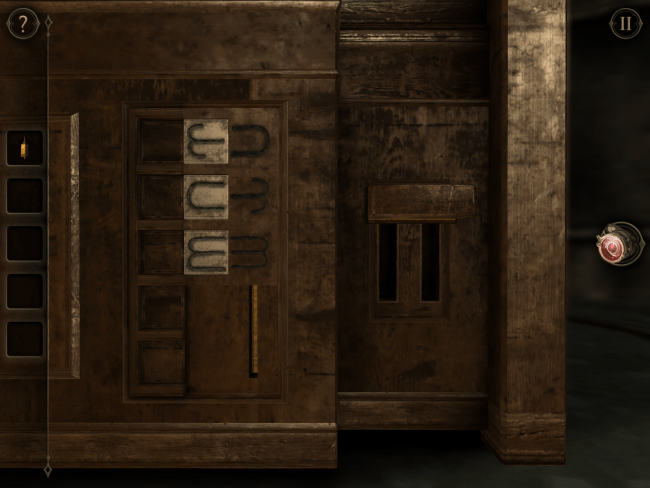
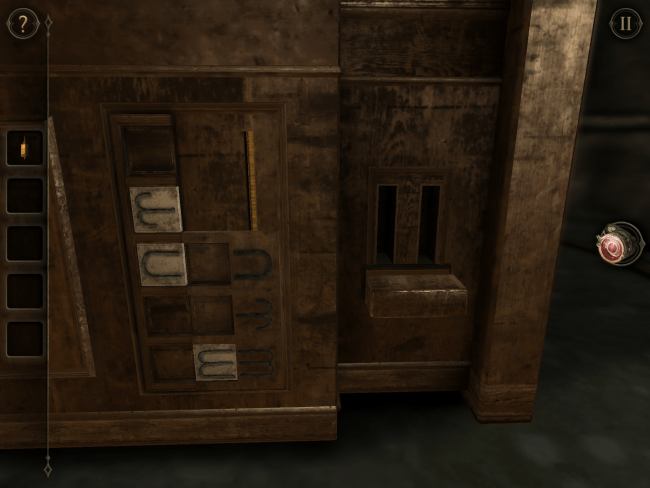
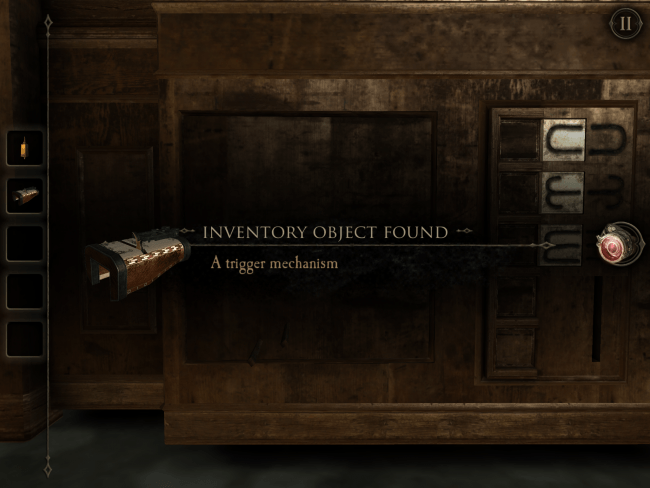
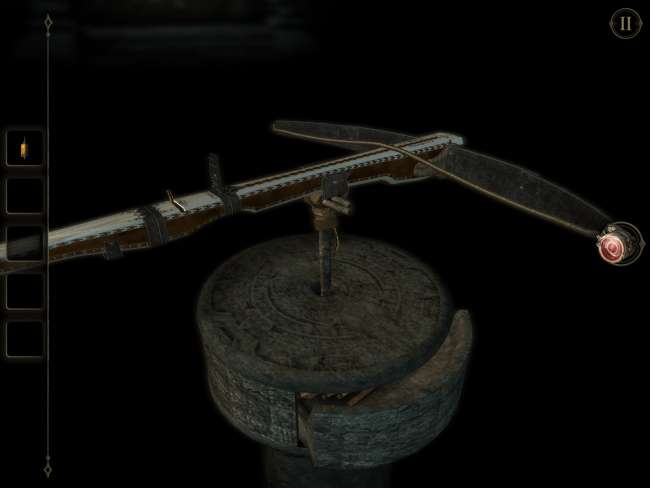
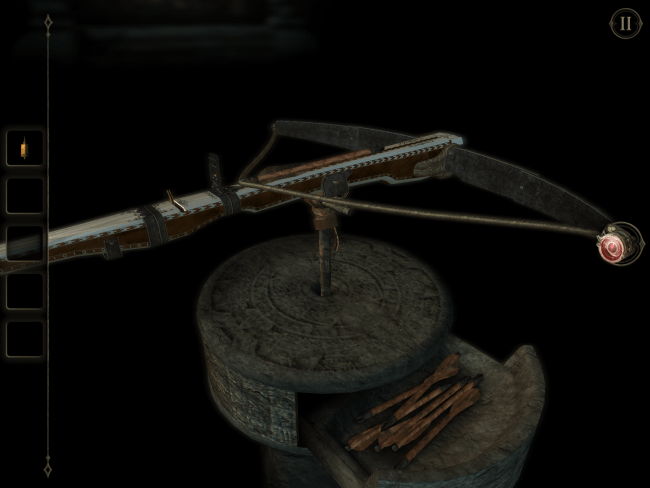
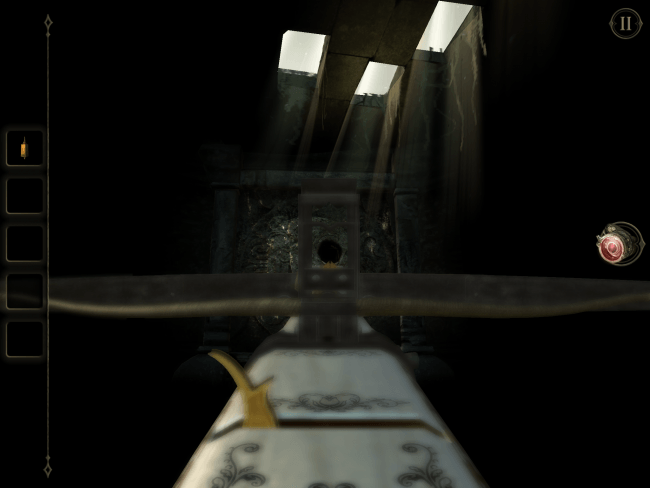
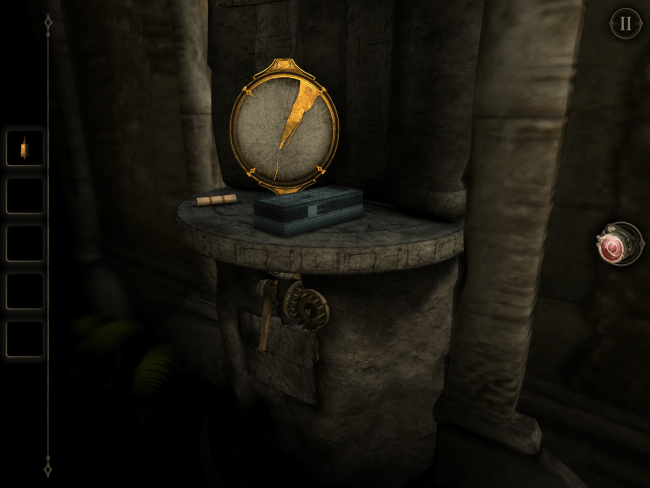
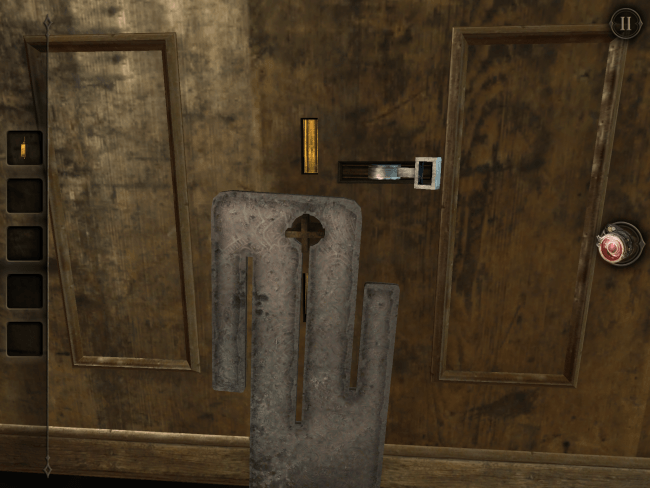
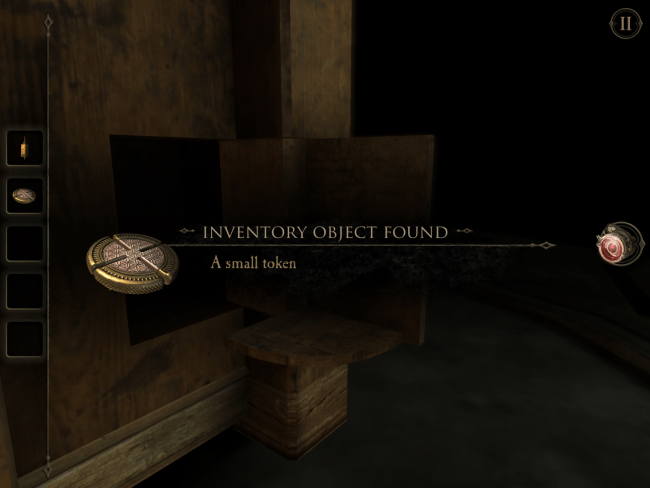
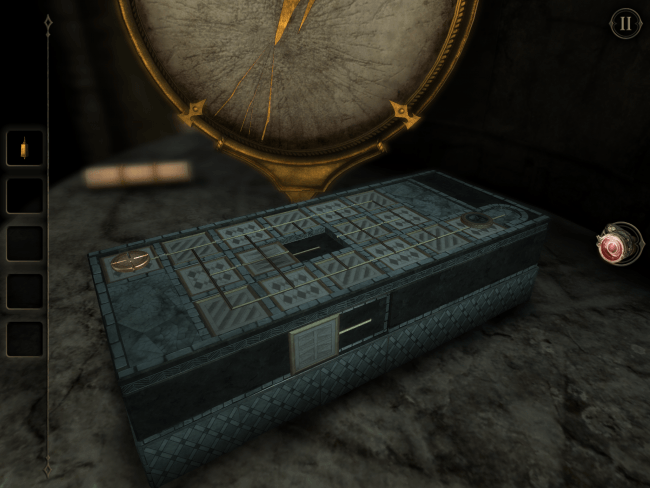
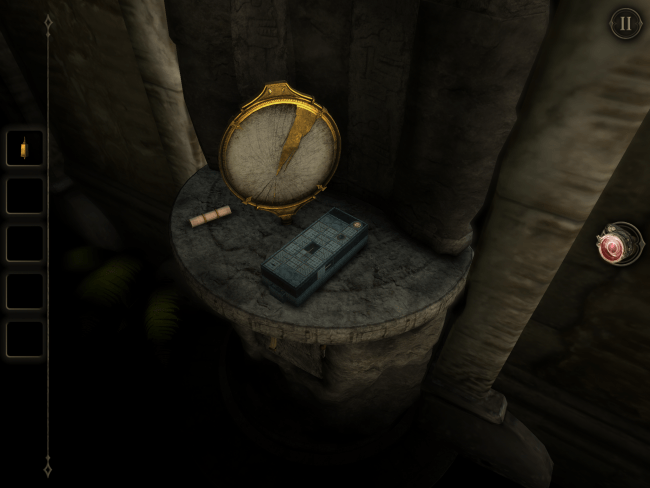
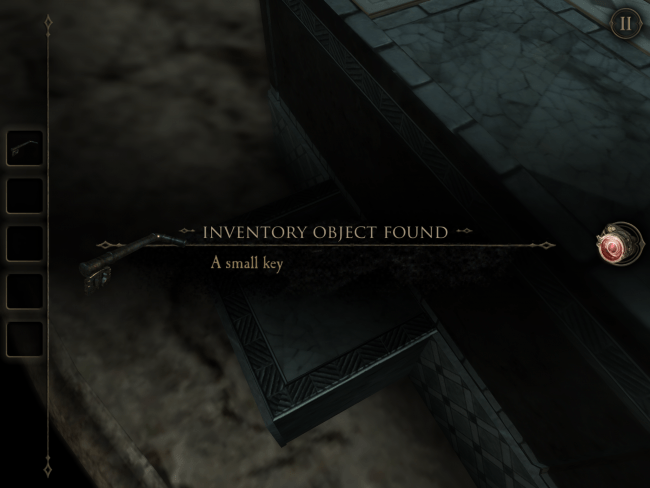
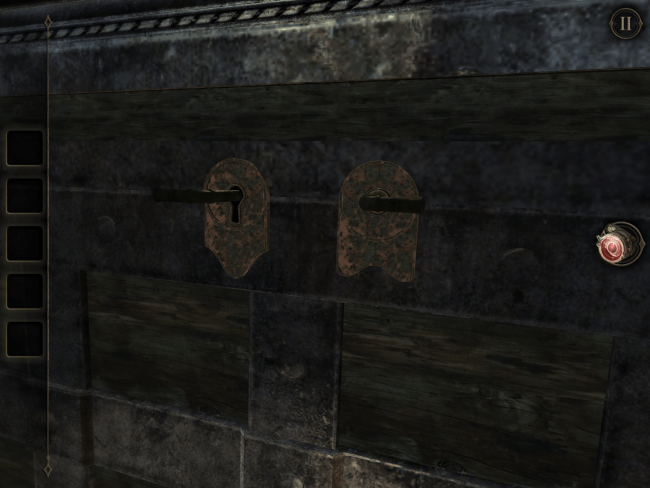
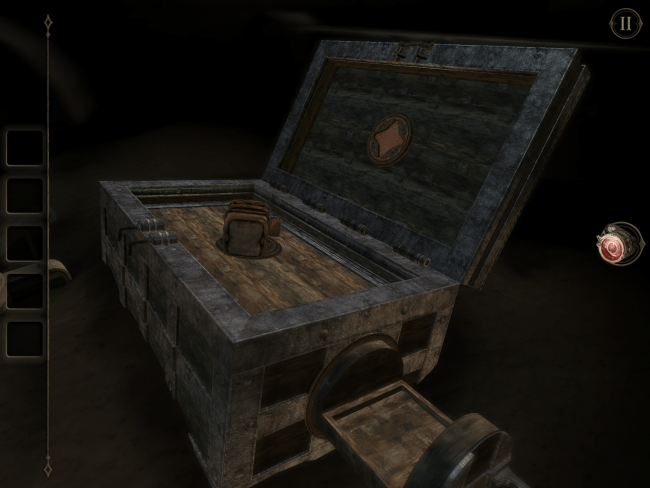
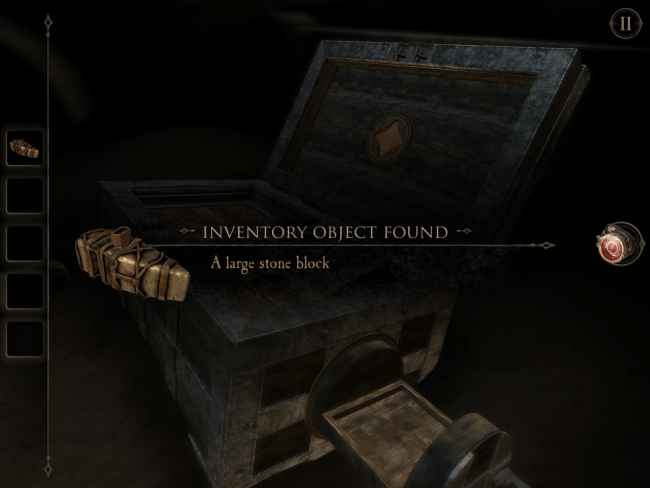
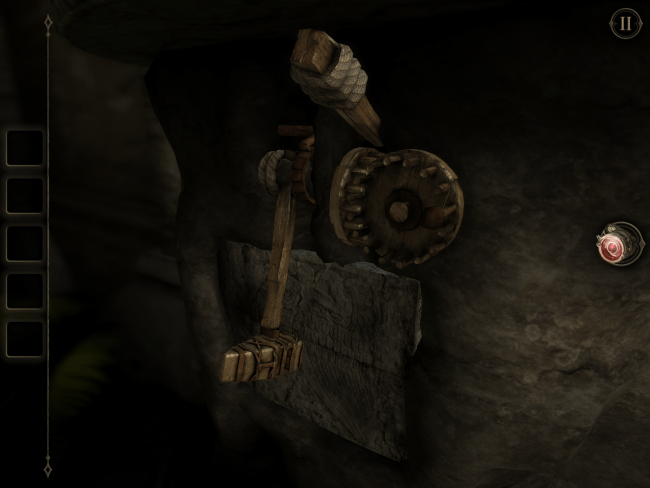
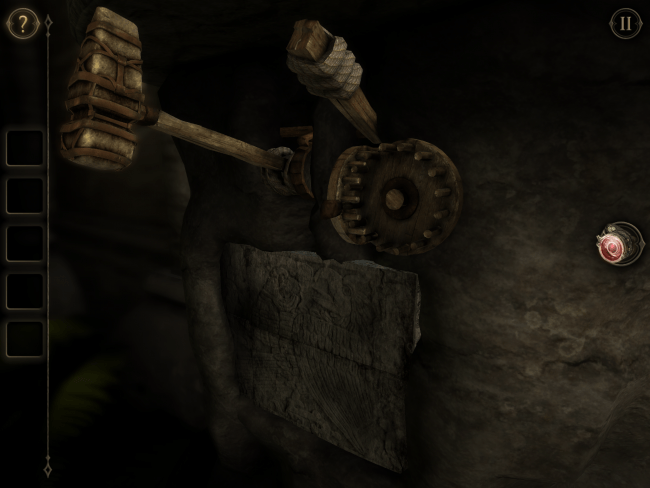
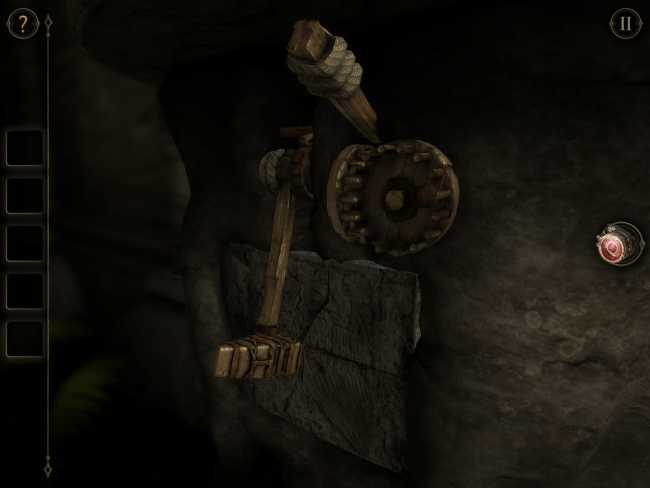
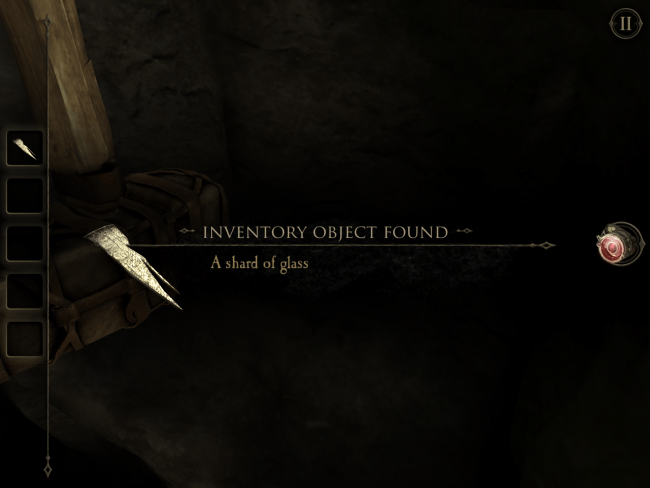
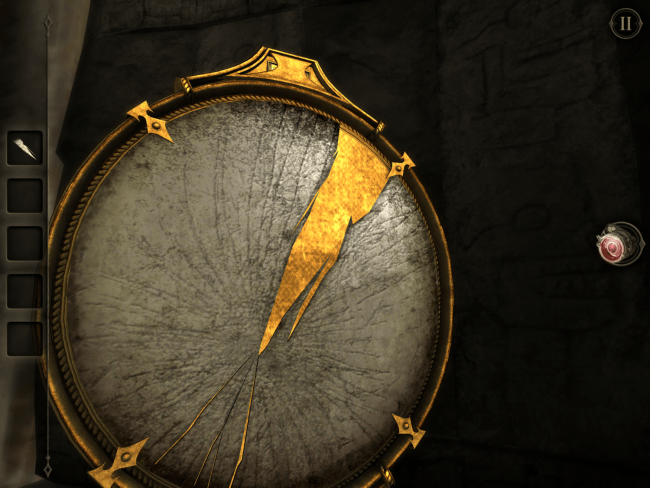
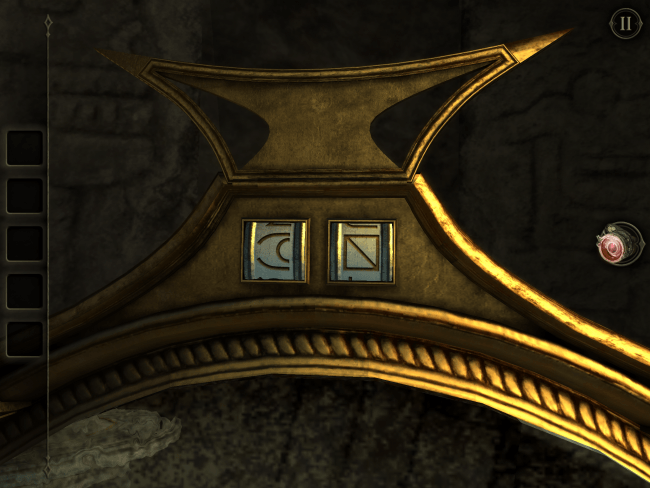
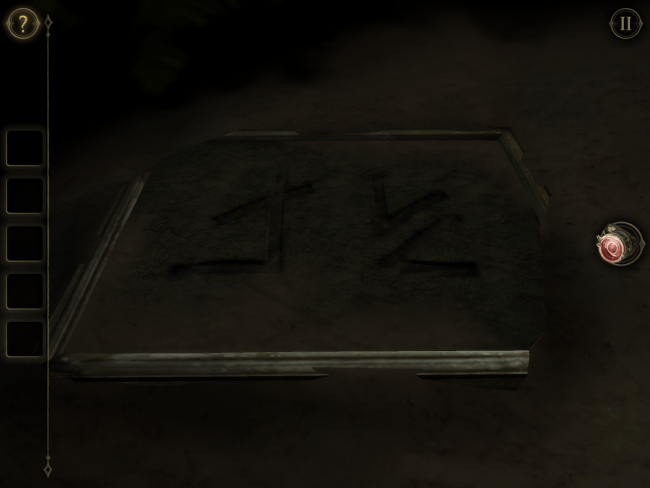
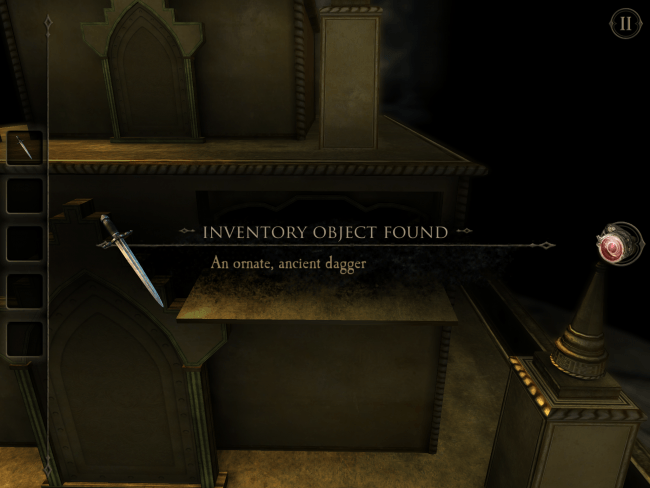
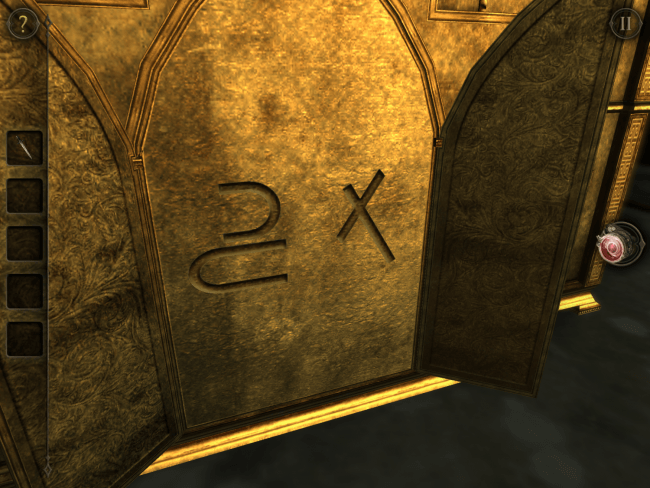
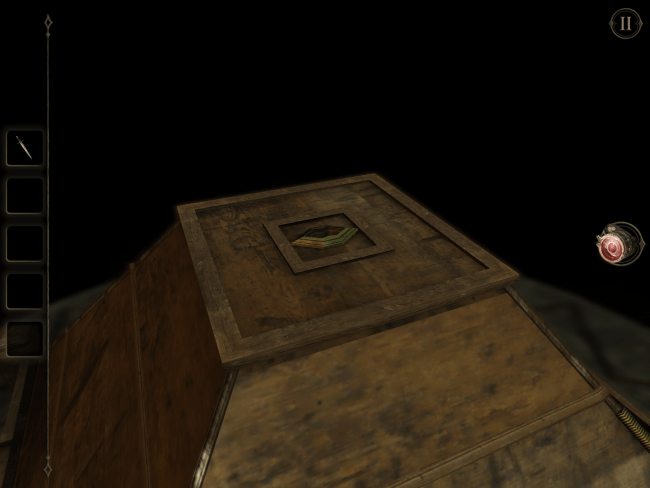
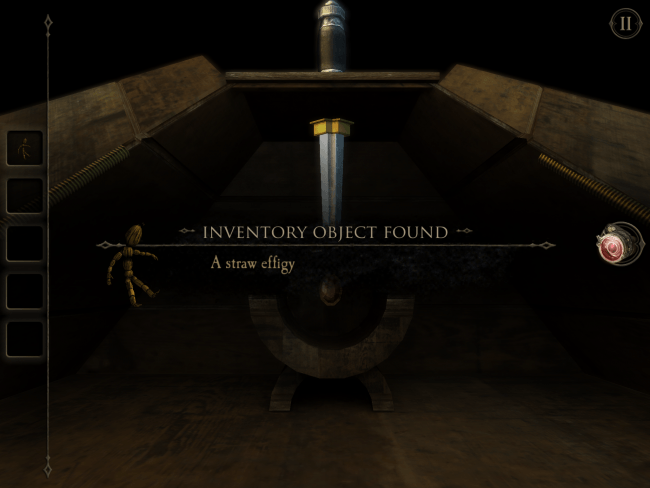
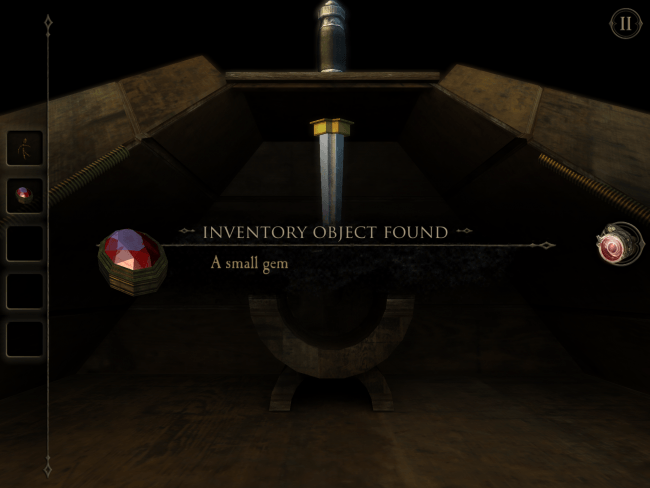
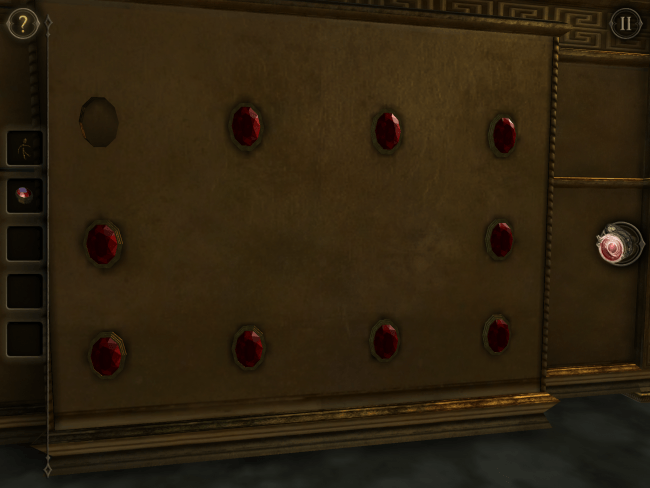
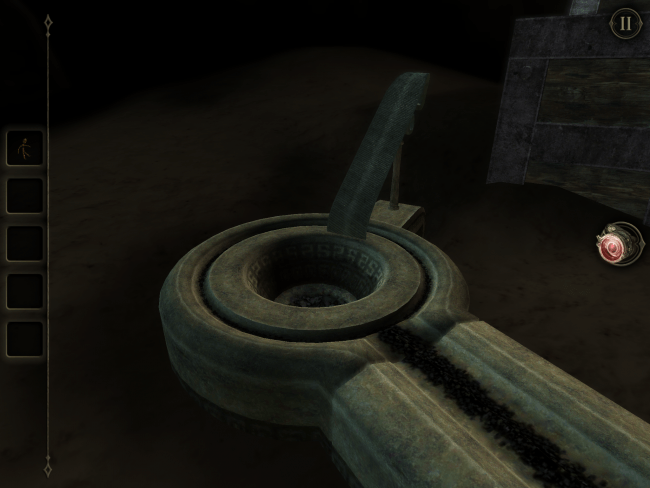
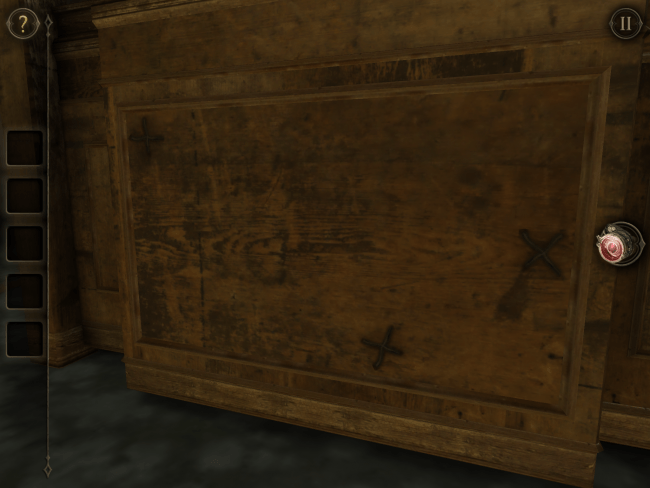
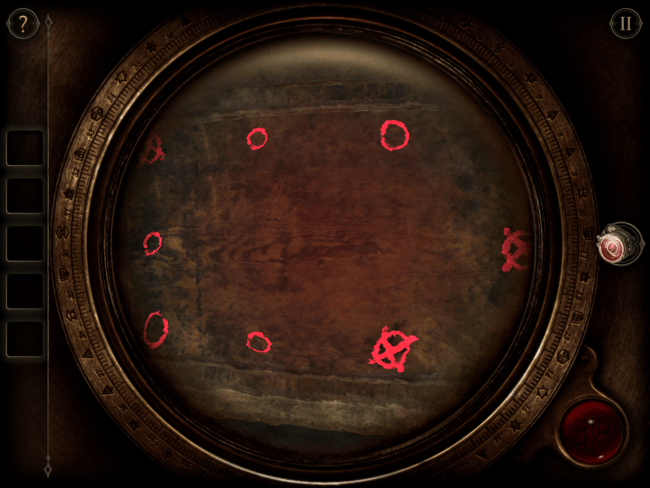
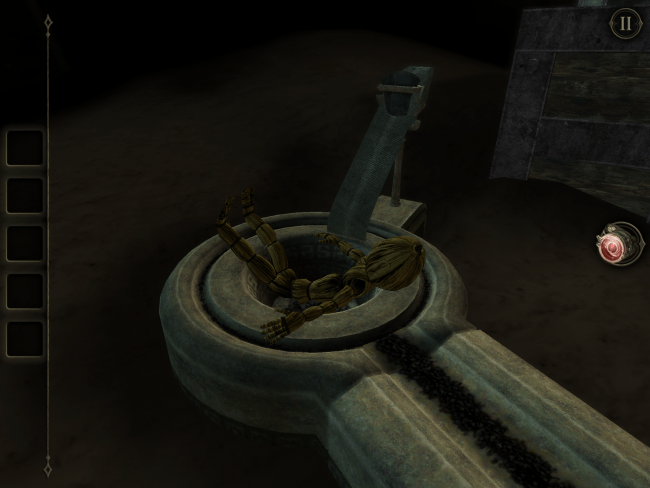
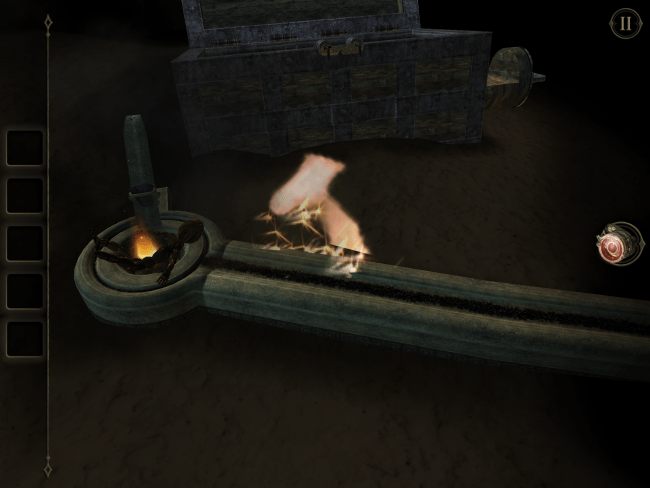
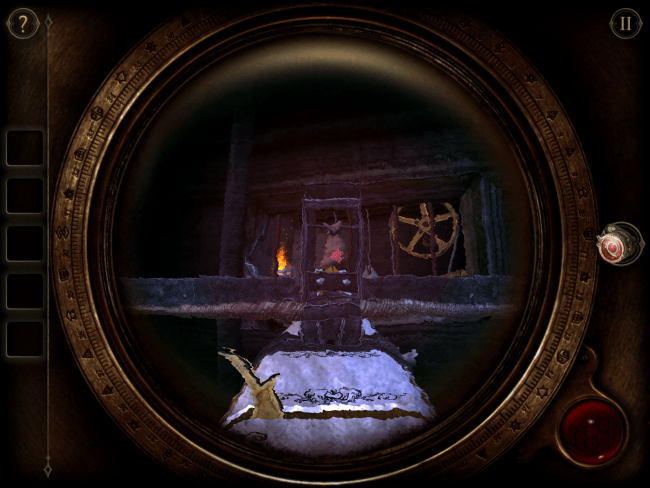
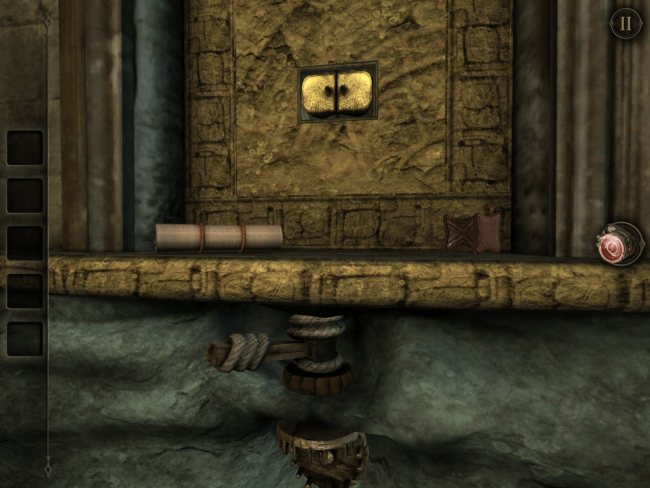
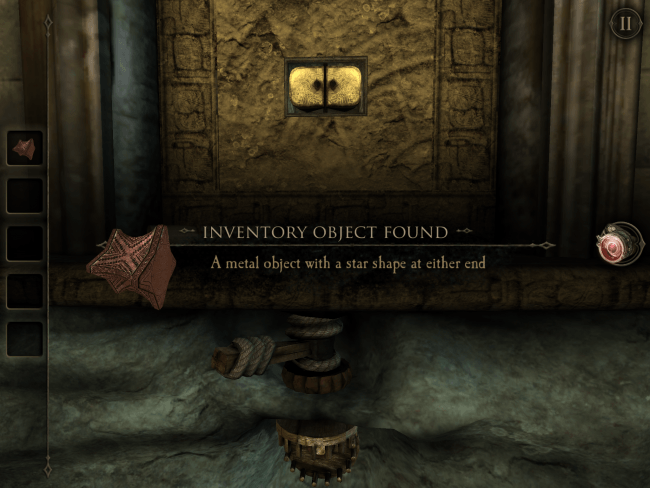
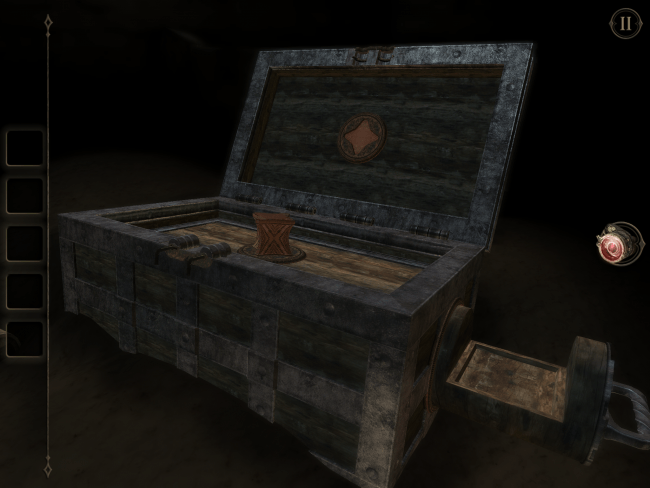
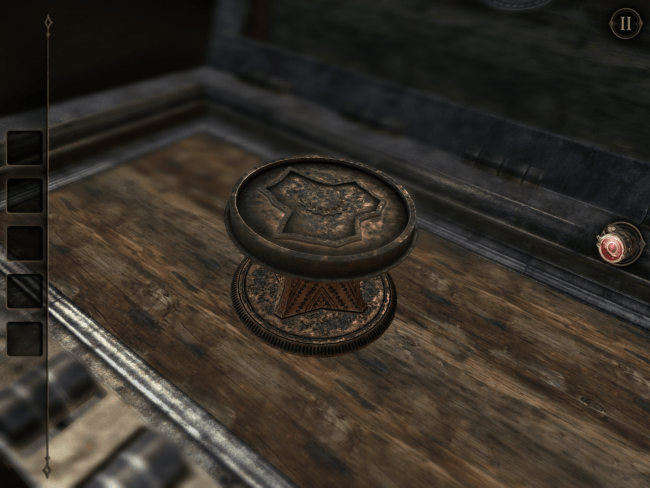
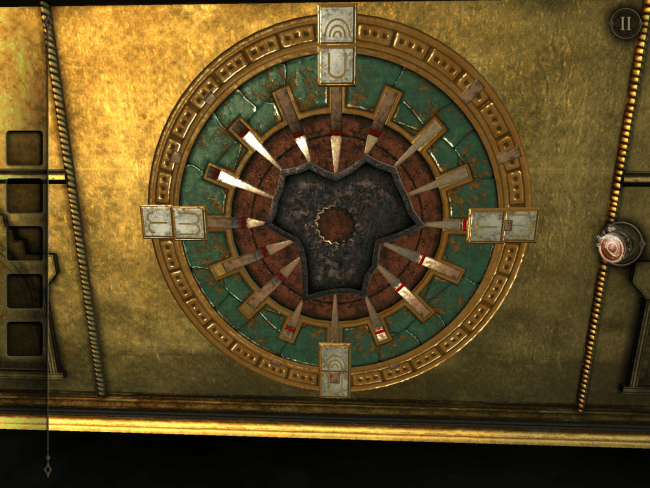
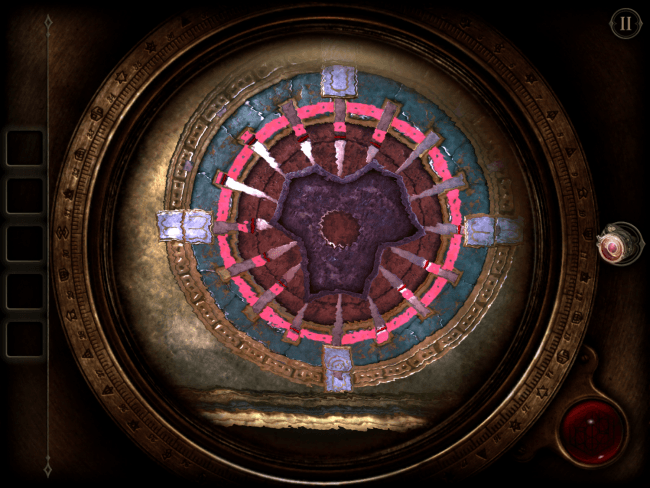
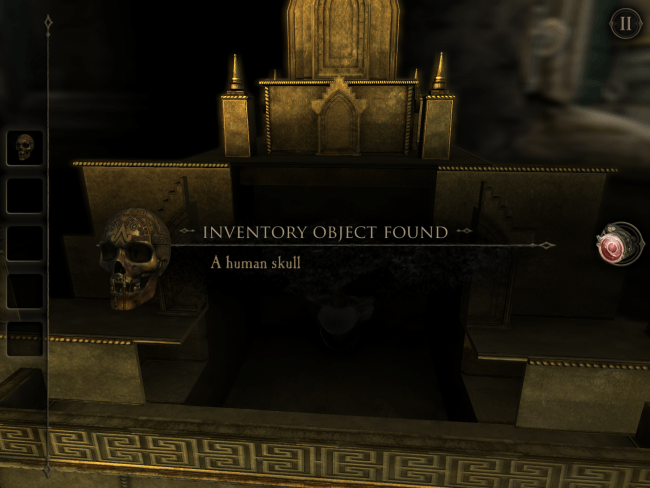
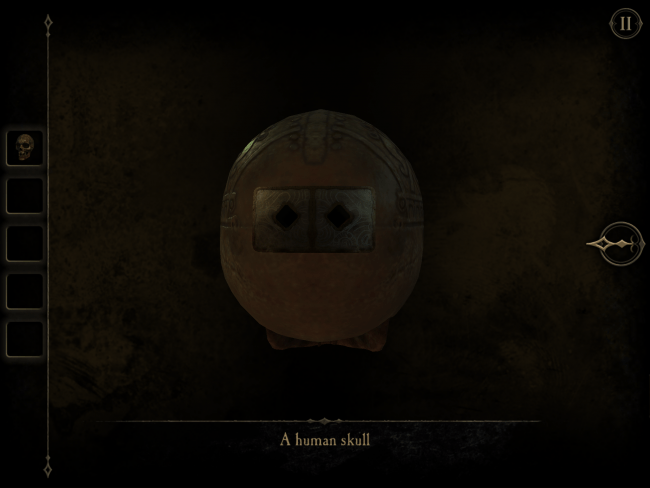
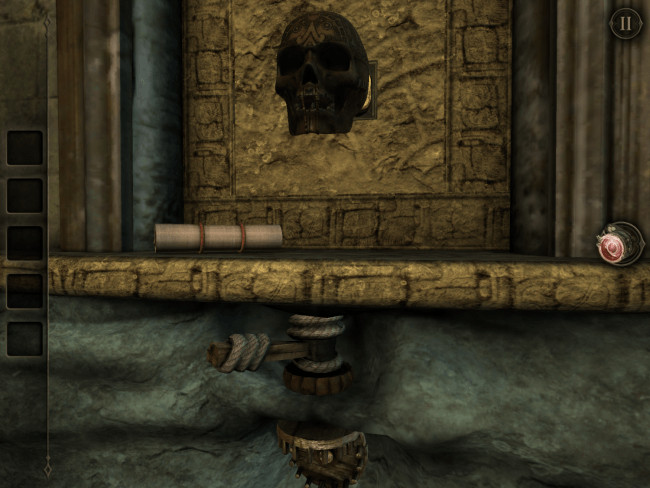
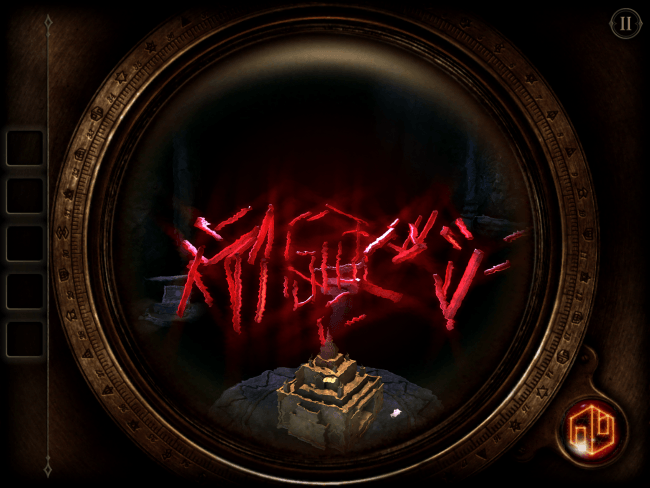
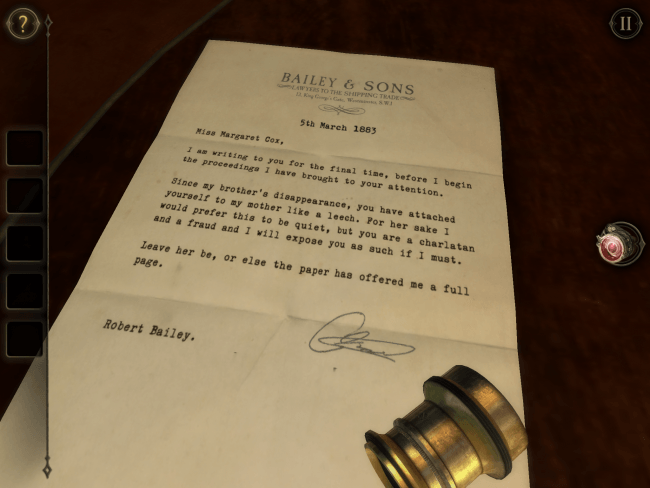
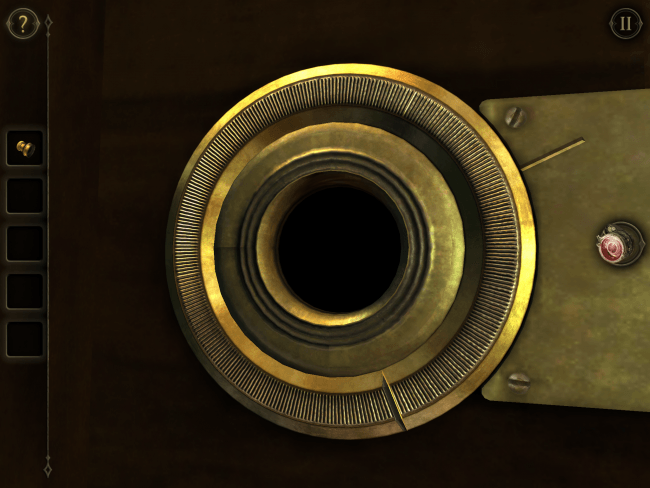
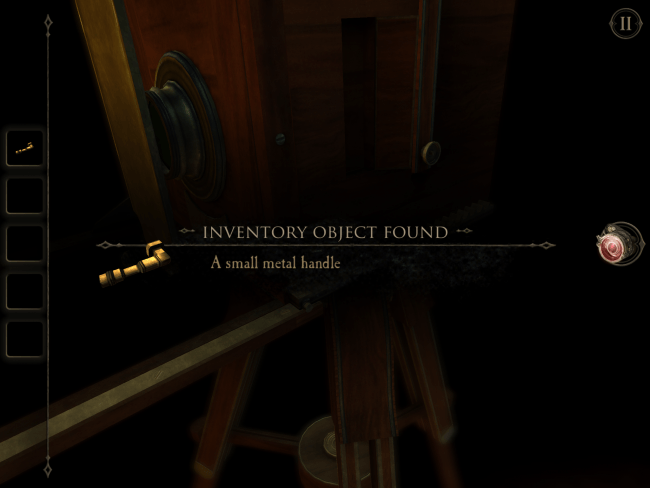
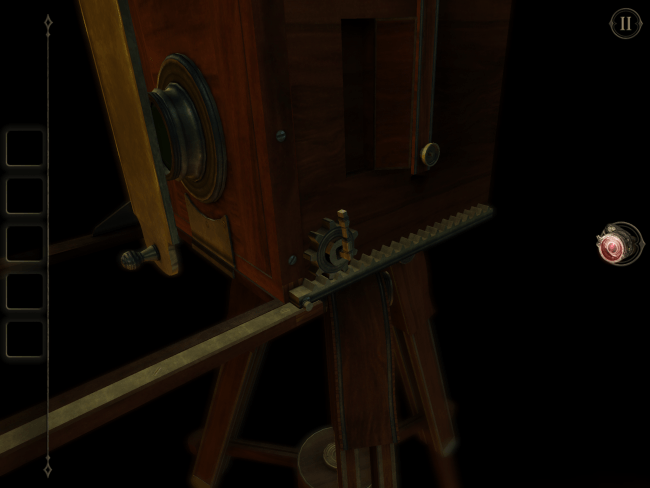
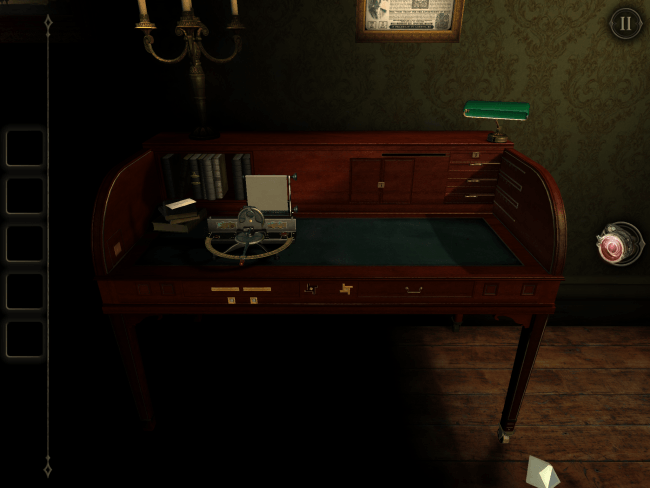
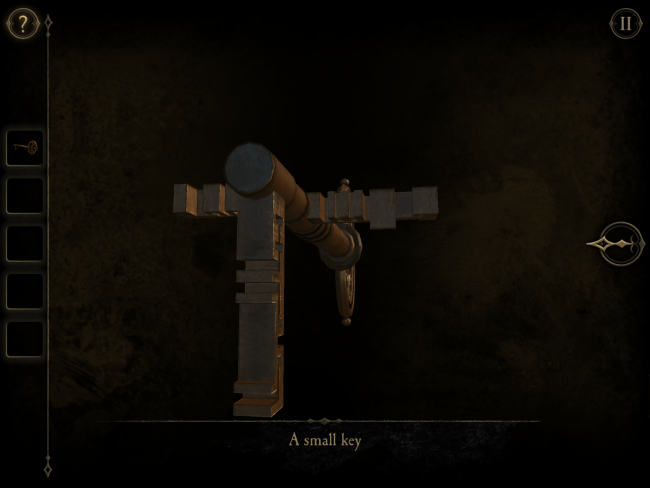
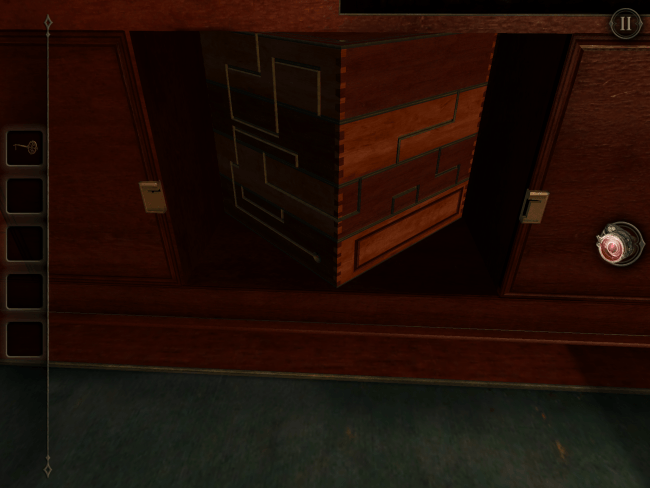
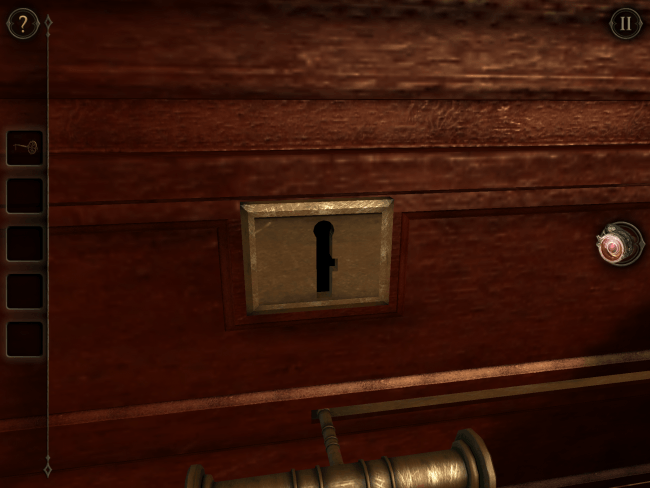
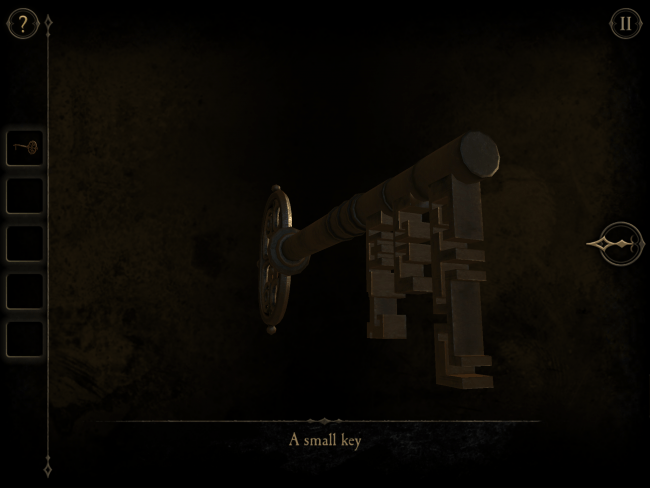
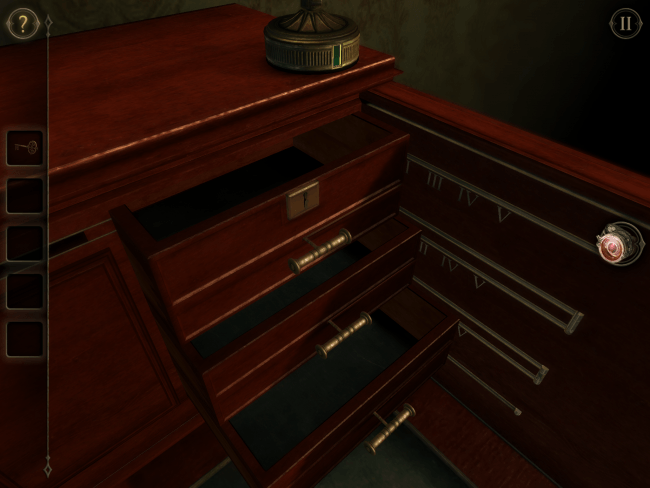
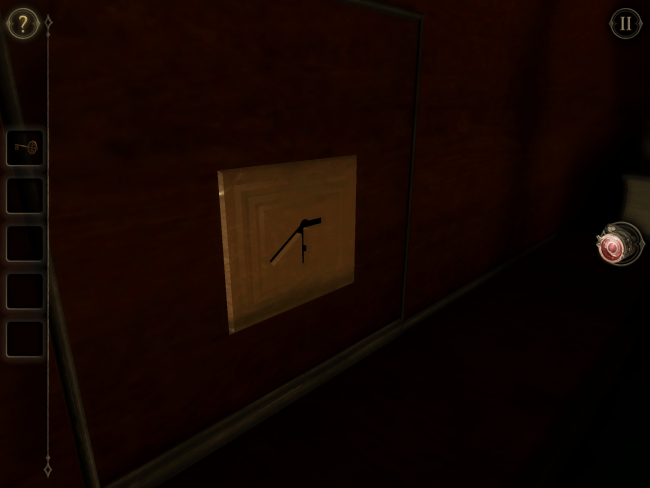
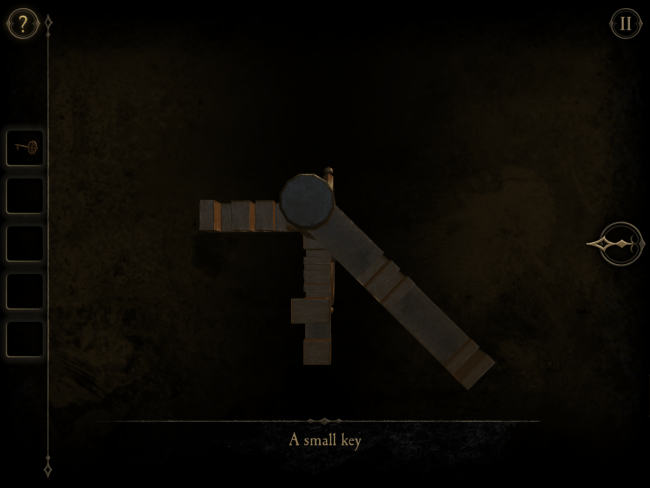
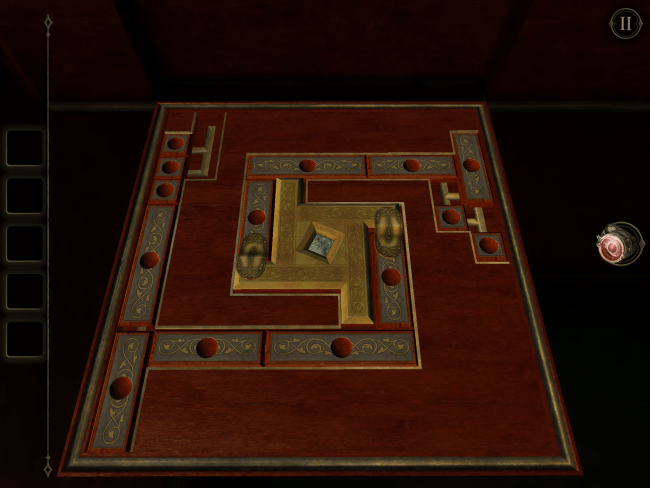
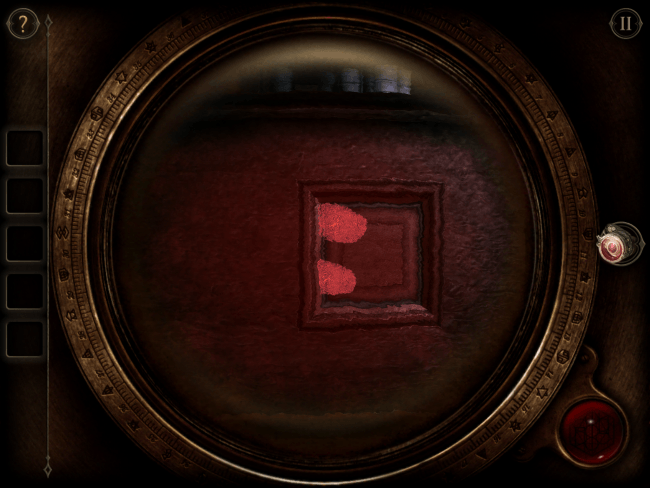
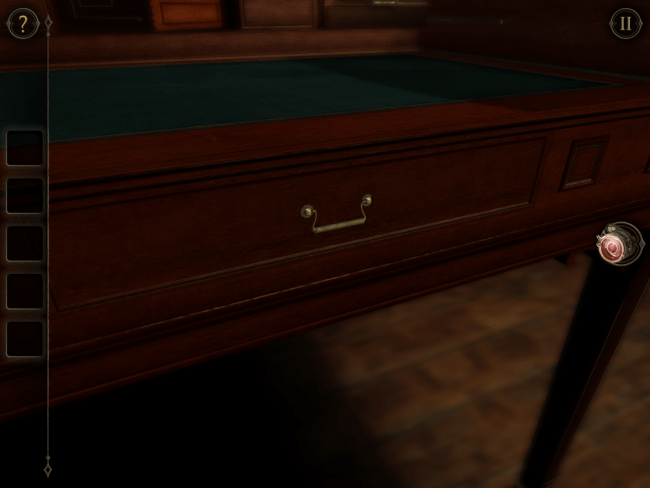
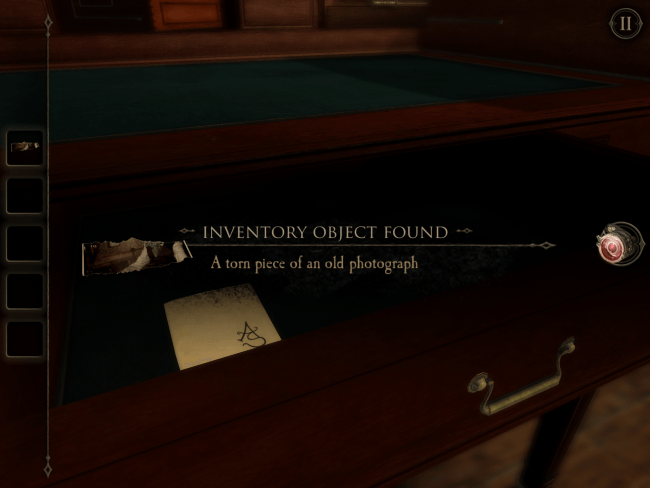
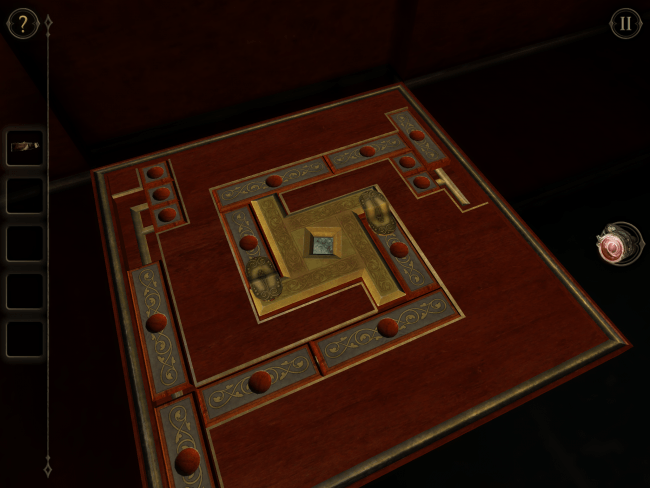
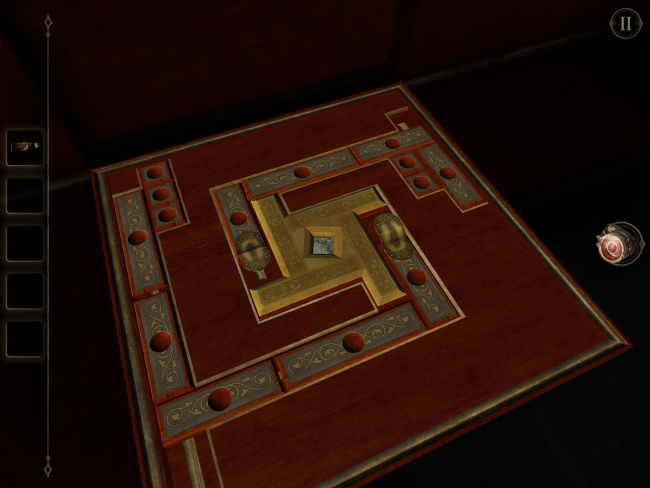
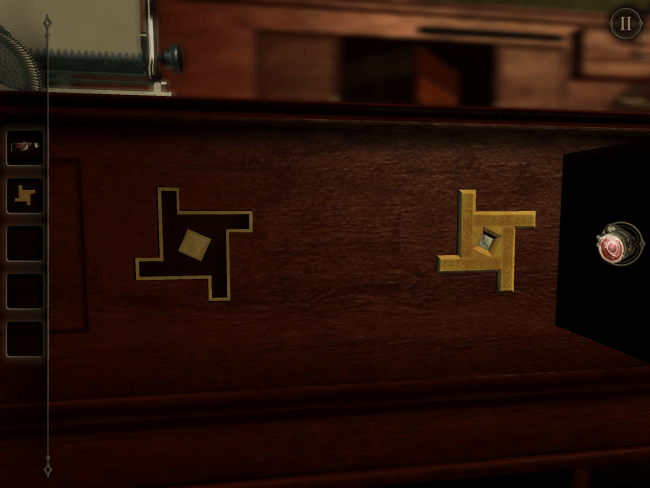
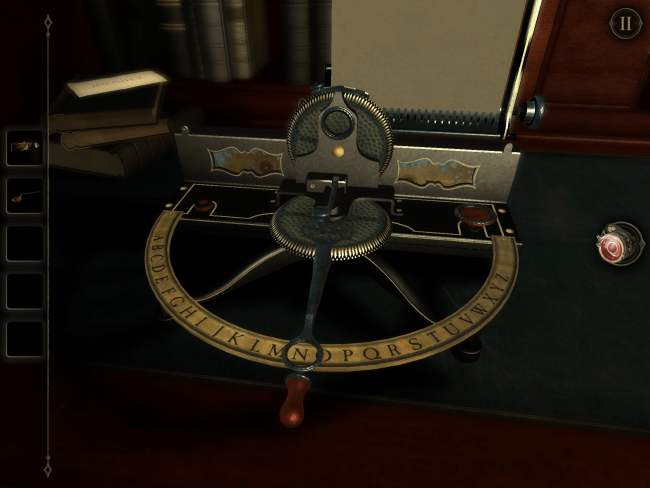
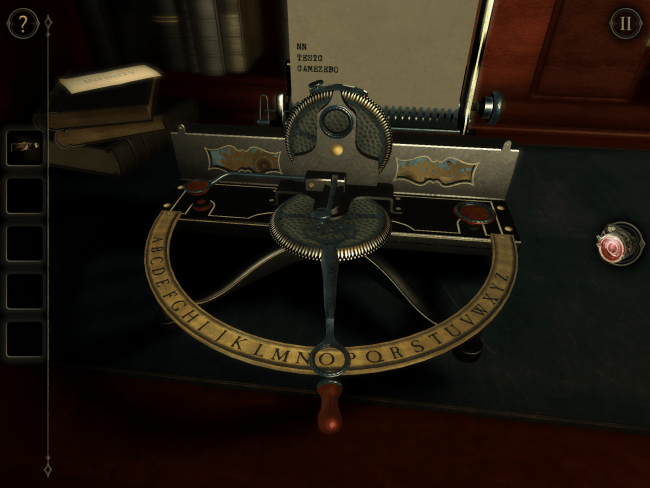
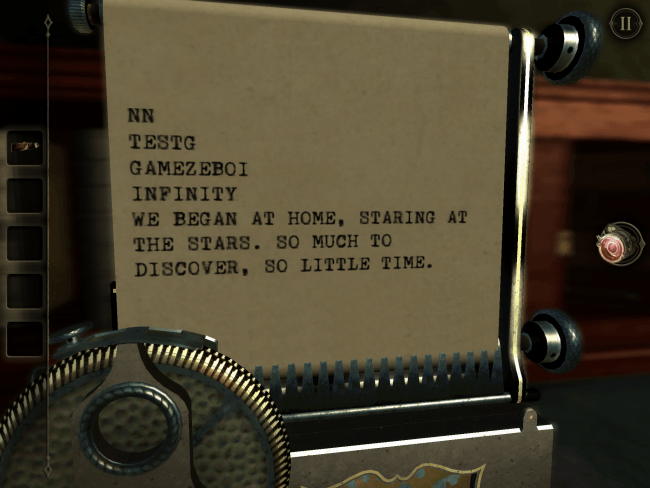
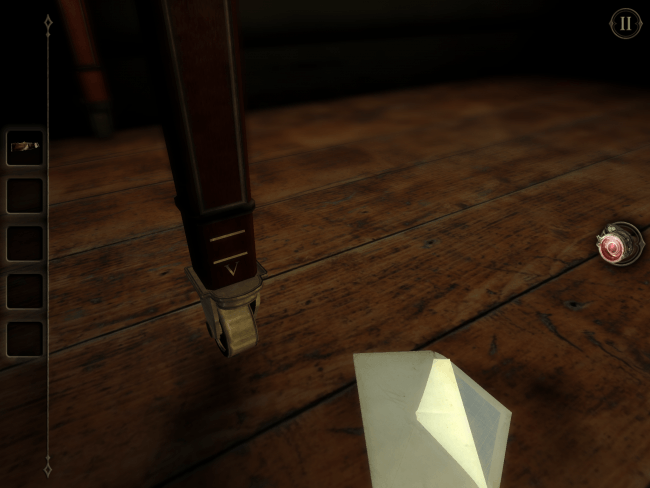
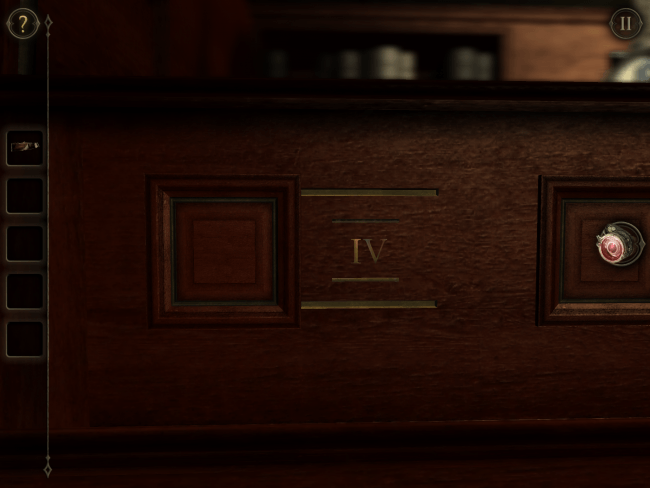
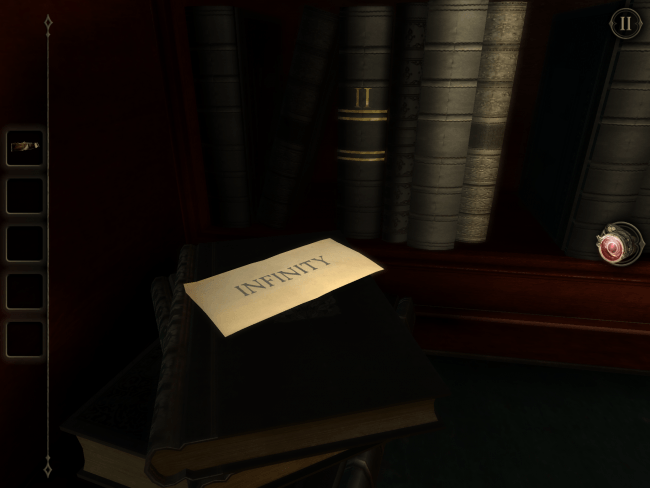
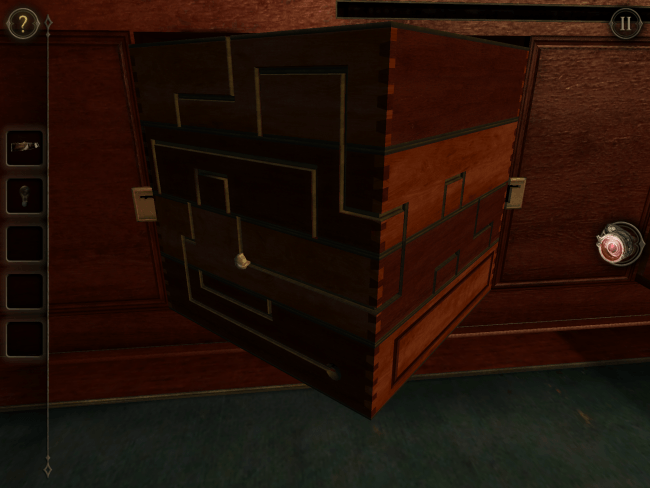
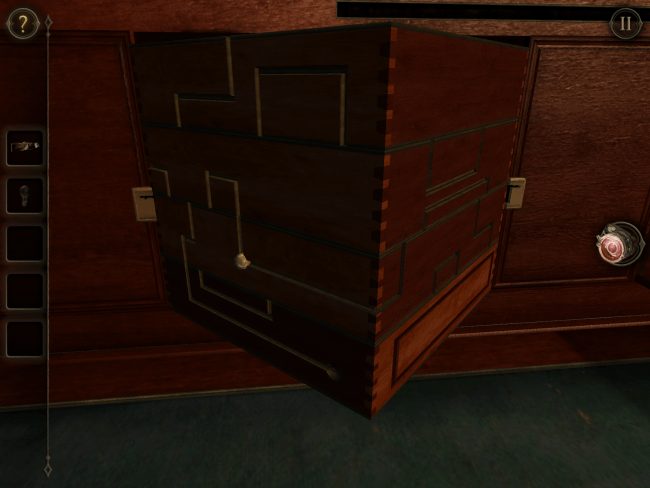
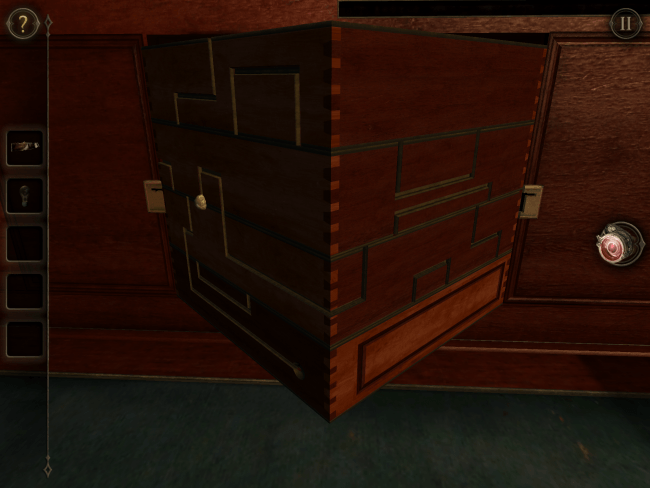
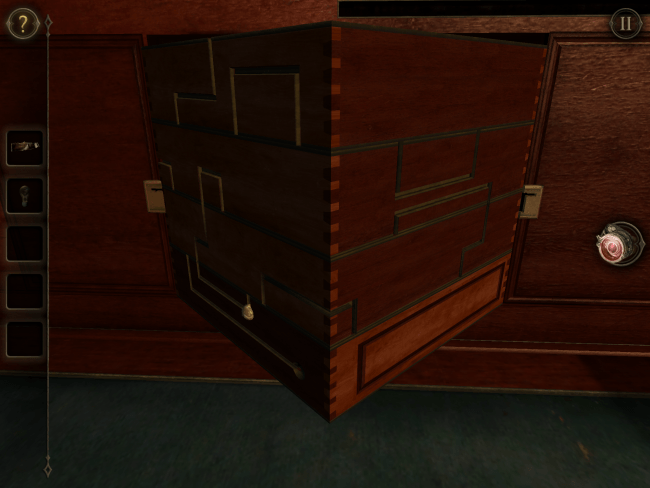
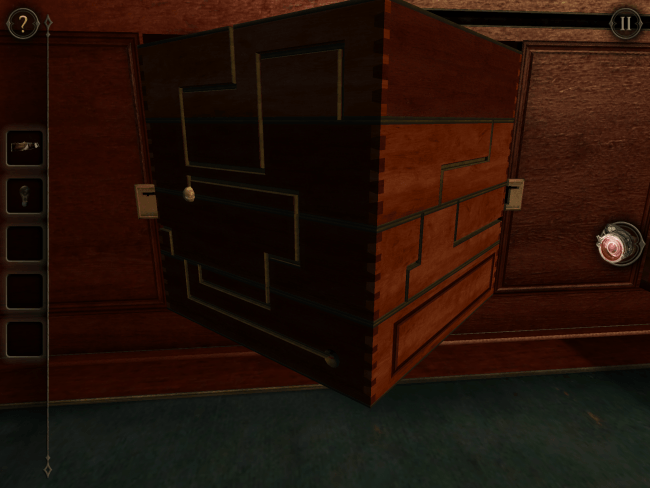
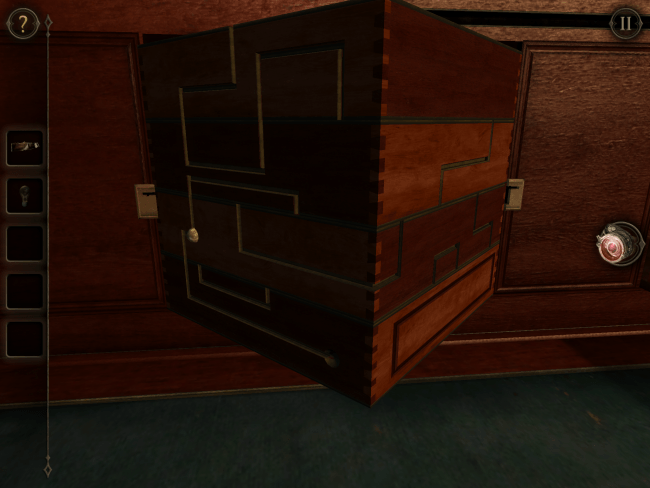
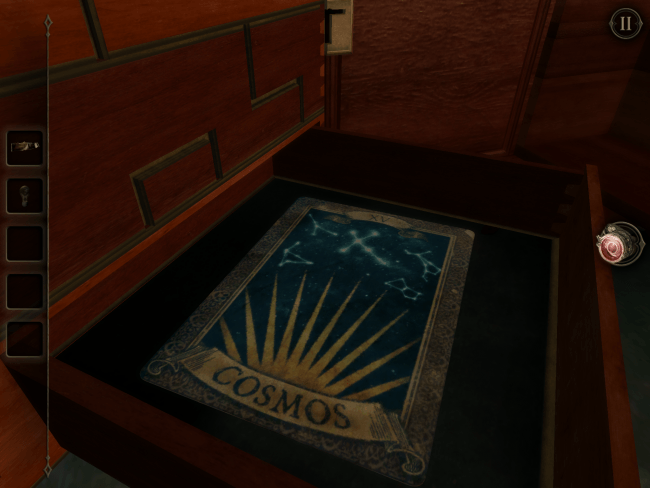
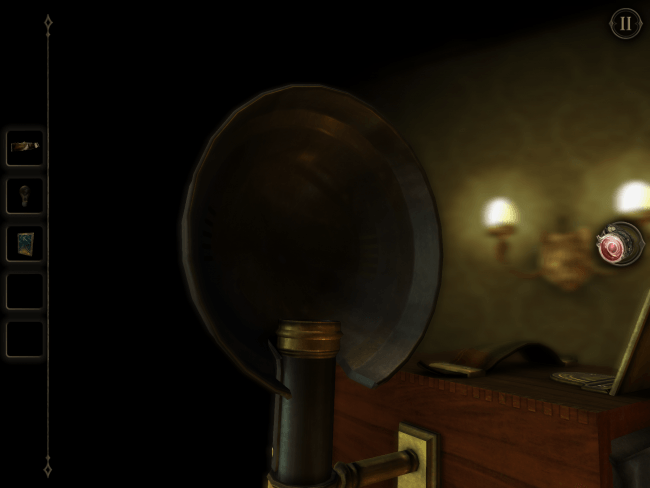
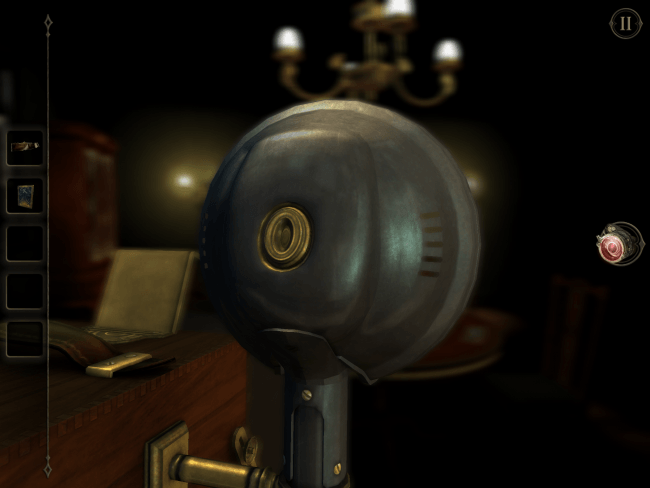
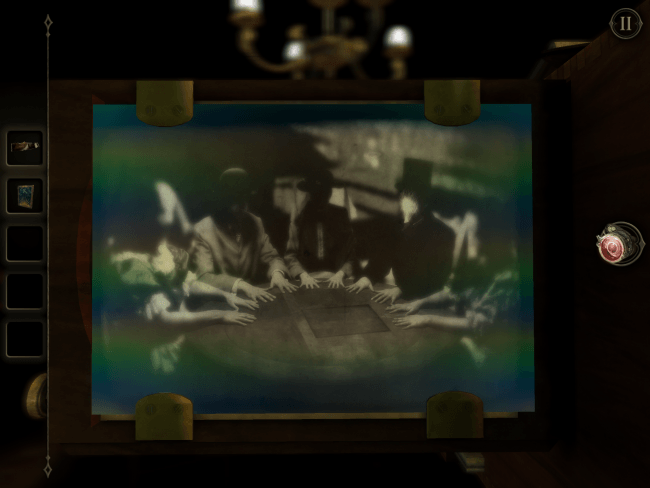
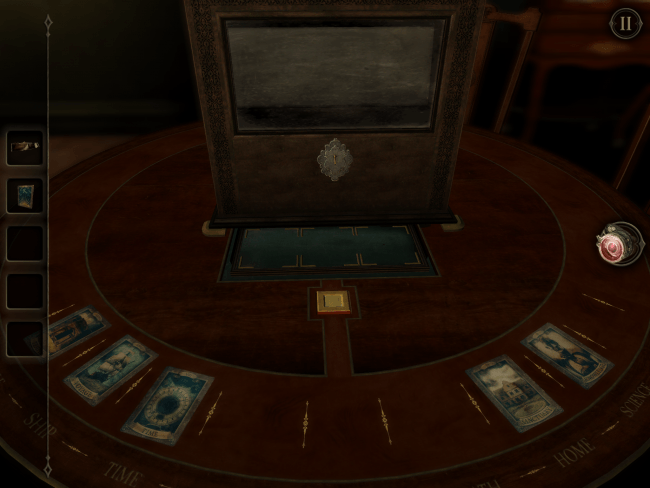
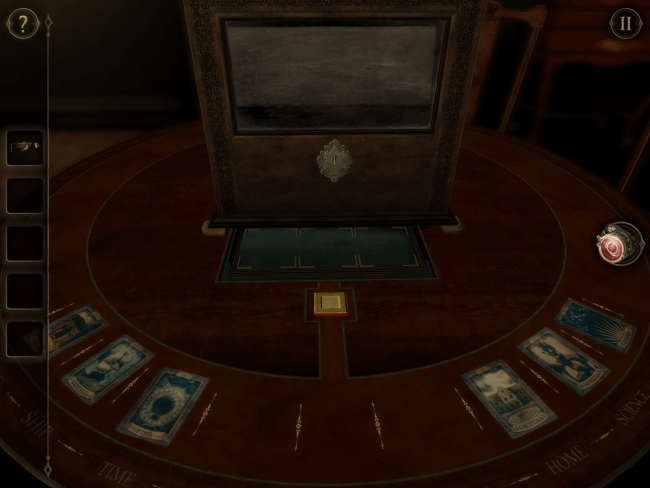
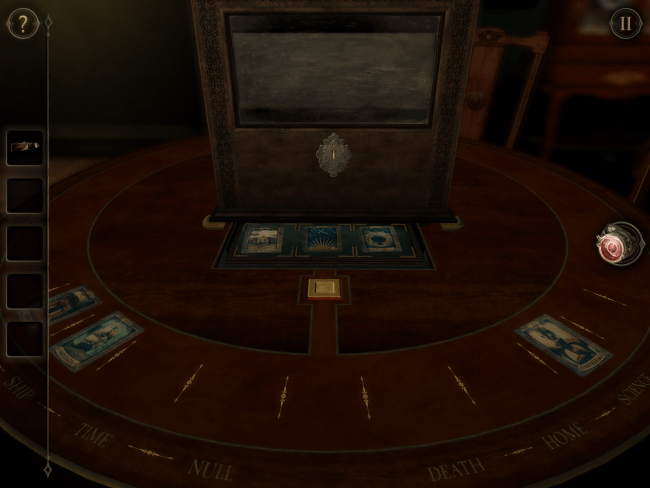
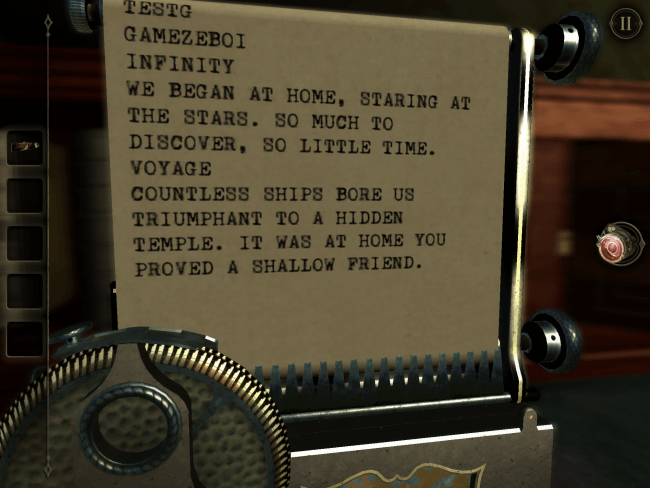
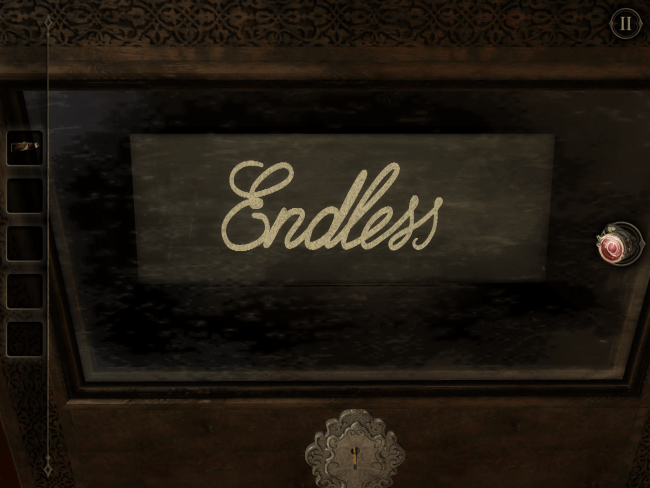
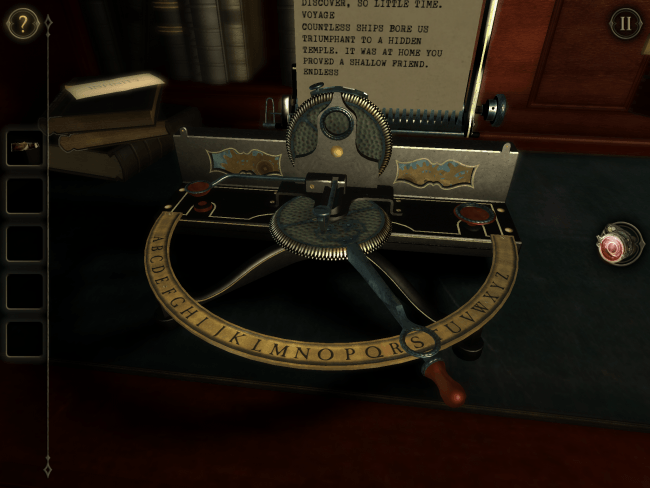
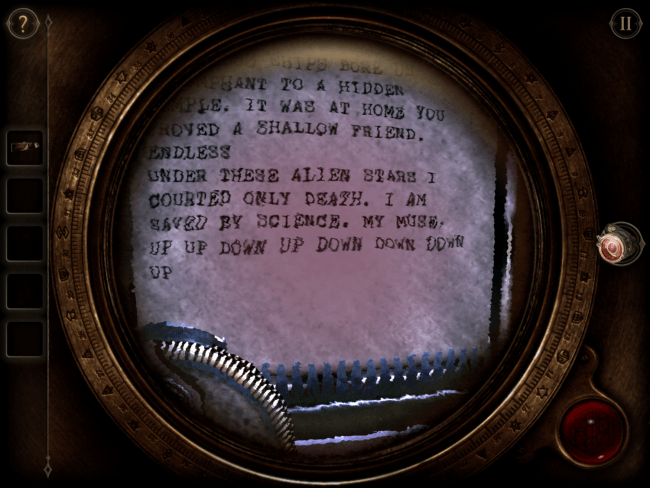
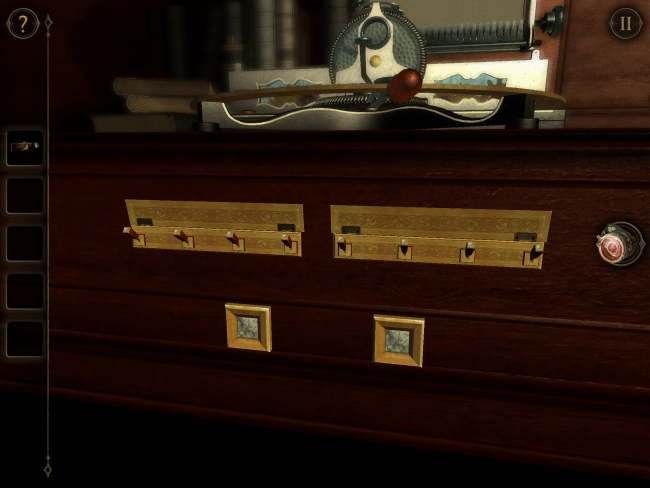
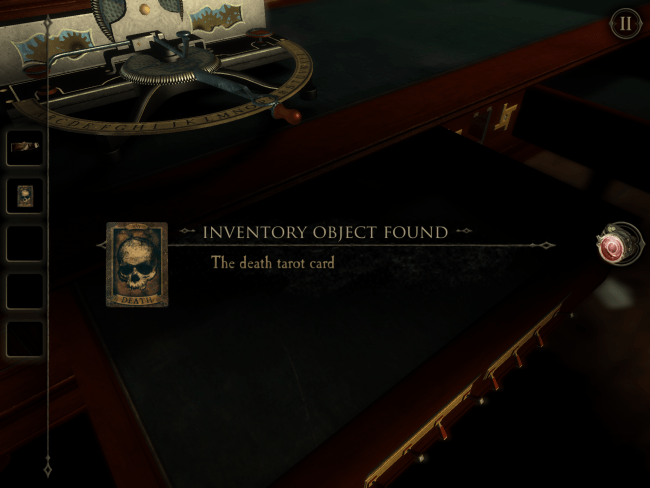
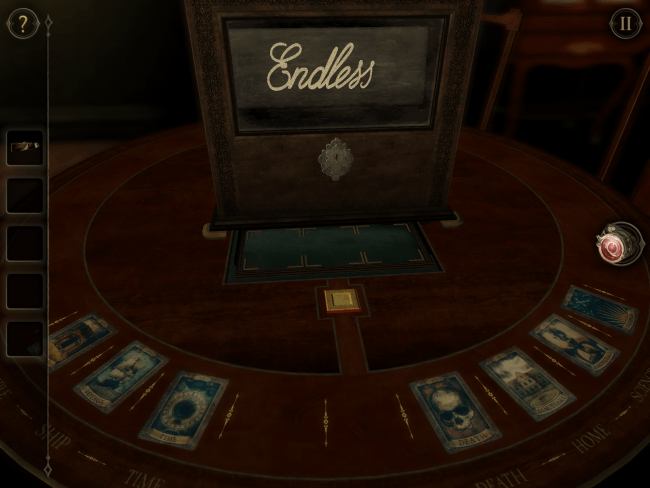
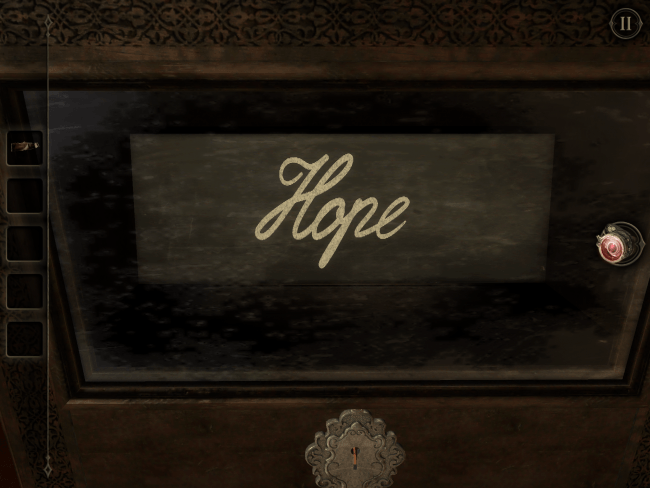
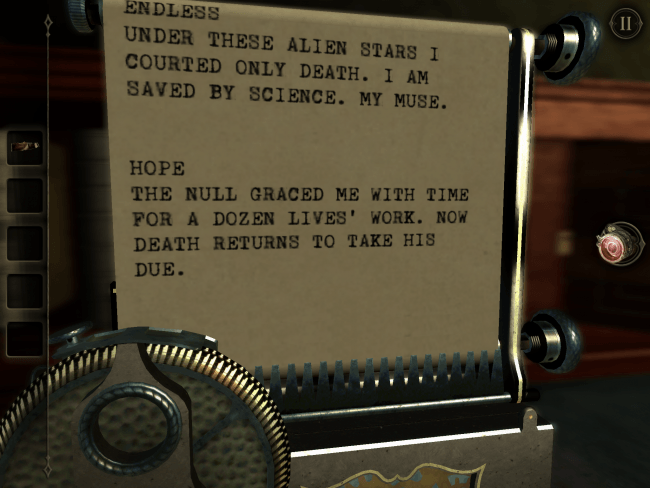
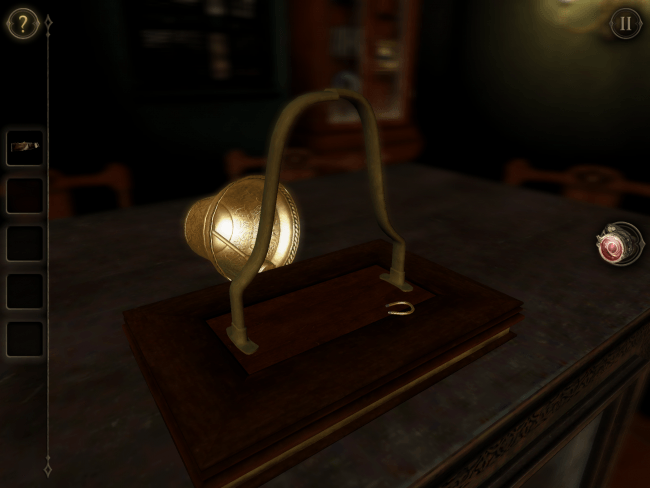
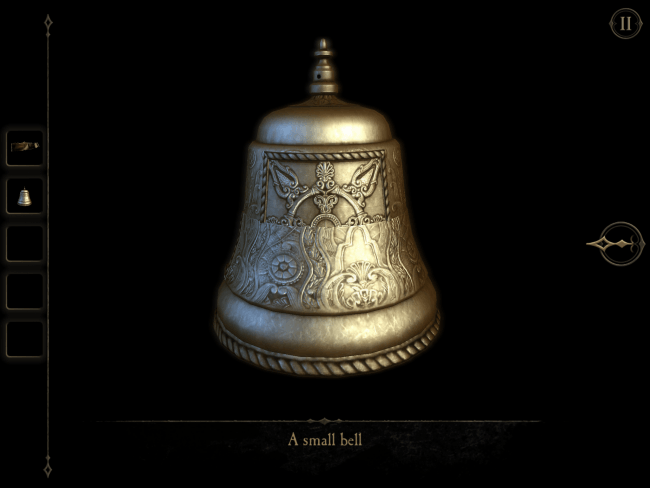
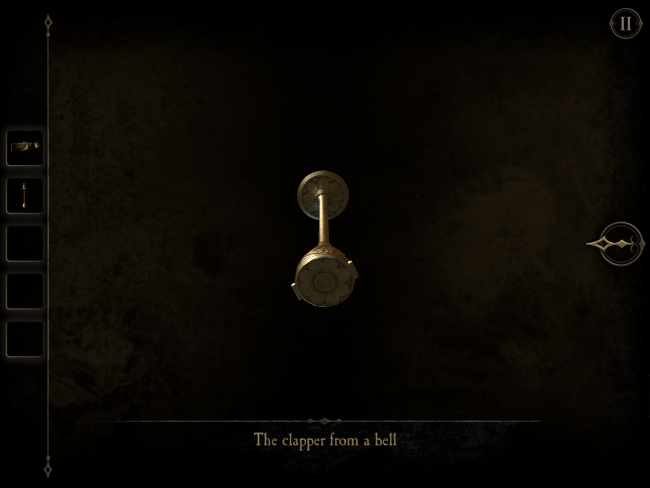
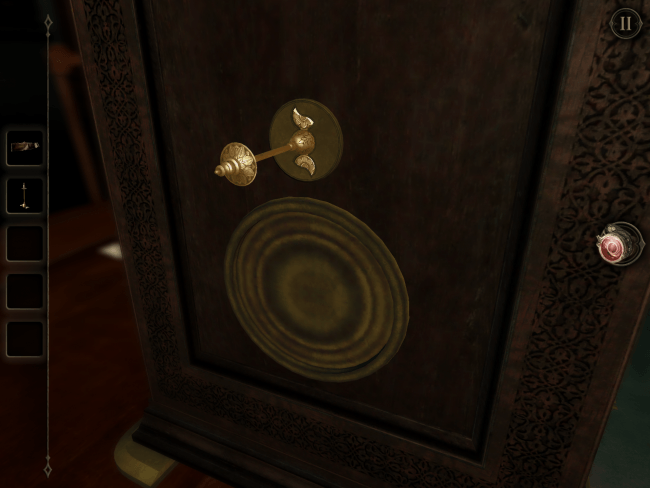
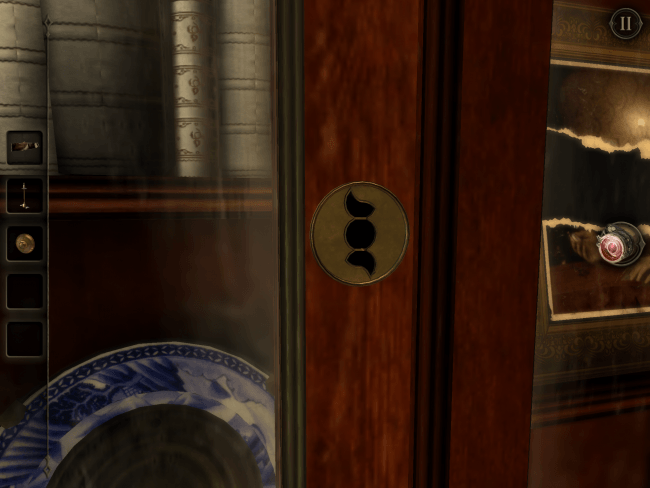
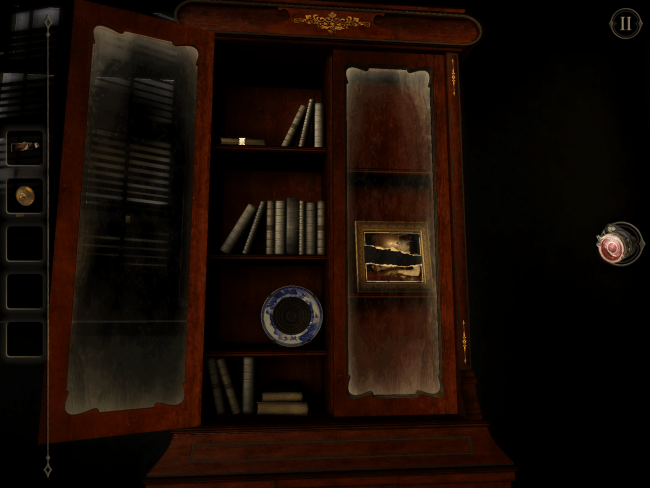
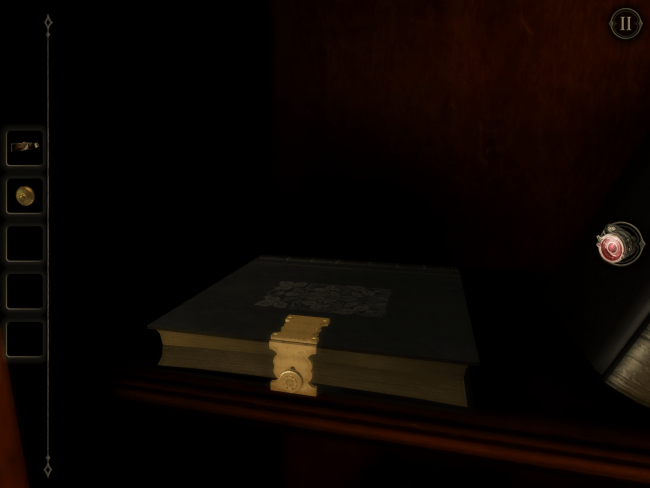
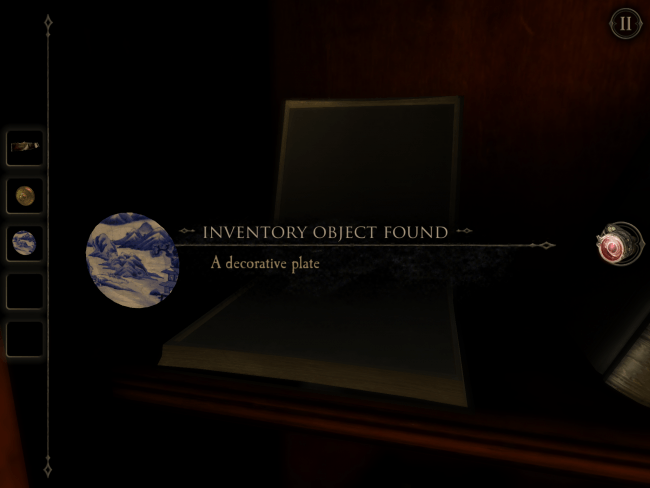
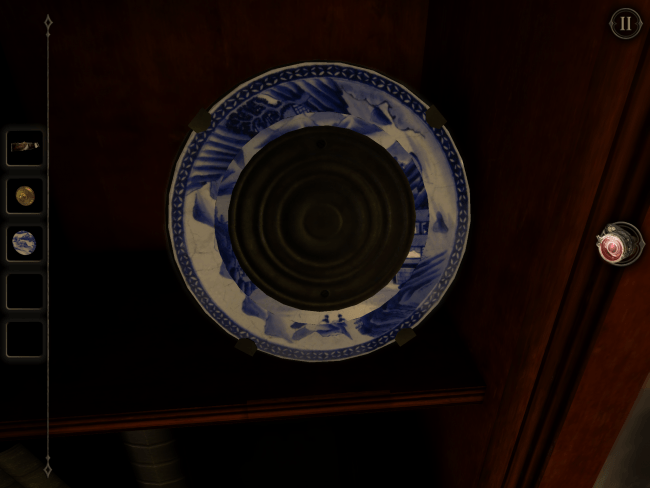
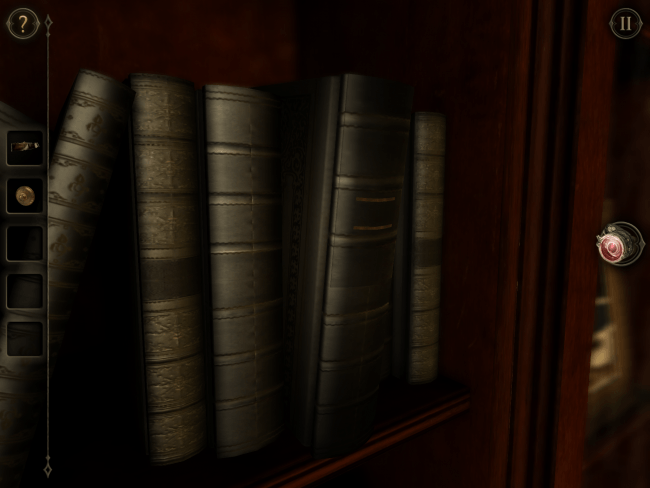
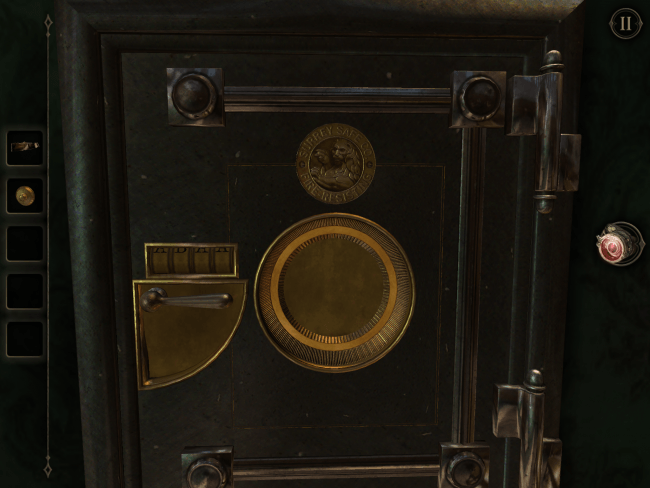
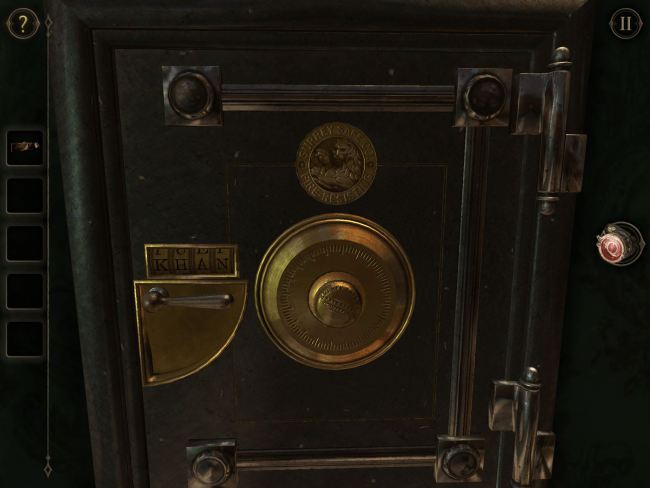
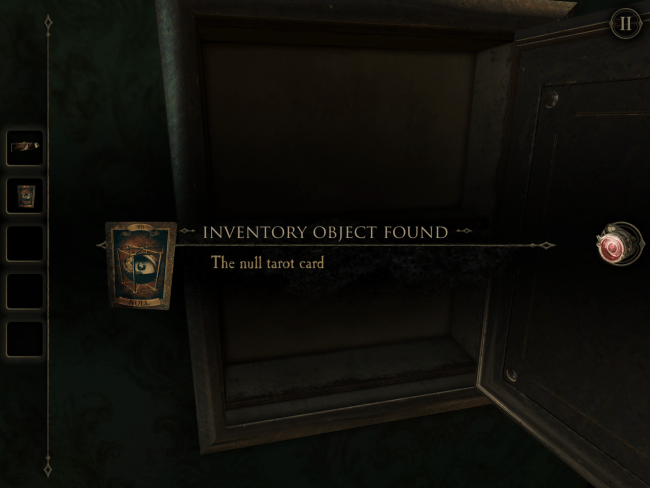
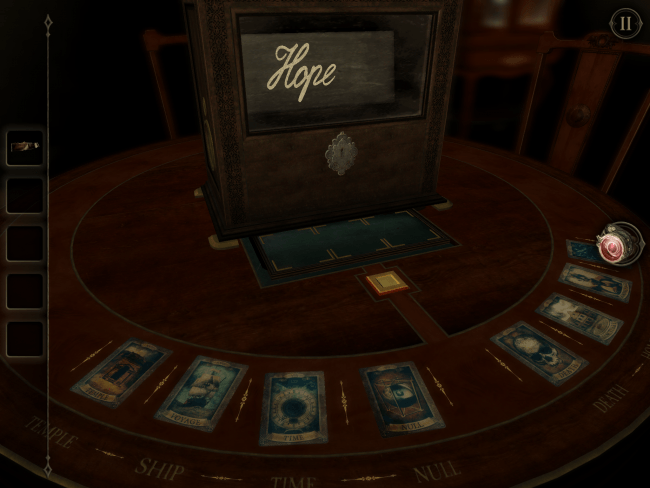
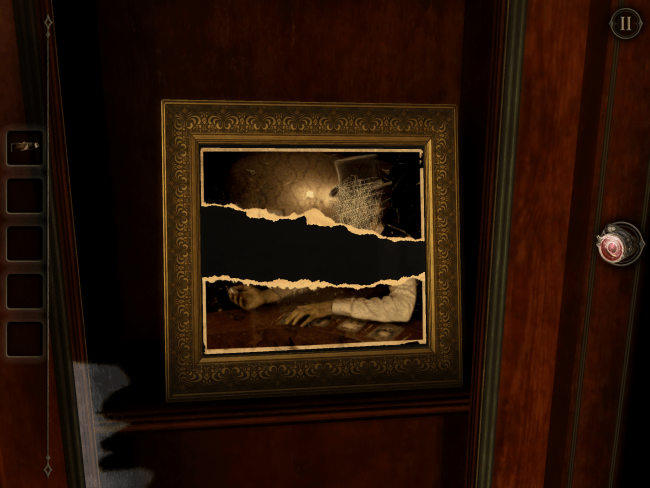
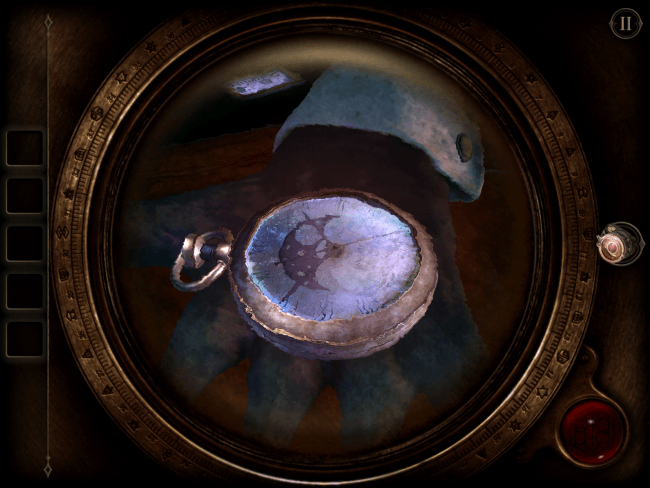
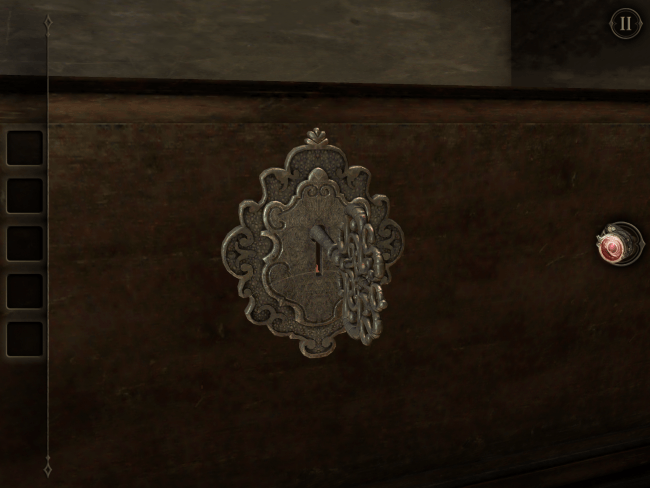
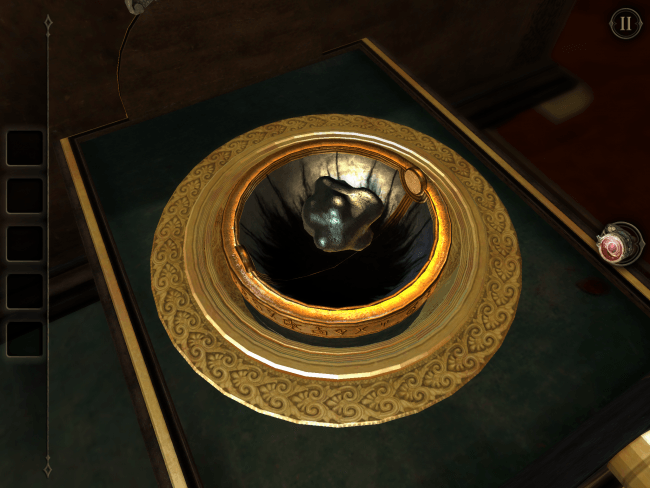
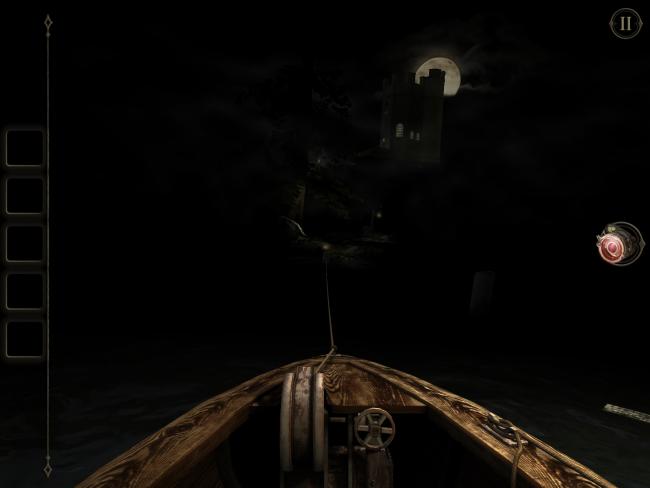
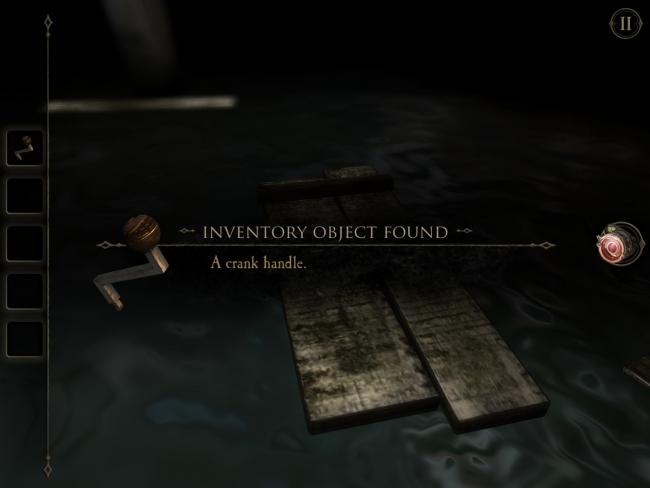
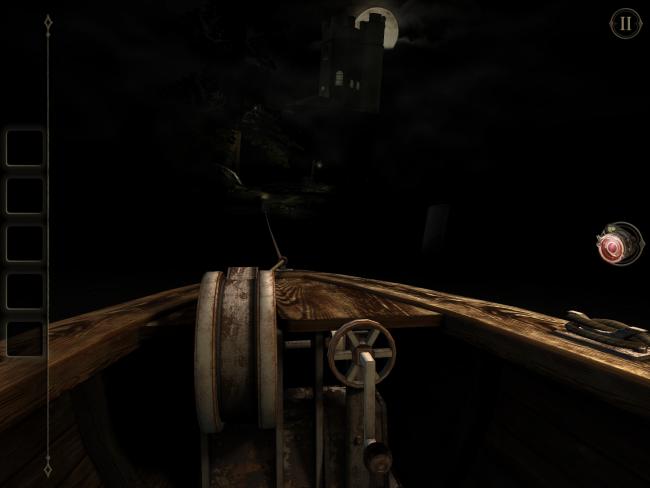
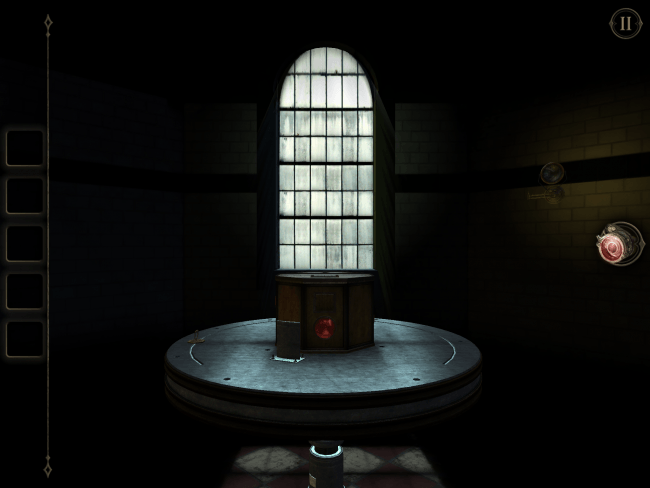
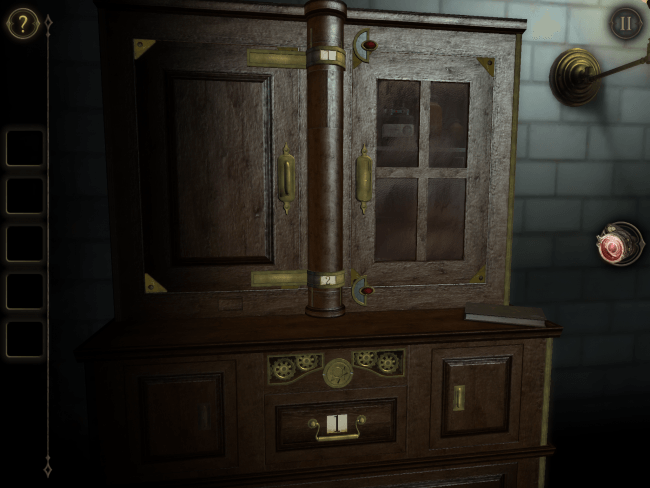
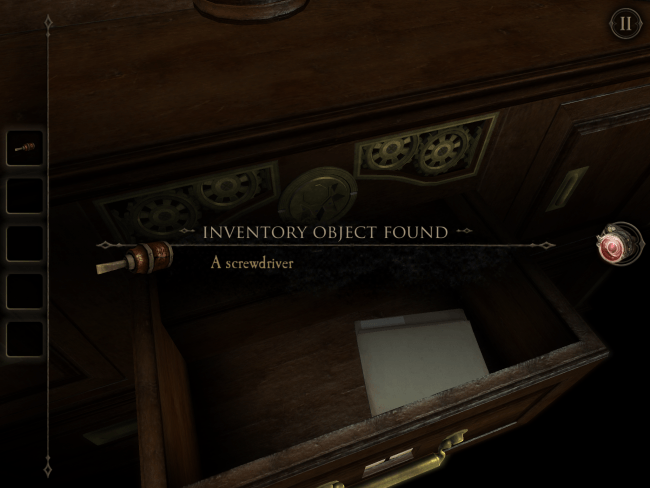
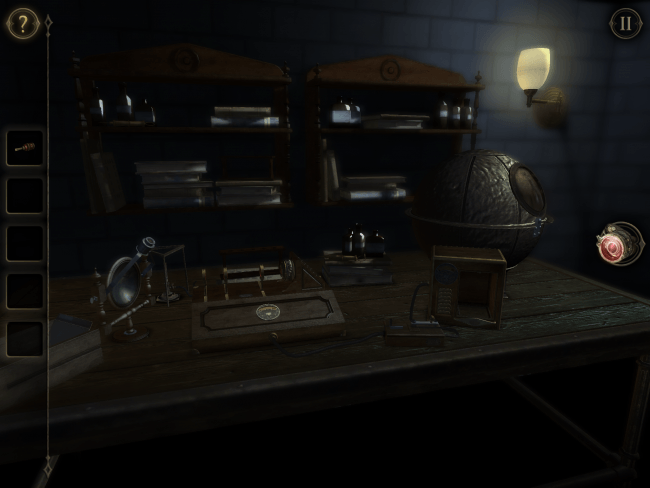
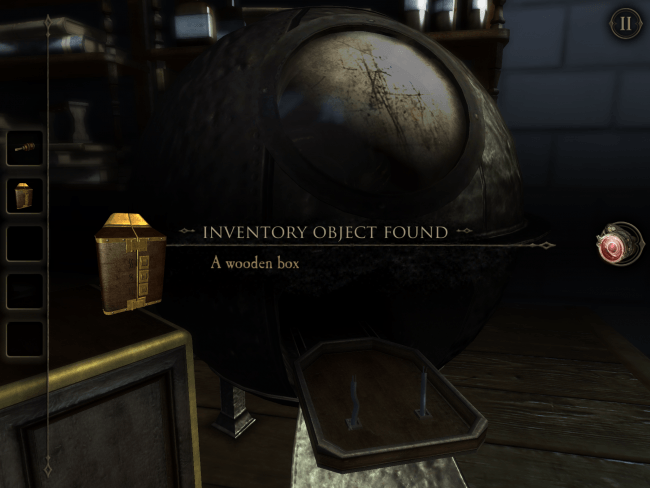
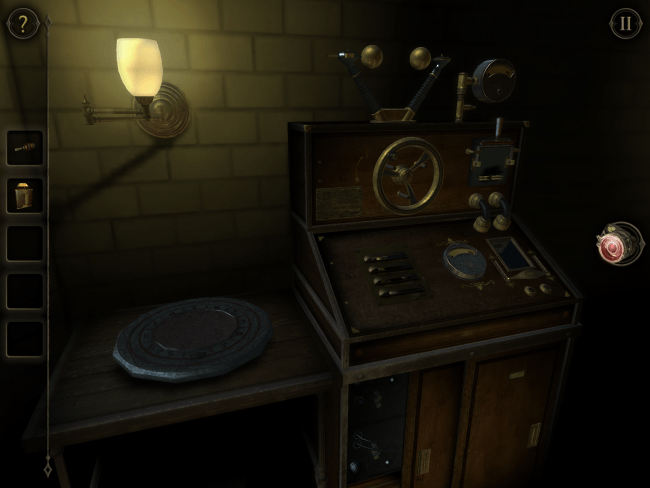
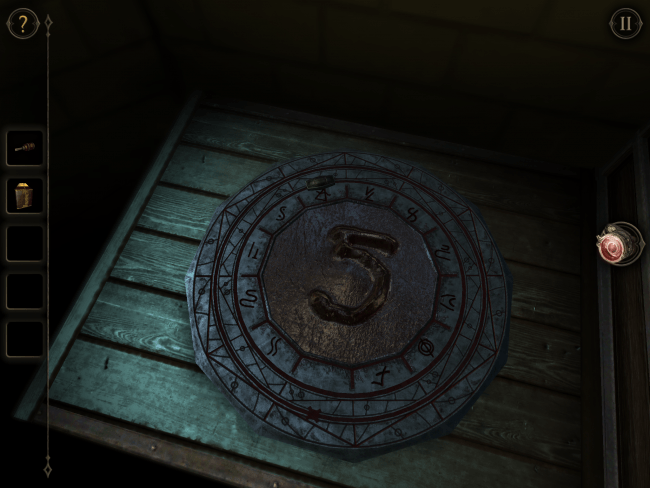
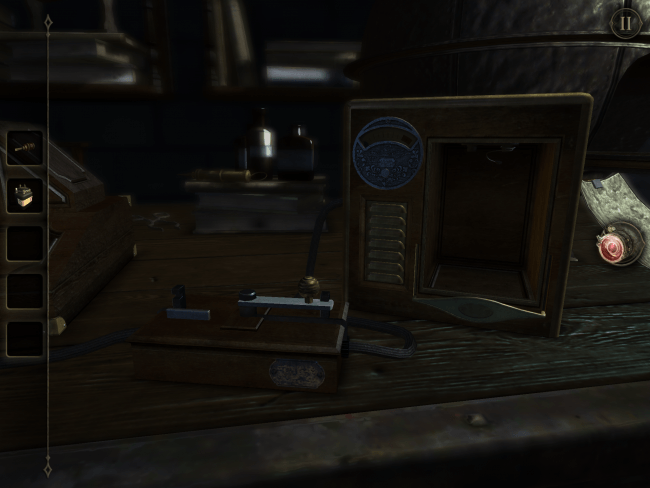
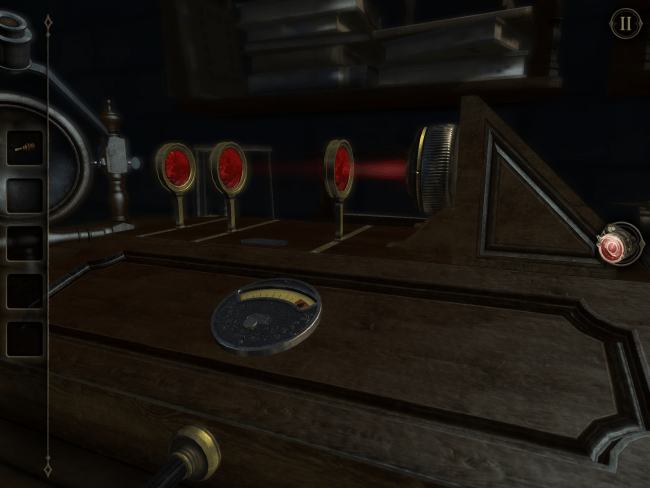
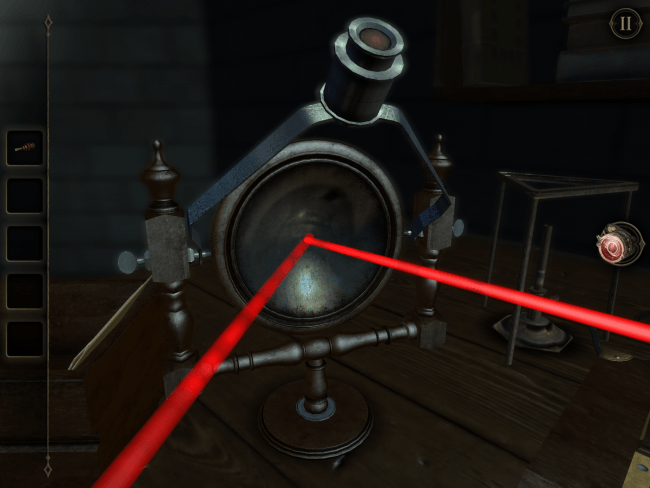
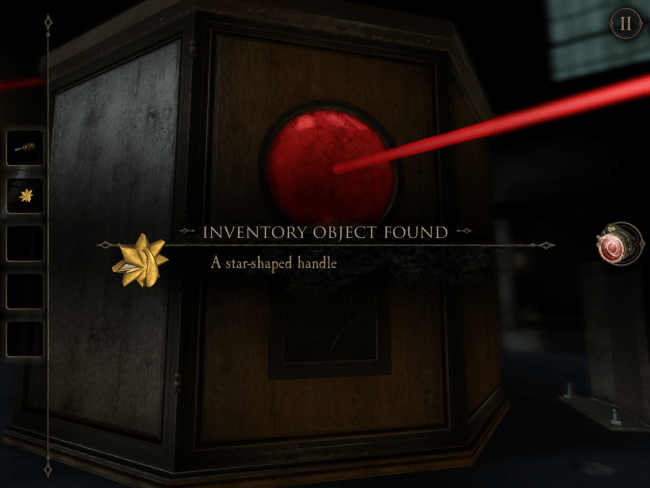
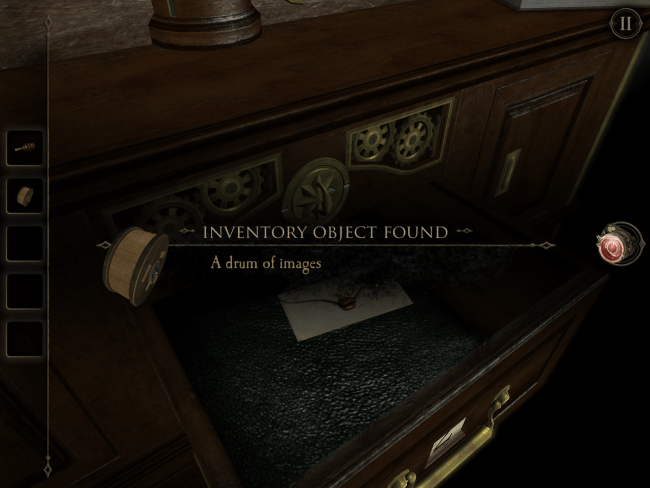
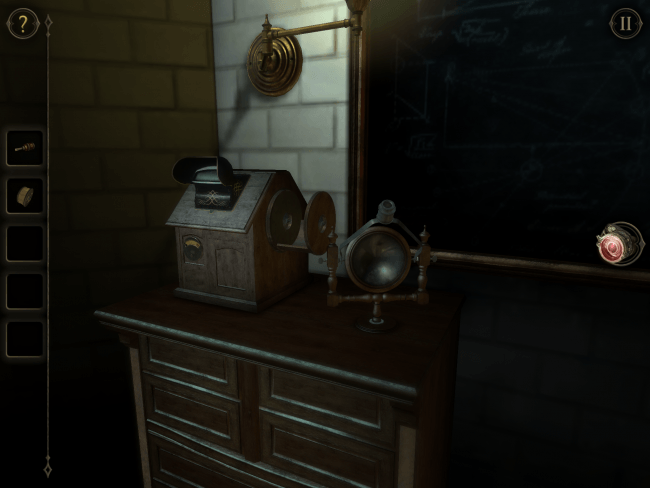
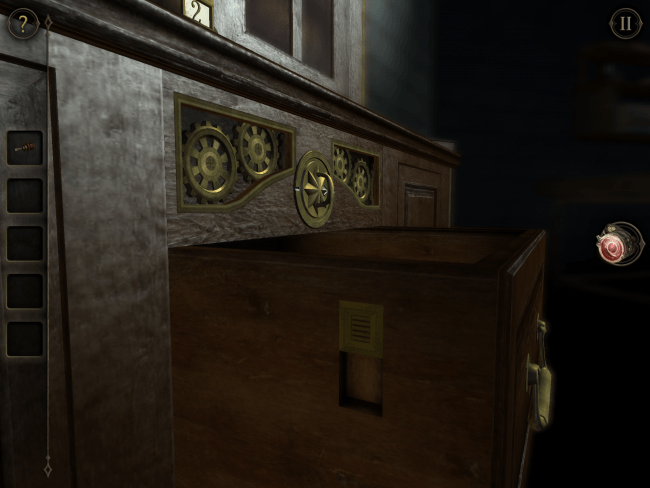
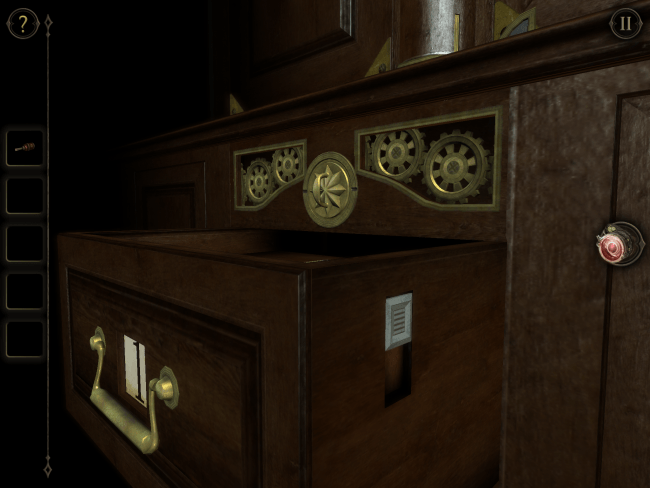
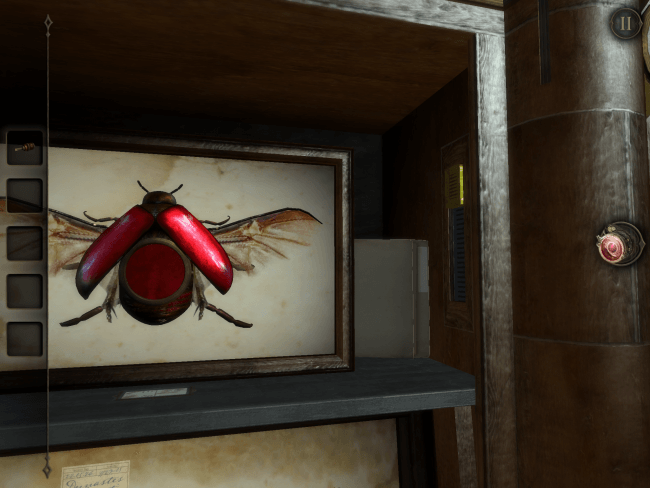
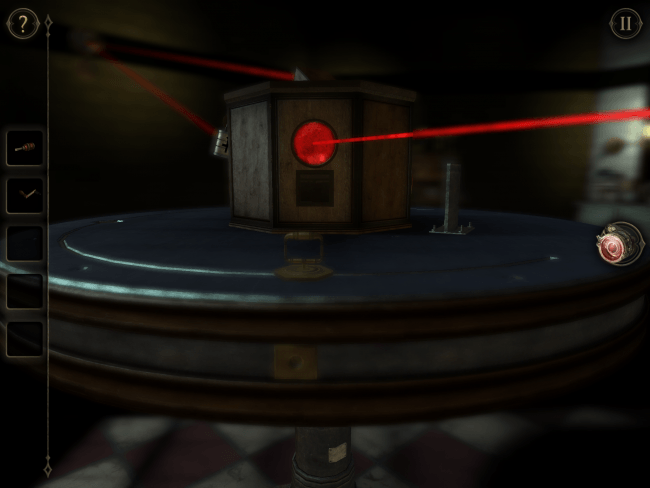
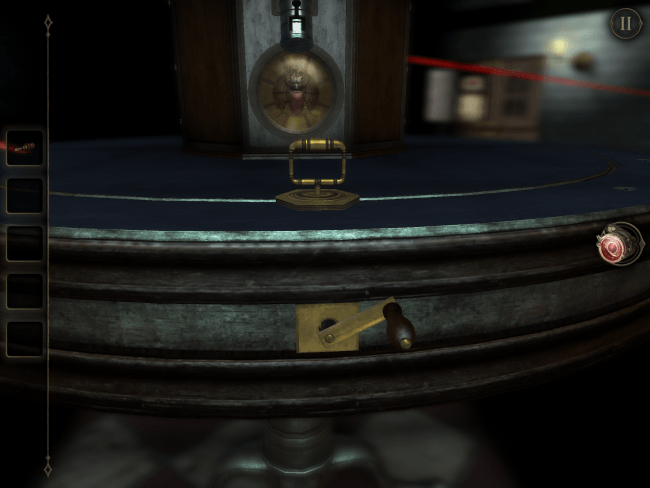
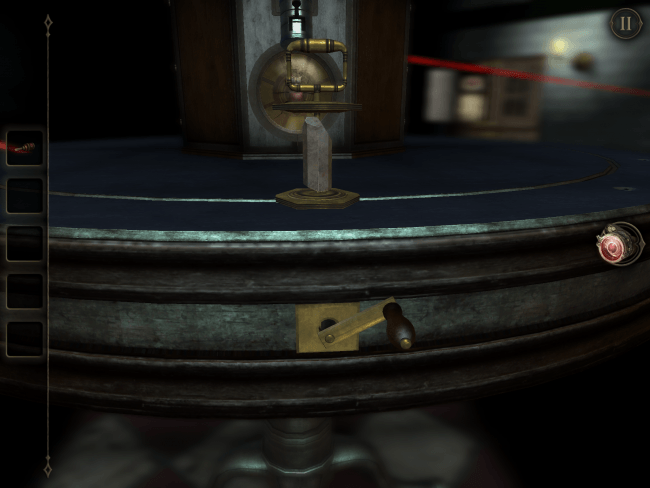
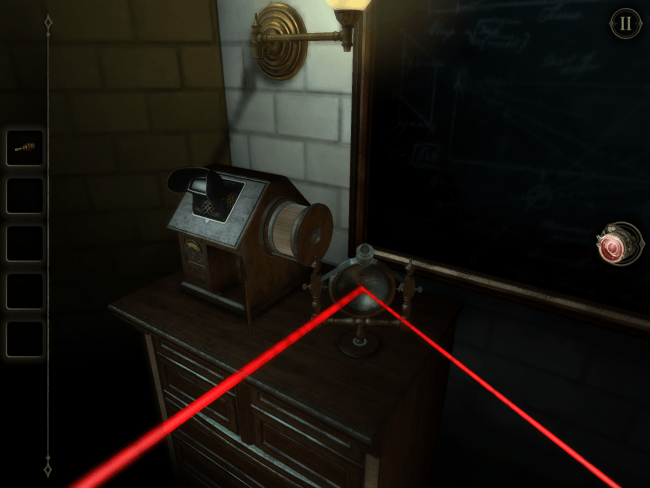
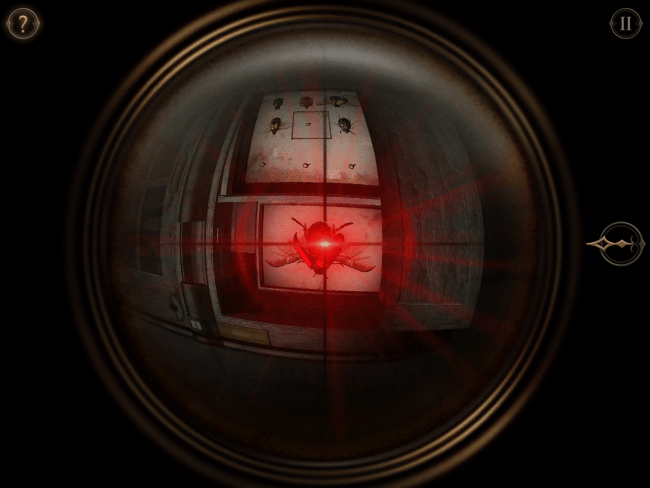
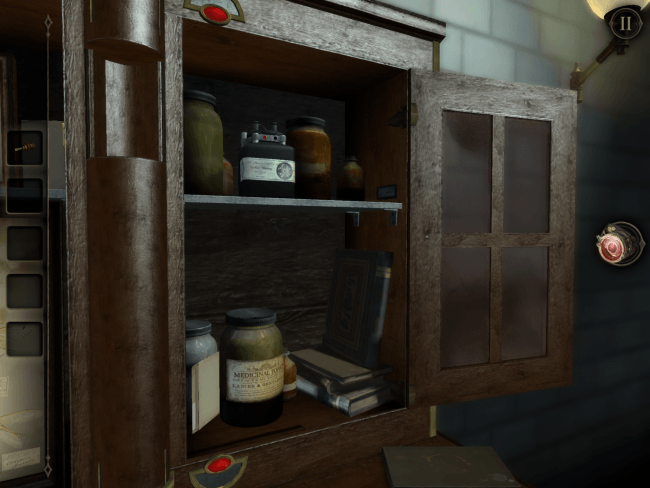
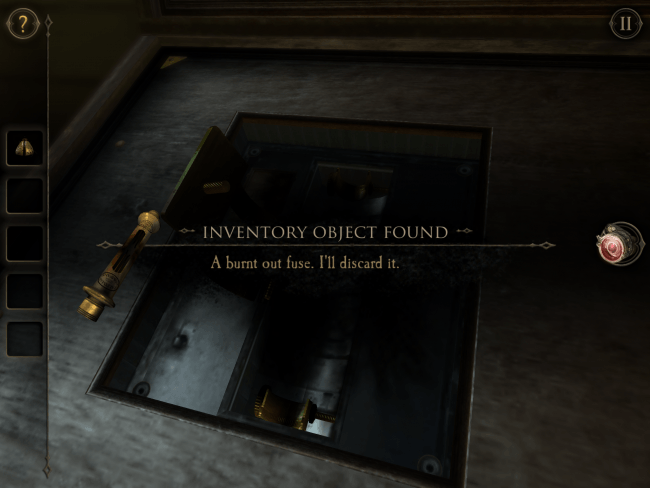
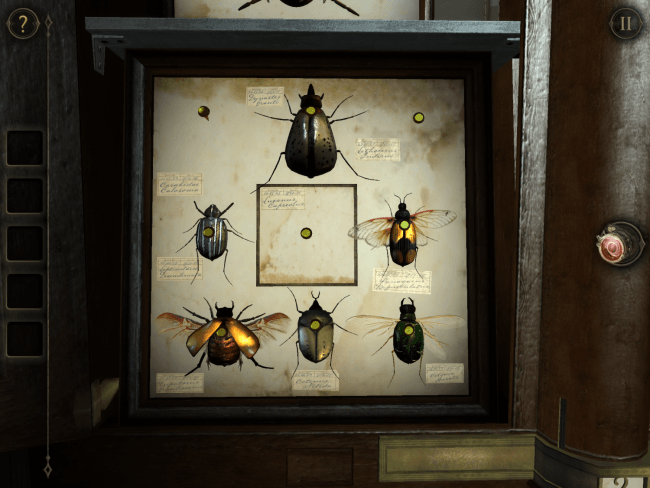
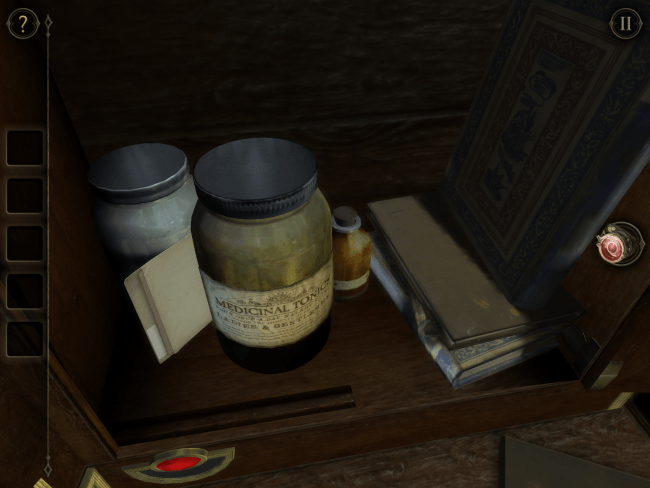
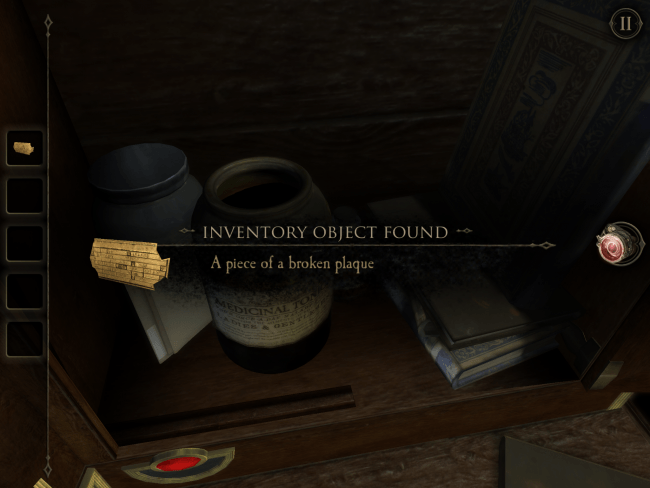
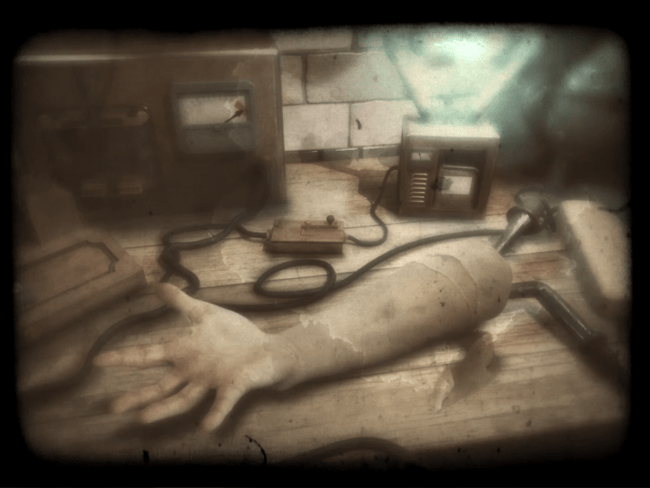
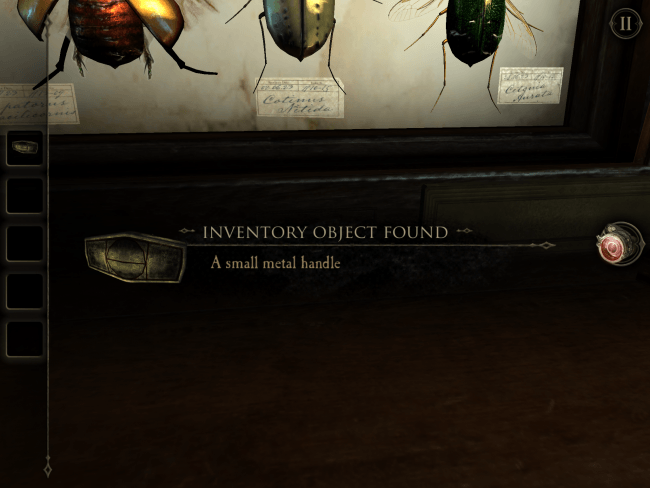
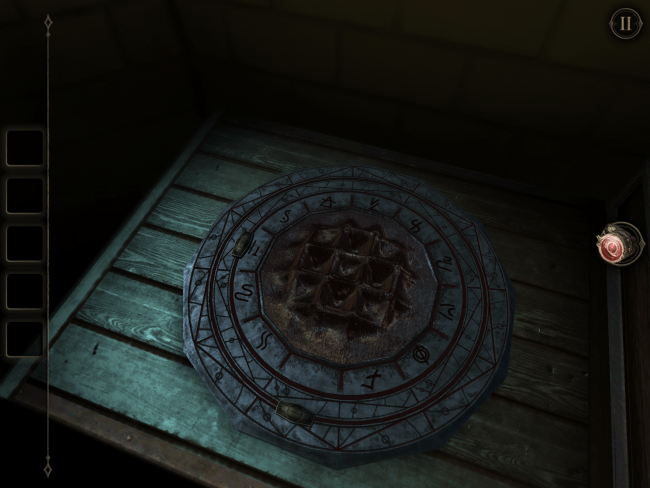
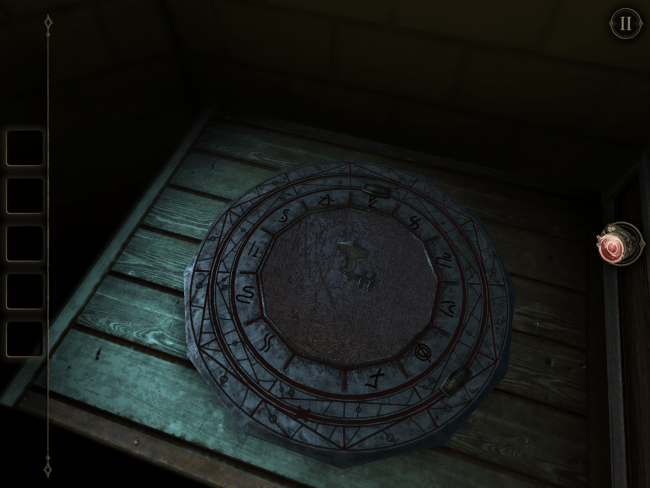
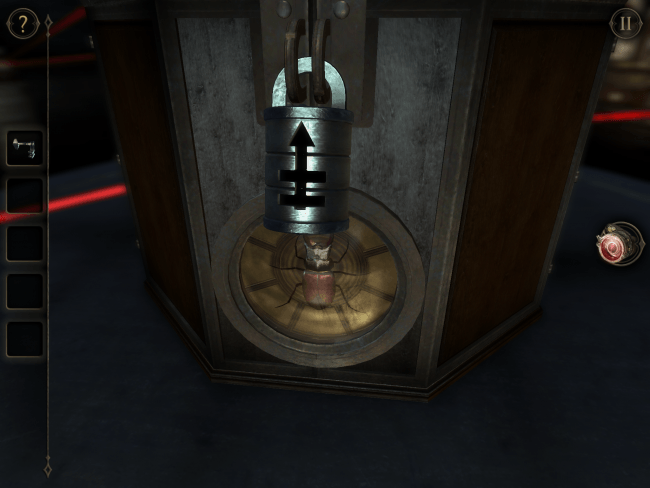
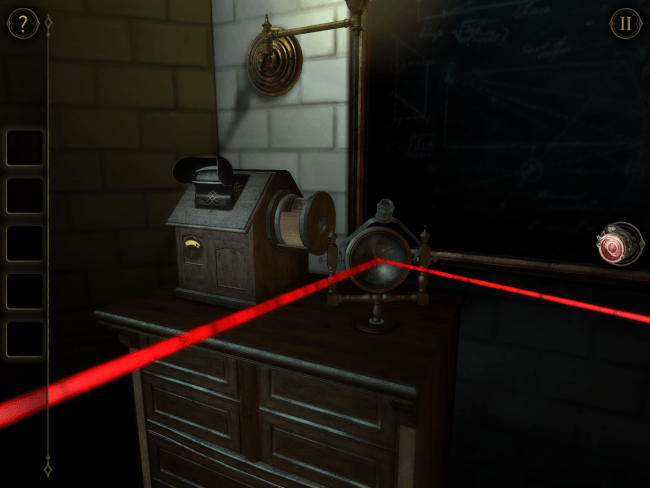
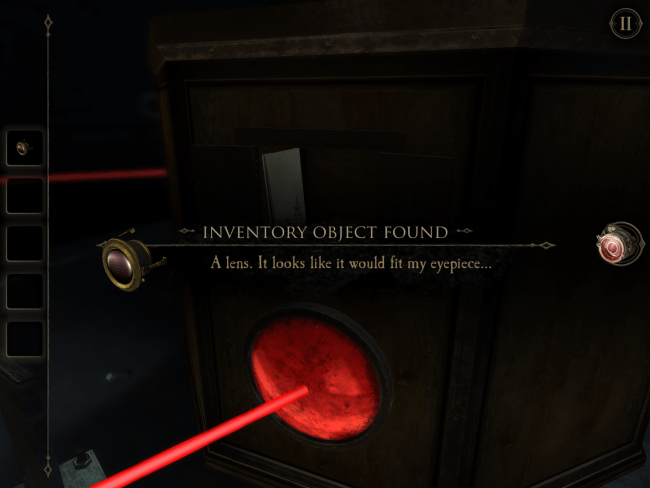
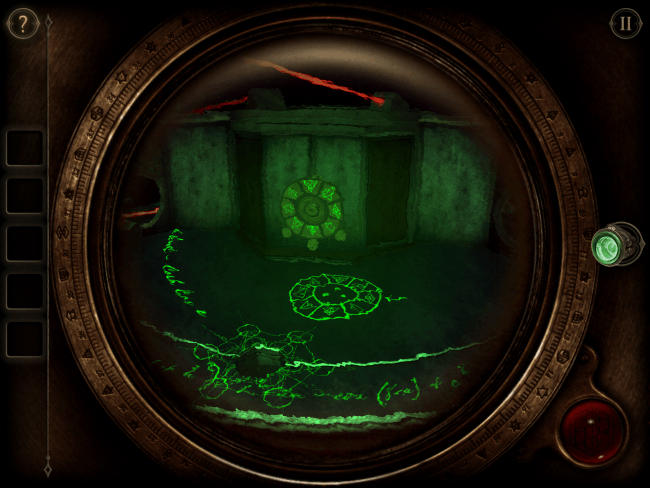
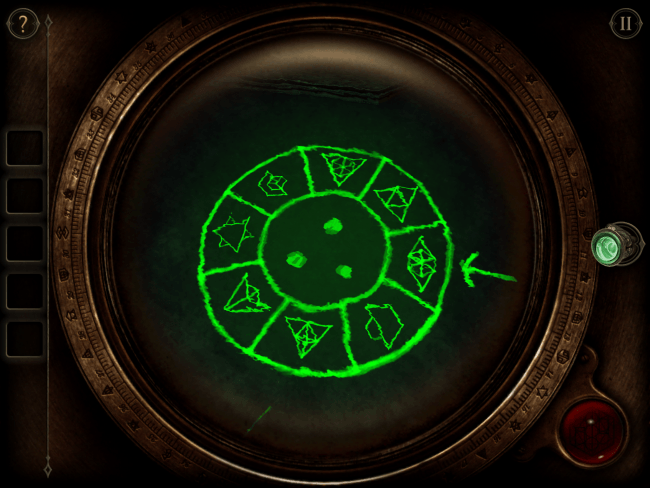
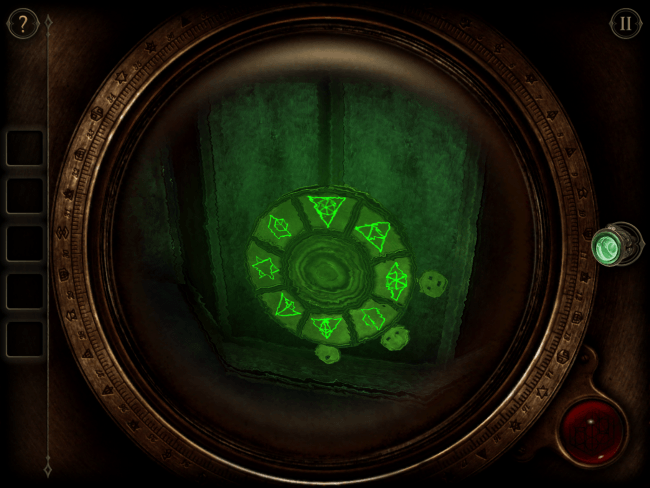
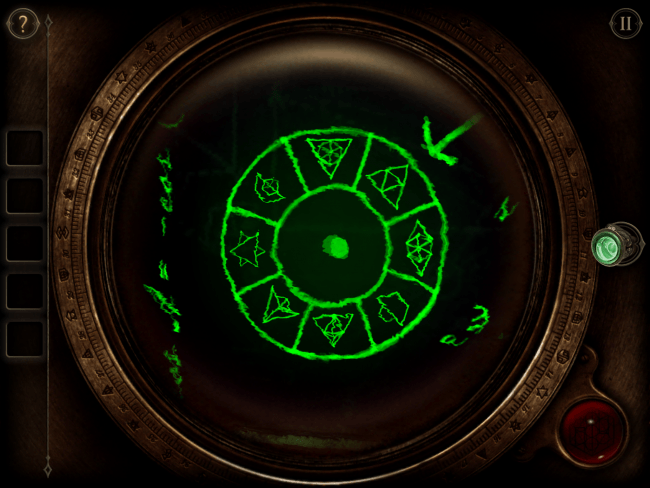
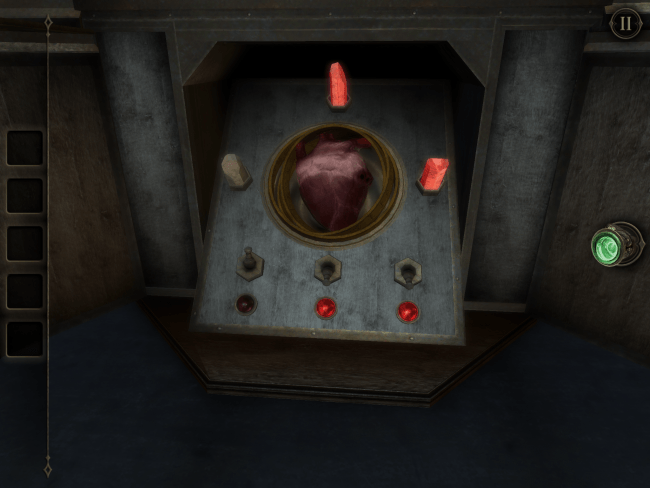
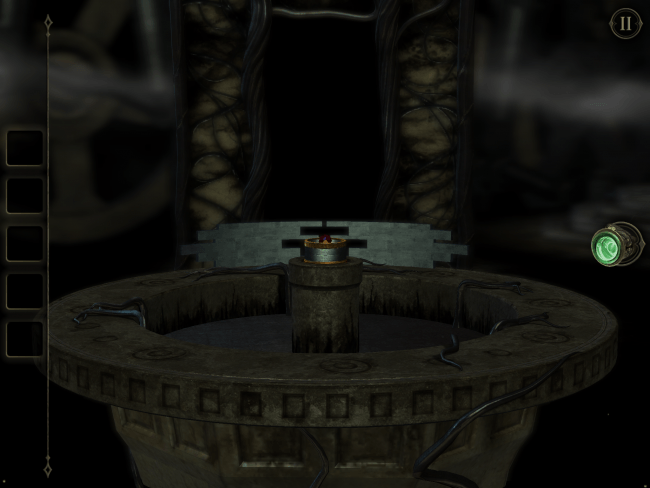
The Room Two is a first-person puzzle adventure game from Fireproof Games in which you must solve complex and eerie puzzle boxes. Gamezebo’s walkthrough will provide you with detailed images, tips, information, and hints on how to play your best game.

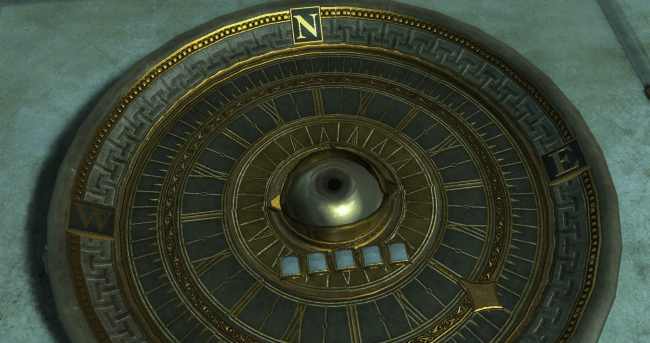
The Room Two is a first-person puzzle adventure game from Fireproof Games in which you must solve complex and eerie puzzle boxes. Gamezebo’s walkthrough will provide you with detailed images, tips, information, and hints on how to play your best game.


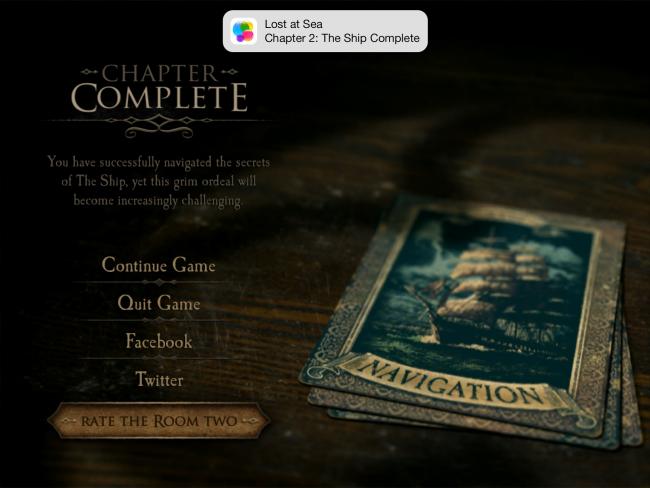
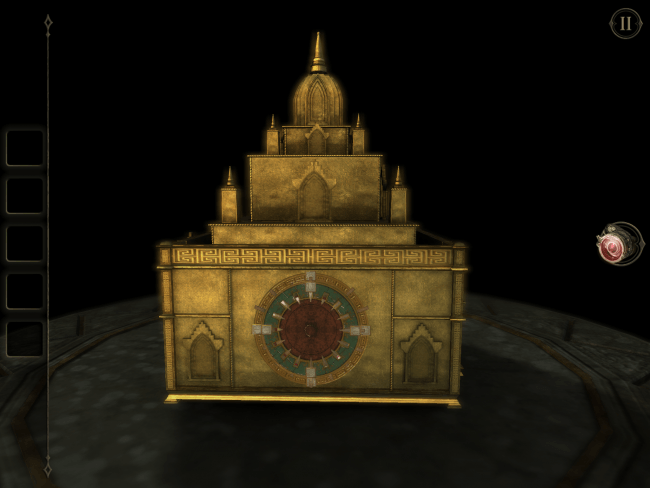


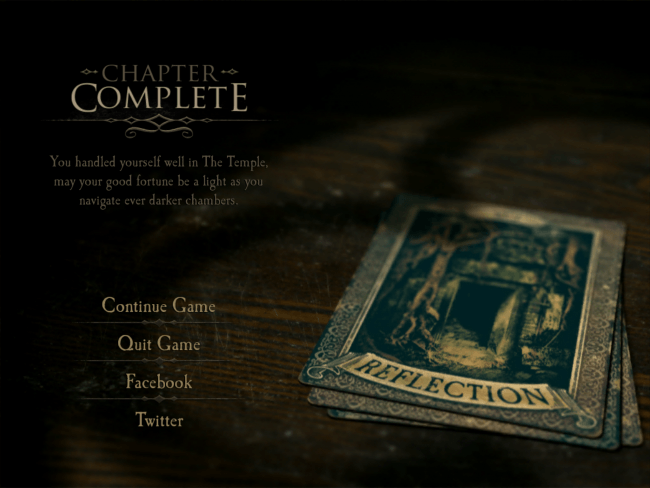


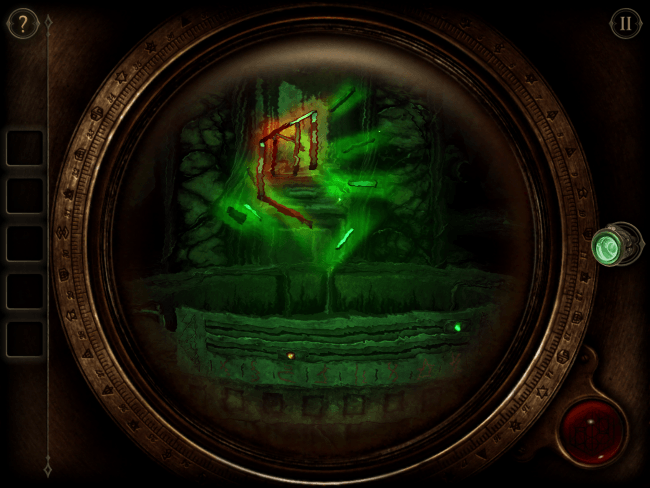
…congratulations? That’s seriously the end of chapter five.
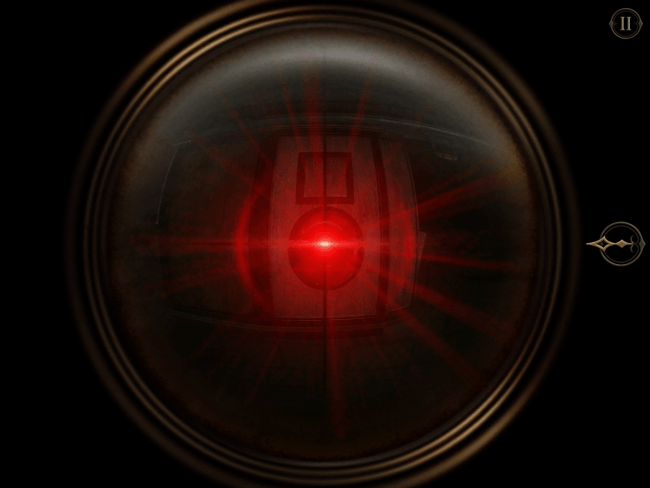


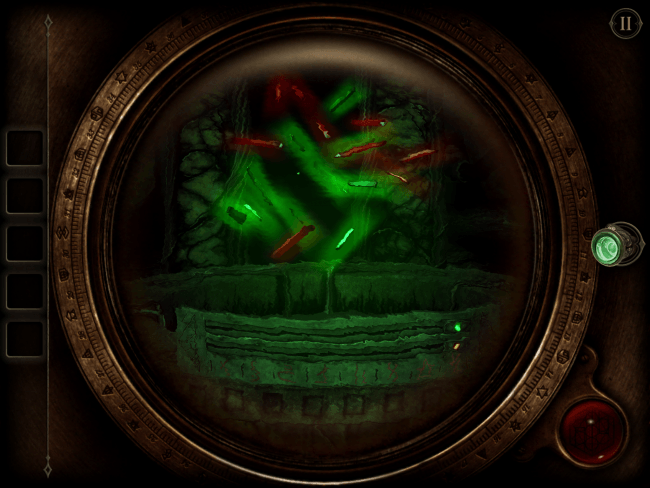
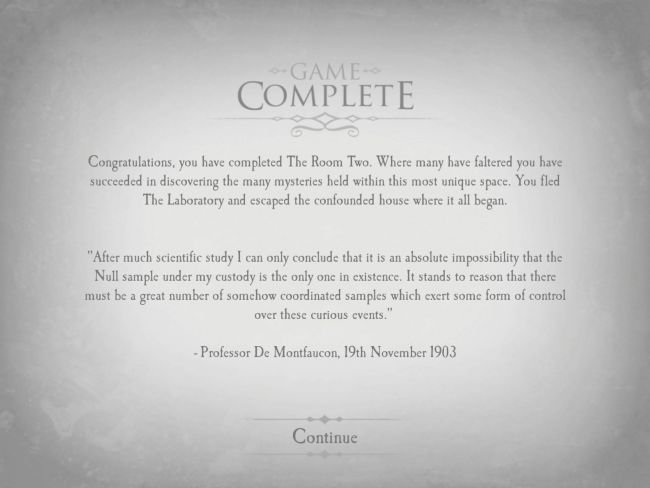
Congratulations!
You have completed playing The Room Two. Be sure to check back often for game updates, staff and user reviews, user tips, forums comments, and much more here at Gamezebo!
