![All VV Ultimatum Titles [How to Get]](/wp-content/uploads/2026/06/vv-ultimatum-titles.jpg "All VV Ultimatum Titles [How to Get]")
All VV Ultimatum Titles [How to Get]
Do titles provide buffs?


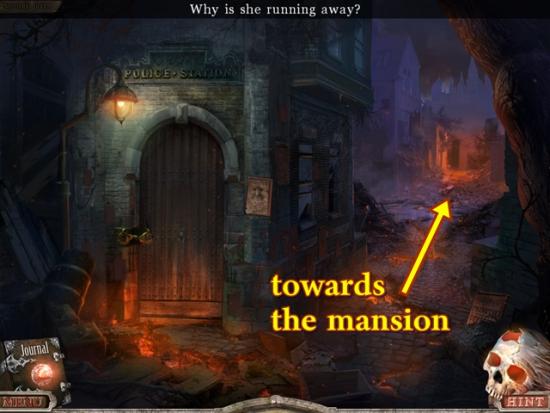
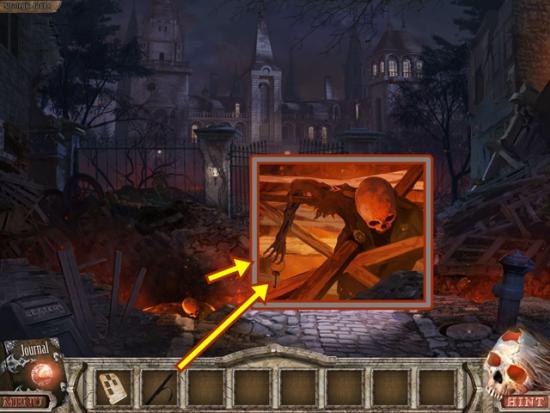
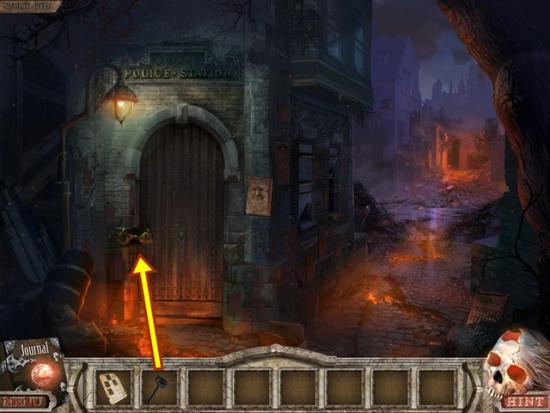
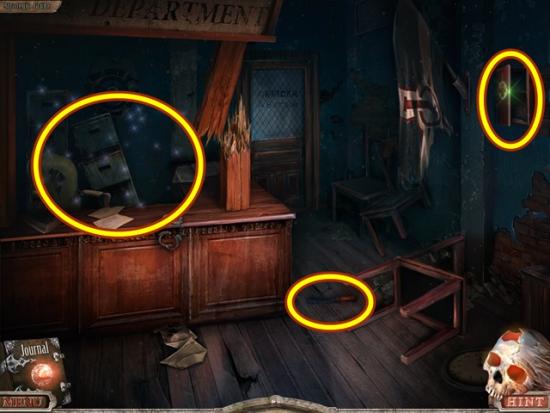
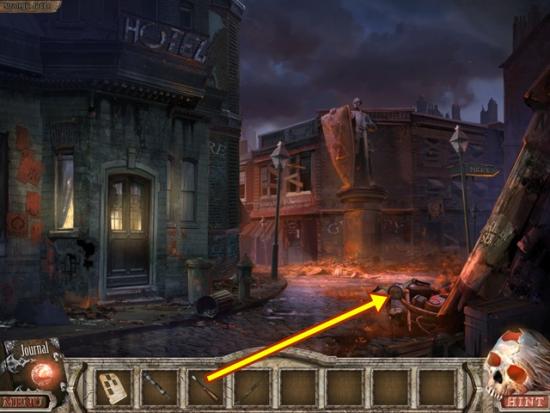
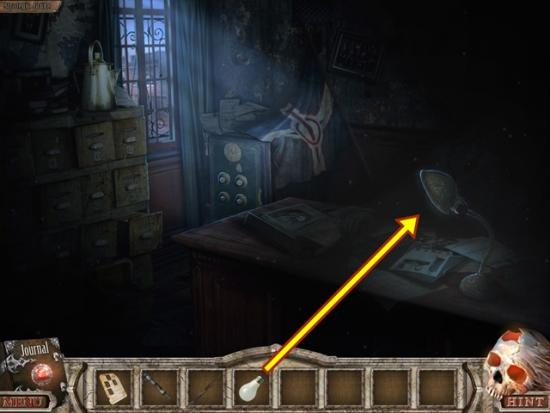
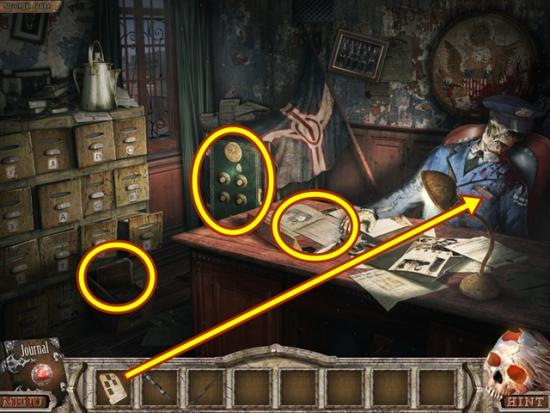
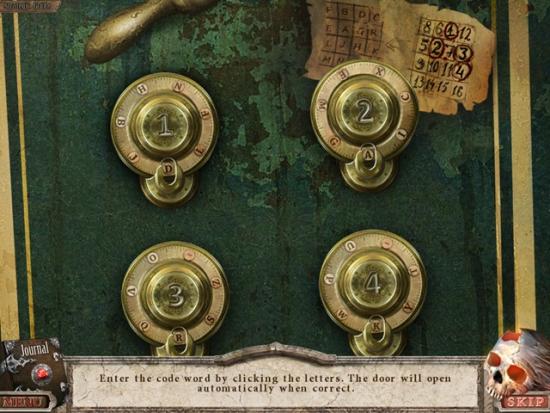
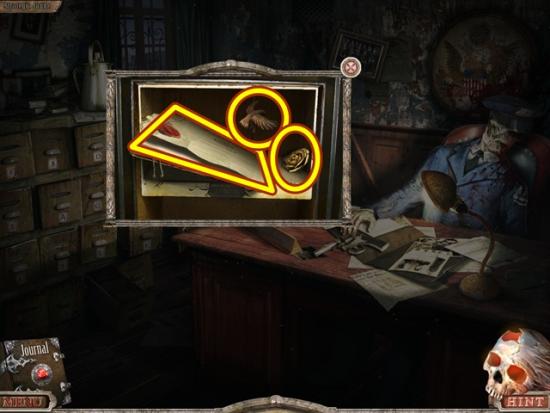
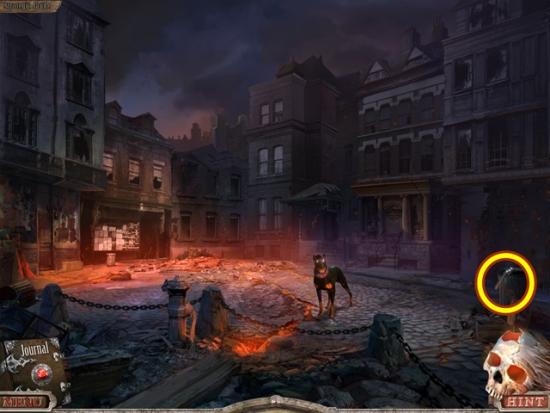
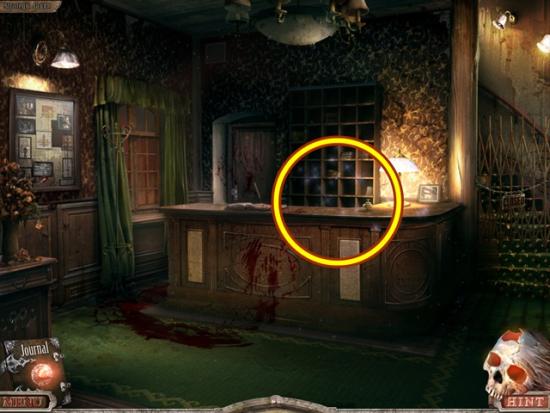
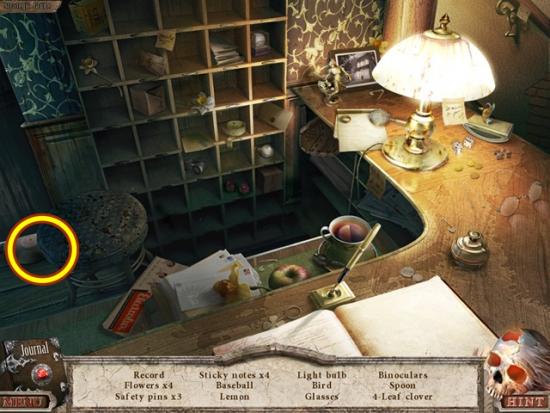
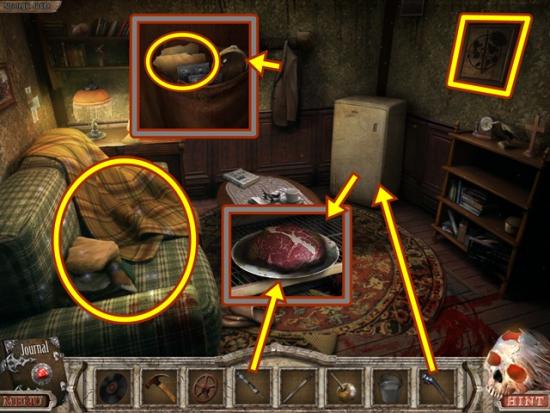
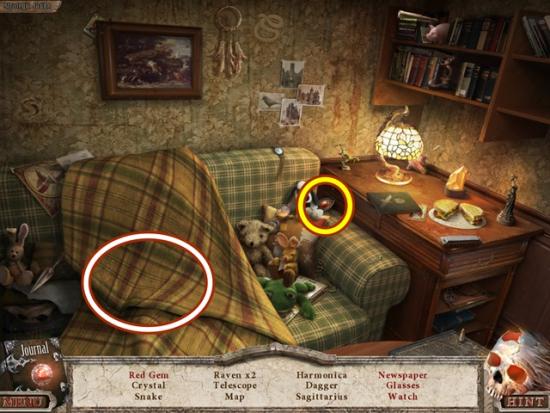
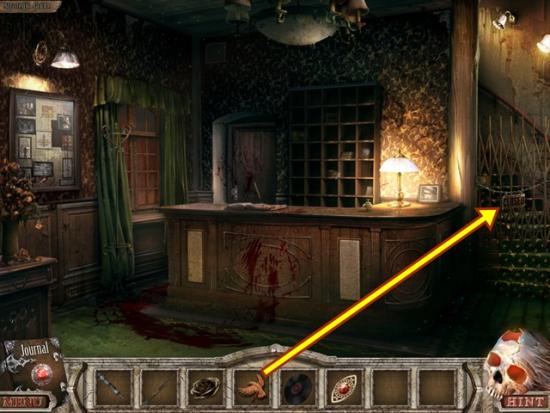
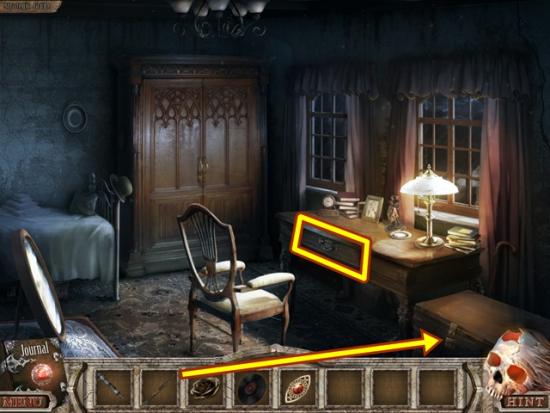
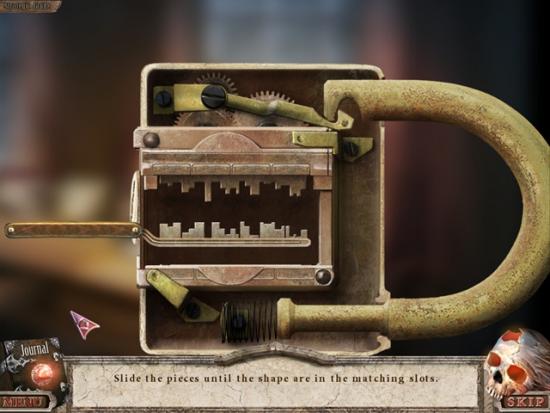
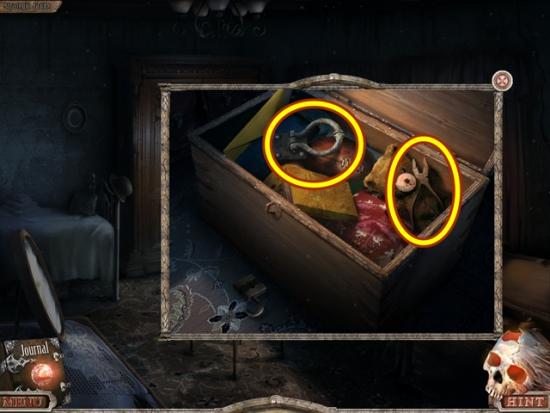
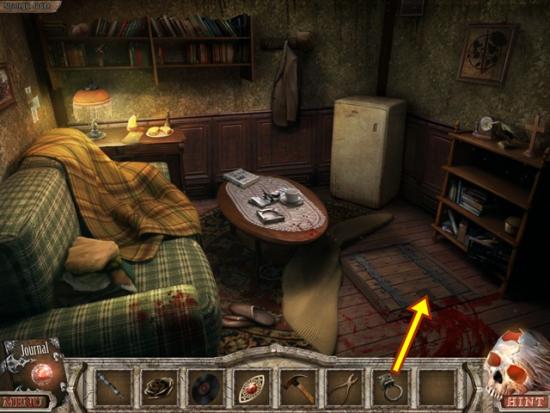
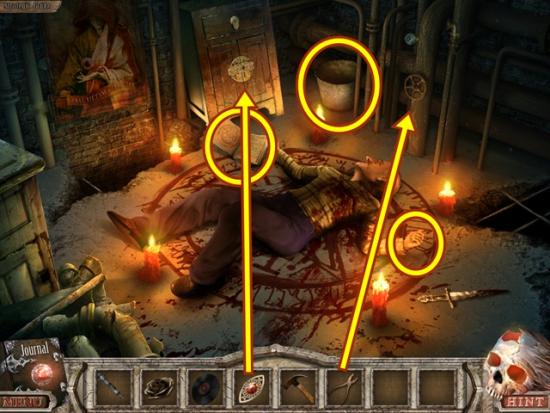
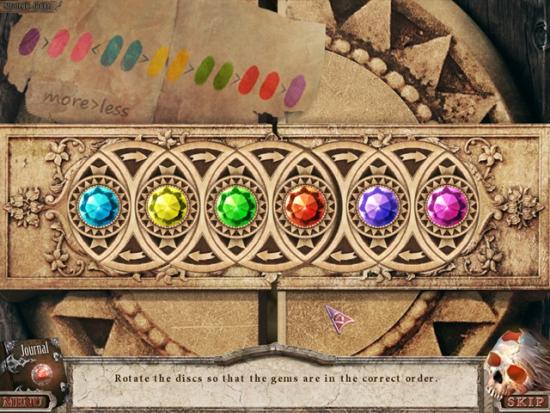
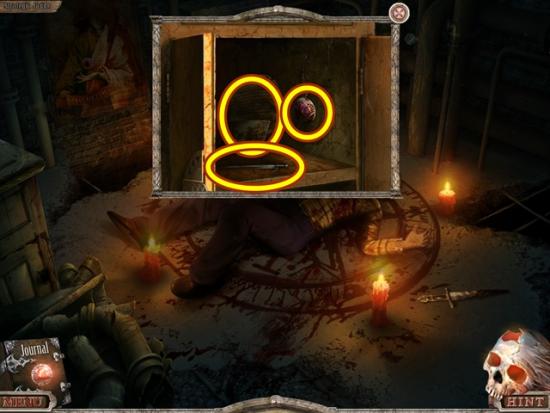
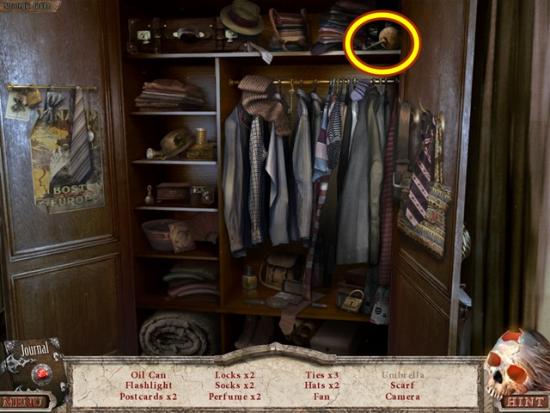
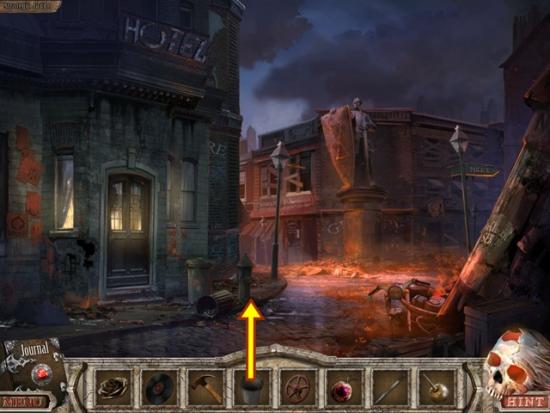
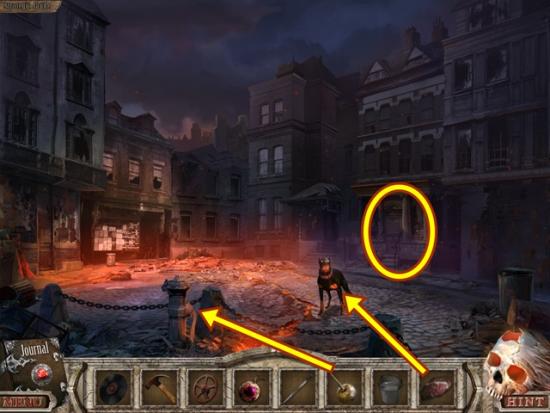
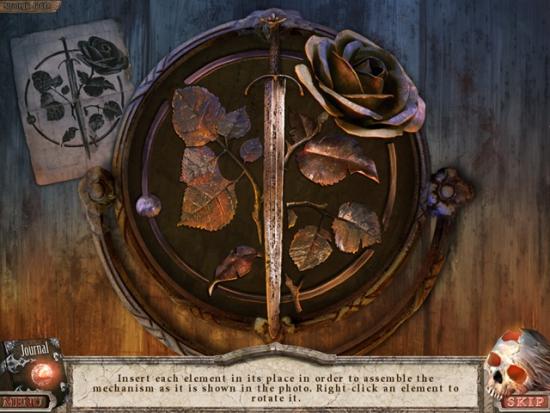
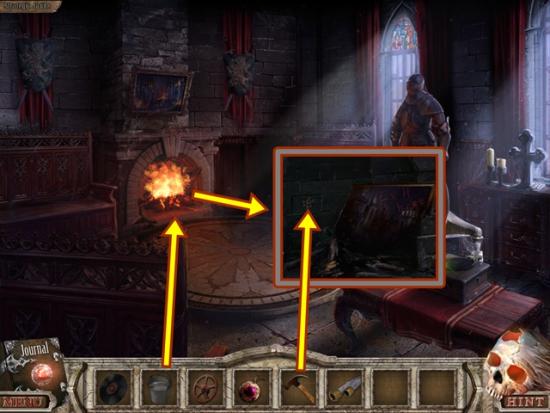
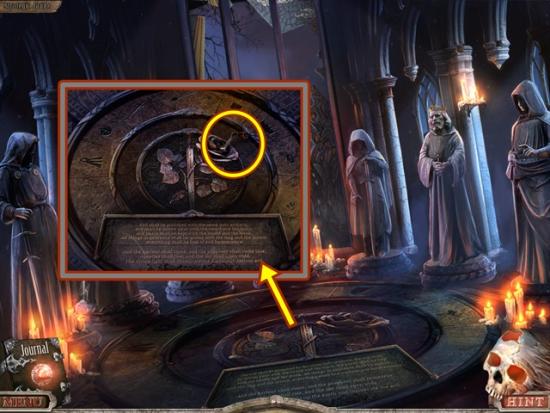
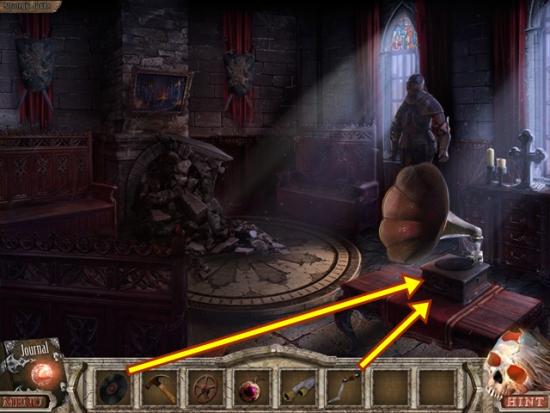
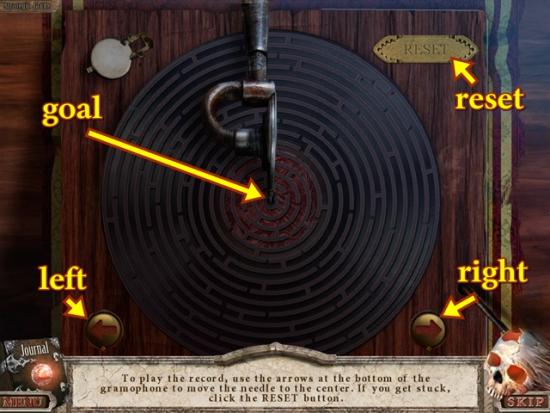
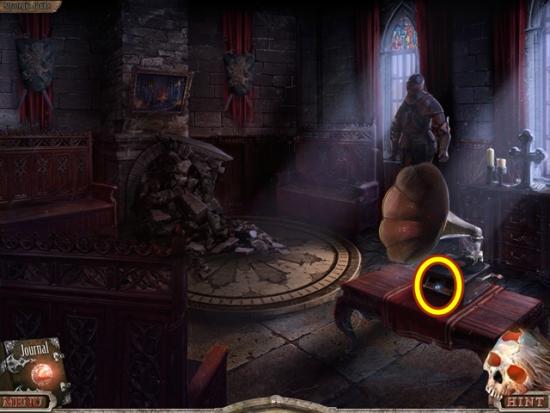
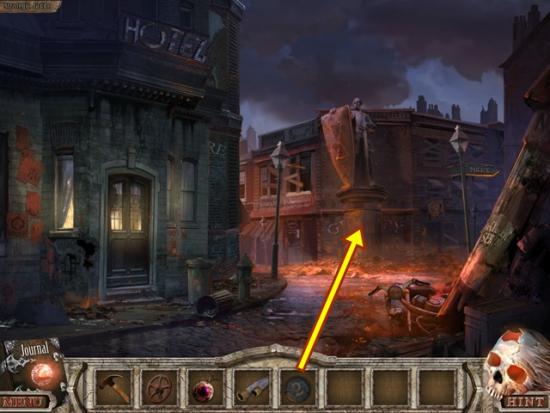
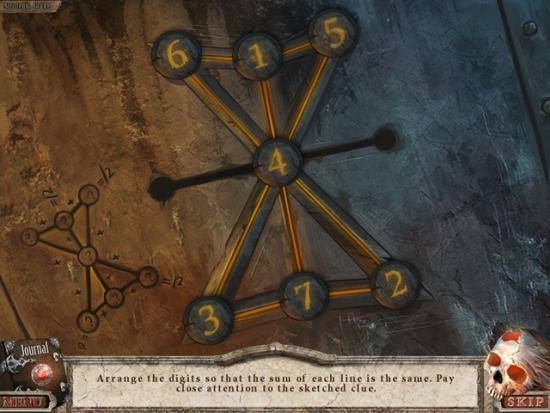
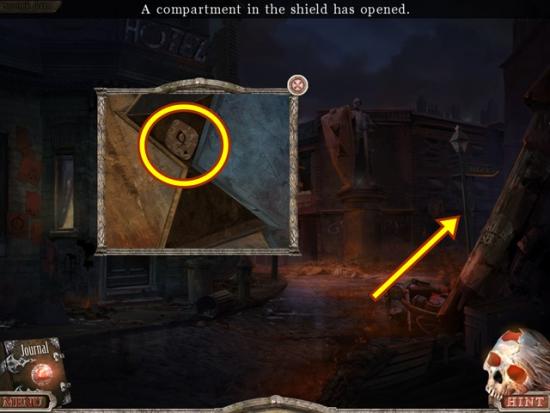
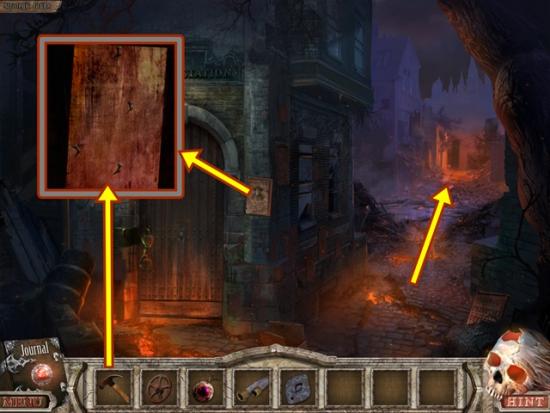
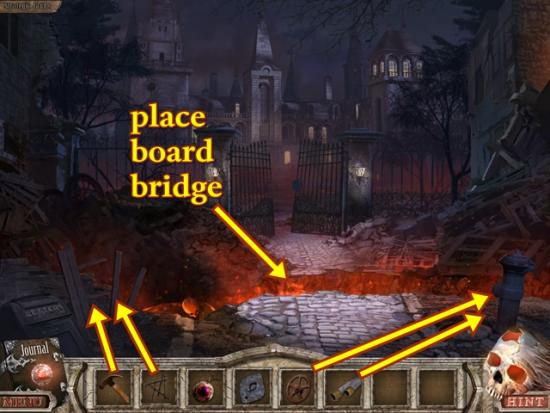
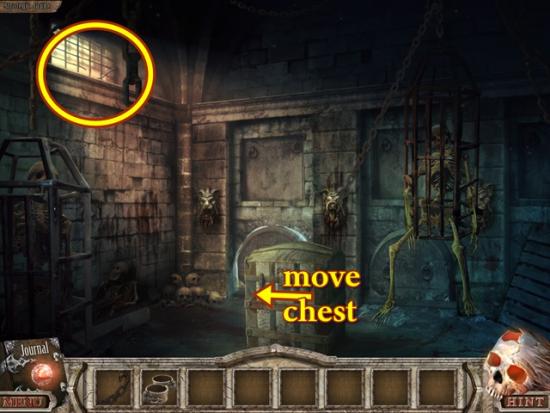
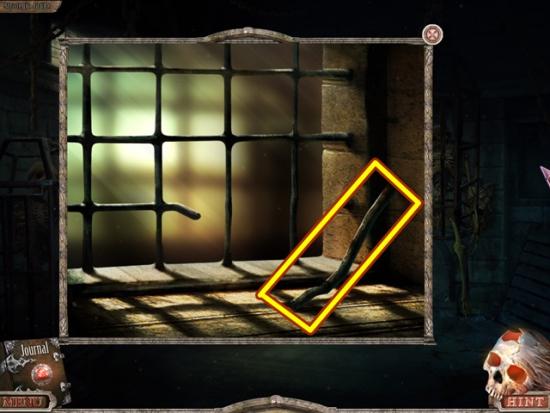
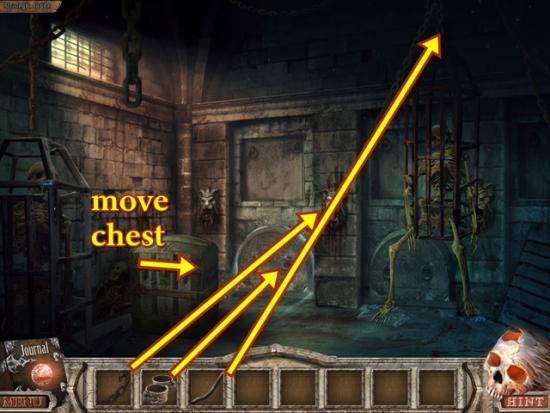
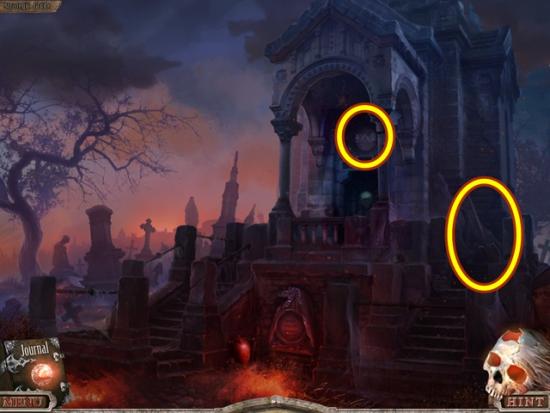
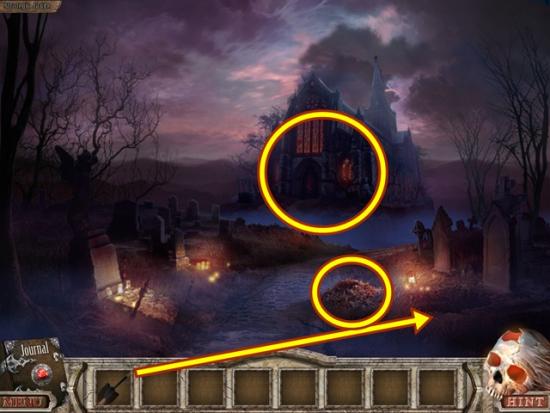
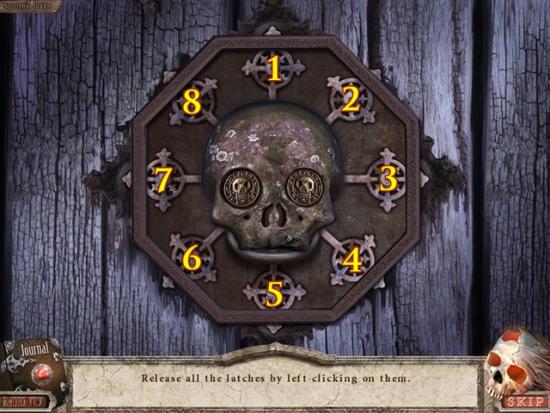
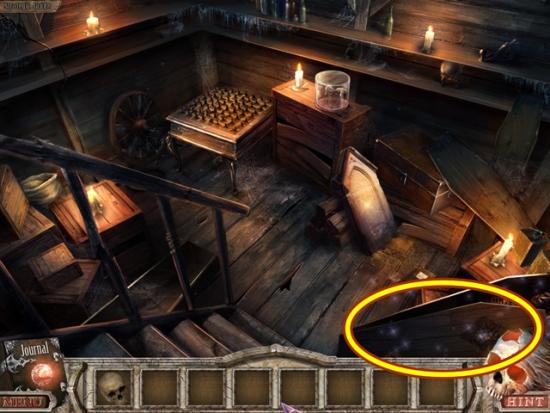
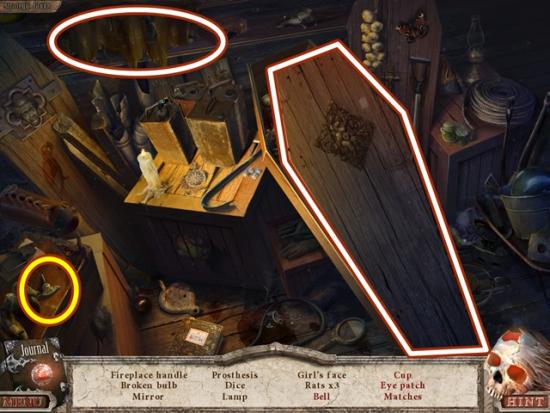
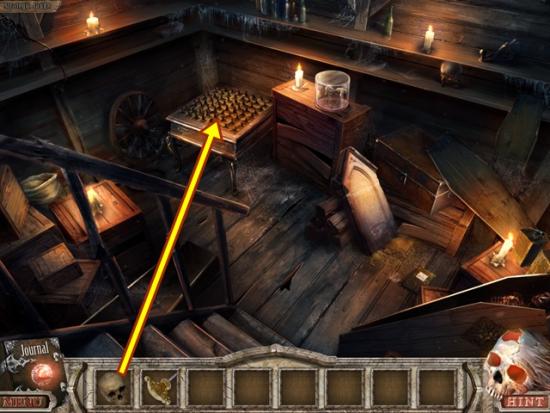
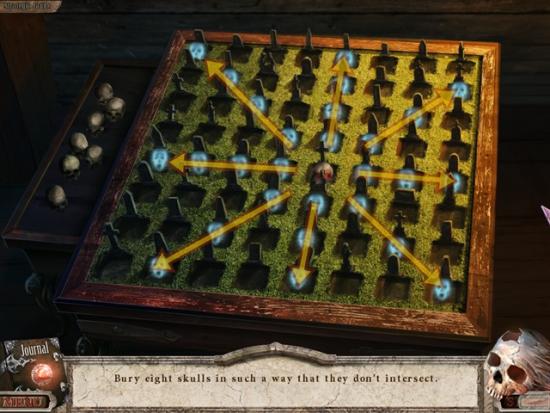
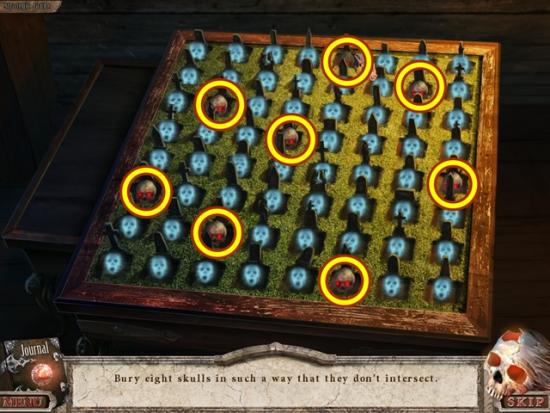
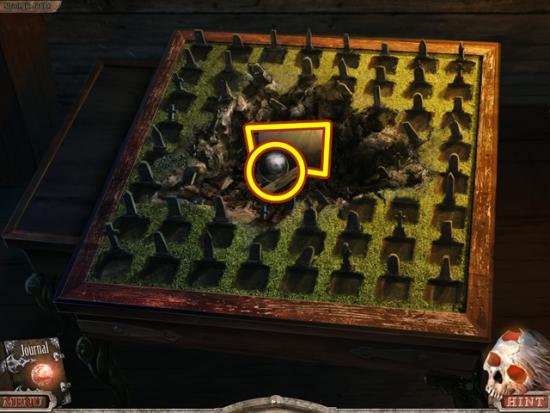
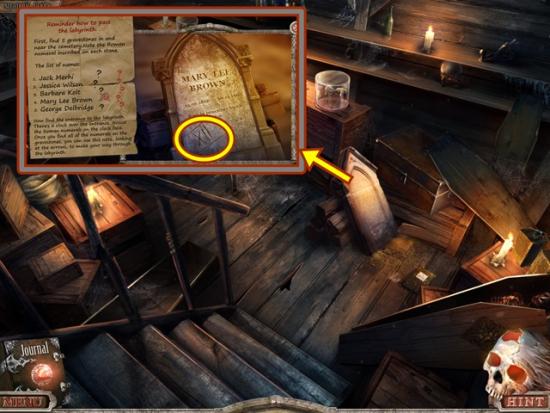
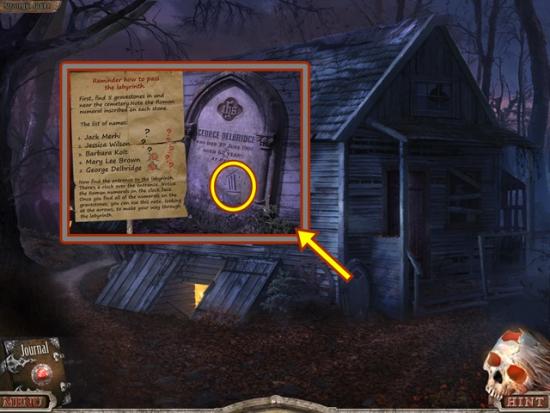
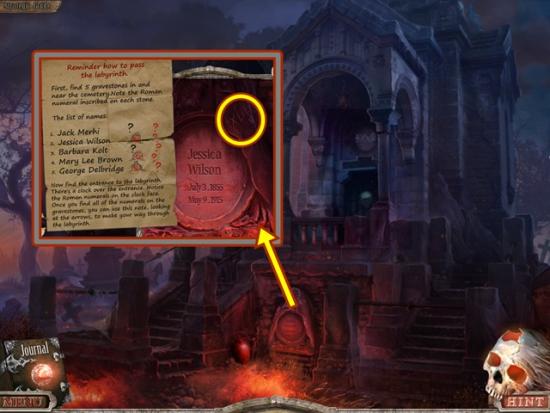
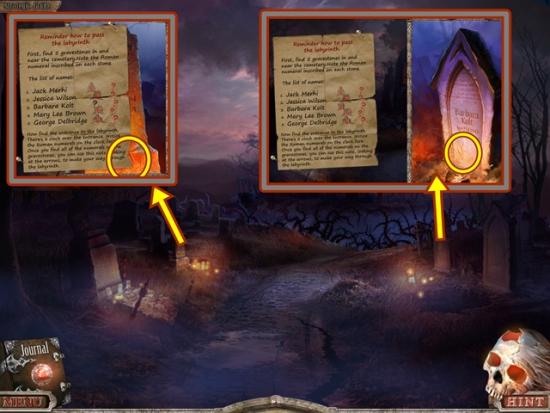
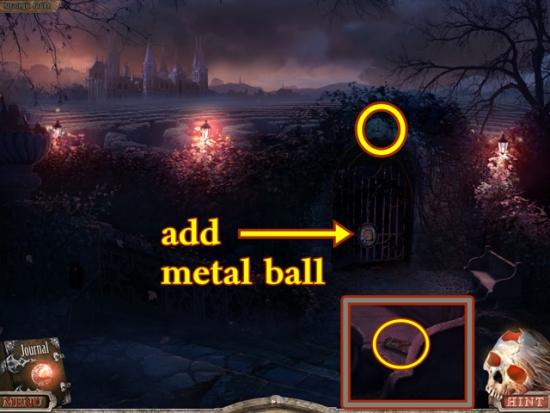
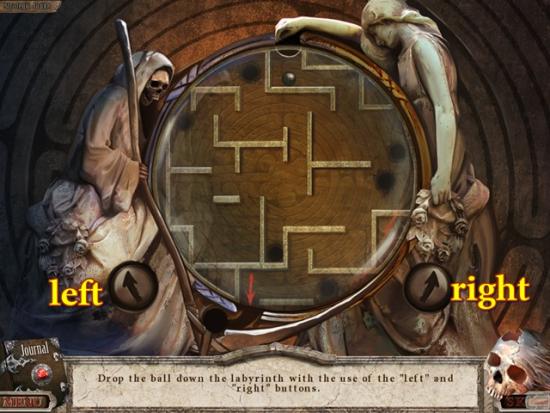
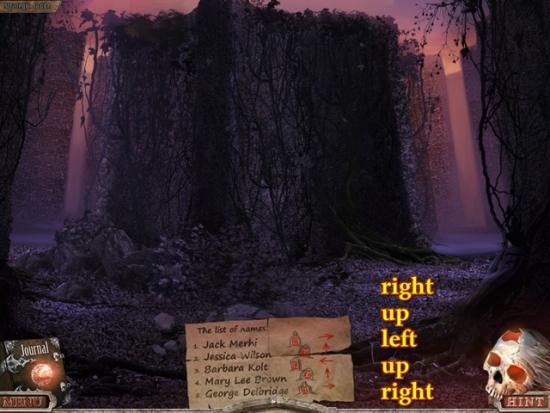
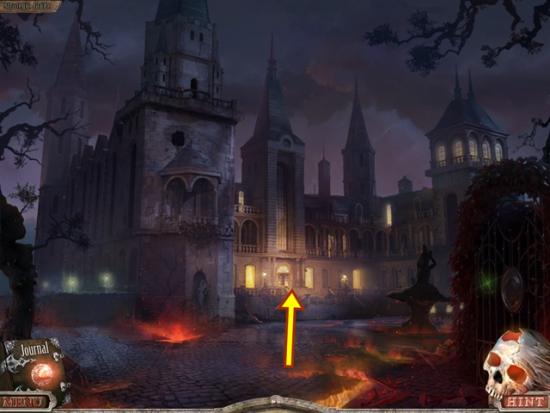
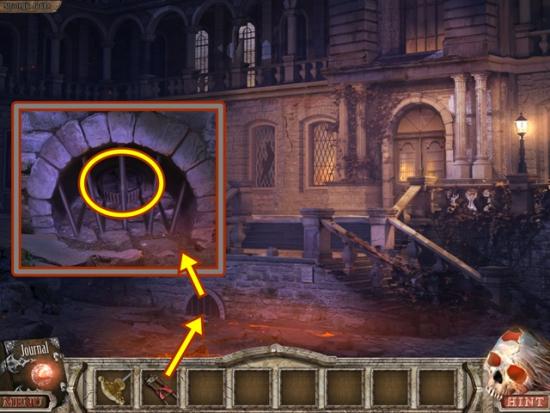
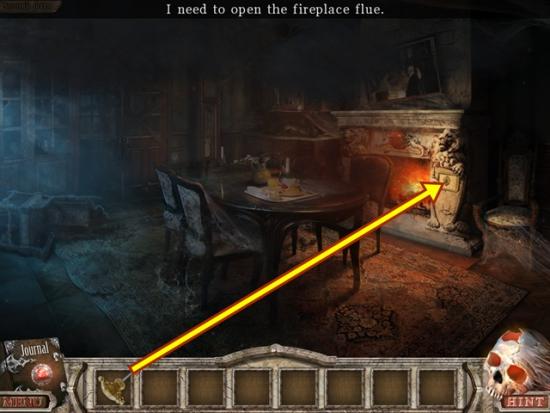
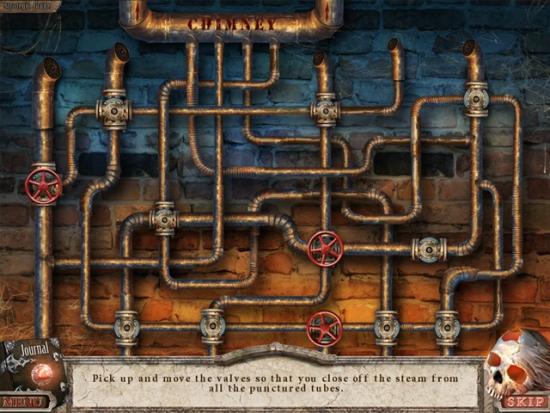
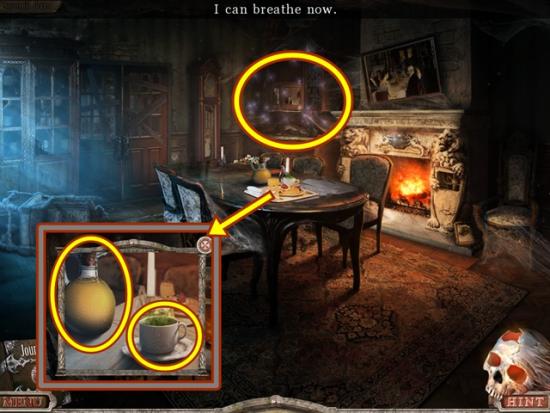
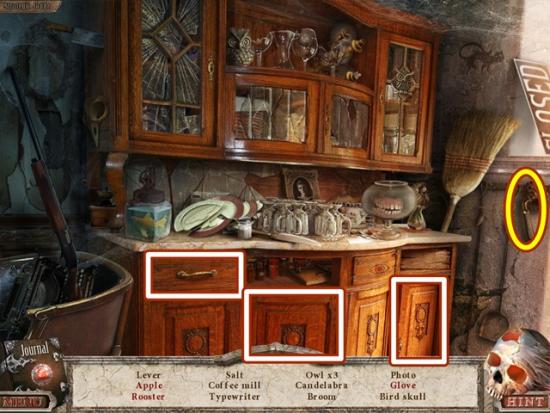
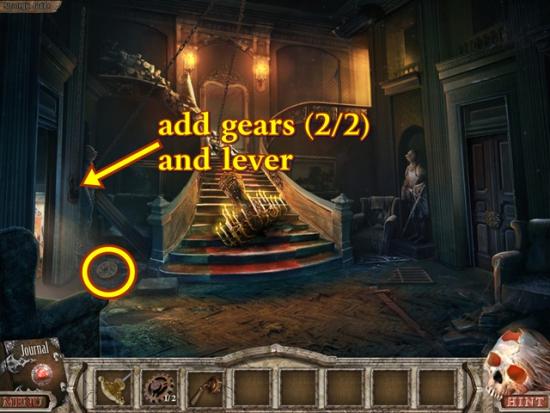
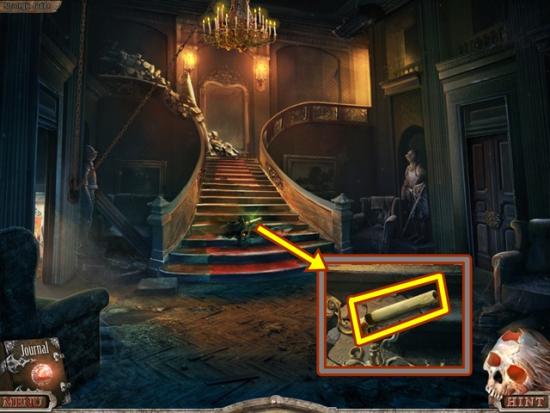
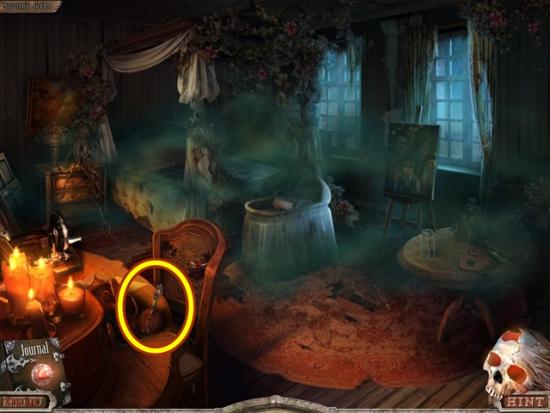
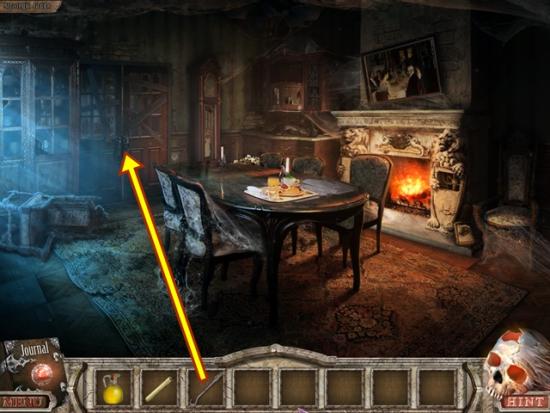
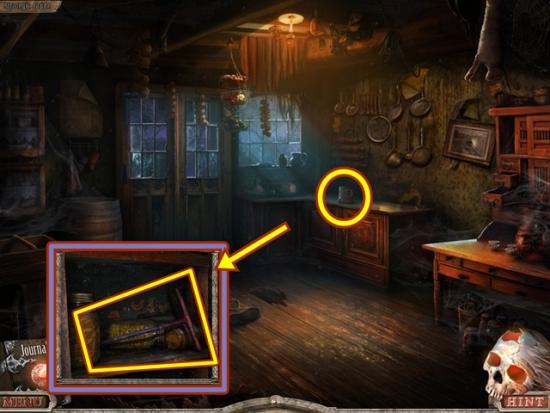
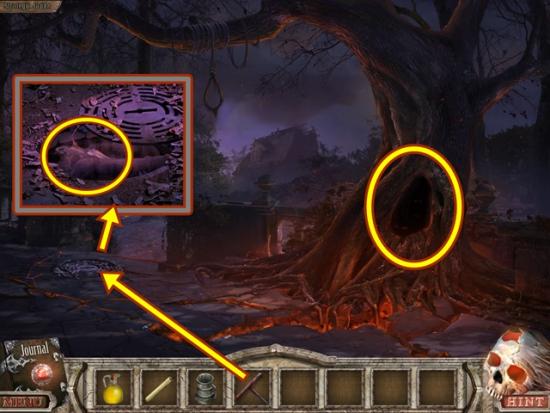
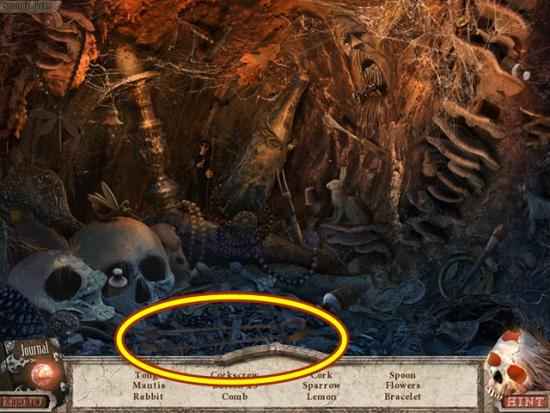
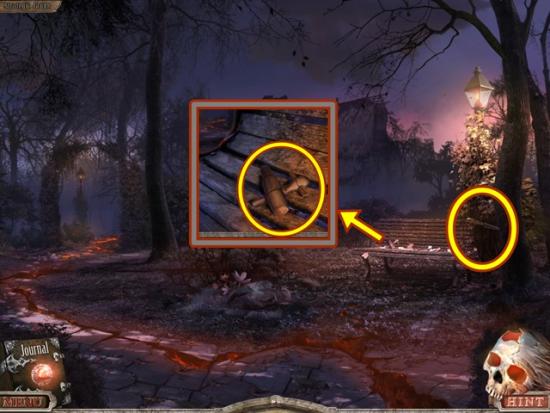
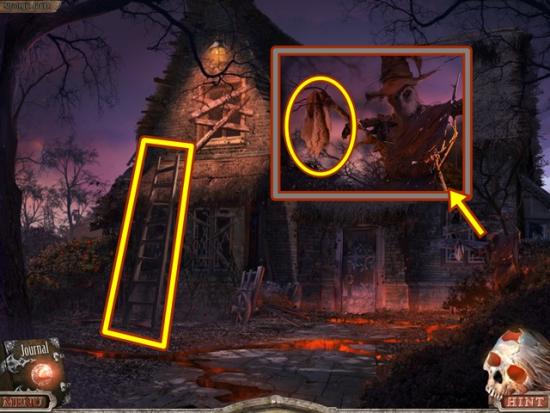
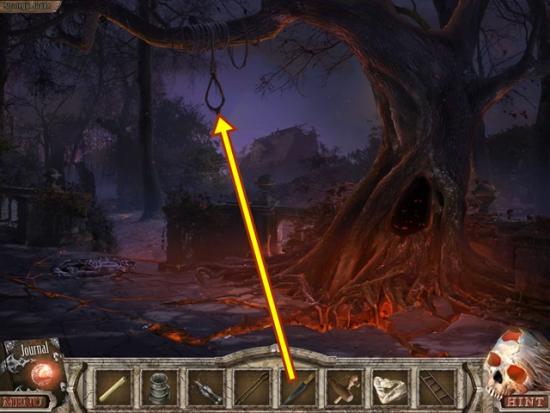
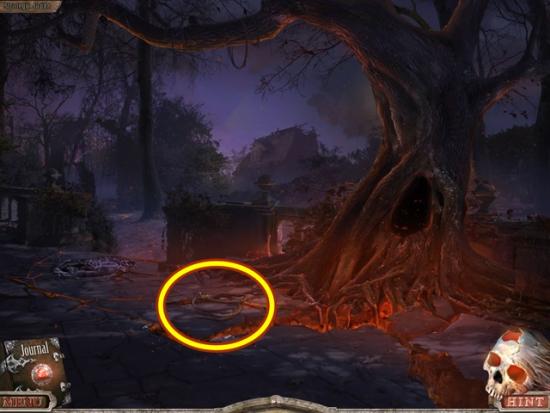
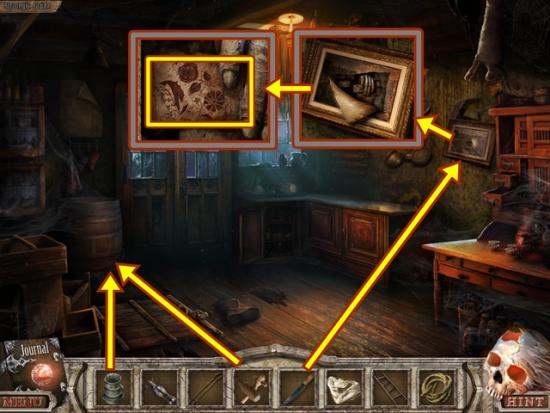
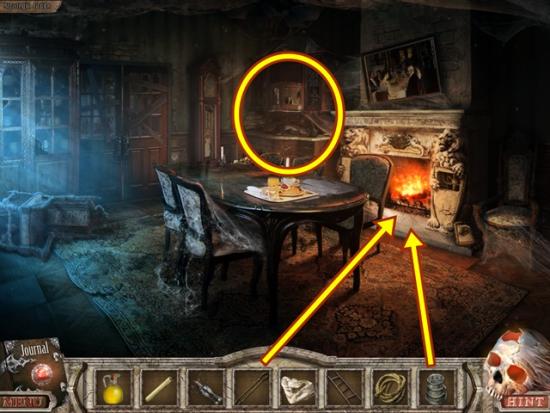
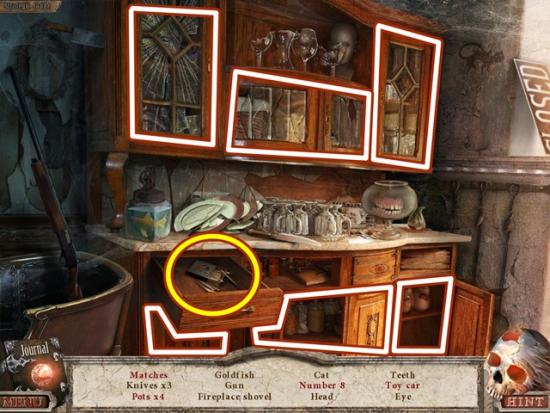
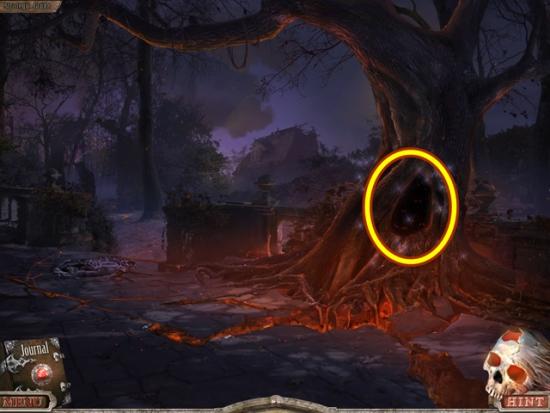
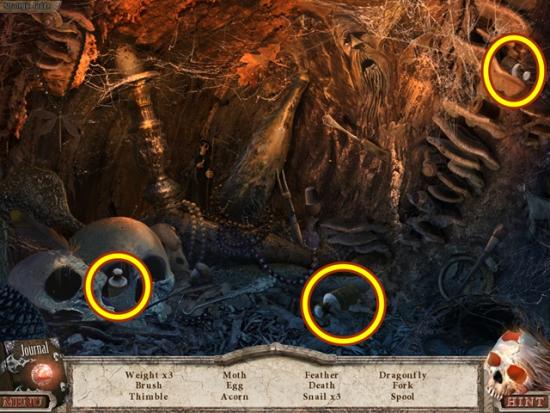
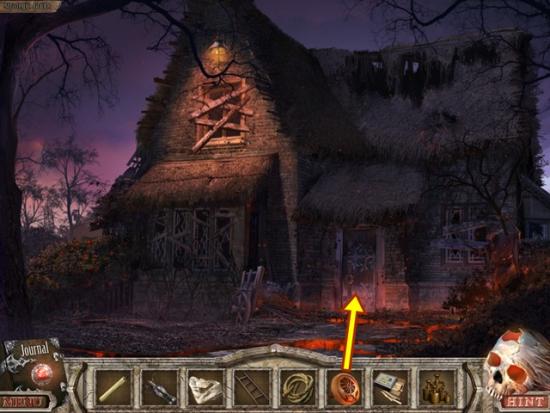
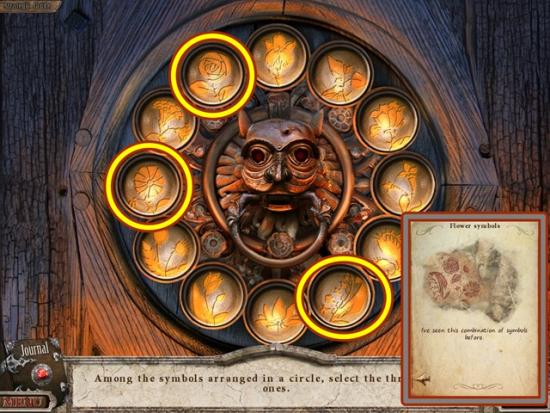
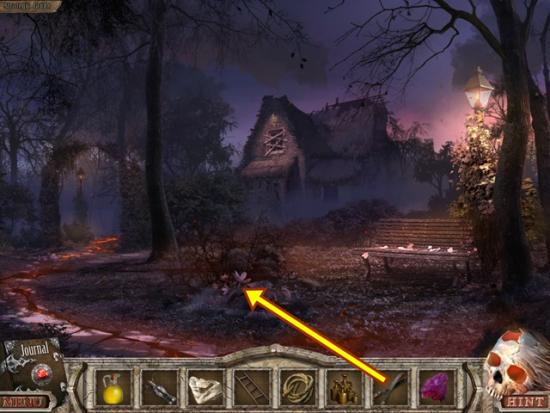
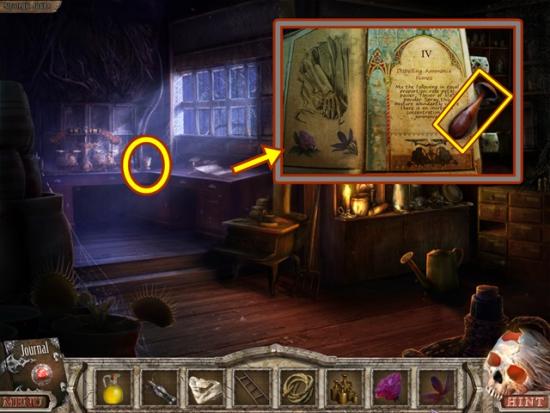
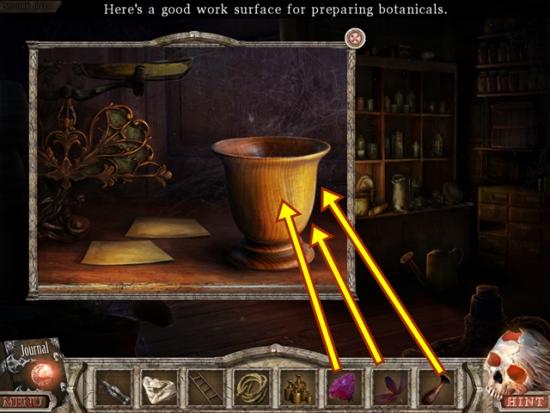
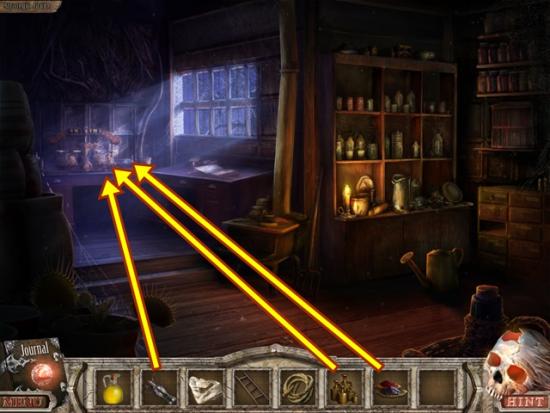
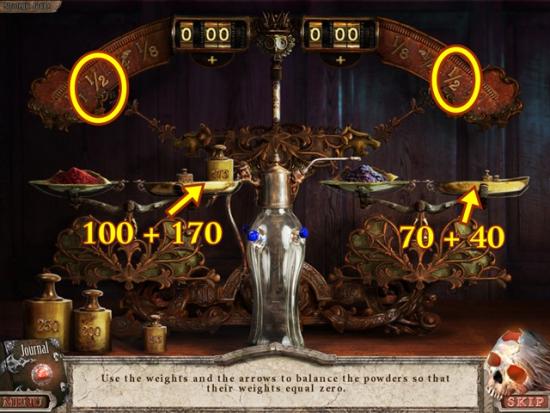
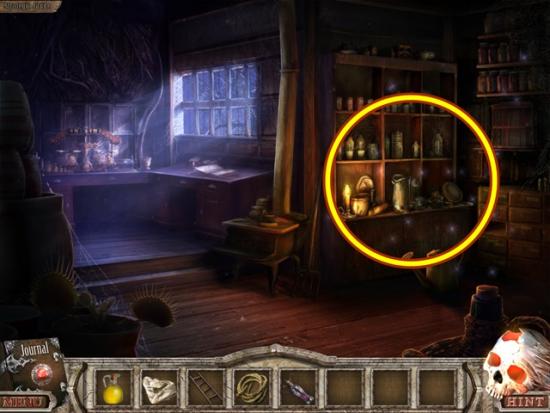
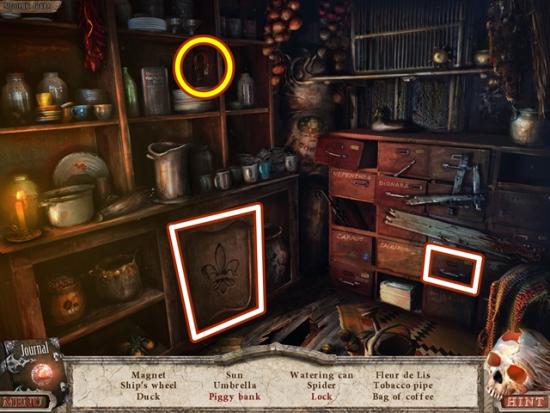
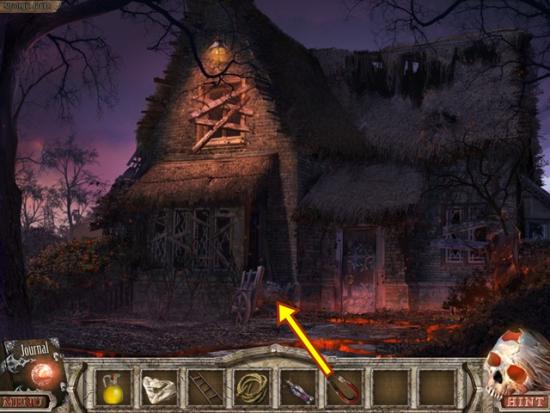
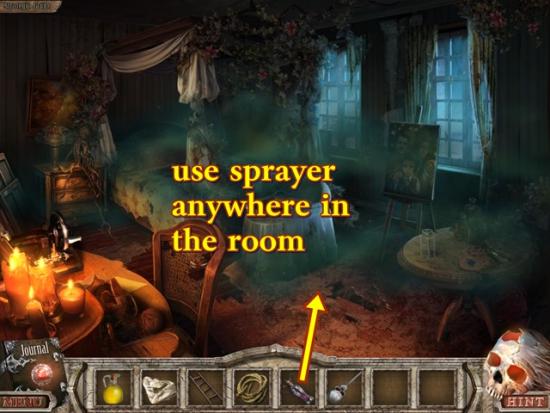
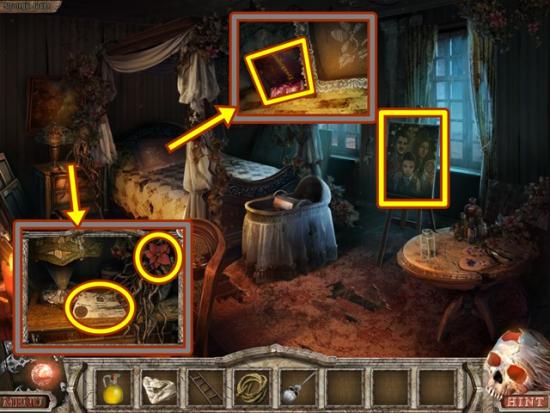
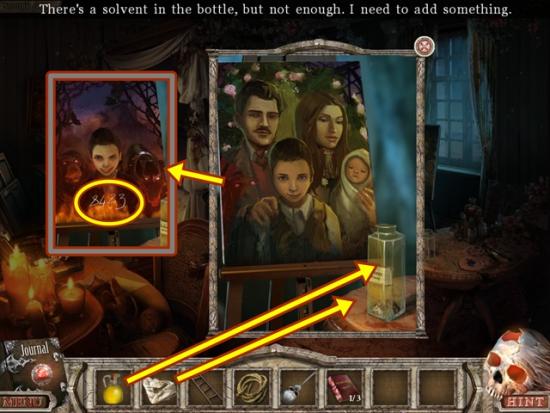
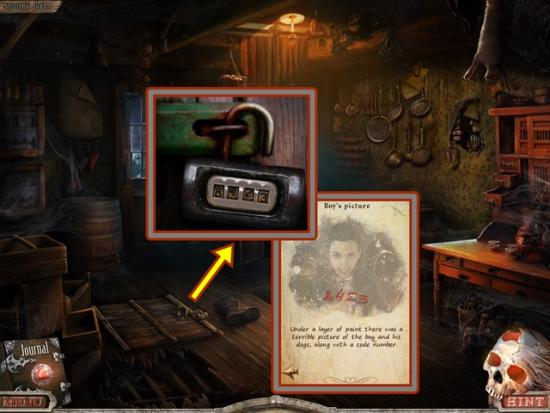
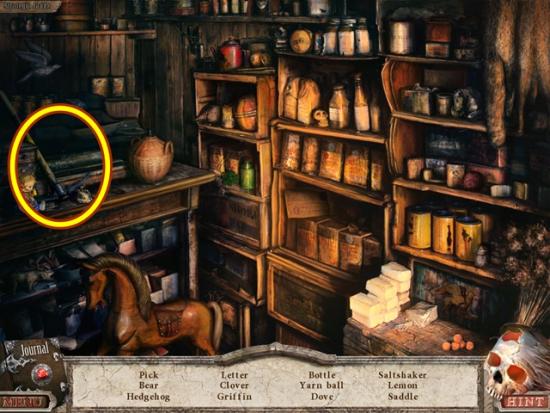
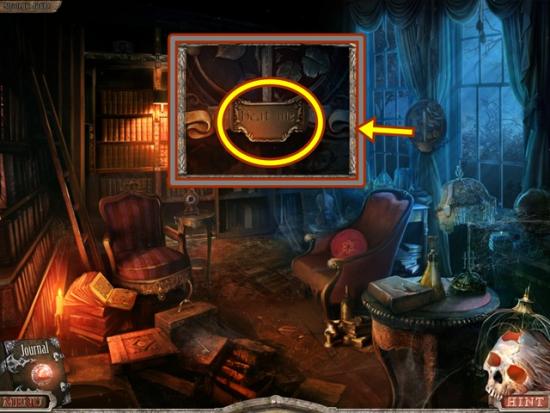
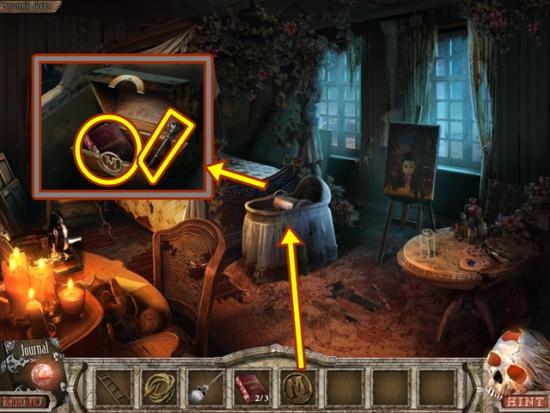
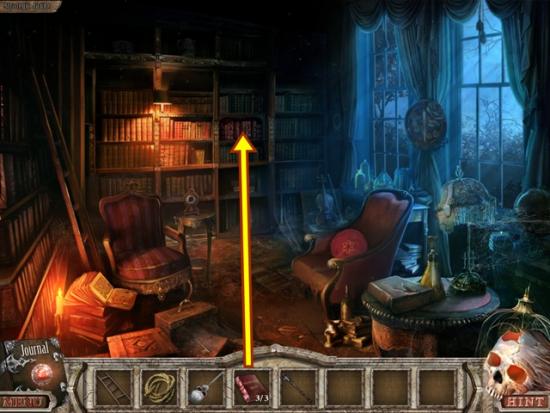
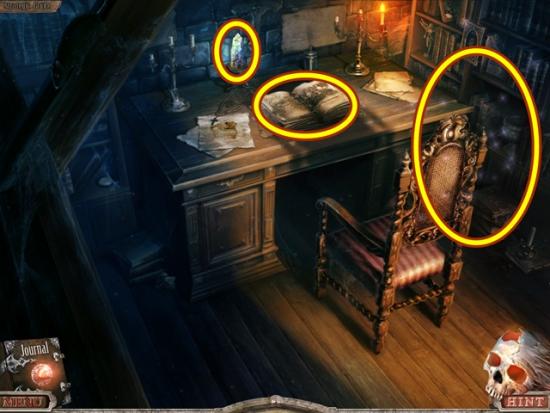
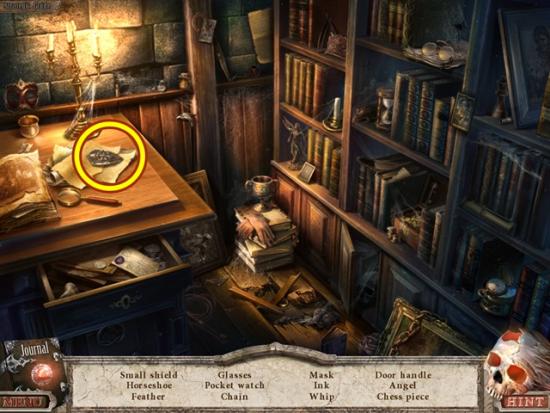
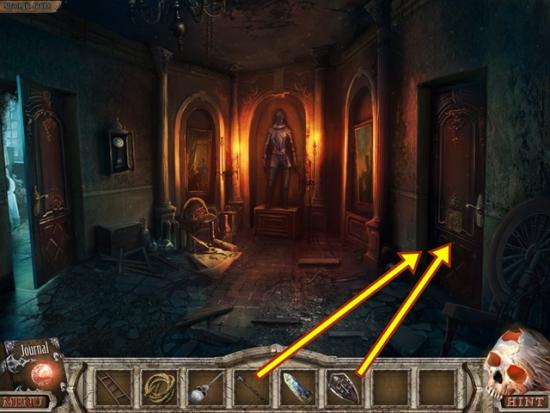
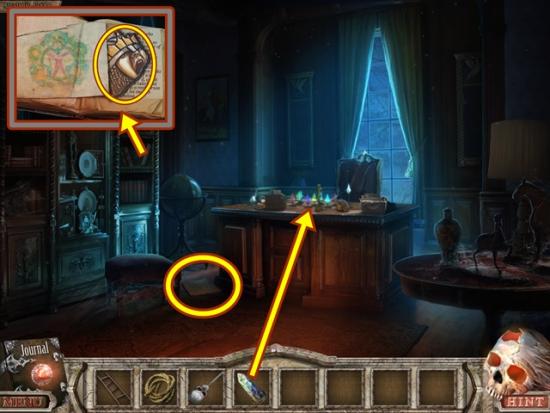
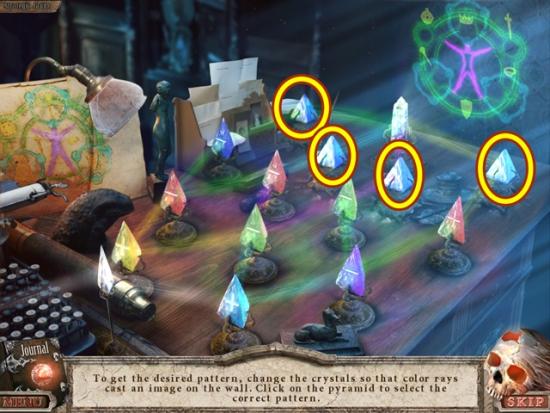
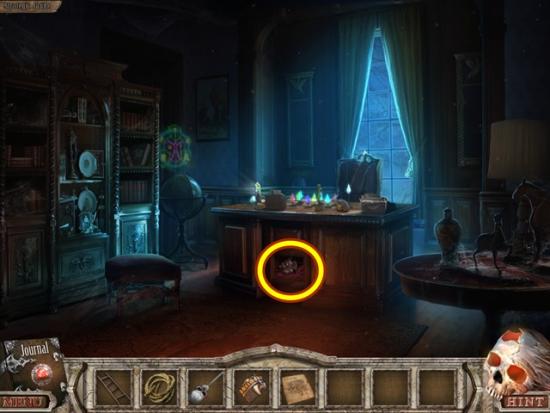
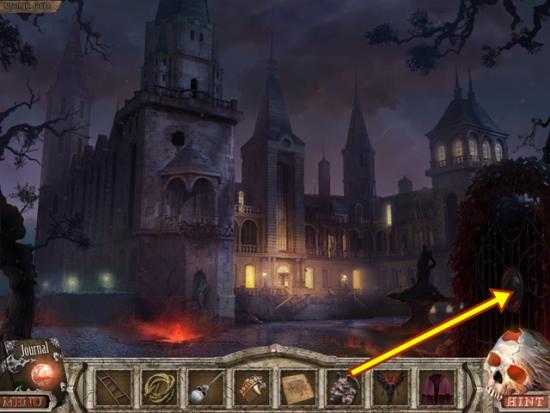
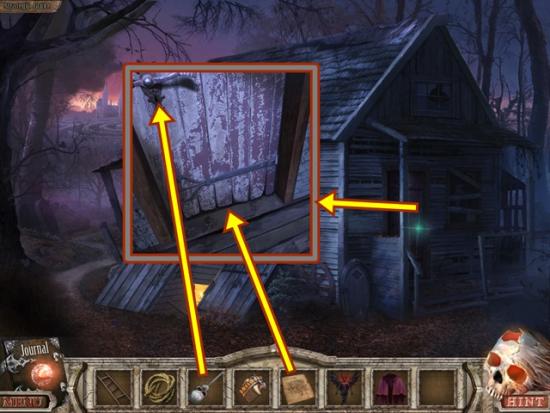
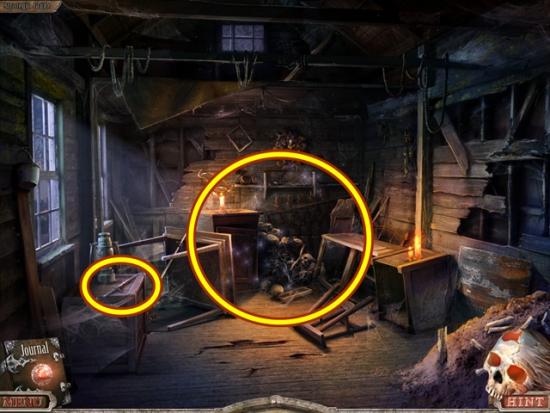
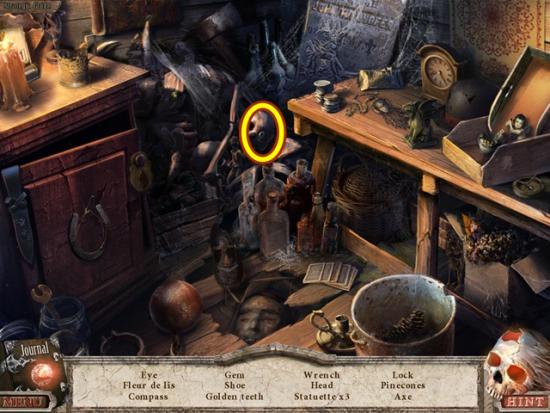
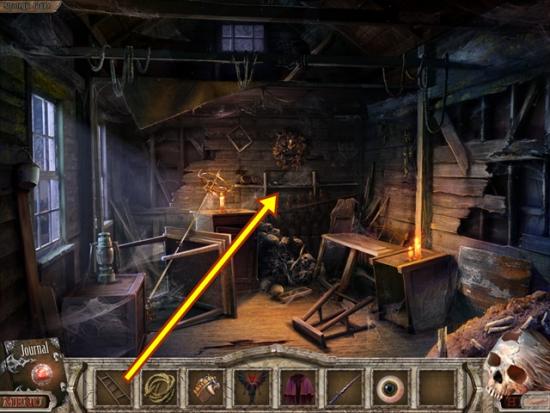
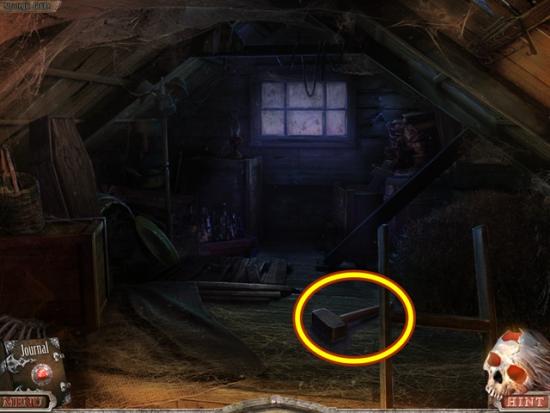
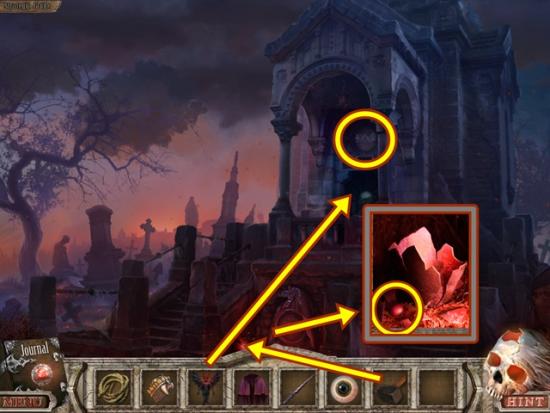
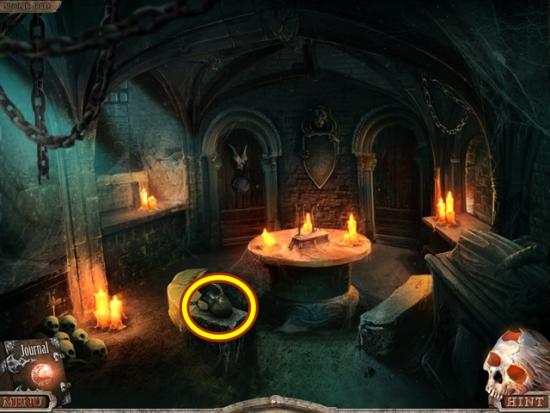
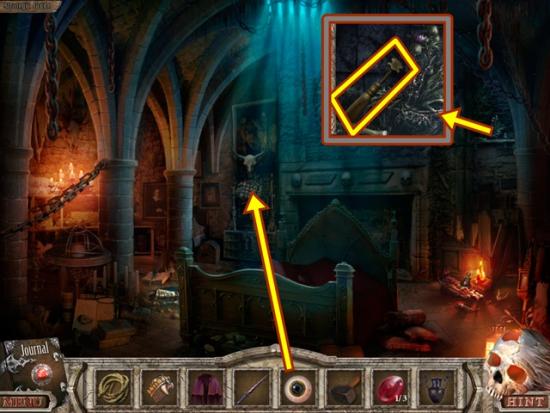
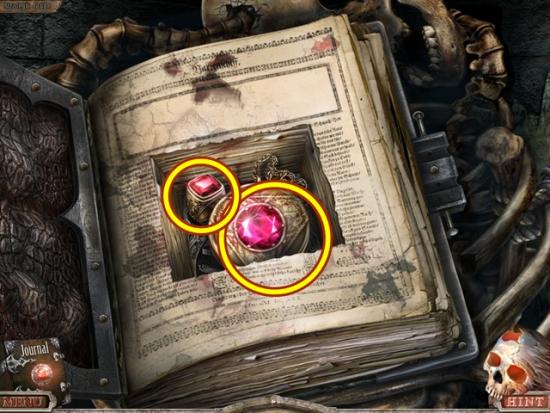
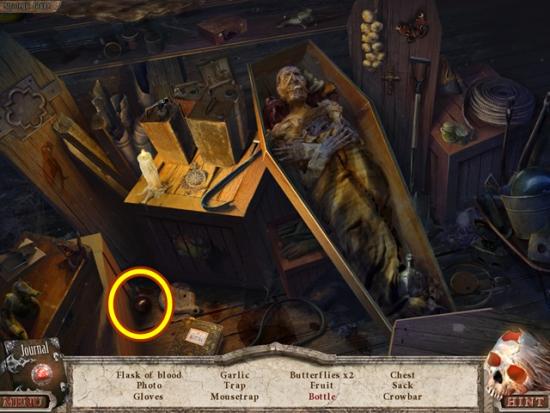
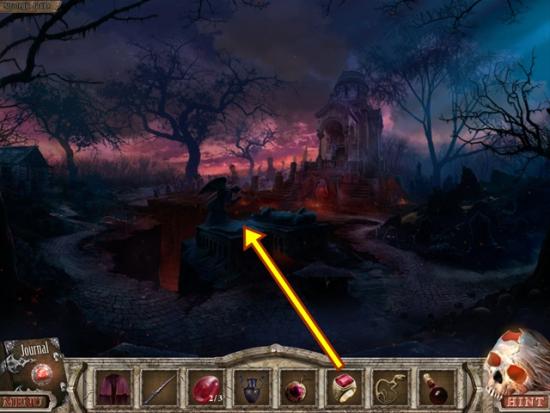
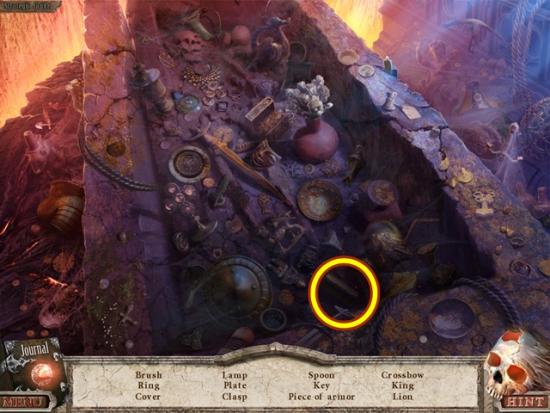
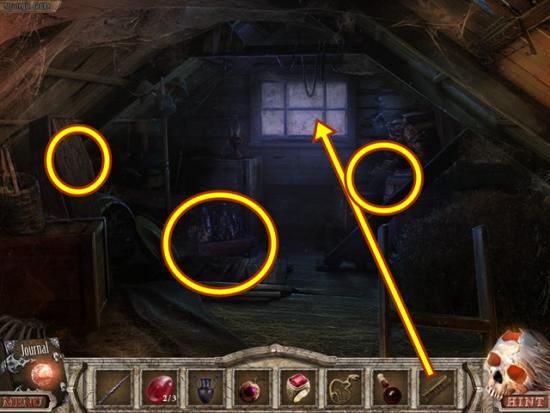
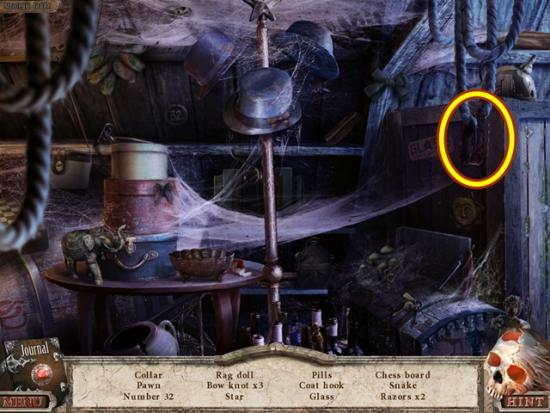
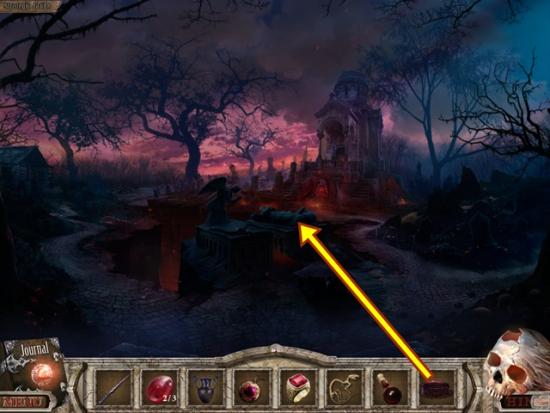
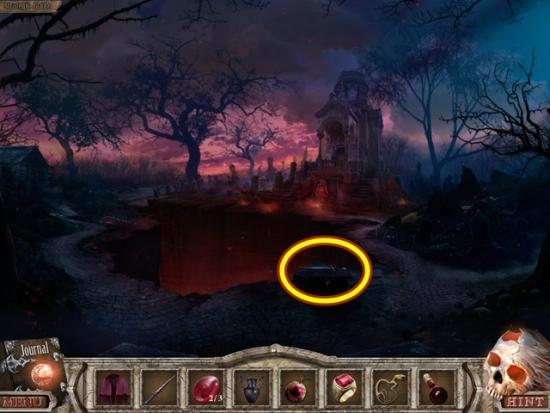
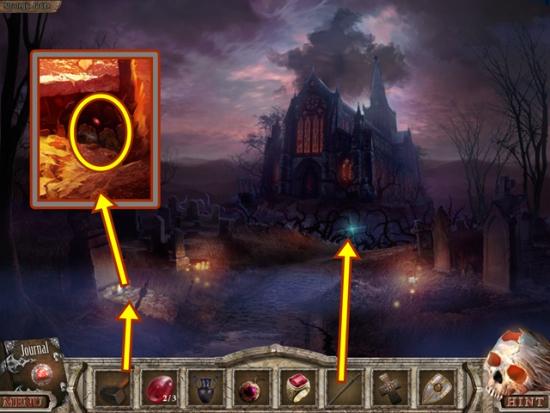
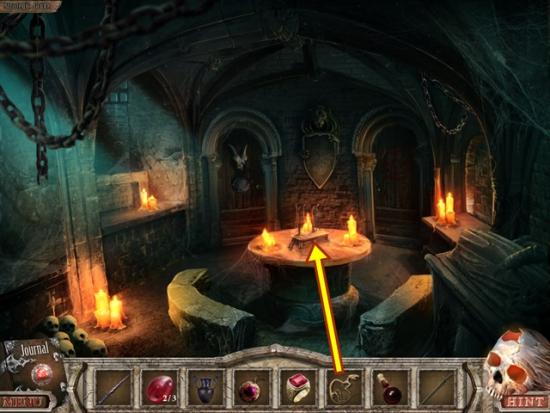
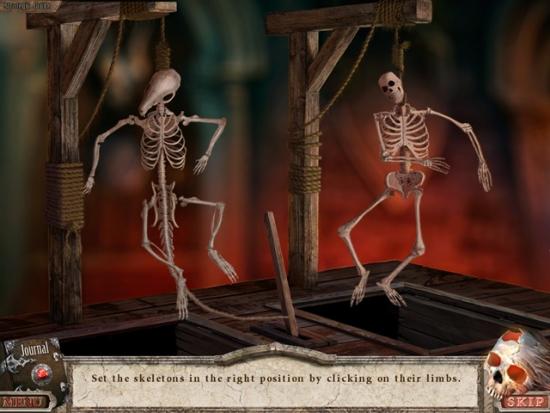
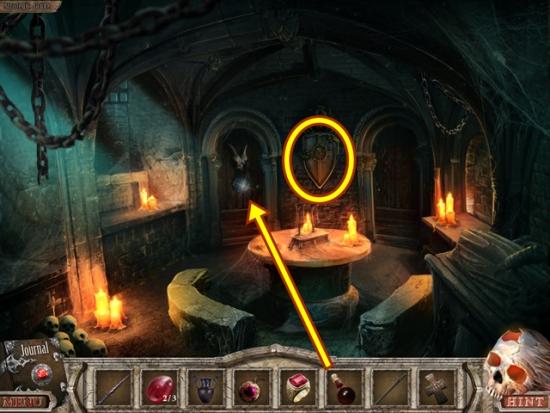
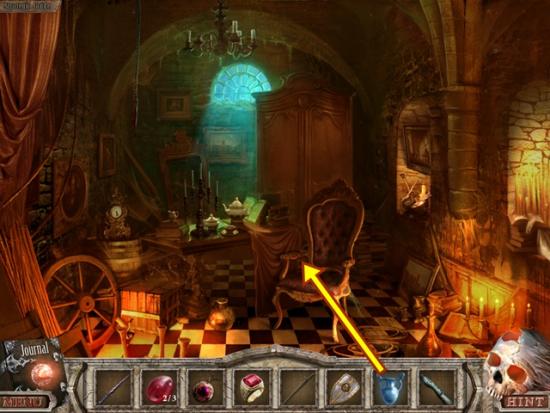
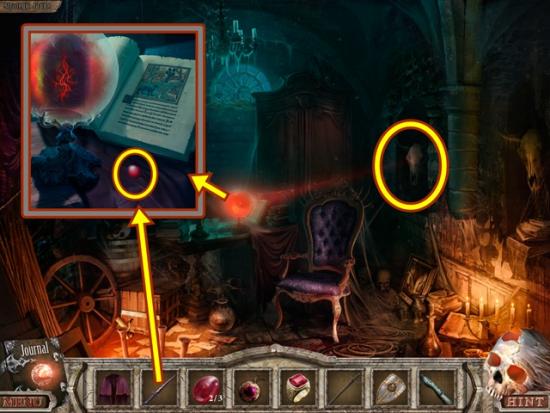
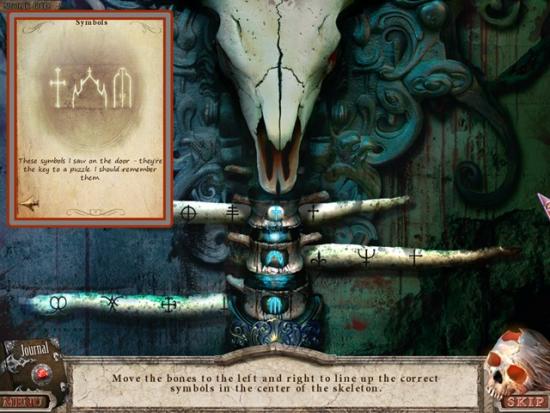
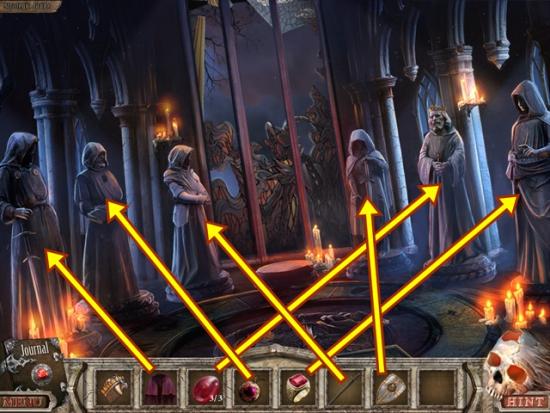
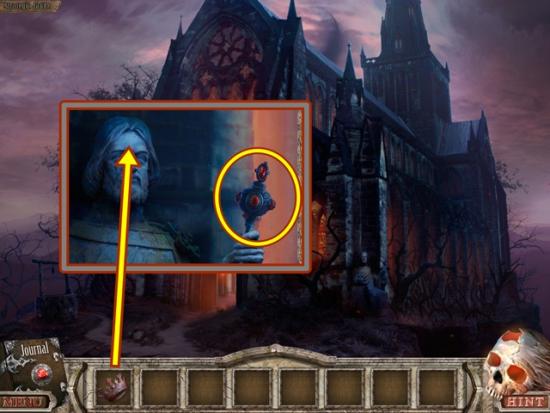
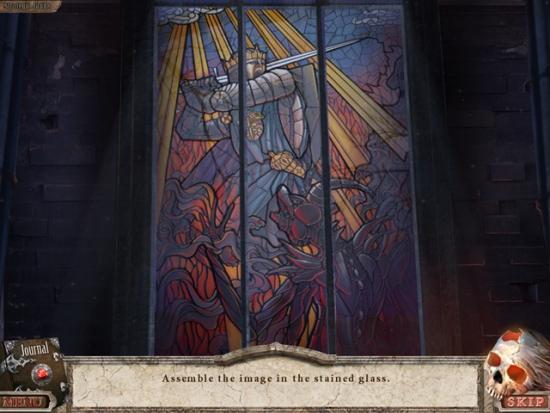
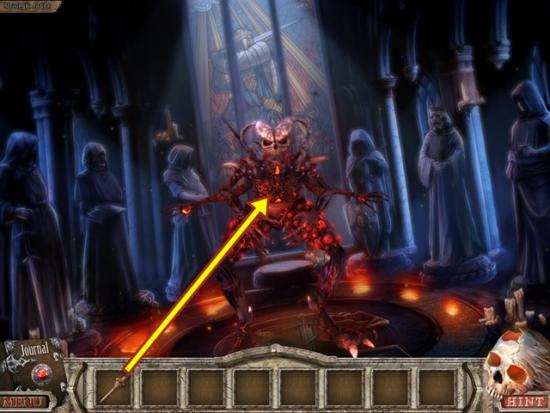
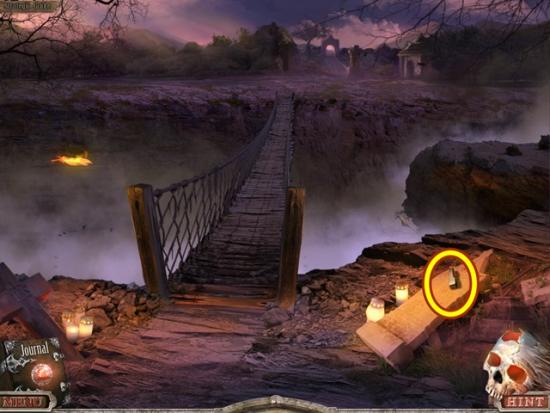
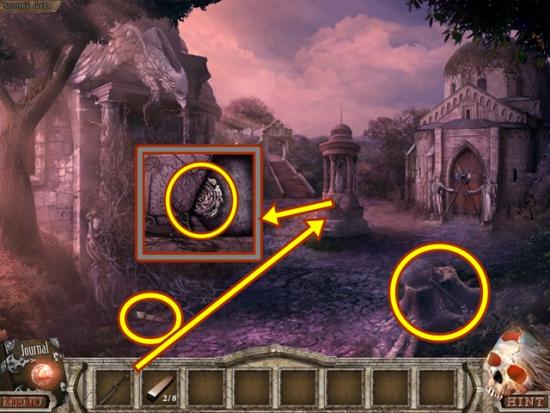
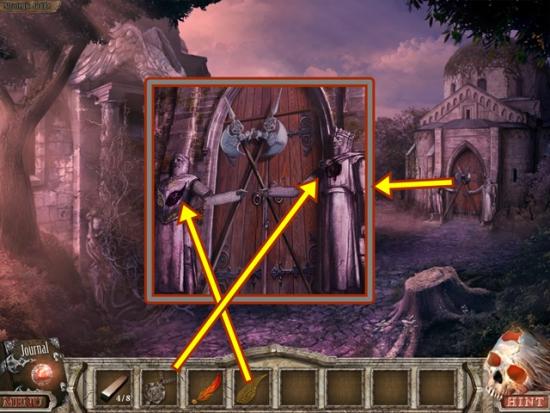
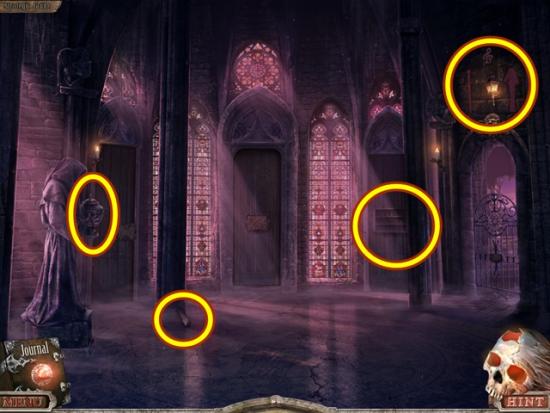
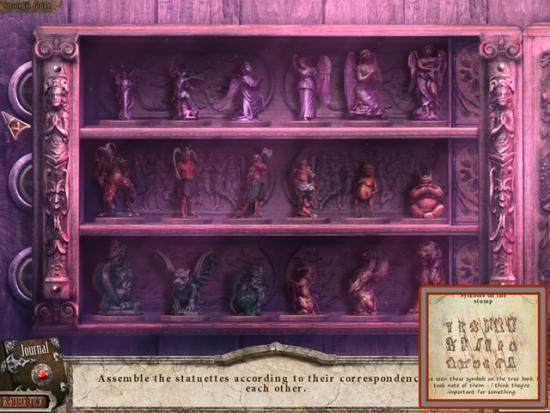
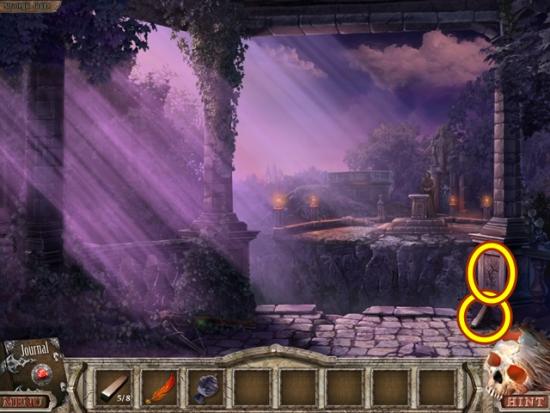
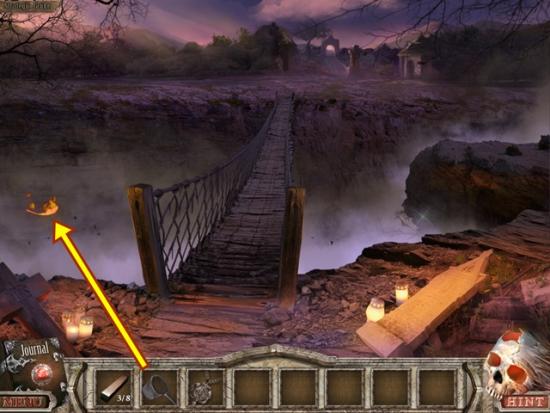
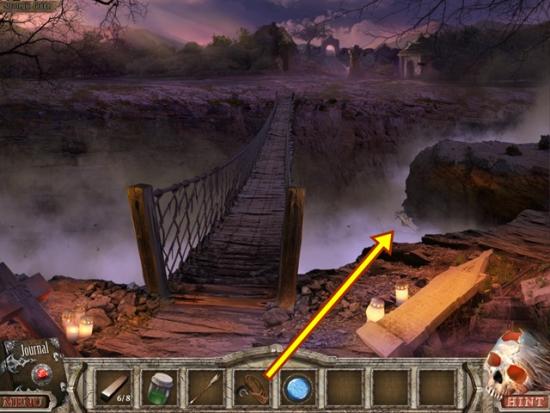
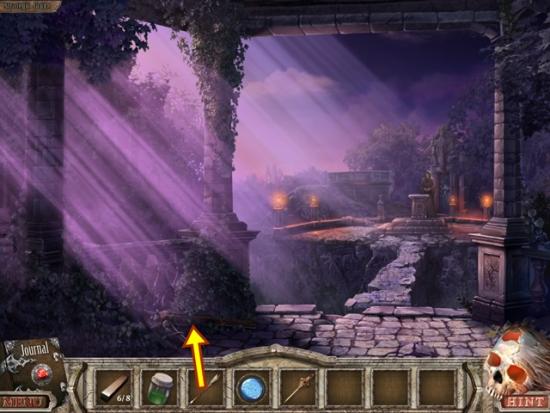
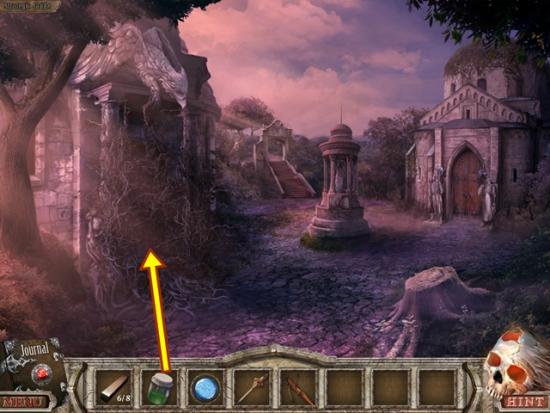
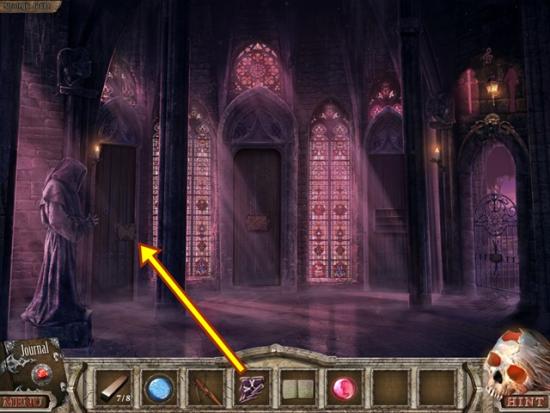
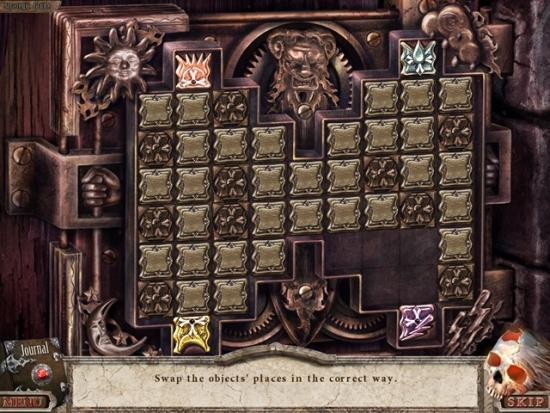
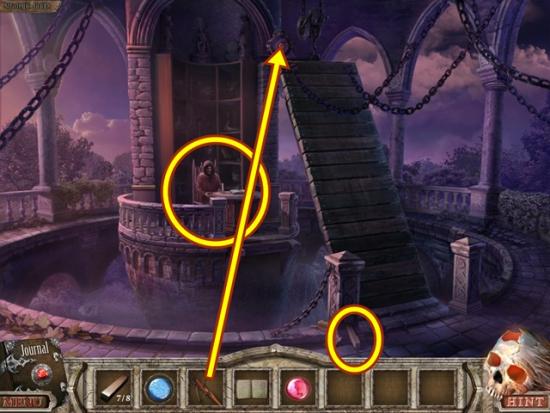
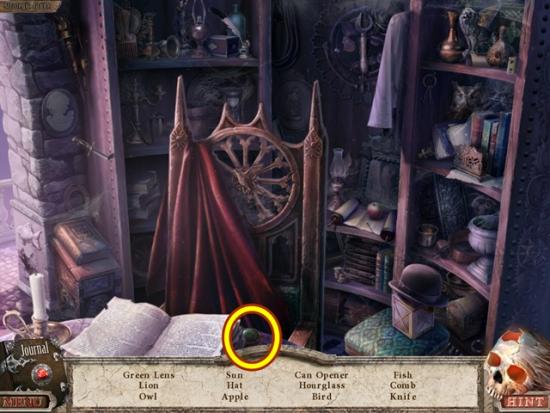
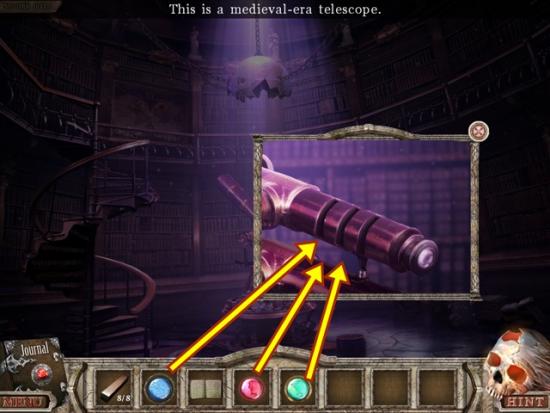
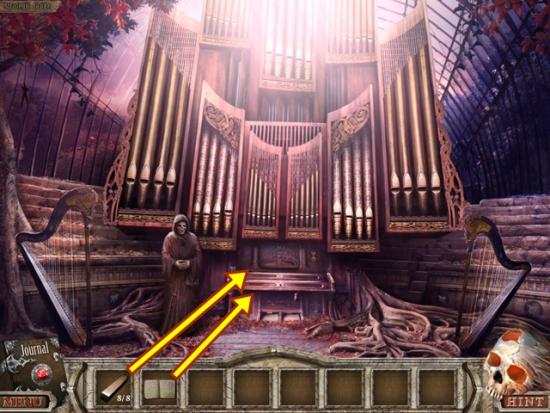
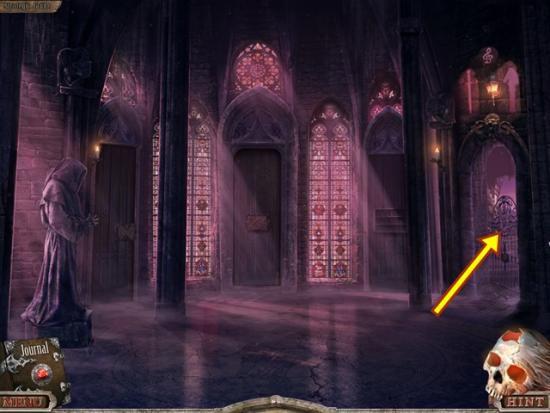
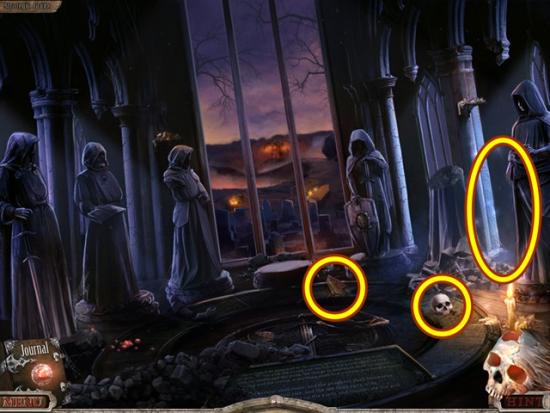
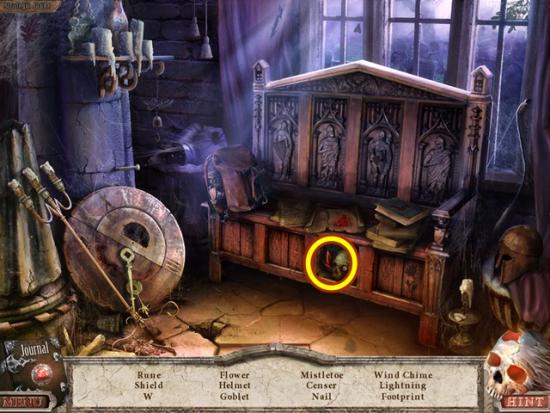
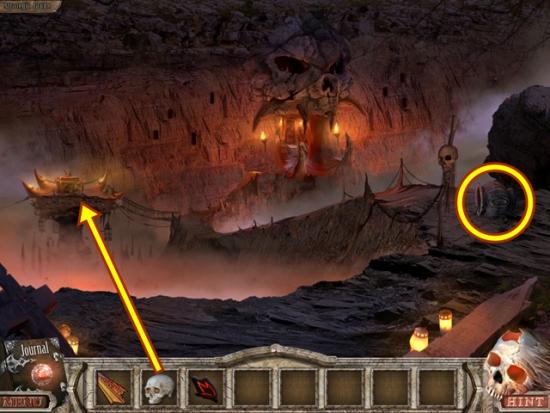
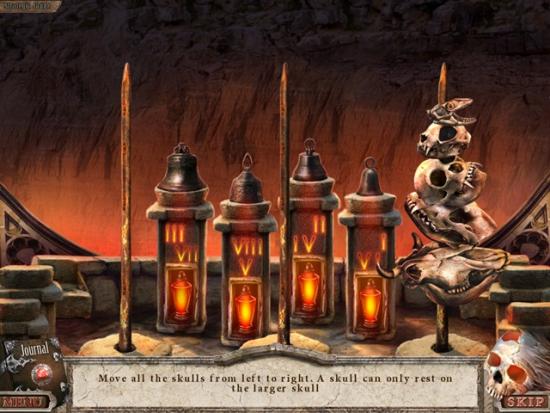
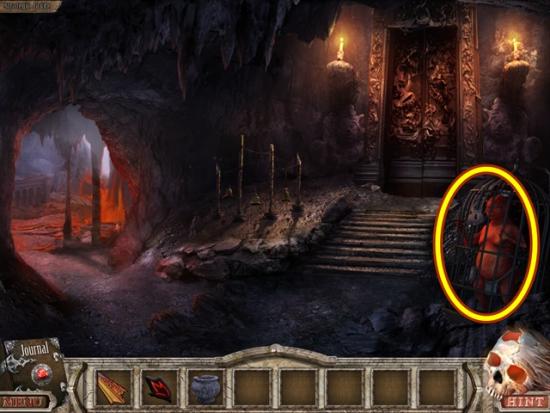
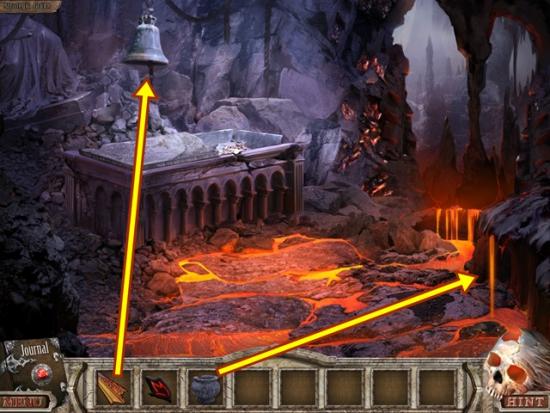
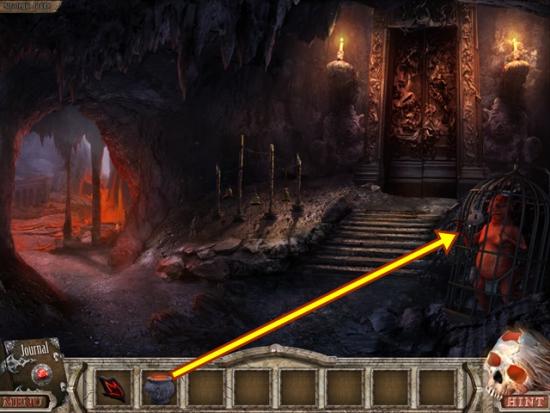
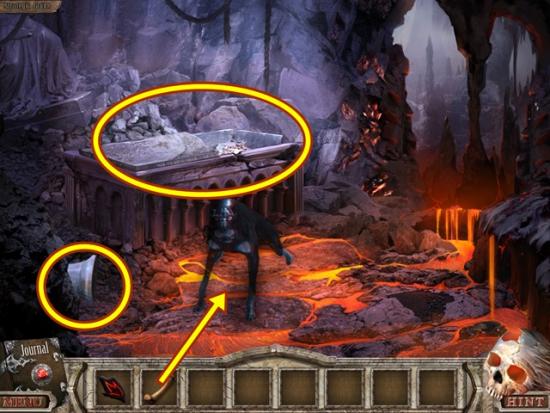
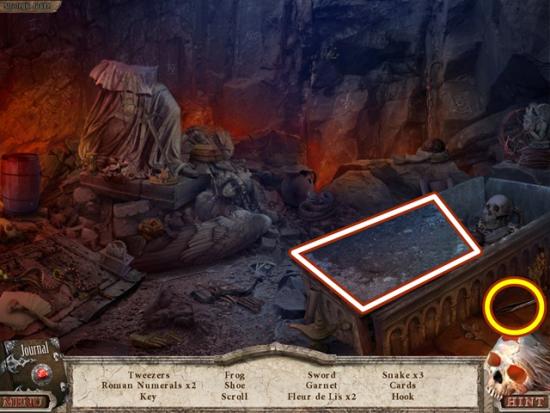
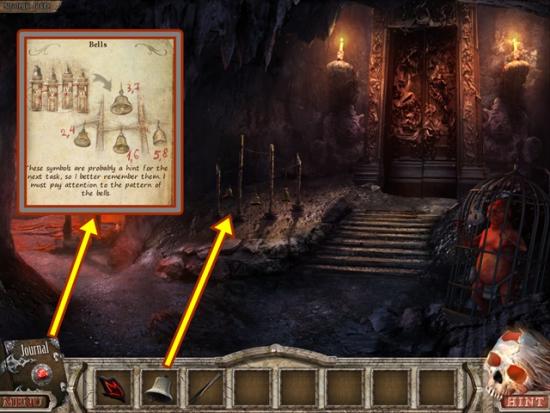
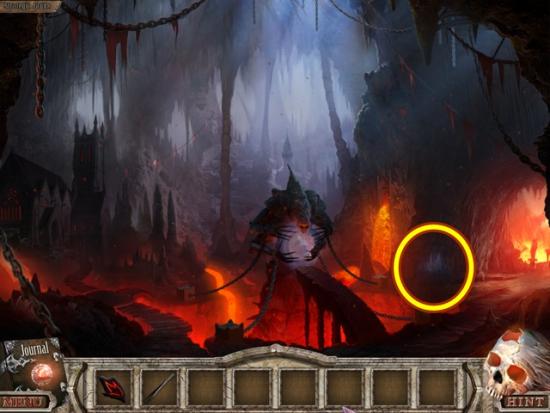
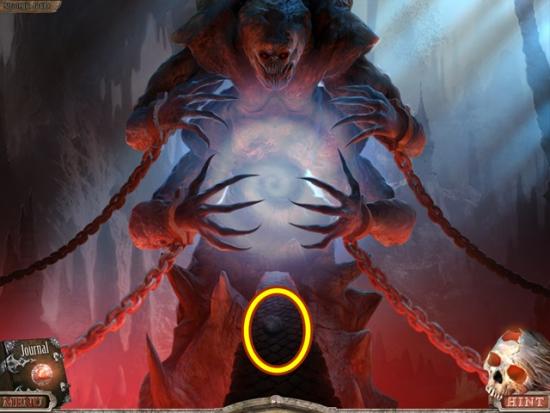
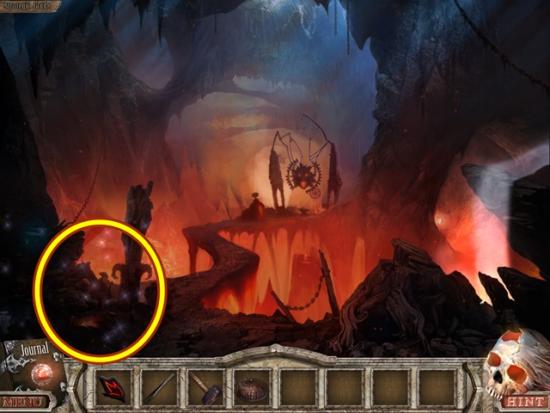
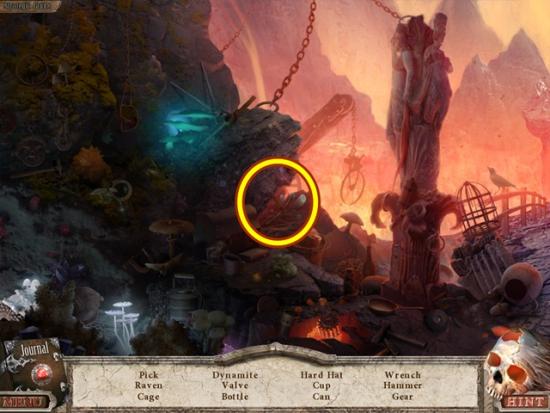
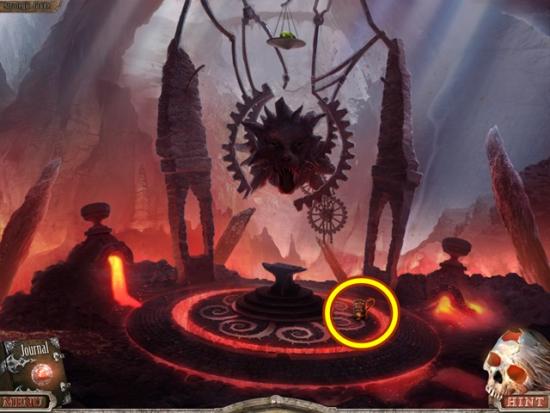
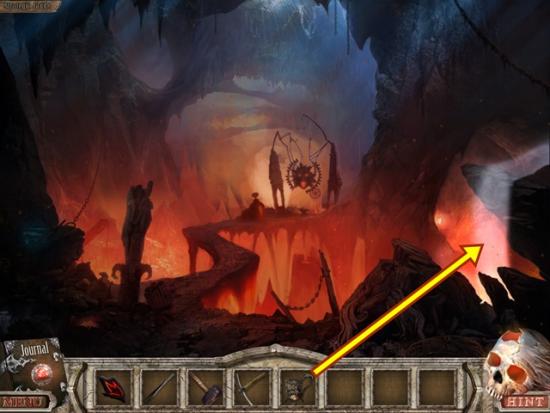
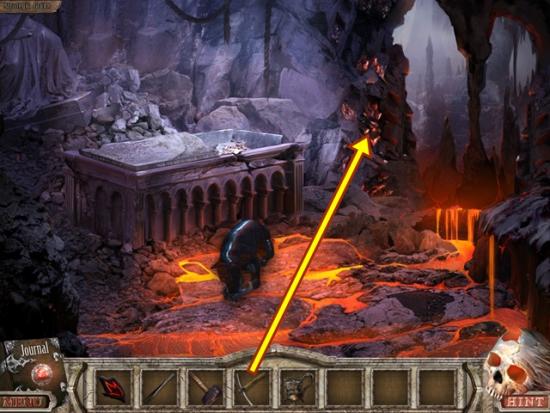
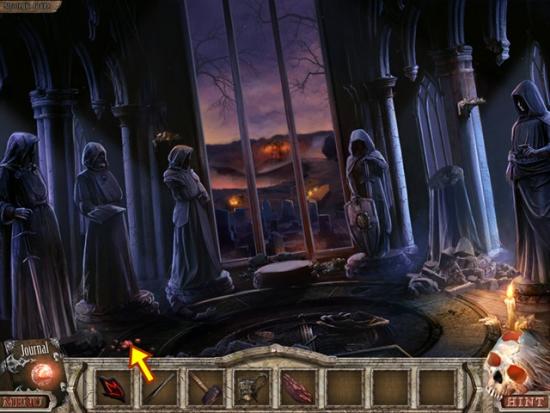
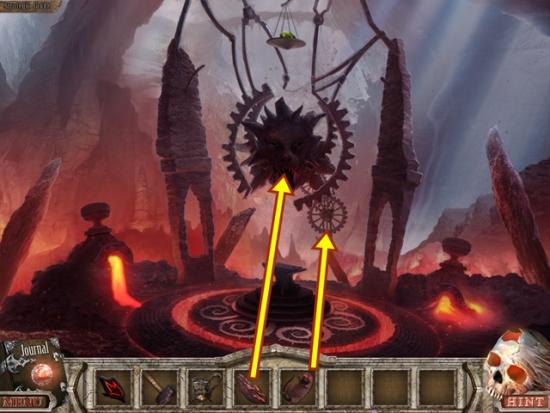
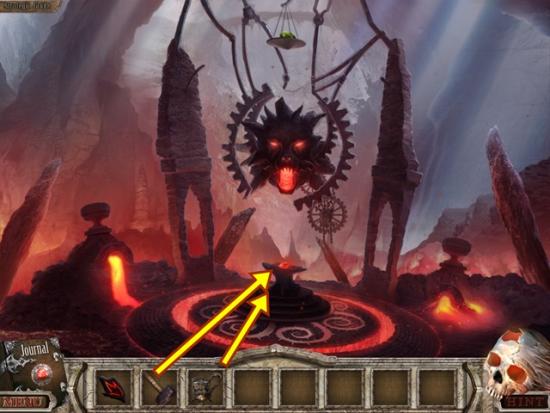
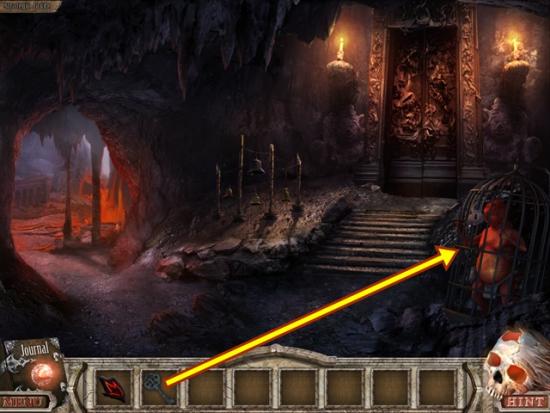
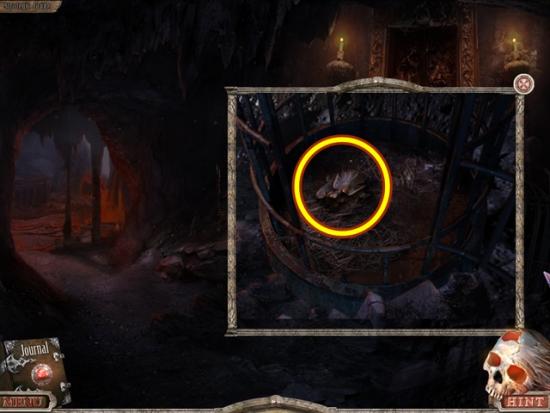
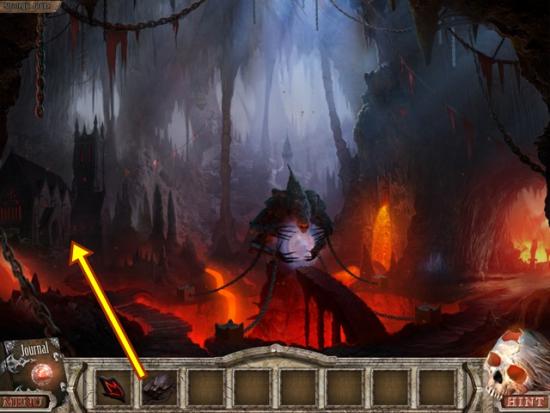
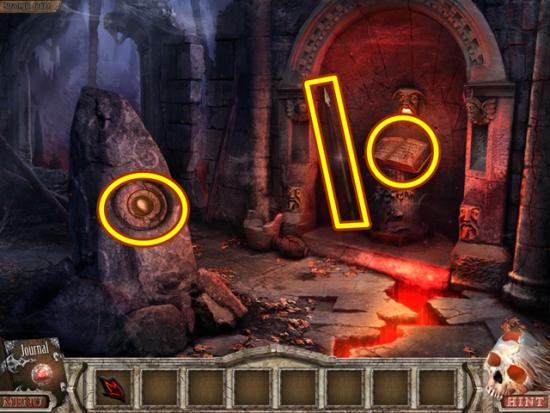
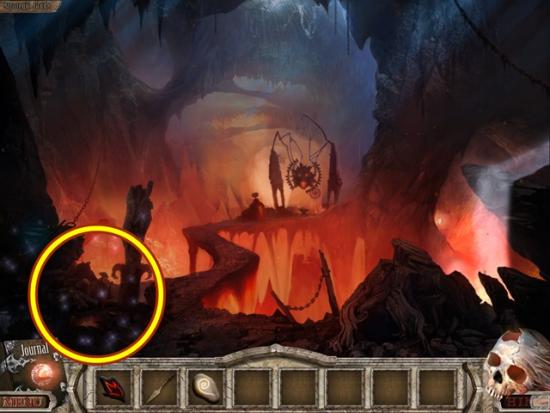
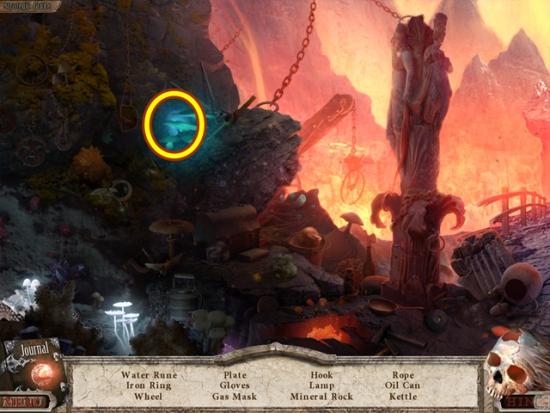
Welcome to The Keepers: Child Progeny walkthrough on Gamezebo. The Keepers: Child Progeny is a hidden object/adventure game played on the PC created by Blam! This walkthrough includes tips and tricks, helpful hints, and a strategy guide to how to complete The Keepers: Child Progeny.
Welcome to The Keepers: Child Progeny walkthrough on Gamezebo. The Keepers: Child Progeny is a hidden object/adventure game played on the PC created by Blam! This walkthrough includes tips and tricks, helpful hints, and a strategy guide to how to complete The Keepers: Child Progeny.


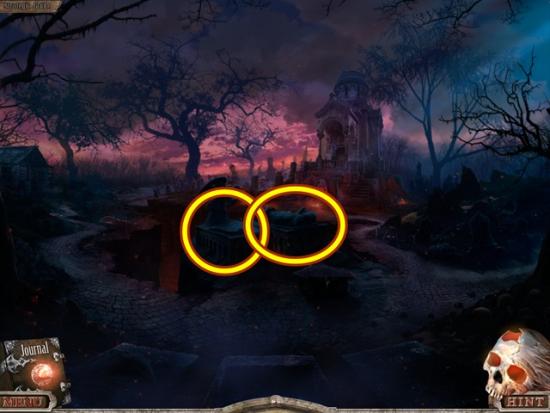


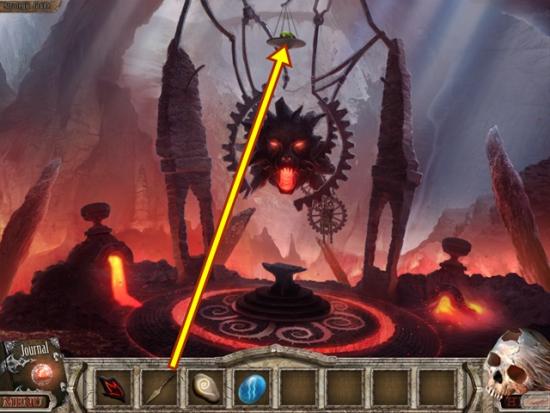
The end!
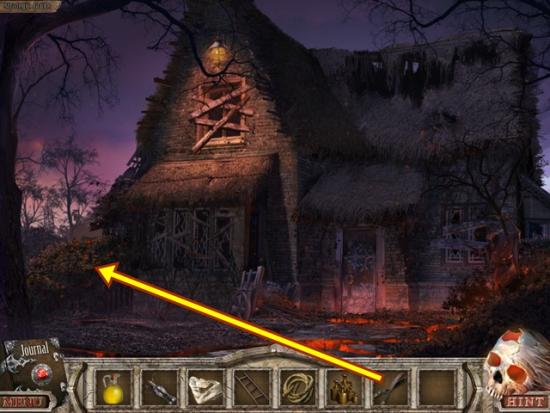
If you are playing the Collector’s Edition, you can now continue to the bonus game.
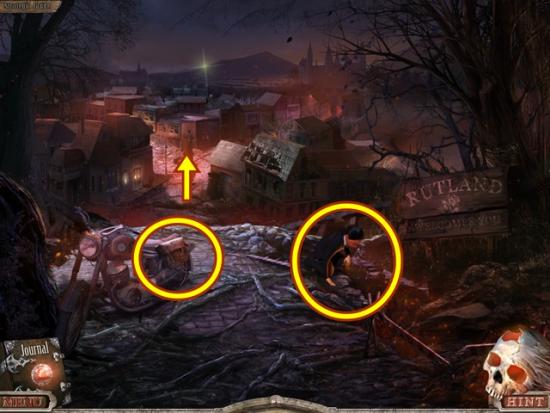
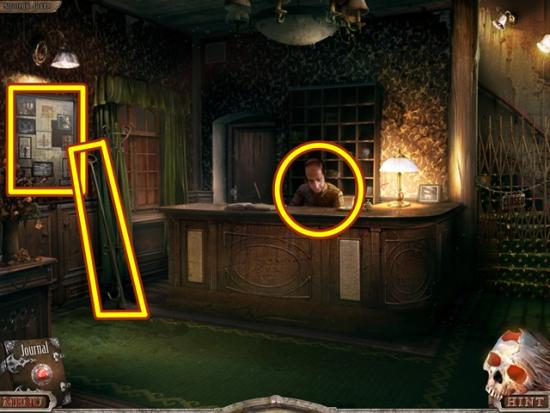
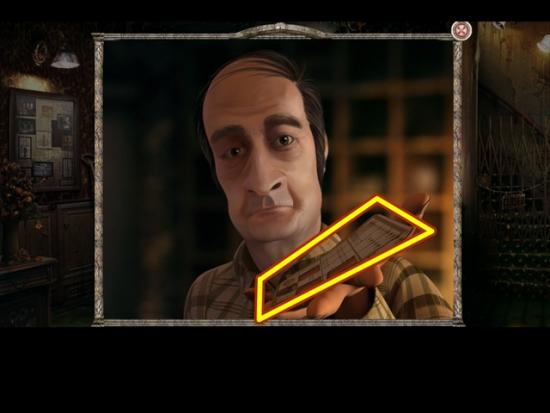
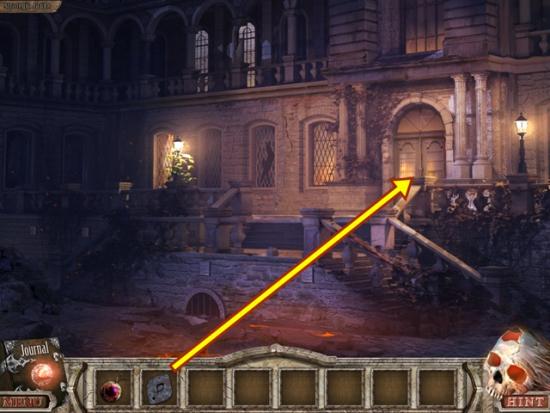
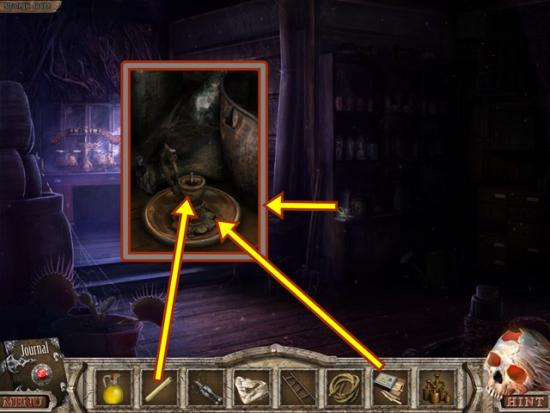
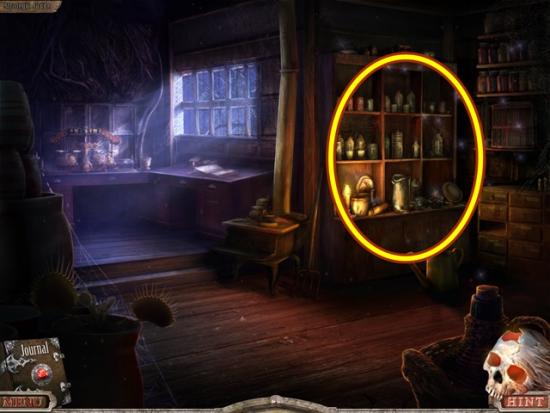
From the main menu screen, click Extras, then click Play, then click Chapter 1. Select your difficulty.


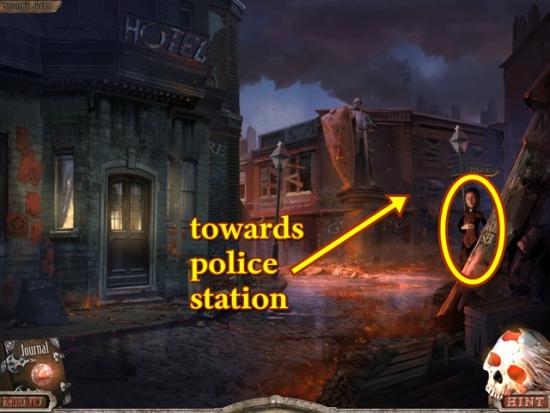
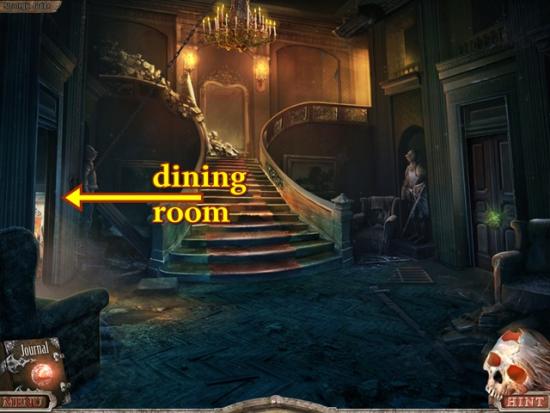
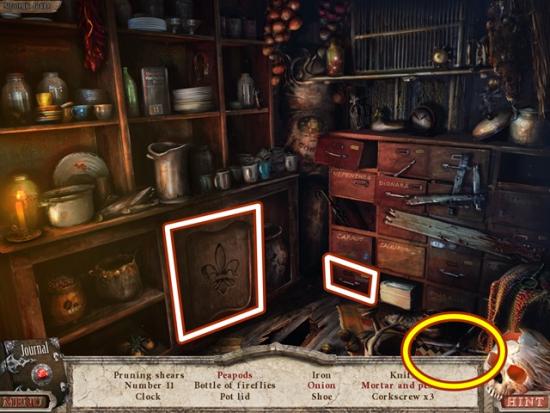
Click Chapter 2. Select your difficulty.

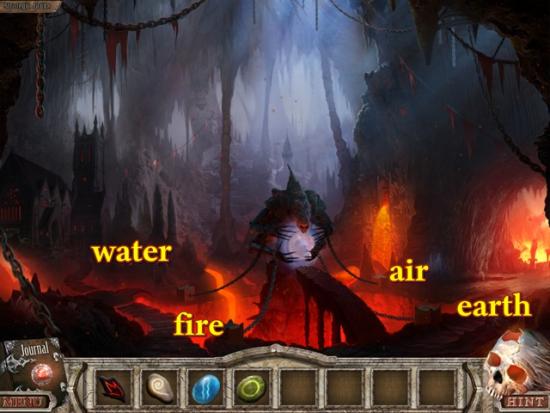

The end!
