
Best Horror Games On Itch.io – July 2026
Across a bounty of subgenres.![Haze Seas Accessories Tier List [Best Accessories to Equip]](/wp-content/uploads/2026/07/haze-seas-accessories-tier-list.jpg "Haze Seas Accessories Tier List [Best Accessories to Equip]")
Haze Seas Accessories Tier List [Best Accessories to Equip]
The accessories with the best stat buffs in Haze Seas.
![[Roblox] Evomon Shiny Hunting Guide – Including Prismatic and Pris Shinies!](/wp-content/uploads/2026/06/evomon-shiny-hunting-guide.jpg "[Roblox] Evomon Shiny Hunting Guide – Including Prismatic and Pris Shinies!")

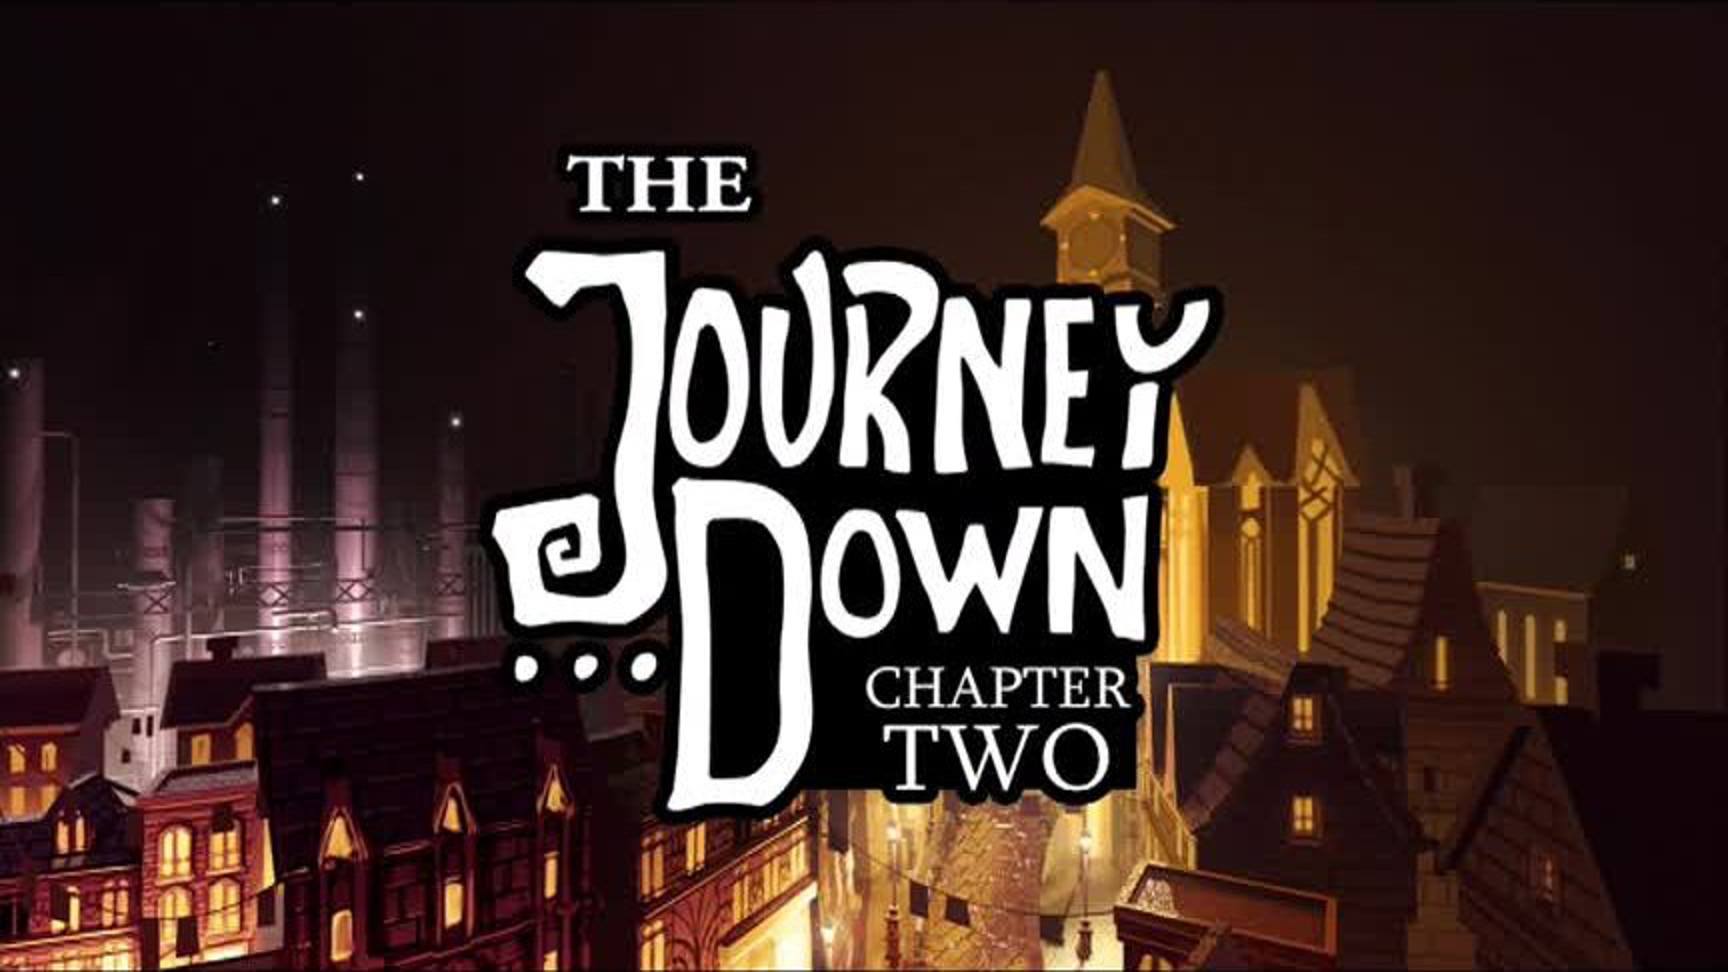
The Journey Down: Chapter Two Walkthrough
General Tips This is fairly standard point-and-click adventure game. So if you get particularly lost or confused, just talk and interact with everyone and everything, and you’ll often figure things out by trial and error.Tapping and holding, then dragging, will …
Share this


- Prefer Gamezebo on Google

General Tips
- This is fairly standard point-and-click adventure game. So if you get particularly lost or confused, just talk and interact with everyone and everything, and you’ll often figure things out by trial and error.
- Tapping and holding, then dragging, will reveal any interactive objects and pathways. This is helpful if you don’t know what you need to use items with, or just who you can talk to.
- Save early, and save often. You never want to lose progress at any point.
- There’s nothing you can do to create a failure condition or screw the game up in any way, so feel free to explore and experiment to your heart’s content.
Part 1: On the Biko
- Go to the bottom right down to the plane.
- Collect the screwdriver from the toolbox.
- Use the screwdriver to pry out the compass from the cockpit.
- Grab the tape seatbelt.

- Go back up to the deck.
- Give the compass to Joe.
- Use the tape on the wires to repair the power for the cabin.
- Go into the cabin.
- Push the button and turn on the light.
- Collect the spring hanging from the top bunk bed.
- Return to the deck and go up to the captain’s quarters.
- Unscrew the captain’s porthole with the screwdriver.
- Use the spring to collect the key hanging by the bed.
- Use the key on the door.
- Collect the navigation book by the captain’s bed.
- Return to the deck and give the book to Joe.
Part 2: Prison Escape
- Tap Kito three times to kick him and knock him off his bunk, breaking Bwana’s chains.
- Collect the ball-and-chain hanging on the wall.
- Use the ball-and-chain on the window to hang it from there.
- Tap the ball-and-chain until the wall breaks.
- Go out through the hole.

- Walk out and tap the button on the right, prompting Bwana to inquire about a lever.
- Return to the cell, and tap the skeleton to collect one of its arms.
- Return through the hole, and use the arm on the button as a lever to keep the buton pushed.

- To solve the cart puzzle, you need to get the cart with the pickaxe from the bottom left side to the right side, while moving the empty cart that is in the way, out of the way. The three buttons in front control each cart in a certain direction, with the button on the right side controlling the central junction switch.
- The button on the left moves a cart from the bottom left to the top left if possible. The center button moves a cart from the top left to the bottom left. The right button moves a cart from the right to the left, going to whichever side is available with the junction switch.
- Use the left button to move the pickaxe cart to the top. Change the junction switch so the right cart goes to the bottom, then press the right button. Hit the junction switch again so that the top-left and the right part of the rails are connected, and hit the center button. The pickaxe cart should now be in reach. Tap the cart to collect the pickaxe.

- Return to the cell. Use the pickaxe on Kito to free him.
- Use the pickaxe on the grate to open it up. Tap on the grate and make your prison escape.
Part 3: Welcome to Port Artue
- Tap the dumpster to collect a tin can.
- Leave through the gate.
- Walk over and pick up Andi’s matches.
- Use the pickaxe on the newspaper machine. Tap on the machine to collect a newspaper.
- Go left out of main street to the area with Cinema Rex and Club Temba, and then up to the port area with the Biko, alley, train station, and path to the lighthouse. Go into the alley and meet Vince and Moe.
- Light a fire for them by using the newspaper on the barrel, and then using the matches on the barrel to light a fire.
- Collect a bag of Fatitos from the crate next to Moe.
- Talk to Moe, and ask about the clothes to get an outfit that will arouse much less suspicion around town.

- Leave the alley, and go to the lighthouse.
- Talk to Morten and find out about how the lighthouse is broken.
- Collect the bolt cutters next to the staircase.
- Return to the Club Temba area.
- Use the pickaxe on the wire box out front.
- Use the bolt cutters to cut the power cable.

- Go to the right, and go into the telephone booth.
- Call the number on the front of the Club Temba match book: 634 000.
- Choose the “this is management speaking” option to say that you’re a lamp repair man.
- Go to Club Temba. Talk to the bouncer, and say you’re the repair man. You will collect the lantern.
- Return to the lighthouse and go upstairs. Use the lantern on the burned-out light.

- Return to the very first area you were in, and go into Arnie’s. The crew of the Biko will be there. Talk to them for more background on misters.
- Tap on the navigation book sitting on the table. Gimbo will say that he wants lobster.
- Return to the lighthouse, and use the tin can (which has chunks of lobster) on the tea kettle above the stove to create lobster stew.

- Return to Arnie’s. Give the lobster stew to Gimbo, and you’ll get the book.
- Return to the lighthouse. Give the book to Morten and he’ll get the lighthouse up and running again.
- Tap on the ship above the fireplace to receive a model of the Mistraker ship.
- Return to Arnie’s. Go up the chute behind the bar.
Part 4: Meeting Andi
- Go into Arnie’s.
- Pick up the bottle off the floor.

- Collect the St. Armando poster off of the wall if you haven’t already.
- Walk back to main street for another encounter with Andi. Walk into the door she opens to the Mayor’s office.
- After talking with Andi, show her the St. Armando poster to distract her.
- Use the matches on the smoke detector. Then tap on the fire extinguisher to collect it.
- Return to the port. Tap on the inflatable boat to collect it.
- Go into the alley. Talk to Moe and Vince. They want cigars and booze in exchange for some corn.
- Go to the lighthouse. Use the bottle on the kettle.
- Return to the Mayor’s office. Collect the cigars.
- Return to the alley with Arnie’s. Feed the Fatitos to the pigeon. It will land on the stick on the wall, knocking it to the ground. It turns out this is a plunger. Collect it.

- Go into Arnie’s. Use the plunger on the drain. Then use the bottle on the drain to fill up the bottle with booze.
- Return to Vince and Moe, giving them the cigars and bottle of booze. Tap the crate to collect some corn.

- Go to the Cinema Rex. Talk to the cabbie, Ride Reynolds, who needs a new tyre for his car.
- Return to main street. Use the raft on the car parked out front. Then use the fire extinguisher on the raft to inflate it.
- Tap on the car to collect a tyre.
- Return to Ride Reynolds. Give him the tyre. He will be willing to give you a ride later on in the game.
- Return to the Mayor’s office.
- Tap on the computer. Type in “Police Report” to pull up information on the Barlow/Kaonandodo expedition and how the former chief McIgbo is involved.

- Leave the Mayor’s Office and go to the phone booth.
- Look up the number for Mrs. McIgbo: 510 842. Call her to get information on Mr. McIgbo’s whereabouts and the missing report.

- Go back to the Cinema Rex and talk to Ride Reynolds to get a ride to Charnel Road.
Part 5: Charnel Road
- Use the bolt cutters on the back gate.
- Tap the power box right by the entrance. You must adjust the switches to fill up the Mains meter. Once it is full, tap the button below the meter to turn on the steel mill’s power.

- With the power on, tap the key box right by the entrance to collect a key for the truck out front.
- Leave the steel mill. Use the key on the truck to free the police car.

- Return to the steel mill. Tap the crane button to pick up the police car and melt it.
- Walk over to the smelting ladle, and tap the lever to make a steel girder.

- Tap the crane button again. This will make a platform out of the steel girder so you can get into the building next door. Go up the stairs in the steel mill.
- This new area is where you’ll run into Lina again. Now you must look for the file. Tap on each of the twelve drawers to examine them.

- After each drawer is revealed, a combination lock to a safe is revealed. After Bwana knocks the keypad off, you must try to figure out the combination.
- This puzzle requires a bit of trial and error to discover. Whenever you input four digits, the safe will return back four lights. A green light means a number is in its right place. A yellow light means the number is somewhere in the combination, but not in the right place. Red means a number is not in the combination at all. To discover it for yourself, put in each number repeating four times to discover which four numbers are in the combination, then using trial and error to figure out what’s triggering a green light.

- The final combination you need to key in is: 4-5-7-1.
- Once this puzzle is solved, you will collect the missing police report.
Part 6: Finding Kito and the plane
- First, go into Arnie’s and talk to the sailor. He’ll offer to trade you his “romantic action” tape for movie tickets.
- Go to the Cinema Rex, which is now open.
- Give the corn to the box office employee. He will tell you to put the corn in the popcorn machine. Upon doing so, he will give you two movie tickes.
- Return to Arnie’s and give the tickets to the sailor. He will give you the tape in return.
- Go to the now-accessible train station. Go in twice, and Bwana will remark about how they’re getting their commands over the radio.
- Go to Arnie’s, and play his radio. Scan the stations until you hear the one that commands are coming through: 99.4.
- Go to the lighthouse, up to the top where the record player and radio transmitter is. Tap the button for the currently-playing record to stop it. Change the frequency to 99.4. Select the center record, the used mattress advertisement. This will fool the mobsters to leave the train station.

- Go to the train station. Go to the room in the back.
- Tap on the junkpil to collect the oil. Then tap on the front platform to find Kito. He will tell you that you need to use the crane to get the plane out.
- Go up the elevator to the crane. Bwana will remark that it is too dark.
- Go to the lighthouse. You need to distract Morten so that you can point the lighthouse directly at the crane.
- Go upstairs. Put the Mistraker replica on the pulley. Use the oil from the junkpile on the reel so that it will work. Tap the reel to lower the ship, distracting Morten.

- Go back downstairs. You can now command the doohickey that controls which direction the lighthouse is pointing in. You need to point it specifically at two marks past east so that it’s shining directly at the crane. It will be fully lit up when you land it right on there.

- Return to the crane. You can now use it to extract the plane.

Part 8: Collecting the Journal
- Go back to the alley where Arnie’s is. Lina will have opened the rear door. Go inside, and she will open up the elevator.
- Once in the elevator, you’ll need to break into the security room. There’s a 3-digit keypad to break in to. Use the numbers that are obviously worn to trial-and-error guess the combination, which is 8-5-1.

- Go into the security room. Use the tape on the video storage by the door. The tape will play and distract the security guard.

- Leave the security room. Use the plunger on the window to pry it open.
- Tap on the window to go out of it. Bwana will sneak past the guards.
- Tap on the different brick sections of the triangle in order to break into the safe.

- Tap on the journal to pick it up.
Part 9: Underland
- Tap on the tent to collect a machete.
- Tap on the table to see the journal. Note the column patterns. Tap on the watch, and note the time: 10am.

- Go to the next screen with Kito. Use the machete on the vegetation to reveal a secret path.
- Arrange the columns on the door to be the same as they are in the journal page to open it up.

The Observatory Puzzle
- This is the game’s hardest puzzle. There is a ring of symbols in the center ruins in this room. There are 6 symbols on the outer edge, and 3 in the center. The 3 in the center are interactive, which control the three identical symbols on the outside. You need to get the star and moon icons to their proper locations. Once this is done, you must move the spiral symbol to each icon, and press the button on the pillar in the room. That will push in one of the symbols on the columns by the entrance. Once all symbols are pushed in, an item will appear.

- To find the proper symbol for the Path Star, consult the navigation guide. The “Locating the Path Star” page will tell you which symbol to use based on the time. This is based not on the time of your device, but the time on the watch next to the journal. This time is 10am – choose the wave icon for the star at the center ruins.

- For the moon icon, go to the observatory. Use the button to adjust the observatory until the moon is found in the sky. Note the symbol at the base of the observatory for the moon: it is the black icon that looks like lightning but is actually a root. Go to the center ruins and set the root icon for the moon.

- Now, one by one, move the spiral to each symbol, and hit the switch to raise or push each symbol on the column. Do so until all symbols are pushed in. Once completed, you will get the golden statue.


- Once you have the statue, return to Lina at the gate. Put the statue in the slot on the gate to open it.

Congratulations, you’ve completed The Journey Down Chapter Two!

More articles...
-
Best Horror Games On Itch.io – July 2026
Across a bounty of subgenres. -
Haze Seas Accessories Tier List [Best Accessories to Equip]
The accessories with the best stat buffs in Haze Seas.