![All VV Ultimatum Titles [How to Get]](/wp-content/uploads/2026/06/vv-ultimatum-titles.jpg "All VV Ultimatum Titles [How to Get]")
All VV Ultimatum Titles [How to Get]
Do titles provide buffs?


Welcome to the Spirits of Mystery: Amber Maiden Collector’s Edition walkthrough on Gamezebo. Spirits of Mystery: Amber Maiden Collector’s Edition is a Hidden Object Game played on the PC created by ERS Game Studios. This walkthrough includes tips and tricks, helpful hints and a strategy guide on how to complete Spirits of Mystery: Amber Maiden Collector’s Edition.
Welcome to the Spirits of Mystery: Amber Maiden Collector’s Edition walkthrough on Gamezebo. Spirits of Mystery: Amber Maiden Collector’s Edition is a Hidden Object Game played on the PC created by ERS Game Studios. This walkthrough includes tips and tricks, helpful hints and a strategy guide on how to complete Spirits of Mystery: Amber Maiden Collector’s Edition.
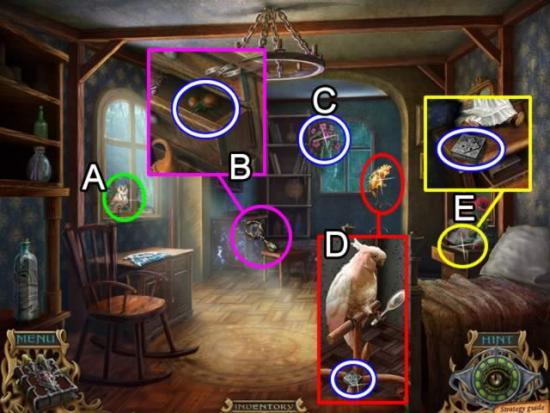
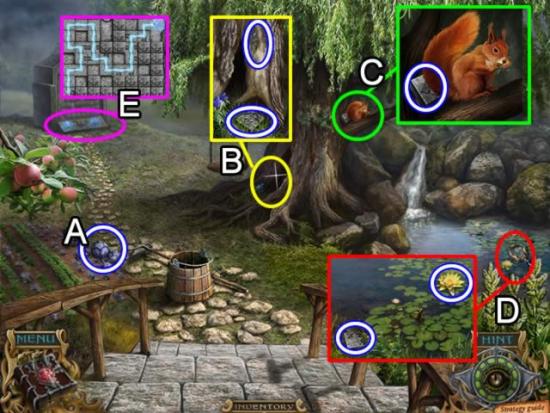
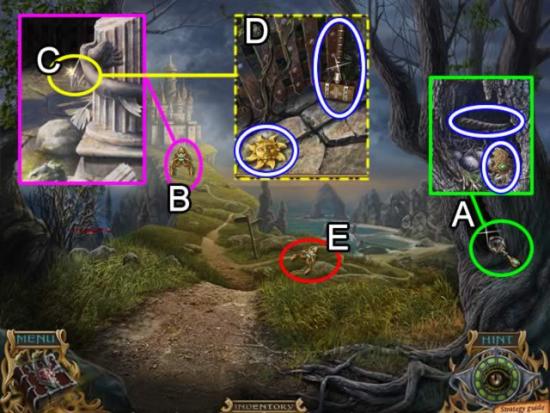
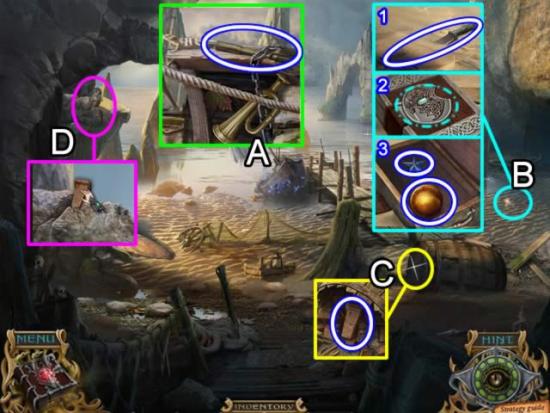
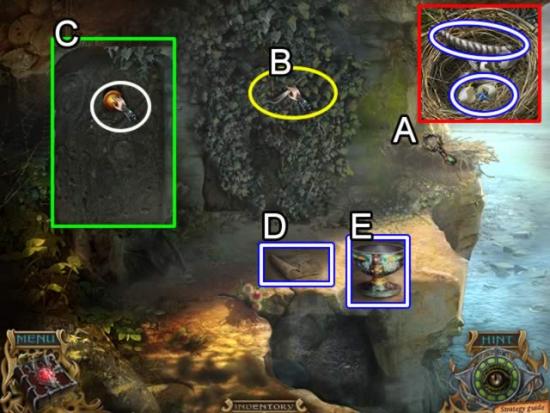
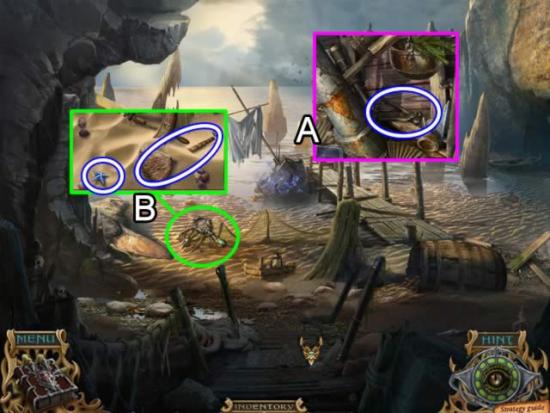
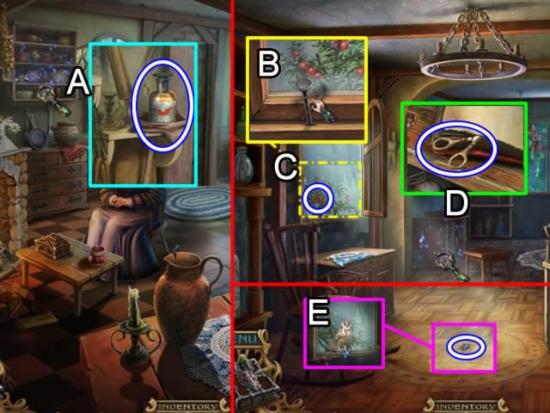
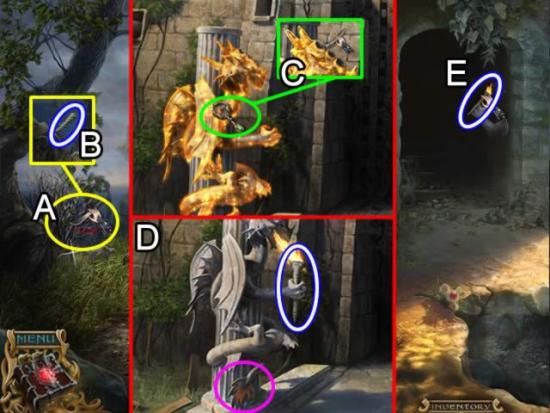
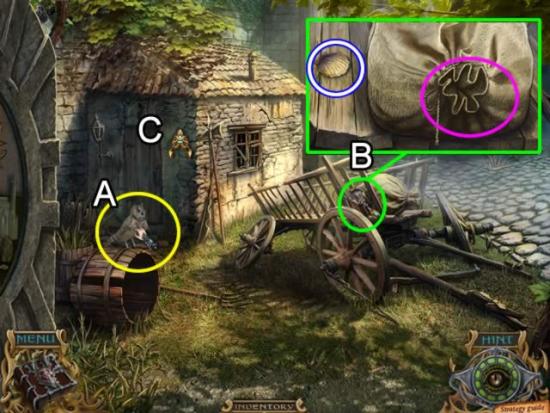
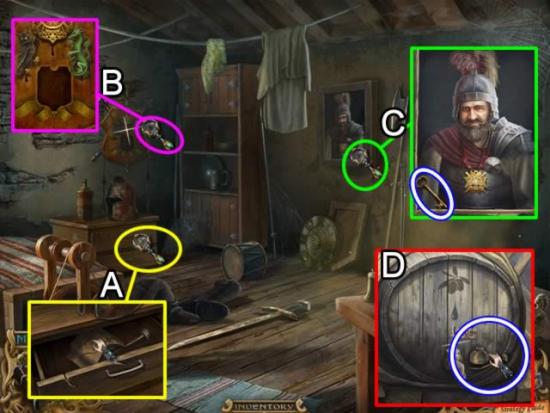
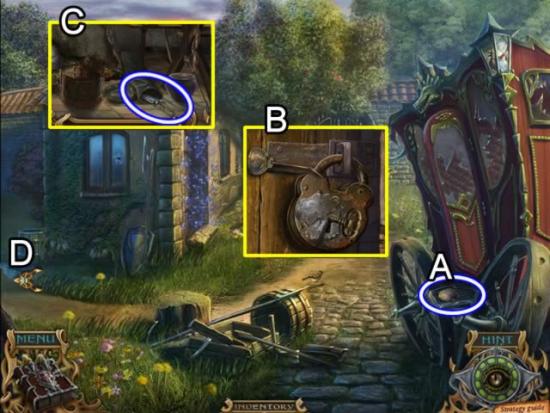
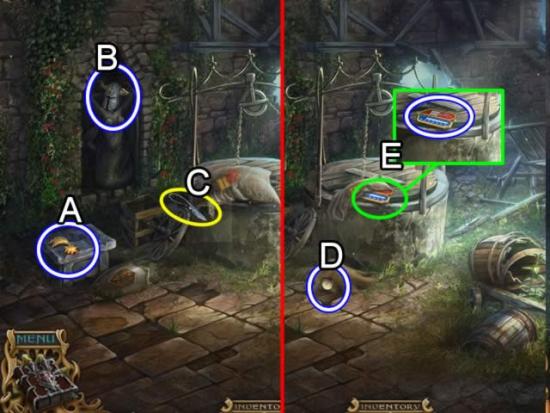
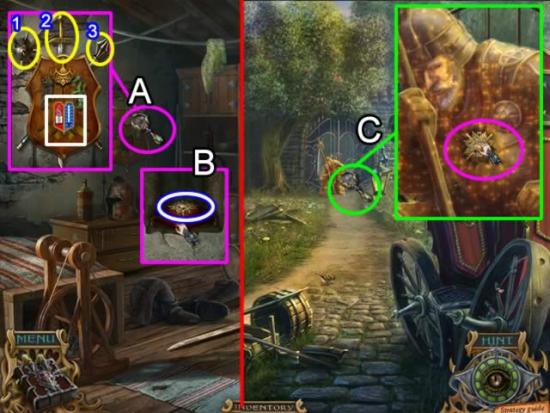
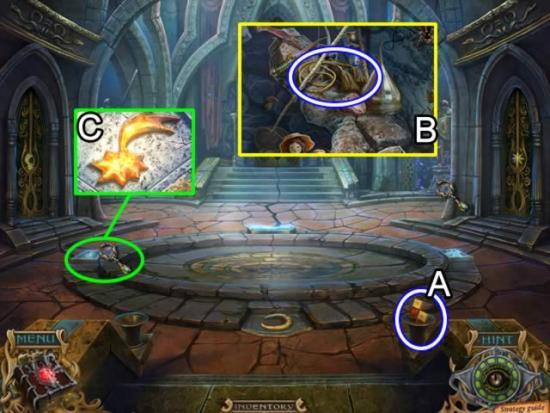
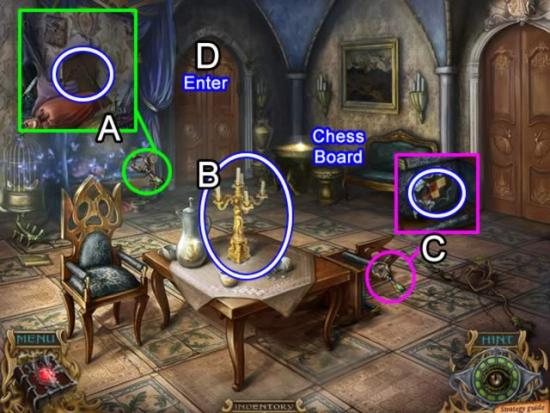
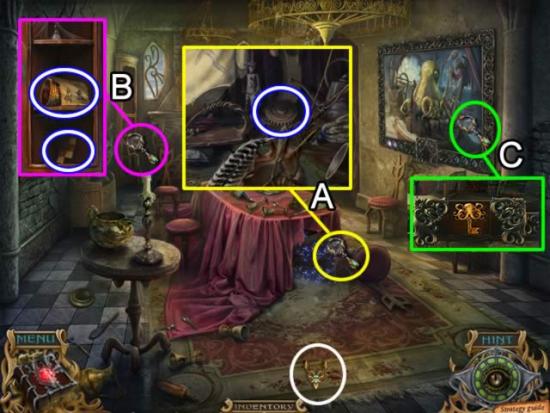
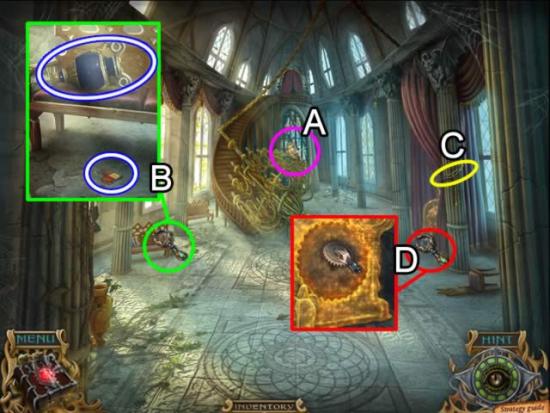
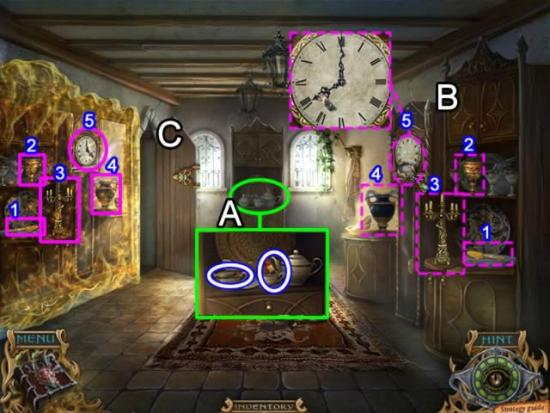
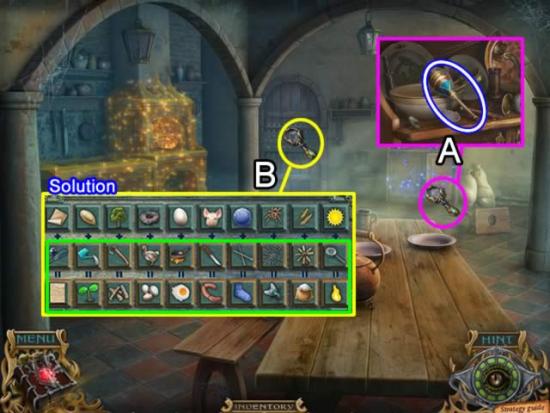
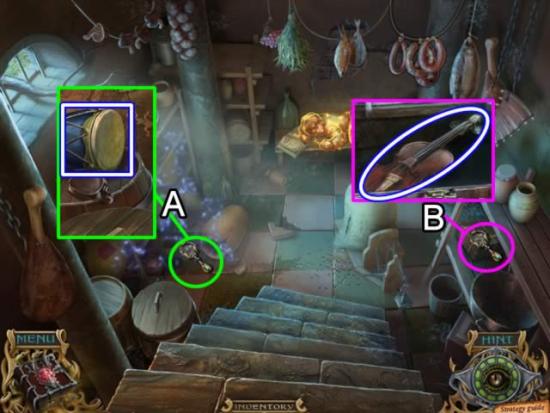
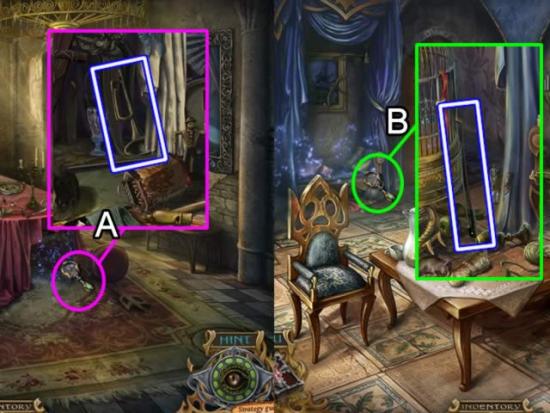
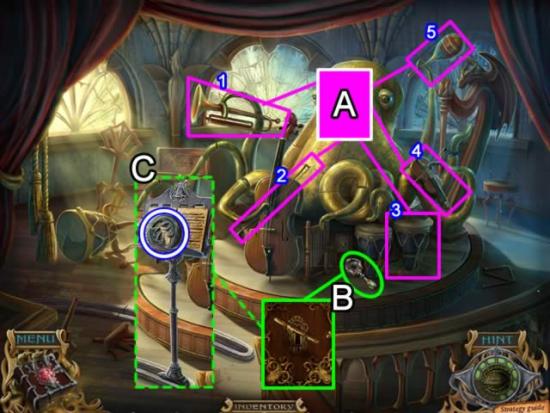
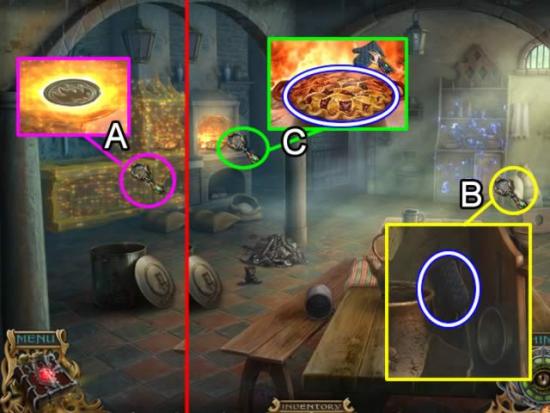
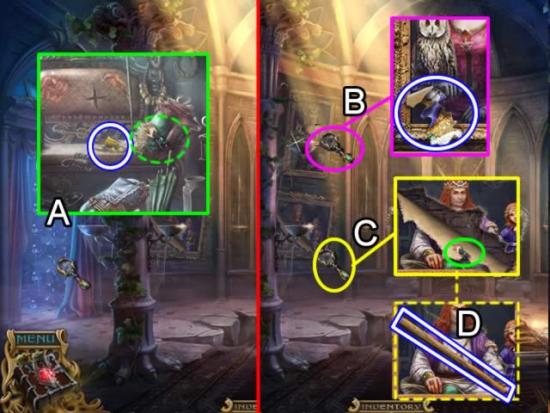
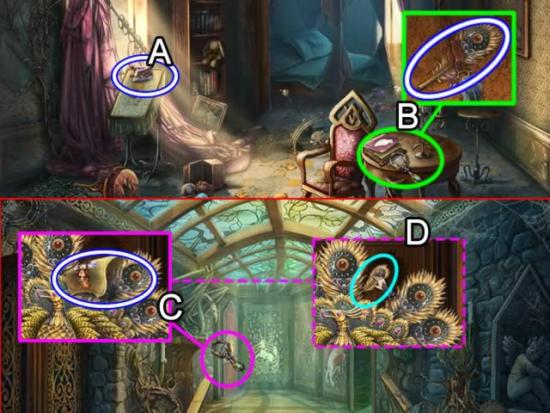
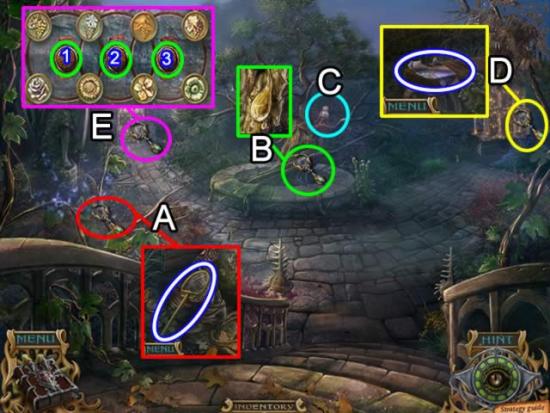
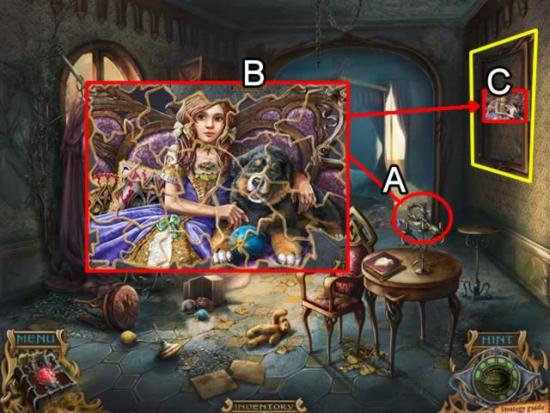
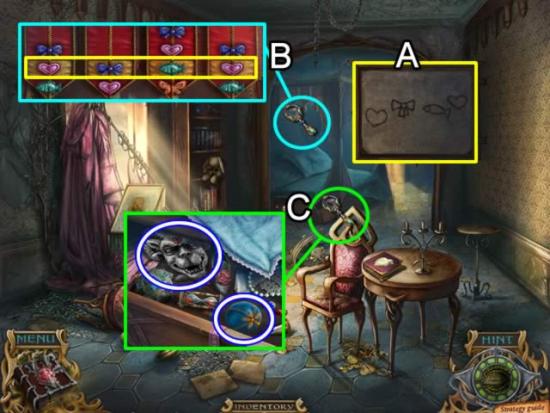
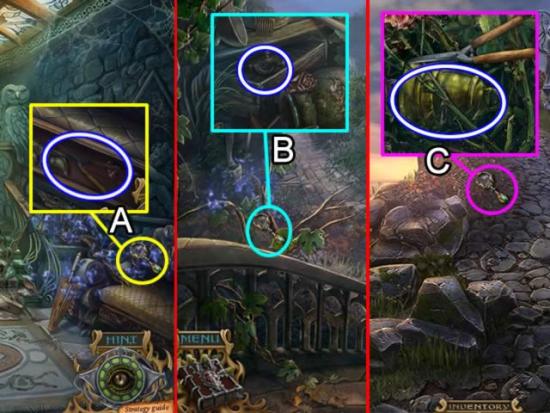
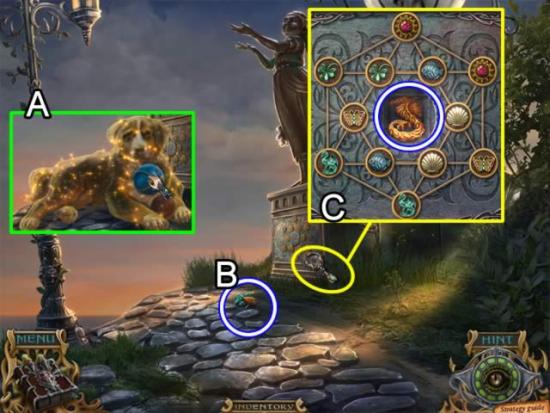
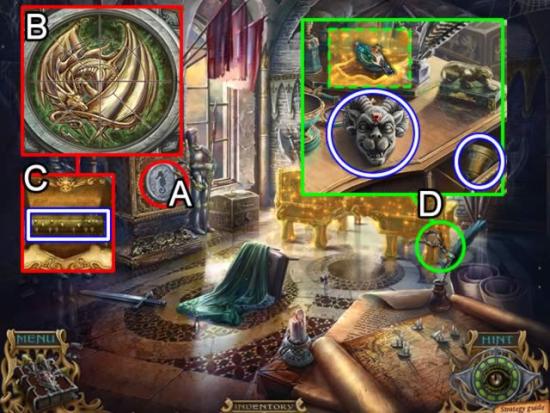
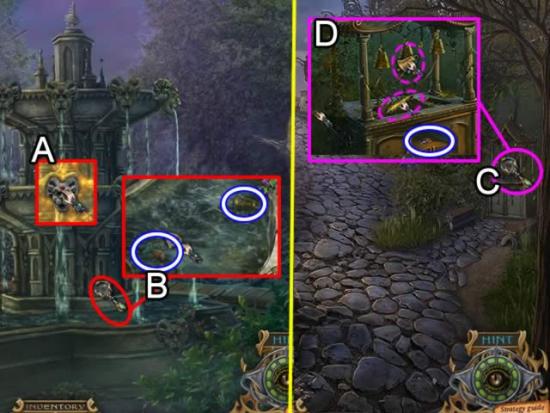
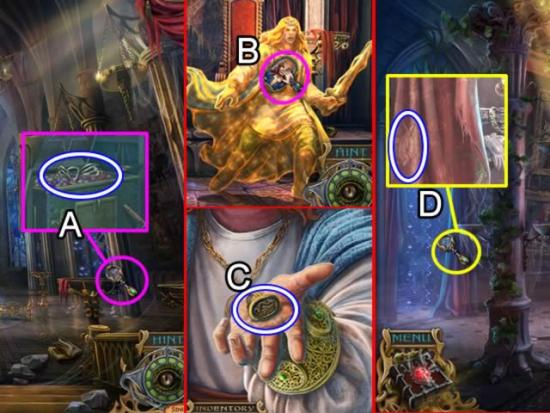
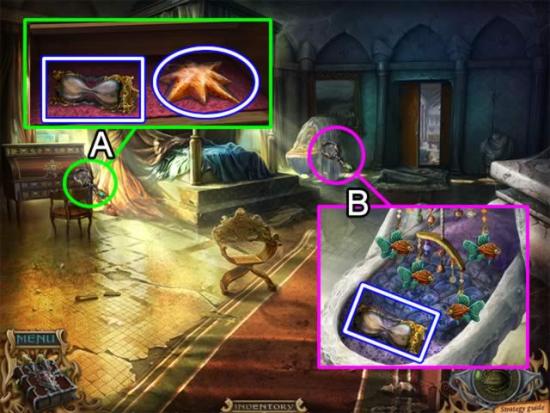
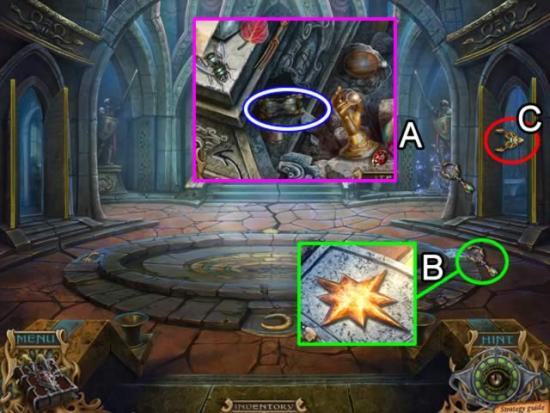
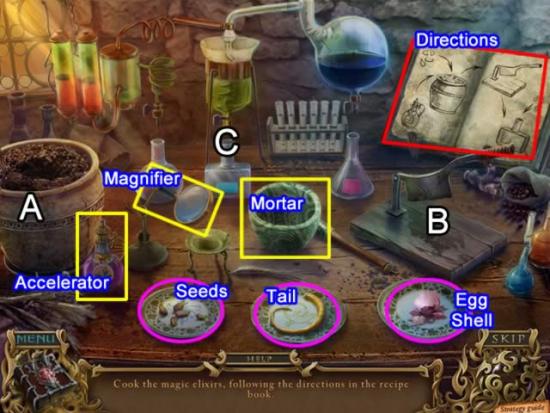
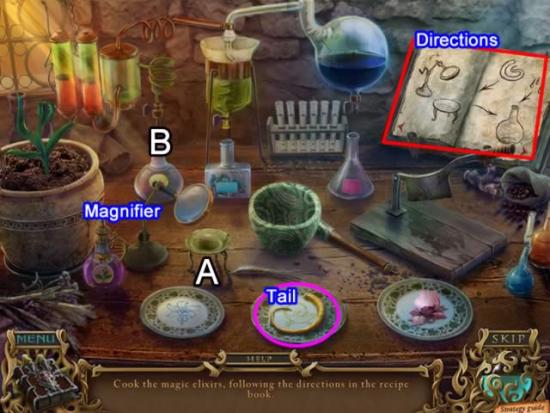
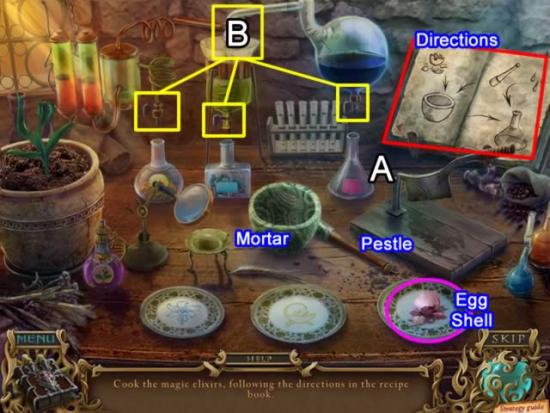
This hidden object game requires visiting several locations and using inventory items to advance play.
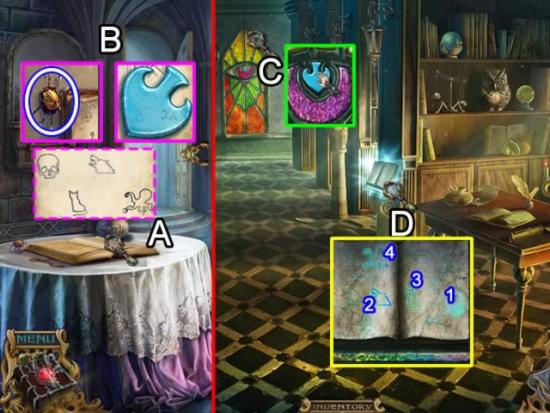
Main Menu:
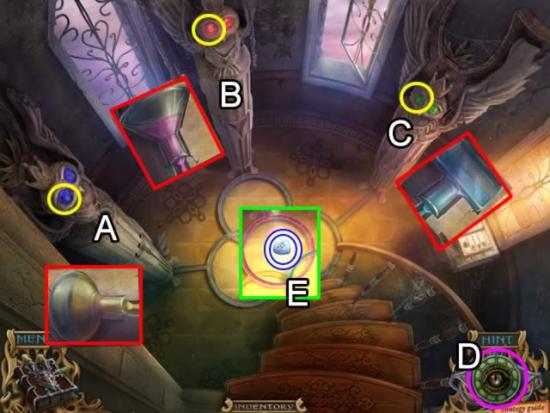
Screen Navigation:
Symbol Meanings:
A short clip explains the background and introduces the story line for play.
If you are not familiar with hidden object games, click “Yes” when asked if you would like a tutorial. This will show you how to interact with objects and characters.
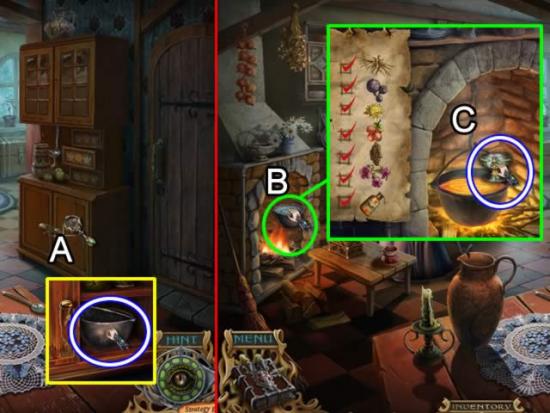
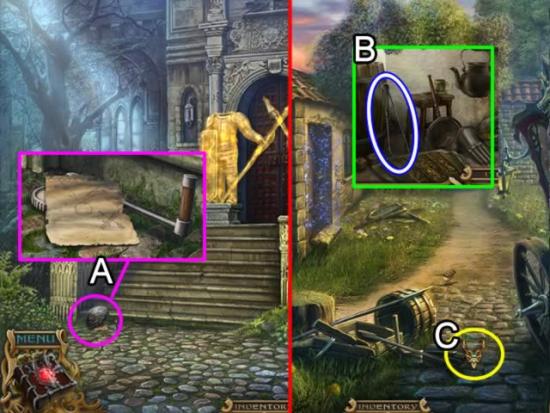
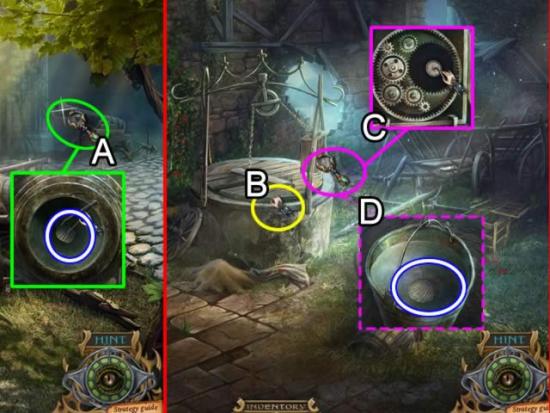
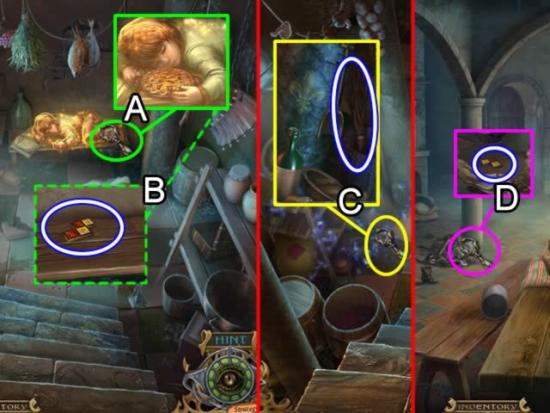
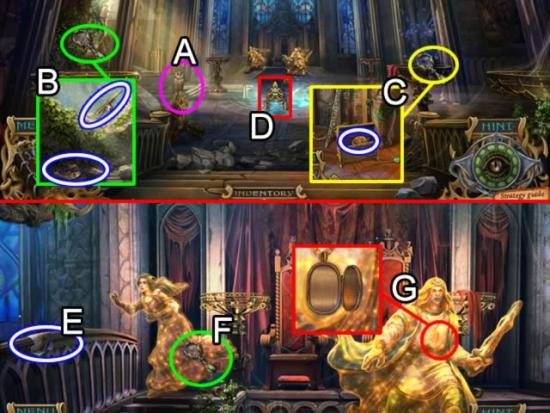
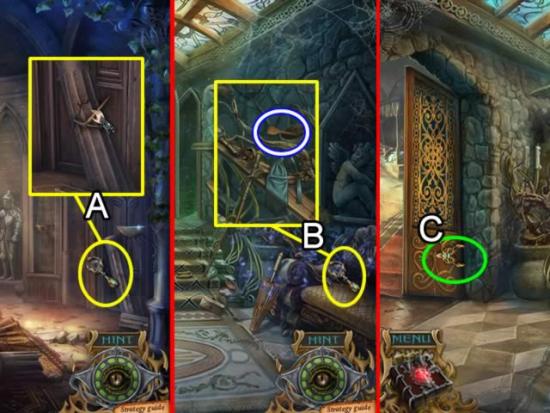
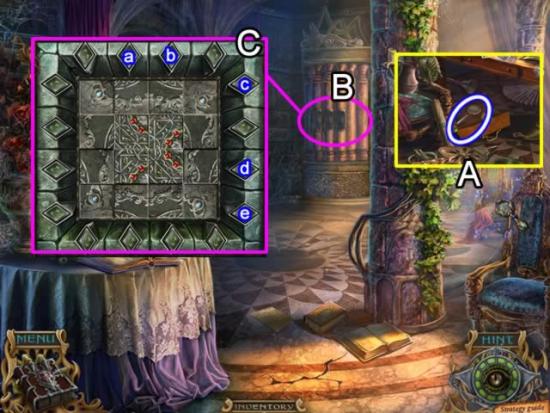
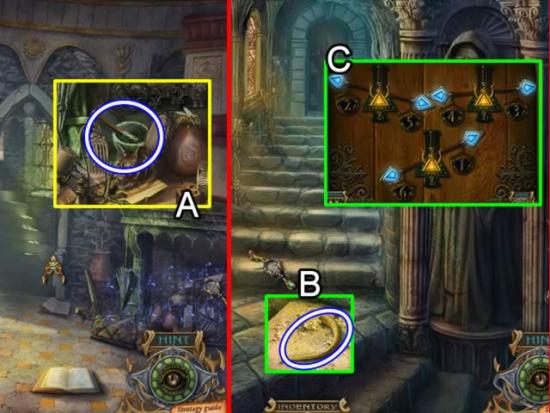
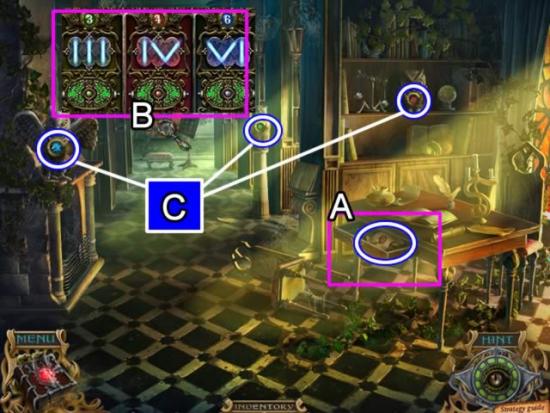
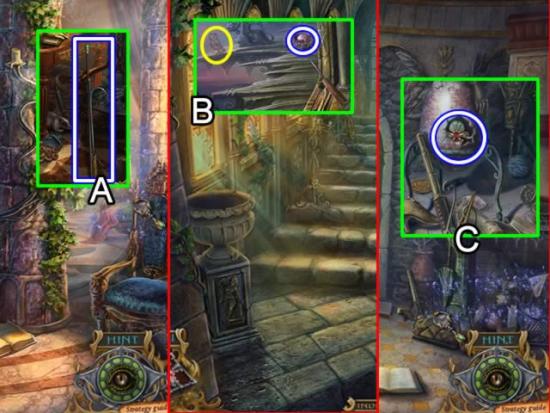
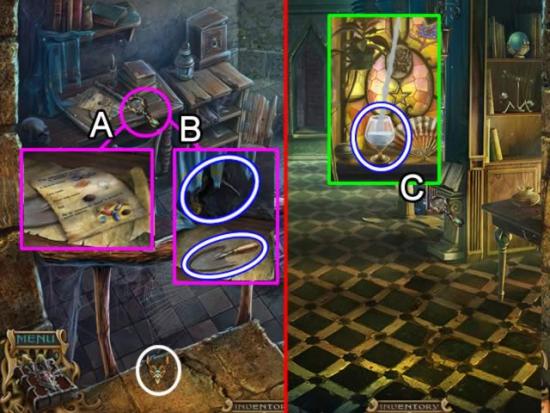
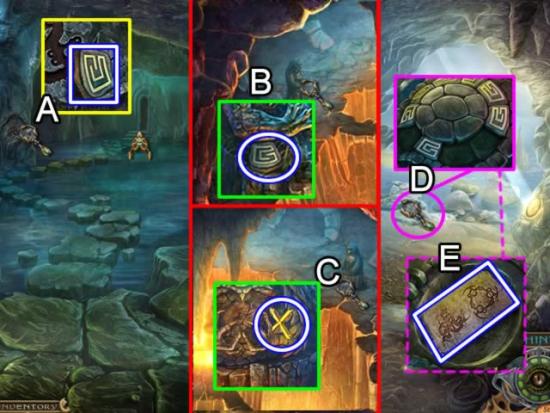
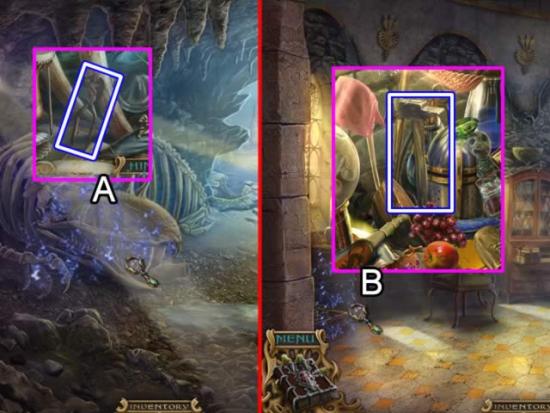
The objects for hidden object scenes are randomly generated. That is why only inventory items are shown. They are highlighted in white with a blue border. Objects in yellow indicate they are not visible in the scene. Move your cursor around until the cursor turns into a hand.
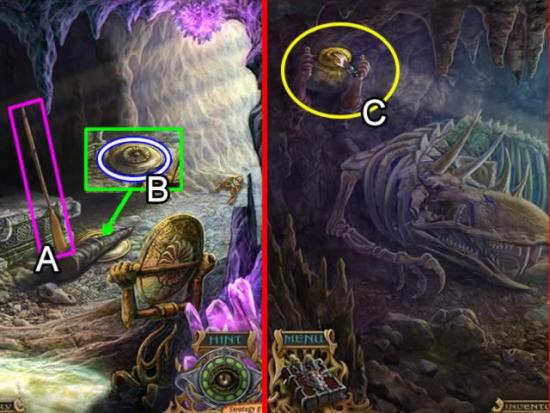
With the exception of a hidden object area, most inventory items are not collected from a scene until they are needed.
Assumptions:

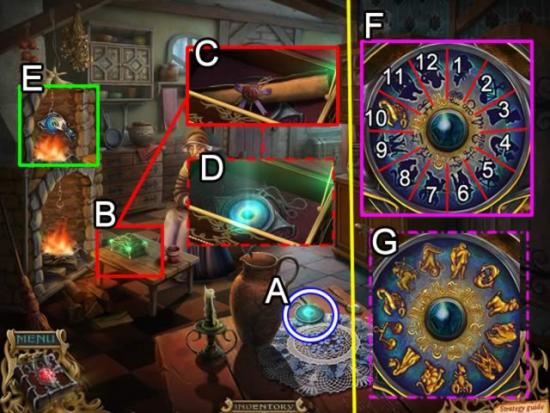
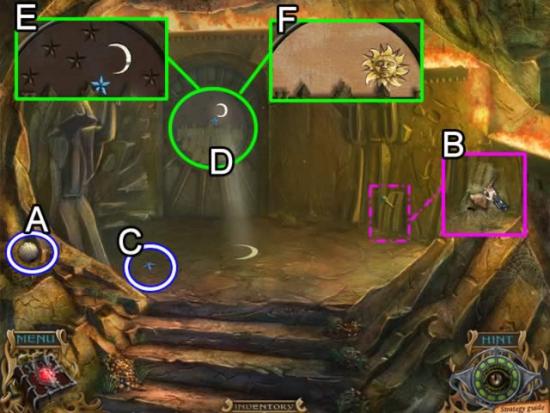
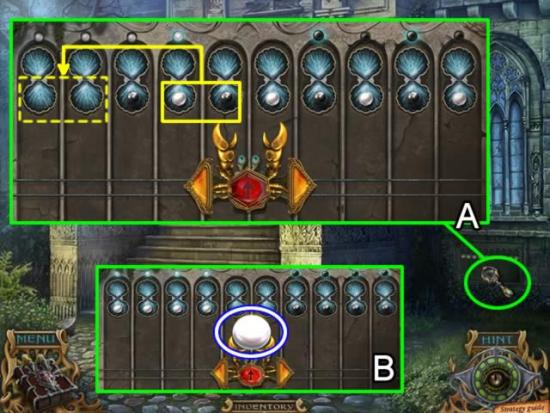
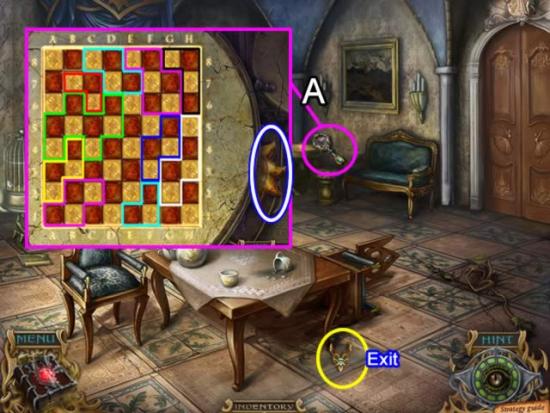
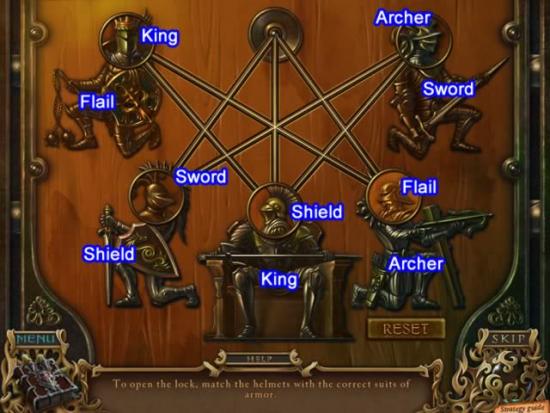
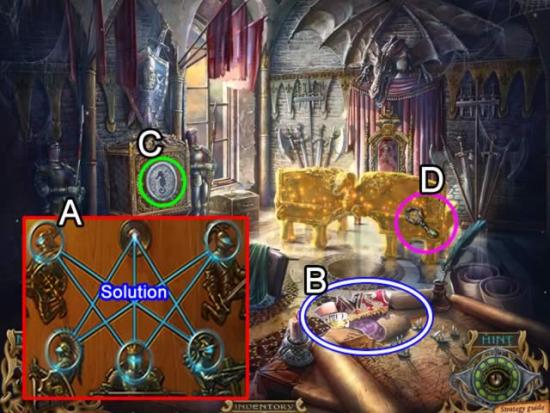
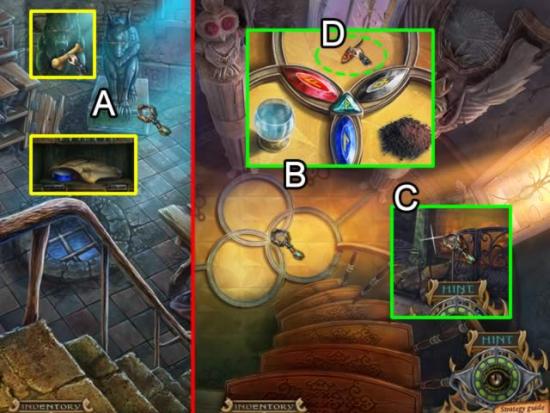
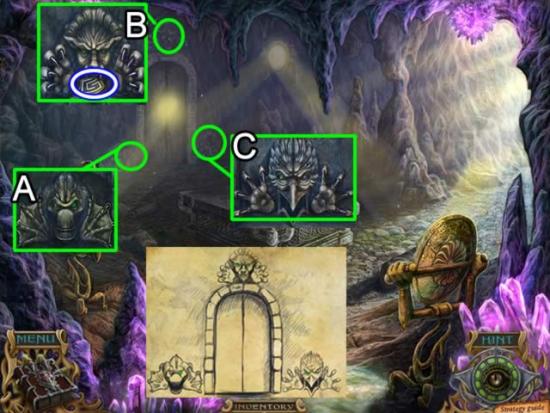
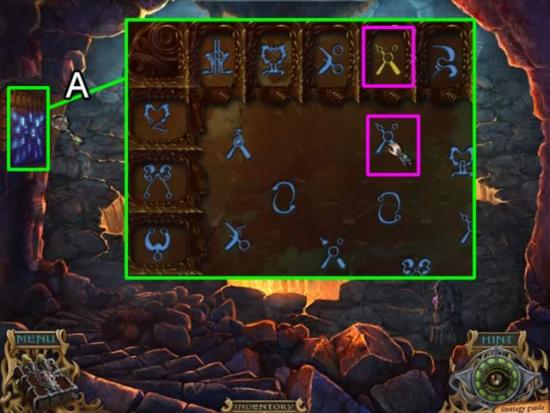
View the completed puzzle in the inset (G).


Congratulations! You have finished playing the Spirits of Mystery: Amber Maiden Collector’s Edition. The bonus material is now available.
Bonus Chapter
Click the unlocked Extras link. Click play and select your difficulty mode.


Congratulations! You have finished playing the bonus chapter of Spirits of Mystery: Amber Maiden Collector’s Edition.
