![Digimon UP Tier List [Supports, Buddies, and Partners]](/wp-content/uploads/2026/07/digimon-up-tier-list.jpg "Digimon UP Tier List [Supports, Buddies, and Partners]")
Digimon UP Tier List [Supports, Buddies, and Partners]
These Digimon will get you UP the leaderboard.


![Haze Seas Boss Drops [Chances, Locations, and How to Spawn]](/wp-content/uploads/2026/07/haze-seas-boss-drops.jpg "Haze Seas Boss Drops [Chances, Locations, and How to Spawn]")

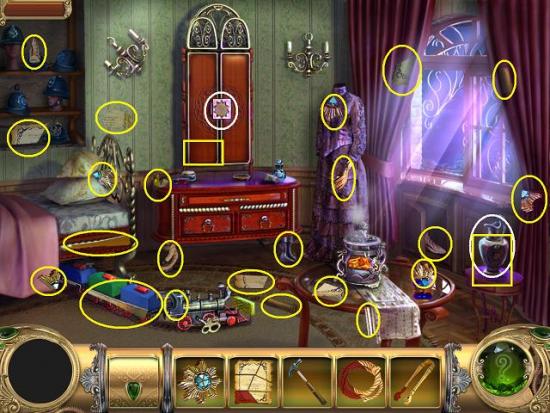
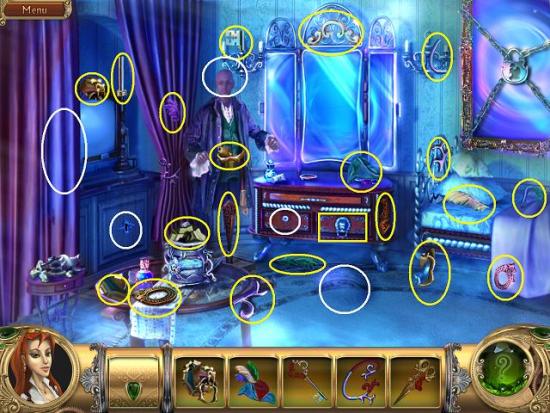
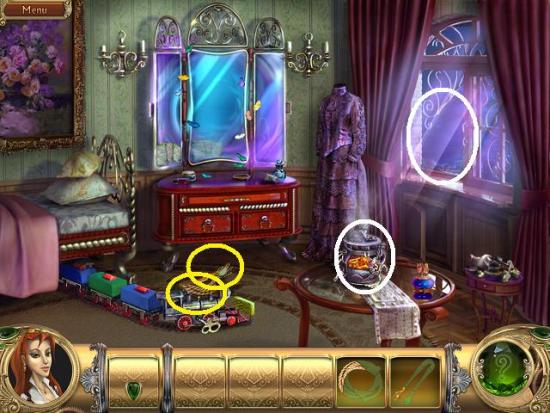
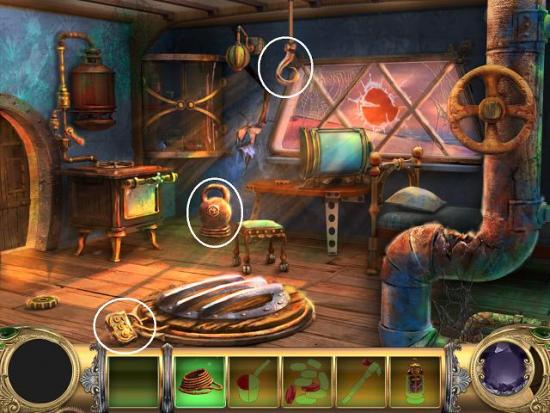
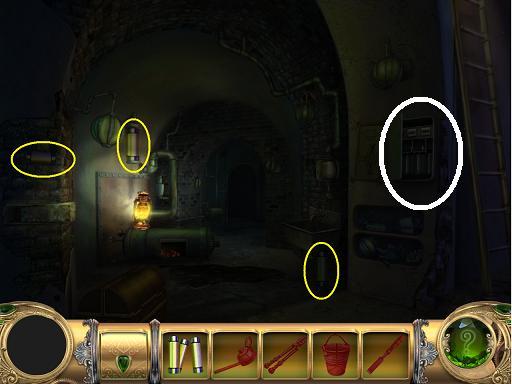
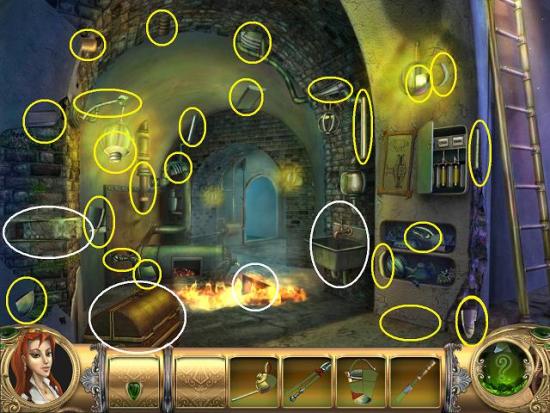
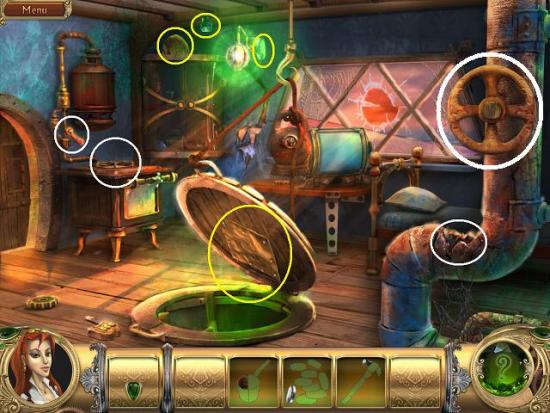
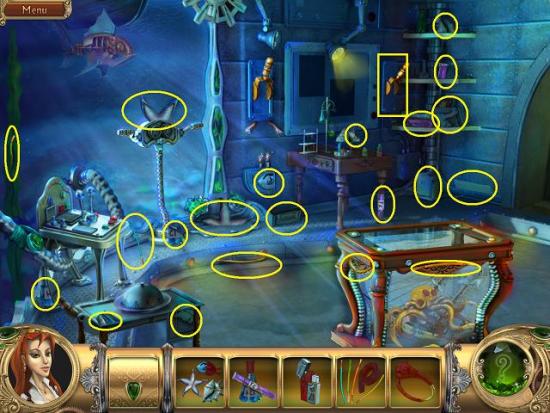
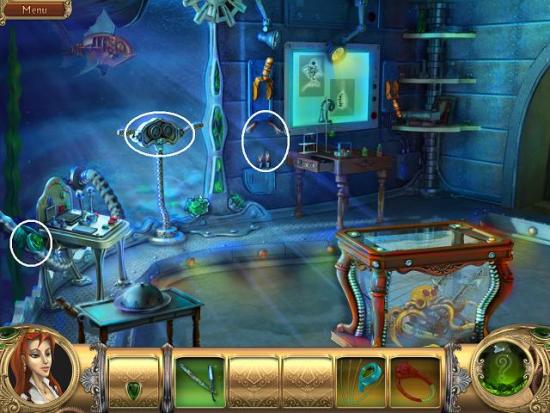
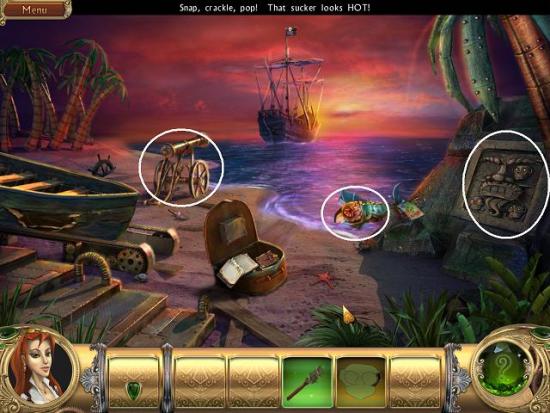
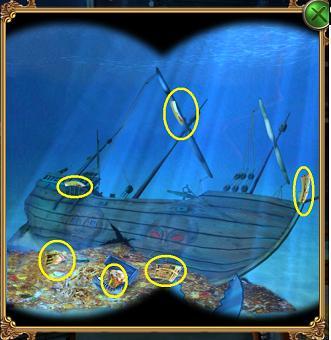
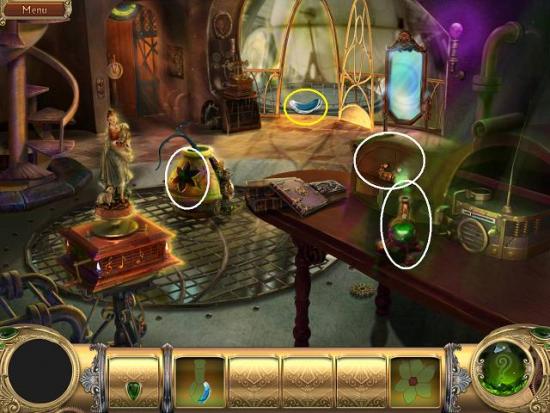
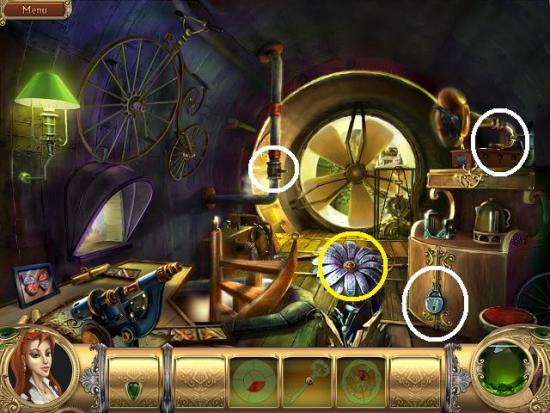
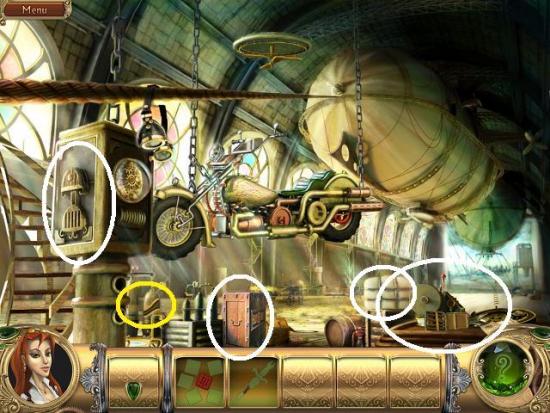
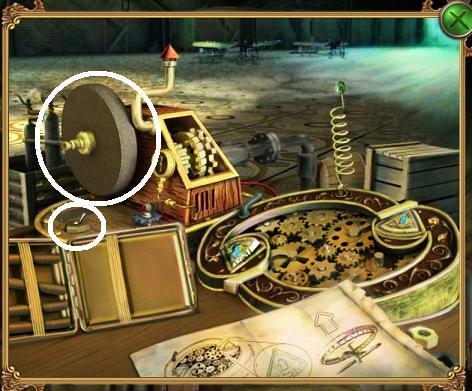
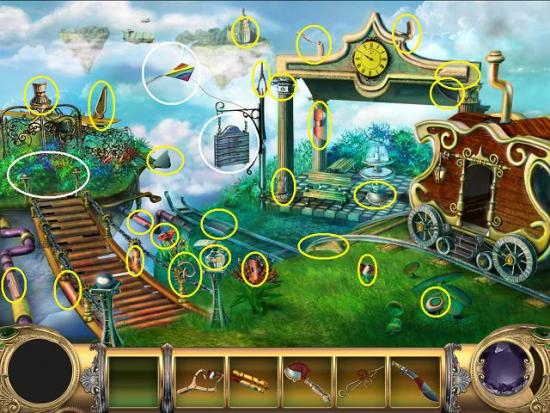
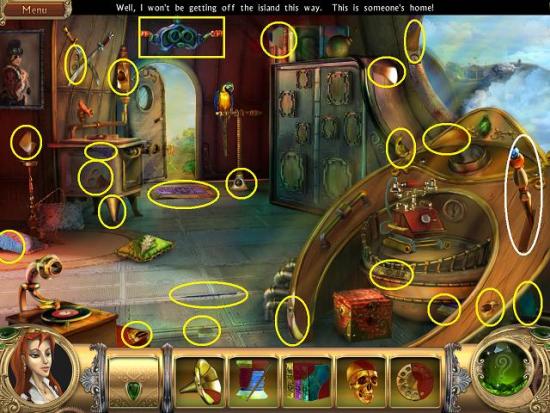
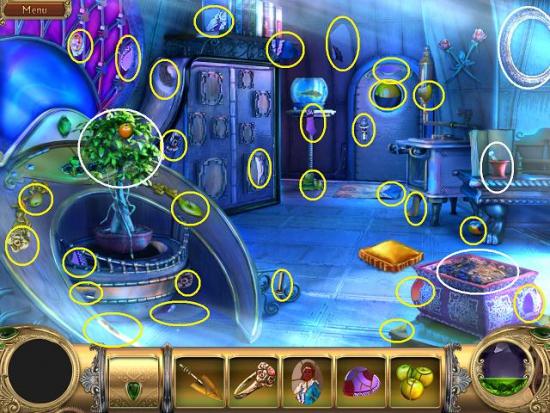
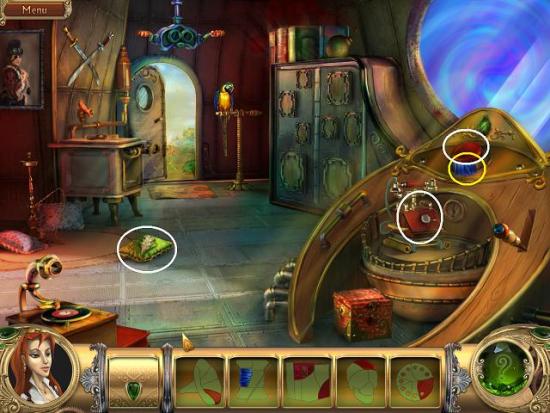
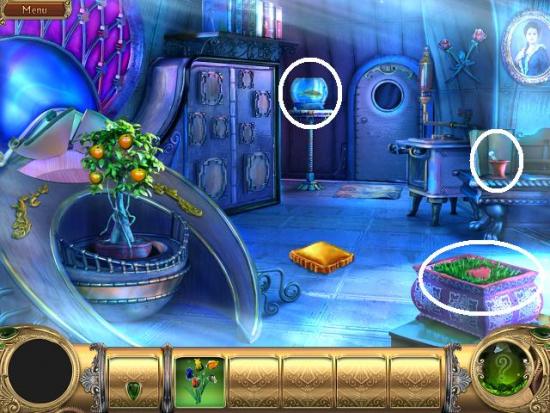
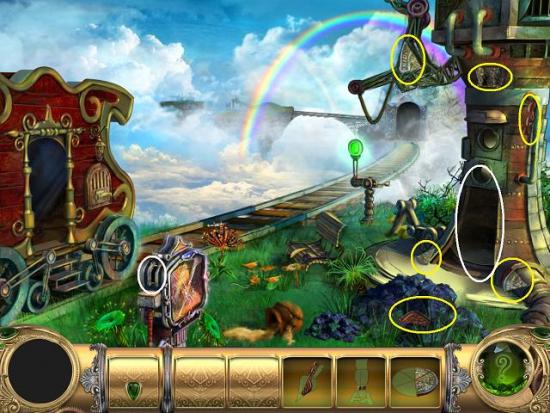
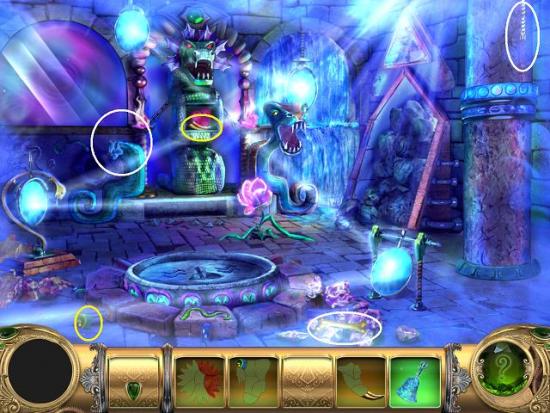
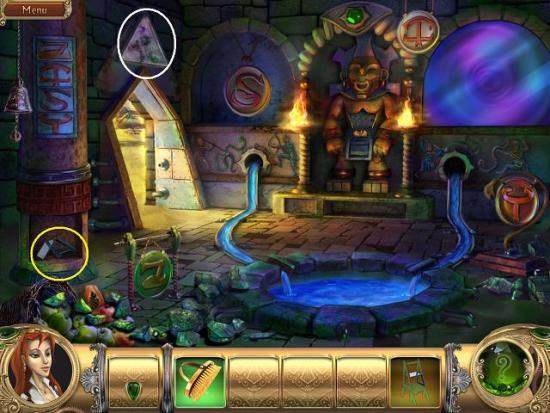
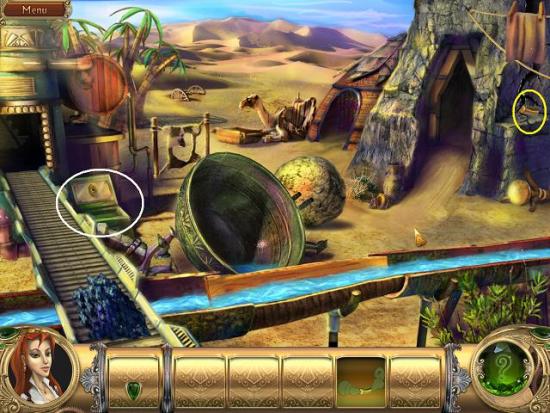
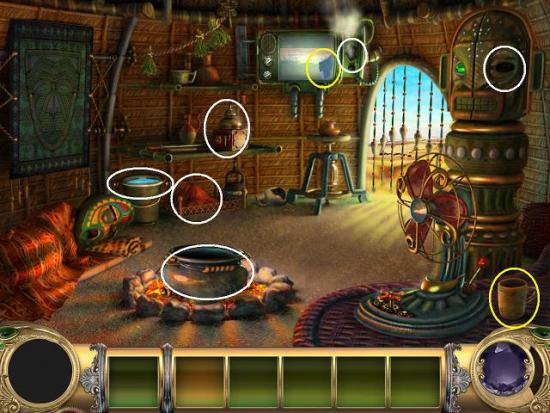
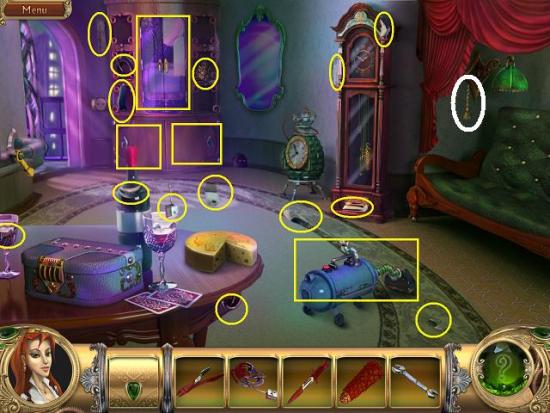
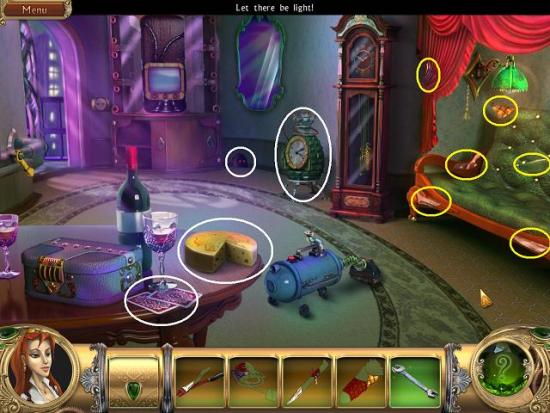
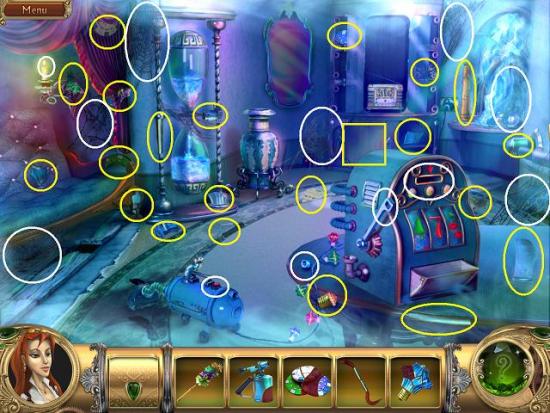
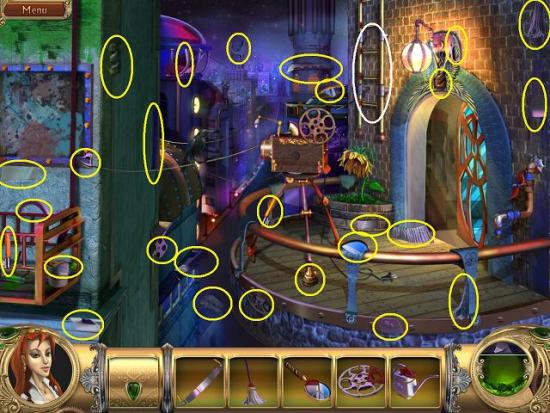
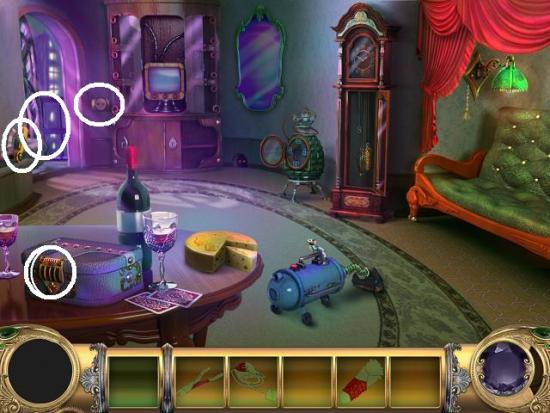
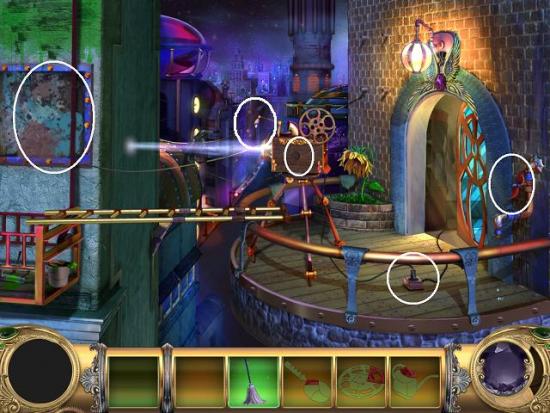
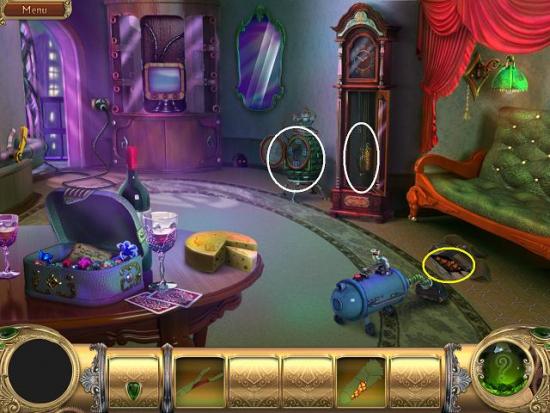
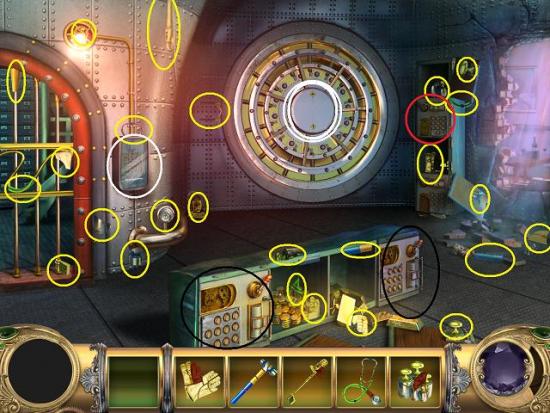
Welcome to the Snark Busters walkthrough on Gamezebo. Snark Busters: Welcome to the Club is a hidden object/adventure game played on the PC created by Alawar. This walkthrough includes tips and tricks, helpful hints, and a strategy guide to how to complete Snark Busters: Welcome to the Club.
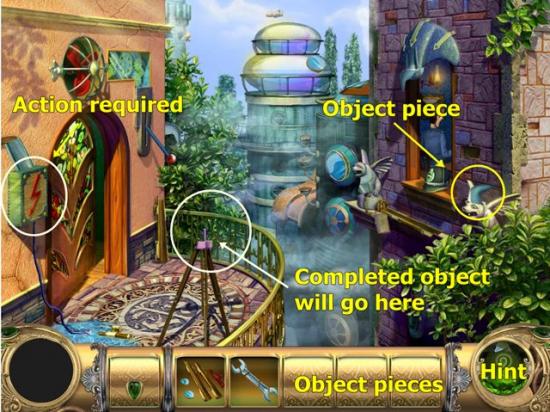
Welcome to the Snark Busters walkthrough on Gamezebo. Snark Busters: Welcome to the Club is a hidden object/adventure game played on the PC created by Alawar. This walkthrough includes tips and tricks, helpful hints, and a strategy guide to how to complete Snark Busters: Welcome to the Club.
Main Menu
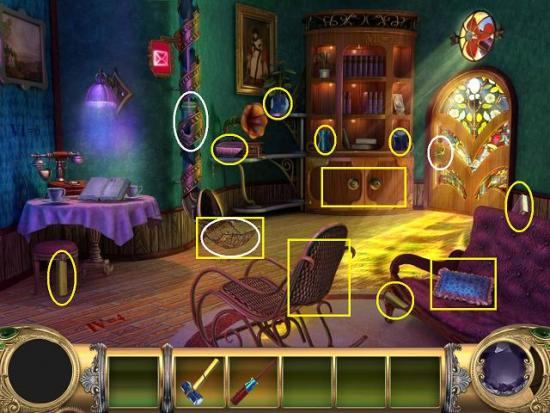
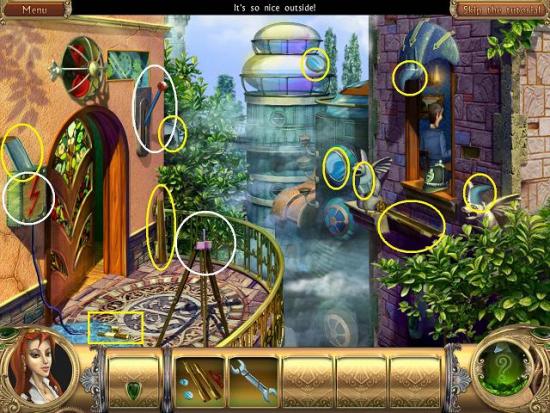
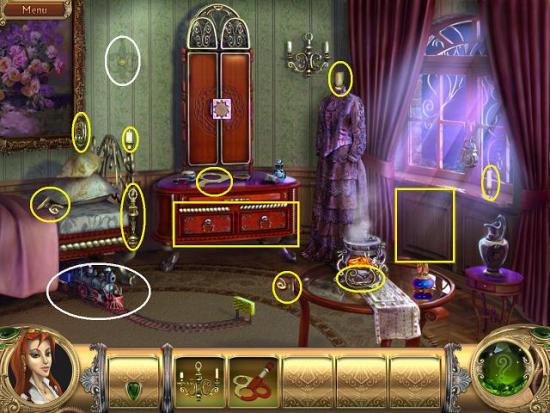
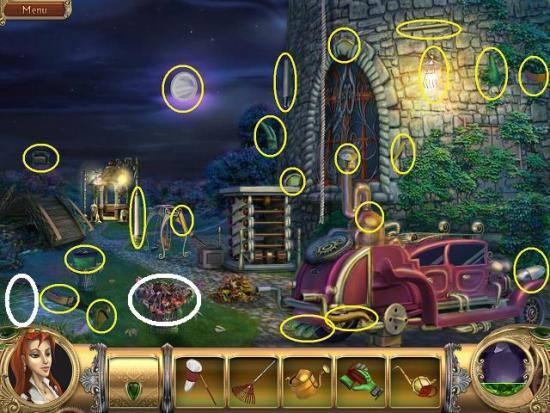
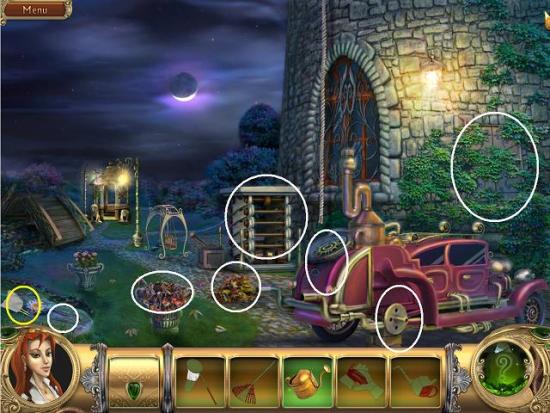
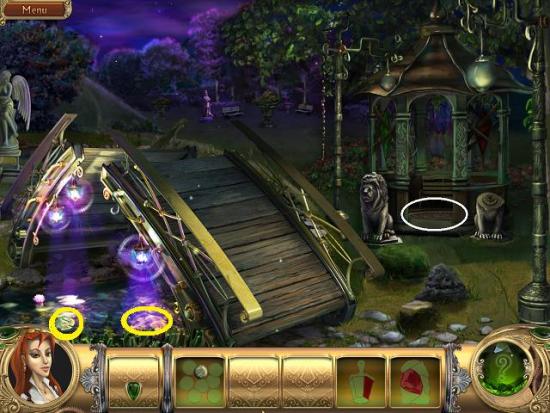
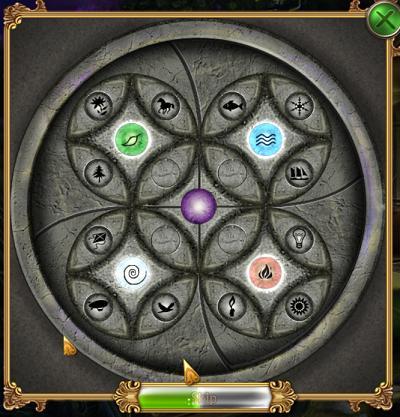
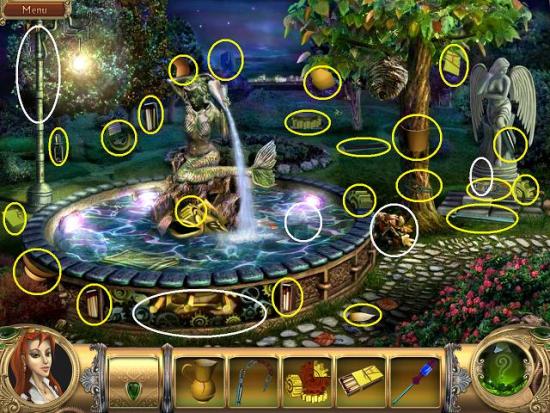
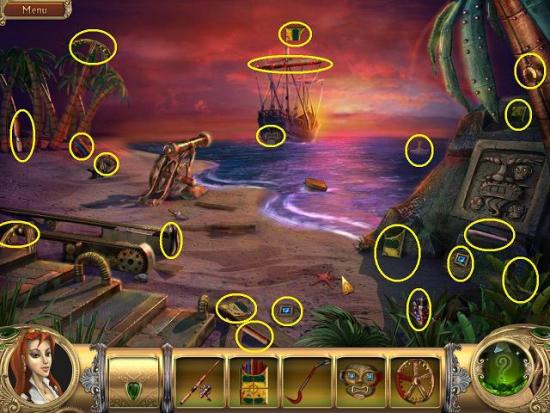
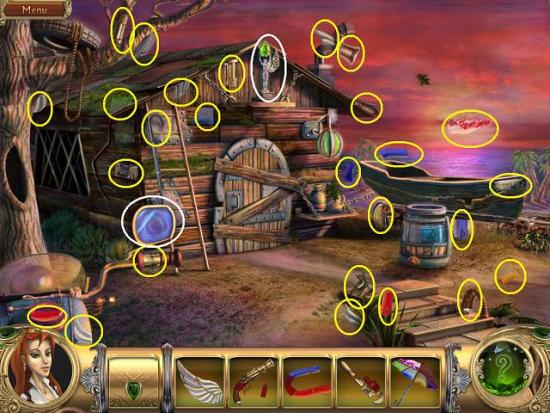
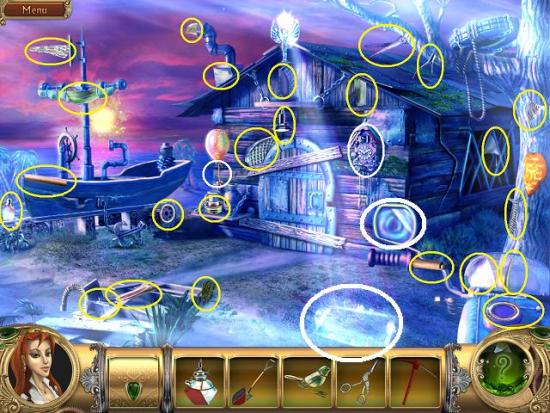
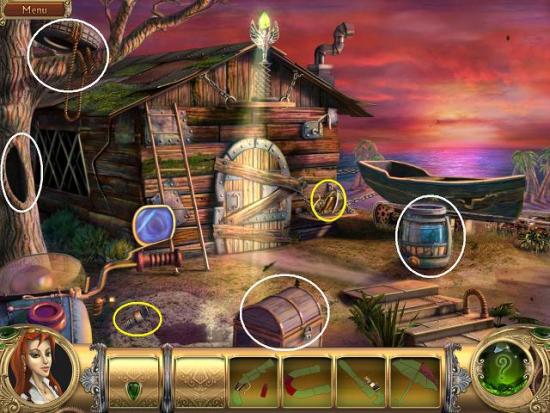
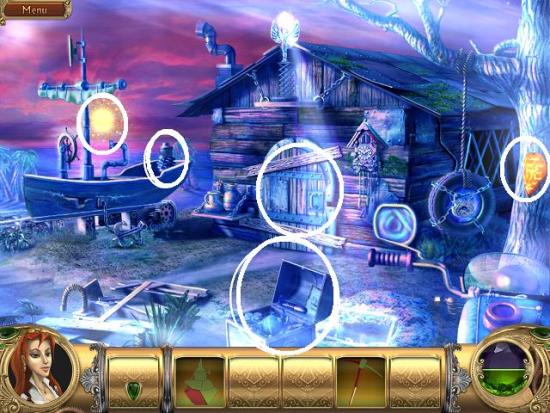
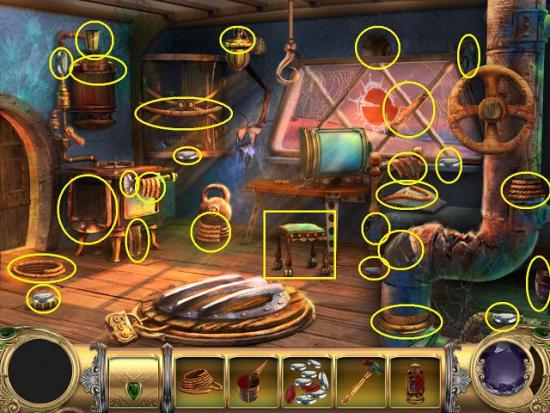
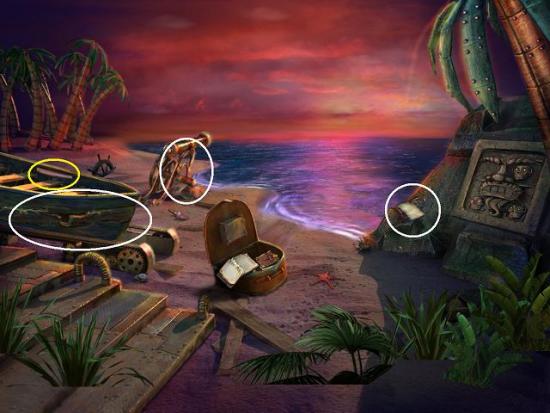
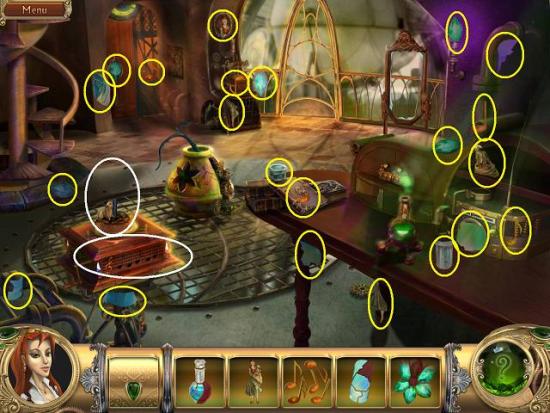
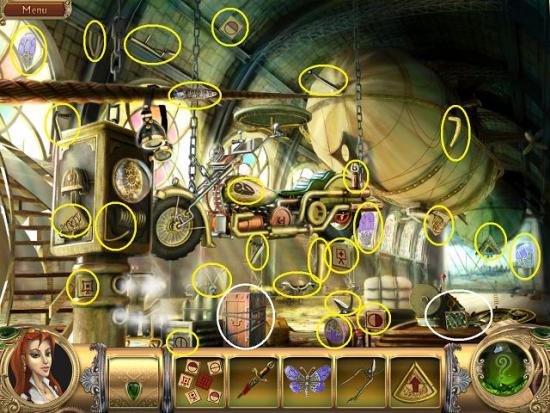
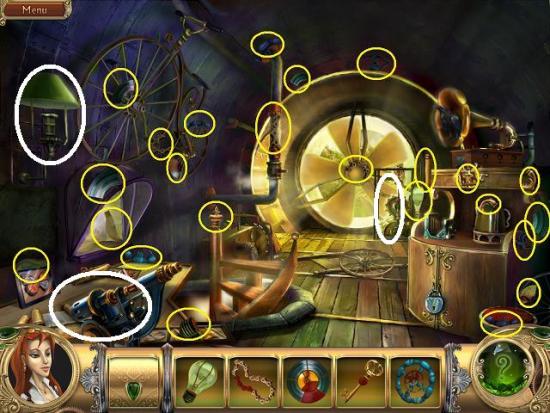
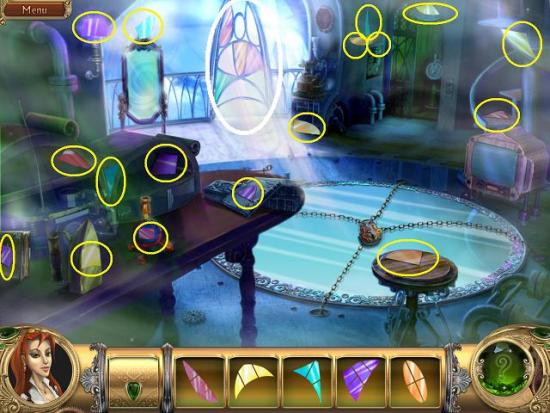
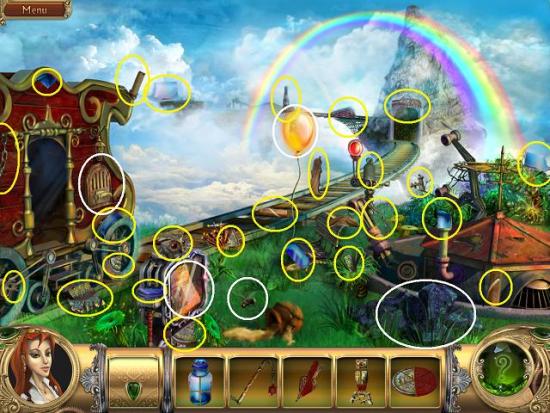
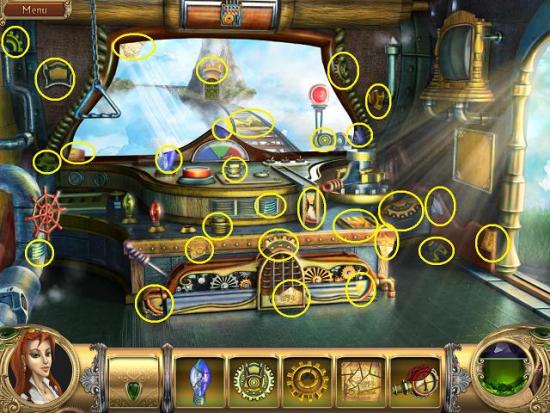
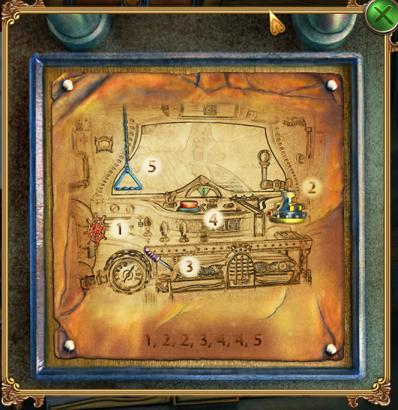
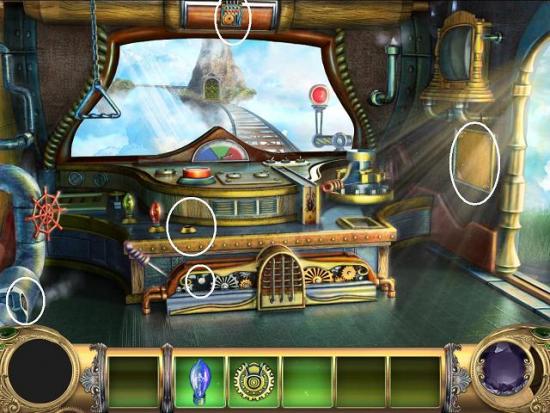
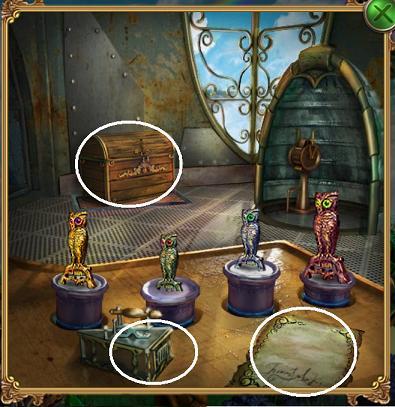
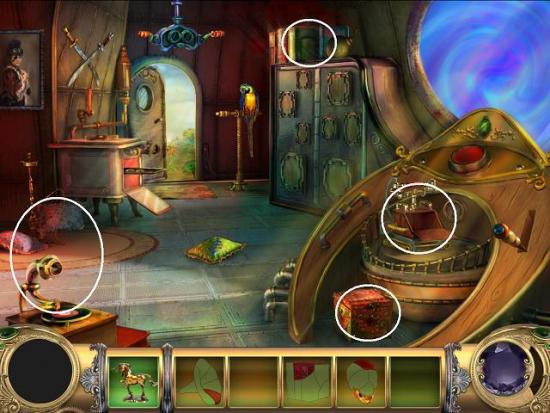
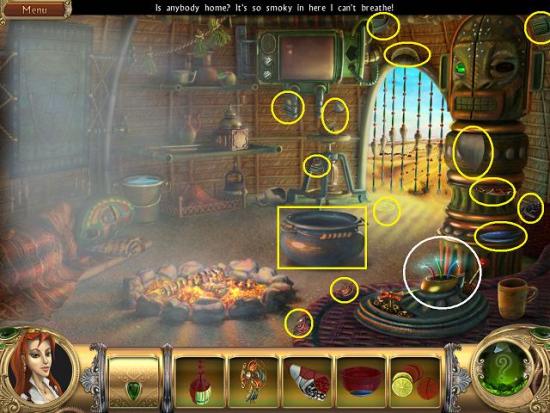
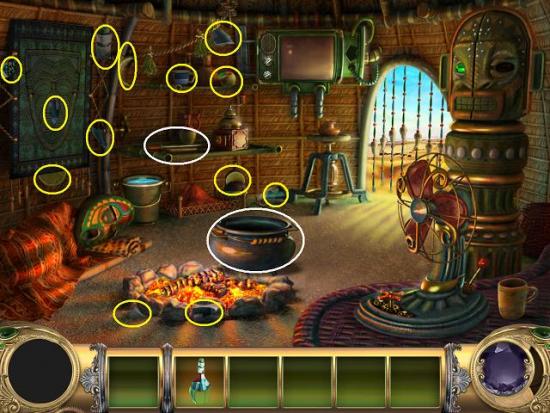
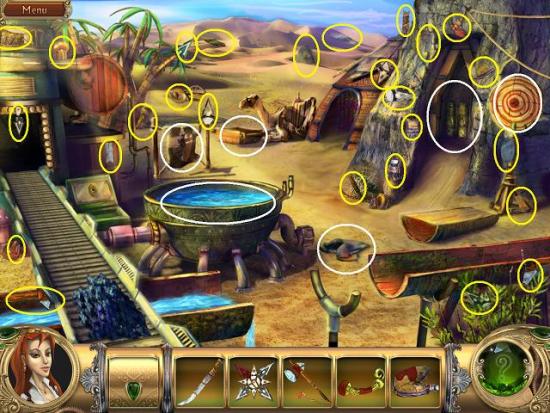
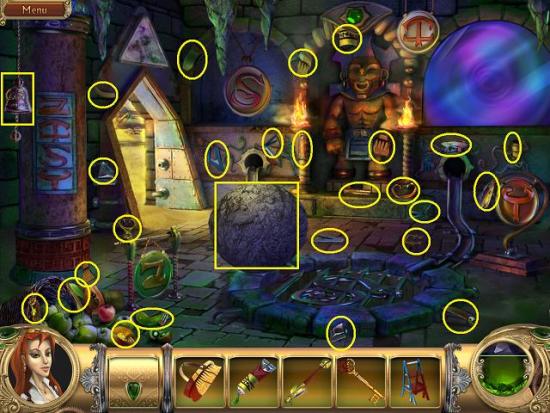
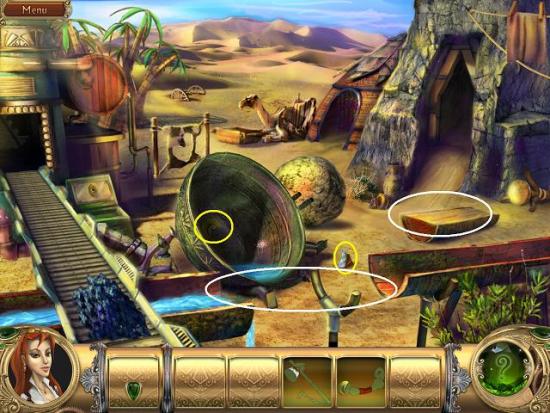
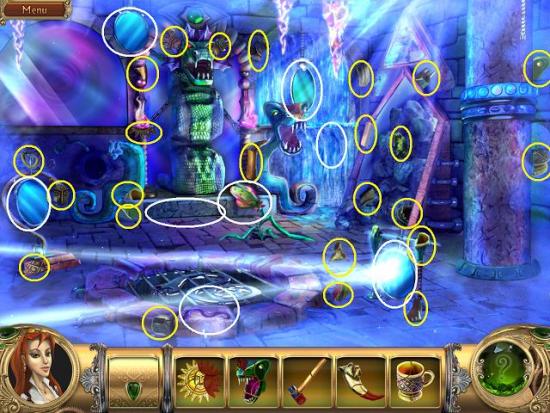
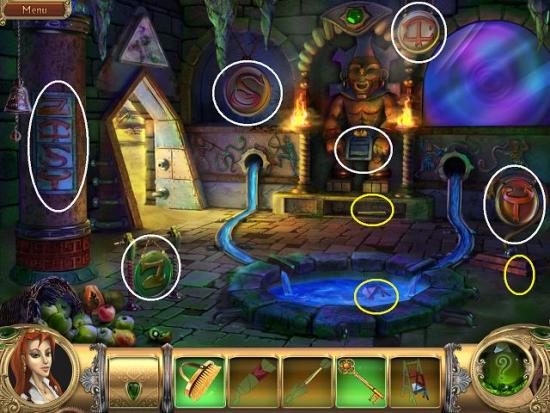
Gameplay and Tips

End of chapter!

End of chapter!
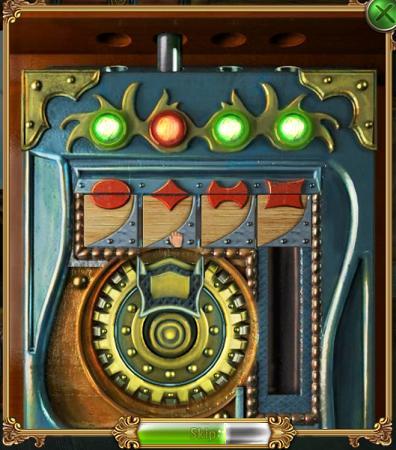
SB27
End of chapter!
End of chapter!

End of chapter!
End of chapter!
End of game!
