![Digimon UP Tier List [Supports, Buddies, and Partners]](/wp-content/uploads/2026/07/digimon-up-tier-list.jpg "Digimon UP Tier List [Supports, Buddies, and Partners]")
Digimon UP Tier List [Supports, Buddies, and Partners]
These Digimon will get you UP the leaderboard.

![Haze Seas Boss Drops [Chances, Locations, and How to Spawn]](/wp-content/uploads/2026/07/haze-seas-boss-drops.jpg "Haze Seas Boss Drops [Chances, Locations, and How to Spawn]")

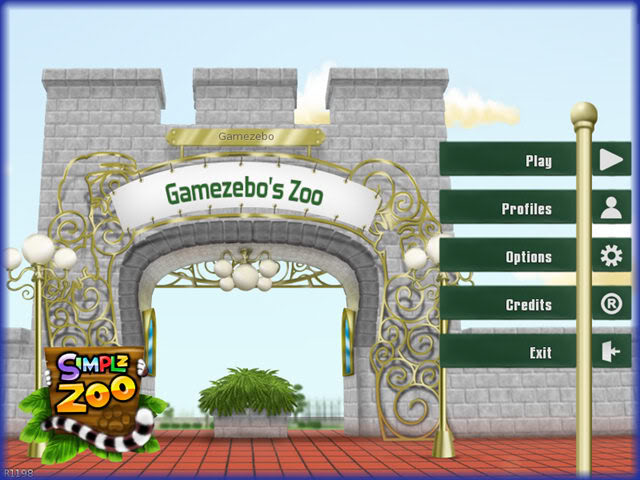
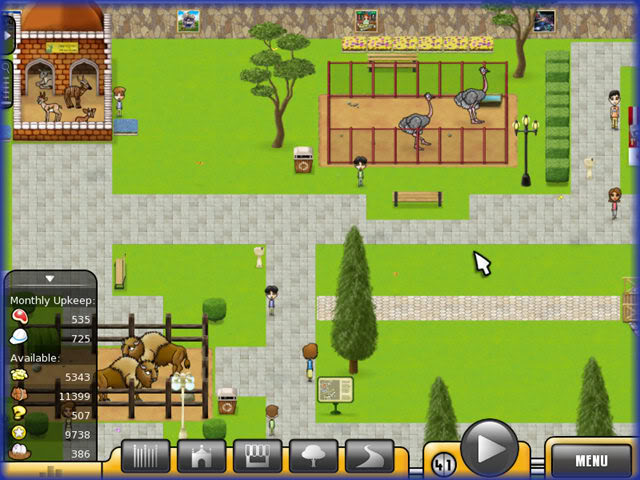
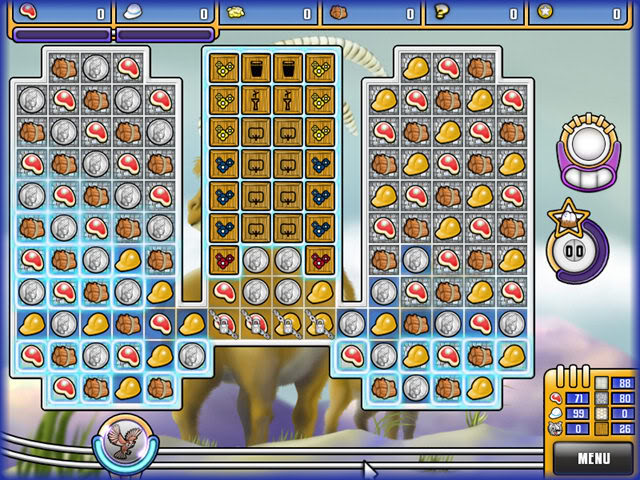
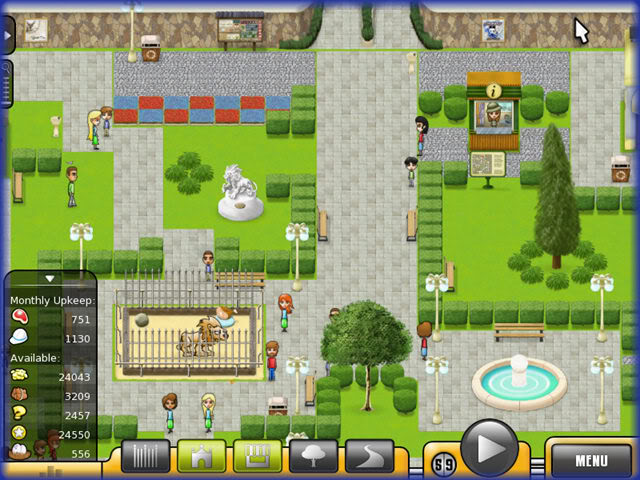
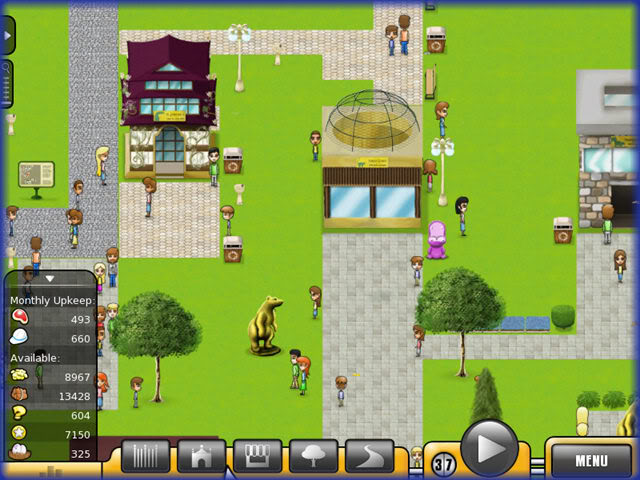
Welcome to Gamezebo's strategy guide for Simplz: Zoo. General Game Information Game released by Reflexive entertainment and South Wind Games January 2010 A combination Match-3, simulation game where the player via a match-3 game earns funds to purchase animals, build structures, and exhibits which over time will become more elaborate with the goal of becoming the number one ranking zoo in the World. Each time you purchase an item for you Zoo and place it on the land provided your Zo…
a:1:i:0;a:2:s:13:”section_title”;s:23:”Simplz: Zoo Walkthrough”;s:12:”section_body”;s:90403:”
Welcome to Gamezebo’s strategy guide for Simplz: Zoo.

General Game Information
Zoo
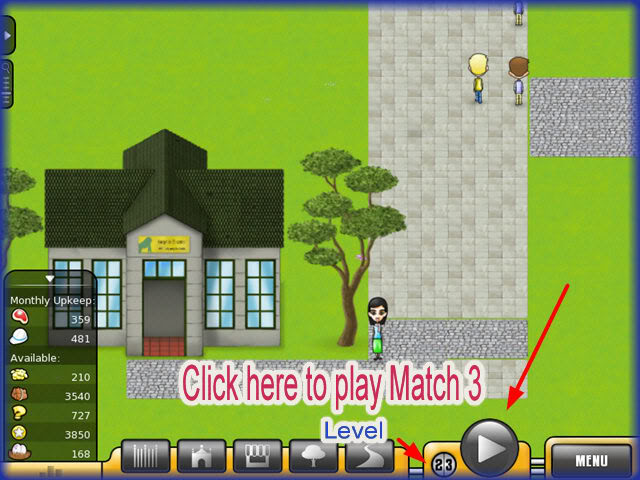
Match 3
Game Elements
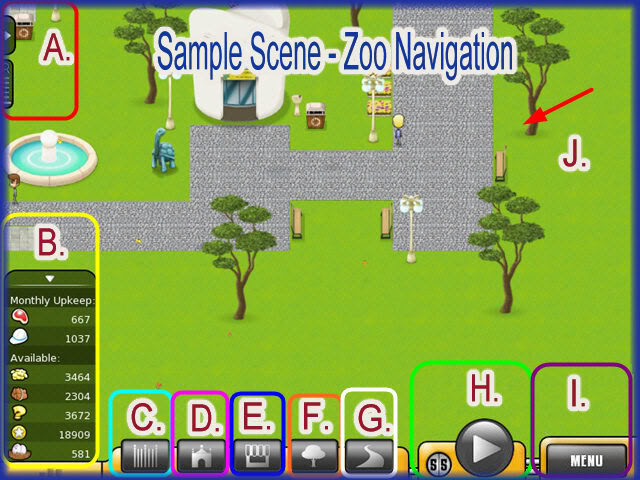
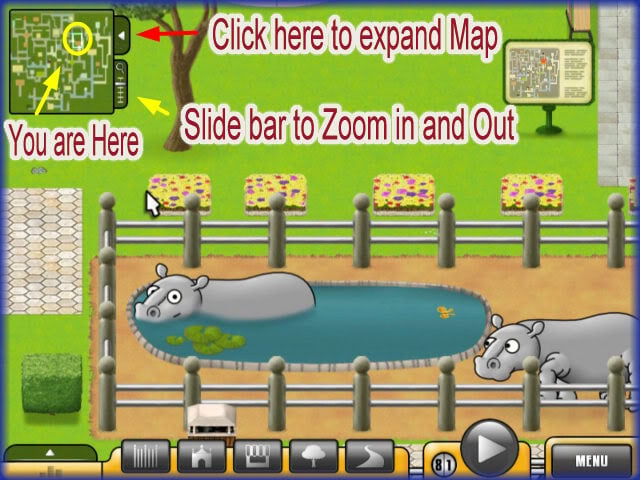
Zoo Navigation/Menus
Game Tips
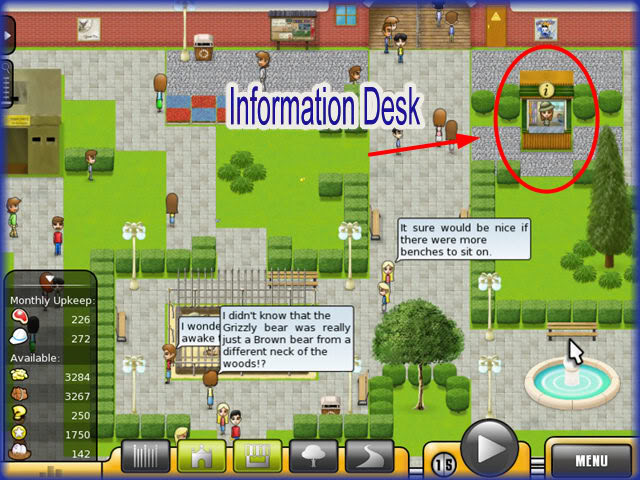
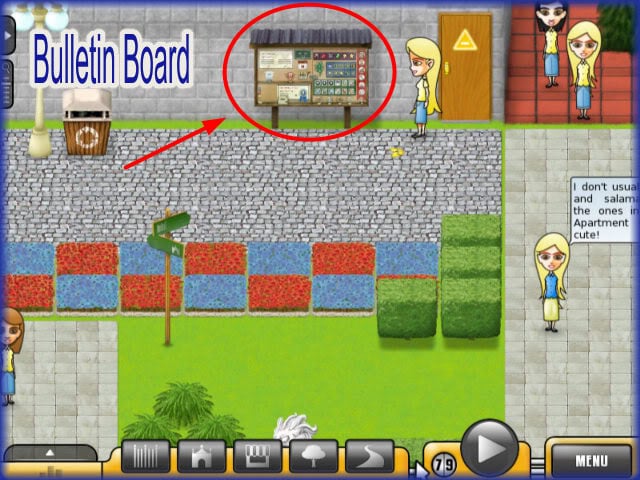
Information Desk
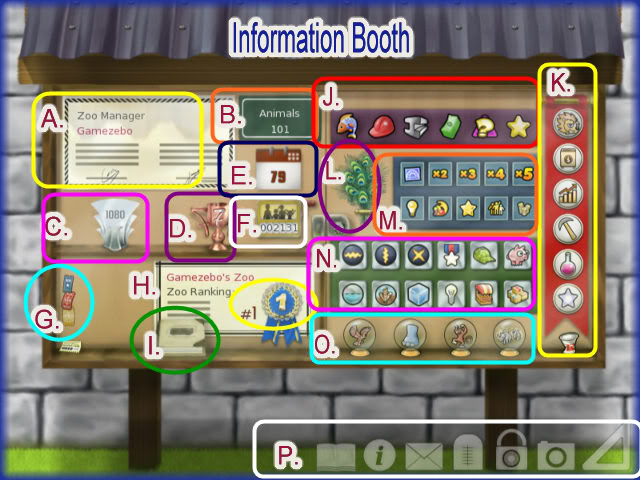
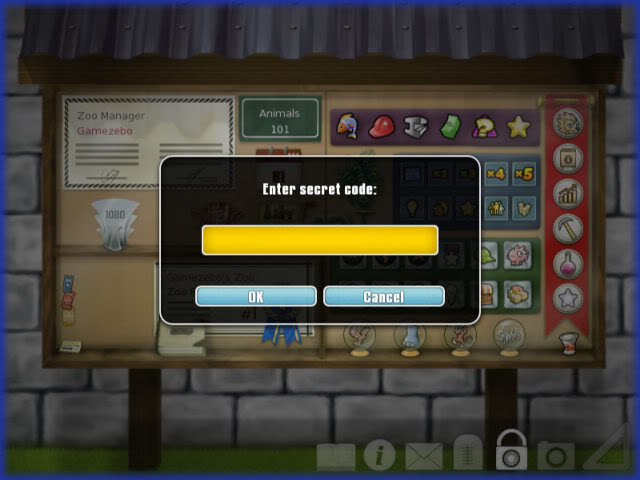
Bulletin Board
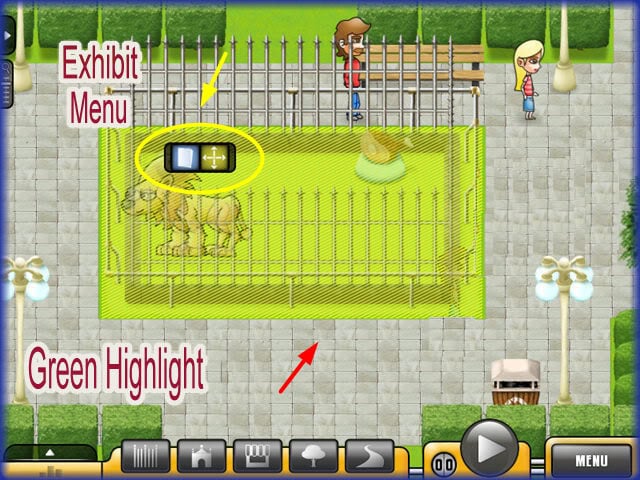
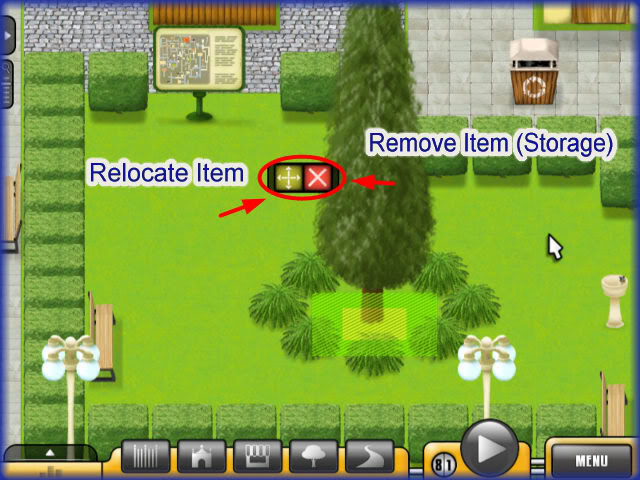
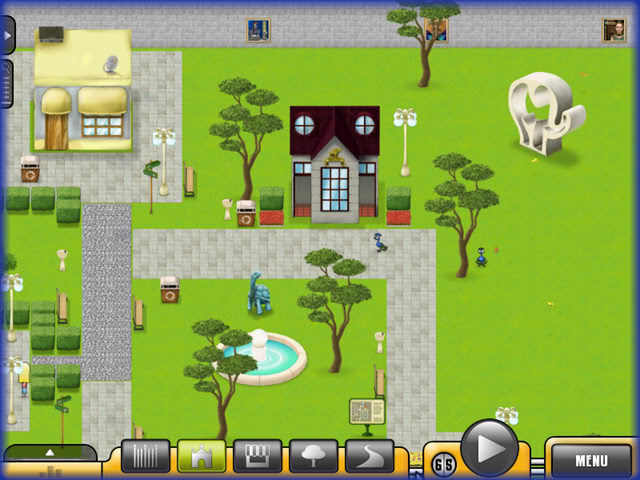
Placing items on your Land
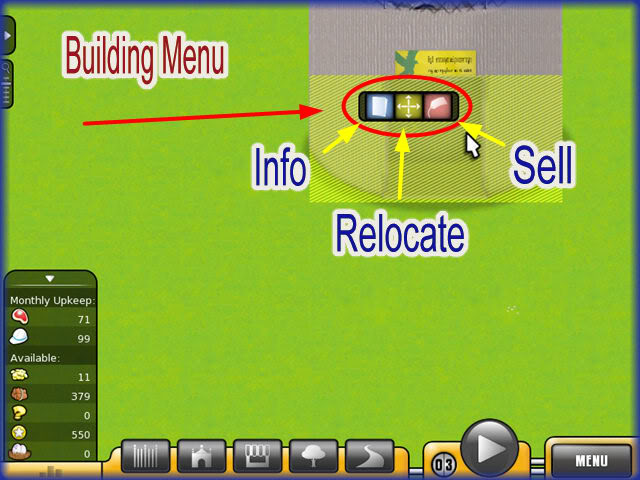
Buildings/Exhibits Menu
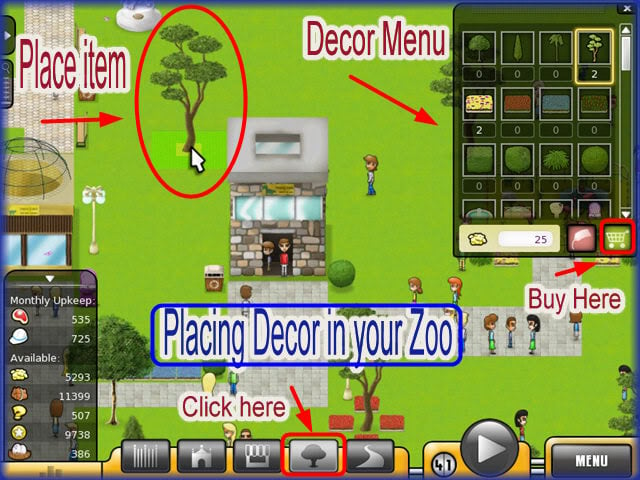
Decorations Menu
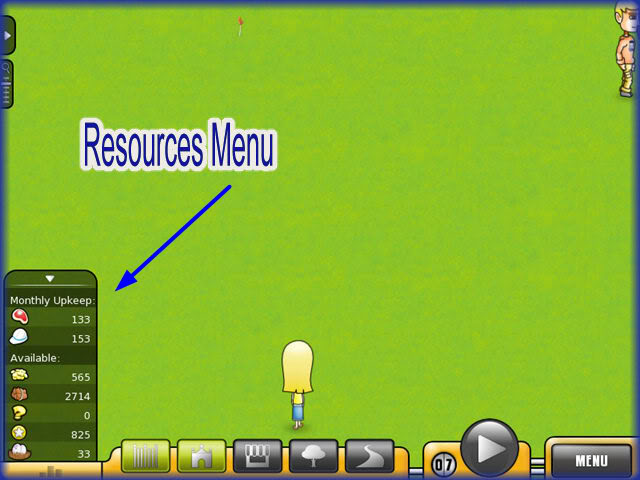
Resources Menu
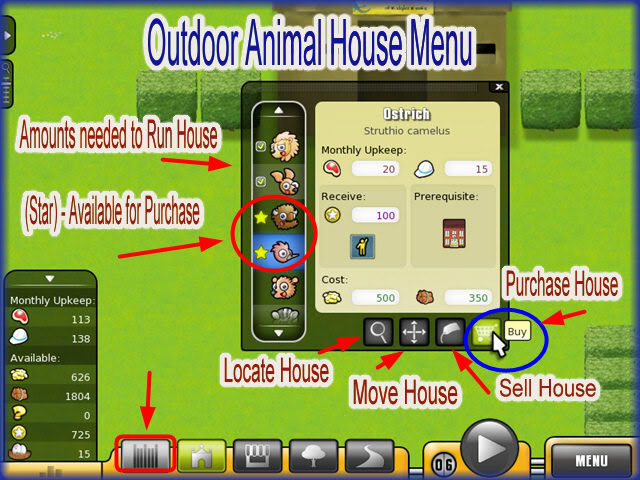
Outdoor Animal House Exhibits Menu
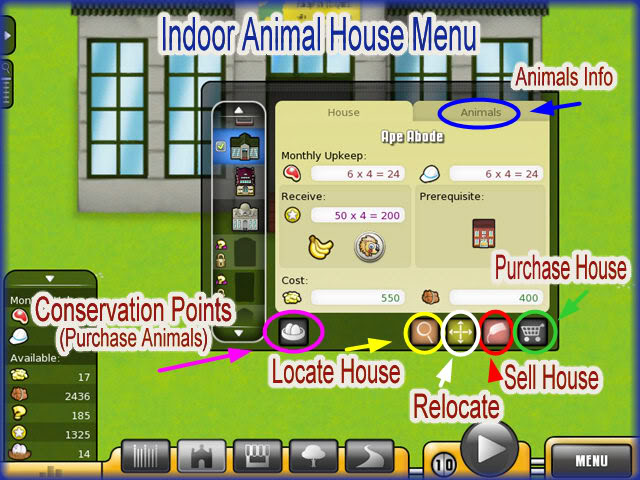
Indoor Animal House Exhibits Menu
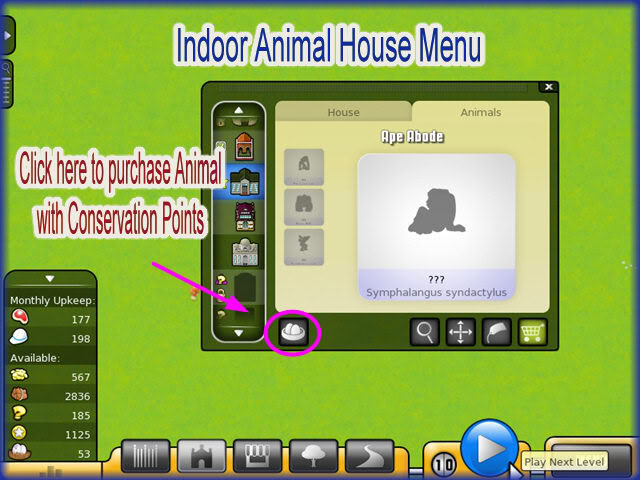
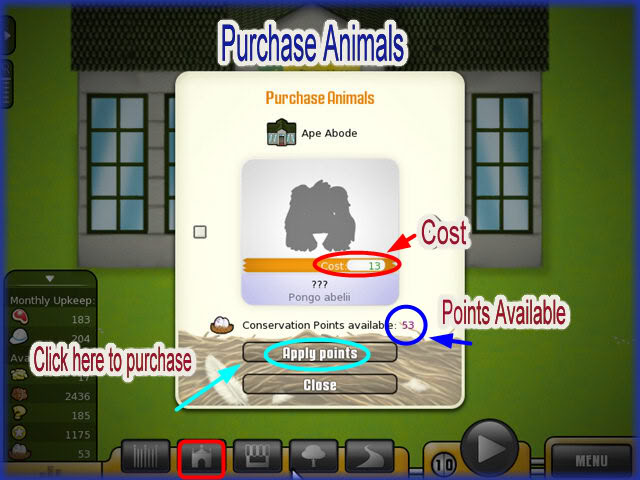
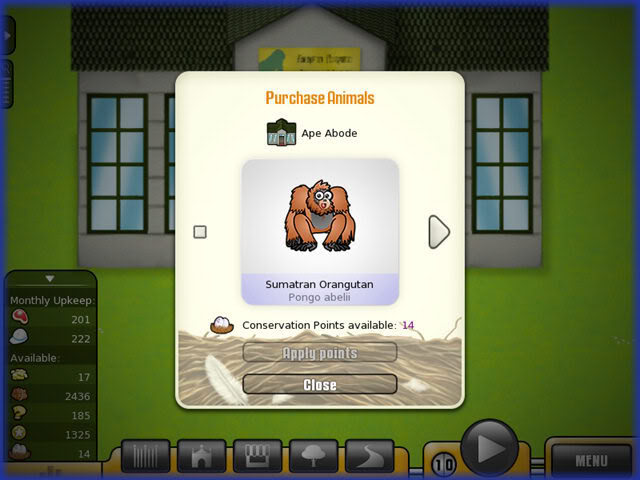
Purchasing Animals for the Indoor Animal House Exhibits
Concessions/ Supplemental Support Buildings Menu

Upgrading Buildings
Decor Menu/Placing decorations in your Zoo
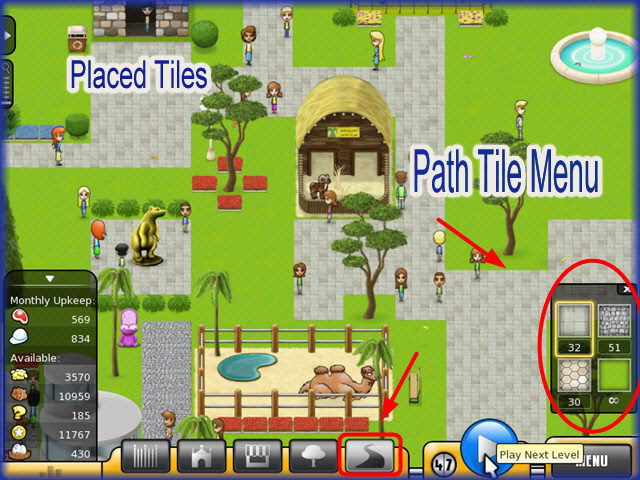
Pathways Menu/Placing Pathways
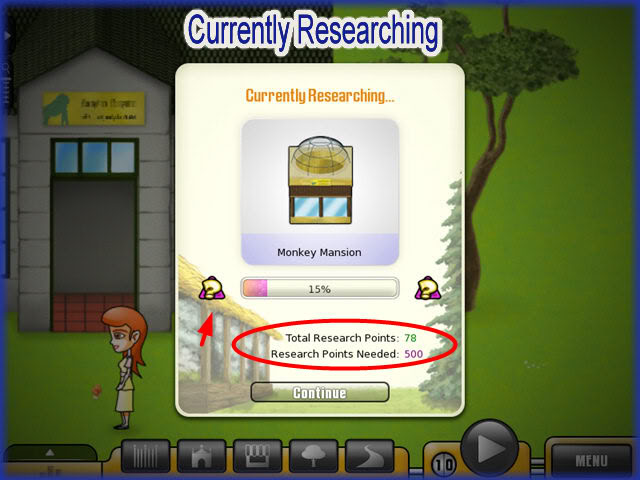
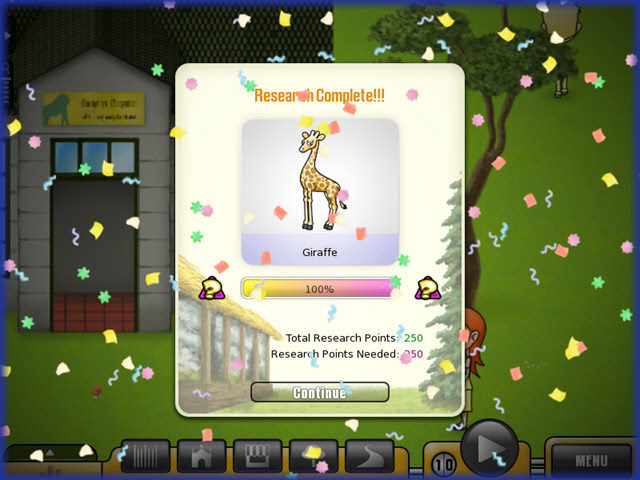
Researching Animals
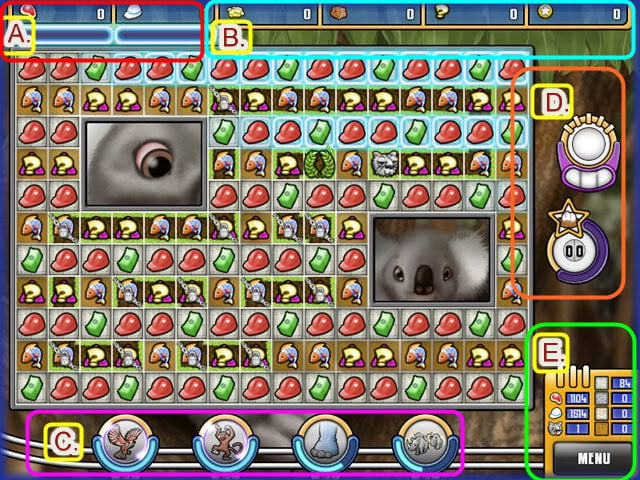
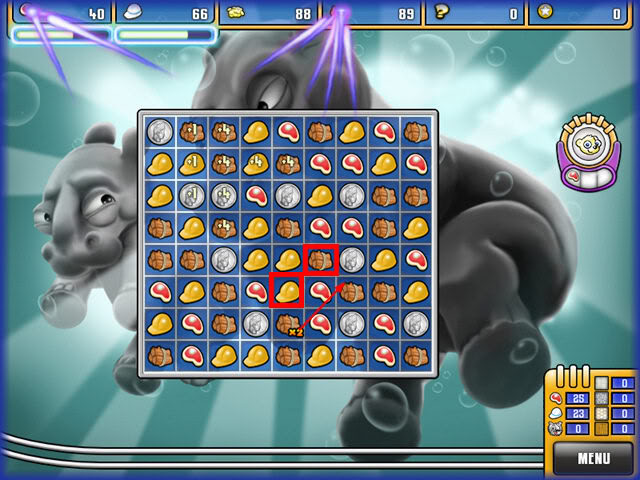
Match 3 Game
General Information
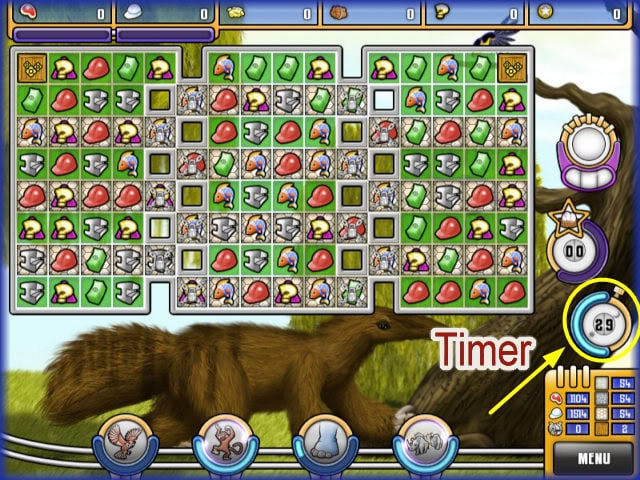
Timed Mode/Relaxed Mode
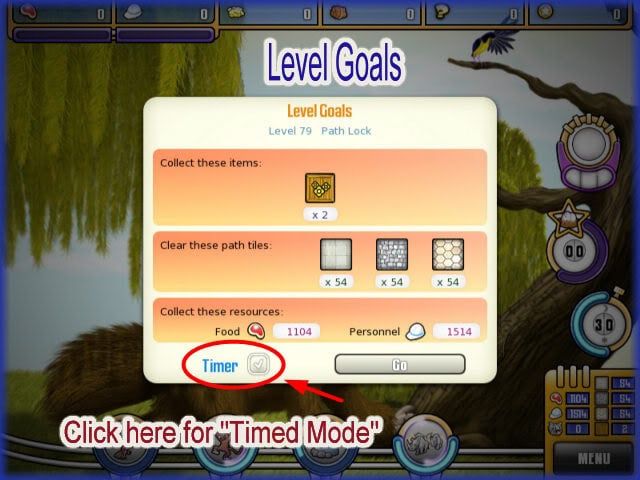
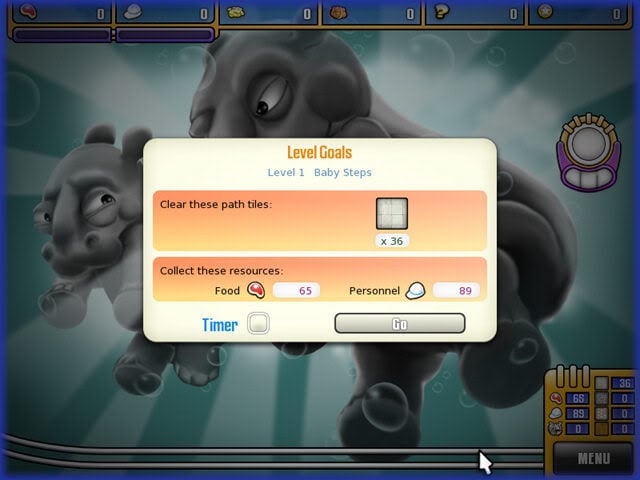
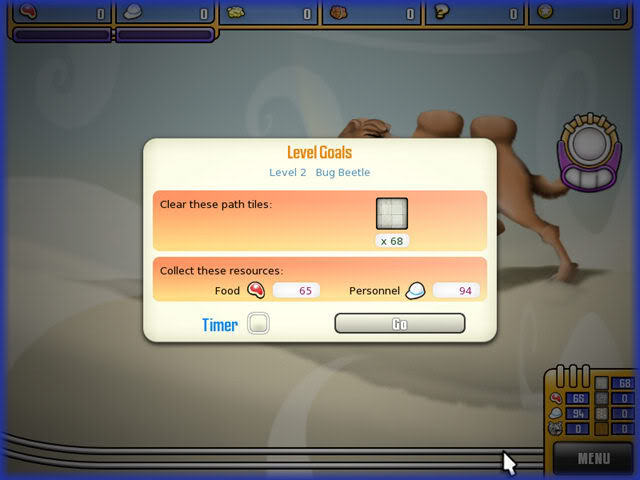
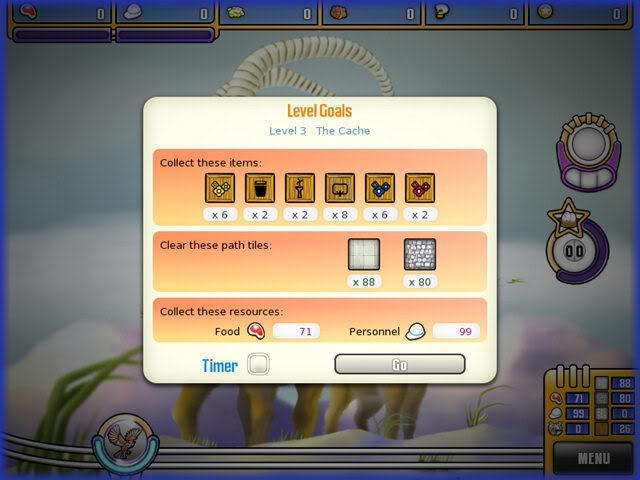
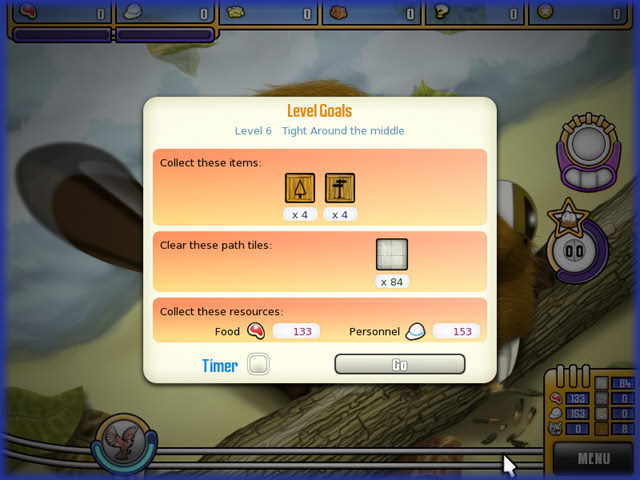
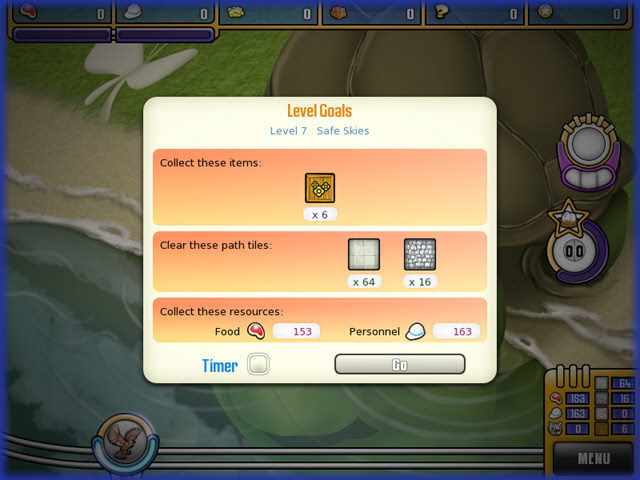
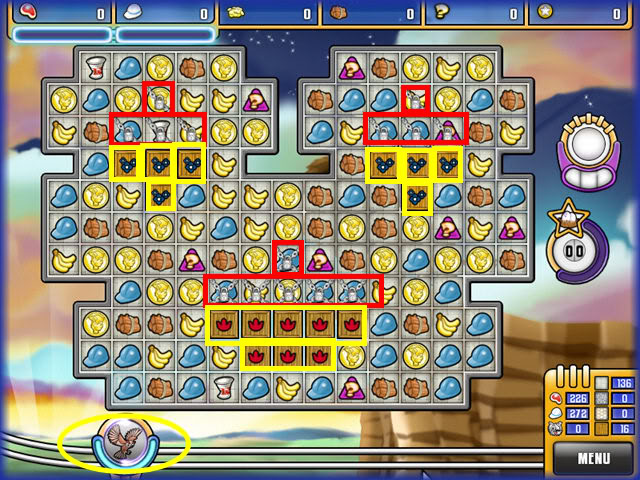
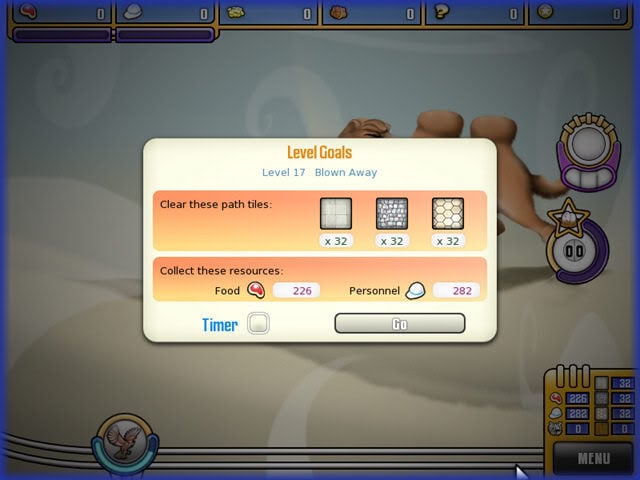
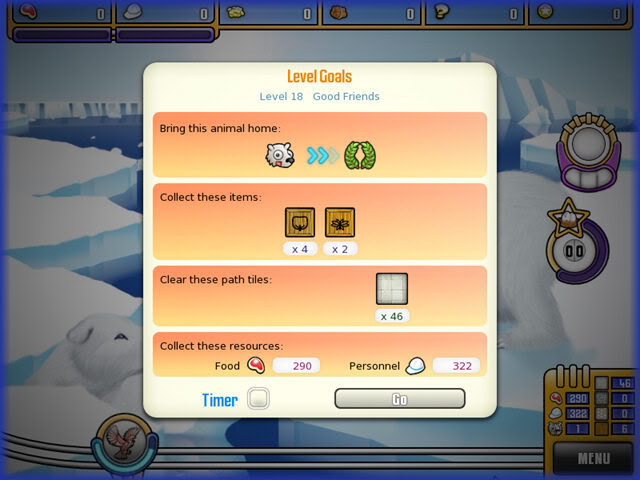
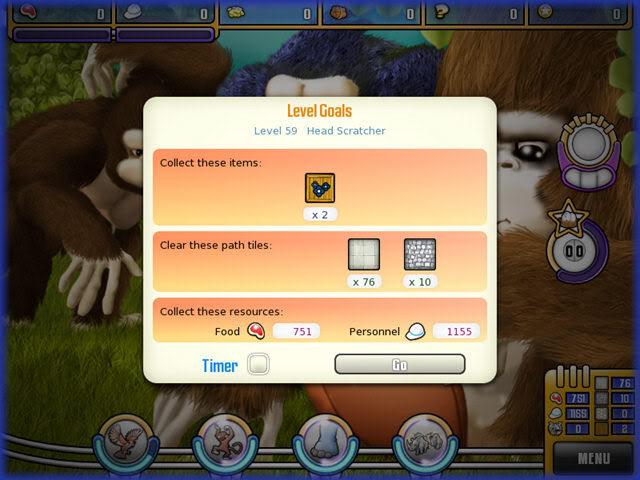
Level Goals
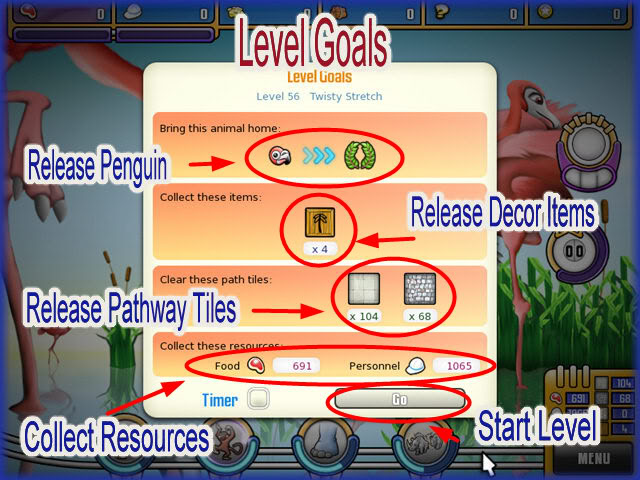
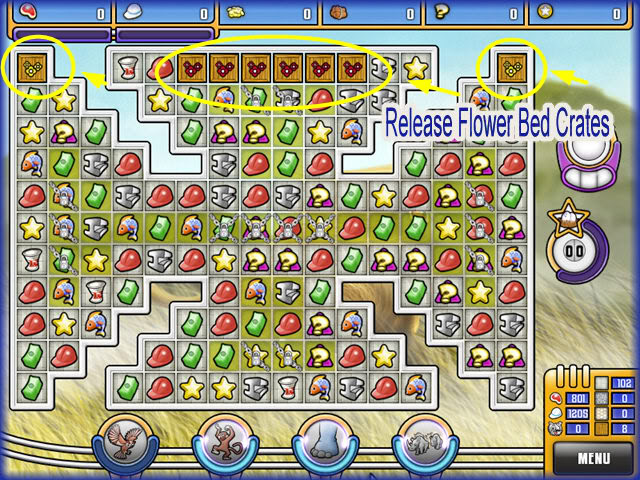
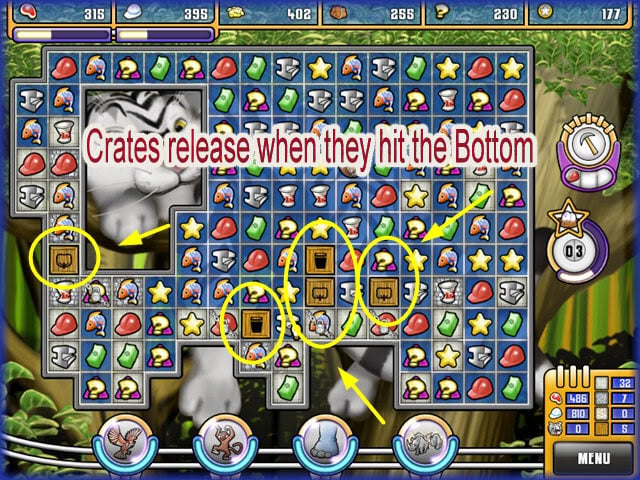
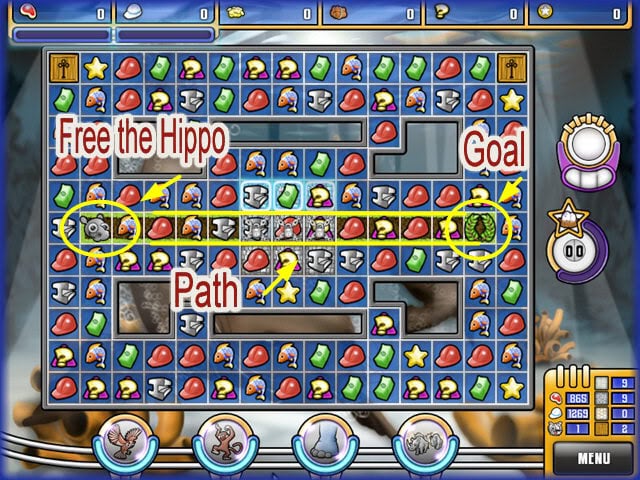
Releasing Free Decorative Items (Crates)
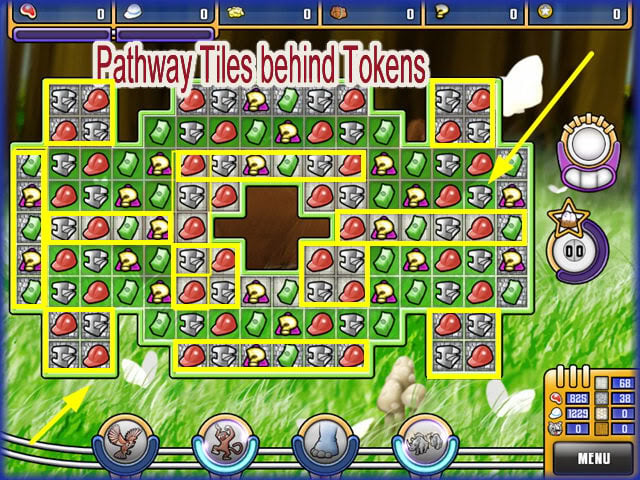
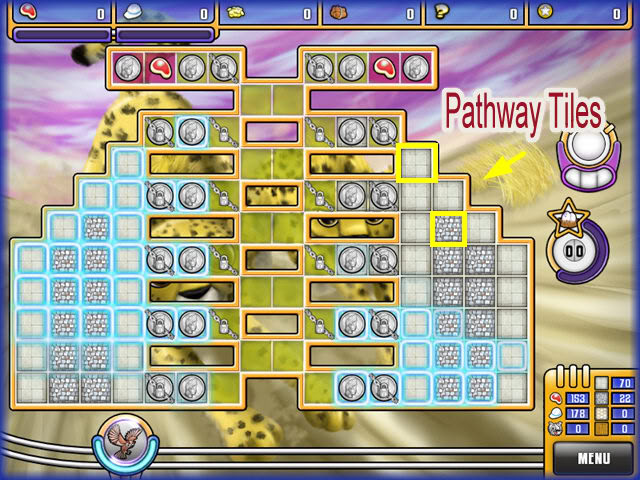
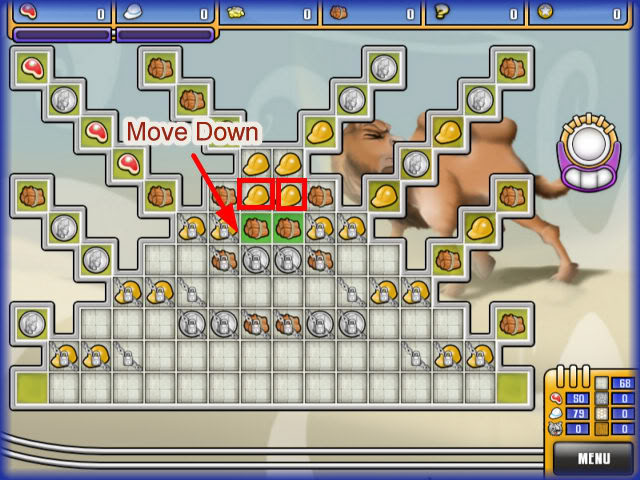
Releasing Pathway Tiles
Releasing Animals

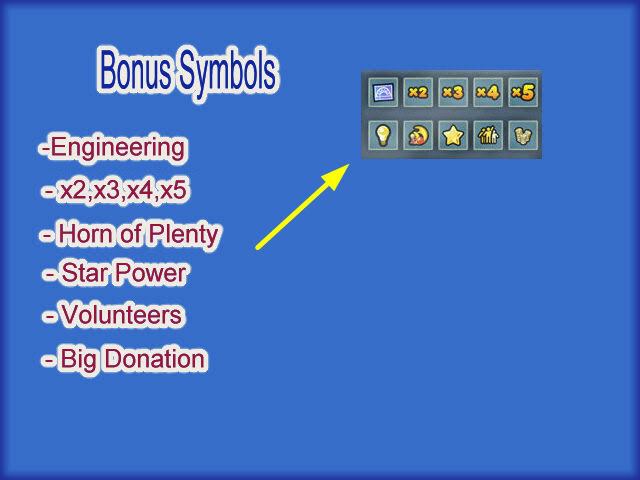
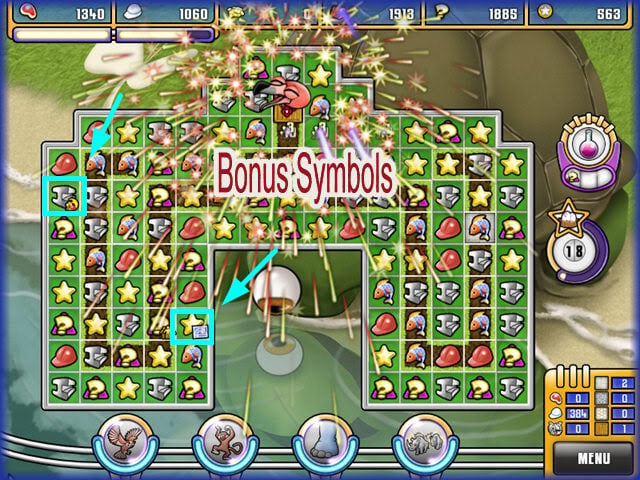
Bonus Symbols
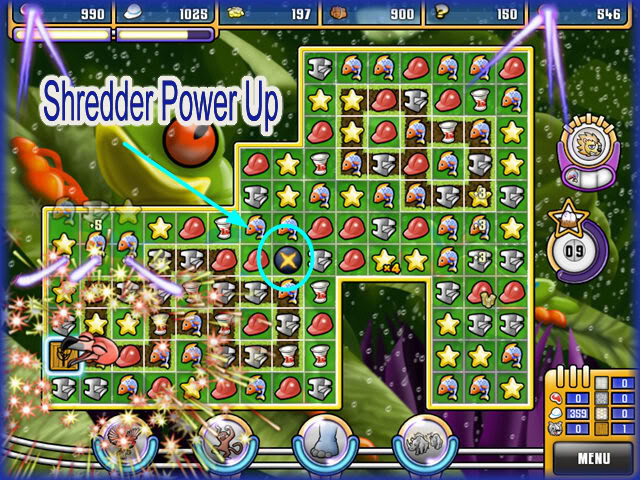
Power Ups Awarded for large Matches

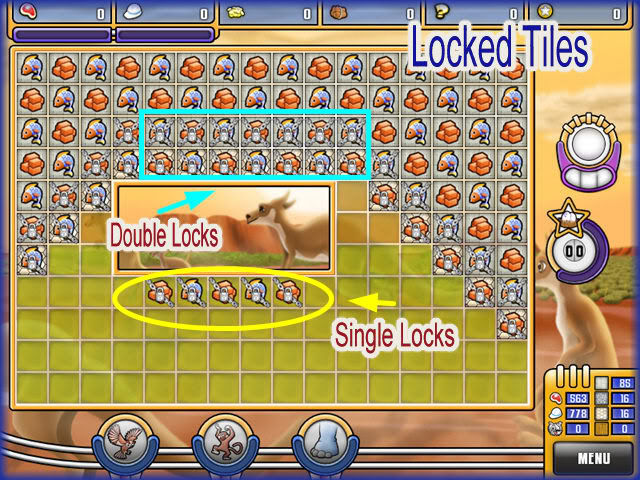
Locked Tiles
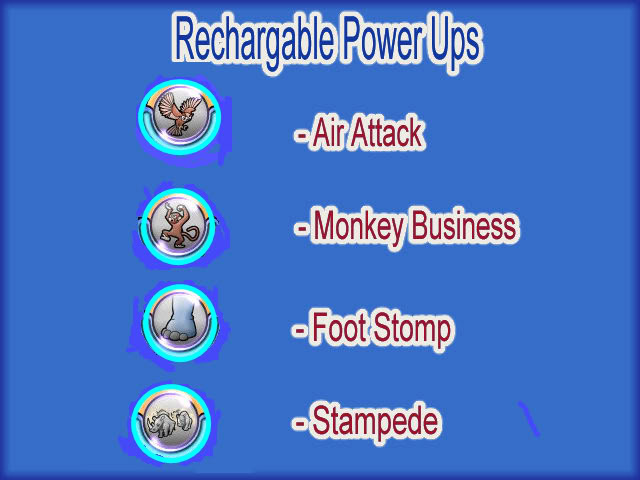
Rechargeable Random Use Match 3 Power Ups
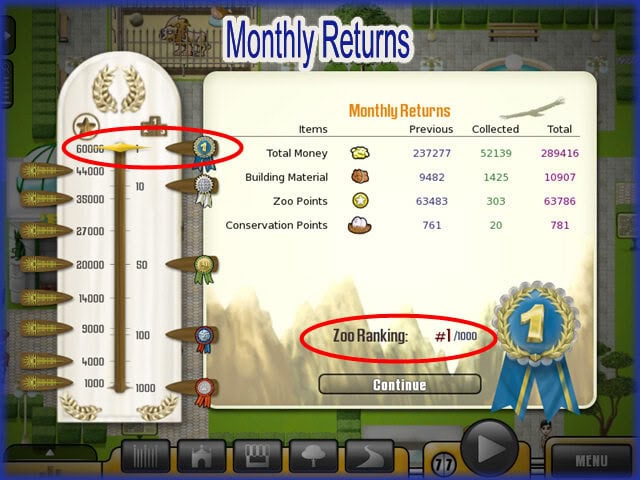
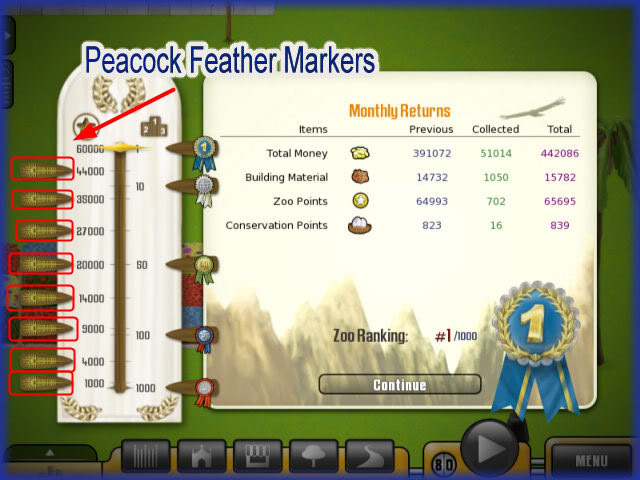
Monthly Returns

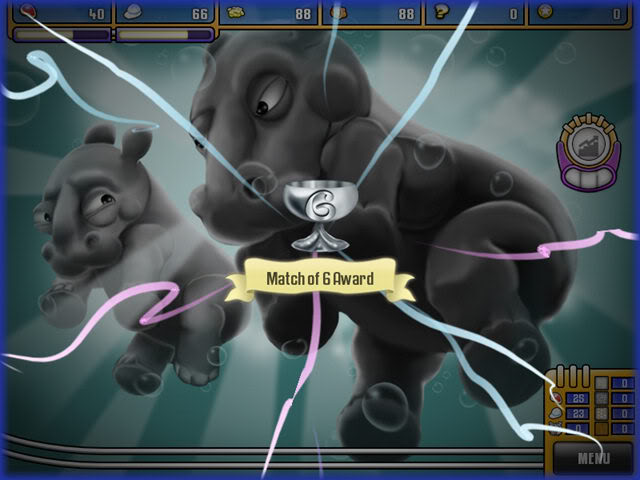
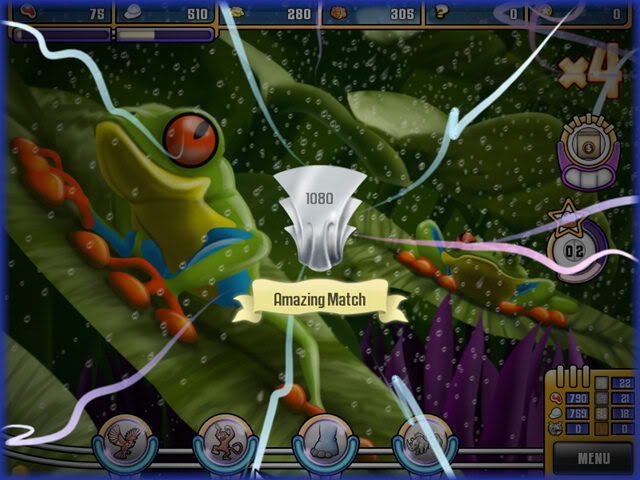
Amazing Match Awards
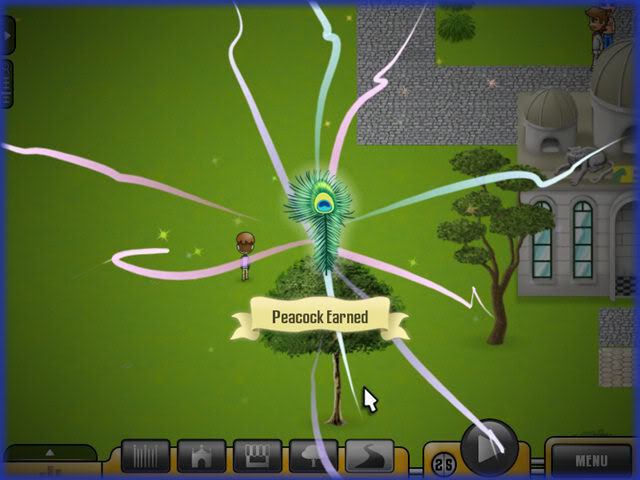
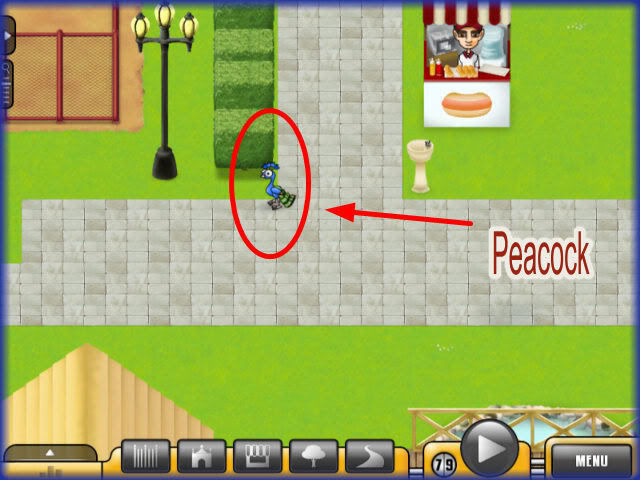
Earning Peacocks
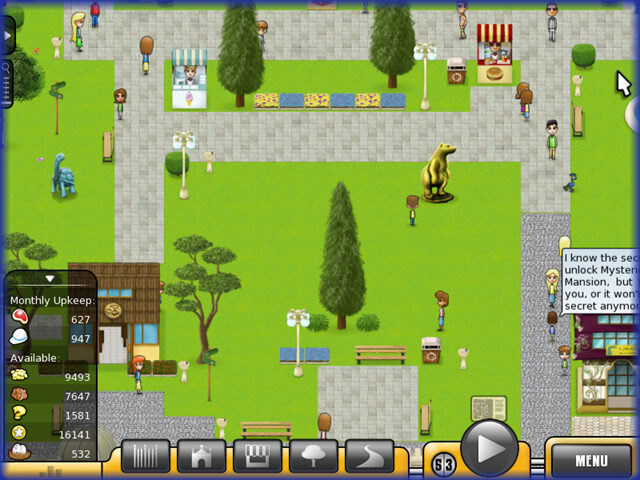
Secret Passwords

Miscellaneous Game Trivia
Walkthrough
Match 3 Levels
Level 1
Level 2
Level 3
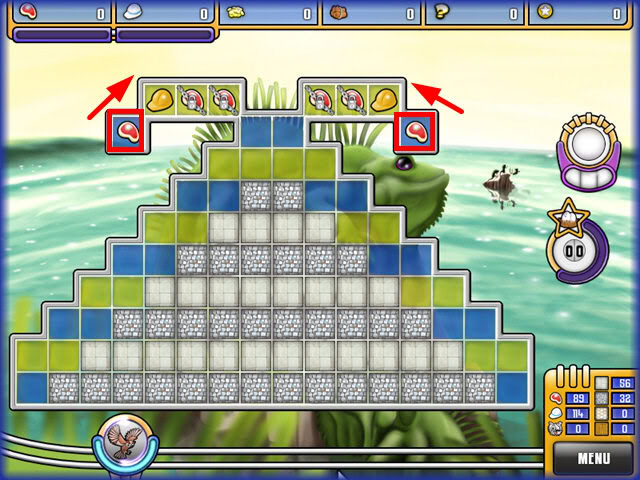
Level 4
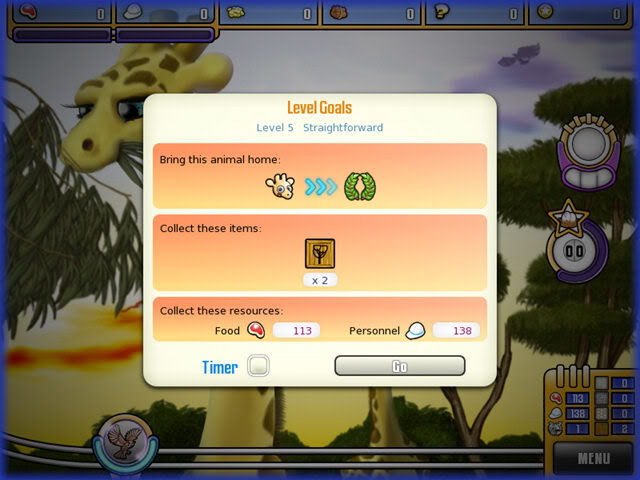
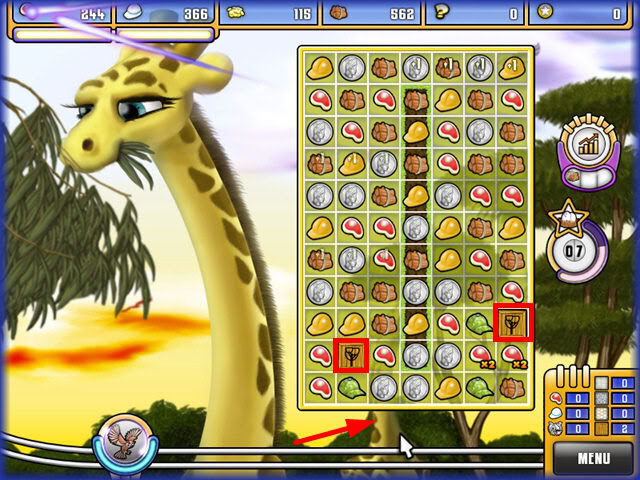
Level 5
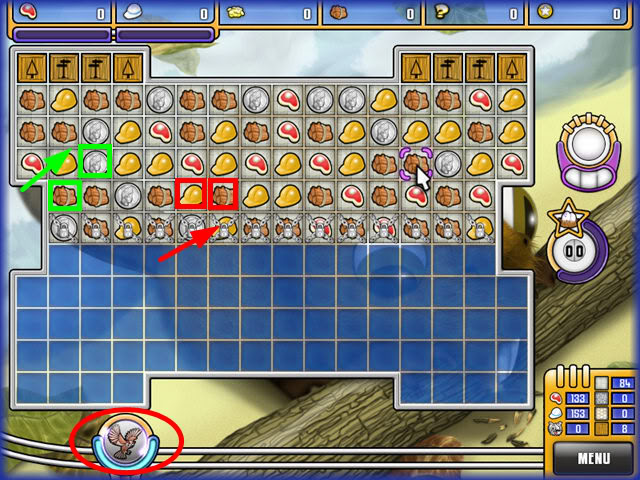
Level 6
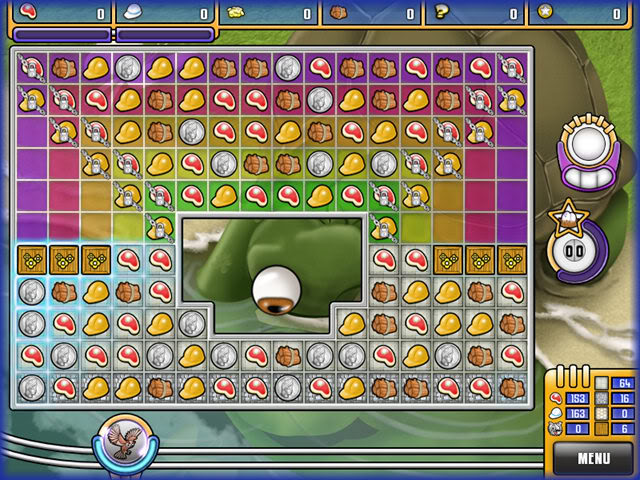
Level 7
Level 8

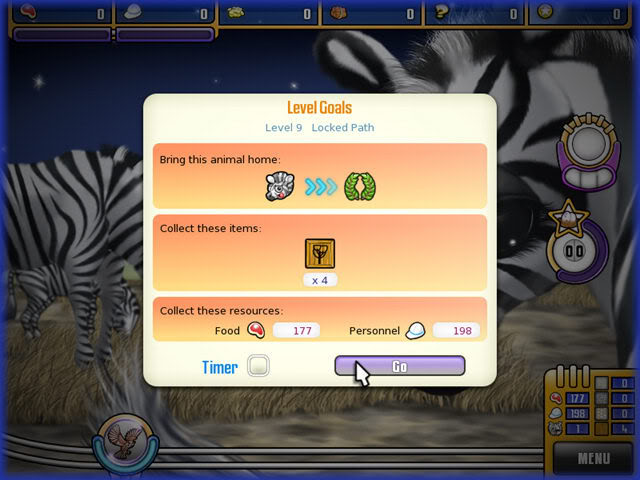
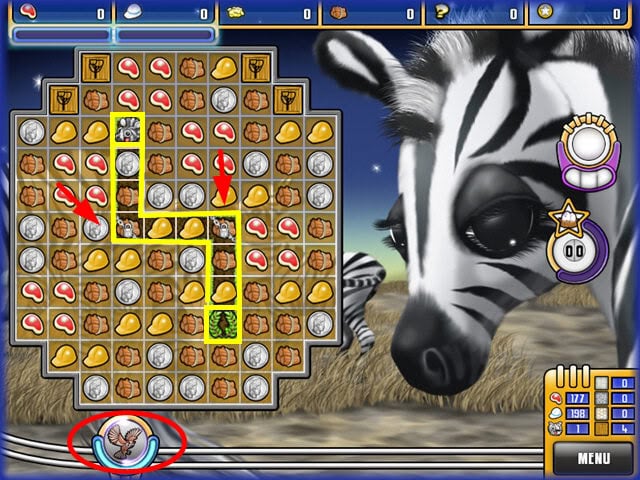
Level 9
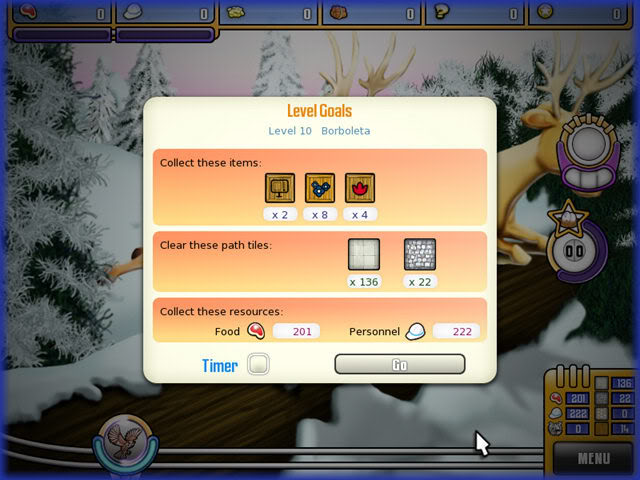
Level 10
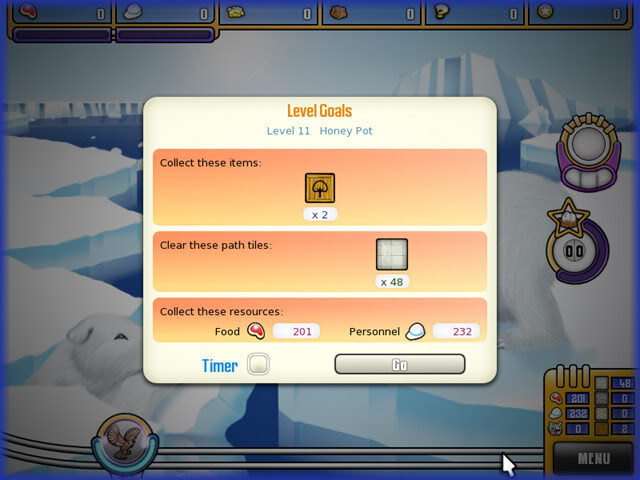
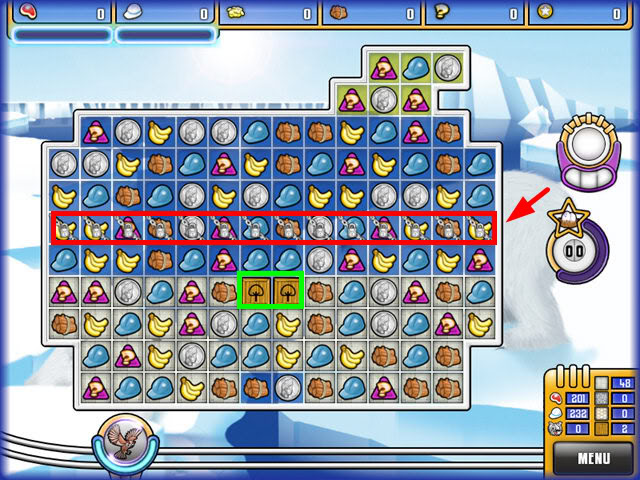
Level 11
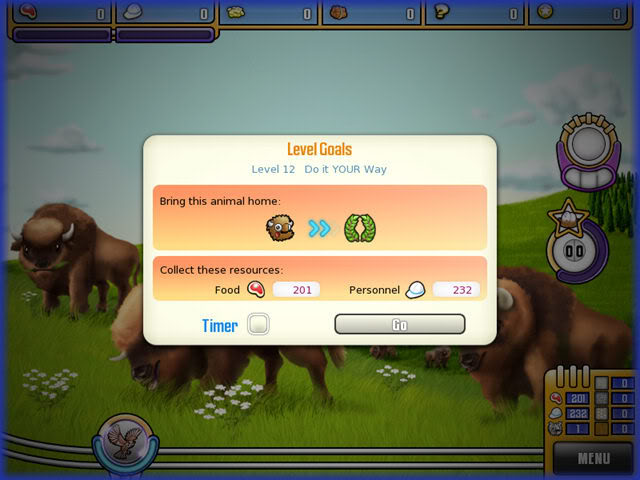
Level 12

Level 13
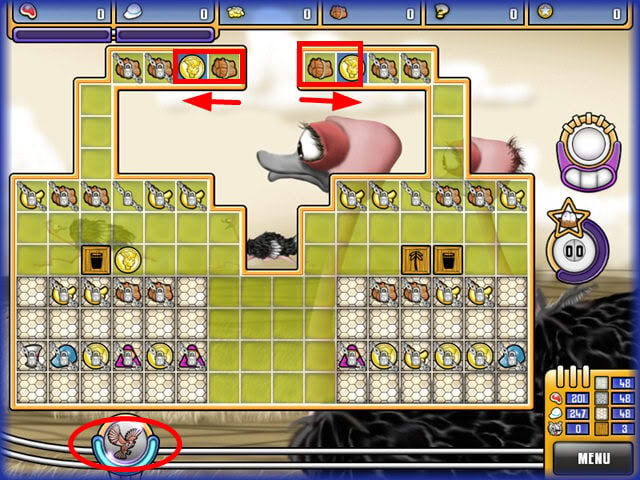
Level 14
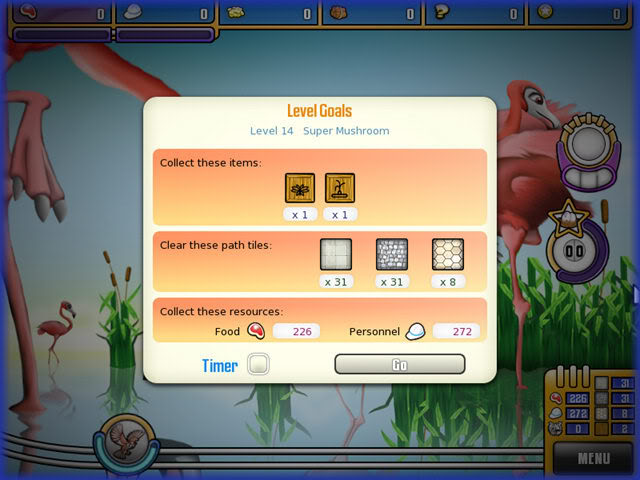
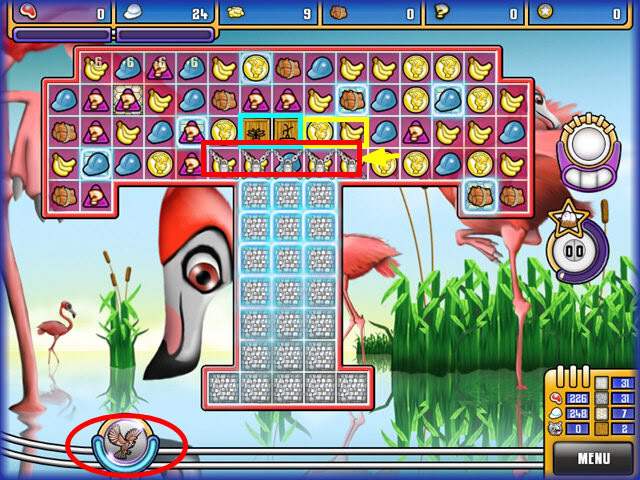
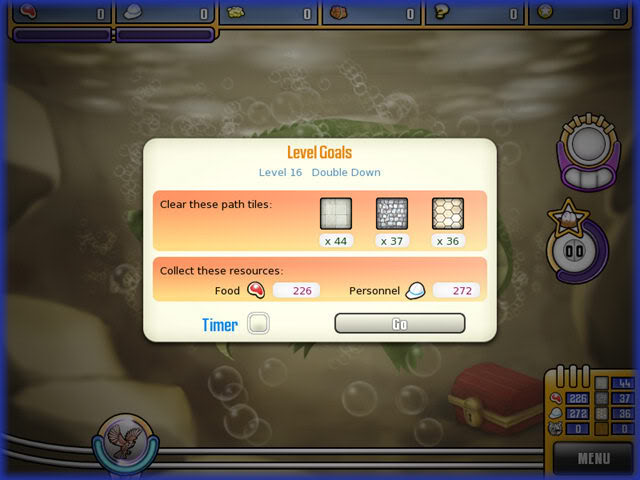
Level 15
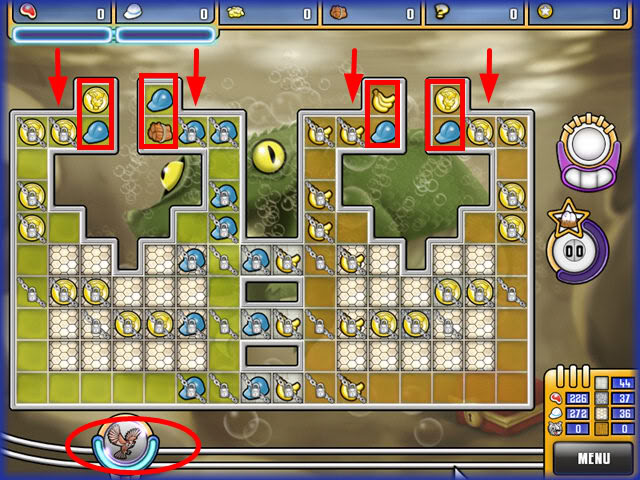
Level 16
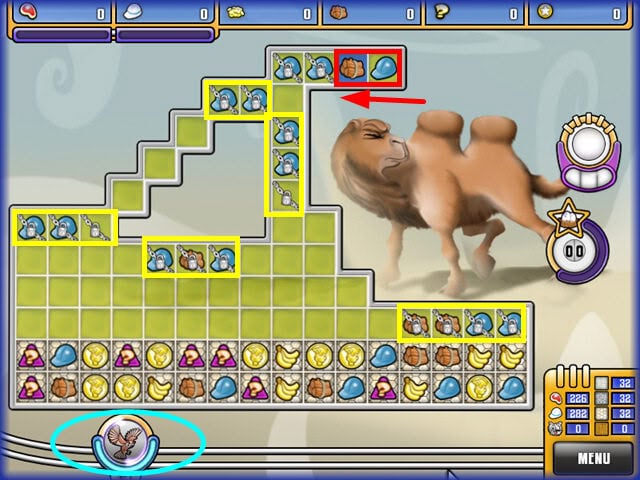
Level 17
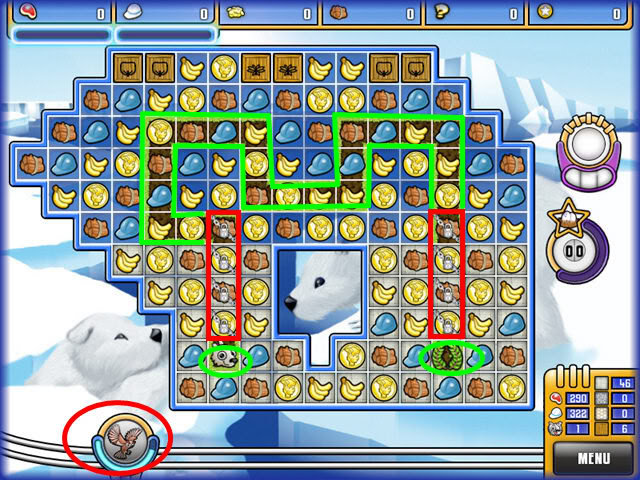
Level 18
Level 19

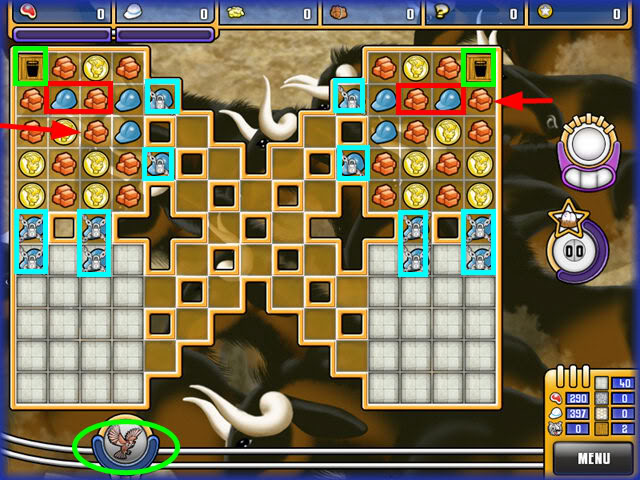
Level 20
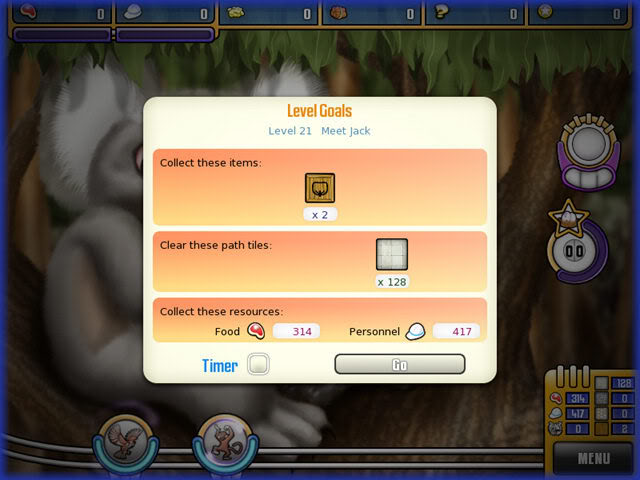
Level 21

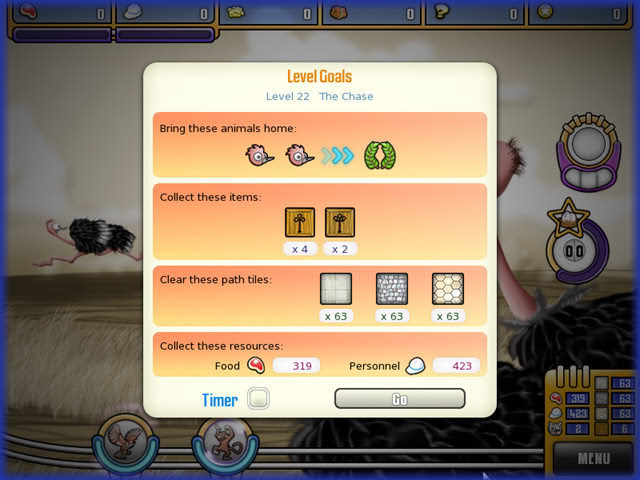
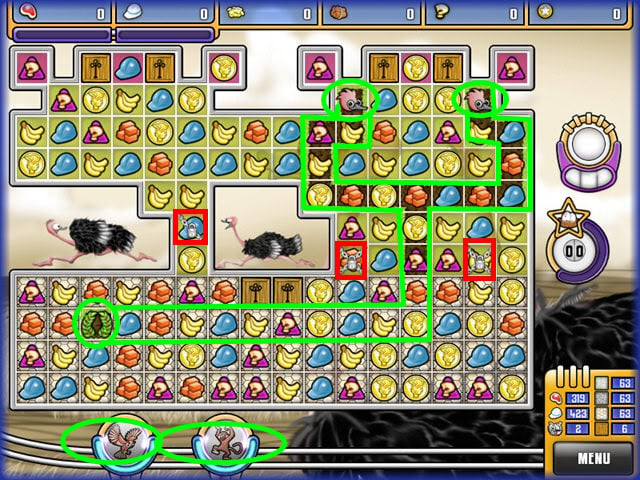
Level 22
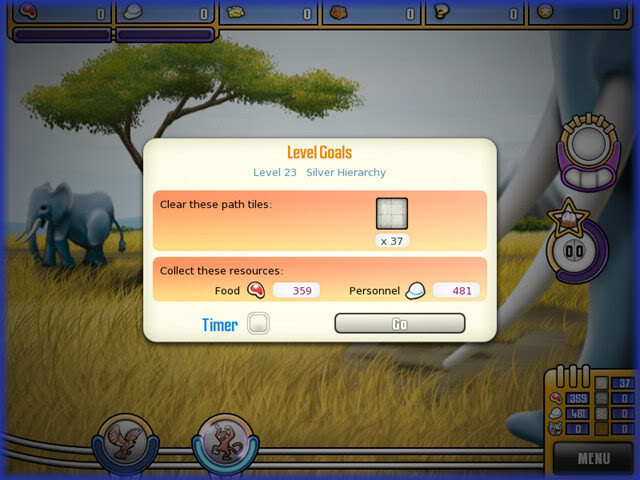
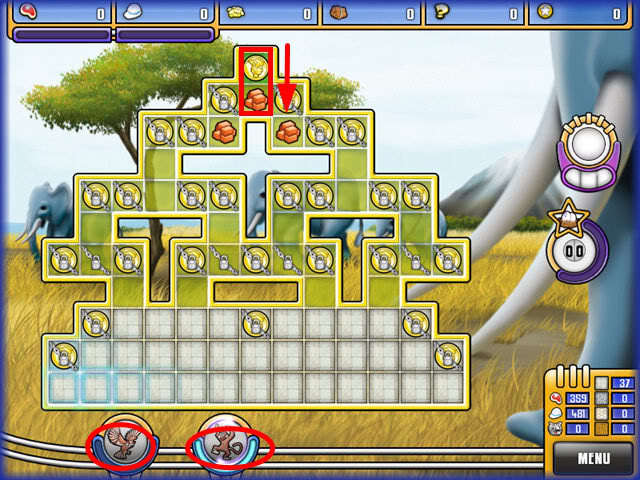
Level 23
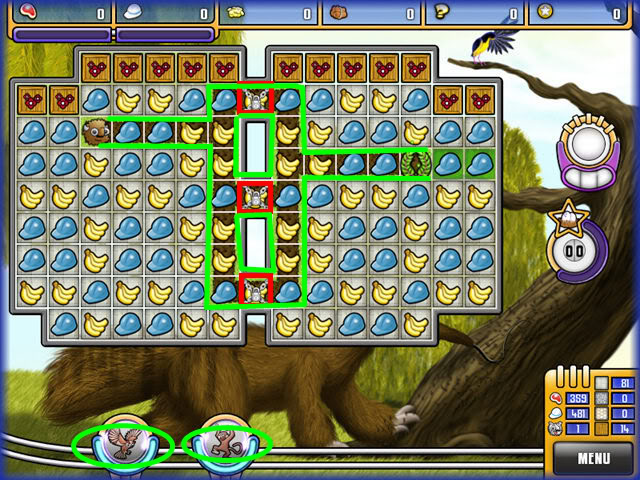
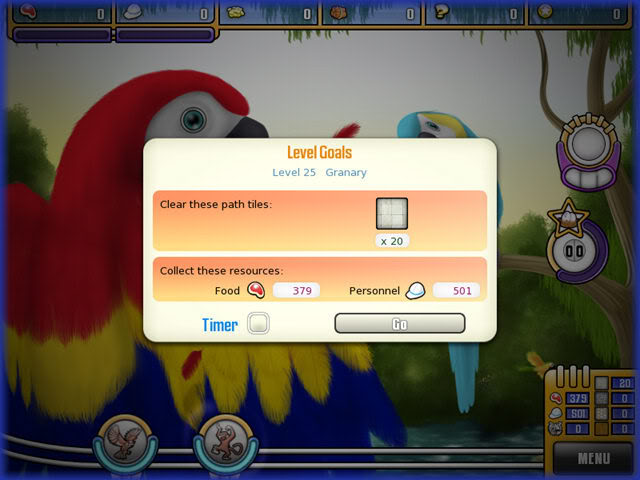
Level 24
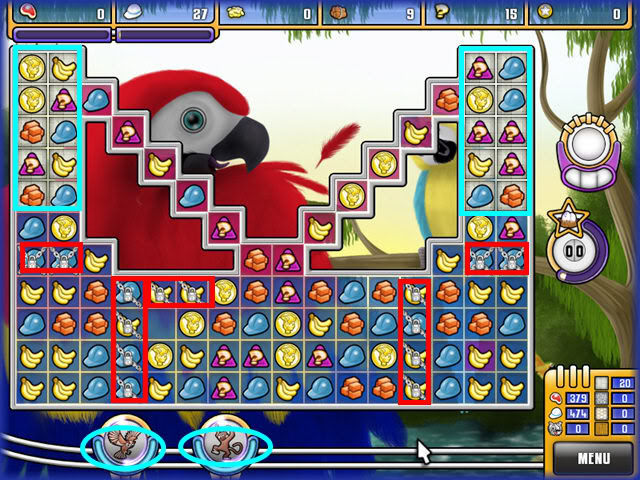
Level 25
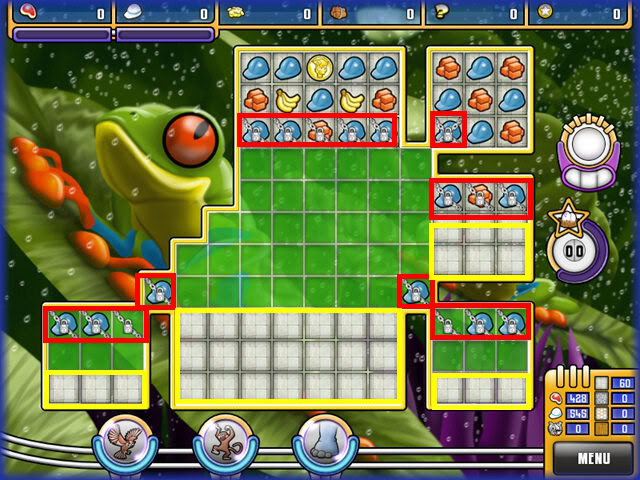
Level 30
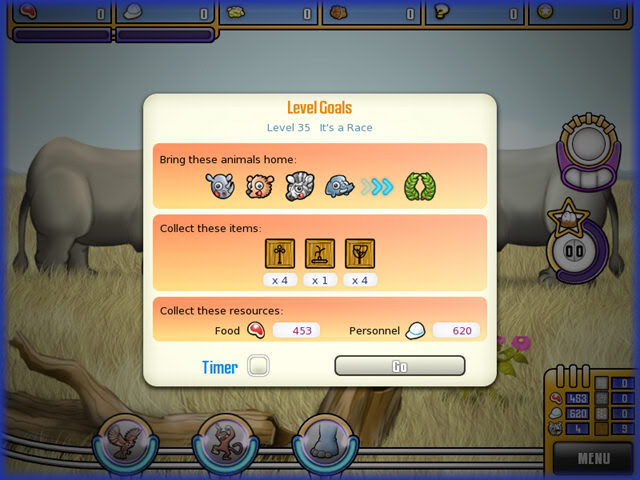
Level 35

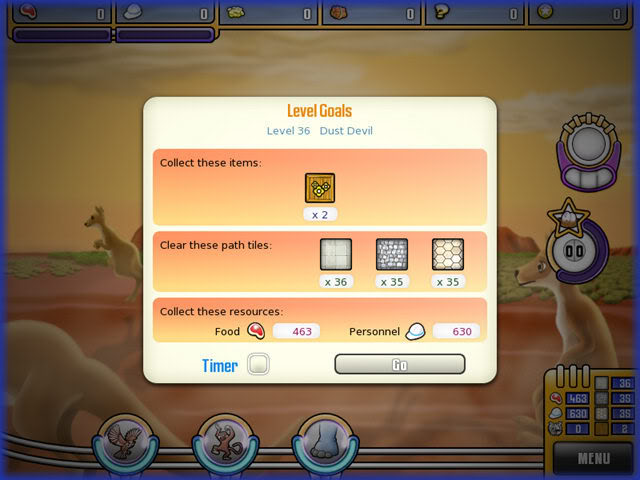
Level 36
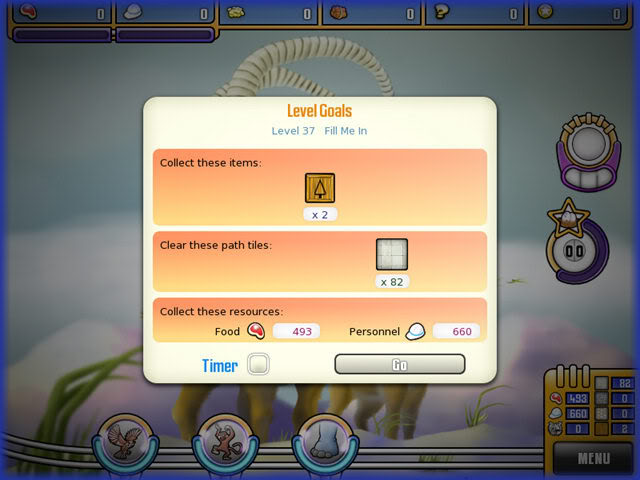
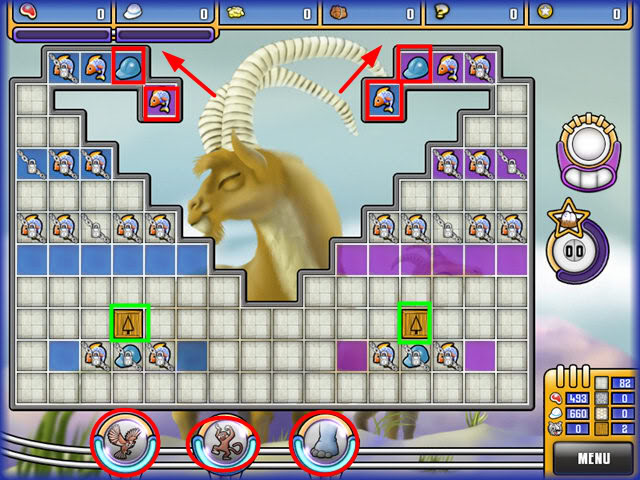
Level 37
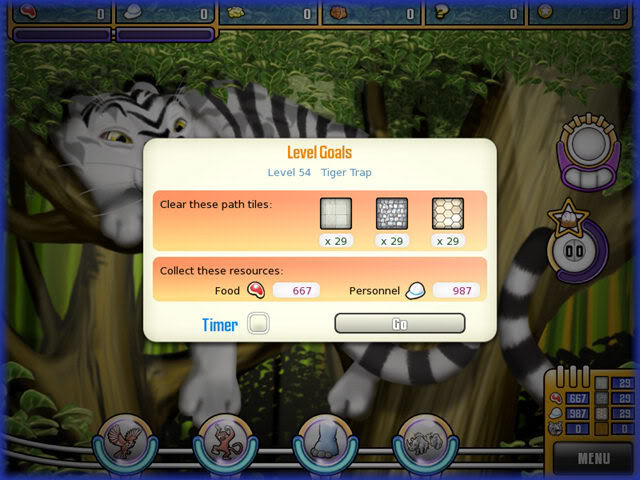
Level 54
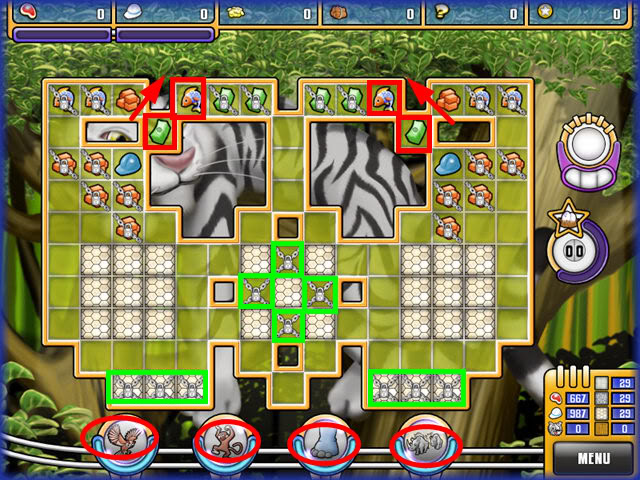
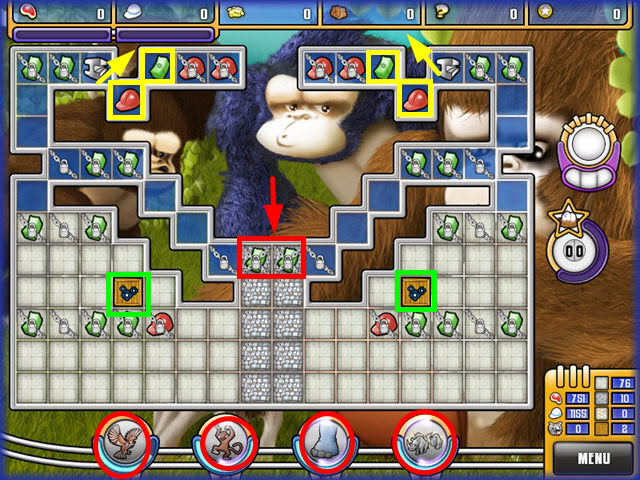
Level 59
Zoo Images


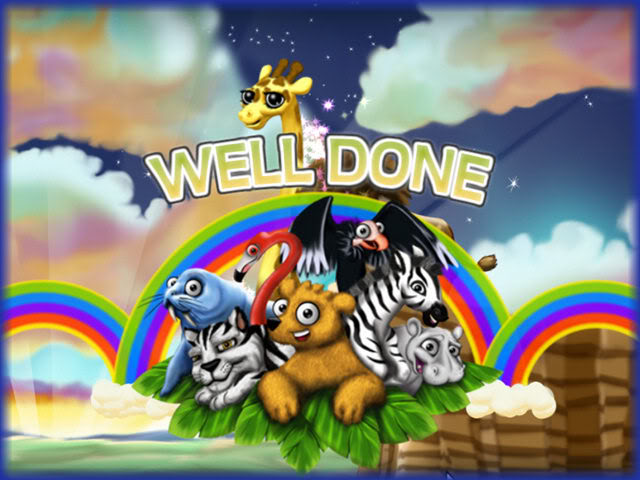
Congratulations!
“;
