- Wondering how to get Monopoly GO! free rolls? Well, you’ve come to the right place. In this guide, we provide you with a bunch of tips and tricks to get some free rolls for the hit new mobile game. We’ll …
Best Roblox Horror Games to Play Right Now – Updated Weekly
By Adele Wilson
Our Best Roblox Horror Games guide features the scariest and most creative experiences to play right now on the platform!The BEST Roblox Games of The Week – Games You Need To Play!
By Sho Roberts
Our feature shares our pick for the Best Roblox Games of the week! With our feature, we guarantee you'll find something new to play!Type Soul Clan Rarity Guide – All Legendary And Common Clans Listed!
By Nathan Ball
Wondering what your odds of rolling a particular Clan are? Wonder no more, with my handy Type Soul Clan Rarity guide.
Simon the Sorcerer Tips Walkthrough
Welcome to our walkthrough for Simon the Sorcerer. GENERAL TIPS To Save, Load, or Quit a Game: All these menu options can be accessed from the item Postcard in your Inventory. To access the Postcard, select "Use" and then click on the Postcard. To save, simply click a file number and type in a name or phrase and press "enter". To load, select the file of your choice, and to quit, simply select Quit to shut the game down. Using the Map The Map is an exceptionally u…
a:1:i:0;a:2:s:13:”section_title”;s:23:”Simon the Sorcerer Tips”;s:12:”section_body”;s:61313:”
Welcome to our walkthrough for Simon the Sorcerer.
GENERAL TIPS
To Save, Load, or Quit a Game:
All these menu options can be accessed from the item Postcard in your Inventory. To access the Postcard, select "Use" and then click on the Postcard. To save, simply click a file number and type in a name or phrase and press "enter". To load, select the file of your choice, and to quit, simply select Quit to shut the game down.
Using the Map
The Map is an exceptionally useful item. Why is that? Because it keeps backtracking to an absolute minimum! You can use the Map to warp to any main landmark location of your choice that appears on it, and you’ll be instantly transferred to that area.
Commands
The Commands are pretty selfexplanatory, but I will list them here anyway. To make Simon perform a specific action or task, you must first click/select one of the following commands:
- Walk to: Click this and then a part of the screen to move Simon. "Walk to" is also the default mouseclick command.
- Consume: Click this and then an object to make Simon eat or drink something.
- Talk to: Click this and then a person (or object!) to start a conversation
- Look at: Click this, and then an object or location to have Simon further analyze something.
- Pick up: Click this and then an object to have Simon add it to his inventory, or in select instances, use an item (such as a Rope to Climb)
- Remove: It’s unlikely you’ll need this command much, but use it to remove an item.
- Open: A simple command used primarily for opening doors
- Close: You may not use this command at all in the game actually, but use it to close something.
- Wear: Also a seldomused command, select it and then an item to make Simon wear it.
- Move: A universal command that allows Simon to move objects
- Use: Select this command and then an item or object to make Simon use it
- Give: This command allows Simon to select an item from his inventory and give it to another person
The Order of Tasks & The Guide
- It is important to note that the tasks listed in this guide can be performed in almost any order, making it difficult to find where you’re at in correlation to the guide if you’ve been playing on your own up until a certain point. To make things easier, use the command "Ctrl+F" and type in a keyword (i.e. Woodworm, Dragon’s Cave) to find your way around the guide in a much more friendly fashion.
- Furthermore, Items in the guide will appear italicized so it’s easier to find them. Screenshots primarily correlate with finding Pick ups for your Inventory.
Important Notes
Simon the Sorcerer does not have subtitles. In order to enjoy the game fully and understand where you are, you will need to have the sound ON.
Lastly, should you find yourself stuck at any point, you can use the Map to warp to the Owl Tree. Talk to the Owl and he will give you hints and clues as to what you should do next.
WALKTHROUGH
Introduction
The game begins with the credits, and Simon performing miscellaneous magic for you, the viewer. After watching for a while, he will comically remark that he can’t believe you’ve watched for so long. It’s Simon’s 12th birthday, and a dog shows up with a book in his mouth, Chippy. While Simon is doing his homework, Chippy wanders up into the attic to try and find the book again, which is hidden in an old chest. Simon goes looking for him, and takes the book from Chippy when he finds him up in the attic. Throwing the book, "The Olde Spell Booke", a portal opens, and Simon and Chippy enter.
Simon finds himself in an entirely new realm, wearing a wizard’s hat and surrounded by trolls and goblins, who have used magic to summon a meal for themselves. The spell book Simon had bounces away. Preparing to cook Simon, Chippy arrives and scares them all off. Before you know it, the two have entered a cottage, which happens to belong to Calypso, the great and powerful grand wizard who has been kidnapped by the evil sorcerer Sordid. By reading a note left by the grand wizard, Simon learns that he can use the wizard’s spellbook, which he had found, to save him, but first he must become a wizard himself, and hence the journey begins.
In Search of Wizards
There are wizards in a tavern in the city of Fleur Deli which can help Simon. In addition, Simon will add Letter, Postcard, and Map to his inventory. The village of Fleur Deli will appear on the map.
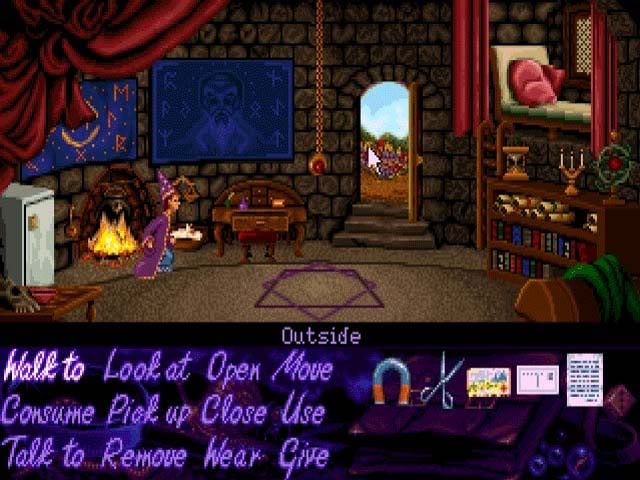
Calypso’s Cottage
- Open the Chest of Drawers to Pick up the item Scissors.
- Walk to the Refrigerator, and you’ll find a Magnet is attached. Pick up and add it to your inventory.

- Exit the cottage, and when outside, click on the far right to exit the screen. In the next one, you will find the Blacksmith, hammering away.
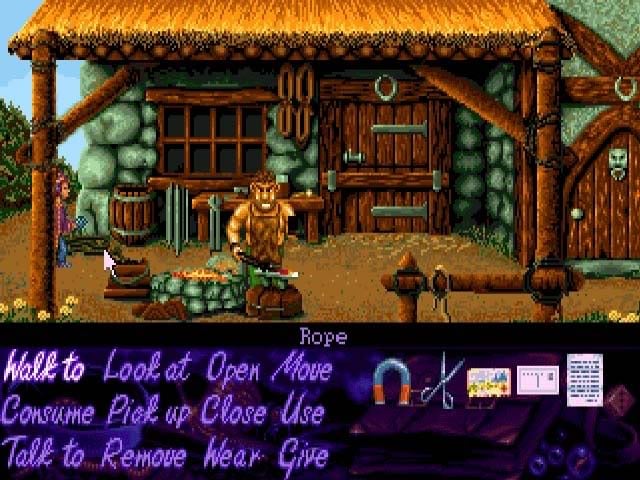
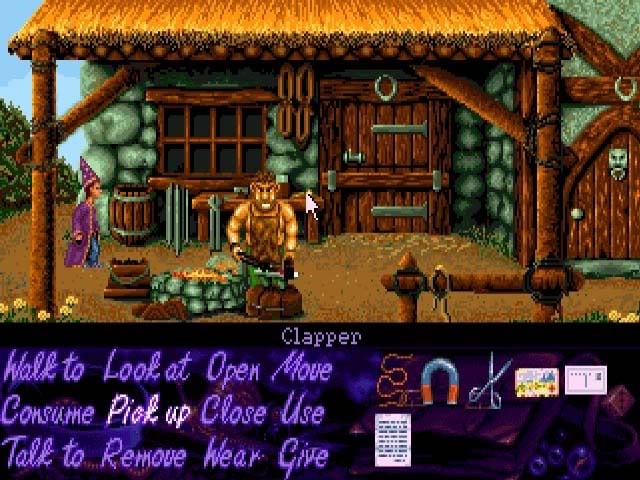
Blacksmith Shoppe
- Pick up Rope, which is on the left side of the screen lying on the ground.
- Pick up Clapper, which is on the table, to the left of the locked door.
- Exit the area with Walk to the top left area of the screen.
Drunken Druid Tavern
- When you enter the Tavern screen, select Open and click on the Door. Once it’s open, click Walk to and click on the open doorway to enter the Tavern.
- Once inside, Pick up the Matches, which are on the Fruit Machine on the left side of the screen.
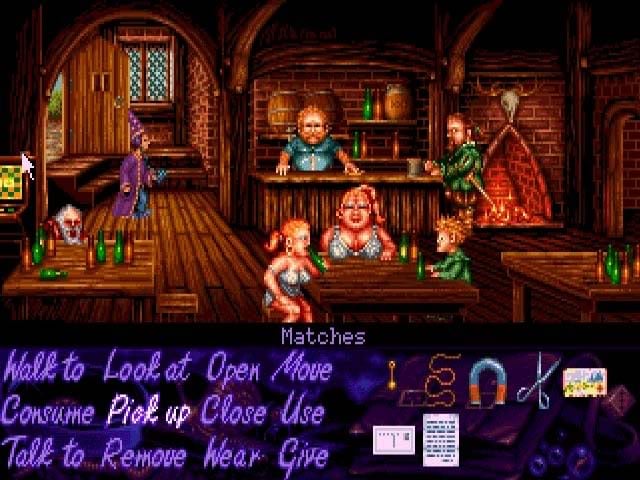
- Use Scissors on the sleeping Dwarf to get Beard
- Talk to the Barman about Calypso and Sordid to learn that Sordid lives at Craggy Peaks
- Talk to Nubile Valkyrie and select the answer "Hello". Tell them you’re taking a survey, and ask about Sordid to learn that he lives in a tower. After that, select "Thank you ladies, no more questions".
- Walk to the far right side of the screen to enter the next room.
- Stand still and listen to the 4 wizards at the table. They’ll sit and discuss their game, and eventually talk about Sordid, and how he’s been searching for ingredients of some sort and searching for a staff for 3 months. When the group start to repeat themselves, select Talk to and click on them.
- In the dialogue, tell them "I want to be a wizard", "Are you sure you’re not wizards?", "No, of course not", "When I move my mouse pointer over you, it says wizards", and finally "I’ll do anything to be a wizard" once again. The other dialogue is optional, but when you want to finish, select "No problem". You will have been enlisted to find a certain magical staff for them, and then they’ll agree to make you a wizard for real.
The Search for the Staff
The four wizards have enlisted you to find a certain magical staff. In return, they will make you a wizard, and then you can use the Spellbook!
Village of Fleur Deli
- Once outside the Tavern, Walk to the rightmost part of the screen. Pass the Blacksmith and exit to the right of the screen again.
- Ignore the Dodgy Geezer in the next screen, and exit through the tunnel doorway on the left.
- Pick up the Ladder
- Open the Door and Walk to the inside of the Apothecary in the same screen.
- Once inside the Apothecary, Pick up the Cold Remedy, which is sitting on the table.
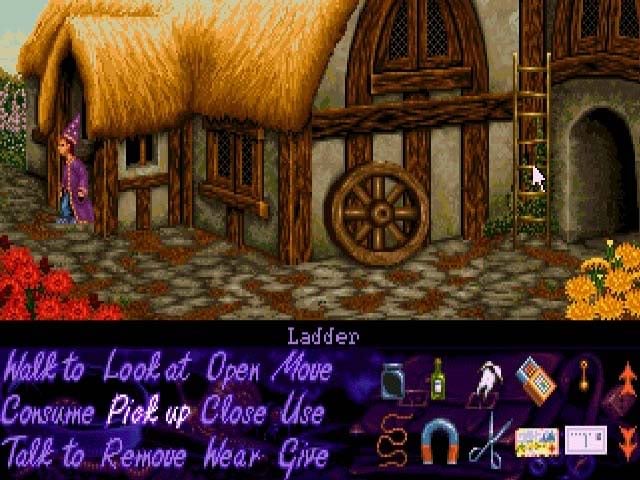
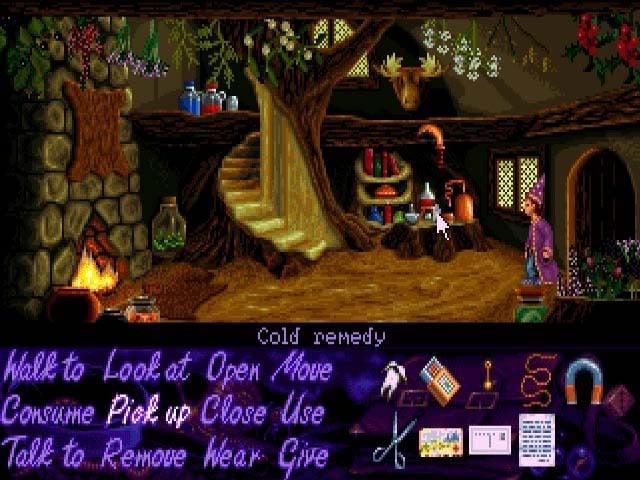
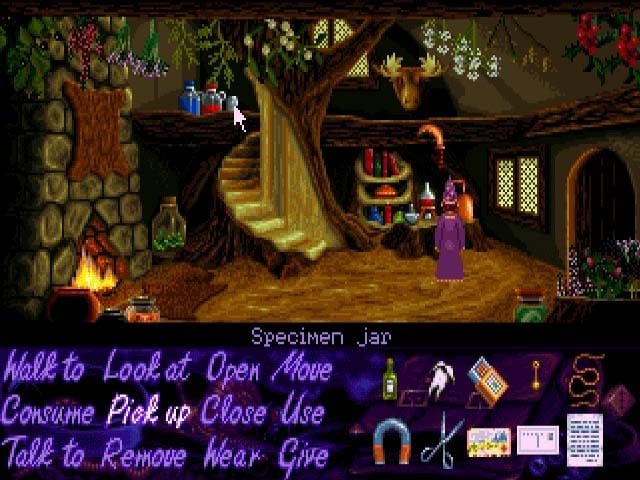
- Select Pick up the Specimen Jar at the top of the steps
- Exit the Apothecary, and leave through the right side of the screen from which you came.
- Pass the Dodgy Geezer in the next screen, and Walk to the tunnel doorway on the right side of the screen
- At the Shoppe, Walk to the leftmost side of the screen to enter the Forest
Forest
- Once in the forest, Walk to the rightmost part of the screen to enter the next area
- In the next area, take the upper right path (heading towards the top of the screen and around a screen)
- After taking that path, take the path to the rightmost of the screen to reach the Owl Tree
- At the Owl Tree, Talk to the Wise Owl, and Pick up the Feather he drops. If you want to pick up hints, continue to talk with him. If you are stuck at any point during the game, you can return to him for hints as to where to go to next.
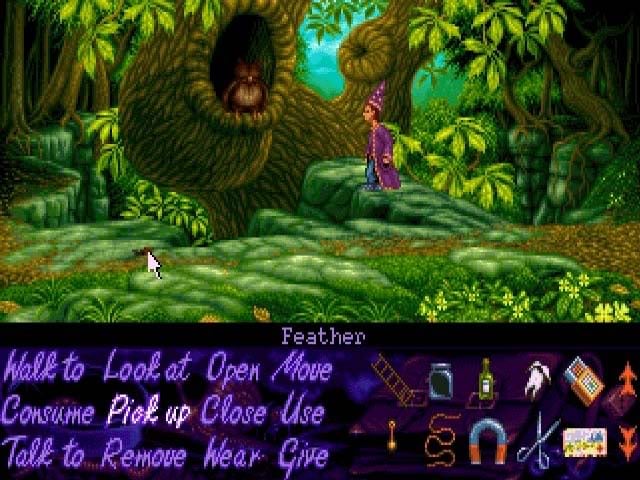
- Walk to the leftmost part of the screen to exit the Owl Tree area. Take the path at the bottom of the screen leading towards the bottom, and in the next area you will find a crying Barbarian.
- Talk to the Barbarian and answer with "What appears to be the problem?" and "Let’s have a look at it then" to pull out the thorn. You will be rewarded with the Whistle, which you can use to call the Barbarian anytime. Exit to the right of the screen.
- In the next screen is an intersection. Take the path to the upper right.
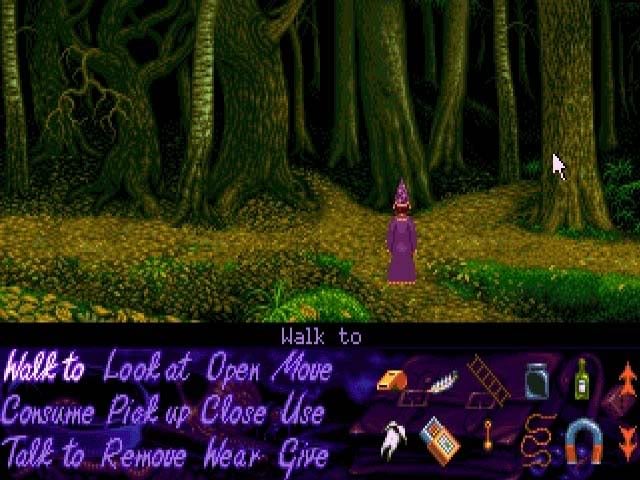
- The next area is a Paleontologist Dig. Look at the Sign, and then Talk to the hole.
- In the dialogue, select "Why are you digging a hole in the middle of the forest?", "No, I don’t", "You can’t fool me you’re a paleontologist, aren’t you?", "My name’s Simon, not Philip Stein", and "As a matter of fact, I haven’t". In the end, Simon will agree to keep an eye out for the fossils Dr. Von Jones is looking for. Exit to the right and you’ll come to the Center of the Forest.
- There are 4 roads to take in the Center of the Forest. The one you came from, the steps to the left to the Goblin Fortress, the Cave in the middle to the Dwarf Mines, the steps to the right go to the swamp and mountains, and the rightmost path goes to the Woodcutter. Take the steps to the left and go to the Goblin Fortress.
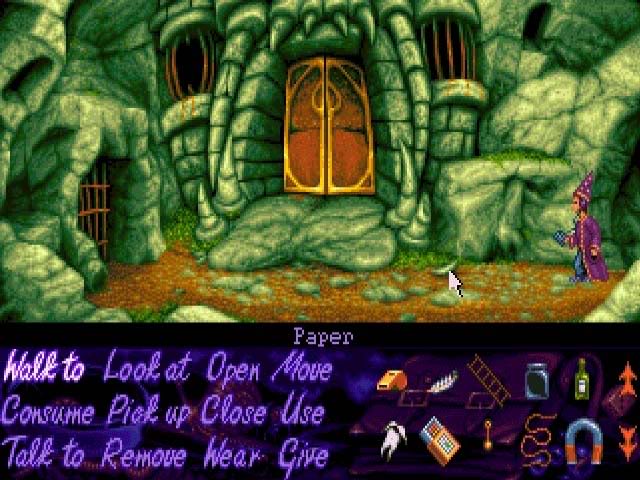
- At the Goblin Fortress, Pick up Paper that is located under a rock near the door. It’s a shopping list for the Shoppe in Fleur Deli. Select Use and Map in your inventory and select the Village to warp back. You’ll end up right in front of the Shoppe.
Village Shoppe
- Select Open and click on the Door, then Walk to the inside to enter the Shoppe.
- Once inside the Shoppe, Give the Shopping List to the shopkeeper.
- Select Use and the Map, then select Center of the Forest to warp back.
Forest
- Once back at the Center, Pick up the Rock. Look at it to discover the word "Beer". Then, take the path to the right of the screen.
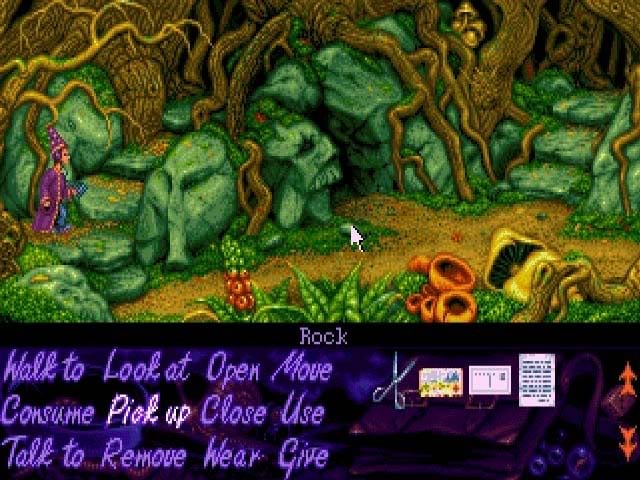
- Continue along the path towards the right of the screen until you reach the Woodcutter.
- Talk to the Woodcutter and say the following: "Tell me what ails you, woodcutting person", "You just gotta take the rough with the smooth", "What exactly is the problem?", "How can a tree be a problem?", "What’s so special about these trees?", "Why don’t you go back to a normal forest?", "There must be something you can do", "I’ll keep an eye out for you", "Have you tried the dwarves?", and "Give me the metal detector and I’ll have a look around". Once that long conversation is over, exit to the right.
- You’ll arrive at a waterfall, but now it’s time to backtrack. Use the Map to warp to the Village. From there, take the path to the left of the Shoppe to enter the forest again. Go right to come to the crossroads, and then go to the bottom path. You will come to a large fallen tree. Continue further to the right to come to another crossroads, this time with a stump near the top.
- Walk to the Stump and close by until you enter a conversation with the Woodworms. Select the following: "Sorry, but it’s just that I’ve never seen a talking stump before", "No I haven’t got any, what’d you want it for anyway?", "Sorry, I didn’t realize you were woodworm", "I didn’t expect talking to woodworm if that’s what you mean", "Look, I didn’t mean to offend anyone", "Is there anything I can do to help?", "What do I get out of it?", and then take the path at the bottom of the screen.
- Pass the wolf that comes and leaves and continue to the left, and you will arrive at the Witch’s House.
Witch’s House
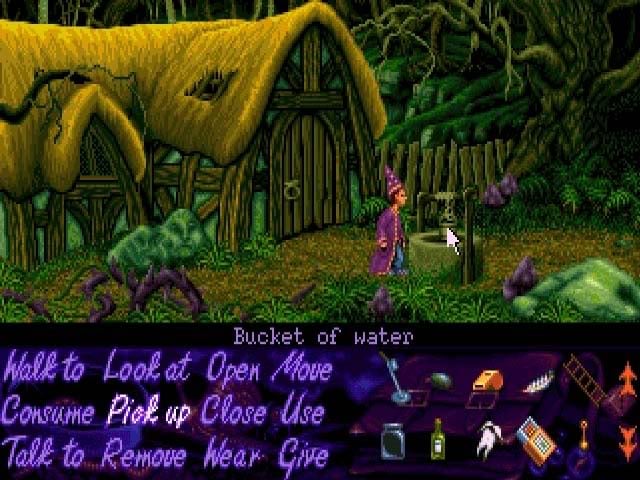
- Move the well Handle and Pick up the Bucket of Water. Then, Open the door twice to enter. It’s optional you can examine different things in the house if you’d like.
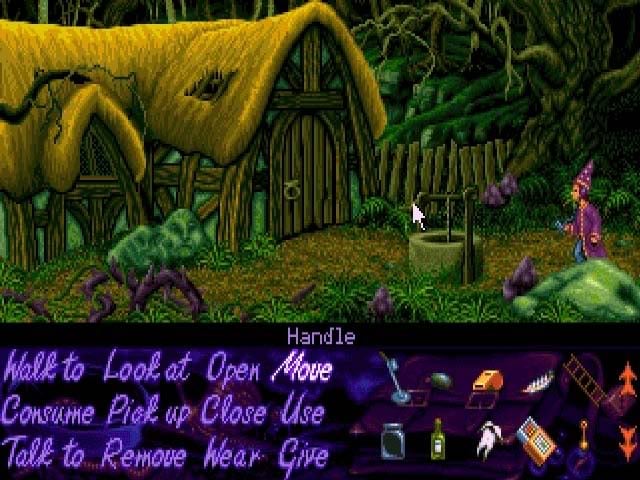
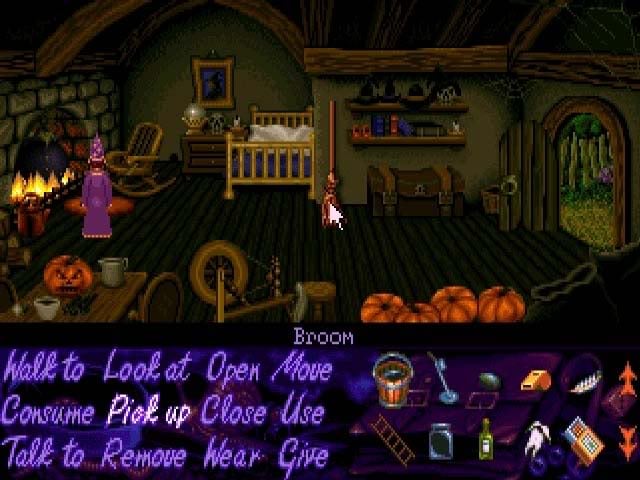
- Try to Pick up the Broom, and the Witch will appear.
- Select "No Miss, sorry Miss", and after a fair warning, Simon will leave the house.
Forest
- Take the path to the right, and continue in that direction until you reach the Woodworm Stump again. From there, take the path to the right. Continue along to the right until you arrive at the Troll Bridge.
- Talk to the Troll, and say the following: "Top of the morning, Mr.Troll. May I cross your bridge, please?", "What do you want?", "Why are you unhappy?", "Why can’t you eat these two now?", "Can’t you eat something other than goat?", "Fine, I’ll go get some goat for you, OK?", "Why don’t you have a go and find out?". The troll will blow the whistle, and the Barbarian will come take care of him for you.
- Cross the Troll Bridge, and in the next screen, take the upper fork path to the right. Continue to the right until you encounter the Oaf.
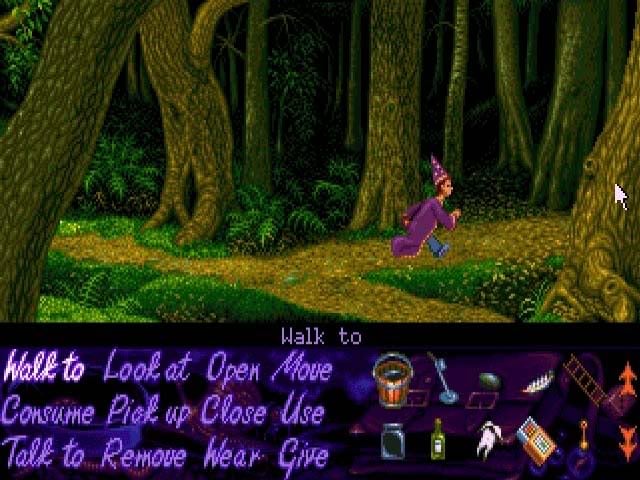
- Talk to the Oaf and say the following: "What beans?", and "Maybe you should water them?". Simon will automatically leave the scene after watering them, and come to the Crossroads. Go back and Pick up Beans from the puddle.
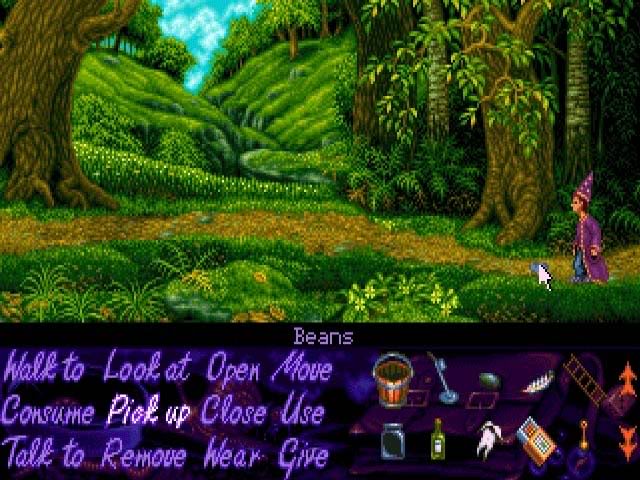
- Use the Map to warp to the Village.
Village
- Take the upper tunnel doorways until you reach the Blacksmith’s Shoppe. There, exit to the left to reach Calypso’s House. Walk Behind the Cottage and Use the Beans with Compost. Pick up Watermelon
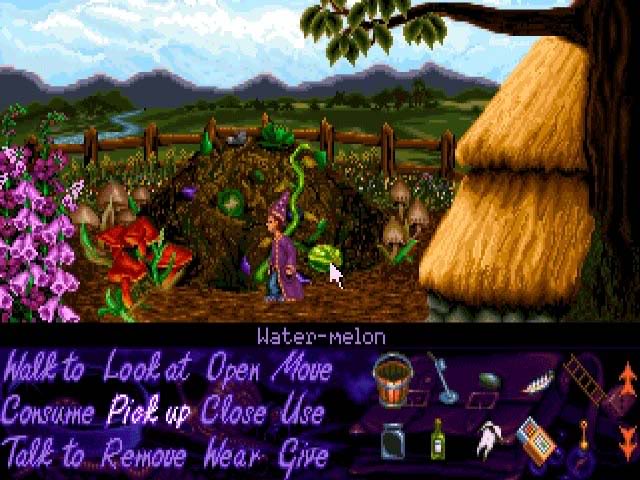
- Use Map to warp to Owl Tree.
Forest
- Once at the Owl Tree, take the right path and continue to the right until you reach an intersection. At the intersection, take the right path and you’ll come to a man with a Sousaphone.
- Talk with the man, saying: "Can I have your, er… thingy?", "I could make it worth you while", and then "This conversation bores me, I bid you farewell". Simon will automatically leave since the noise is so unbearable.
- Go back after leaving, and immediately use Watermelon on Sousaphone. Simon will convince the Bard he can fix it, and Sousaphone will be added to your inventory.
- Use Map and warp to Center of the Forest.
- Once at the Center, take the steps on the right side of the screen.
- Enter the Cave in the next screen.
Swamp
- Proceed along the right side of the screen until you come to a screen with a small house at the top. Walk to it and Open the door.
- Talk to the Swampling, saying: "Well actually, I think I’ve got the wrong house", "Today is your BIRTHDAY?", "What’s in this stuff?", "If it makes you any happier, I’ll eat your stew", and "No more for me thanks I’m stuffed". After the last one, Use Specimen Jar on Stew. You’ll be handed another bowl of Stew afterwards. Say "No more for me thanks I’m stuffed" again and sneak out of the house (Open Door and Walk out) when the Swampling’s back is turned. You could also sit and actually eat all the stew, but why you’d want to do that would be beyond both me and Simon.
- Once outside the Swampling’s House, exit to the right of the screen.
Mountains
- Continue to Walk to the right side of the screen and into the next until you see a small statue of a wizard.
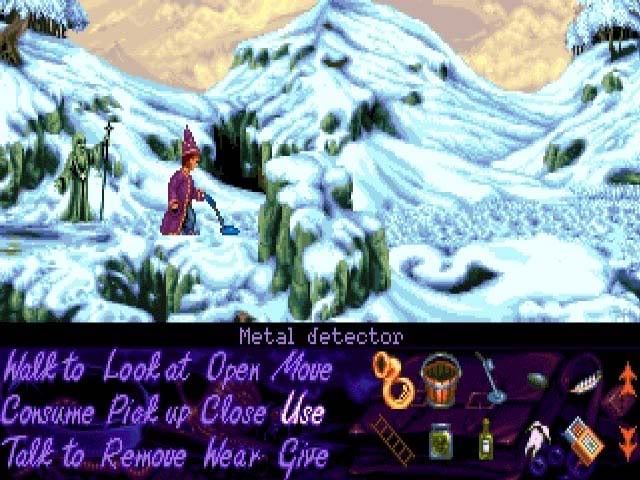
- Use the Metal Detector, it’s your lucky day! Leave the Metal Detector on the ground and exit to the right of the screen.
- In the next screen, you’ll encounter a Sleeping Giant
- Use the Sousaphone to try and wake the Giant. It won’t wake him, but he will knock down the tree, and you can use it as a bridge. Continue to the right and into the next screen.
- The path continues straight, so exit to the right once again. In the next screen, you’ll encounter a cave.
- Look at the Sign, and then Walk into the Cave. Inside is a Dragon, who warns you that he has a terrible cold and therefore can’t control his breathing very well. As could be guessed, Simon is turned to toast.
- Click on Simon, and then Walk into the Cave once again.
- Give Cold Remedy to the Dragon. Simon will walk out of the Cave and throw the item inside.
- Walk into the Cave one more time and Pick up the Fire Extinguisher
- Exit the Cave and proceed up the path that leads up and behind the Dragon Cave
- In the next screen, Simon will proclaim what an interesting rock that is. Pick up the Rock with fossil that is lying in the snow.
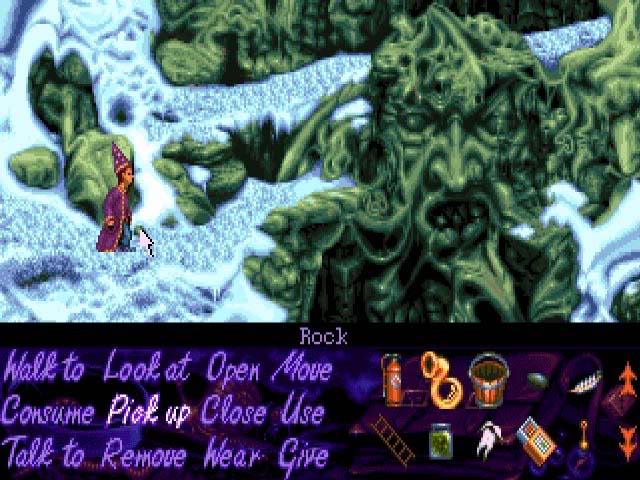
- Walk to the right of the screen to enter the next one.
- In the next screen, you’ll see several Climbing Pins used to climb the Mountain, but one is missing. Click on the right of the screen to continue and cross to the other side. Continue to the right for one more screen until you come to a Tree.
- Look at and Talk to the Tree. Say the following: "There’s no need to be rude", "I know what you mean", "That’s terrible", and "OK, Sounds fair to me". Simon agrees to get some White Spirit from the Village so that the Woodcutter won’t chop the tree down.
Fulfilling Promises
It’s time to fulfill some of those promises Simon has been making to the various people and creatures throughout the game! We’ll start with the Tree.
Village
- Use the Map to warp to the Village
- Once there, take the upper path next to the Shoppe. In the next screen, continue Up, and you’ll reach the Blacksmith.
- Give the Rock to the Blacksmith. He’ll break it up. Pick up Fossil.
- Use the Map to warp to the Centre of the Forest.
Forest
- Once at the Centre of the Forest, Walk to the leftmost part of the screen. You’ll find yourself at the Paleontologist Dig
- Once there, Give the Fossil to the Hole. Say the following in the conversation: "It’s in the Craggy Peaks. I left my metal detector there." How convenient is that?
- Use the Map to warp to the Sleeping Giant.
Mountain
- Once at the Giant, Walk to the left, and in the next screen you’ll find the Paleontologist digging where you left your Metal Detector
- Look at and Pick up the Mirlith Ore, which is located in the middle of the pile of Dirt in the foreground.
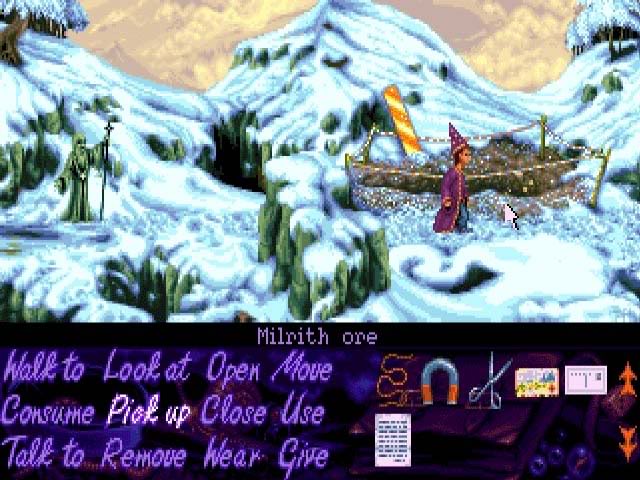
- Use the Map to warp to the Village.
Village
- Once in the Village, return to the Blacksmith (take the path Up twice).
- Give Milrith Ore to the Blacksmith, and he’ll hammer it into Axe Head
- Use the Map to warp to the Centre of the Forest
Forest
- Take the path to the right, and continue forward to reach the Woodcutter
- Give the Axe Head to the Woodcutter. He will leave. Enter the Woodcutter’s House.
- In the Woodcutter’s House, Pick up Climbing Pin on the table near the window.
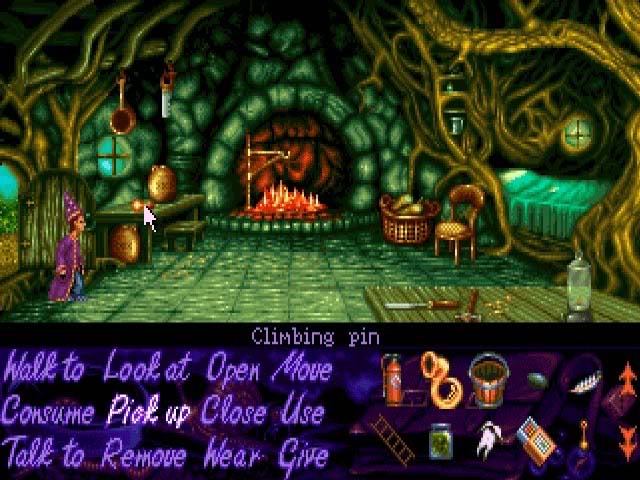
- Use Fire Extinguisher on the Fireplace.
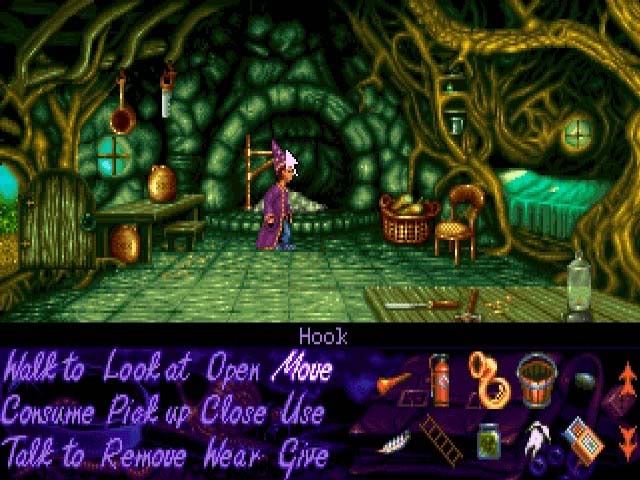
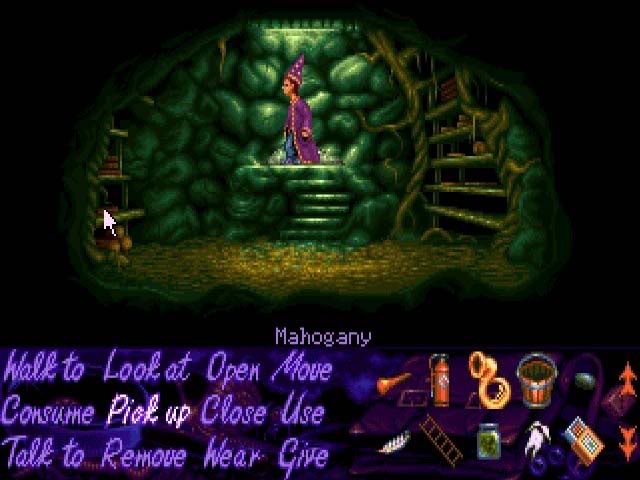
- Move the Hook of the Fireplace Stand, and you’ll be in the Woodcutter’s hidden cache.
- Pick up Mahogany on the left, second from the bottom shelf.
- Use the Map to warp to Witch’s Cottage
- Exit to the right of the screen, and continue forward until you come to the crossroads with the Woodworm Stump
- Talk to the Tree Stump, and the Woodworms will leap into the Mahogany
- Use the Map to warp to the Crossroad
- Once there, Walk to the path at the bottom right of the screen.
More Tasks and Travelling
Tower
- Use Clapper on the Silent Bell
- Move the Bell, and Rapunzel will drop her hair
- To climb up, select Pick up and then her Hair
- In the conversation, select the following responses: "I’ve come to rescue you, sweet lady.", "Which witch would that be?", and "Hang on… did you just say PIGLET?" After a slightly disturbing kiss, Rapunzel will turn back into Repulser, and Simon will stow her in his inventory.
- Use Woodworm on Floorboard
- Drop down to the first floor, and then Use Ladder on the Hole and climb down.
- Open the Tomb to find a Mummy. Simon will be so scared (response "Aaaaaaaaargh!!"), he’ll run out of the Tower and Open the previously stuck Door
- Walk back into the Tower, and climb down the ladder (Walk + Ladder)
- In the Tomb, Open the Tomb again, Pick up the Loose Bandage at the back of the Mummy, and he’ll unravel into dust.
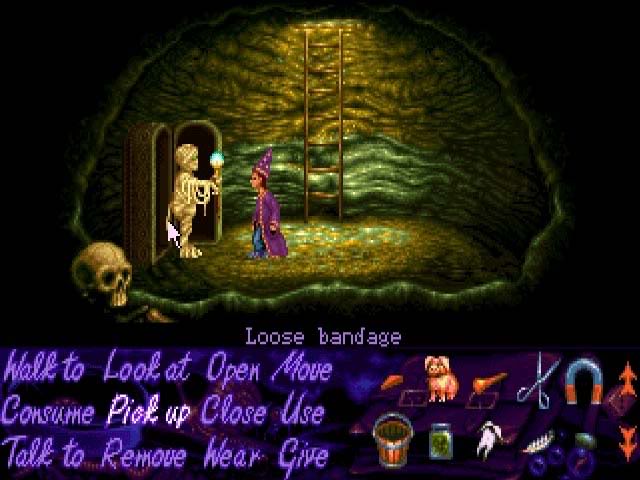
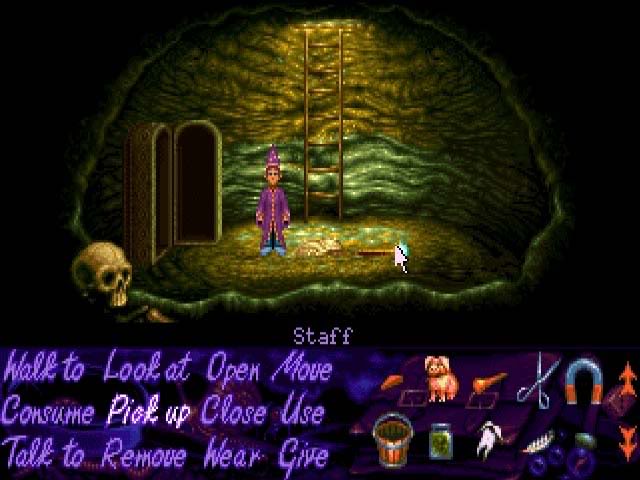
- Pick up the Staff
- Use the Map to warp to the Cross Roads and take the path at the top of the screen.
Forest/Waterfall Gorge
- Look at the Gorge to see that someone is fishing down there
- Click (Walk to) the Vines at the bottom left of the screen to proceed to the Gorge
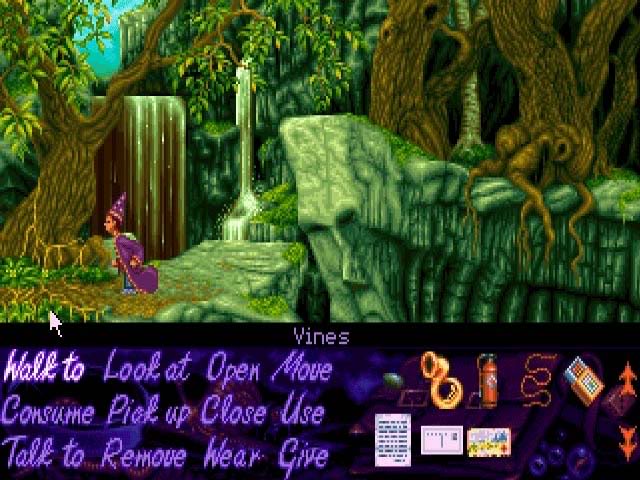
- Talk to Golum and select the following: "Hobbitses? What the hell are they?", "What’s with the fishing rod?", "Luckily I happen to have some topquality, highly nutritious, Swamp stew with me" In return, Golum will give you his Fishing Rod. Sometime later, Simon will eventually fish out the Invisibility Ring and add it to his inventory
- Use the Map to warp to the Village
Village
- There’s a Package for you outside of the Shoppe, but don’t pick it up yet. Instead continue up through the tunnel opening next to the Shoppe.
- In the next screen, walk past the Dodgy Geezer and through the doorway to the left.
- Again, exit to the left past the Apothecary and to the next screen, that has a House with a Beehive
- Use Repulser on the Chocolate Truffle Door and enter the House
- Inside the House, Pick up Smokebox off the Hutch to the right
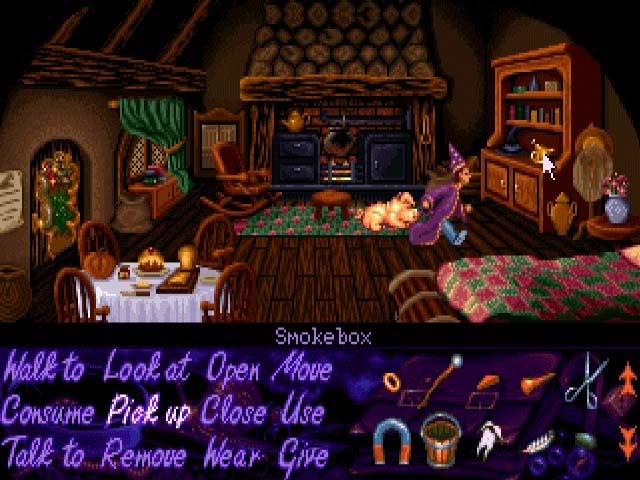
- Pick up Hat, which is leaning by the Hutch and exit the House
- Use Smokebox on the Beehive, and Simon will automatically put on the Hat
- Pick up Wax which is on the upper part of the Beehive
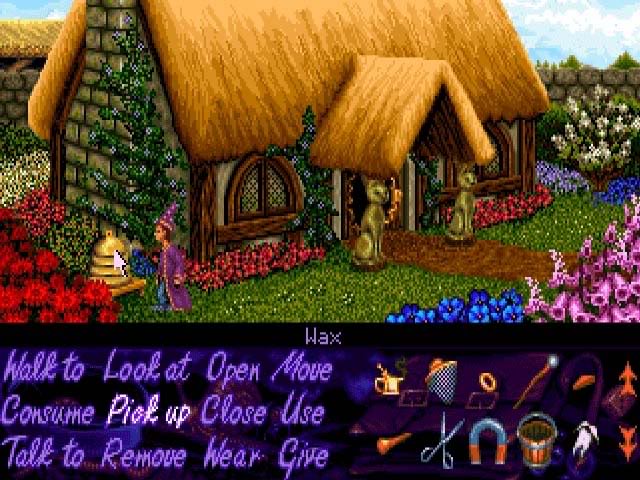
- It’s time to go back to the Drunken Druid Tavern! Exit twice to the right, and then take the upper doorway (in the screen with the Dodgy Geezer), and finally the path behind the Blacksmith’s Shoppe to reach the Tavern, and enter it
- Once inside, Talk to the Barman and ask for a Drink ("Mix me a Wet Wizard, barkeep."). While he’s getting the ingredients, Use Wax on the Beer Barrel. If you’re too slow, just order another drink and try again while his back is turned. The Barman will take the Beer Barrel outside, and then give Simon a Happy Hour Leaflet and Beer Voucher, which Simon adds to his inventory.
- Walk outside, and once there, Pick up the Beer (Barrel)
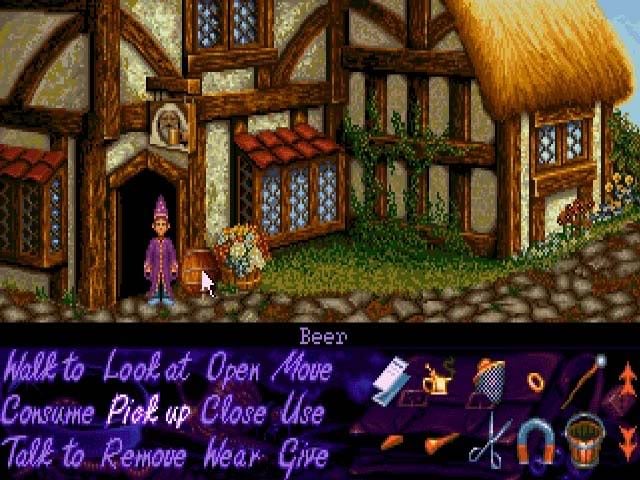
- Use the Map to warp to the Centre of the Forest
Forest
- Wear the Beard that was taken from the Drunken Dwarf at the Tavern earlier in the game, and enter the Cave/Mine in the Centre of the Forest
- Use the password "Beer" ("It is… Beer!")
- Once inside, take the left stairway. This will cause the Assayer to wake up the sleeping Guard.
- Talk to the Guard and saying the following: "Do you accept bribes?"
- Give Beer to the Guard, and Simon will automatically take it down to the Beer Barrel Room.
- Use Feather on the Snoring Dwarf and Pick up Key
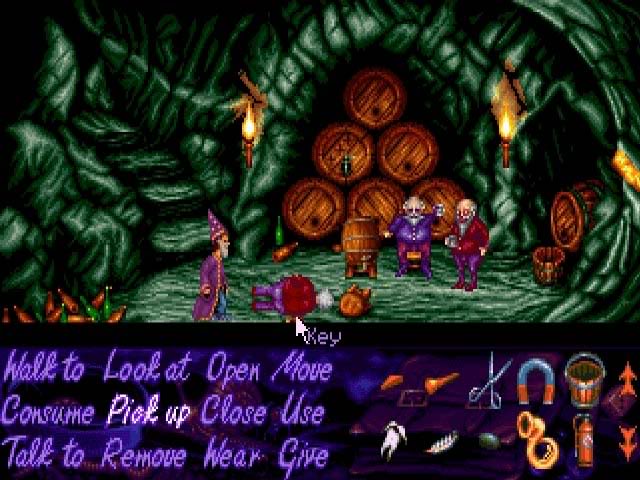
- Go back up the staircase, and then take the left stairs as you tried originally
- Talk to the Dwarf Supervisor, and he’ll tell you about the Key (which you have in your Inventory) and the Door it goes with ("Where does this door go?", "Can you tell me about the key that goes with it?", and "Well I must be off, you know how it is.")
- Pick up the Hook in front of the Treasury Door
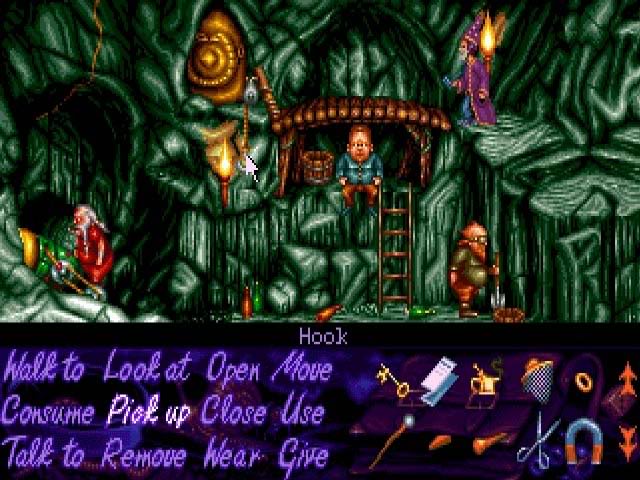
- Open the Treasury Door (Simon will automatically use the Key)
- Enter, and when you meet the Dwarf inside, say the following: "I’ve come to make YOU an offer!" and "I’ve got something in my inventory that you want"
- Give the Beer Voucher to the Dwarf, and in return you’ll receive a Gem (reply "Nice pile of gems you got there.")
- Exit the Dwarf Cave/Mines via the way you came (exit left automatically, left, and then up).
- Once outside, Use the Map to warp to the Village
Village
- Take the upper doorway to enter the screen with the Dodgy Geezer
- Give the Gem to the Dodgy Geezer
- In the bargaining conversation, say the following: "Don’t make me laugh, I want at least 40.", "It’s an improvement… but still daylight robbery!", and "Let’s call it a nice even 20 and be done with it."
- Walk to the doorway on the right and back to the Shoppe. Once there, Walk in the Shoppe
- Inside, Pick up the White Spirit
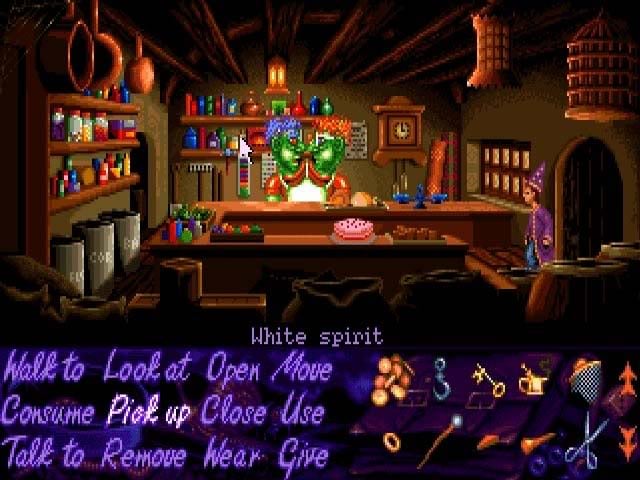
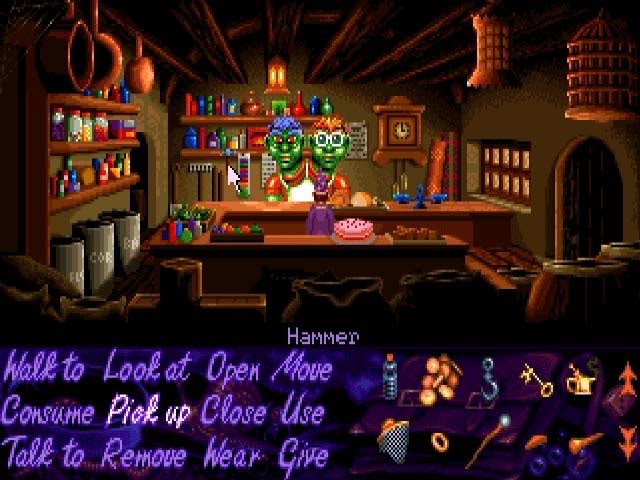
- Pick up the Hammer (which also comes with a free Nail)
- Exit, and once outside, Use Box that is sitting outside for the Goblins
Goblin Fortress
- The Box you were in is now in the Fortress Storage Room. Simon will put on the Invisibility Ring automatically. Open or Move the Box to show invisible Simon.
- Look at the empty Boxes to retrieve the Spell Book Simon dropped when he first landed in this dimension.
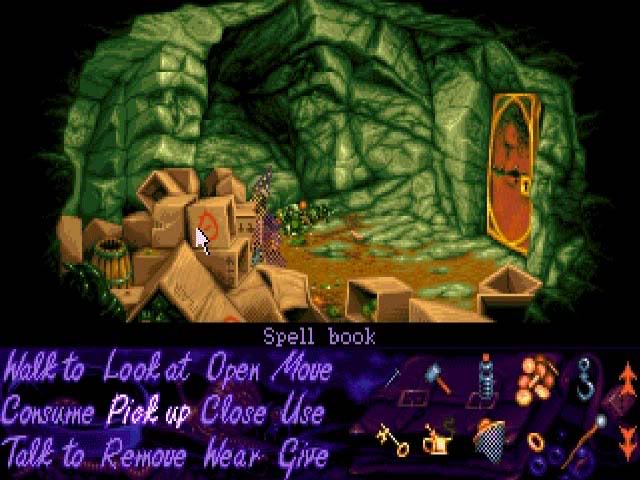
- Look at Spell Book (now in your inventory) to find a loose Paper in it.
- Pick up Rat Bone on the ground.
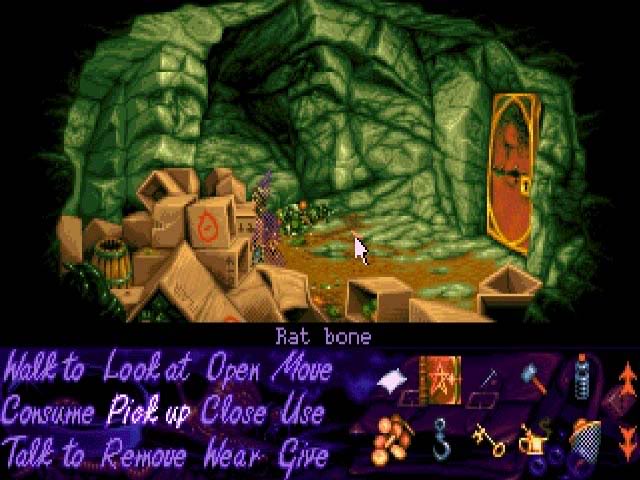
- Look at the Door, and Simon will note that the key was left in the lock
- Use Paper on Door and Use Rat Bone on Lock
- Pick up Paper from under the Door and the key on it
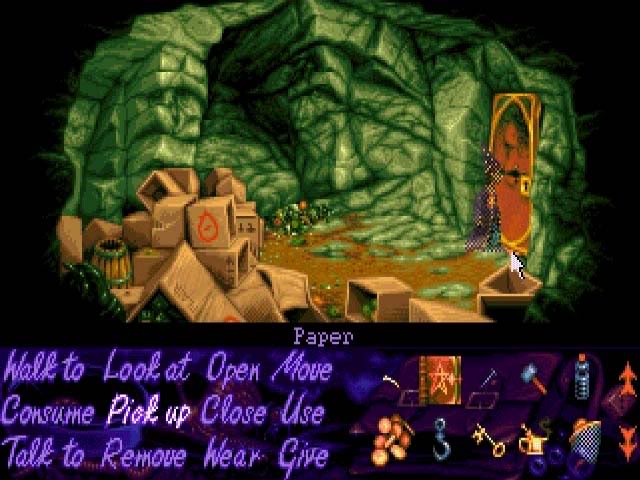
- Use Key on Lock, and then Open the Door. Click to the right to exit to the next room.
- In the next room, Pick up the Bucket with the hole in it, which is located in front of the Cage
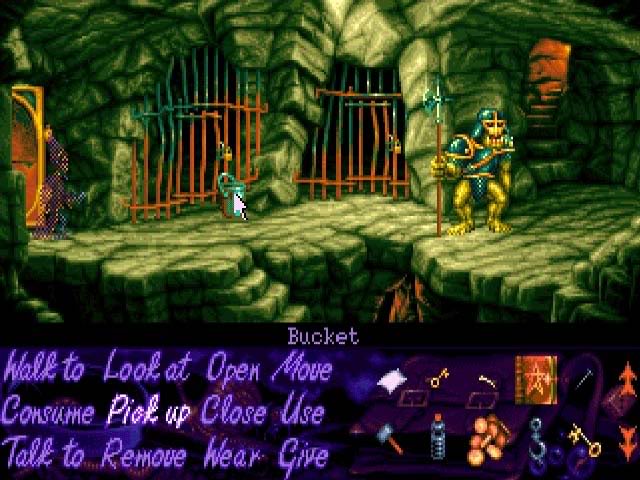
- Go down the steps at the bottom of the screen to get to the next area
- Open the Iron Maiden
- Pick up the Flaming Brand in the middle of the room
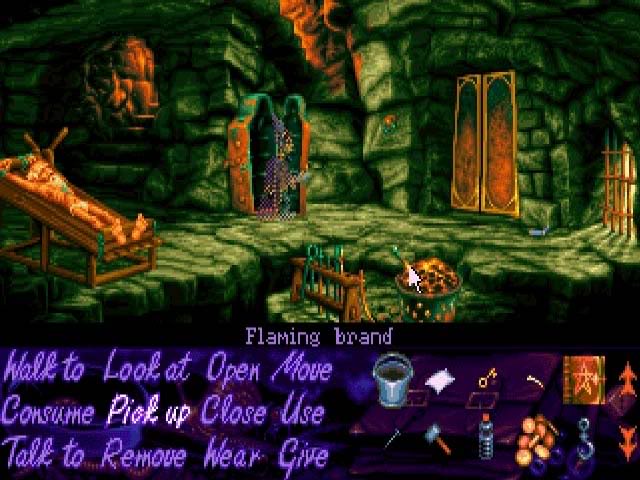
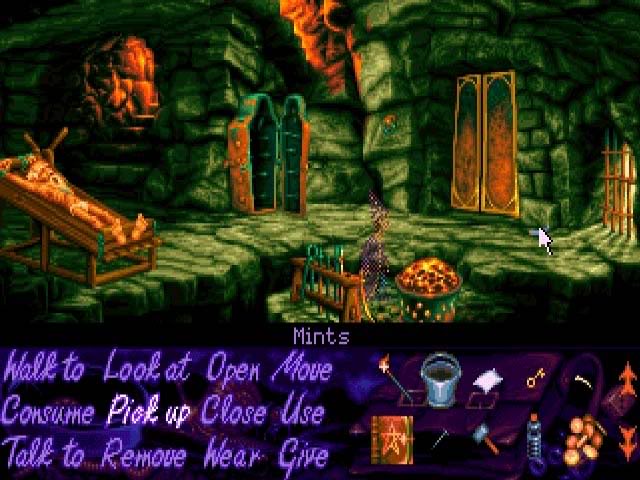
- Pick up the Mints by the Door
- Talk to the Druid, and in the conversation with the Druid, say the following: "Panic ye not! I’ve come to rescue you!", "What makes you think that?", "Look, let’s be reasonable for a moment.", "I’m sorry I spoke, OK? Goodbye".
- Remove the Ring and Talk to the Druid again, saying the following: "See, I told you I wasn’t evil", "How can I prove I’m innocent?", "Isn’t there a slightly less painful trial?", "No. But if you want rescuing, you’d better stop giving attitude.", "OK Let’s do it!", "I dunno, got any bright ideas?", and "Which animal can you change into?". It turns out the Druid can turn into a Frog when he sees the Full Moon.
- Use Bucket on the Druid
- Use Flaming Brand on the Druid, and he will turn into a Frog. After the Frog escapes and there’s commotion from the Guard, Walk inside the open Iron Maiden. The Frog will return after several days.
- Open the Iron Maiden and Pick up the Hacksaw from the Frog’s mouth.
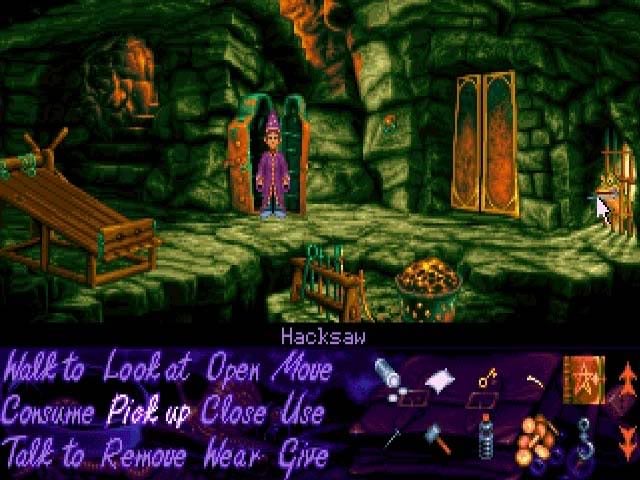
- Use Hacksaw on the Bars and Walk outside.
- Once outside, use the Map to warp to Dragon’s Cave
Mountain
- Once at the Dragon’s Cave, Use the Hook on the Boulder on top of the Cave
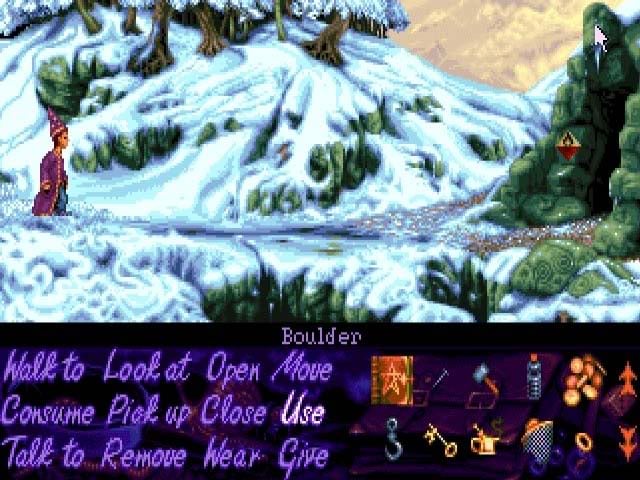
- Walk to the Boulder (or more specifically, climb) and you’ll be on top of the Cave
- Look into the Hole to see the Dragon’s treasures
- Use Rope with Magnet to get Rope and Magnet
- Use Rope and Magnet on the Hole until it comes up without coins (the 4th time)
- Go down from the top of the Cave, and proceed up the mountain to the Tree (exiting to the right of the screen 4 times)
- When you reach the Tree, Use White Spirit on the Pink Splodge.
- Talk to the Tree, who will tell you the Magic Words are "Abrakadabra, HocusPocus, Alakazam, and Sausages"
- Use the Map to warp to the Village
Village
- Travel to the Tavern (up, up, and up), and Walk inside
- Walk to the four Wizards in the rightmost room and Give them the Staff
- Answer their questions with "Simon", "Pah! A piffling 30 gold pieces!", "A STARTER pack?" and you’ll be given the Wiz Kid Wallet. Ask "Who is ‘Sordid’?" and then leave the Tavern.
- Outside the Tavern, exit right, right past the Blacksmith’s Shoppe, and then left at the Ducks. You’ll find yourself at the Apothecary. Walk inside.
- Talk to the Druid automatically "I’m on a real important quest. Can you help?", "That would be nice, yes.", "What’s so special about it?", and "Aha! The anticipated fine print!" You’ll have to get Frog’s Bane for the Druid if you want the special Potion, afterall.
- Outside, Use the Map to warp to the Witch’s Cottage
Witch’s Cottage
- Open the Door, and Walk inside. The Witch will appear and challenge you to a duel. "What are the stakes?", and "Me? Chickening out? I think not, let’s go!", and finally "Ok!"
- The duel consists of you using a magic word to turn into an animal: Mouse, Mongoose, Cat, or Snake. Your best chance to win the duel is to keep using the magic word "Sausages!", which is the Mongoose. If you lose the duel, just go back in and use the same strategy until you win. When you win, Simon will collect the Broom, and the angry Witch will become a Dragon. Use "Abracadabra!" to turn into a Mouse and Walk to the Mouse Hole to escape.
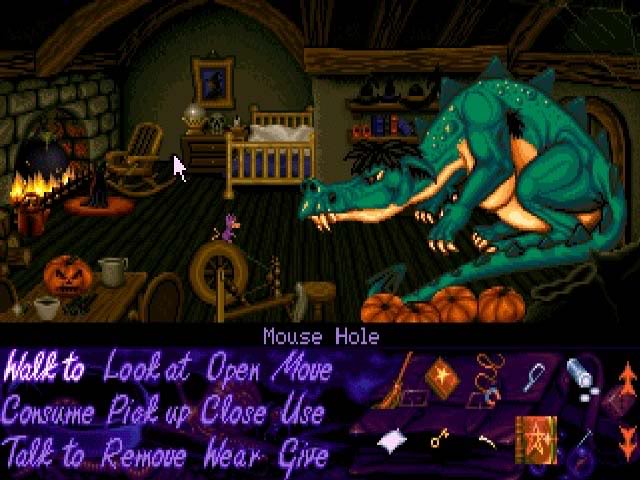
- Once outside, Use the Map to warp to the Centre of the Forest
Forest/Swamp
- Once in the Centre of the Forest, take the upper right path, enter the cave, and continue forward towards the right until you reach the Swamp. Once there, enter the Swampling’s House.
- If the Swampling is still in the House, Consume more Stew until the Swampling leaves to get more ingredients.
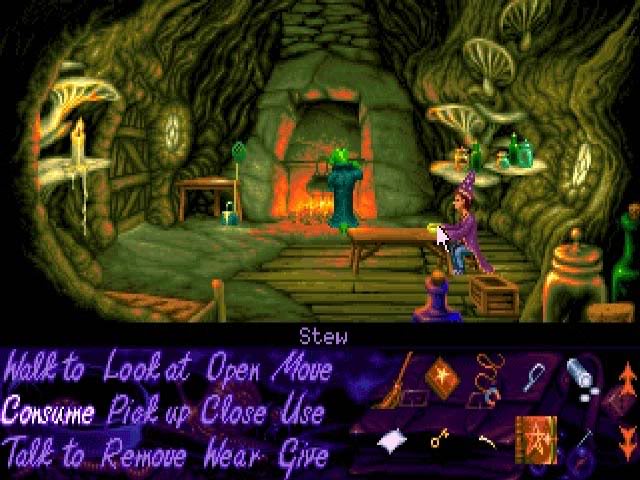
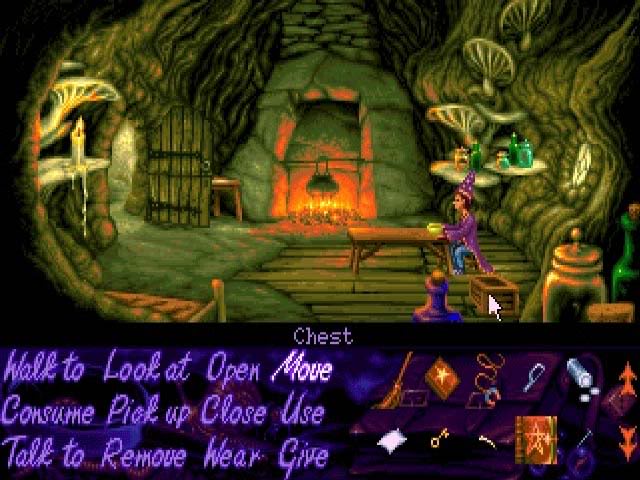
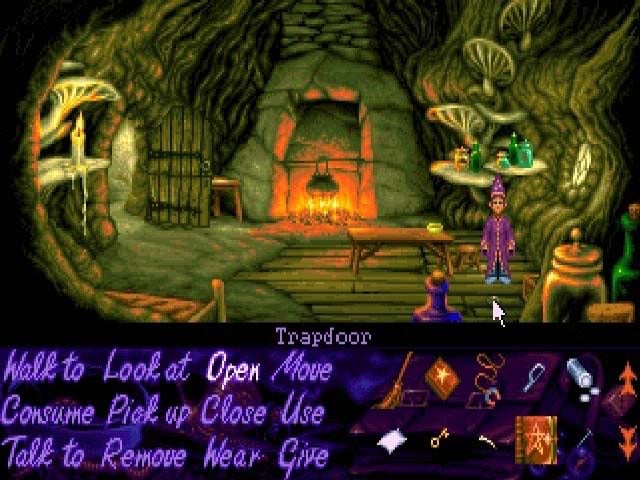
- Once the creature is gone, Move the Chest, Open the Trap Door, and climb (walk) down the Ladder.
- Walk across the Pier, and Simon will note that there is a Loose Plank.
- Use the Hammer on the Plank
- Walk further to the right until you encounter a giant Skull, with Frogsbane on top of it.
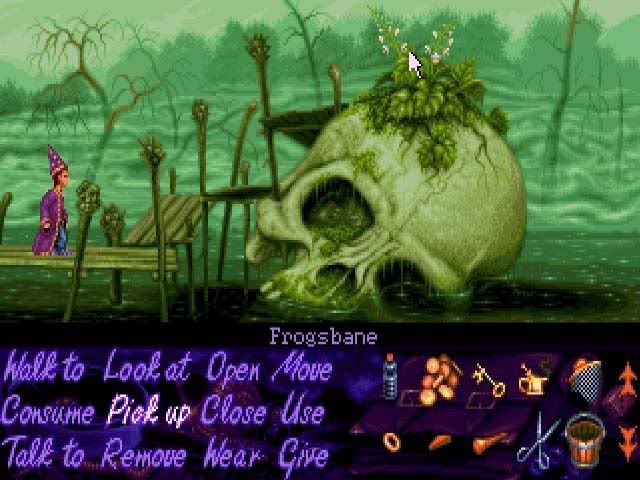
- Pick up the Frogsbane.
- Use the Map to warp back to the Village
Village
- Return to the Apothecary (up, left, and inside)
- Entering the Apothecary, Simon will automatically give the Druid Frogsbane and be rewarded with Potion
- It’s now time to track down Calypso and Sordid. Go outside, and Use the Map to warp to Dragon’s Cave
Mountains
- Once at the Dragon’s Cave, proceed right, to the next screen twice, until you come to the Climbing Pins
- Use Climbing Pin on the hole in the Mountain, in the gap between Pins, and climb up.
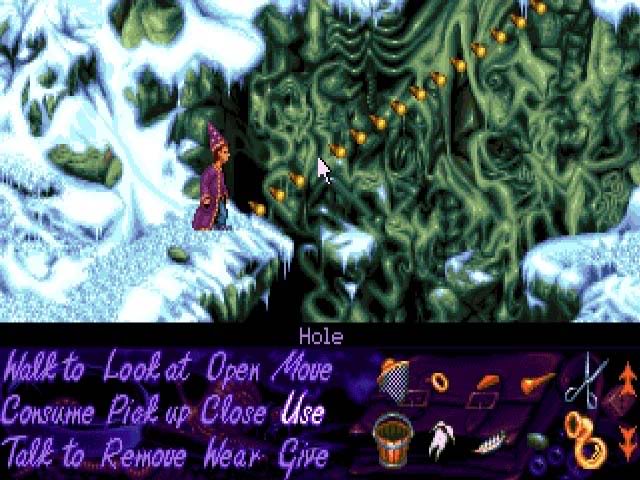
- In the next screen, you’ll meet a mean Snowman who isn’t going to let you pass. Consume Mints to melt the Snowman, and continue forward to the right.
Rescuing Calypso from Sordid
Tower
- Walk towards the Tower Gate. Some stones will give way, that’s no good! Look and the Door to spot a small crack in the left panel.
- Use Witch’s Broom to fly across the abyss
- Consume the Potion to become small. Your entire inventory will be discarded next to the Door, with the exception of the Postcard.
- Walk in the Crack in the Door. Inside, Chippy the Dog will be awaiting you. He’ll pick you up and take you to the next room, which in the meantime, Simon will automatically acquire Hair
- In the Garden, Pick up Leaf by the entrance.
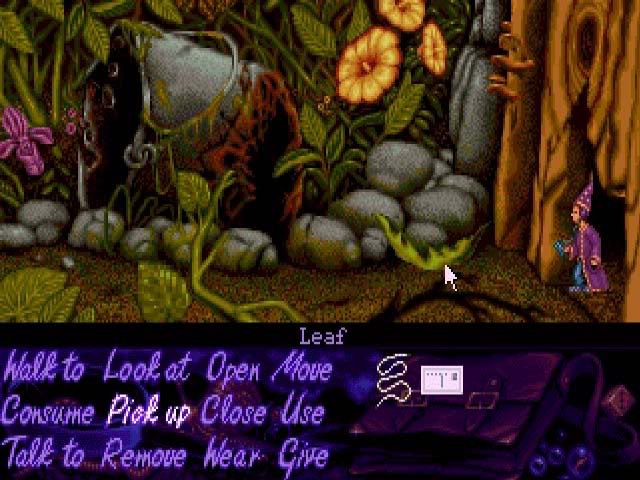
- Look in Bucket and automatically Pick up Match Stick.
- Pick up Stone on the path and exit left.
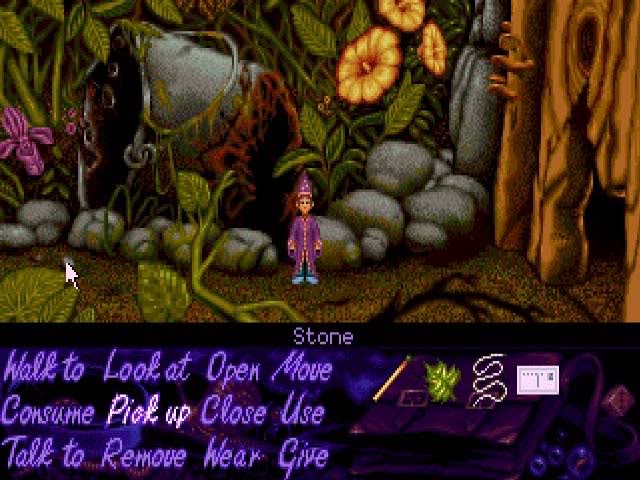
- In the next room, Pick up Lily Leaf. Simon will fall in the water.
- Use Hair on Tap, and you’ll find that the Tap is rusted. Use Match Stick on Lily Leaf. Now use Leaf on Match Stick. Now you’ve got yourself a sailboat! Sail to the Seeds at the upper left (simply click on them to move).
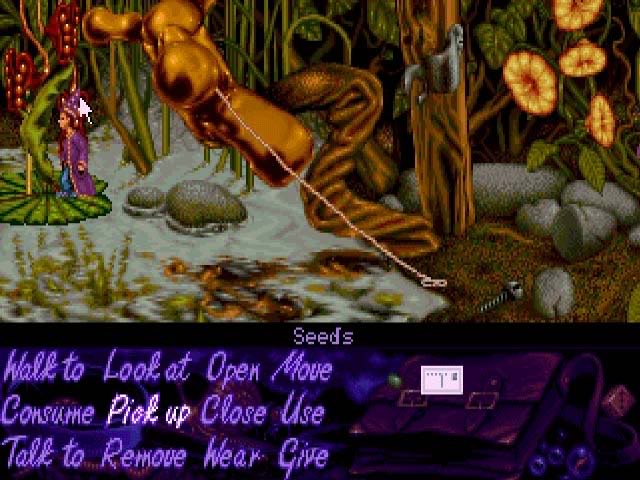
- Pick up Seeds. Use Stone on Seeds to get Oil.
- Use Oil on Tap. Pick up Hair attached to Tap and water will be added to the Puddle. Walk in the boat and sail left to the next screen. You will proceed past Puddle’s Centre and to the next screen.
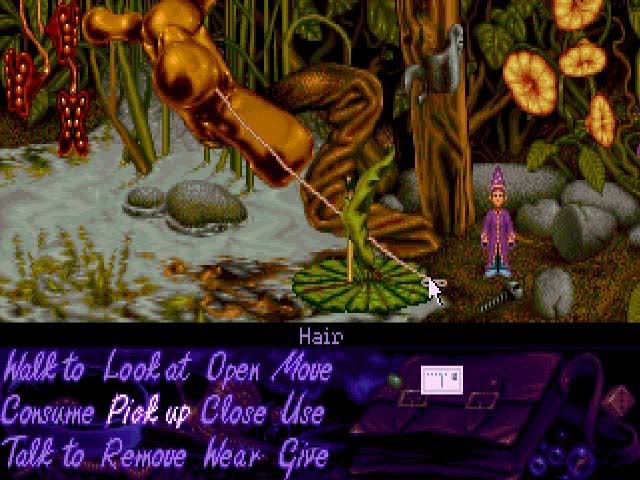
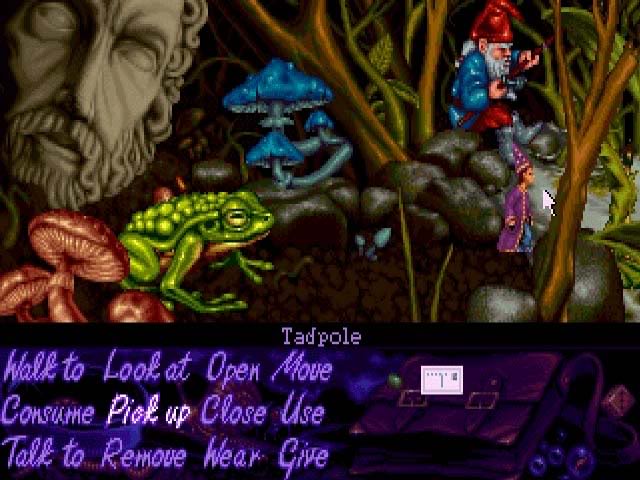
- You’ll see a Frog in the next screen. Don’t get close, or he’ll eat you up and spit you out naked! Instead, Look into the Water to see Tadpole. Pick up Tadpole.
- Talk to the Frog, saying: "Out of the way or the tadpole gets it!" The Frog will hop away, Simon will release the Tadpole.
- Look at and Pick up the golden Mushroom. It’s magical and will let you grow back to normal size.
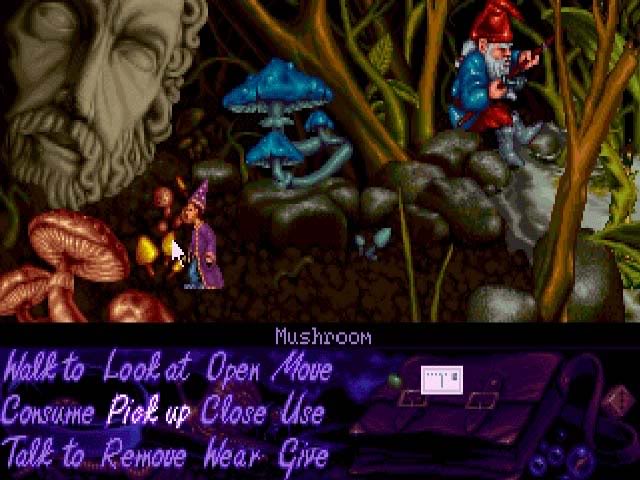
- Consume Mushroom to become normal size again!
- Now that you’re big, Open the Door and Walk into the next room.
- In the next room, you’ll encounter a Chest that turns into a fearsome monster! Simon will escape back out to the Garden area. There, Pick up Branch that is hanging in the tree. Open and Walk into the tower area again.
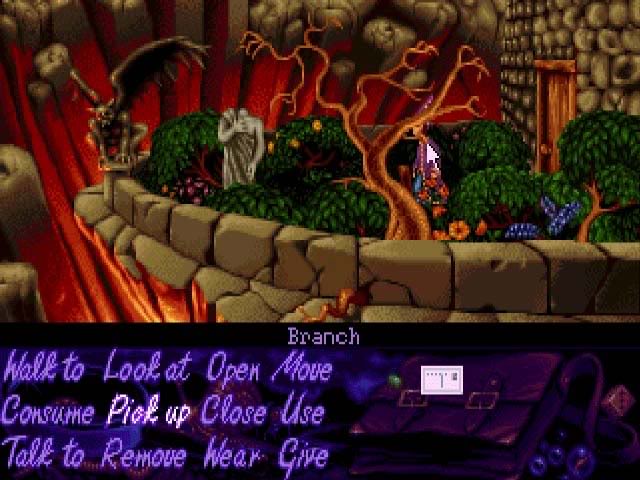
- Use Branch on the monster Chest.
- Pick up Shield and Spear, and Walk down the Steps.
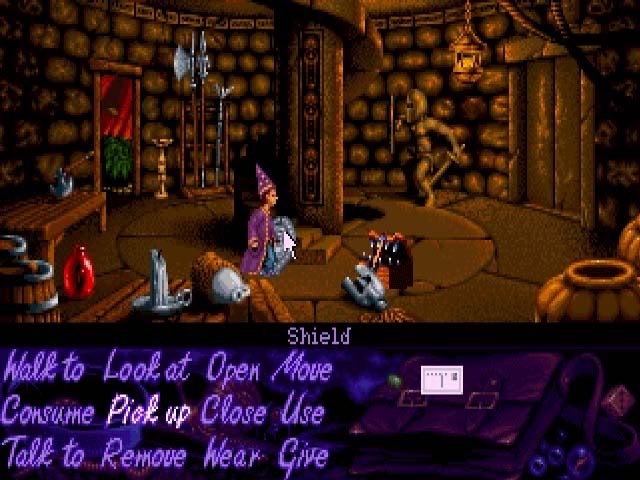
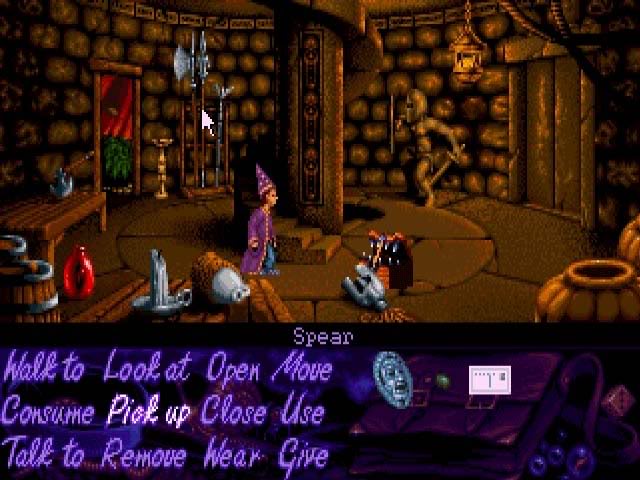
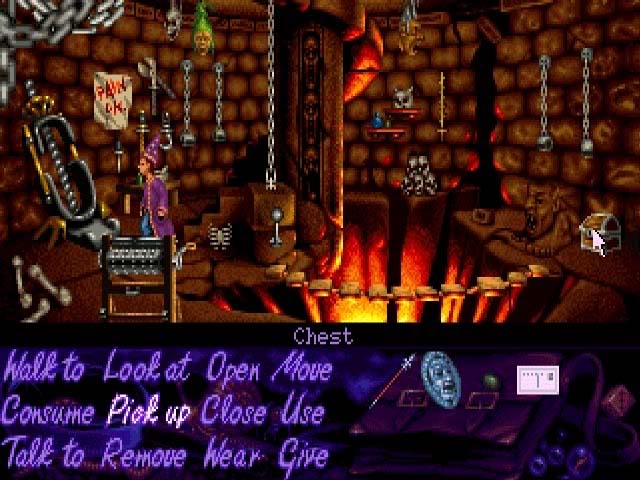
- You are now in the Torture Chamber. Walk across the Chasm and Pick up the Chest
- Proceed back across the Chasm and Move the Lever
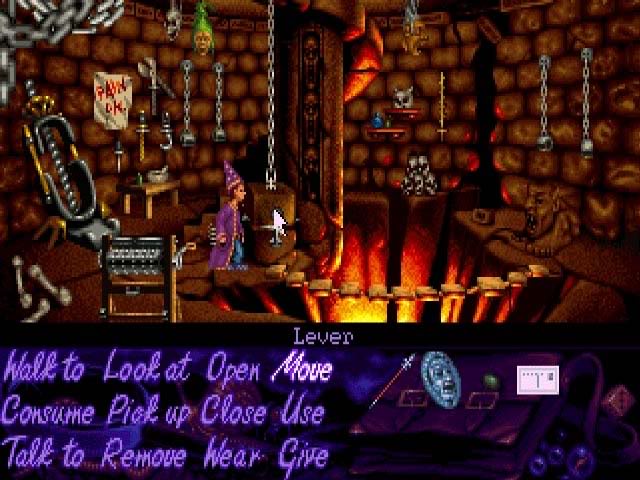
- Use the Chest on the Block, and then Move the Lever two more times
- Pick up Candles
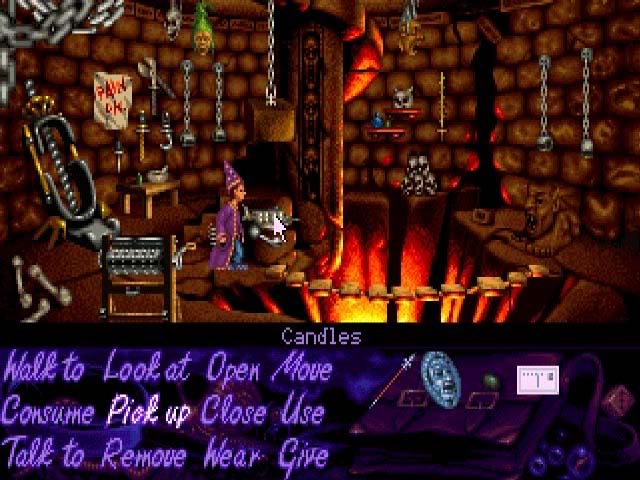
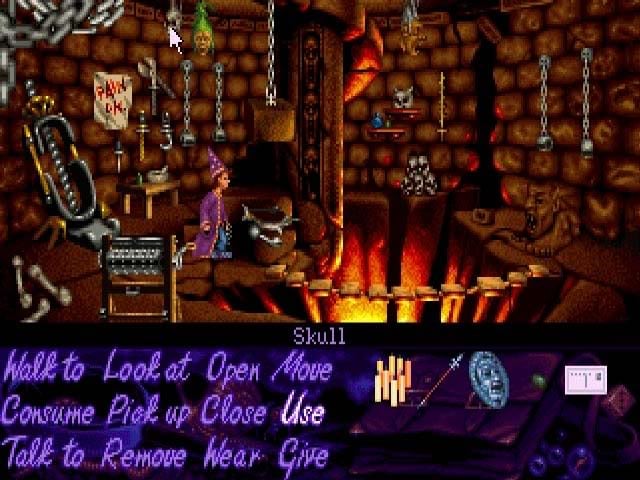
- Use Spear on the hanging Skull on the left side ceiling. Pick up the Skull.
- Climb up the Stairs twice to reach the Bedroom
- Pick up Magic Wand, which is sitting on the Dresser
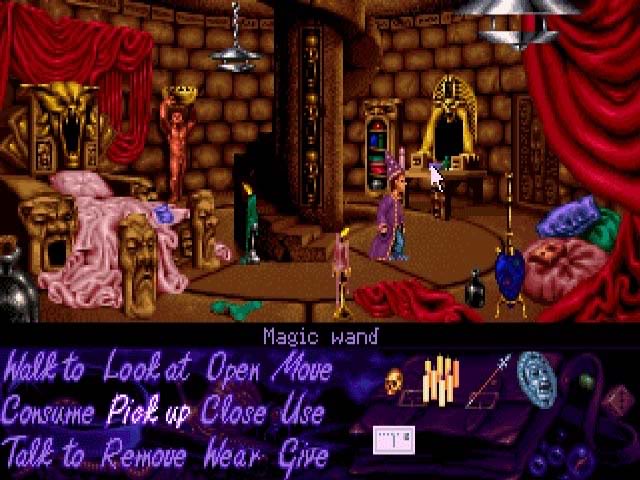
- Look at the Mirror, saying: "No, I haven’t seen a talking mirror before"and "You’re some kind of spying device?"
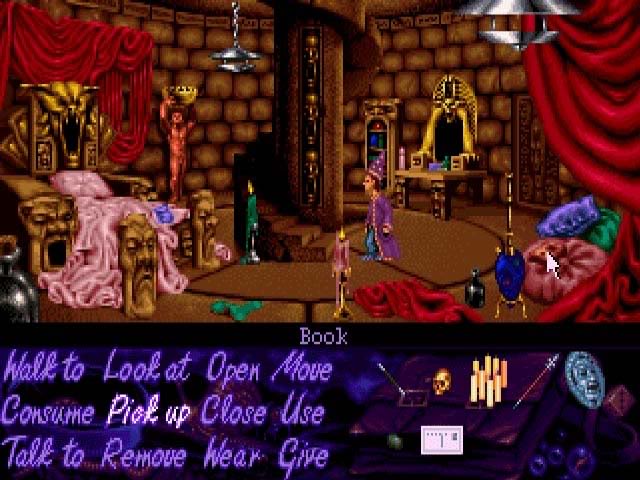
- Pick up the Book from the pink Cushion
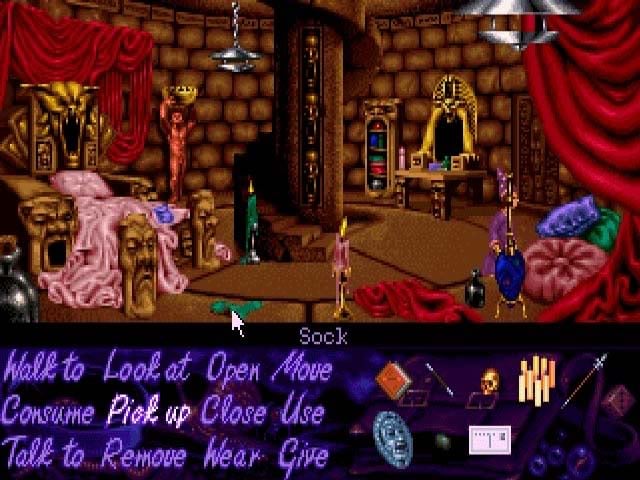
- Pick up the green Sock on the Floor
- Pick up the rank Pouch from off the Bed
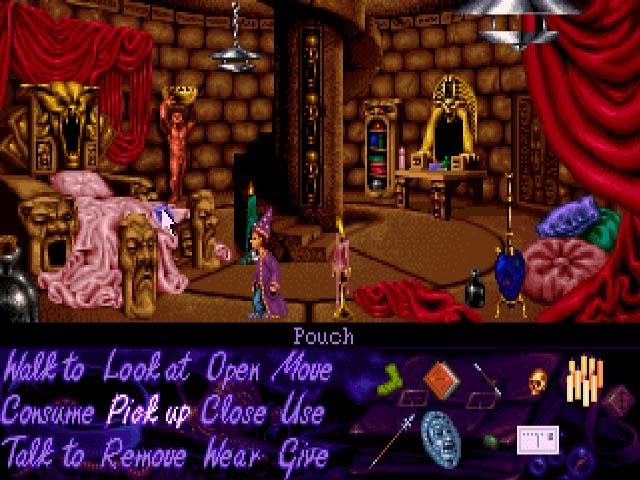
- You’ll notice a Mouse Hole at the foot of the Stairs. Use Sock on the Pouch. Use Pouch on the Hole to catch Mouse, and walk up to the next area.
- The Demons in the next room have decided to ignore you. Talk to the Demons, saying: "Well, you look like demons! Haha.. ha?", "Why are you irritated?", "I don’t know what you mean".
- Talk to the Demons again, saying "Why do you stay here if you’re dissatisfied?", "What’s with this Sordid guy anyway?", "How does he intend to do that?", "Is there anyway to restore them?", "OK, I’m scared. Show me the door.", "Why won’t you tell me?", "I could make it worth your while", "But, I’M a powerful wizard", "And what makes you think I’m not a wizard, eh?", "Nah. It’s out of fashion to be old and fat these days.", and finally "Right then, I’ll go and get prepared."
- Pick up the red Spell Book from the Bookcase.
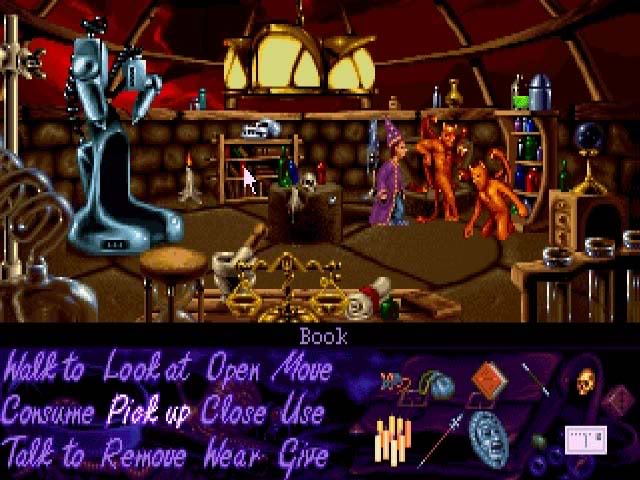
- Open the Spell Book, and you’ll find the Spell you’ll need to send the Demons back to whence they came from, along with some requirements, such as their true names
- Talk to the Demons again. No matter how hard you try to convince them or what dialogue you pick, they’re not going to tell you their true names. But, they’ll lend you their Chalk so you can draw the squares on the Floor you need. Tell them you’ll be back in a bit to sort a few details.
- On the center Table, pick up Chemical.
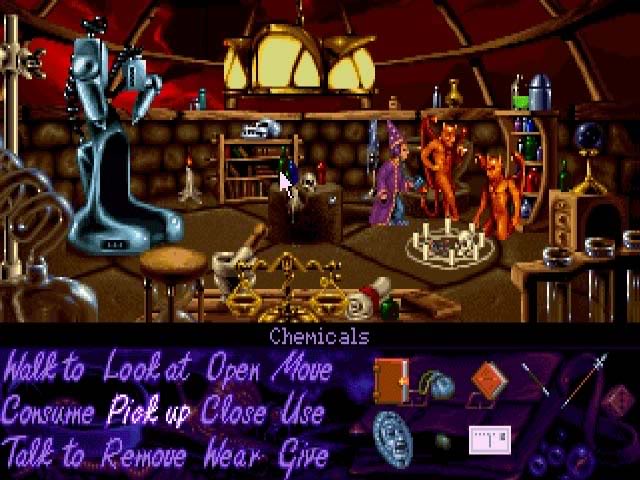
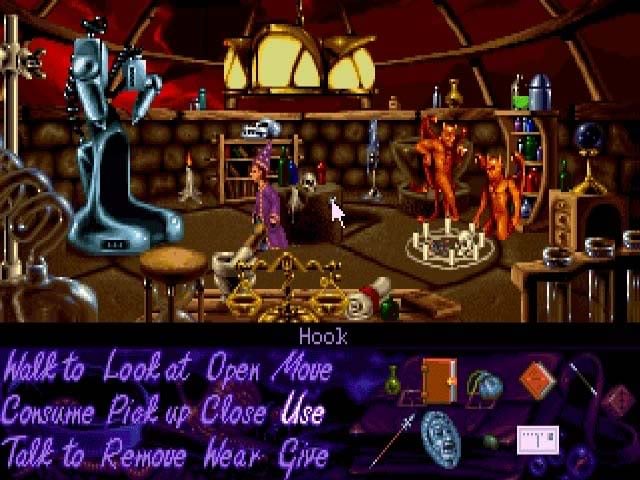
- Use Chemical on Shield. Use polished Shield on Hook on the center Table. Now, go back down to the Bedroom.
- Talk to the Mirror. Tell him "Show me the lab on the top floor. There’s a good chap." and "I want to spy on Gerald and Max." The Mirror will then let you spy on the two and learn their true names.
- Go upstairs and Talk to the Demons. "Ok, we’re all set. Let’s ROCK!" Simon will send the Demons home.
- Look at the Book which states that a Magic Wand can only be destroyed by being thrown into the Fiery Pits of Rondor. Walk to the Teleporter, and Simon will automatically press the Red Button. Select the Fiery Pits of Rondor as your destination, and away you go!
Fiery Pits of Rondor
- Pick up the Pebble (on your left) and the Sapling (on your right) as soon as you arrive at the Pits.
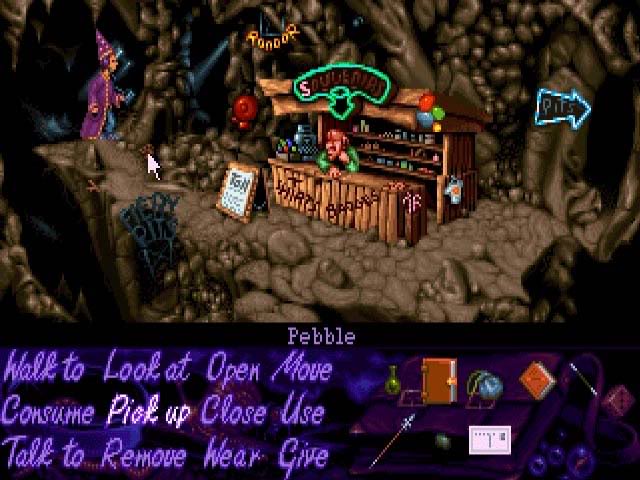
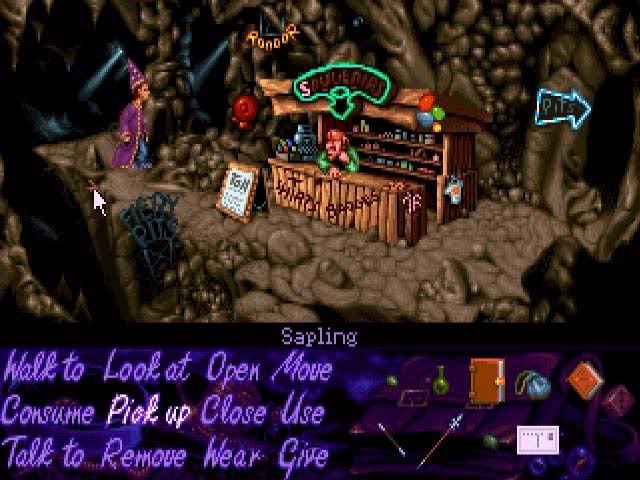
- Talk to the Attendant ("I had no idea this place was a tourist attraction!") to receive a Brochure and learn that in the past 2 years, there were only two visitors: Sordid and a small green guy. Are you going to pay up or not? "No."
- Look at the Brochure to find Elastic Band and add it to your inventory. The Attendant isn’t going to let you in until you pay, but you’ve got no money left. Instead, Use Sapling with the Elastic Band to create the Catapult.
- Use Catapult on the Bell, and the Attendant will run off and hide.
- Pick up Souvenir Matches which can be found on the right side of the Counter
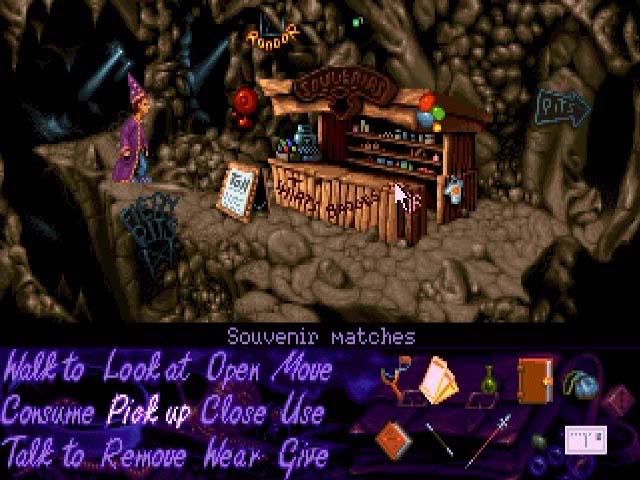
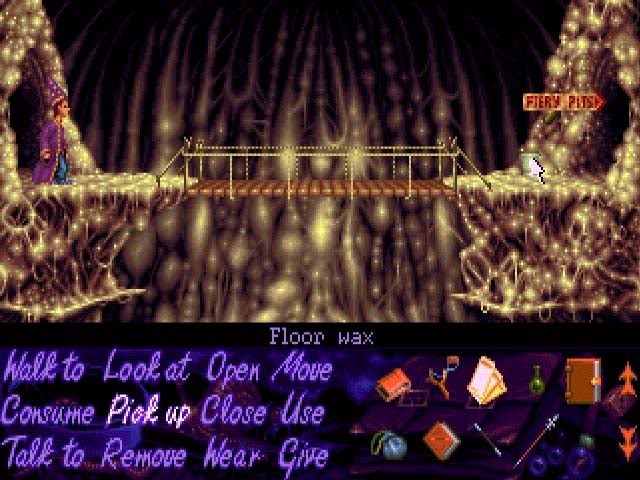
- Walk into the Pit, and Pick up Floor Wax in front of the right entry
The Final Part!
- When you walk into the next area, you’ll see Sordid, who’s really angry about the sprinklers dousing the Fiery Pit. Use Sordid’s Magic Wand on him. Sordid will turn into stone.
- Use the Souvenir Matches on the previously doused Fiery Pit, and it will turn back into Lava.
- Use the Magic Wand on the Lava to restore and save all the stone people. But that restores Sordid, too, and he’s really mad now! Sordid will be just a moment from attacking you when the phone rings for you! It’s Calypso urging you to stall him until he can come to the rescue.
- Exit the area, but you’ll find the Bridge is gone. You have no choice but to go back and face Sordid.
- Use Floor Wax on Sordid. He will slip and fall. Simon gives him a push that sends him into the Fiery Pits. Kaboom!
That’s the end! Enjoy the final cutscenes!
“;
More articles...
Monopoly GO! Free Rolls – Links For Free Dice
By Glen Fox
Wondering how to get Monopoly GO! free rolls? Well, you’ve come to the right place. In this guide, we provide you with a bunch of tips and tricks to get some free rolls for the hit new mobile game. We’ll …Best Roblox Horror Games to Play Right Now – Updated Weekly
By Adele Wilson
Our Best Roblox Horror Games guide features the scariest and most creative experiences to play right now on the platform!The BEST Roblox Games of The Week – Games You Need To Play!
By Sho Roberts
Our feature shares our pick for the Best Roblox Games of the week! With our feature, we guarantee you'll find something new to play!Type Soul Clan Rarity Guide – All Legendary And Common Clans Listed!
By Nathan Ball
Wondering what your odds of rolling a particular Clan are? Wonder no more, with my handy Type Soul Clan Rarity guide.


