![Digimon UP Tier List [Supports, Buddies, and Partners]](/wp-content/uploads/2026/07/digimon-up-tier-list.jpg "Digimon UP Tier List [Supports, Buddies, and Partners]")
Digimon UP Tier List [Supports, Buddies, and Partners]
These Digimon will get you UP the leaderboard.

![Haze Seas Boss Drops [Chances, Locations, and How to Spawn]](/wp-content/uploads/2026/07/haze-seas-boss-drops.jpg "Haze Seas Boss Drops [Chances, Locations, and How to Spawn]")

Welcome to the Shattered Minds: Masquerade Collector’s Edition walkthrough on Gamezebo. Shattered Minds: Masquerade is a hidden object adventure game played on the PC created by Vast Studios. This walkthrough includes tips and tricks, helpful hints, and a strategy guide for how to complete Shattered Minds: Masquerade Collector’s Edition.
Welcome to the Shattered Minds: Masquerade Collector’s Edition walkthrough on Gamezebo. Shattered Minds: Masquerade is a hidden object adventure game played on the PC created by Vast Studios. This walkthrough includes tips and tricks, helpful hints, and a strategy guide for how to complete Shattered Minds: Masquerade Collector’s Edition.
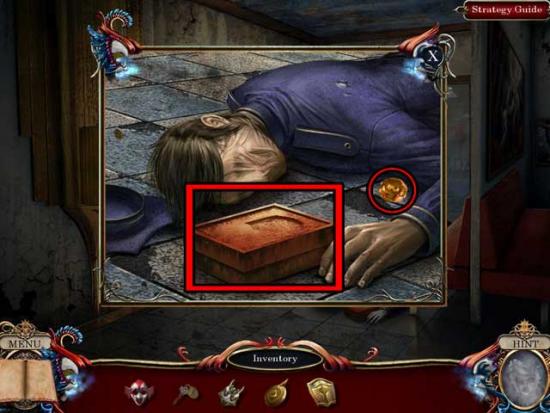
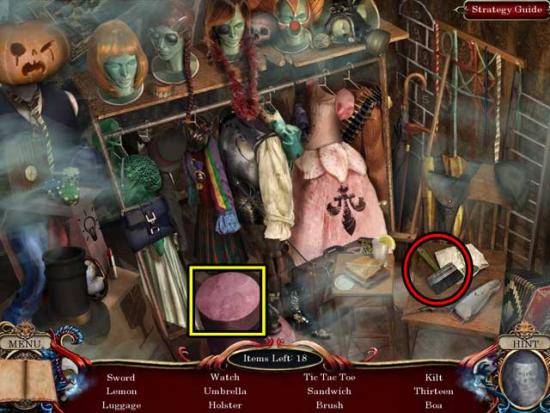
Starting Location

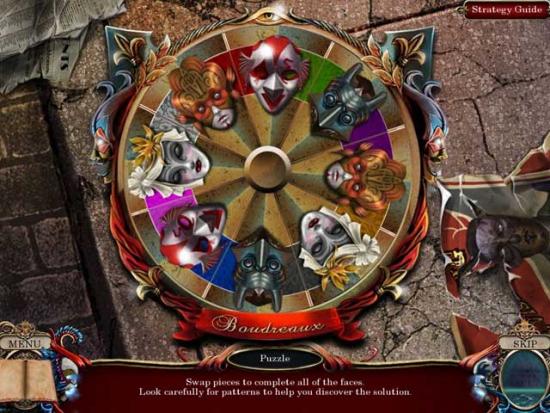
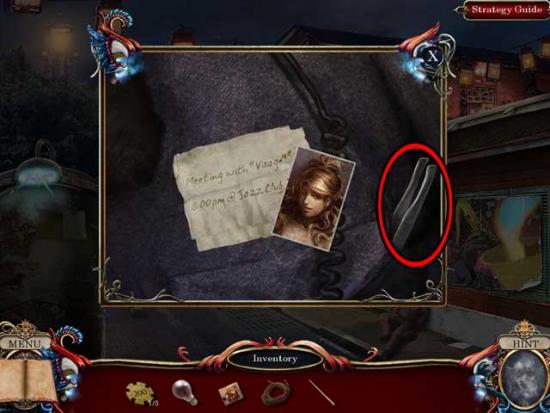
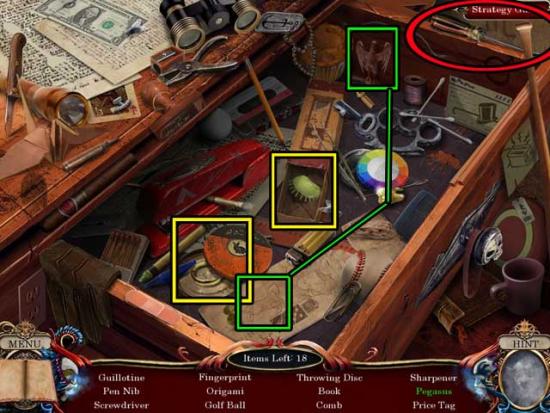
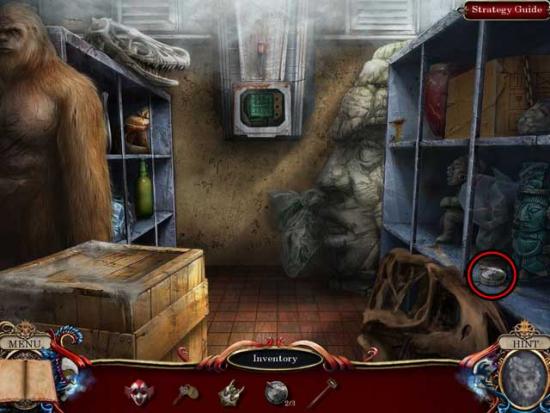
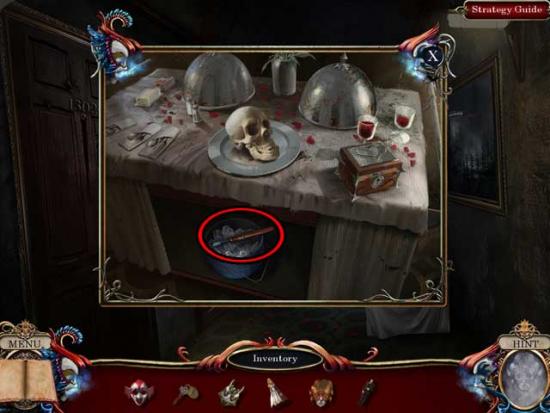
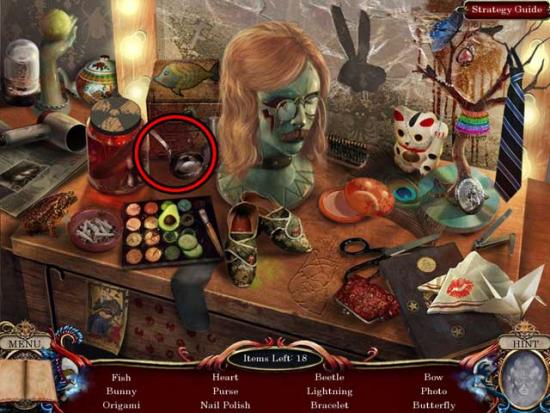
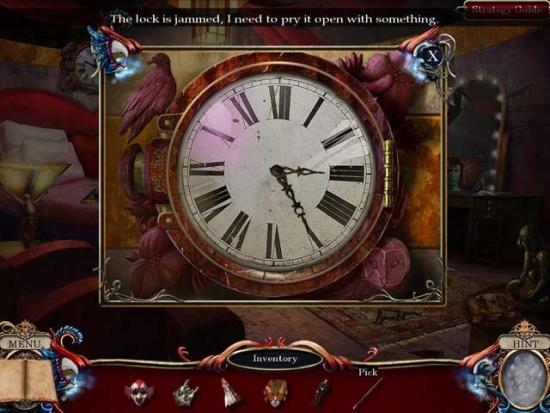
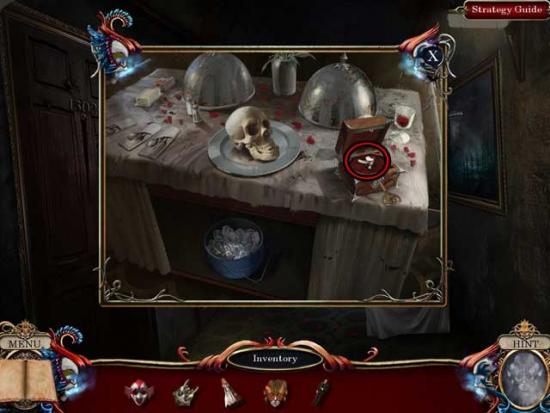
Casino Street Corner
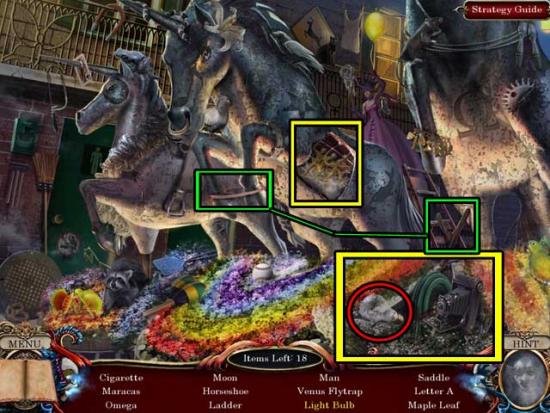
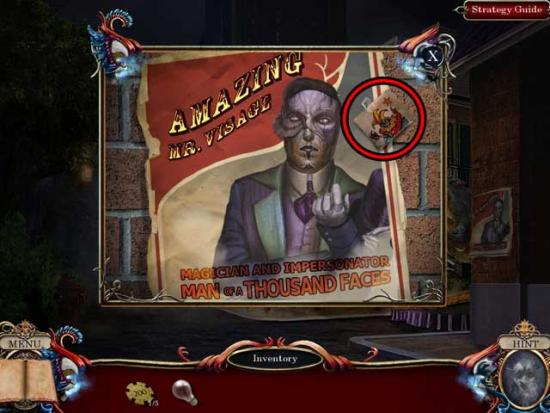
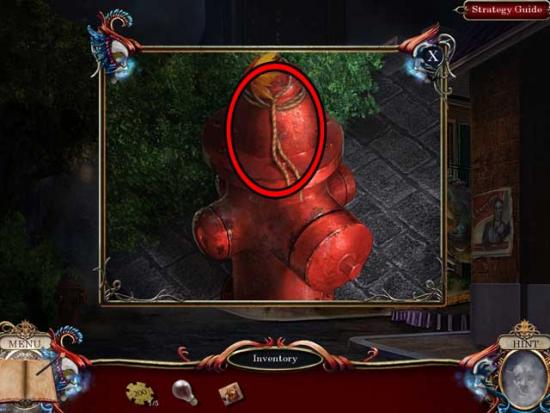
Starting Location

Casino Street Corner
Starting Location
Casino Street Corner
Lobby
Staircase
Lobby
Staircase
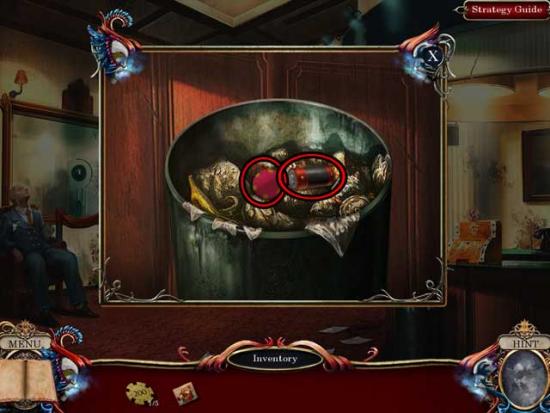
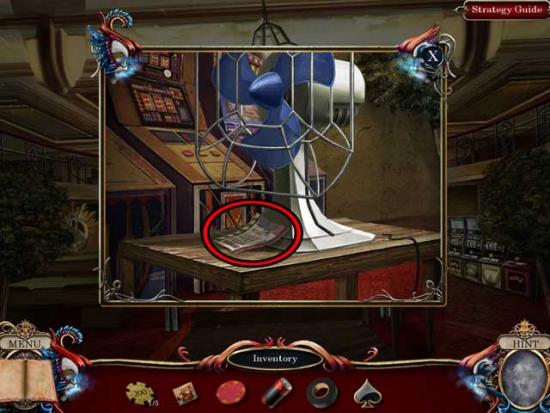
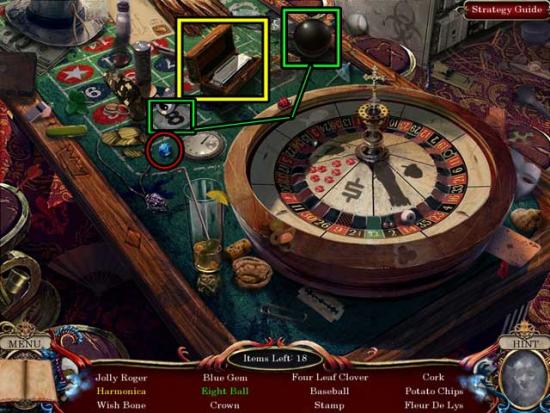
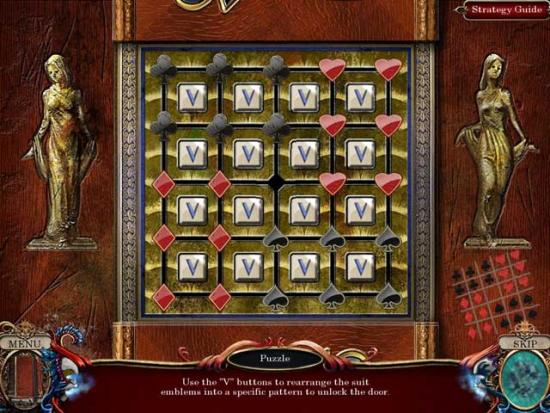
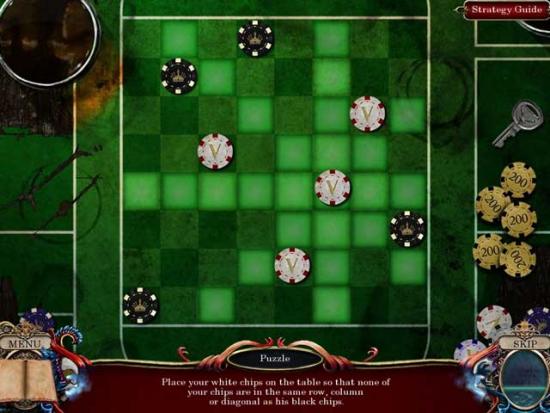
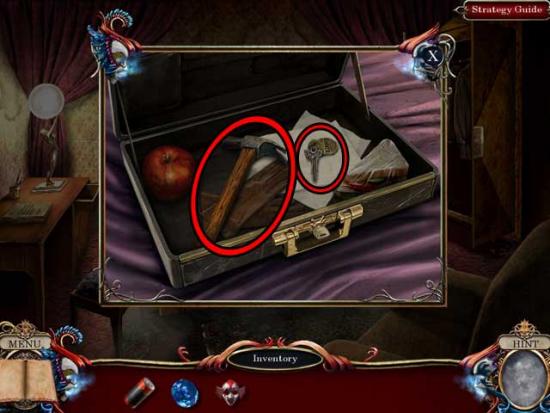
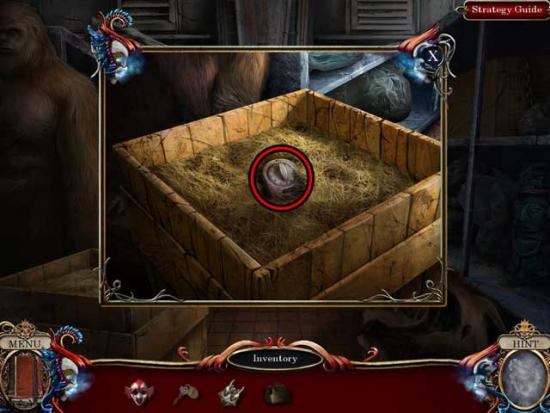
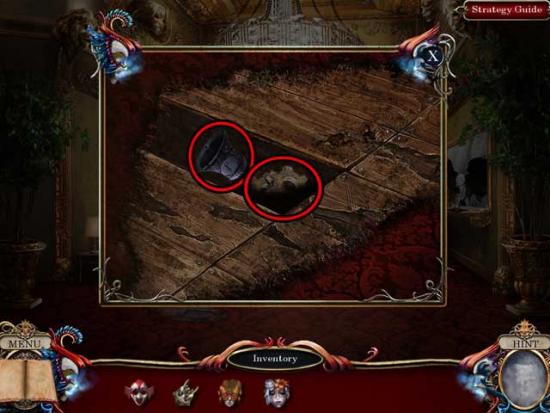
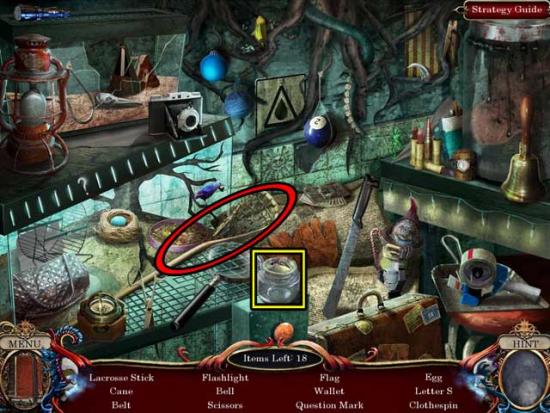
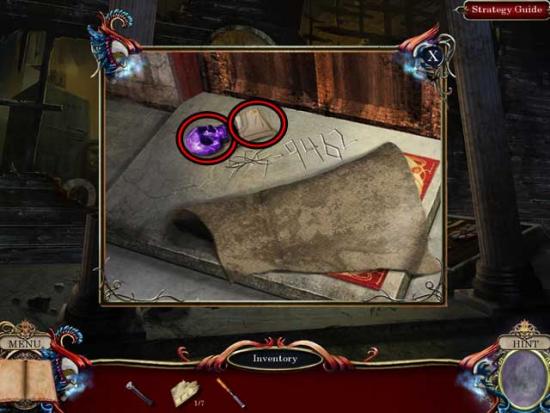
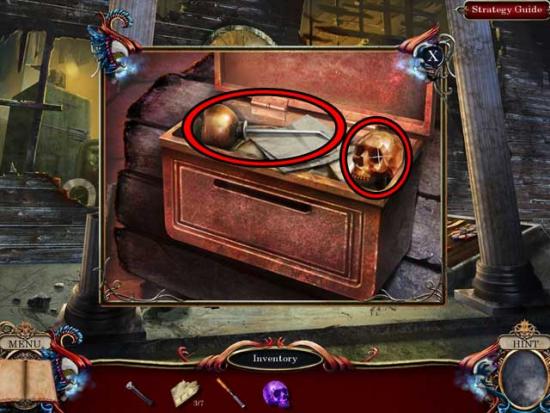
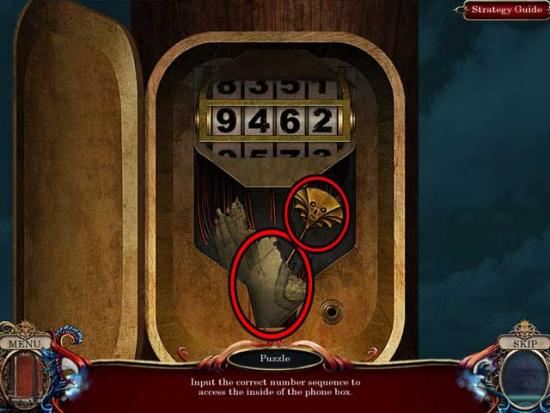
Gambling Table
Staircase
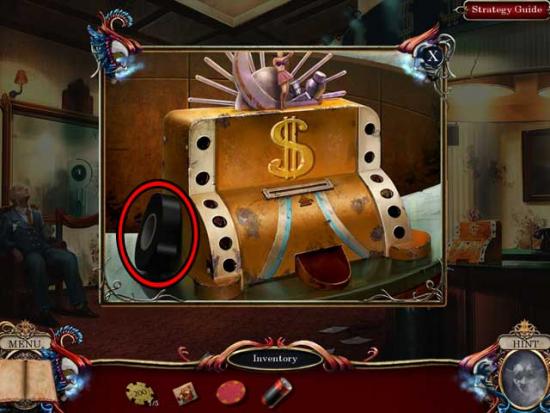
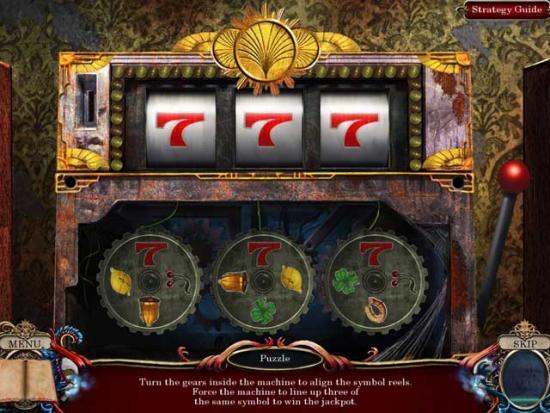
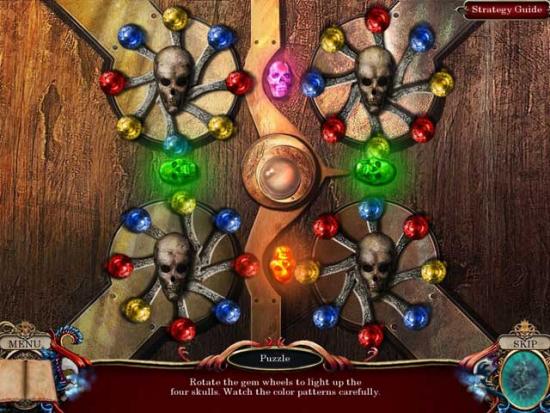
Slot Machines

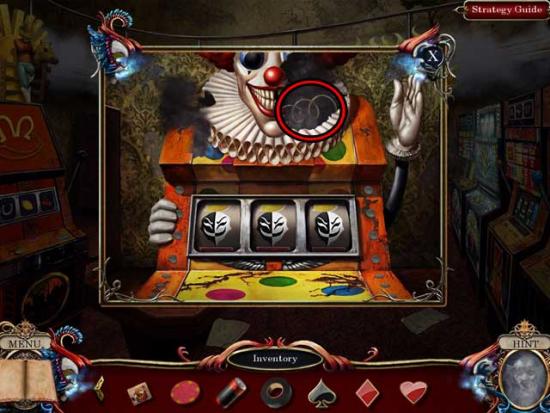
Staircase
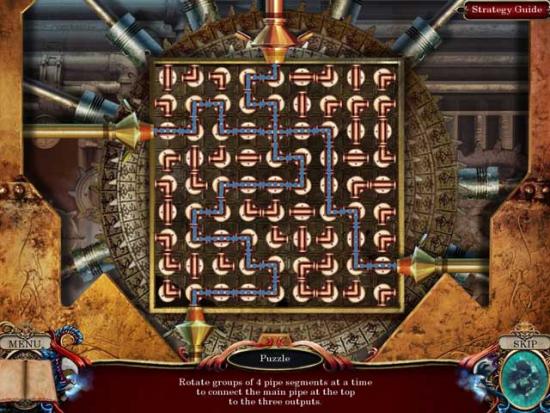
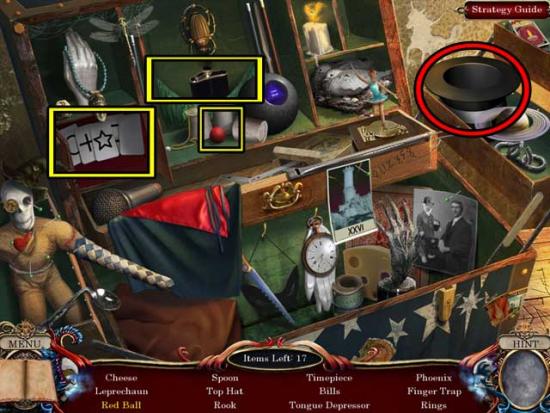
Upper Floor
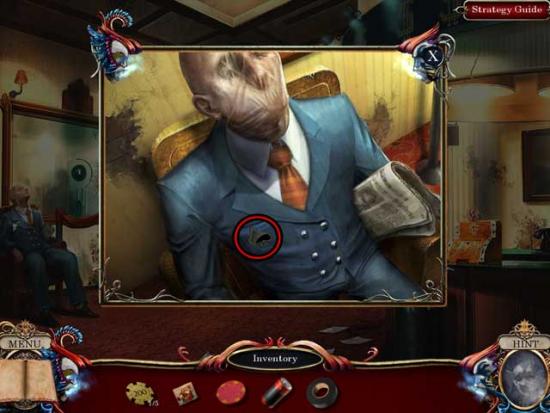
Gambling Table
Lobby
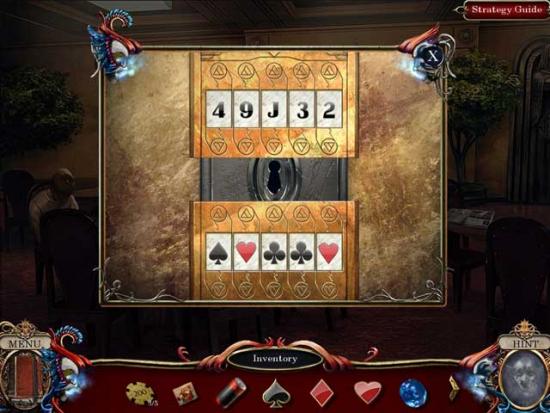
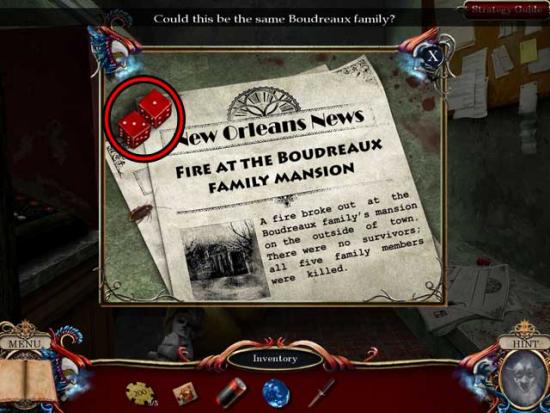
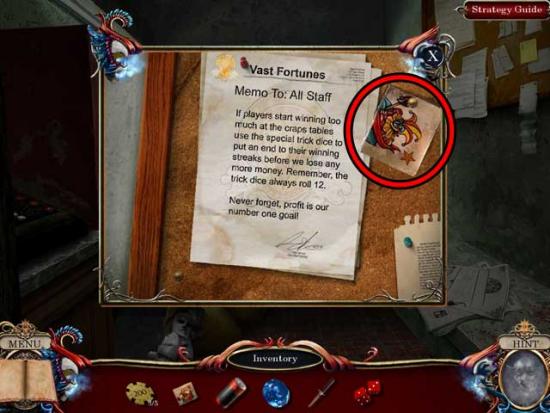
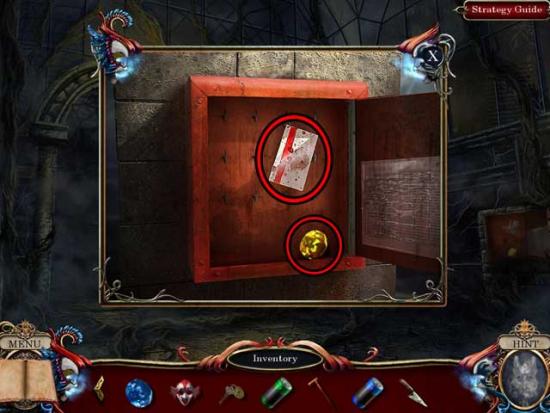
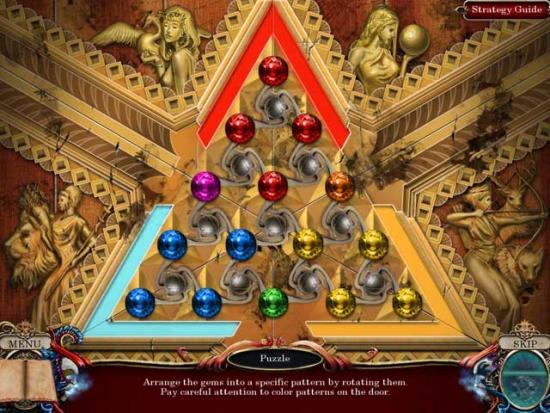
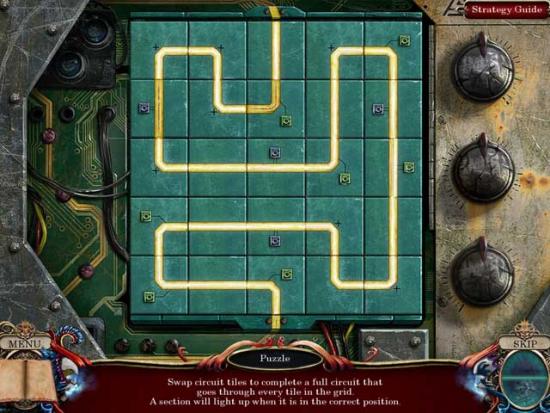
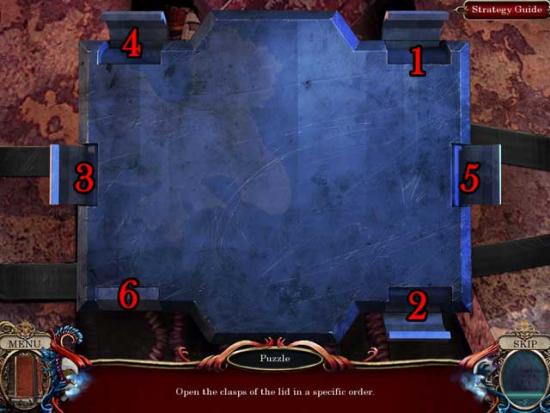
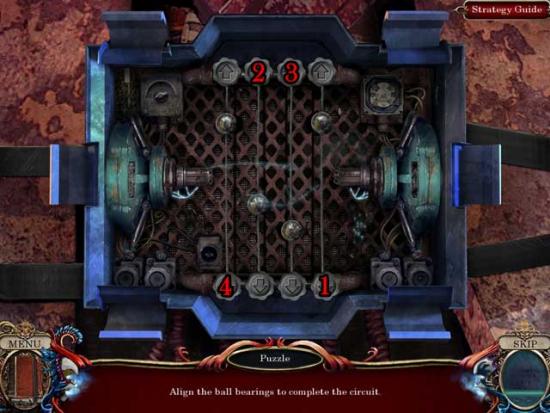
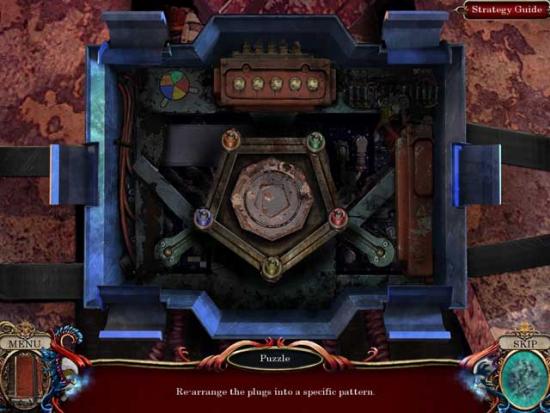
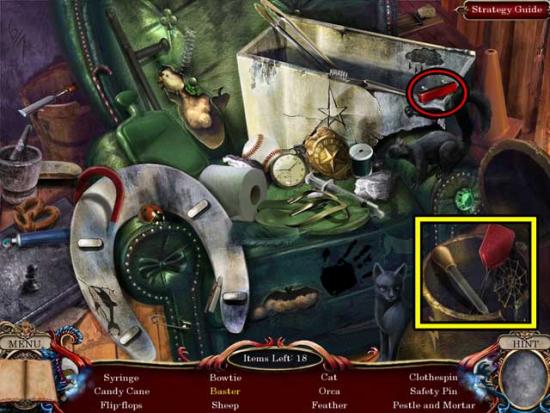
Safe Room

Upper Floor
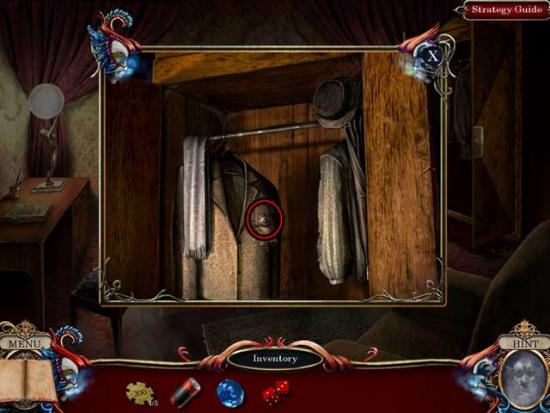
Suite
Slot Machines
Gambling Table
Lobby
Suite
Safe Room
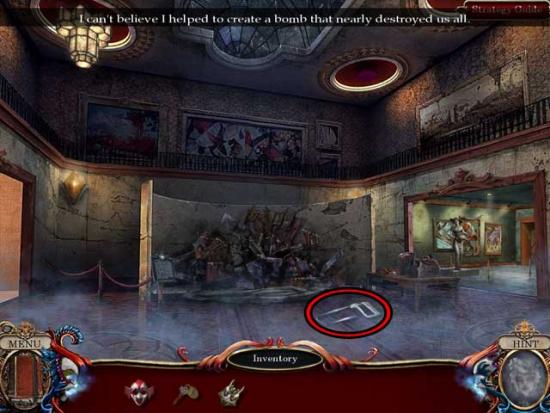
Casino Street Corner
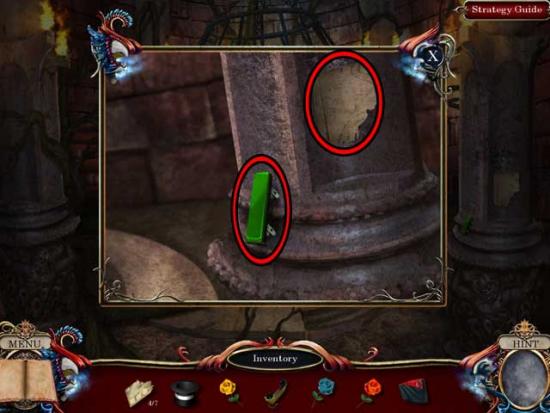
Conservatory Entrance
Entrance Hall
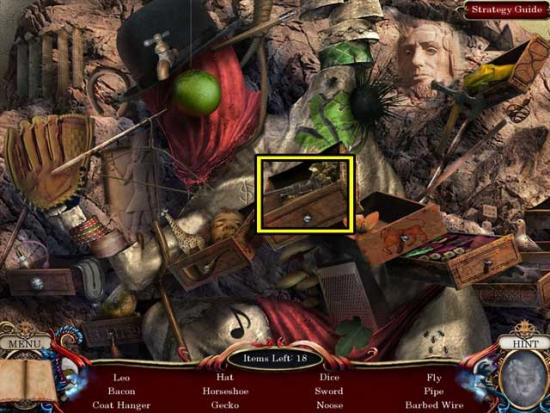
Dome Hallway
Tree
Dome Hallway
Tree
Entrance Hall
Tree
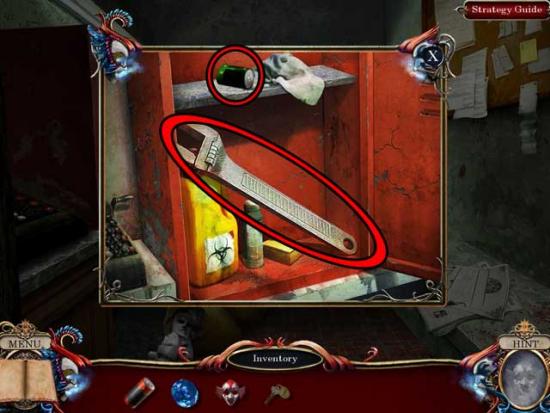
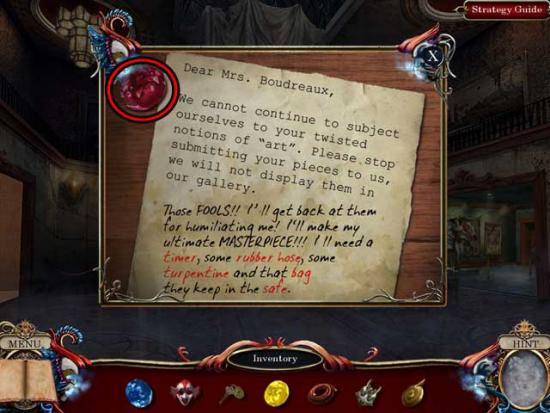
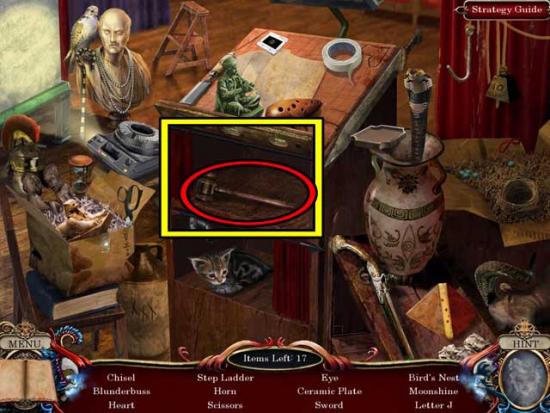
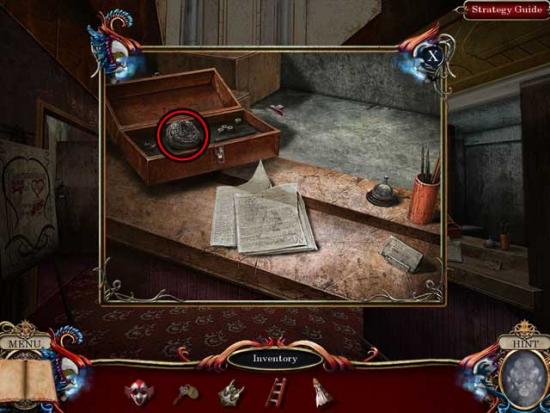
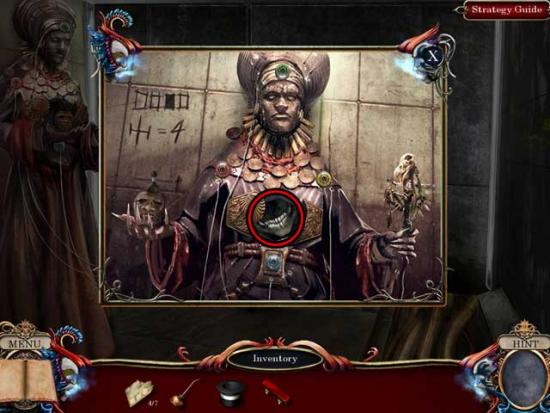
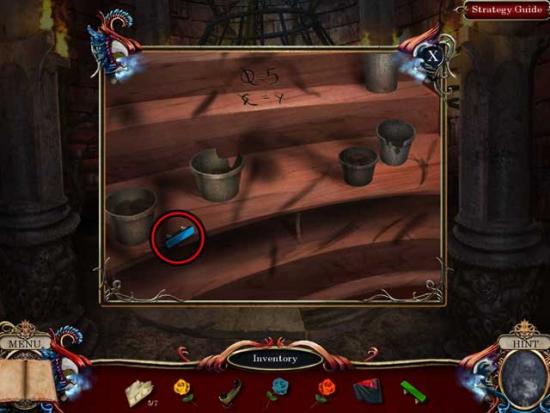
Office
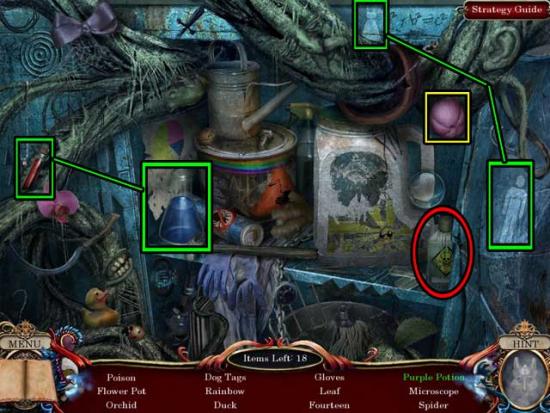
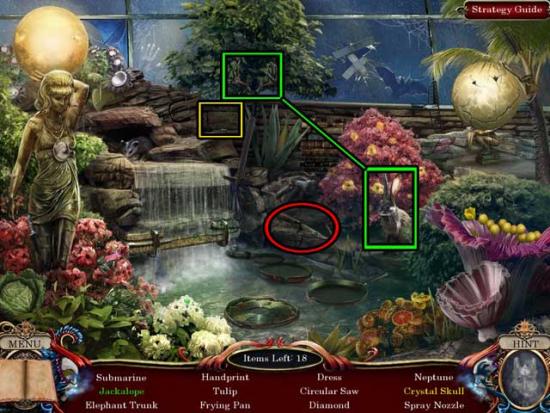
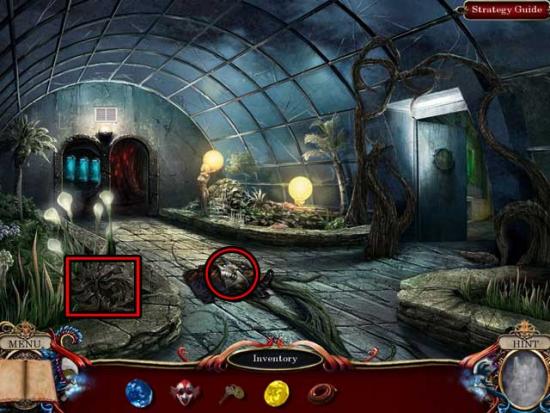
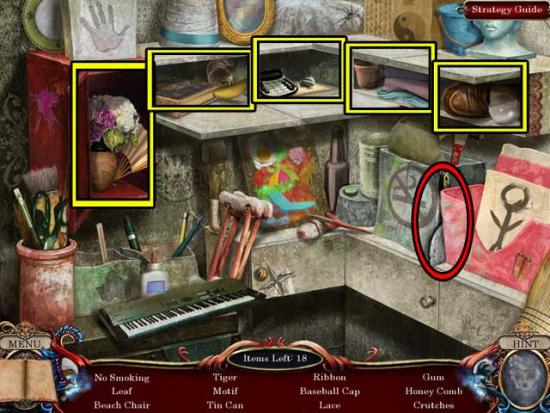
Plant Room
Dome Hallway
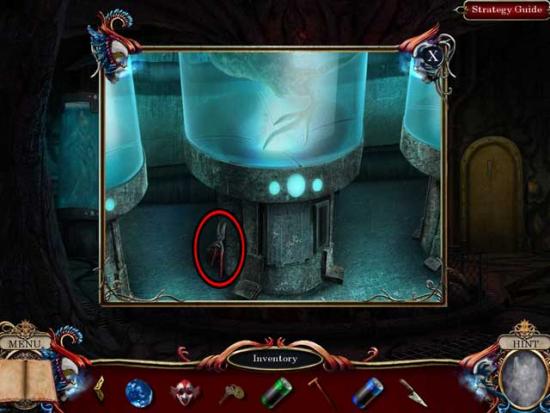
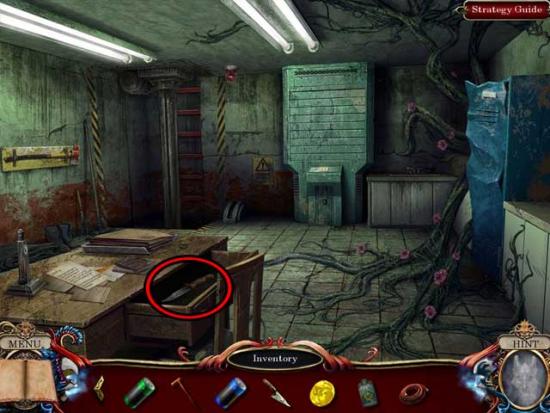
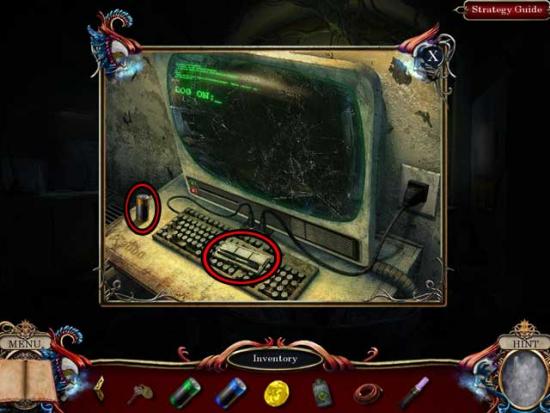
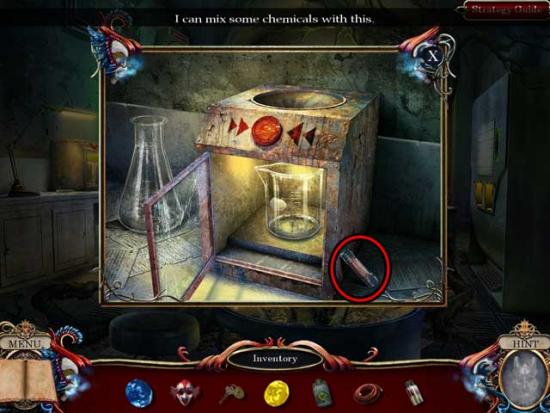
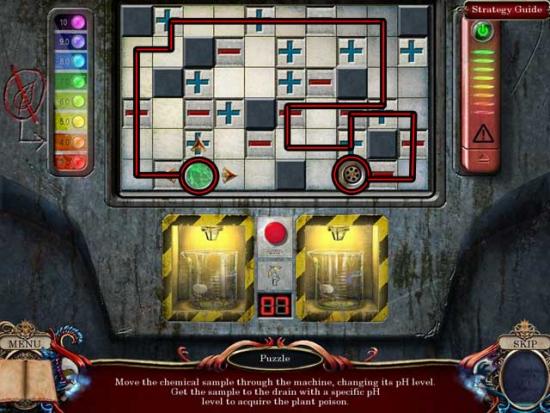
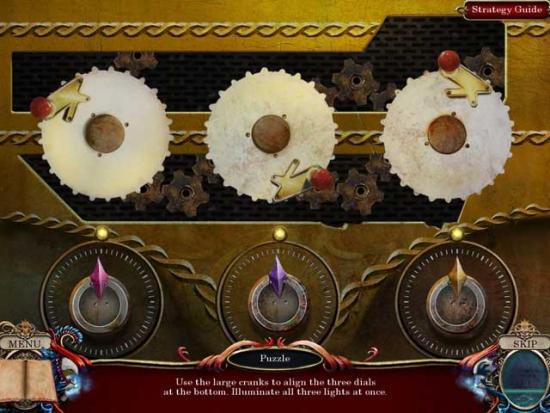
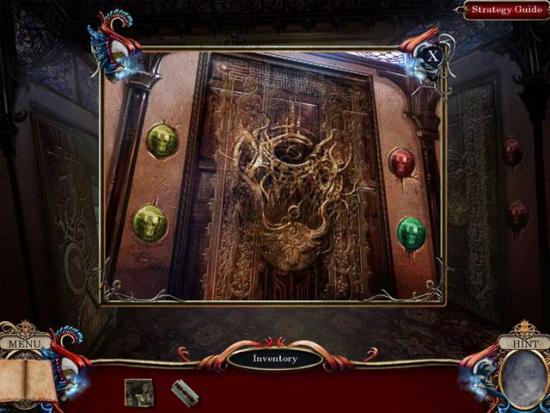
Lab
Office
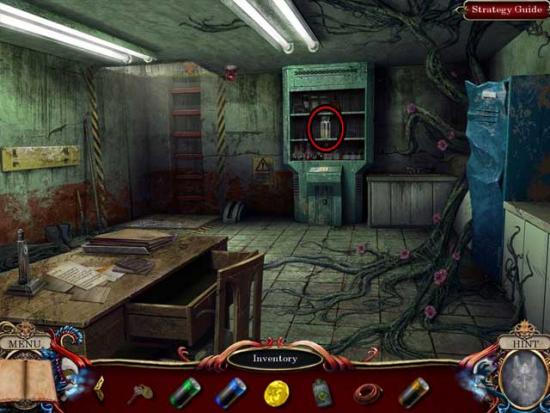
Plant Room
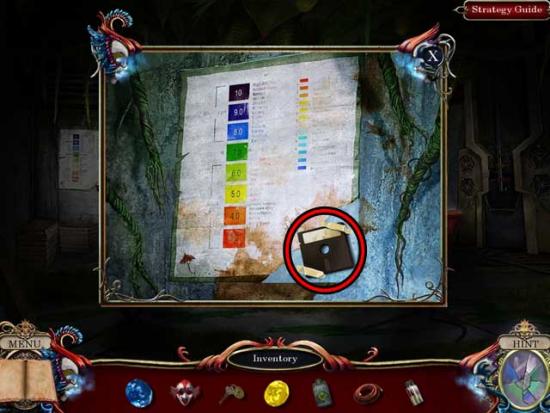
Lab
Tree
Lab
Plant Room
Dome Hallway
Conservatory Entrance
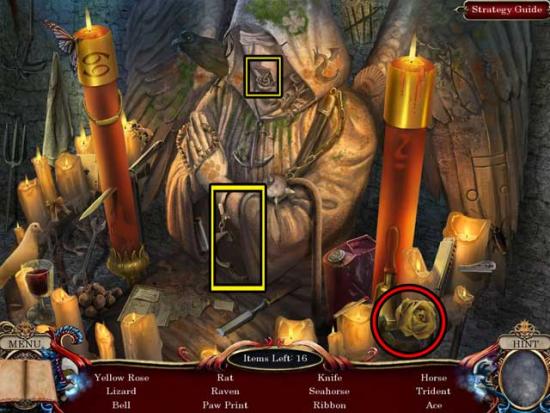
Fallen Sign
Gallery Lobby
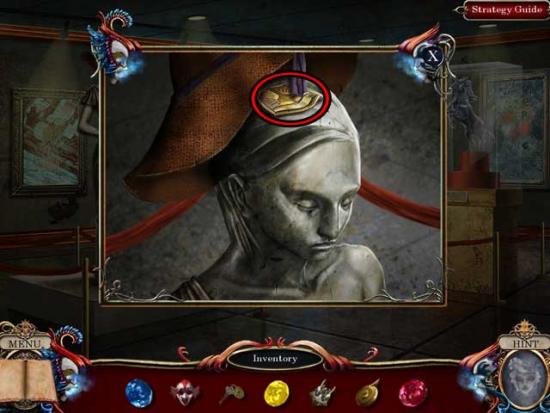
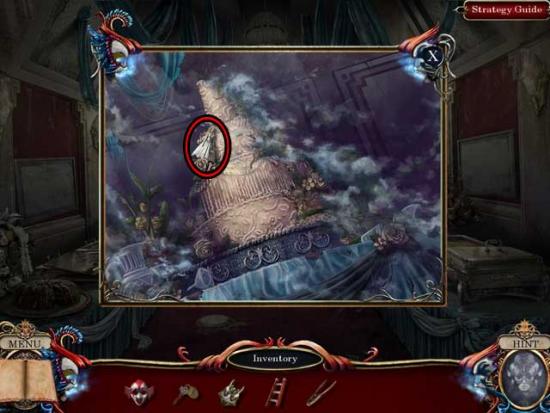
Statue Exhibit
Gallery Lobby
Painting Exhibit
Statue Exhibit
Stage
Statue Exhibit
Painting Exhibit
Stage
Storage Room
Painting Exhibit
Supply Room
Gallery Lobby
Stage
Storage Room
Gallery Lobby
Fallen Sign
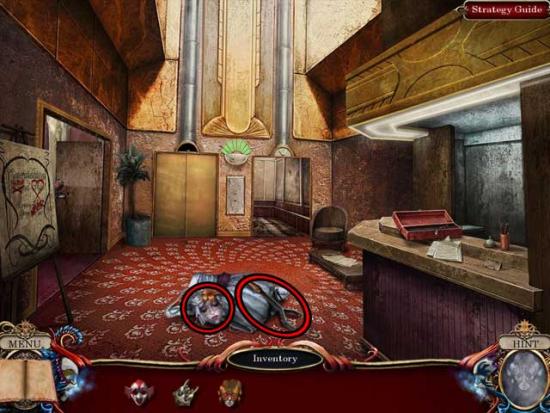
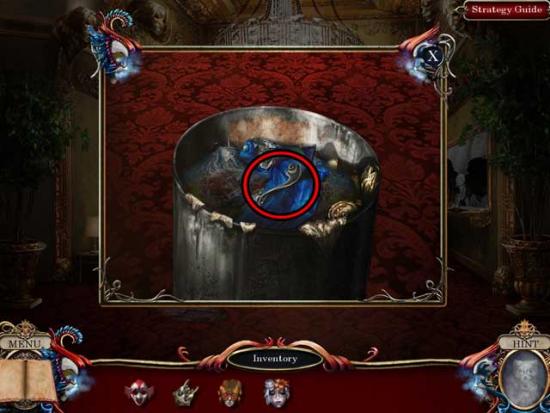
Hotel Lobby
Elevator
Hotel Lobby
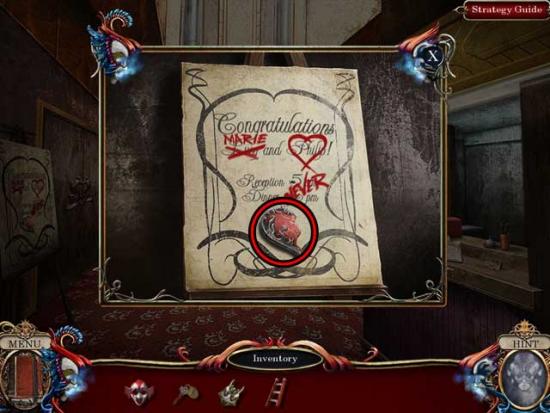
Reception
Hotel Lobby
Reception
Fallen Sign
Alley
Hotel Lobby
Elevator
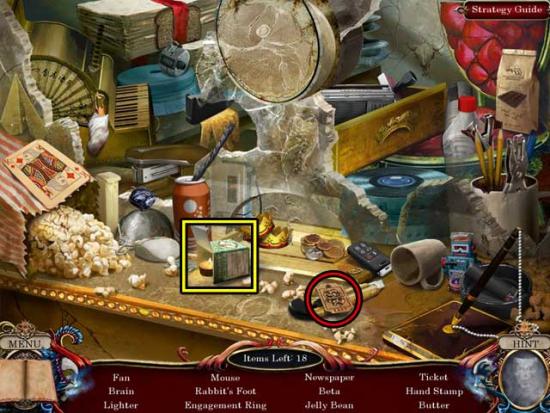
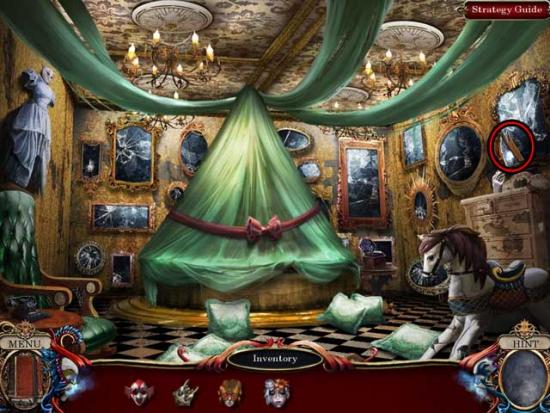
Hallway
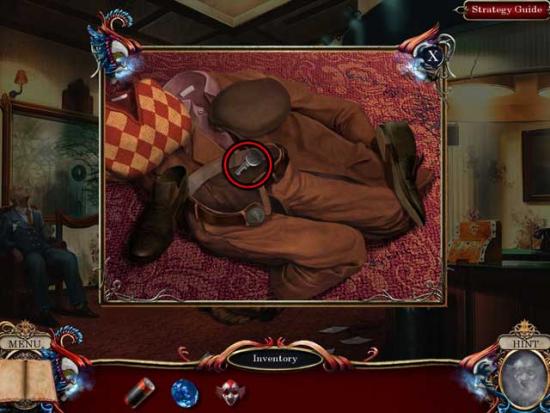
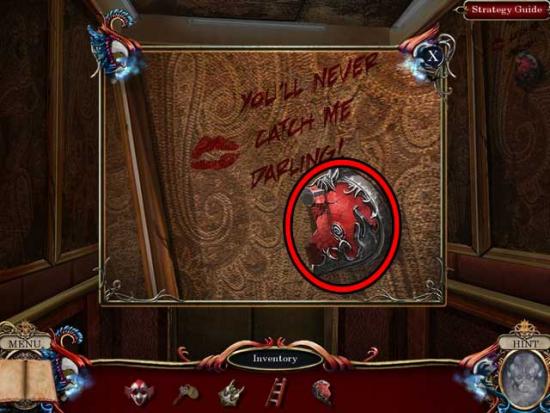
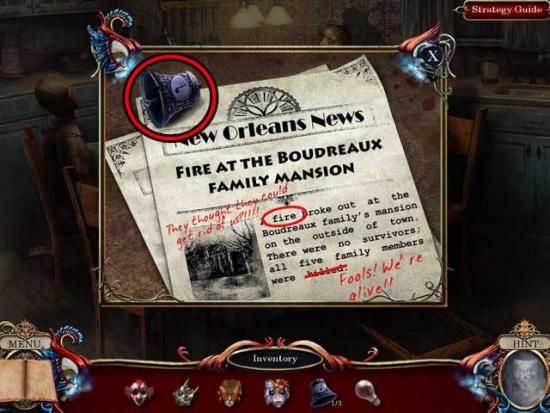
Room 1303
Reception
Hallway
Room 1303
Hallway
Room 1303
Hotel Lobby
Alley
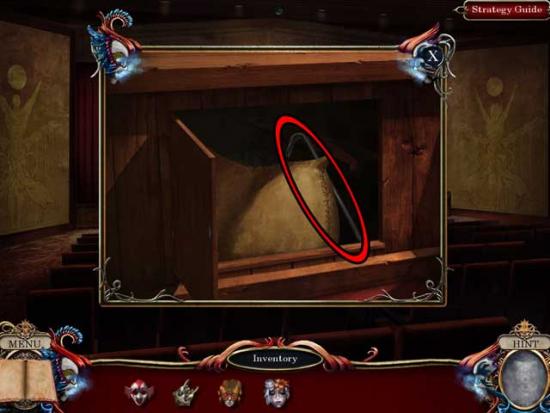
Theater Entrance
Theater Lobby
Theater
Theater Lobby
Theater
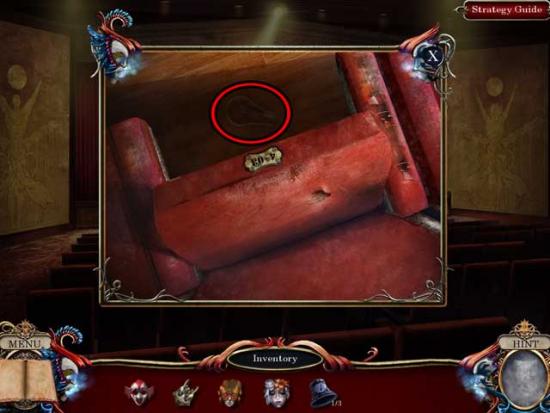
Stage
Theater
Stage
Theater Lobby
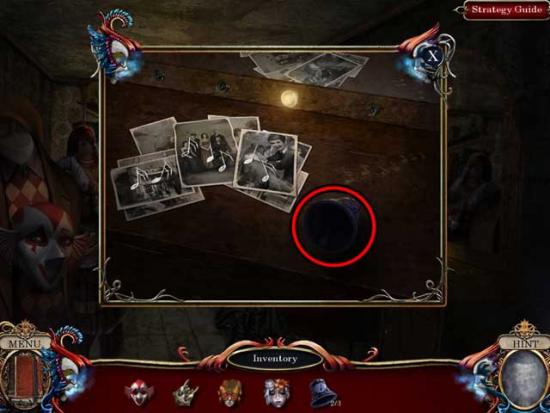
Dressing Room
Sewer
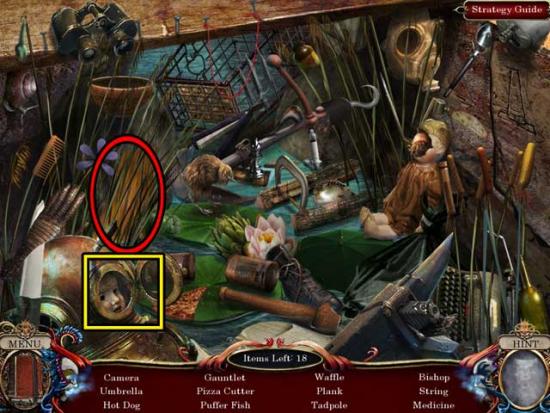
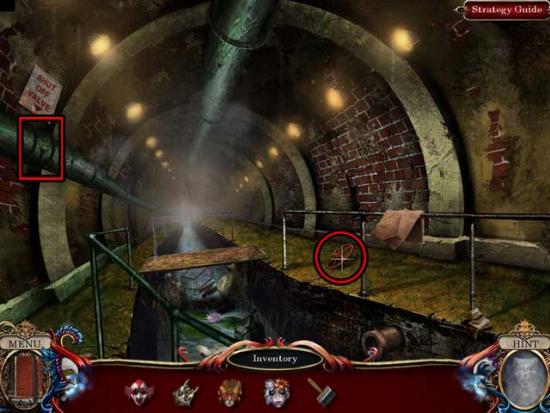
Ladder
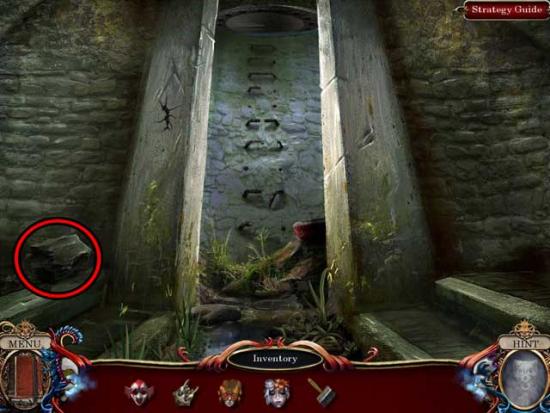
Sewer
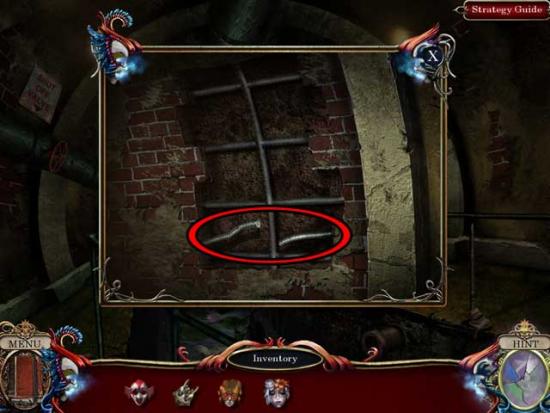
Ladder
Theater Entrance
Paddleboat Entrance
Lower Hall
Upper Hall
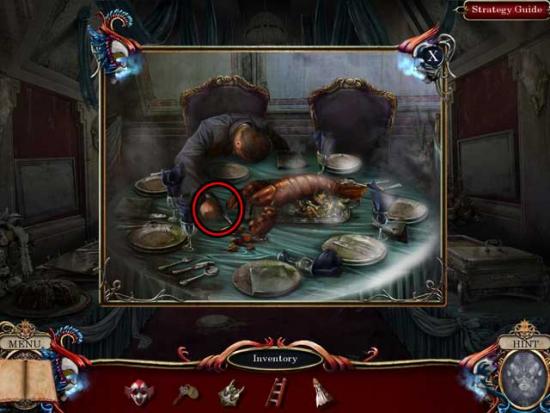
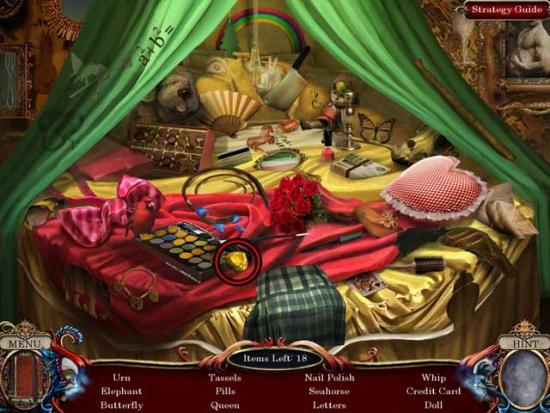
Bedroom
Upper Hall
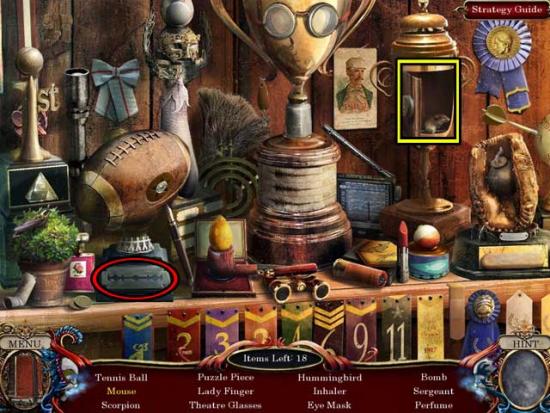
Trophy Room
Upper Hall
Lower Hall
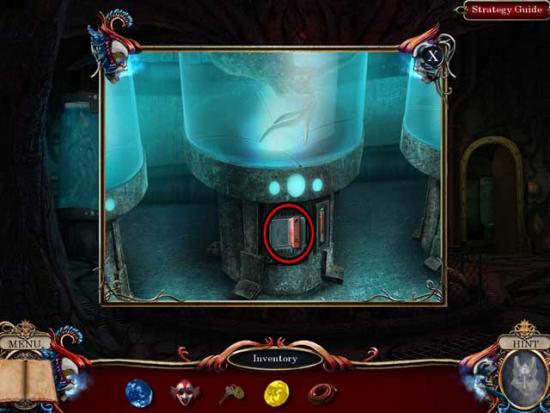
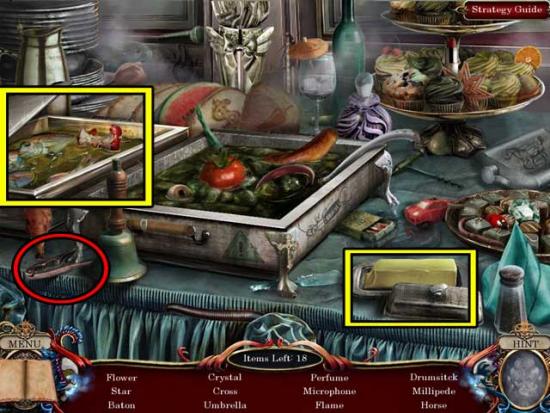
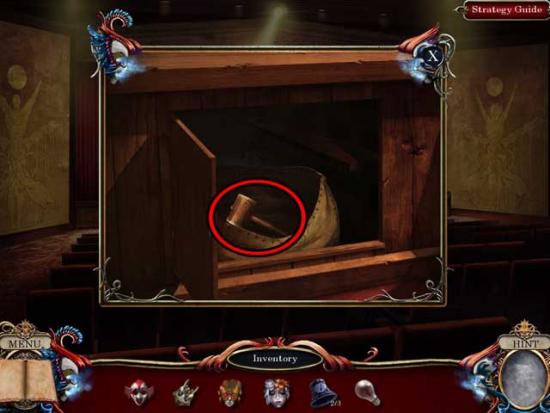
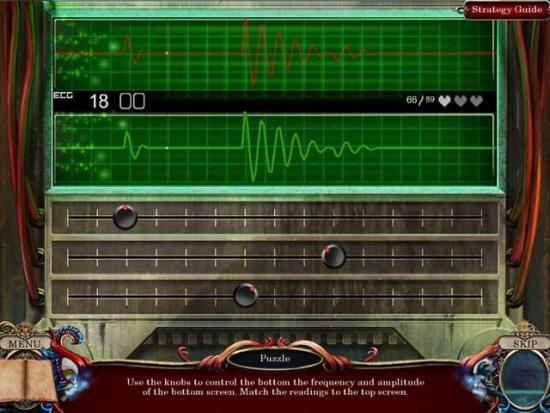
Lab
Trophy Room
Lab
Lower Hall
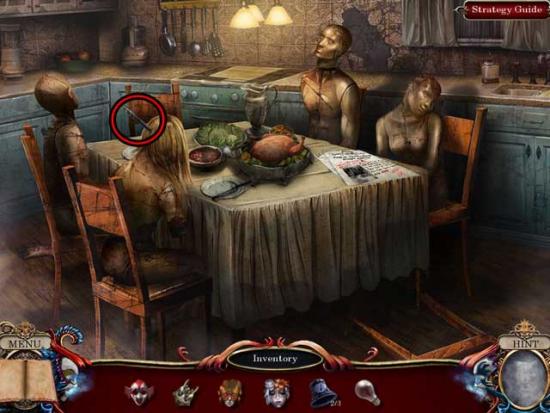
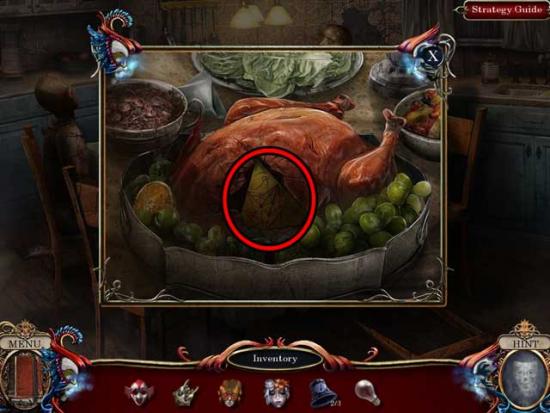
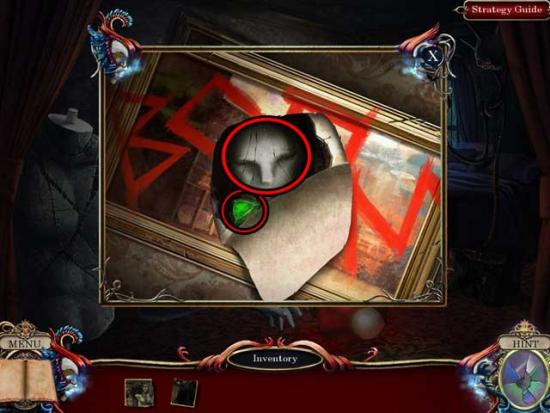
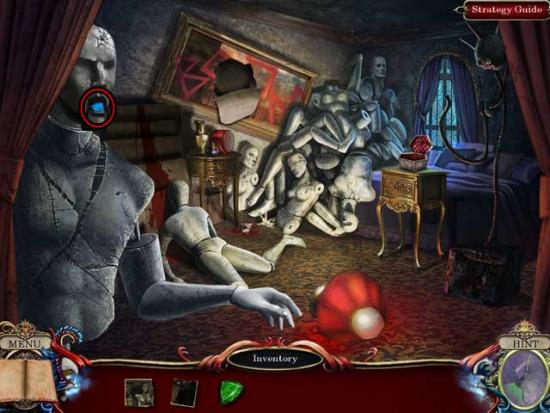
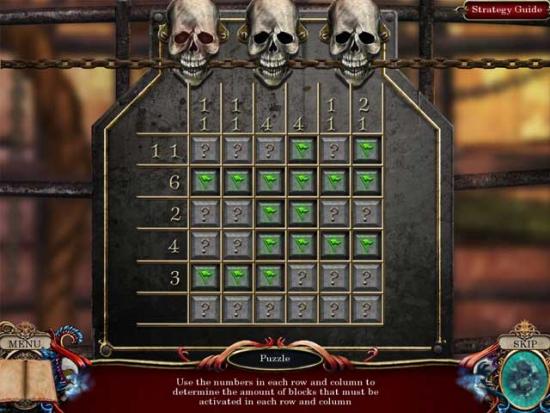
Mannequin Room
Lab
Mannequin Room
Lab
Bedroom
Upper Hall

Engine Room
Congratulations! You’ve completed Shattered Minds: Masquerade!
To access the bonus chapter, from the main menu click on the red car that says “Bonus”, then click on the steering wheel that says “Play”.
Front Gate

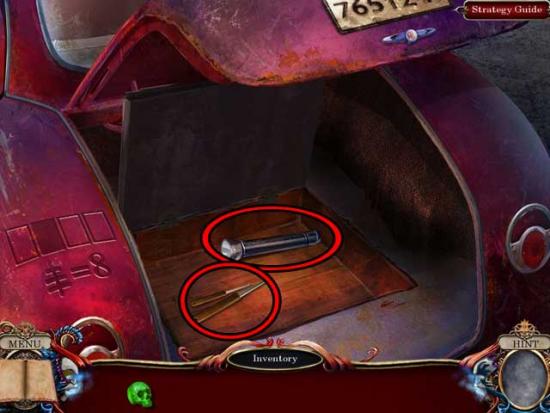
Trunk
Front Gate
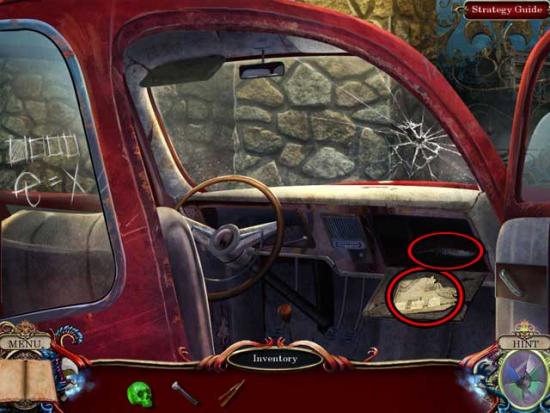
Inside Car

Trunk
Inside Car
Front Gate
Mansion Entrance
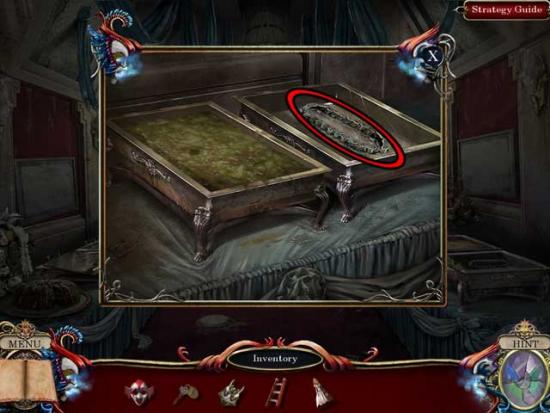
Cellar
Front Gate
Mansion Entrance
Cellar
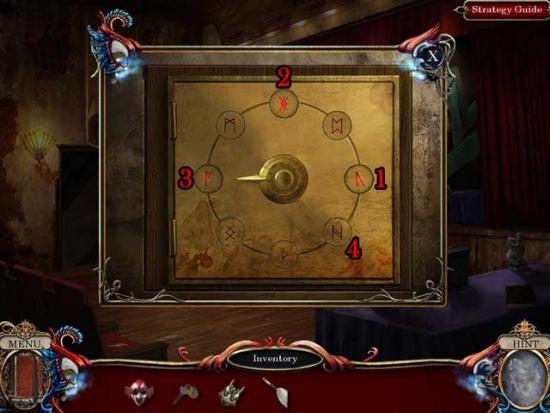
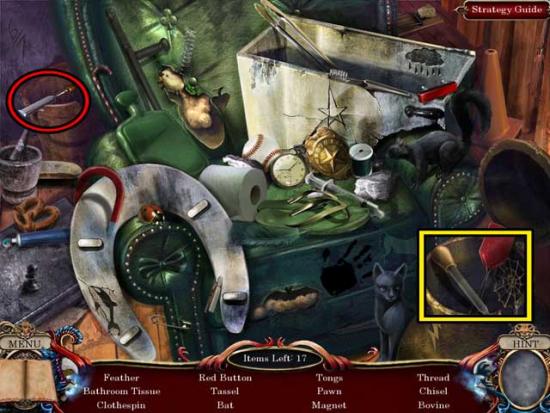
Hidden Room
Cellar
Catacomb
Hidden Room
Cellar
Hidden Room
Catacomb
Cage Room
Hidden Room

Cage Room
Catacomb
Hidden Room

Front Gate
Congratulations! You’ve completed Shattered Minds: Masquerade Collector’s Edition!
