![Digimon UP Tier List [Supports, Buddies, and Partners]](/wp-content/uploads/2026/07/digimon-up-tier-list.jpg "Digimon UP Tier List [Supports, Buddies, and Partners]")
Digimon UP Tier List [Supports, Buddies, and Partners]
These Digimon will get you UP the leaderboard.

![Haze Seas Boss Drops [Chances, Locations, and How to Spawn]](/wp-content/uploads/2026/07/haze-seas-boss-drops.jpg "Haze Seas Boss Drops [Chances, Locations, and How to Spawn]")

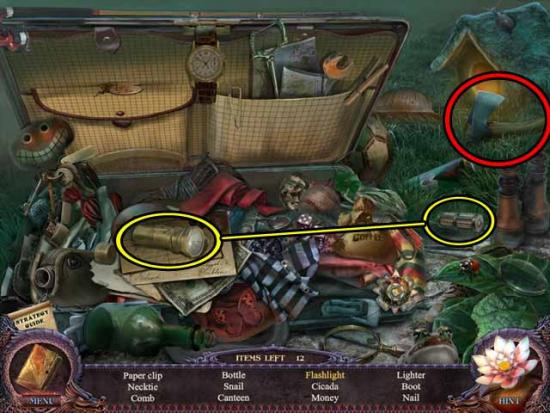
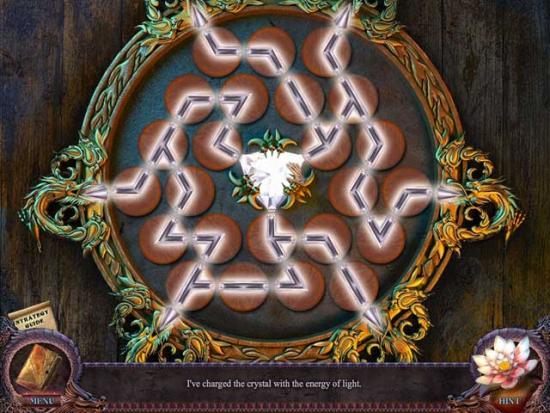
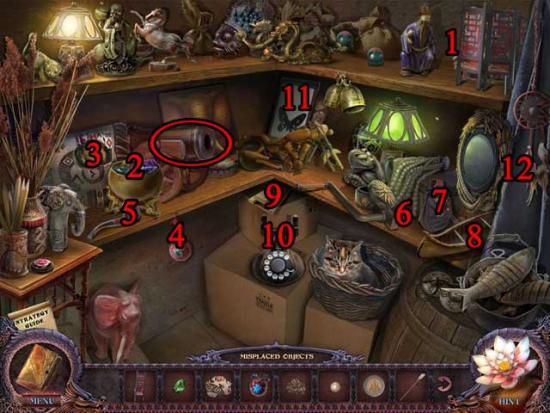
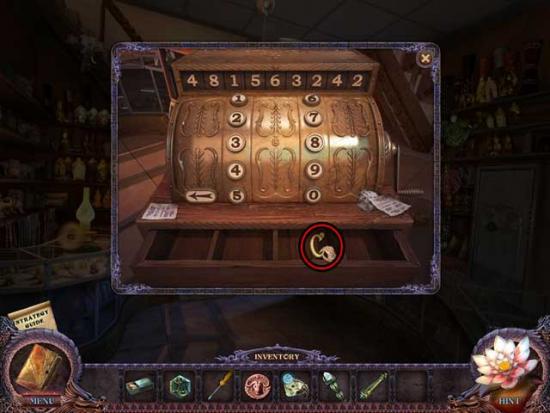
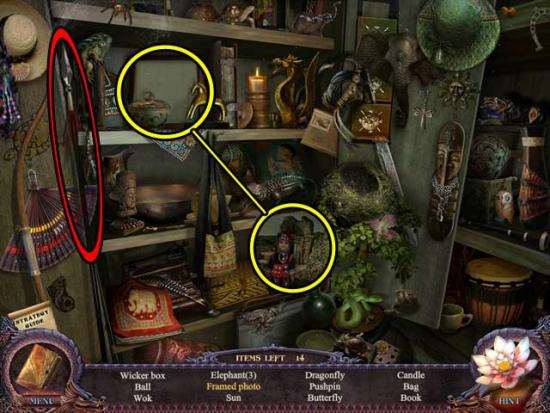
Welcome to the Secrets of the Dark: Eclipse Mountain walkthrough on Gamezebo. Secrets of the Dark: Eclipse Mountain is a hidden object adventure game created by Orneon Limited. This walkthrough includes tips and tricks, helpful hints, and a strategy guide which will help you on your way to navigating the game’s many twists and turns.
Welcome to the Secrets of the Dark: Eclipse Mountain walkthrough on Gamezebo. Secrets of the Dark: Eclipse Mountain is a hidden object adventure game created by Orneon Limited. This walkthrough includes tips and tricks, helpful hints, and a strategy guide which will help you on your way to navigating the game’s many twists and turns.
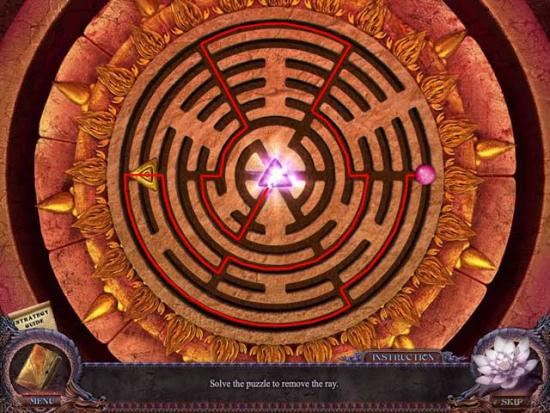
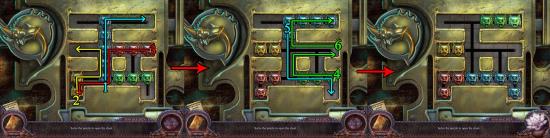
Crossroads

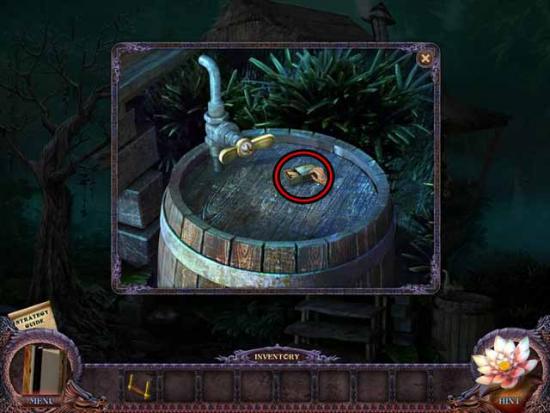
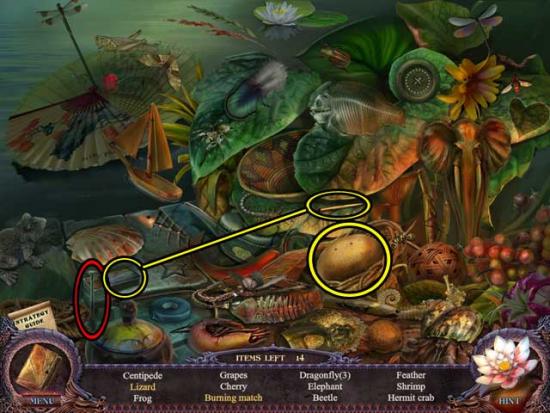
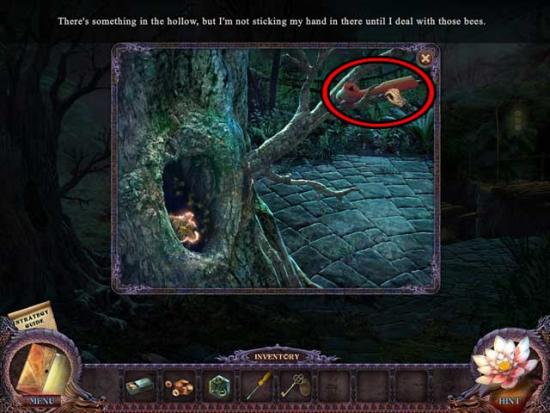
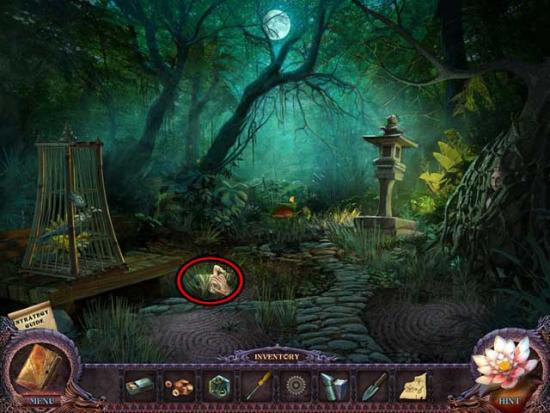
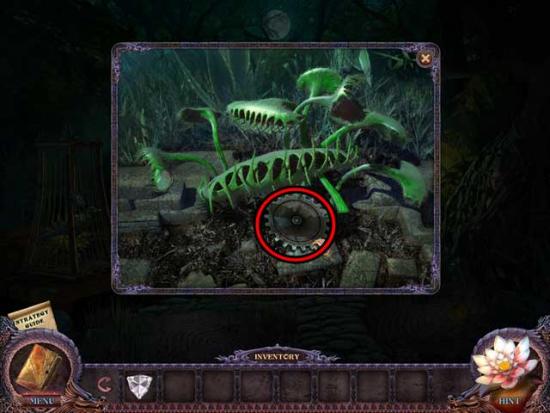
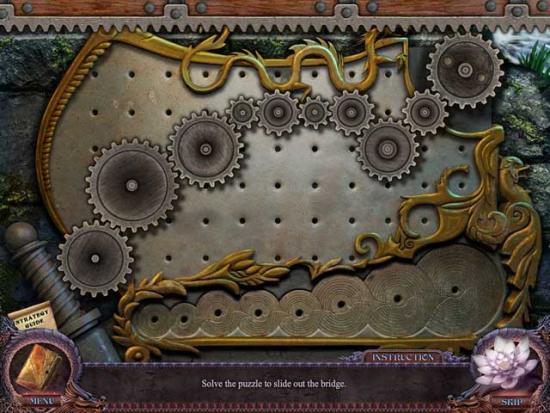
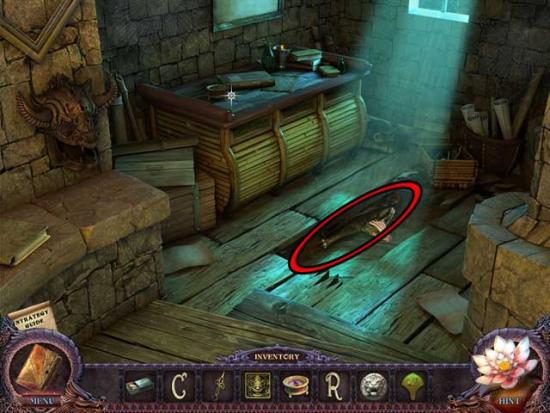
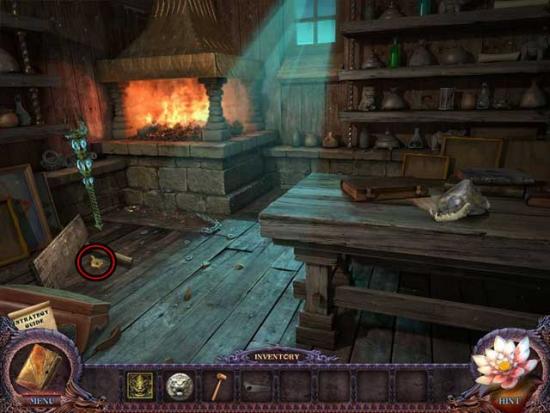
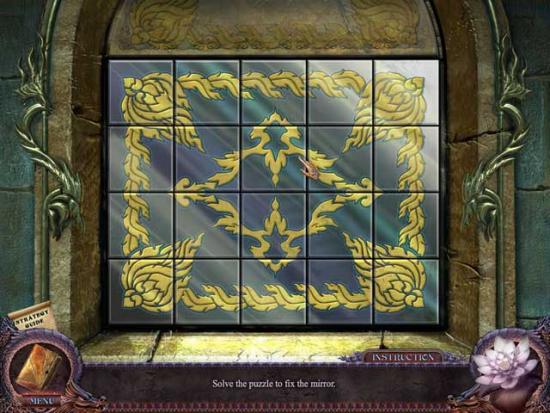
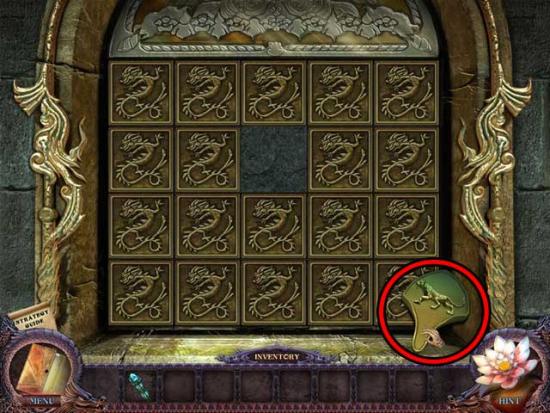
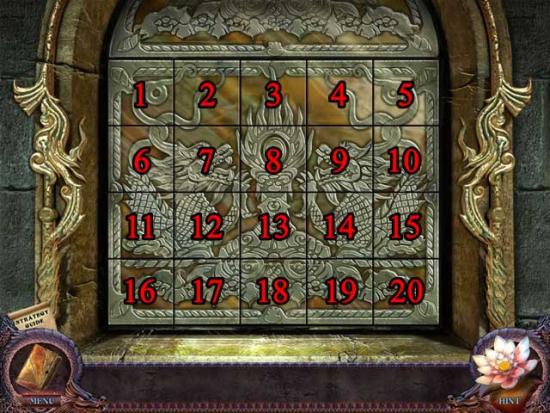
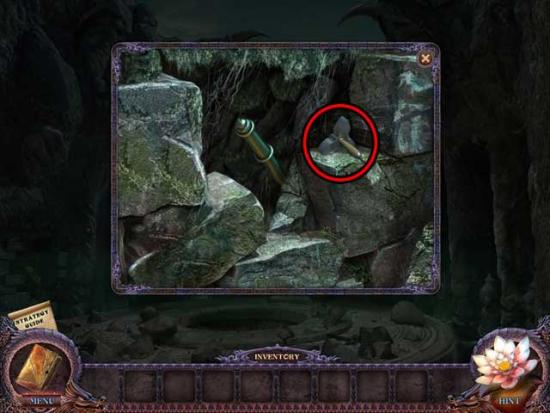
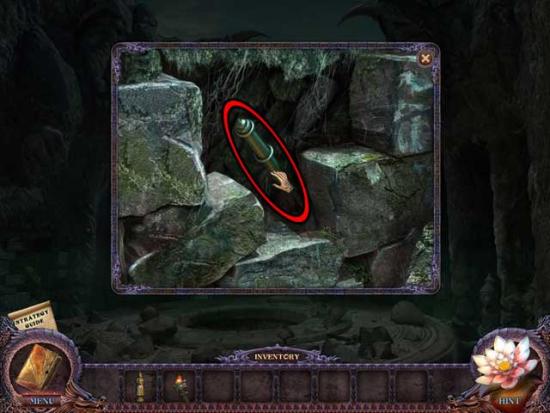
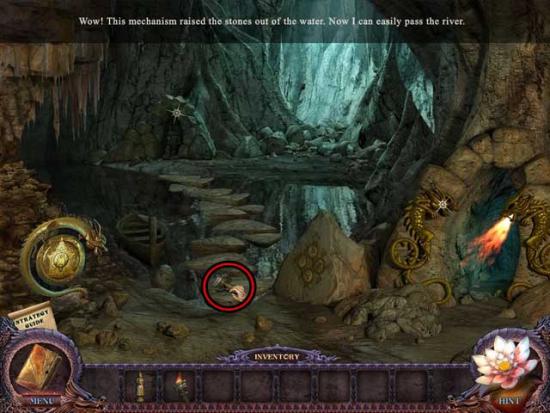
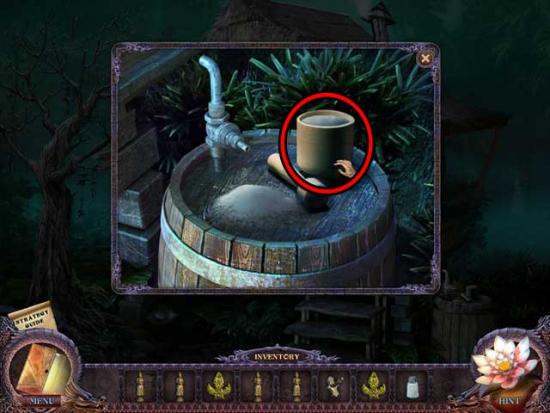
Pool
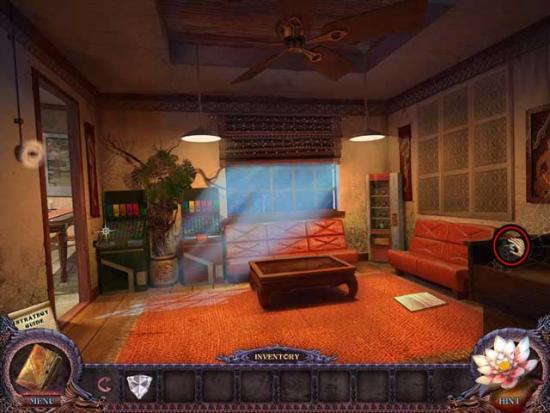
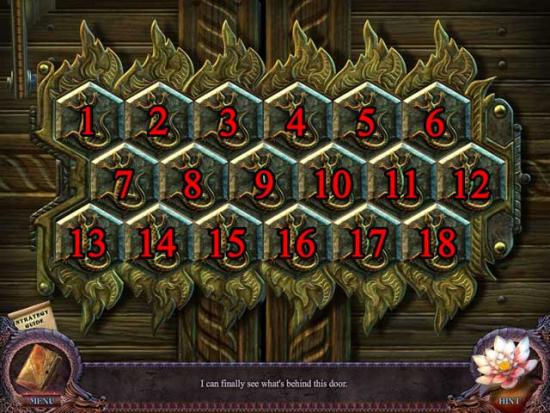
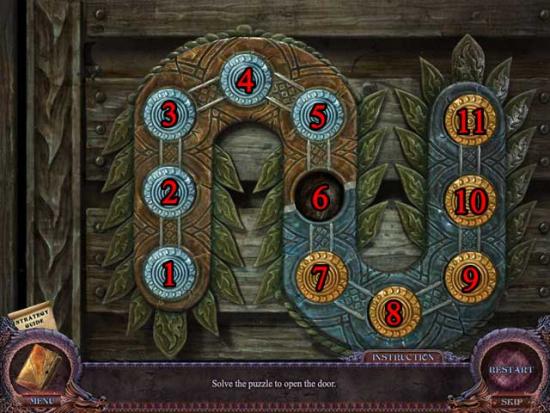
Crossroads
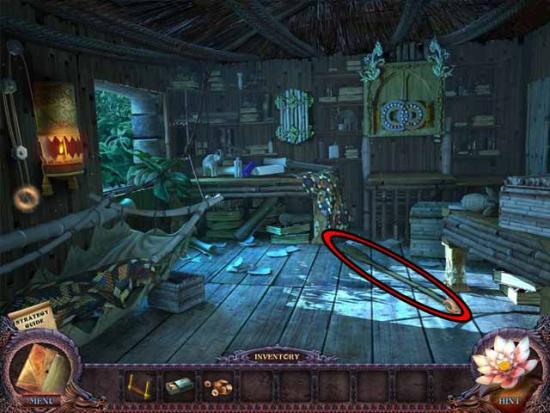
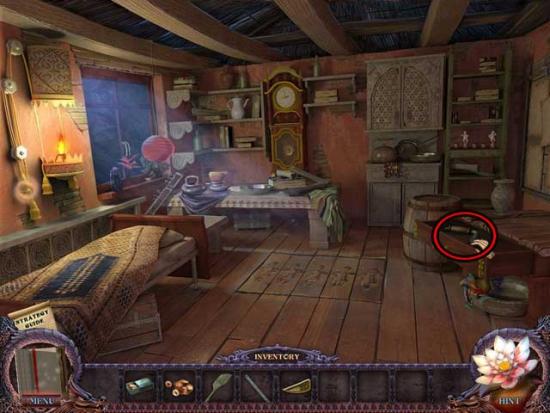
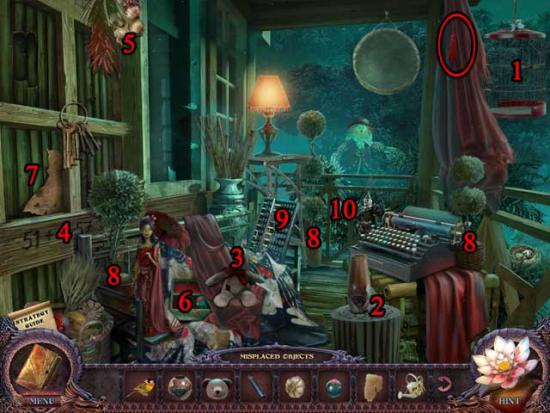
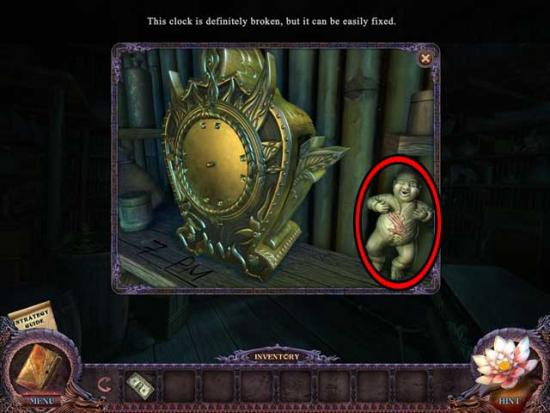
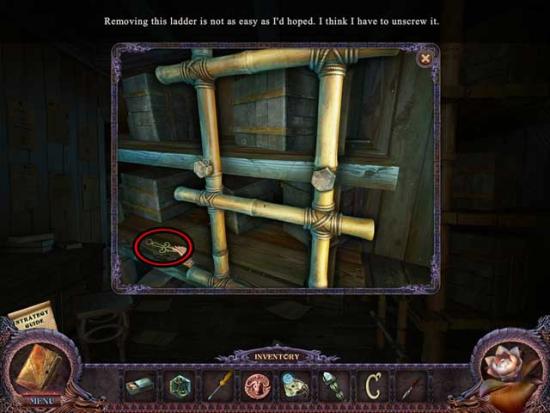
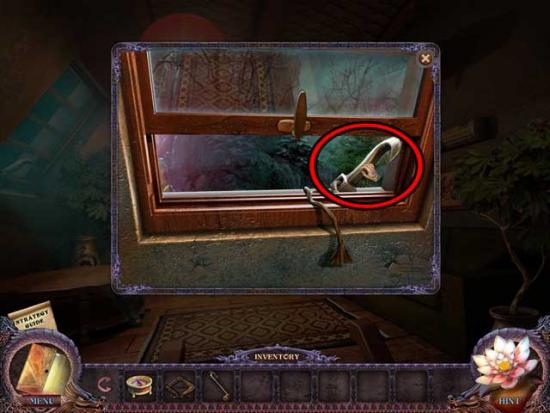
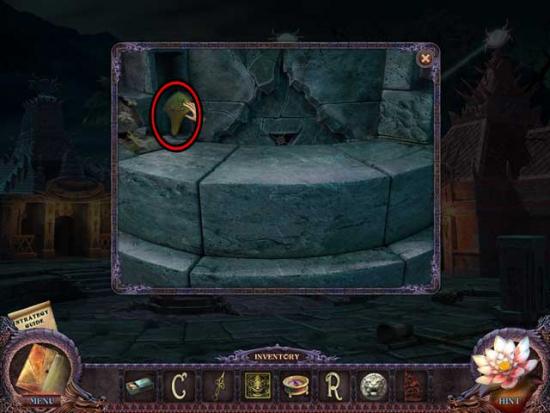
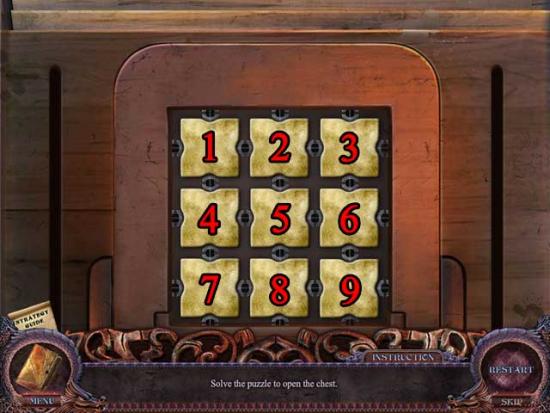
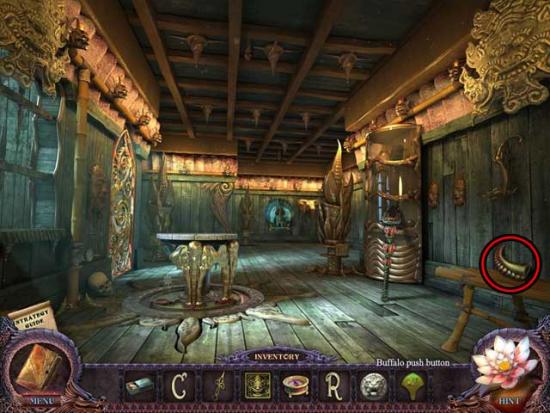
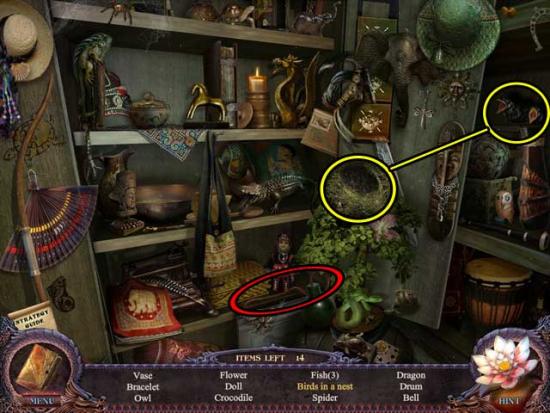
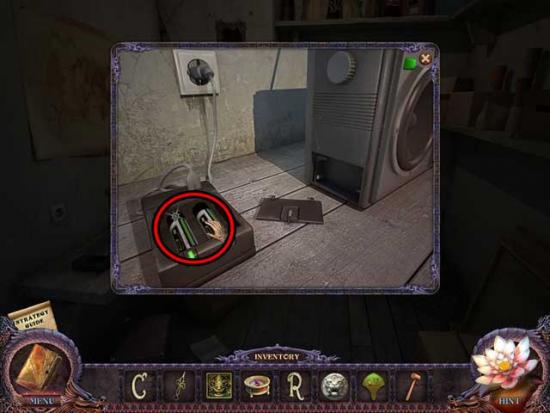
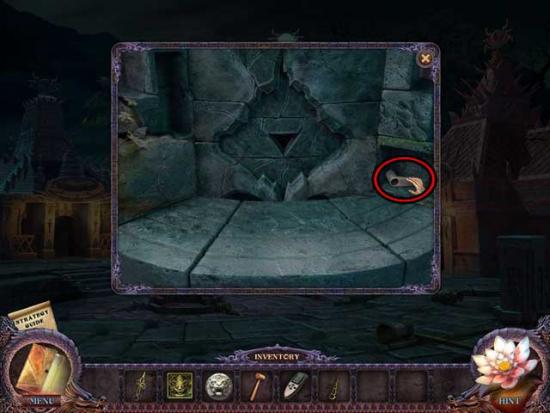
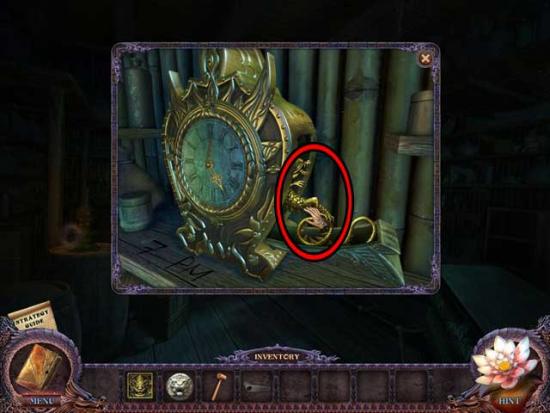
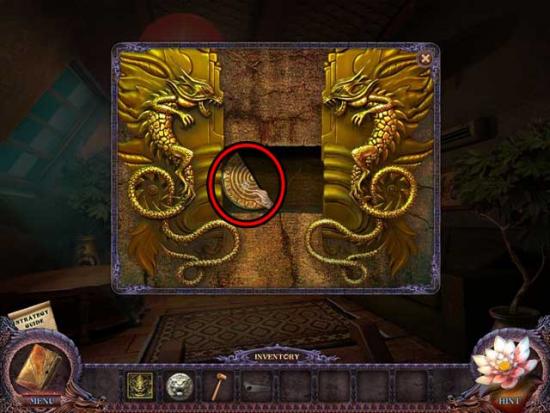
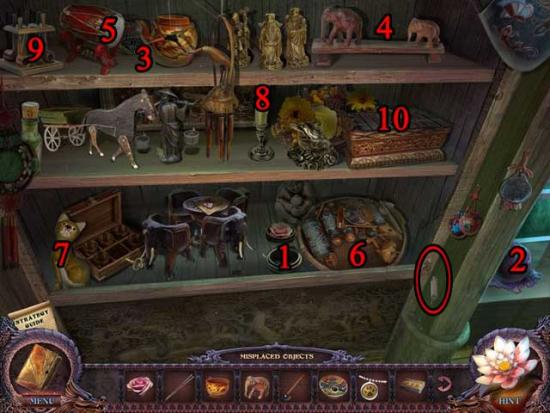
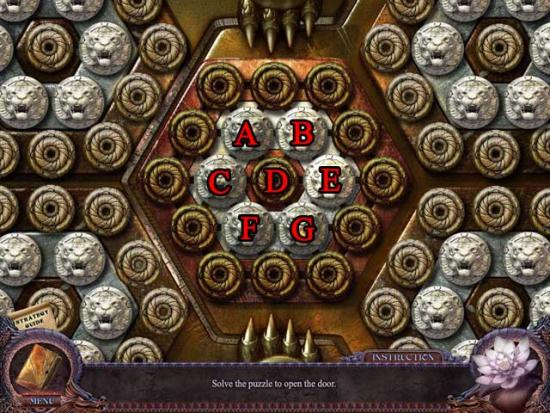
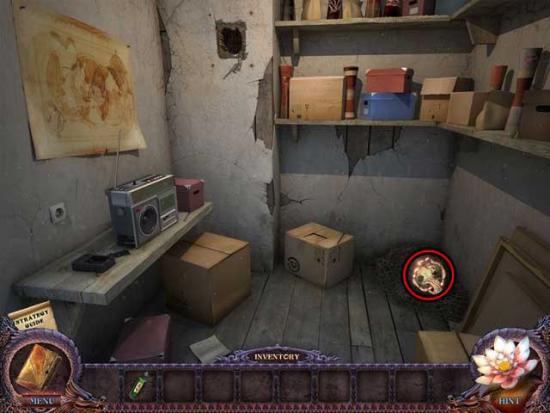
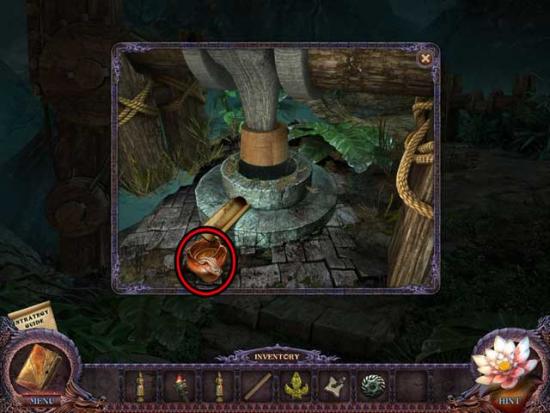
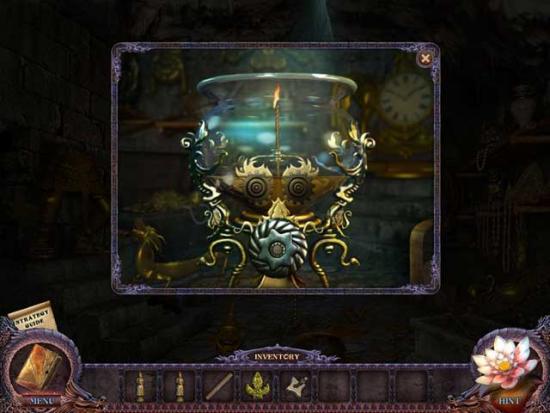
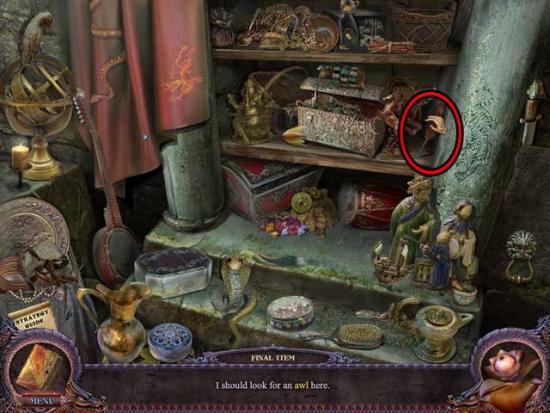
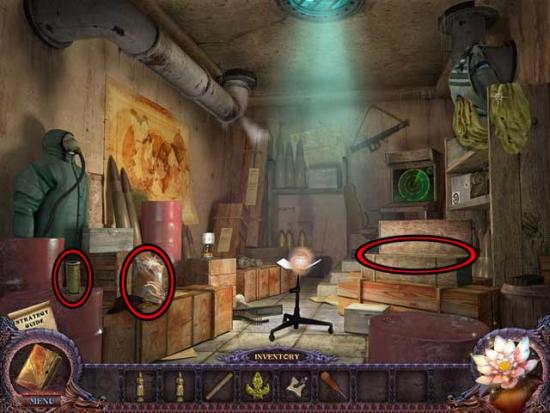
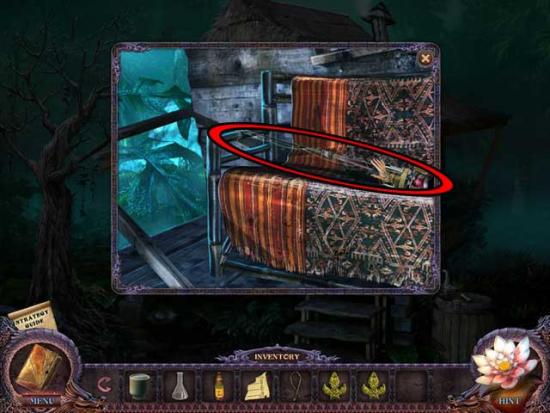
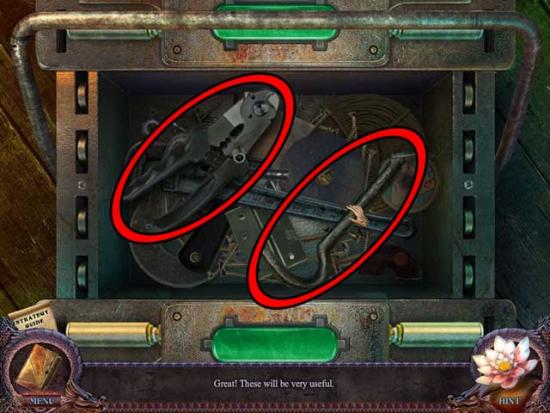
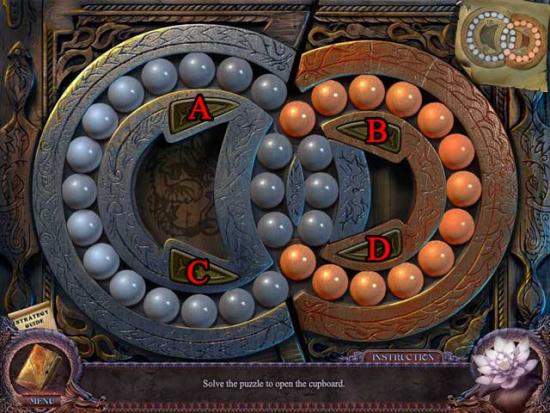
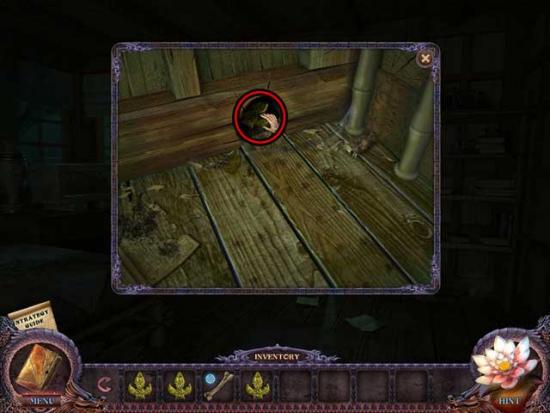
Hut

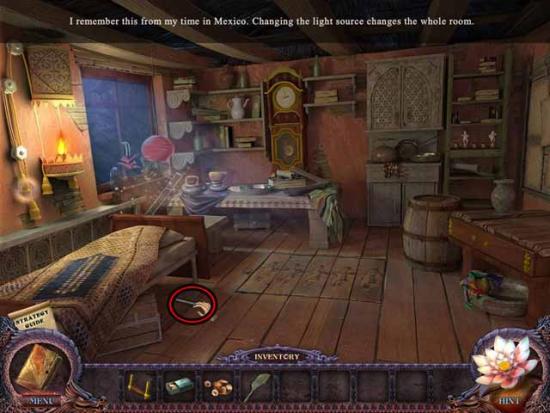
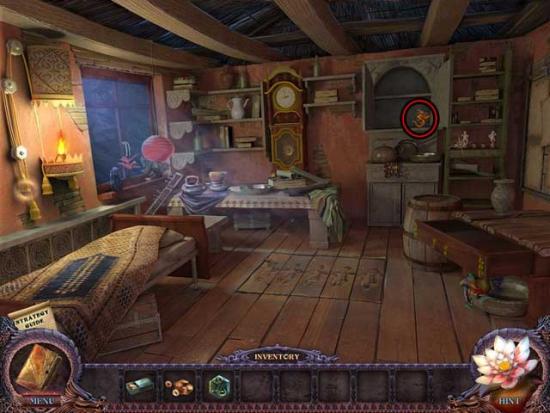
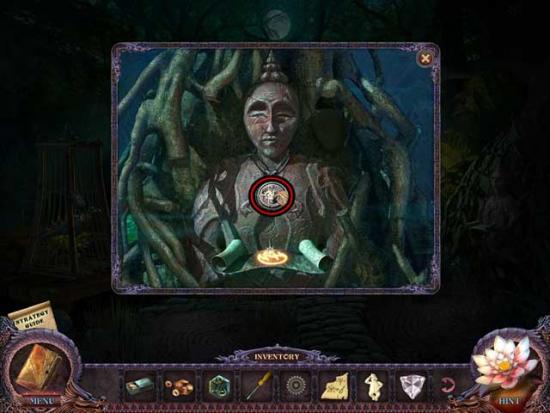
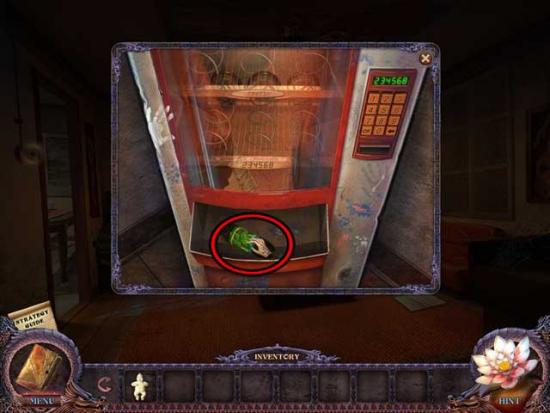
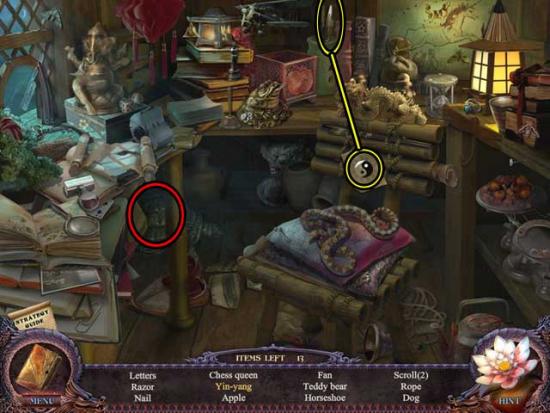
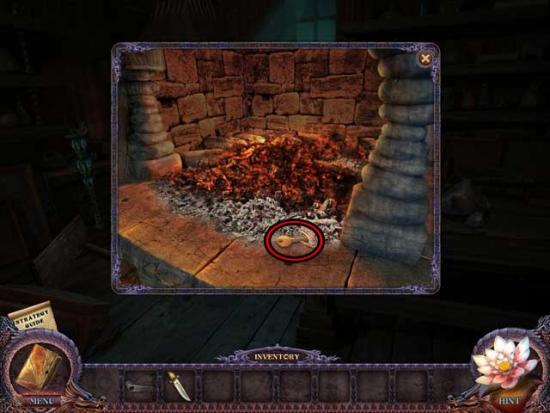
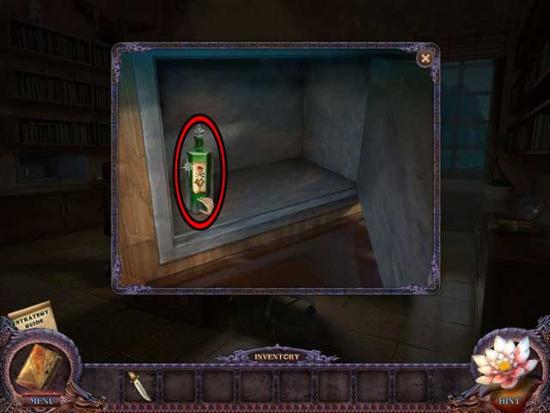
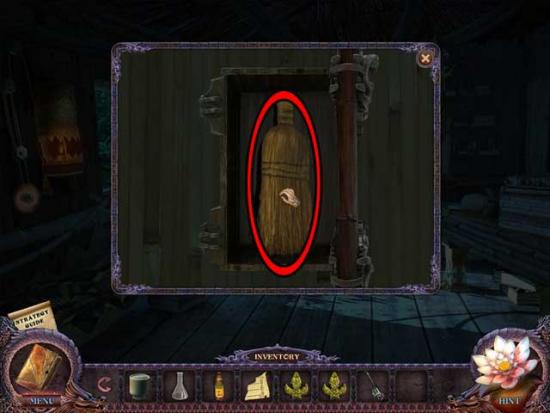
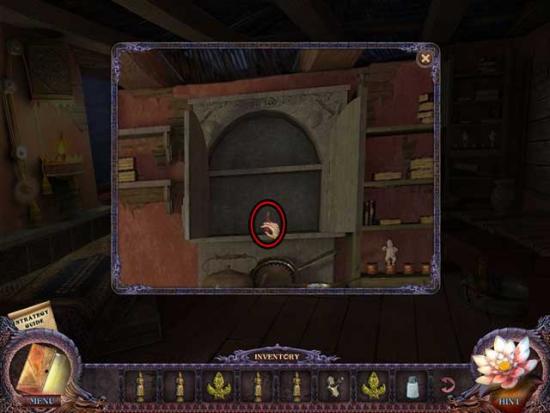
Hut Interior
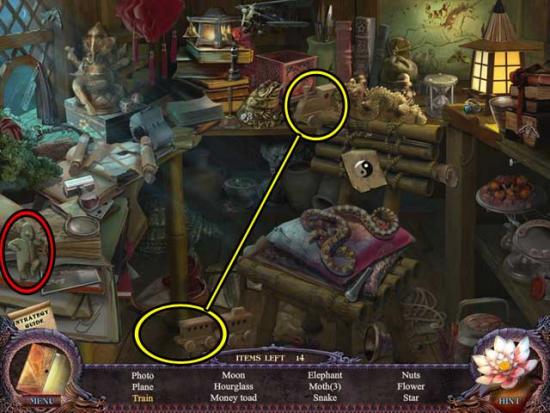
Hut
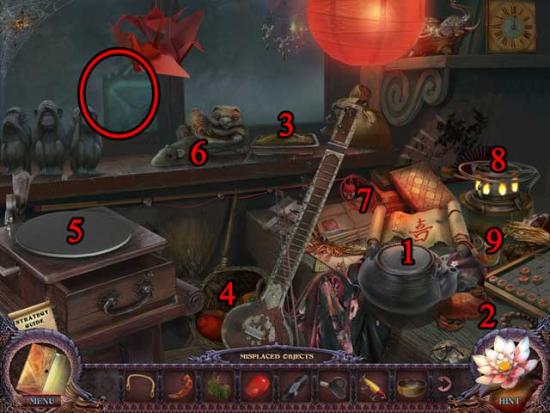
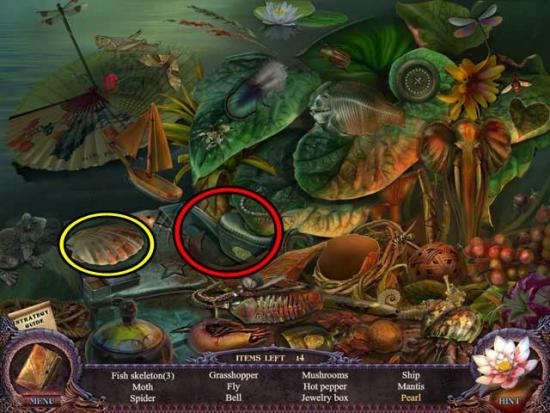
Pool

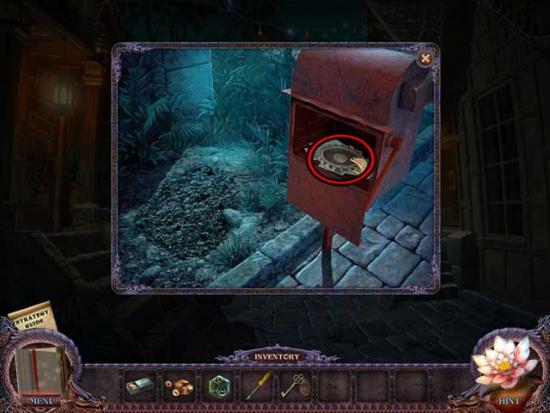
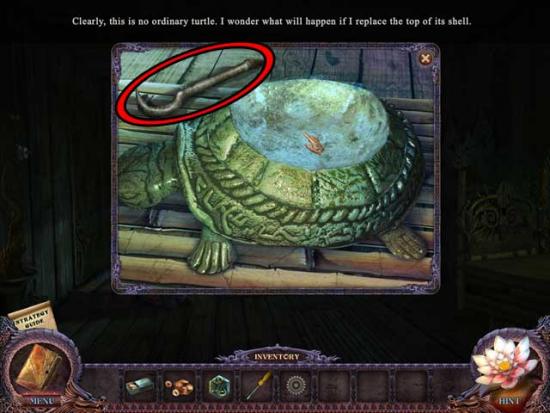
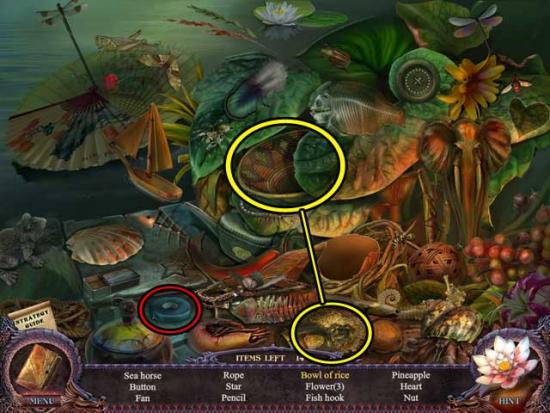
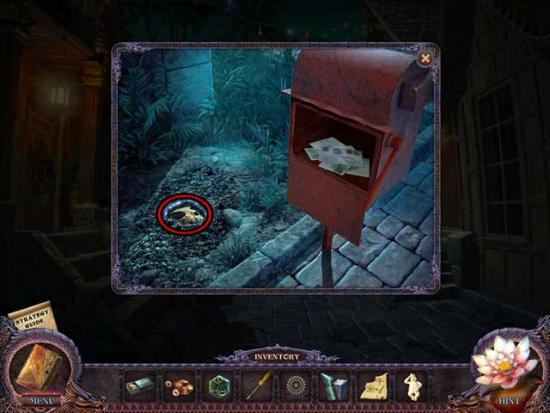
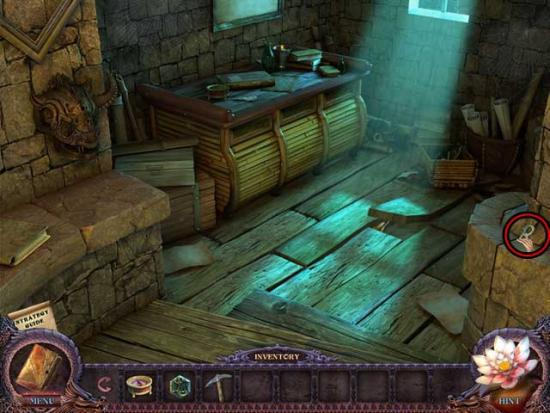
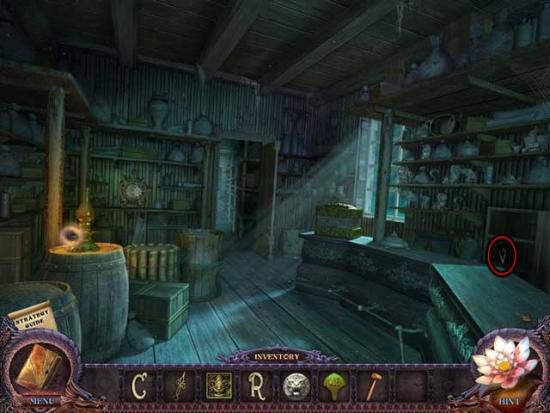
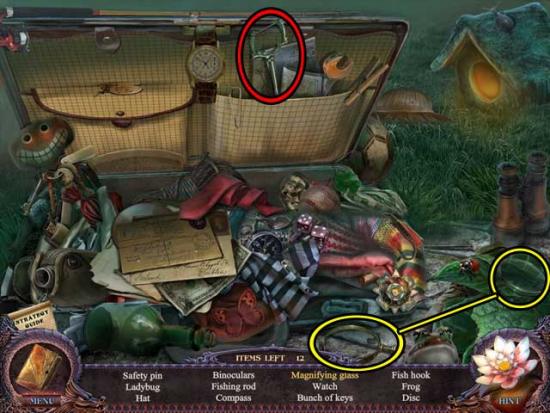
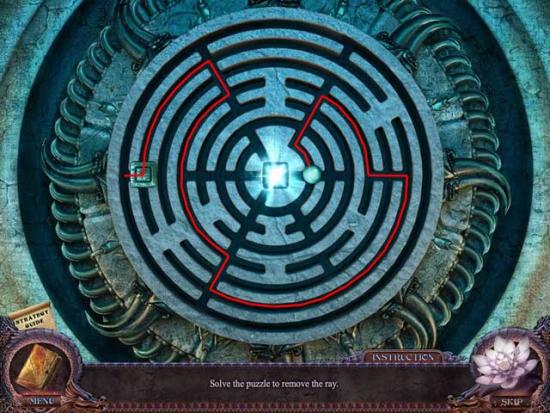
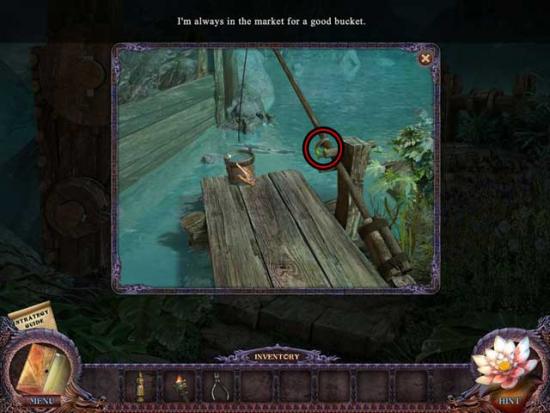
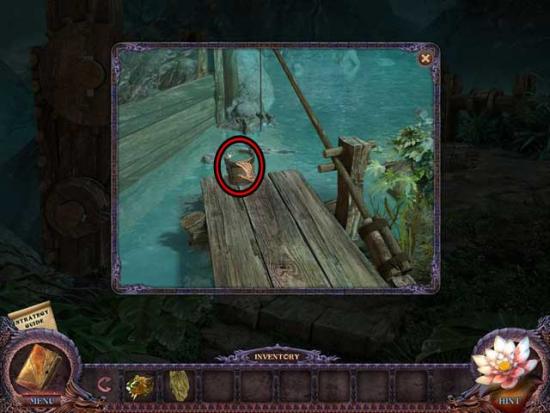
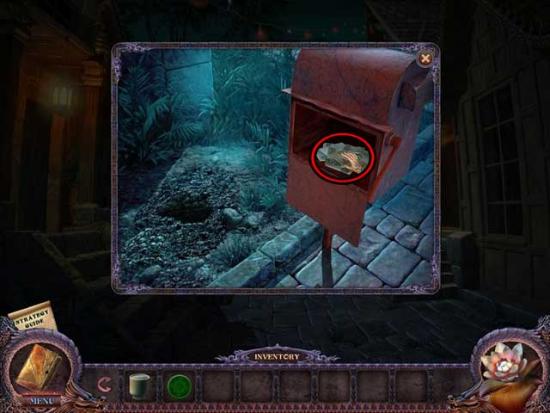
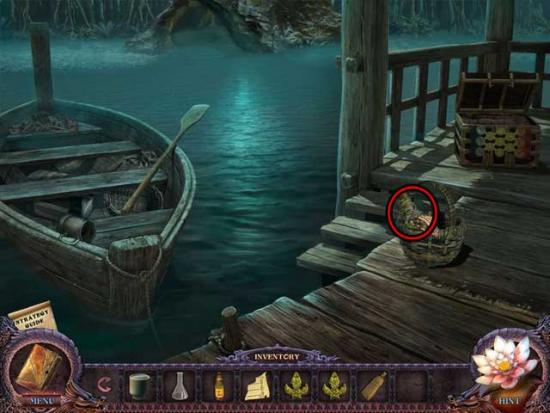
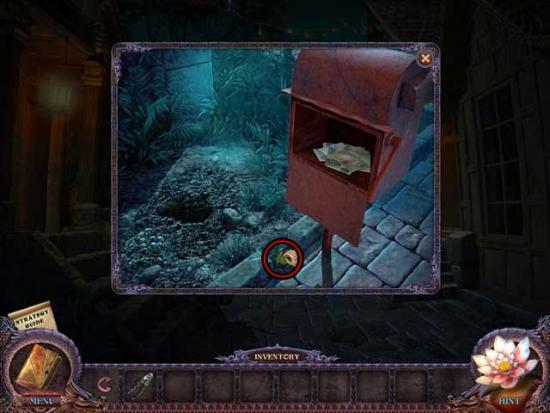
Dock
Pool
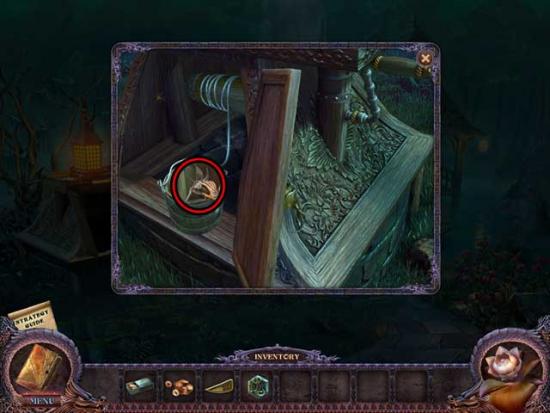
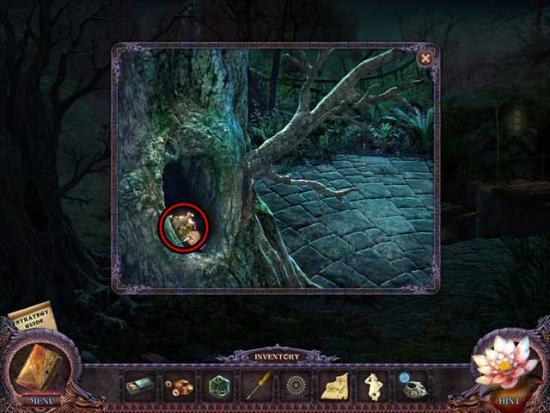
Dock
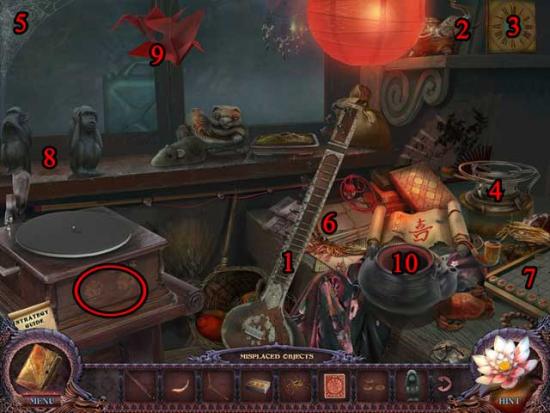
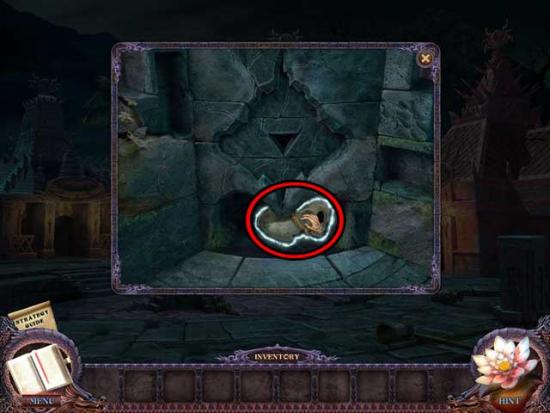
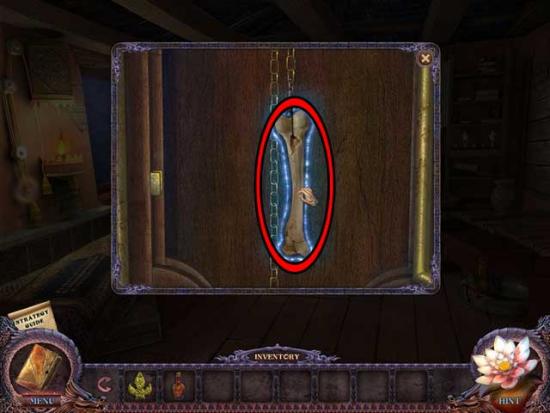
Hut Interior
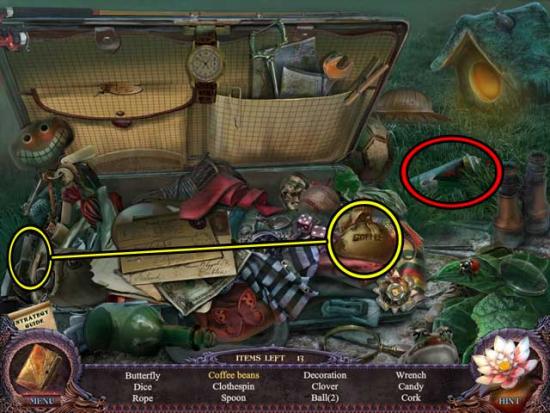
Dock
Pool
Dock
Crossroads
Village
Hut
Village
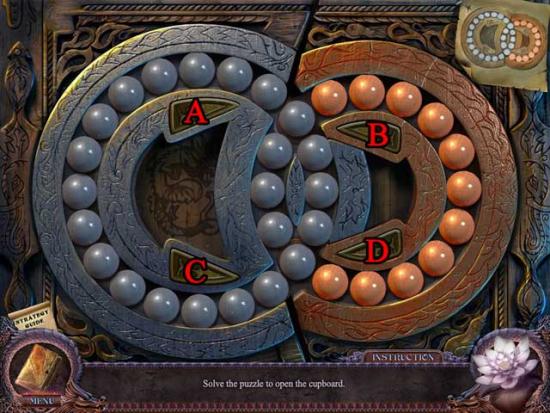
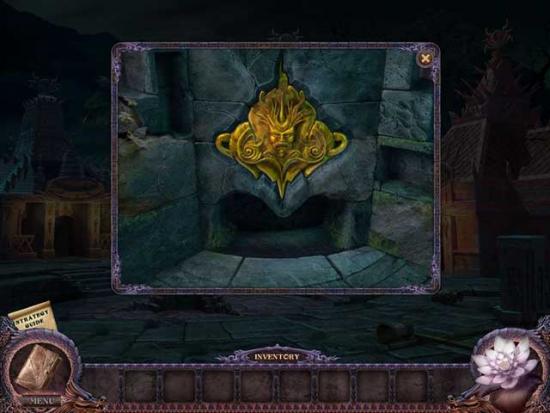
Fountain

Village
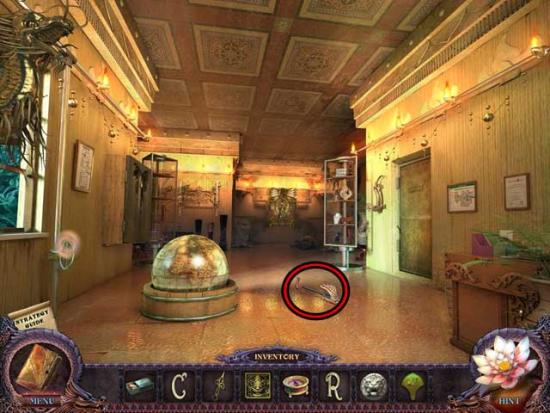
Hotel Lobby
Pool
Dock
Hotel Lobby
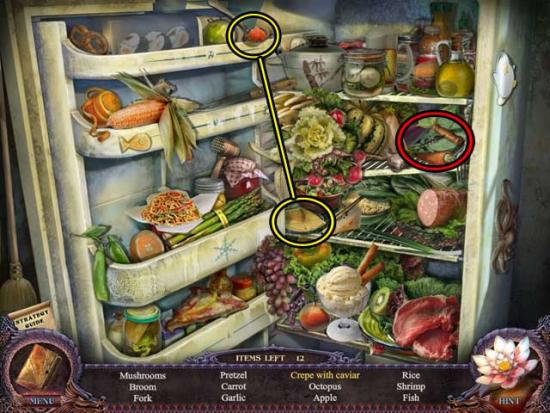
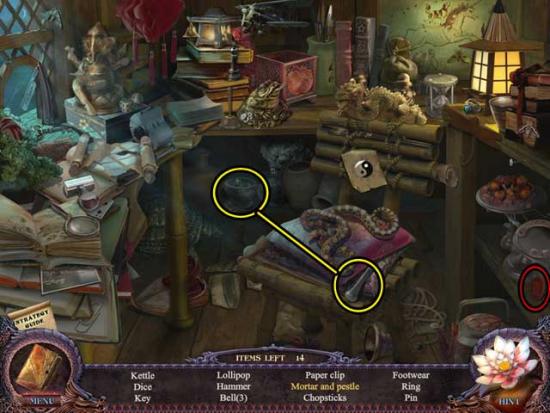
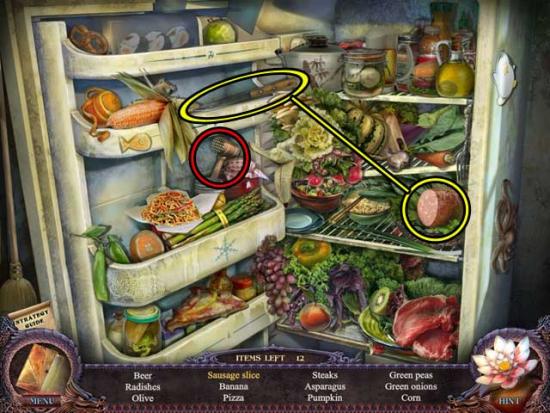
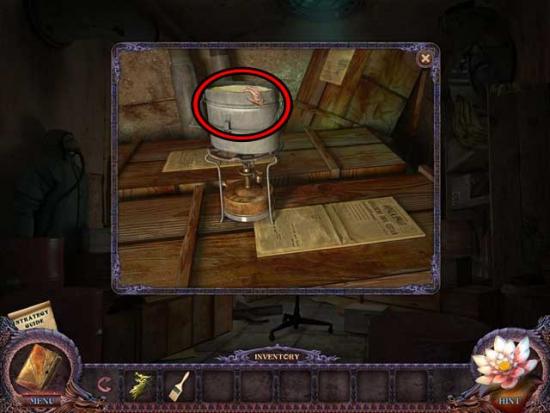
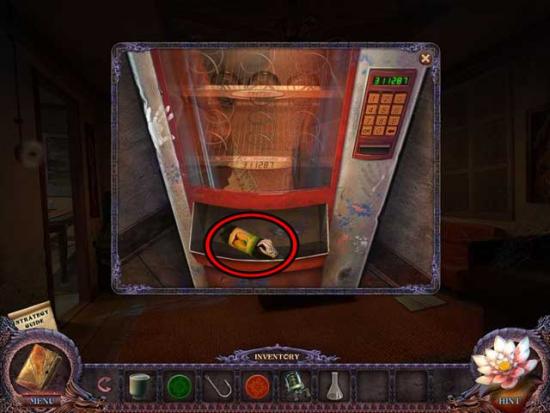
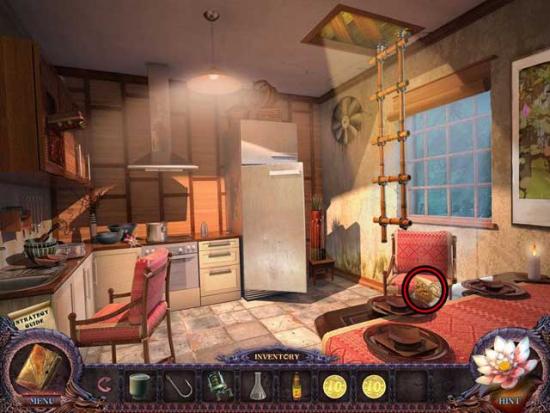
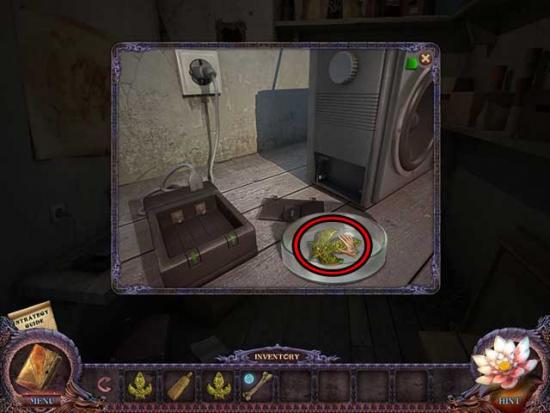
Kitchen
Hotel Lobby
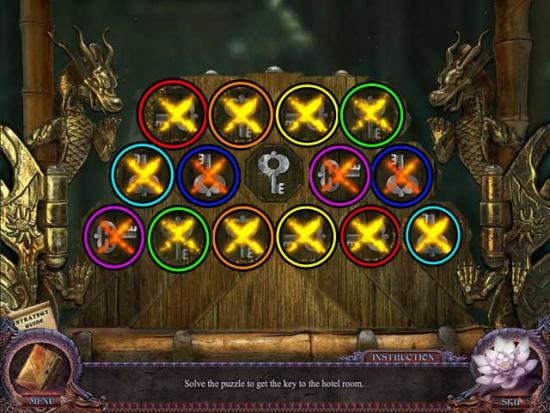
Hotel Room
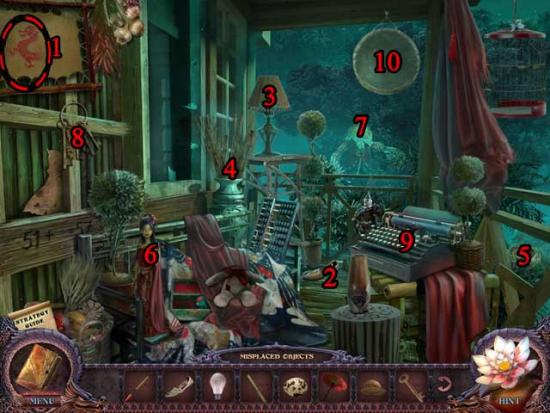
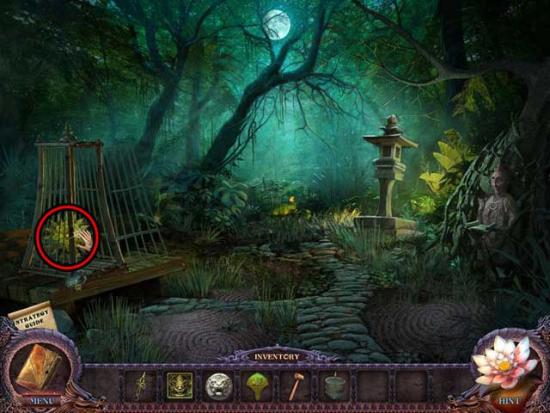
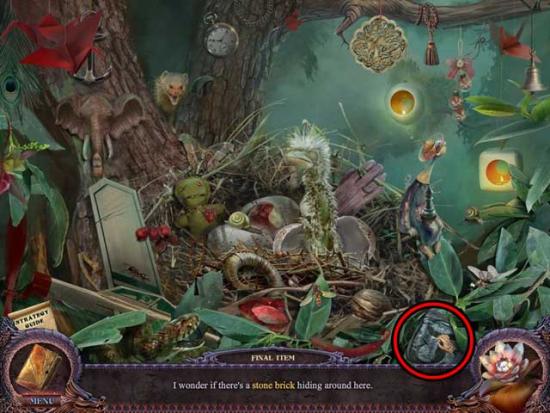
Garden
Hotel Lobby
Village
Fountain
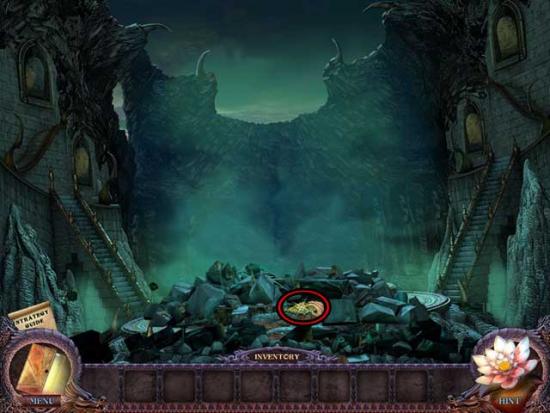
Crossroads
Pool
Hotel Lobby
Garden
Hotel Room
Garden
Fountain
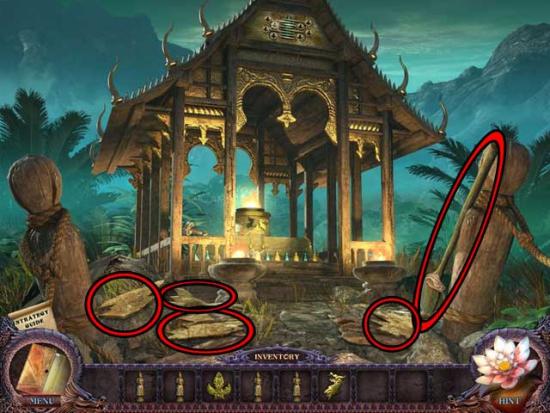
Plaza
Village
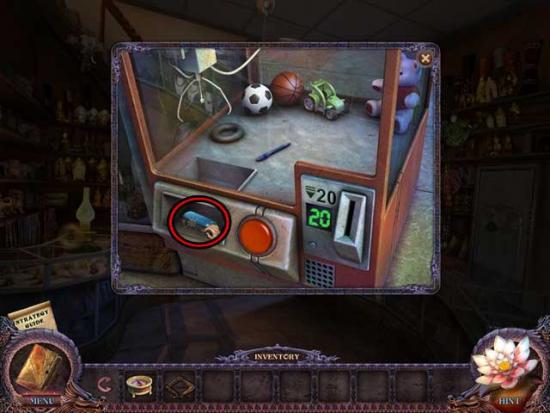
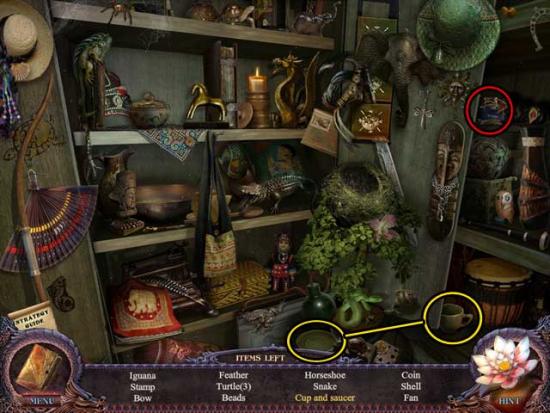
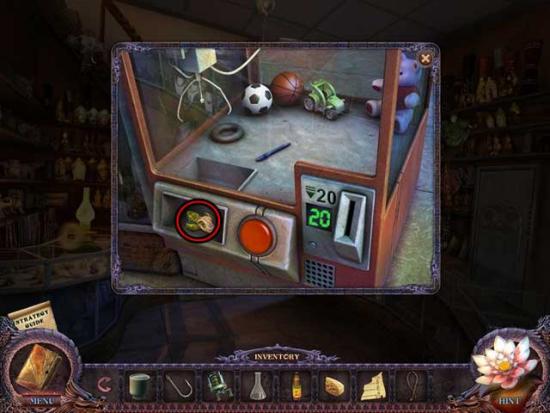
Souvenir Shop
Hotel Lobby
Kitchen
Fountain
Museum Entrance
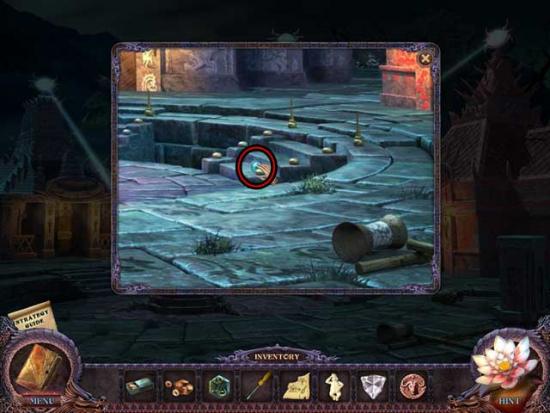
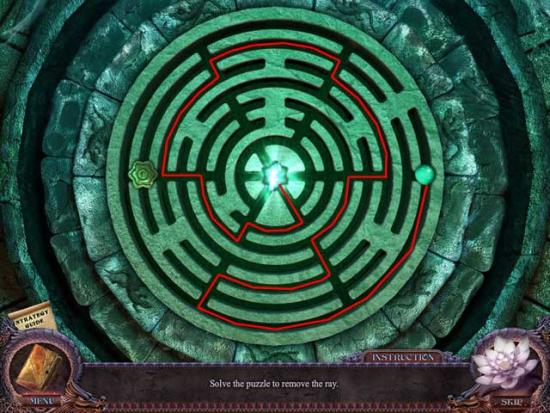
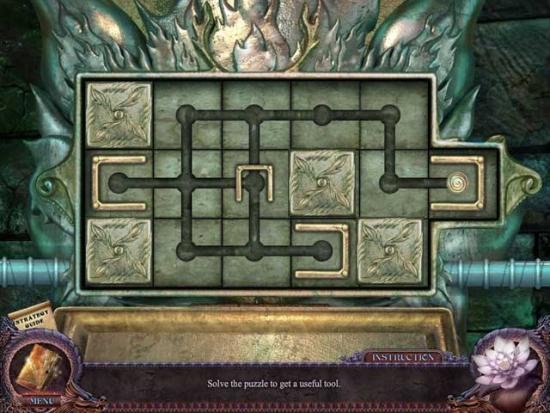
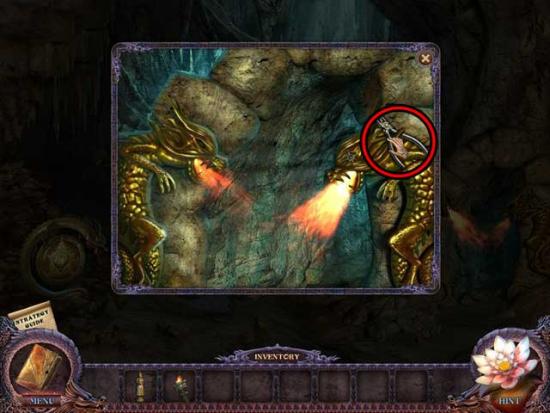
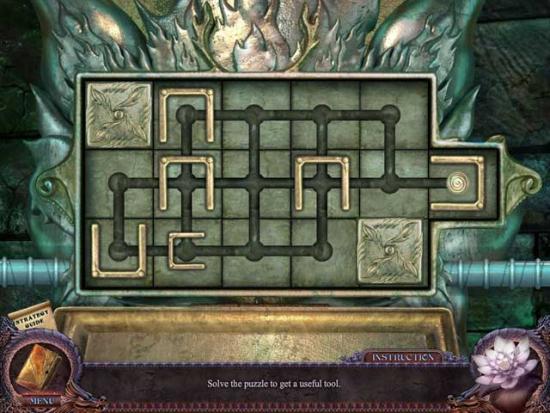
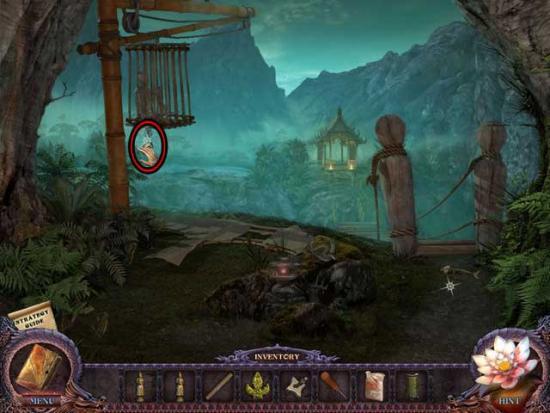
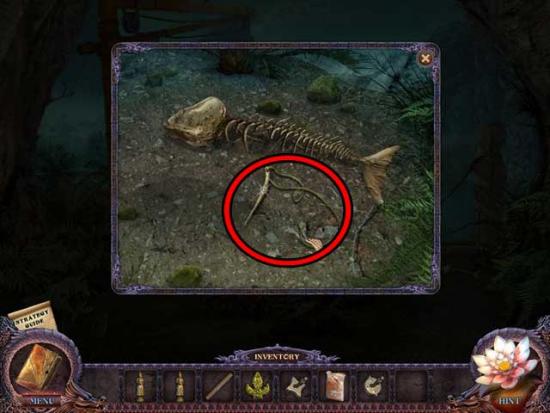
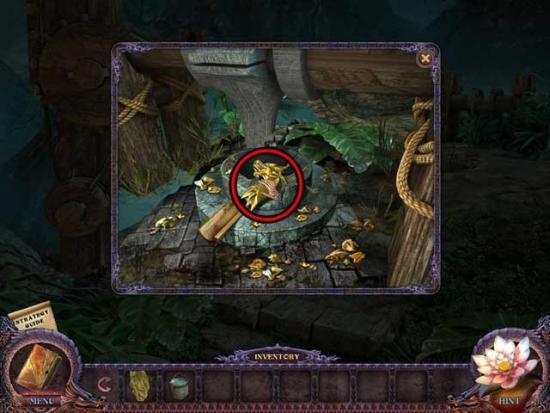
Cave
Hut Interior
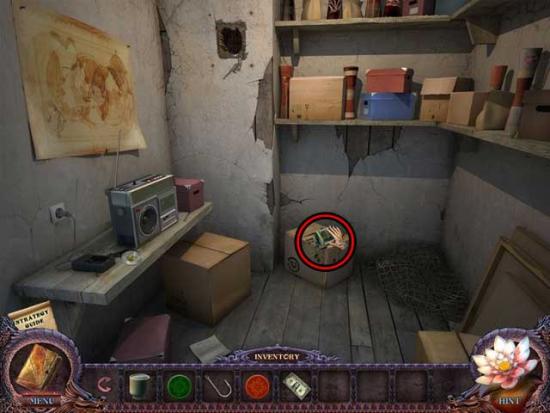
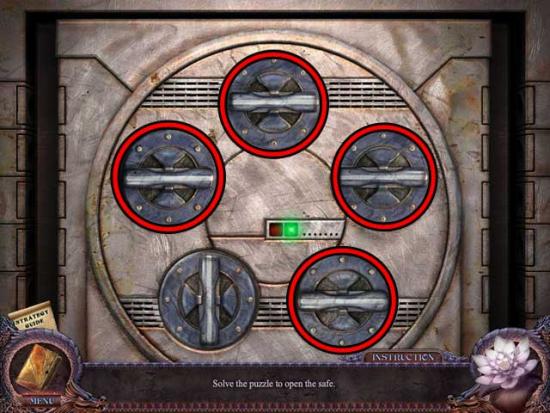
Basement
Cave
Souvenir Shop
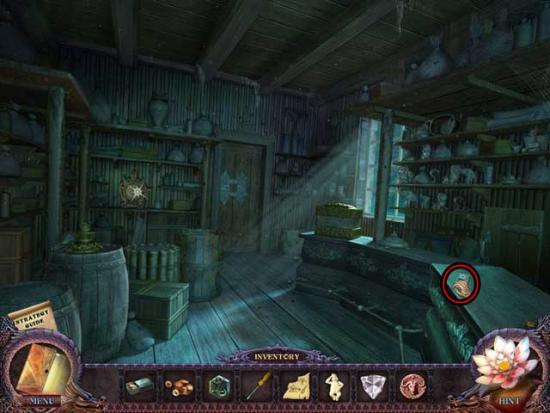
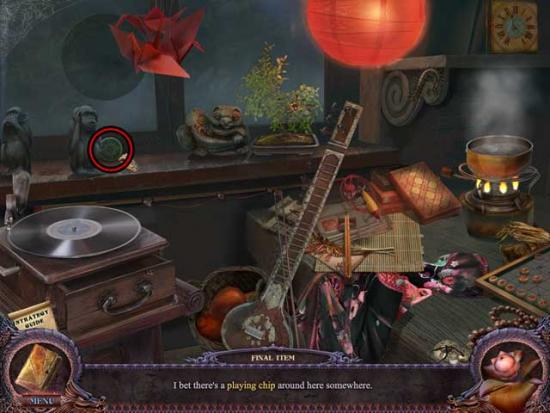
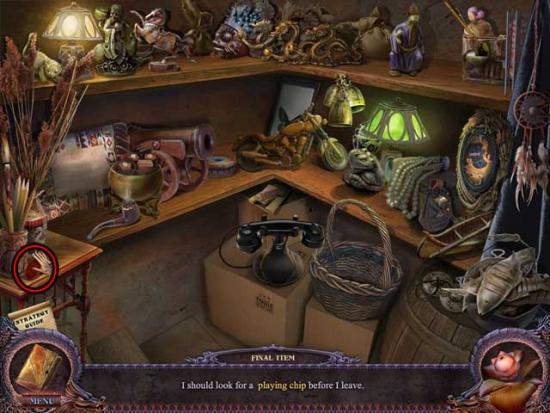
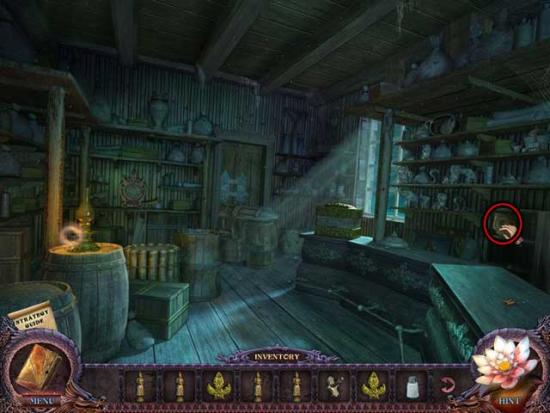
Back Room
Pool
Hut Interior
Museum Entrance
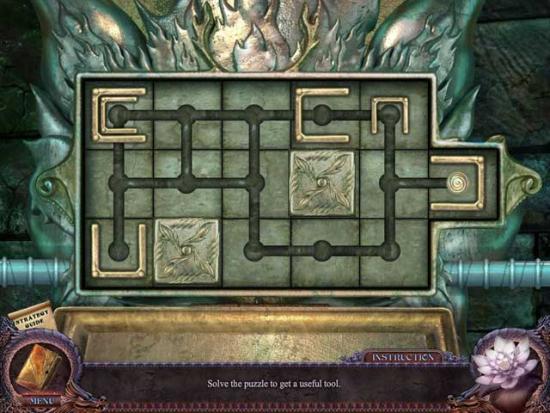
Cave
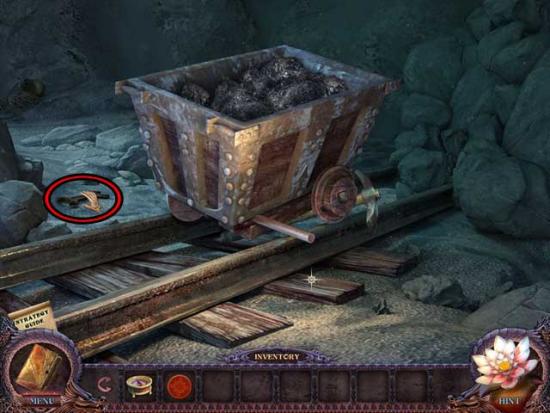
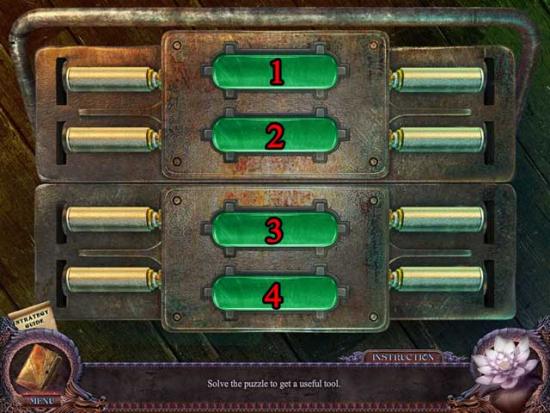
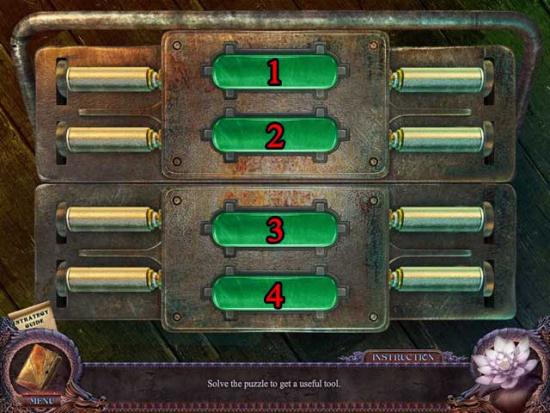
Mine Cart
Back Room
Hotel Lobby
Kitchen
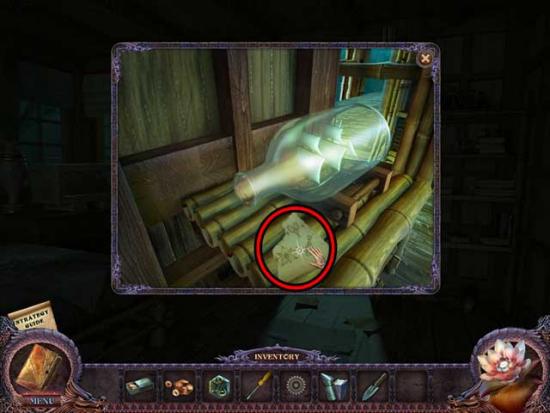
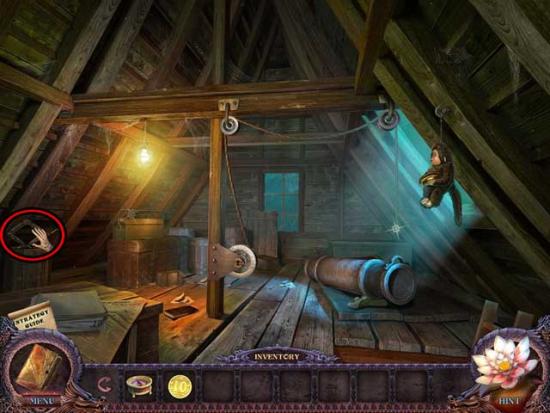
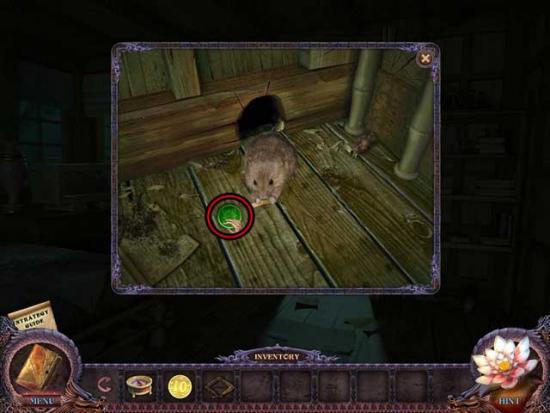
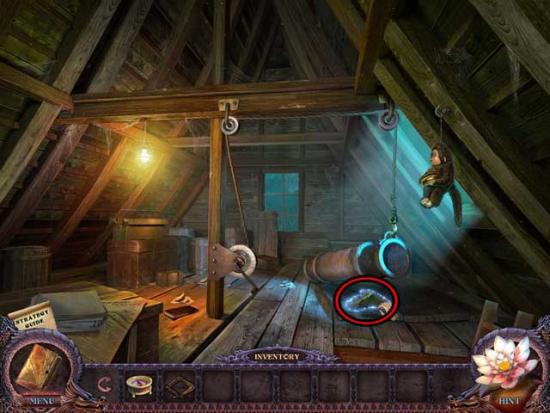
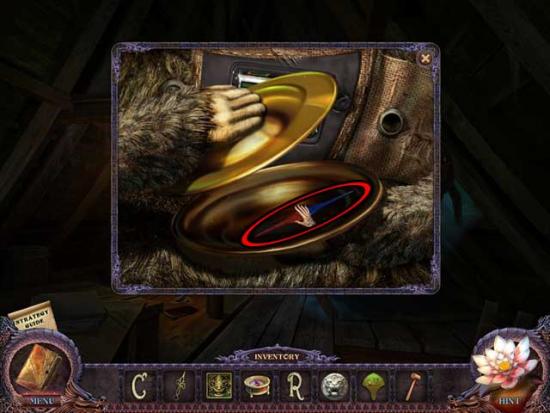
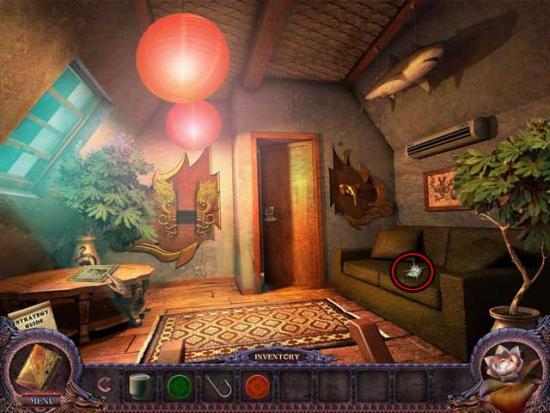
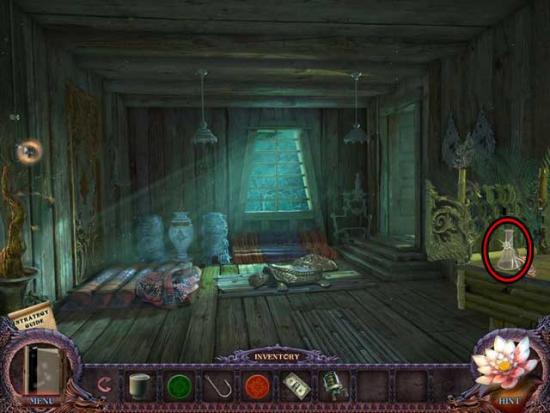
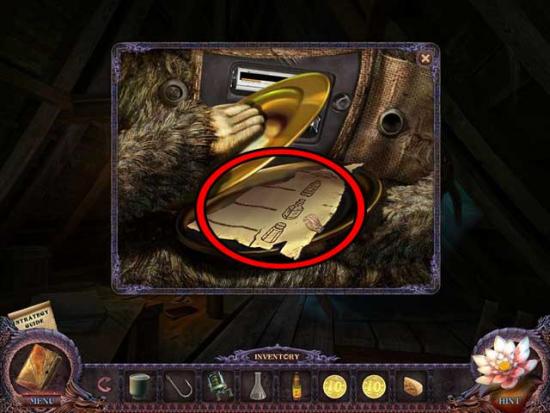
Attic
Kitchen

Hotel Room
Hotel Lobby
Souvenir Shop
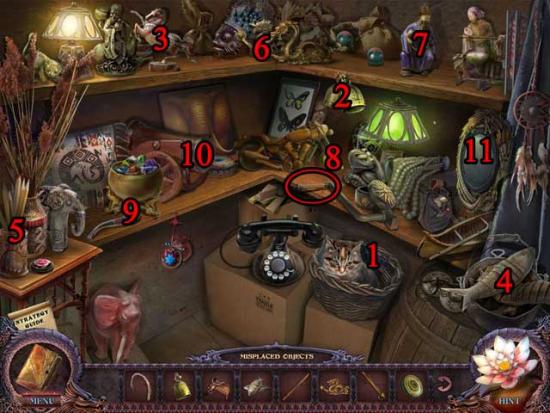
Attic
Souvenir Shop
Upstairs
Attic
Pool
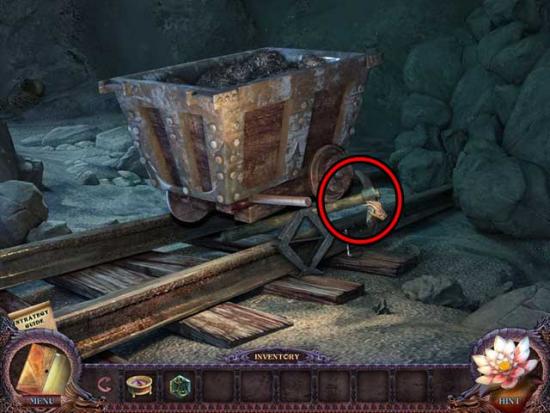
Mine Cart
Back Room
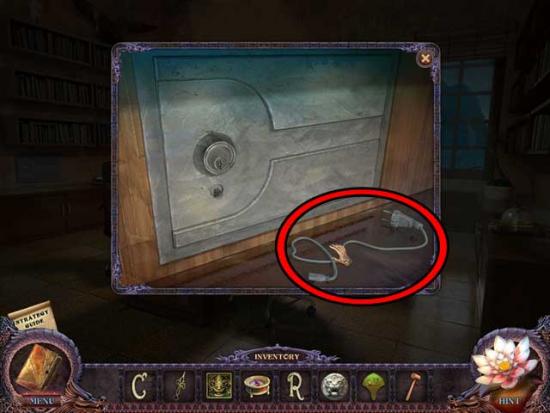
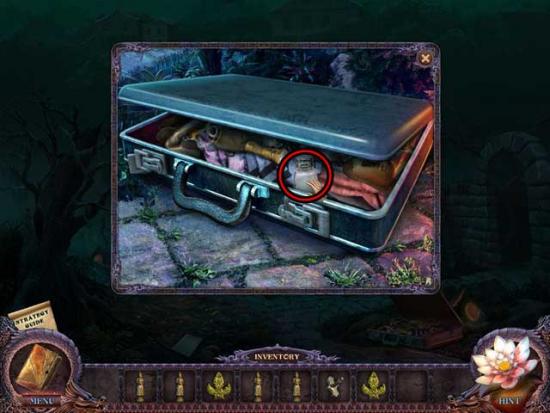
Office
Back Room
Office
Museum Entrance
Souvenir Shop
Upstairs
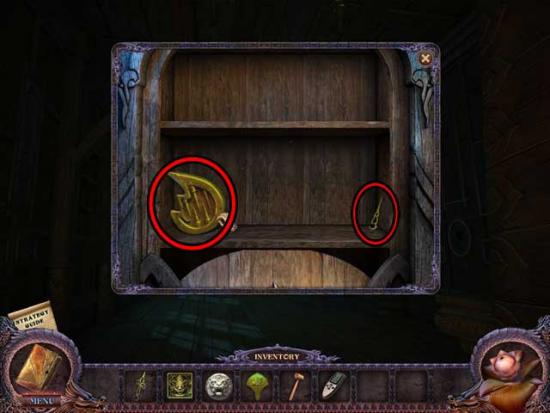
Closet
Garden
Plaza
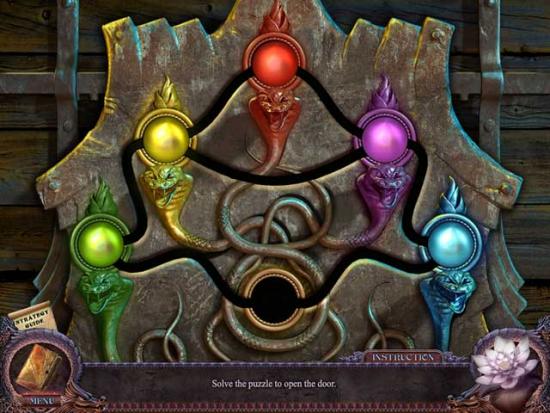
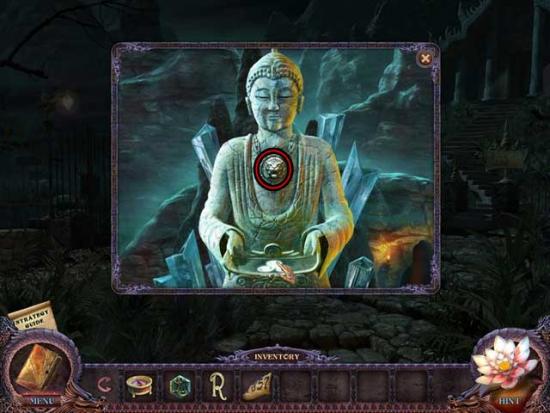
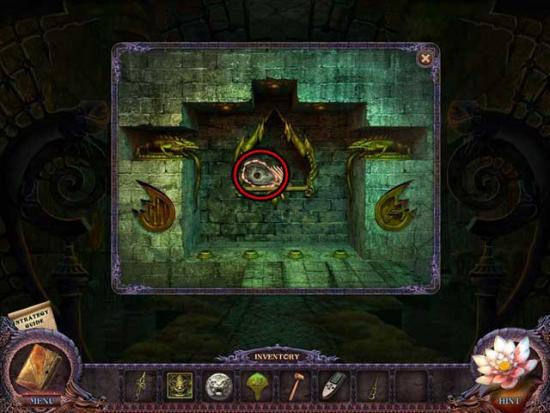
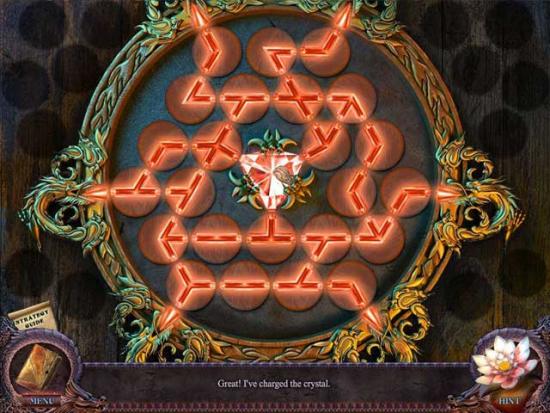
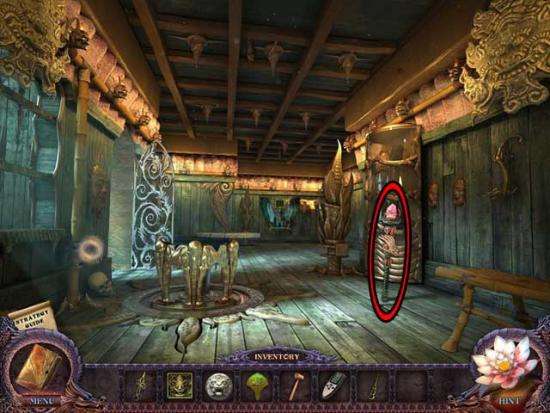
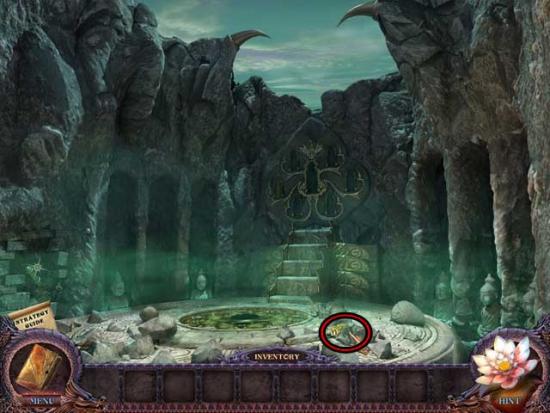
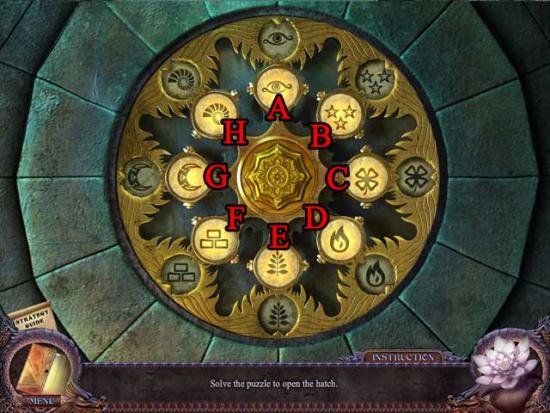
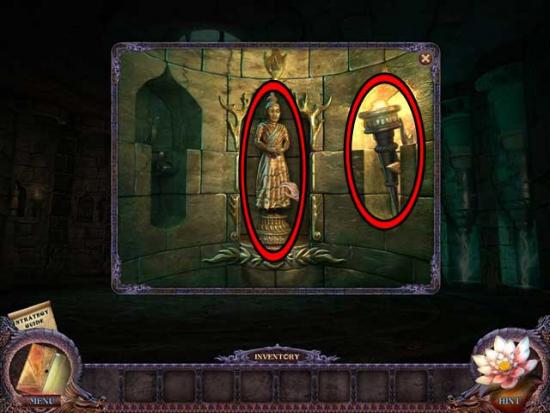
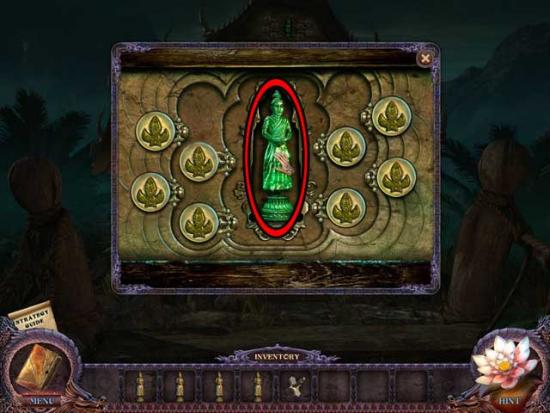
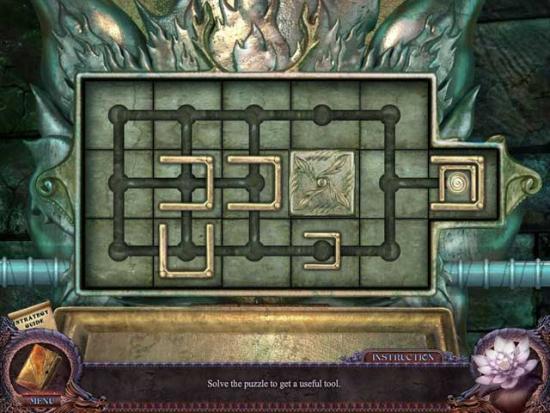
Lizard Temple
Plaza
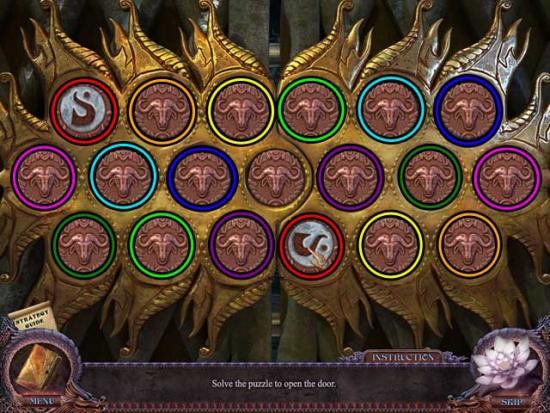
Bull Temple
Plaza
Hotel Lobby
Kitchen
Museum Entrance
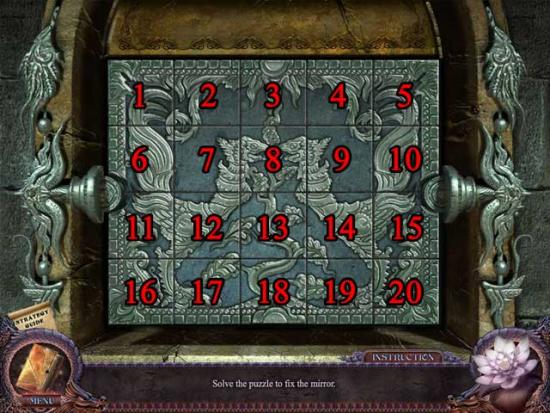
Museum
Souvenir Shop
Office

Pool
Museum
Office
Back Room
Kitchen
Museum
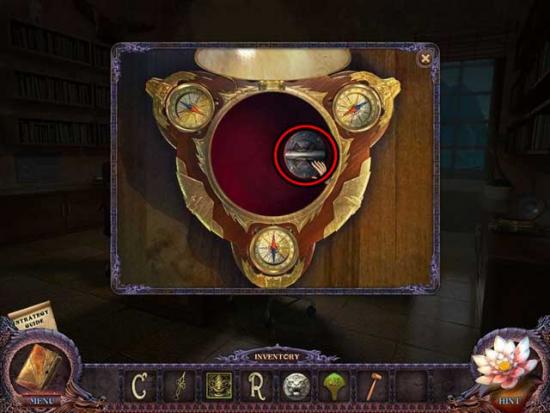
Museum Office
Closet
Attic
Office
Museum Office
Souvenir Shop
Museum Office

Museum Entrance
Pool
Dock
Crossroads
Hotel Room

Garden
Museum
Hallway

Museum
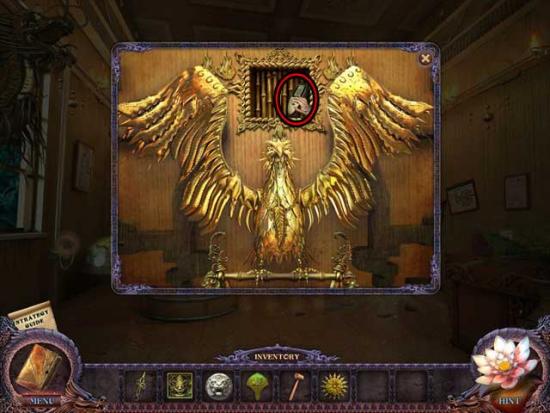
Lizard Temple
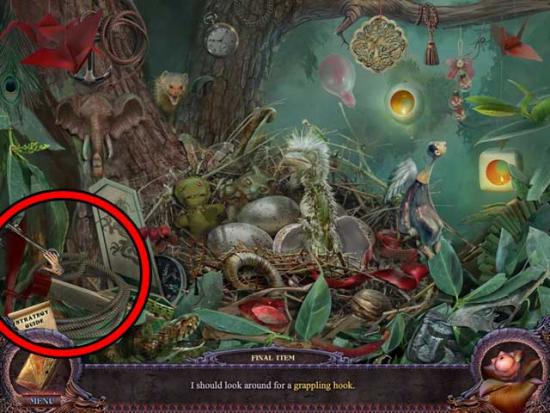
Garden
Basement
Museum
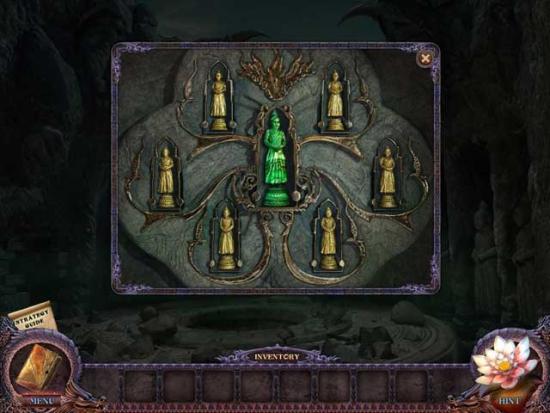
Bull Temple
Plaza
Upstairs
Souvenir Shop
Upstairs
Hallway
Work Room
Museum
Hallway
Work Room
Museum Entrance
Hotel Lobby
Museum Entrance
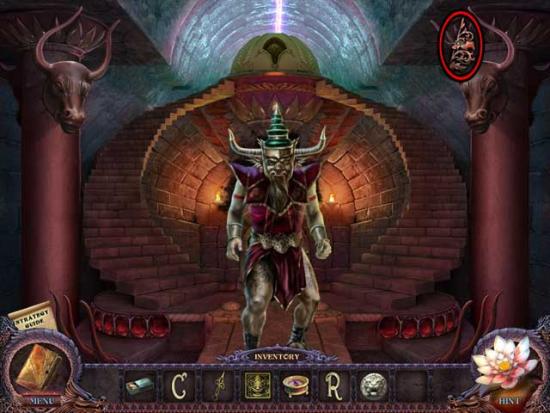
Demon Statue

Plaza
Tiger Temple

Work Room
Museum Office
Closet
Garden
Bull Temple
Museum Entrance
Basement
Work Room
Demon Statue
Tiger Temple
Plaza
Museum Entrance
Demon Statue

Plaza
Congratulations! You’ve completed Secrets of the Dark: Eclipse Mountain! Now you can access the Bonus Adventure located in the Extras menu!
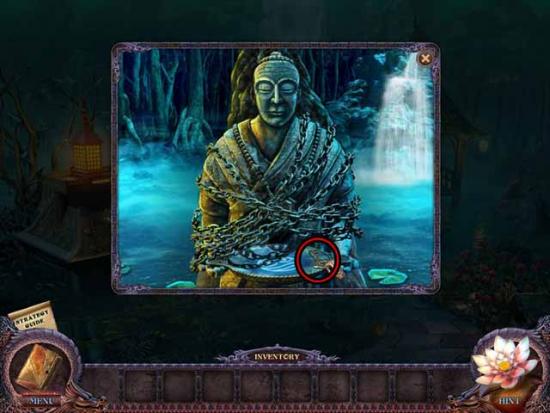
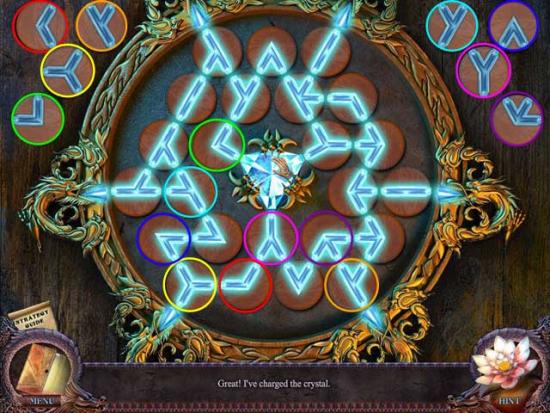
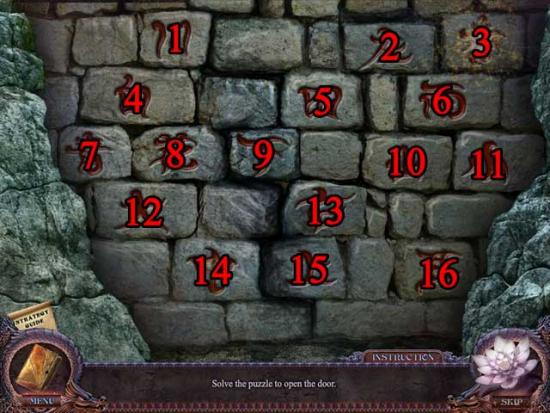
Altar
Catacomb
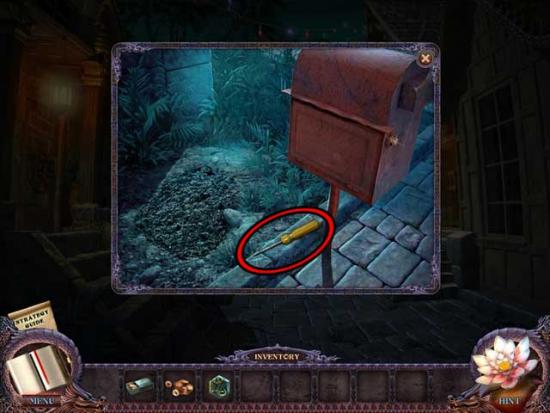
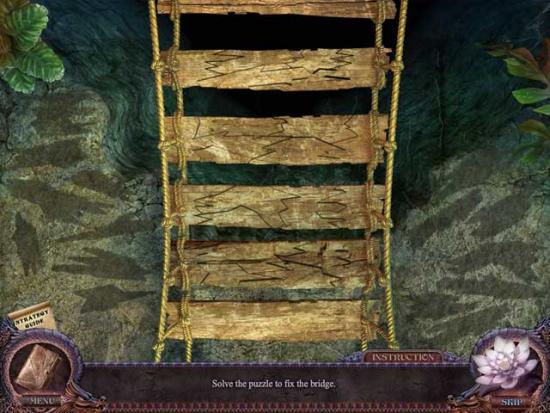
Mountain Path
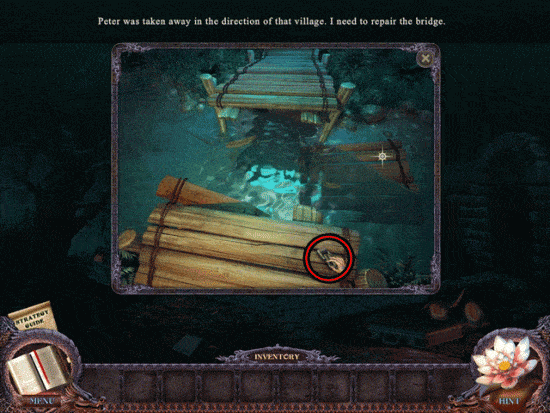
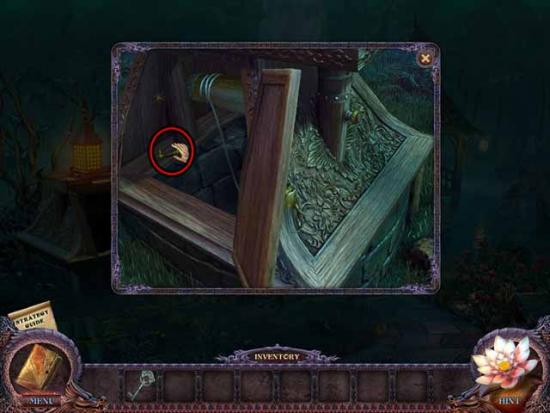
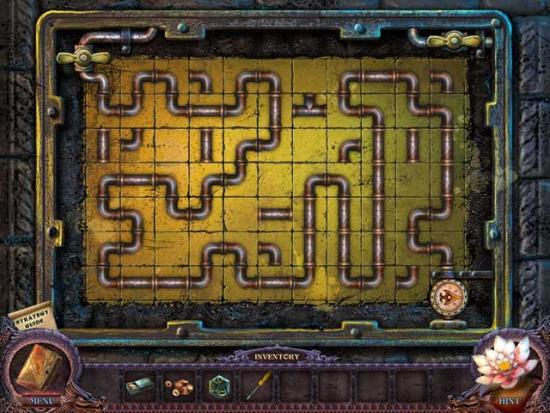
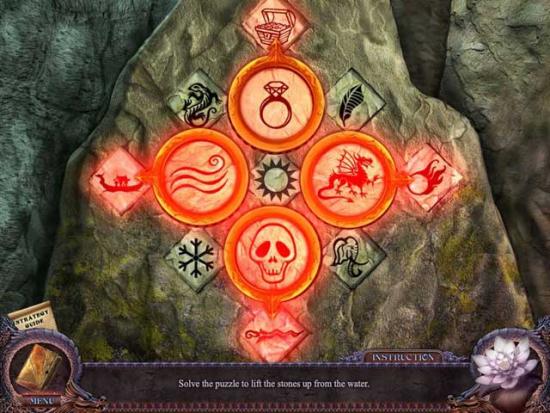
Dam

Altar
Dam
Mountain Path
Cavern
Dam
Cavern
Mountain Path
Catacomb
Cavern
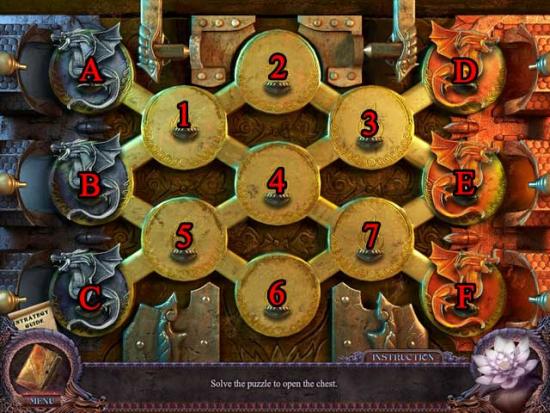
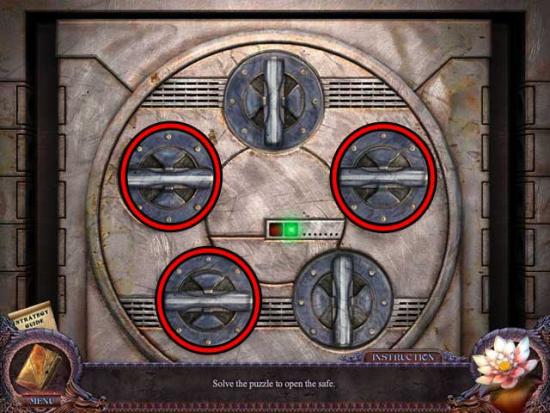
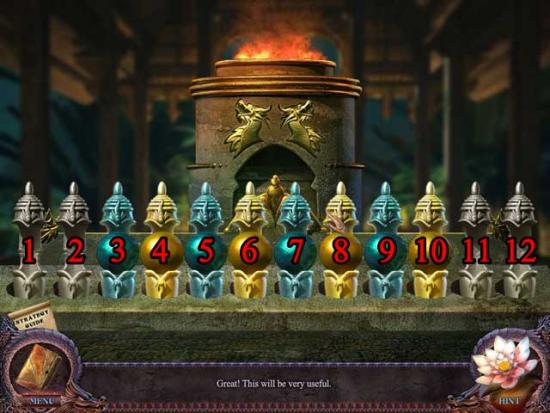
Treasury
Dam
Mountain Path
Cavern
Chasm
Cavern
Treasury
Dam
Treasury
Chasm
Catacomb
Chasm
Treasury
Dam
Treasury
Chasm
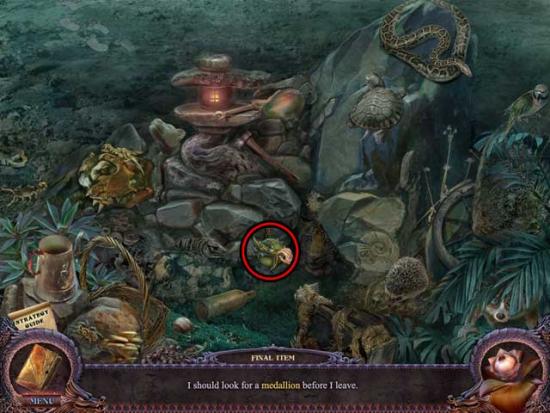
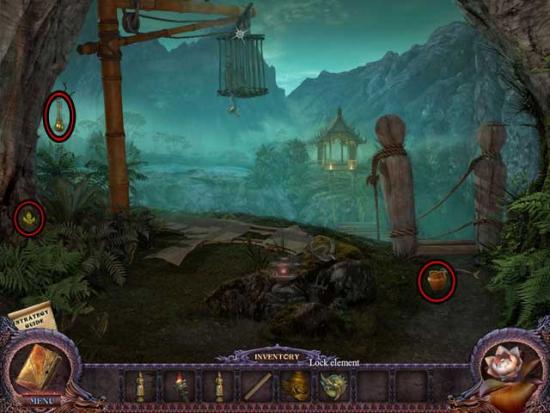
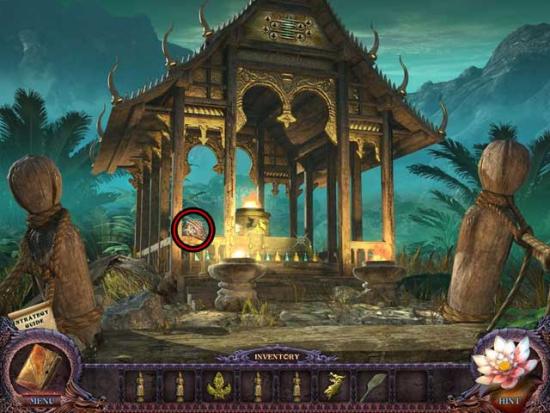
Pagoda
Cavern
Dock
Pool
Crossroads
Hut
Hut Interior
Village
Souvenir Shop
Upstairs
Closet
Hotel Lobby
Kitchen
Attic
Hotel Room
Souvenir Shop
Crossroads

Pool
Hut
Hut Interior
Dock
Attic
Village
Souvenir Shop
Hut Interior
Kitchen
Closet
Hotel Room
Pool
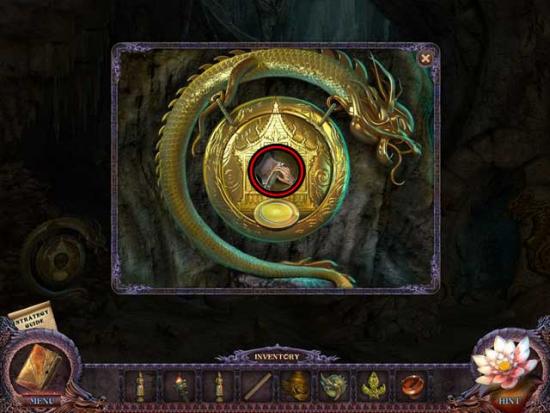
Pagoda
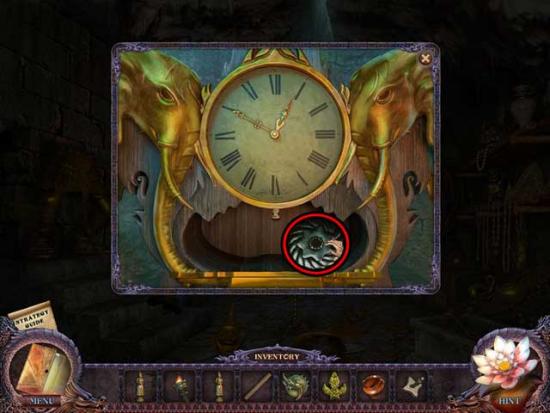
Catacomb
Altar
Congratulations! You’ve completed the Bonus Adventure of Secrets of the Dark: Eclipse Mountain!
