- Wondering how to get Monopoly GO! free rolls? Well, you’ve come to the right place. In this guide, we provide you with a bunch of tips and tricks to get some free rolls for the hit new mobile game. We’ll …
Best Roblox Horror Games to Play Right Now – Updated Weekly
By Adele Wilson
Our Best Roblox Horror Games guide features the scariest and most creative experiences to play right now on the platform!The BEST Roblox Games of The Week – Games You Need To Play!
By Sho Roberts
Our feature shares our pick for the Best Roblox Games of the week! With our feature, we guarantee you'll find something new to play!All Grades in Type Soul – Each Race Explained
By Adele Wilson
Our All Grades in Type Soul guide lists every grade in the game for all races, including how to increase your grade quickly!
Rusty Lake: Roots Walkthrough
Rusty Lake: Roots is the tenth title in the surreal Cube Escape series of room escape/point-and-click games. In Roots, you will solve puzzles by finding items and clues scattered around the manor of a family dating back to 1860, slowly …

Rusty Lake: Roots is the tenth title in the surreal Cube Escape series of room escape/point-and-click games. In Roots, you will solve puzzles by finding items and clues scattered around the manor of a family dating back to 1860, slowly revealing their history and secrets. Gamezebo’s Rusty Lake: Roots walkthrough will help you through even the strangest puzzles and to the truth.
Rusty Lake: Roots Tips
- Tap on people to learn what they want. Every level in Rusty Lake: Roots centers on one or more characters, such as James or Emma Vanderboom. At least one character will always be present in each stage and able to provide a general guide of what to do next. Often your goal for a stage is to meet their request, like getting them a certain item. If you tap the character’s head, they’ll display a thought bubble of what they want, which is usually your current or overall goal. Your final goal for each stage is always to make the white square appear, which will allow you to exit: often completing a character’s request will make the square appear, but if not, that is your secondary goal.
- Turn up the volume. Rusty Lake features a beautiful soundtrack in and of itself, but turning up the sound and listening is beneficial to puzzles, as well. Often when you successfully complete a task you’ll receive audible recognition, like a swelling of the music or a click of a lock opening. These cues are useful to know you’re on the right track and can move forward. In past games, sound has actually been needed to complete the game, so don’t underestimate its value.
- Don’t forget to drag. Although recent Cube Escape entries have featured dragging as a viable move while solving puzzles, it’s become much more prevalent in Roots. If you tap an object and it seems pliable but does nothing, try dragging it. Some items may not seem draggable but are. When in doubt, tap and drag. In this walkthrough “dragging” can mean two different things: dragging the screen to view another area of the level or dragging an item to move it, but it should be fairly clear which we’re referring to at the time.
- Video walkthroughs are available from the in-game menu. If you’re stuck on a certain puzzle and would really like to see it in motion, tap the gear icon in the upper-left corner while in the stage you’re having trouble with, then select “walkthrough.” Developer Rusty Lake has provided videos of each level and this option will send you to the video for the stage you’re currently on. Our walkthrough below will provide steps via text and images, but sometimes video can be a big help.
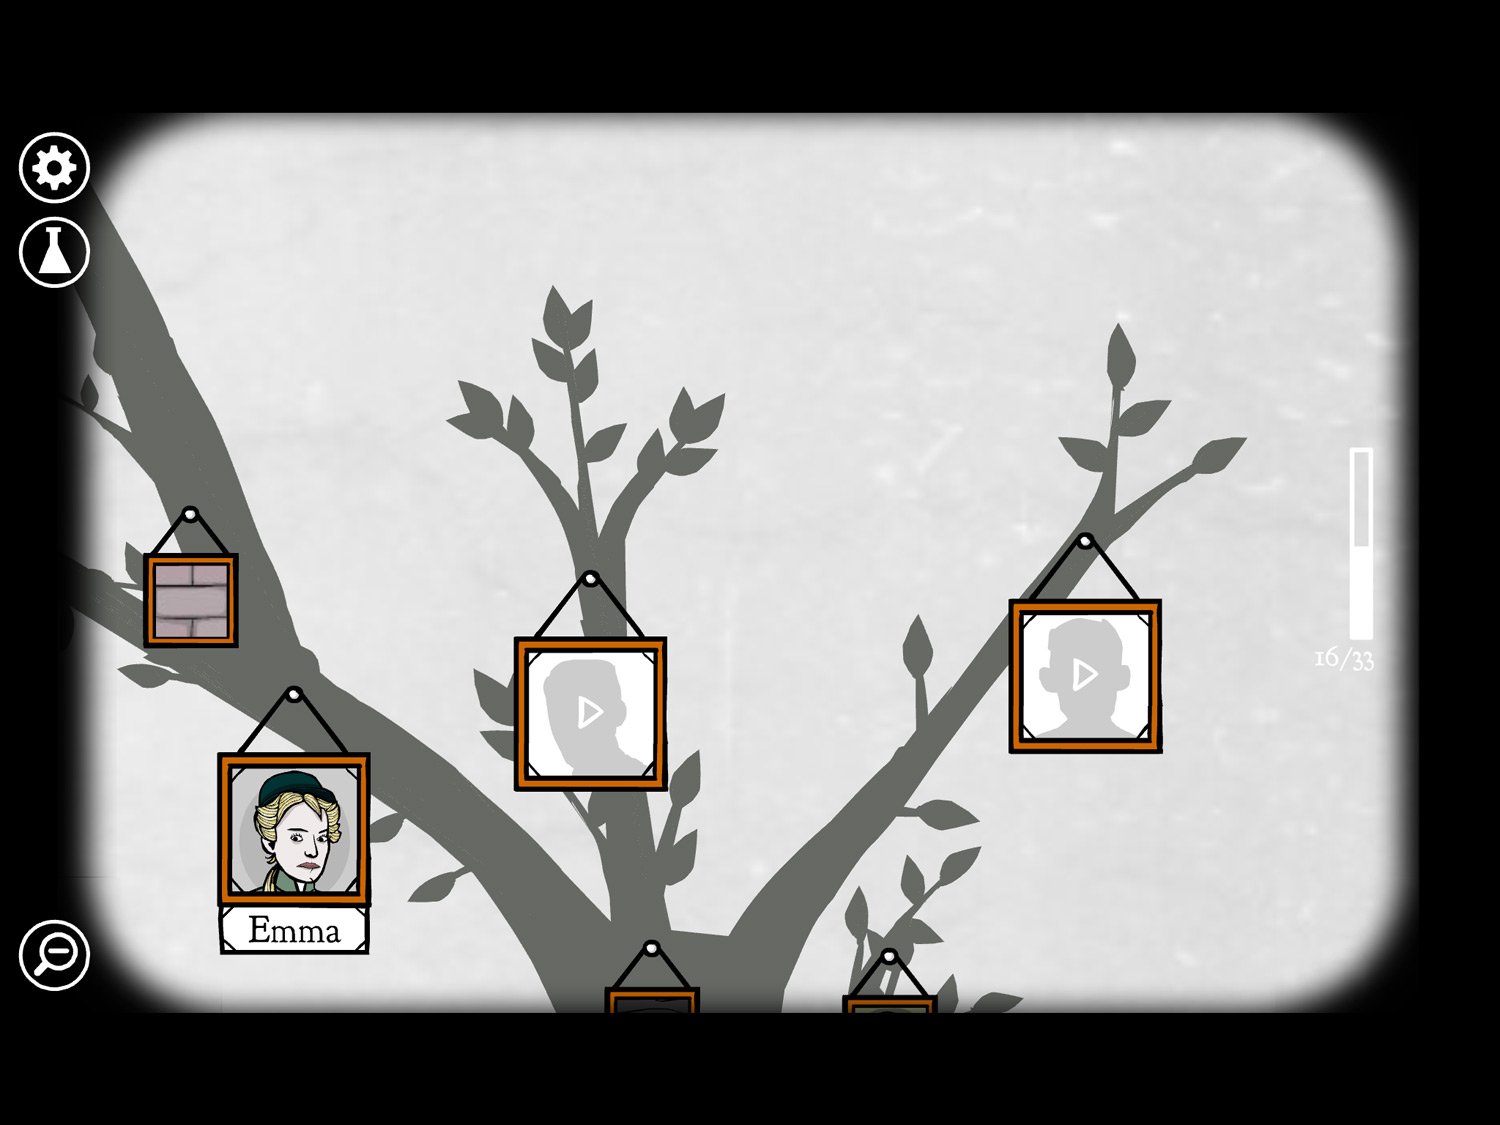
- Notes on this walkthrough: The levels in Roots are somewhat nonlinear and can be played in any order as they open up. As you progress you’ll be able to choose from multiple levels at once. We have listed the levels in essentially left-to-right order, and following a specific branch to completion. So, for instance, when the three children’s branches open up, we played Emma’s first (leftmost branch) and then played all of Emma’s levels that emerged from her initial stage. If you’re playing in a different order, our level “numbers” will not match yours, but we have included the date, title, and characters that appear at the beginning of the level, as well as a general description of the location to help you find the stage you’re looking for.
- You’ll often pick up multiple versions of the same item, for instance more than one key or pieces of paper that are slightly different. The game will not differentiate between these in-game: if you tap each one in your inventory, they will all be called “key” or “paper.” To help differentiate somewhat, we’ve added parantheses and a qualifier after items with multiples. So, “KEY (2)” would be the second key you pick up in the level or “DIAMOND (GREEN)” would be the green diamond as opposed to the blue one. Sometimes this designation does not matter as you might use all of the diamonds or paper on the same spot, etc., but this should help keep track of items you should have in your possession.
Walkthrough
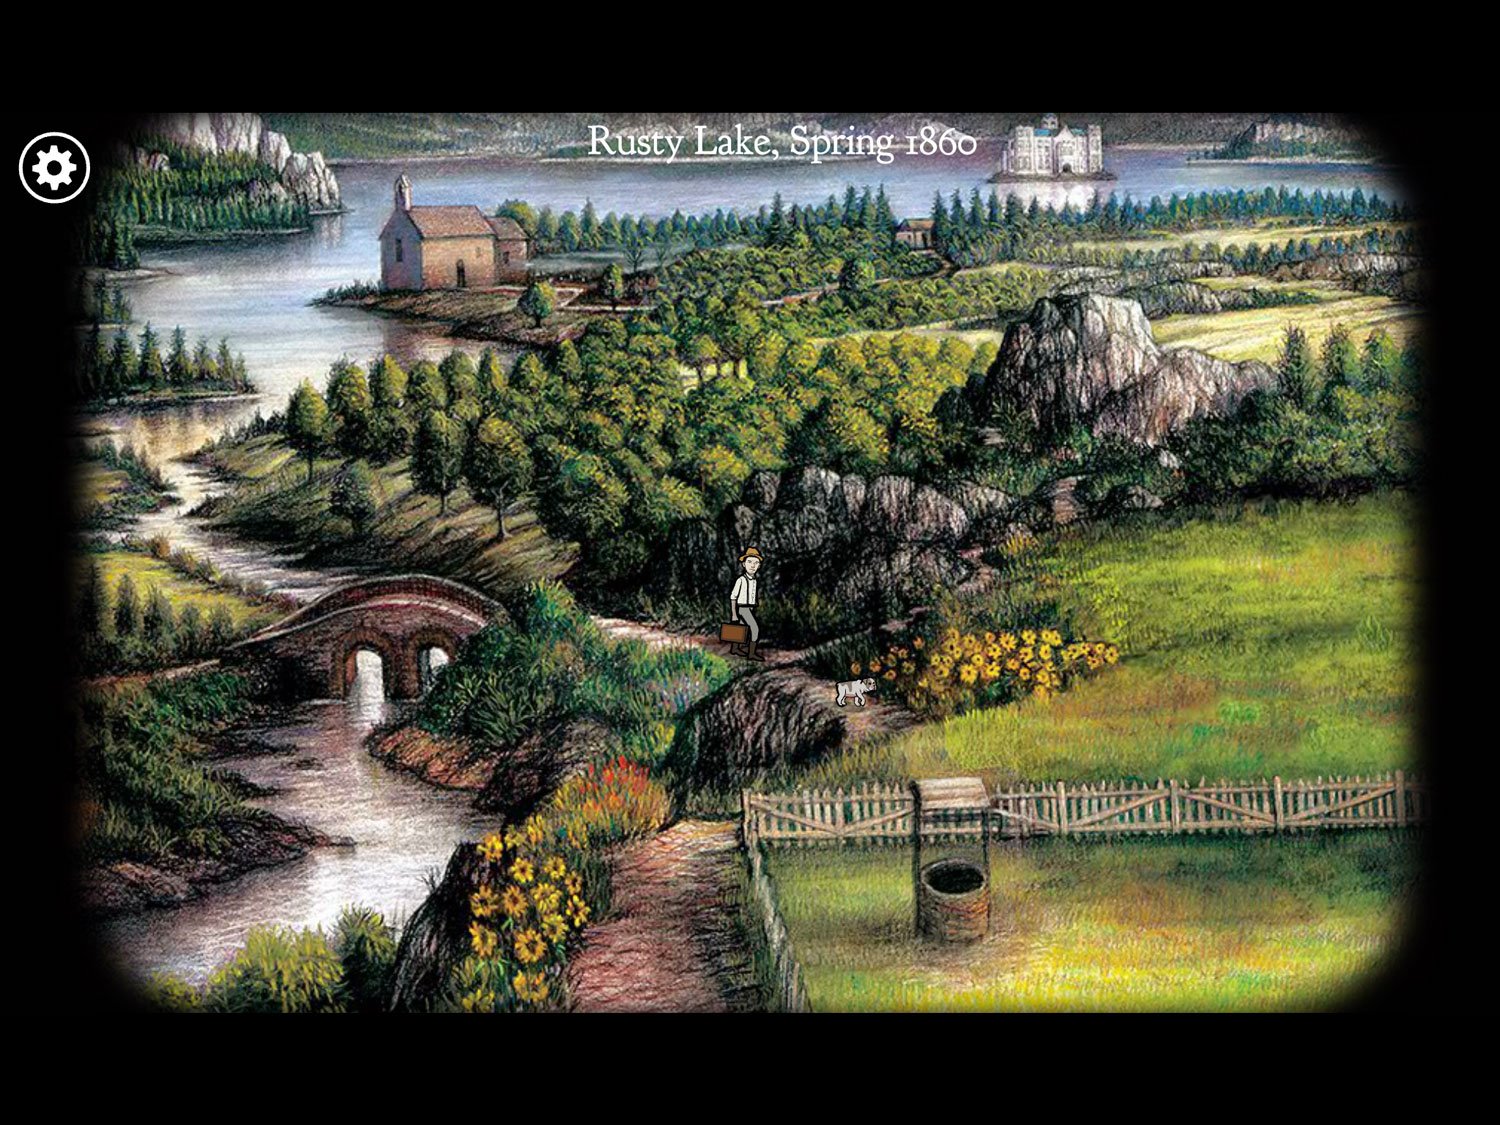
Level 1: Rusty Lake, Spring 1860 – James
Location: Front yard near the well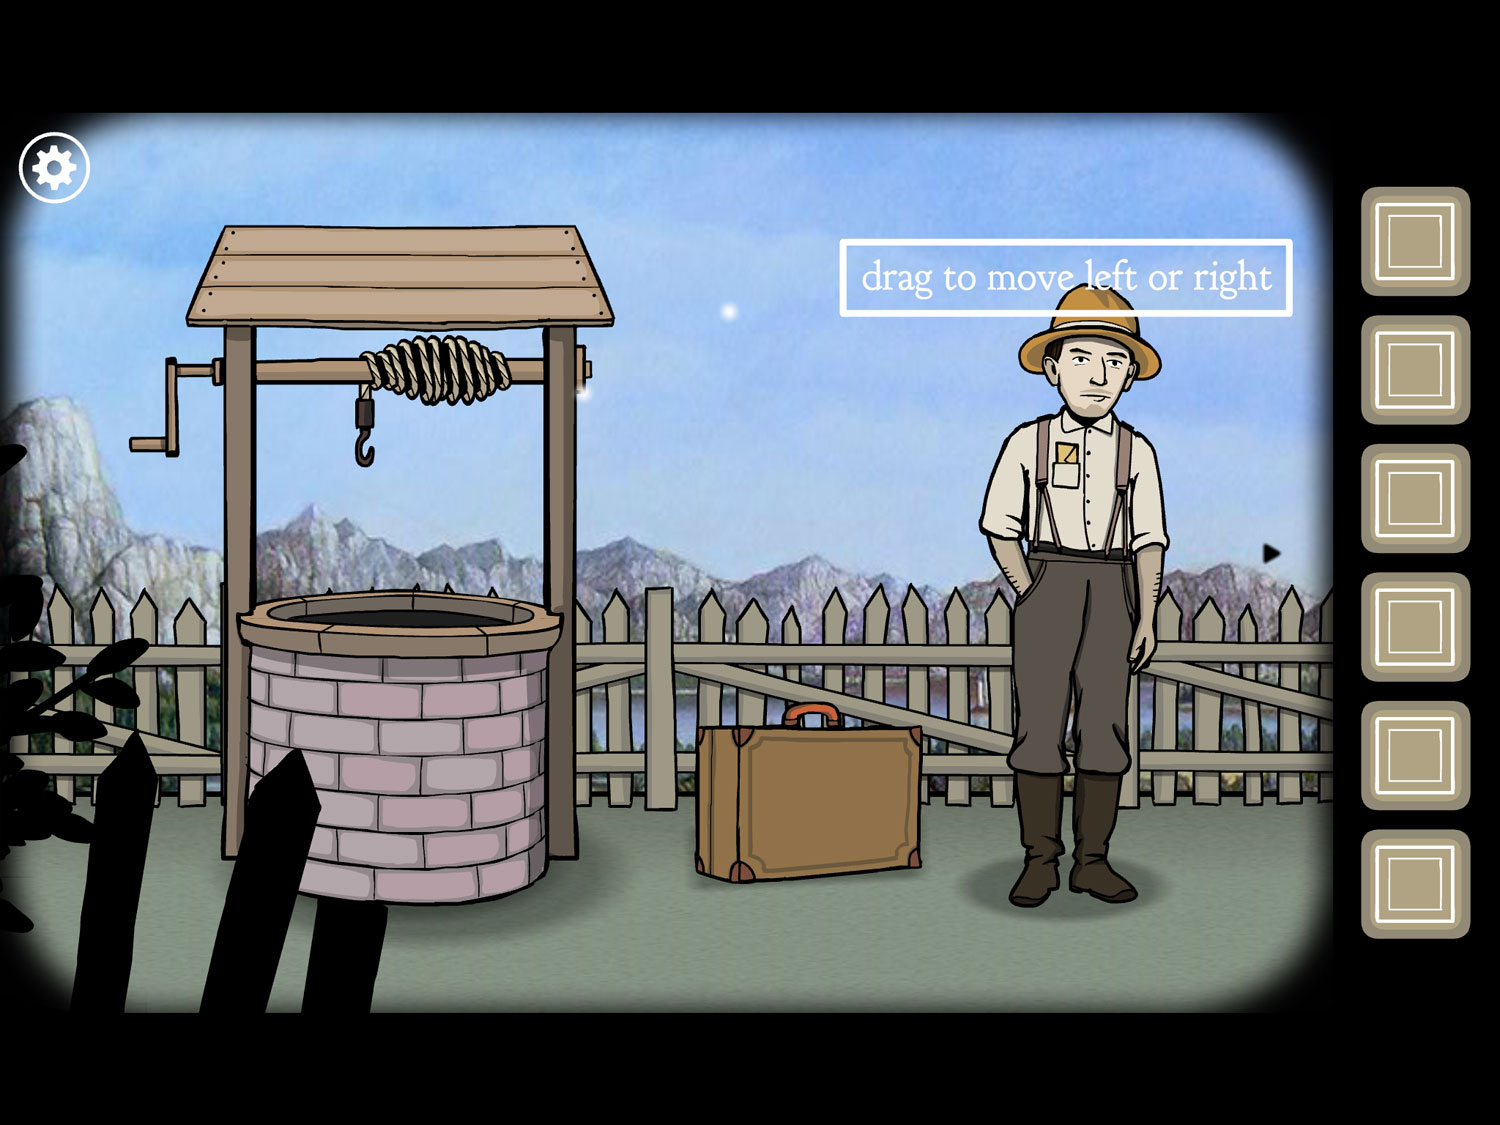
- Tap on James
- Tap the letter twice to open it
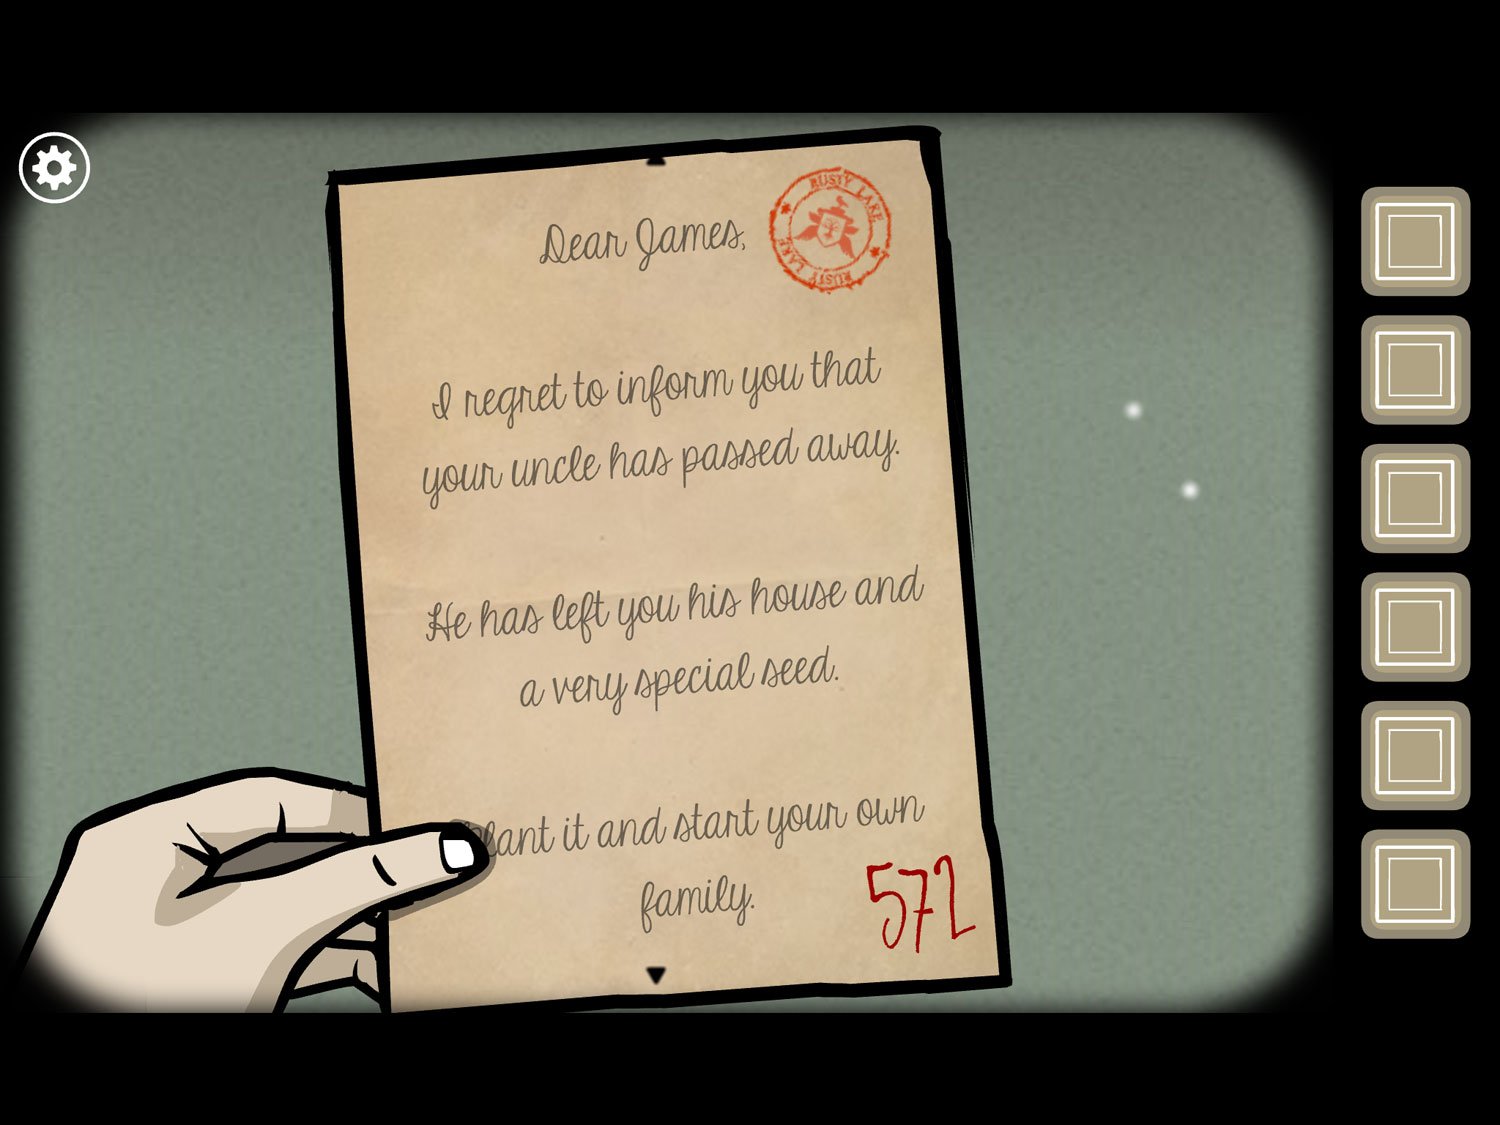
- Tap on the letter to read it. You can tap the lines of text to get a larger version at the top of the screen. Note the code in the bottom-right corner
- Exit this close-up; go to James’ suitcase
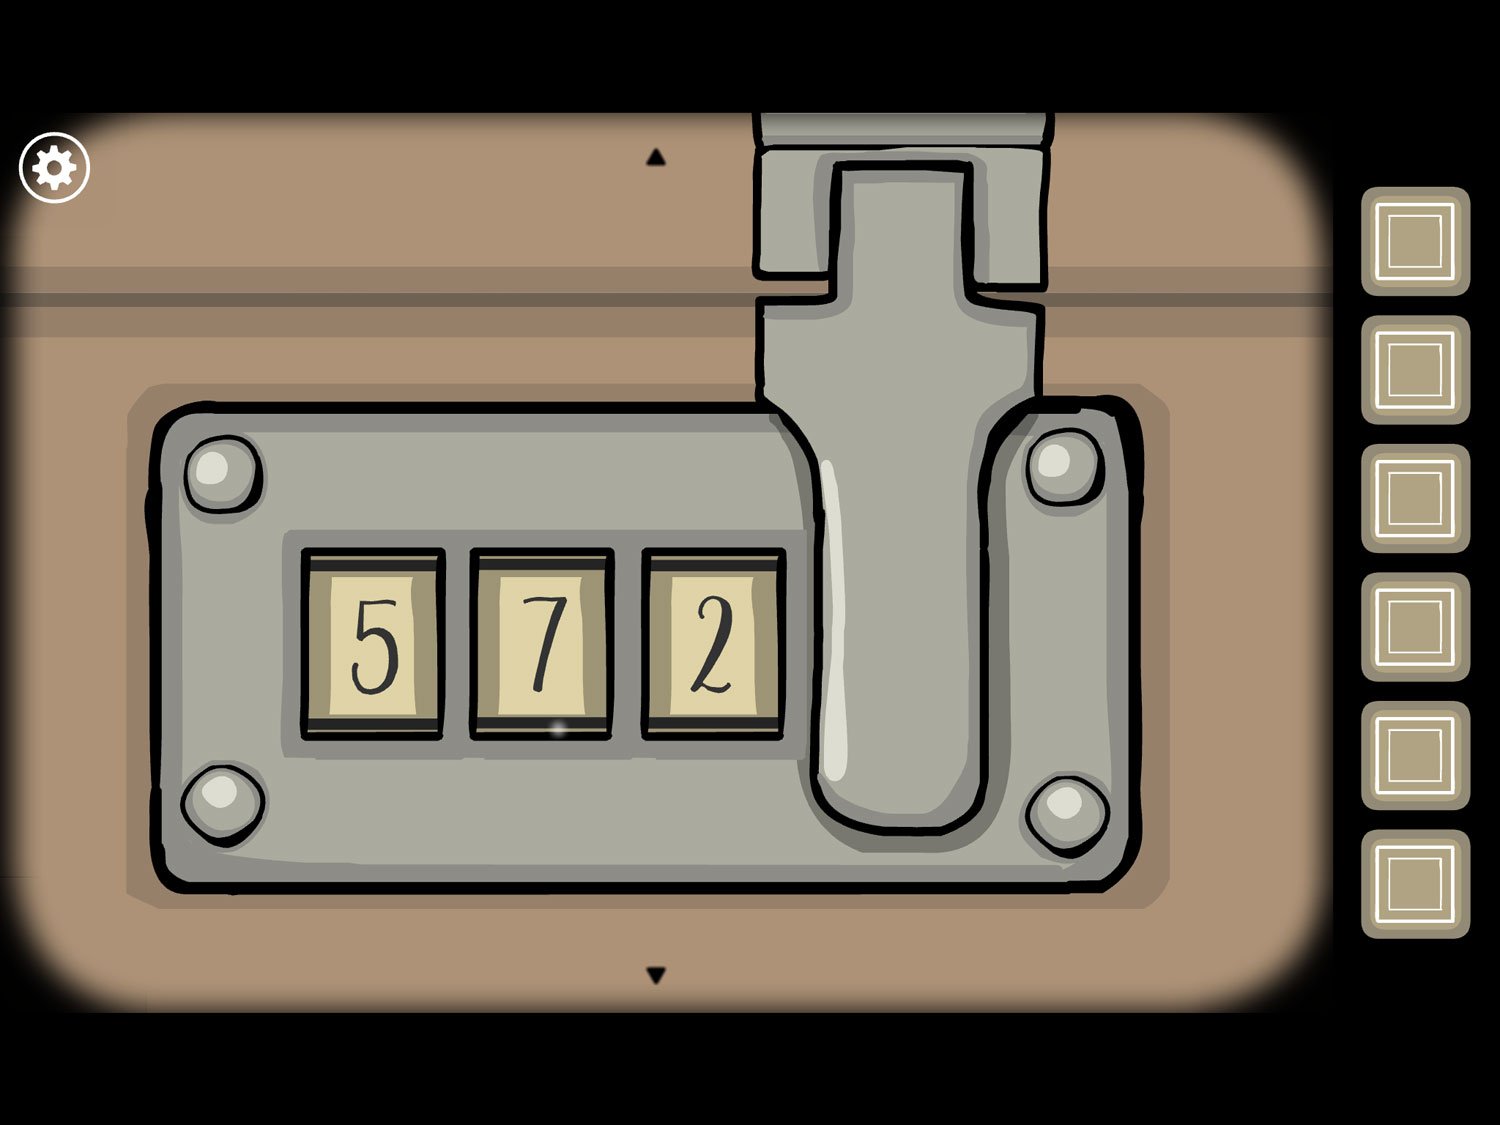
- Use code – 572 – to open suitcase. Take BONE
- Tap on the box and drag the lock right to open it. Take SEED; exit the suitcase
- Drag right; pick up CAN
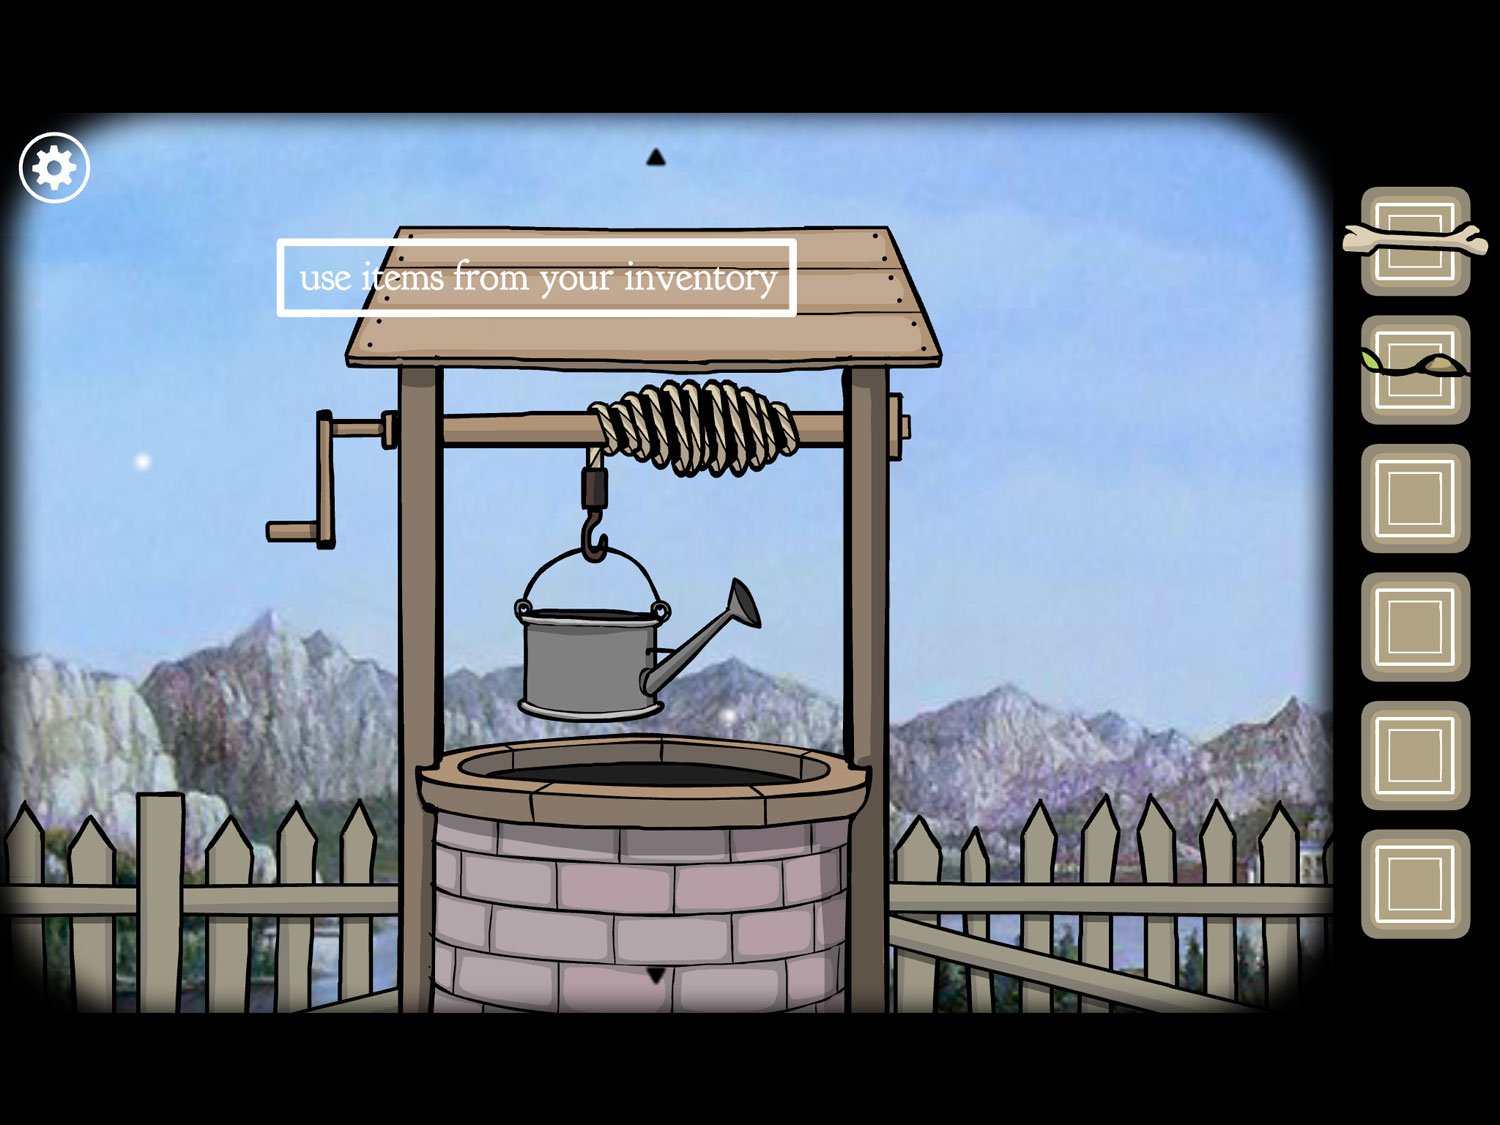
- Drag left; use CAN on well
- Use the handle of the well to get CAN WITH WATER. Exit close-up
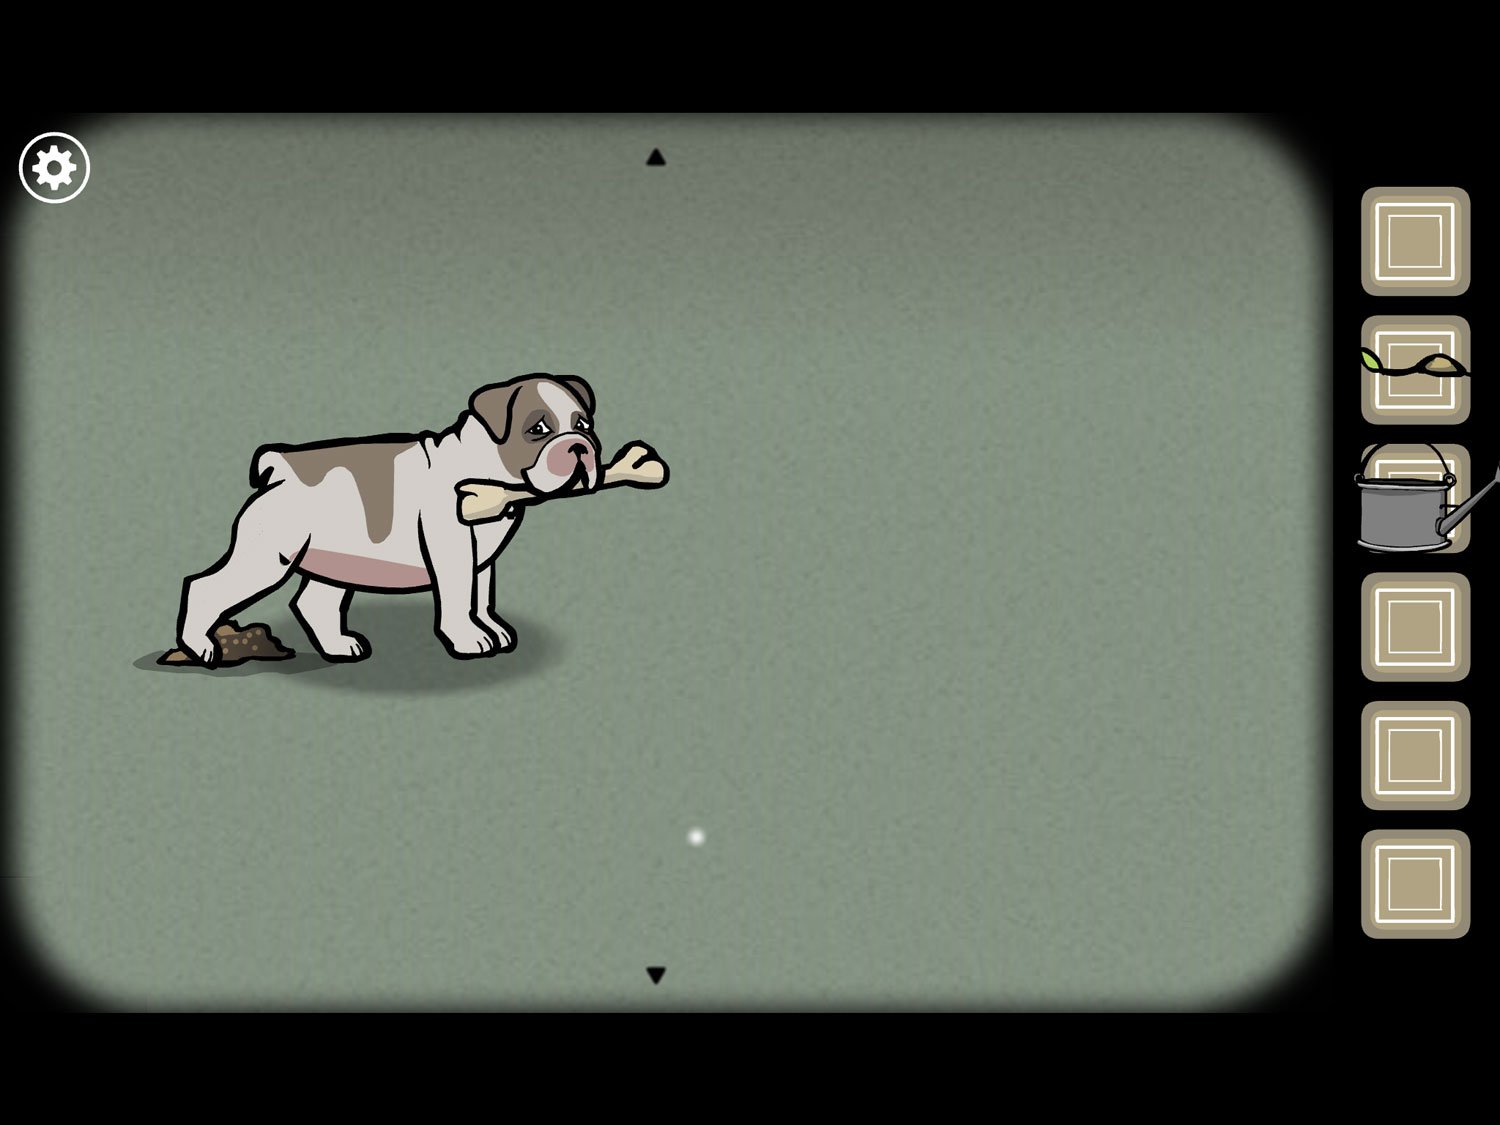
- Tap on dog. Give BONE to dog. Dog will dig a hole in the dirt
- Use SEED on the hole and CAN WITH WATER on seed twice
- Tap to exit; tap on James
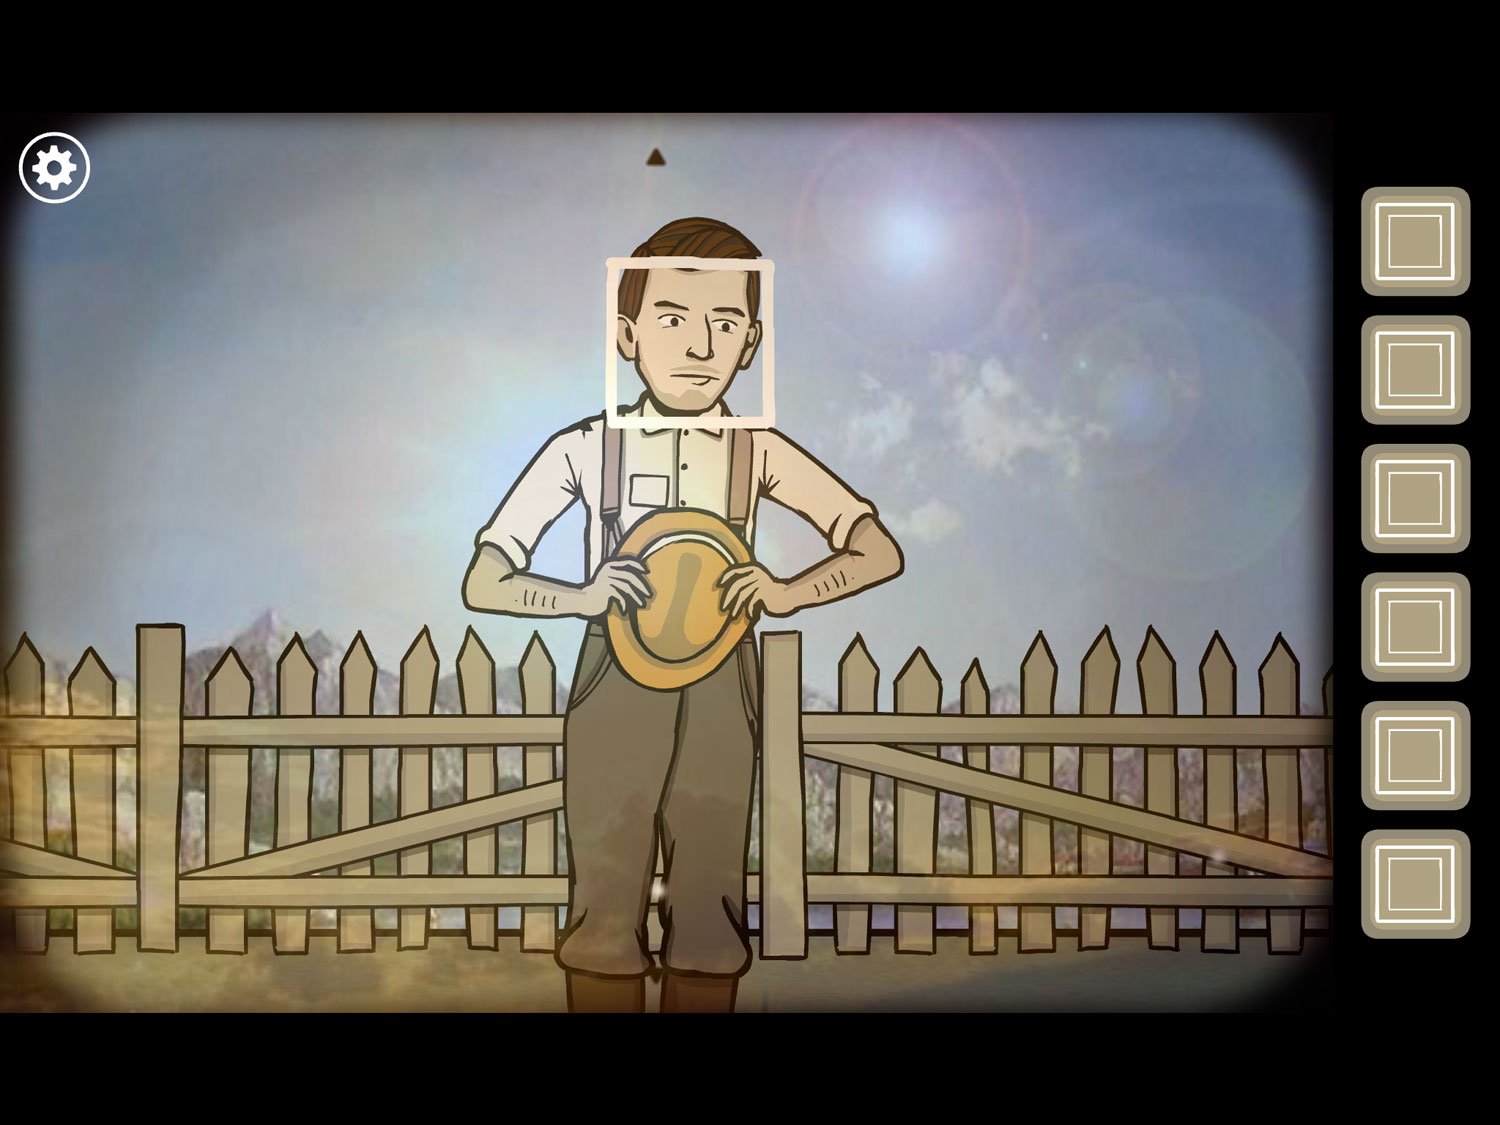
- Tap his face to cause a white square to appear; tap his face square to exit the level
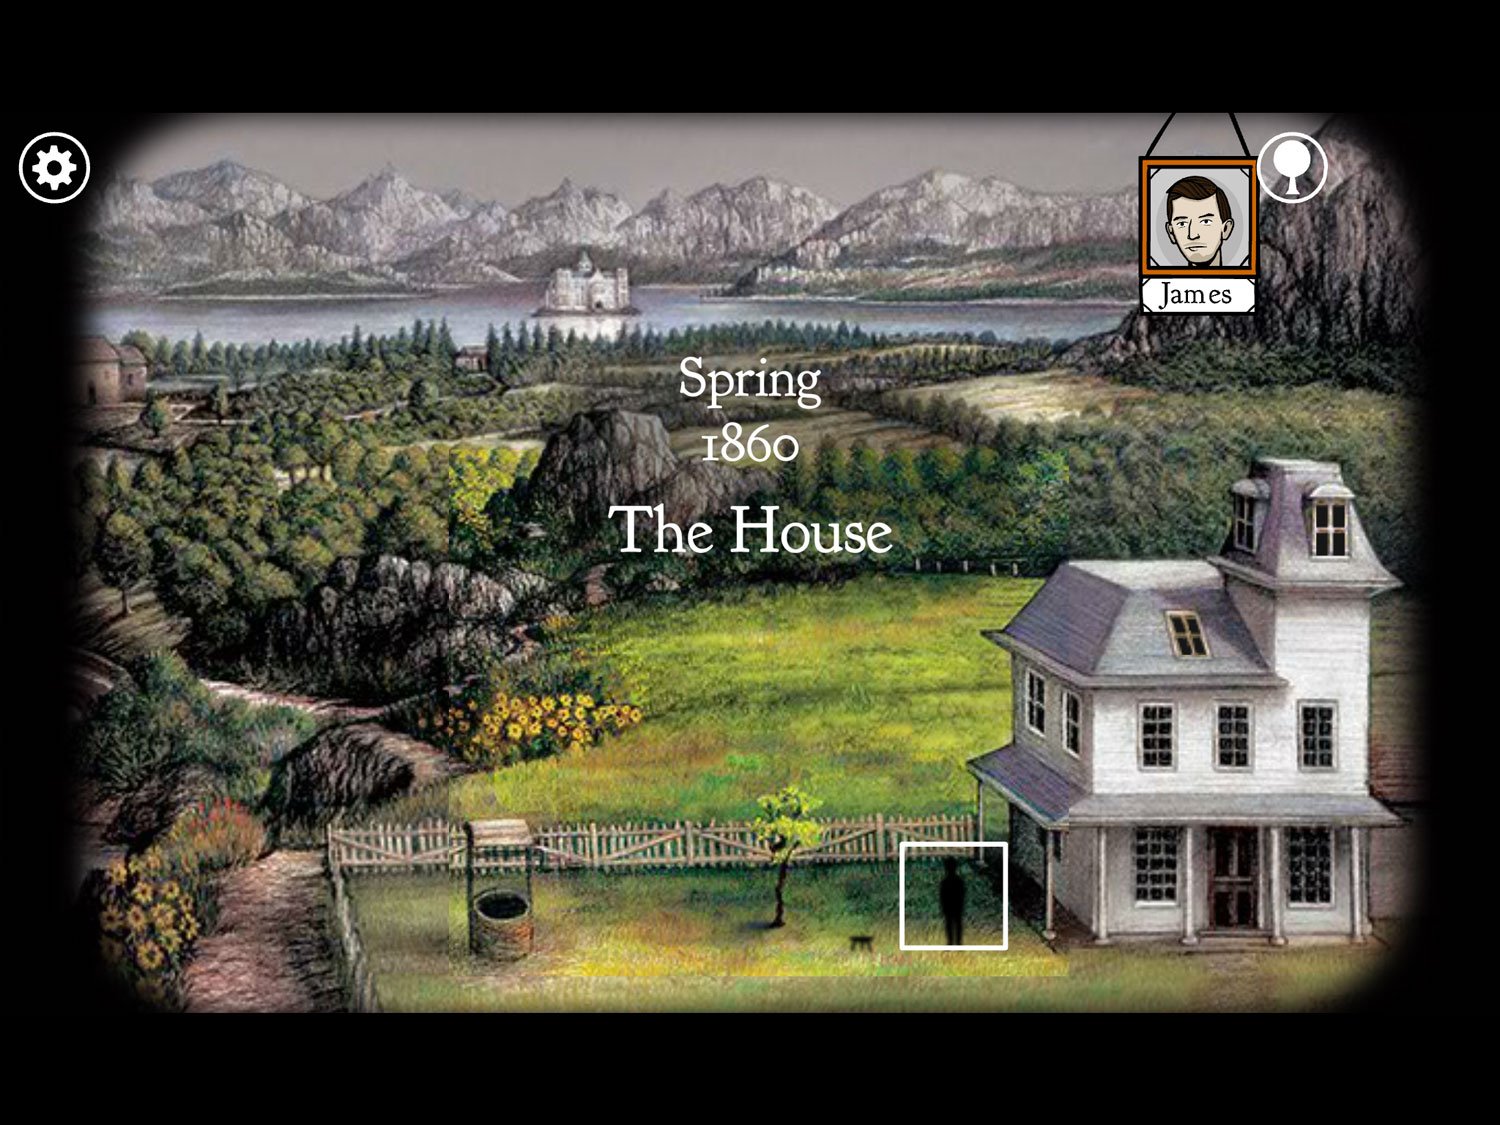
Level 2: House, Spring 1860 – James
Location: Front yard near tree and porch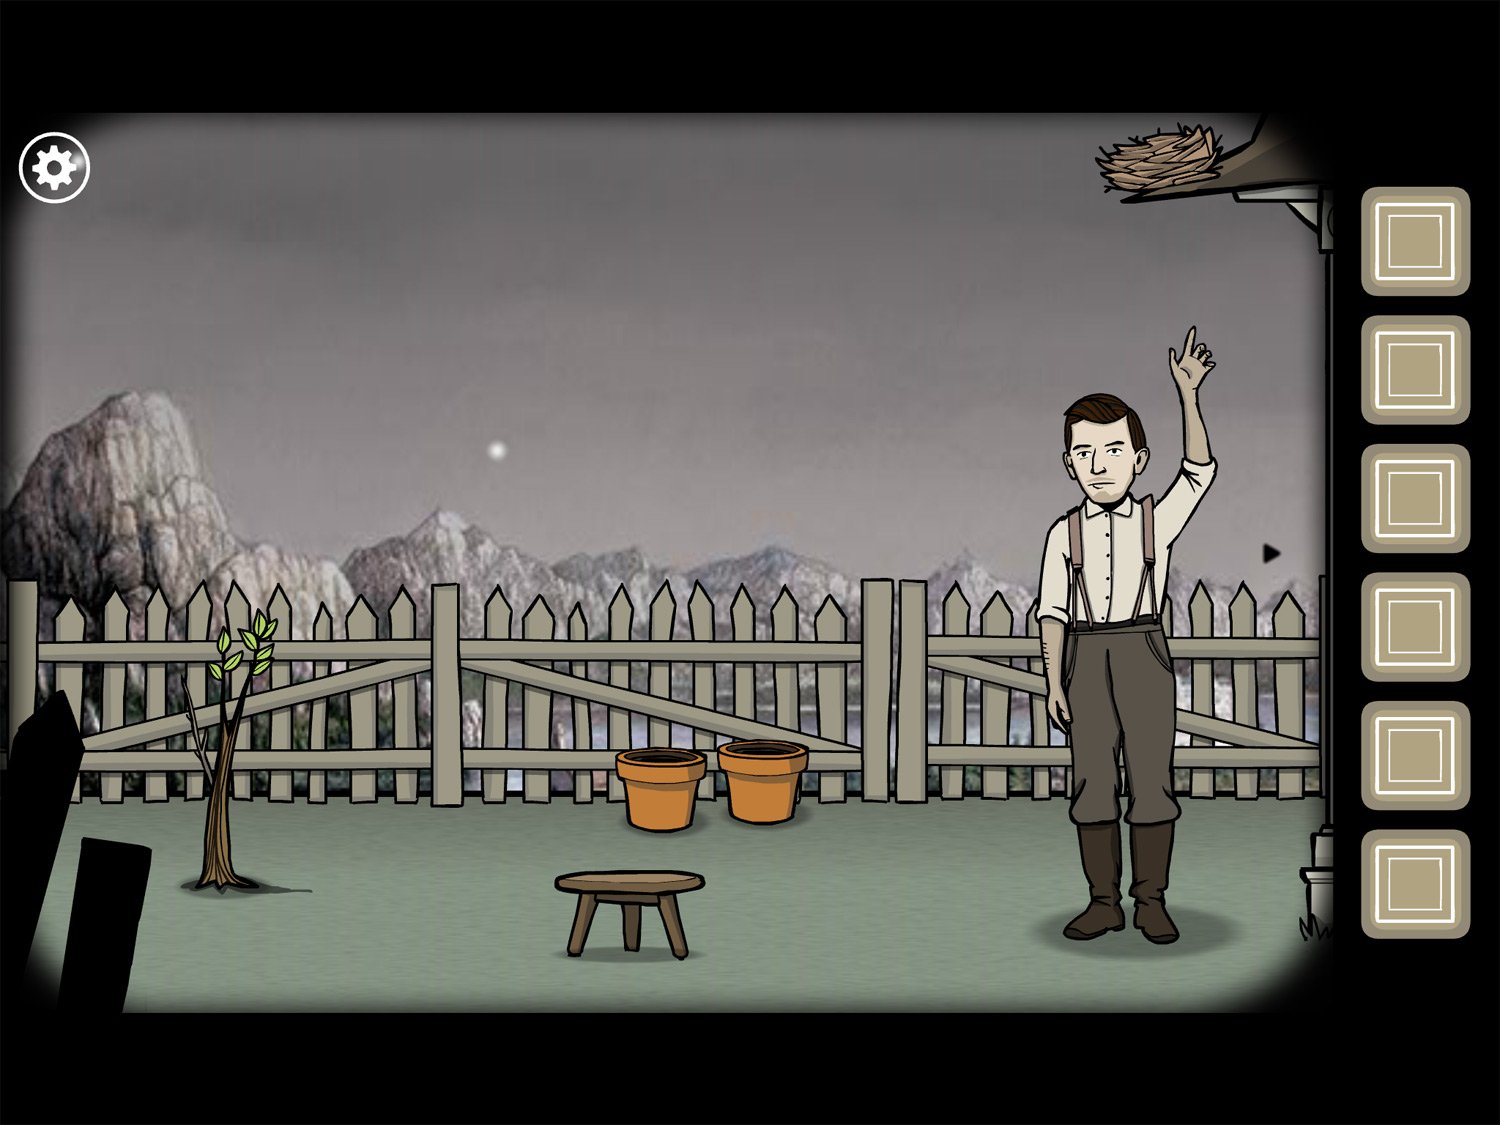
- Drag the stool over to James
- Tap him to get him to stand on it
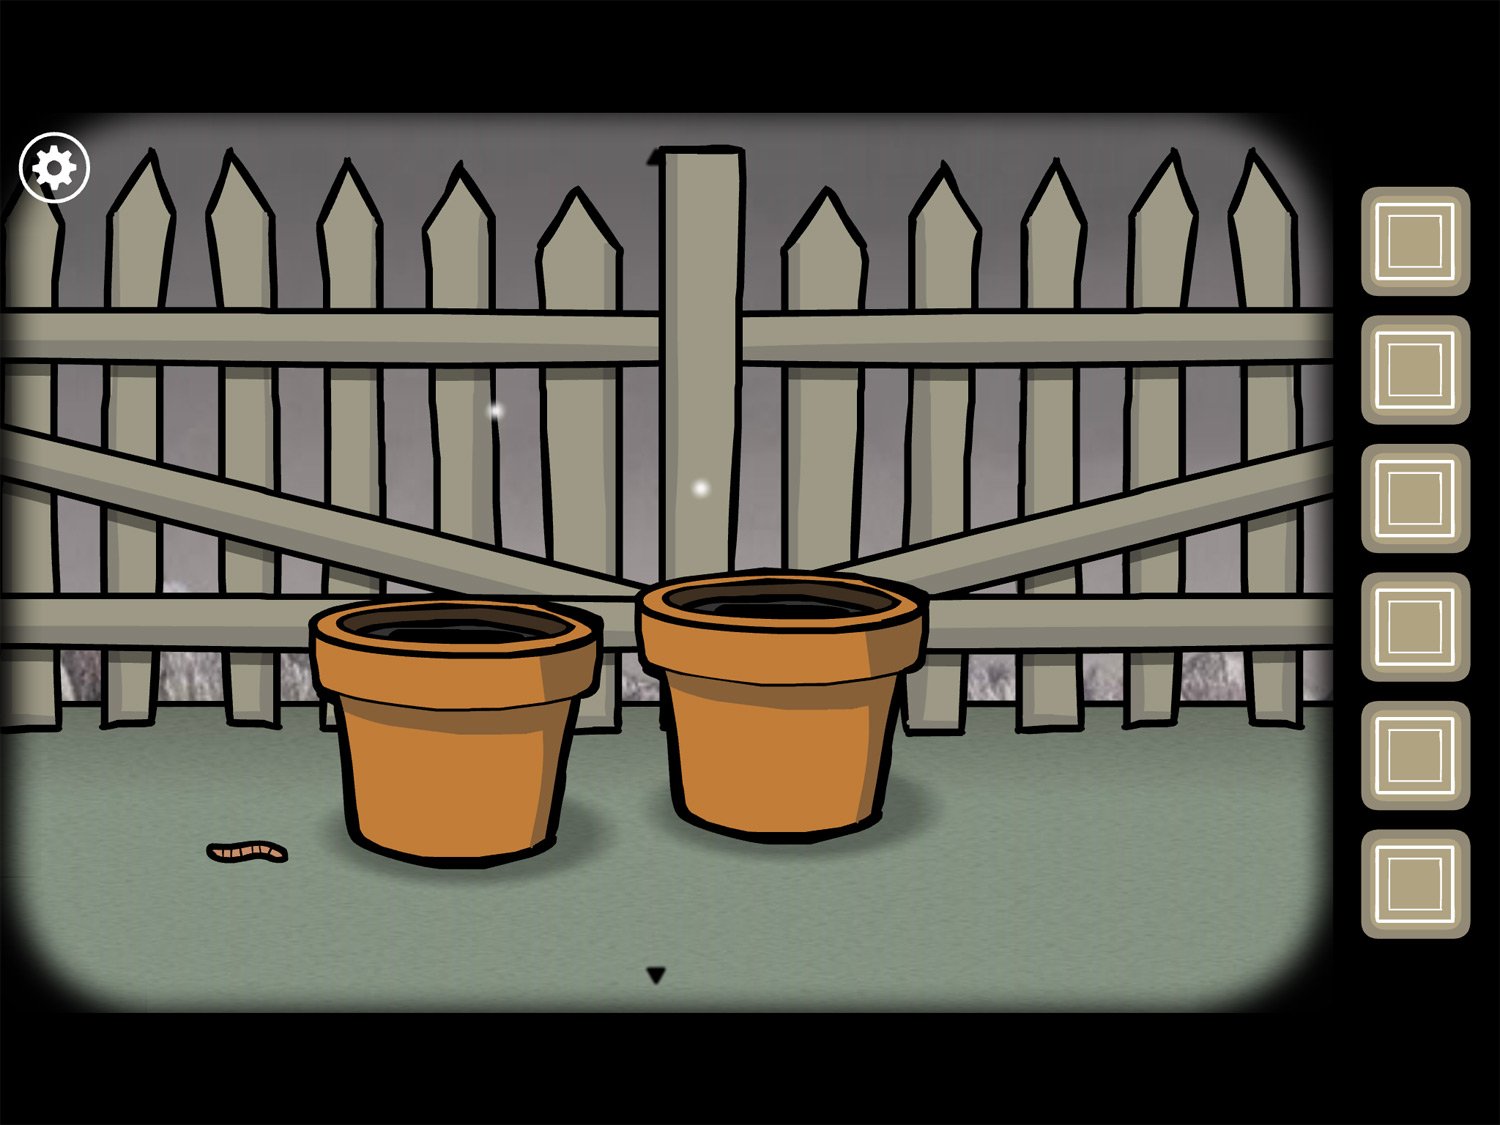
- Tap on the orange pots; pick up WORM off the ground
- Tap the left pot to get DIAMOND (WHITE). Exit close-up
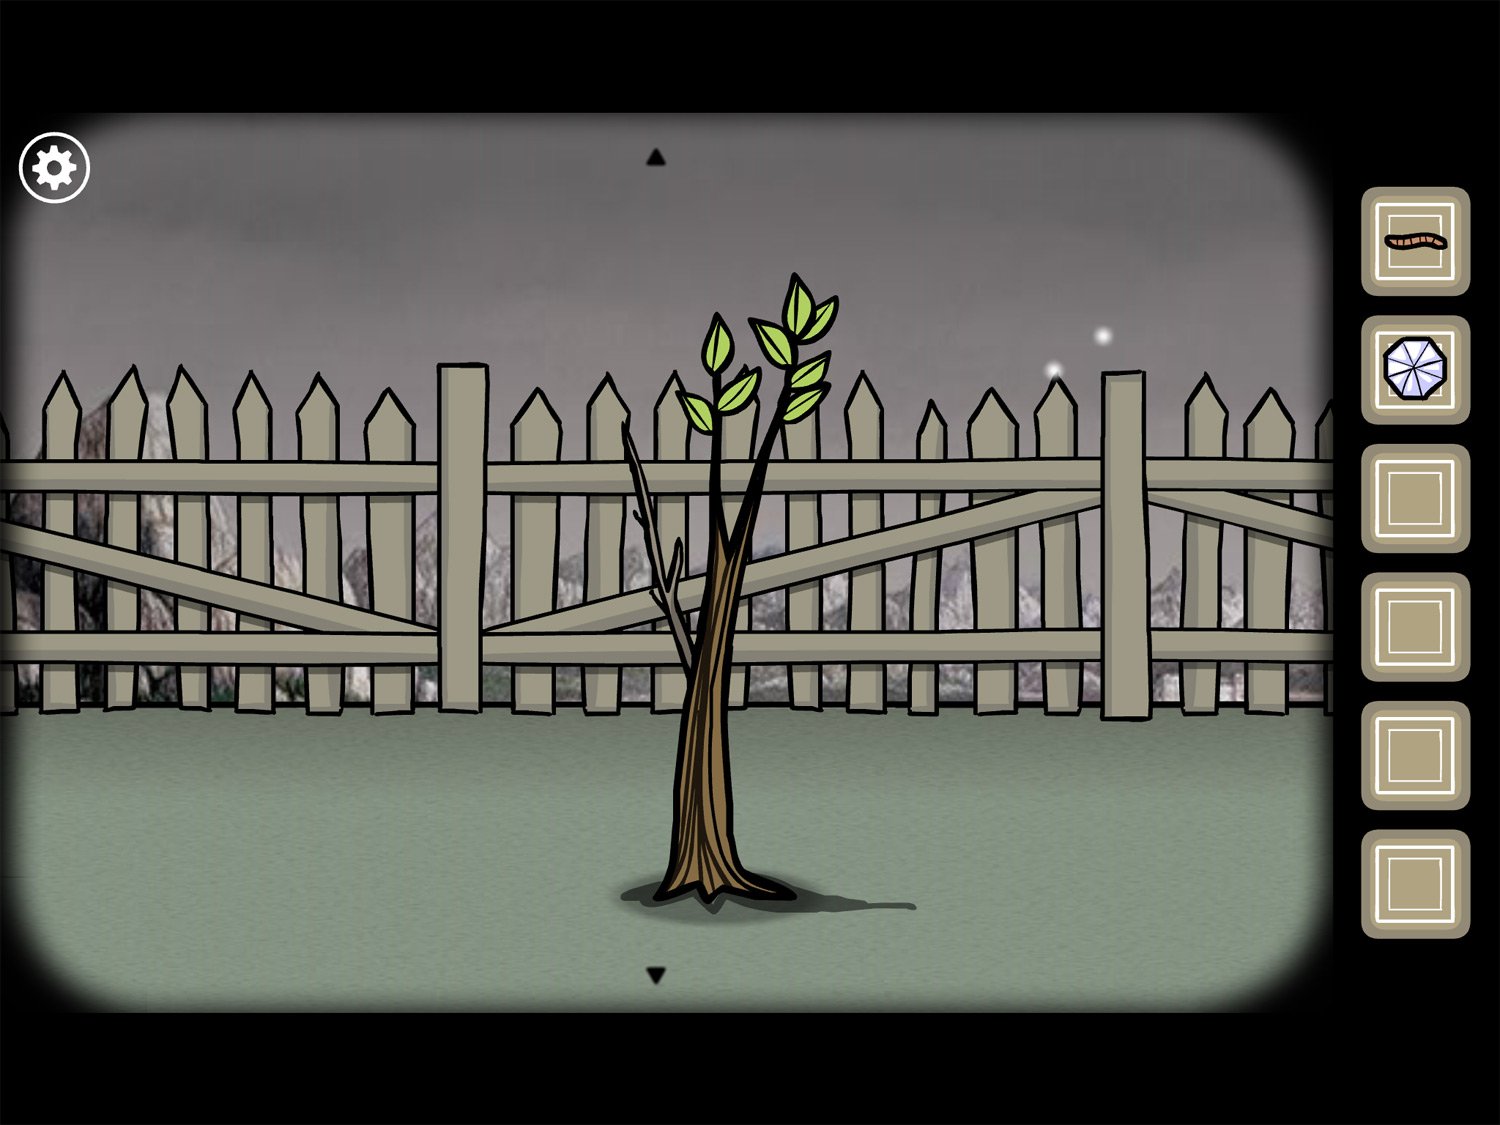
- Tap on tree; tap on left, grayish branch three times to get TWIG. Exit close-up.
- Tap on James to zoom in. Give him TWIG
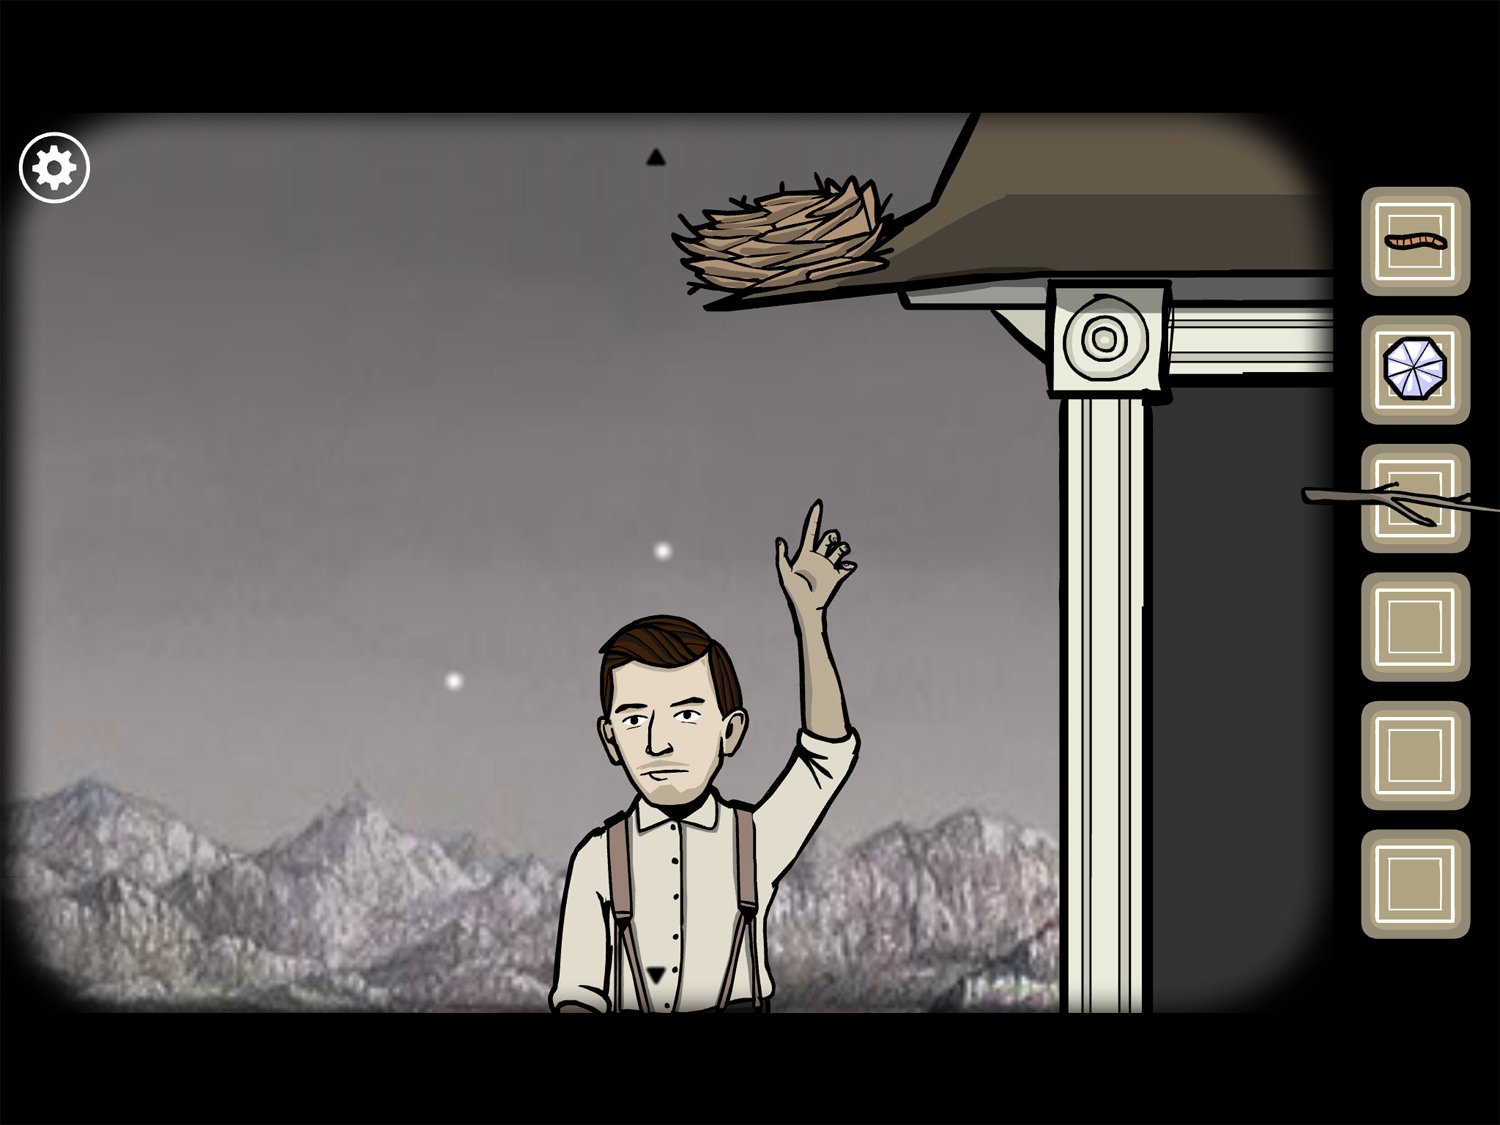
- Tap James so he stretches up. Tap him again and he’ll reach higher
- Tap him one more time to knock the bird’s nest down. Exit close-up

- Tap the bird’s nest to enter close-up; tap the egg four times to hatch a crow
- Give WORM to crow. Tap the crow and it flies away; take the DIAMOND (GREEN). Exit close-up
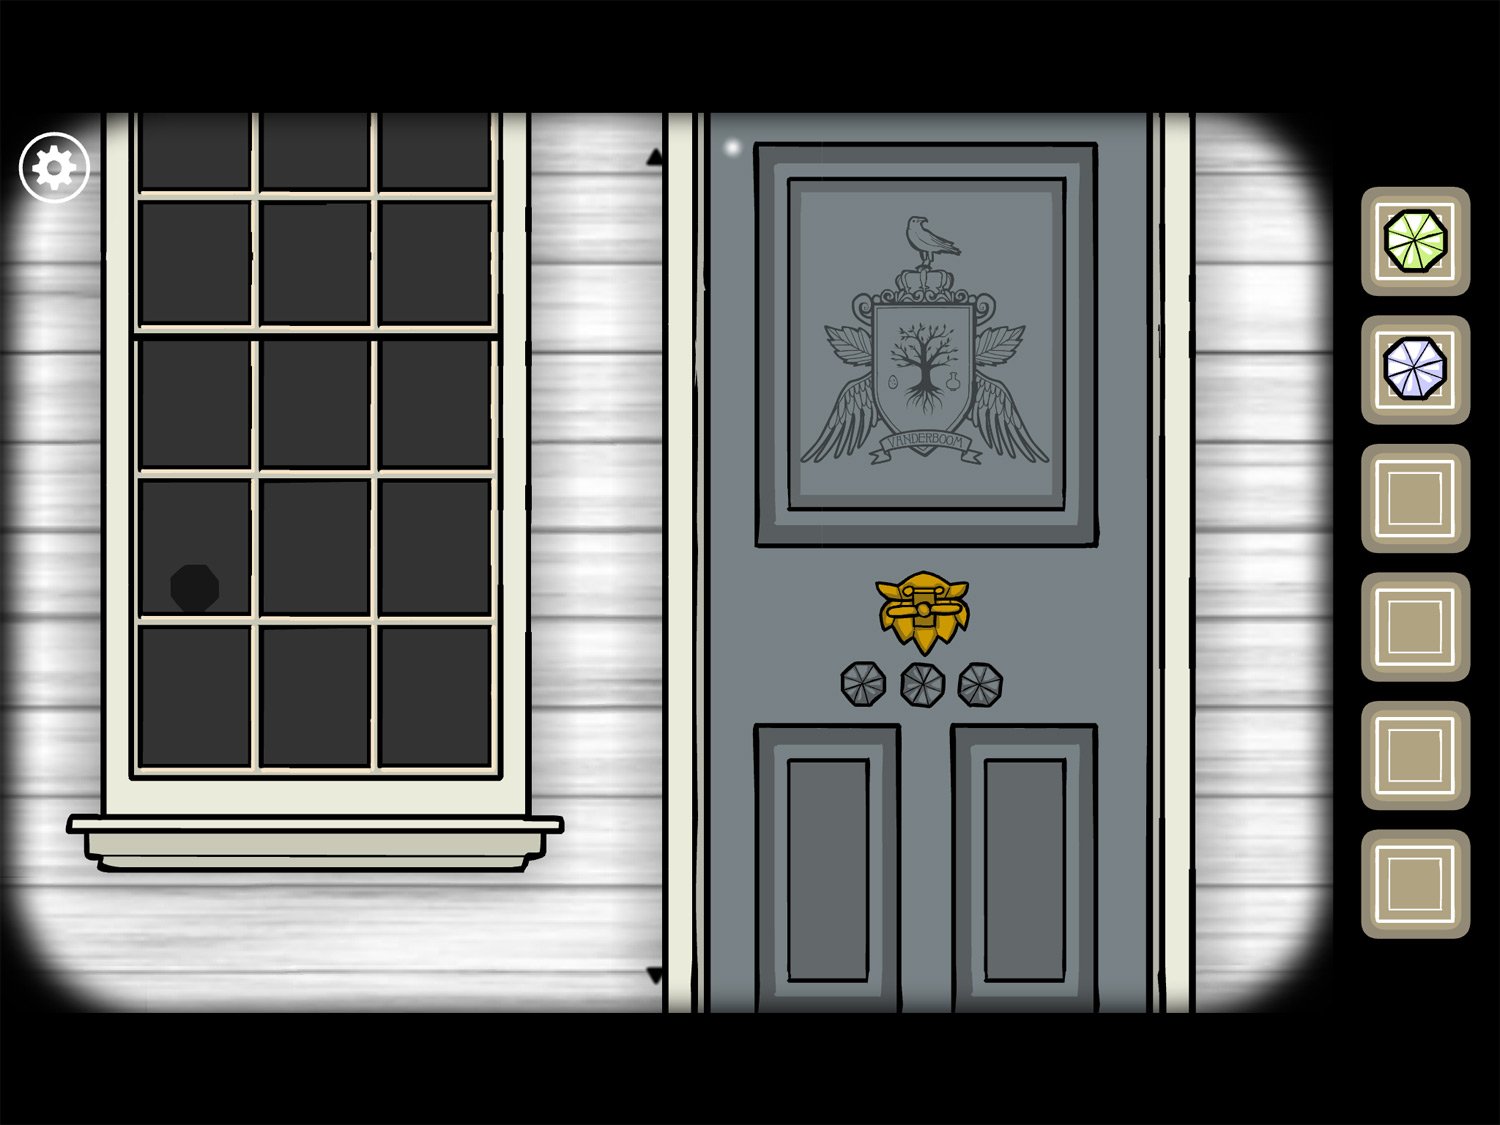
- Drag screen right to view the house. Tap the window to enter close-up
- Tap the diamond in the window; after three taps the glass cracks and a shadow appears
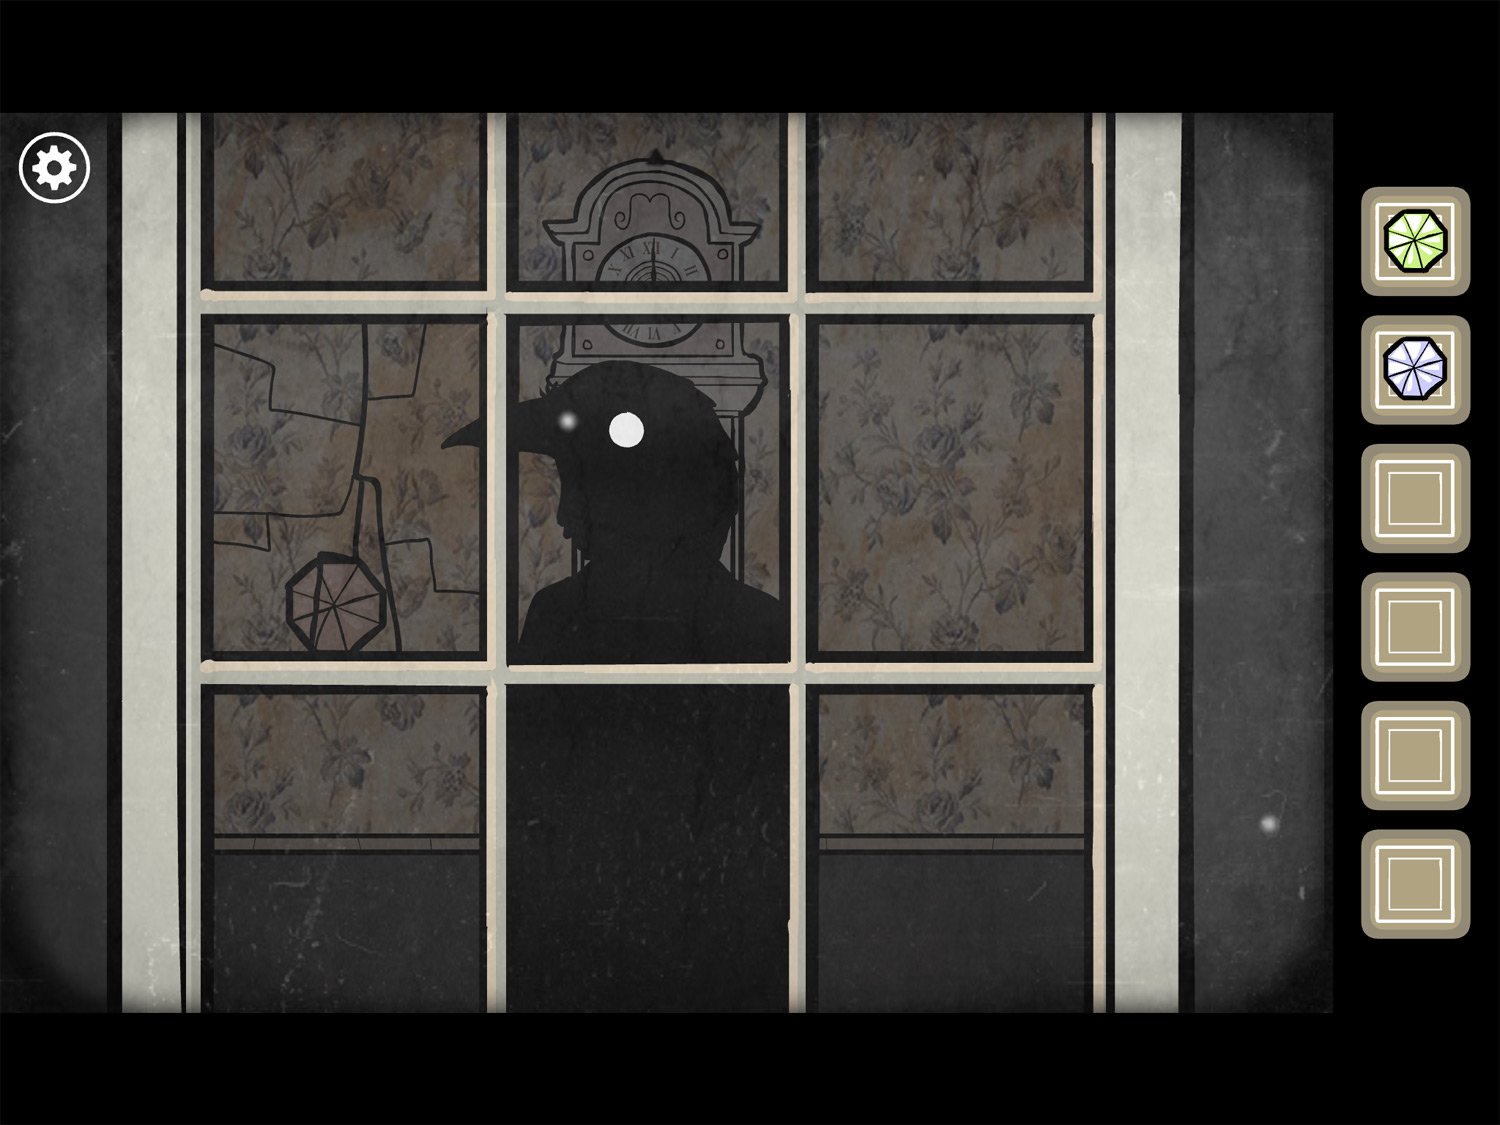
- Keep tapping until the glass breaks; take DIAMOND (BROWN)
- Exit window; tap on door to enter close-up
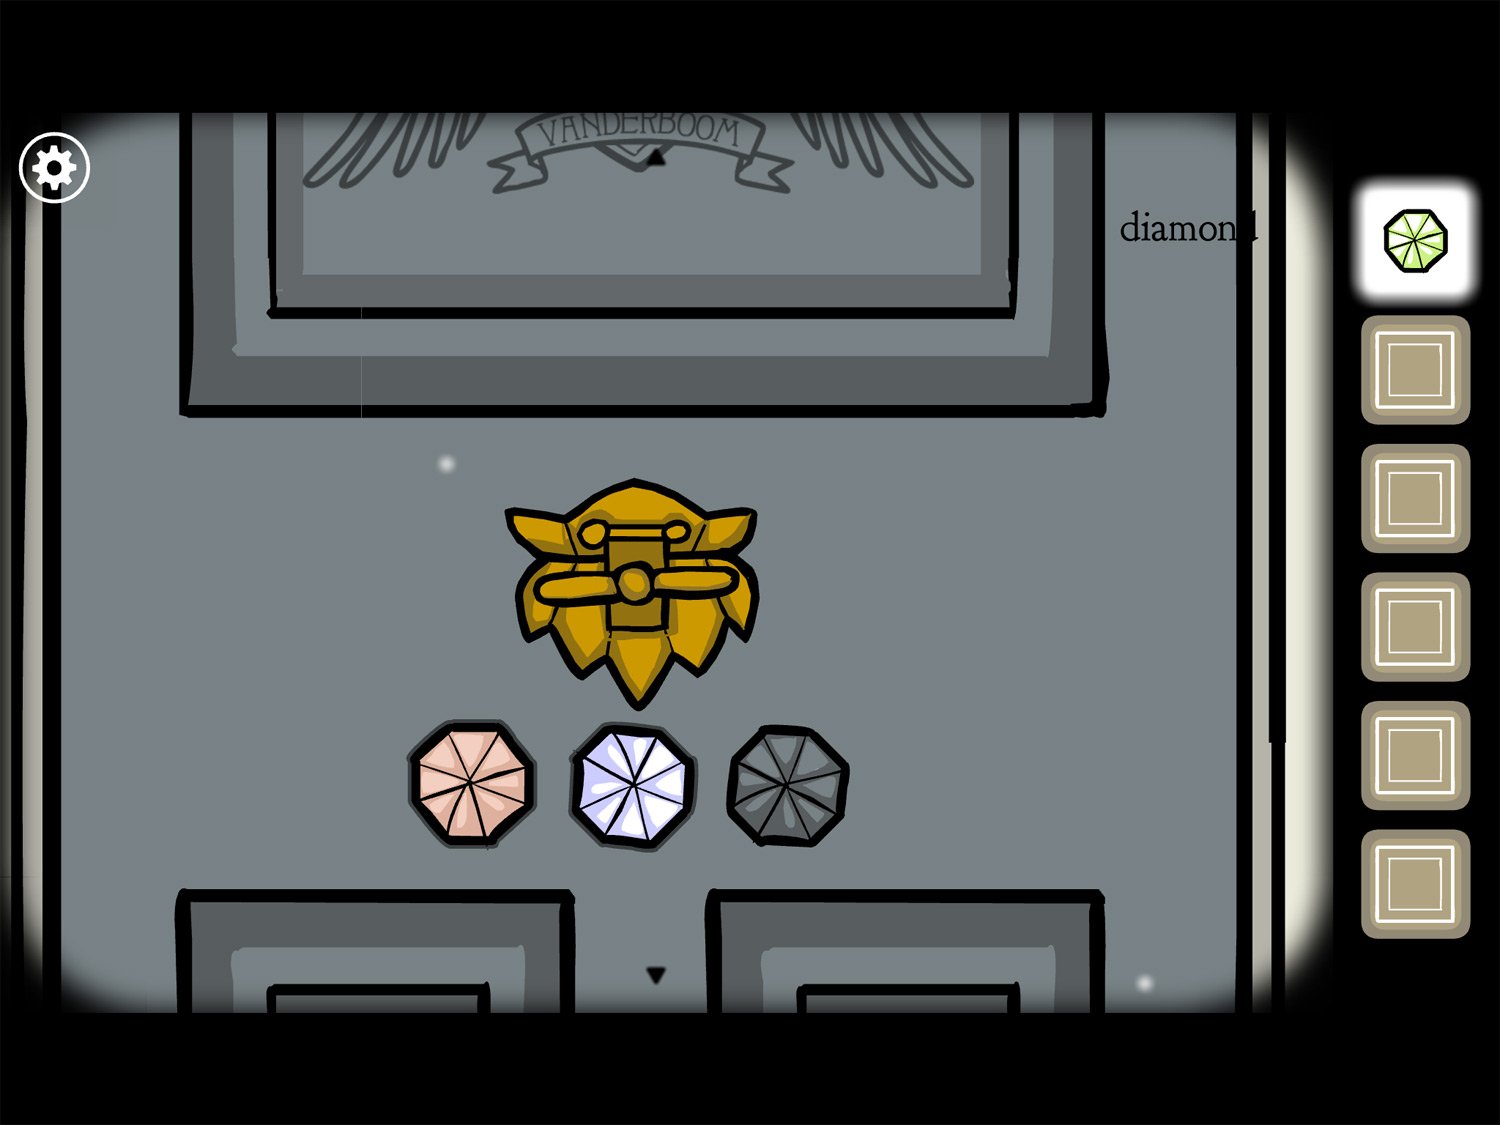
- Put the three diamonds in the indentations in the door. The order of the diamonds does not matter
- Tap the gold knob twice above the diamonds once placed
- You’ll exit the close-up; tap the knob again to open the door
- Tap the open doorway to make the white square and exit appear
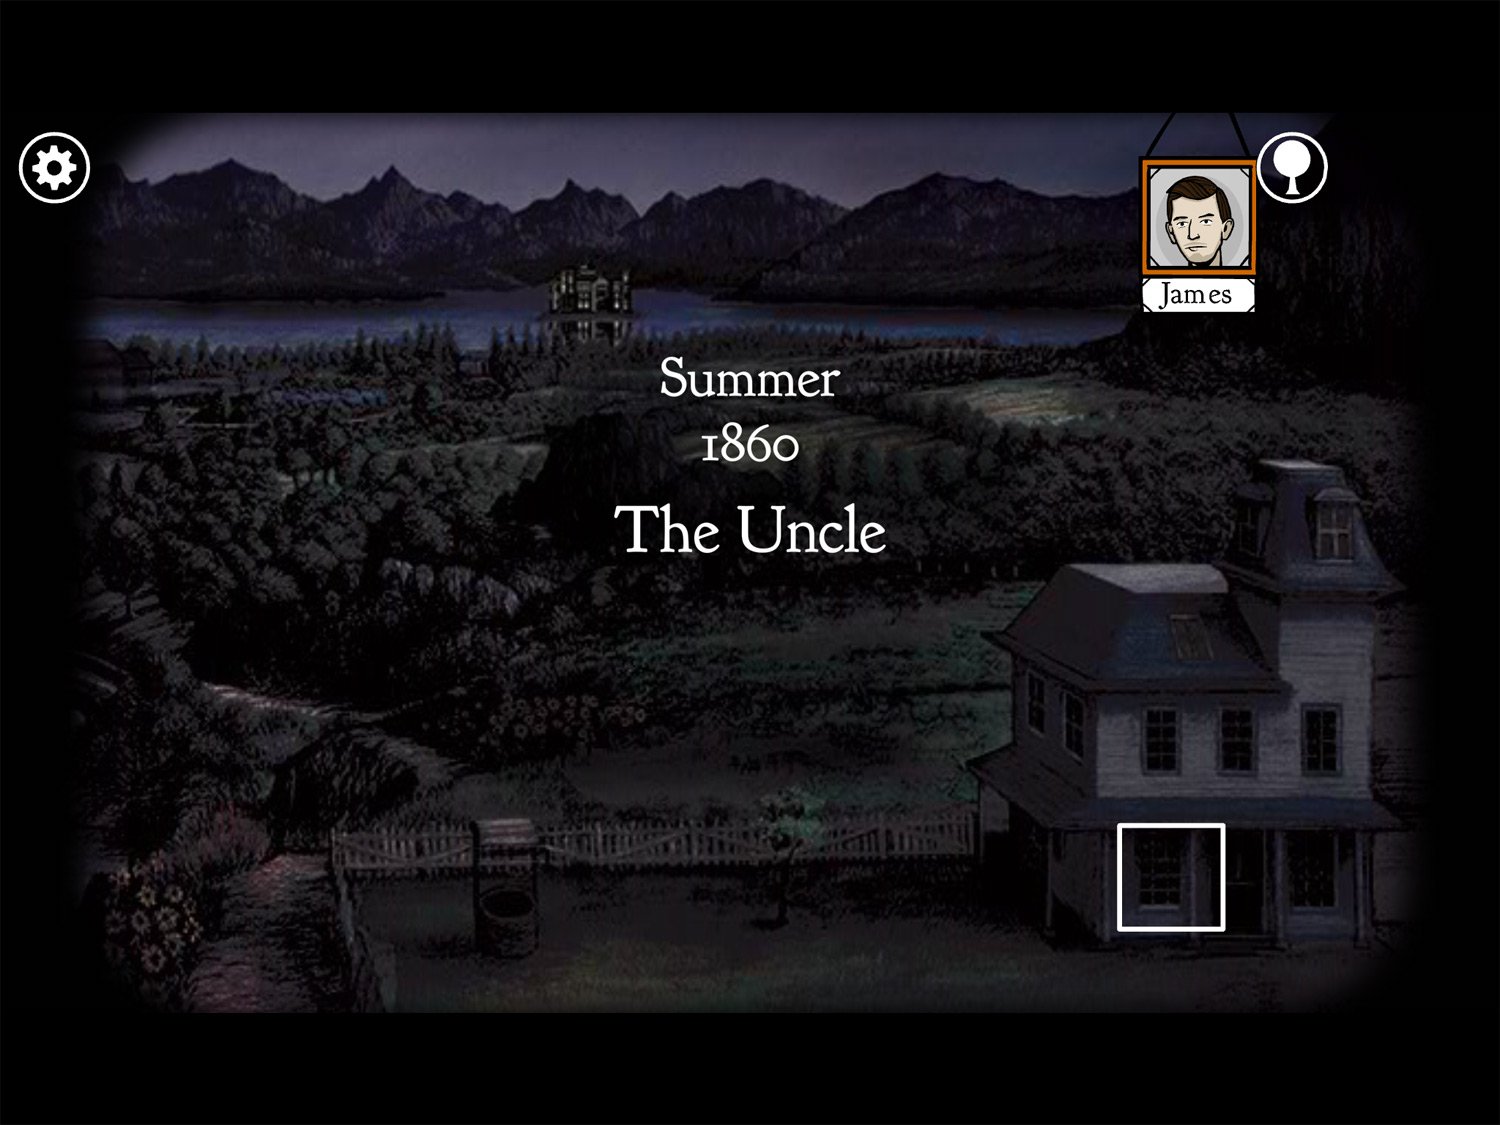
Level 3: The Uncle, Summer 1860 – James
Location: The front den, with the clock and fireplace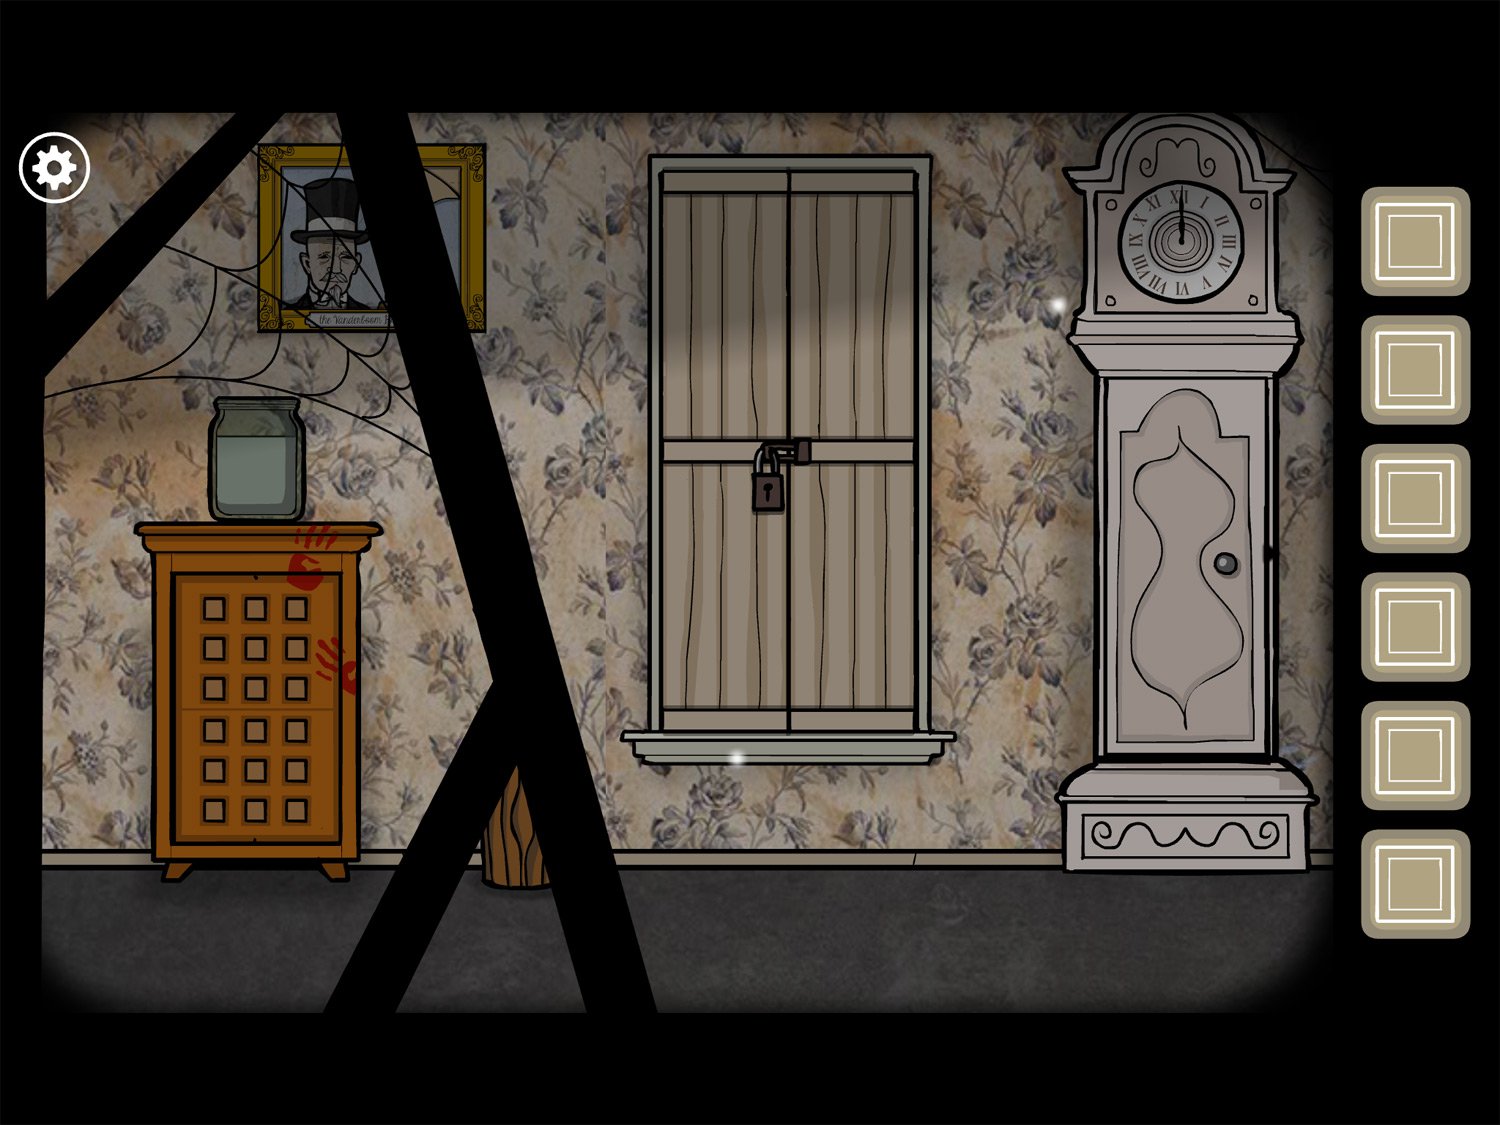
- Tap the picture behind the cobweb to enter a close-up
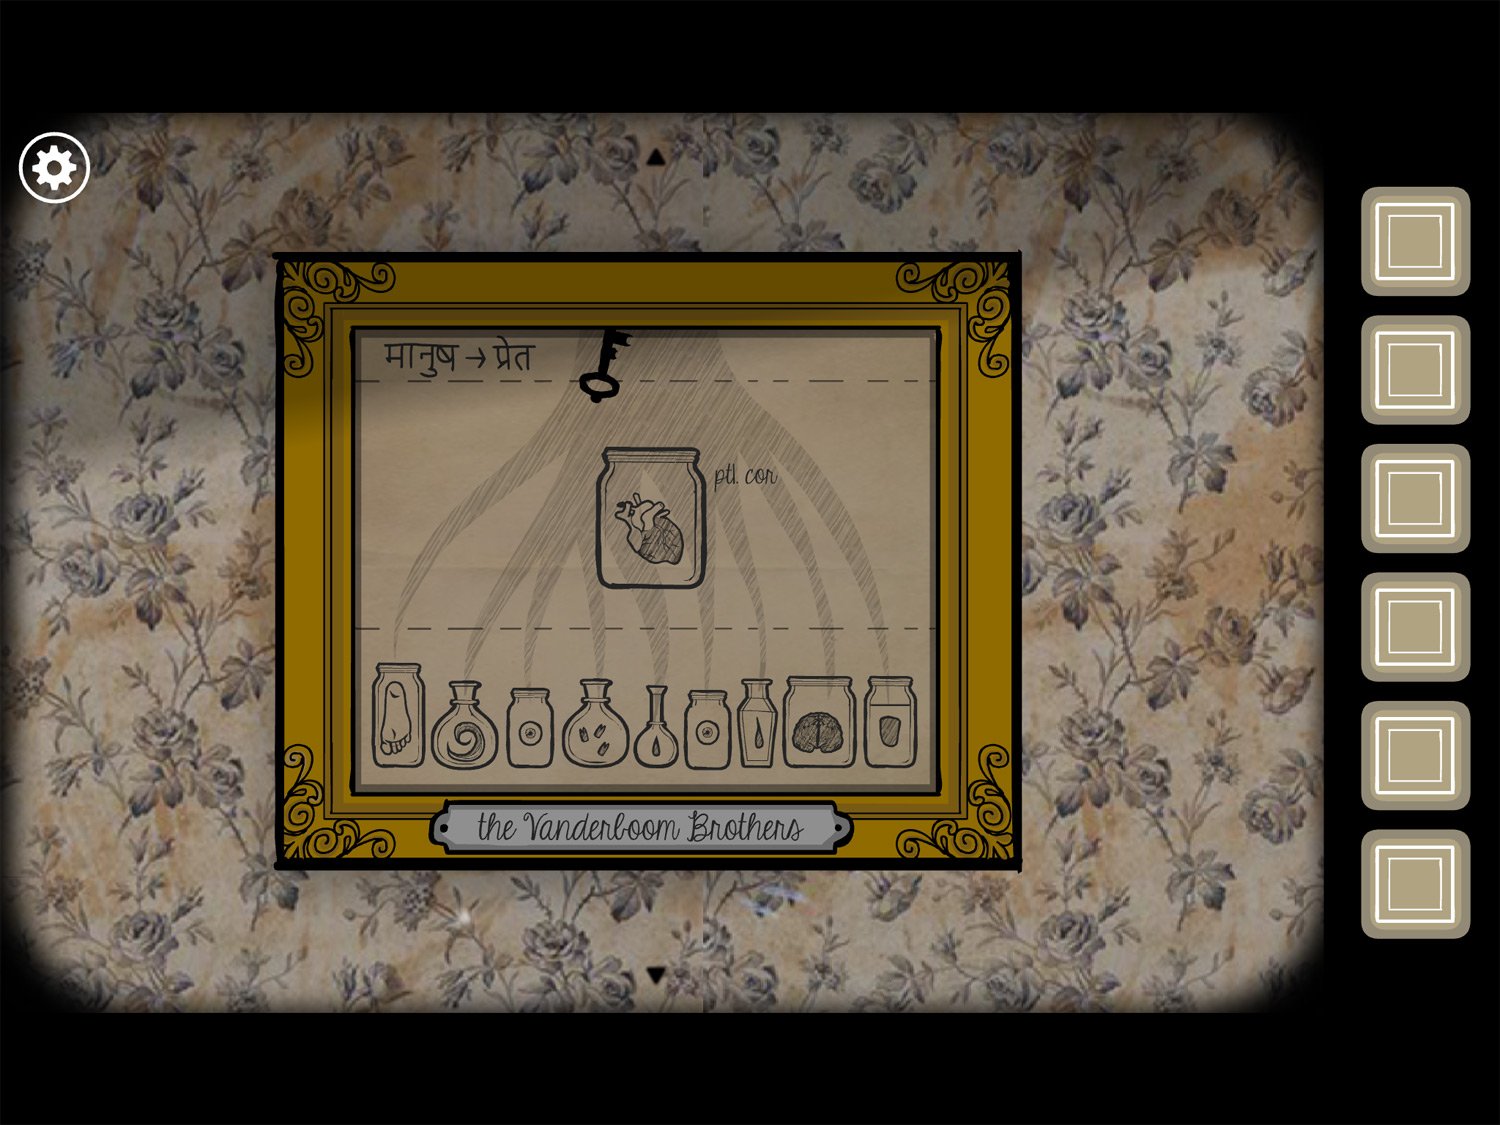
- Tap the picture a few times to peel back the canvas; this reveals a sketch of different jars and some odd symbols near tree roots
- Take the KEY from the top of the frame and exit the picture
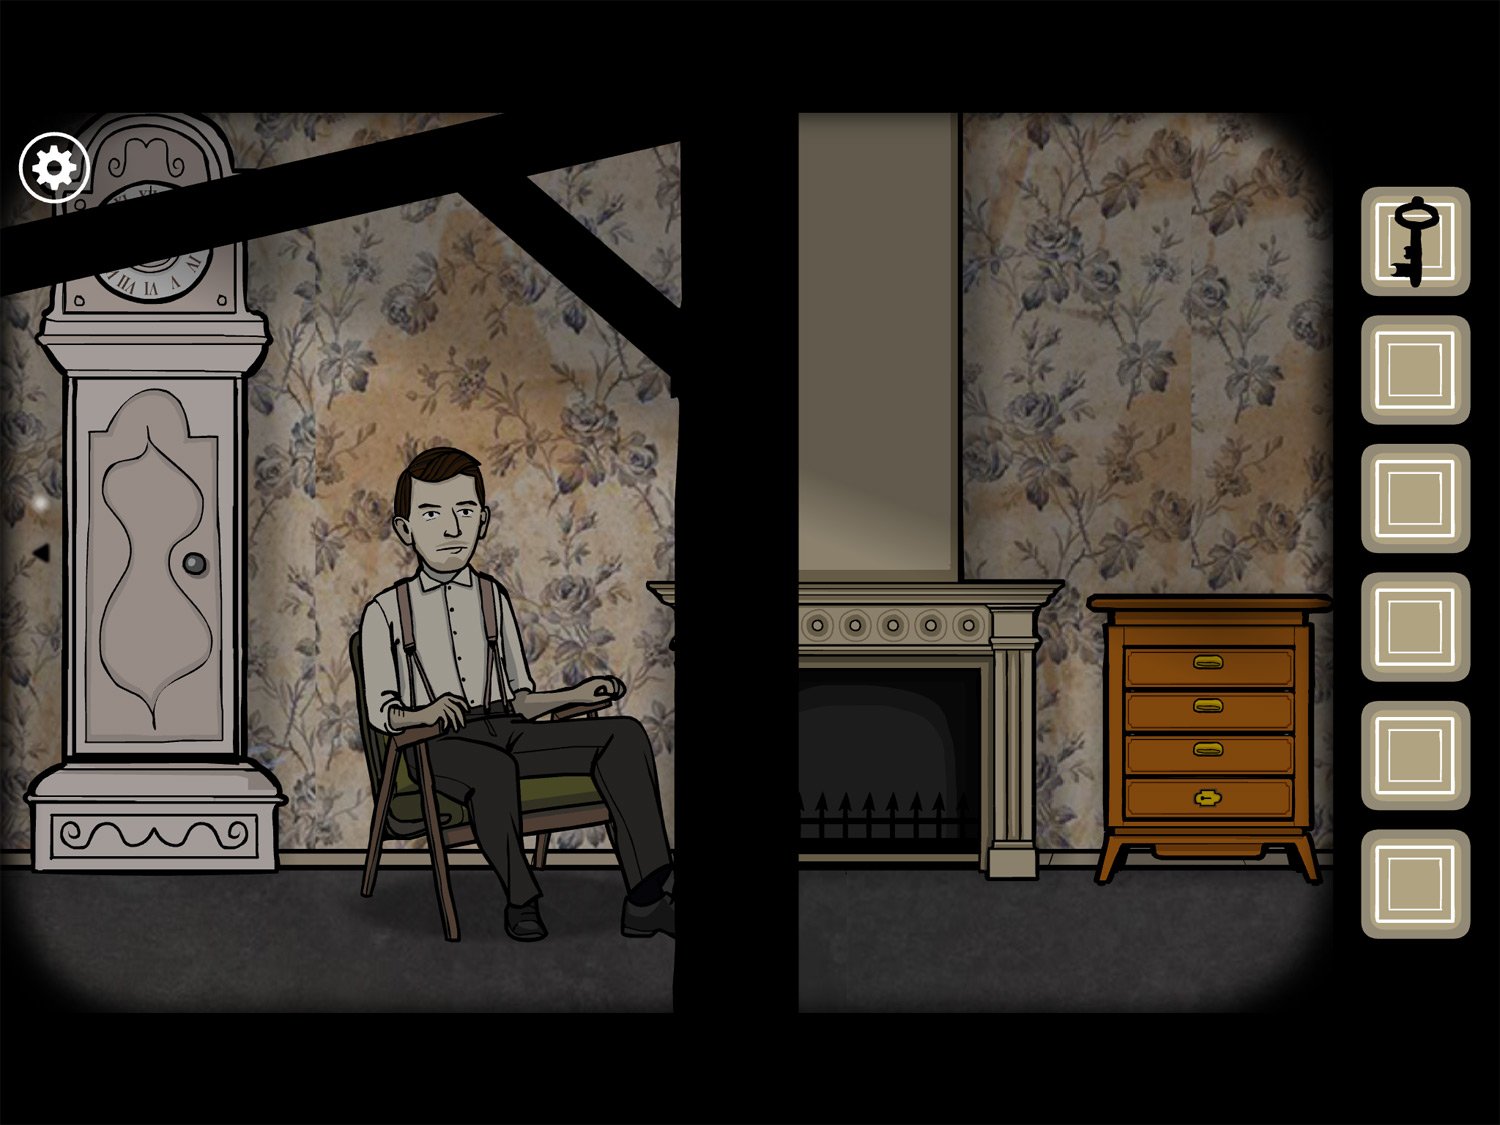
- Drag right until you see James, a fireplace, and a set of drawers
- If you tap James and his head you’ll see he wants a fire
- Tap the drawers; open the second drawer and pick up MATCHES
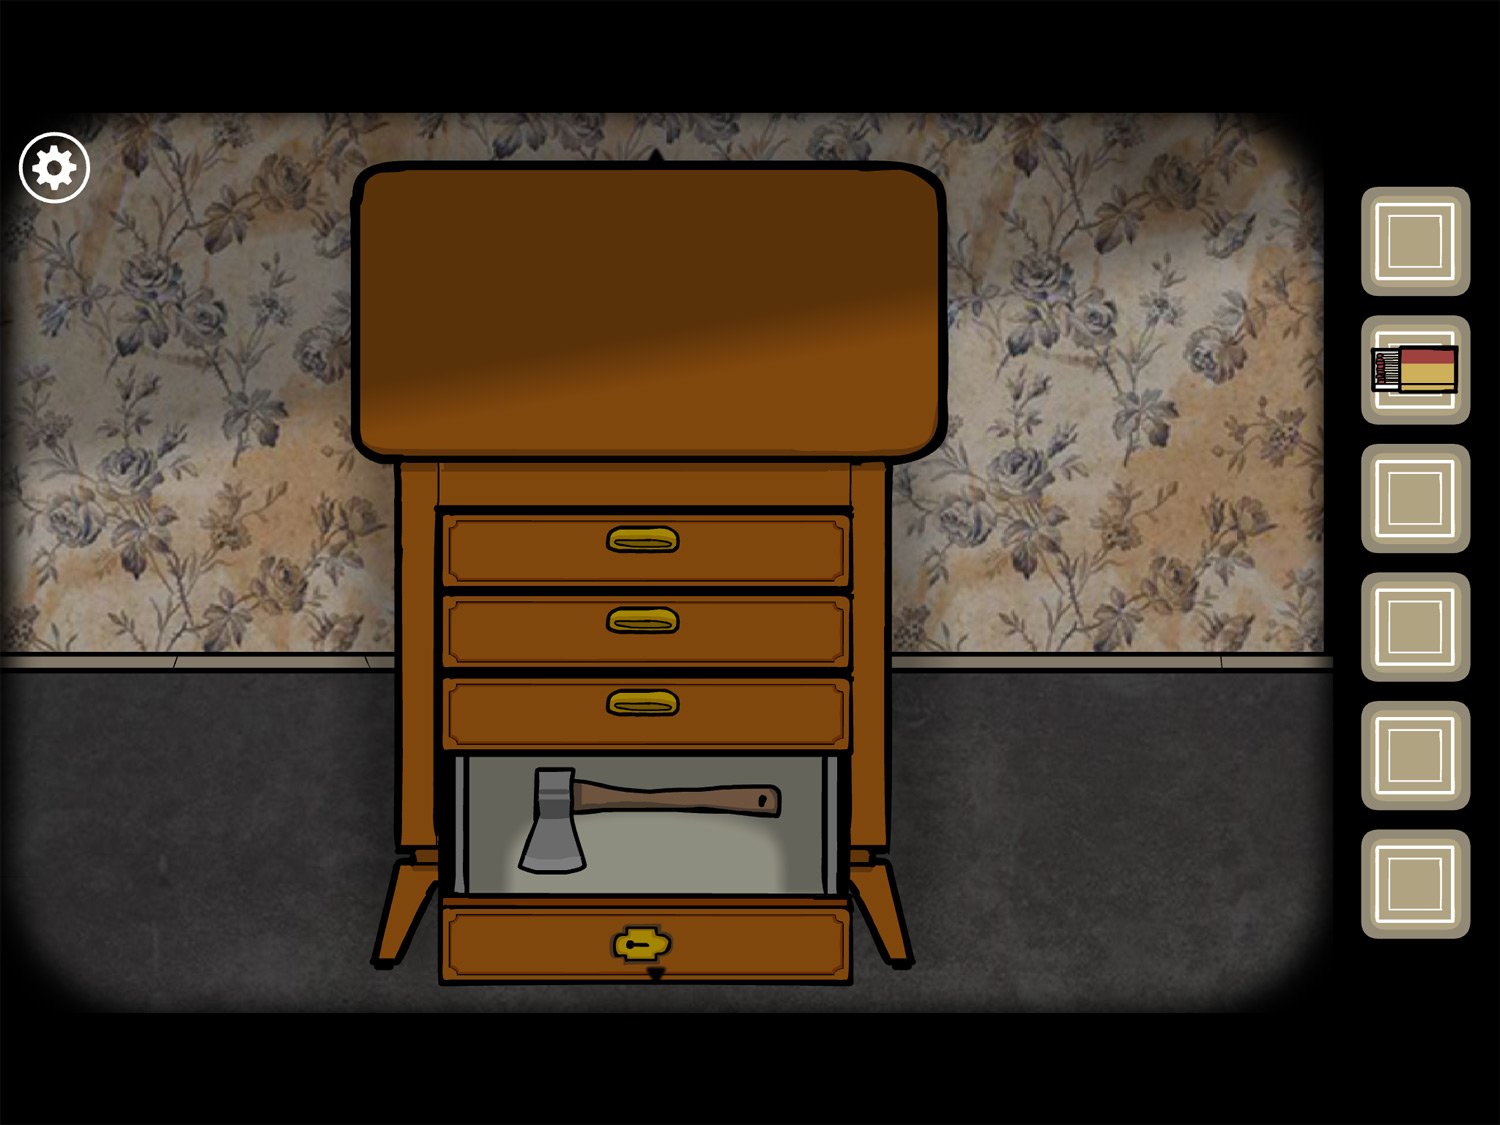
- Use KEY on the bottom drawer; take HATCHET
- Exit and drag left again; tap on the stump on the floor
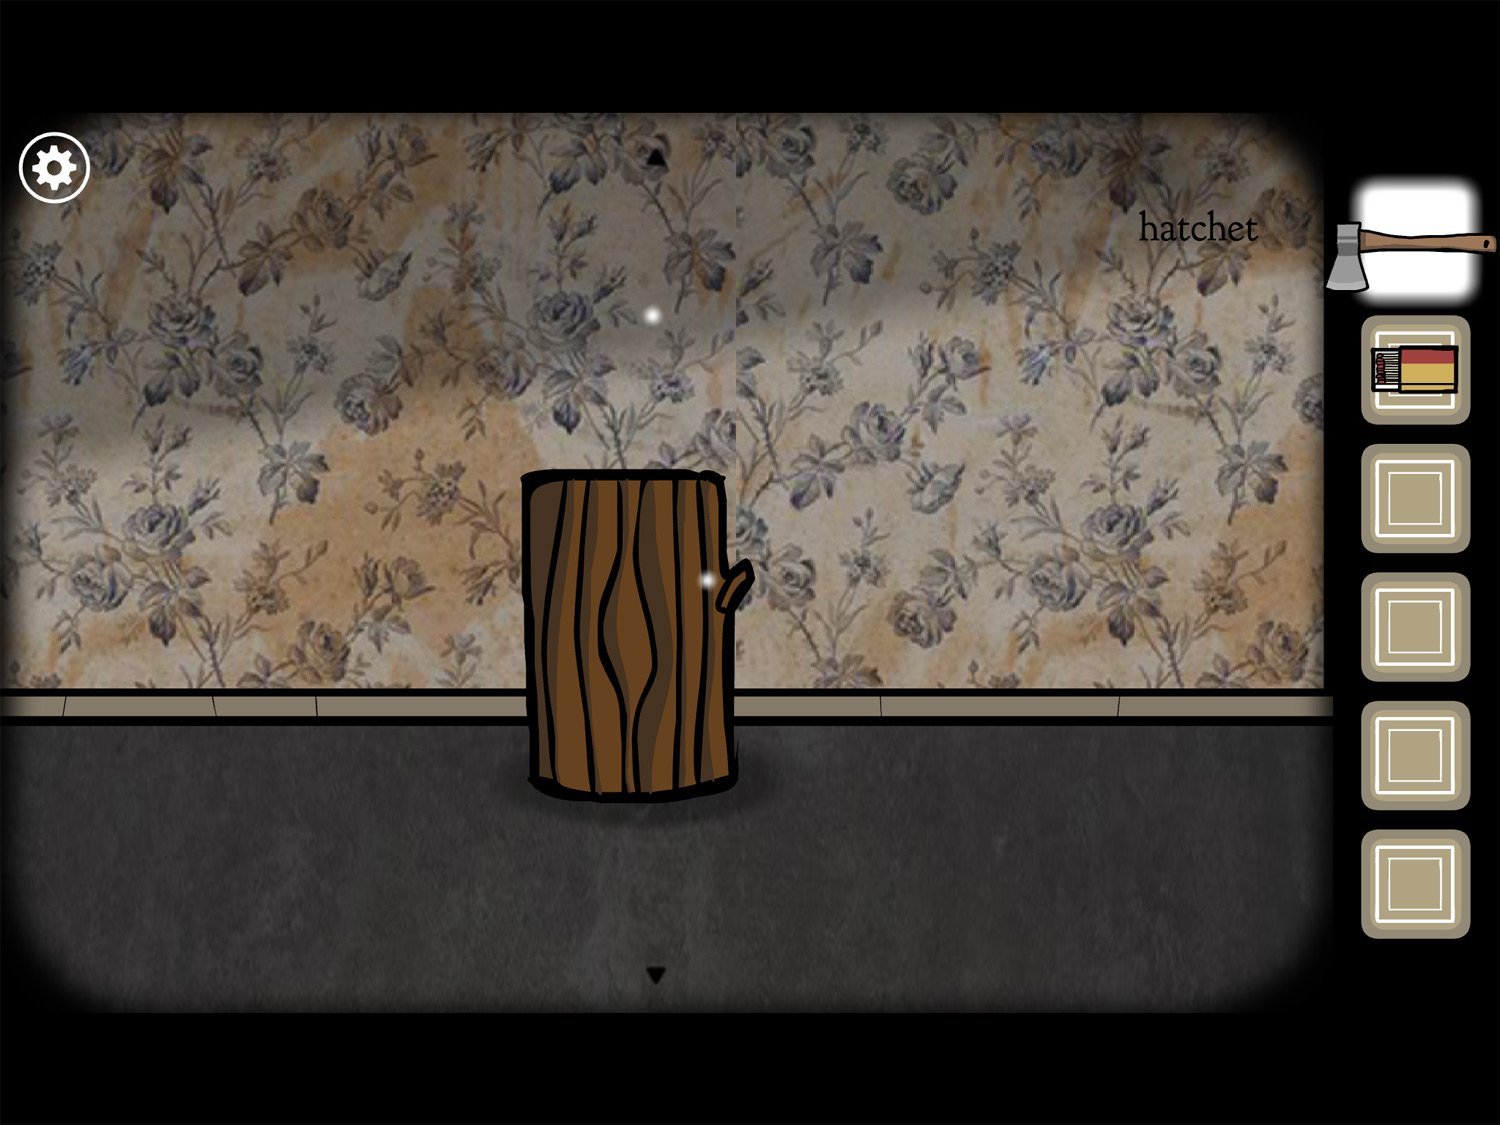
- Use HATCHET on the stump to cut it; tap the pile to get WOOD
- Exit and drag right, back to the fireplace. Put WOOD in the fireplace
- Use MATCHES on the wood in the fireplace.
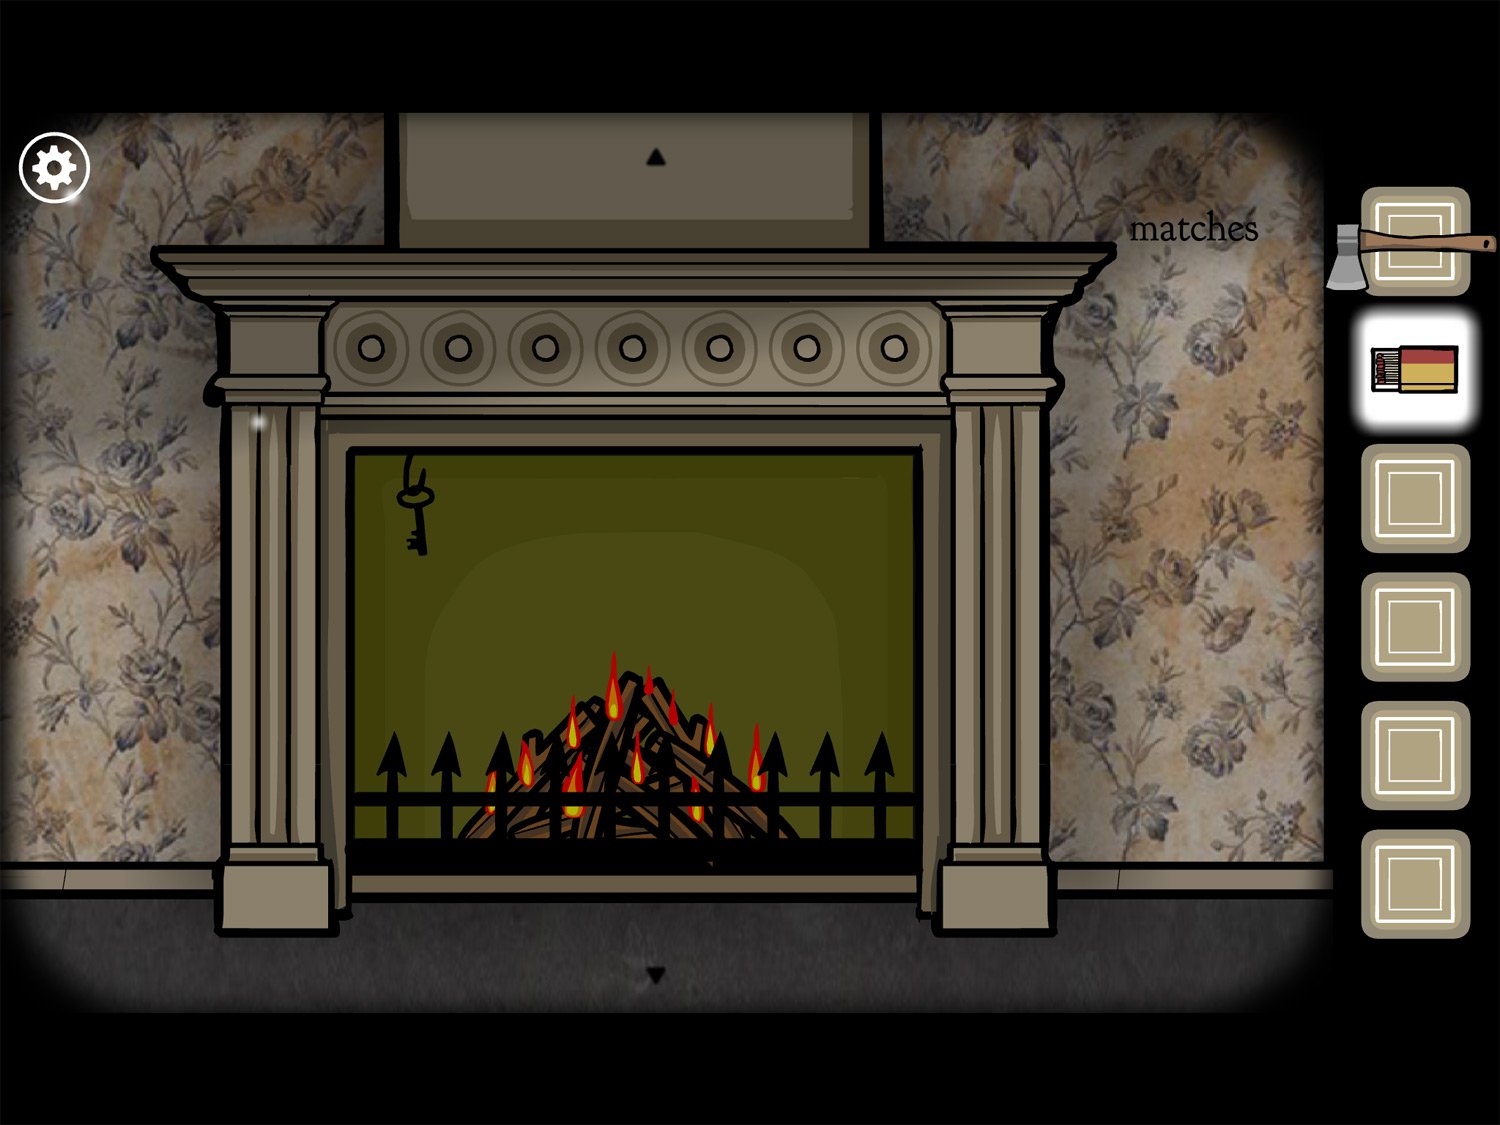
- Take KEY (2) from the now-lit fireplace
- Exit and drag left; tap on the boarded-up window
- Use KEY (2) on the lock over these boards. The shutter will open, revealing bloody handprints along the window
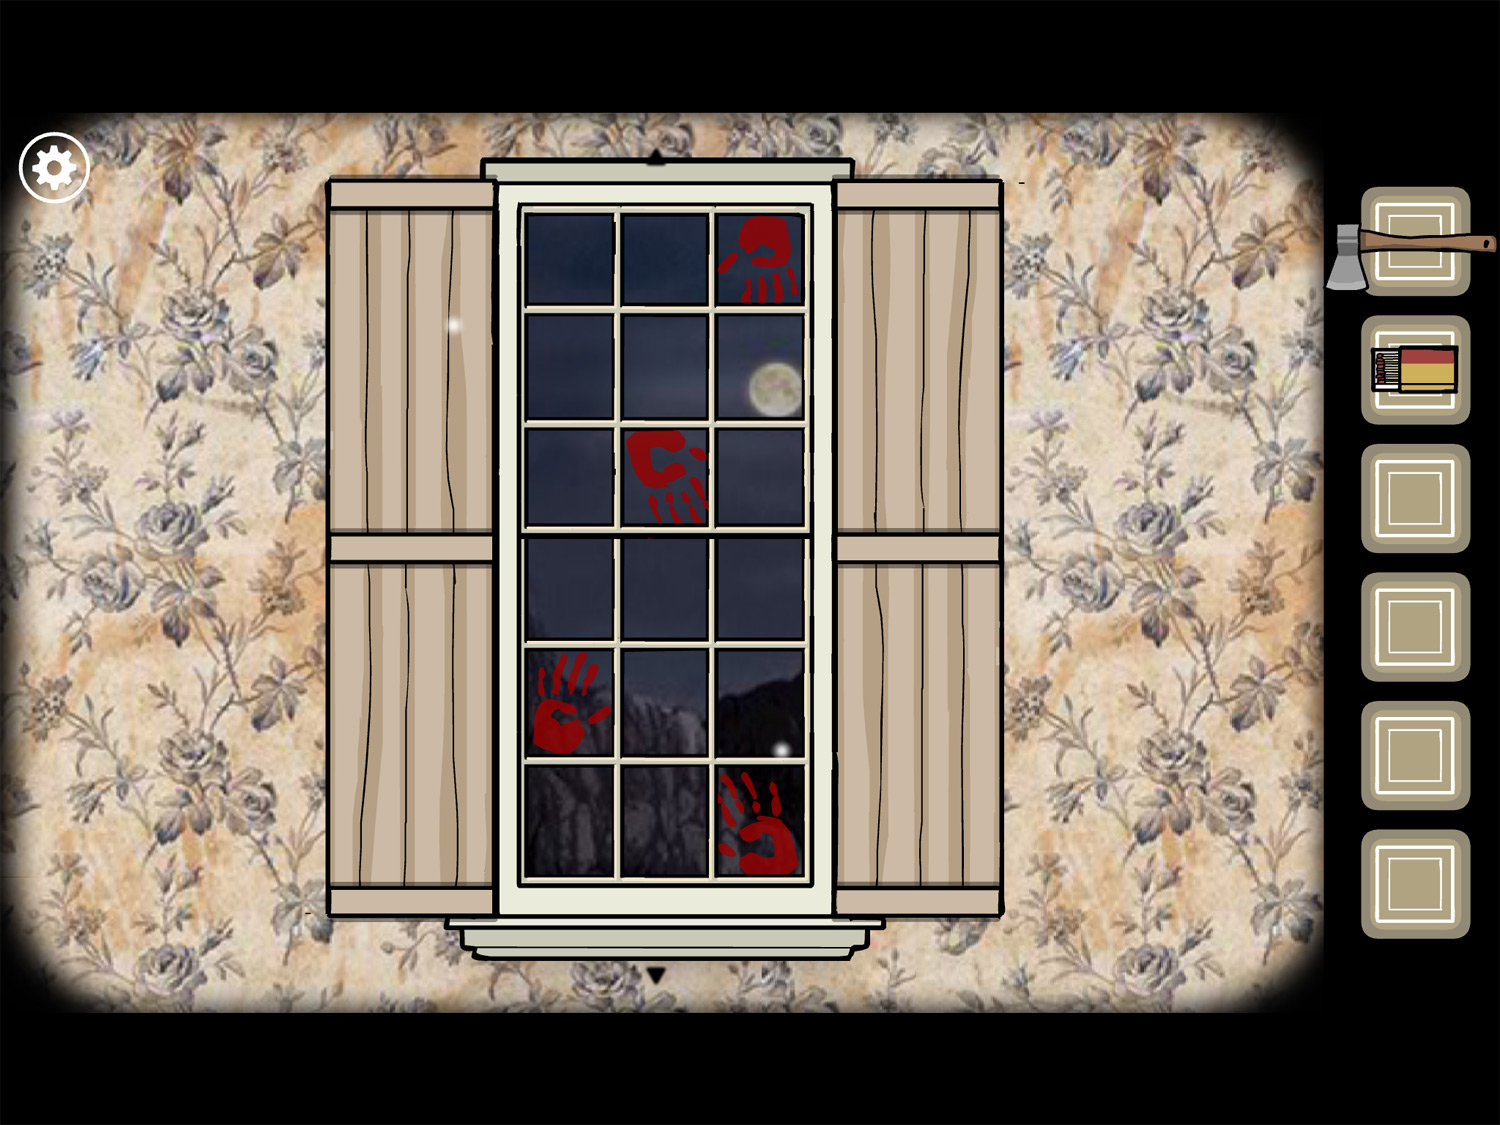
- The handprints are in a specific pattern: take note of these (top row, upper right; third row middle, fifth row left, and bottom row right)
- Exit the window and tap on the wooden dresser on the far left
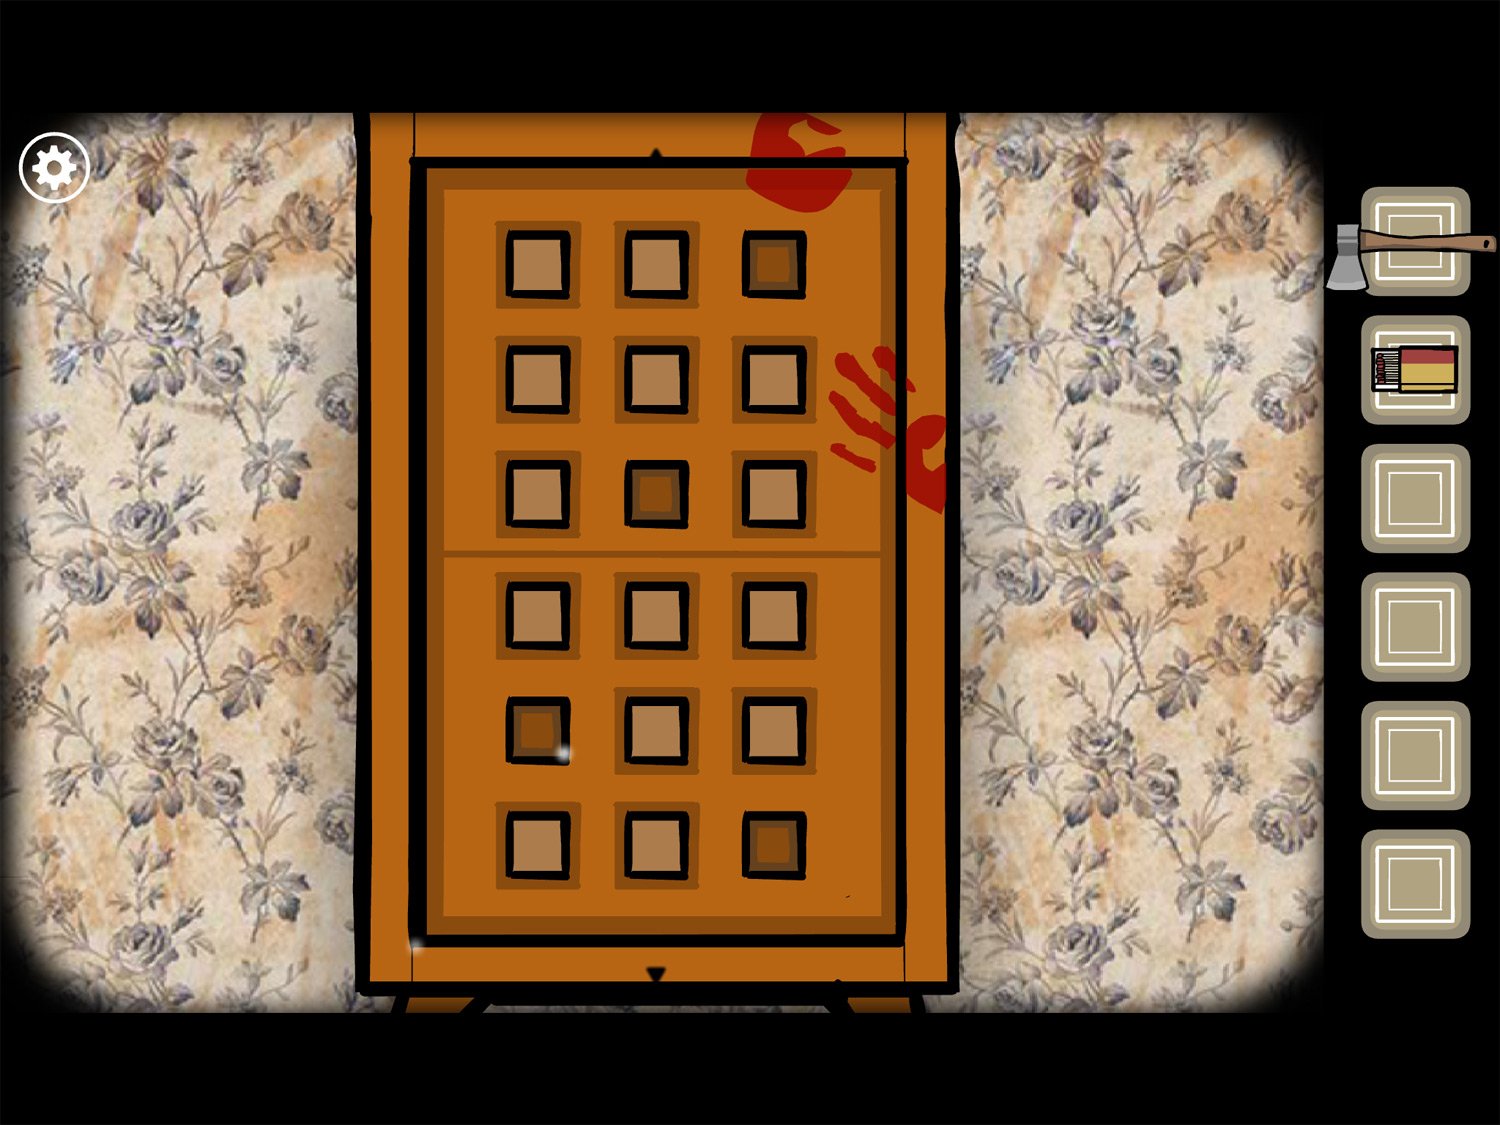
- Enter the pattern you just saw on the window by tapping the same squares and making them dark brown where the handprints were– top row upper right, third row middle, fifth row left, bottom row right
- You’ll hear a click when it’s inputted correctly; tap the door to open it and reveal a golden pocket watch
- Tap to zoom in; tap again to open the watch
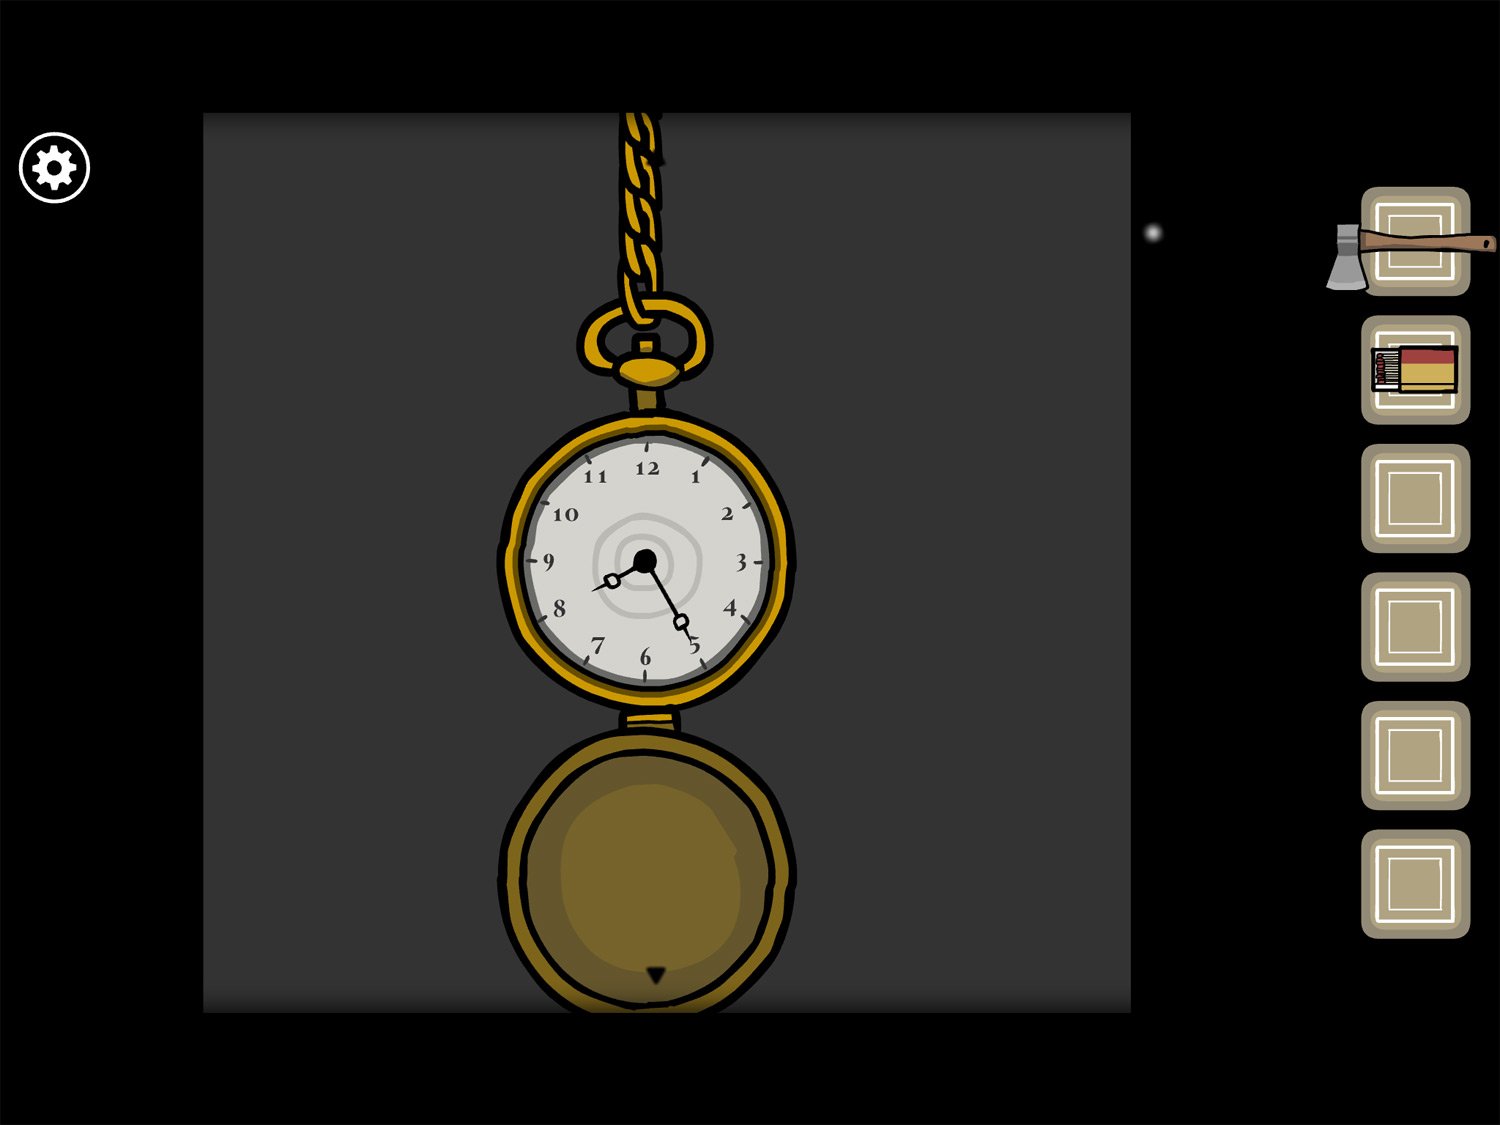
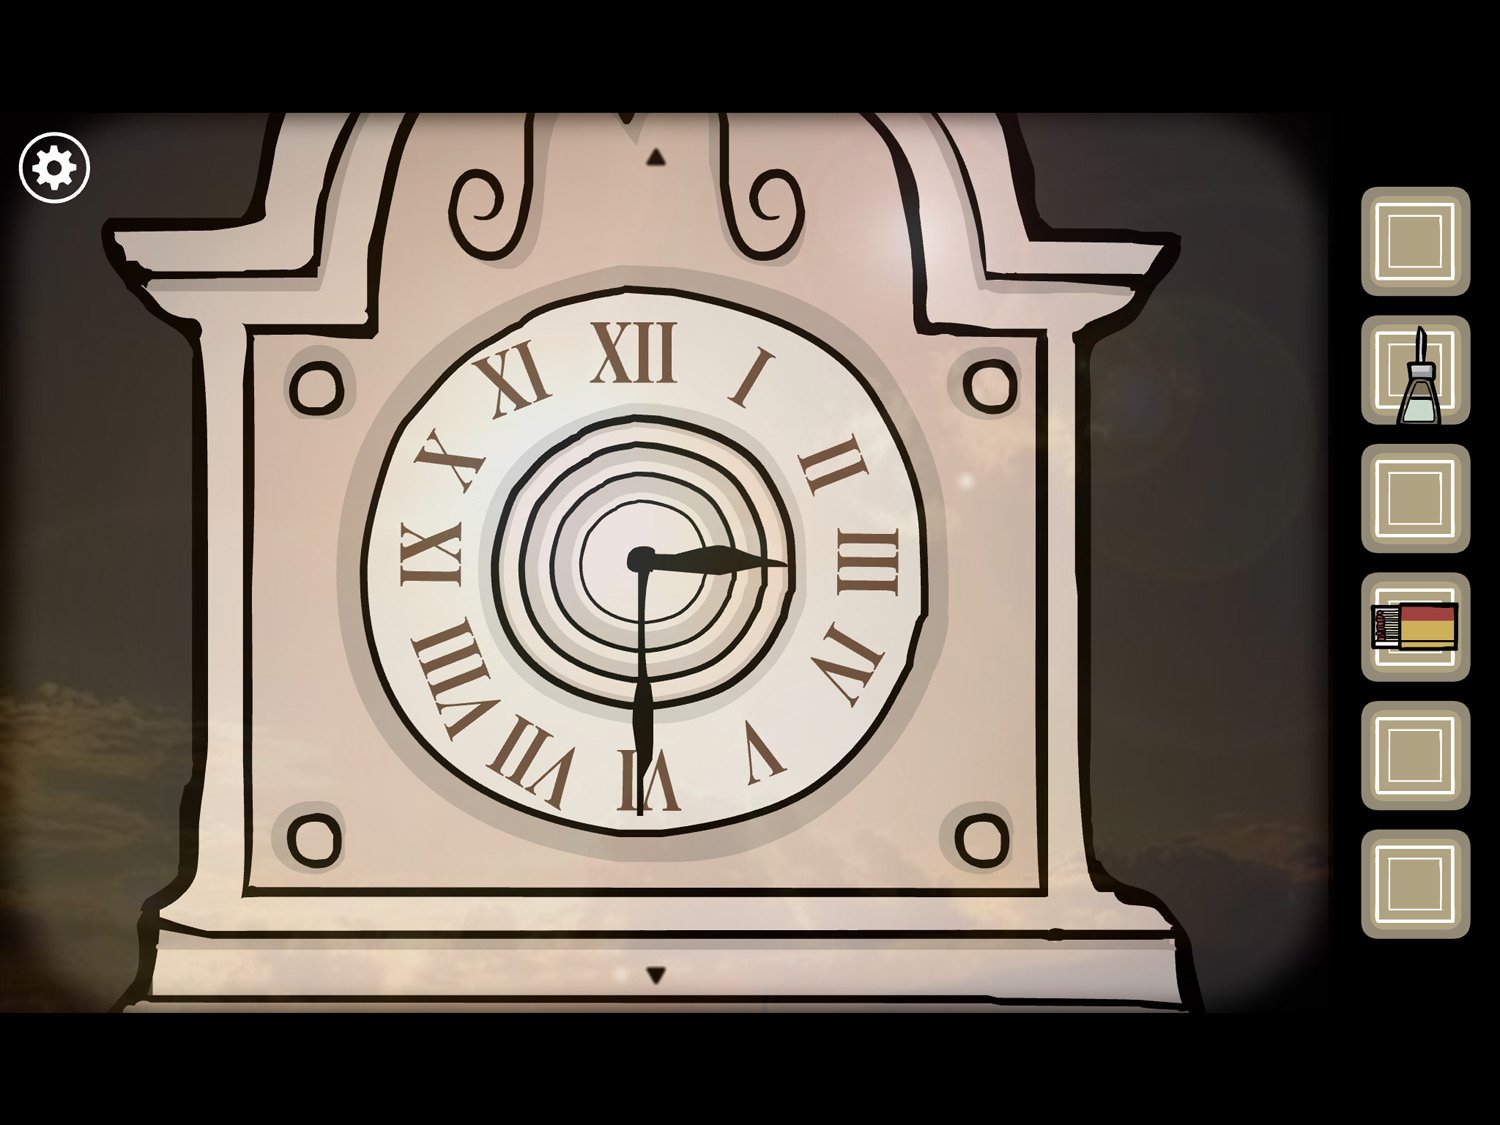
- If you tap the watch face it moves to 8:25. If you tap again it simply revolves and returns to this time. Exit the watch.
- Tap on the grandfather clock, then tap on its face to zoom in
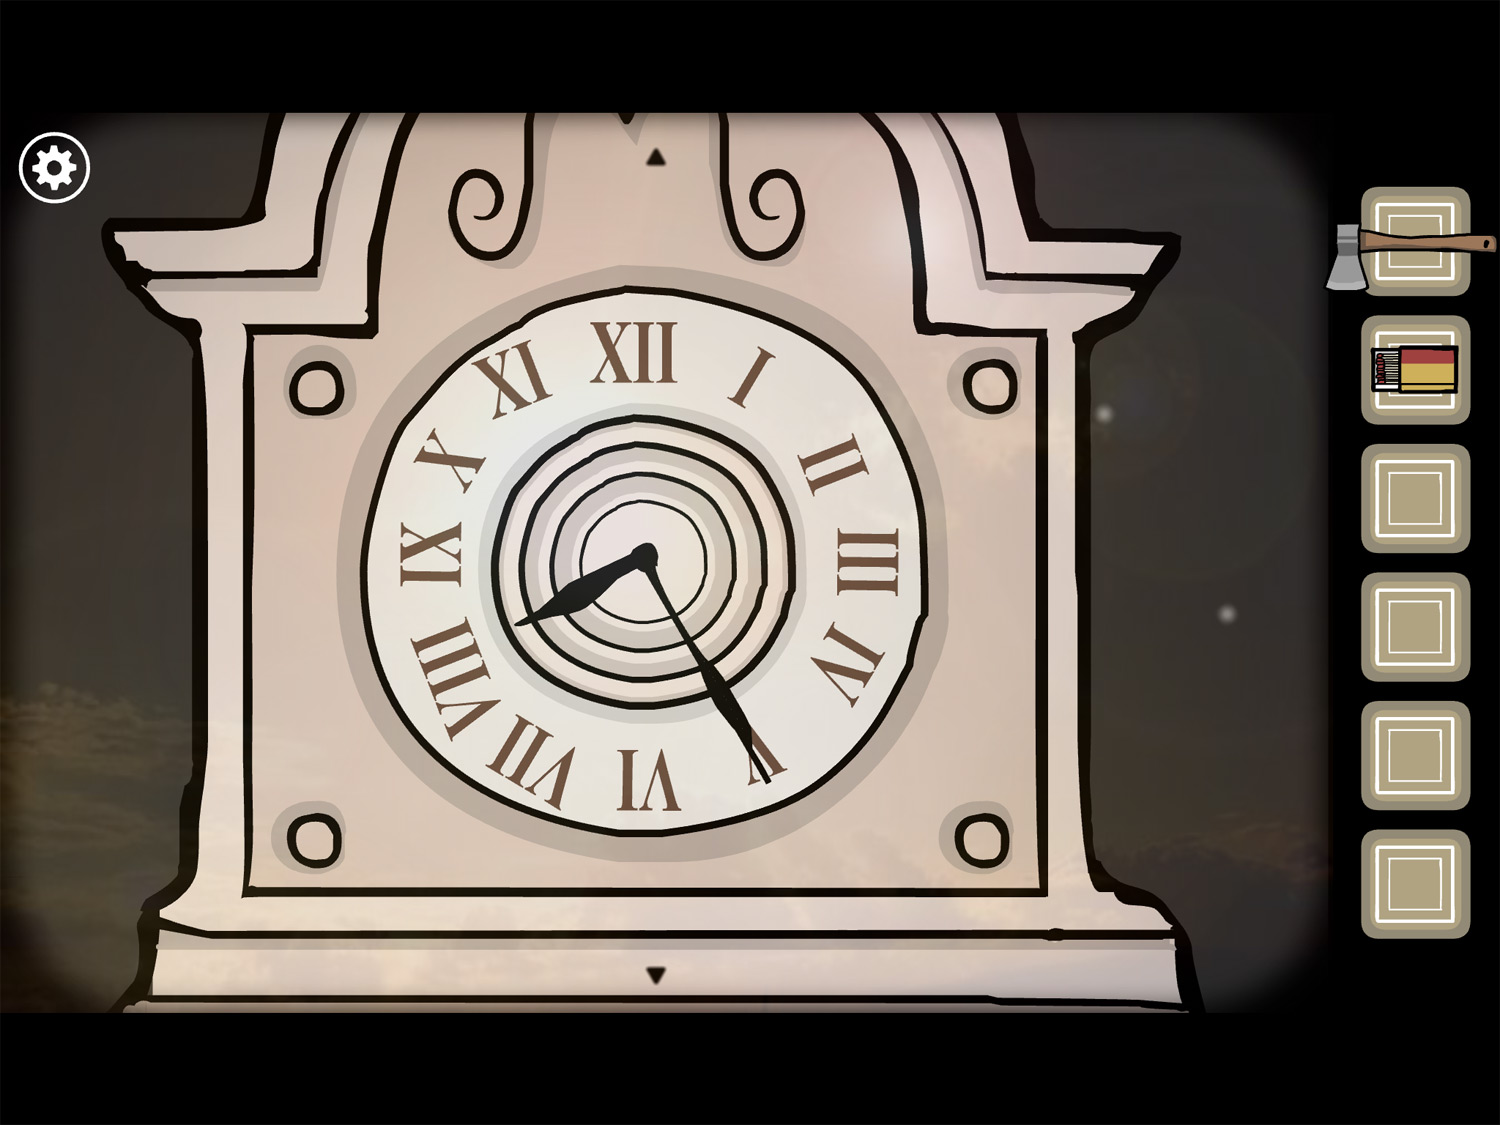
- Change the time to 8:25 to match the watch by dragging the hands. Drag the minute hand to the V and the smaller hour hand to the VIII
- When correct, sunlight will appear behind the clock
- Exit this close-up and tap on the clock’s door
- Tap three times until the clock comes apart; there is a body inside
- Tap the body so it falls out of the clock then tap on it to zoom in
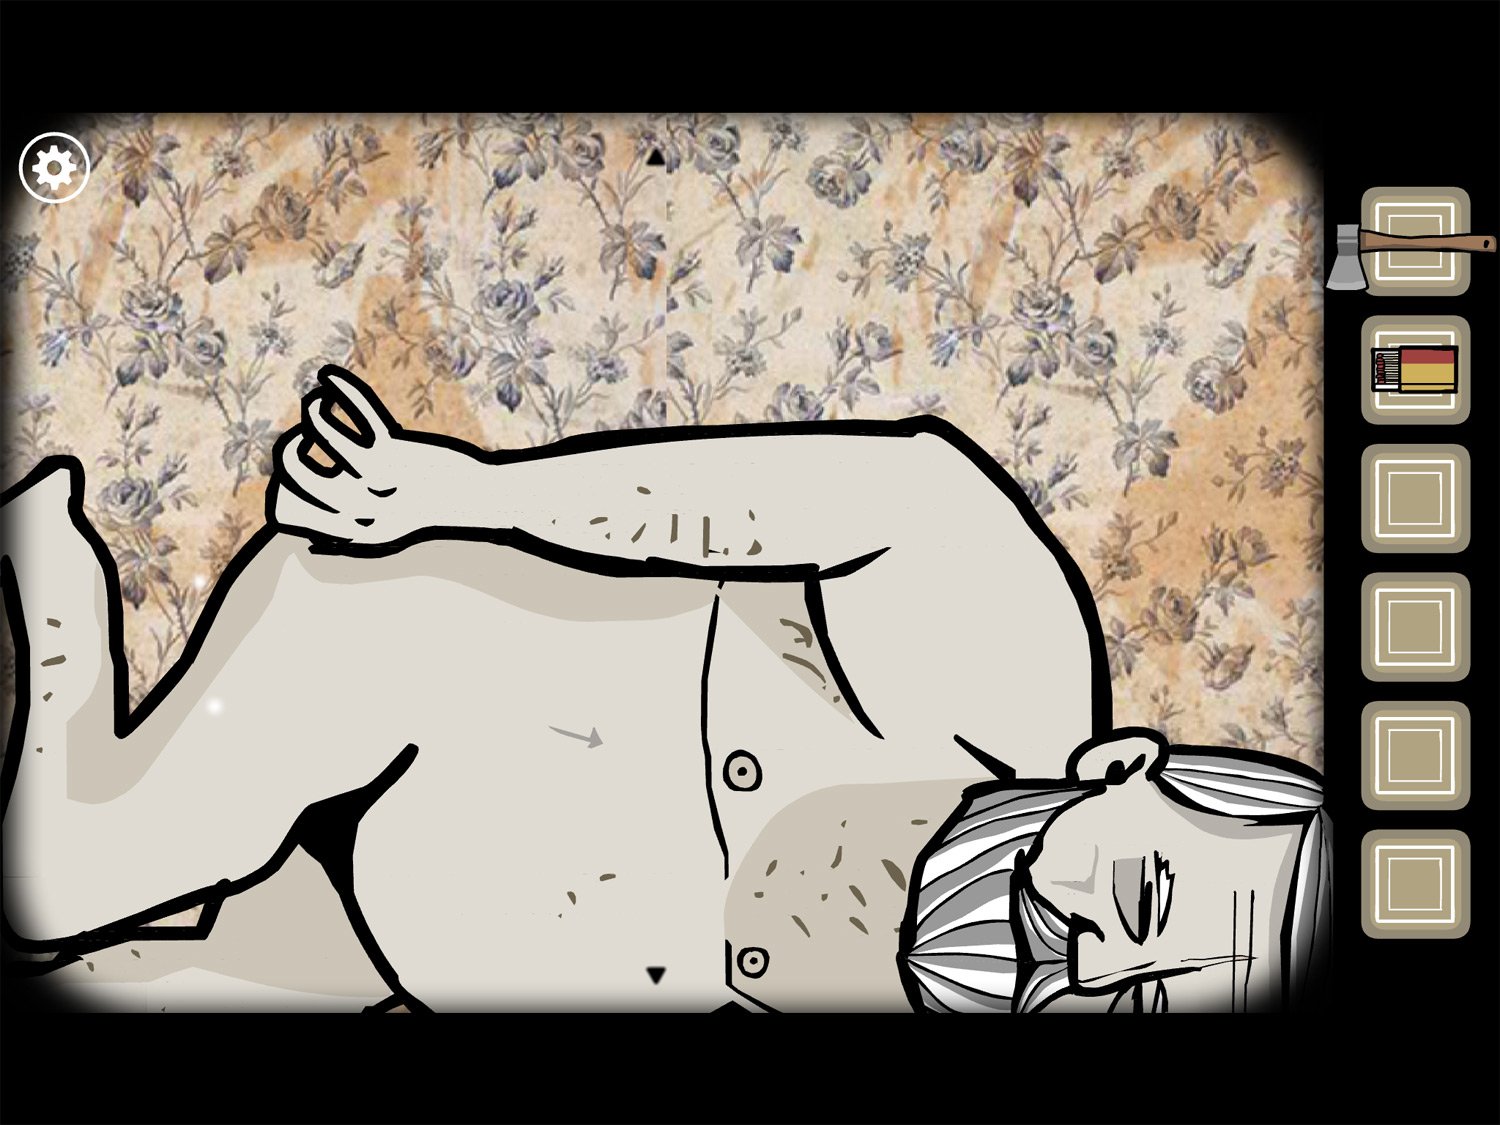
- There is an arrow pointing to his left nipple; tap on this to zoom in
- Tap the nipple four times until it opens, revealing a red vein/root system inside
- Tap on this to zoom in; keep tapping until you see a heart floating in the middle of the screen (should take four taps until you can reach it)
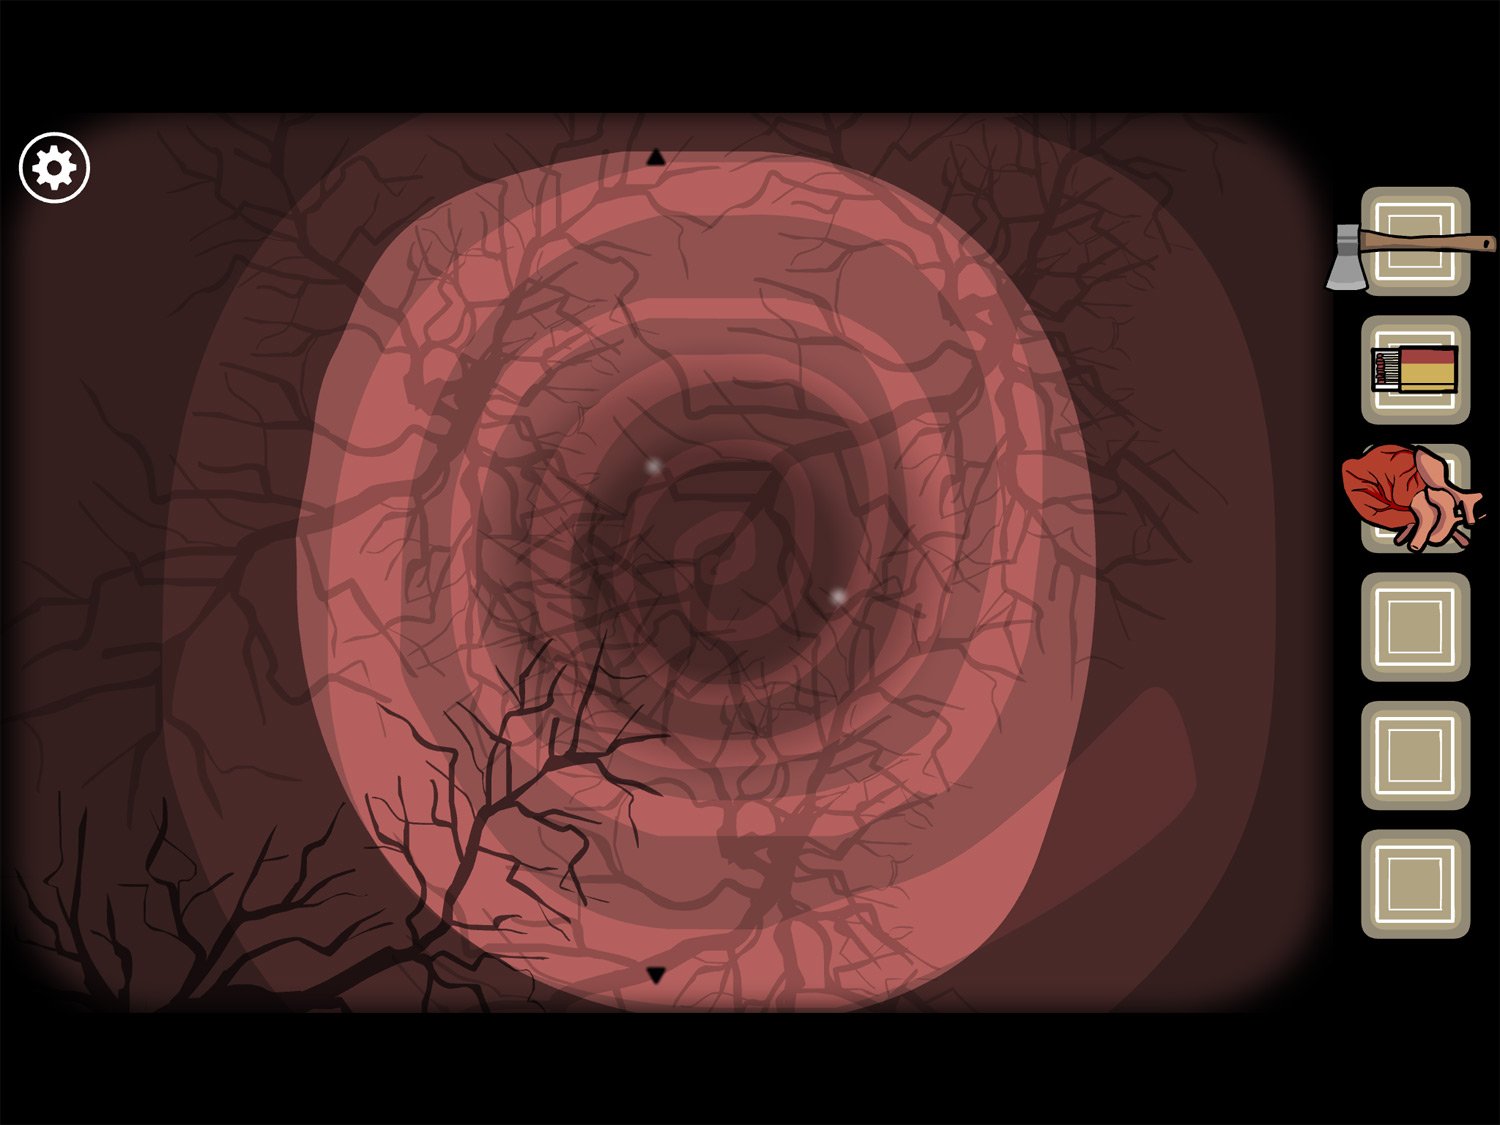
- Tap the heart to get HEART
- Keep tapping forward until you eventually exit the mouth and are back in the den
- Tap the jar of water above the watch
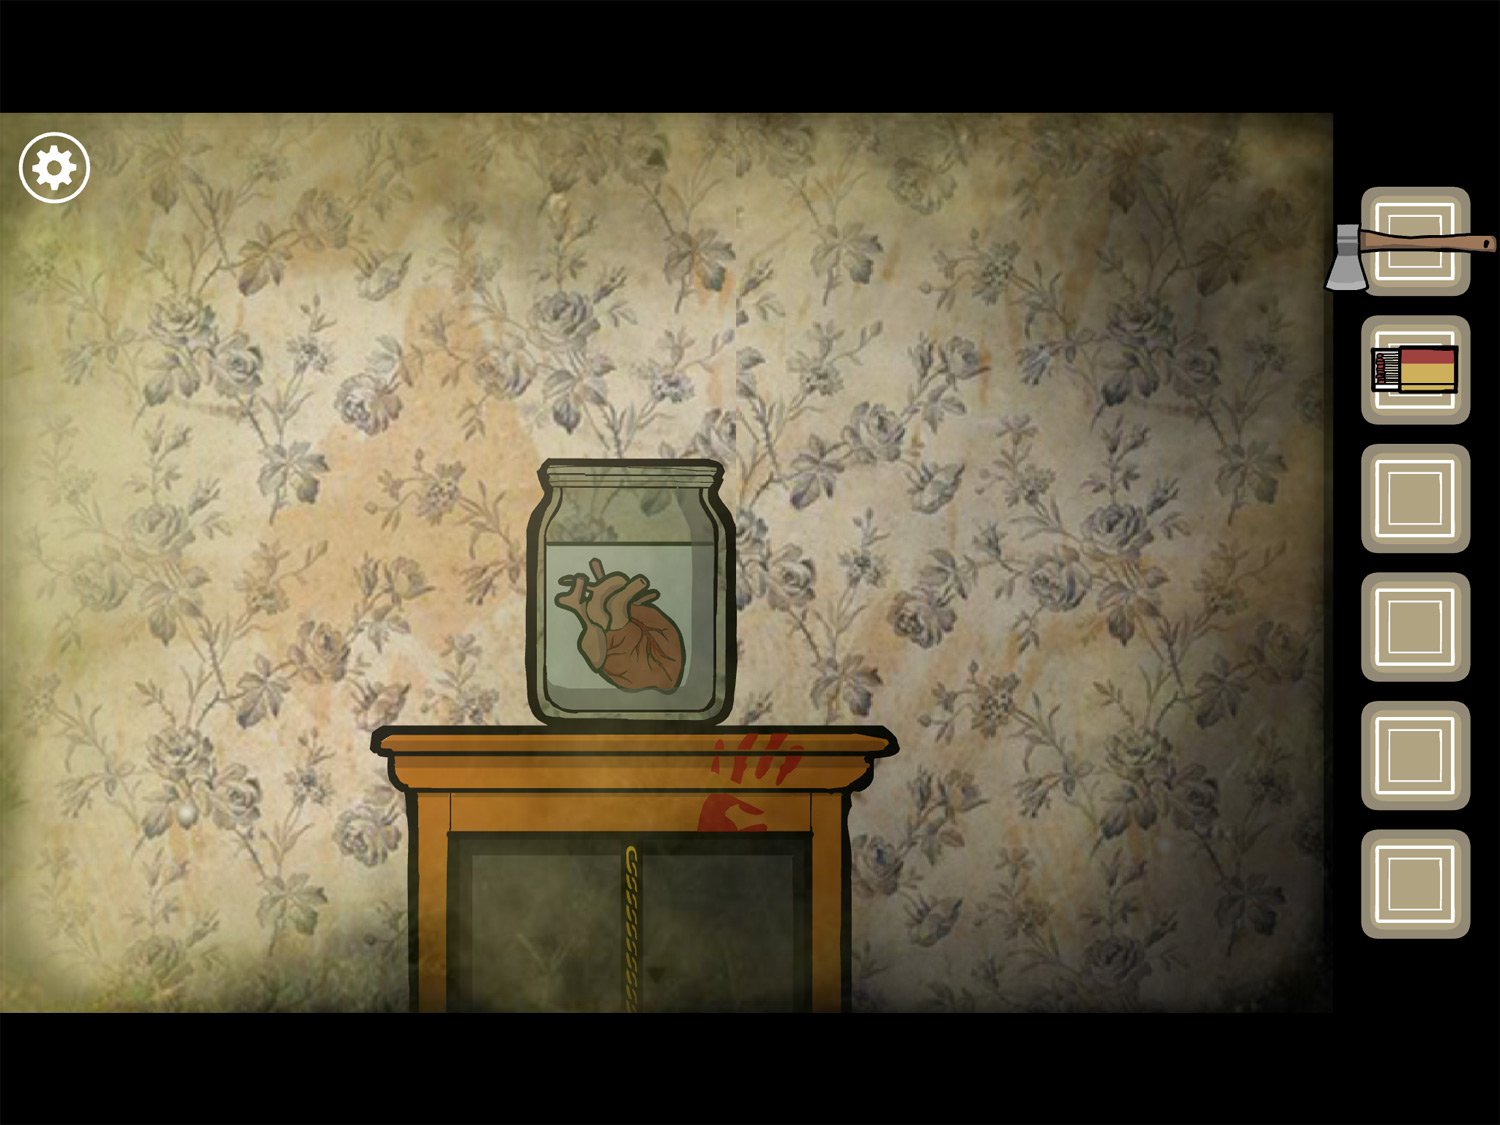
- Place HEART in the jar; tap the heart in the jar to make the white square and exit appear
- Upon finishing this level you’ll open up the challenge menu of “Collect all 10 Sacrifices” which contains the heart, a foot, two eyes, teeth, etc.
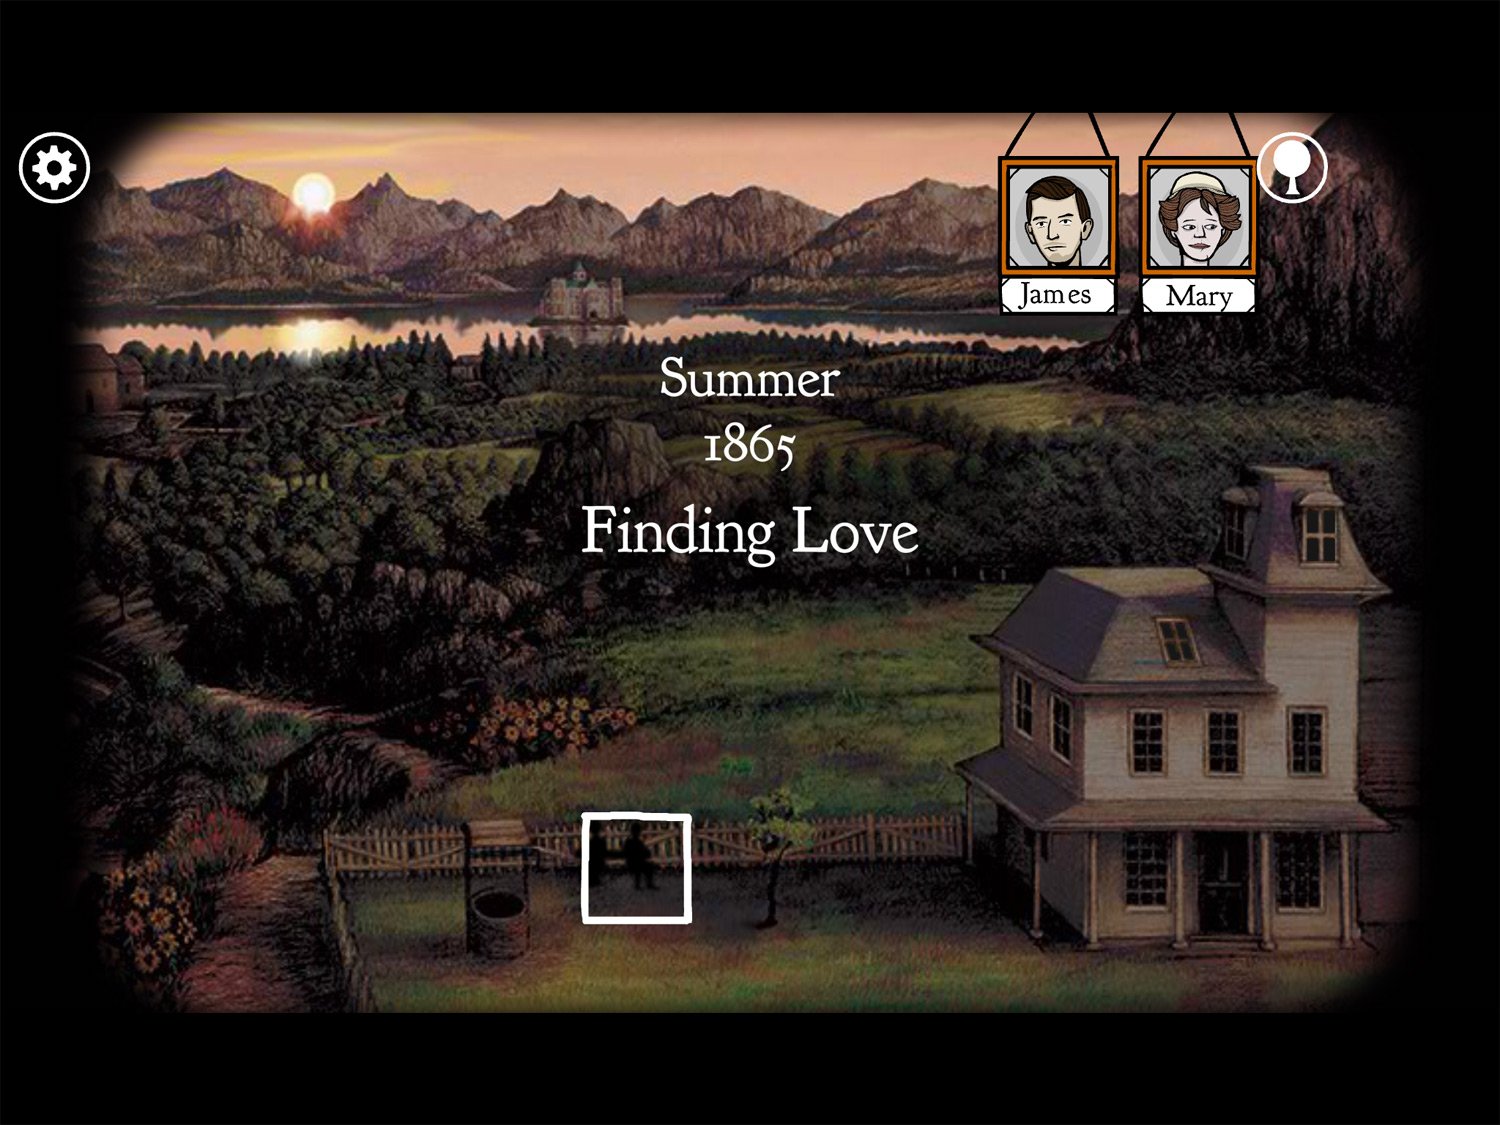
Level 4: Finding Love, Summer 1865 – James and Mary
Location: Front yard, on the bench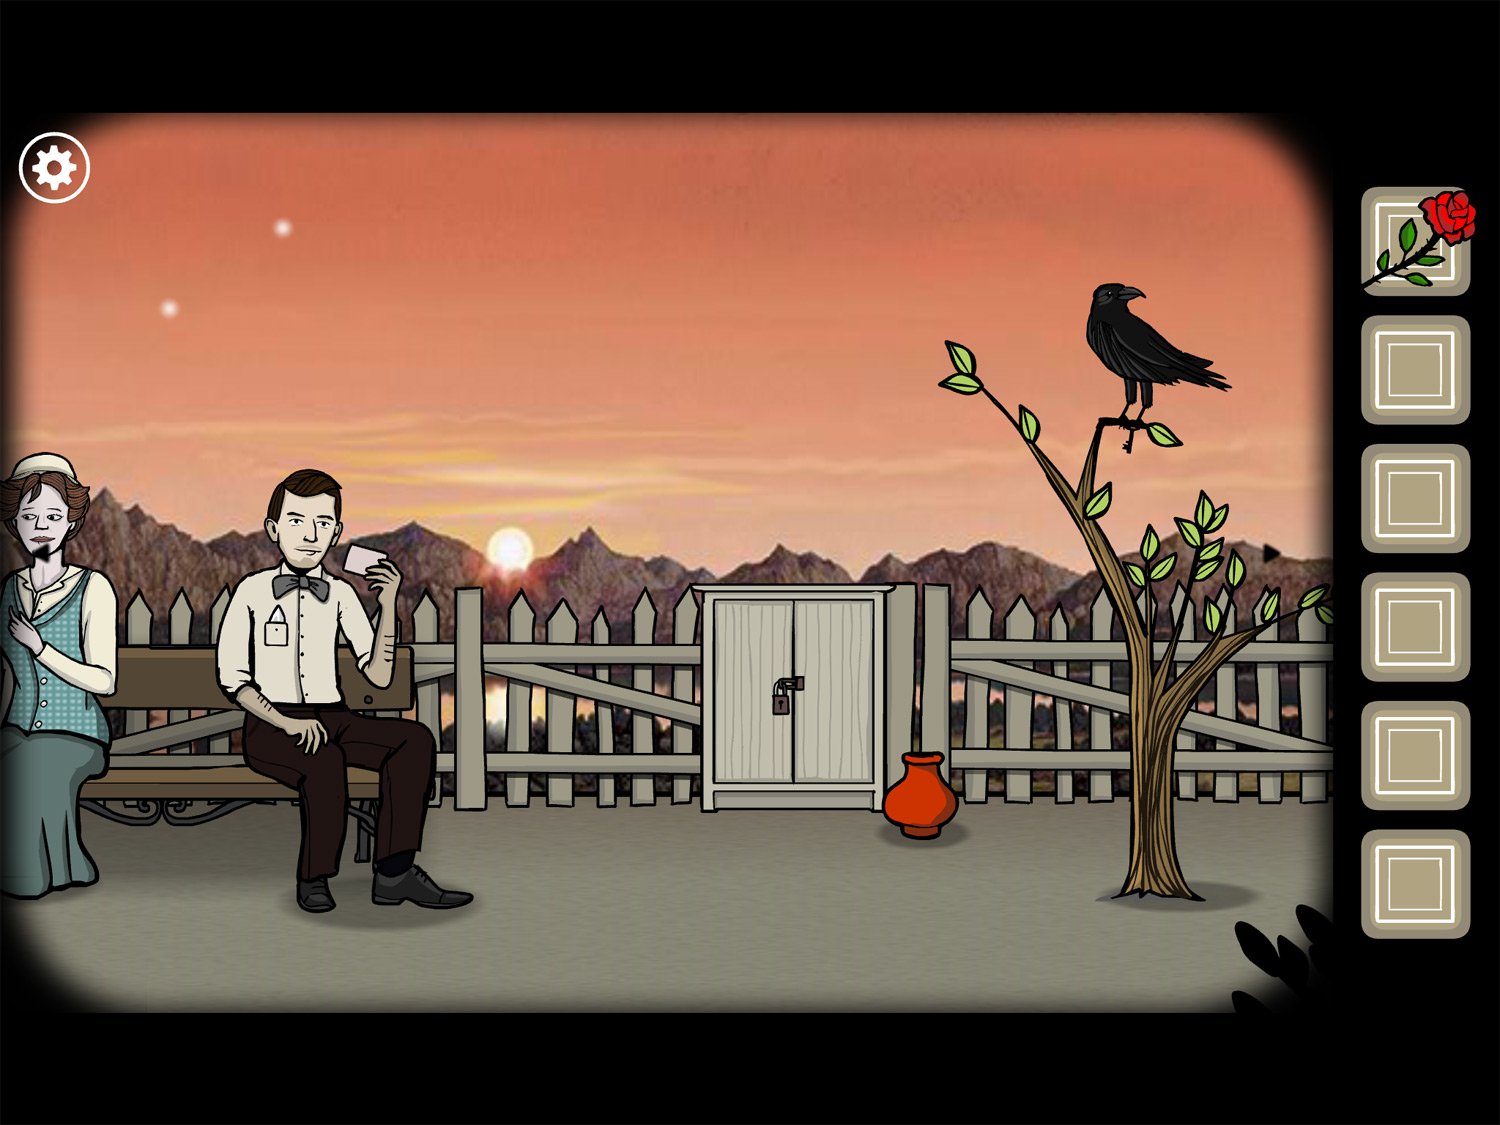
- Tap the flower vase to zoom in; tap the flower to get ROSE. Exit close-up
- Tap on the crow; tap him to get FEATHER; exit
- Tap on James to zoom in on the couple
- Tap his shirt pocket to get HANKY
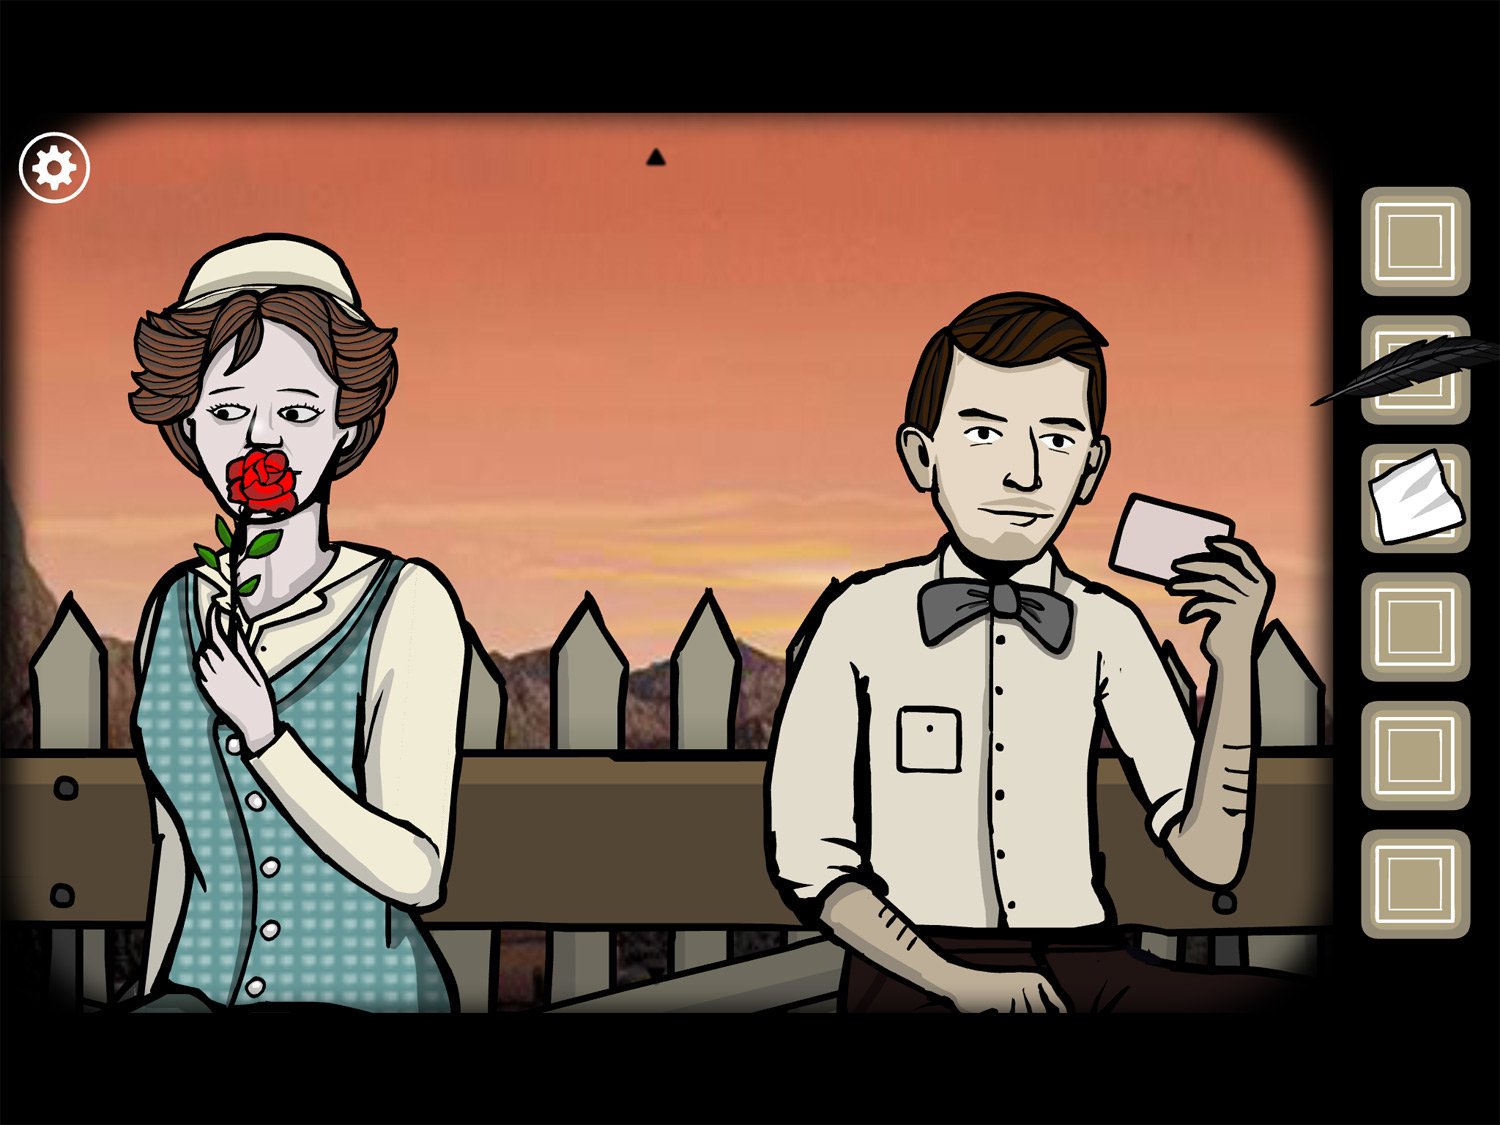
- Give ROSE to Mary. Tap on her so she smells it; tap again to move the rose back. Her nose will bleed
- Use HANKY on her bloody face to get HANKY WITH BLOOD
- Tap on the card in James’ hand to zoom in
- It’s currently blank; use HANKY WITH BLOOD on the card to dot some blood on the corner
- Use FEATHER on the card to place it in James’ hand
- Tap his hand to dip the feather in the blood/ink
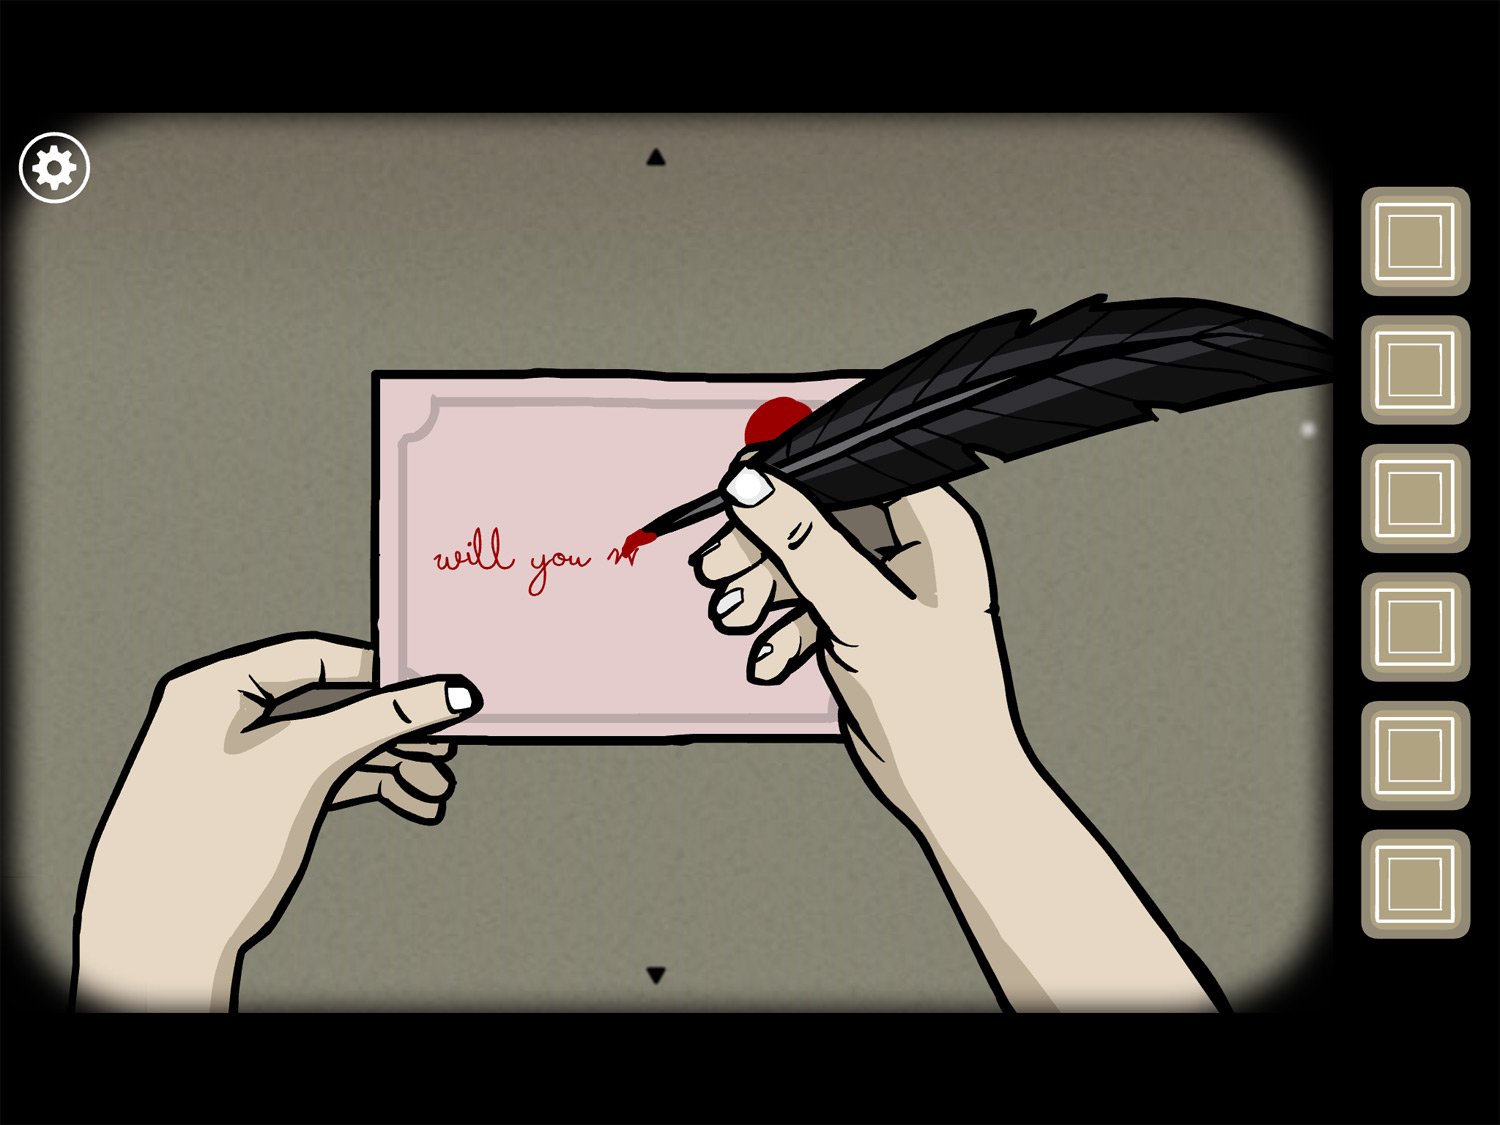
- Tap his hand again and he will write “Will you marry me?” in blood on the card
- Tap the card to get LOVE NOTE; zoom out
- Give LOVE NOTE to Mary
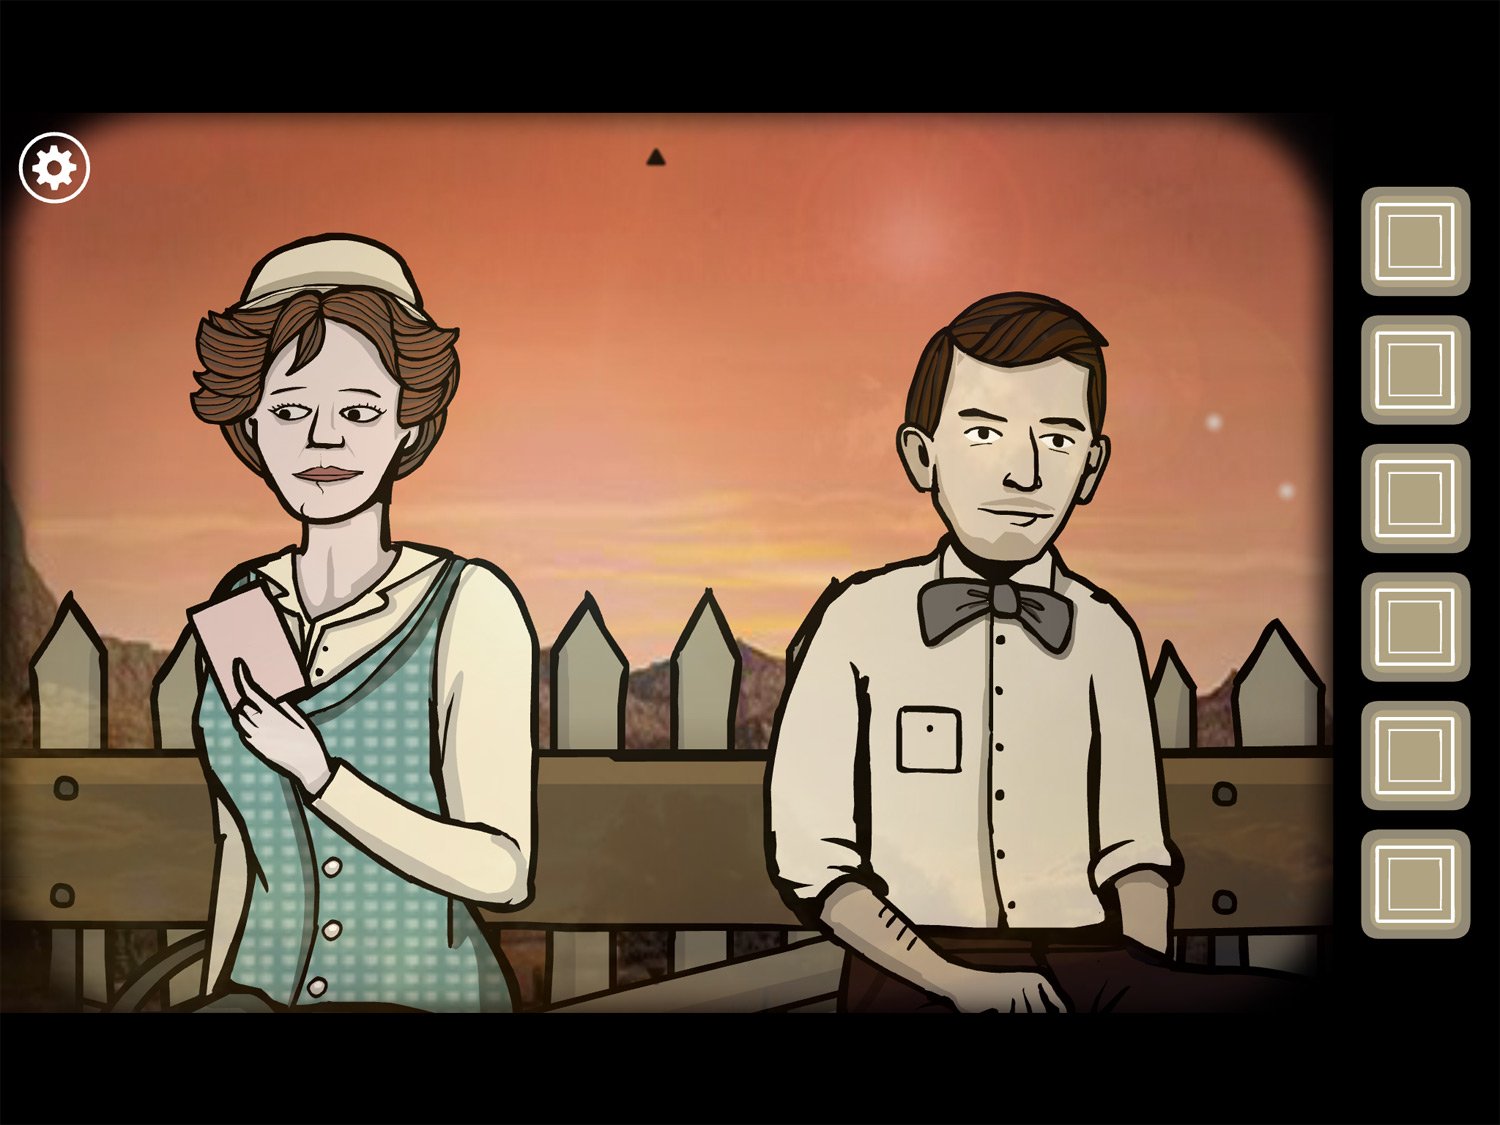
- She sidles next to James, revealing a worm on the bench behind her
- Take the WORM; return to the crow
- Use WORM on the crow; he eats it
- Tap him and he flies away
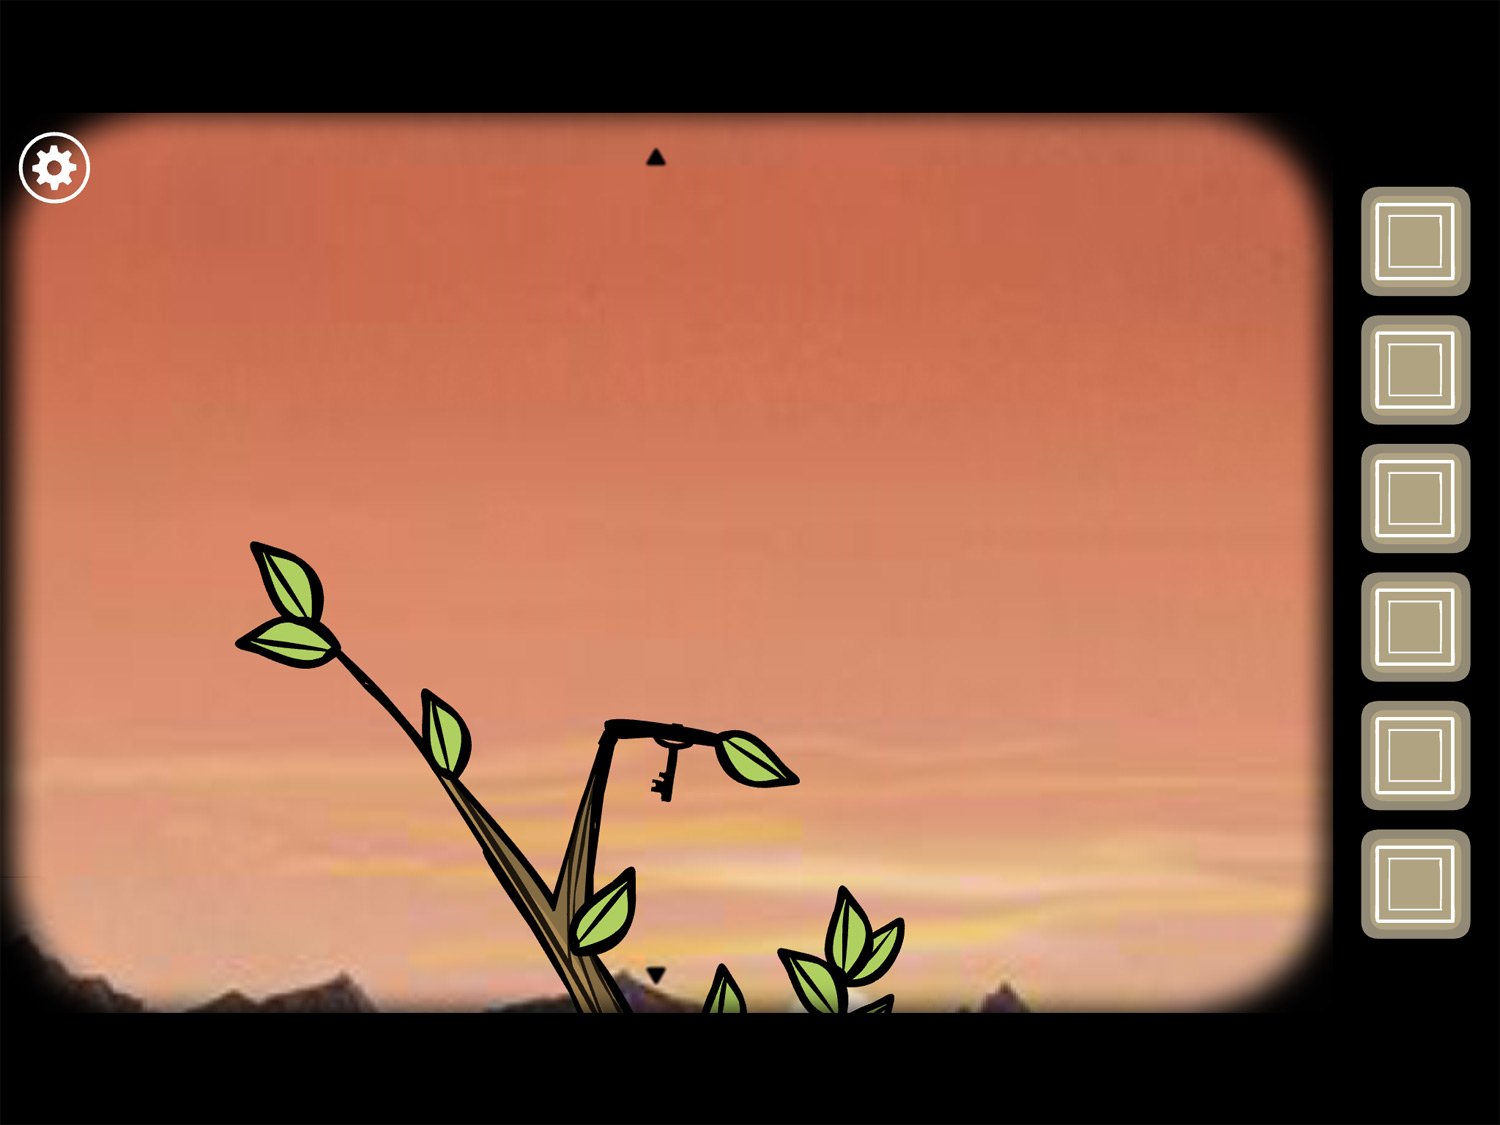
- Take the KEY hanging from the branch he was just standing on
- Exit the tree; tap on the cabinet near the red vase
- Use KEY on the cabinet lock; tap the door to open it

- There is a severed hand nailed inside; tap the ring so it falls off the finger
- Take RING; return to James and Mary
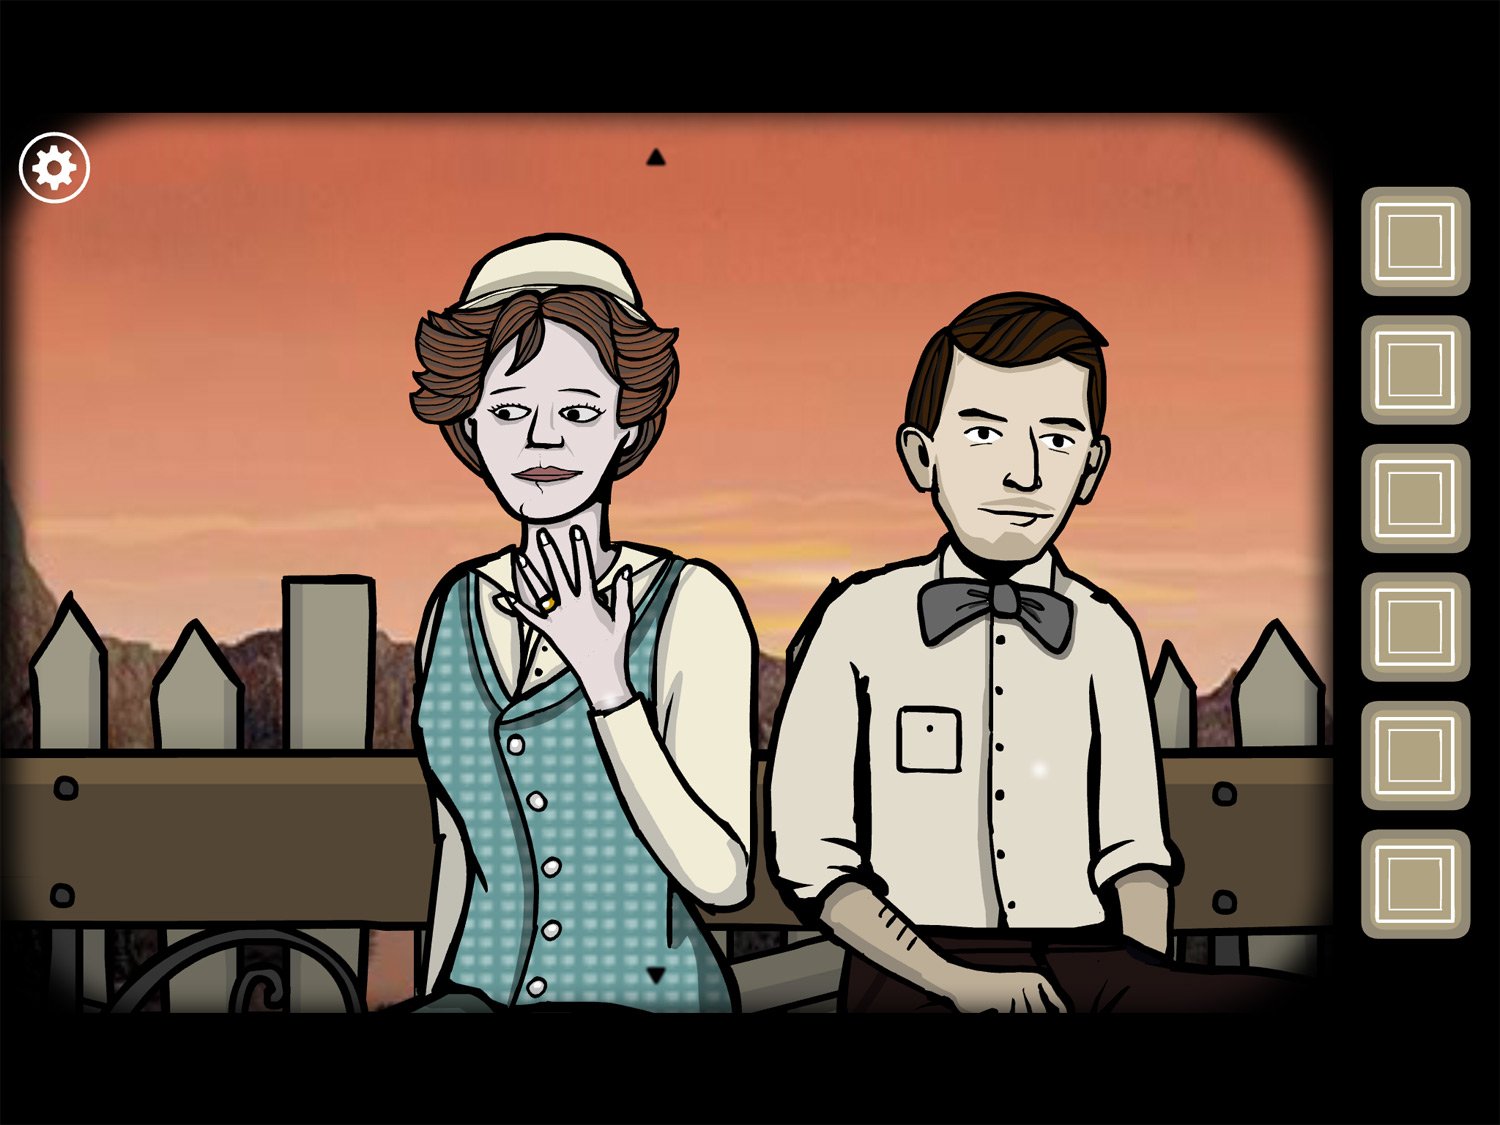
- Give Mary RING (you may need to tap her twice while giving it if she is still holding the proposal card)
- Tap her face twice to make the white square and exit appear
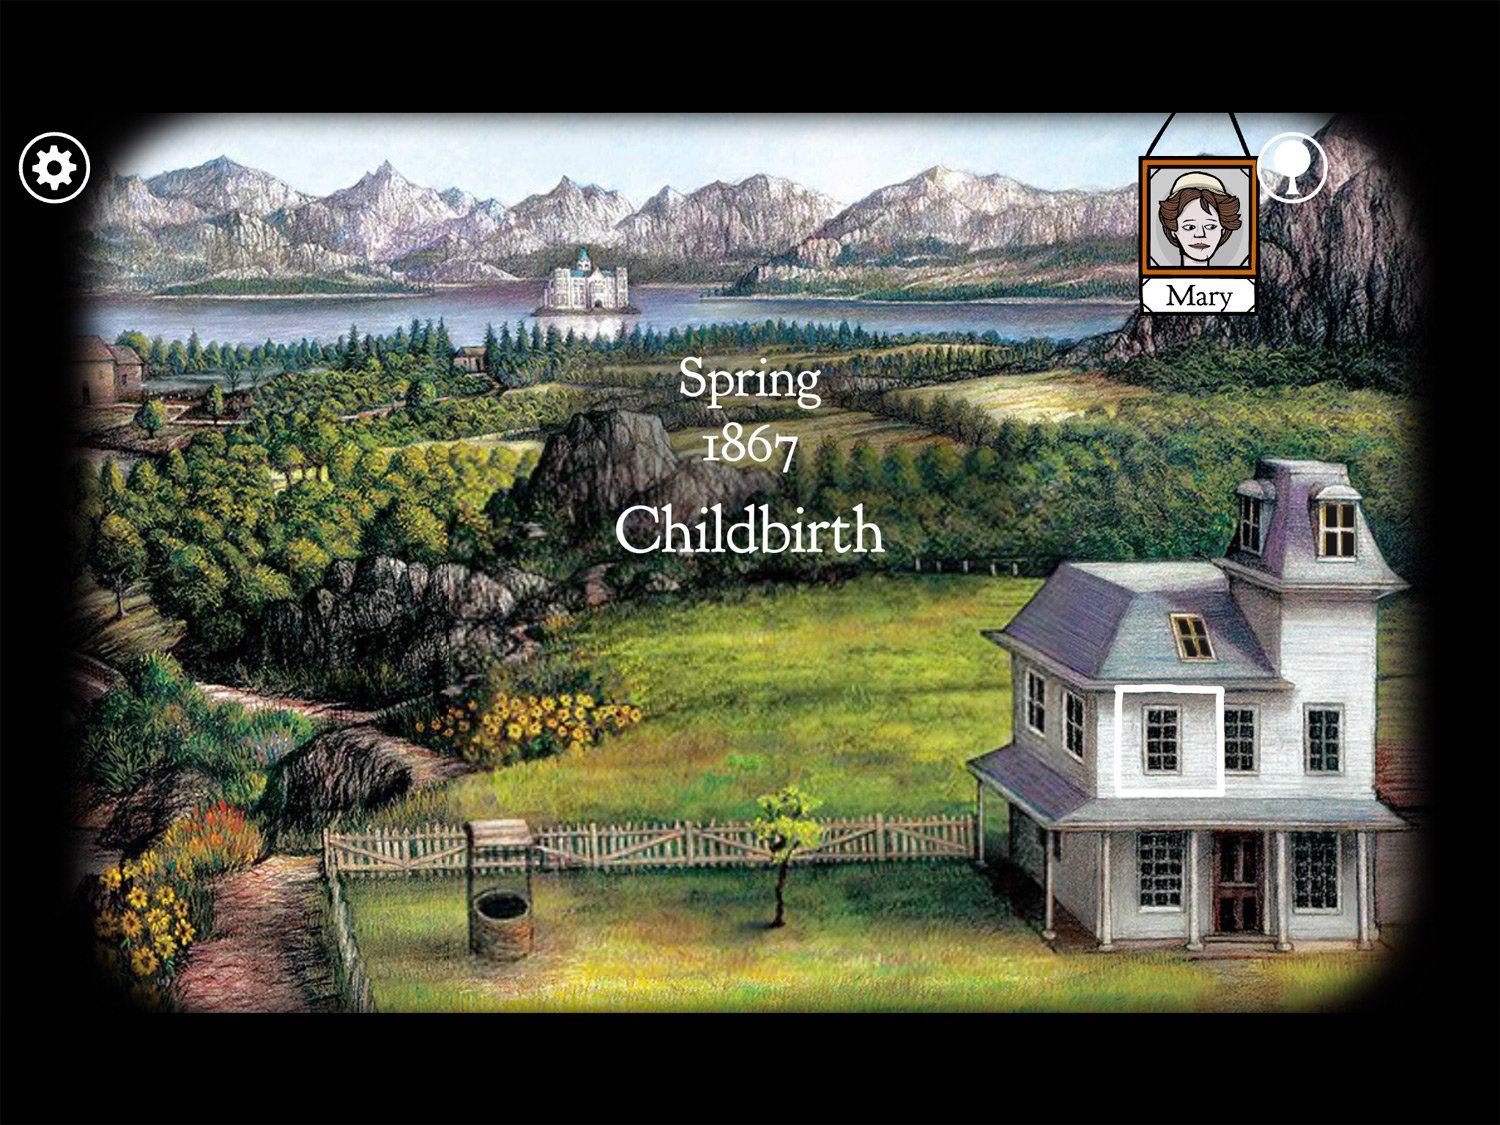
Level 5: Childbirth, Spring 1867 – Mary
Location: nursery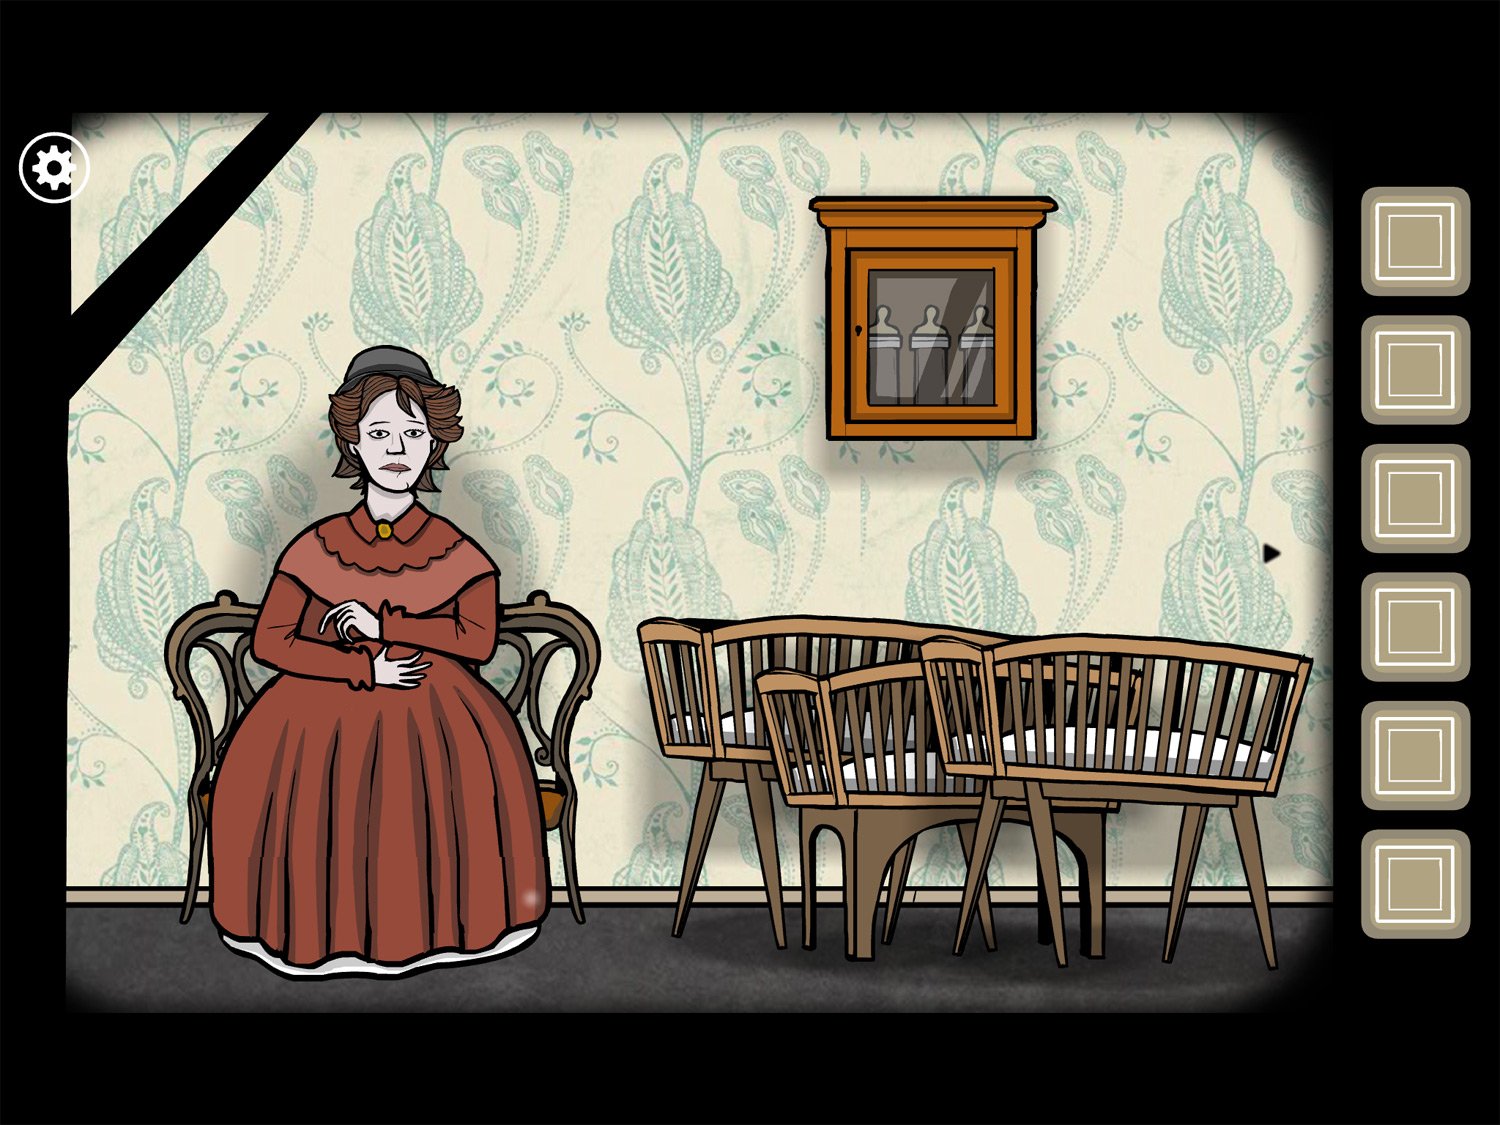
- Tap on the cribs to get an overhead view
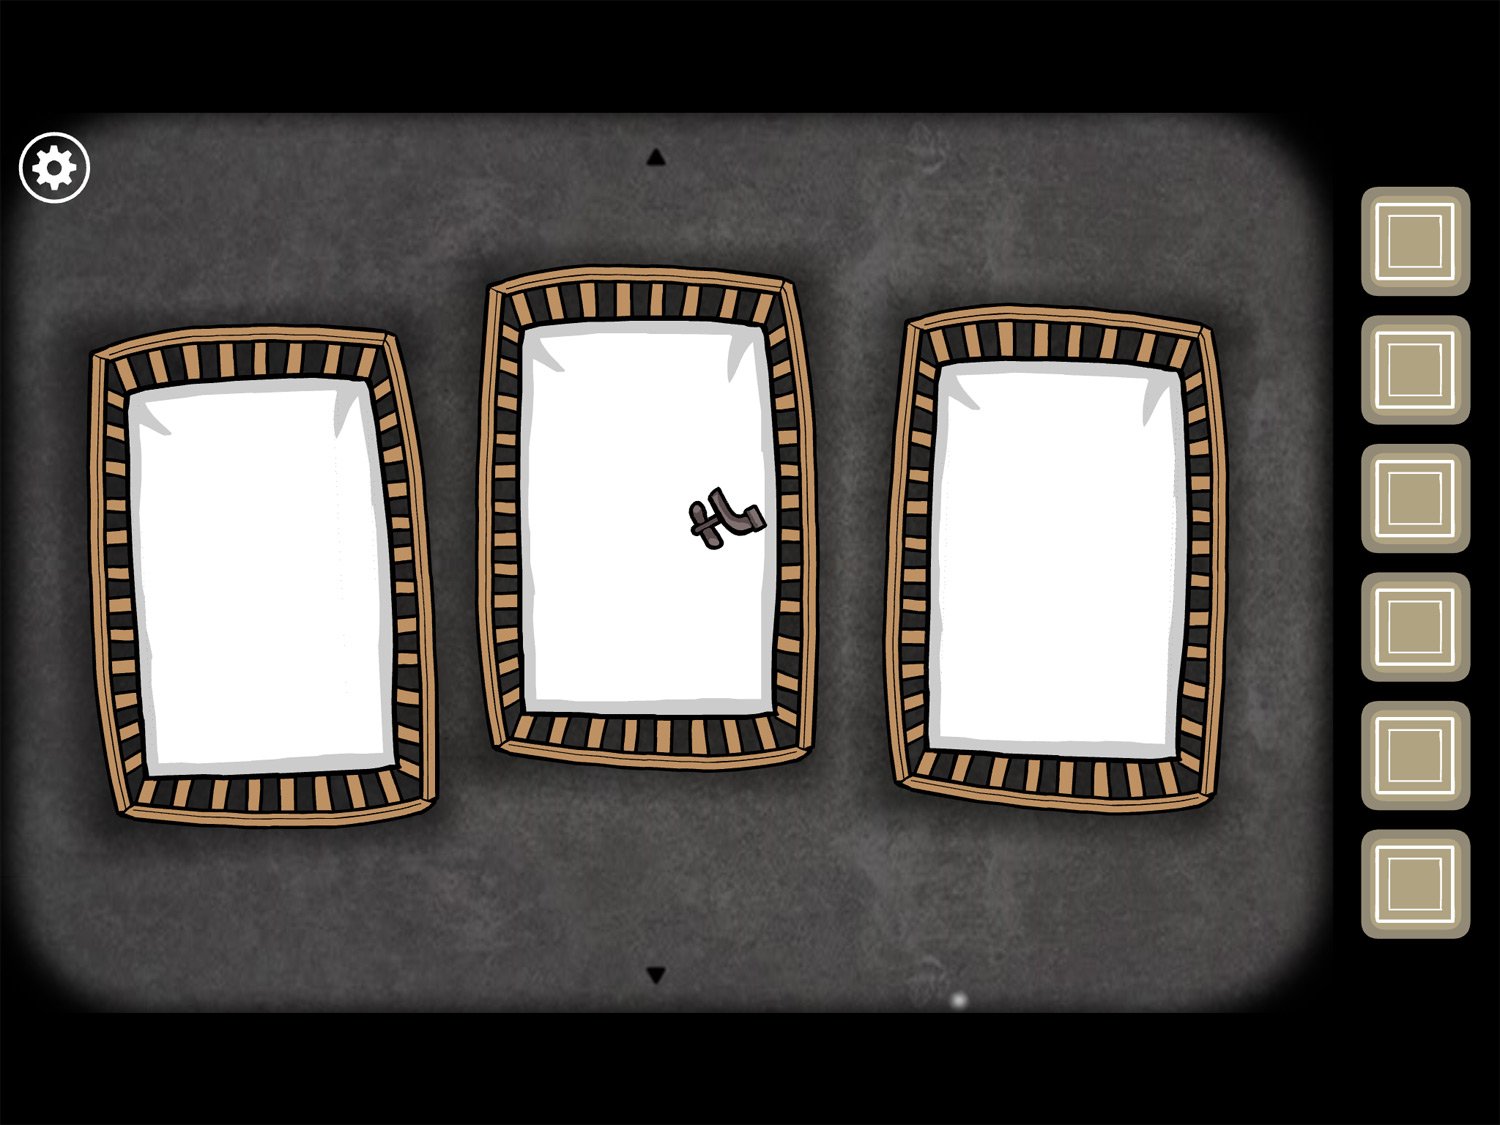
- Take TAP from the center crib; exit the cribs
- Drag screen right; tap on the chest to zoom in
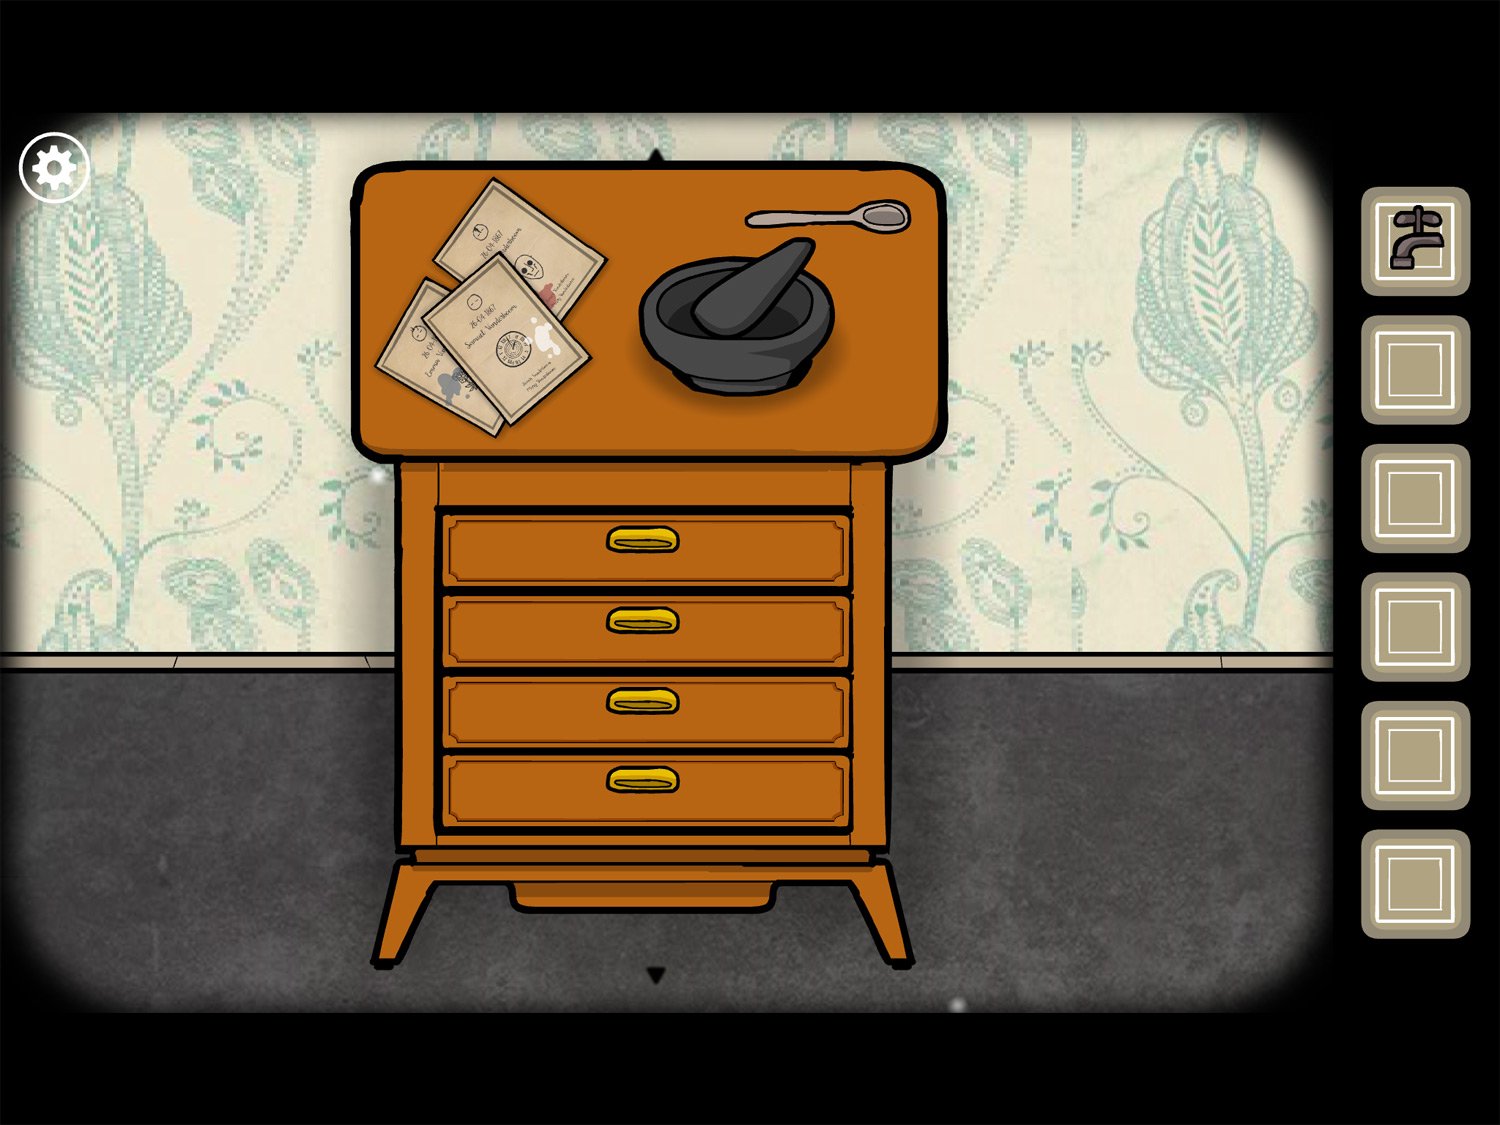
- Take MORTAR and SPOON
- Open the second drawer and take SCISSORS
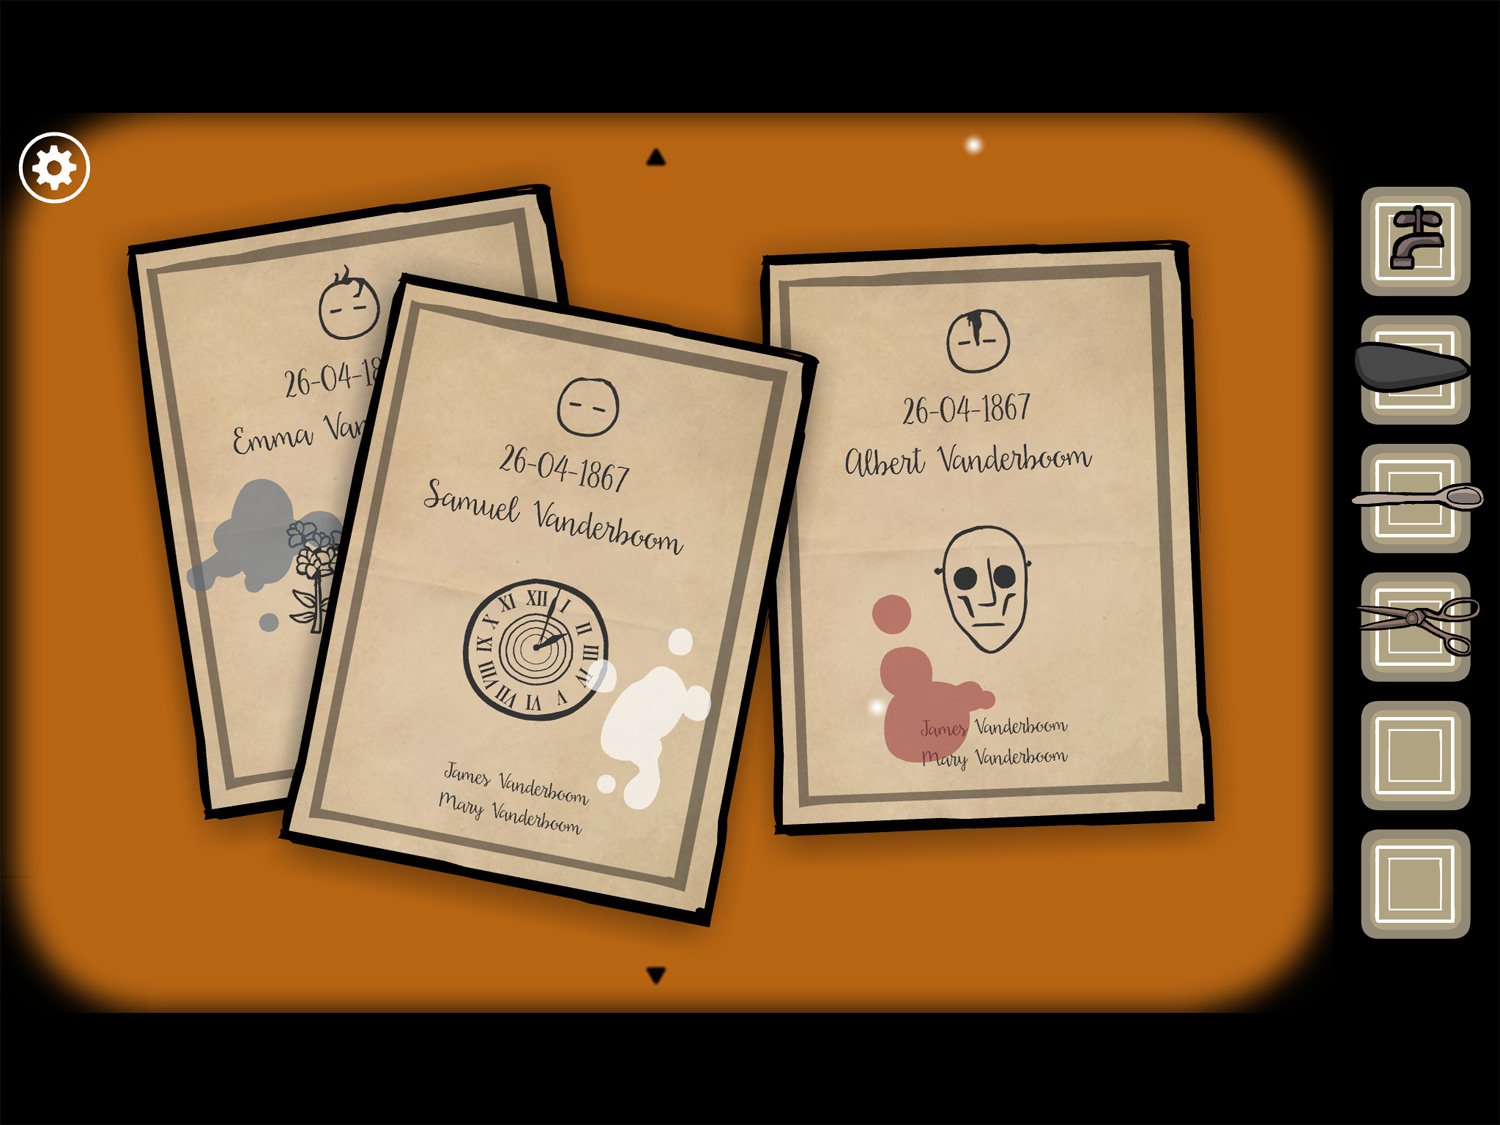
- Examine the birth announcement cards on the dresser; they list three different children with a face, a color, and a symbol. Note these: Emma has two hairs sticking up and one laying down, blue, and flowers. Samuel has no hair, white, and a clock shortly after two o’clock. Albert has a birthmark on his forehead, red, and a mask. Exit the close-up and the drawers
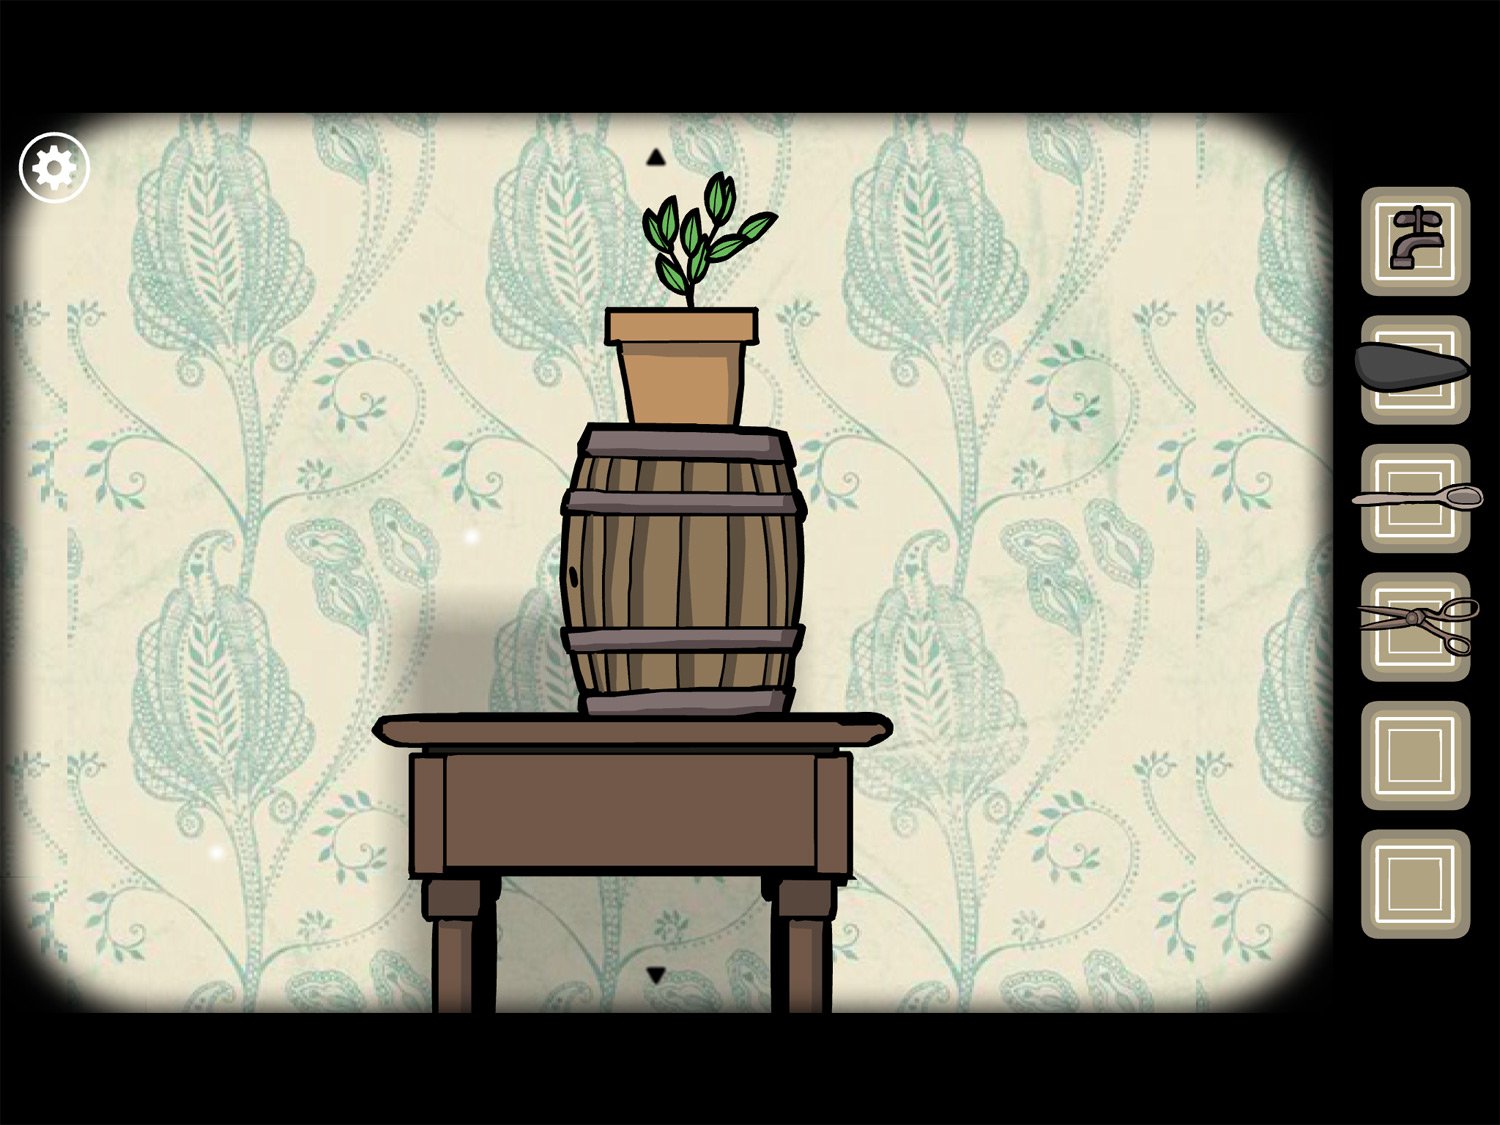
- Tap the table with the plant and barrel; use the TAP on the hole on the left side of the barrel
- Use SCISSORS on the plant to get PLANT
- Exit and return to the drawers
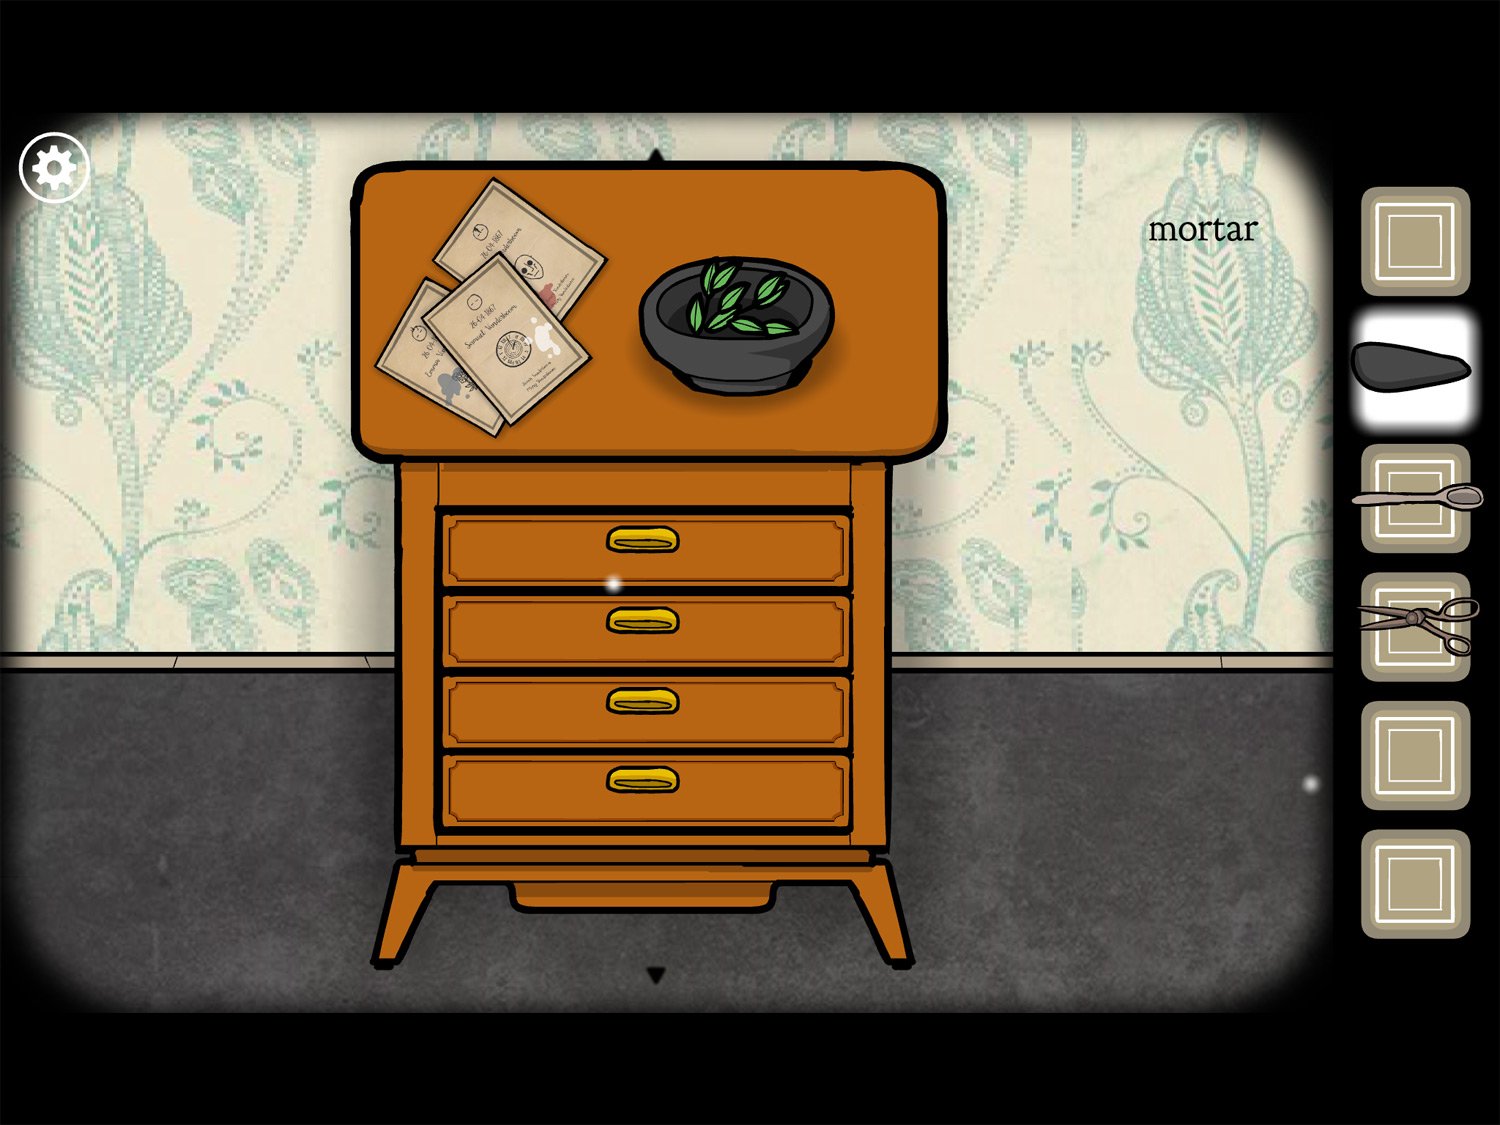
- Use PLANT on the pestle on the drawers; use MORTAR on this to grind the plant
- Use SPOON on the ground plant to get SPOON WITH BIRTH POTION
- Exit the close-up; return to Mary
- Give her SPOON WITH BIRTH POTION. Tap on her and she pulls her skirt up
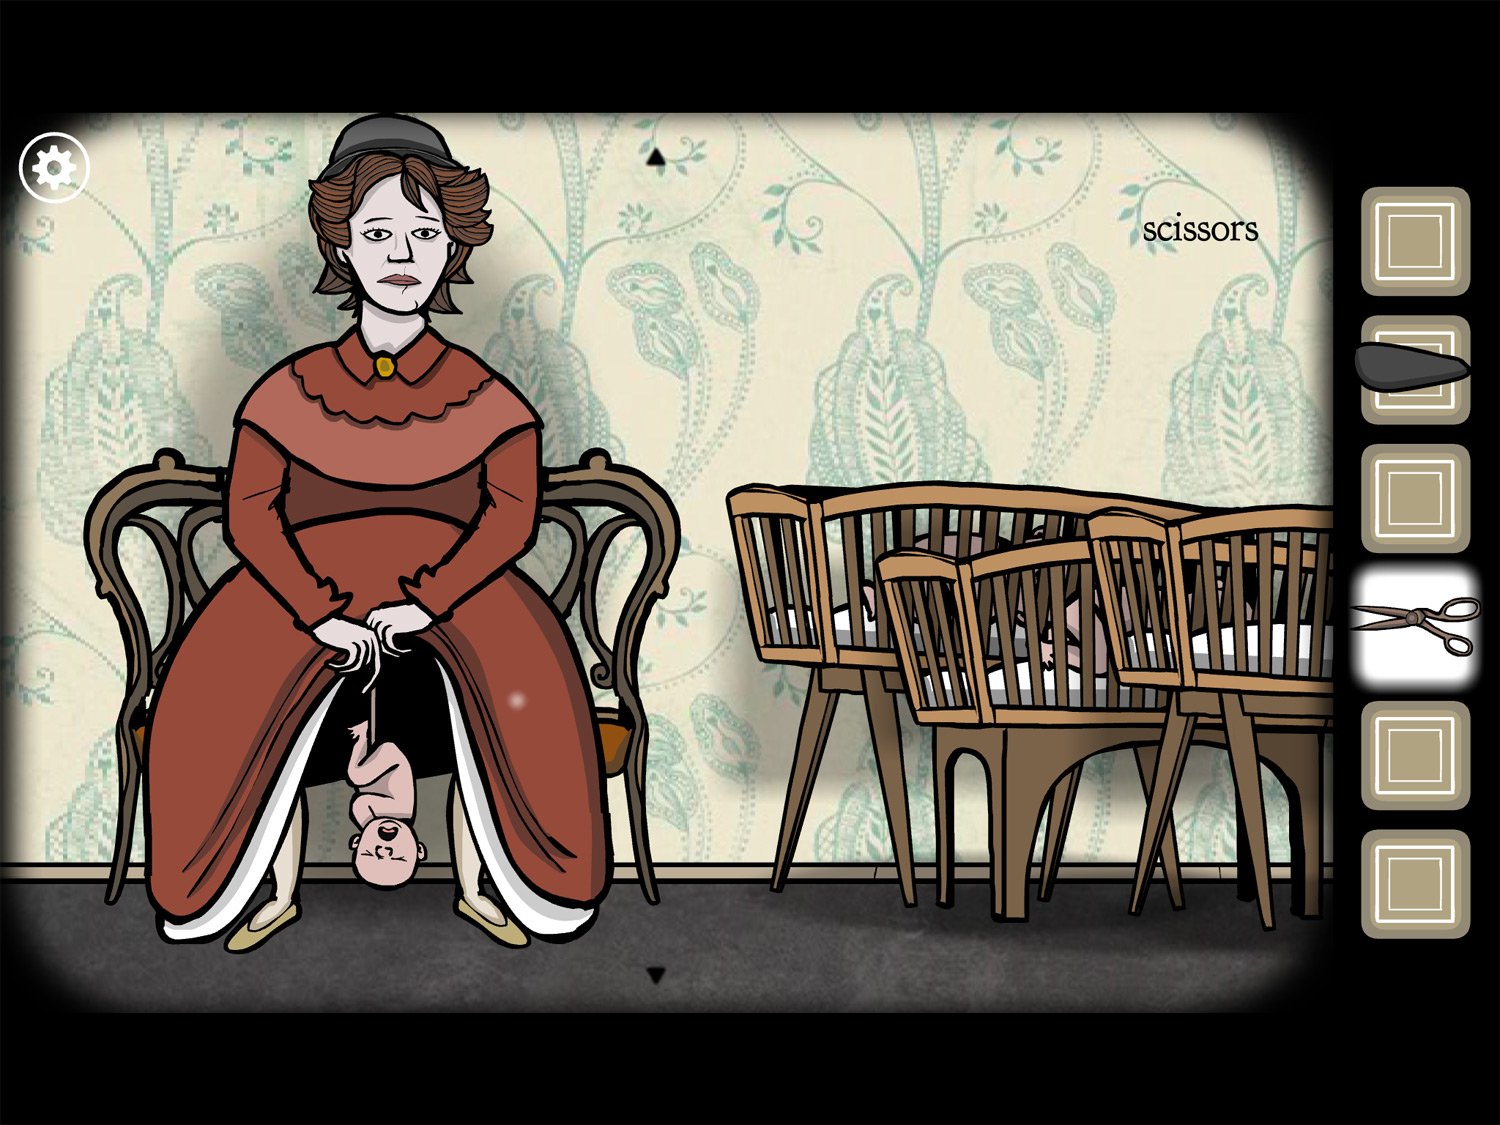
- Tap on her again and she gives birth; use SCISSORS on the umbilical cord then tap the baby to send it to a crib
- Tap Mary again; cut the cord again and tap the second baby
- Tap Mary again; cut the cord a third time and tap the third baby
- Tap Mary again and take the PLACENTA that falls out
- Exit and go to the dog
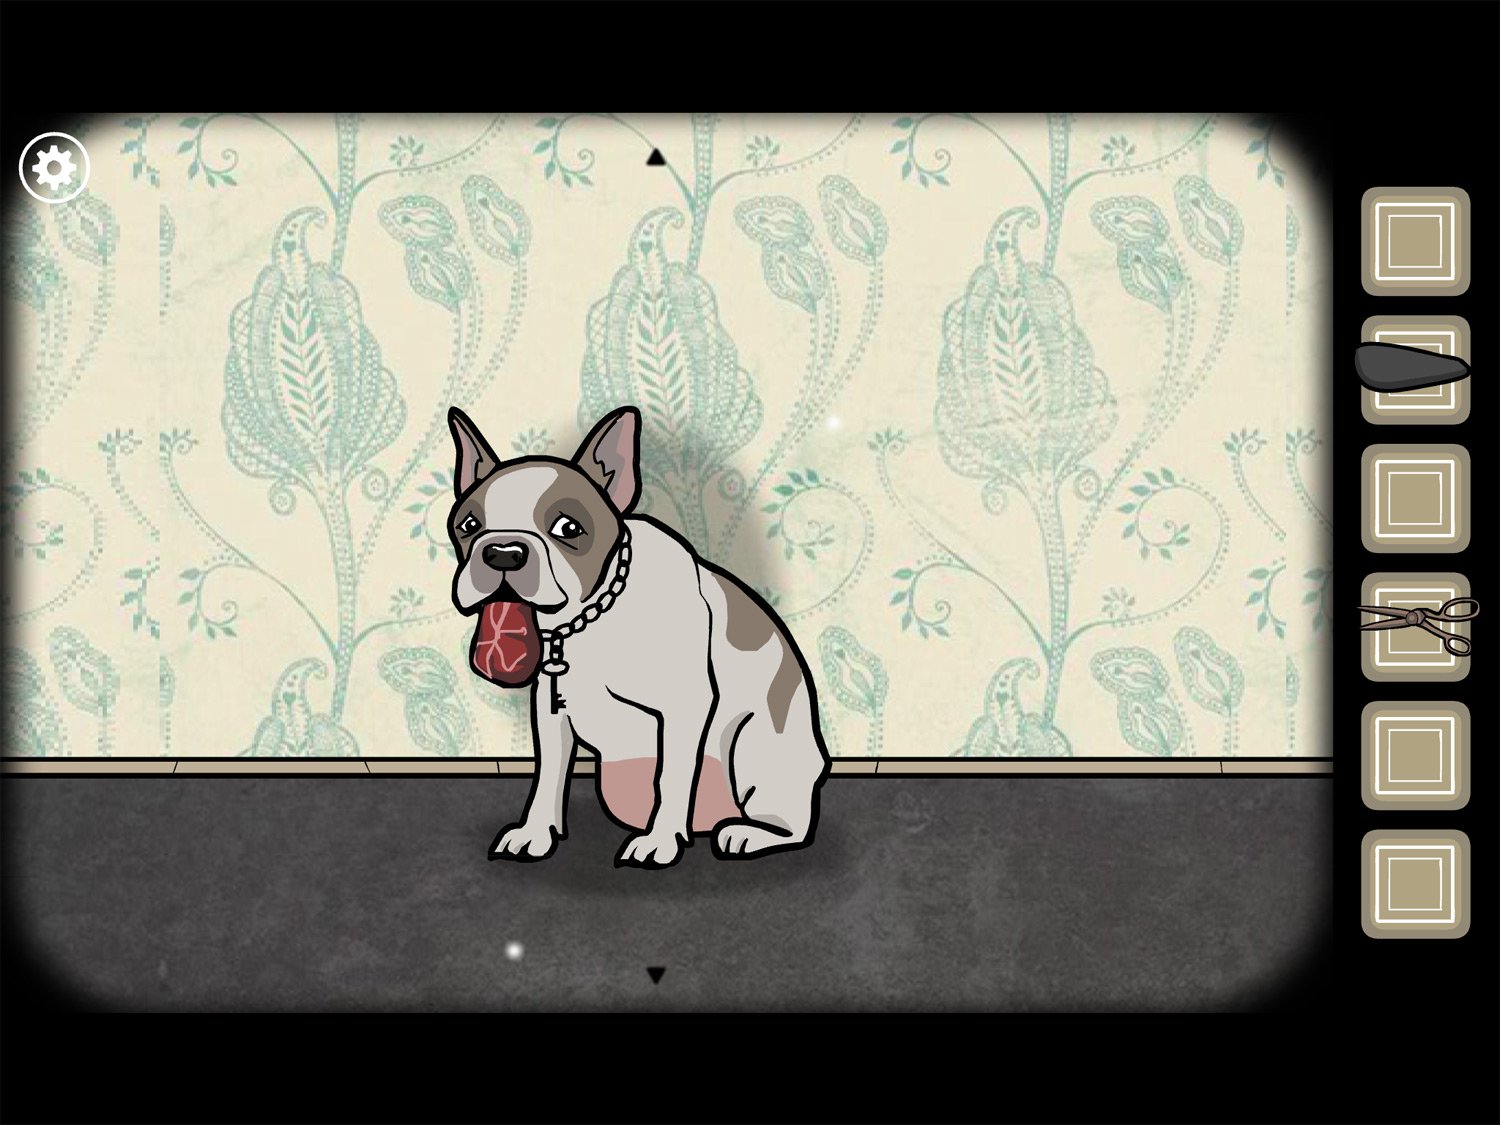
- Give the dog PLACENTA. She eats it and falls asleep. Take KEY from around her neck
- Return to the cabinet above the baby cribs and tap it to enter a close-up
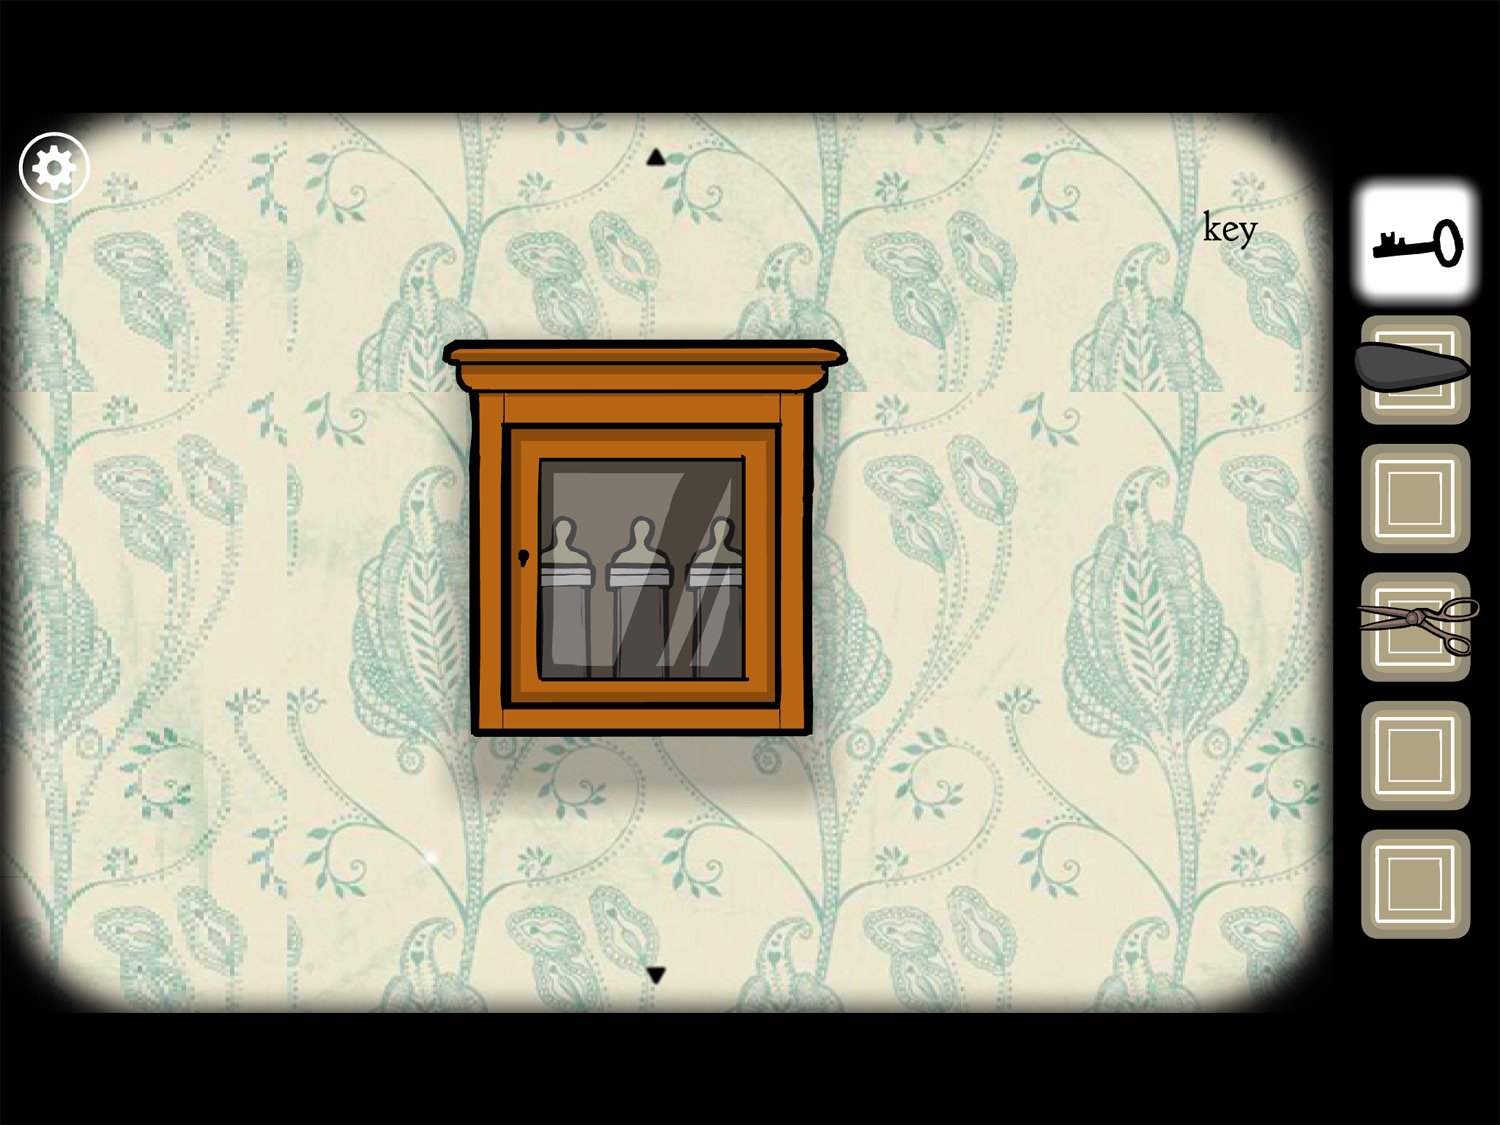
- Use KEY on the cabinet; tap to open it and tap on each BOTTLE to take them
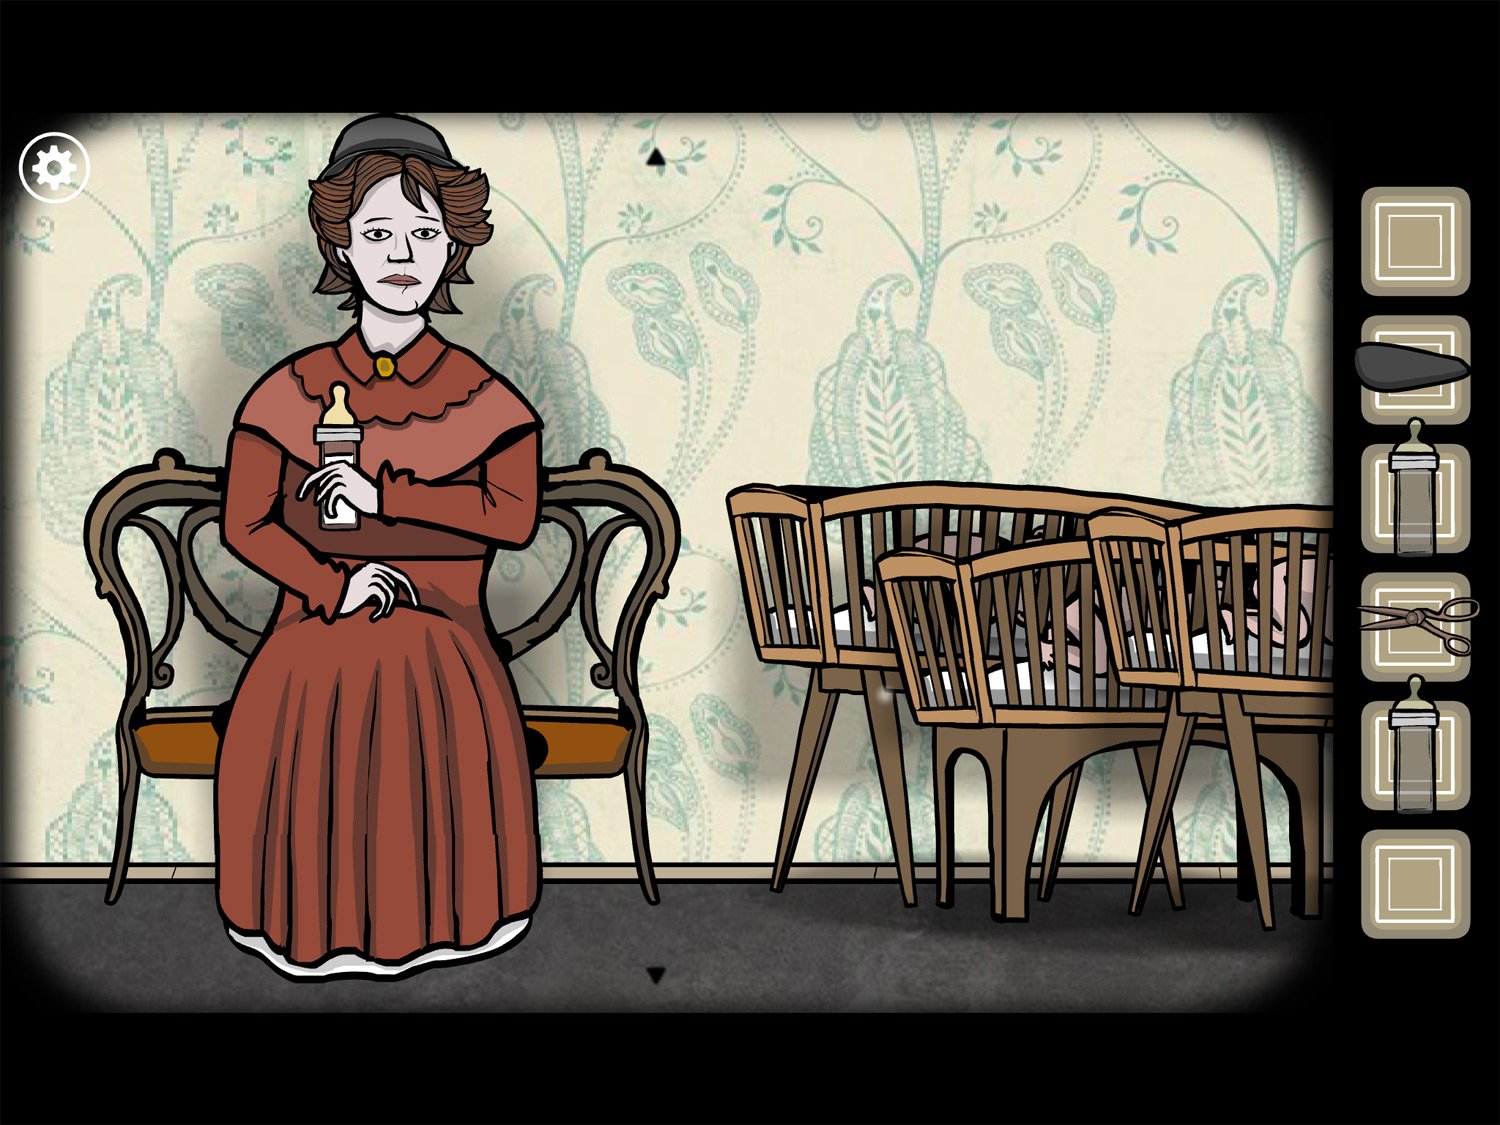
- Tap on Mary and then give her a BOTTLE. Tap her again and she fills it with milk. Tap the full bottle to get BOTTLE WITH MILK
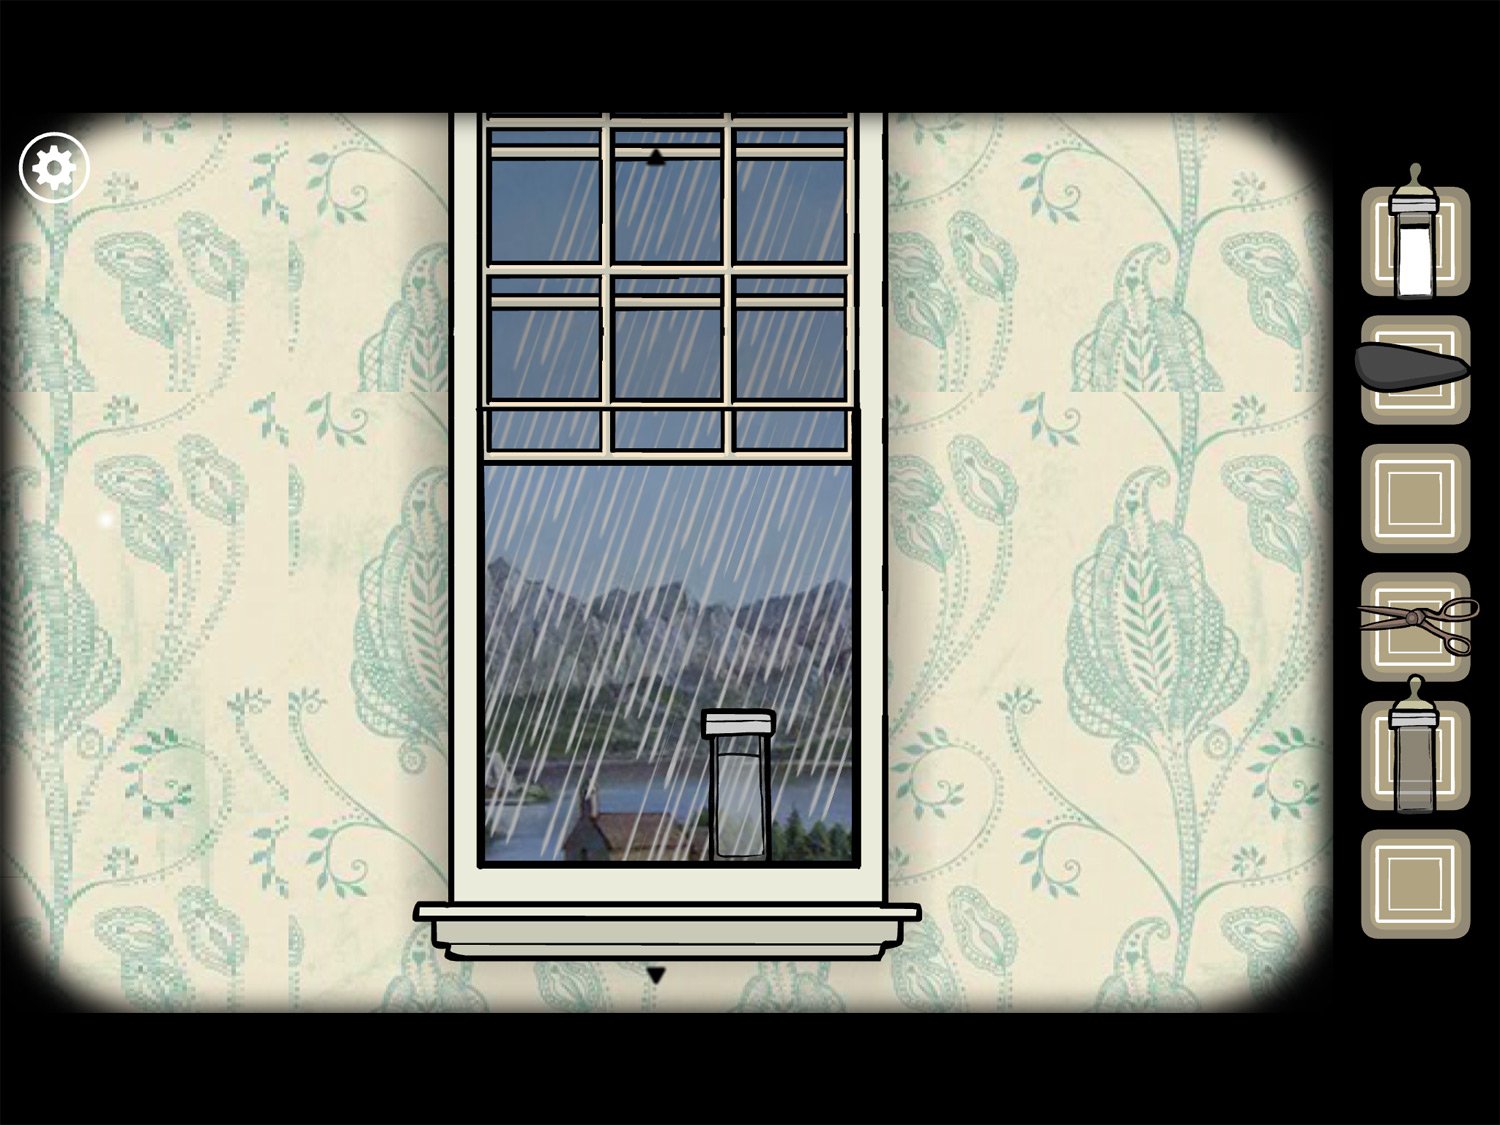
- Move to the window; tap to enter a close-up and tap to open it. Use one of the empty bottles on the open window to get BOTTLE WITH WATER
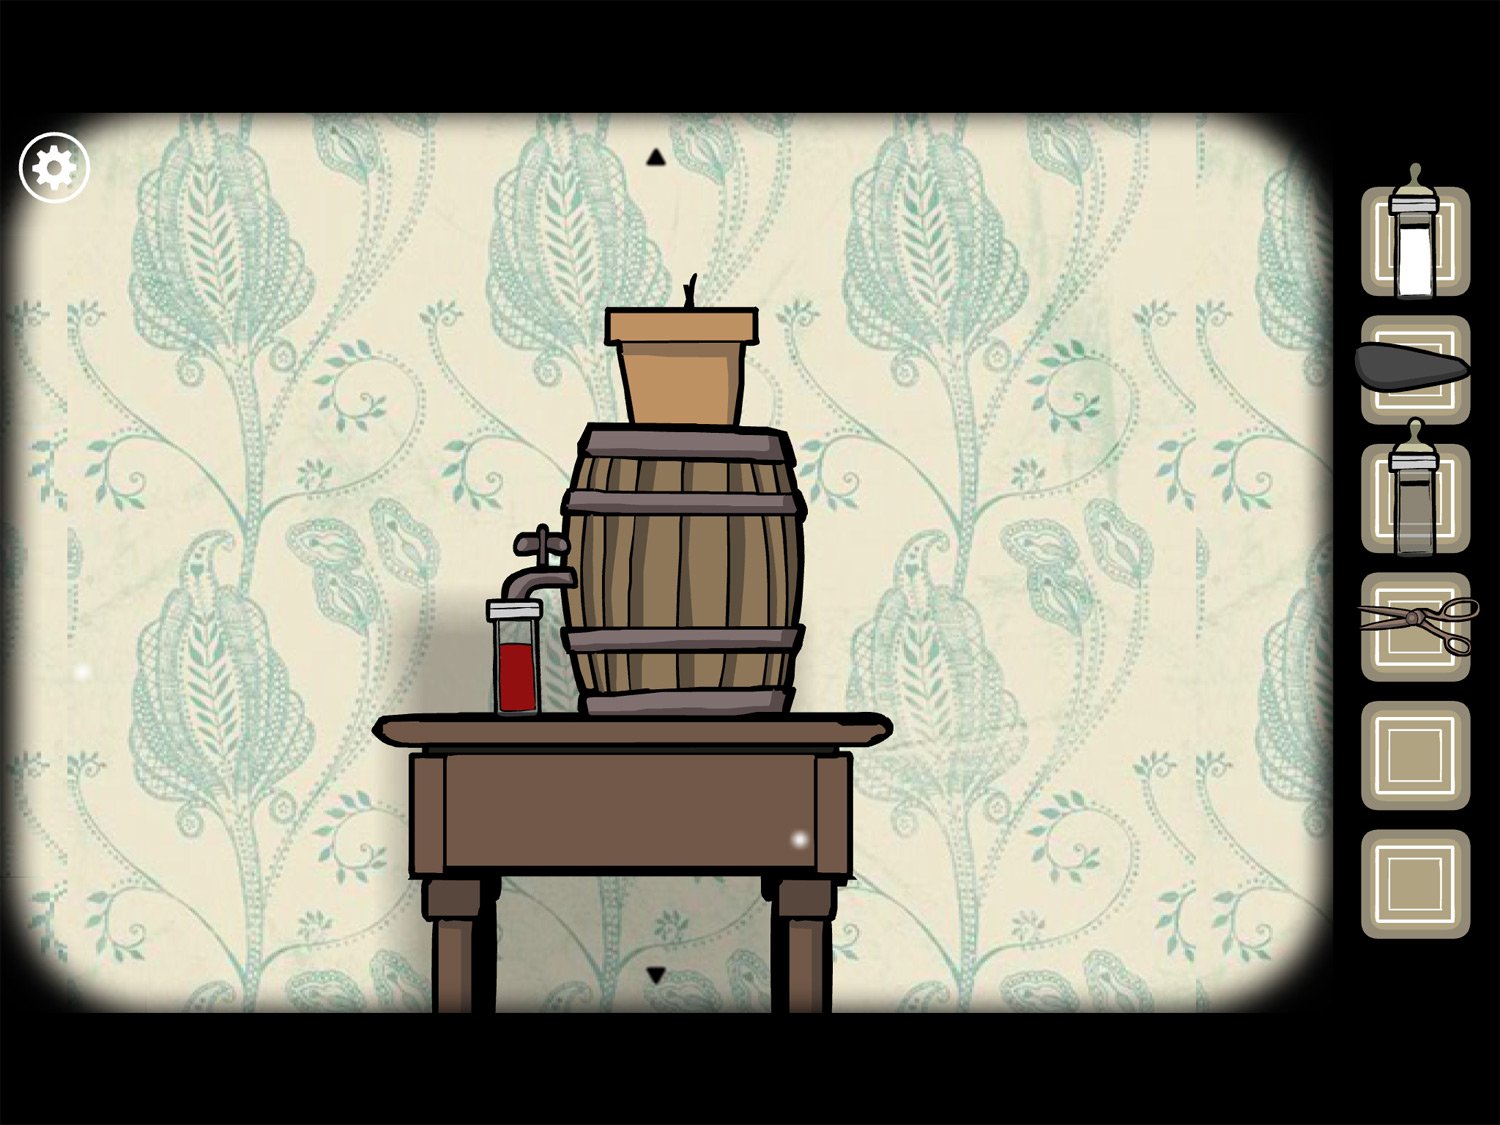
- Move back to the barrel. Use the last empty bottle on the tap to set it beneath it; turn the tap on and take the filled bottle to get BOTTLE WITH WINE
- Return to the cribs and tap on them to enter a close-up. Remember the birth announcement cards on the dresser? Give each baby the correct bottle: the bald baby on the left wants BOTTLE WITH MILK. The baby with some hair in the center wants BOTTLE WITH WATER. The baby on the right with the birthmark wants BOTTLE WITH WINE
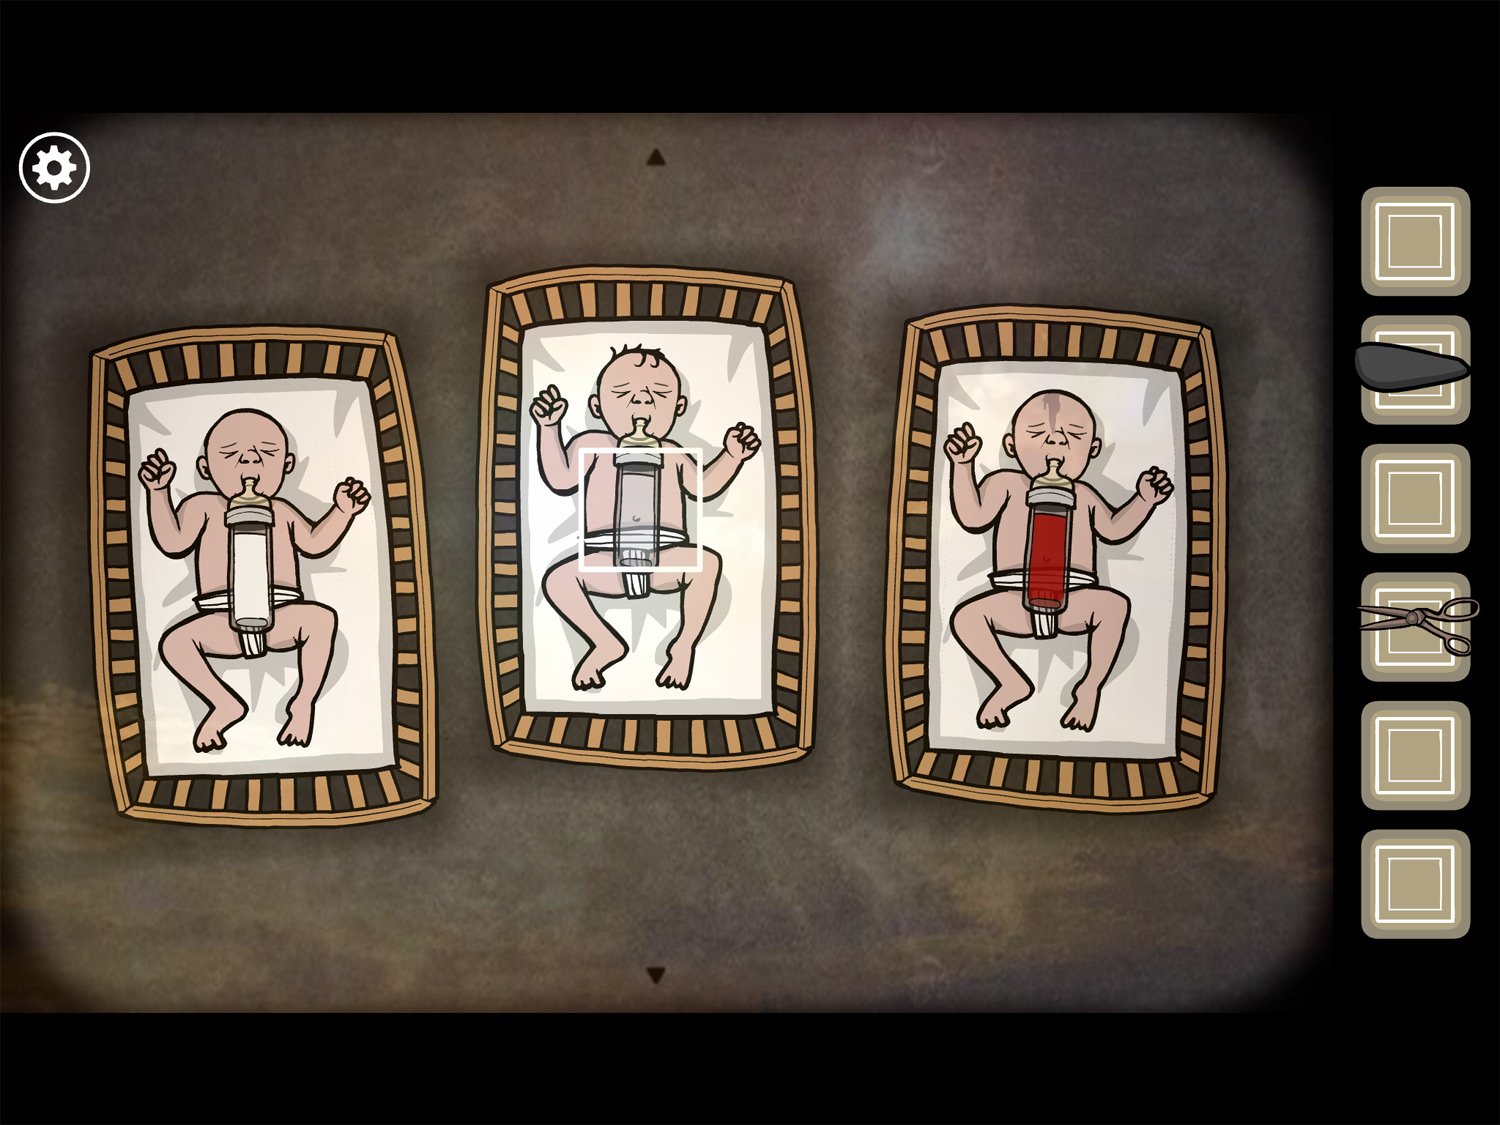
- After each baby has the correct bottle, the white square and exit appears over the center child
Level 6: The Staircase, Summer 1870 – James
Location: The study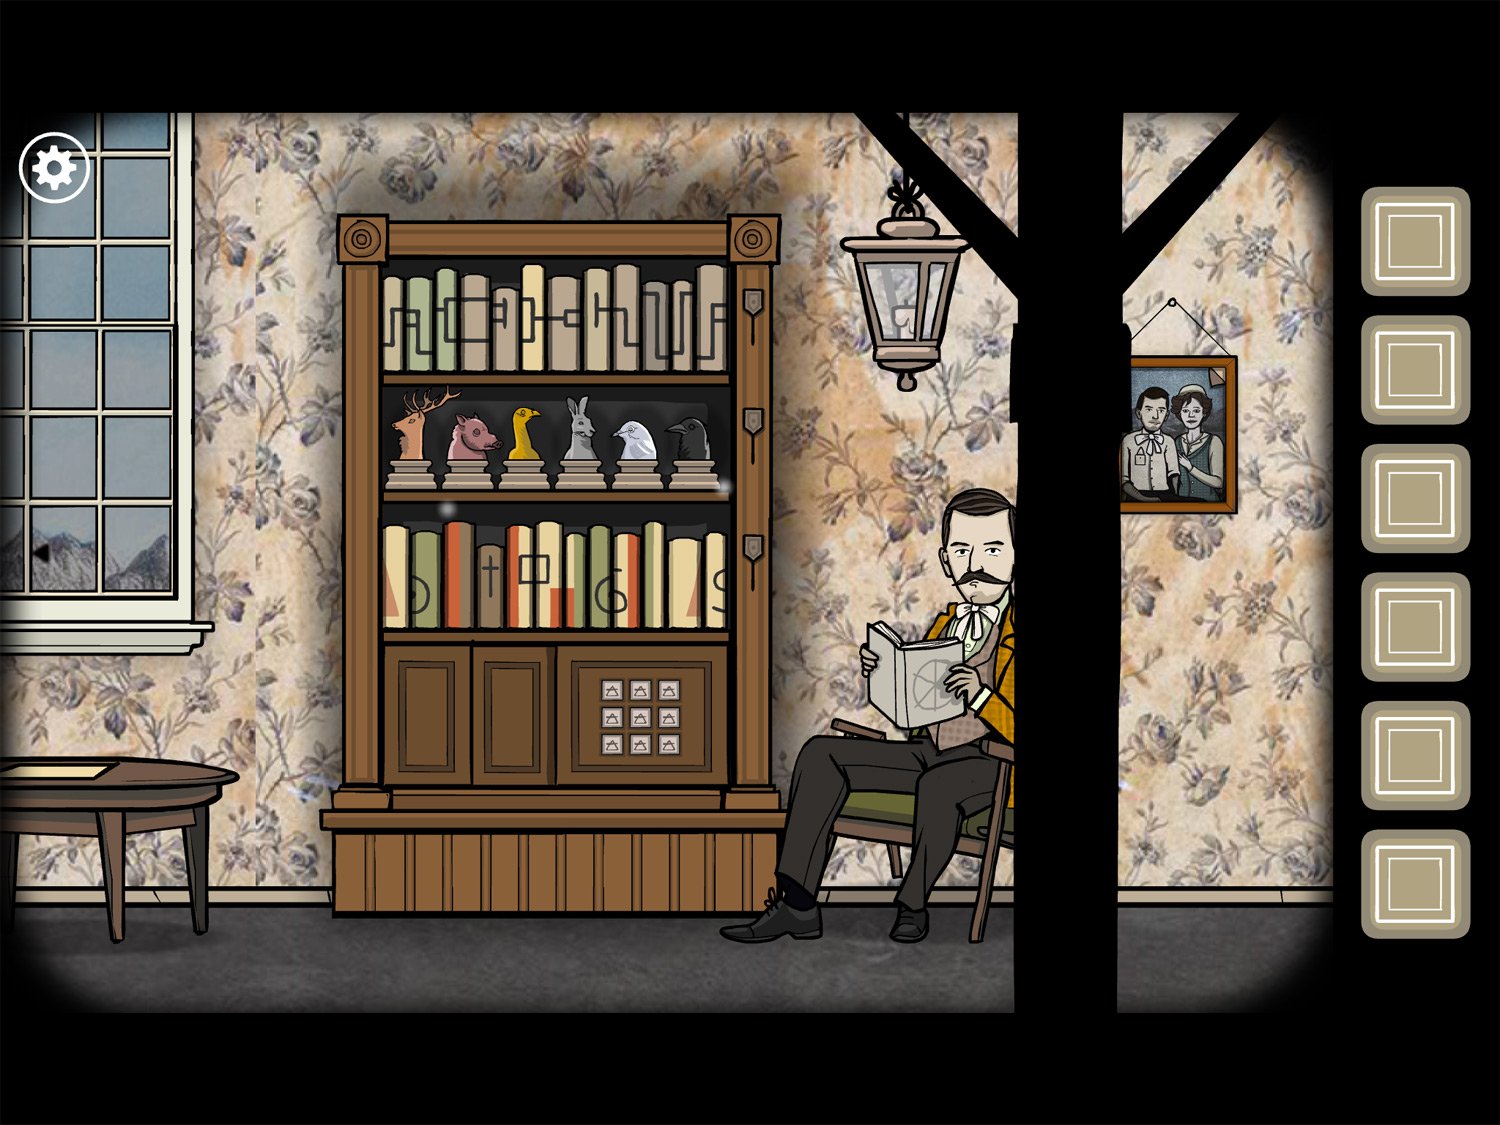
- Drag right; tap the picture to James’ upper-right. Tap the canvas to peel it away and reveal symbols underneath
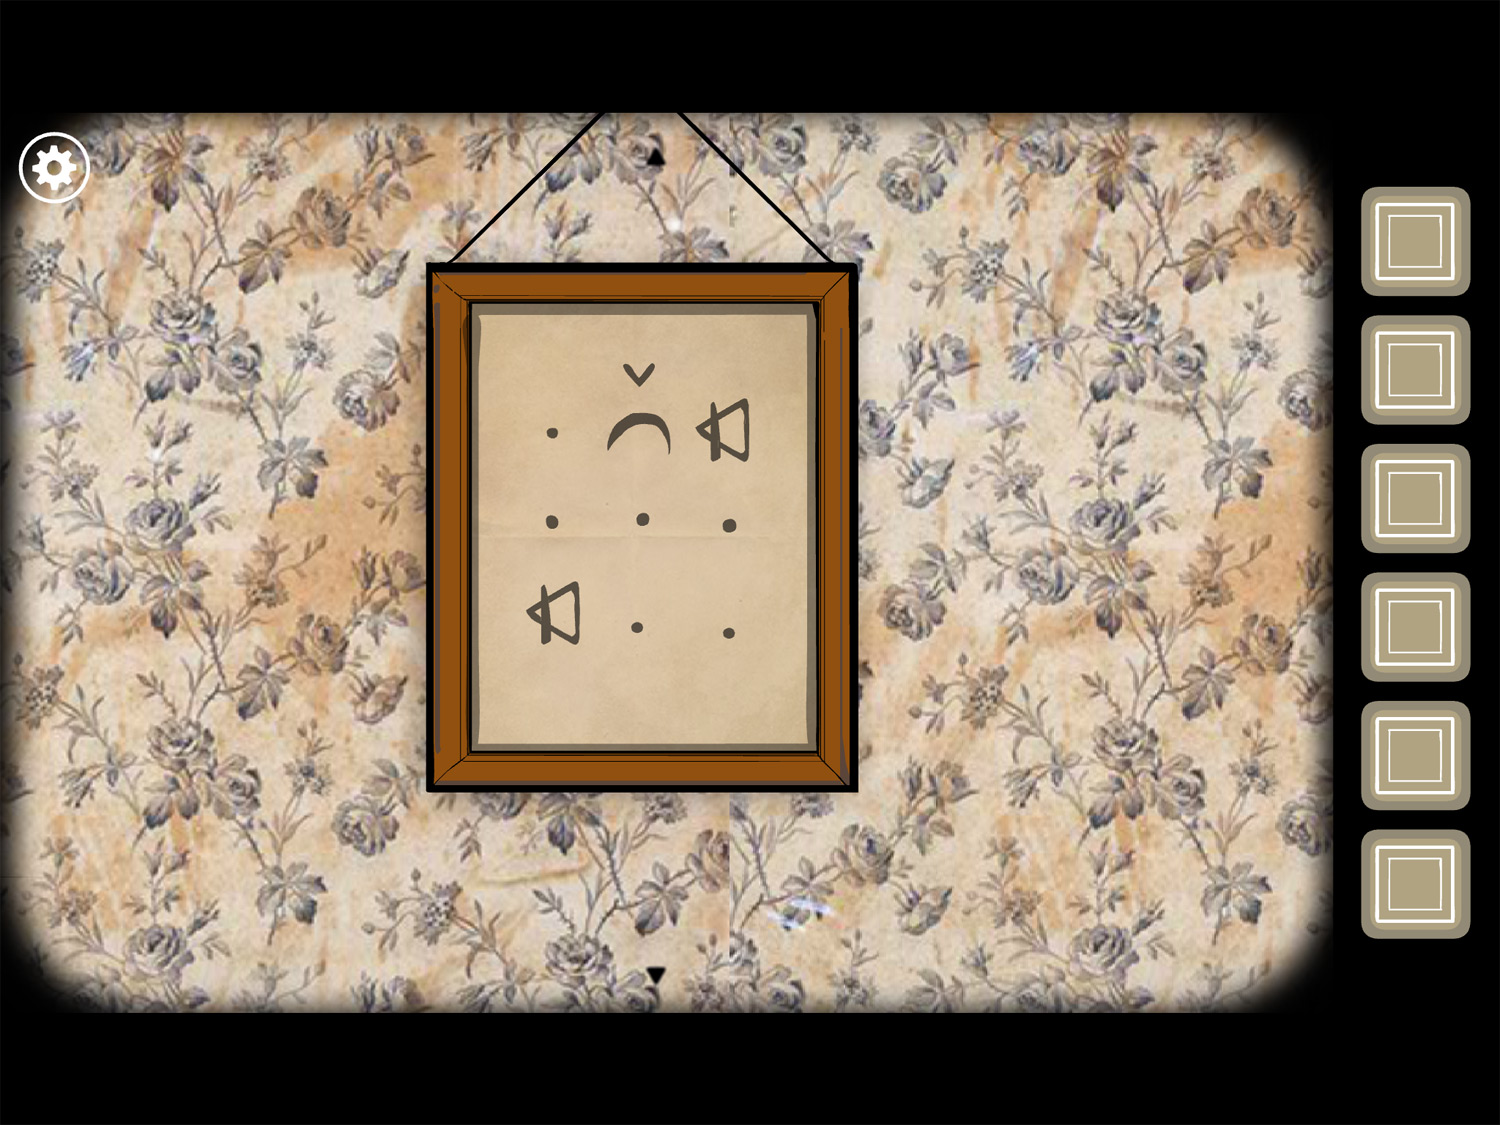
- These symbols show an arrow pointing down, then a moon directly underneath, a triangle with a line through it to the right, and another triangle with a line through it on the bottom-left. Exit this picture
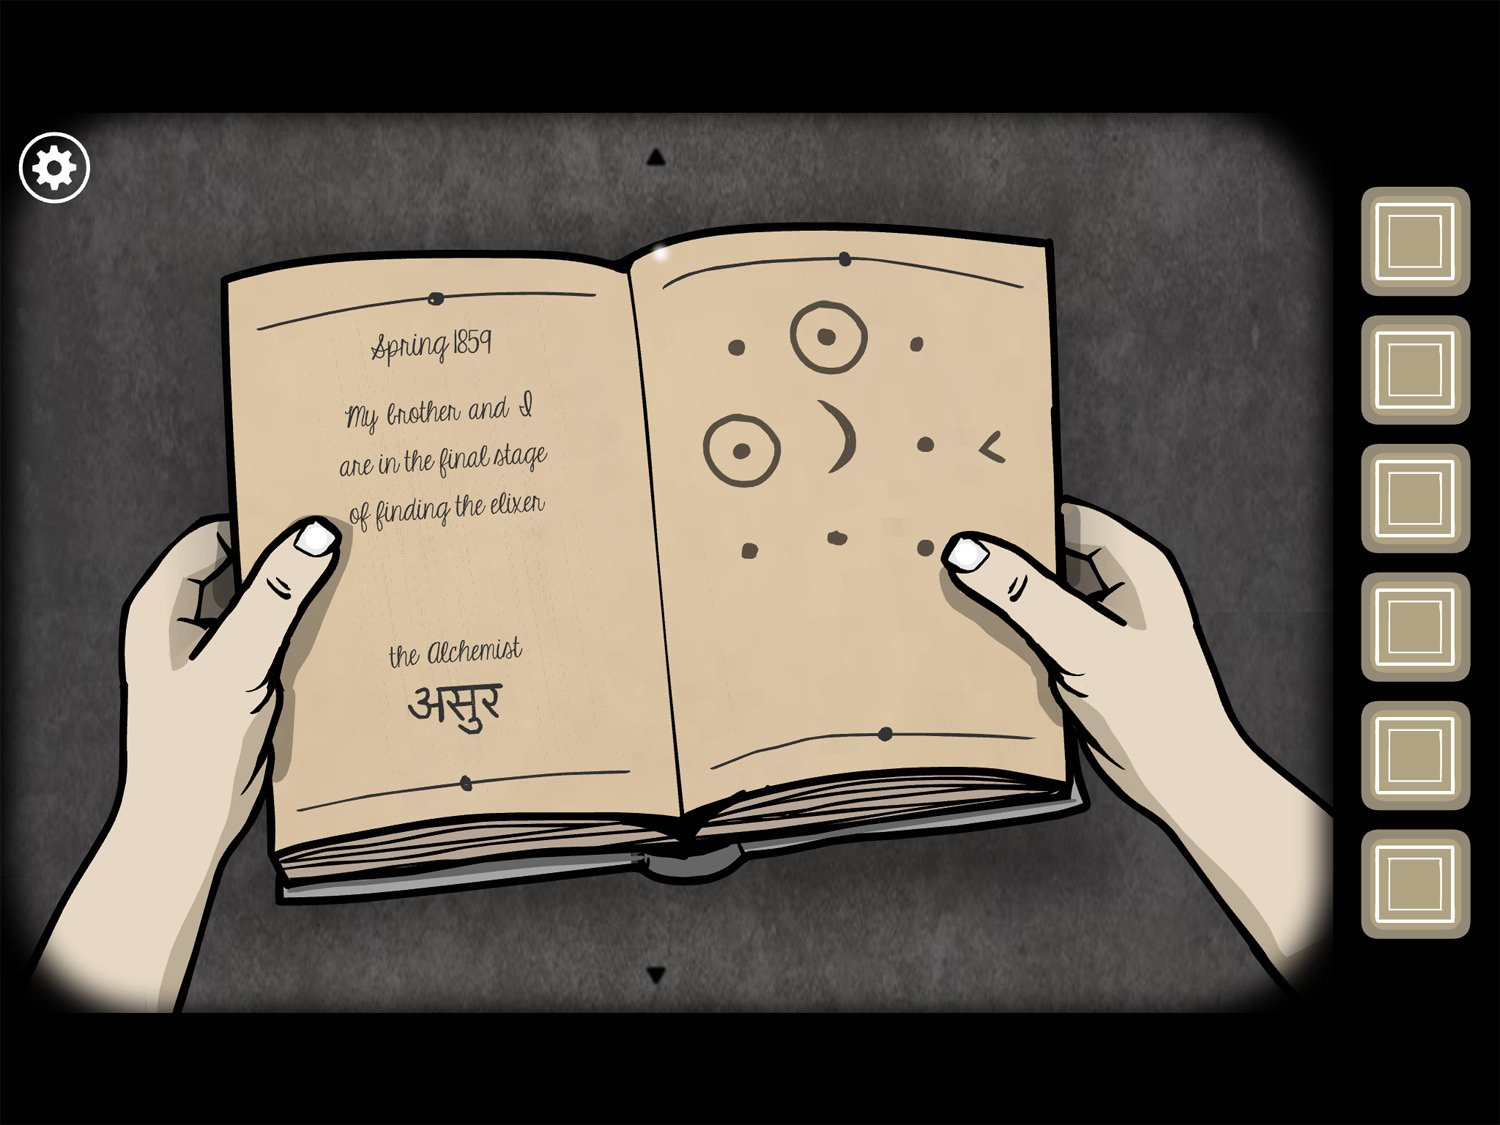
- Tap James and then the book he is reading. There are more symbols here; take note of their location, then exit
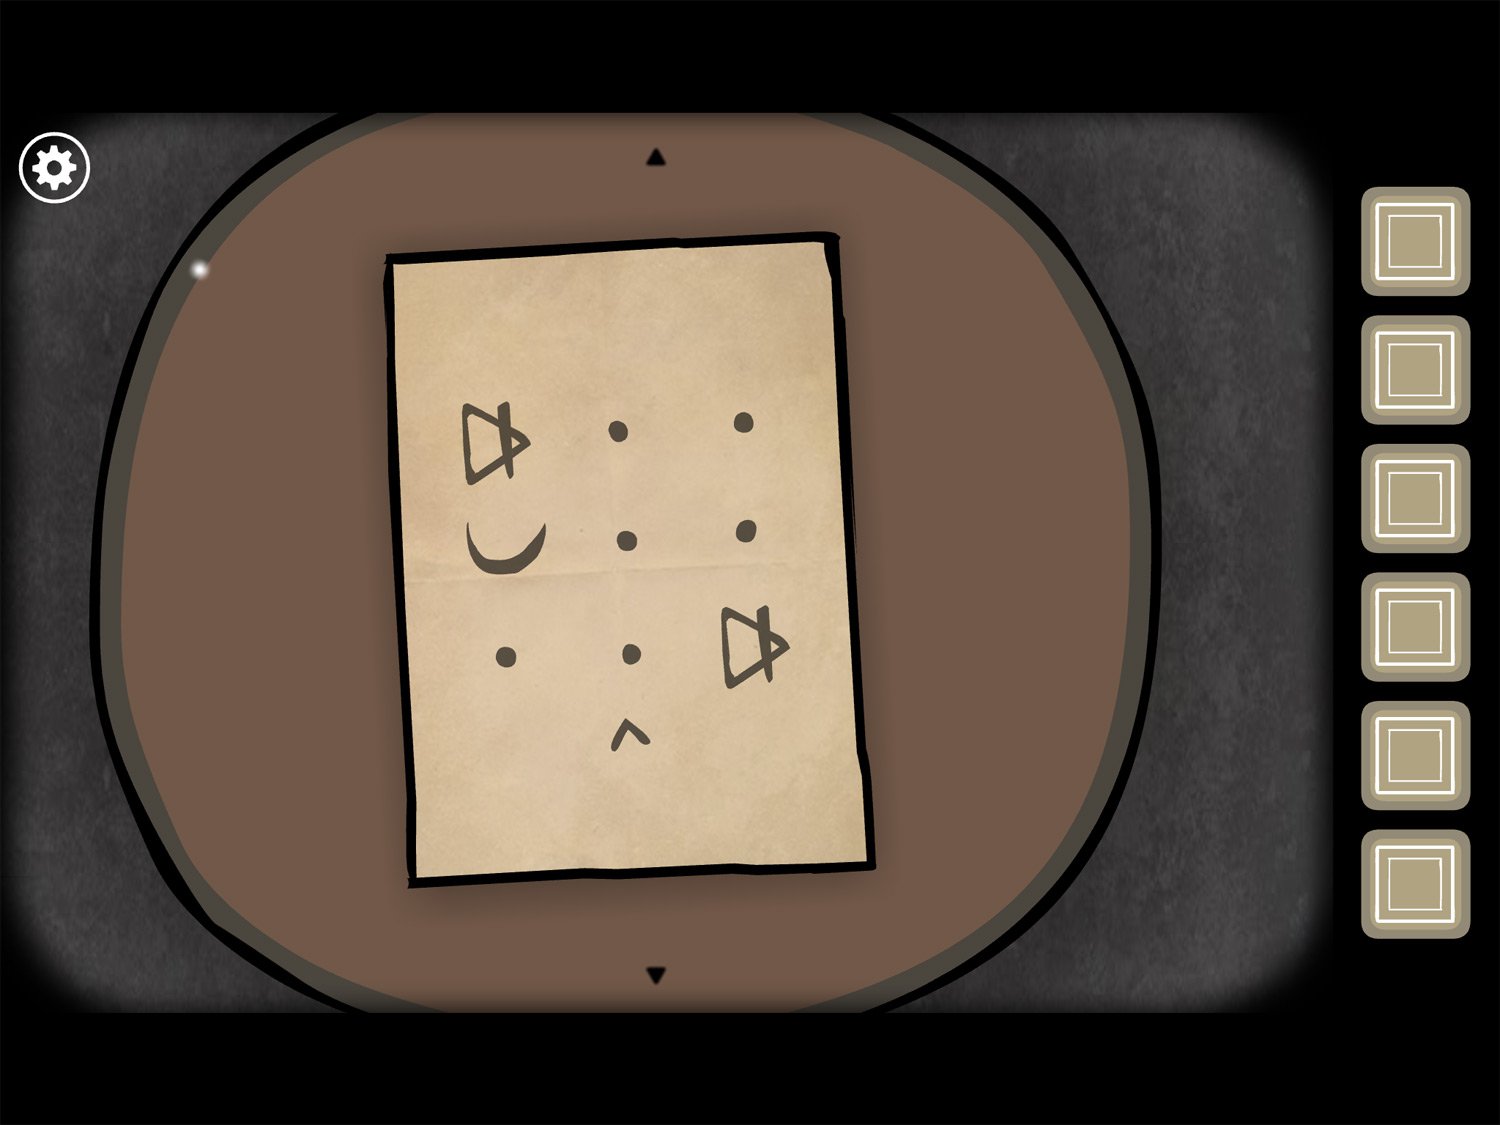
- Tap the paper on the table under the window. There are more symbols here; between the three pages you should have all nine symbols
- Tap the wooden face of the bookshelf to zoom in on a set of blocks. The same triangle with a line through it is displayed here
- Slide the squares so they match what we just saw on all three pages: the arrow on the right is your method of orientation for all the pages. If you turn your device sideways the arrow will be in the same location. Slide the square just beneath (or to the left of the arrow if you don’t turn your device) so it’s a moon, the one to the left of this so it’s a circle with a dot, etc.
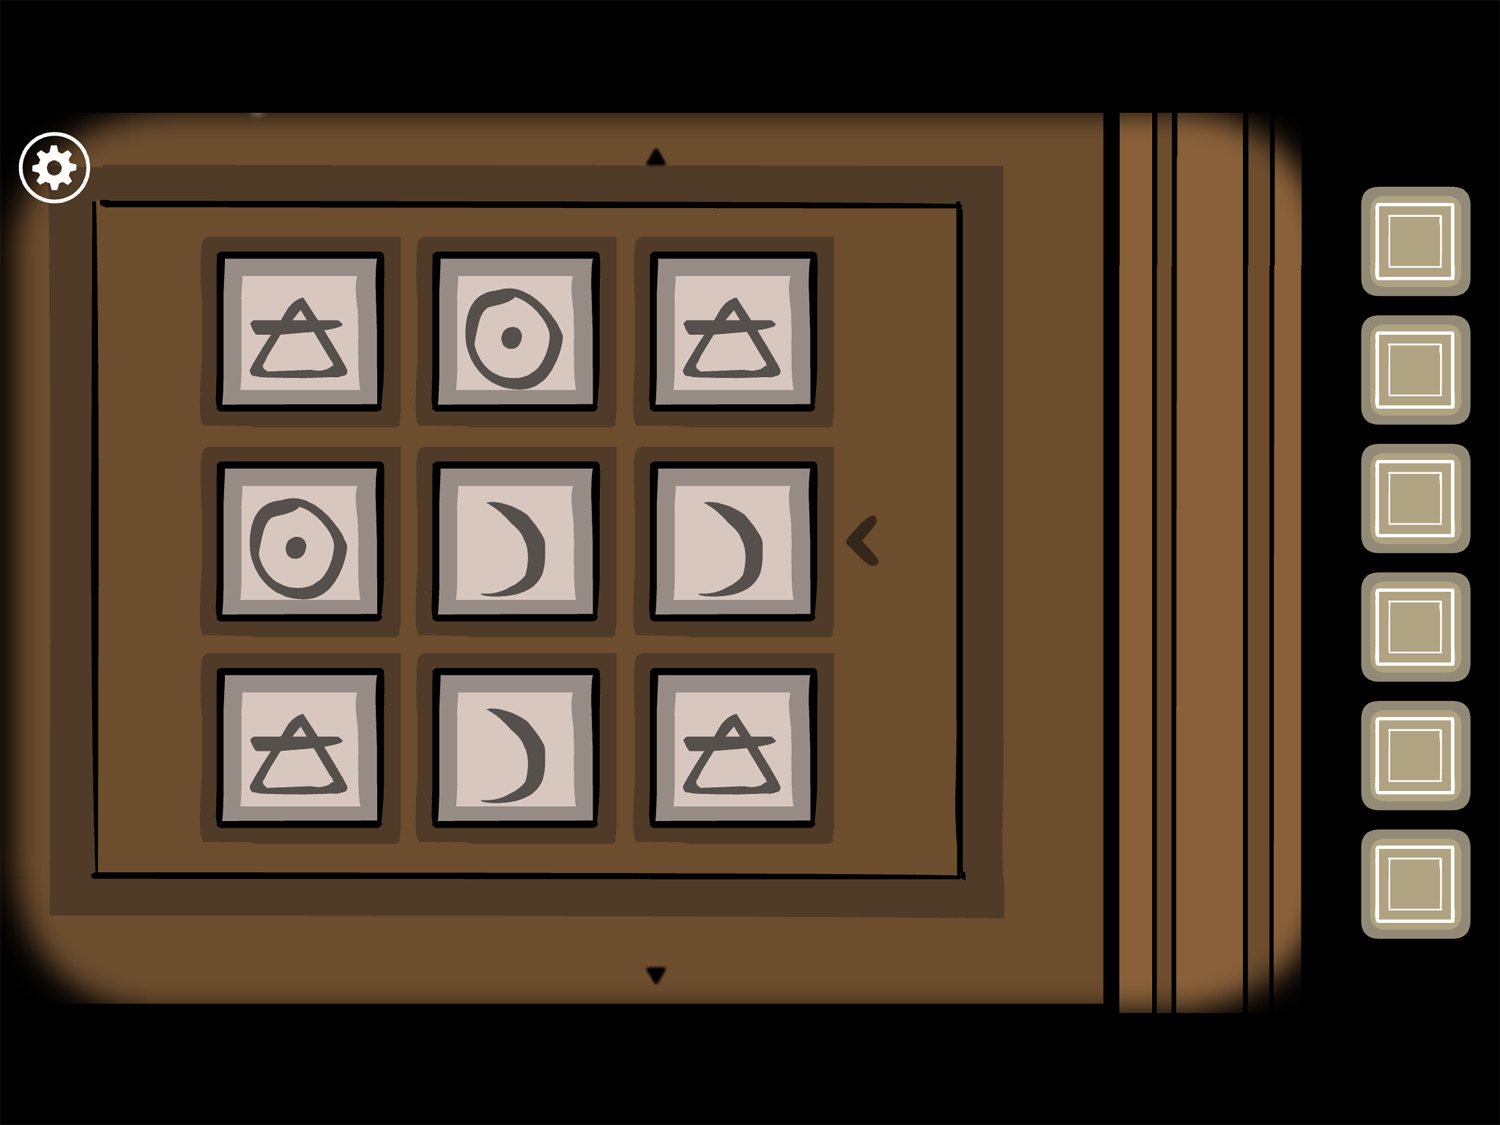
- The symbols should match the image above. When all symbols are correct, the bookshelf door will open
- Take the BINOCULARS from the open door
- Tap on the window; tap it again to open it
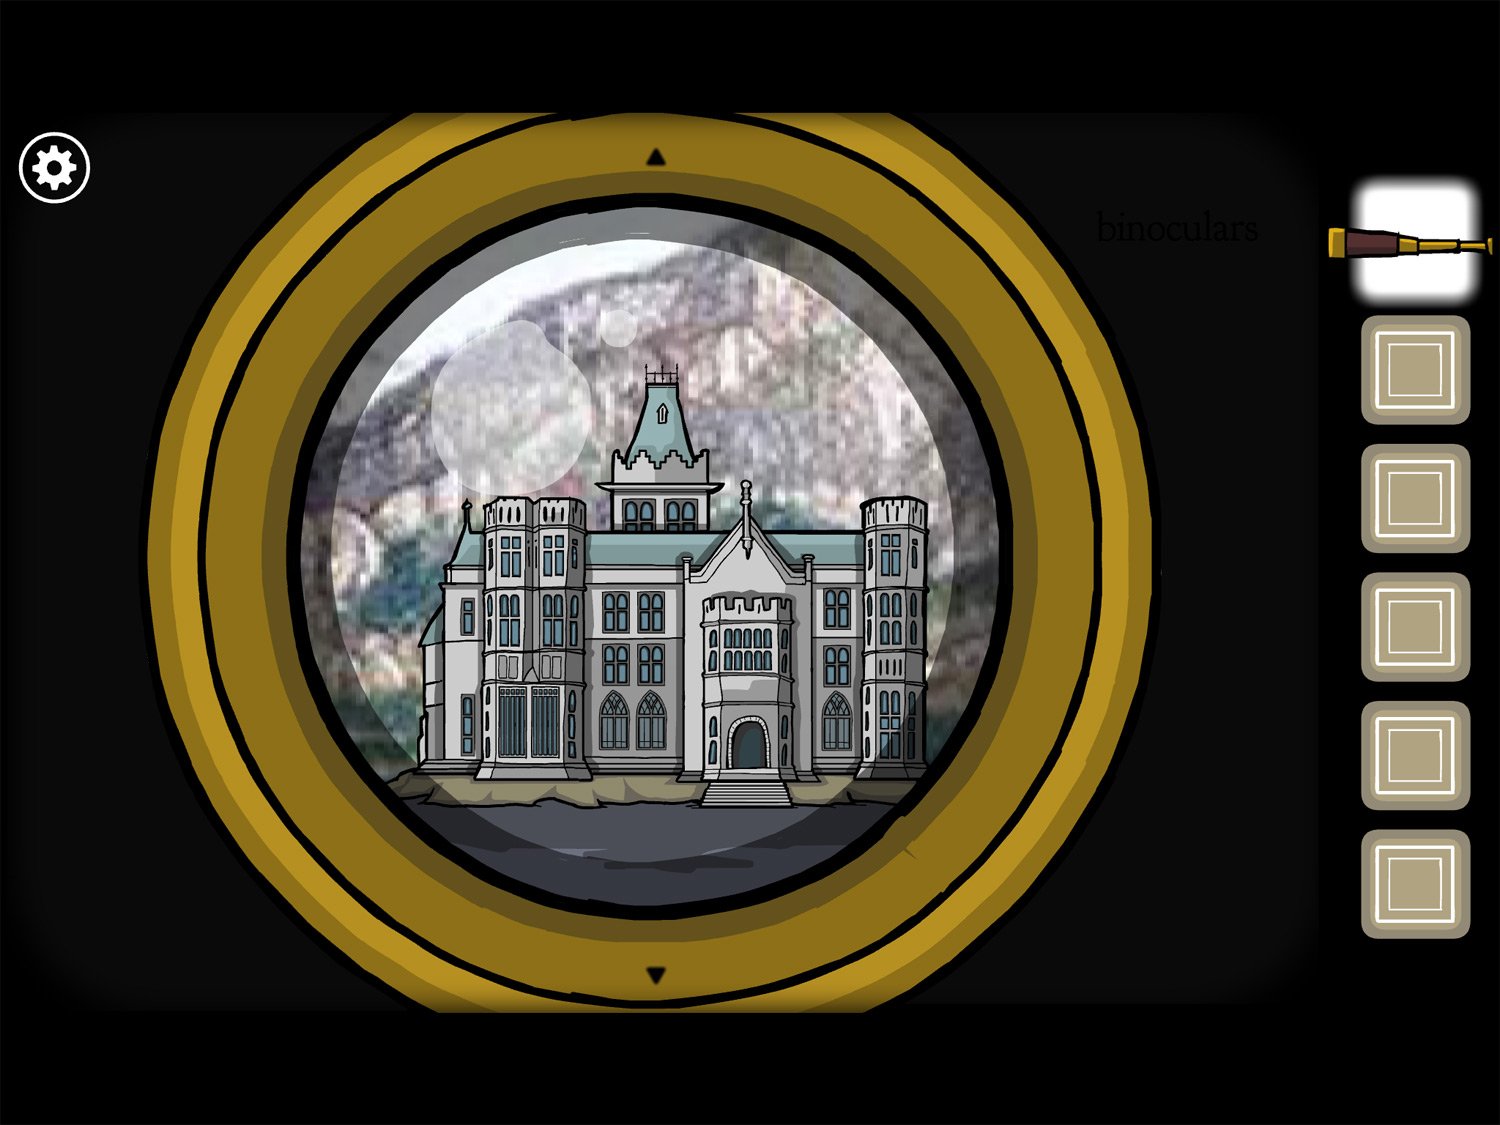
- Use BINOCULARS on the open window. Tap on the glowing pair of windows
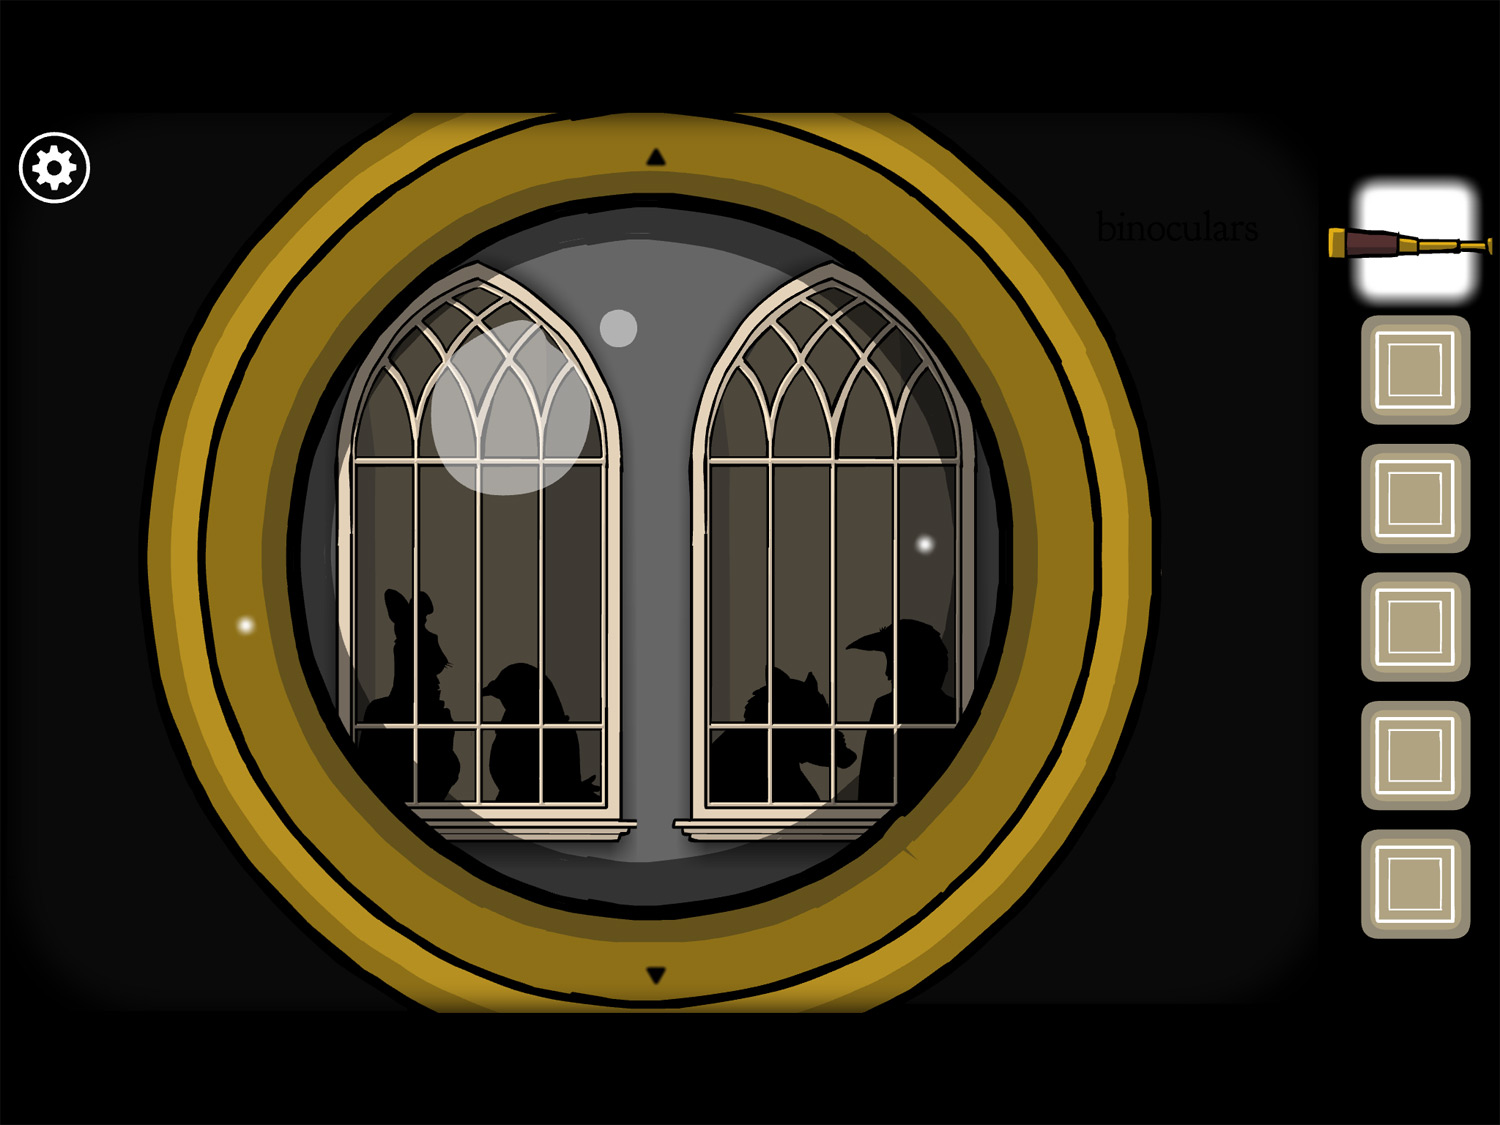
- You’ll see the shadows of Rabbit, Pigeon, Boar, and Crow
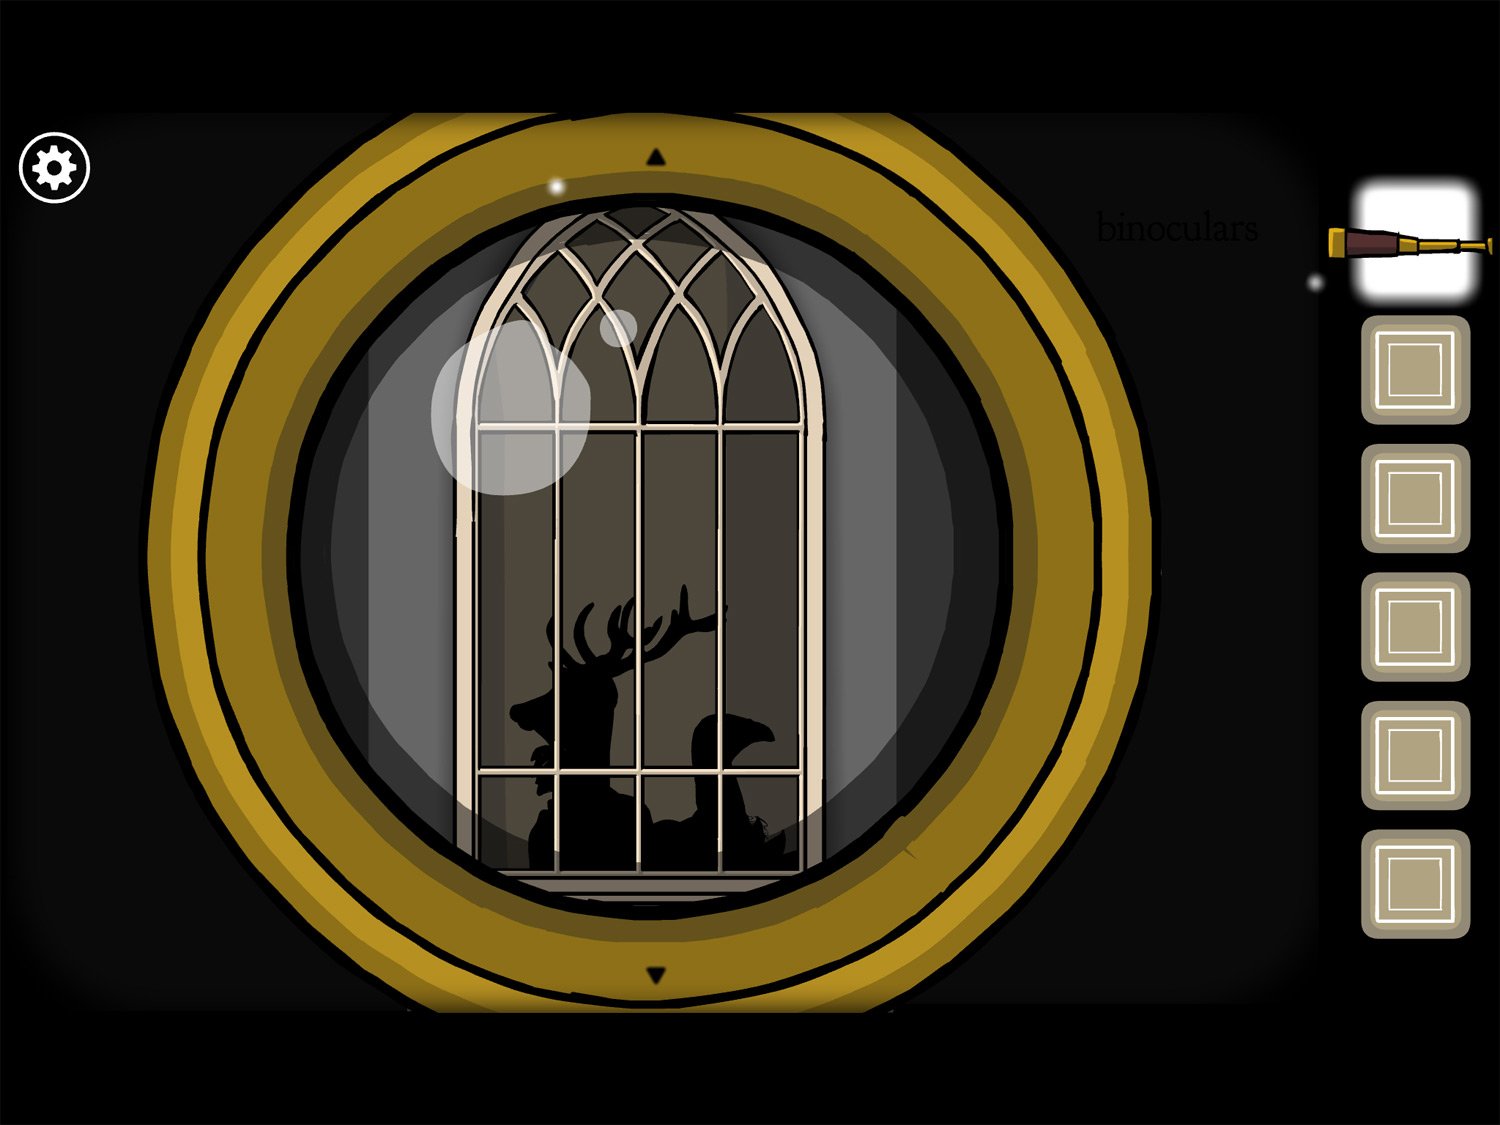
- Exit and tap on the other glowing window to the right; here you’ll see Deer and Pheasant. Exit the window altogether.
- Go to the bookcase and tap on the center shelf to zoom in on the animal statues. Arrange them as you just saw them in the hotel windows: Rabbit (gray), Pigeon (silver), Boar (red), Crow (black), Deer (brown), and Pheasant (yellow)
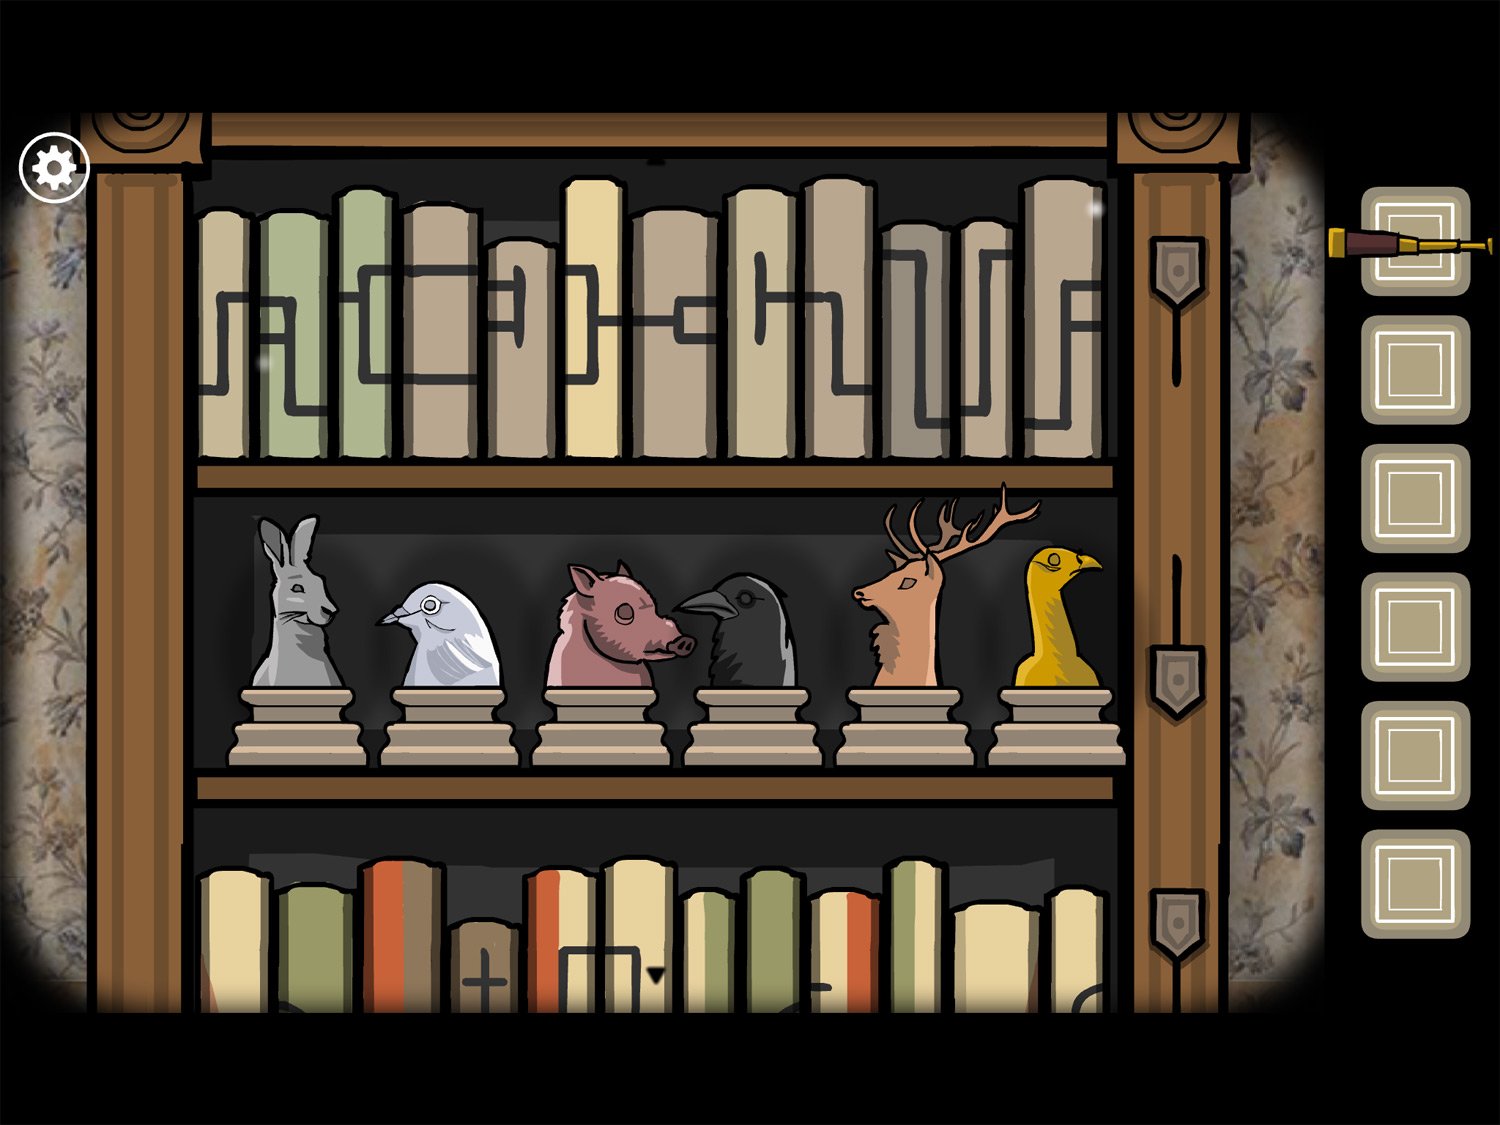
- When arranged correctly, the token to the right will move down and you won’t be able to move them anymore.
- While here, let’s adjust the top shelf. The books here need to create a connected path: the leftmost book should be the beige one with a single straight vertical line and a horizontal line coming off it heading right. The rightmost book is a gray one with a vertical line with two horizontal lines heading left
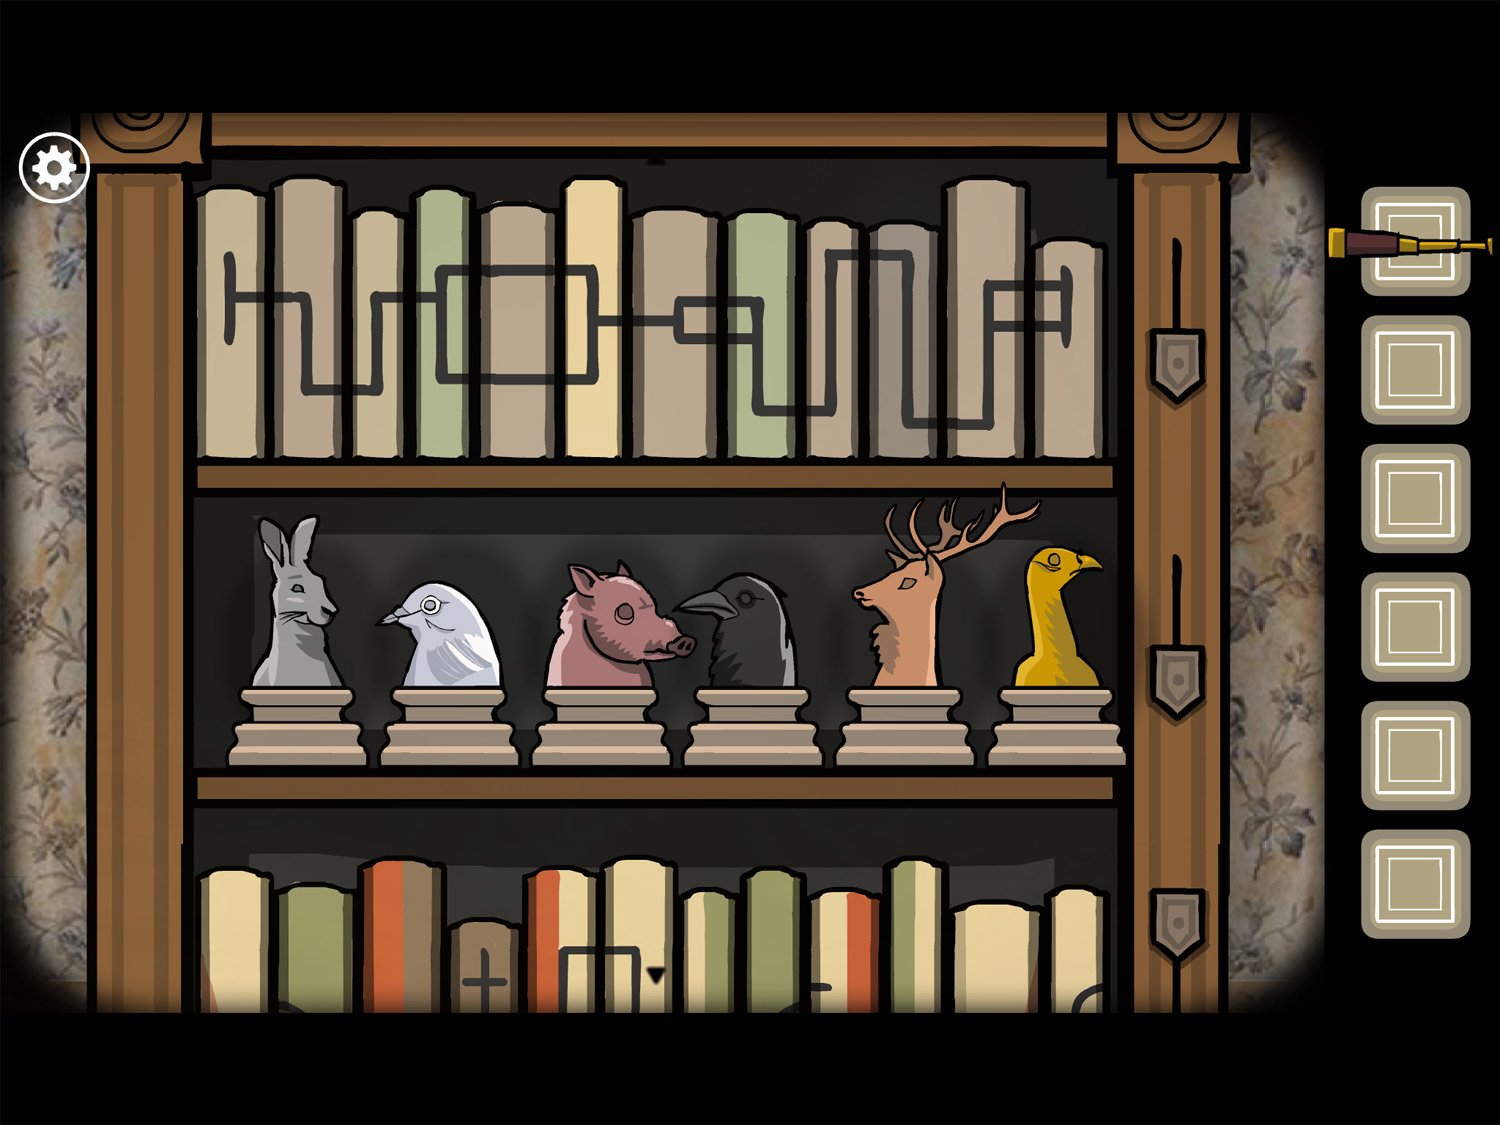
- The image above has the correct final version of the books on the top shelf
- Exit and then re-enter the bookshelf by tapping on the bottom shelf. Again, you need to arrange these books in the right order. There are hints on the spine labels because symbols halves need to go next to each other – so the two halves of the square should be touching to form a full square. And the colors also flow, so a book with a red left half should be touching a book with a red right half
- The rightmost book is the brown text with the cross on it and the leftmost is the book with a red left half, white right half, and left part of a square drawn on it
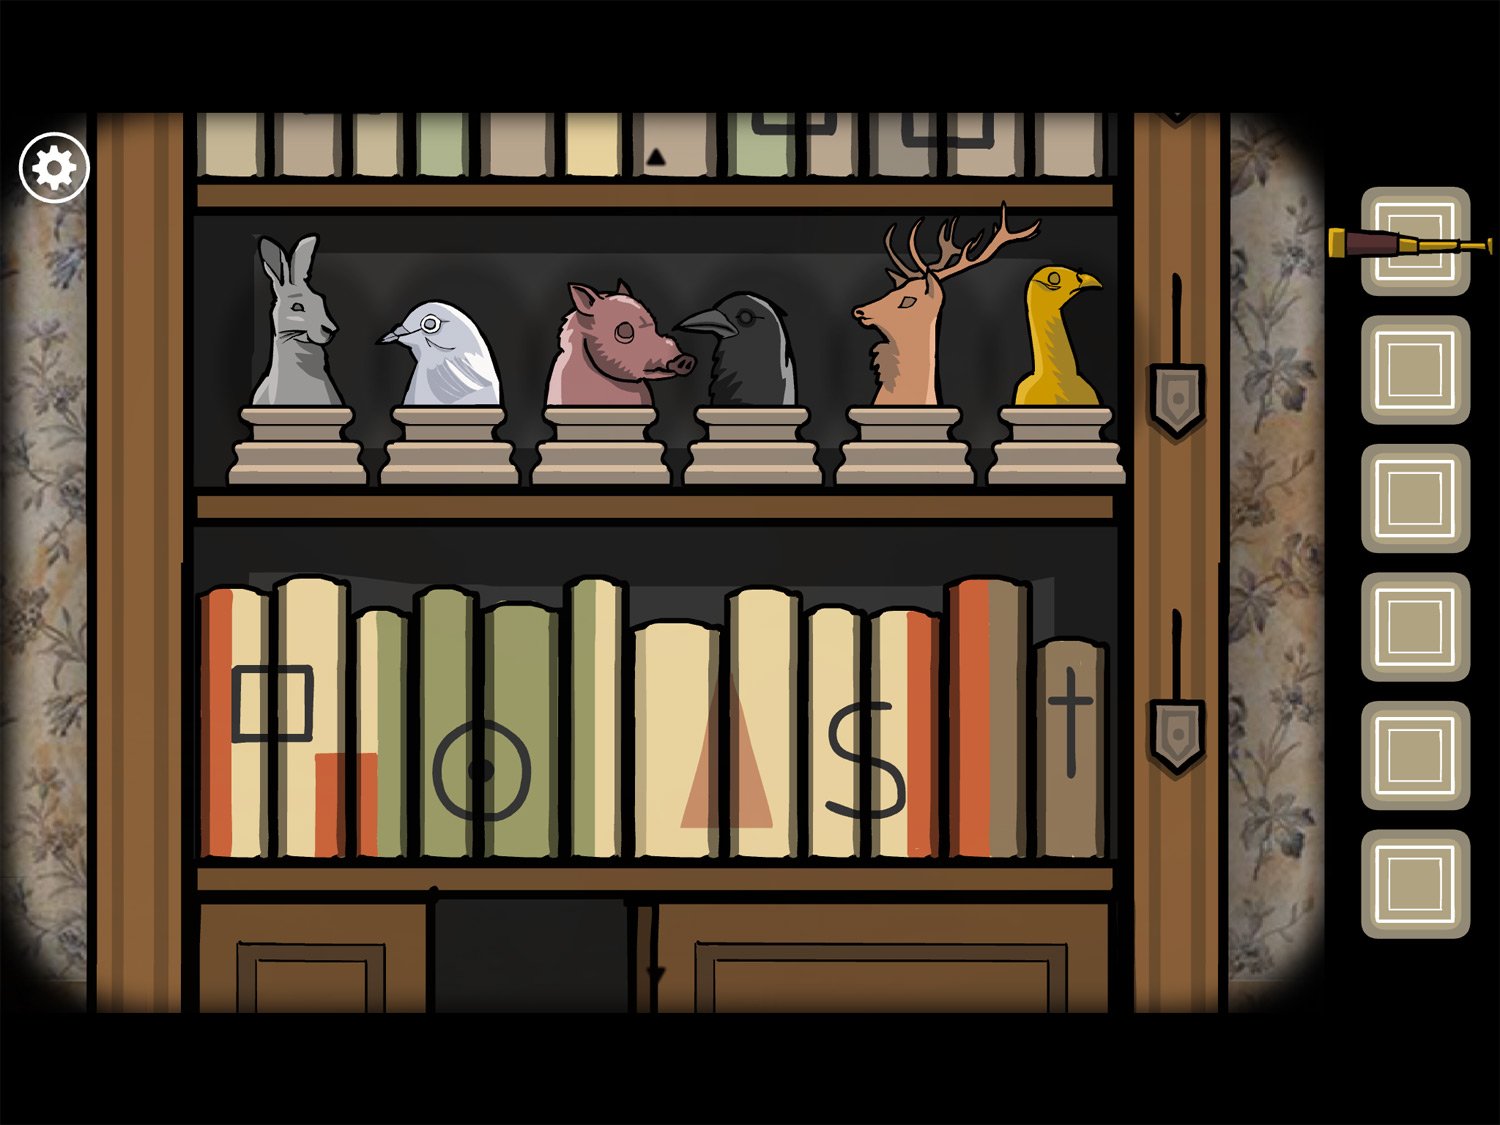
- The final arrangement is in the image above
- Once finished, all three tokens will be in the downward position and when you exit the bookshelf it will slide away, revealing a cavern behind it
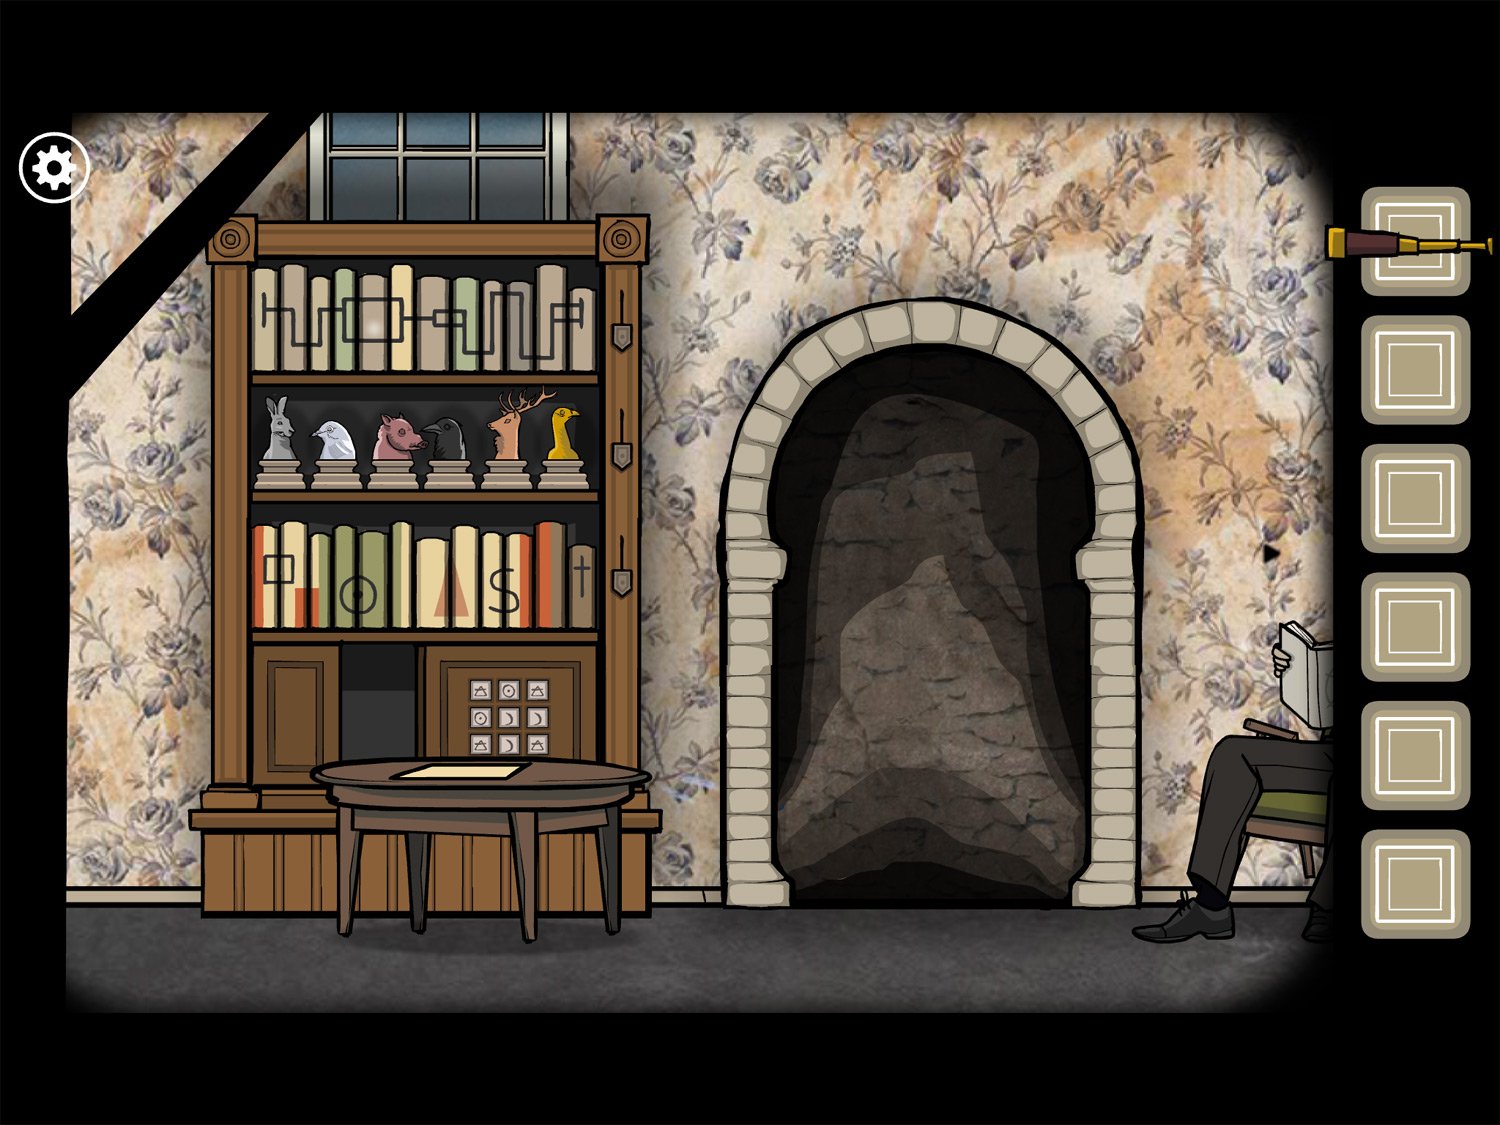
- Tap on the cavern to enter; tap on the stairs to head down. Keep heading down until you see another doorway; tap it to reveal the white square and exit
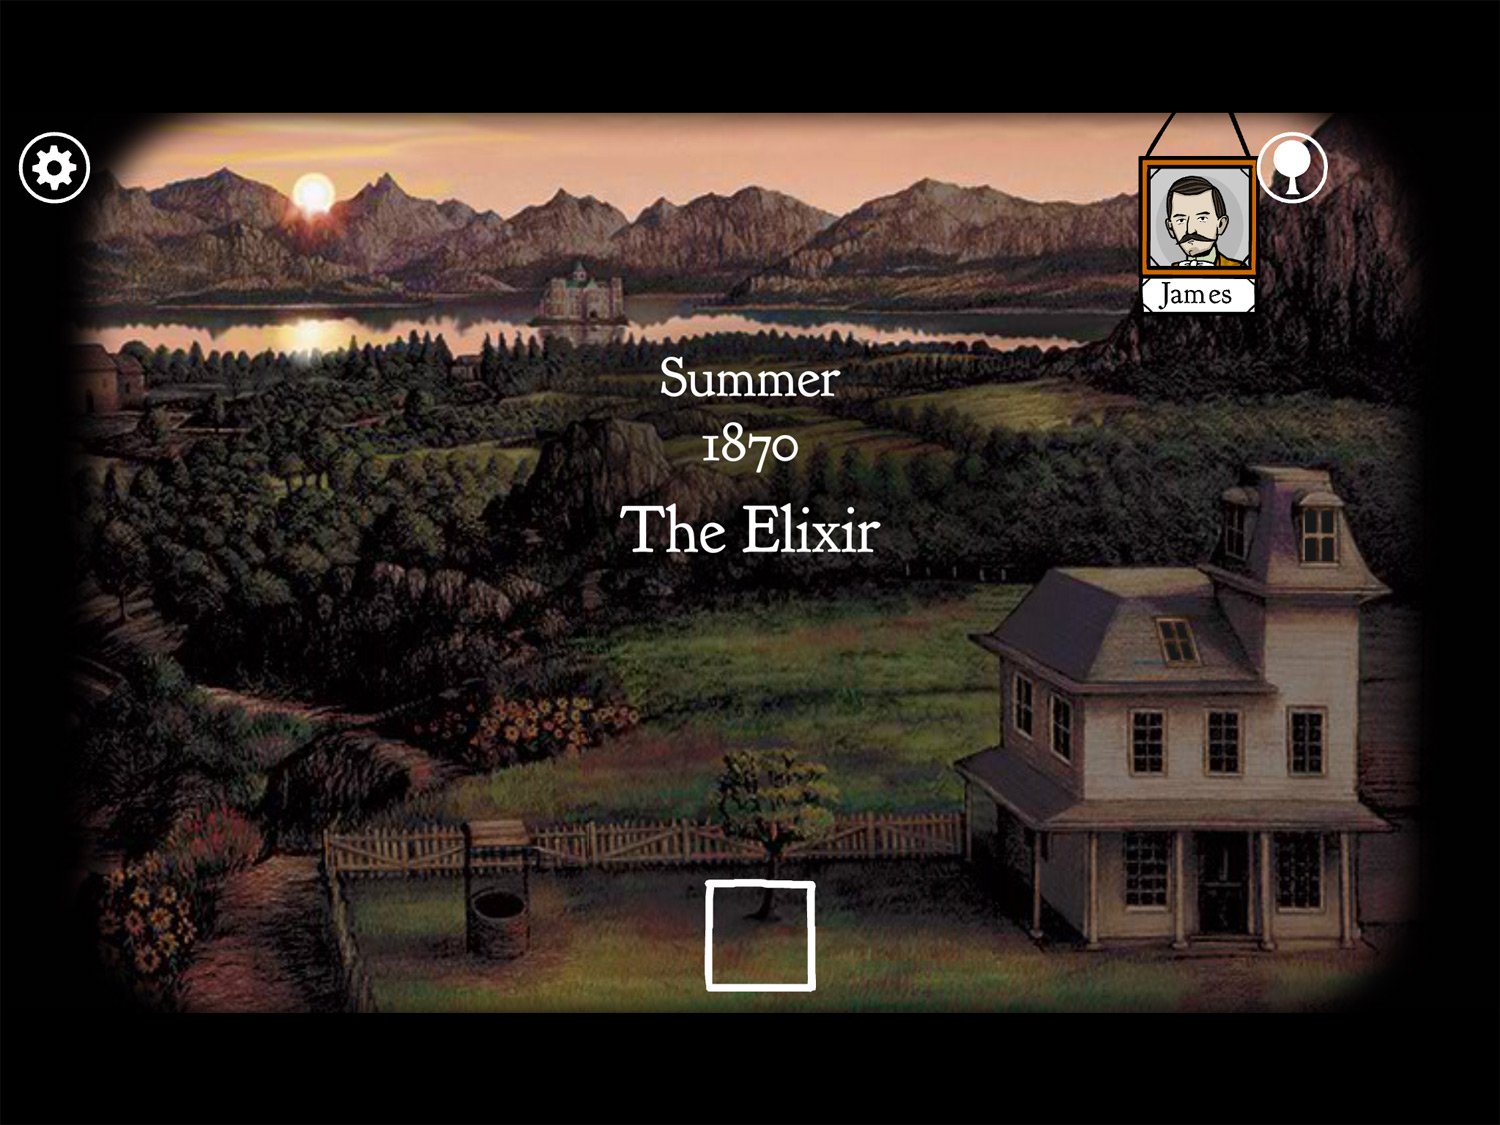
Level 7: The Elixir, Summer 1870 – James
Location: Underground room below the study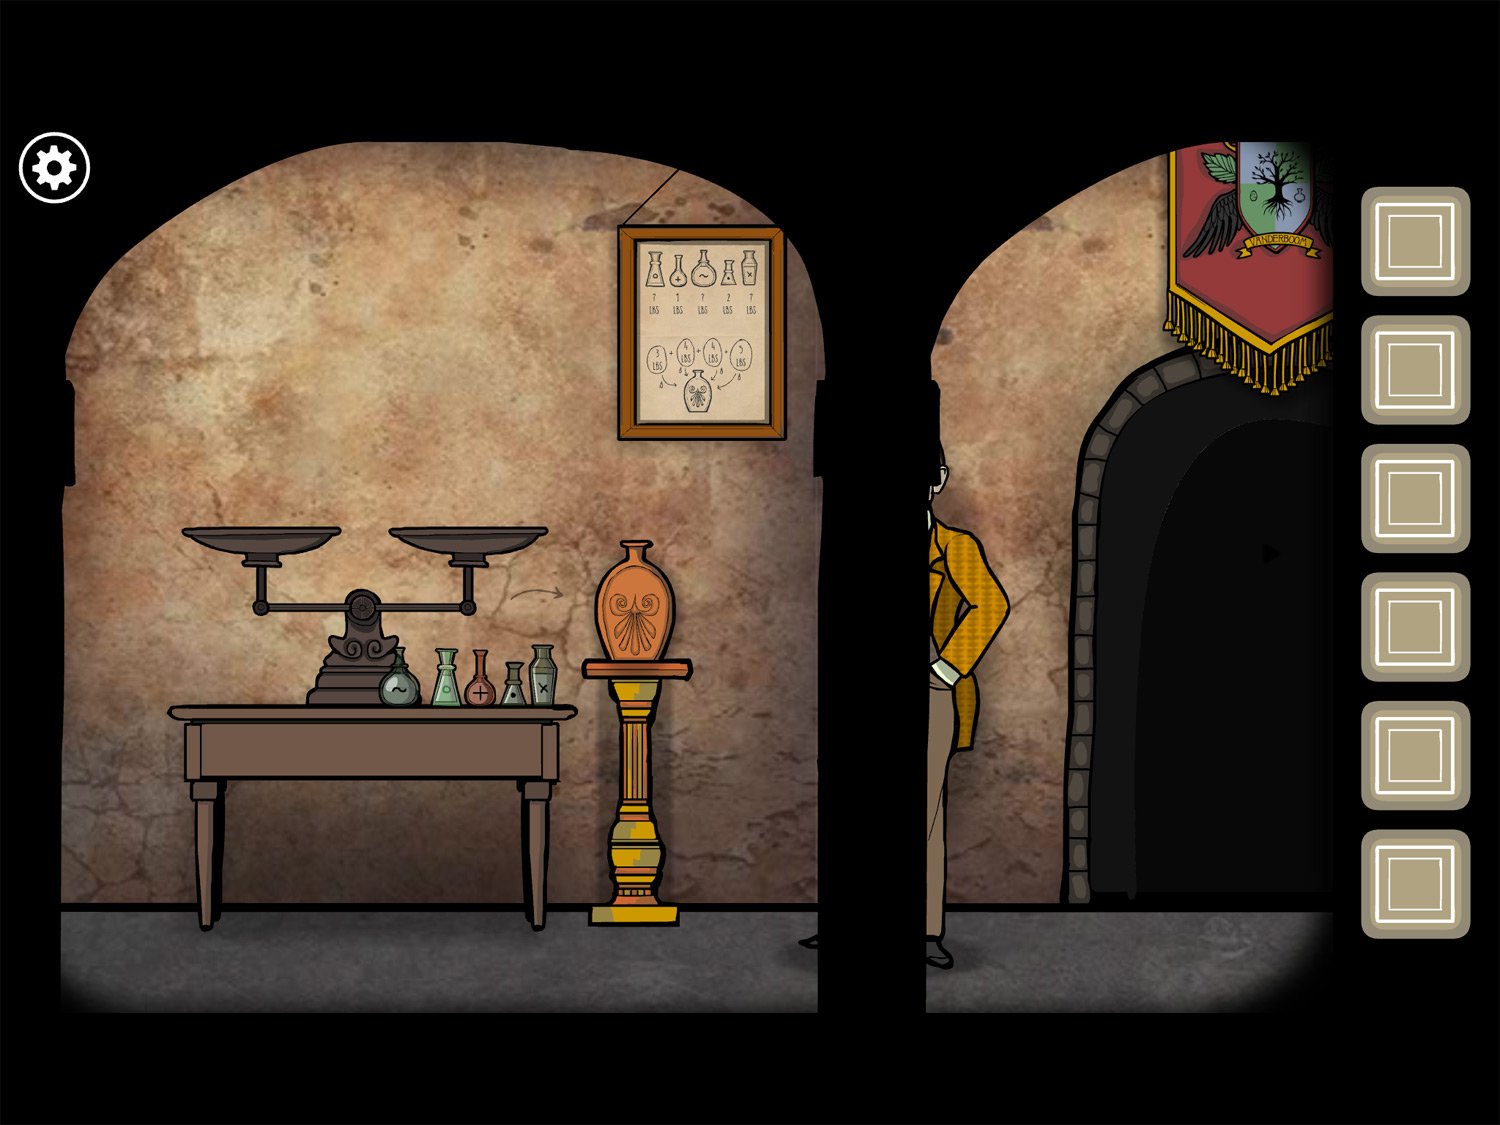
- Tap the picture to James’ left: this displays various weights and a diagram about the vase
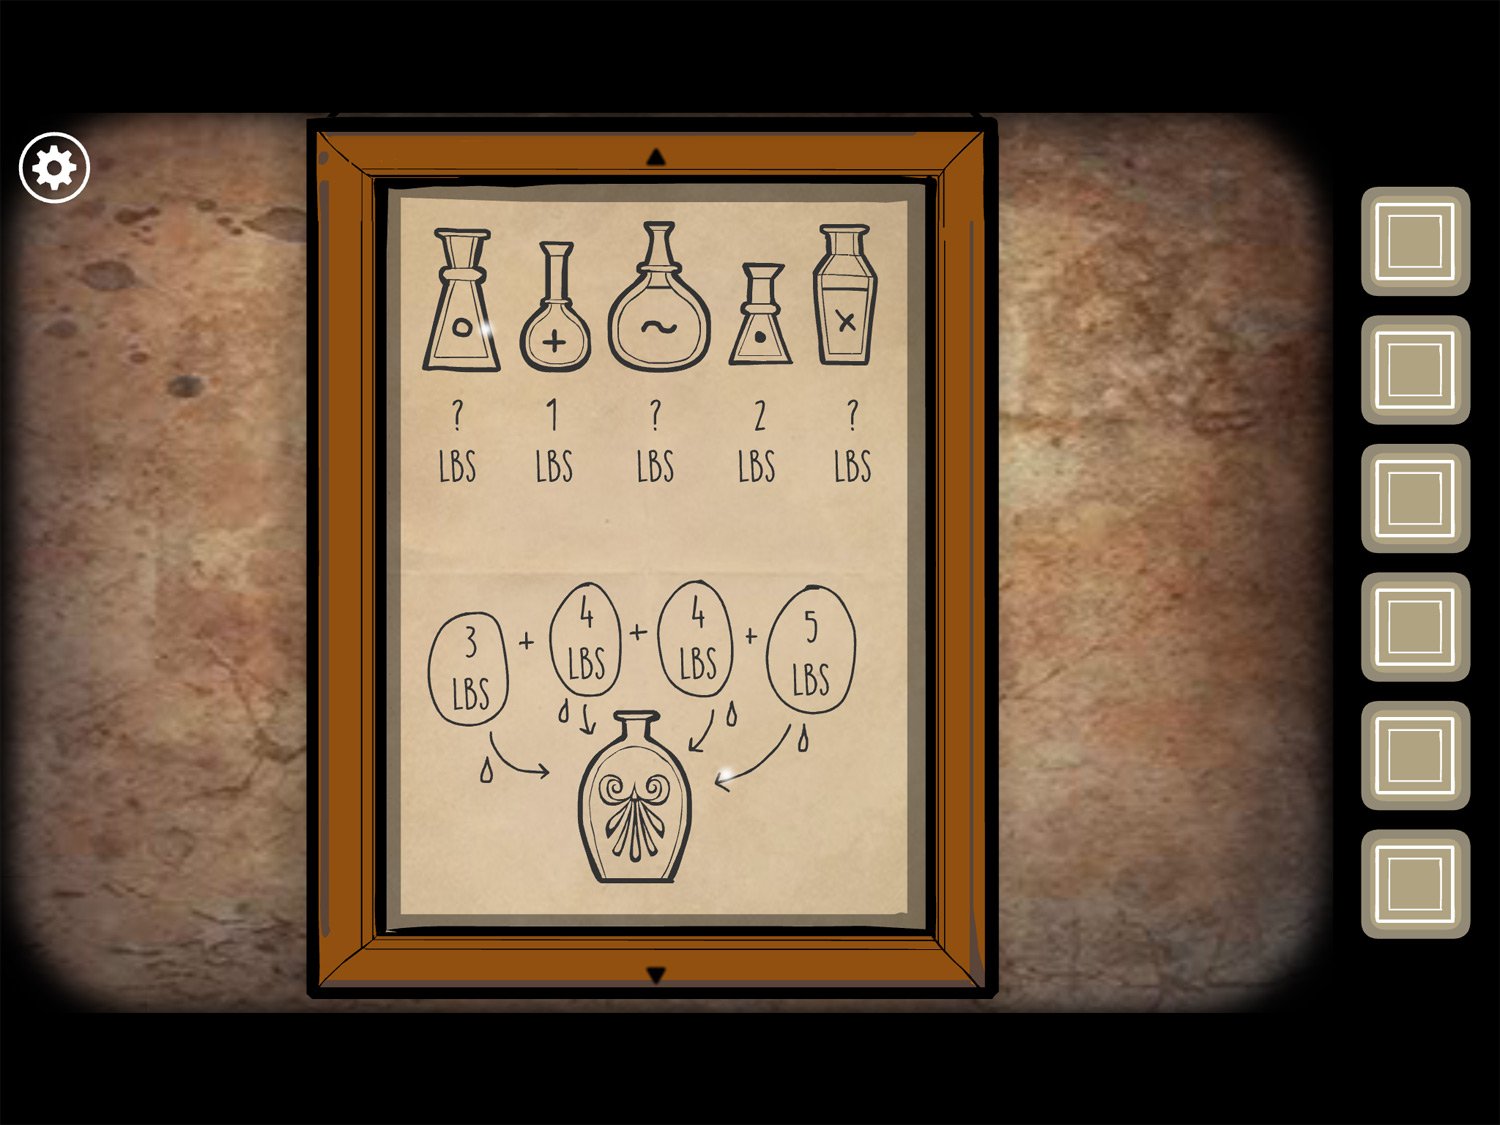
- We know that the bottle with a “+” is 1 lb, the bottle with “.” is 2 lbs, and the vase responds to liquid from bottles in this order: 3 lb + 4 lb + 4 lb + 5 lb
- Exit the picture and tap on the scale
- We need to figure out the weights of each bottle on the table so we know what order to fill the vase
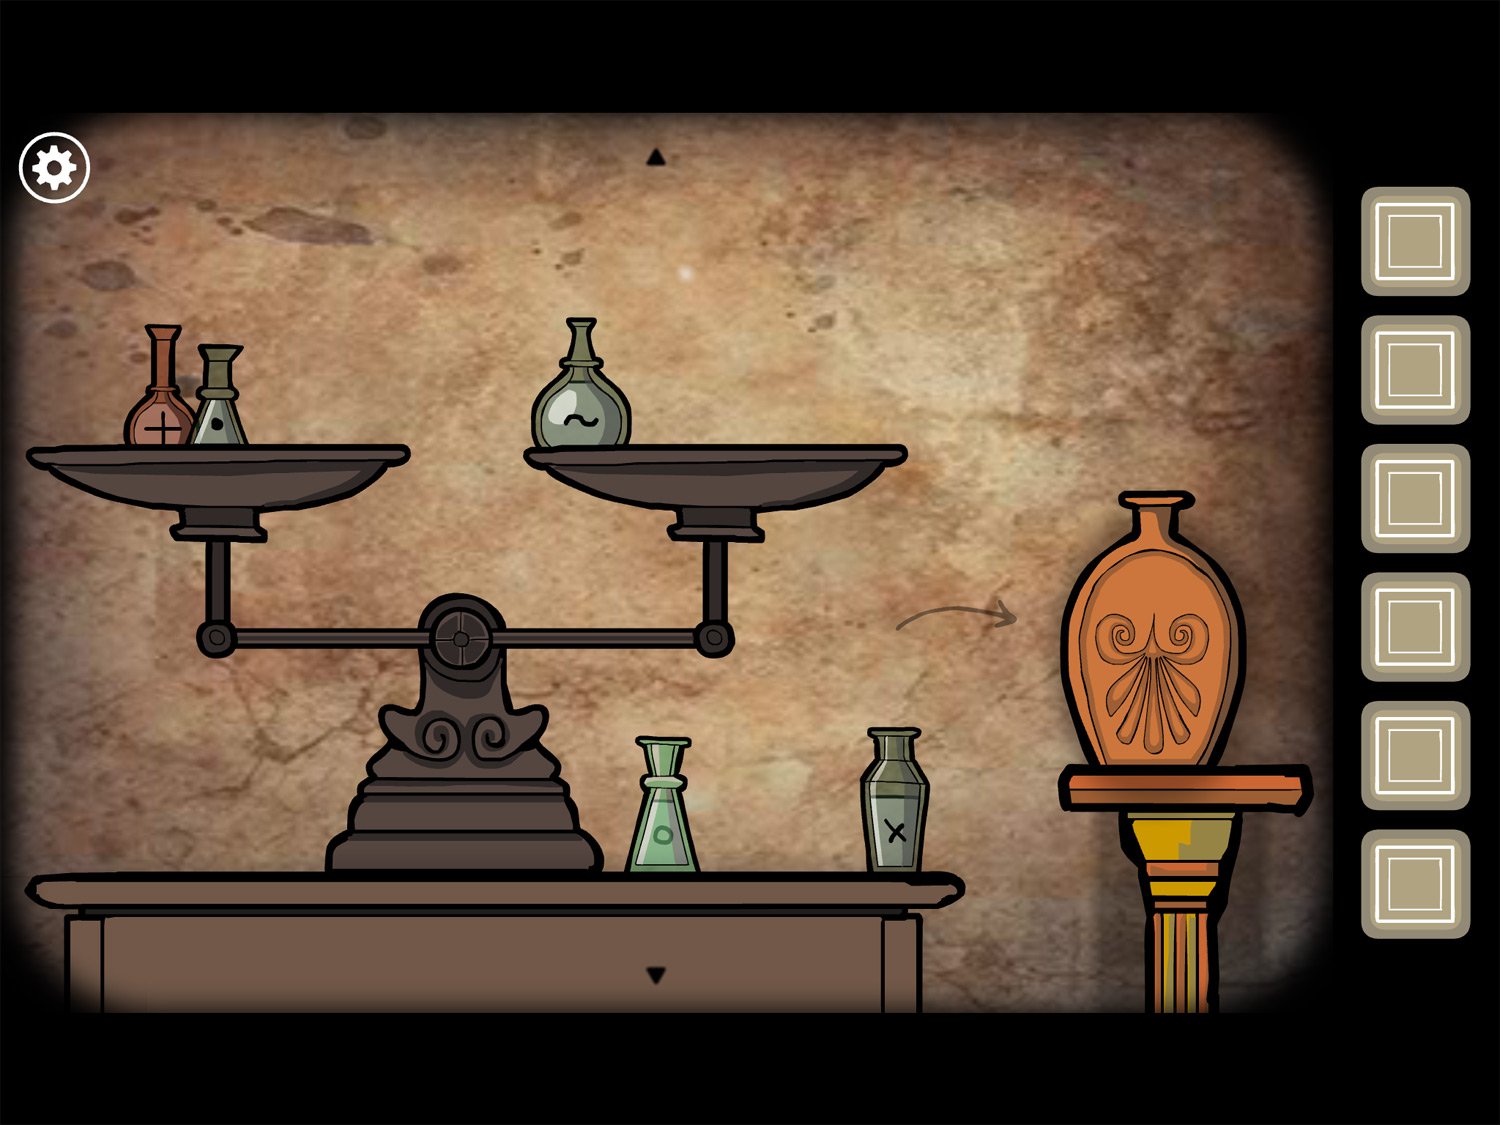
- If you drag the “+” and “.” bottles onto the scale across from the “~” bottle, you’ll learn it’s 3 lbs because they are even (1 + 2 = 3)
- If you put the “~” and “.” Across from the “o” bottle, they’re even, so the “o” is 5 lbs (3 + 2).
And the “x” bottle weighs the same as the “~” and “+” so it’s 4 lbs (3 + 1). - So, + = 1, . = 2, ~ = 3, x = 4, and o = 5. You now need to drag the correct bottles onto the vase in order: 3 + 4 + 4 + 5
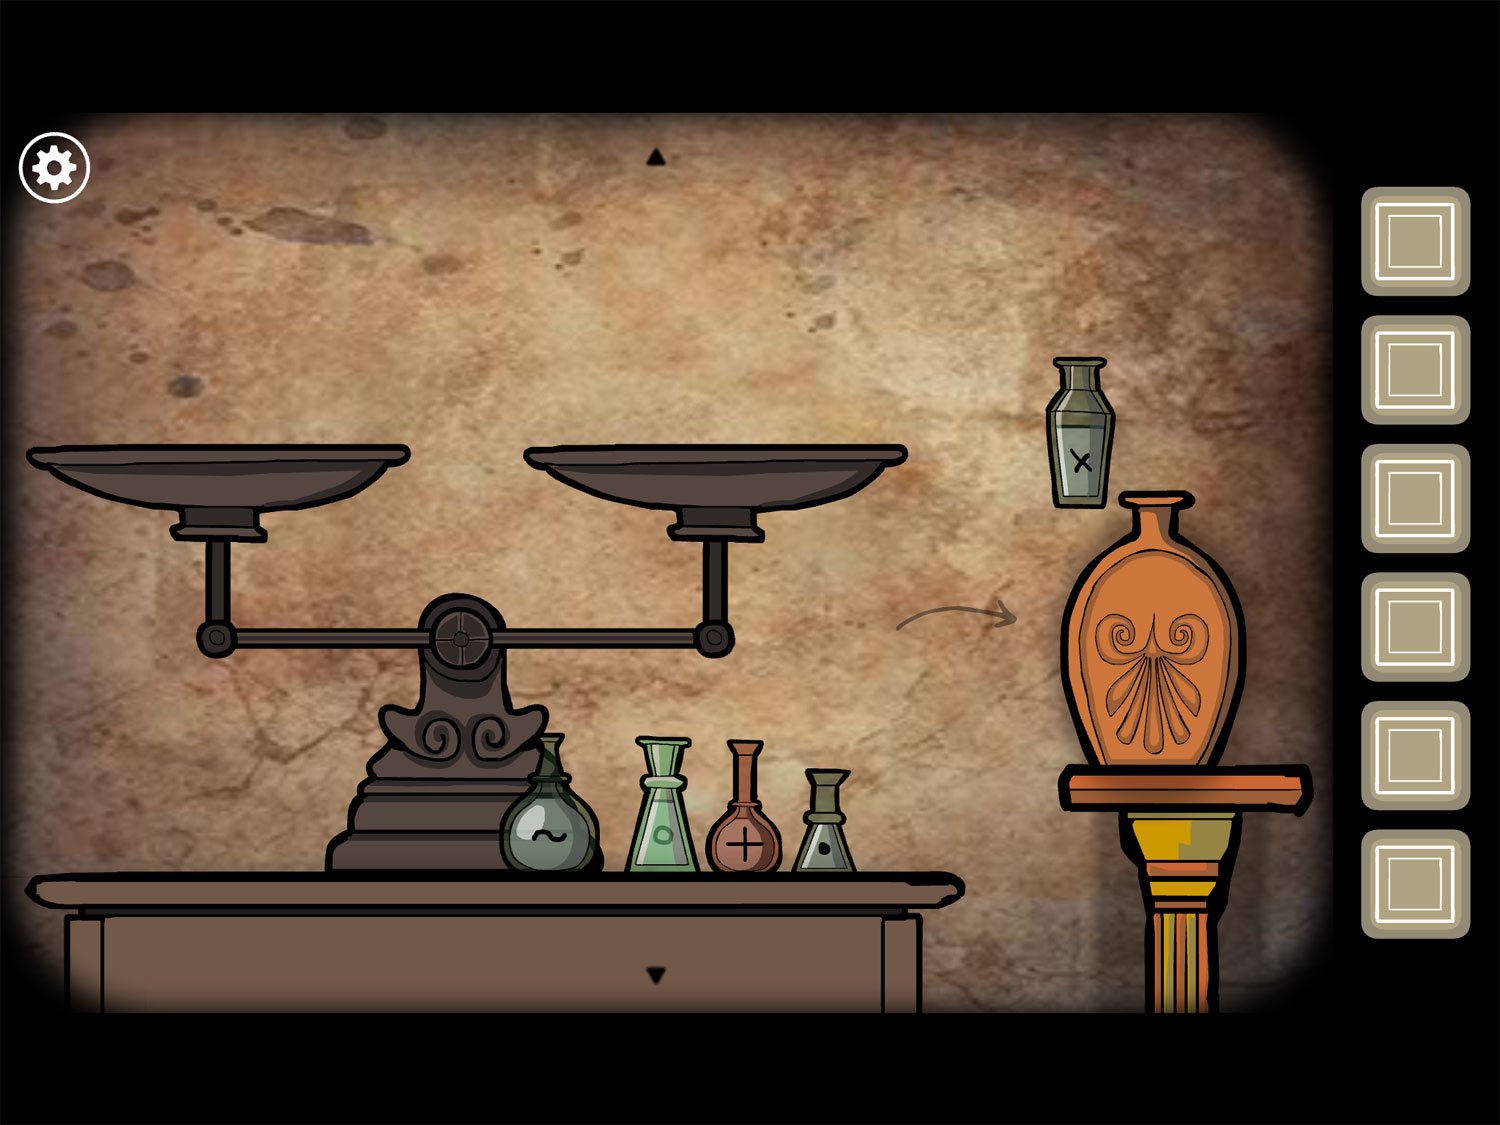
- Drag the ~ bottle onto the vase so a drop appears; then the x bottle, then the x bottle again, and finally the o bottle. The sunlight should flash to indicate it’s correct. Tap on the vase to get ELIXIR. Exit the close-up
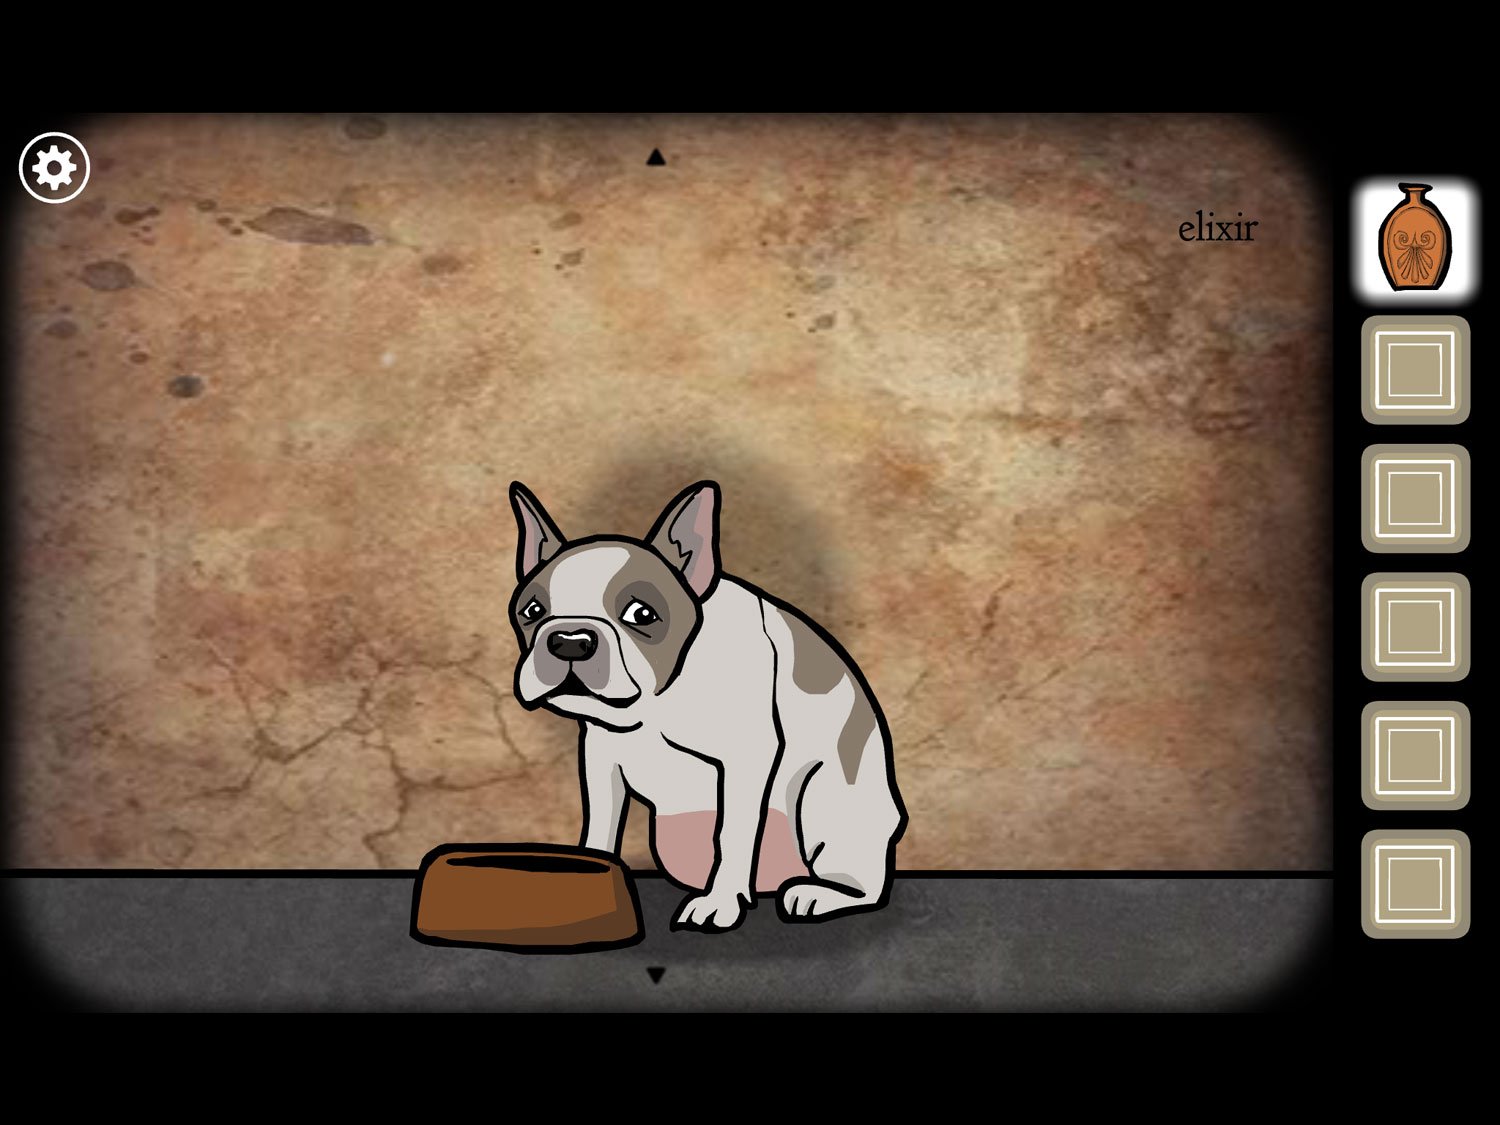
- Drag the screen right to the dog. Tap her to zoom in; use ELIXIR on her water dish. Tap the dish twice so she drinks and then stands back up
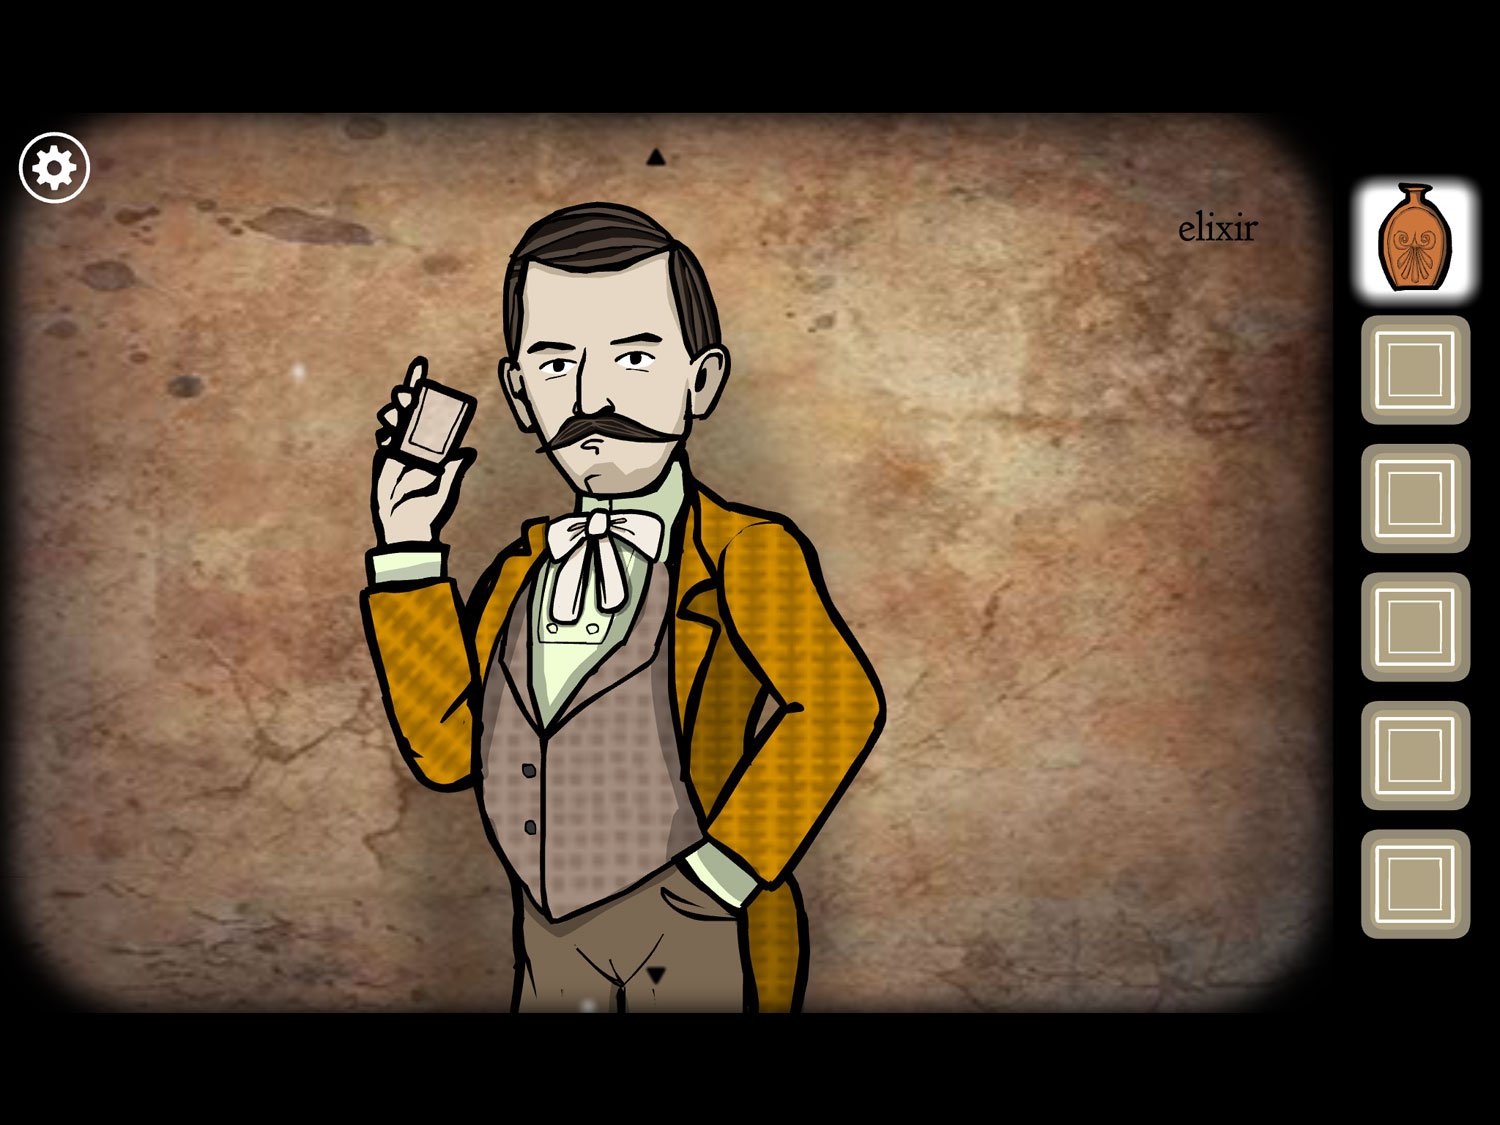
- Return to James and tap to zoom in. Give him ELIXIR. Tap him again and he’ll fill a cup and drink. Tap again; he chokes and falls over; tap again and he falls out of the close-up. Zoom out
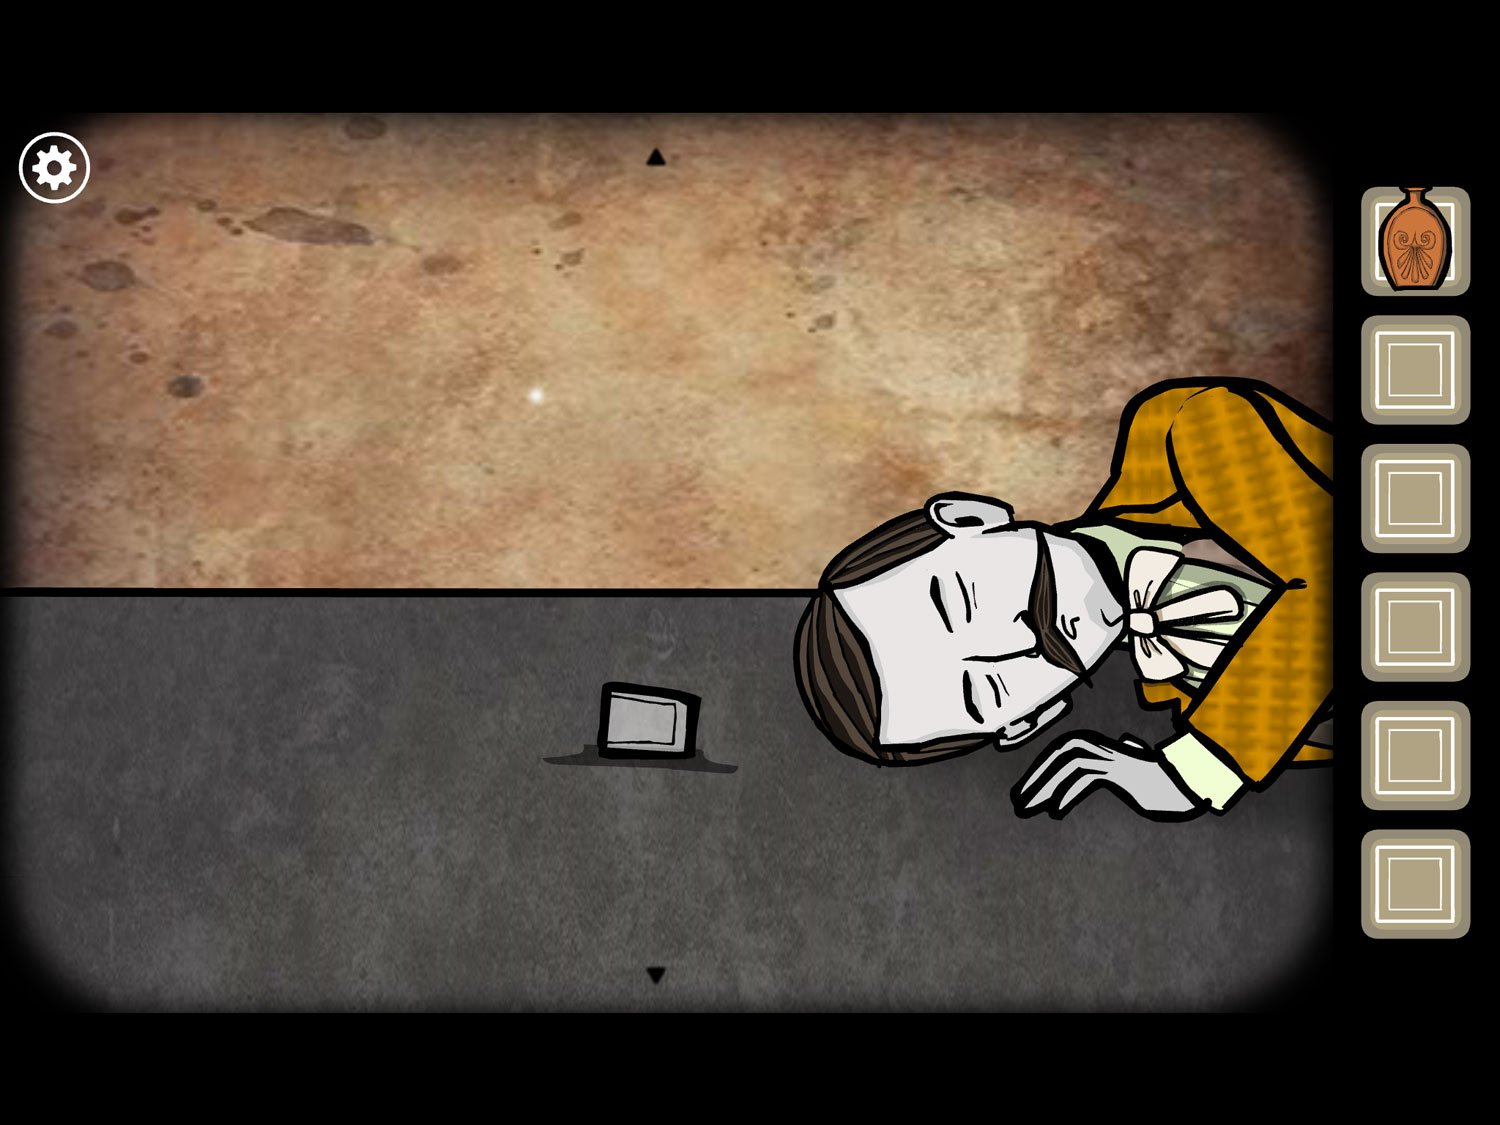
- Tap James’ body on the ground to zoom in; tap the shot glass to make the white square and exit appear
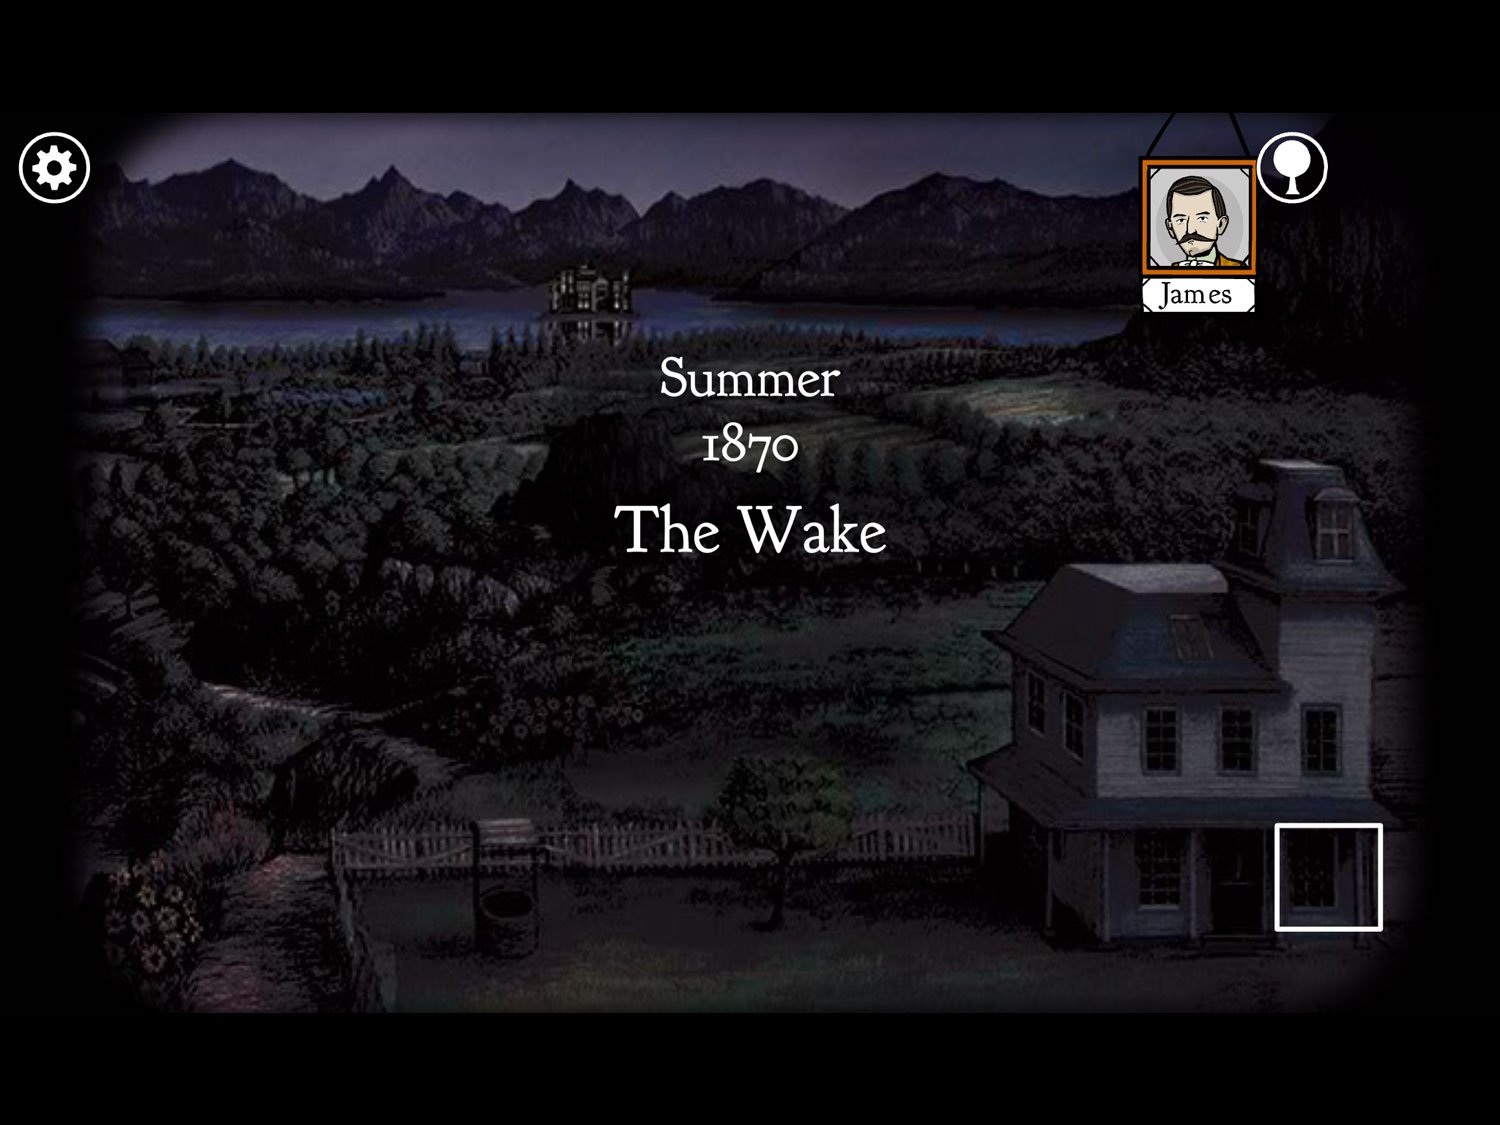
Level 8: The Wake, Summer 1870 – James
Location: The parlor near the statue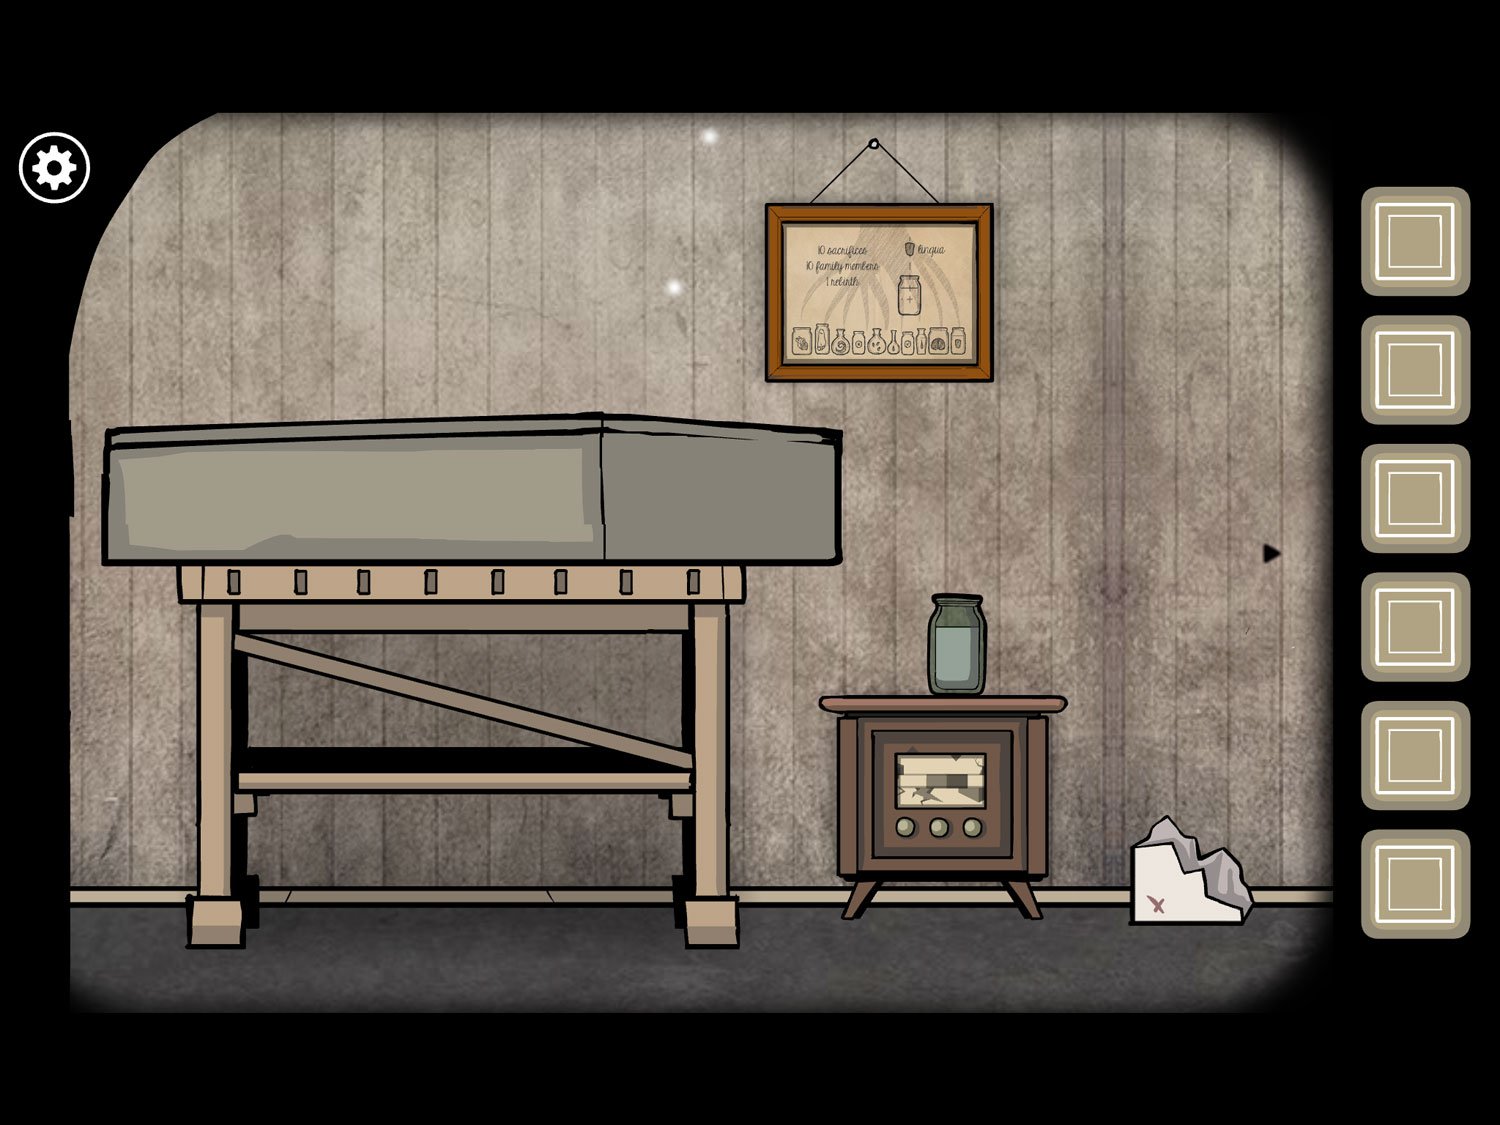
- Tap on the wooden end table near the coffin. Tap the medallion behind the jar to get COIN
- Use the dials on the table to move the three rows of symbols; the image you can create is of a deer with tree roots to its right
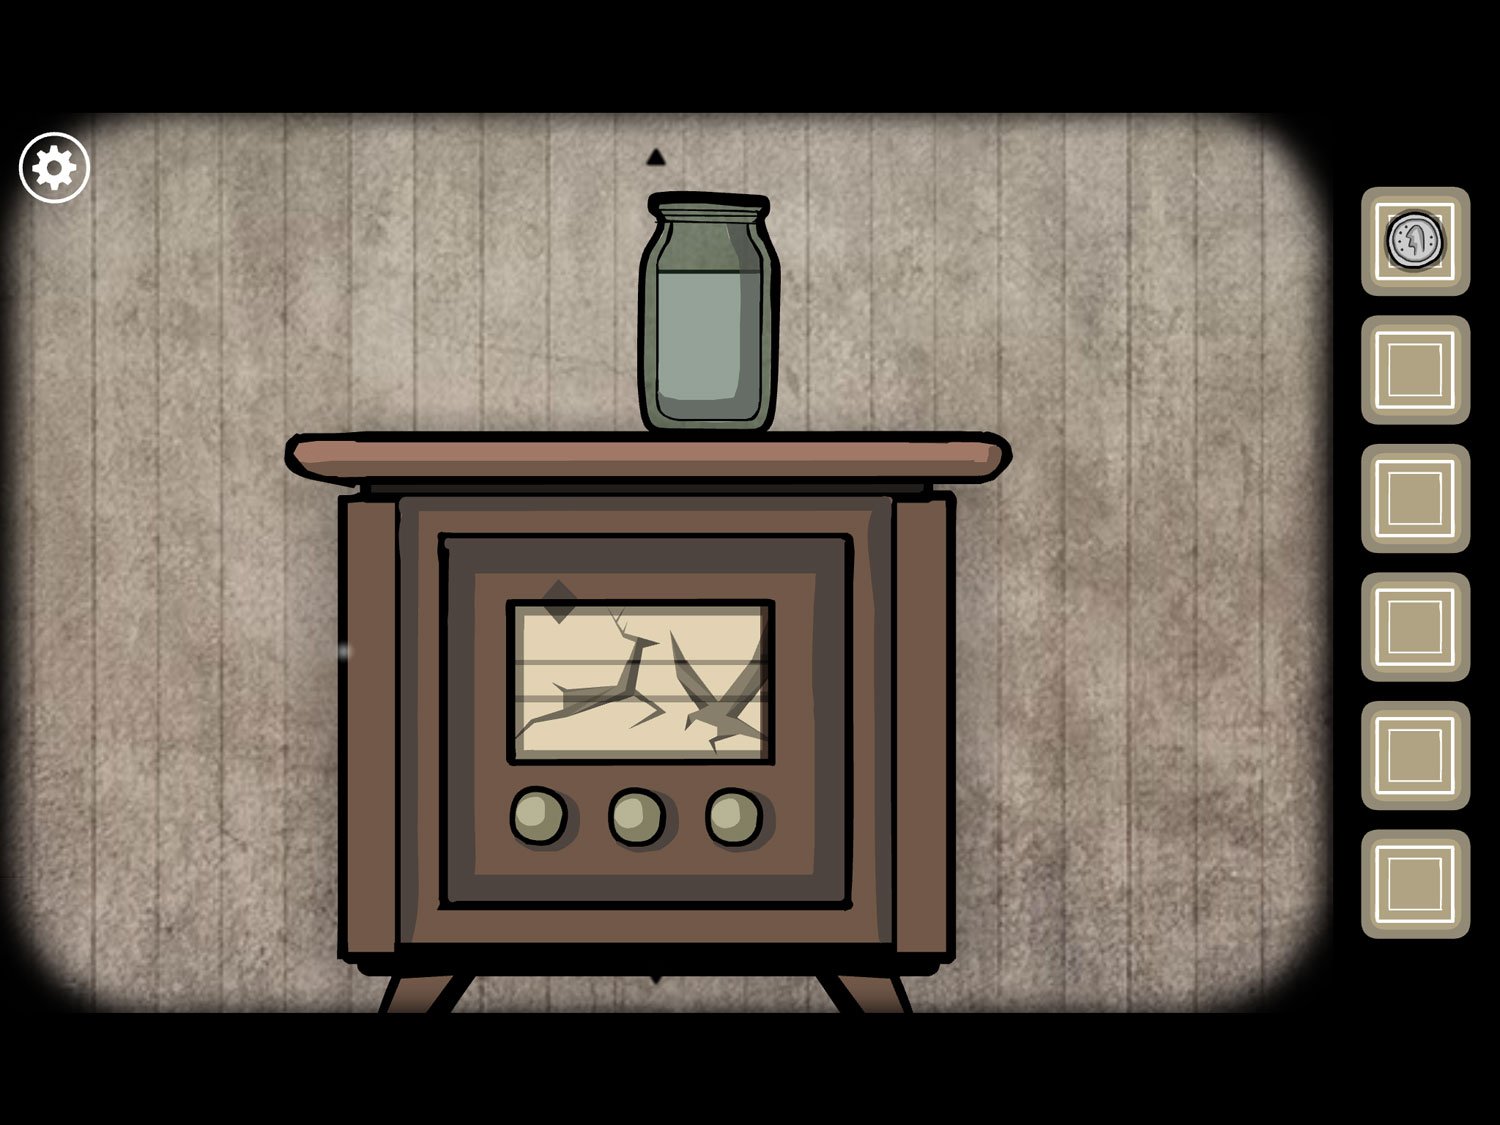
- When finished, tap the door to open it; take COIN (2)
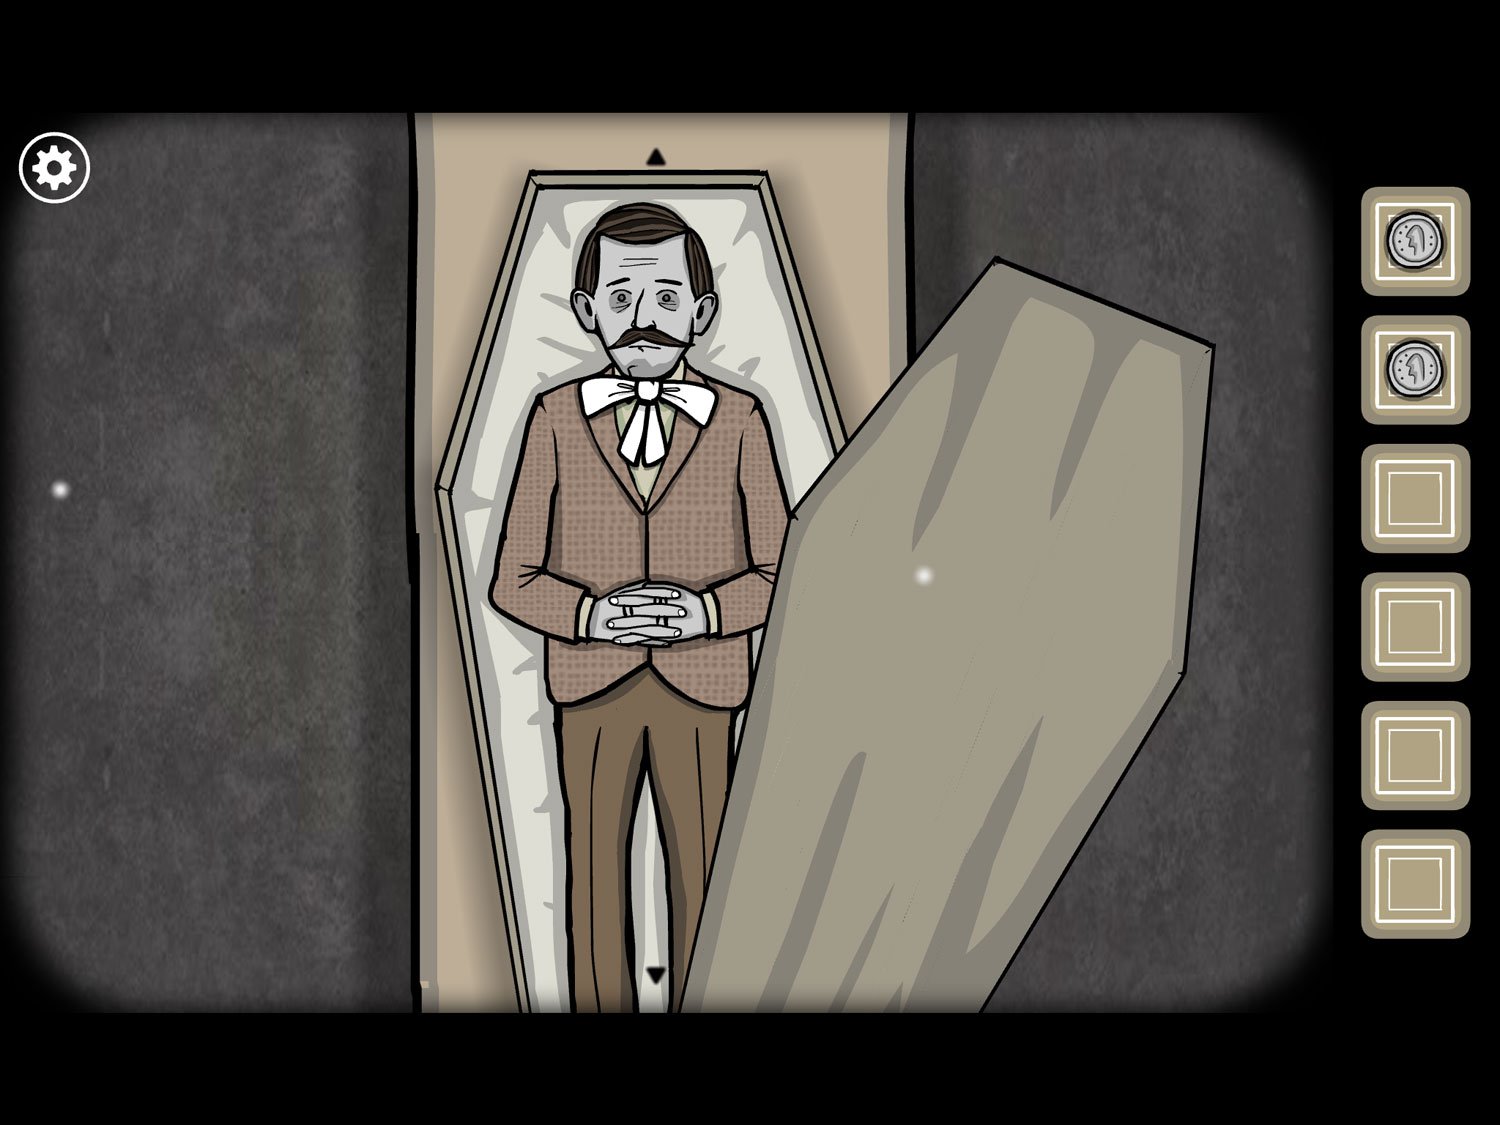
- Exit the dresser. Tap on the coffin and tap the lid to open it
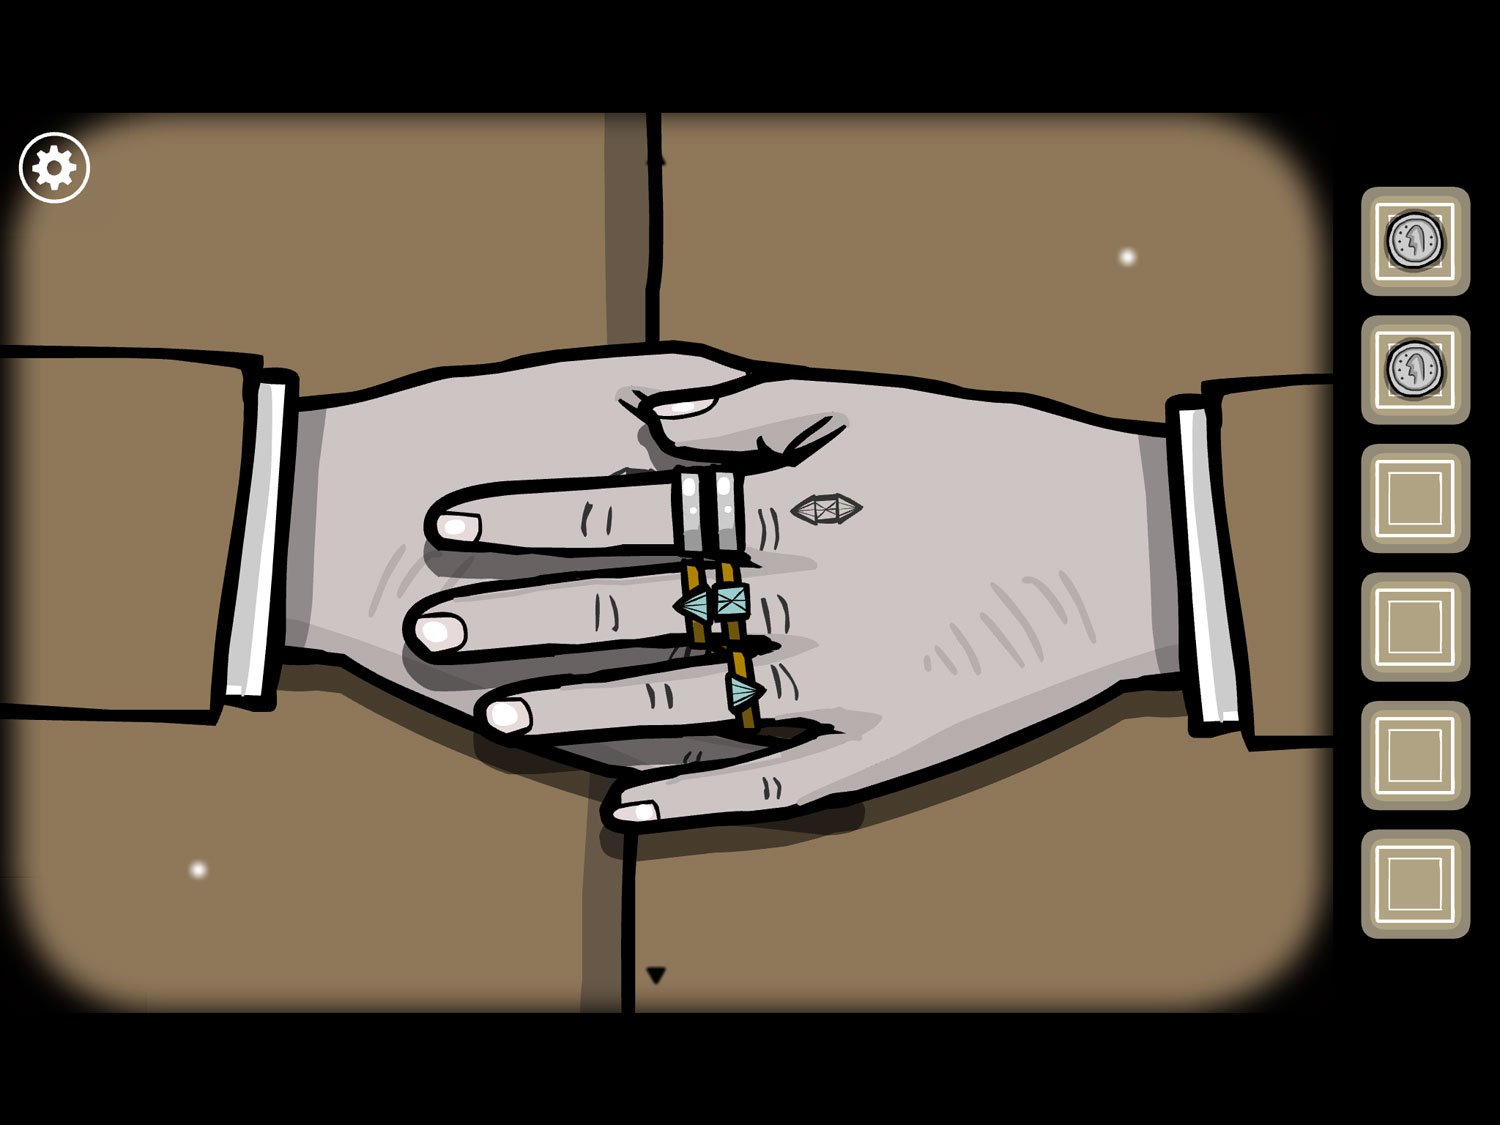
- Tap on James’ hands to zoom in. He is wearing five rings and has a small tattoo showing the three blue rings arranged triangle-square-triangle. You need to tap his fingers to move the rings to the correct finger so the blue diamonds match his tattoo (and are on that finger). The two silver rings will end up out of the way on his ring finger
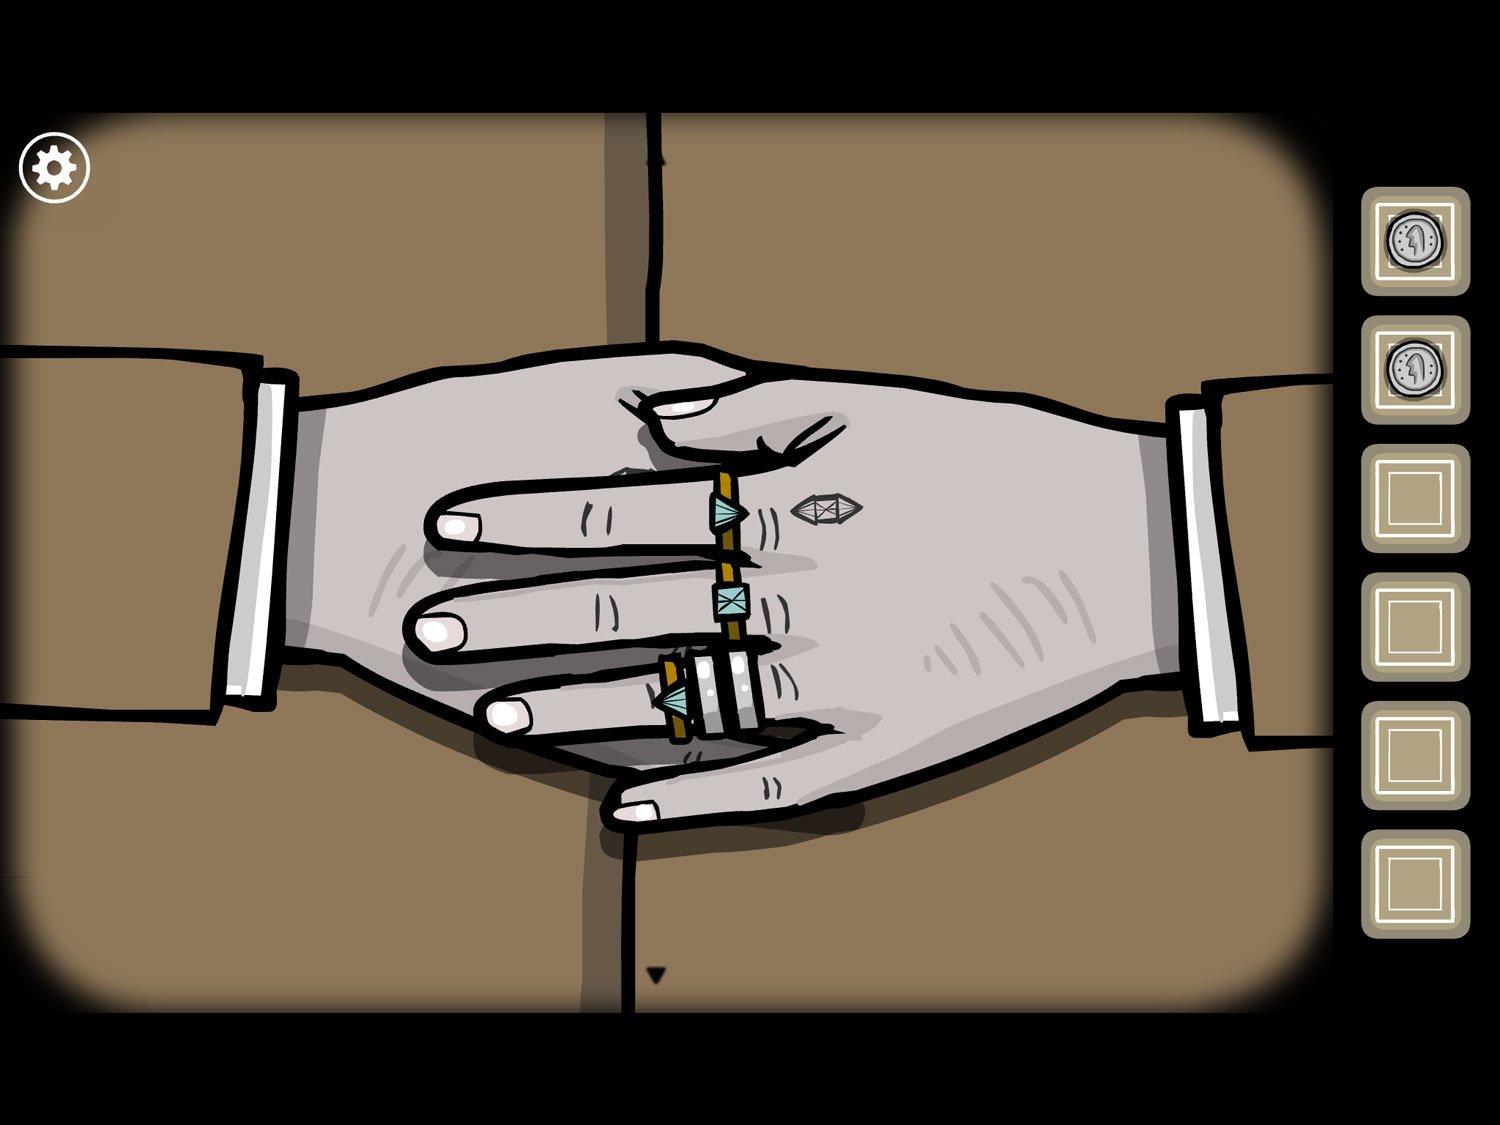
- We moved the blue diamond from his ring finger to his middle finger, then the two silver rings to his ring finger. Then the bottom blue diamond to his index finger, the top blue diamond to his ring finger, the square to his index. Then move the top diamond back to his index.
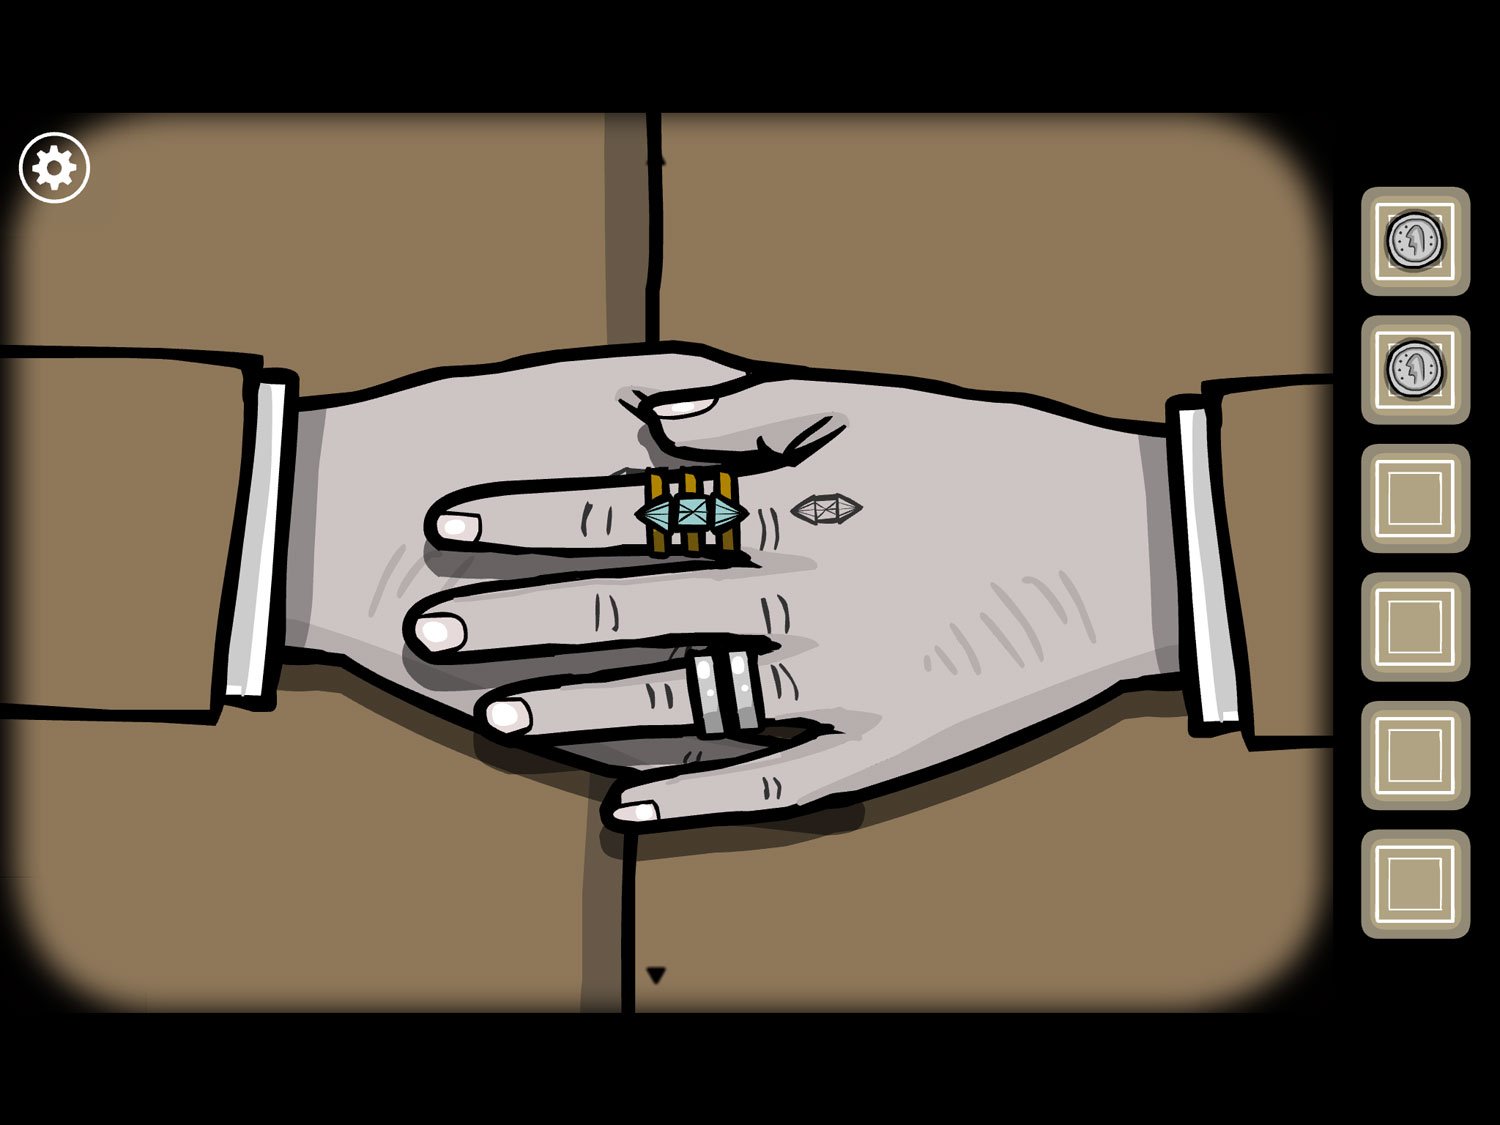
- When completed, tap his hand to move it aside. His other hand has a similar, but slightly harder, puzzle.
- Basically you just have to keep moving the rings around until they’re ordered properly; each finger can only hold three rings and only his index, middle, and ring fingers can be used. Aim for getting the silver rings on his ring finger and then swap the diamonds around (moving silver rings back if needed) until they’re in the correct order on his index finger.
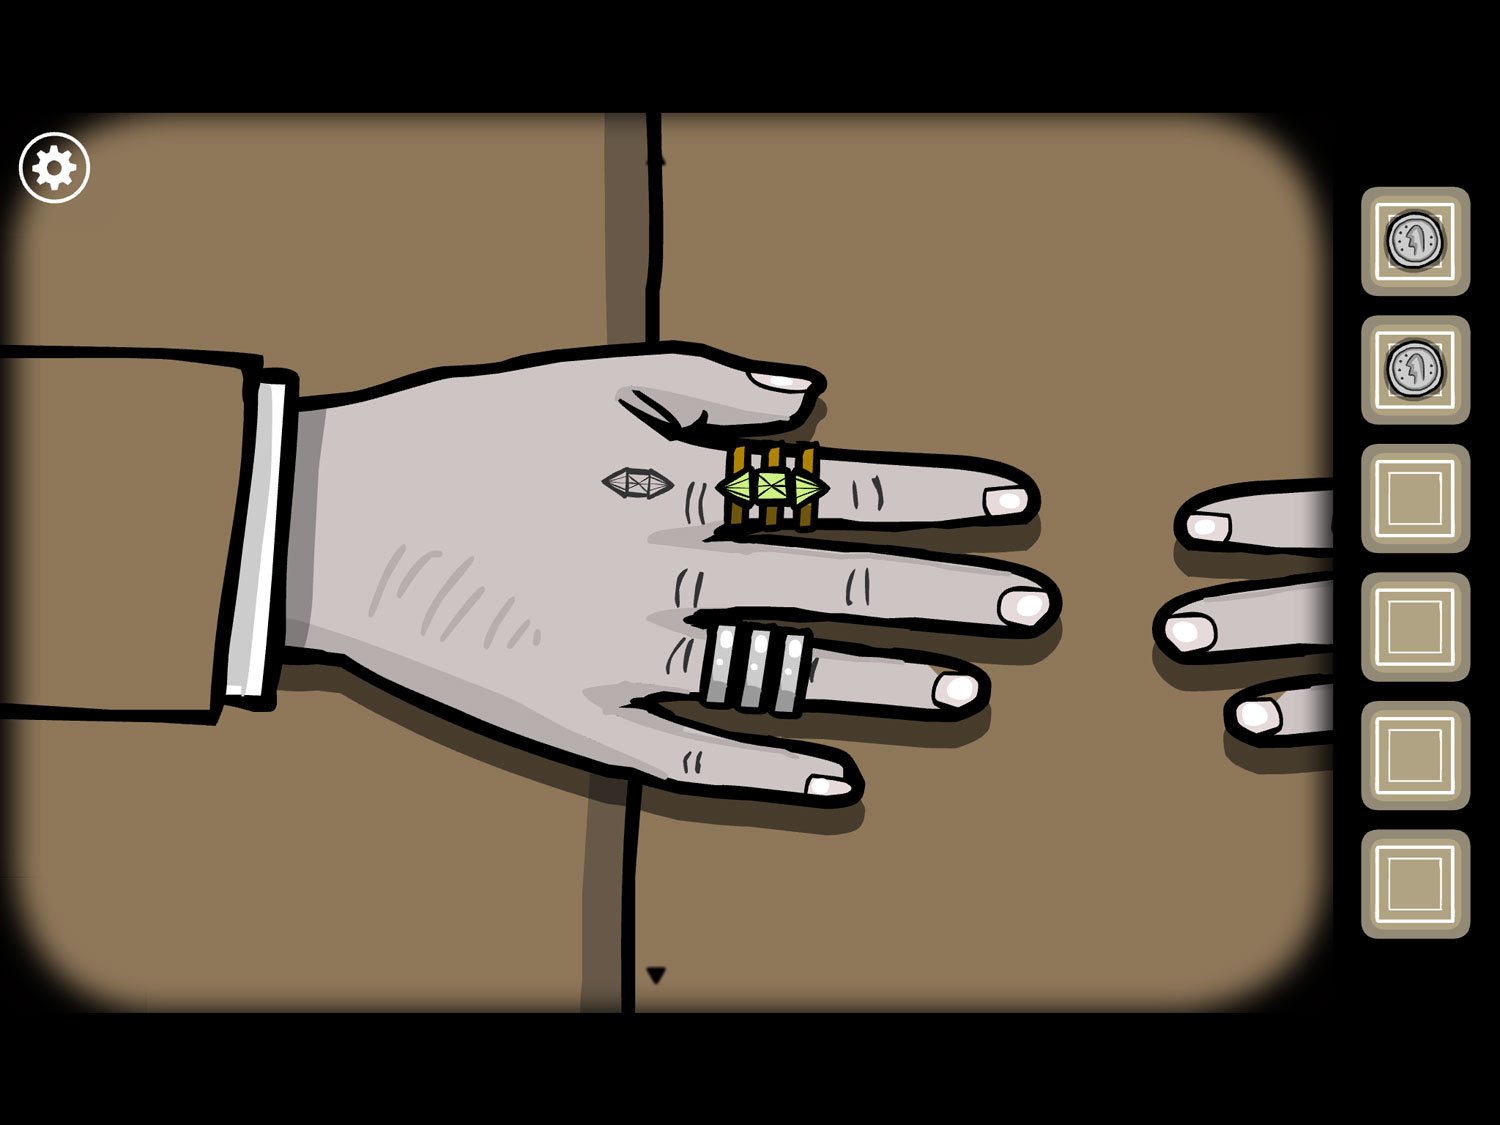
- Once the second hand has the green diamonds arranged on his index finger (the silver rings can be in any order on the other two fingers), tap his hand to move it away; take the EYE from underneath, then exit
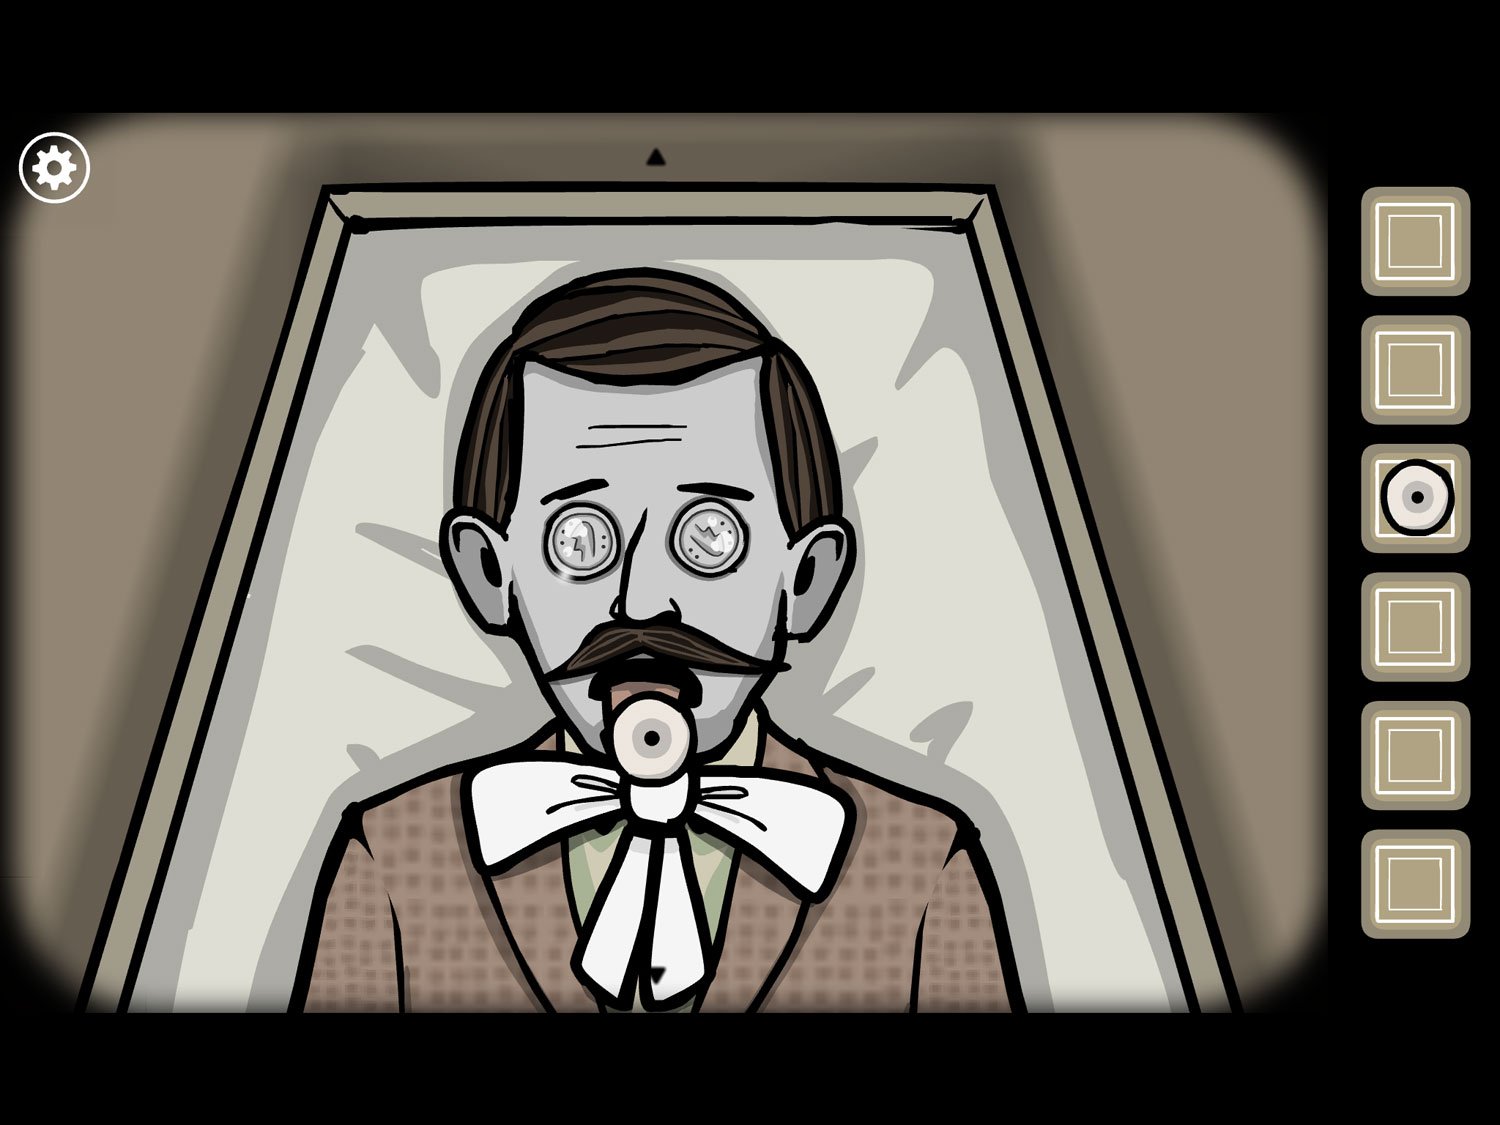
- Tap James’ face; use COIN on one eye and COIN (2) on his other eye. Tap his mouth twice and take EYE (2). Exit the coffin
- Drag right until you reach the pile of broken statue pieces. Tap them to zoom in
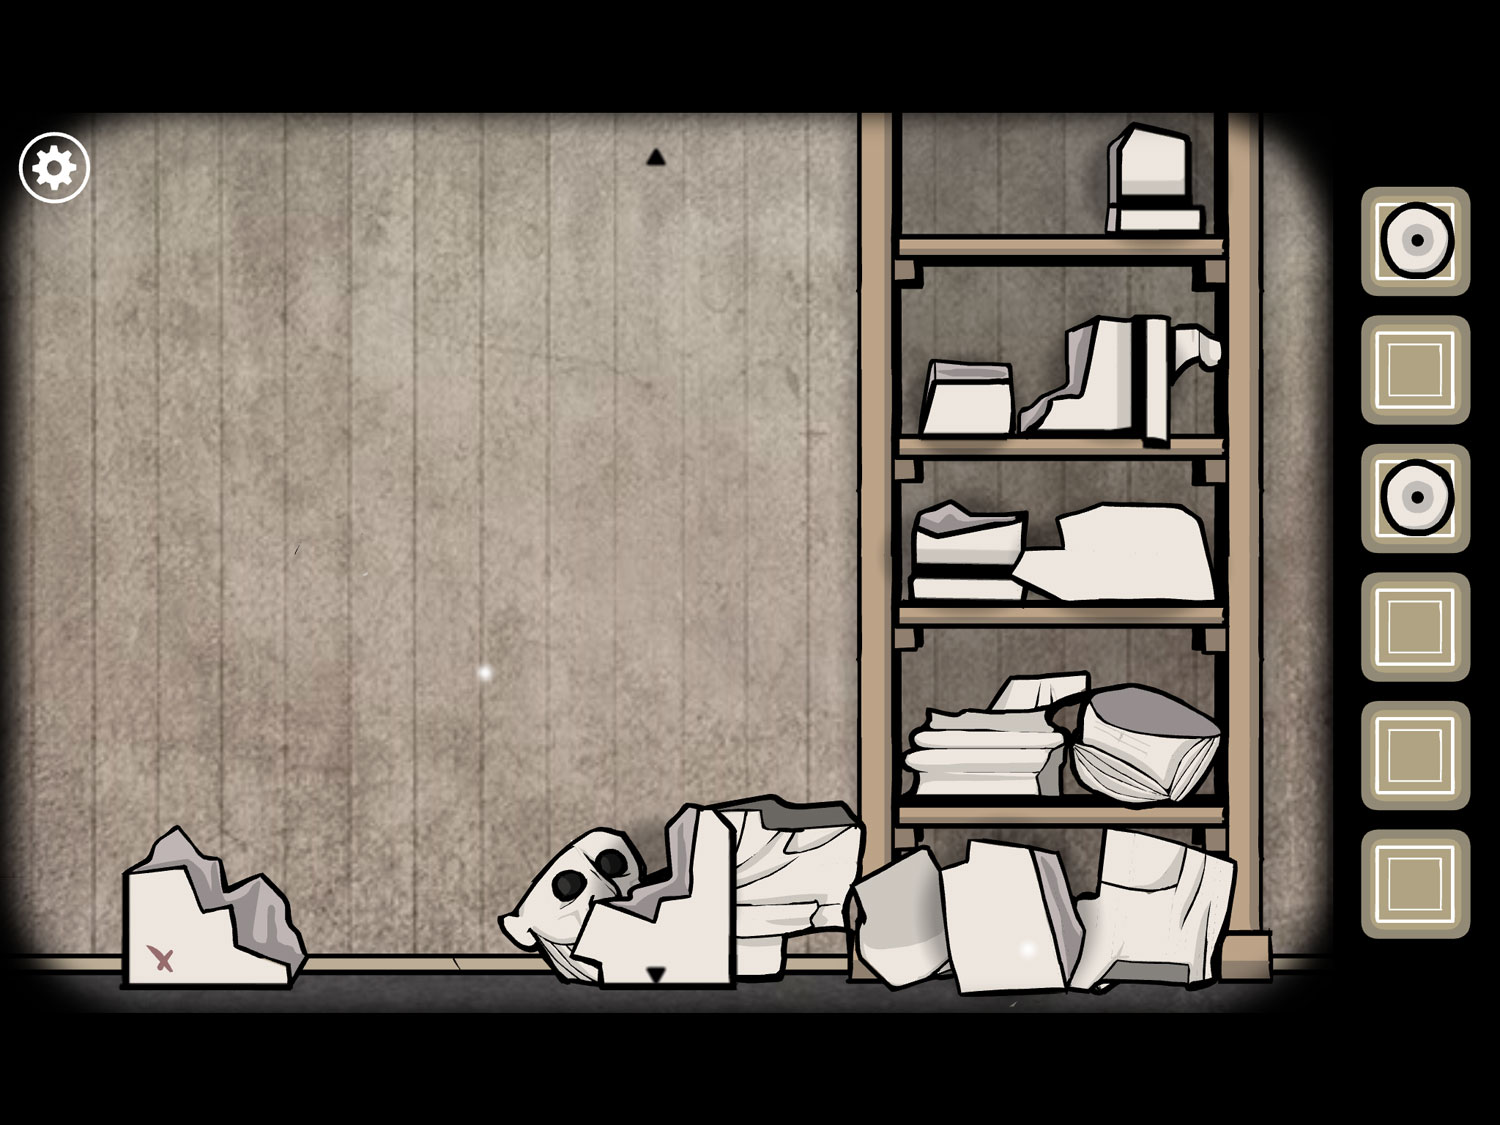
- You want to put the statue back together. The bottom left corner, with the X on it, does not move and will be your cornerstone
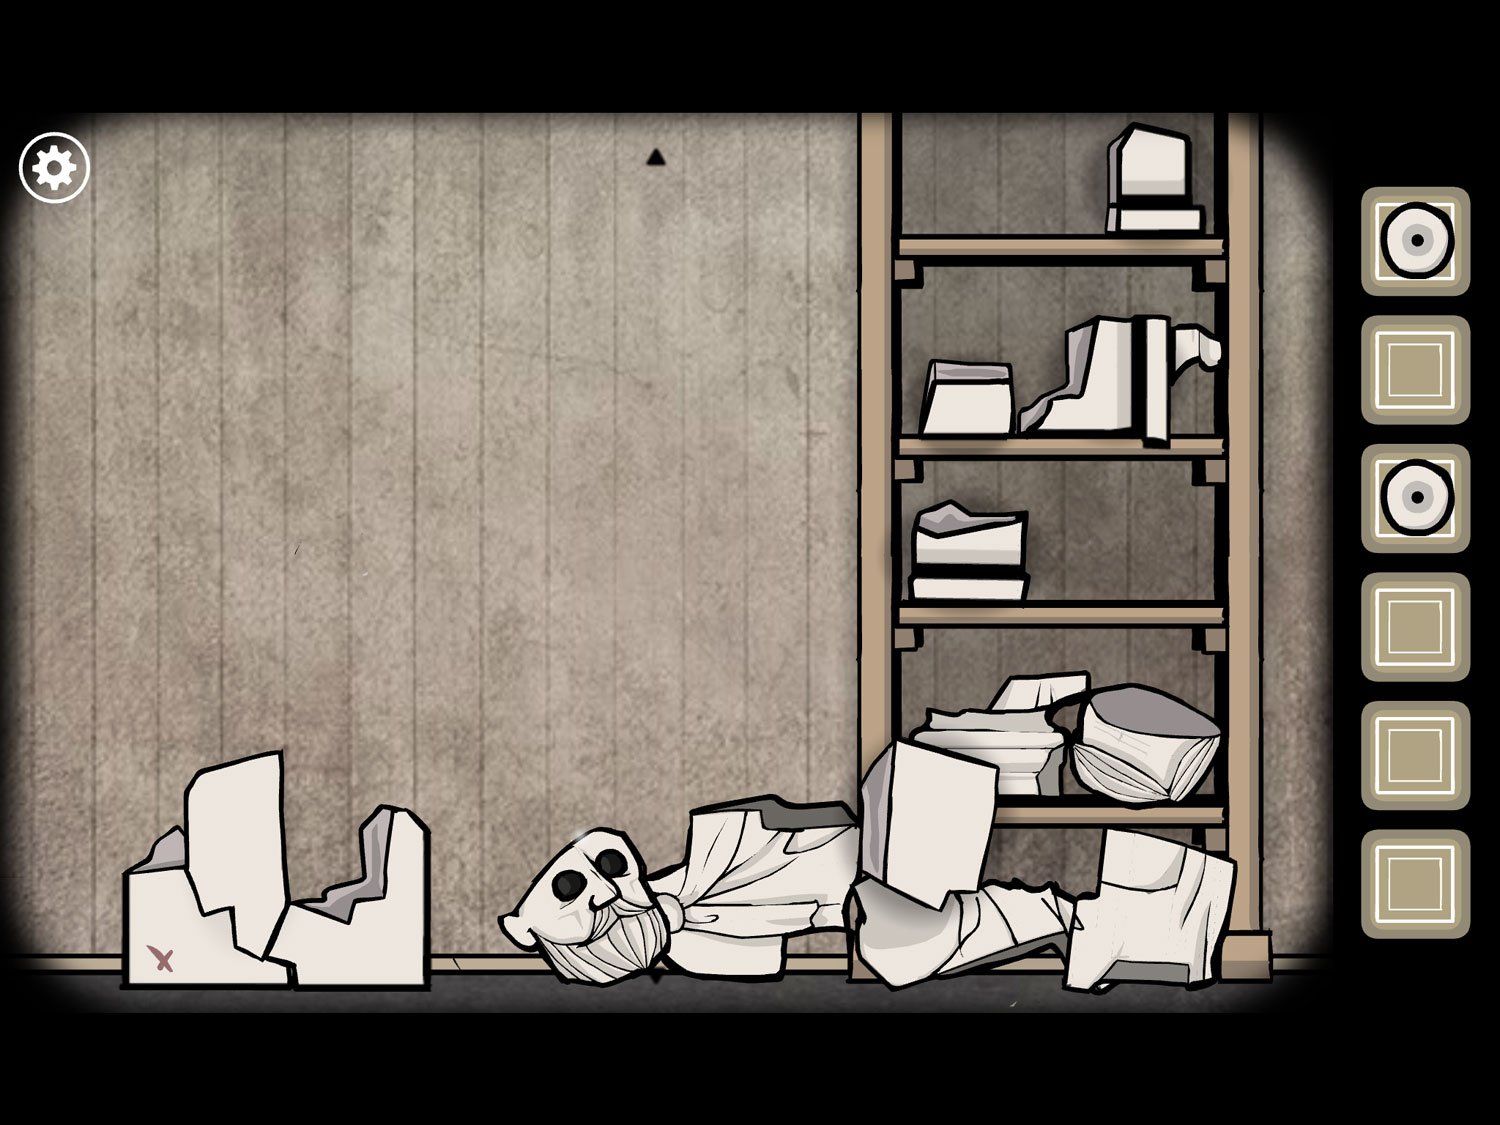
- The pieces snap together when placed properly, so if you drag something and it moves back to its starting location, you probably did not put it in the right spot
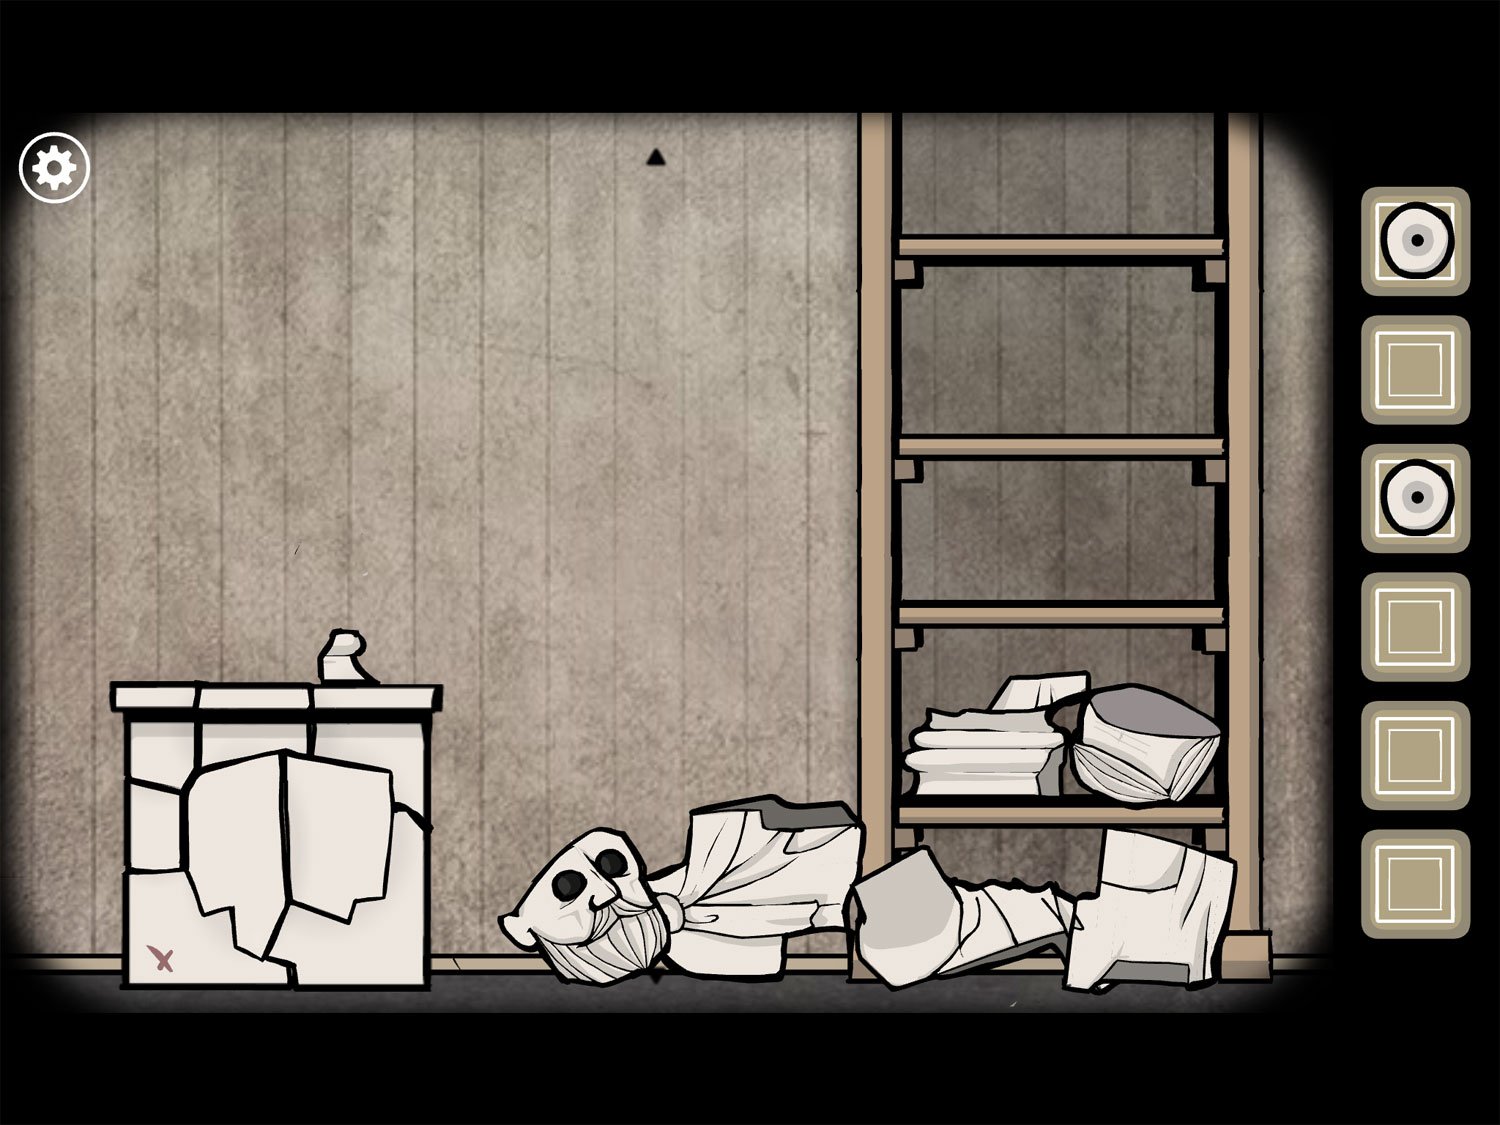
- Some pieces are easier to fit in after you have something for them to stick to – for instance, you could build a bit of a frame / base before setting the center pedestal pieces
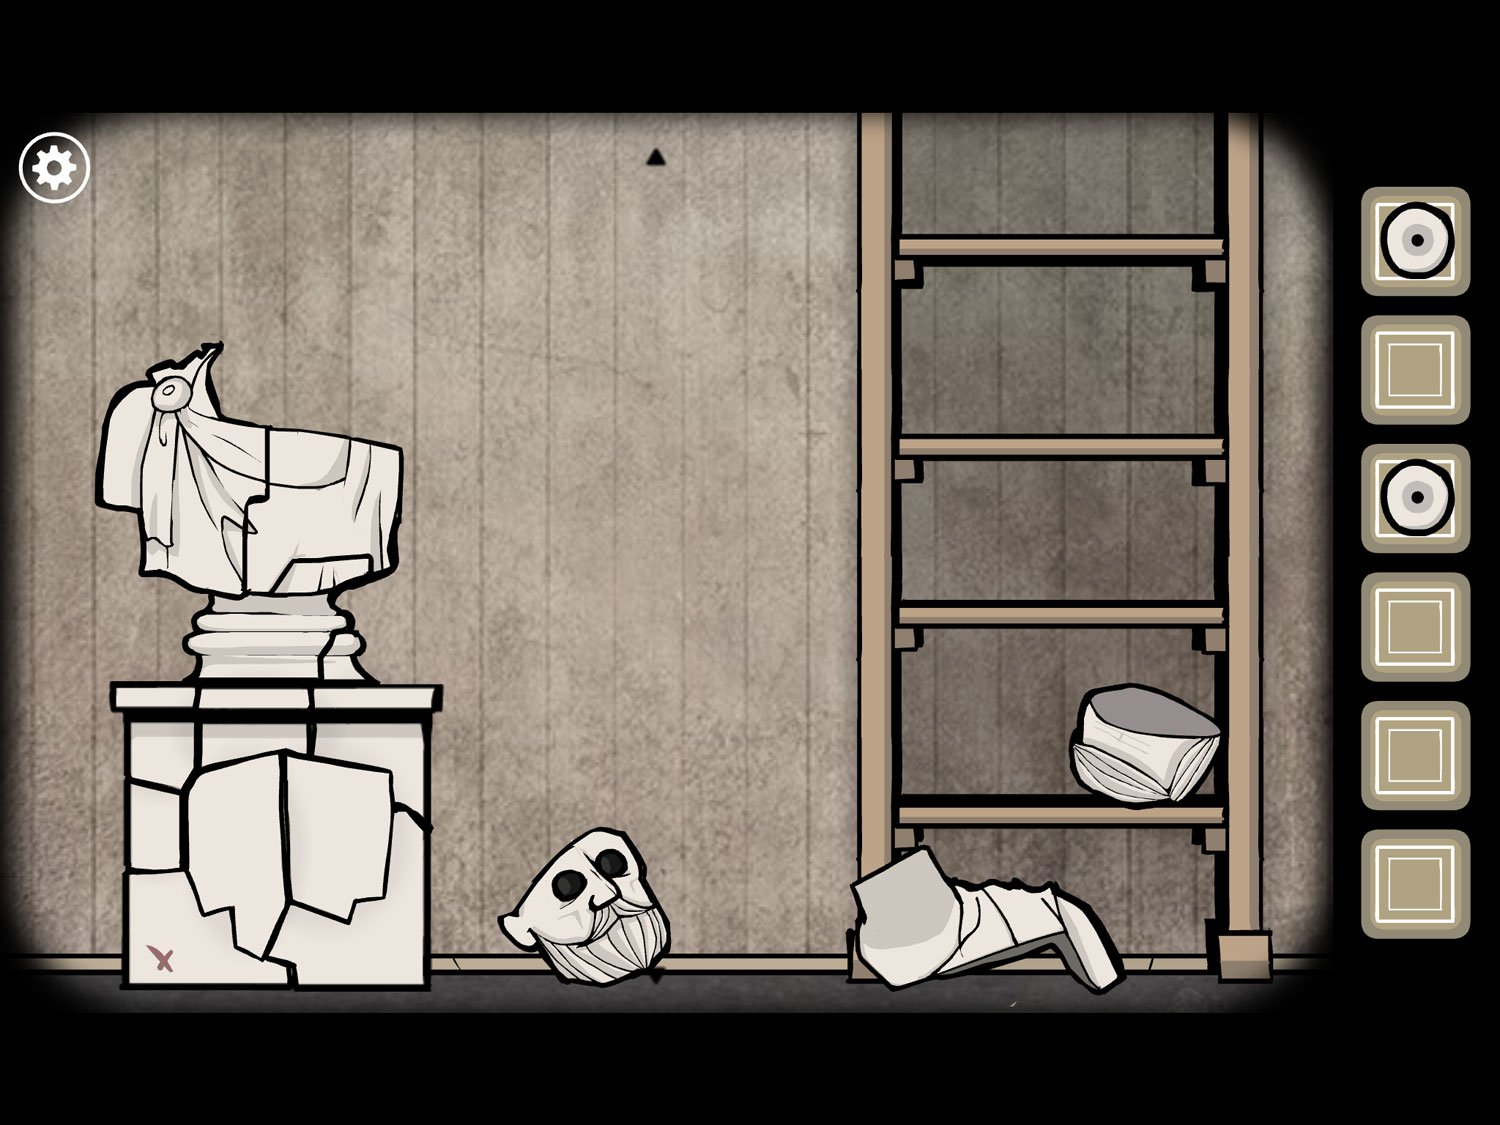
- Once all the pieces are in place, the statue snaps together; tap on its face to zoom in
- Use EYE and EYE (2) on its eye sockets
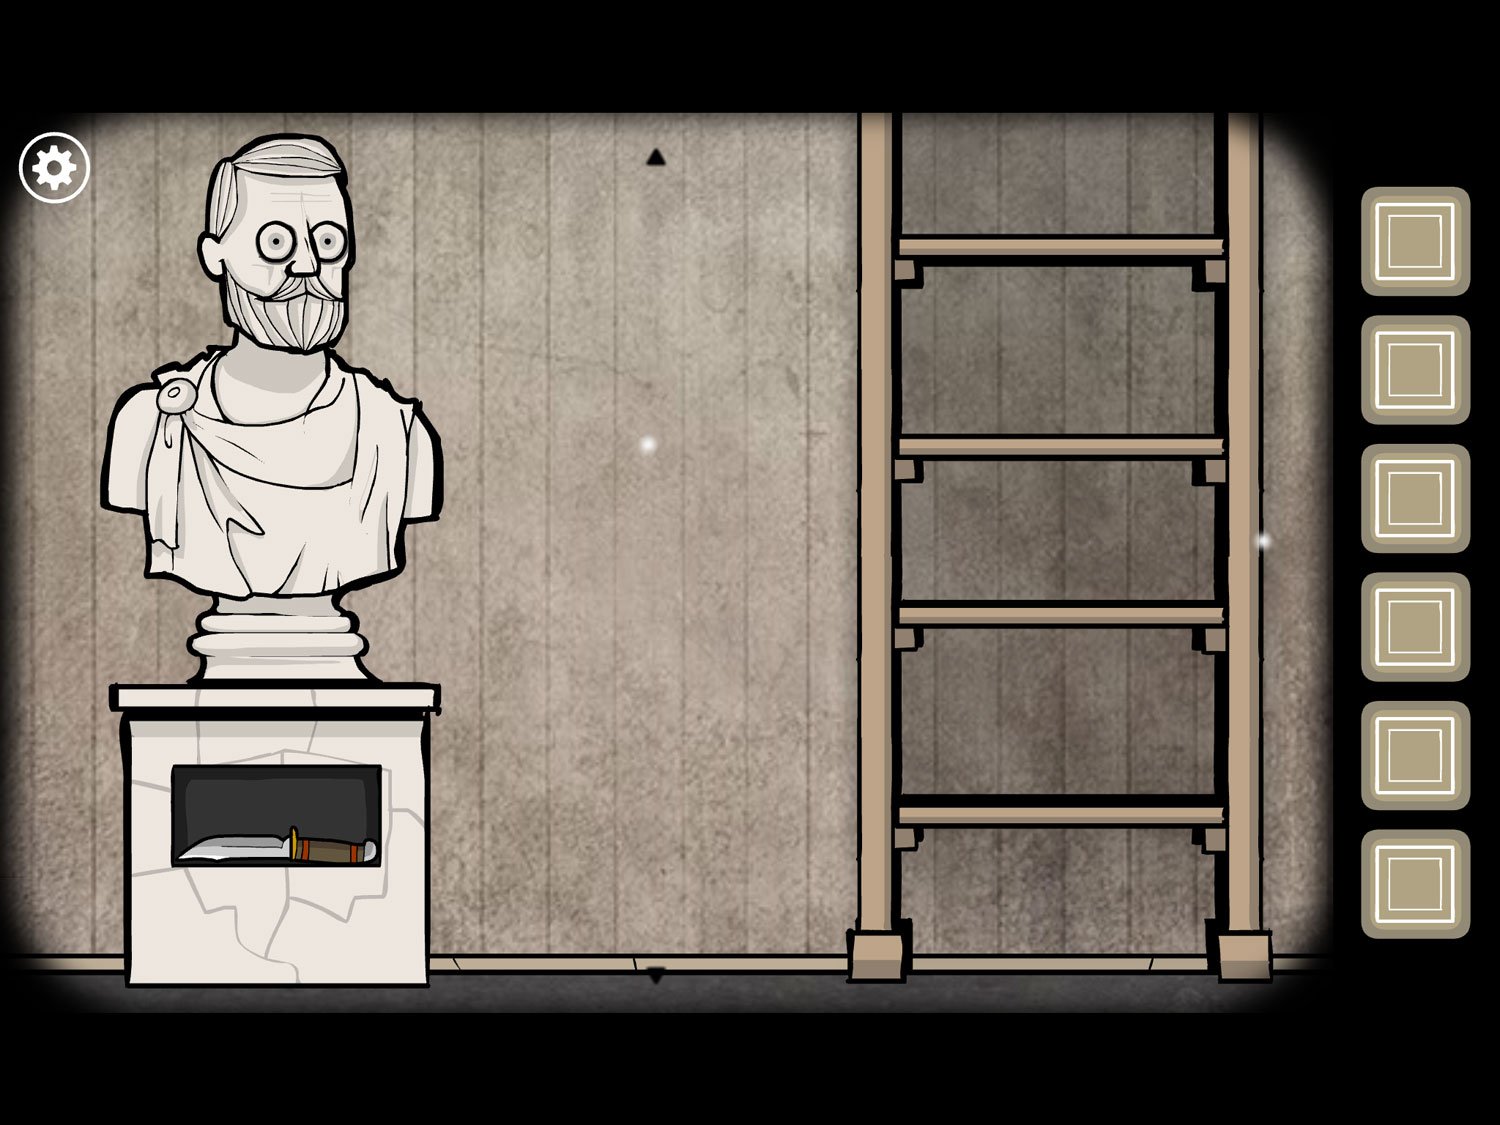
- Zoom out. A door appears in the base; tap this to reveal and retrieve KNIFE
- Exit the statue and return to the coffin. Tap on it and then James’ face to zoom in
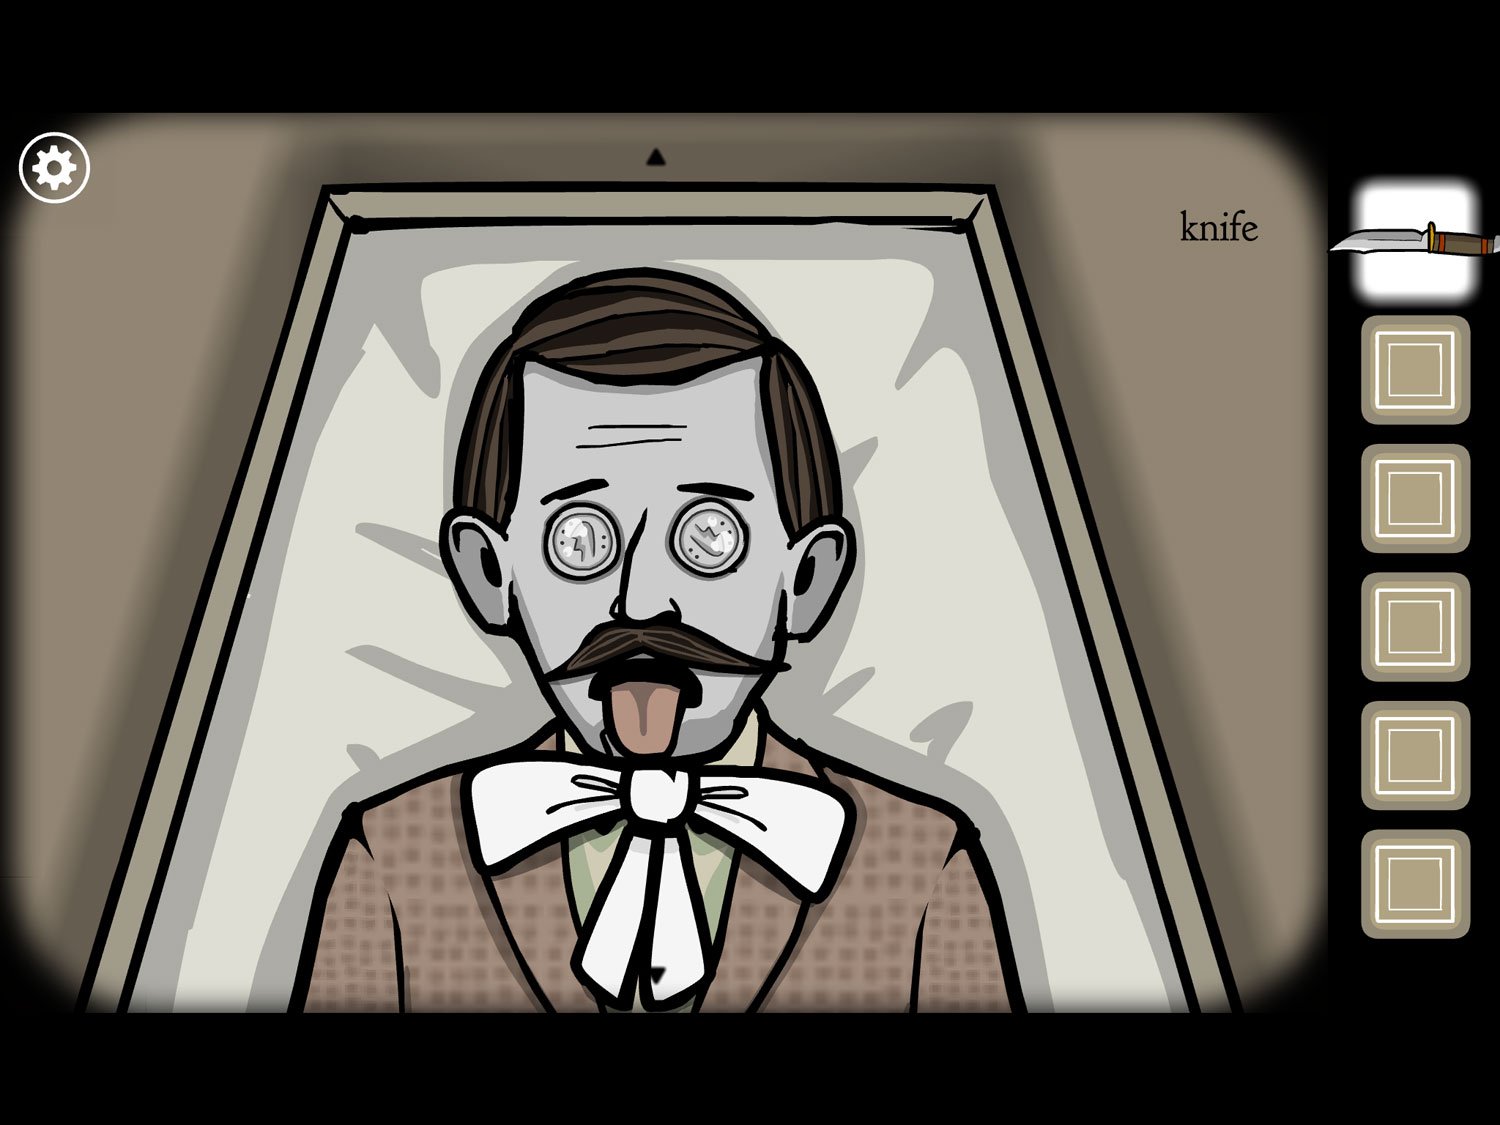
- Use KNIFE on his tongue to get TONGUE. Exit the coffin
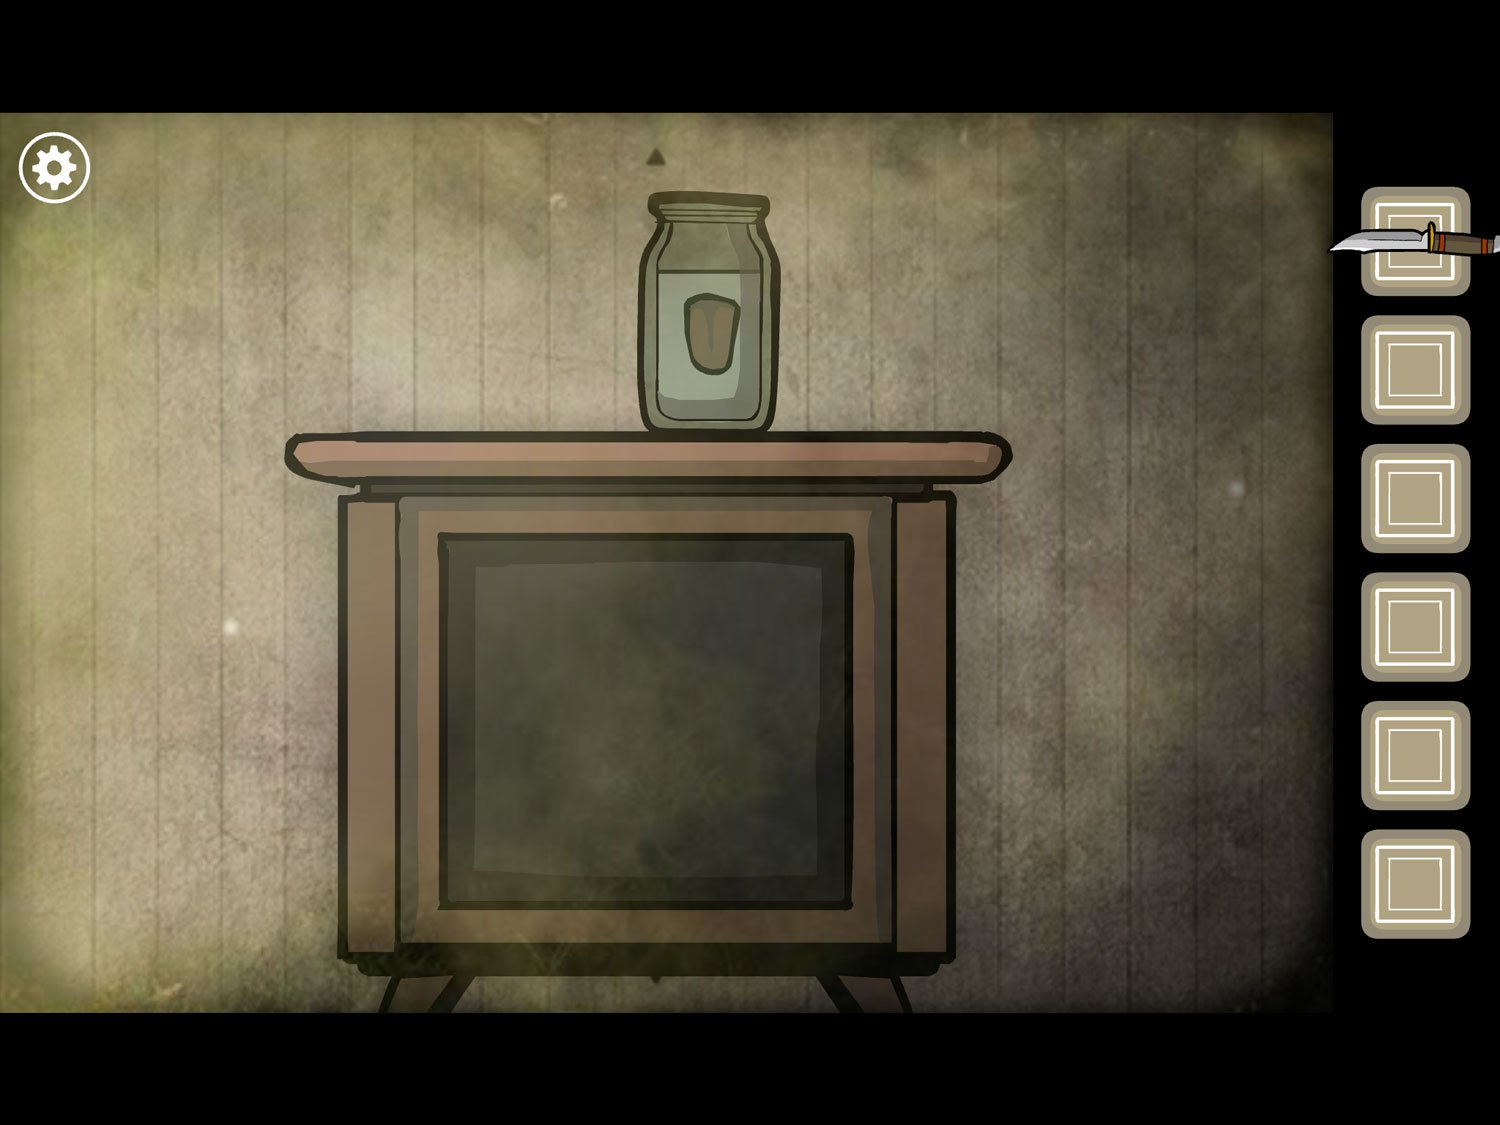
- Tap on the jar on the end table; use TONGUE on the jar. Tap the tongue in the jar to get the white square and exit. The tongue of James Vanderboom will be added to your “10 sacrifices” list. James’ tree branch ends here
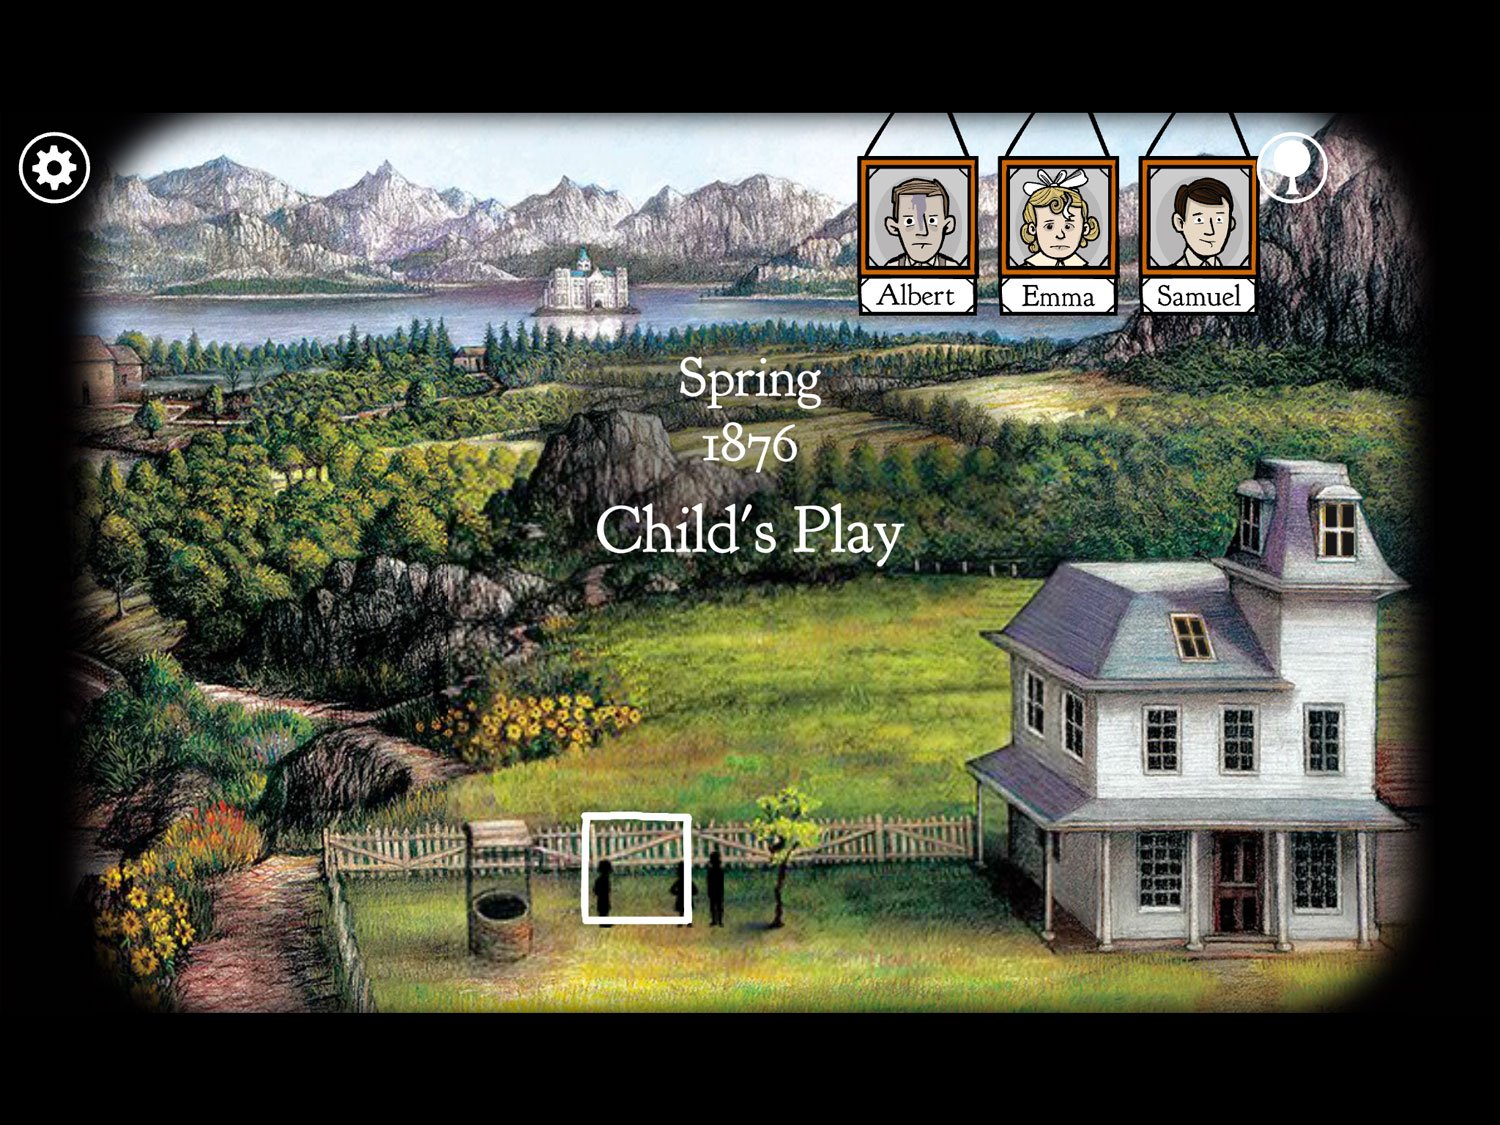
Level 9: Child’s Play, Spring 1876 – Albert, Emma, Samuel
Location: Front yard, near the tree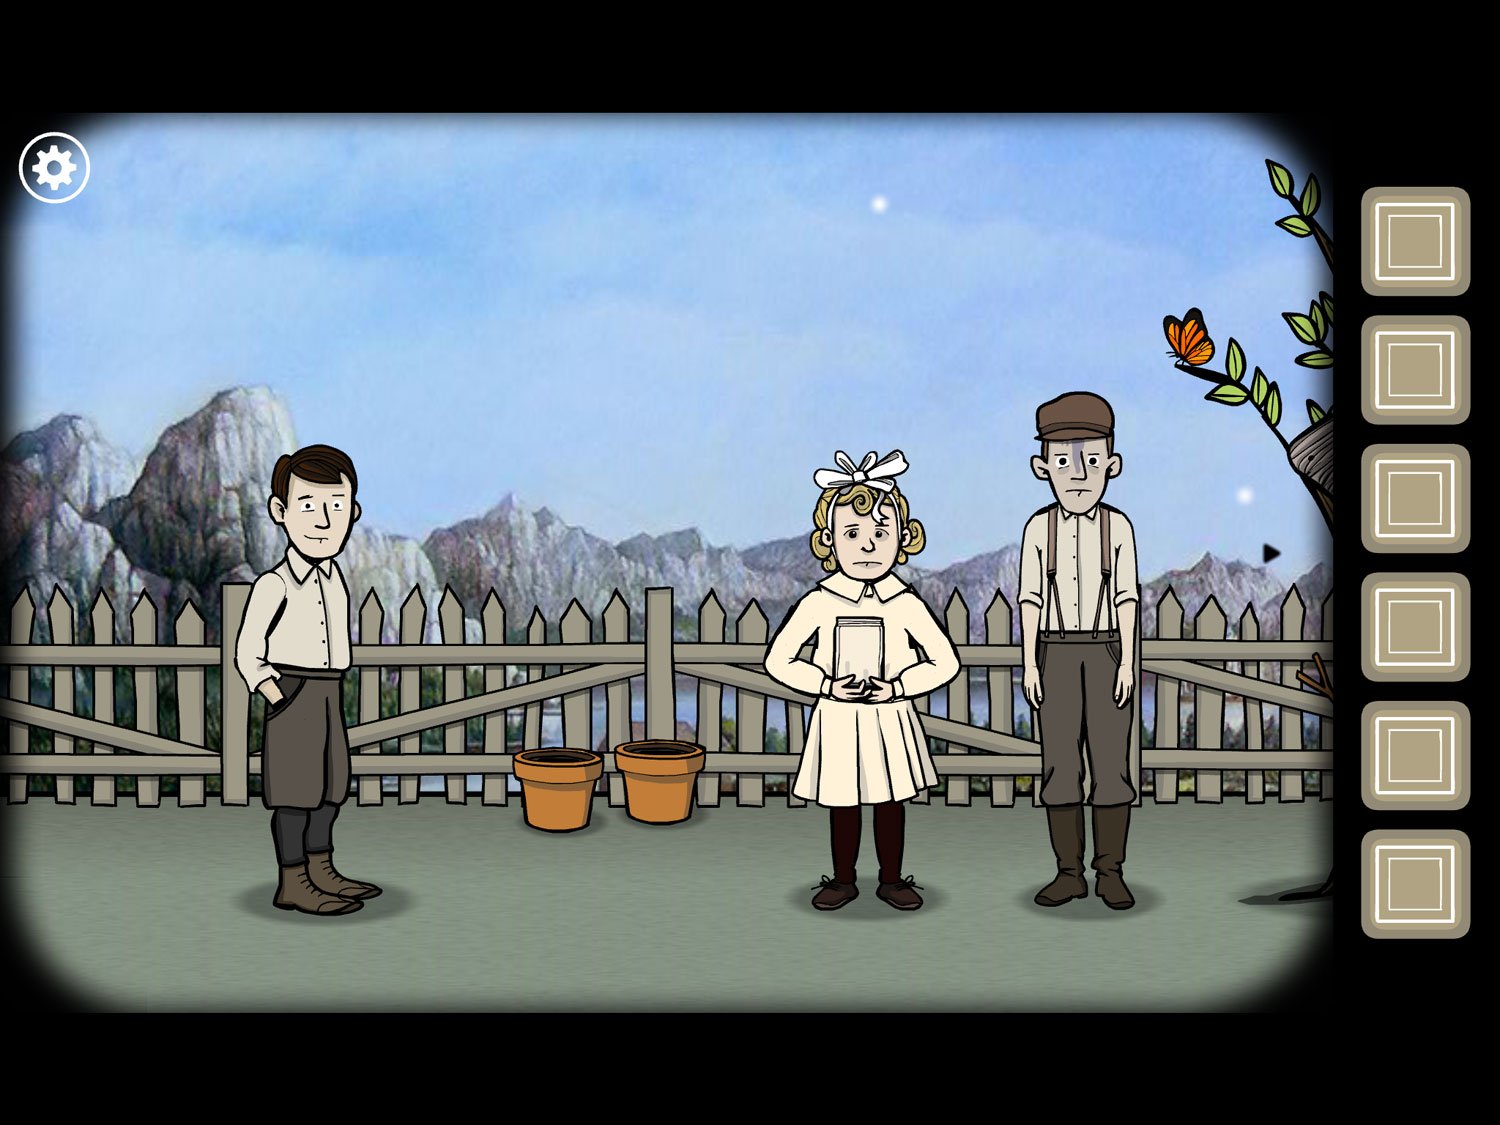
- Tap on Emma. Tap the end of her hair ribbon hanging over her forehead three times until you receive ELASTIC RIBBON
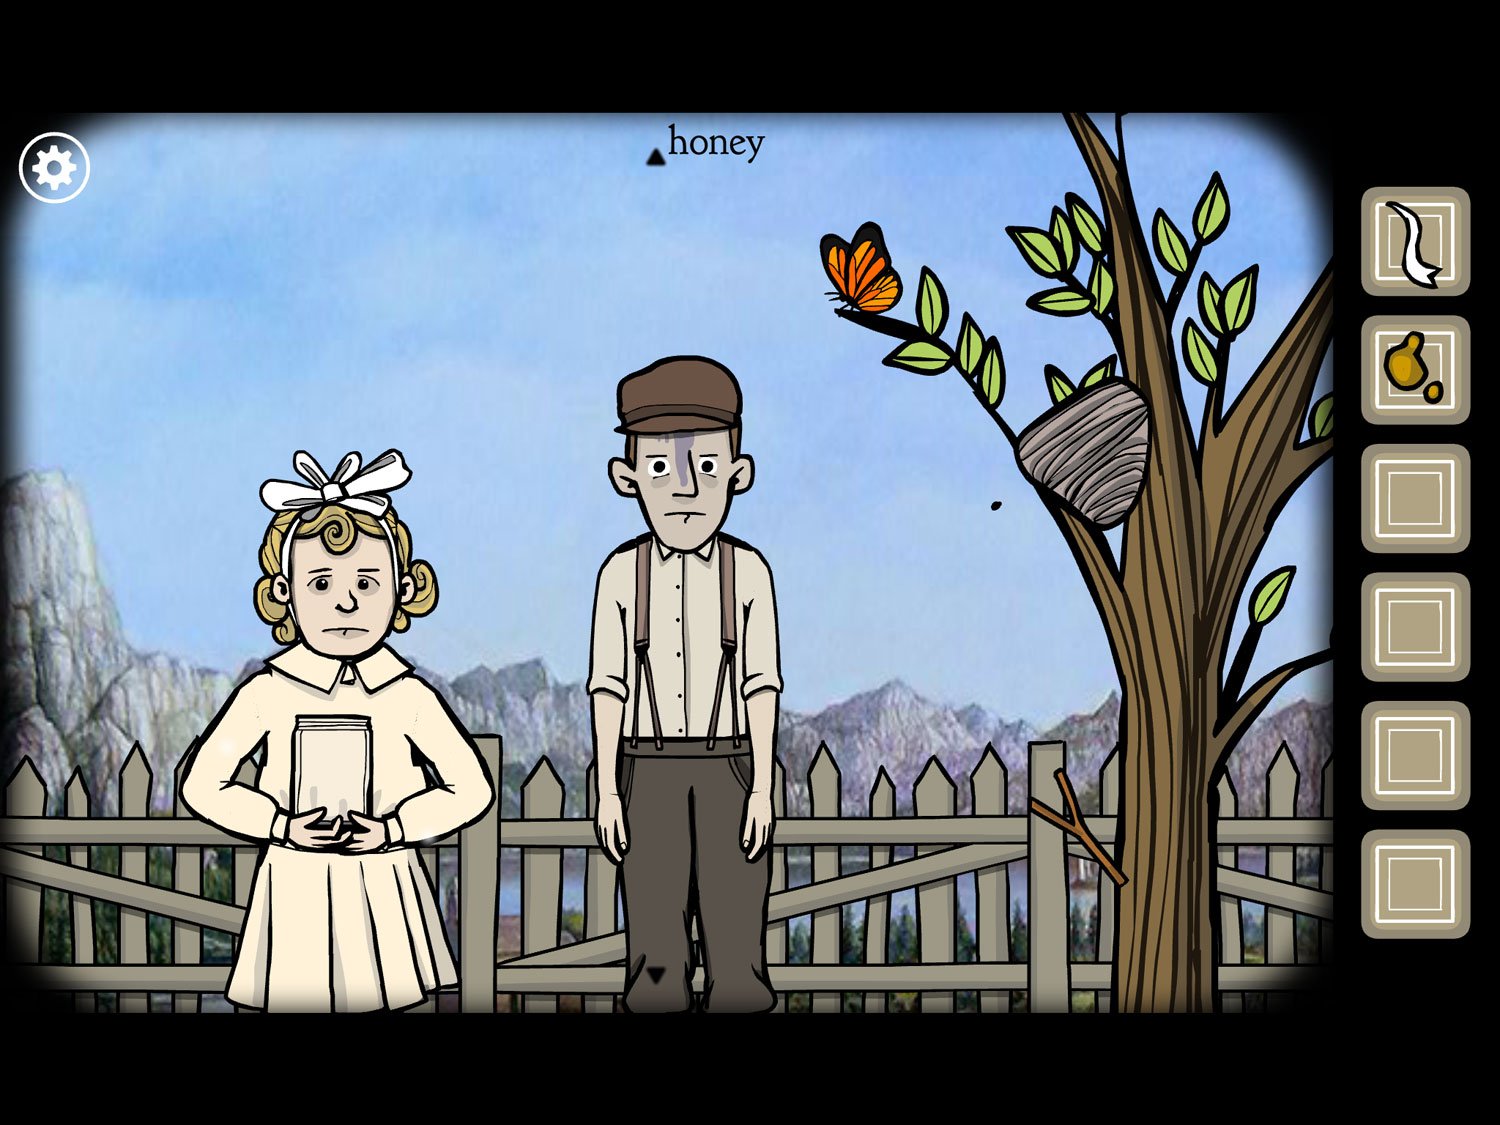
- Tap the beehive next to the kids to get HONEY
- Tap the small branch a few feet under the beehive three times until you get TWIG
- Exit the close-up; tap the pots behind the kids near the fence
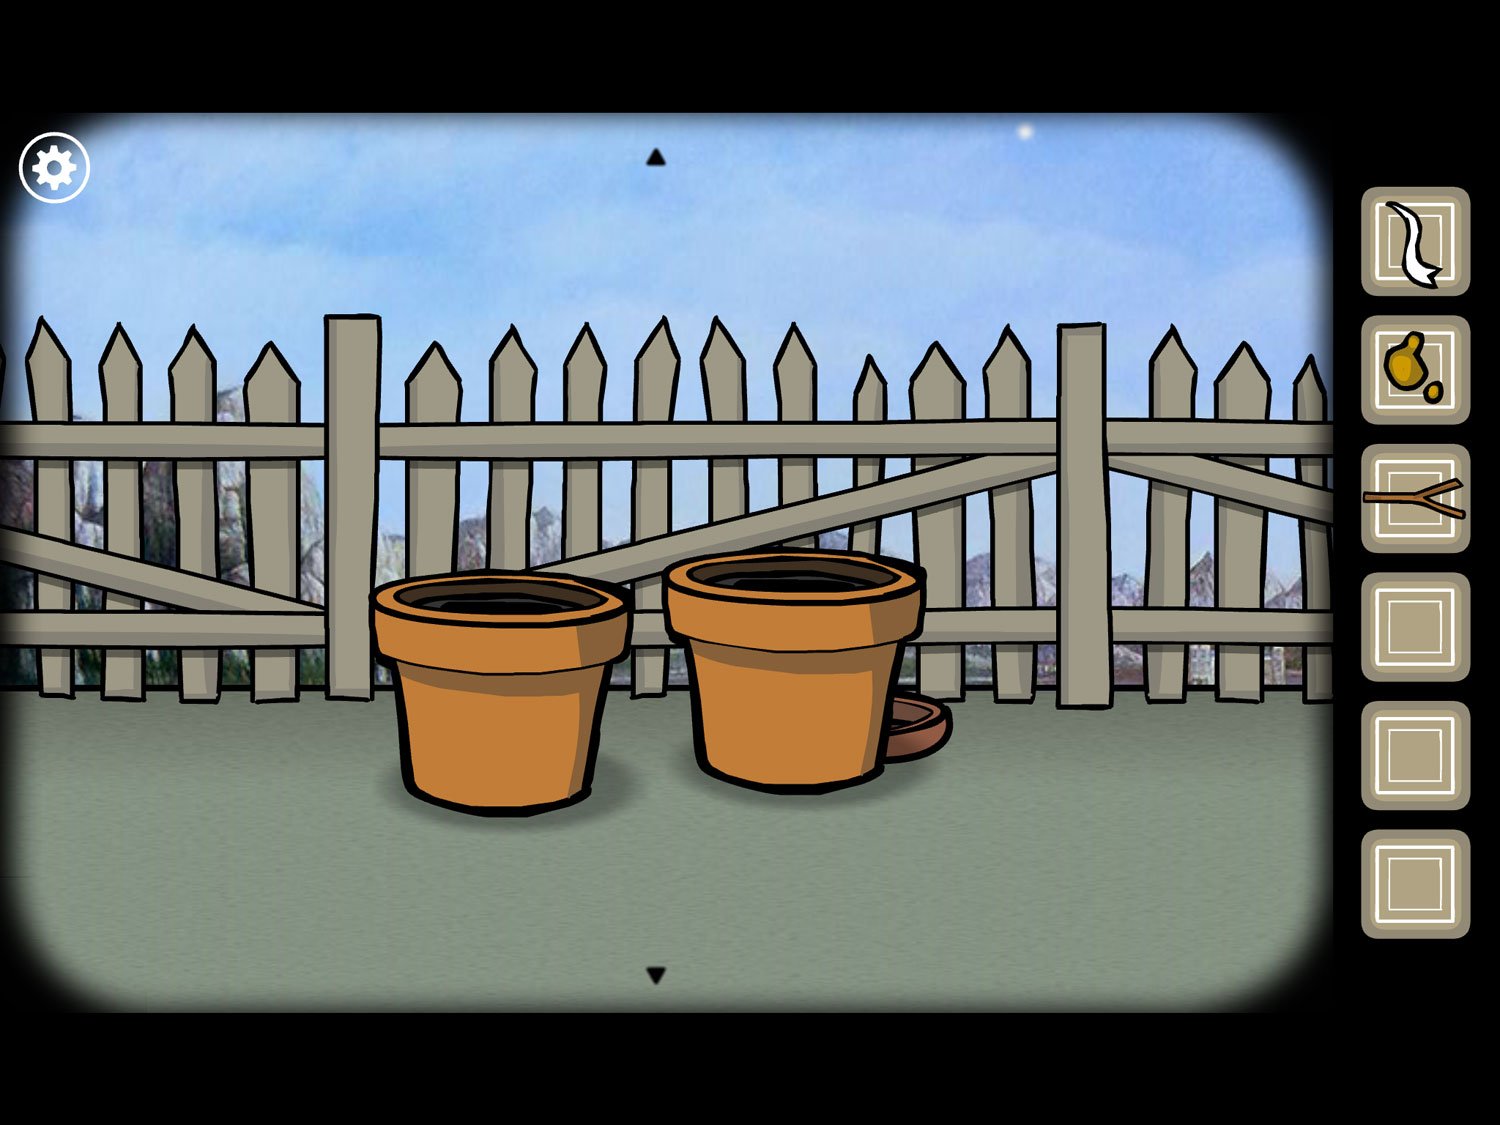
- Tap the item behind the right pot to get POT COVER
- Tap the left pot to get MARBLES; exit the close-up
- Tap on the leftmost child (Samuel) and give him TWIG
- Give him ELASTIC RIBBON. He forms a slingshot
- Give him MARBLES. He puts a marble in the slingshot
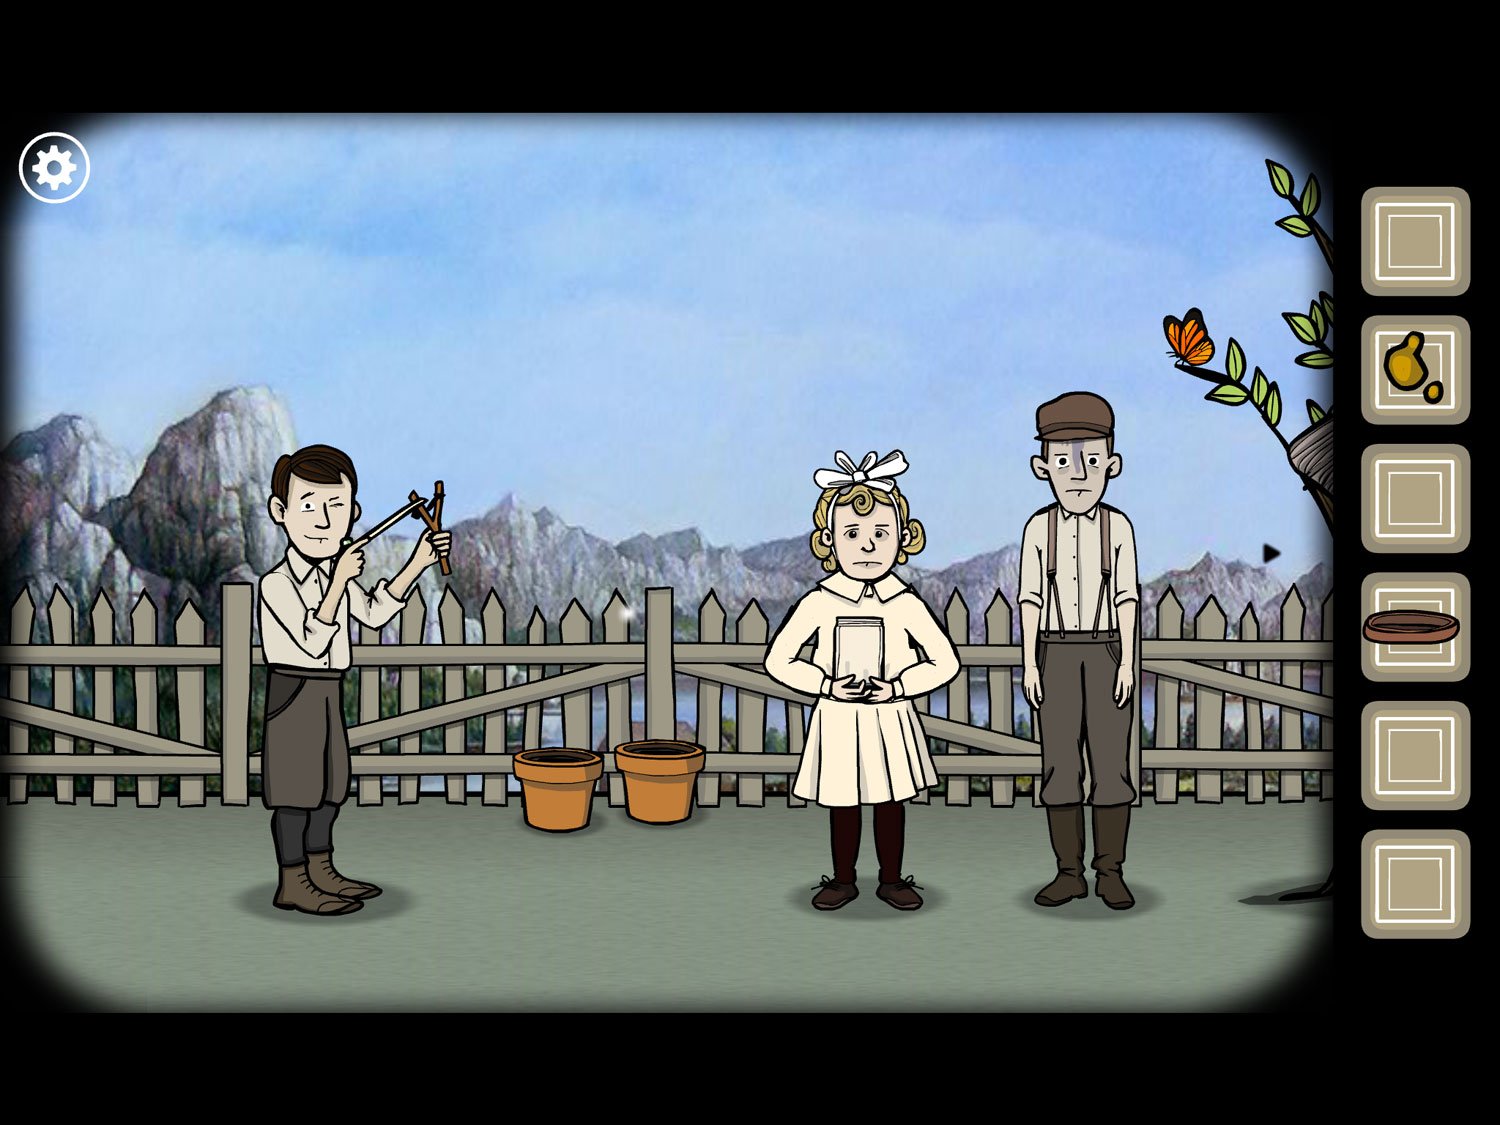
- Tap Samuel and he pulls back. On the zoomed out shot, tap on the butterfly. Samuel shoots it and it flies off the tree
- The butterfly lands on Emma’s head. Tap on Emma/Albert
- Use HONEY on Emma to place it in the jar
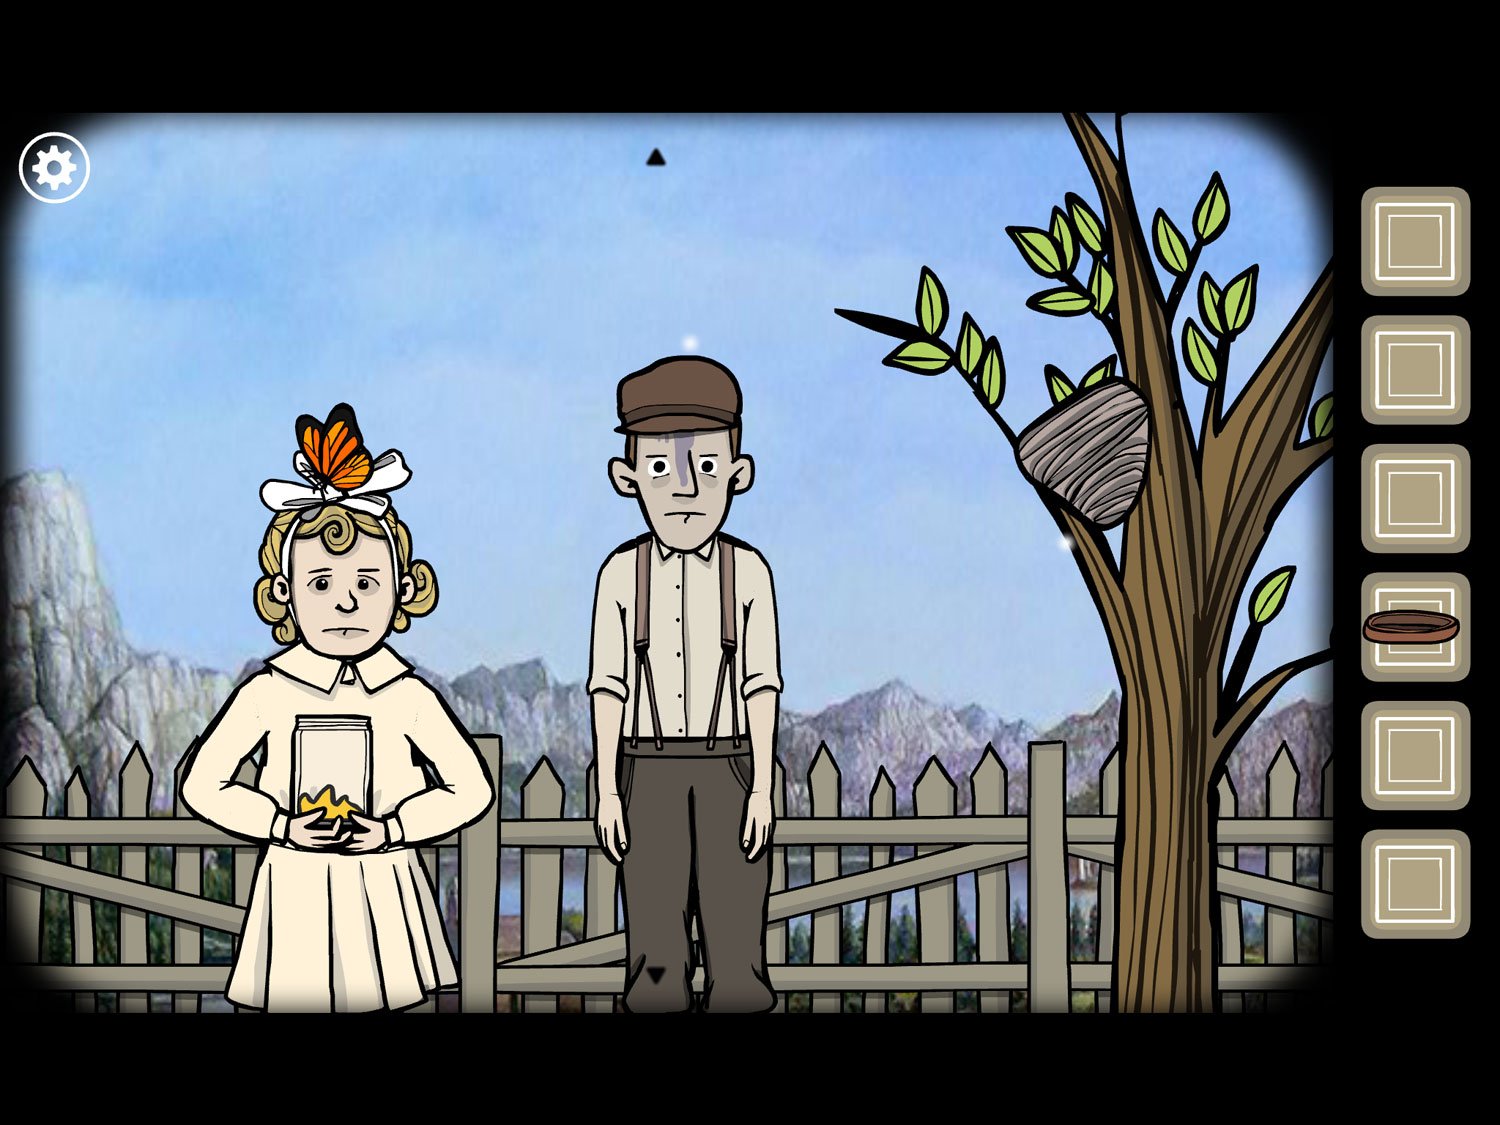
- Tap the butterfly and it flutters down into the jar and honey
- Use POT COVER on the jar that now contains the butterfly
- Emma places the cover over the jar; tap her to close the lid
- Tap Albert; he swats at Emma who swats back. Keep tapping him (two taps) until Emma knocks him over. Zoom out
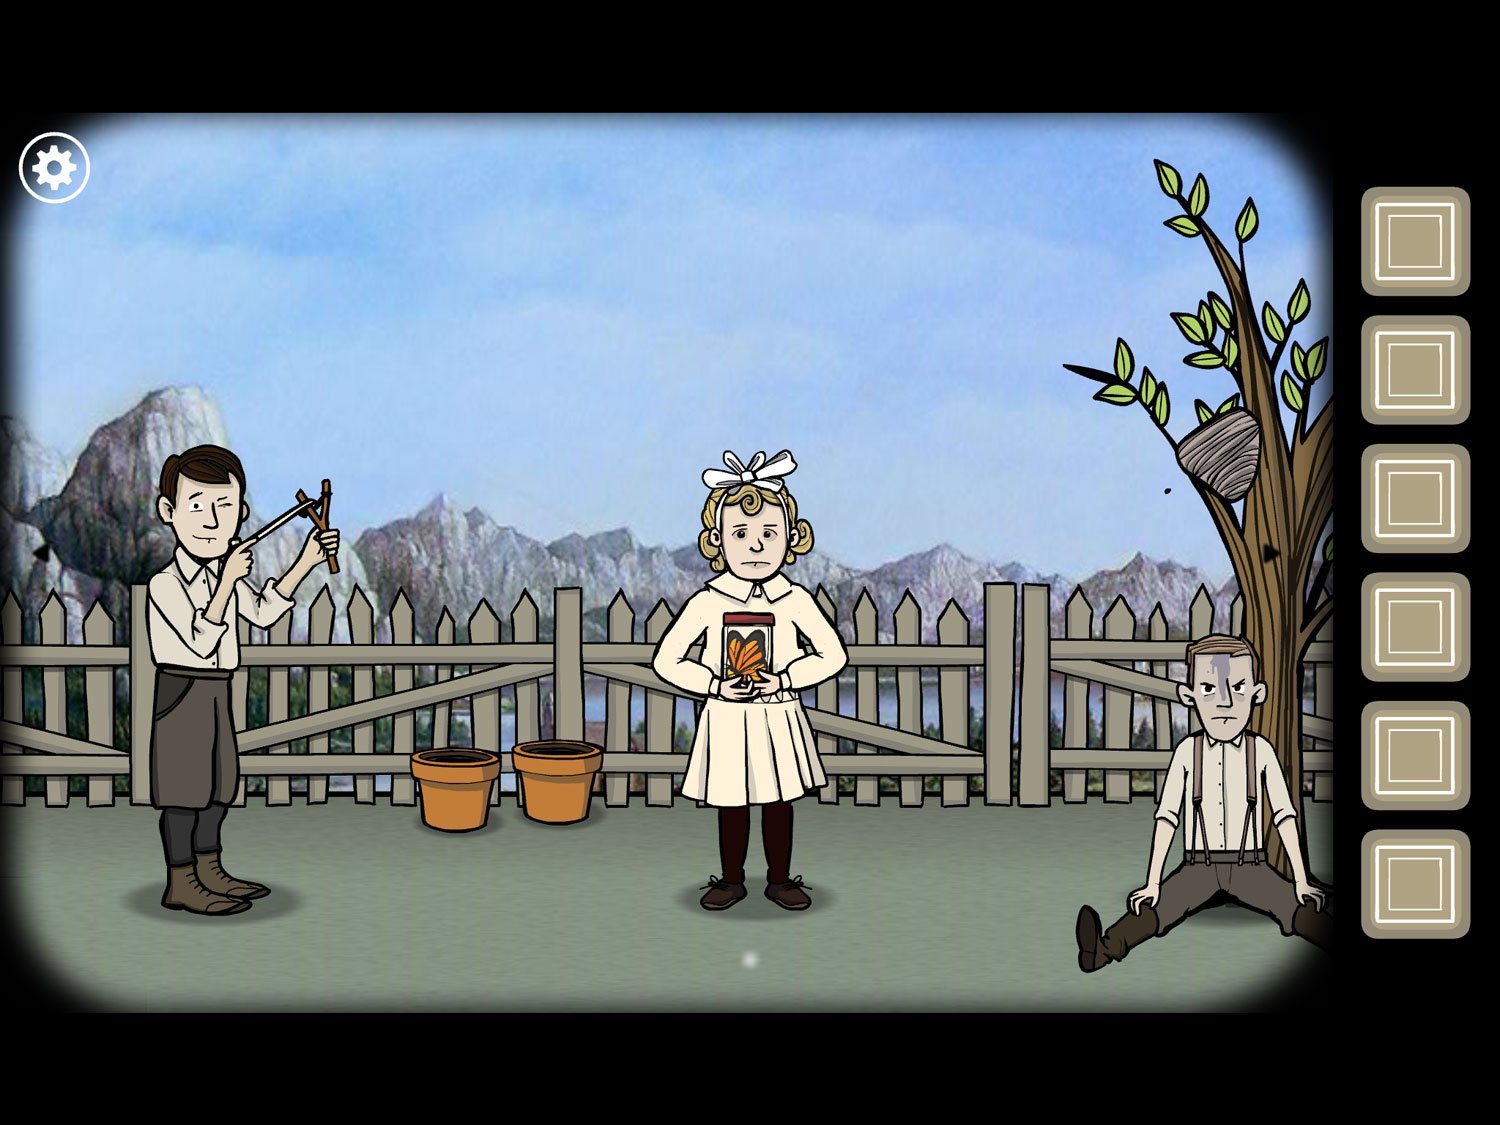
- Tap on Samuel again; he pulls another marble back. Tap the beehive in the tree to shoot it
- Tap on Samuel and then the beehive again; do this until the beehive falls onto Albert’s head (again, should only take two taps)
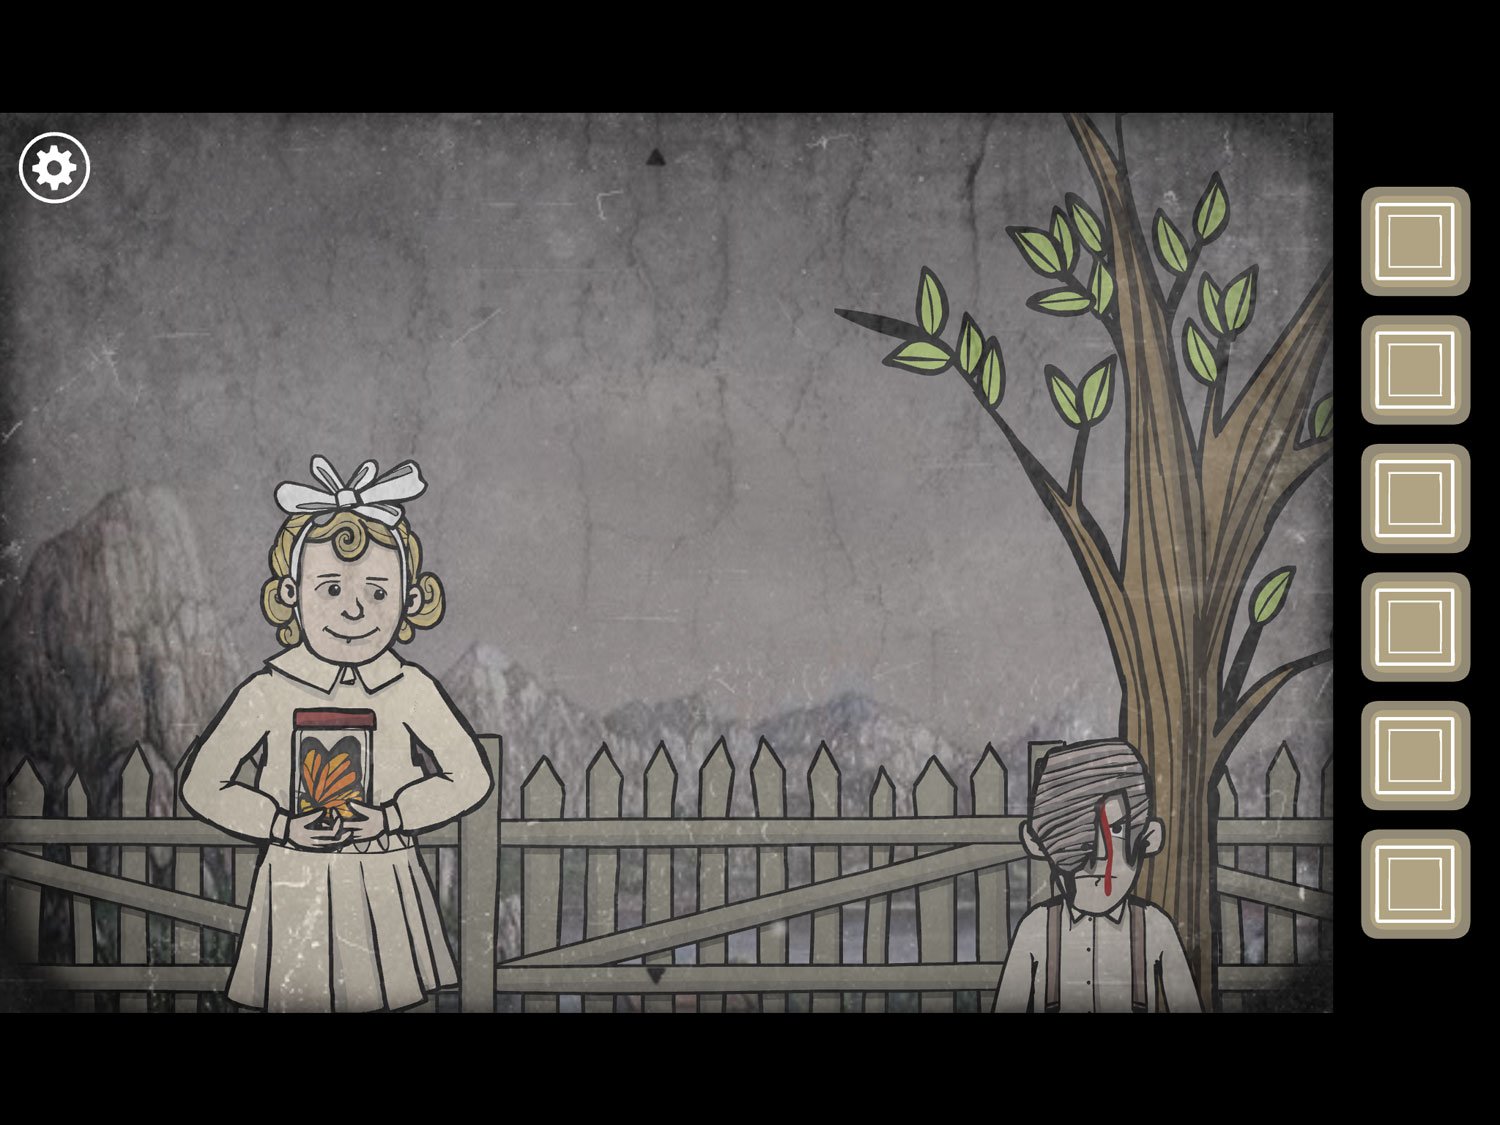
- Tap on Albert now with the beehive on his head. The sky will turn dark. Tap again and a shadow of Mr. Crow will appear behind the children
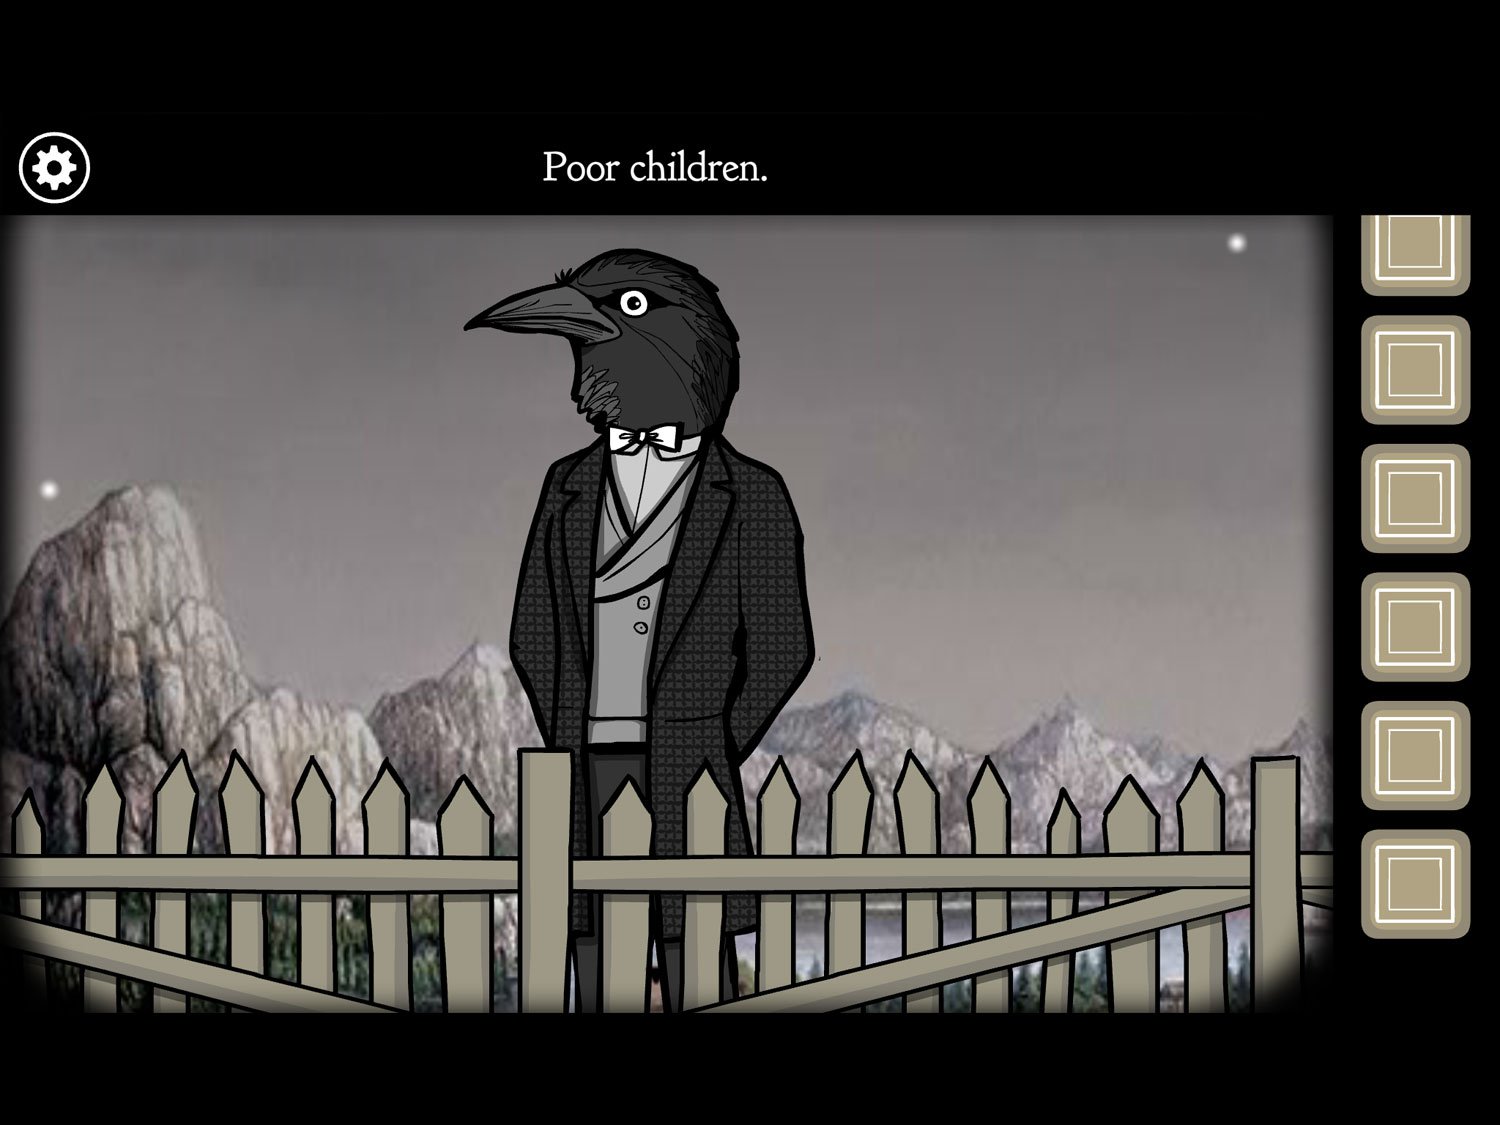
- Tap on Mr. Crow to zoom in; tap on him three times to listen to all of his dialogue. When he’s finished speaking a white square appears on his face; tap to exit
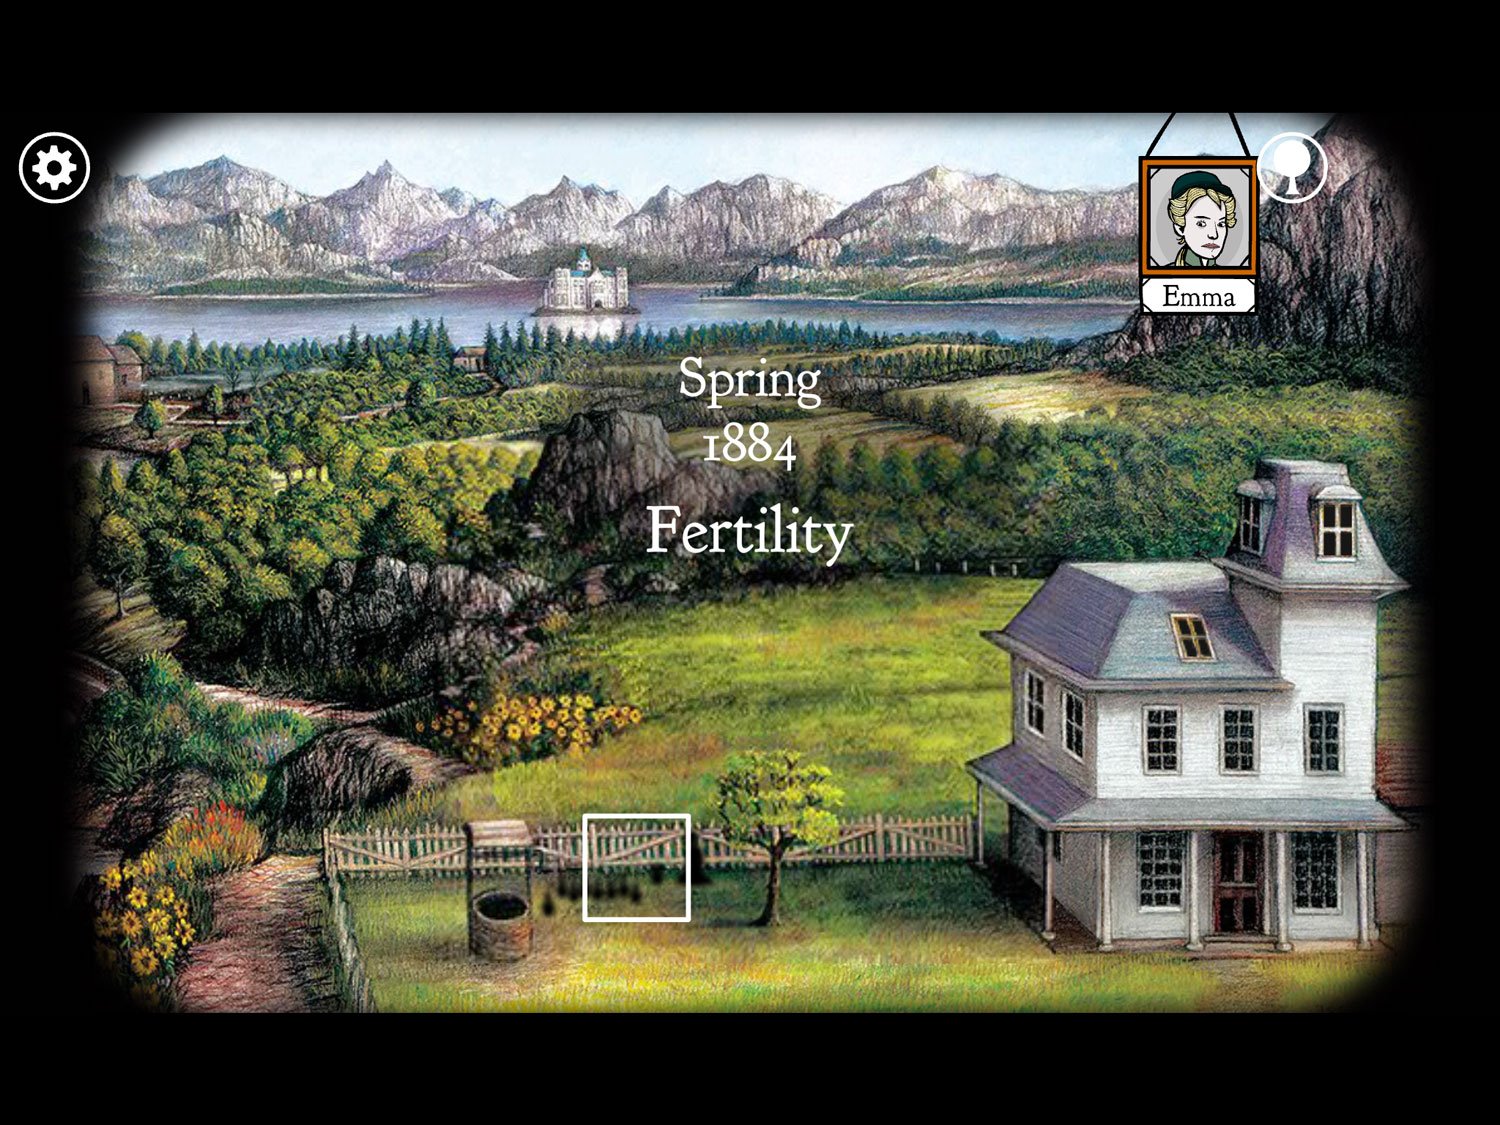
Level 10: Fertility, Spring 1884 – Emma
Location: Front yard near the tree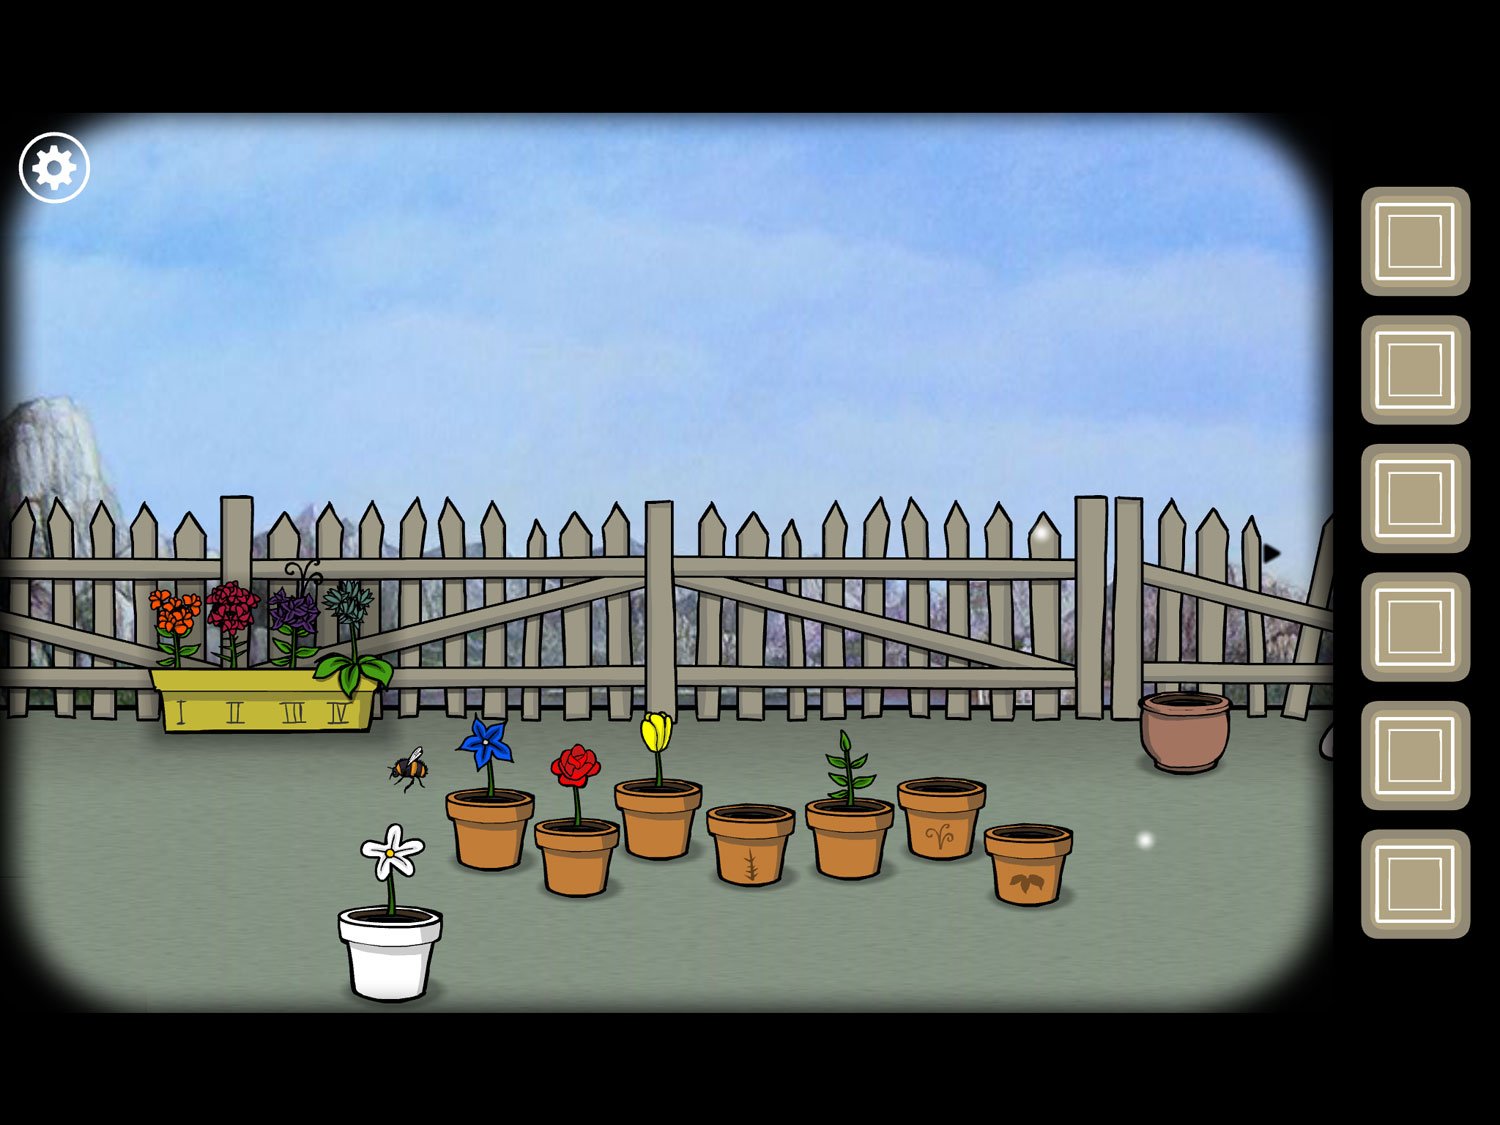
- Drag right; tap the tree next to Emma
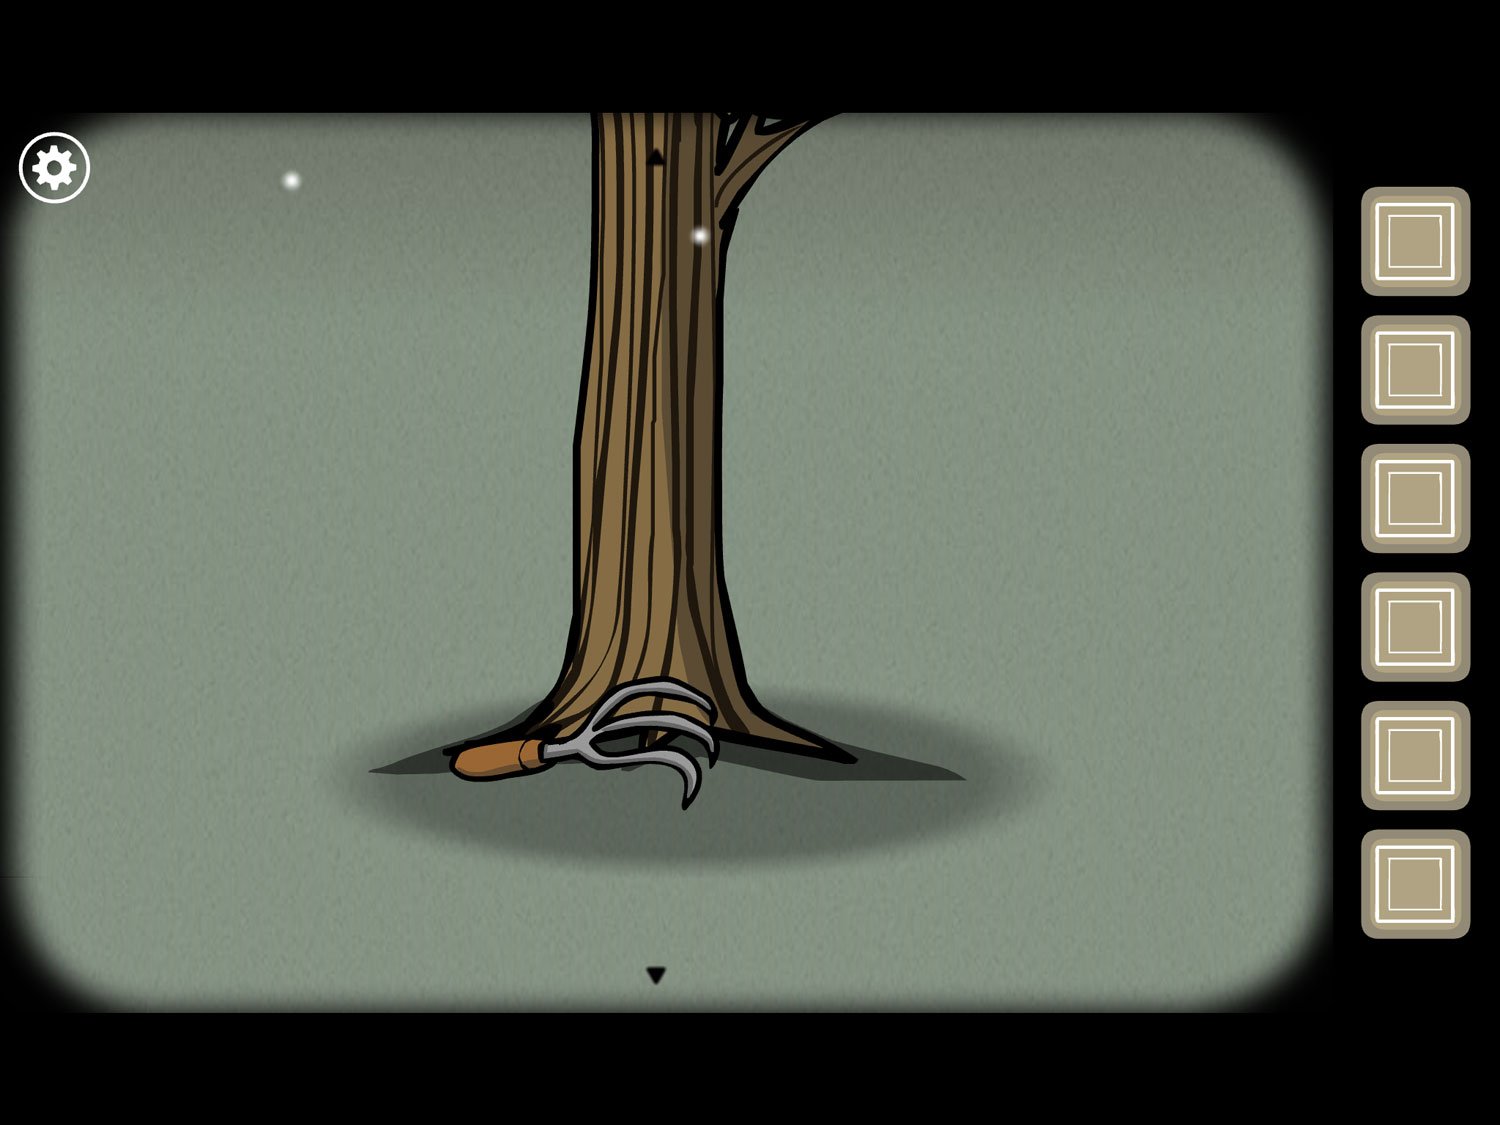
- Tap the tool to get GARDEN WEASEL. Exit the close-up
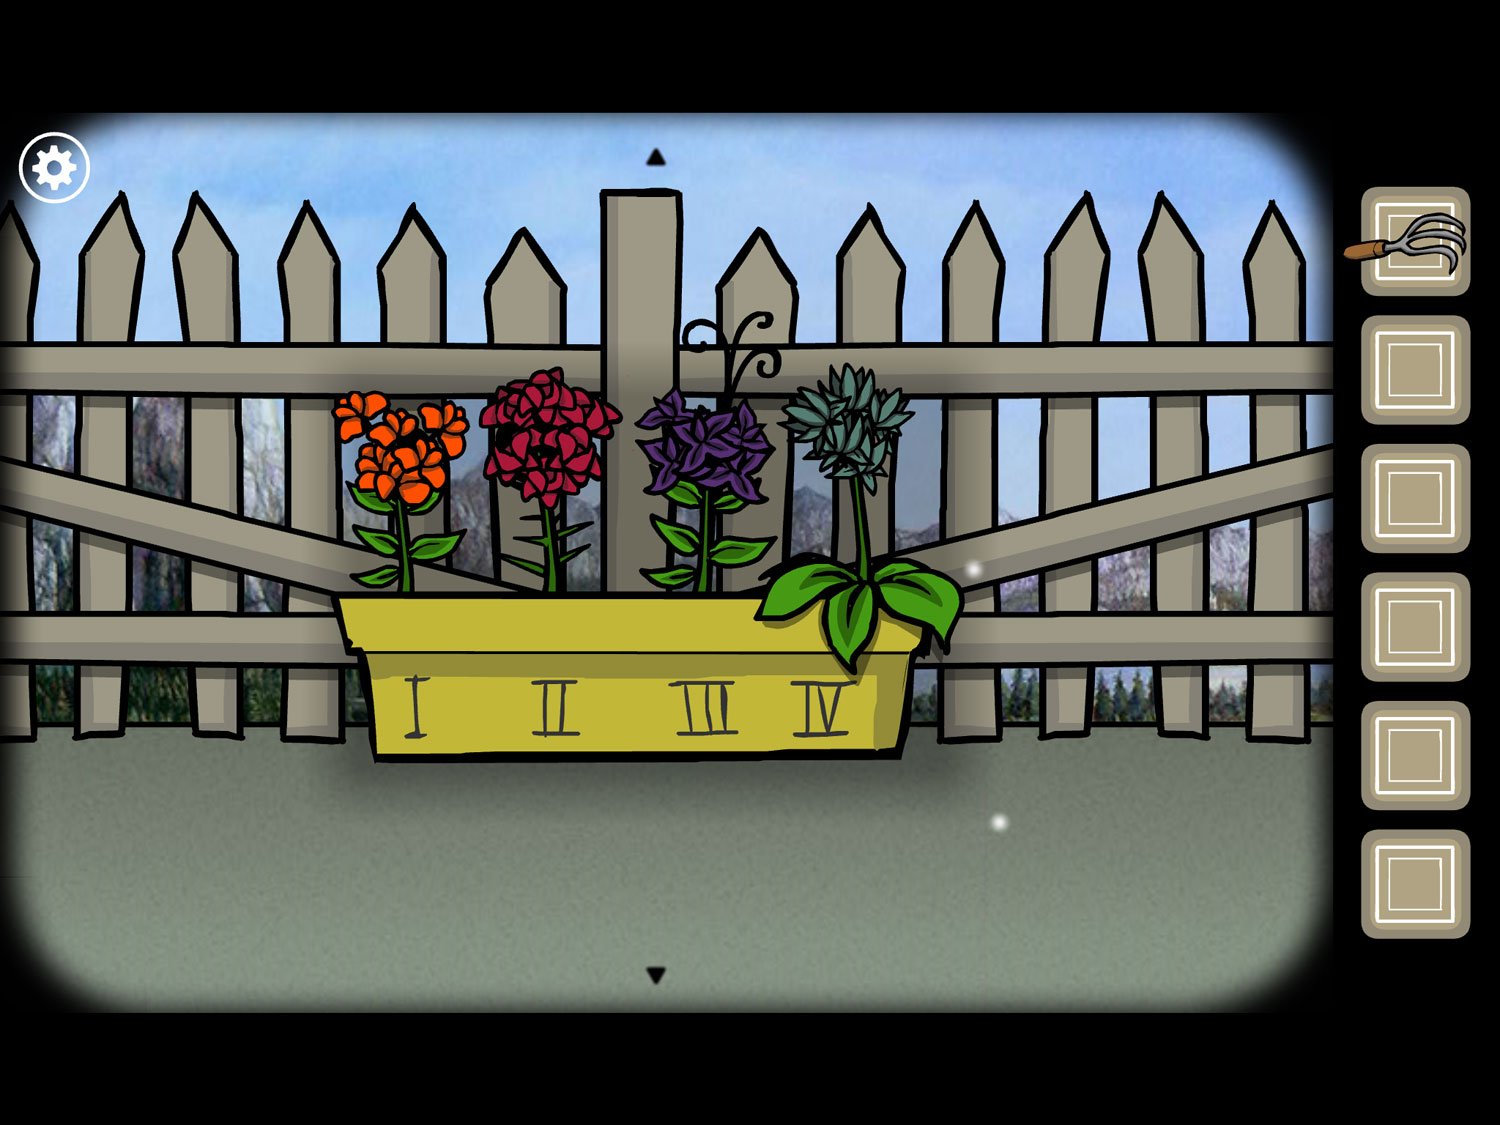
- Drag left again and tap on the yellow planter by the fence. There are four flowers here with numbers: an orange flower I, red II, purple III, blue IV. Exit the close-up
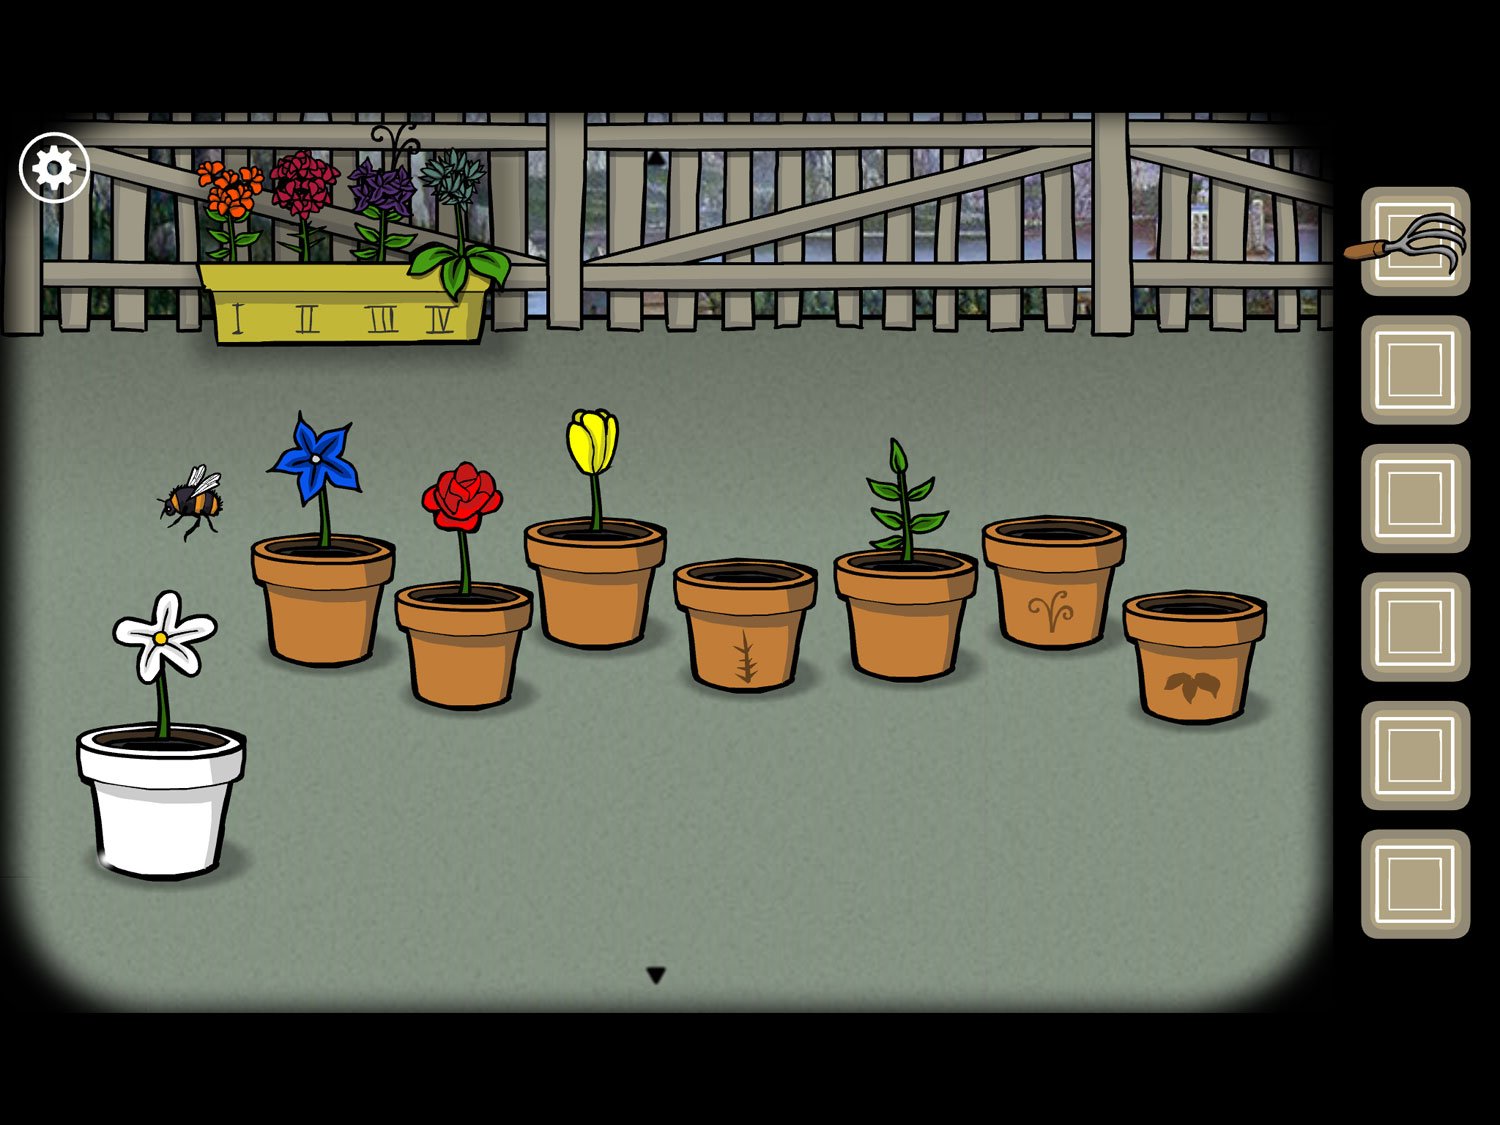
- Tap the flower pots in front of the planter to zoom in. There is a white flower on the left with a bee hovering over it, then a blue, red, and yellow flower behind
- We need to use the bee to carry the essence of the blue, yellow, and red plants onto the white plant. The order you combine essences will determine what type of flower you get
- To create flower I from the yellow planter, move the bee to the yellow flower then back to the white flower. Make sure the bee hovers over the yellow flower briefly before moving back to white—you’ll know it’s ready when it’s holding a yellow orb in its feet
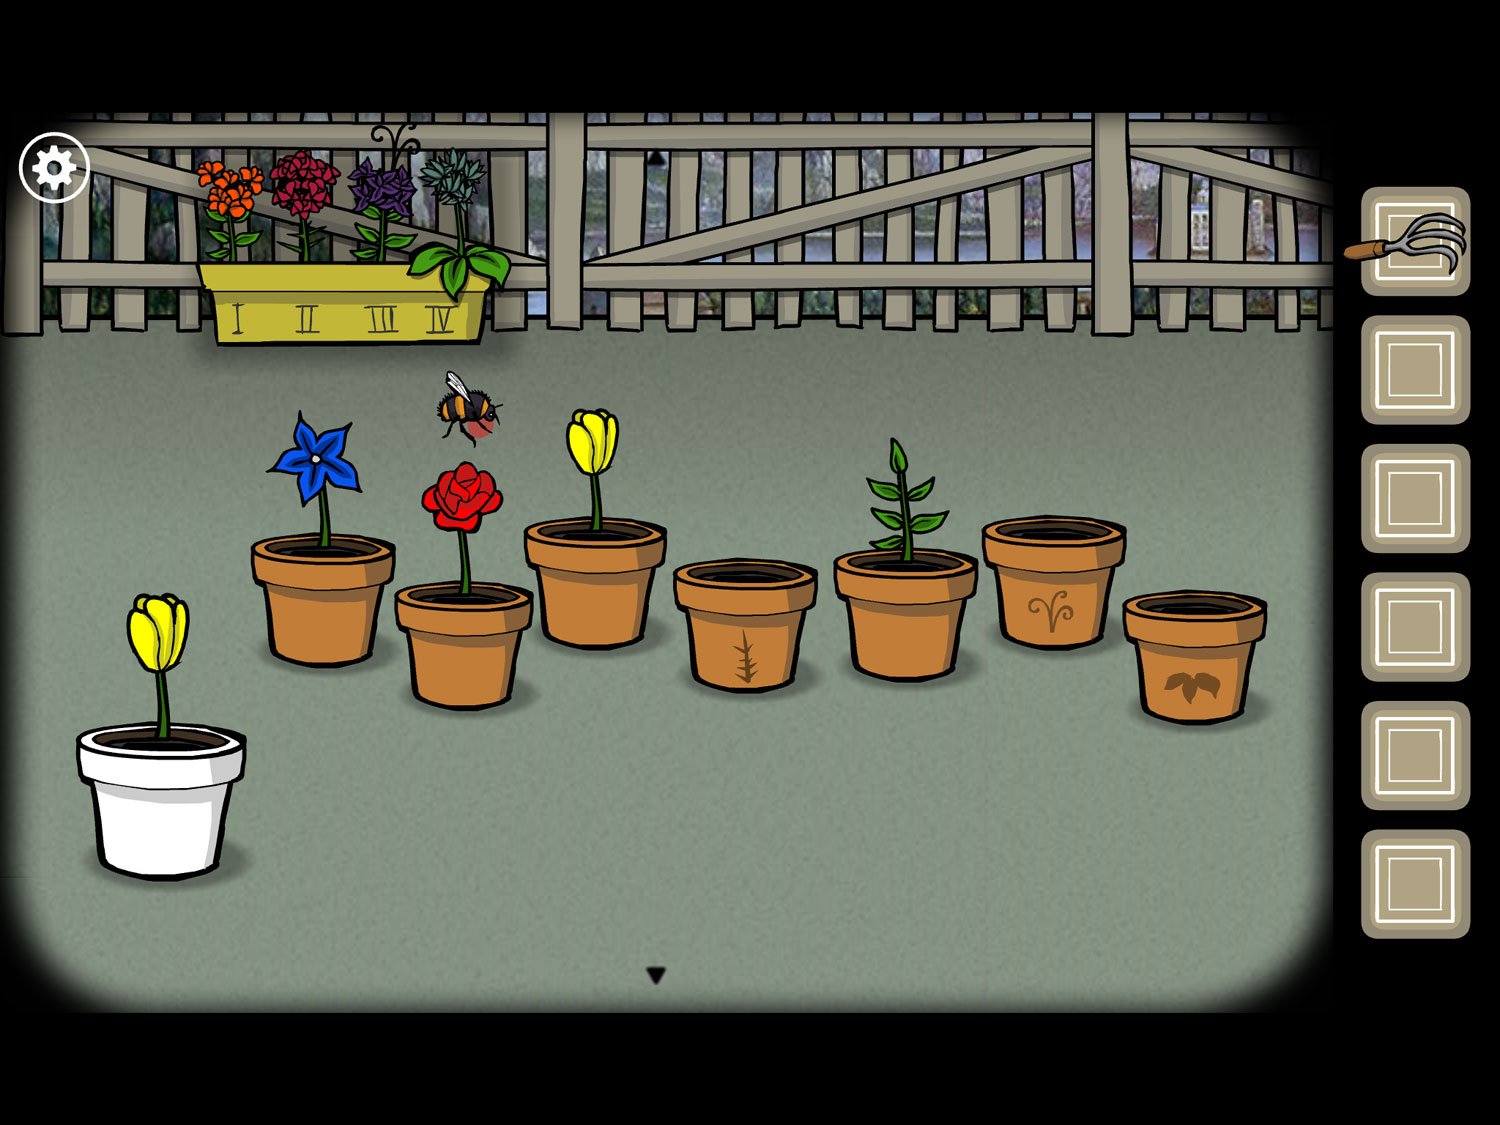
- Then move the bee to the red flower and then back to the white pot. You’ll have an orange flower that’s the wrong shape
- Move to red again and back to white (which is now orange). The flower is now the correct color and shape but it needs the right petals
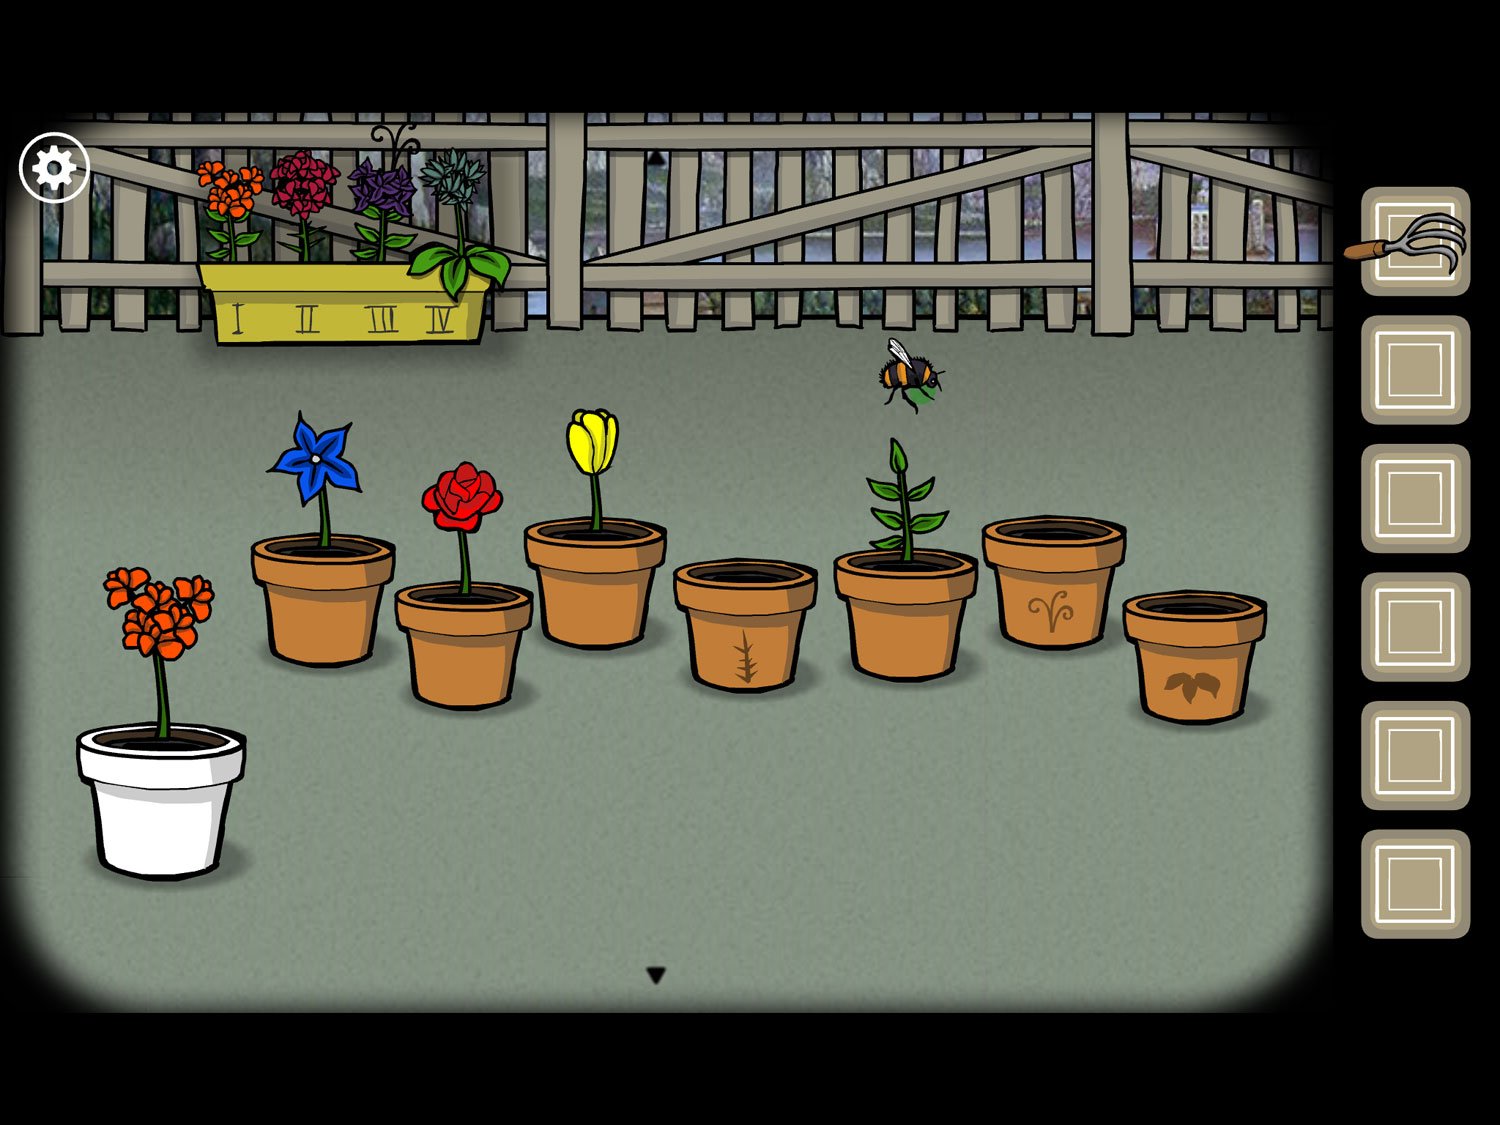
- Finally, move to the green stalk (the fifth pot) and then back to the white pot. Tap the final creation to get FLOWER (I) and the fourth pot will sprout a new, thorny green stem
- Note: If you make a mistake while creating the flower you can use the GARDEN WEASEL on the white pot to reset it to base white
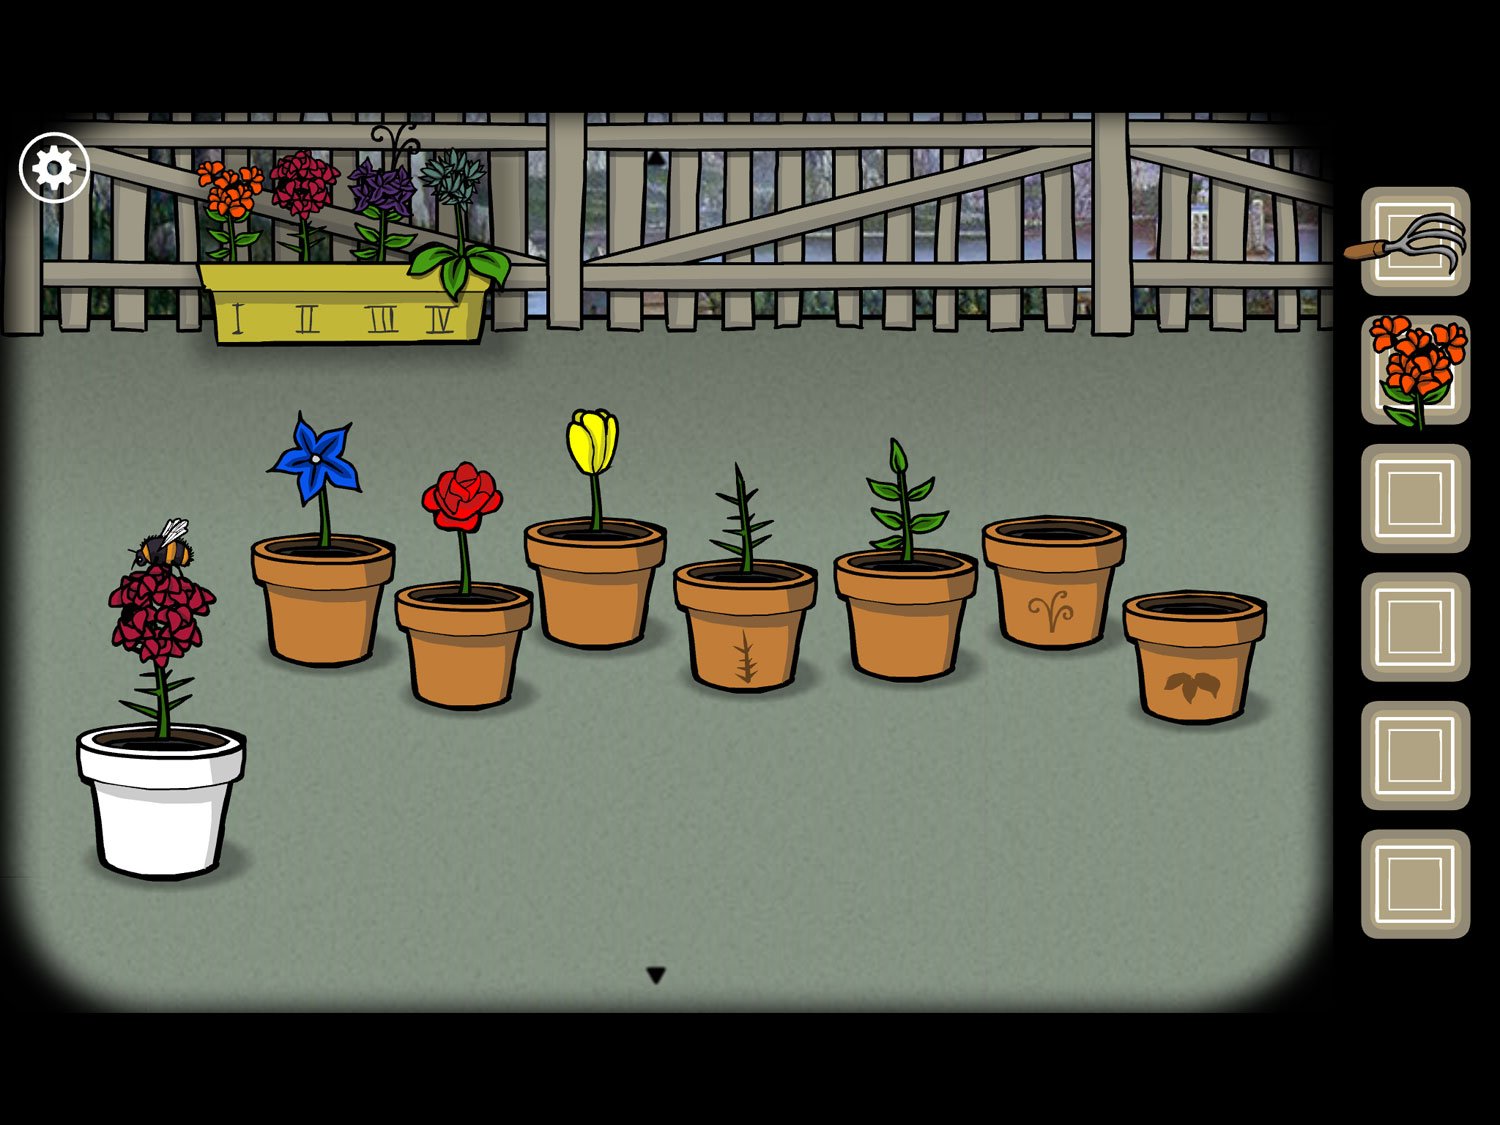
- To make flower II, use the bee to carry over red, then blue, then red, and finally the thorny stalk. Remember to carry the colors in the order listed, or you’ll get a different flower. After you pick it up a long stalk will appear in the sixth pot
- To make flower III, combine red, blue, blue, the normal stalk (pot five) and the long stalk (pot six). The final large-leafed stalk will appear in the seventh pot
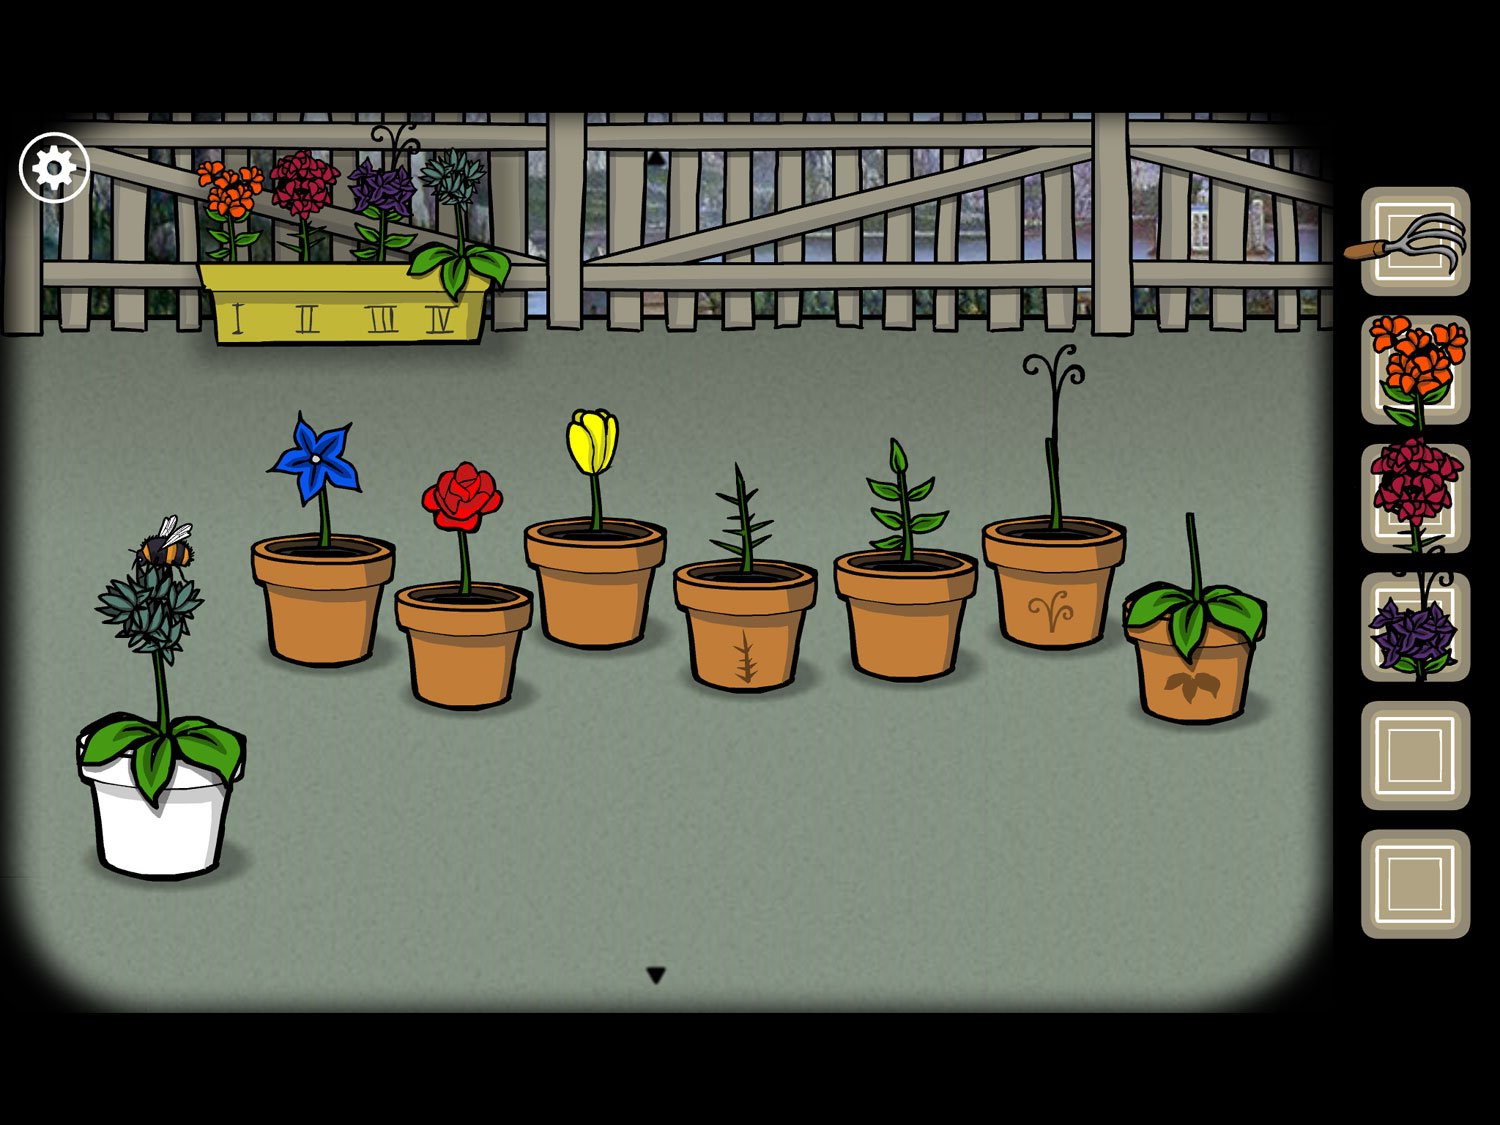
- To make flower IV, combine yellow, blue, and blue and then the final, large-leafed stalk.
You should now have FLOWERs (I, II, III, and IV). Zoom out and tap on Emma
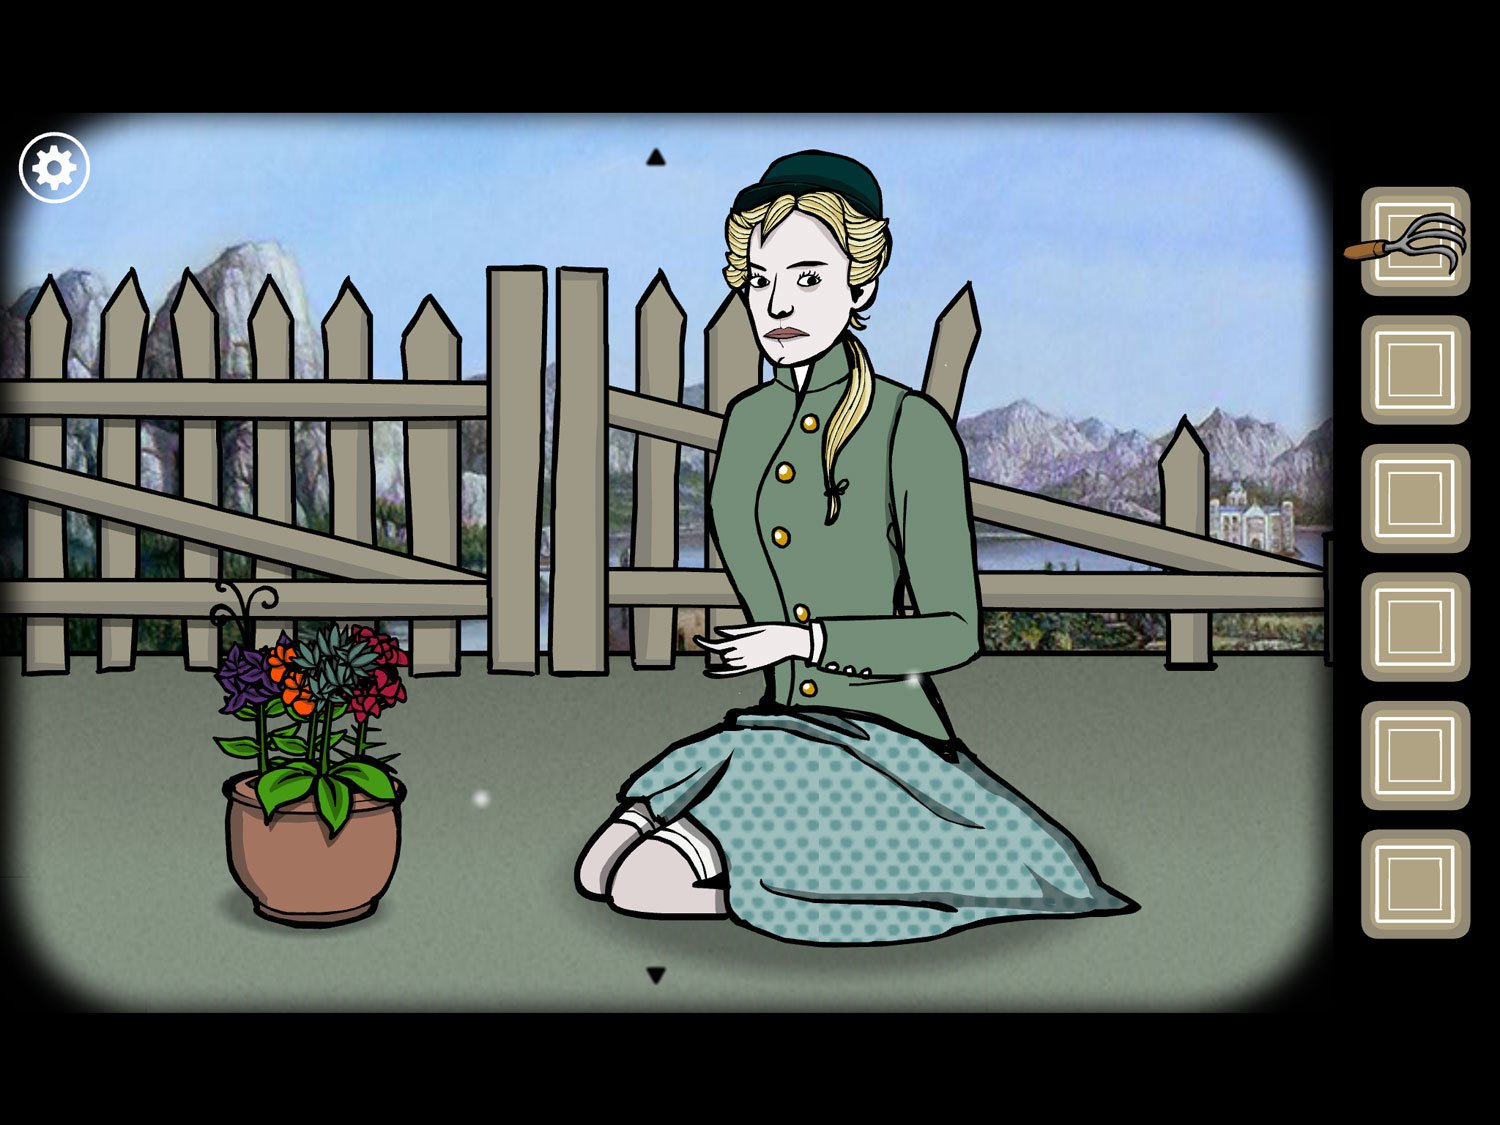
- Give her the flowers in order – I (orange), II (red), III (purple), IV (blue). She’ll add them to her pot
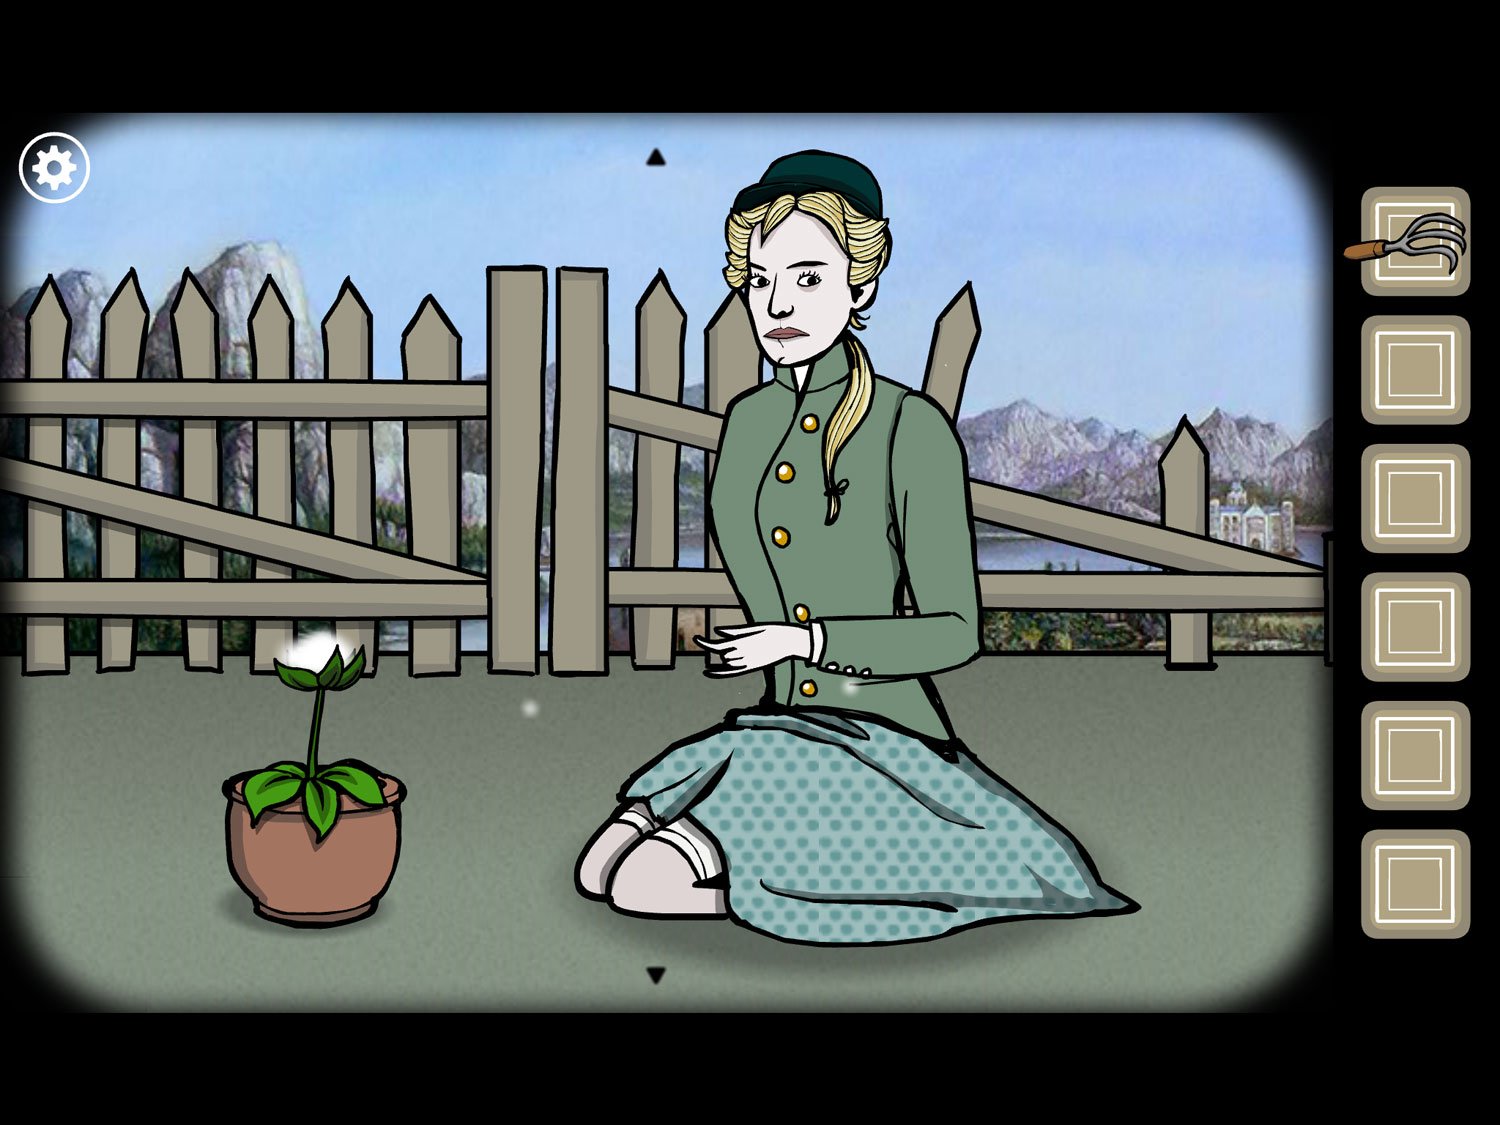
- Once all four flowers are placed, tap the pot bouquet: a single flower with a glowing white light appears
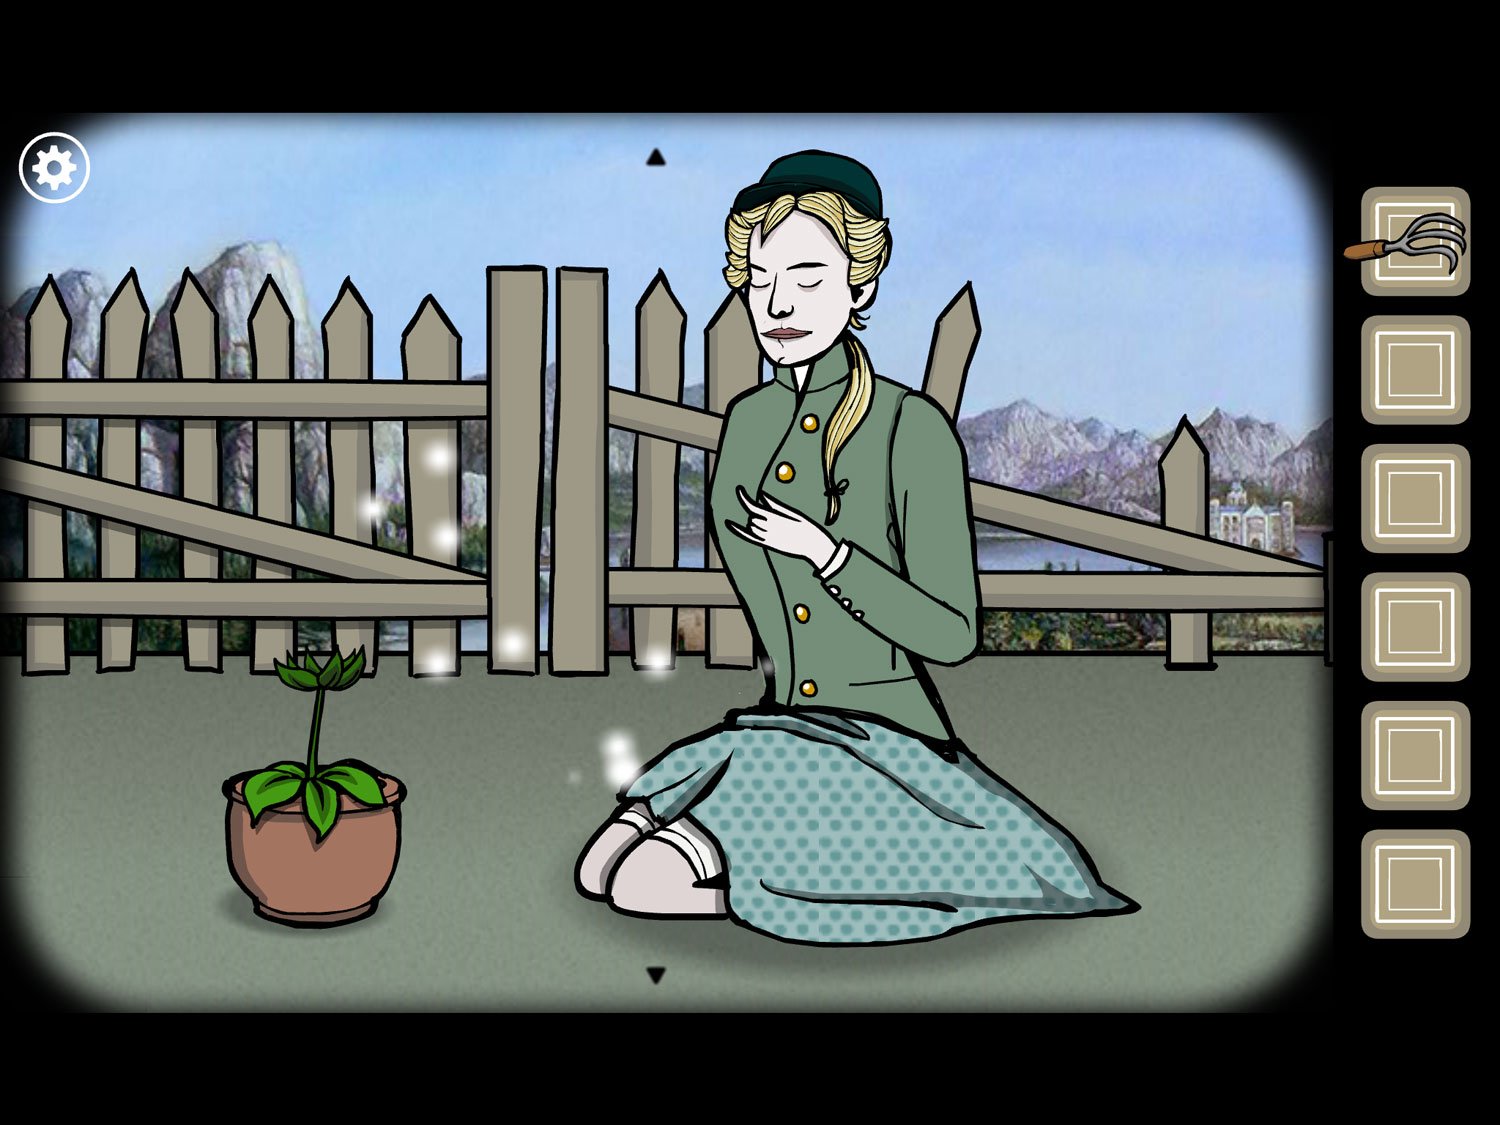
- Tap the glowing flower; it bursts apart into a series of lights. Tap Emma and the lights fly under her skirt
- Tap her again and she holds her stomach as if pregnant. Tap her one more time to make the white square and exit appear
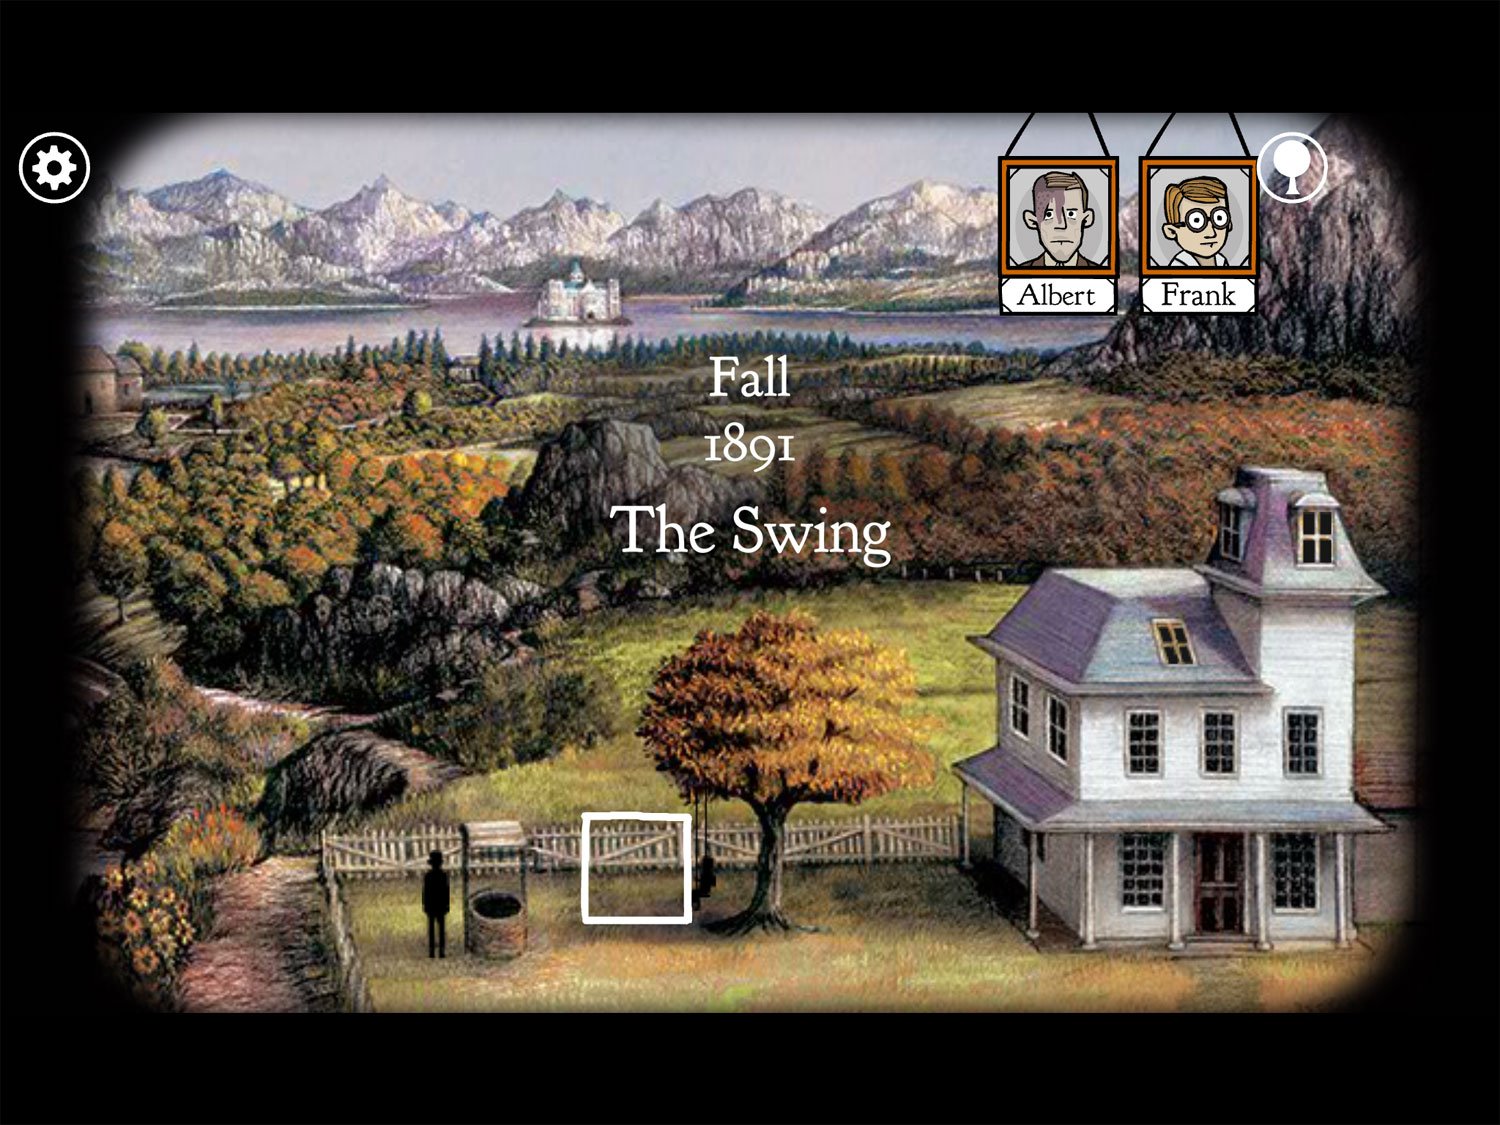
Level 11: The Swing, Fall 1891 – Albert, Frank
Location: Front yard, near the tree and well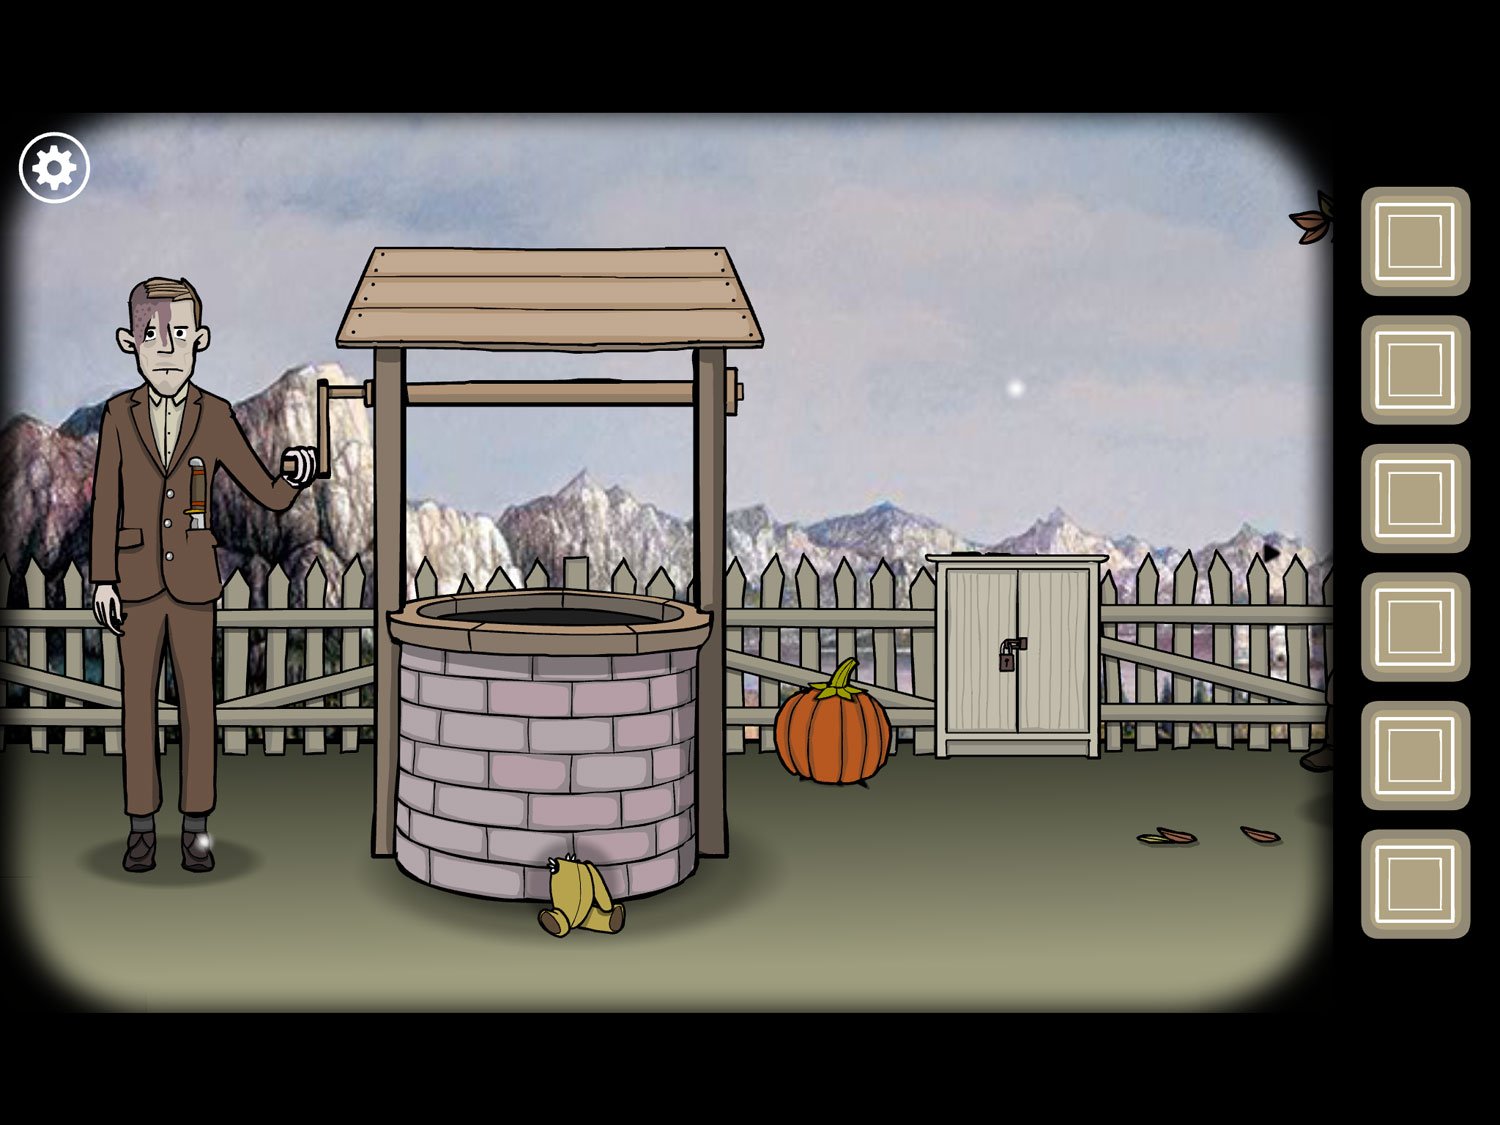
- Tap Albert to zoom in. Tap his pocket to get KNIFE
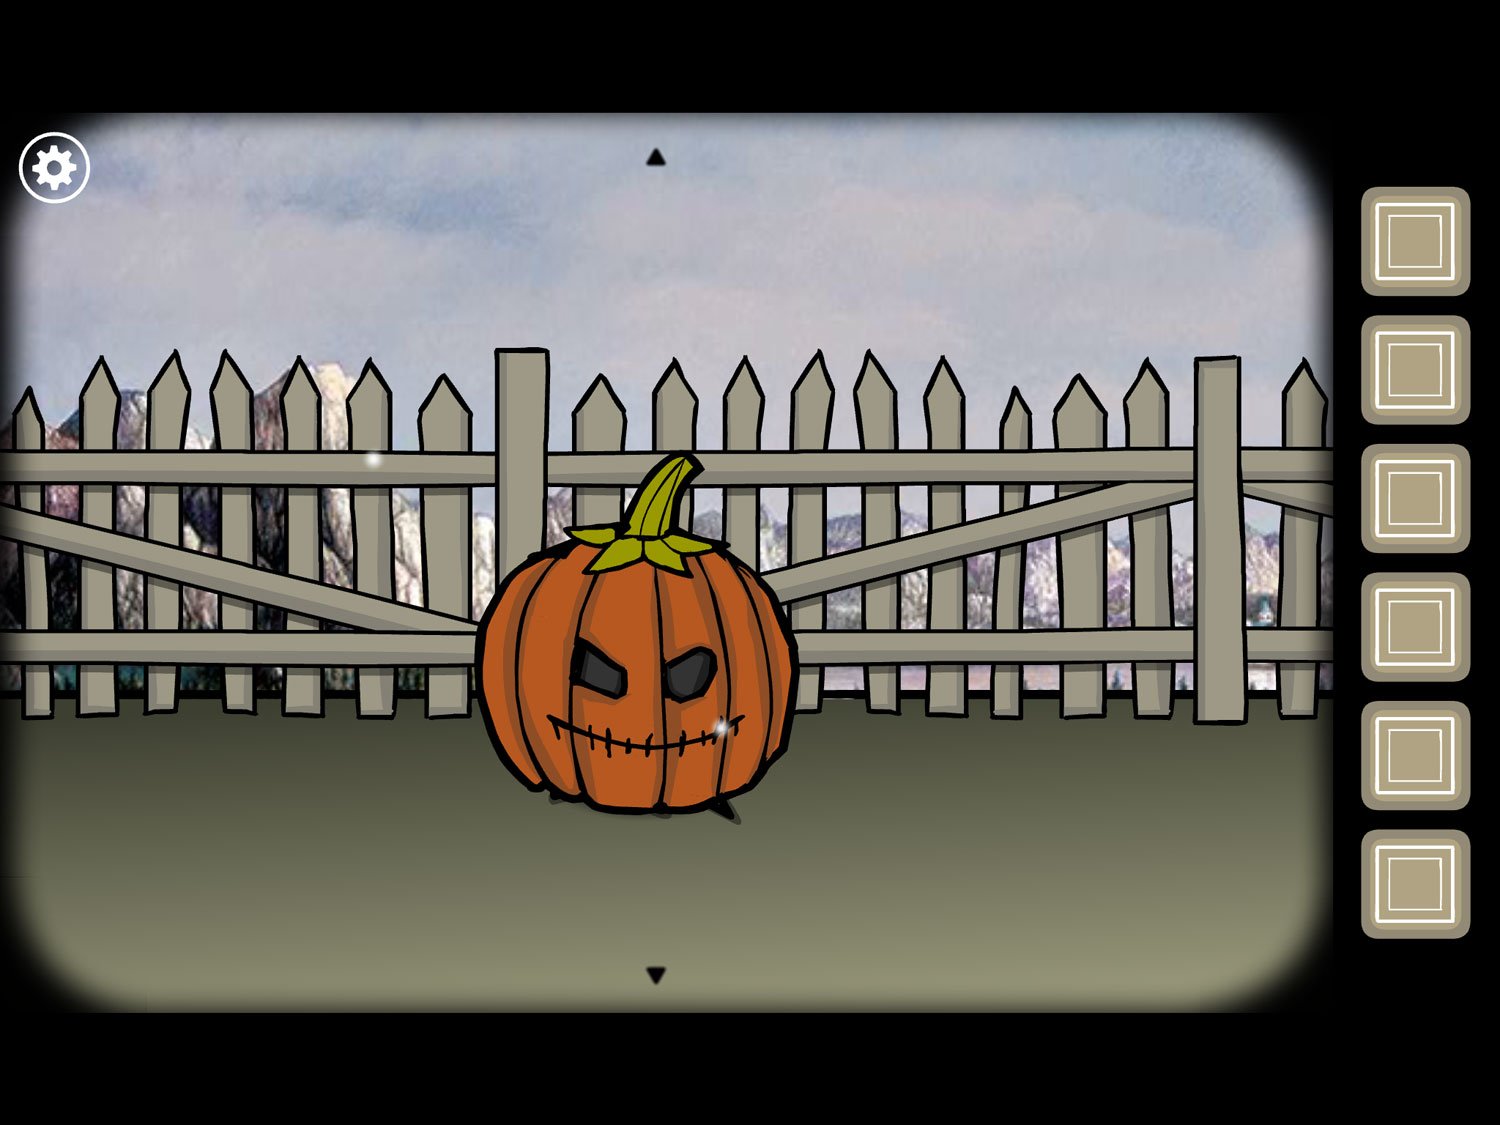
- Zoom out; tap the pumpkin. Use KNIFE on the pumpkin to carve it; tap it to get PUMPKIN MASK
- Zoom out; tap on Albert again. Give him PUMPKIN MASK
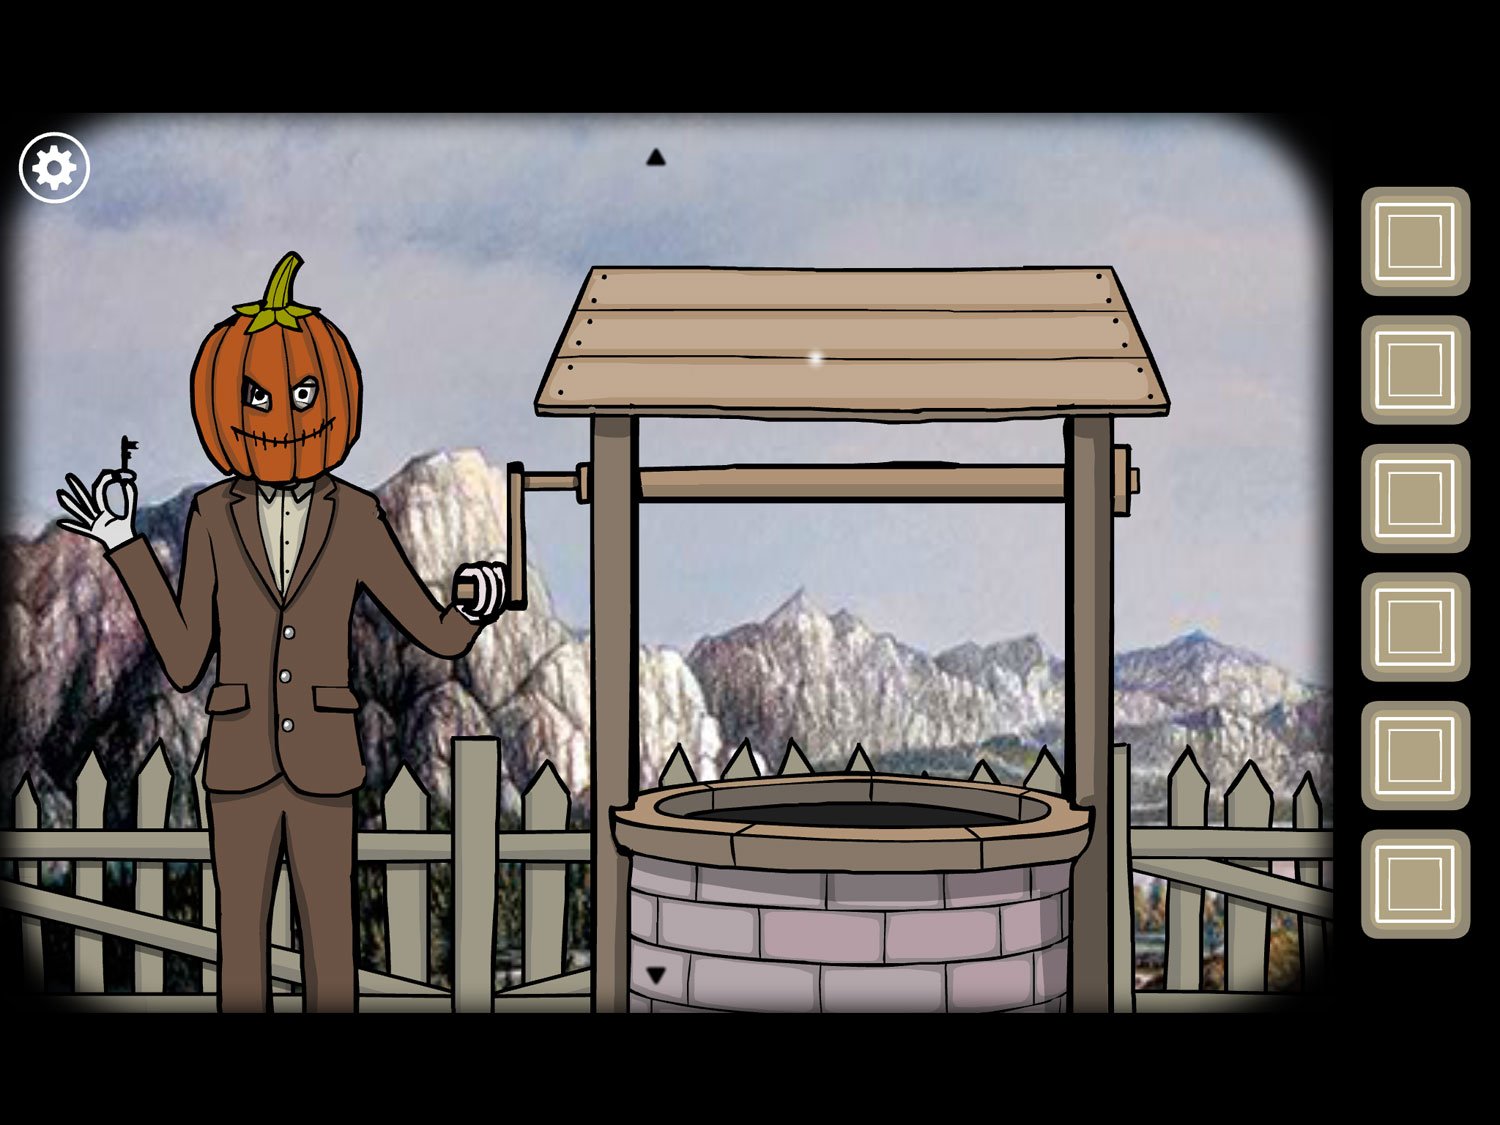
- Tap him after he’s wearing the mask; he’ll hold a key up in his hand. Take KEY
- Zoom out; tap the cabinet near the fence. Tap the yellow item behind the cabinet to get TEDDY ARM
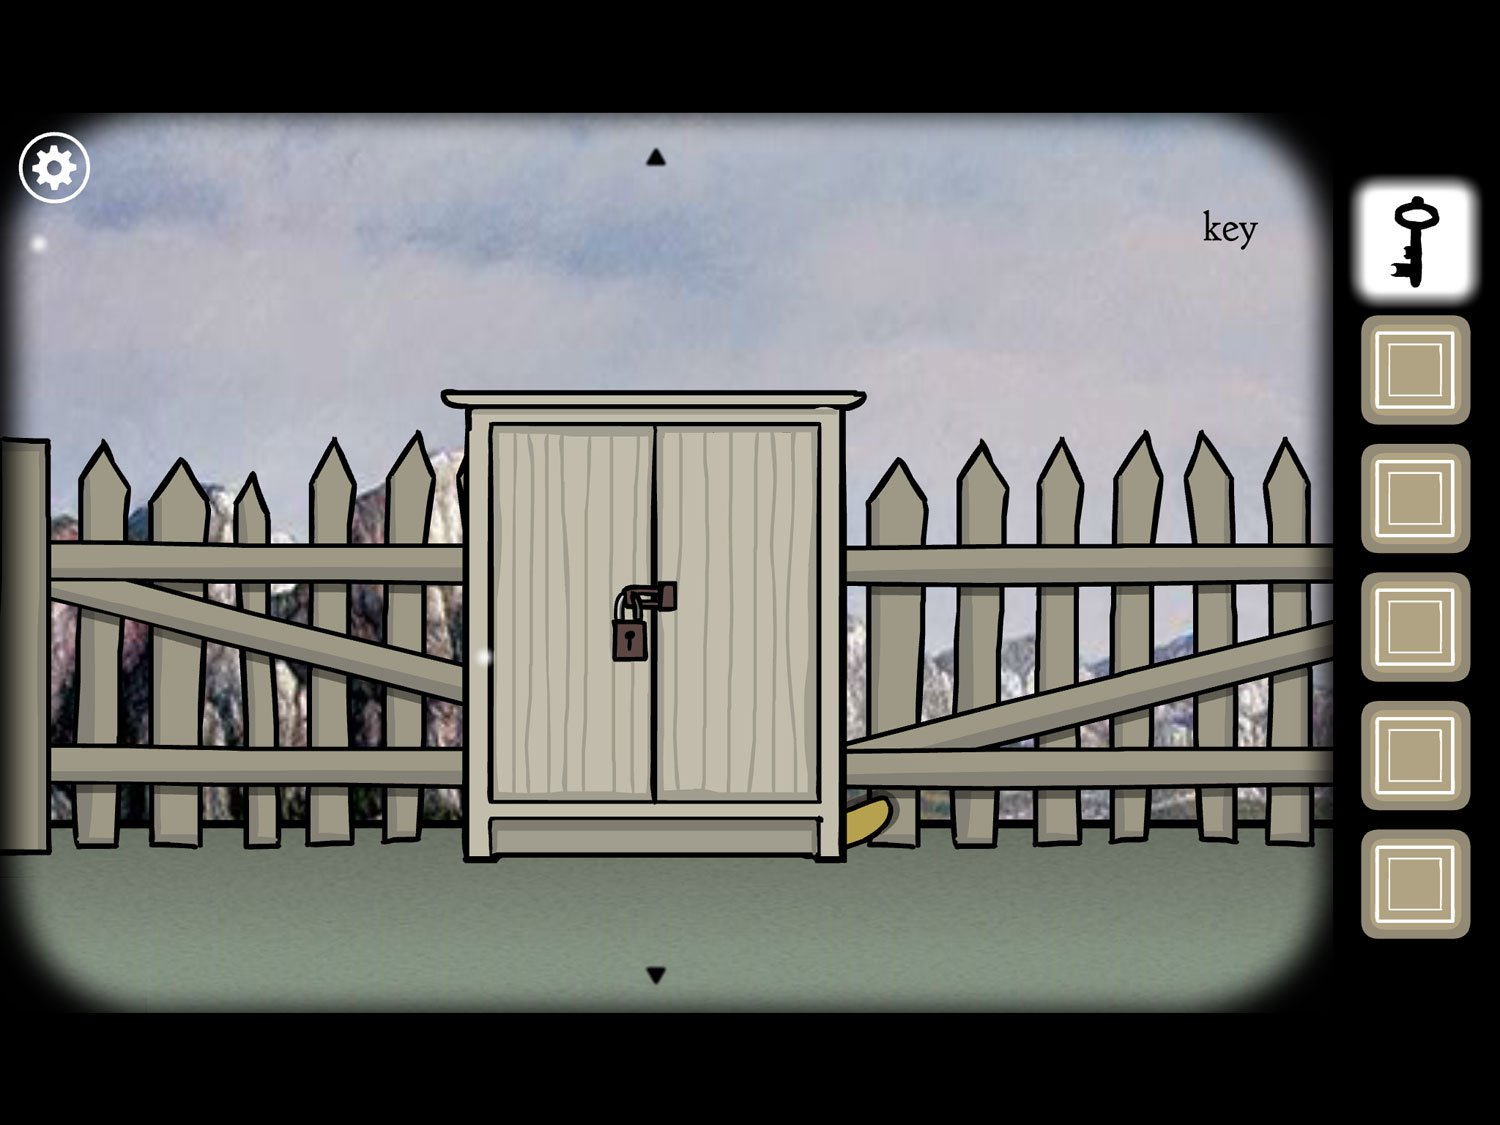
- Use KEY on the cabinet lock to open it. Tap to open the doors; take TEDDY HEAD
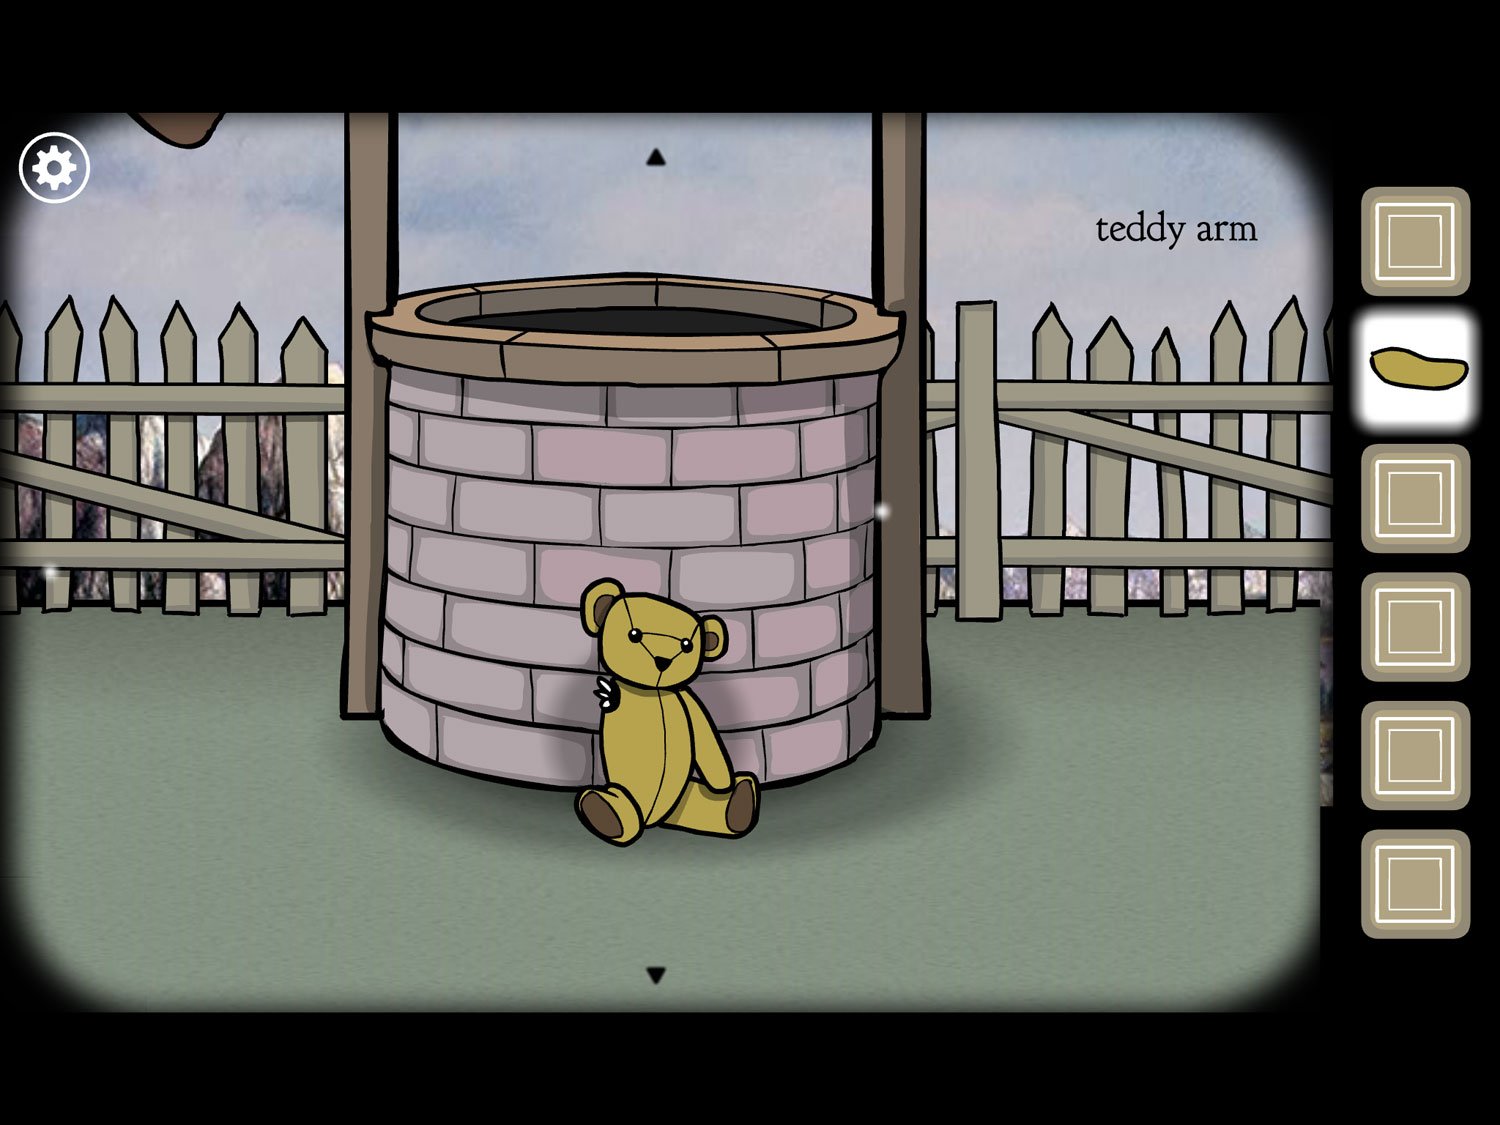
- Zoom out; tap on the teddy bear body near the well. Use TEDDY HEAD and TEDDY ARM on it. Tap the completed bear to get TEDDY BEAR
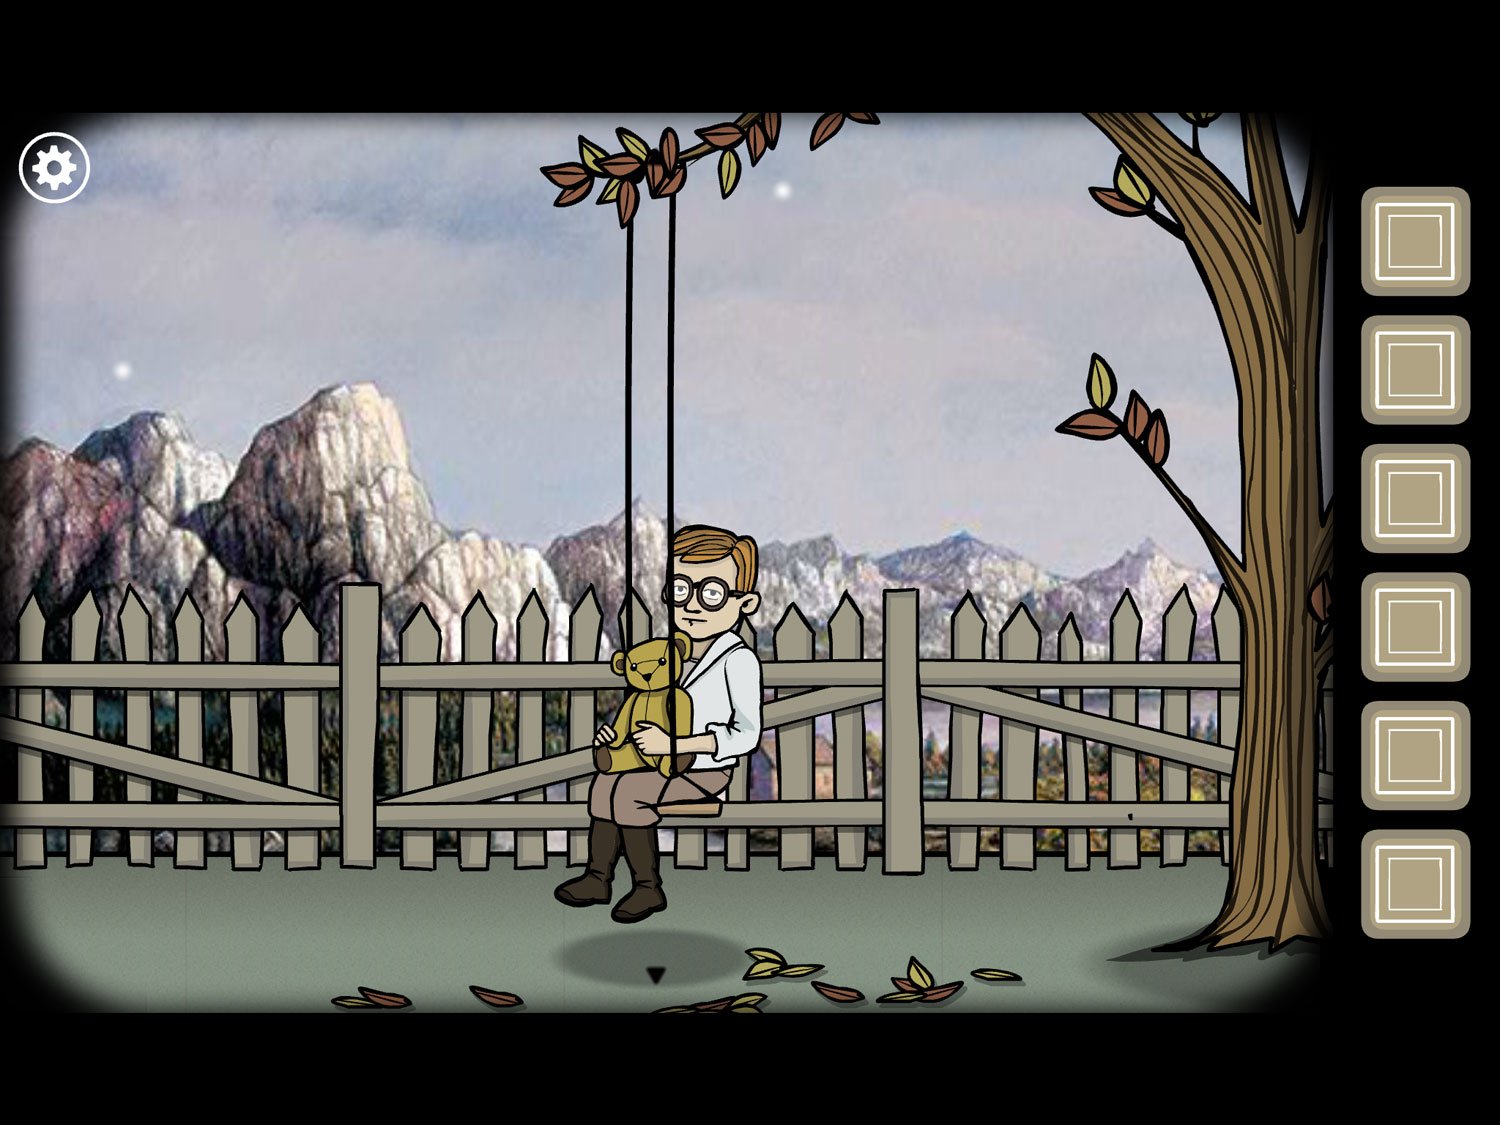
- Zoom out. Drag over to Frank on the swing. Give him TEDDY BEAR
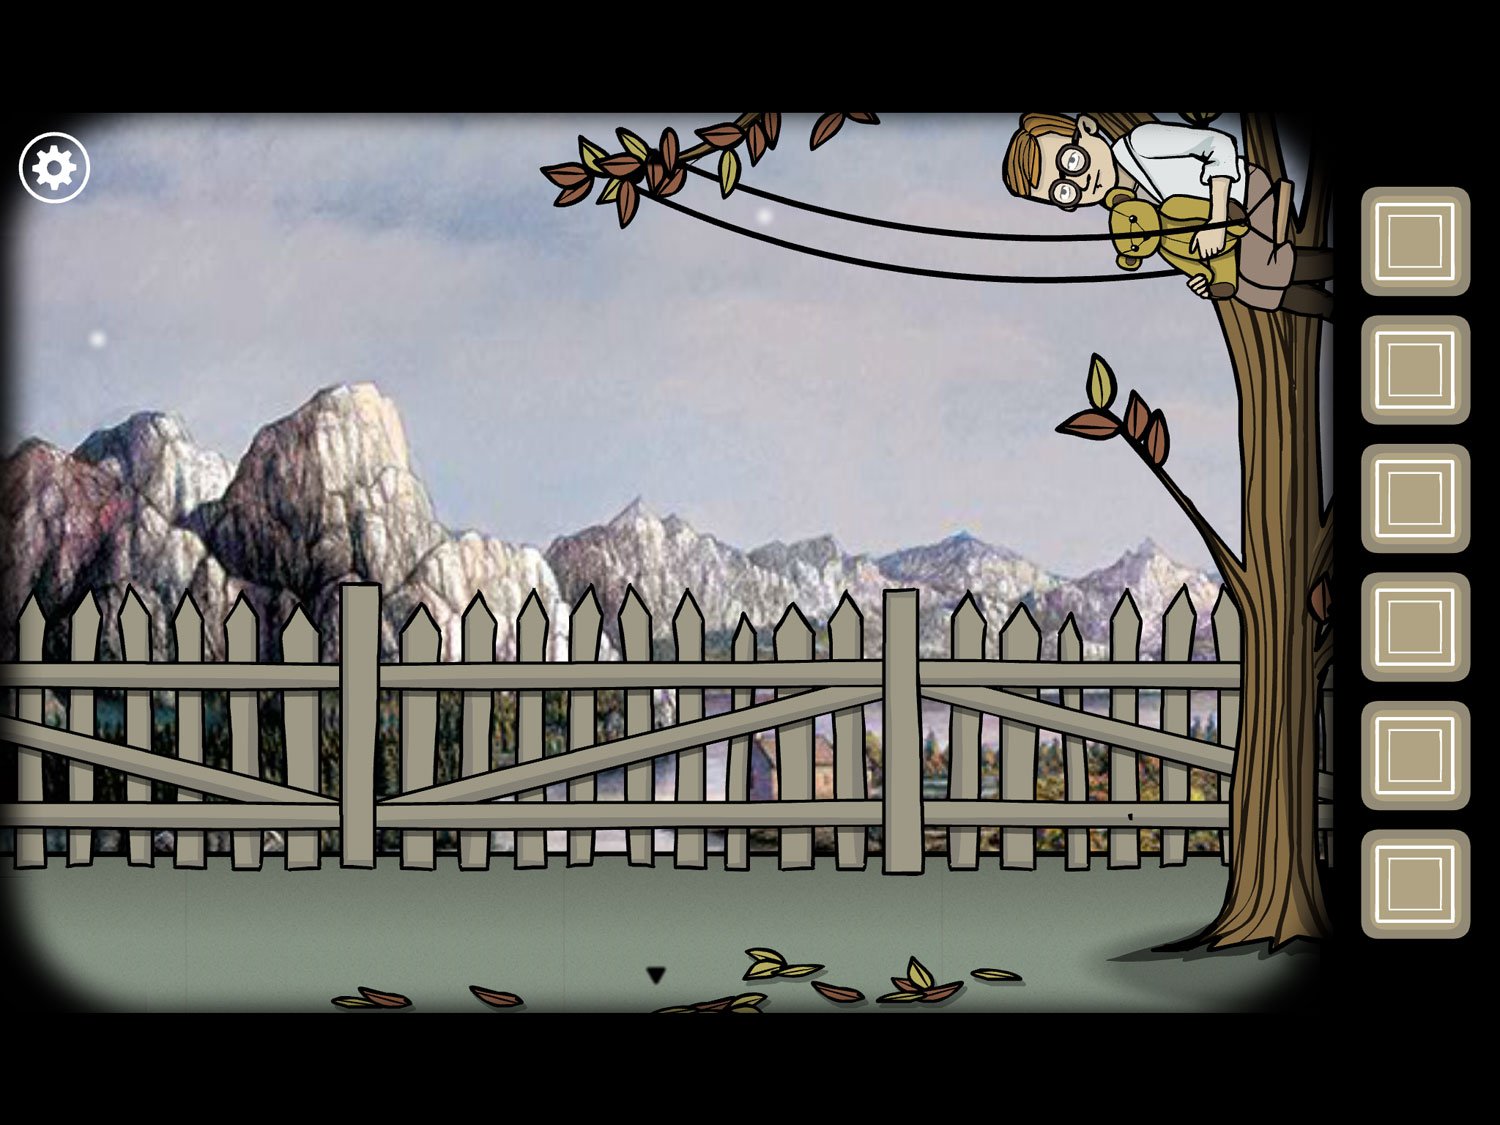
- Now that Frank has his bear, swing him on the swing: drag him all the way up to the right, pulling back as far as you can. Let go once he’s at the top of the trajectory
- He should swing down and then fly off the swing; zoom out. Tap on the fallen bear to get TEDDY BEAR again
- Frank is hanging from the bar of the well. Tap on him
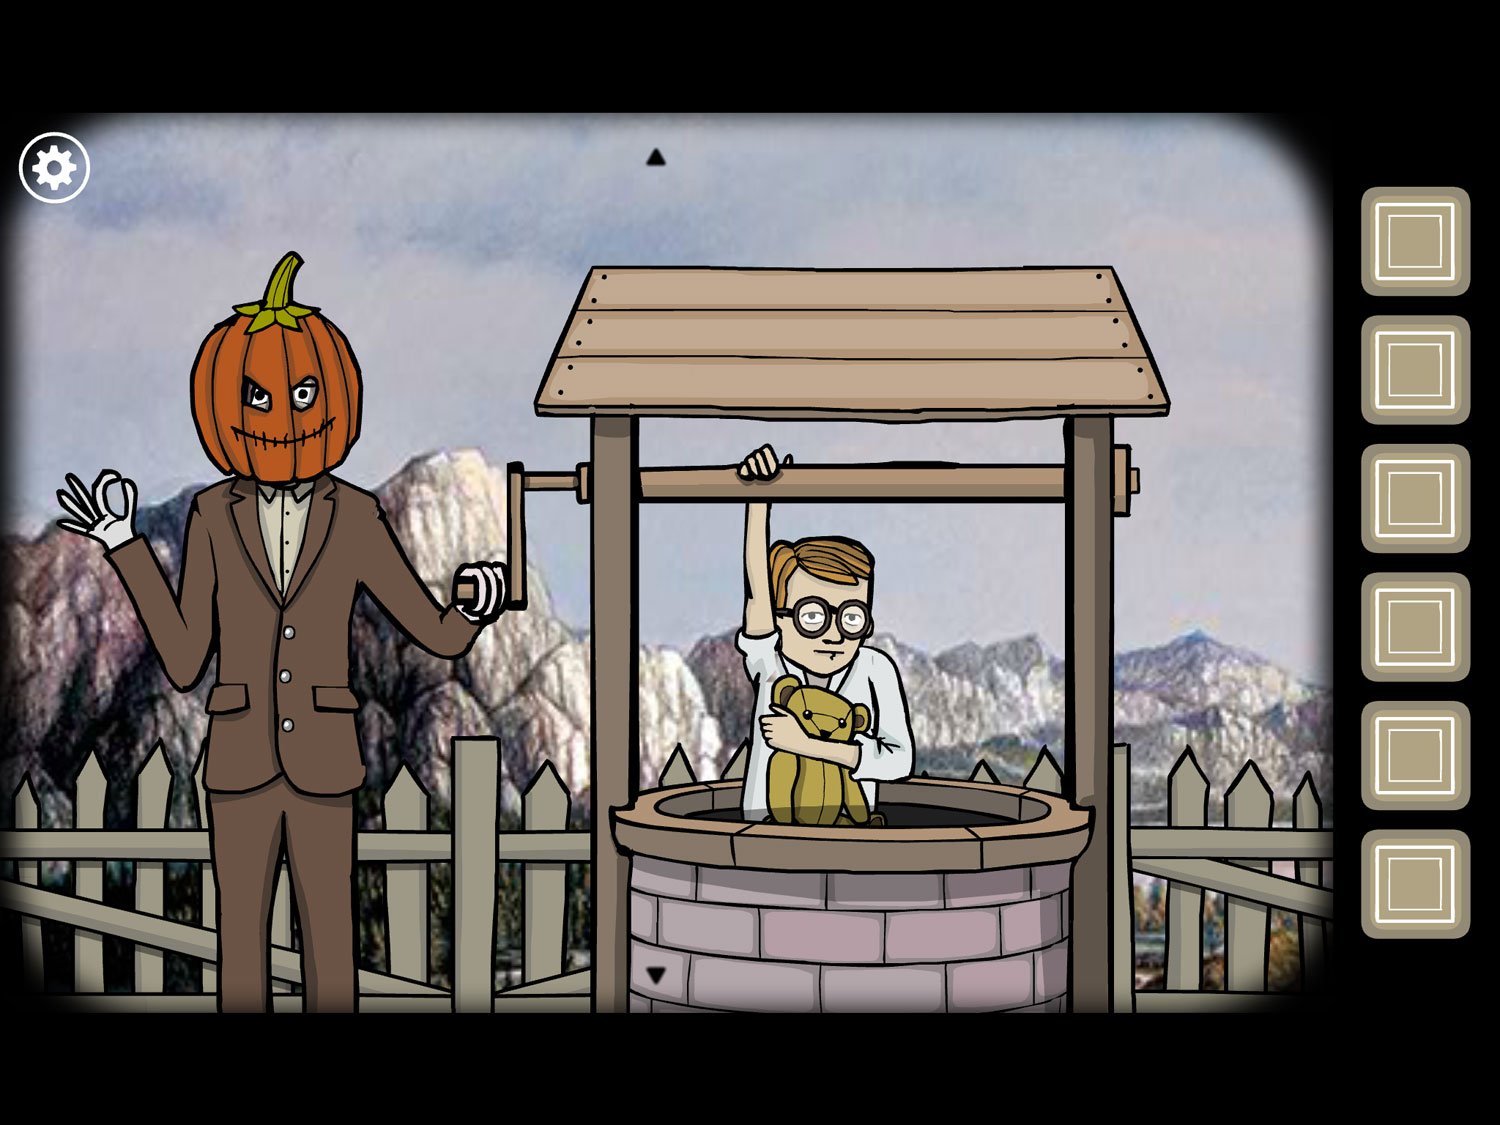
- Give Frank TEDDY BEAR
- Tap on Albert. He spins the well bar; Frank falls off and into the well. (Keep tapping Albert if Frank doesn’t fall off the first time.) Tap Albert again; he white square and exit appears

Level 12: The Search, Fall 1891 – Emma
Location: Upstairs bedroom near the balcony and shrine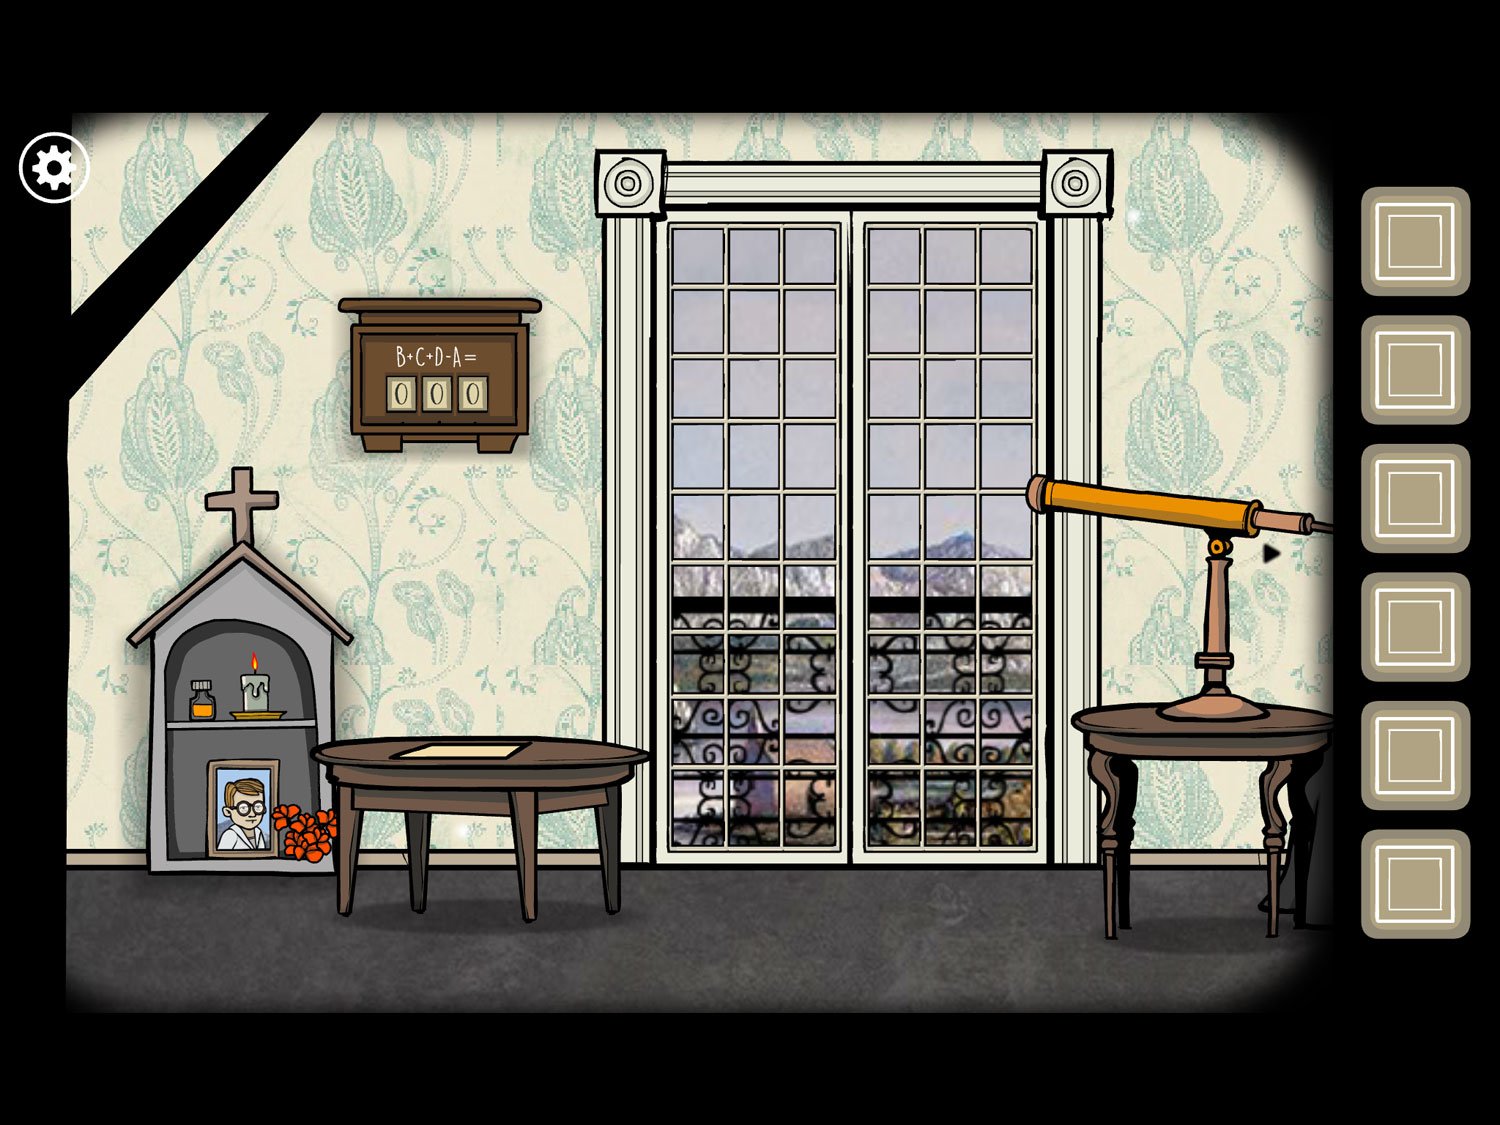
- Tap the wooden shelf left of the window. There is a code here: “B + C + D – A = “
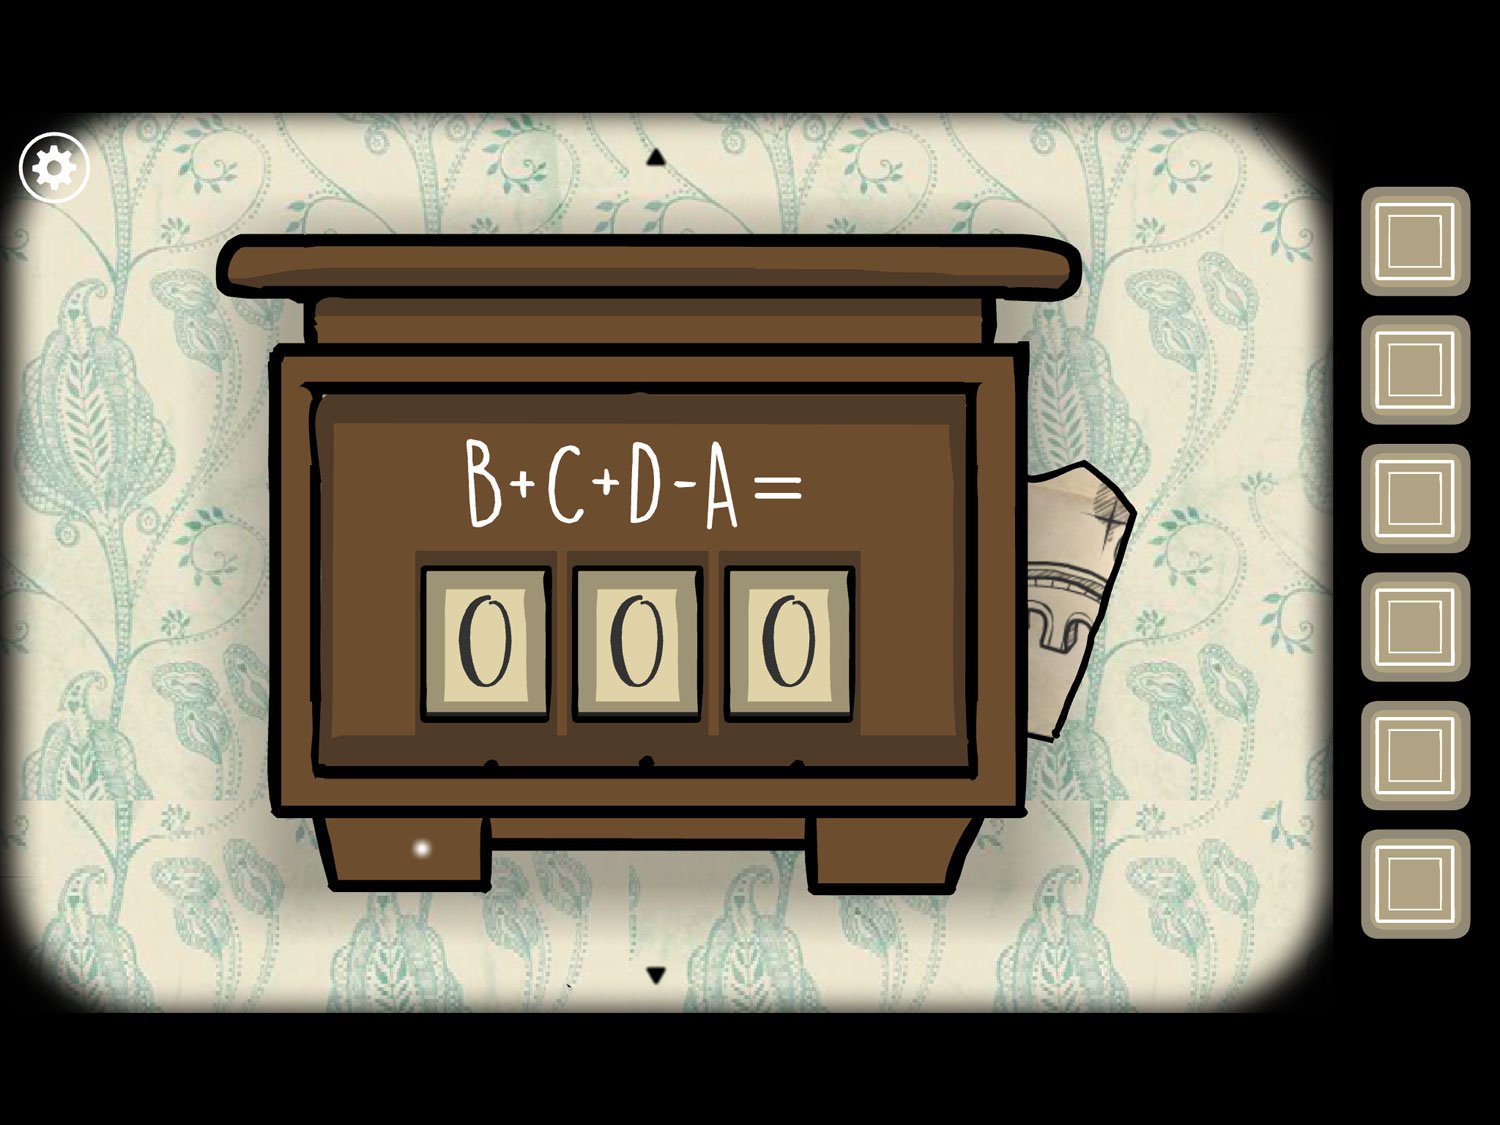
- Tap the paper peeking out behind the shelf to get PIECE OF PAPER
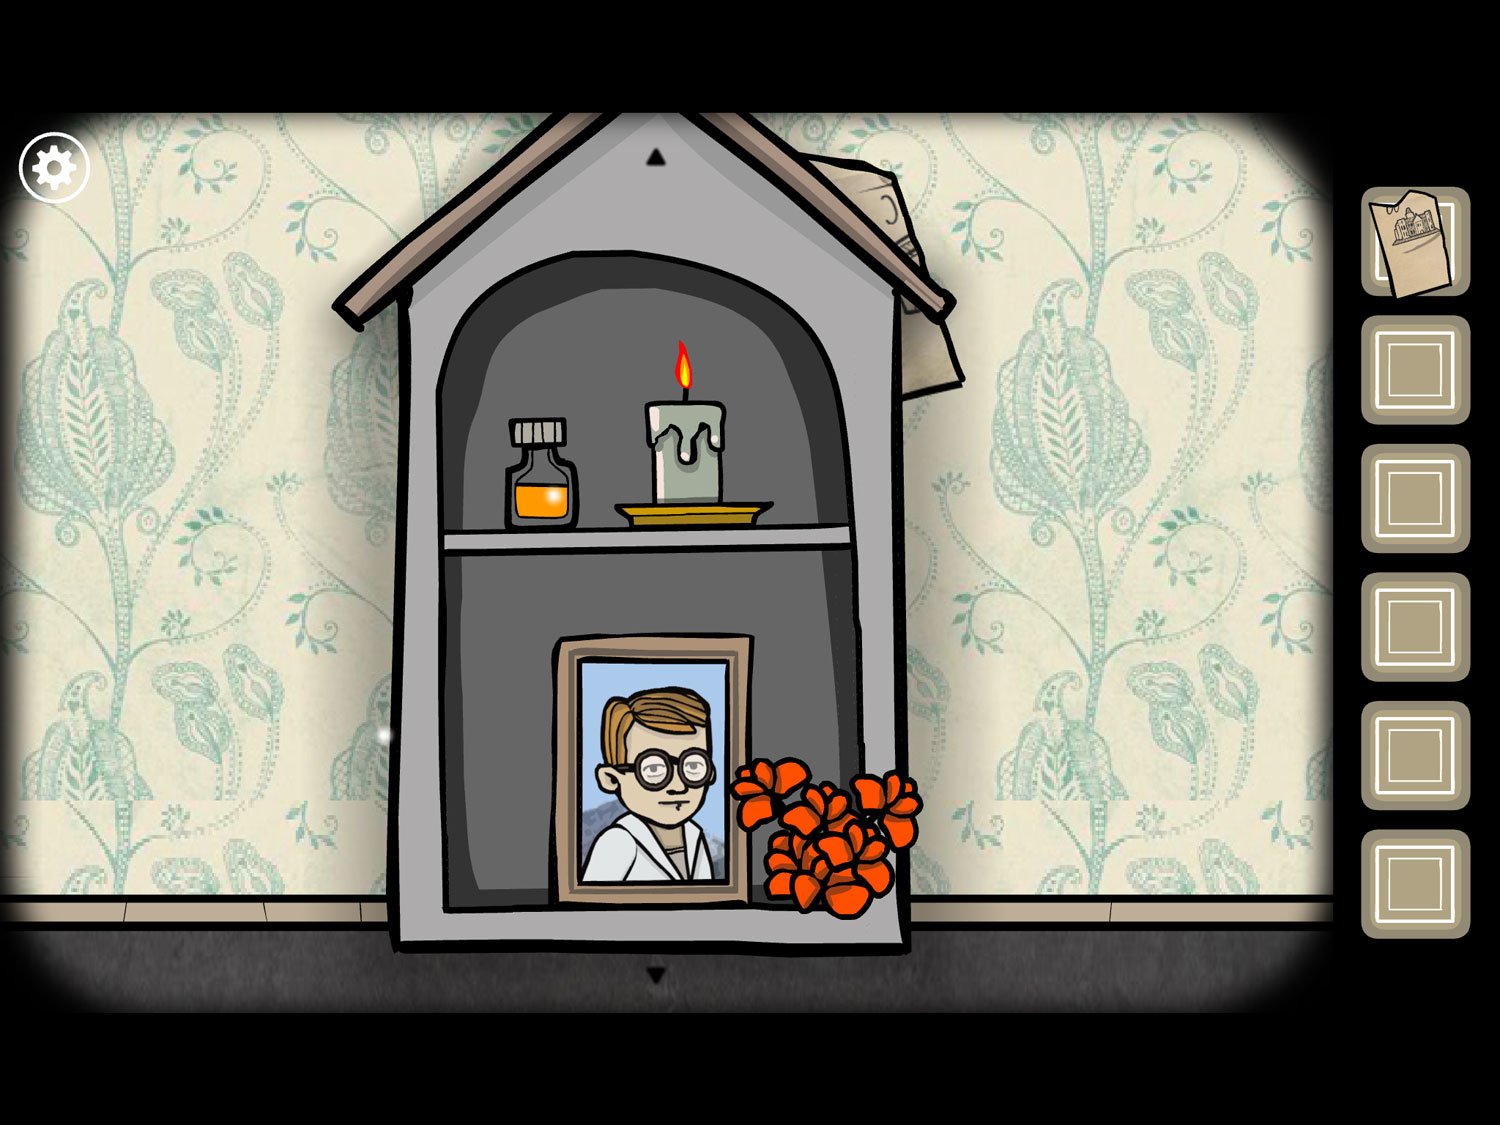
- Leave this close-up. Tap on the shrine on the floor. Tap the paper behind it to get PIECE OF PAPER (2)
- Tap the orange bottle to get INK. Exit the shrine
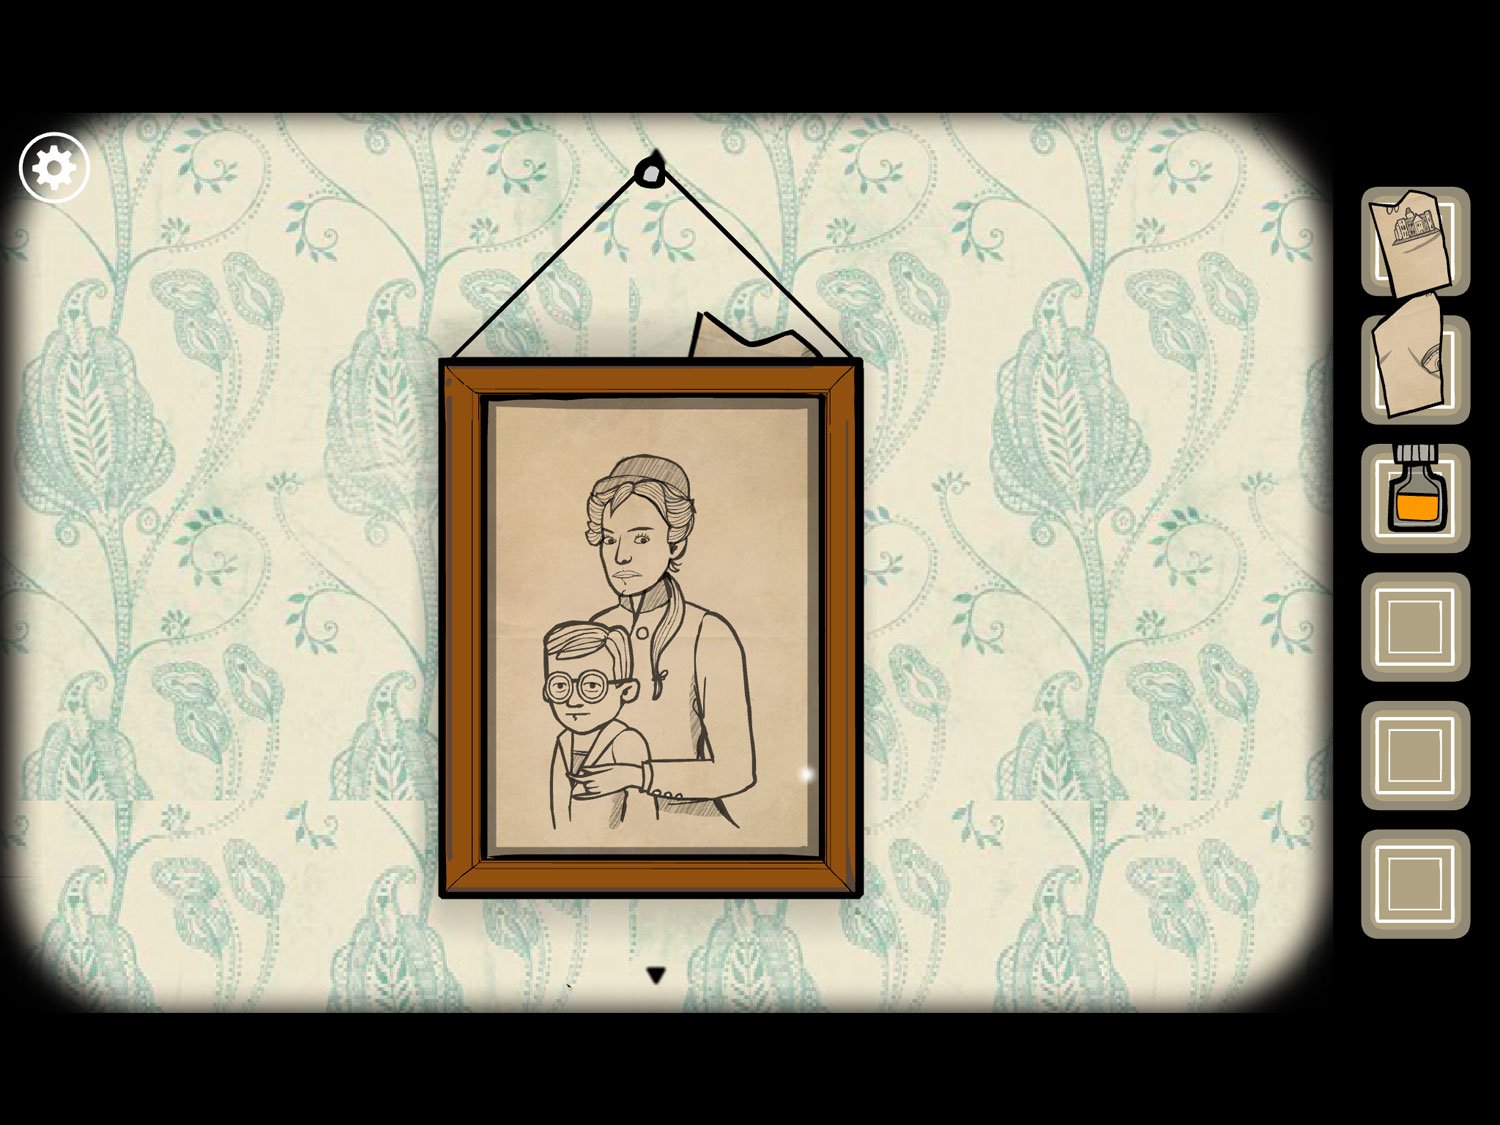
- Drag right and tap the picture on the far right wall to zoom in. Tap the paper here to get PIECE OF PAPER (3). Zoom out
- Drag left and tap the table near the shrine. Use all three PIECEs OF PAPER on this table
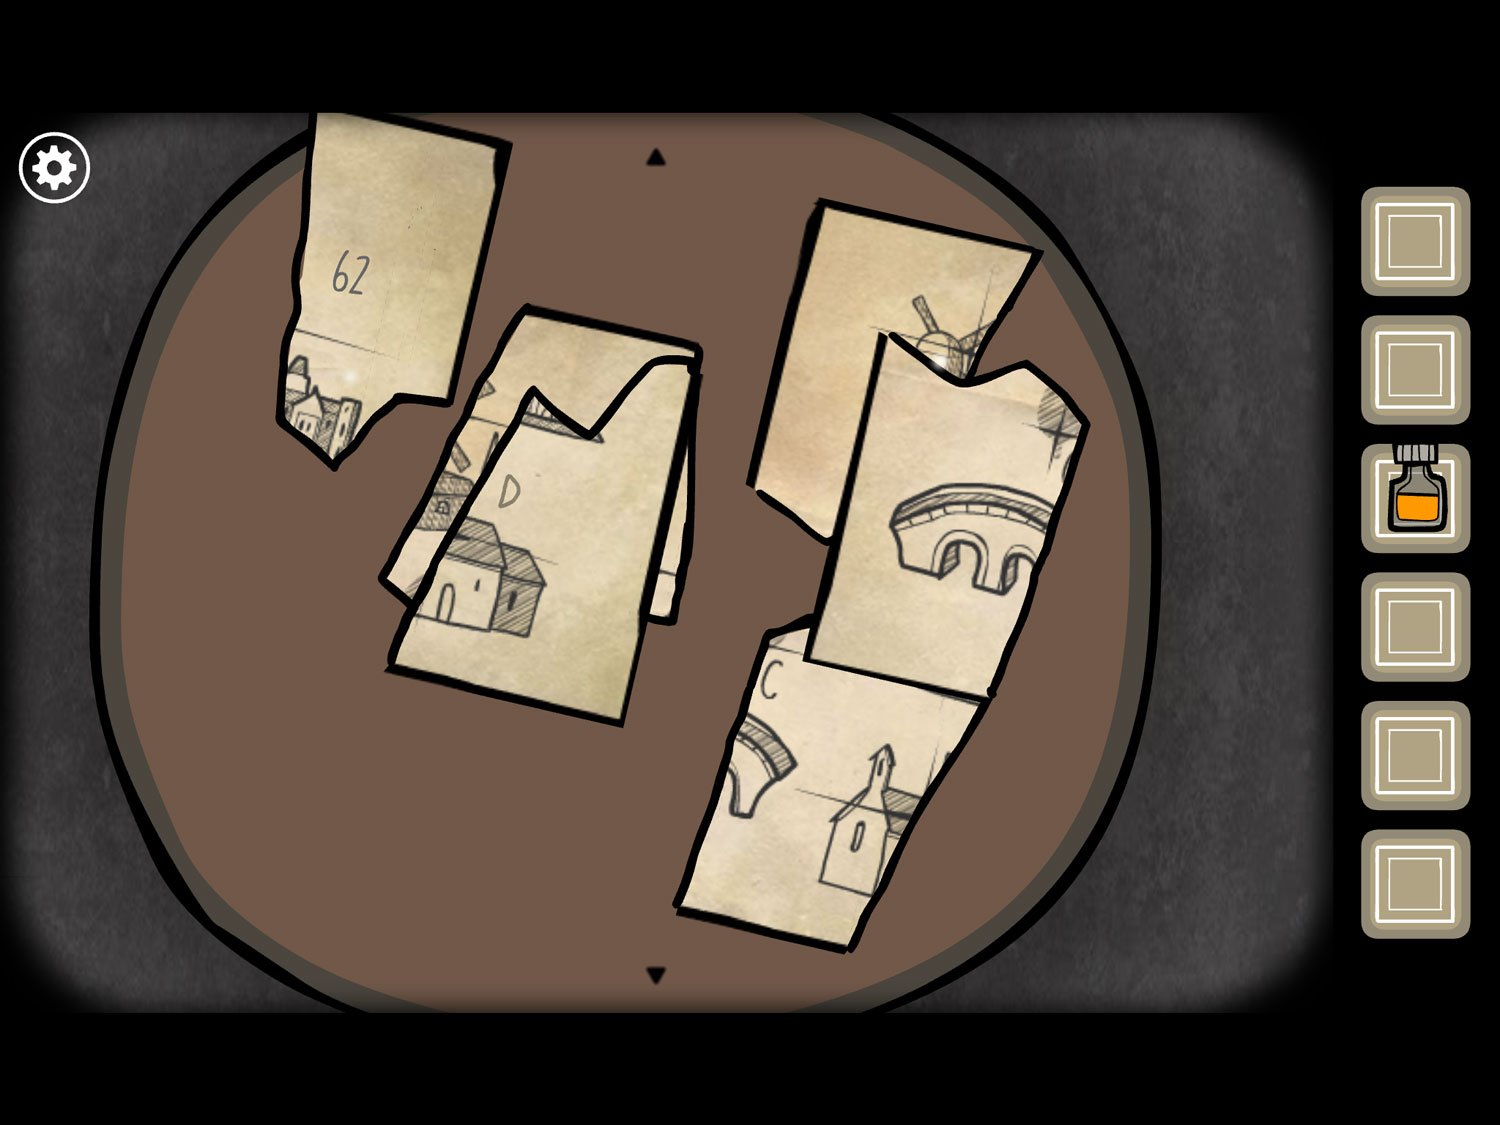
- Arrange the six pieces to form a drawing of the Rusty Lake area as shown above. To actually get the pieces to snap together as a whole, make sure they’re within the two corner drawings on the table
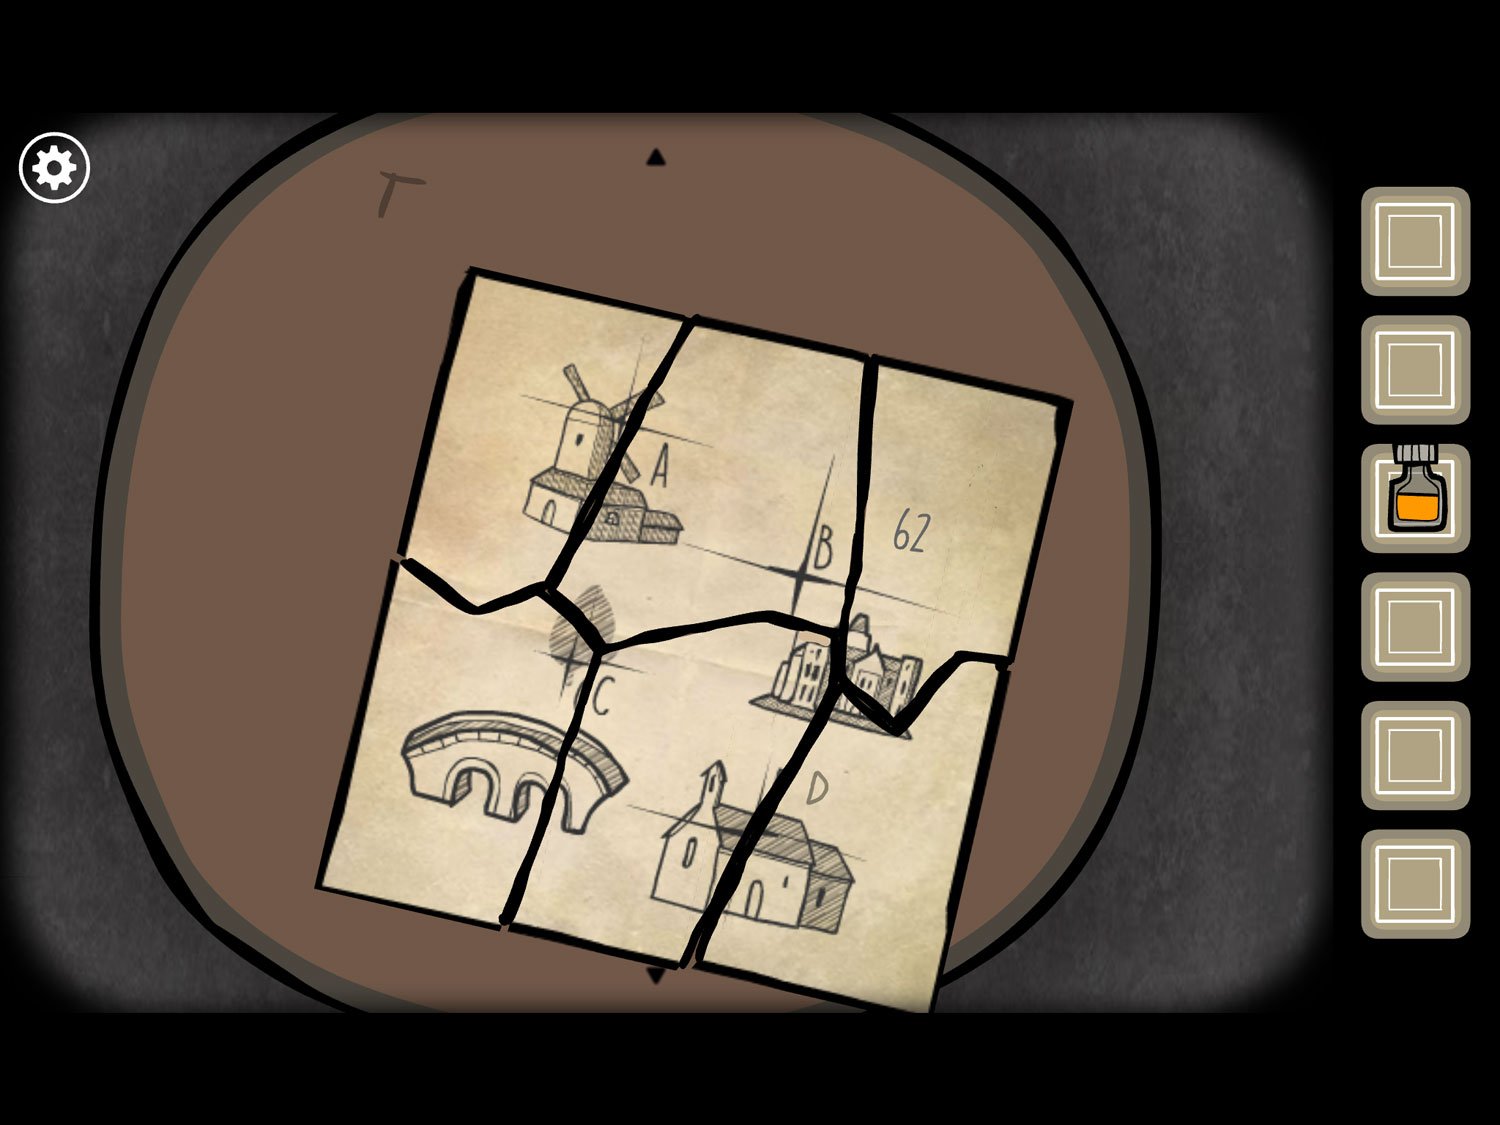
- When put together the drawing shows the windmill as A, a spot to the upper left of the hotel as B (with 62 above it), a tree above the bridge as C, and a spot in the middle of the roof of the church as D
- Exit this close-up. Tap on the window to open it
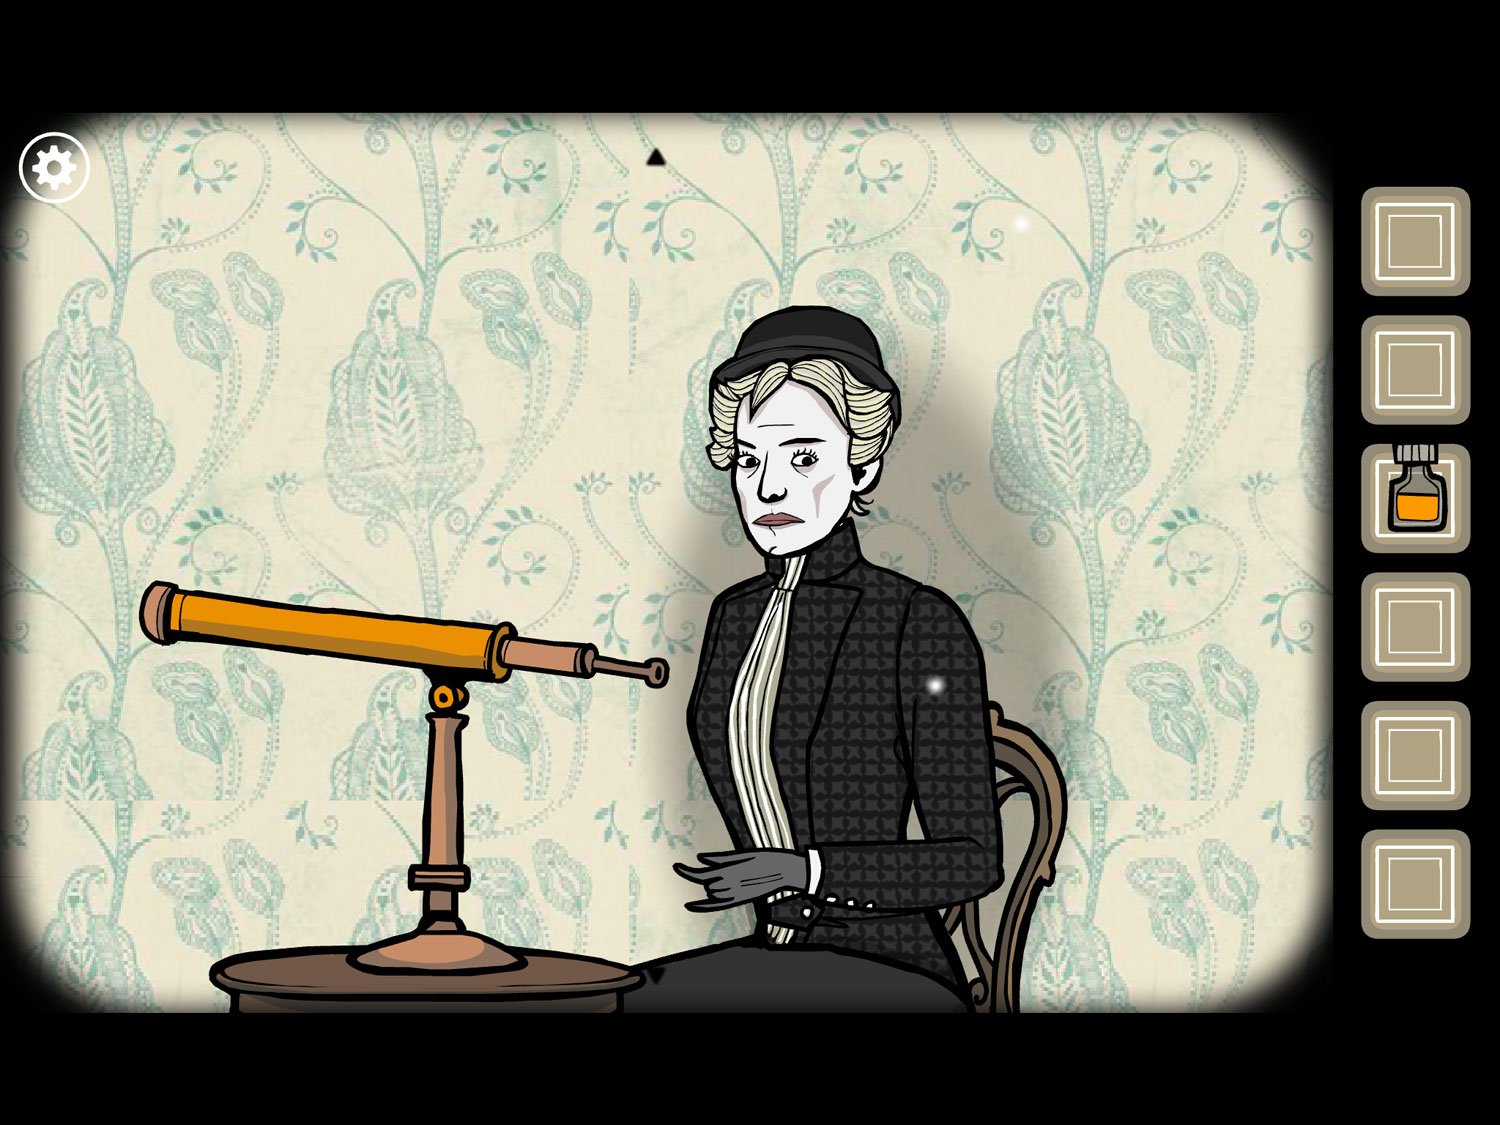
- Tap on Emma to zoom in; tap her telescope. We need to find the coordinates of the spots shown on the drawing we just completed
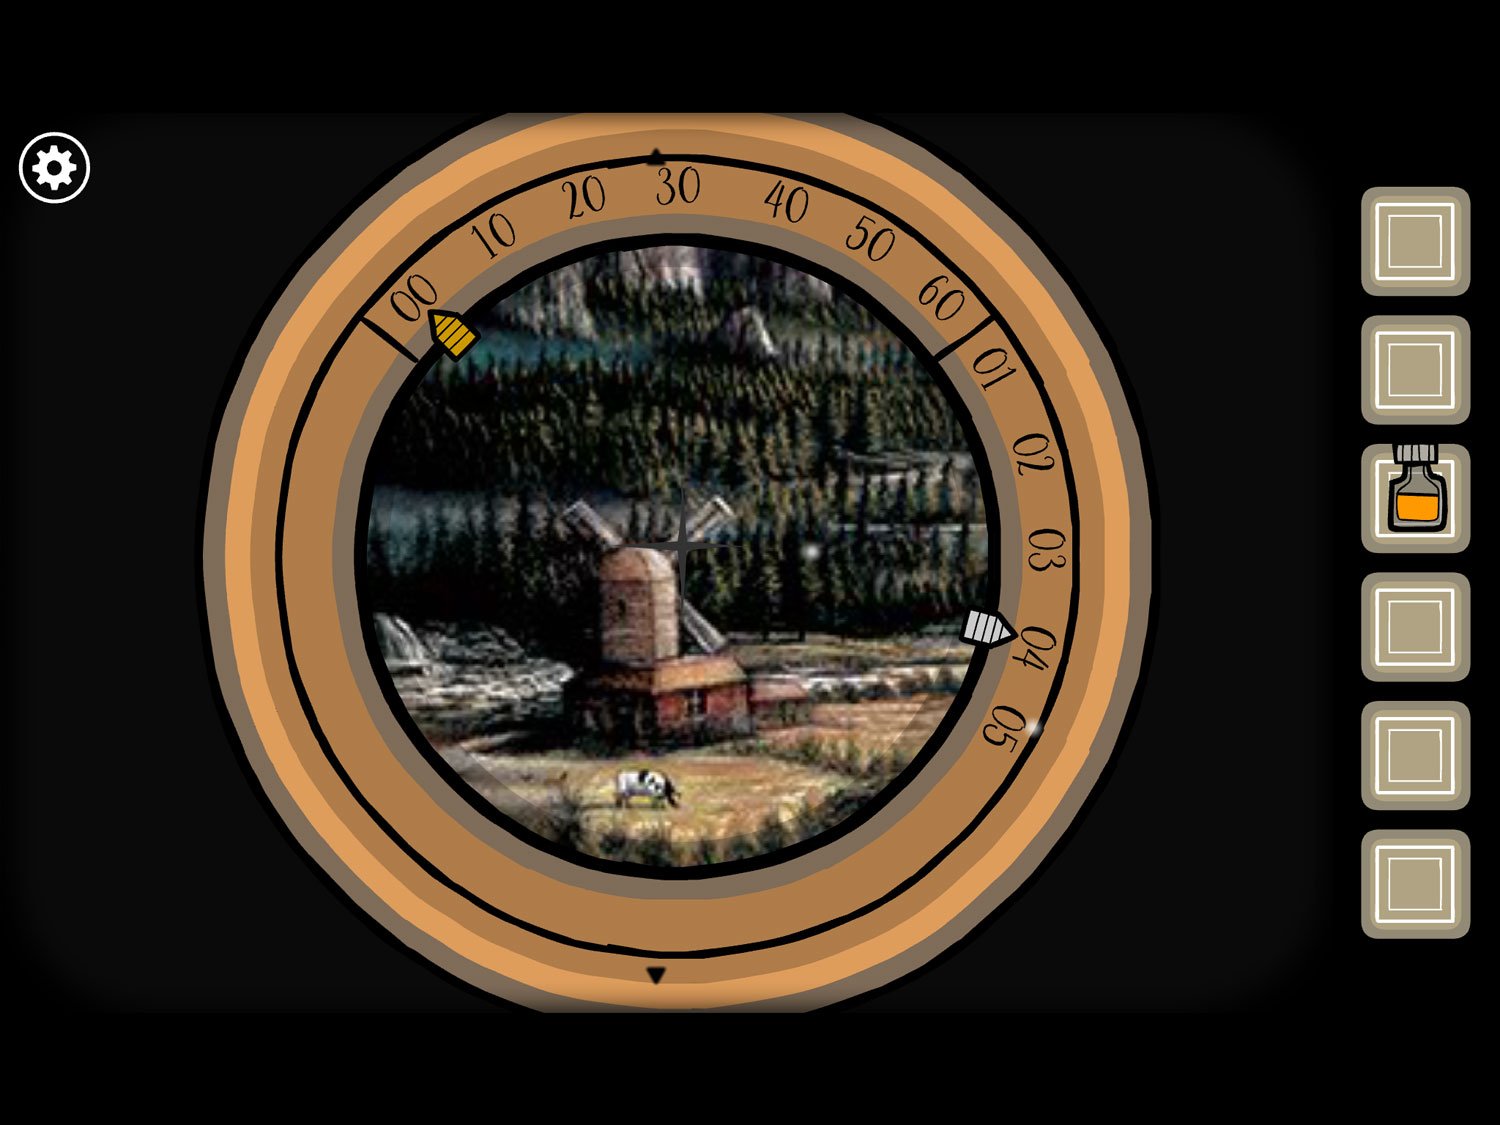
- A, the top of the windmill, is located at “00 04”
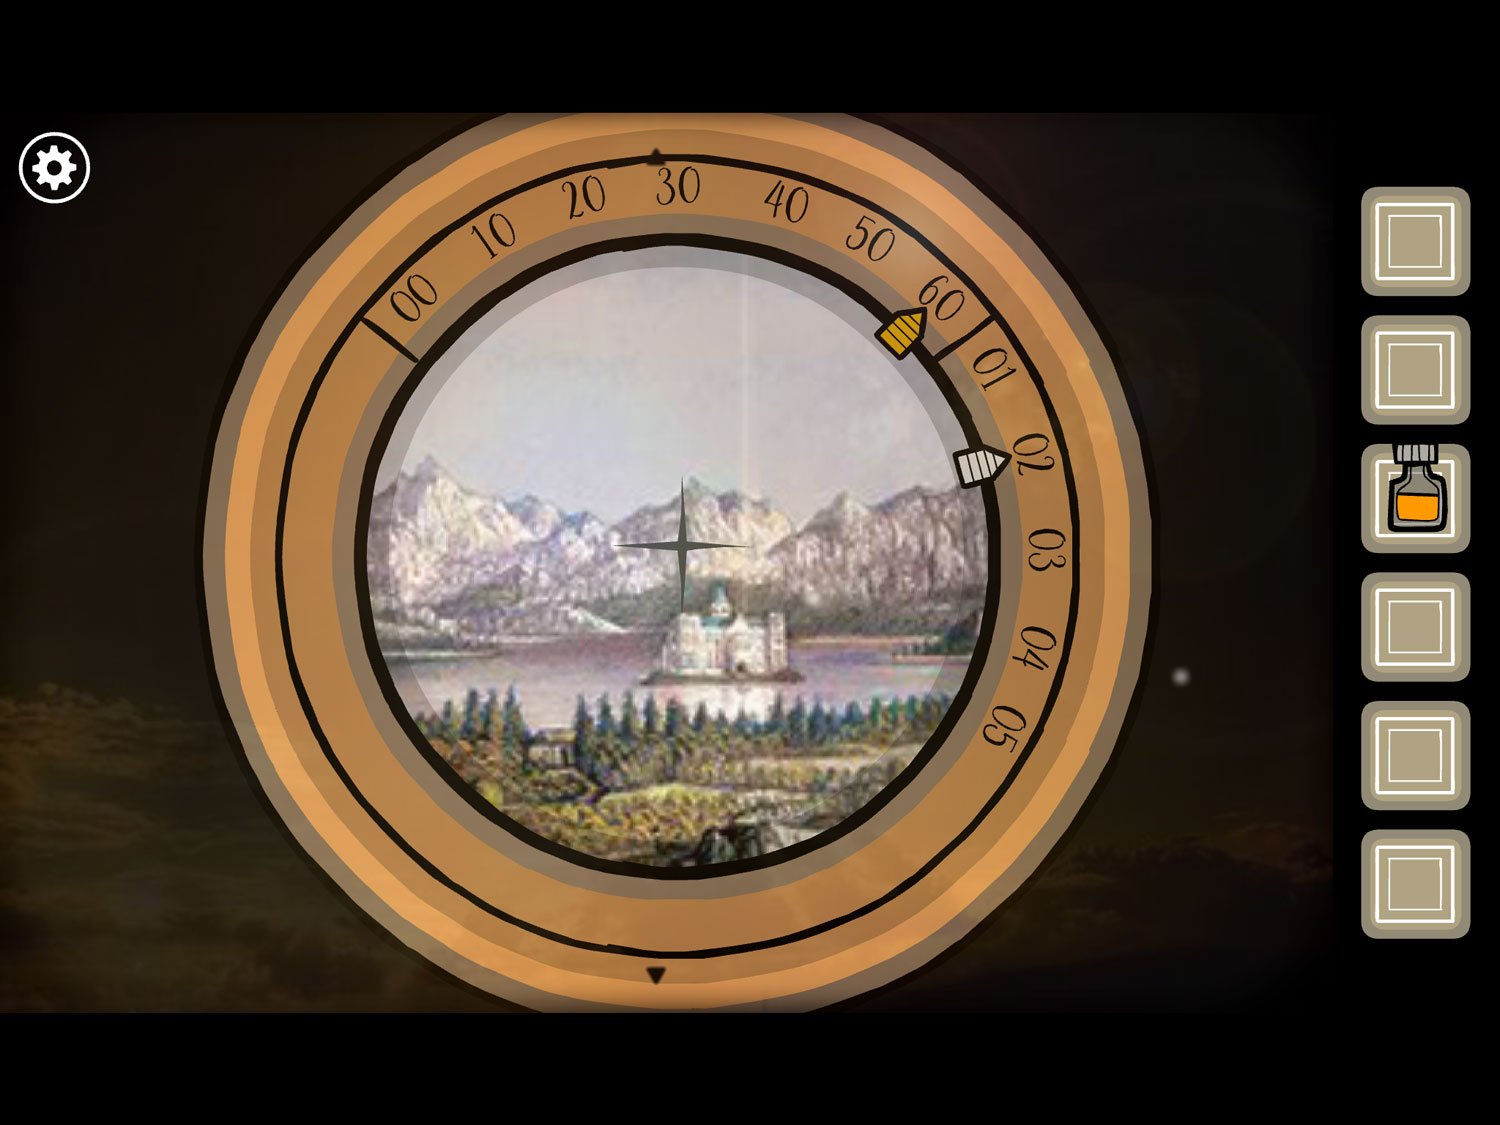
- B, the upper left of the hotel, is “60 02” Note: when you land on this point, sunlight will flash and Harvey the bird will land on the railing outside the window. You can continue looking at coordinates
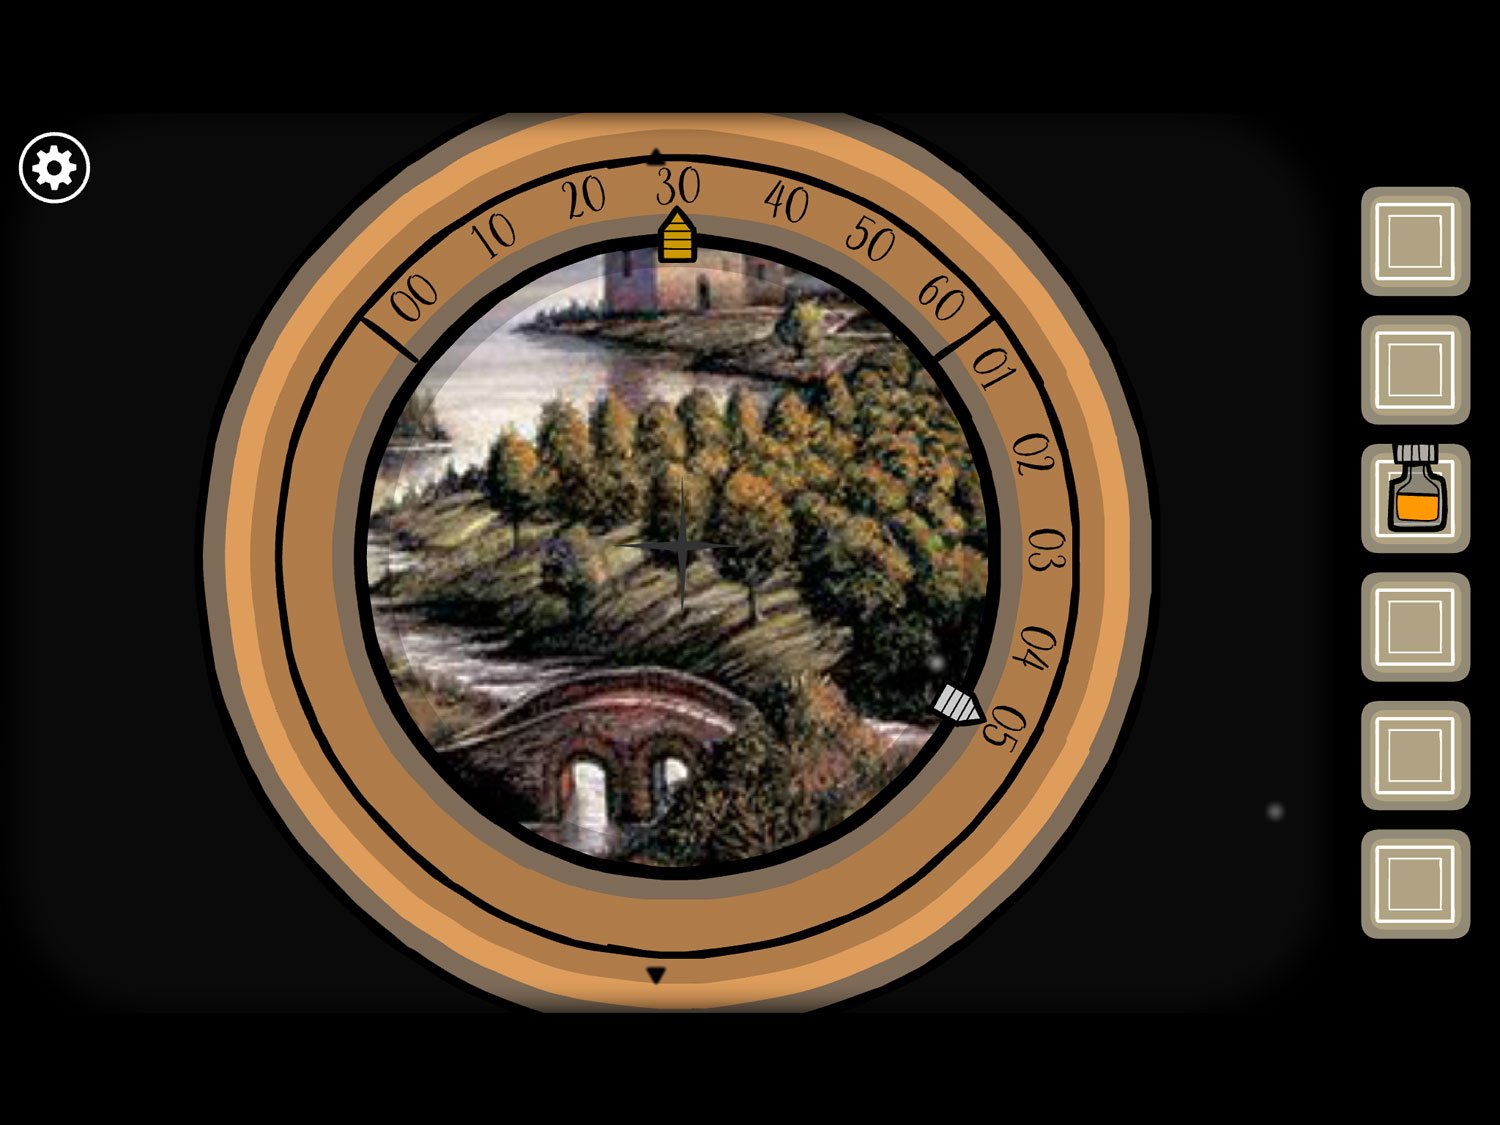
- C, the tree above the bridge, is “30 05”
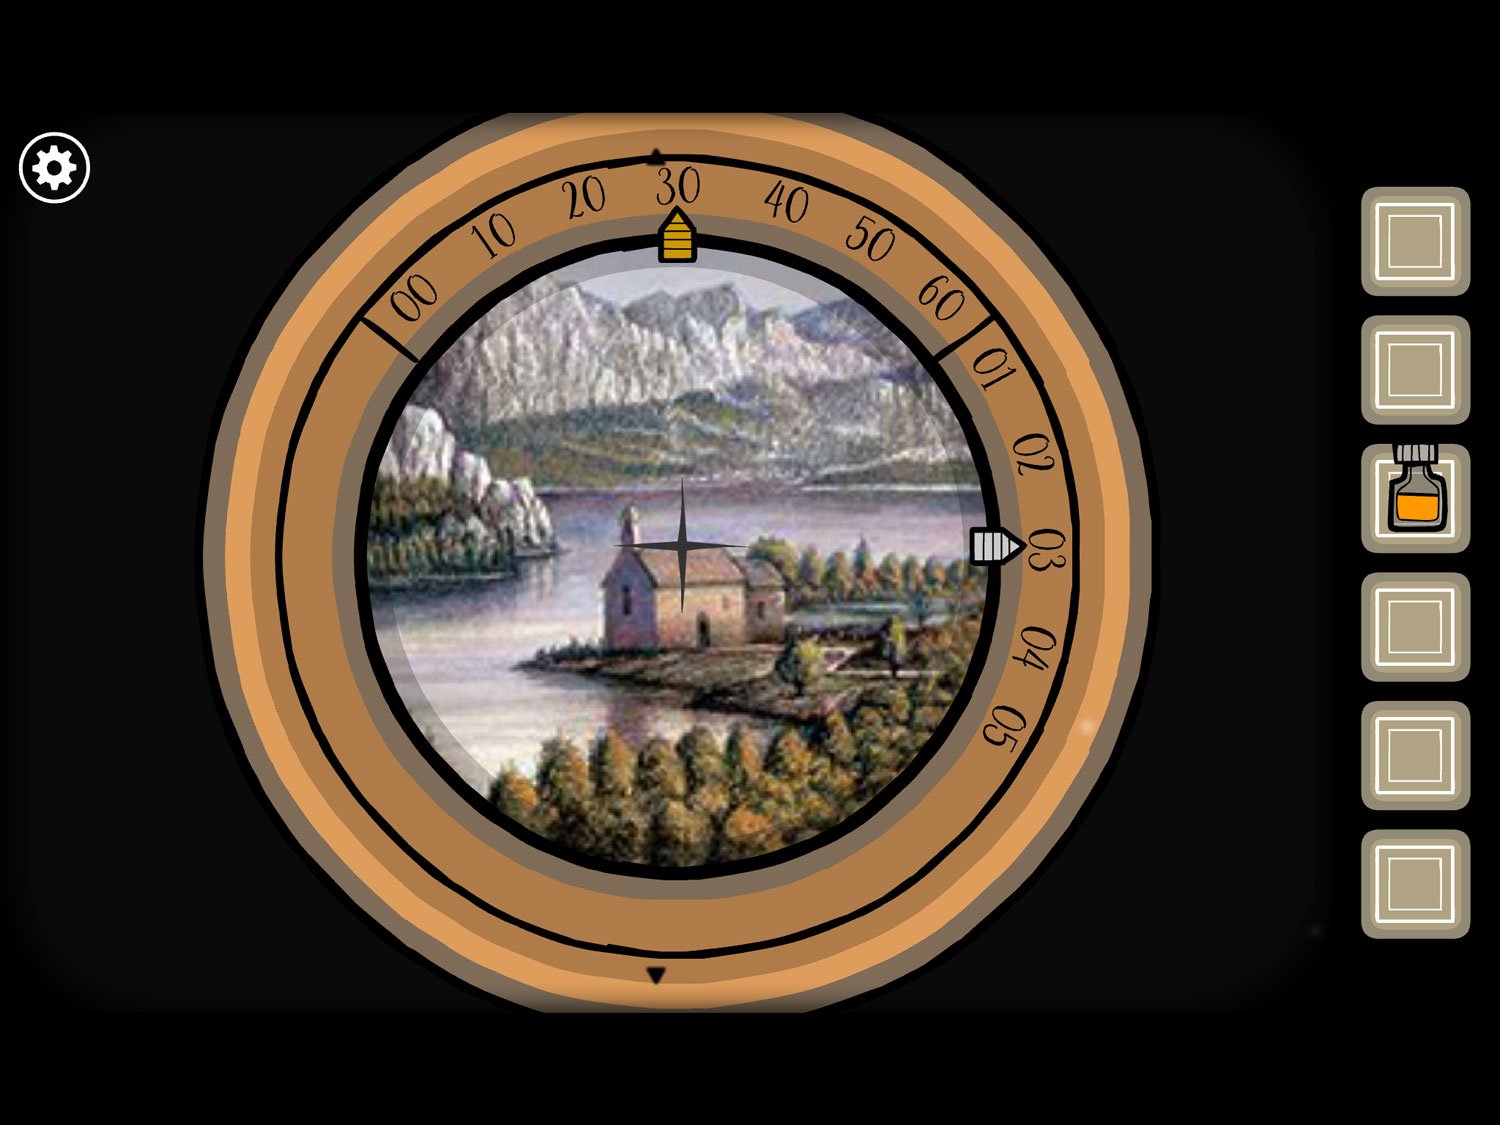
- D, the spot in the middle of the church’s roof, is “30 03”
- Exit the telescope. From the drawing, which told us B = 62, we know that the letters correspond to their numbers as added. So B = 60 + 02 (62). A = 00 + 04 (4). C = 30 + 05 (35). And D = 30 + 03 (33)
- Return to the wooden shelf above the table. The equation is B + C + D – A, so 62 + 35 + 33 – 4 which is 126
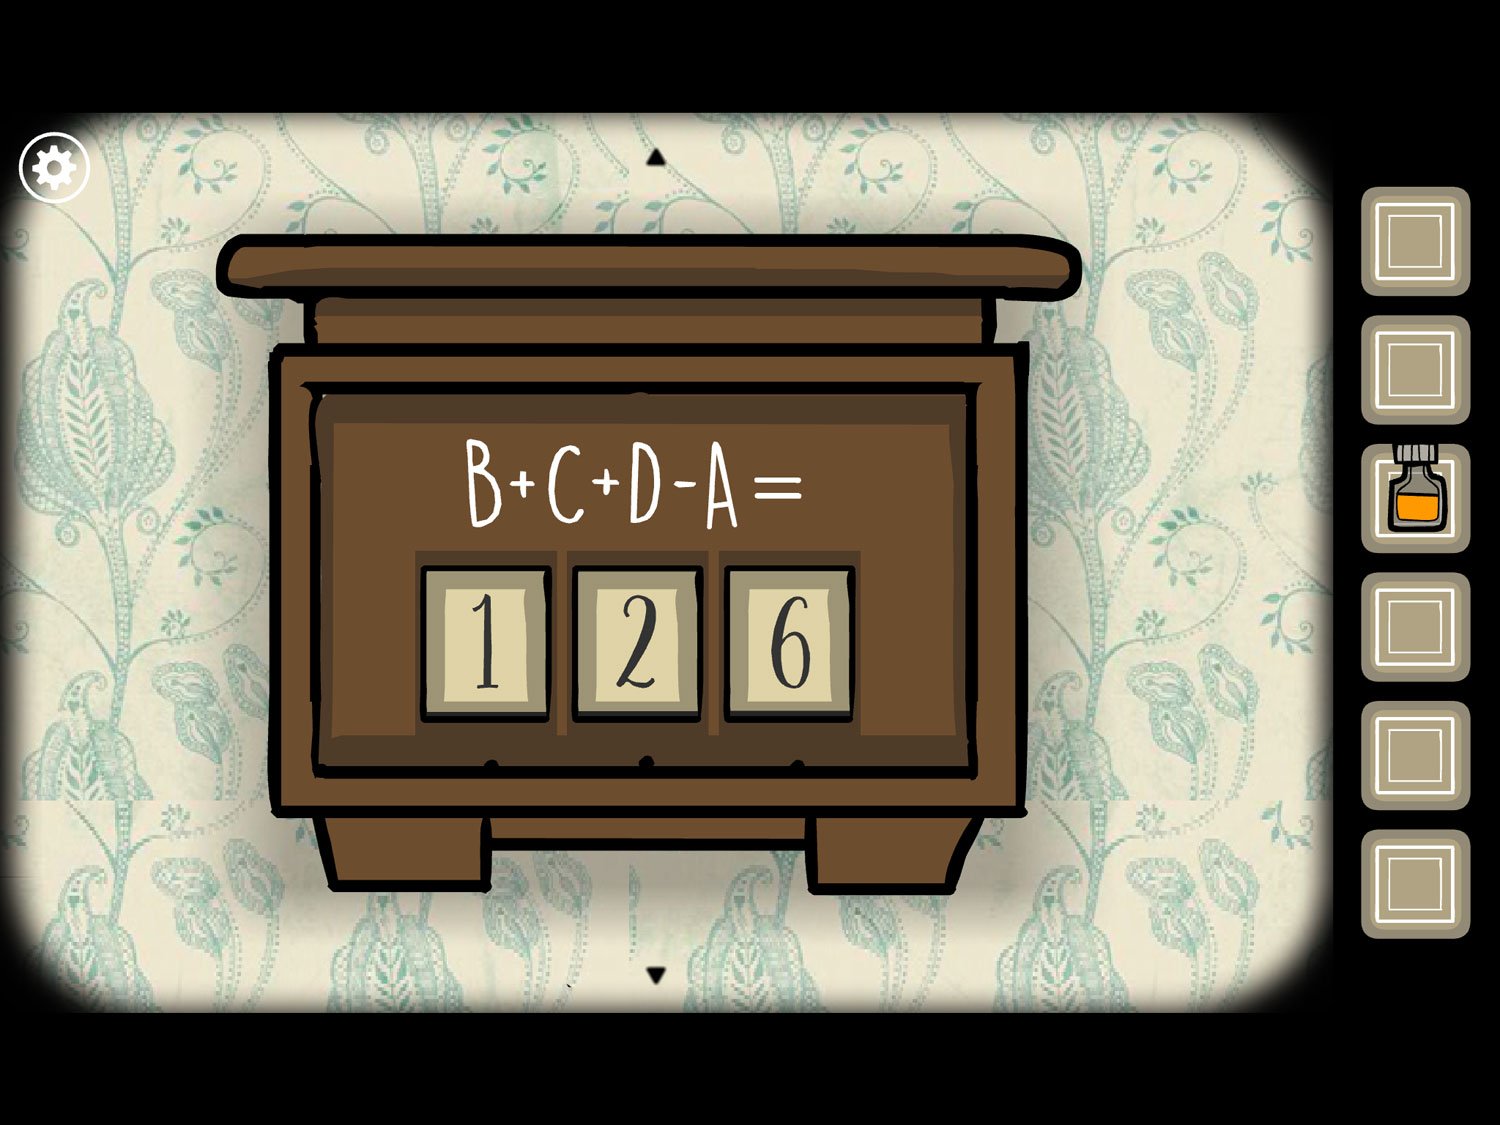
- Input 126 by dragging the number tiles to match this, then tap on the shelf to open it. Take STAMP. Exit the shelf
- Drag right and tap on the table right of Emma
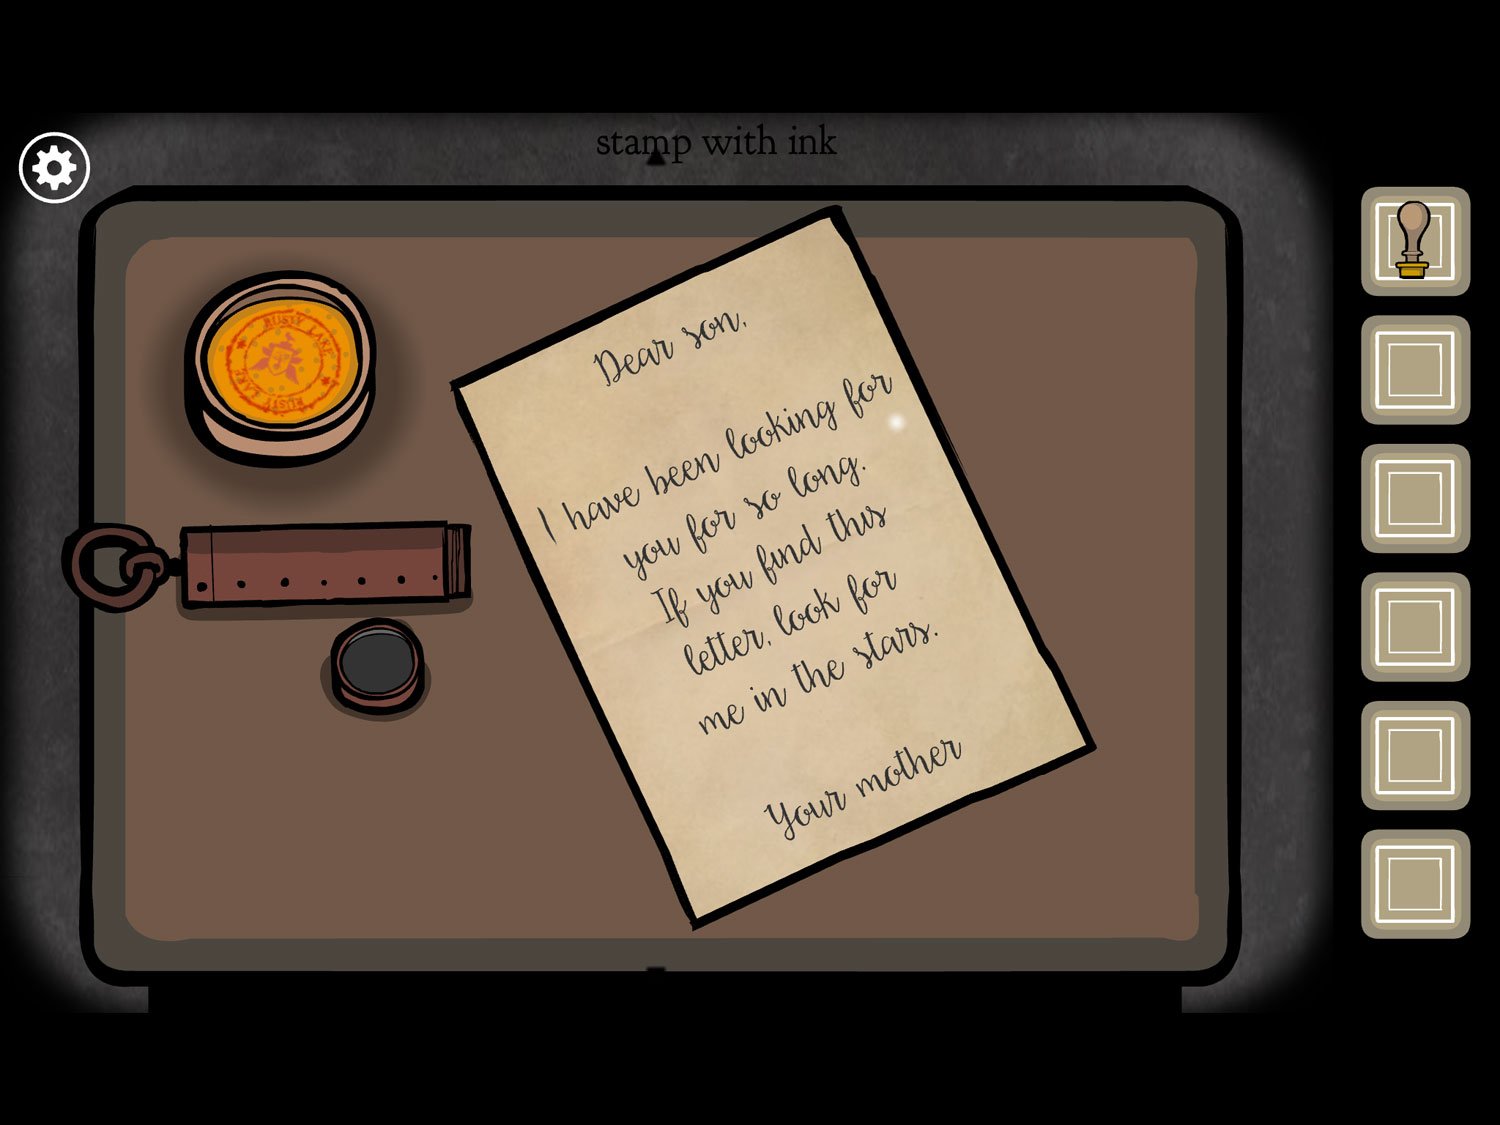
- Use INK on the bowl in the corner
- Use STAMP on the bowl of ink to get STAMP WITH INK
- Use STAMP WITH INK on the letter
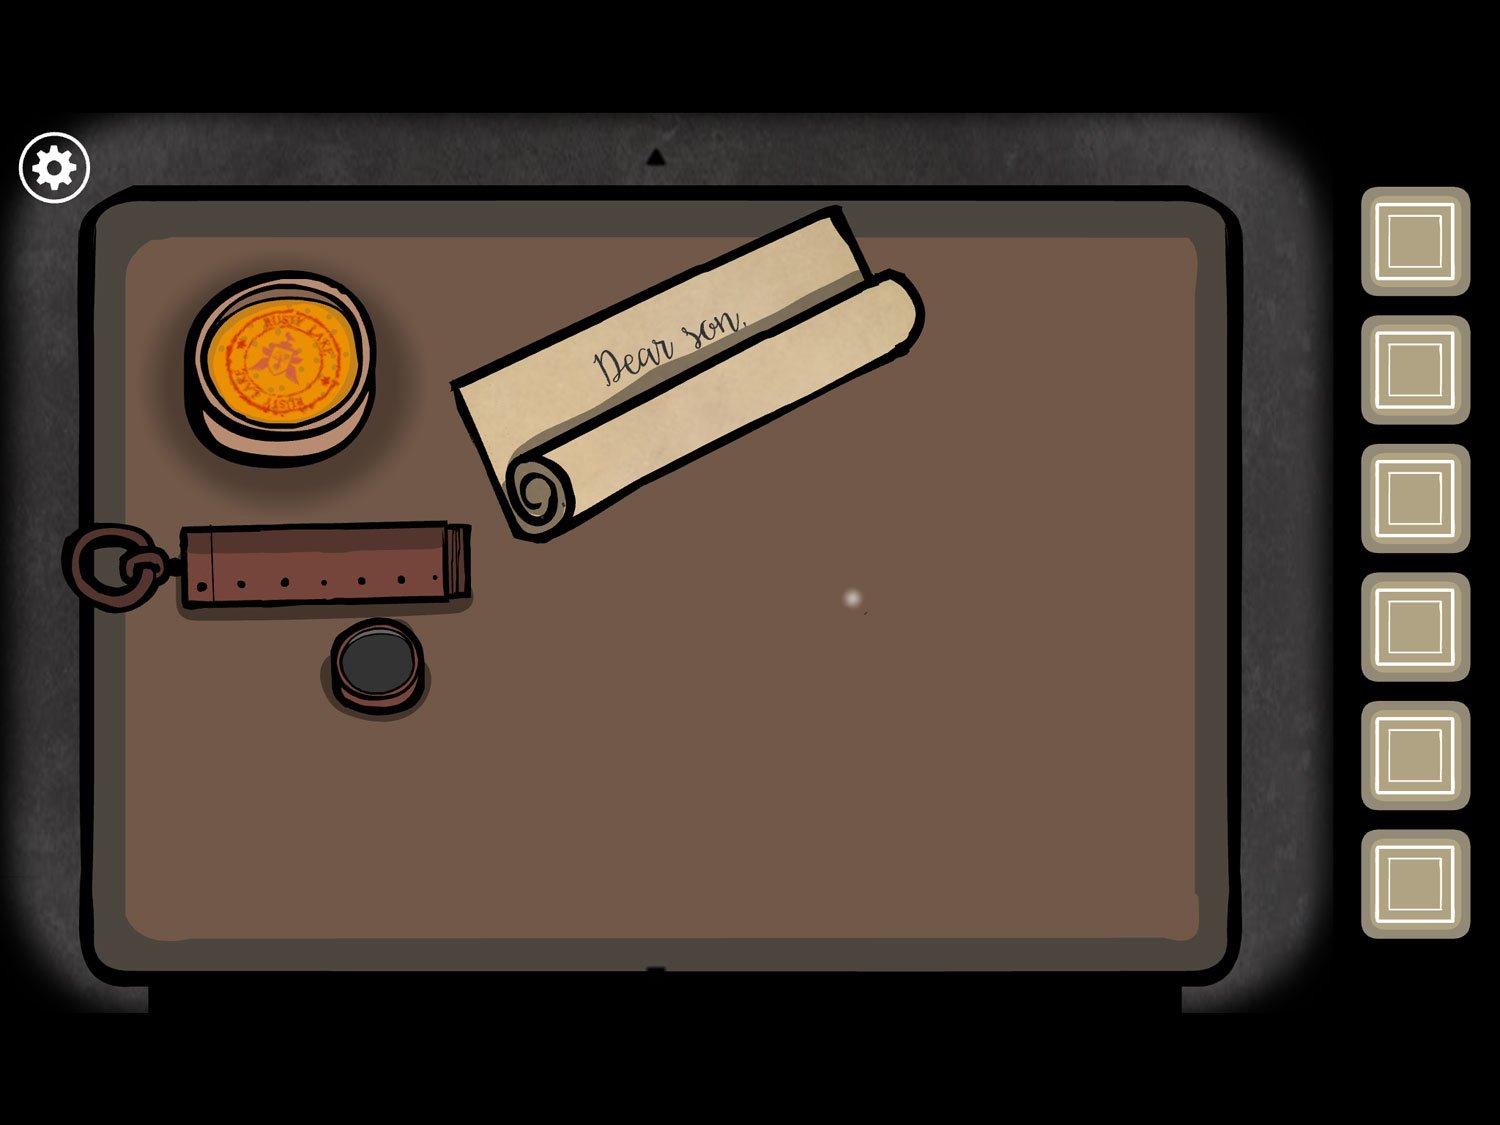
- Tap the letter five times to roll it up and stick it in the metal tube. Tap the lid of the tube to close it, then tap the finished product to get TUBE
- Exit the table and drag left back to the railing. Tap on Harvey
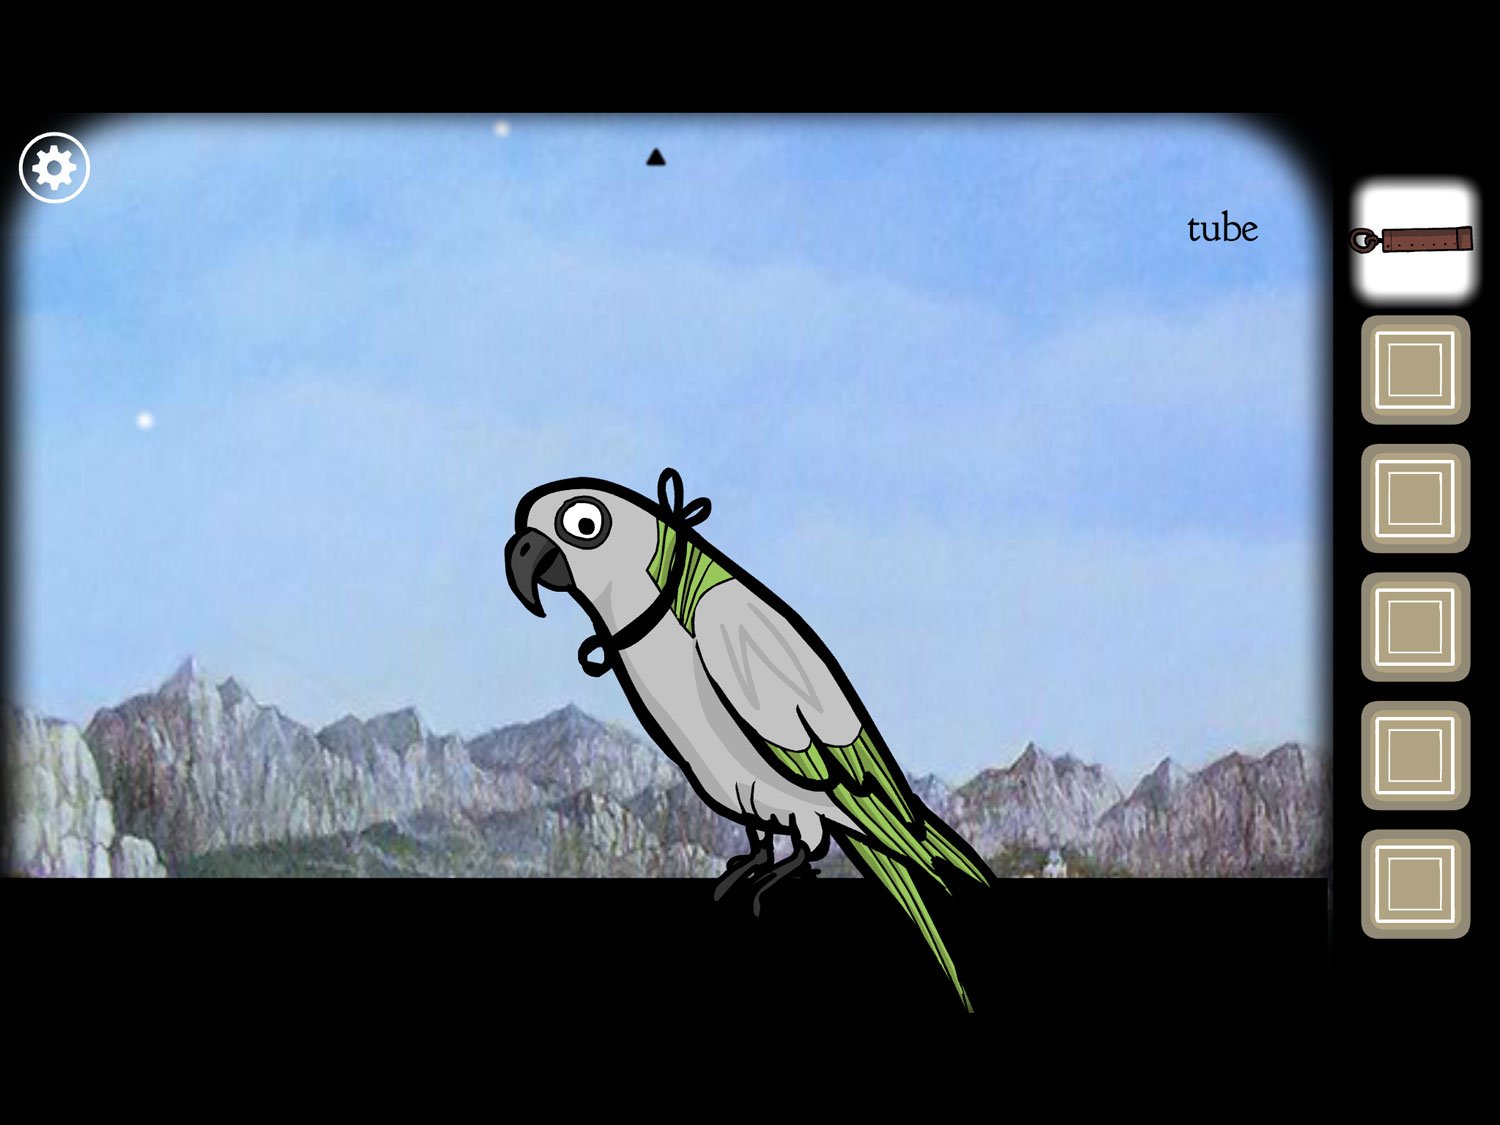
- Use TUBE on Harvey’s neck to attach the letter to his ribbon
- Tap on Harvey twice to make the white square and exit appear
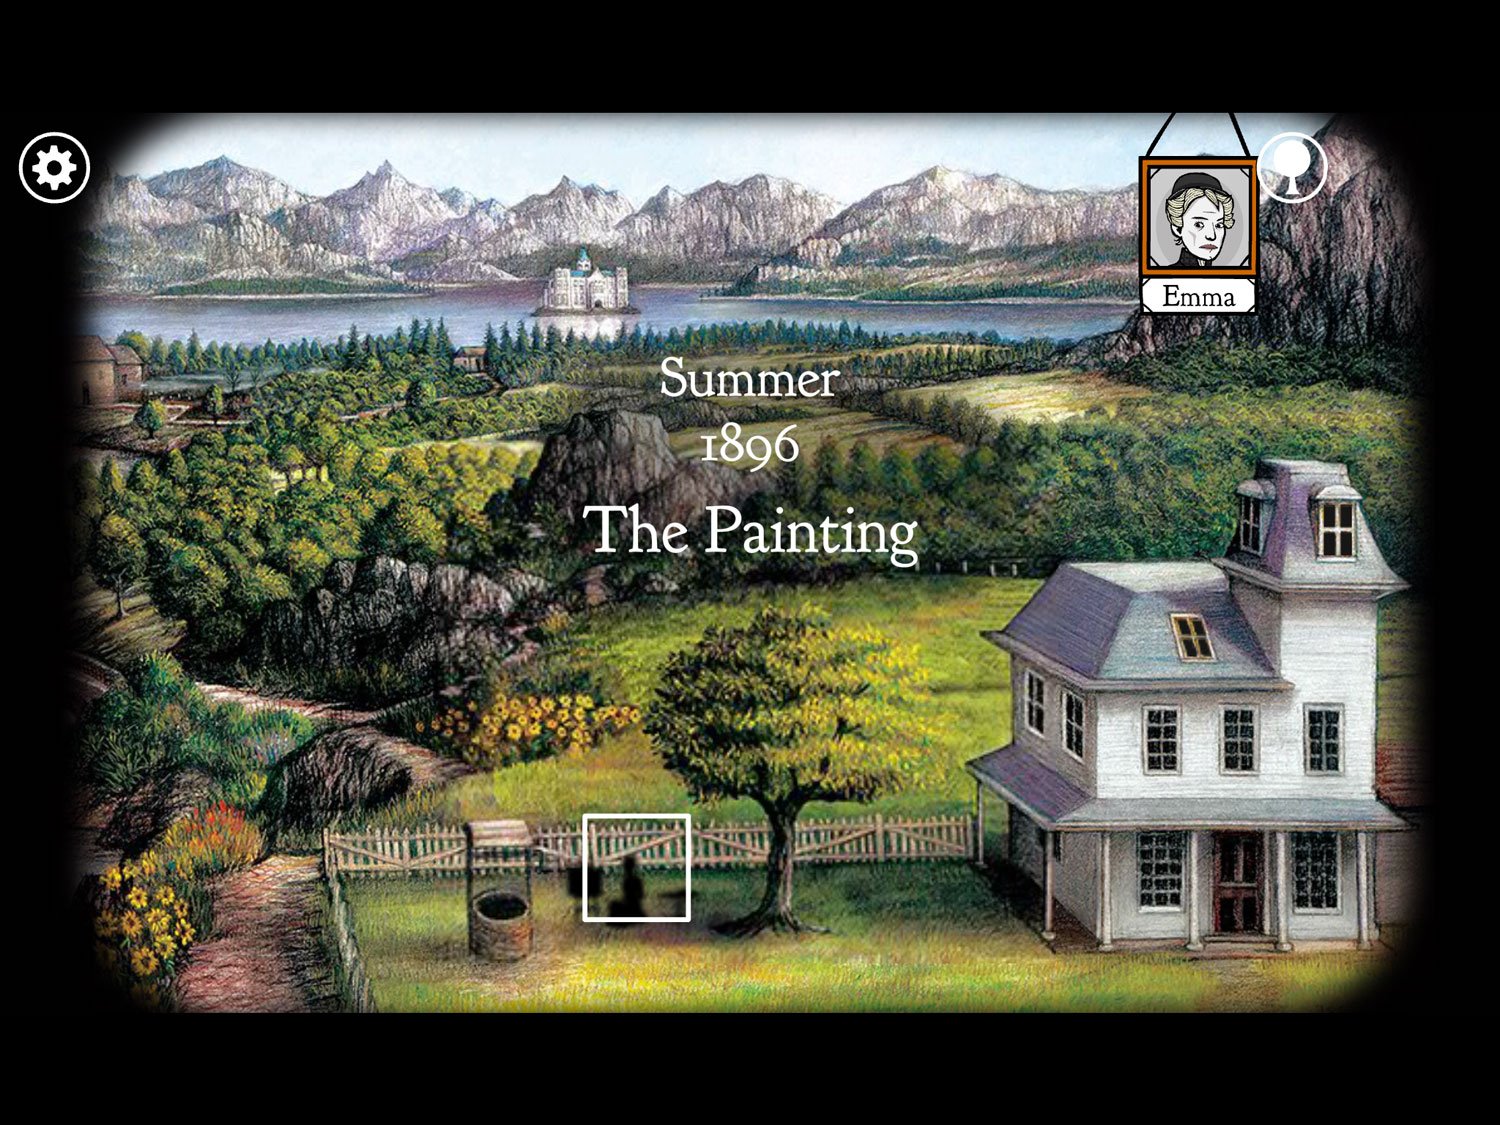
Level 13: The Painting, Summer 1896 – Emma
Location: Yard near the tree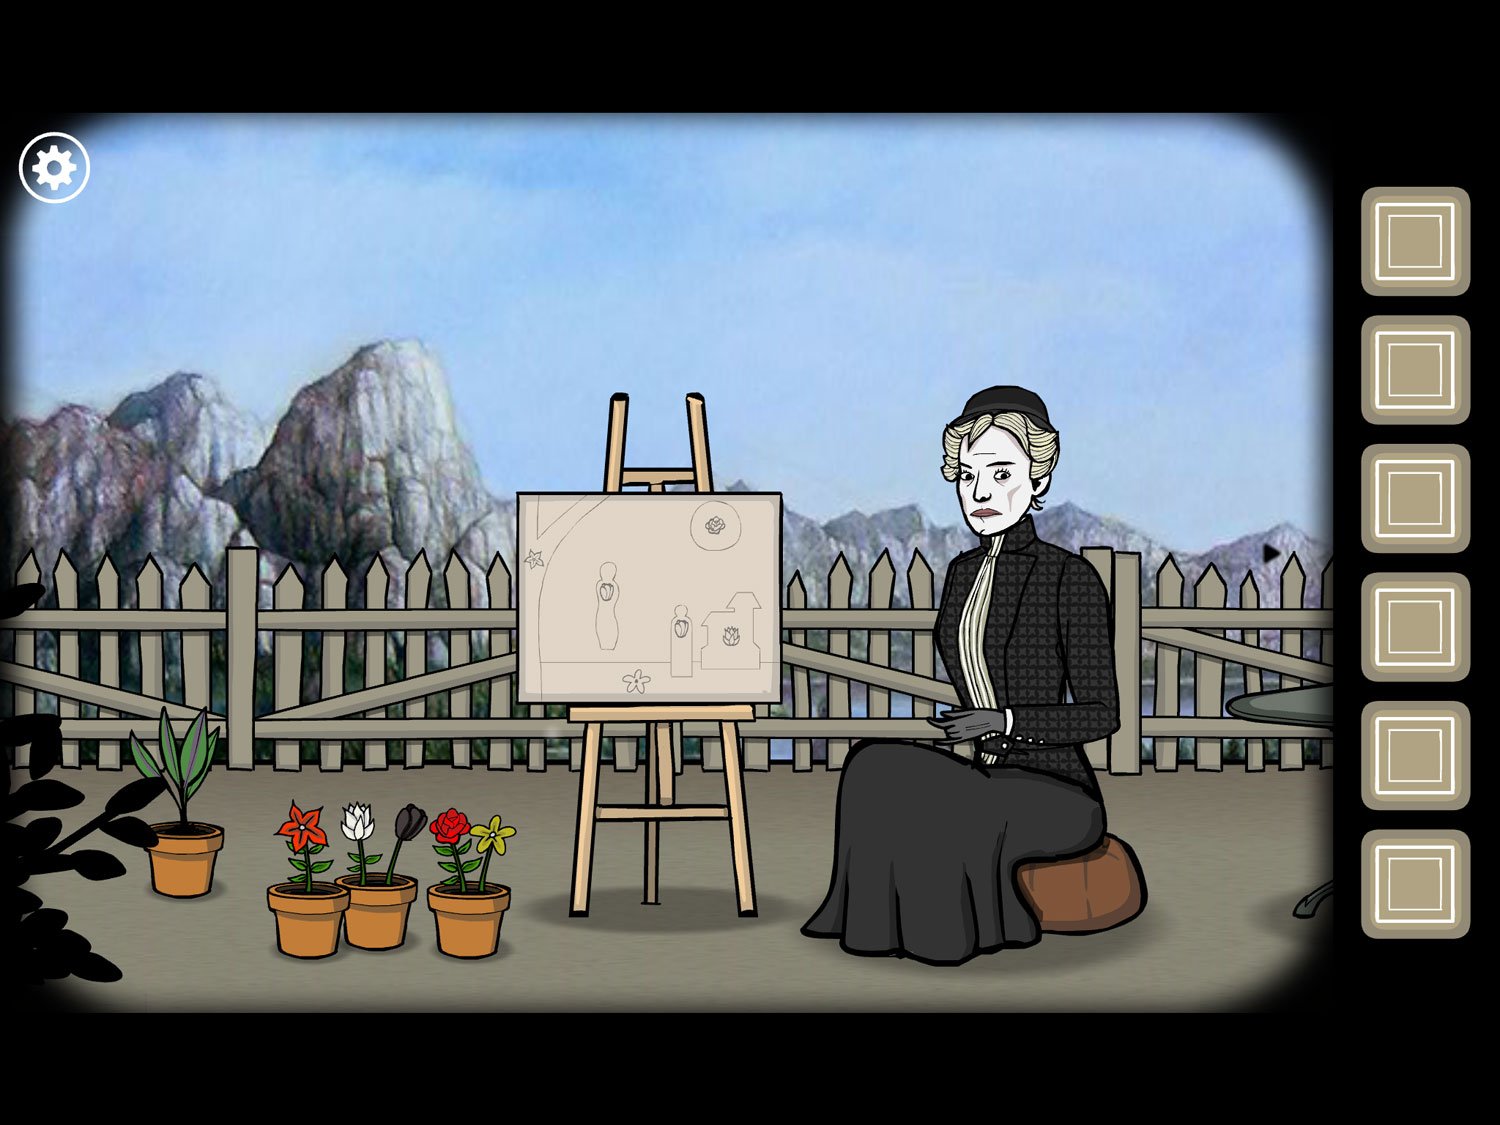
- Tap on the plant on the far left to zoom in
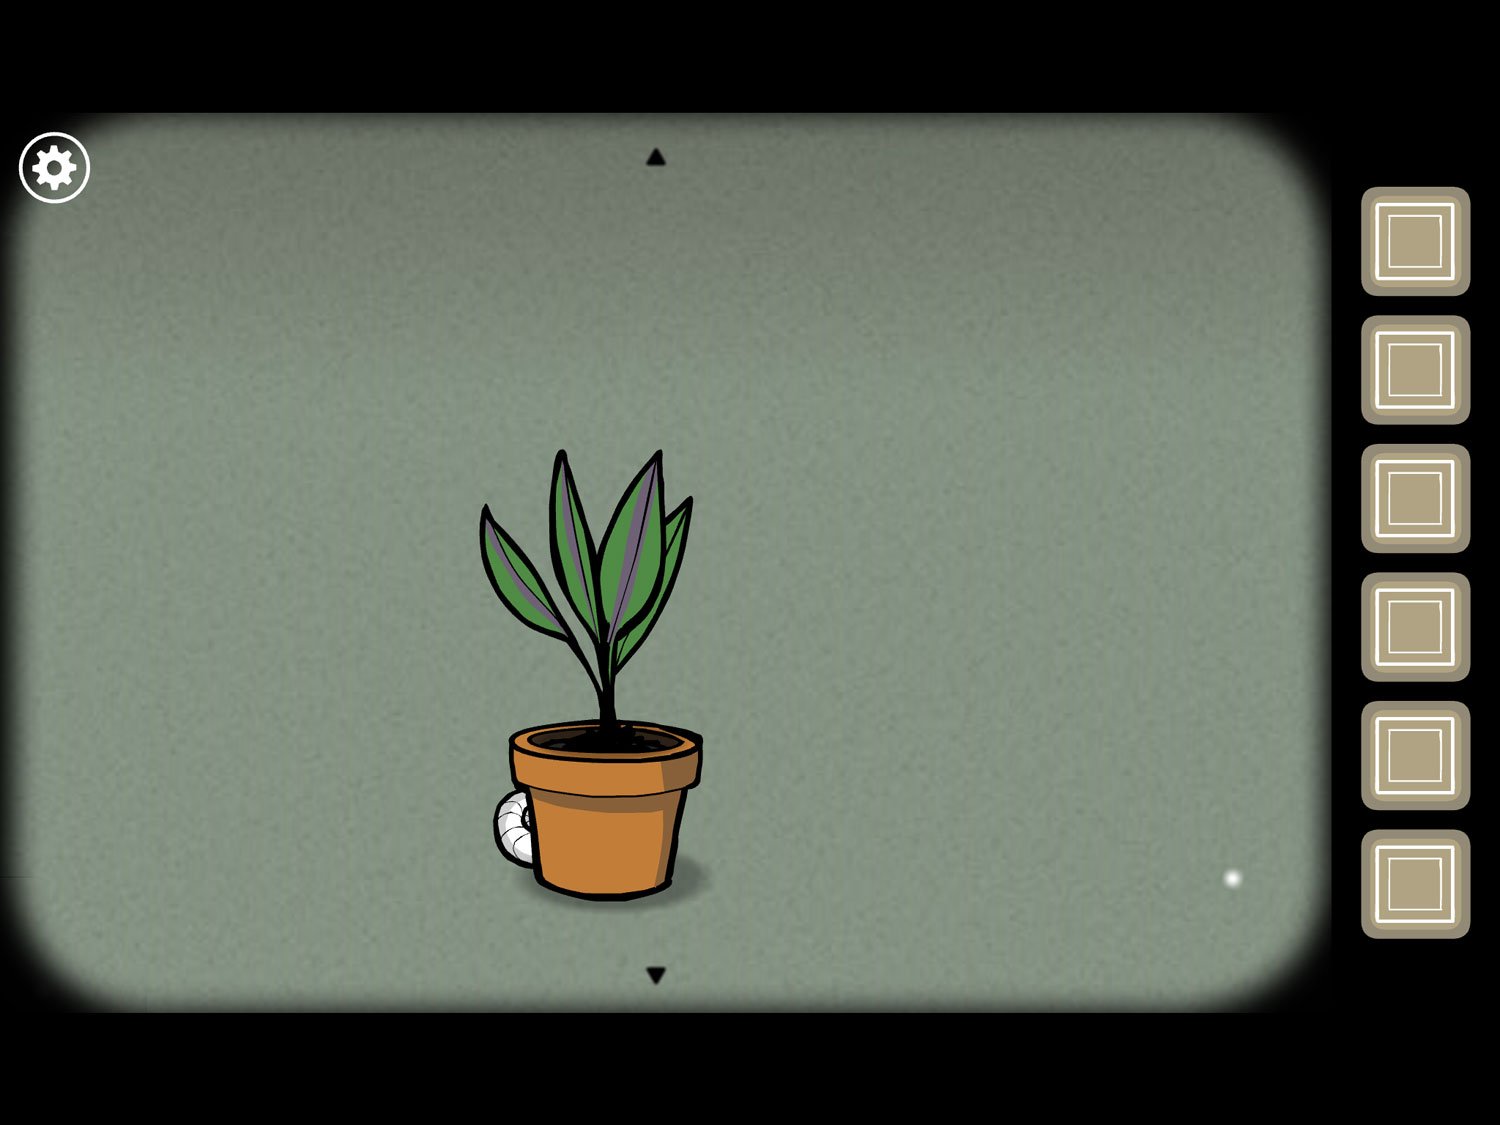
- Take the SHELL sticking out behind the pot. Tap the plant to get TUMERIC. Zoom back out
- Tap the row of potted flowers. Take the KEY under the rightmost pot
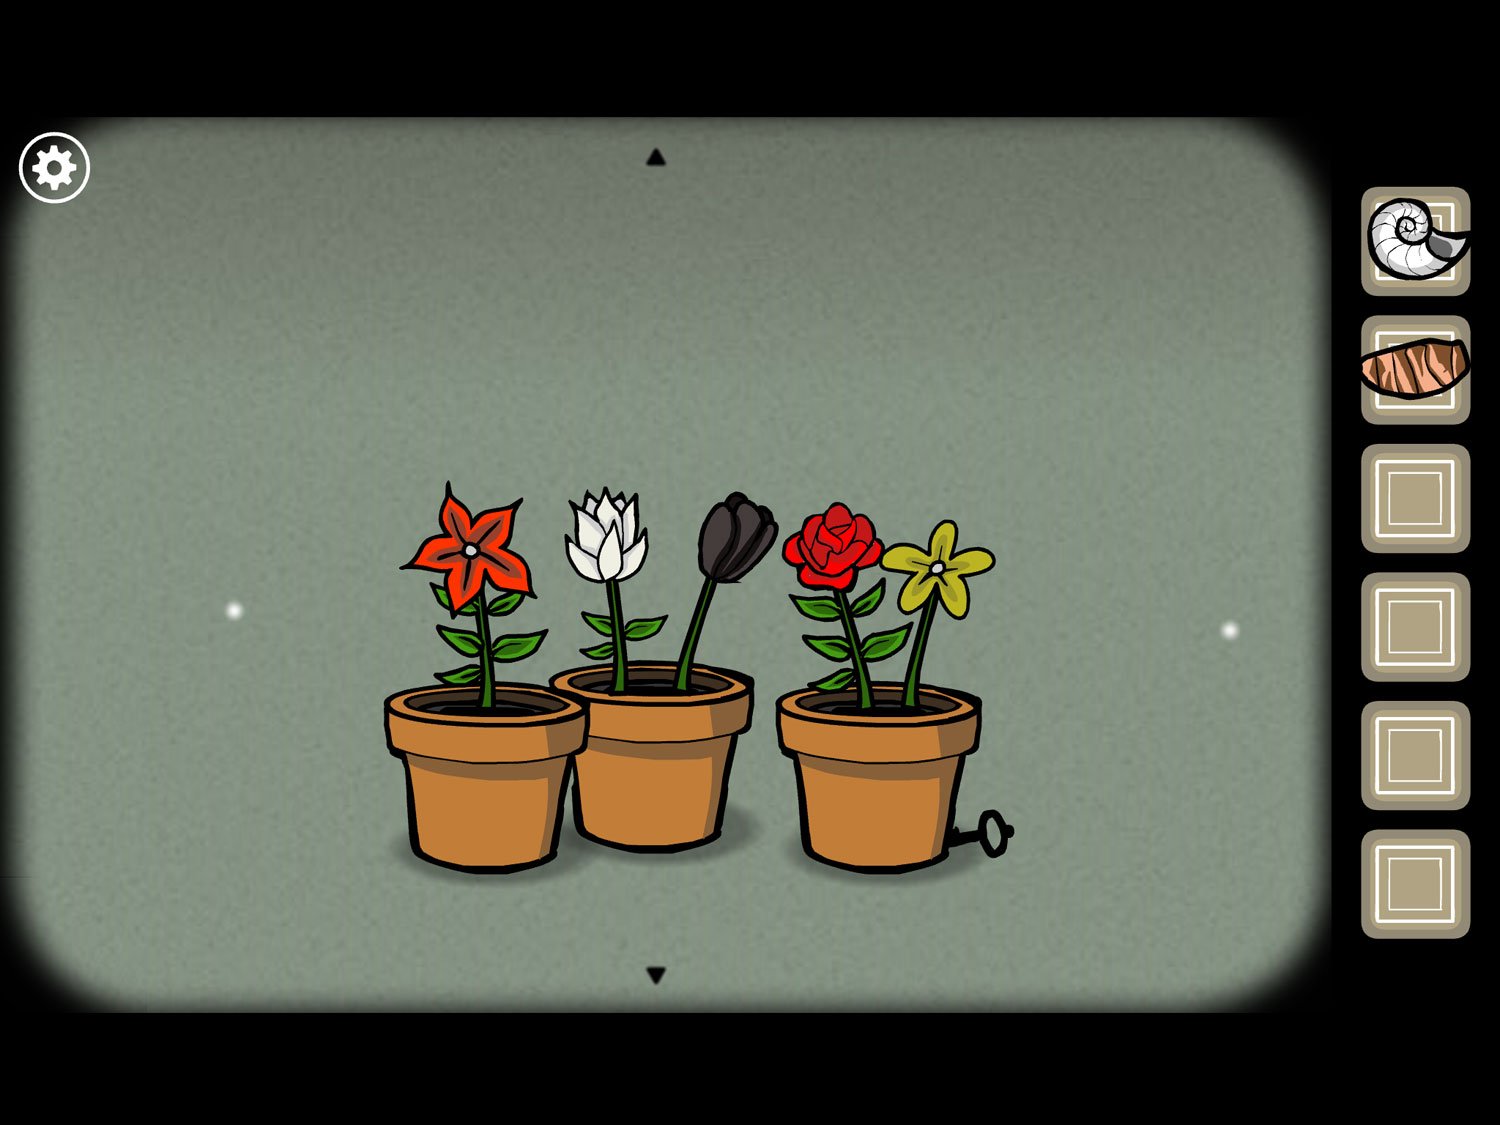
- While you’re here, take a note of the flowers and their colors. Remember the shape of the flowers. Zoom back out
- Drag right and tap the cabinet in the background
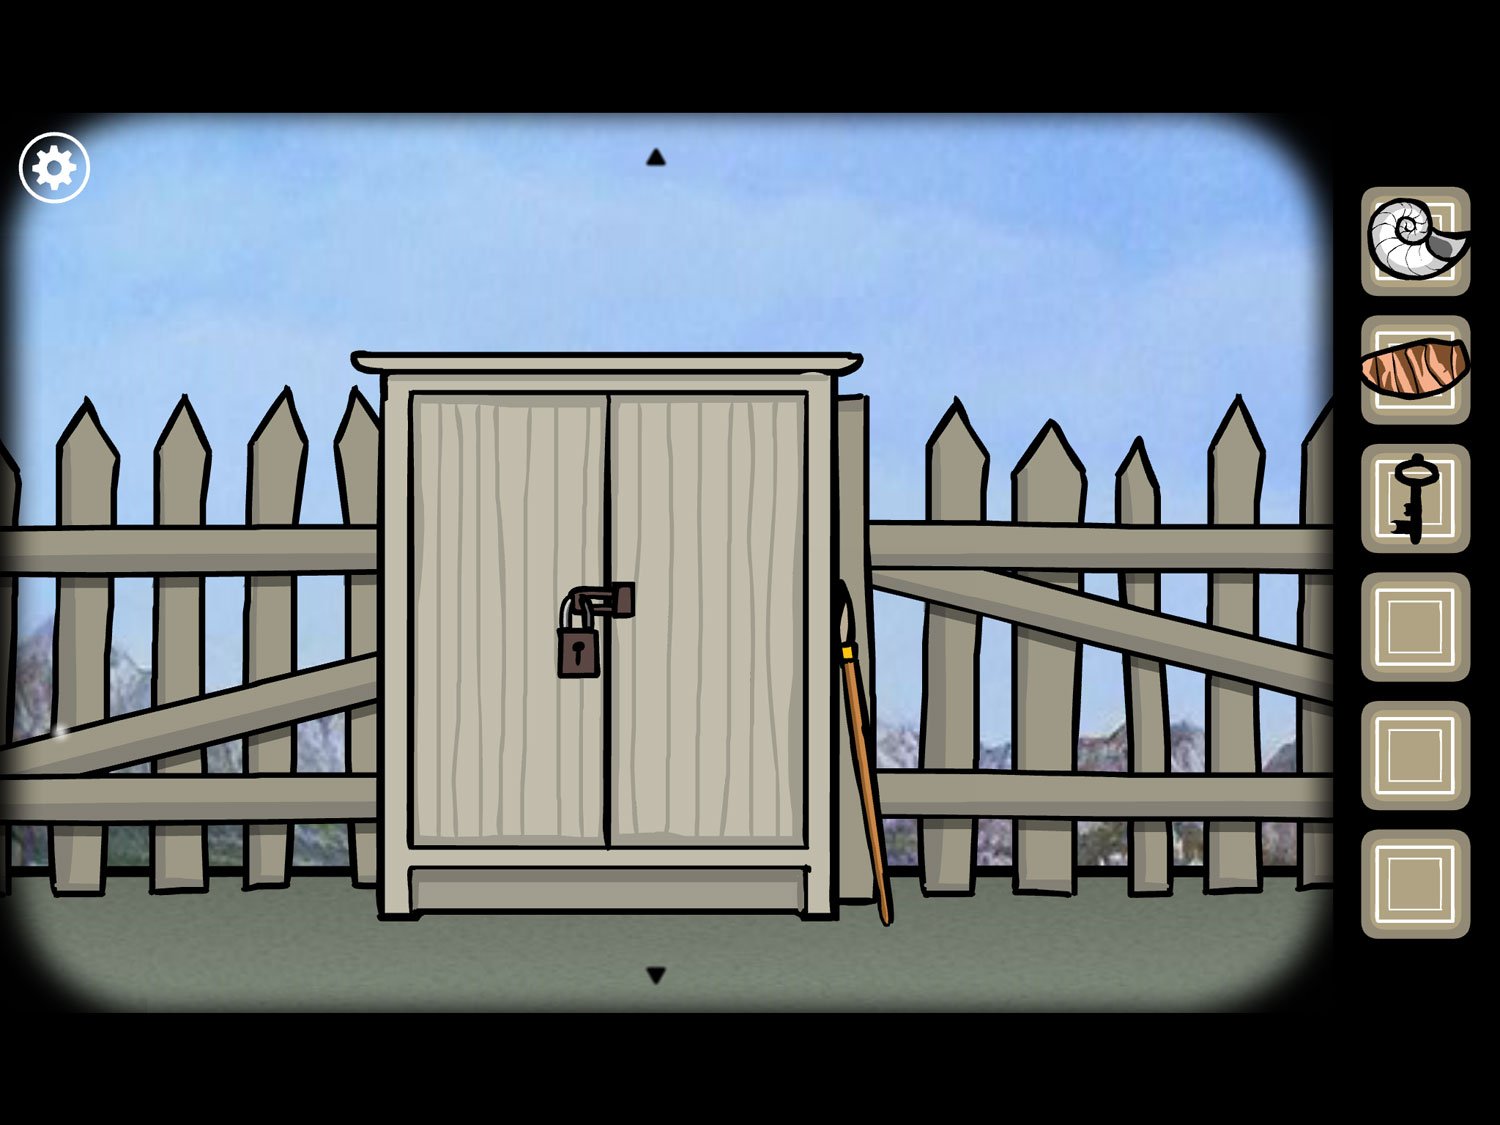
- Take the PAINTBRUSH leaning against the cabinet
- Use KEY on the lock. Tap the unlocked cabinet to open it. Take BOTTLE. Zoom out
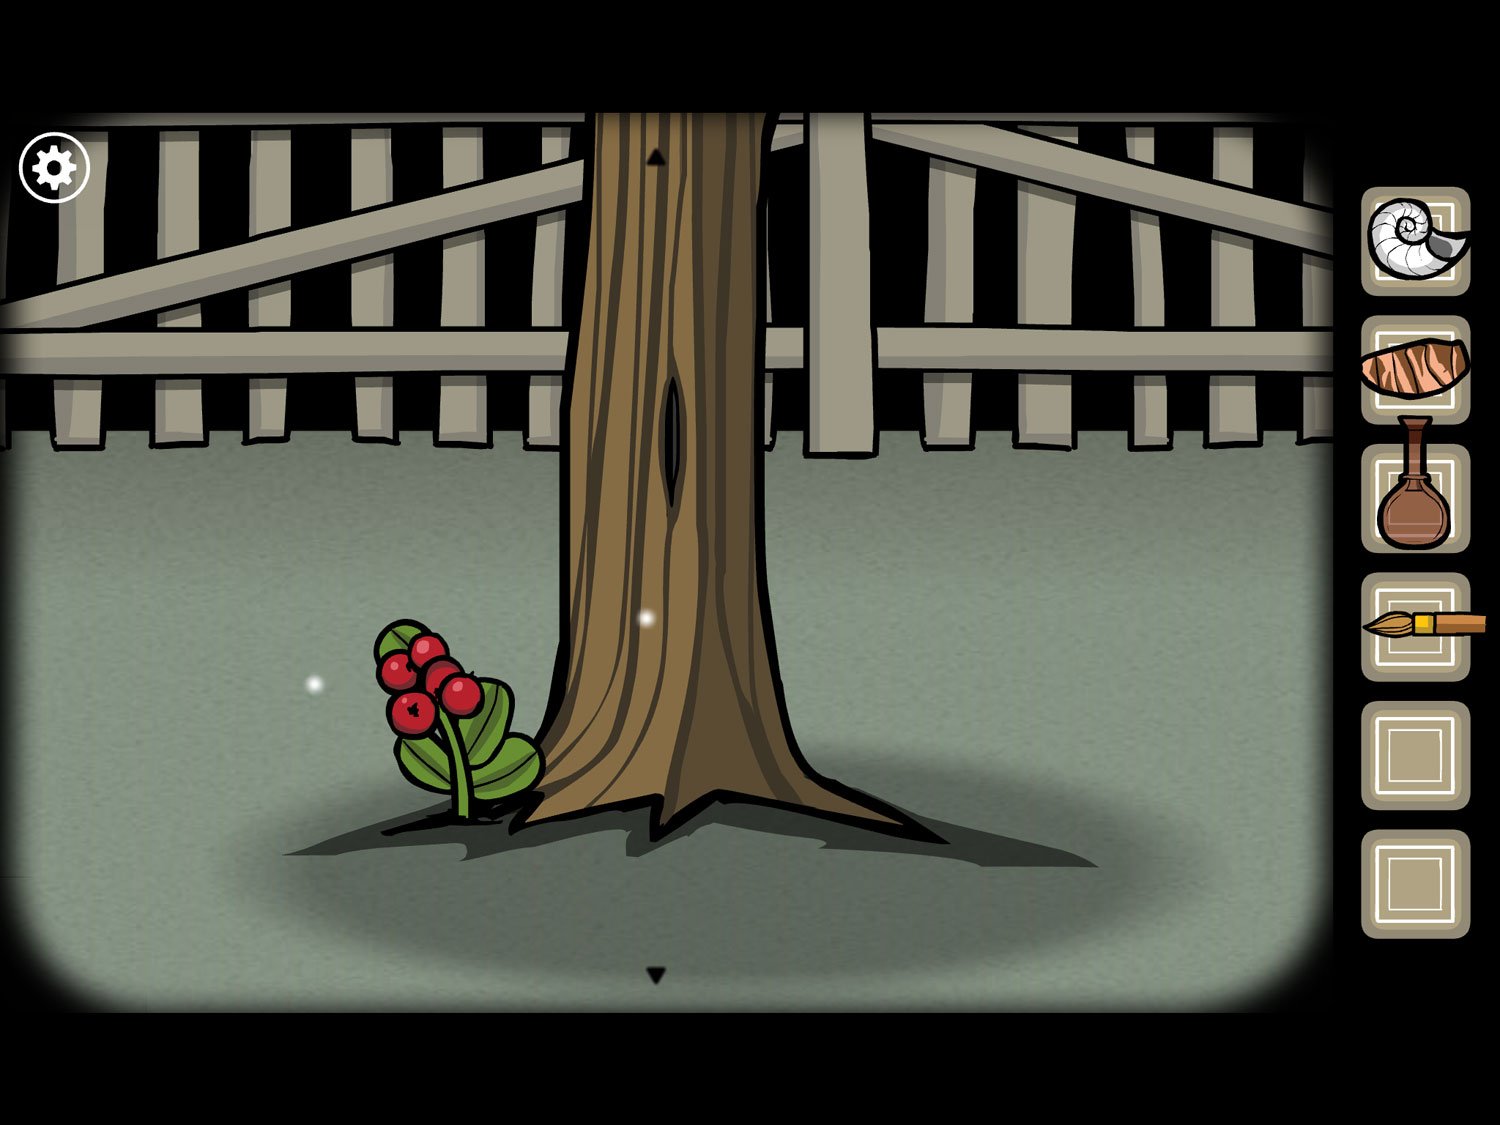
- Tap on the tree. Take the red BERRIES
- Tap on the hole in the trunk. A yellow sap will ooze out. Use BOTTLE on the sap to get OIL. Zoom out
- Tap on the table. Take MORTAR
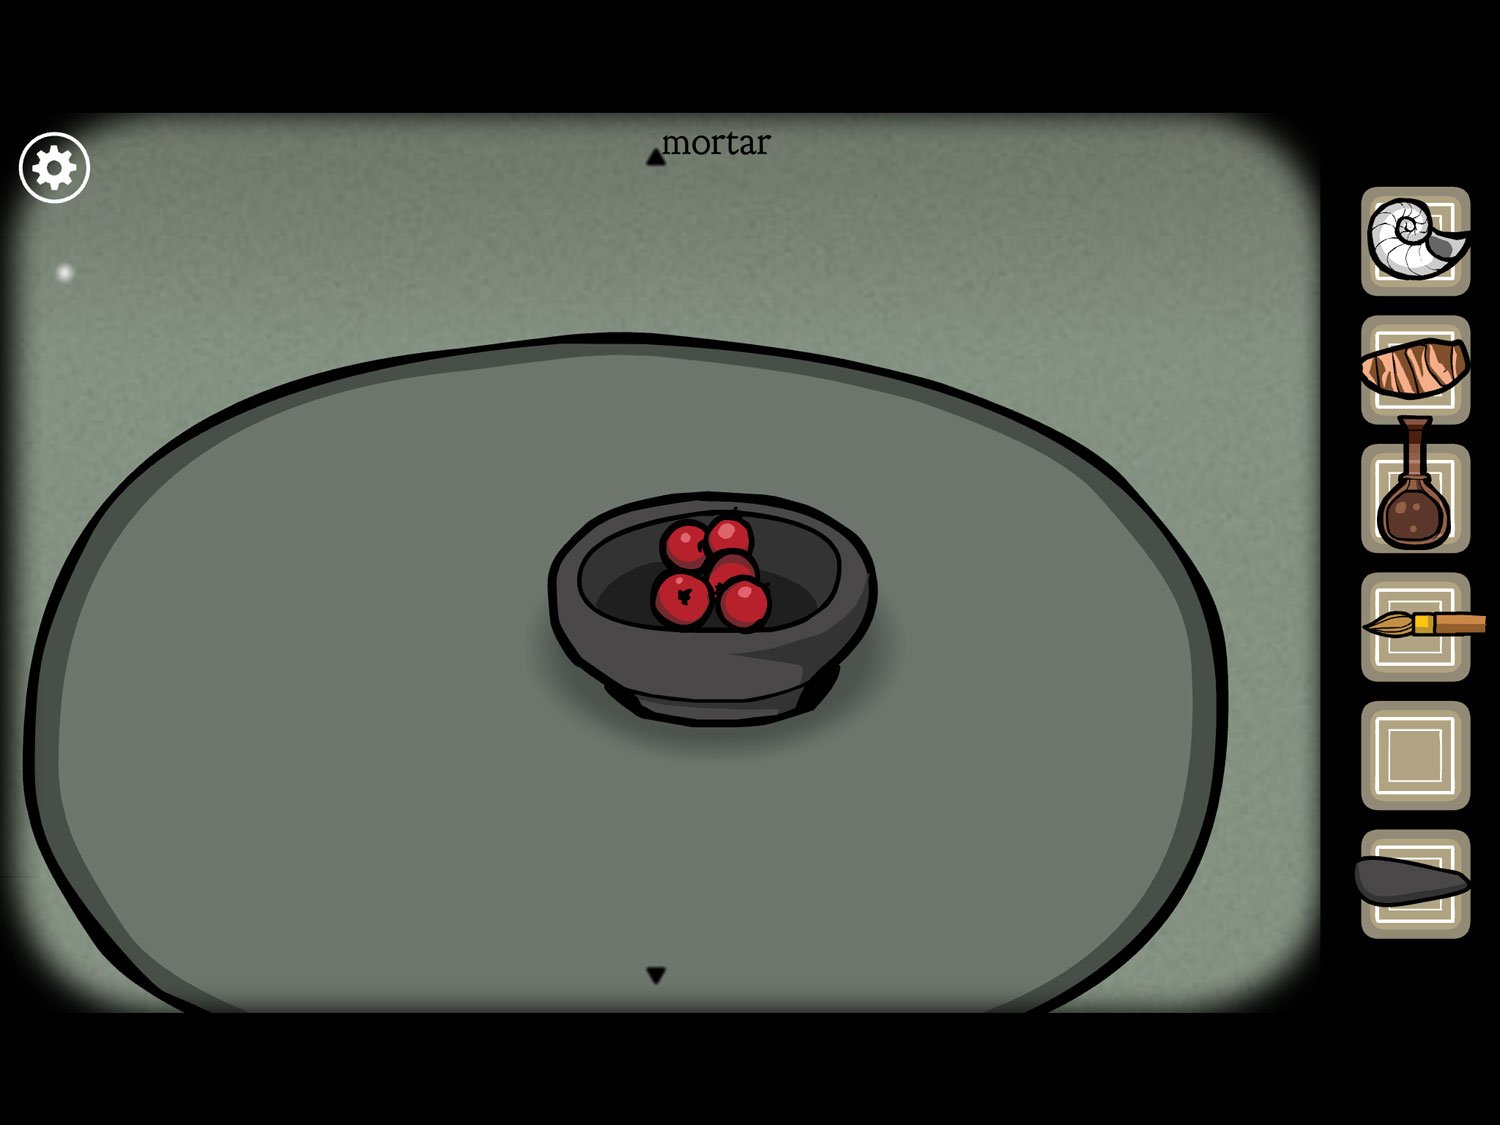
- Place BERRIES in the pestle. Use MORTAR on the berries to crush them
- Use OIL on the crushed berries. Tap the result to get RED PAINT
- We’re going to do the exact same thing two more times, with the TUMERIC and SHELL:
- Use TUMERIC on the pestle. Use MORTAR on the turmeric to crush it
- Use OIL on the crushed turmeric. Tap the result to get YELLOW PAINT
- Use SHELL on the pestle. Use MORTAR to crush it
- Use OIL on the crushed shell. Tap to get WHITE PAINT. Exit this close-up
- Drag left and tap on the unpainted canvas
- The canvas is a paint-by-numbers, but with flowers instead of numbers. You should paint the areas to match the potted flowers we looked at earlier
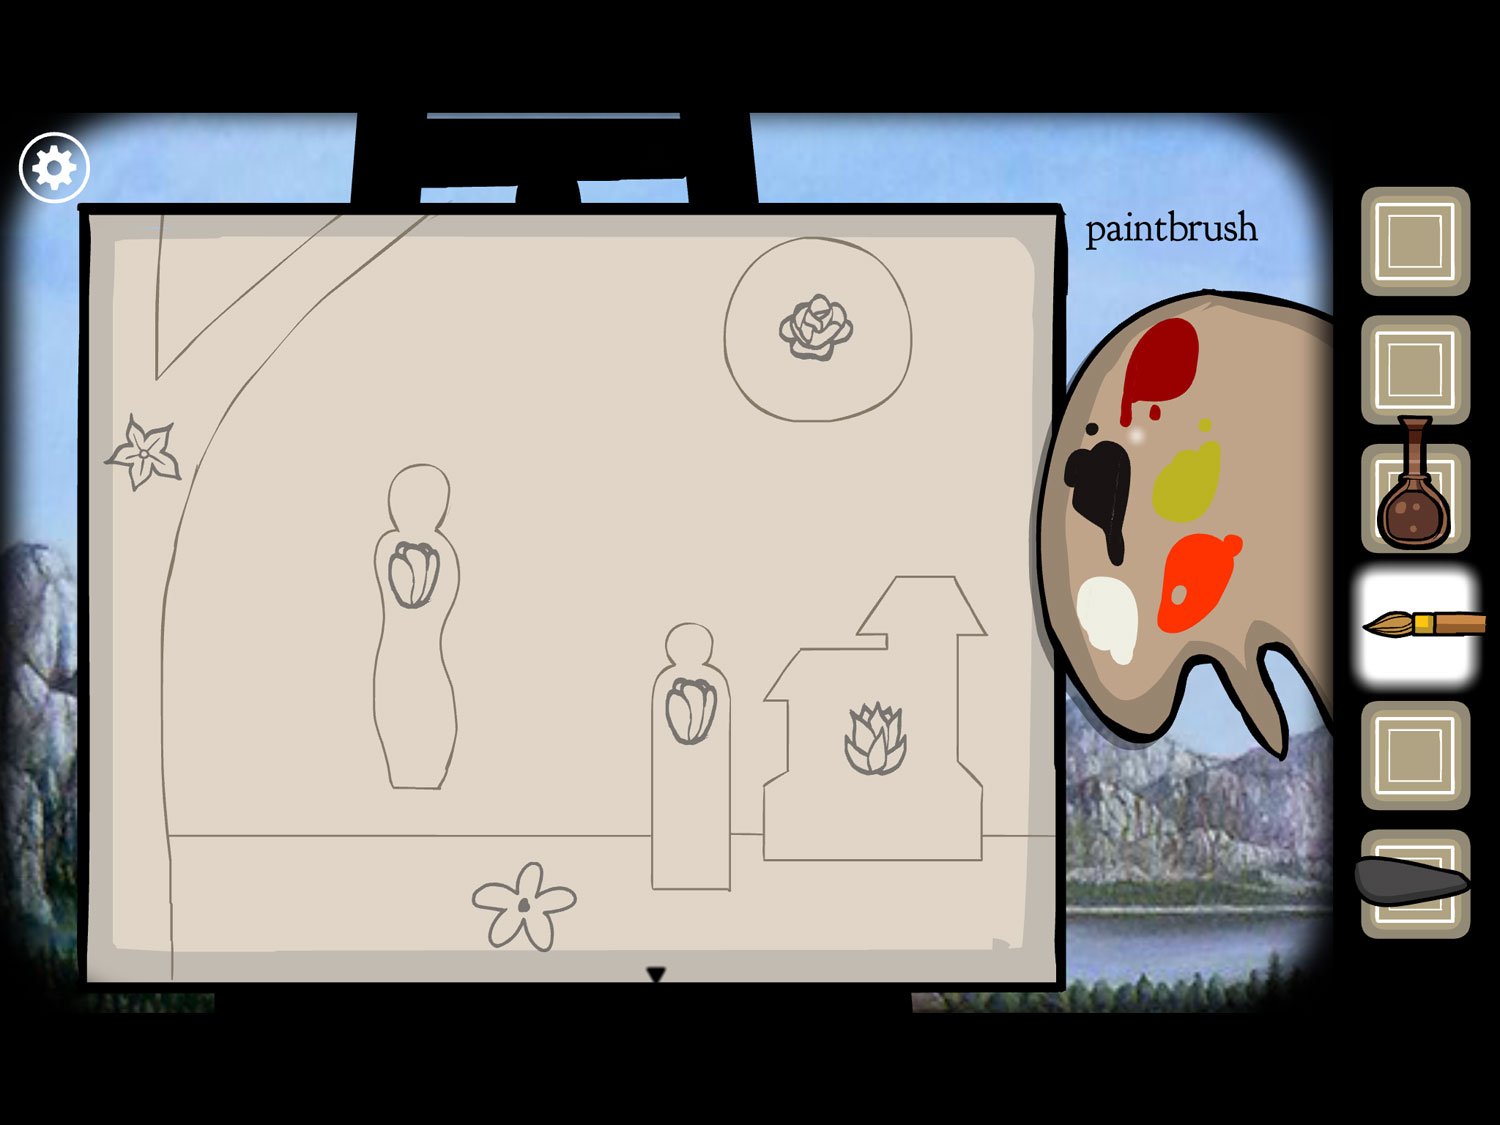
- First, tap your WHITE PAINT, then tap the palette to add it. Do the same with RED PAINT and YELLOW PAINT. You should now have five colors available: these three, plus the black and orange that were already on the palette
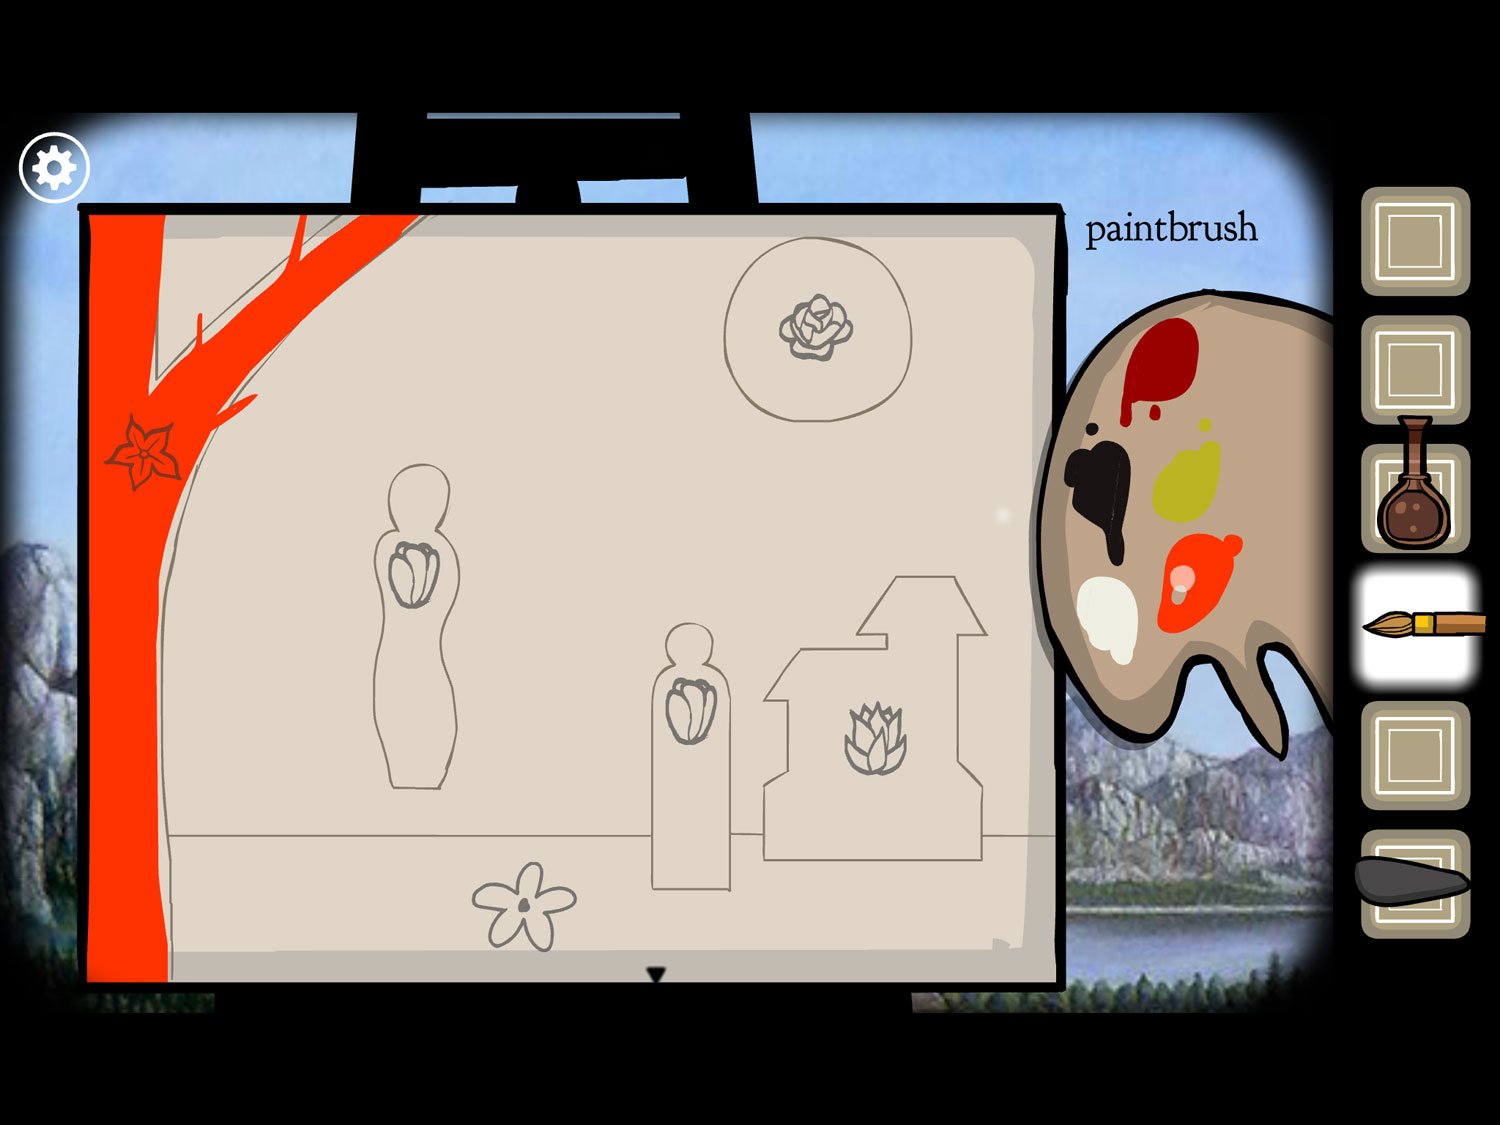
- Use PAINTBRUSH on the orange paint. Paint the tree on the left with the star-shaped flower orange: rub your finger inside the lines until it’s mostly filled in. When you lift your finger, the rest of the area should fill in automatically
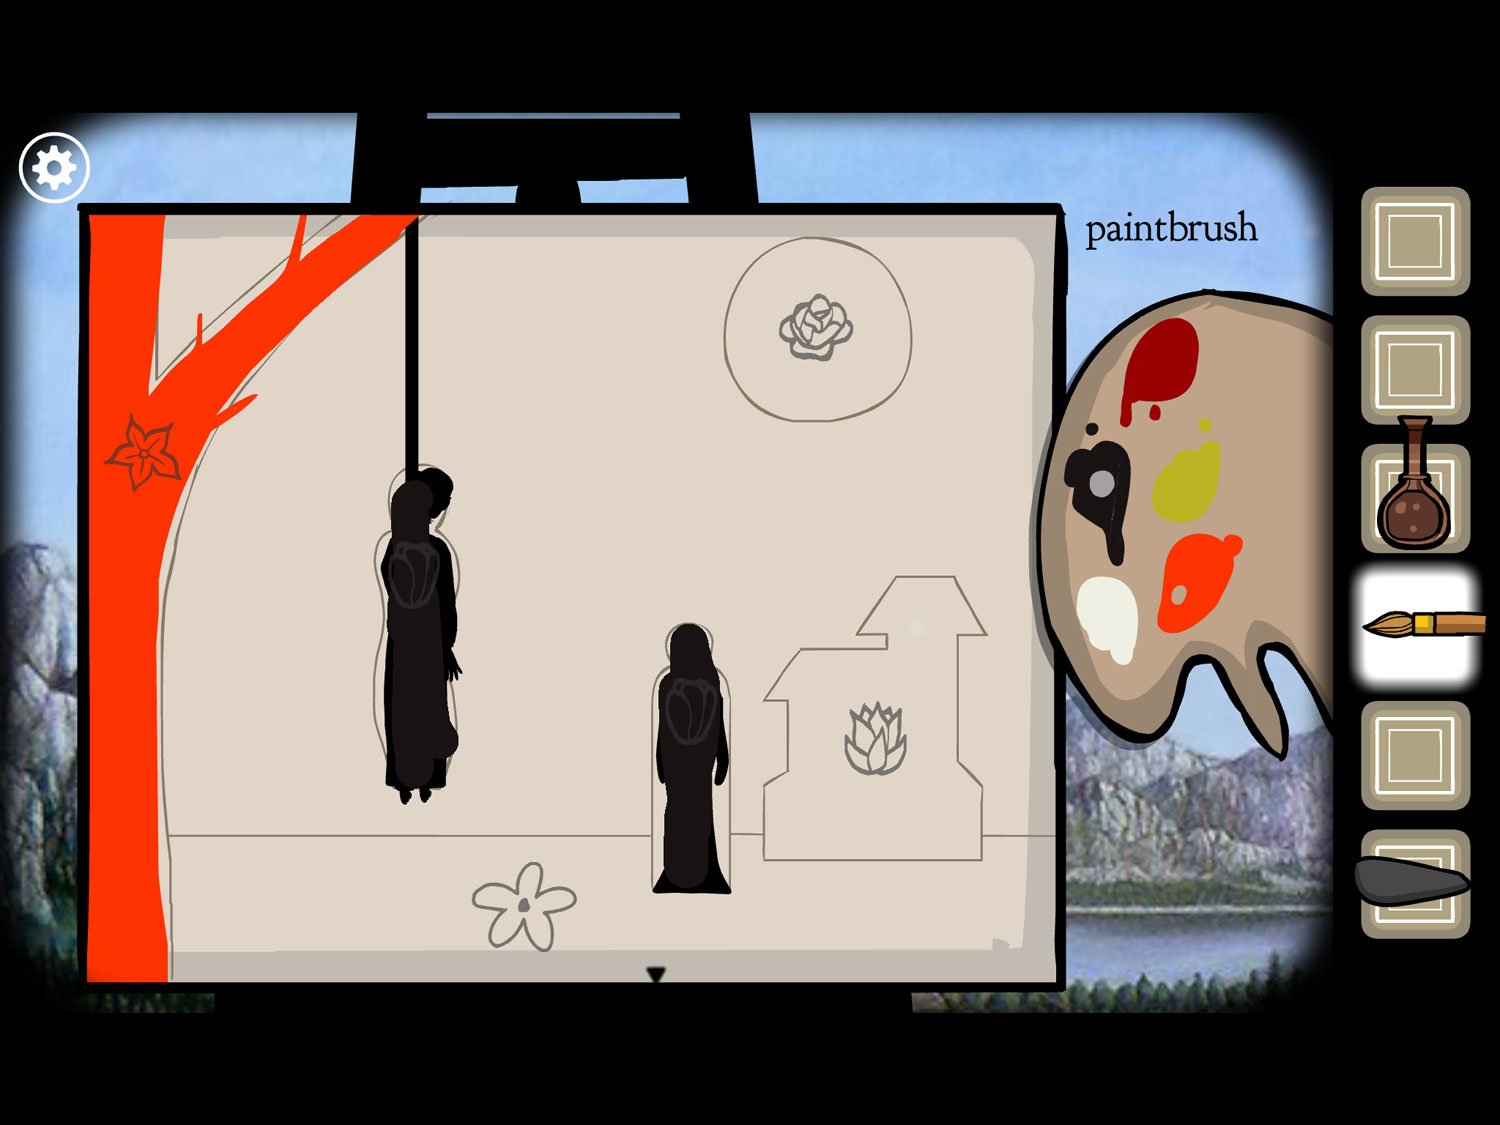
- Use PAINTBRUSH on the black paint. Use this on the tulip-shaped flower items: the woman shape in the middle and the other human-esque shape to its right
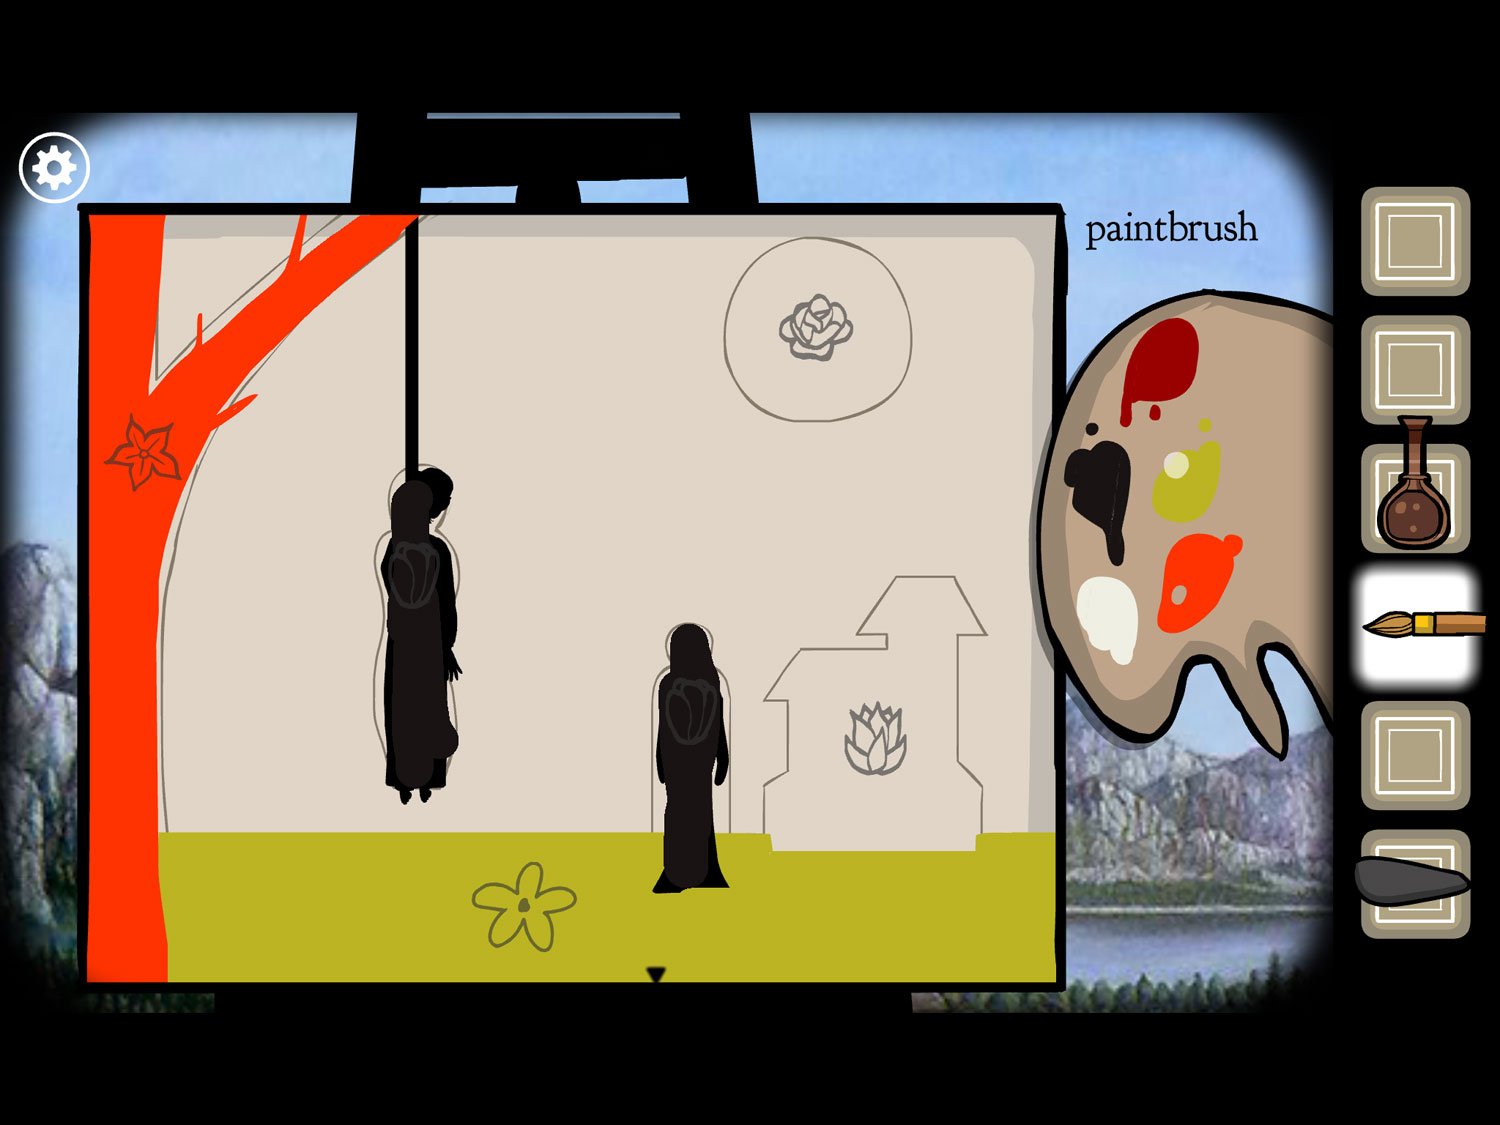
- Use PAINTBRUSH on the yellow paint. Paint the ground with the round five-petal flower yellow
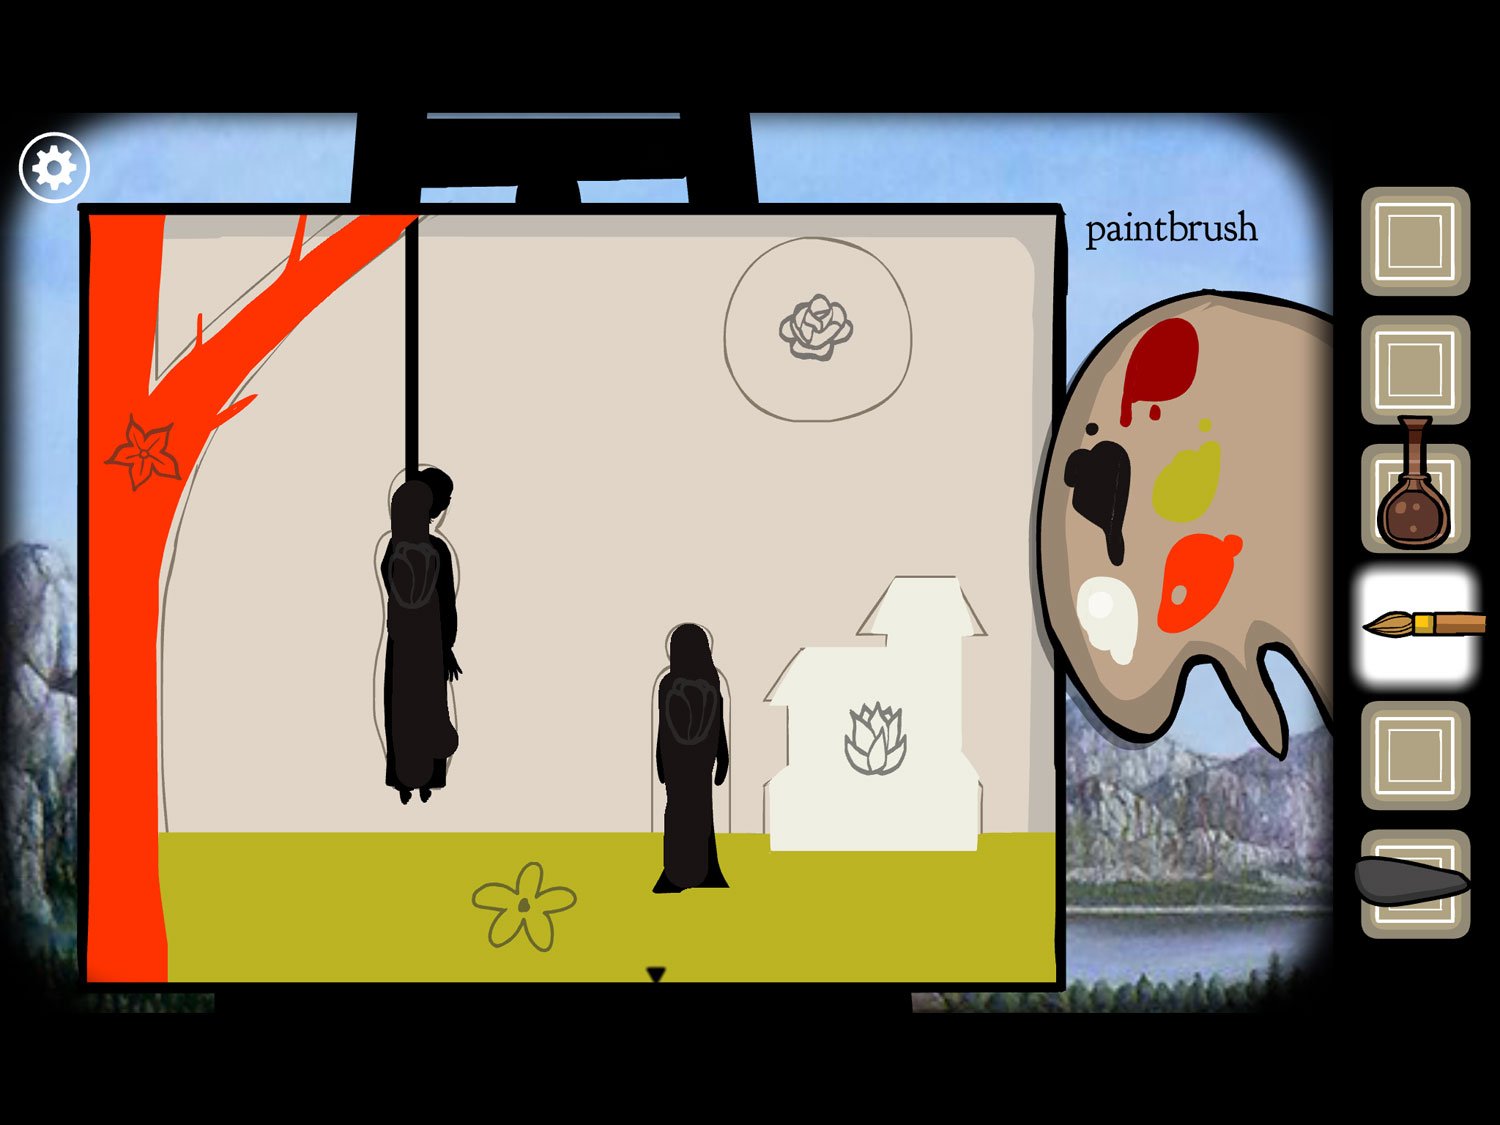
- Use PAINTBRUSH on the white paint. Paint the house with the pointy flower white
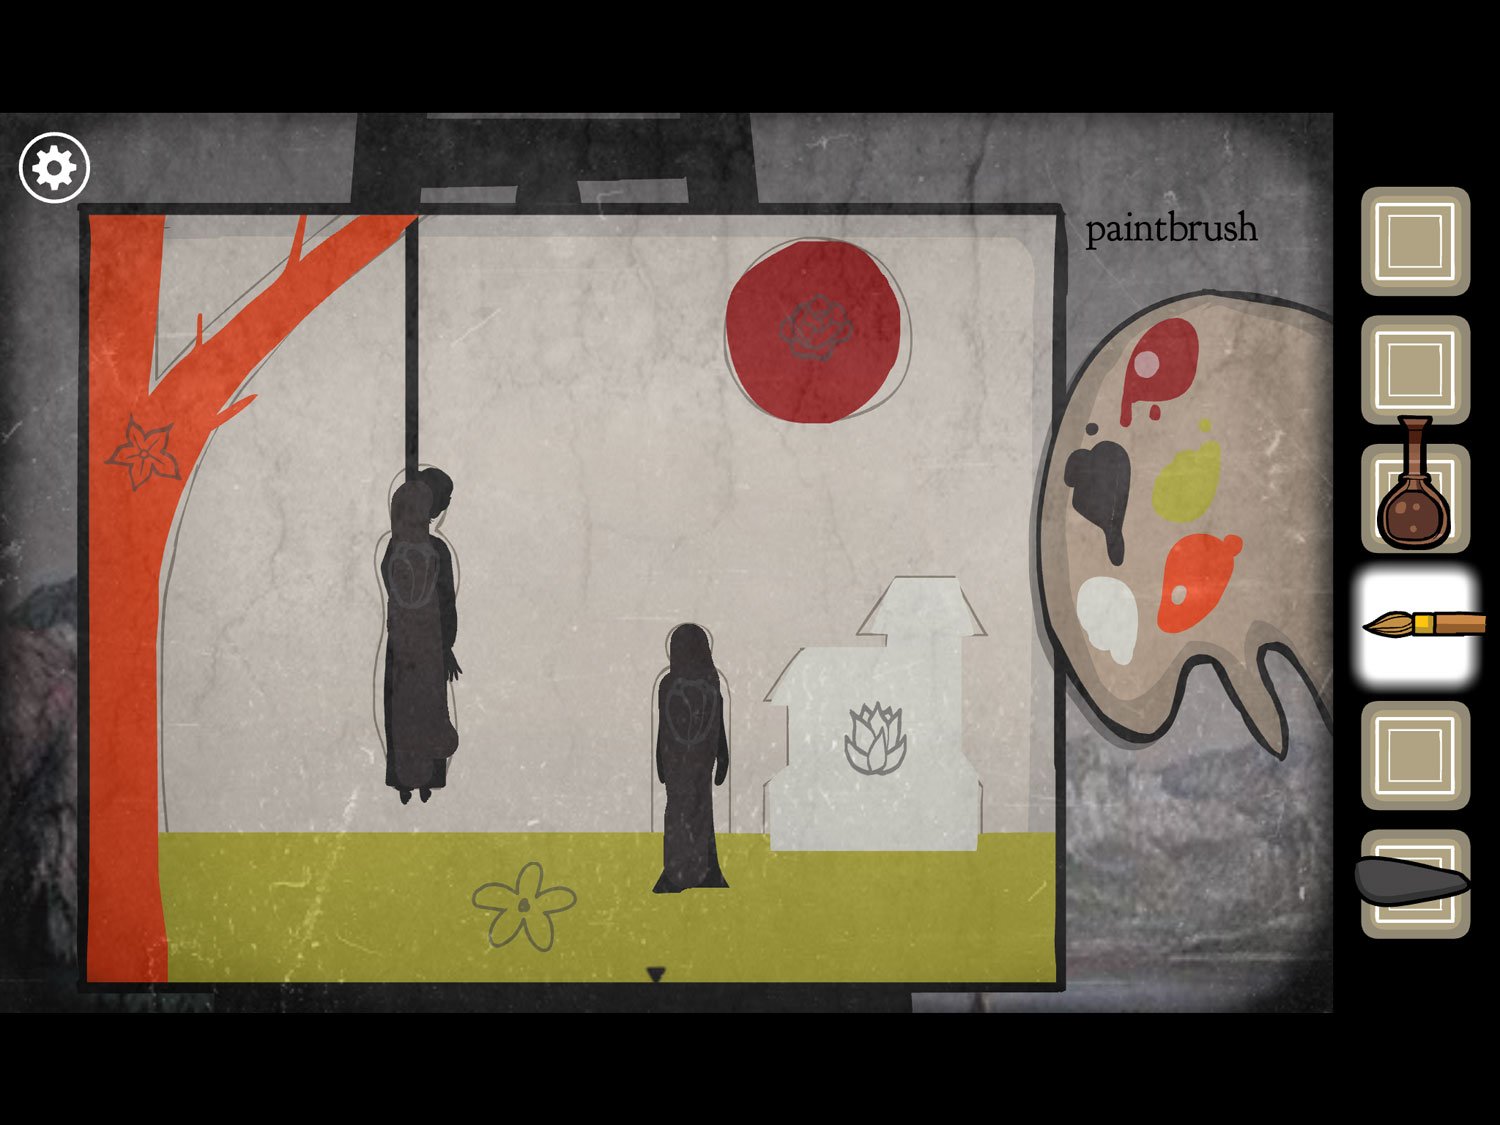
- Finally, use PAINTBRUSH on the red paint. Paint the sun red
- Once all the areas are painted correctly, the painting will throb. Exit the close-up
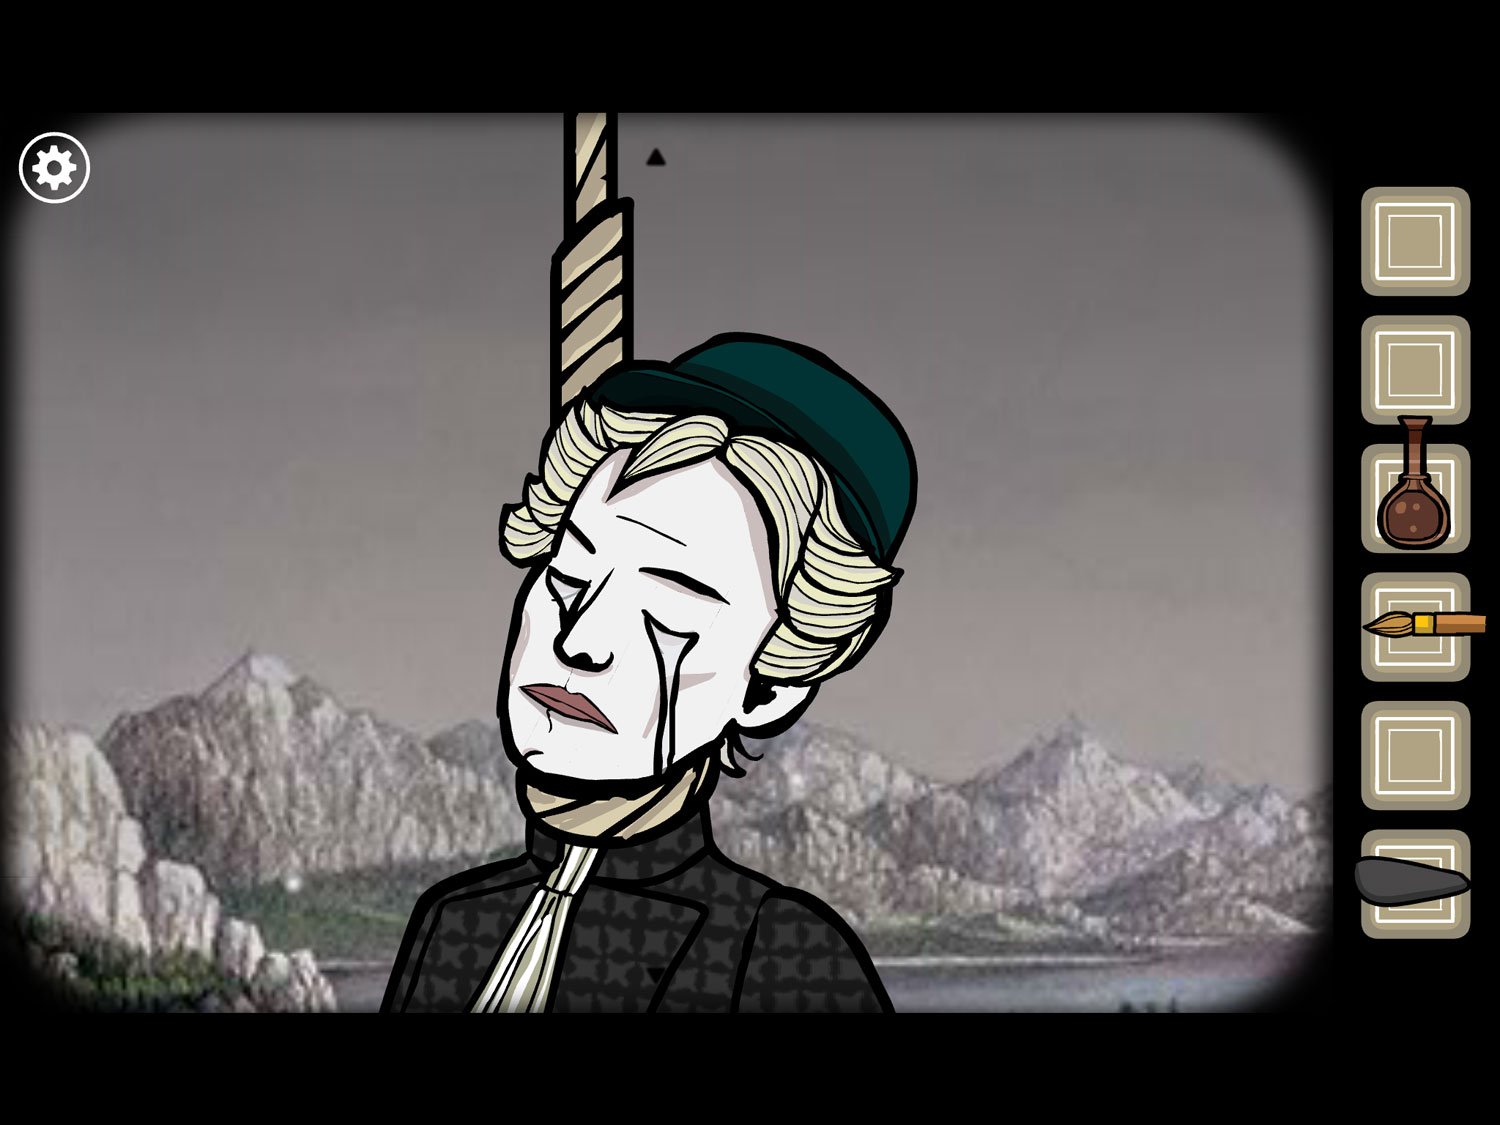
- Drag right to find Emma has hung herself. Tap on her body twice to zoom in, then tap on her tears to create the white square and exit. The tears are added to your list of sacrifices
Level 14: The Well Pt. 1, Fall 1920 – Frank
Location: Inside the well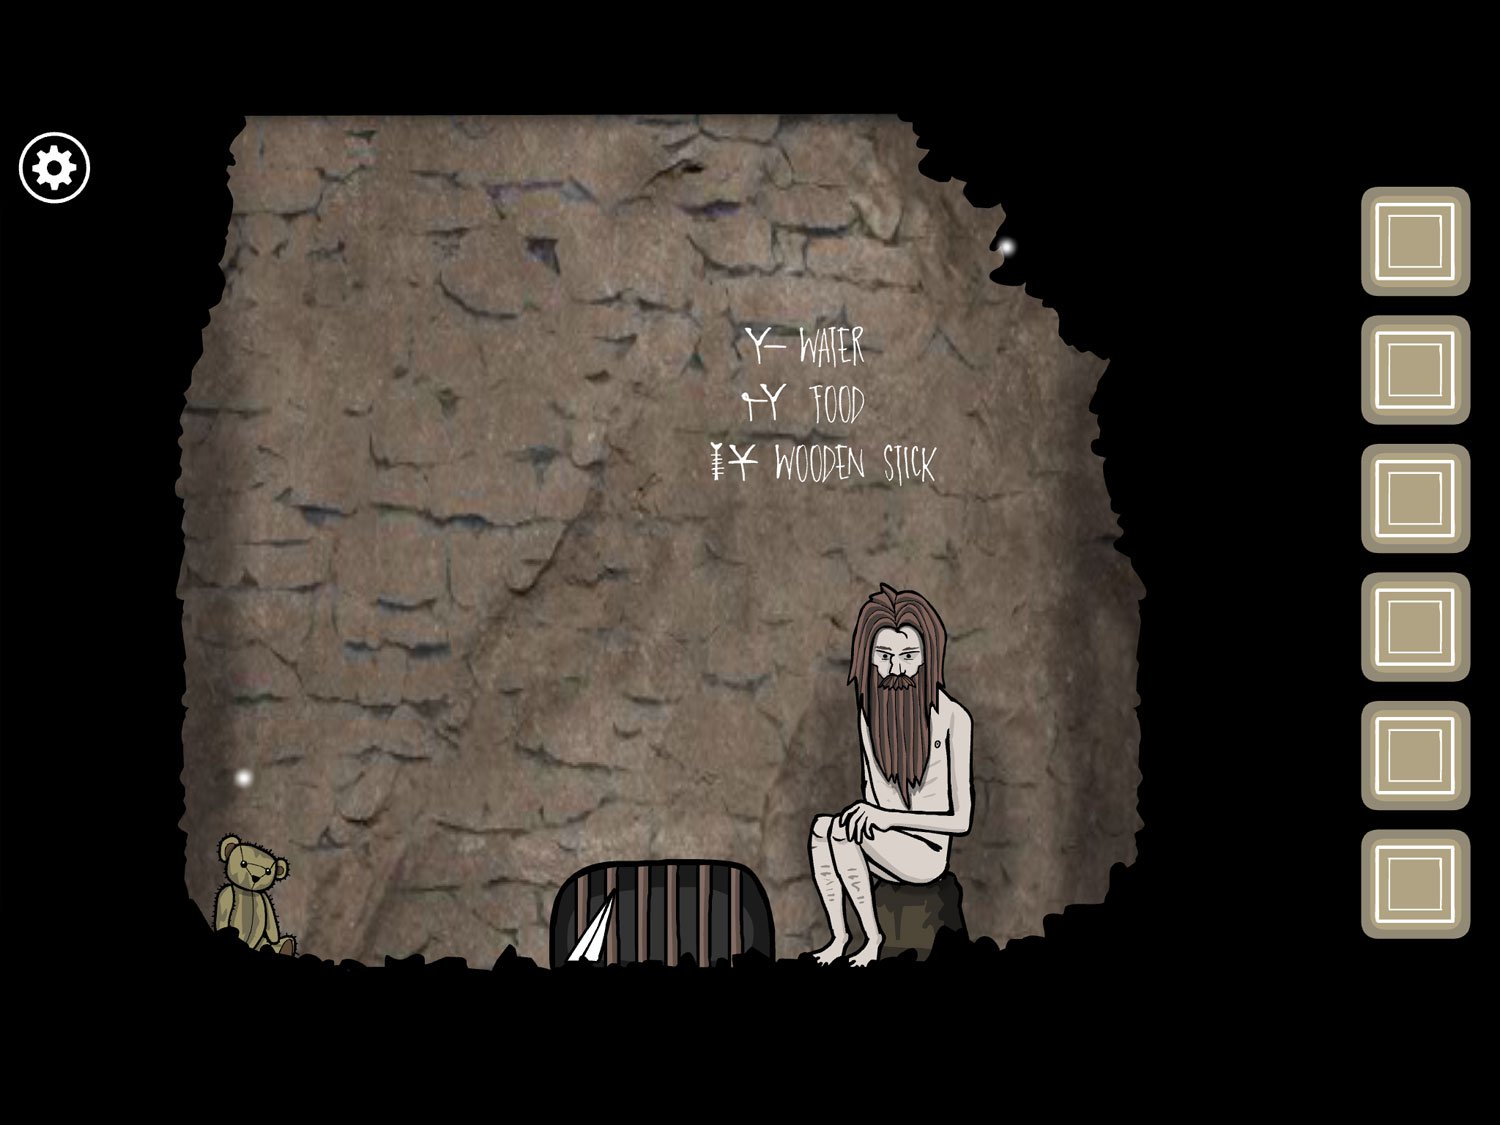
- Tap on the teddy bear in the corner. Tap the stone next to it to get SHARP ROCK
- Tap the bear’s head to pull it off and reveal a string. Tap it to get WIRE. Zoom out
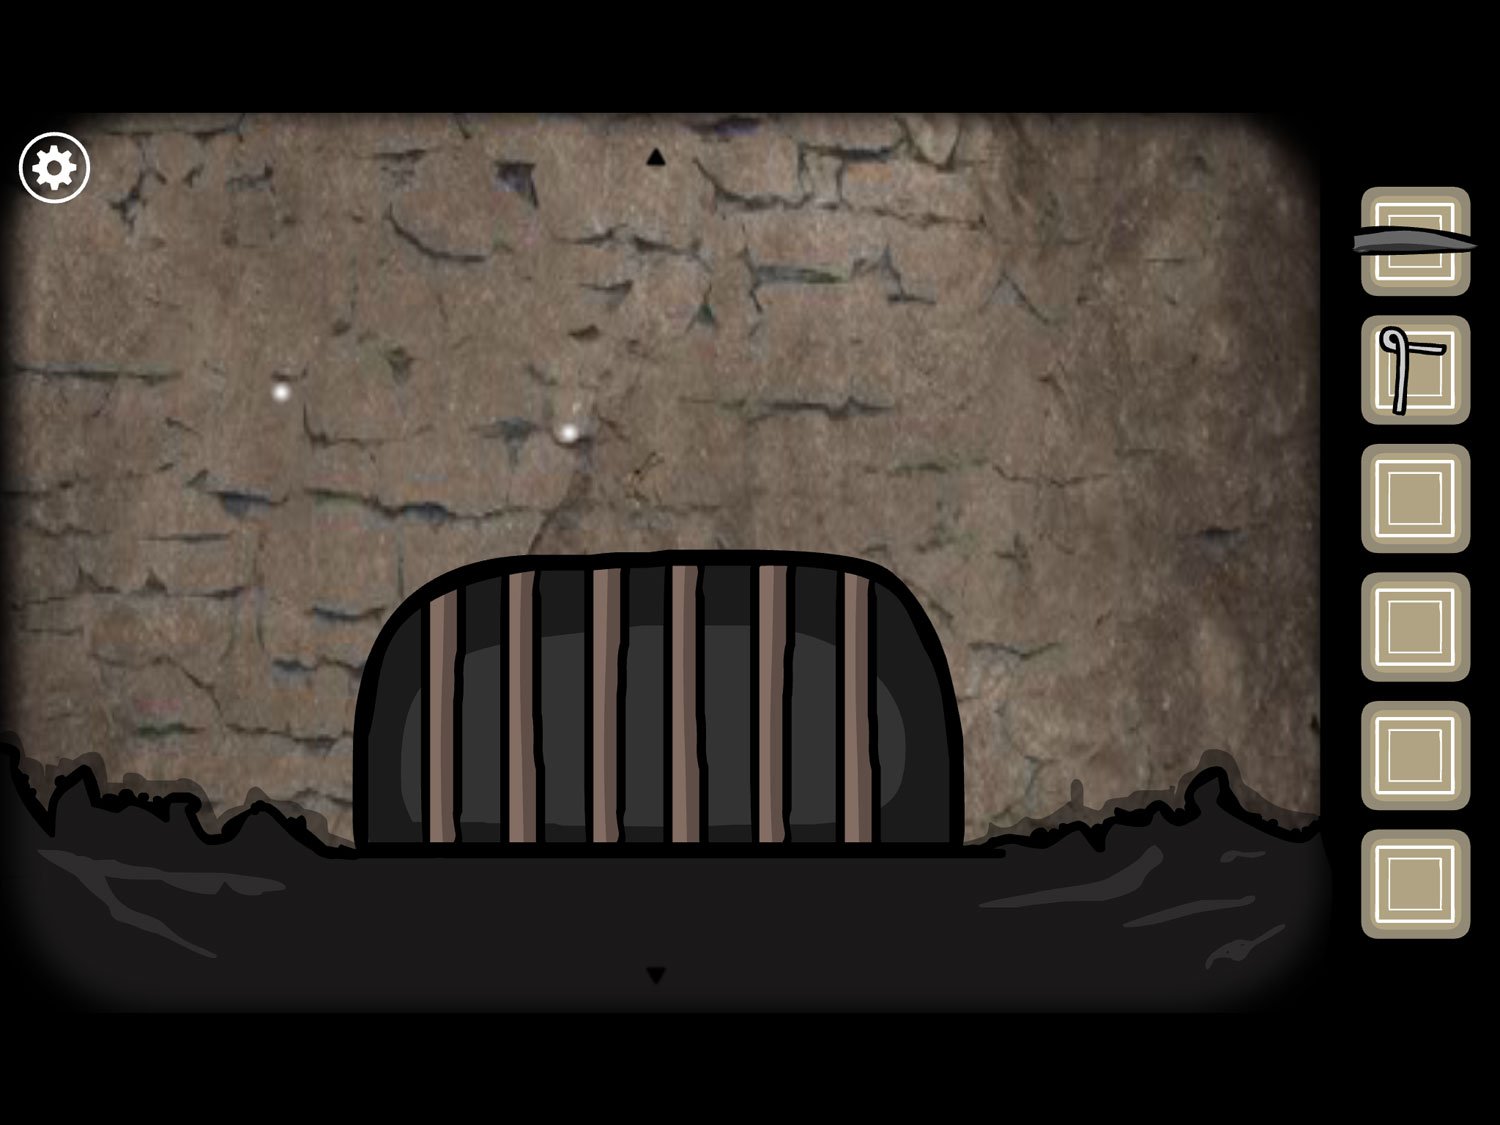
- Tap the bars in the center of the room. Tap the bars and a hand will appear with berries. If you try to grab them, the hand moves back
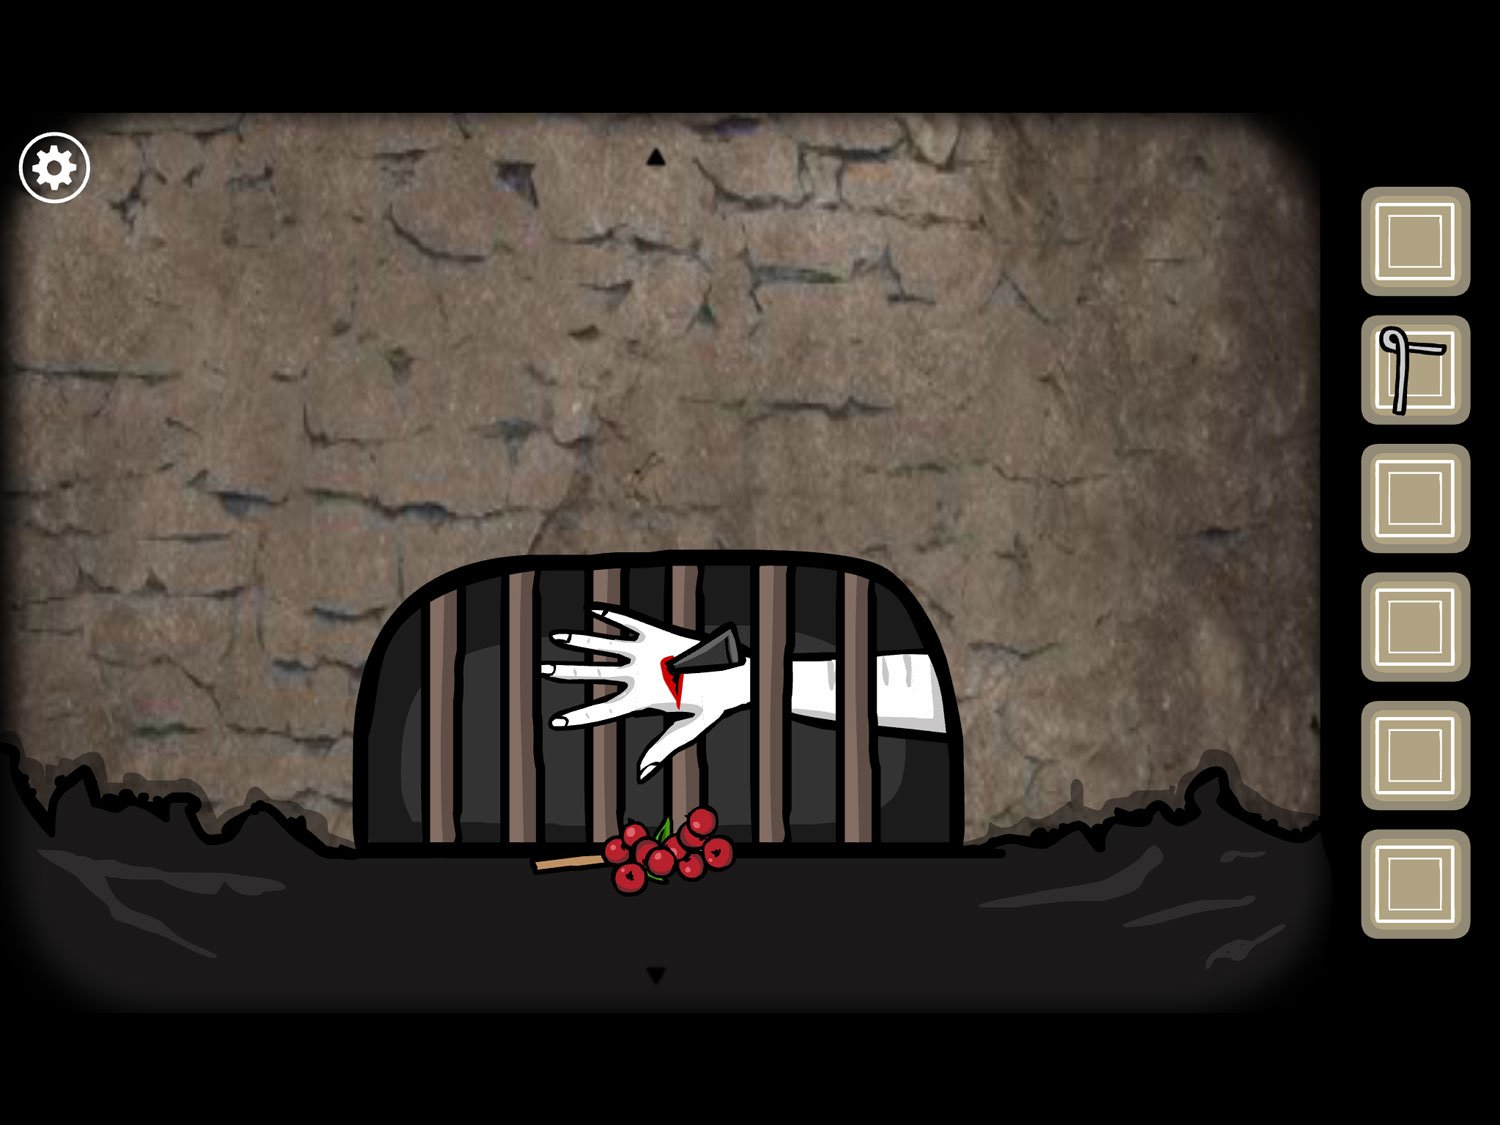
- Use SHARP ROCK on the hand to stab it and take the BERRIES. Zoom out
- Tap on Frank. Give Frank BERRIES. Tap him again and he’ll eat them
- Tap the berries’ leftover stem to get TWIG. Zoom out
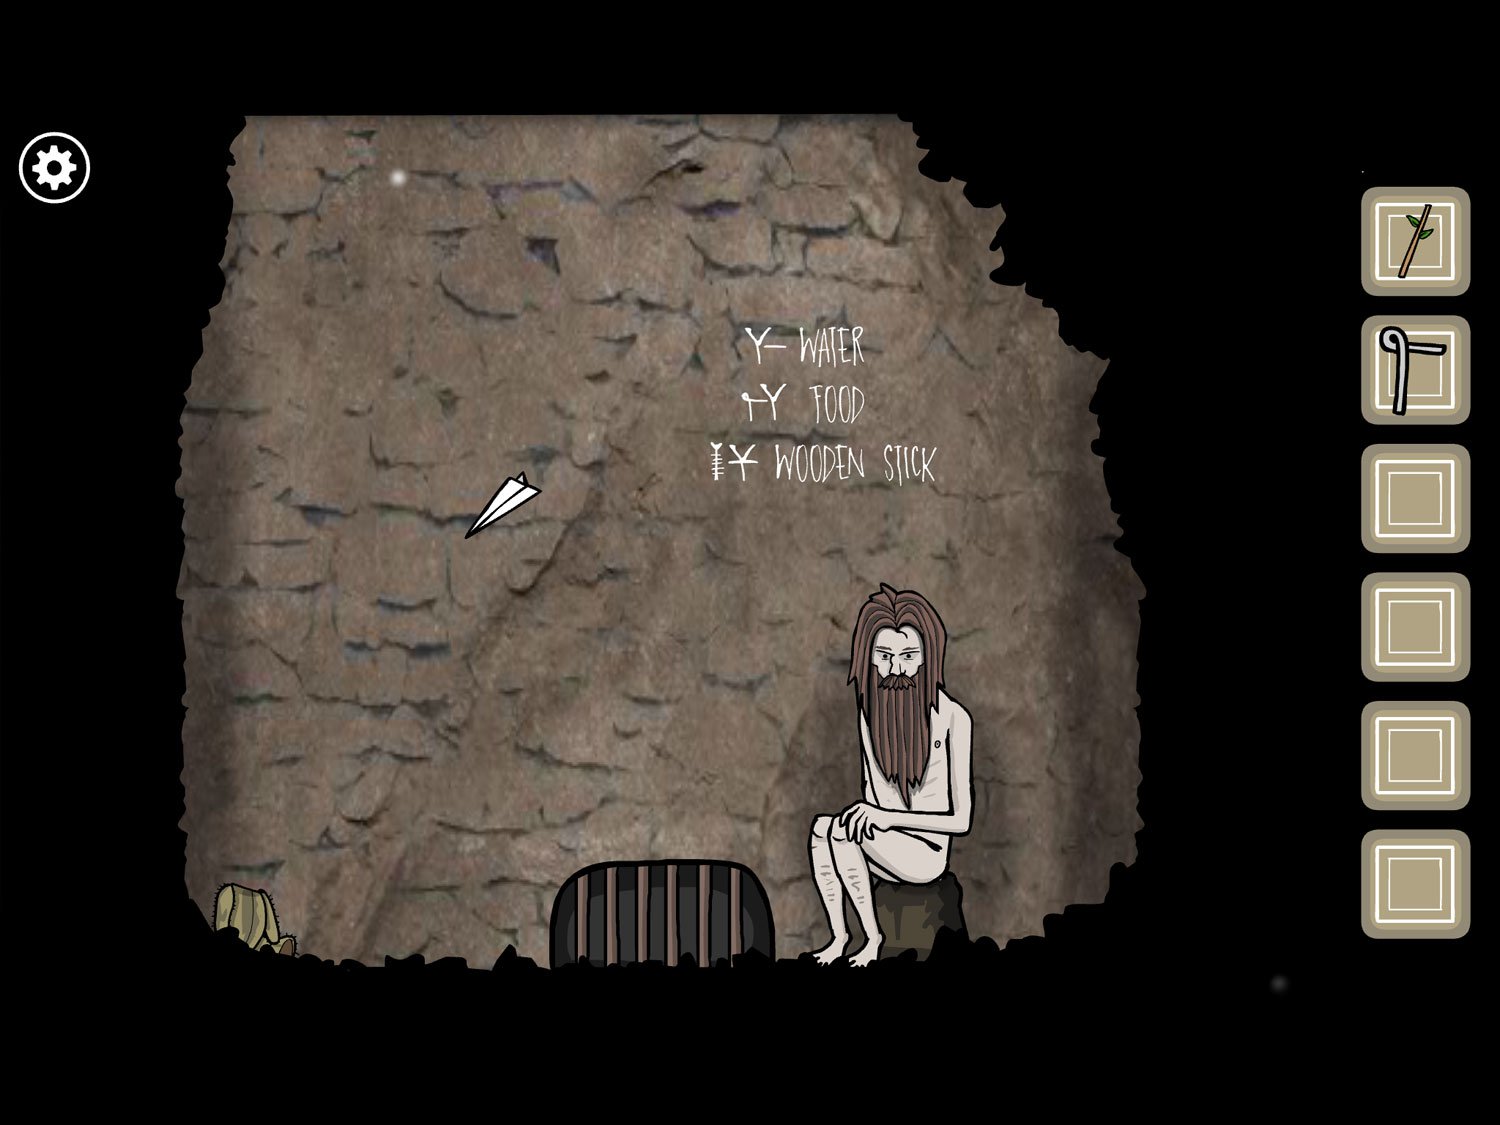
- Tap the paper airplane on the ground. Once it’s in the air, tap again to send it higher. Keep tapping until it goes up and out of the well (should take about six or seven taps). A bucket will drop down
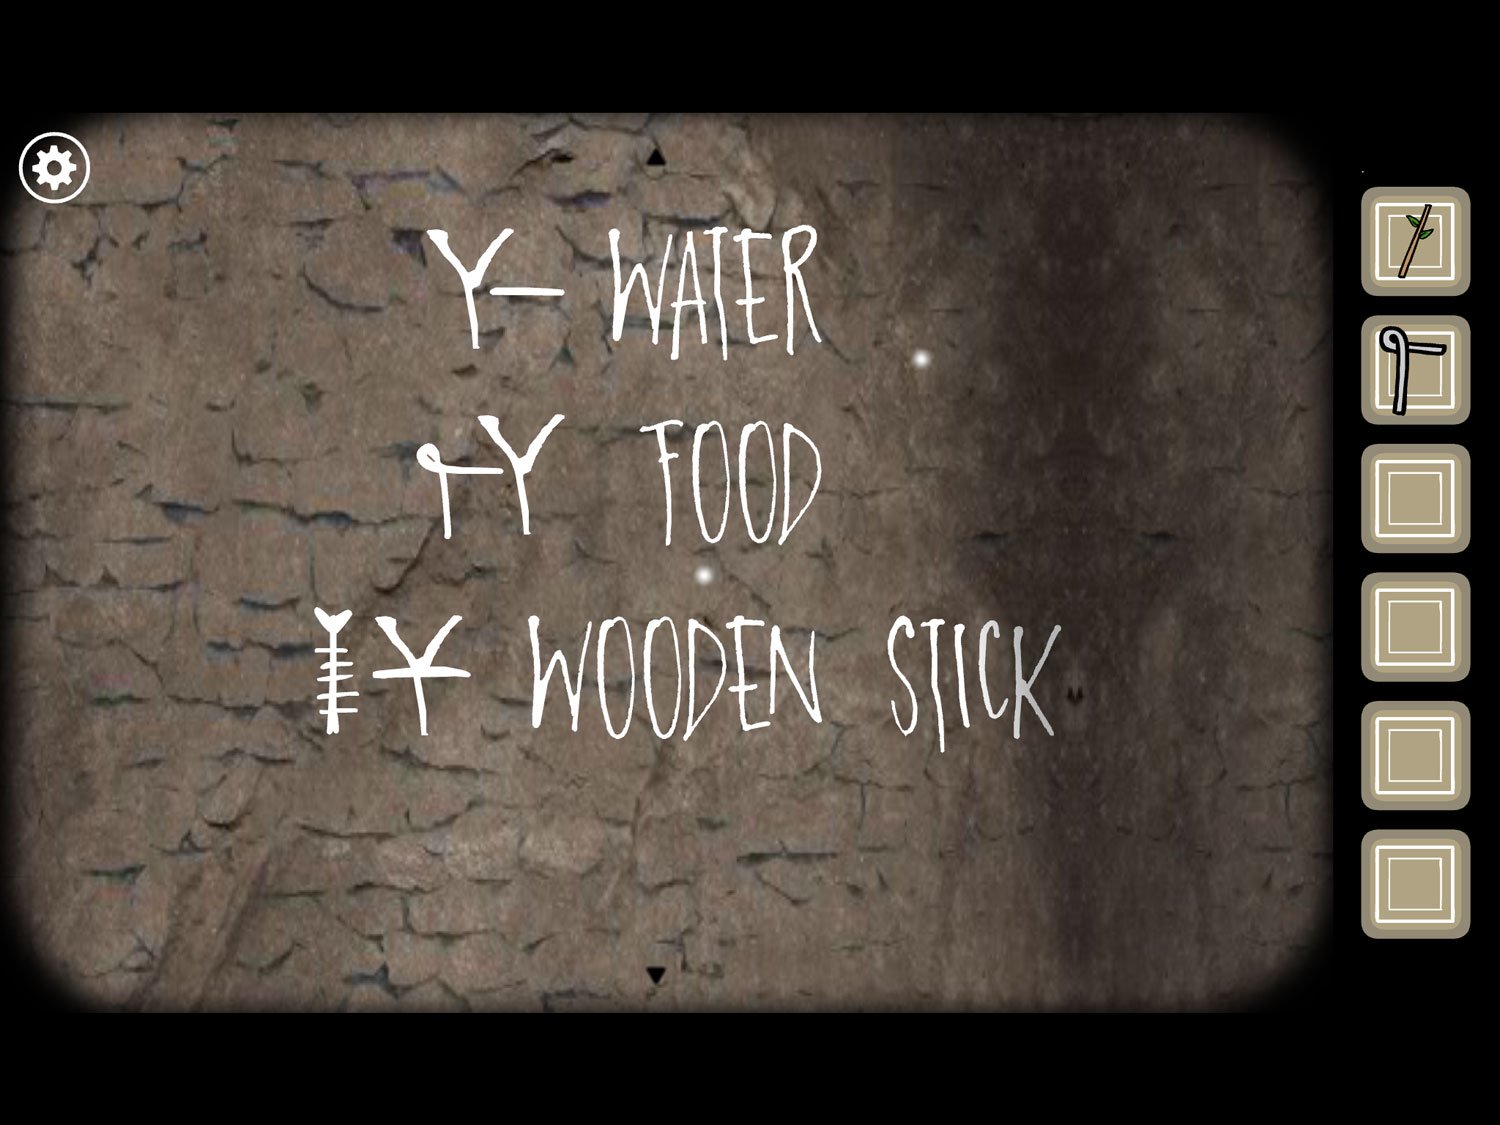
- Examine the writing on the wall above Frank. It has symbols for water, food, and wooden stick. Exit the wall
- Tap on the bucket. Tap on WIRE in your inventory and then the ground next to the bucket to place it on the ground. Tap on TWIG to place it as well
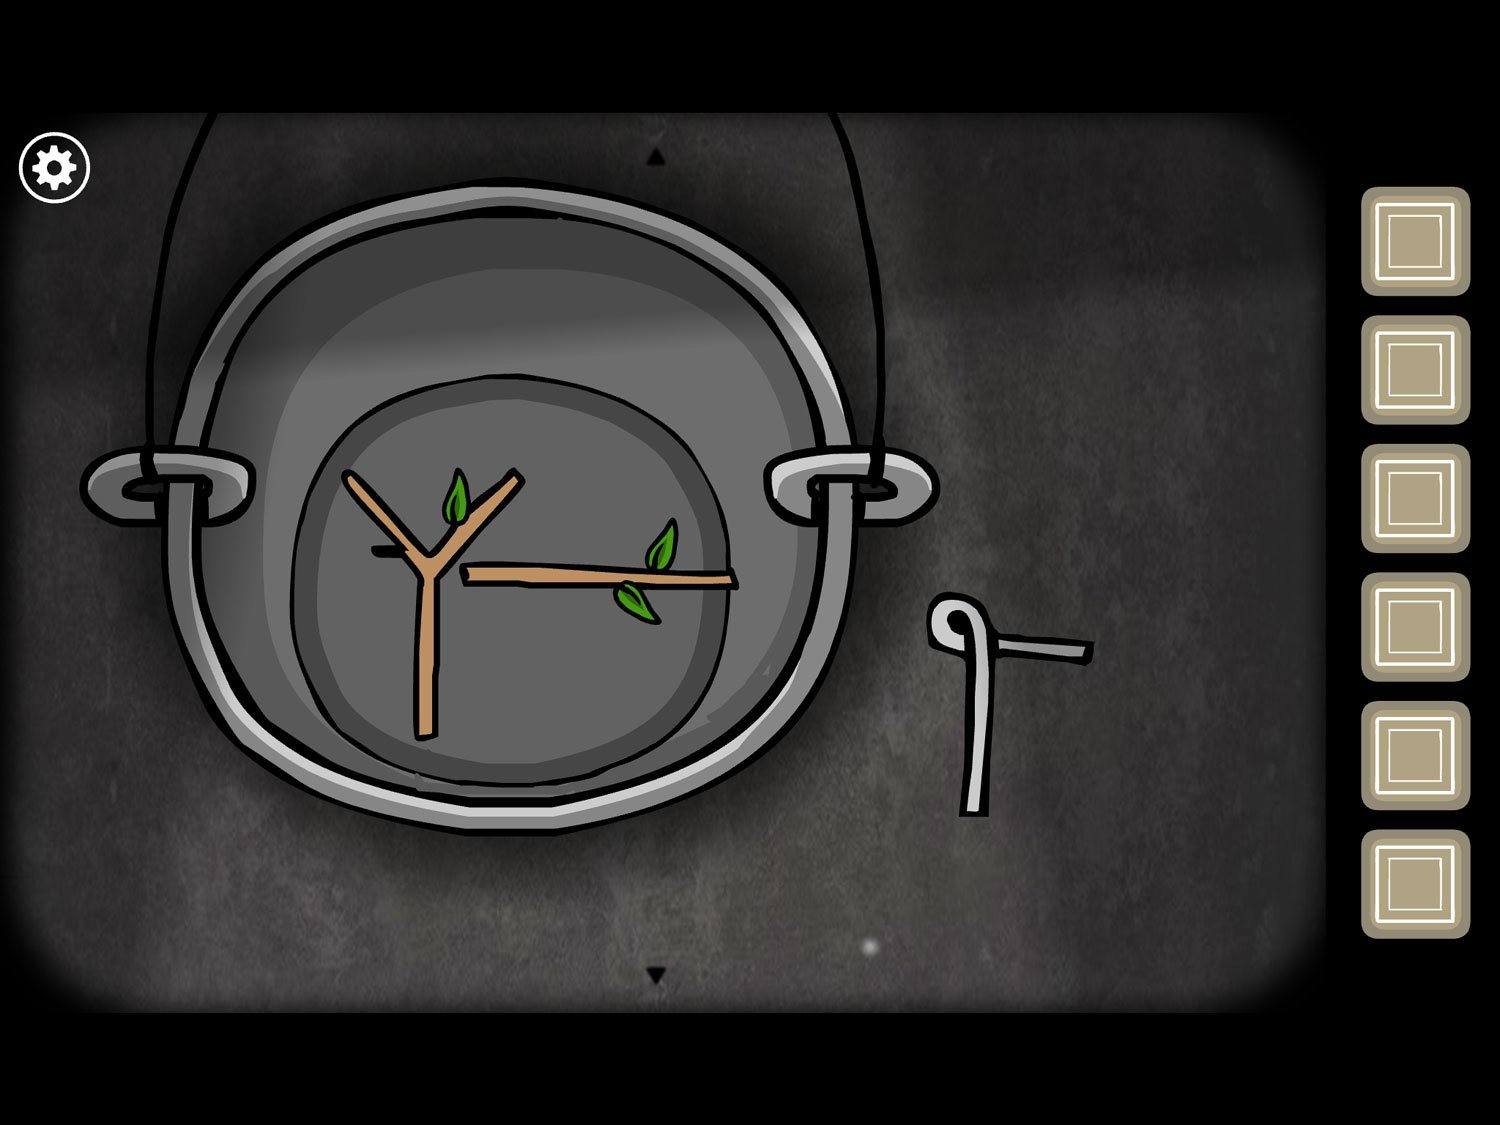
- Drag the y-shaped twig to the left side of the bucket. Drag TWIG to the right side of the bucket. Zoom out and the bucket will go up then come back down
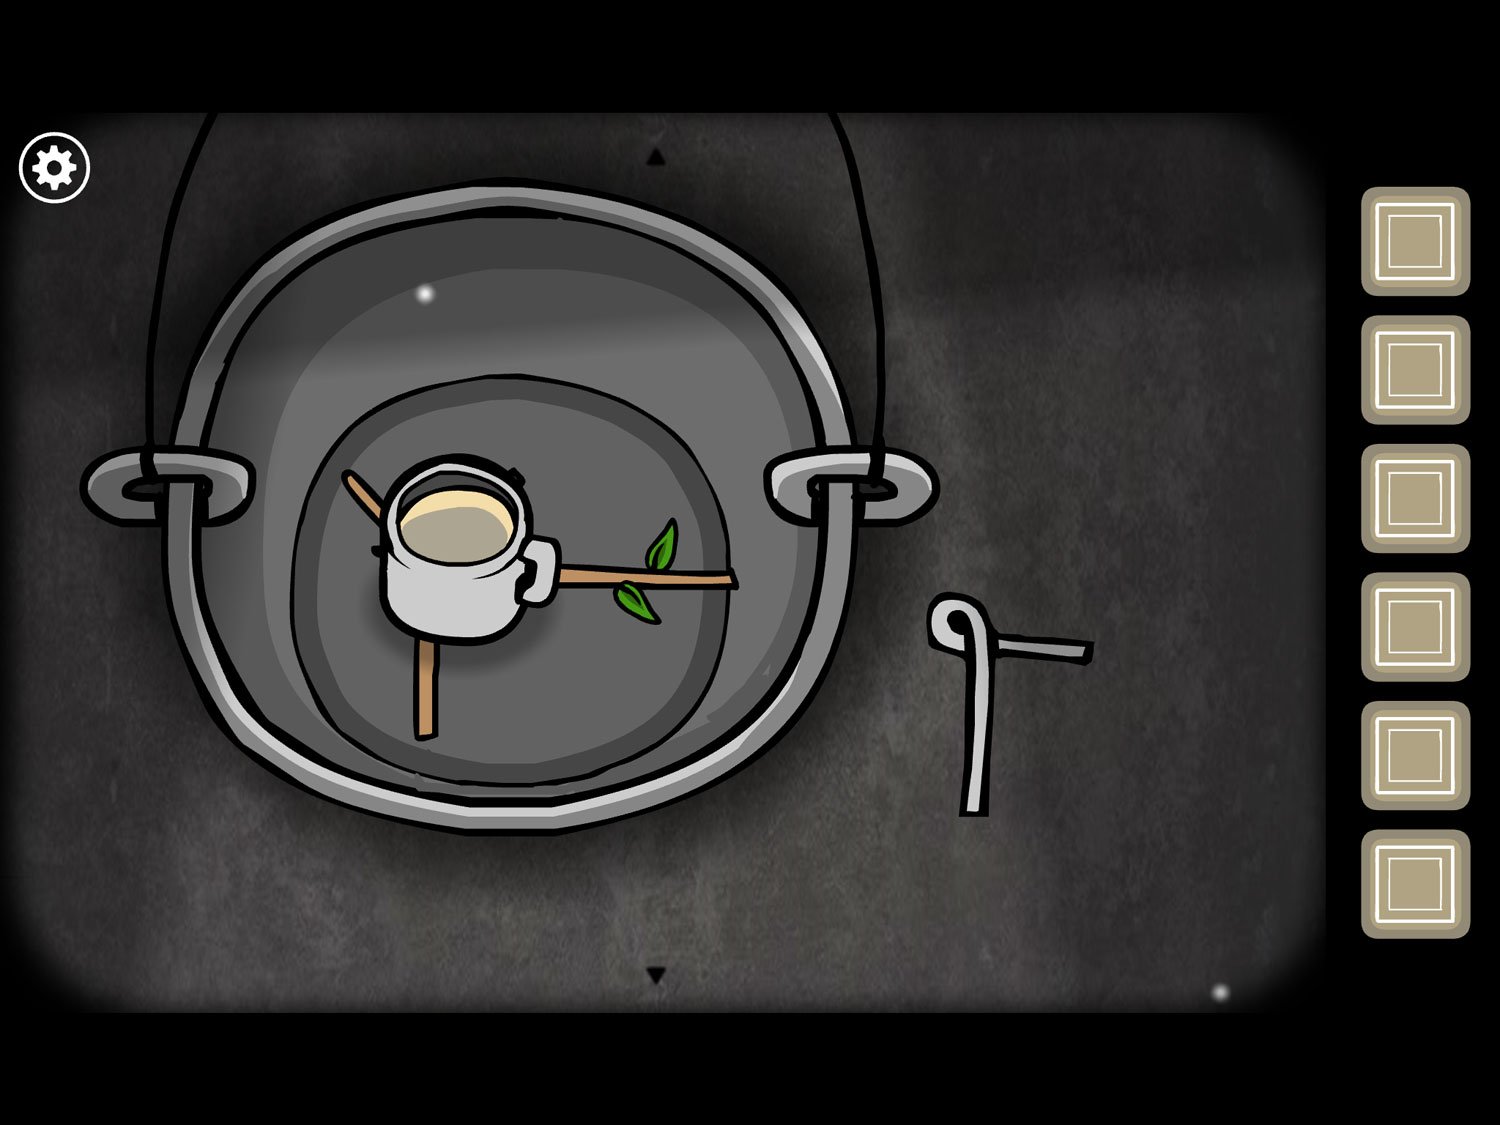
- Tap the bucket again; tap the cup to get CUP WITH LIQUID
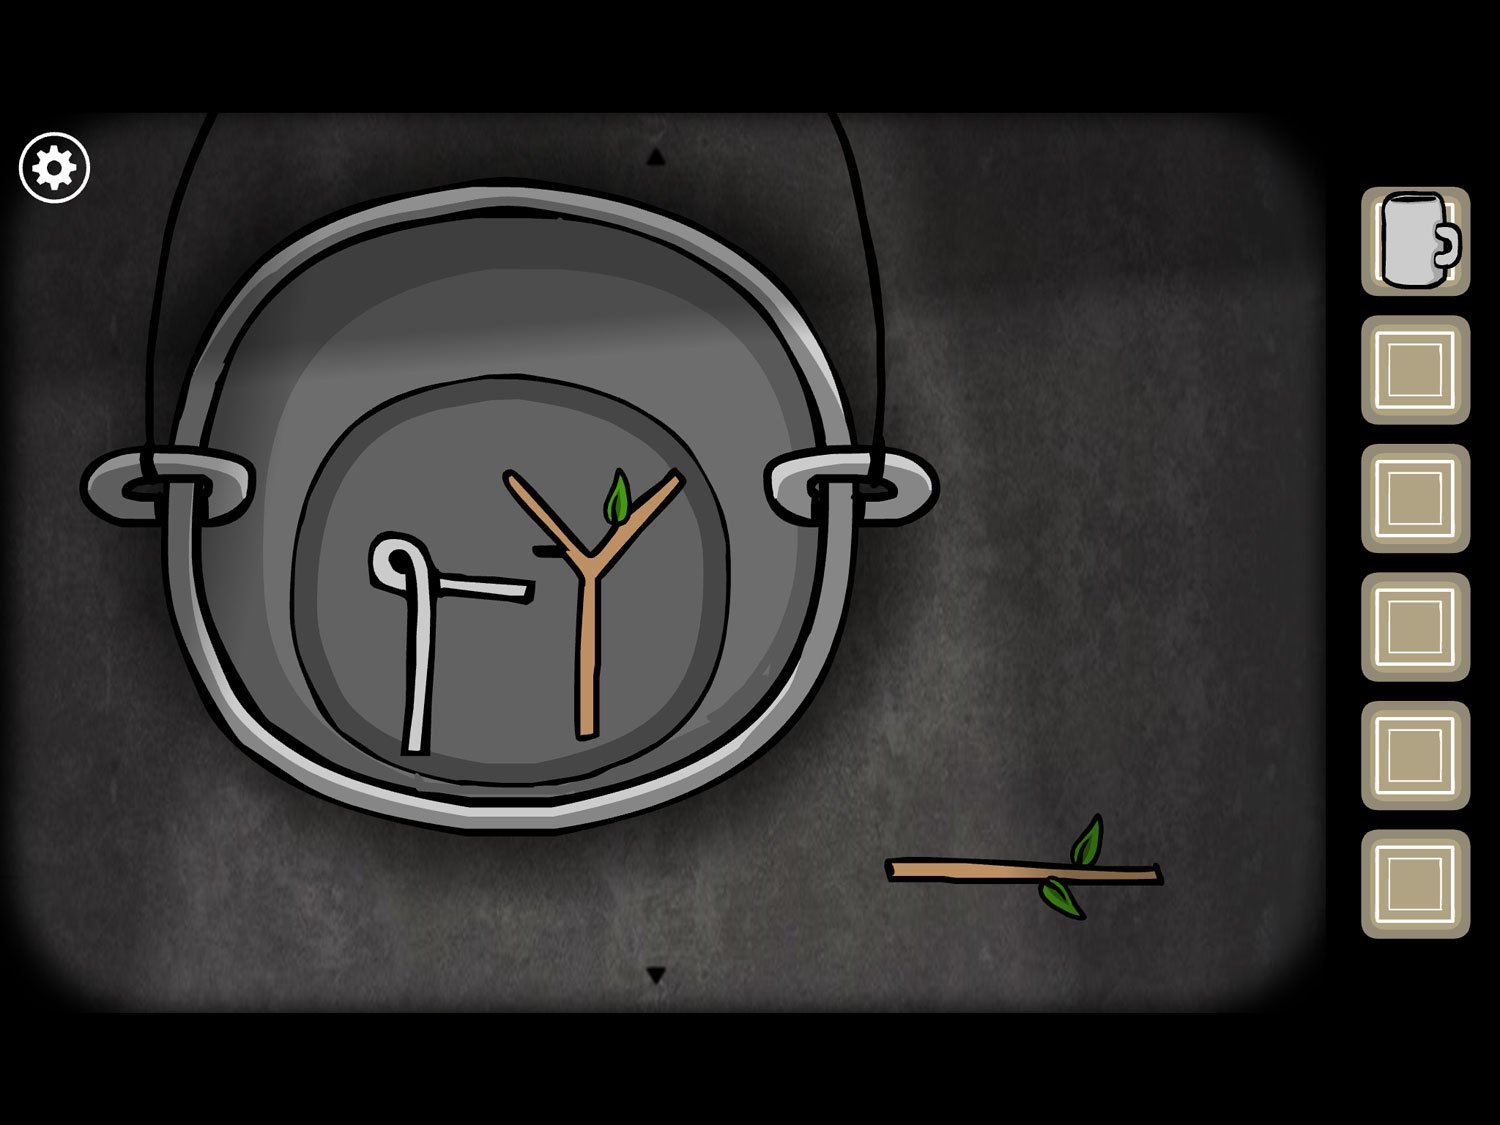
- Drag the items out of the bucket. Drag WIRE into the left side of the bucket. Drag the Y-shaped stick to its right. Then zoom out
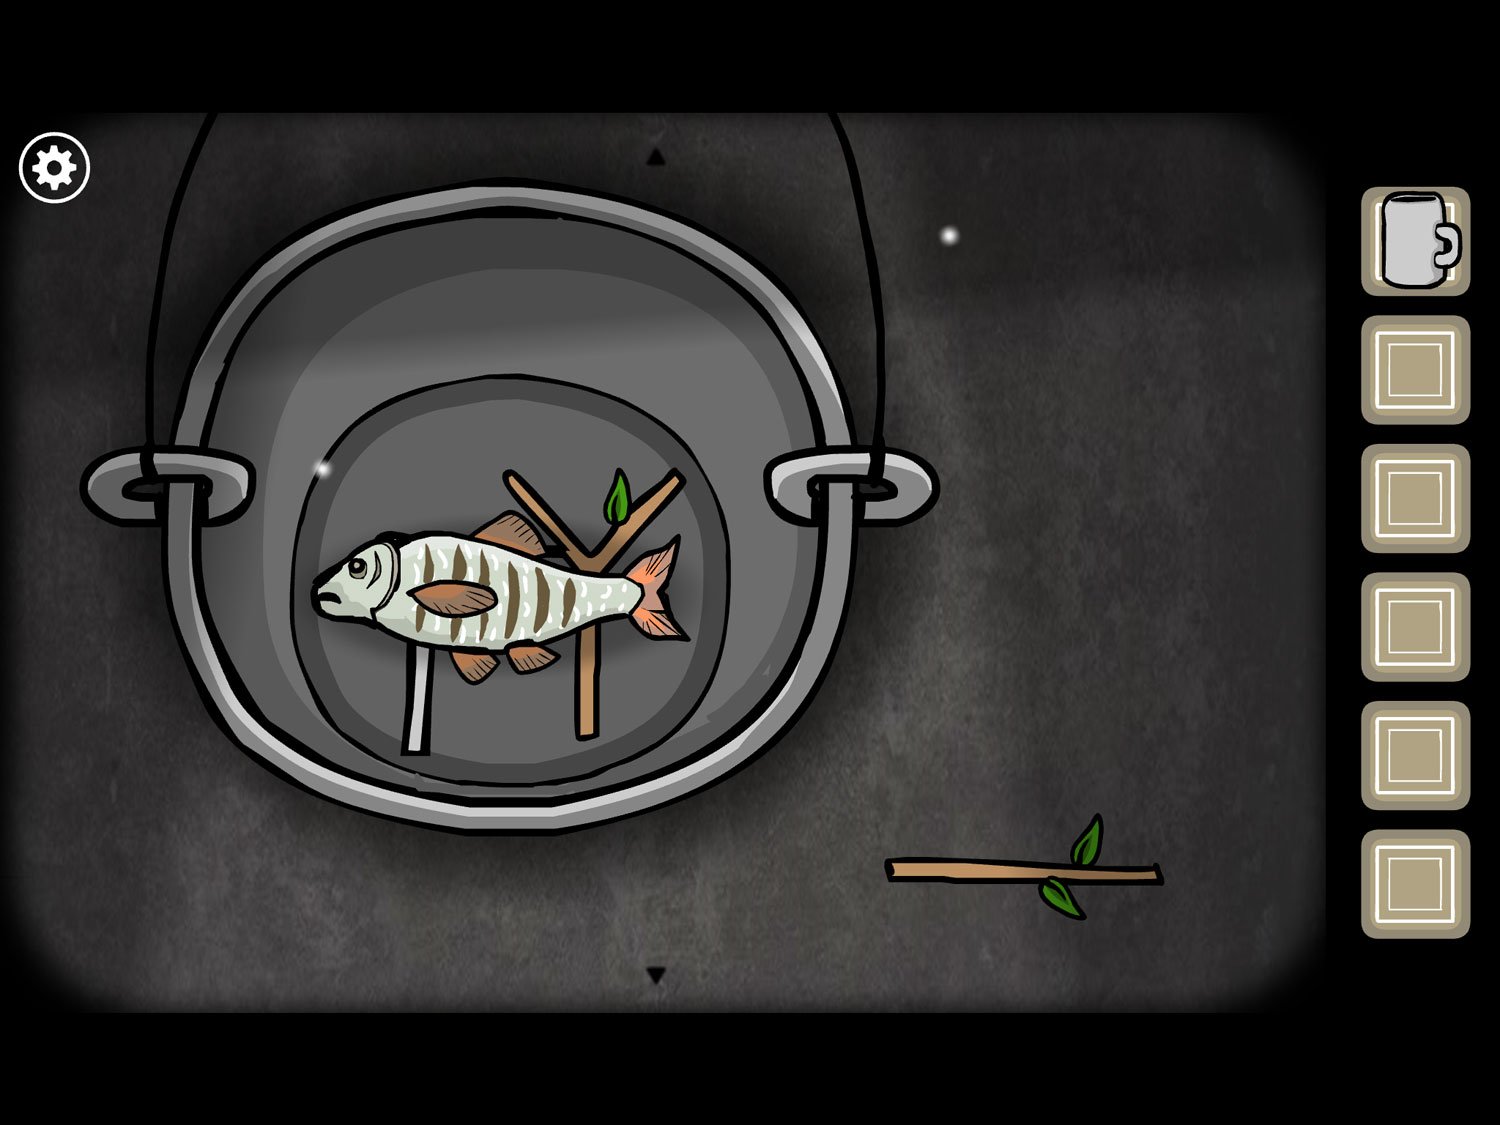
- The bucket goes up then comes back down. Tap it again and there will be a fish inside. Take it to get GRILLED FISH
- Return to Frank. Give him CUP WITH LIQUID. Tap on his so he drinks. Tap again and he gets rid of the cup
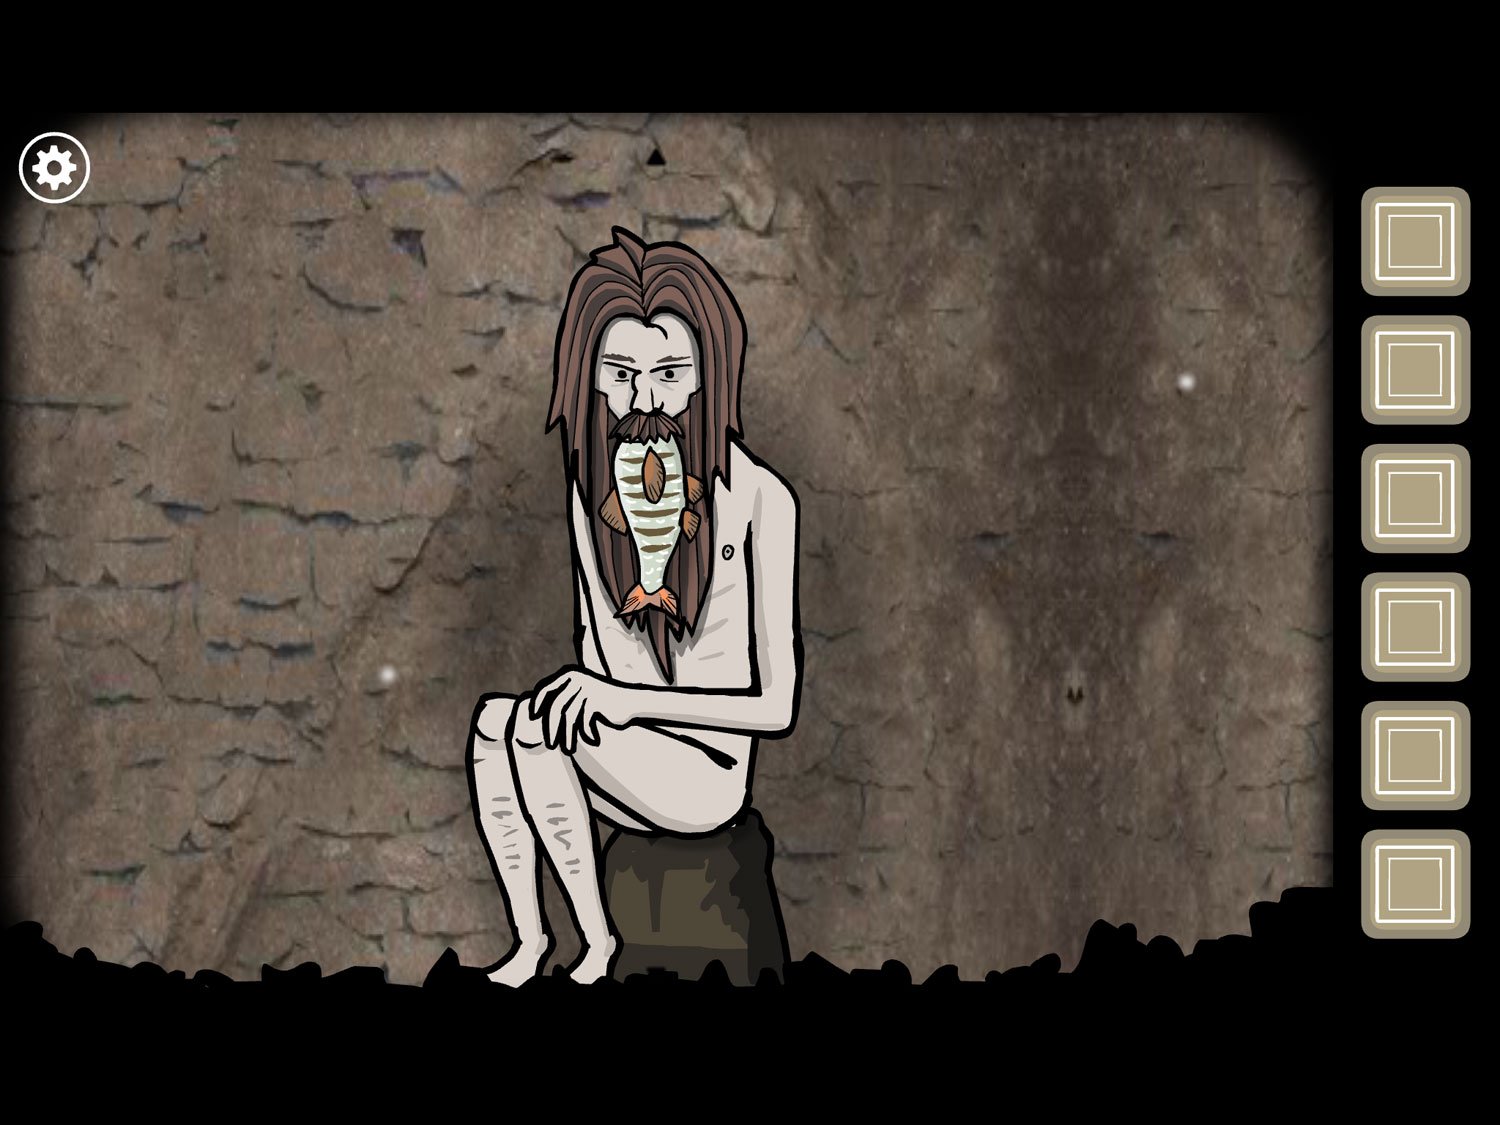
- Give Frank GRILLED FISH. Tap him so he eats, tap again so he holds up the fishbone. Take FISH BONE
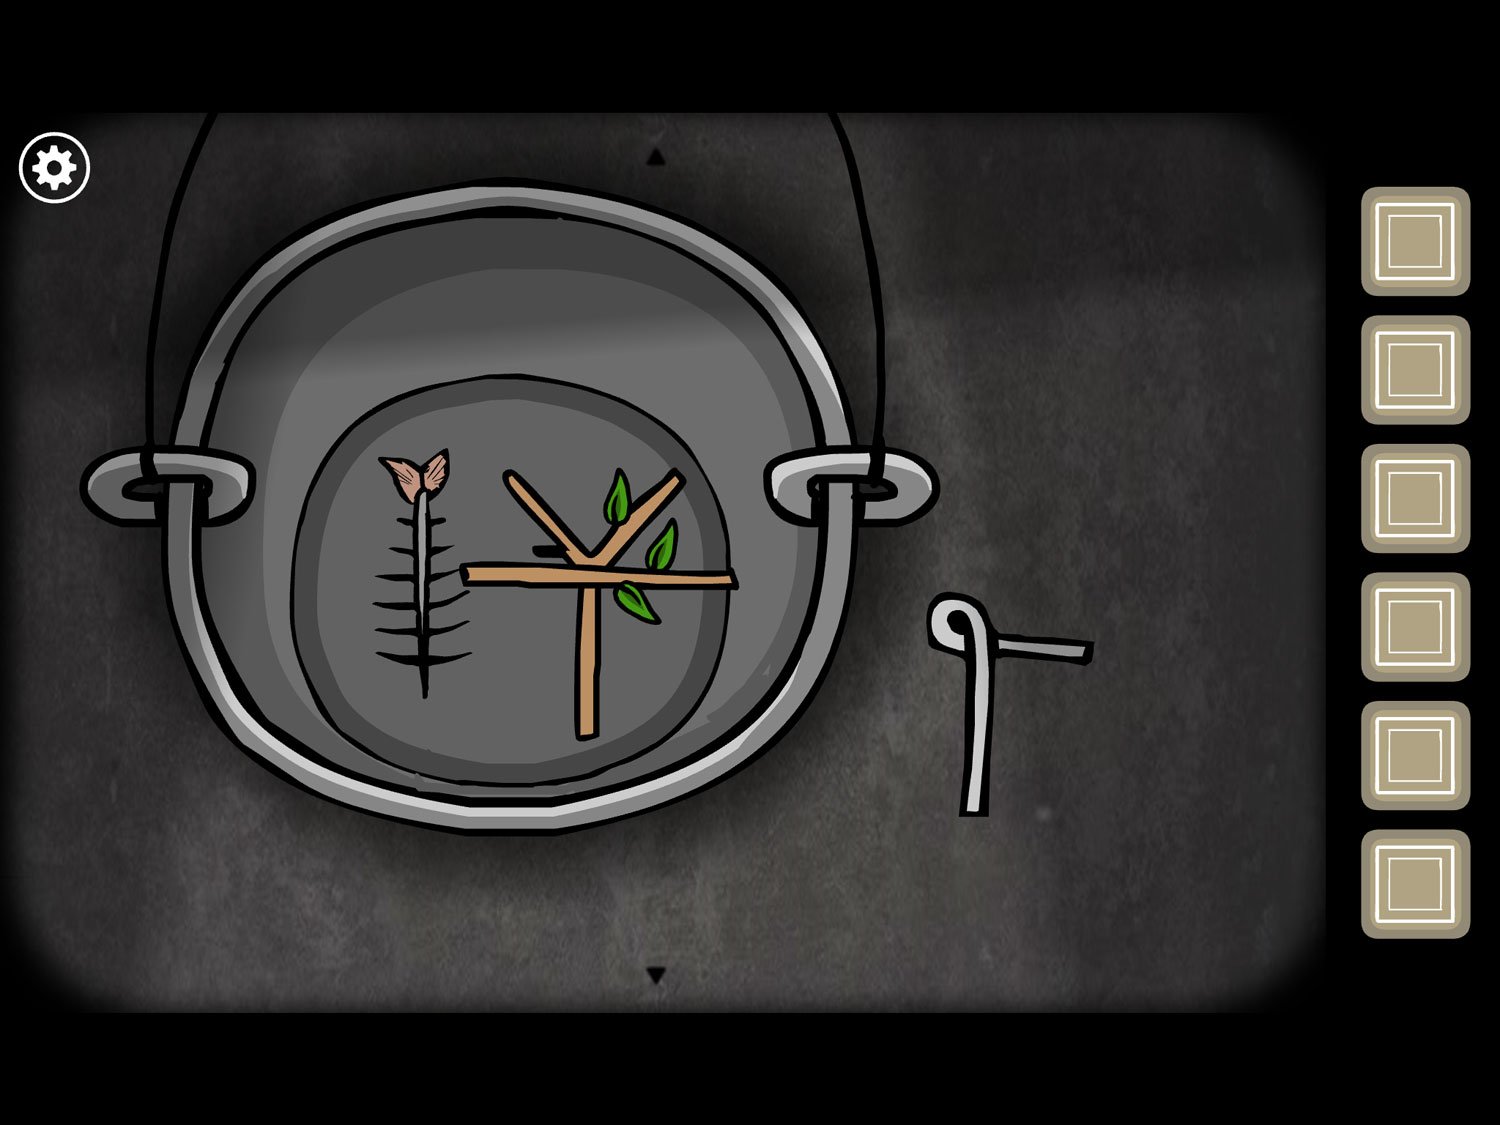
- Return to the bucket. Tap FISH BONE so it is on the ground, then drag it to the left side of the bucket. Drag the y-shaped stick to the right side. Drag the TWIG on top of the y-shaped stick
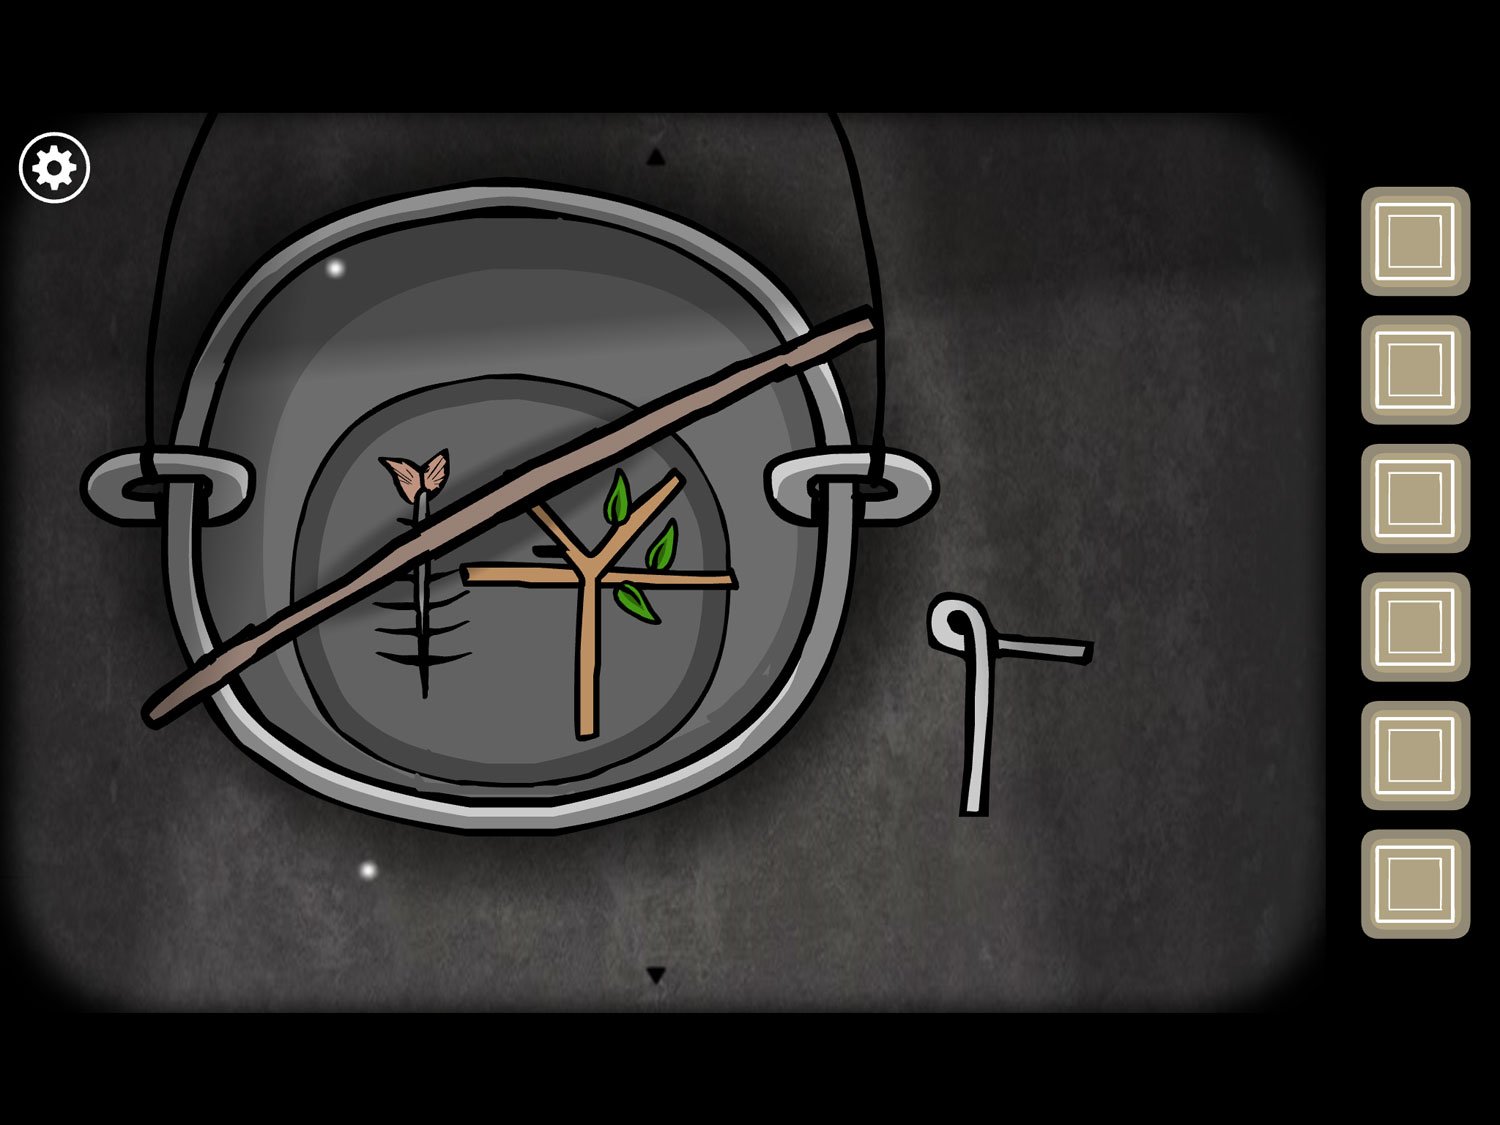
- Zoom out then tap on the bucket when it returns. Take WOODEN STICK
- Give WOODEN STICK to Frank. Tap on Frank again and he leans near the grate in the wall
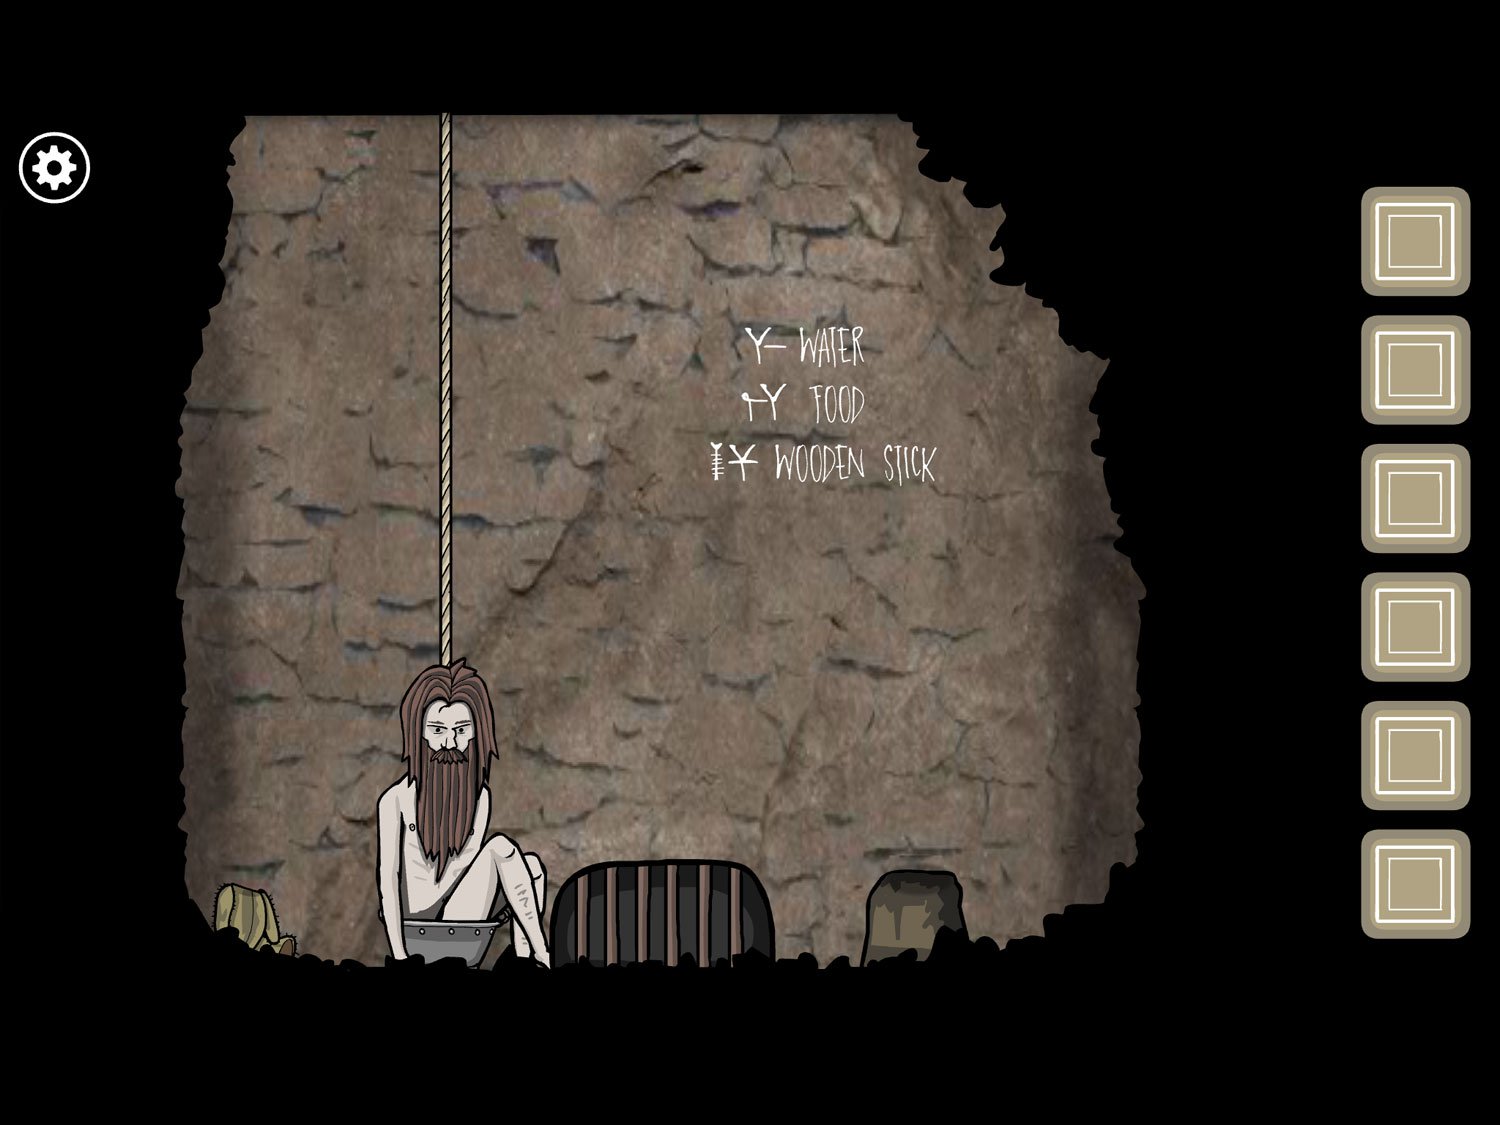
- Tap Frank four times; he will slowly crawl over to the bucket and sit in it
- Tap Frank to make the white square and exit appear
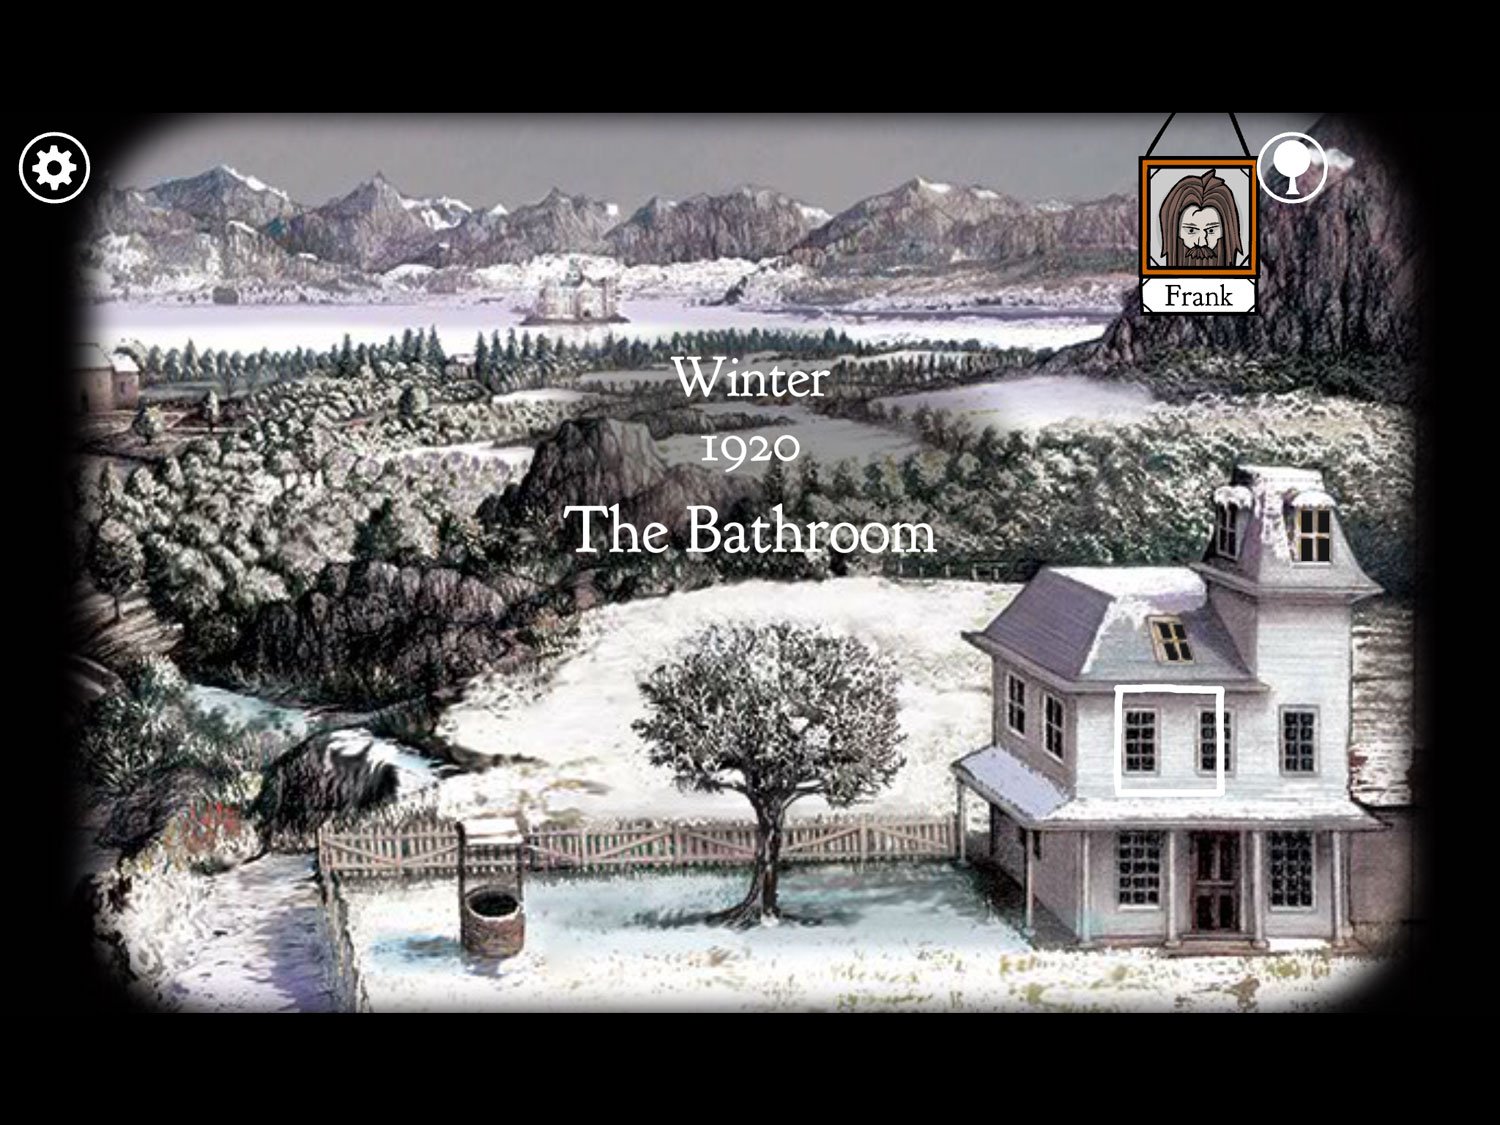
Level 15: The Bathroom, Winter 1920 – Frank
Location: Upstairs bathroom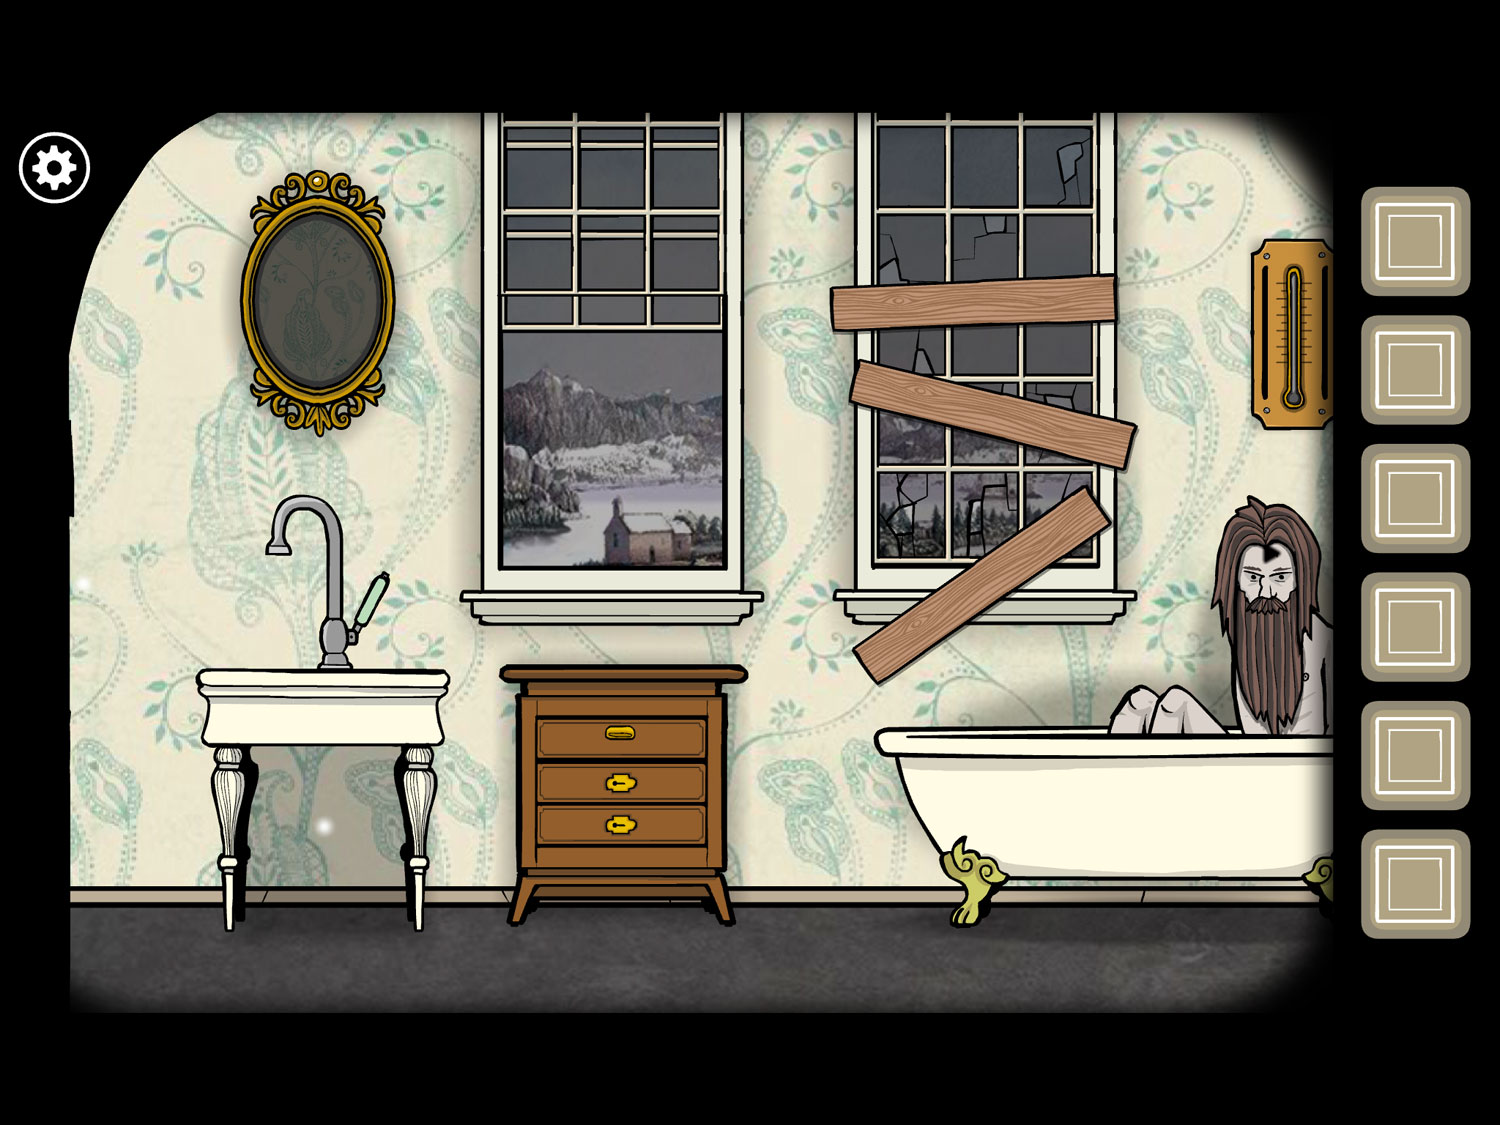
- Tap the mirror to zoom in. Tap it and a shadow will appear
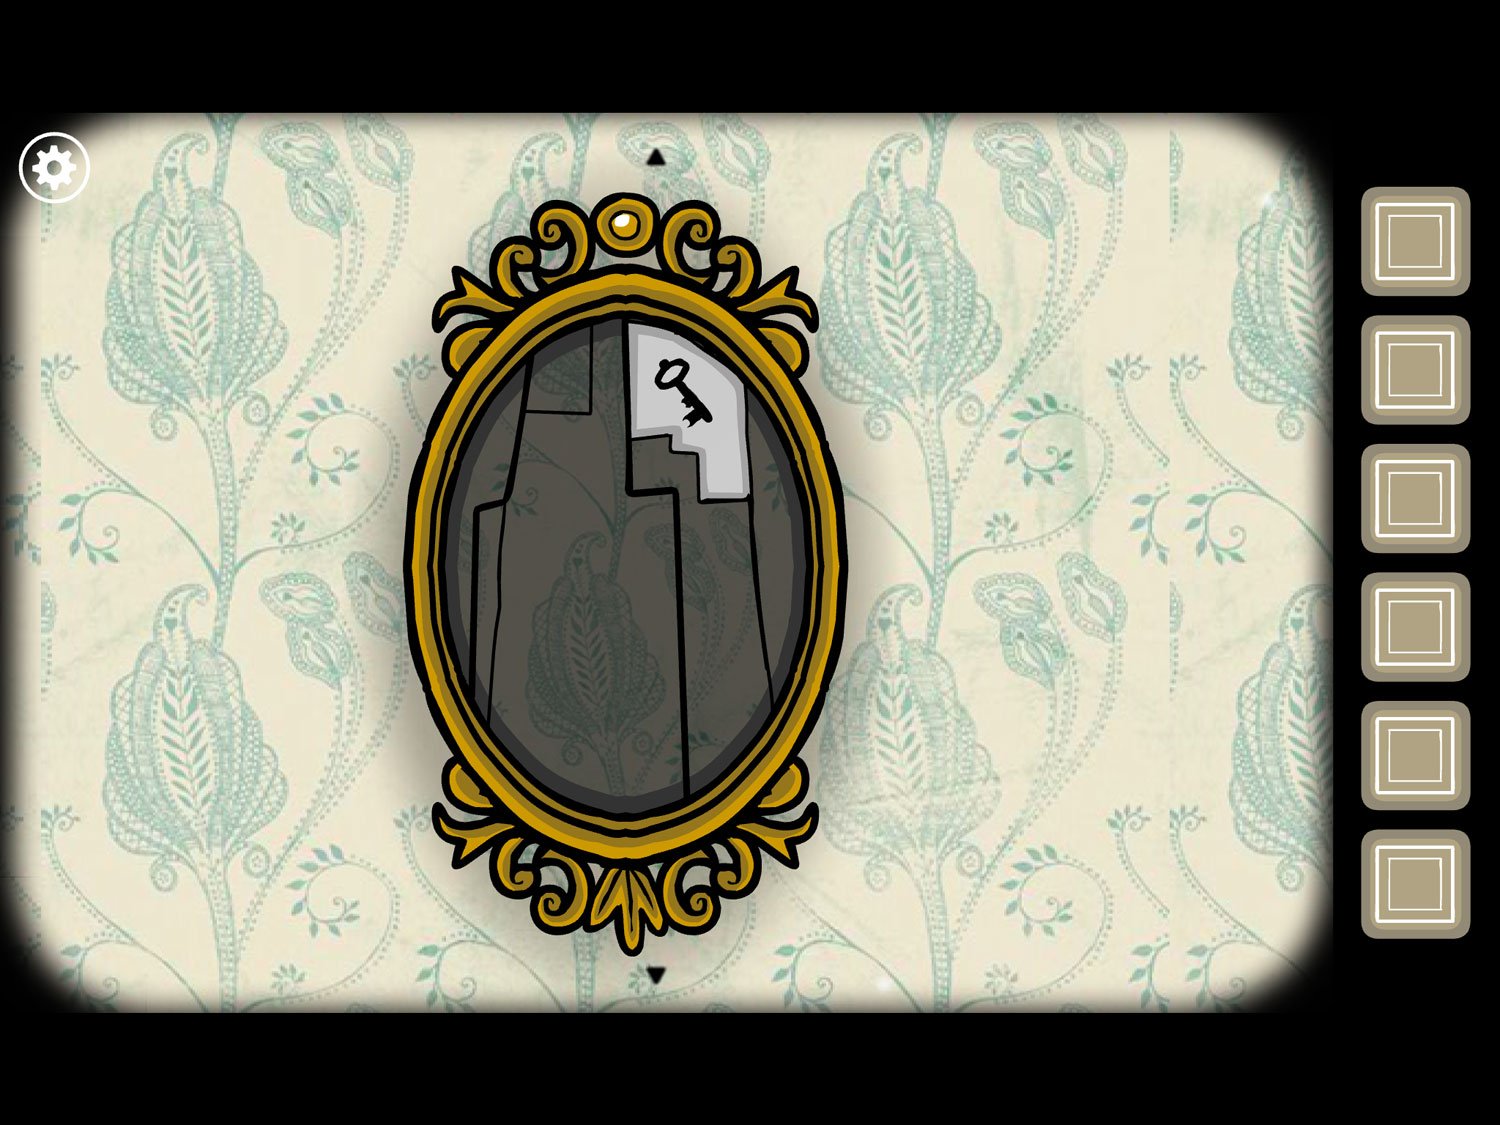
- Tap it a few more times to break the glass and reveal a key; take KEY. Zoom out
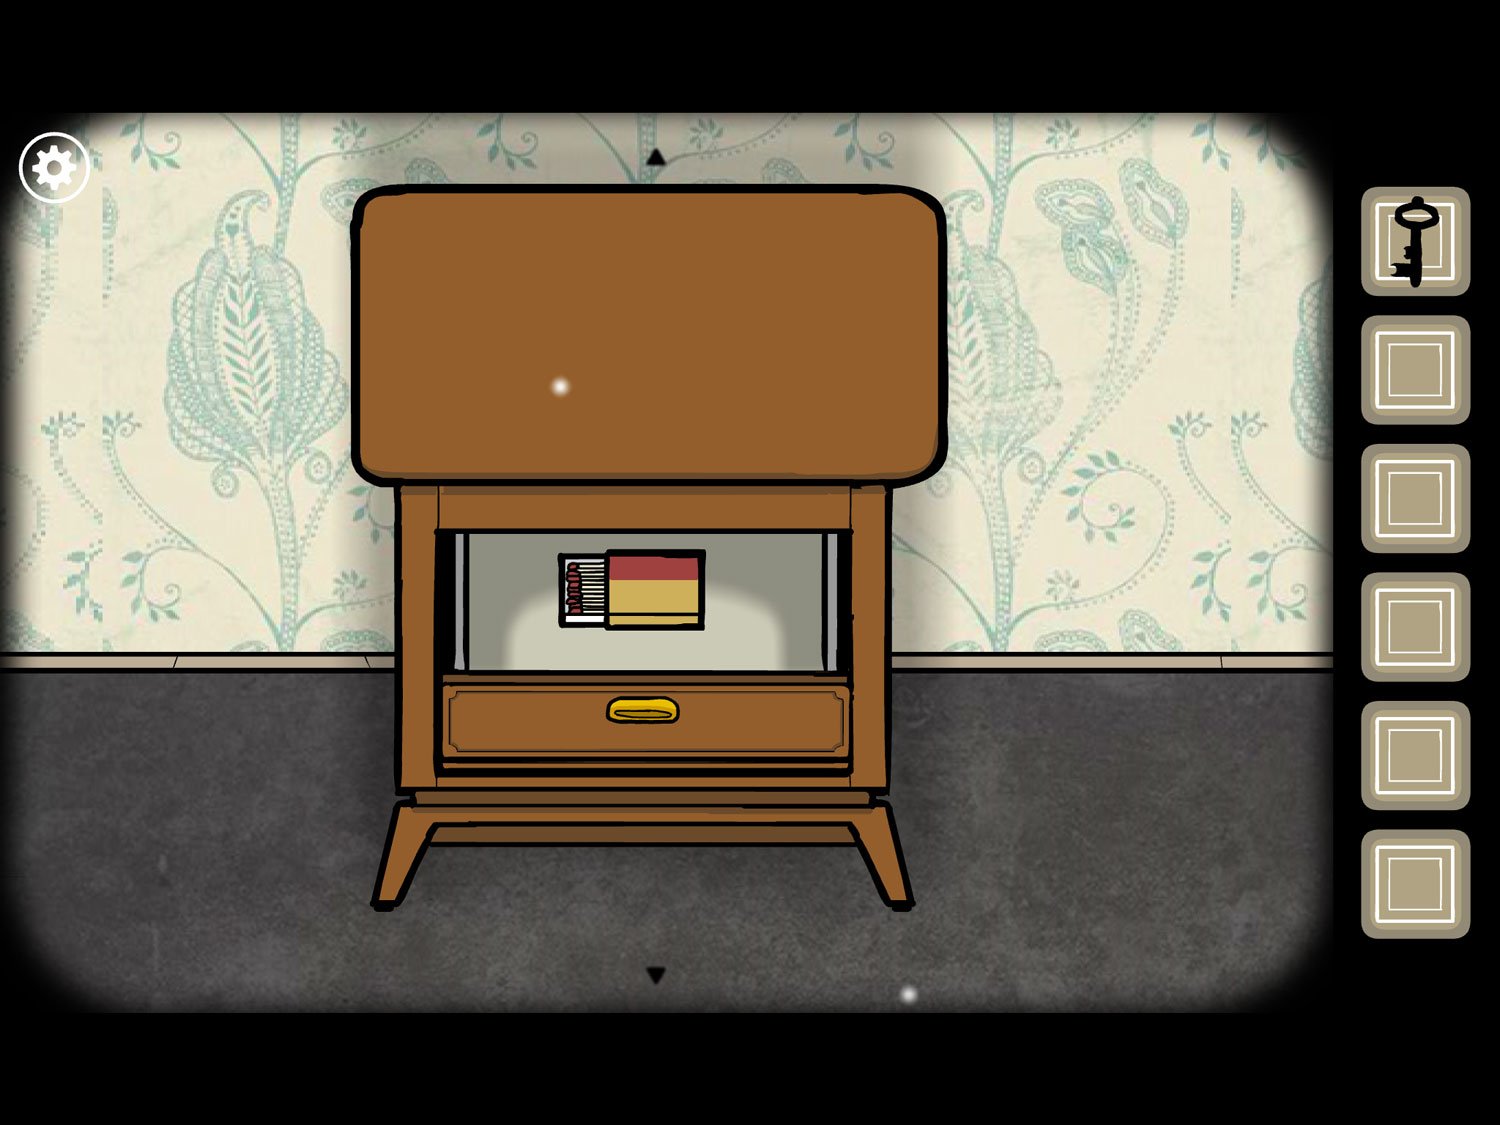
- Tap the wooden chest. Open the top drawer and take MATCHES
- Use KEY on the second drawer to open it; take COAL
- Zoom out. Drag screen right. Tap the furnace to zoom in
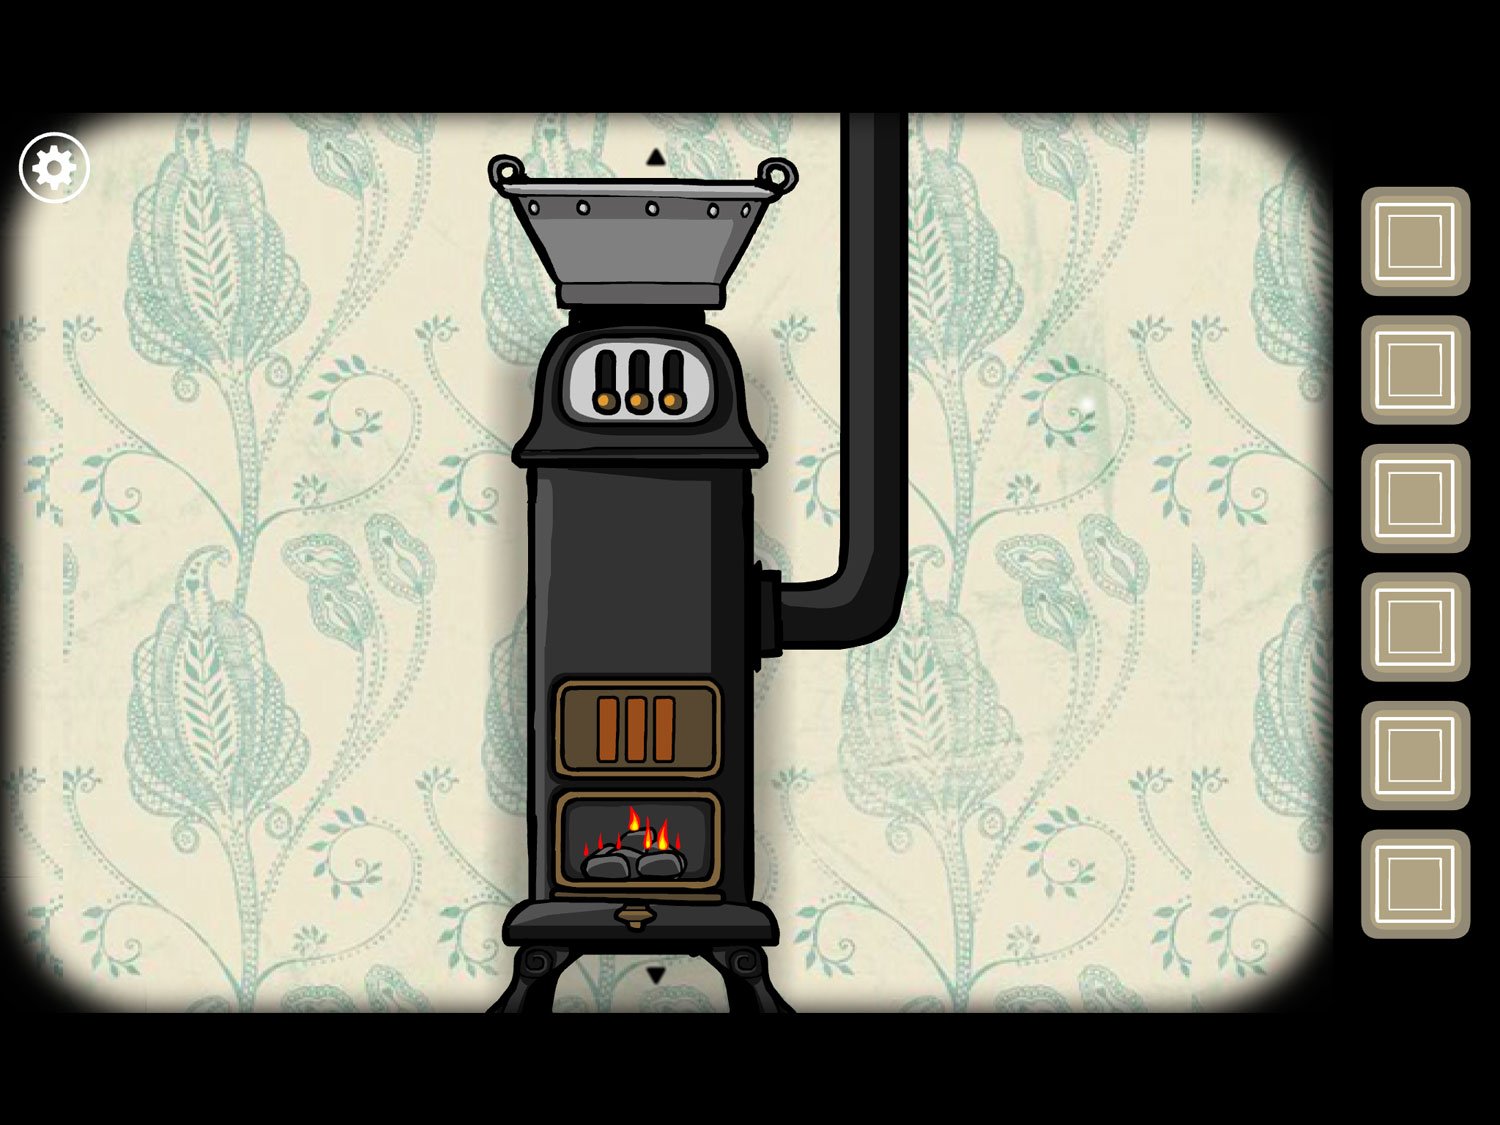
- Open the bottom door. Use COAL on this door; then use MATCHES on the COAL, and then close the door
- Take the metal BUCKET off the top of the furnace
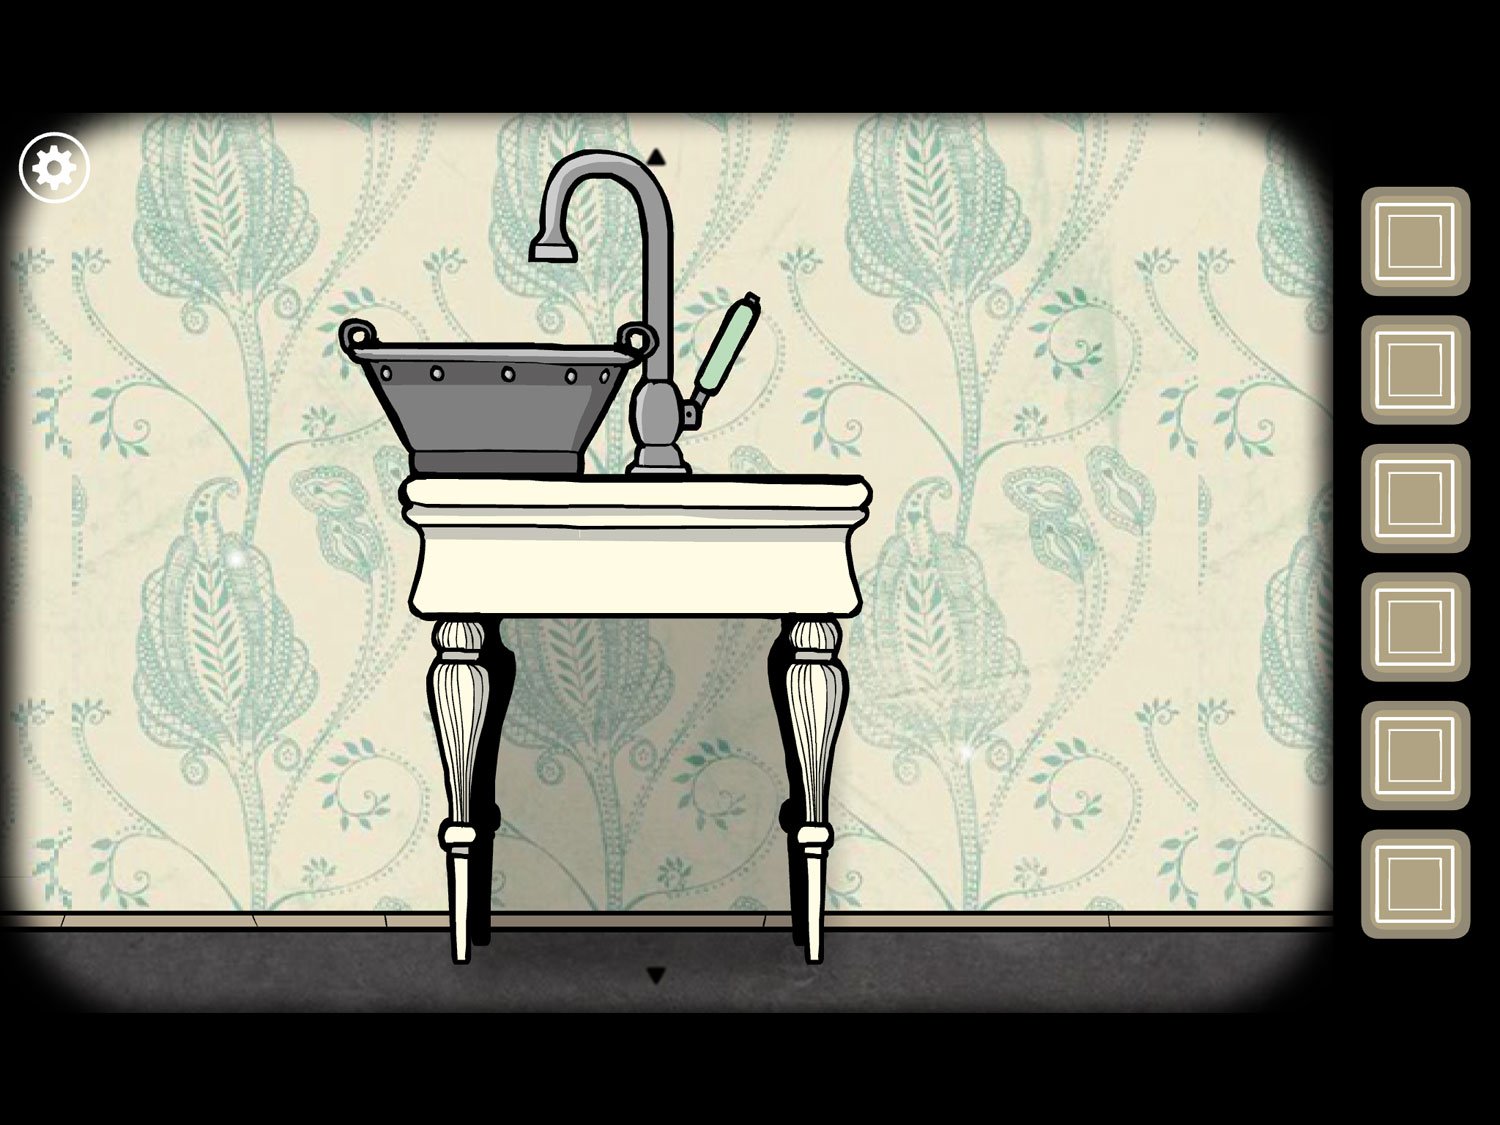
- Drag left, back to the sink. Tap on it; put BUCKET on the sink
- Turn the faucet on, then tap the bucket to get BUCKET WITH WATER
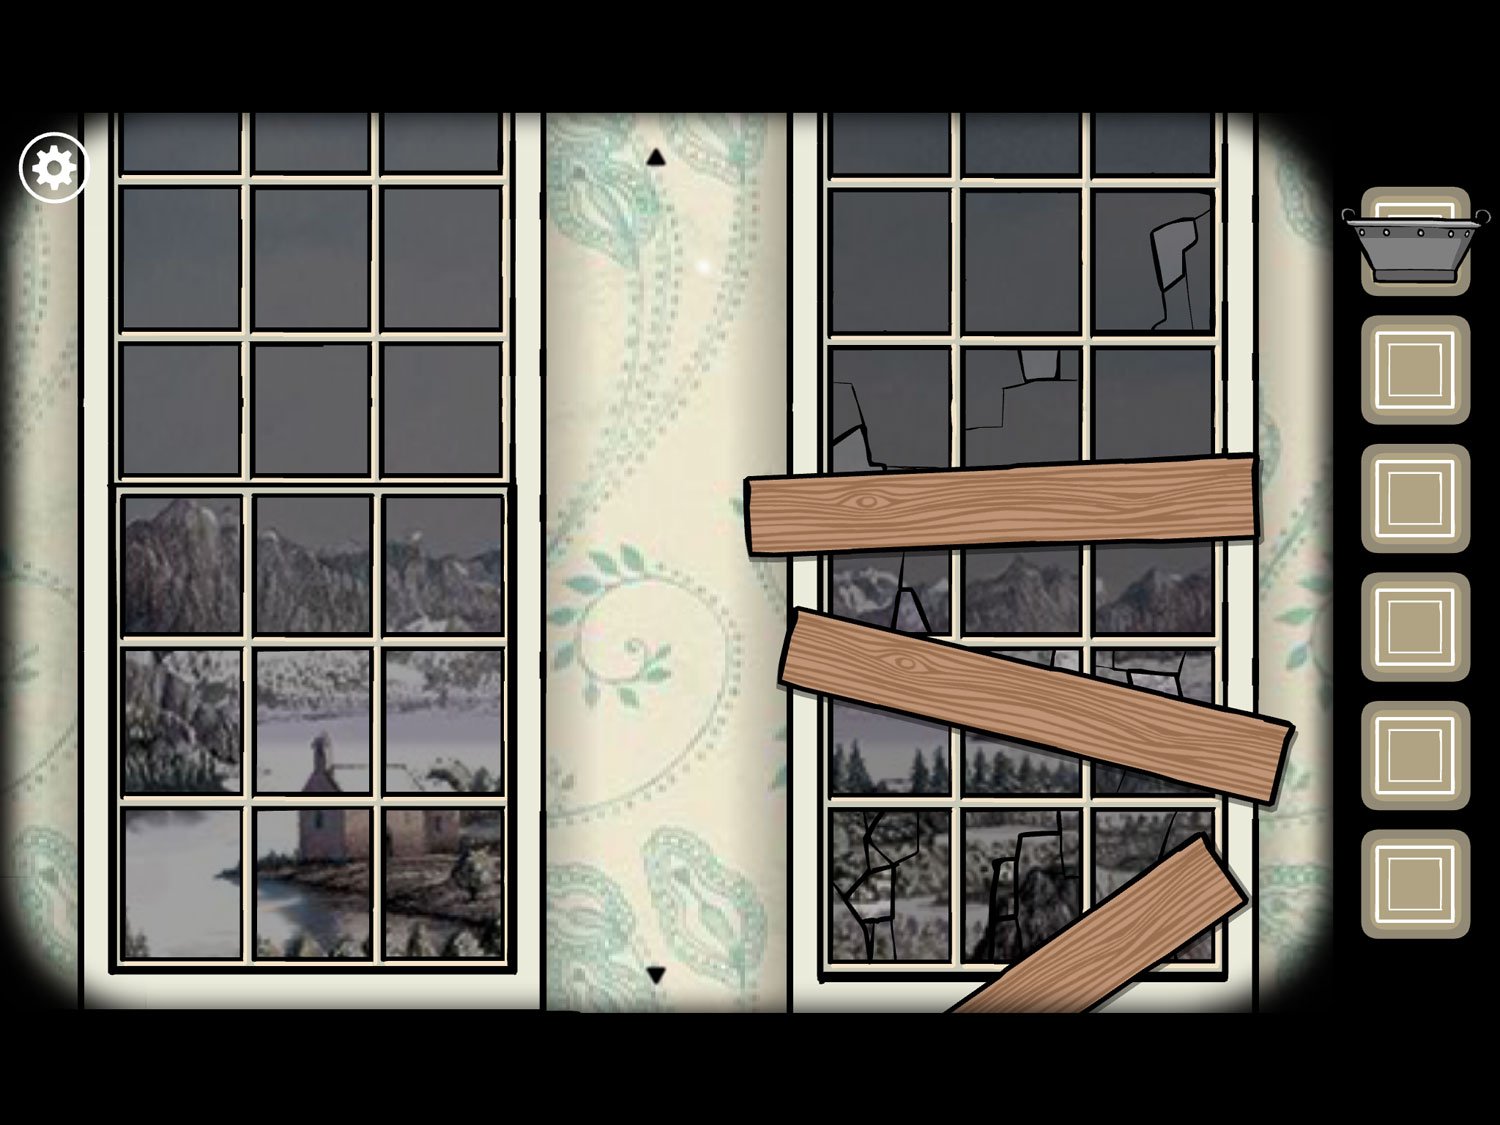
- Zoom out. Tap the left window. Tap the window to close it
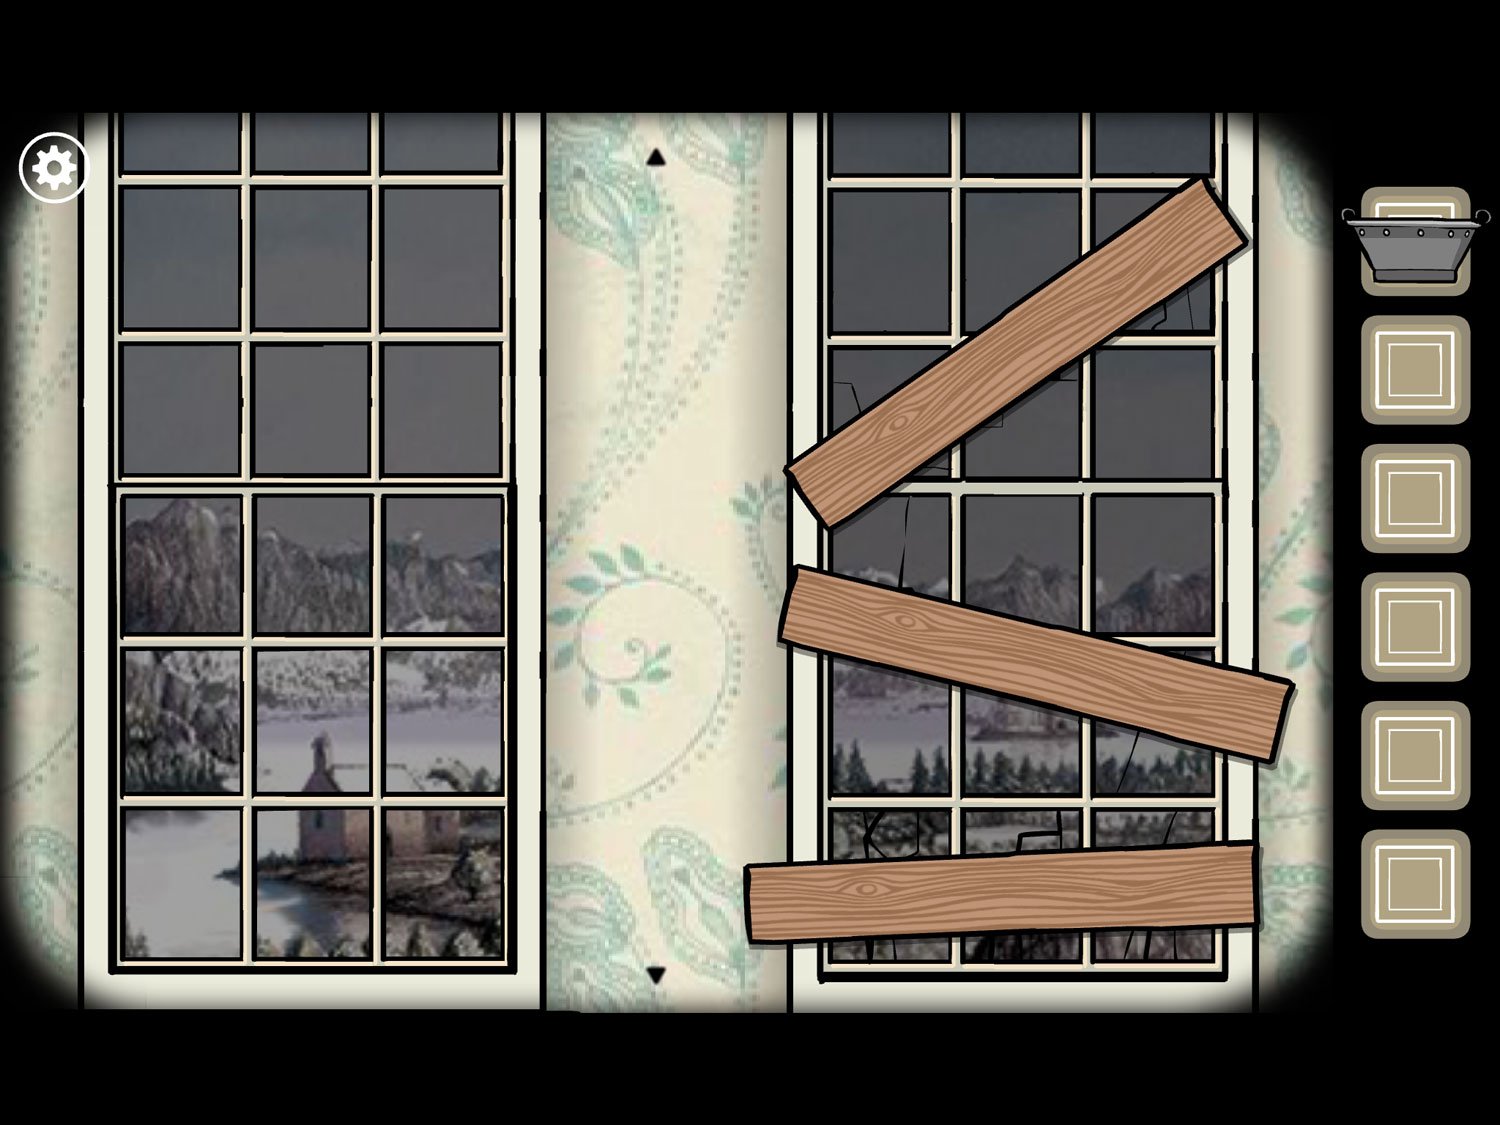
- On the right window, drag the wooden beams so they cover the holes in the glass. The bottom beam going up diagonally right should be at the top; the beam that’s straight across should go at the bottom; the beam that’s slanted slightly down-right should be in the middle
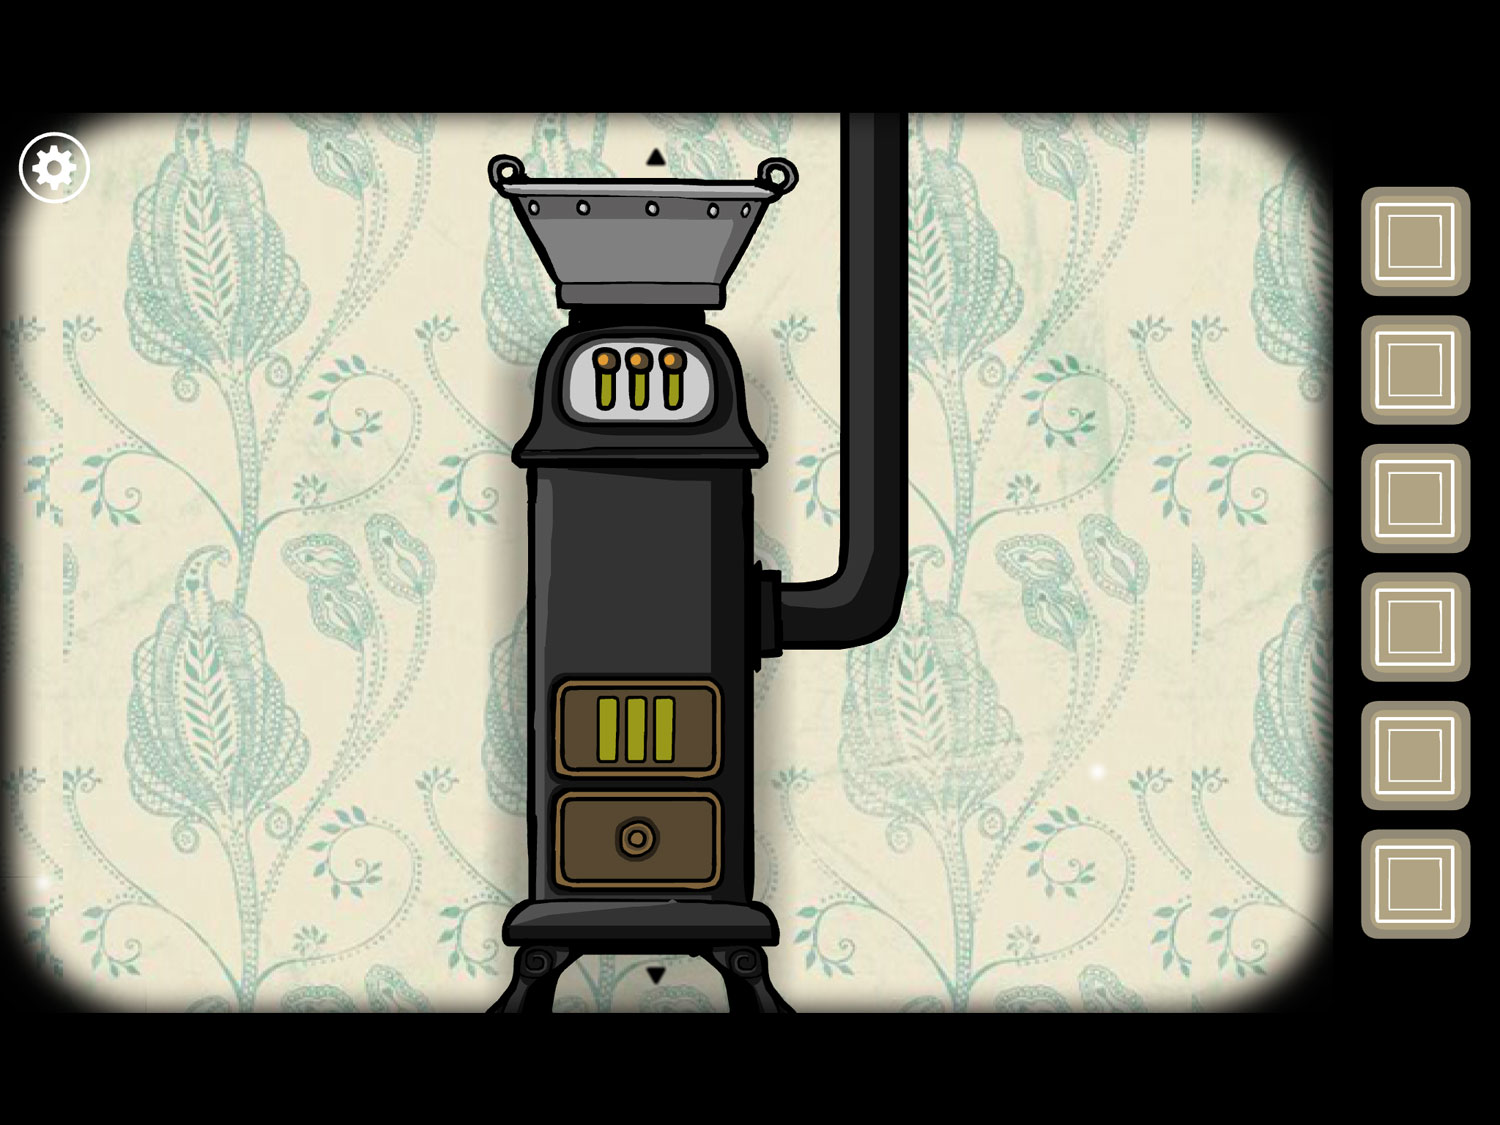
- Return to the furnace; put BUCKET WITH WATER back on top of the furnace and tap the switches just below so they are all up (hitting one switch moves them all)
- Remove the bucket to get BUCKET WITH HOT WATER
- Go to Frank; tap on him to zoom in. Use BUCKET WITH HOT WATER on him to pour it in the tub
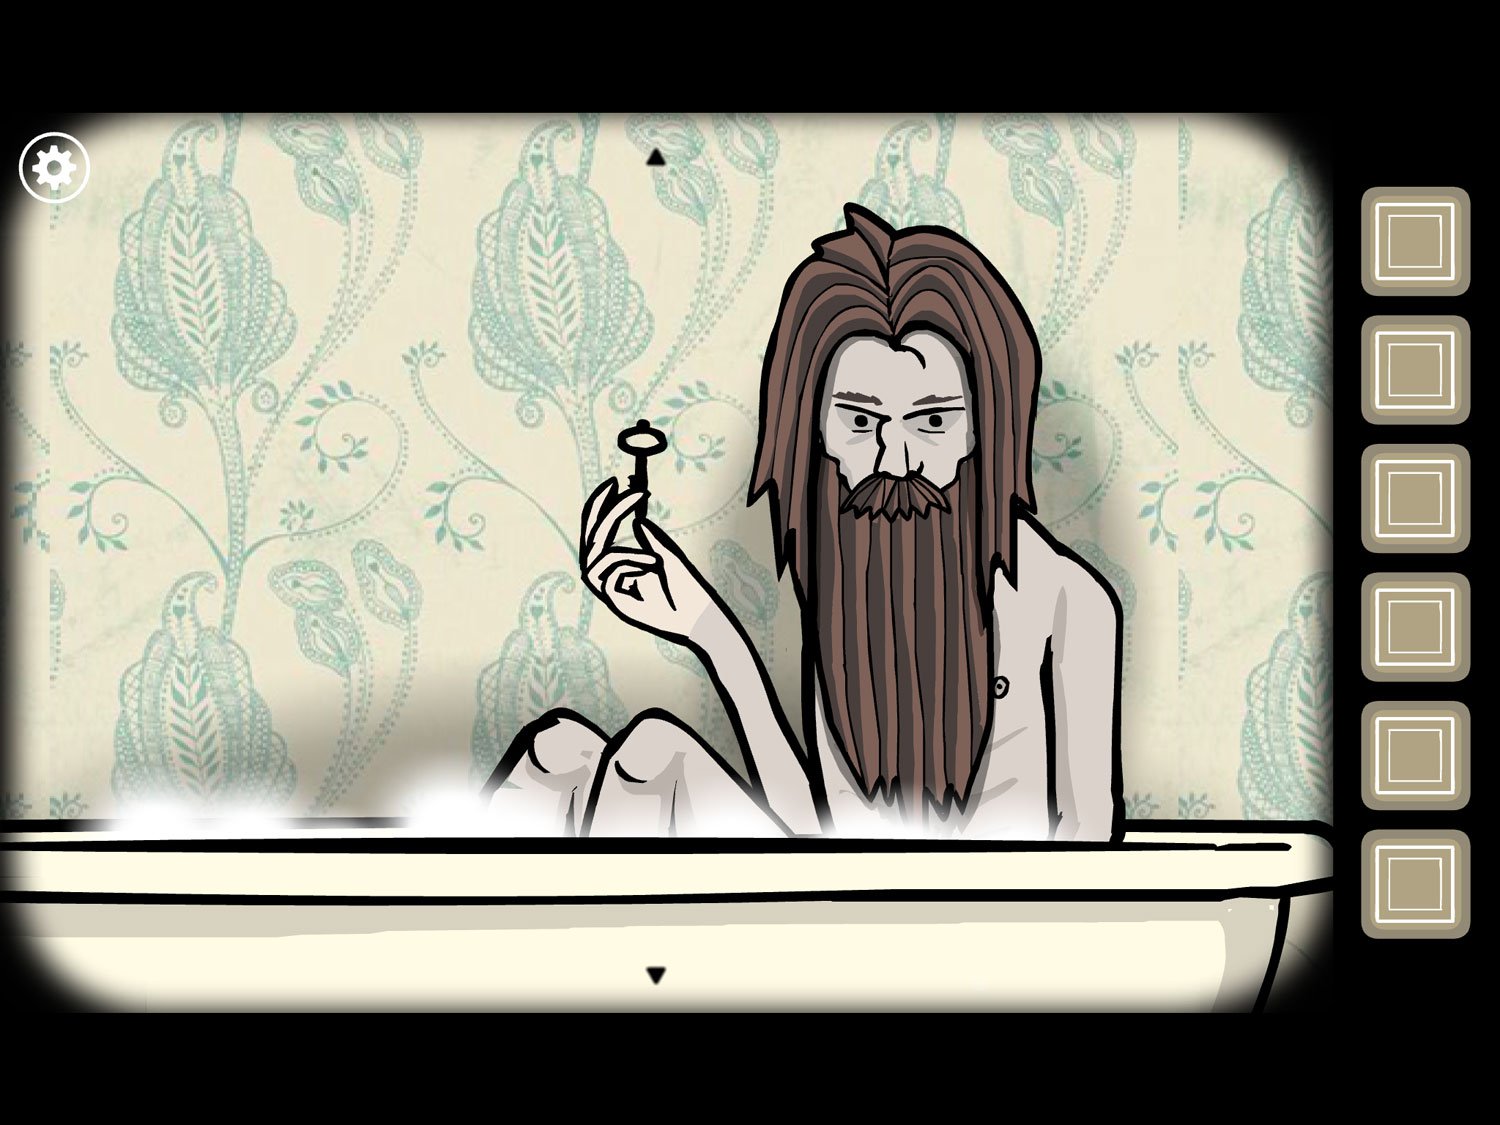
- Tap on Frank; if he thinks about the thermostat, zoom out, then zoom back in. Frank should now be warmed up; tap him and he’ll hold up a key. Take KEY (2)
- Note: if for some reason Frank keeps thinking about the thermostat, double-check its status on the wall. If it’s not all the way up, make sure the window is closed and the boards are covering the holes and that the furnace is still on
- Return to the end table. Use KEY (2) on the bottom drawer. Take SCISSORS
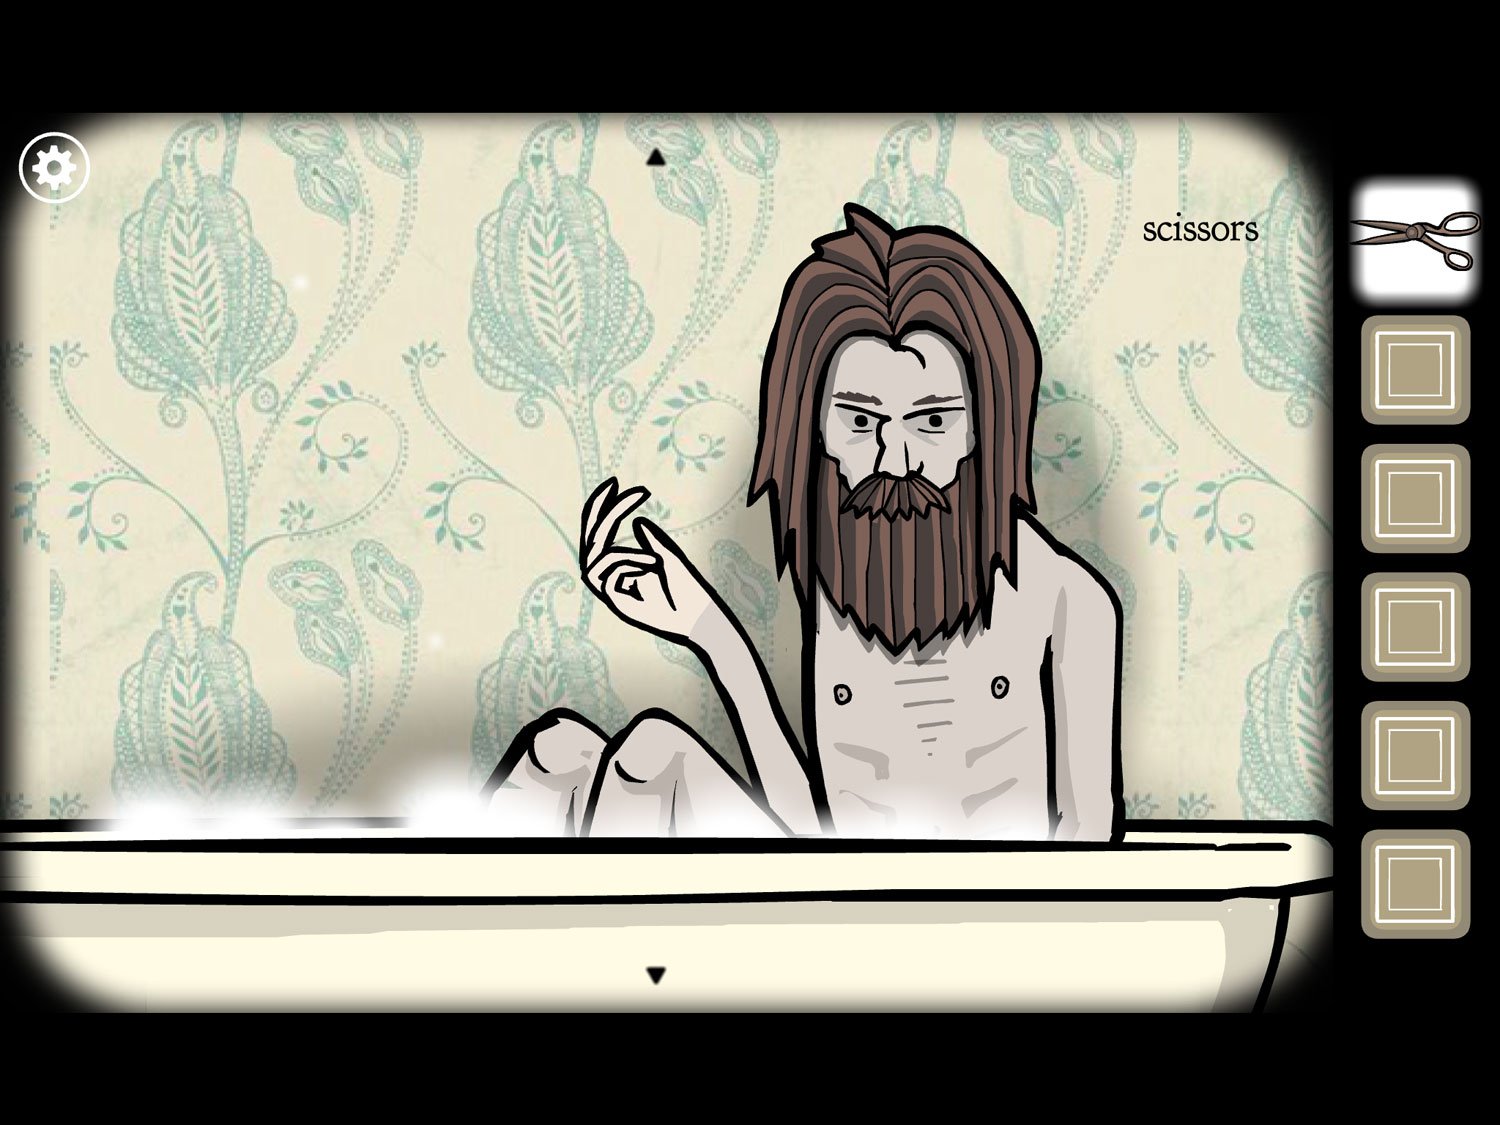
- Return to Frank. Use SCISSORS on Frank until you receive HAIR
- Fun note: you can keep cutting Frank’s hair until it’s super short, or leave it slightly long. It only takes about four cuts to get HAIR but you can cut his hair up to eight times. Whatever you do, Frank’s hair will be short and he’ll be clean-shaven in the next level
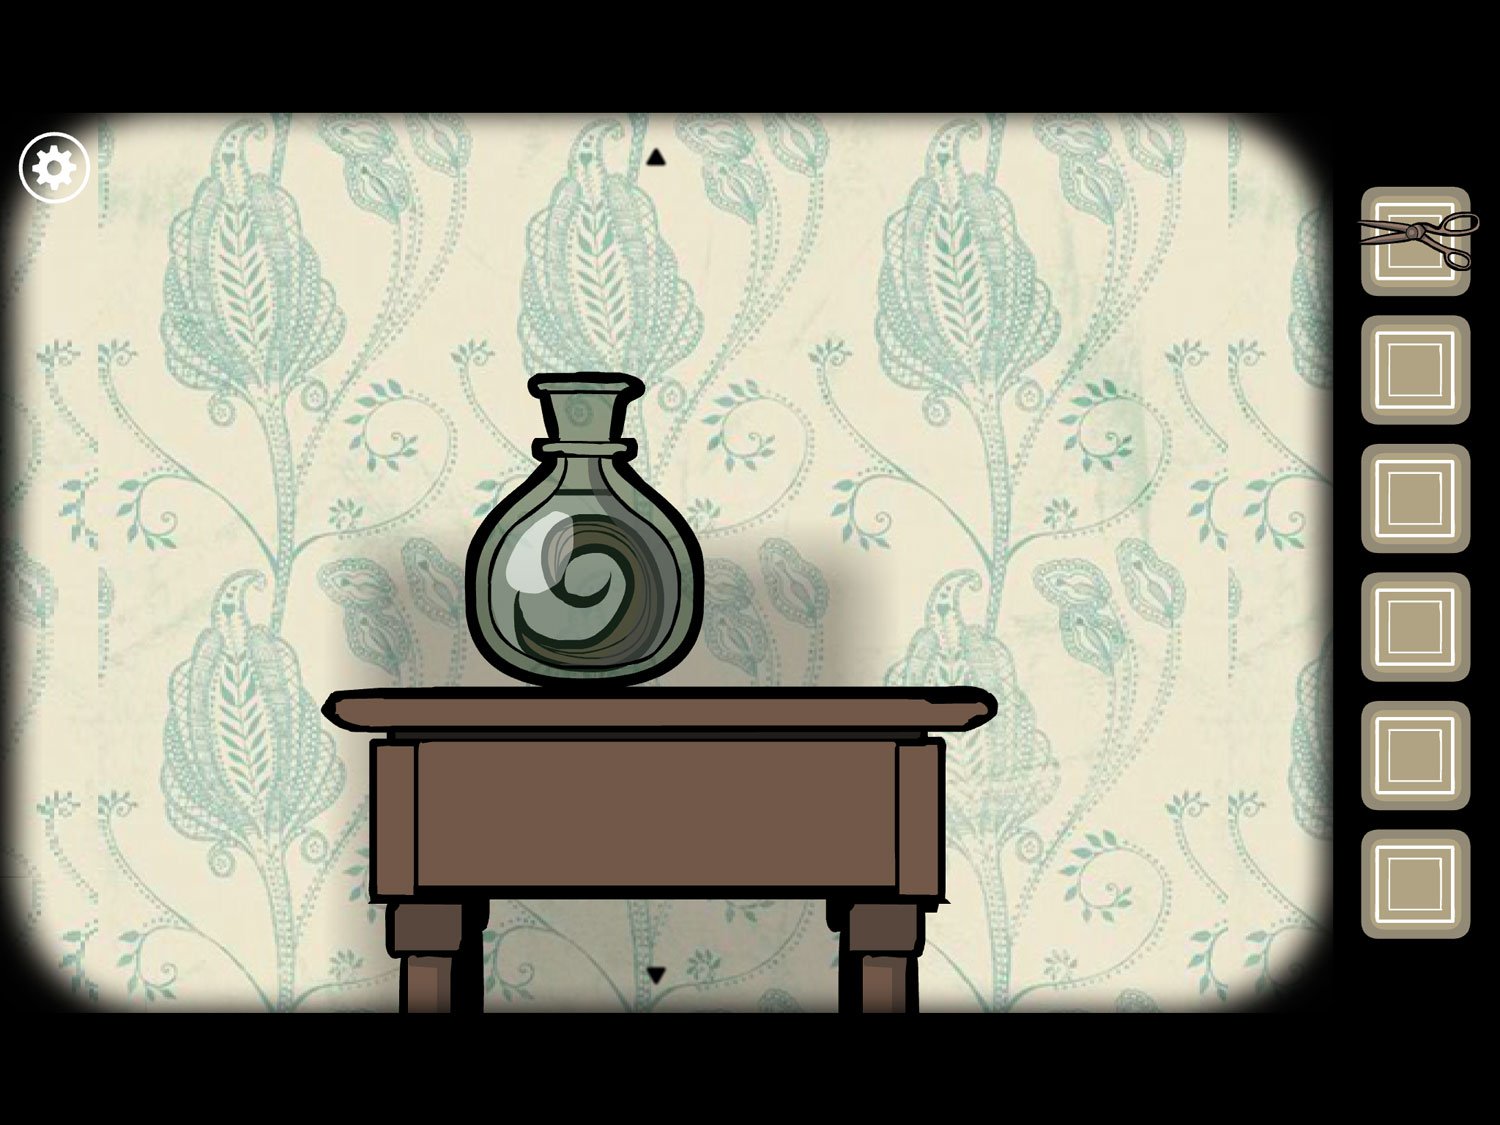
- Zoom out and go to the jar on the table to Frank’s right. Use HAIR on the jar
- Tap the hair in the jar to reveal the white square and exit. Frank’s hair is added to your list of sacrifices
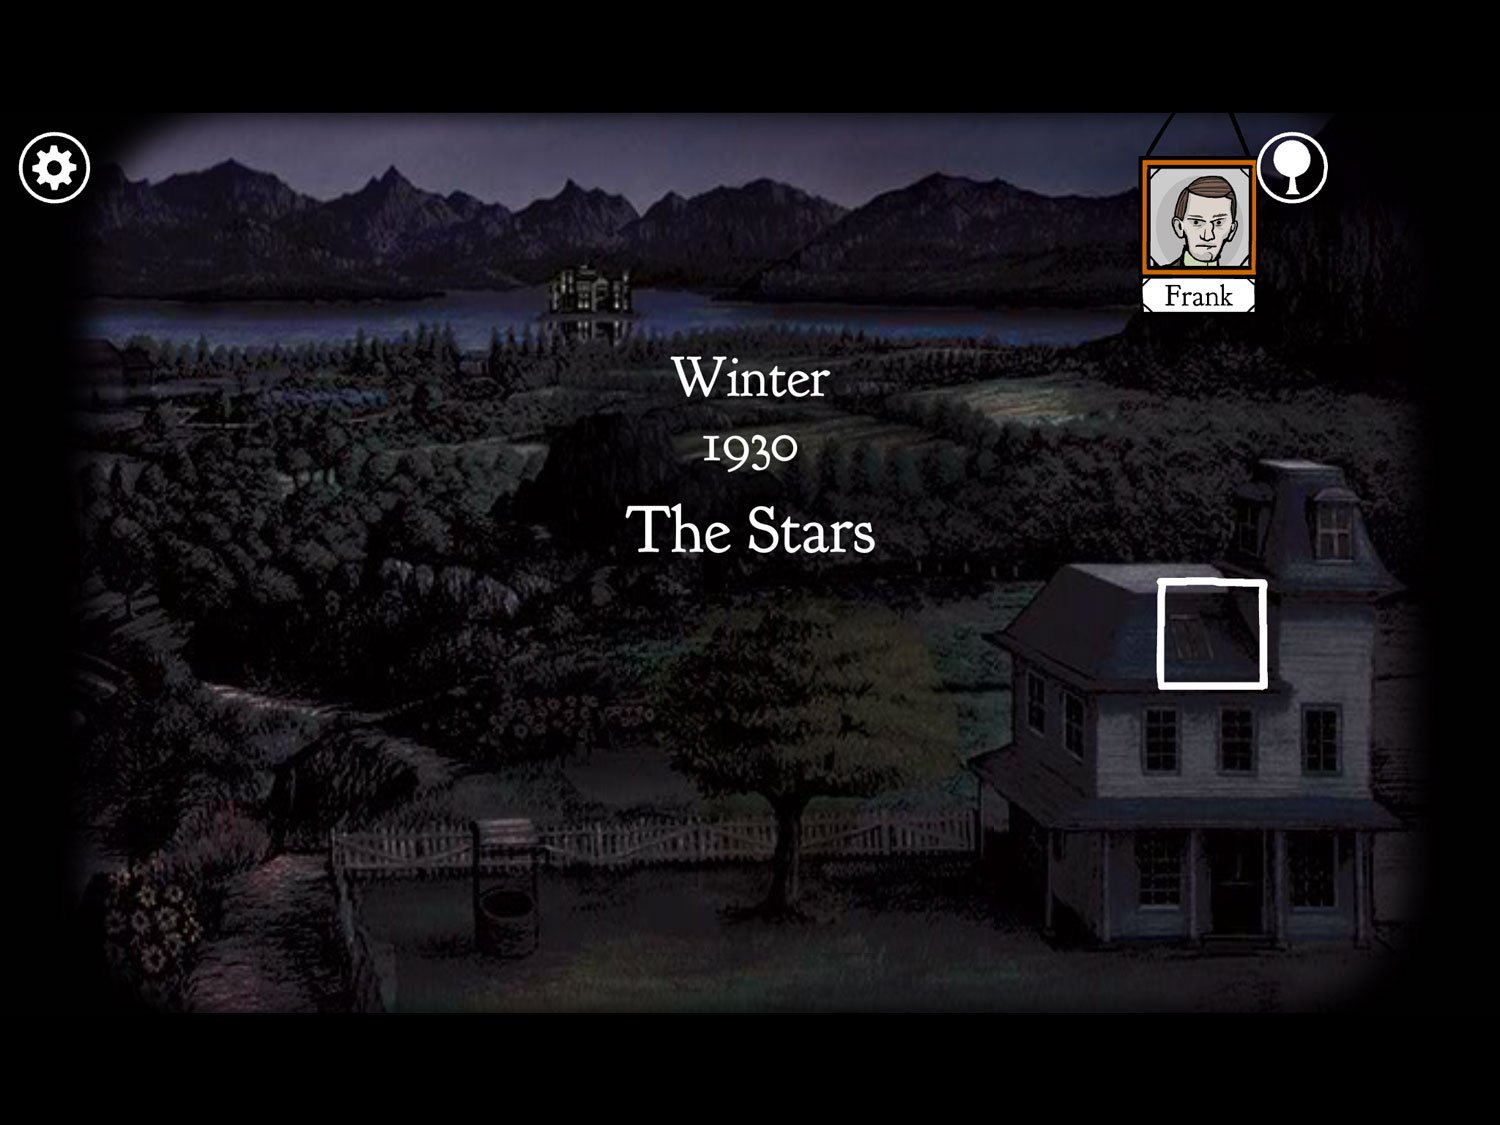
Level 16: The Stars, Winter 1930 – Frank
Location: Attic near the telescope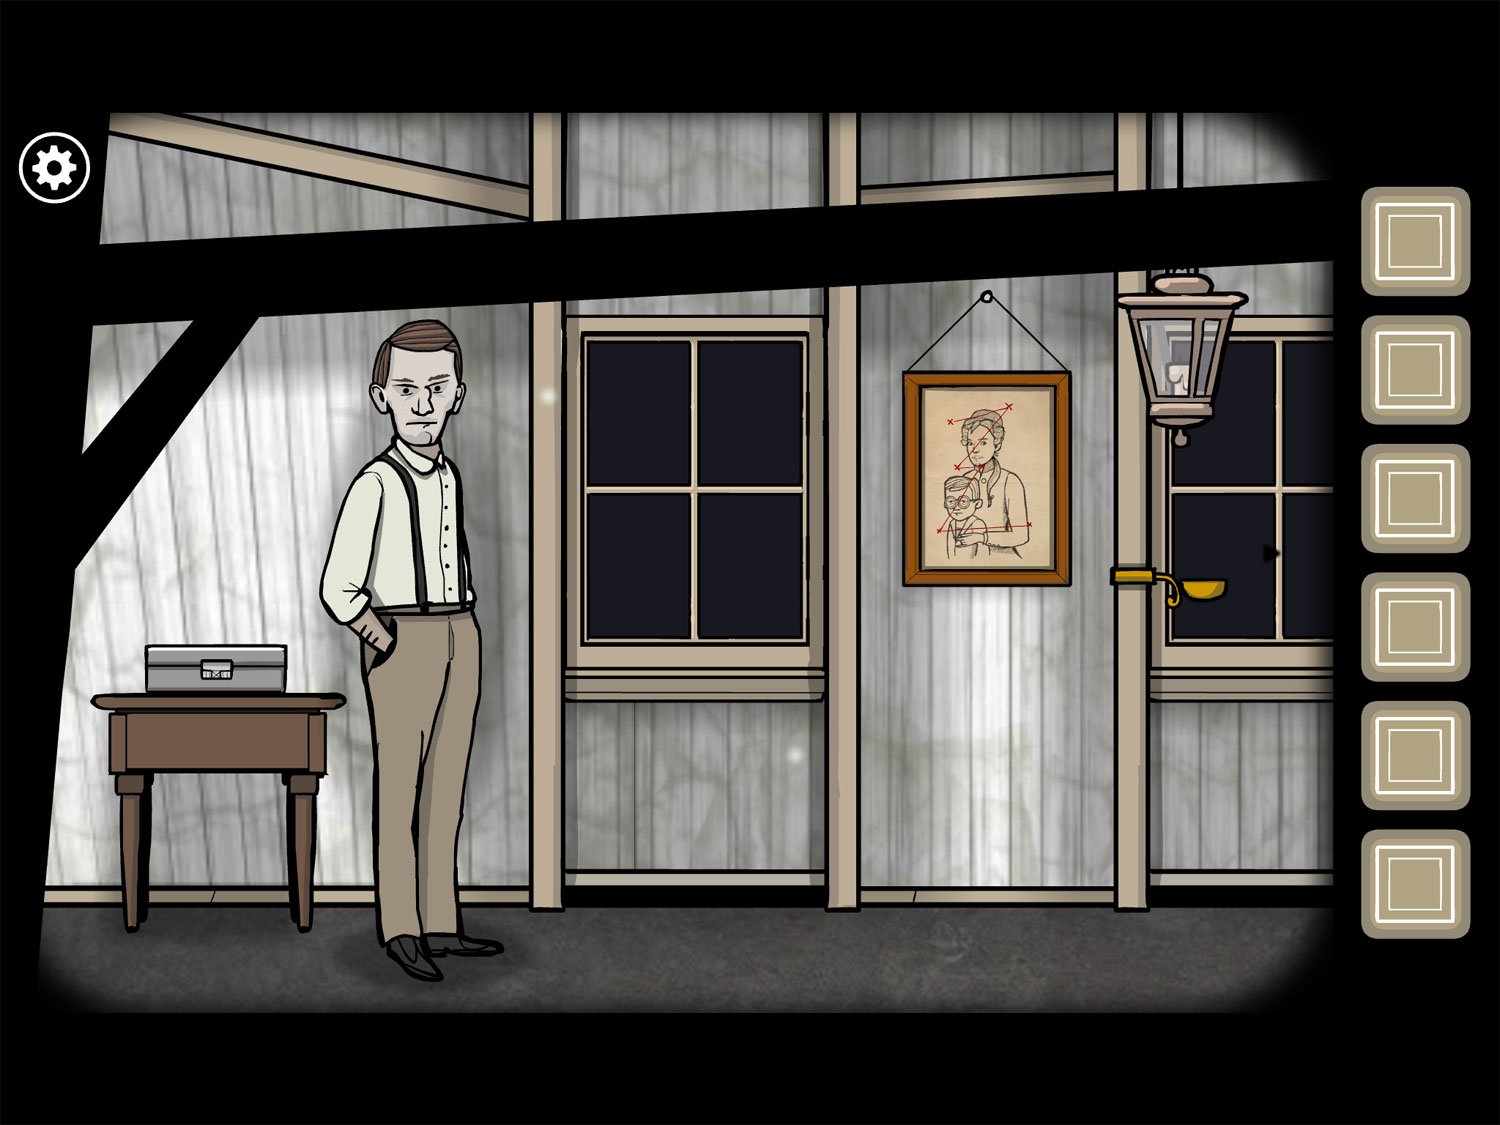
- Tap the table left of Frank
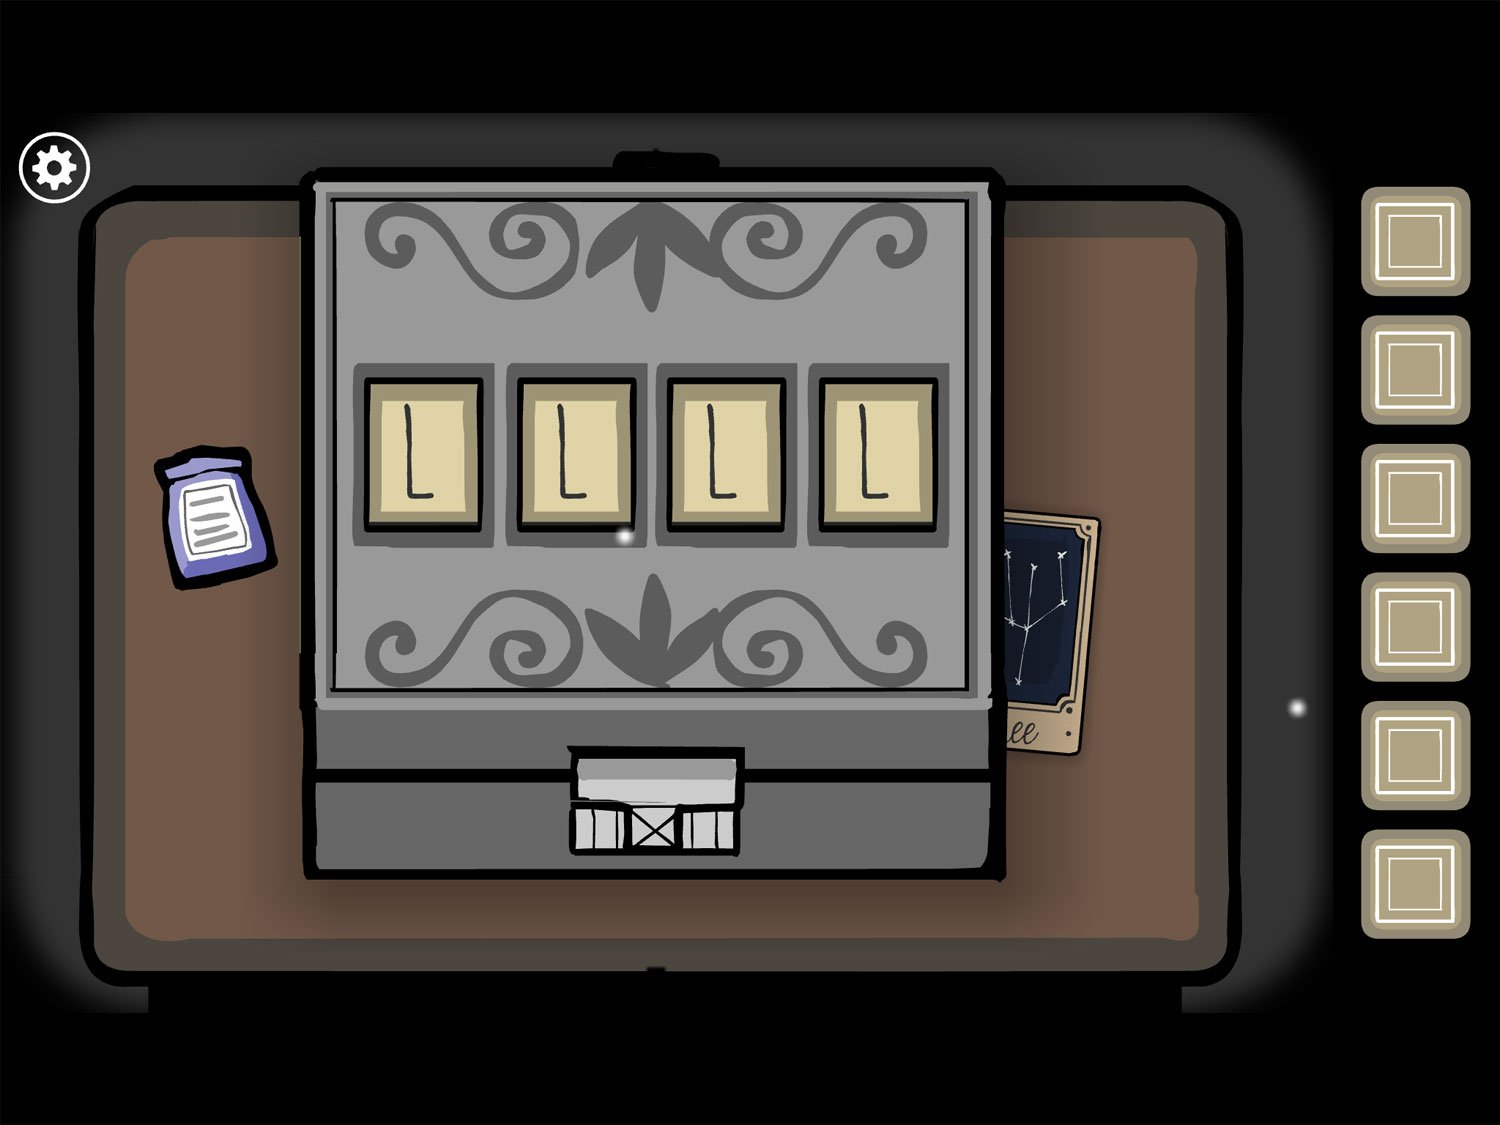
- Take BIRD FOOD and CARD. Zoom out
- Tap the window to his right. Tap it to open the window
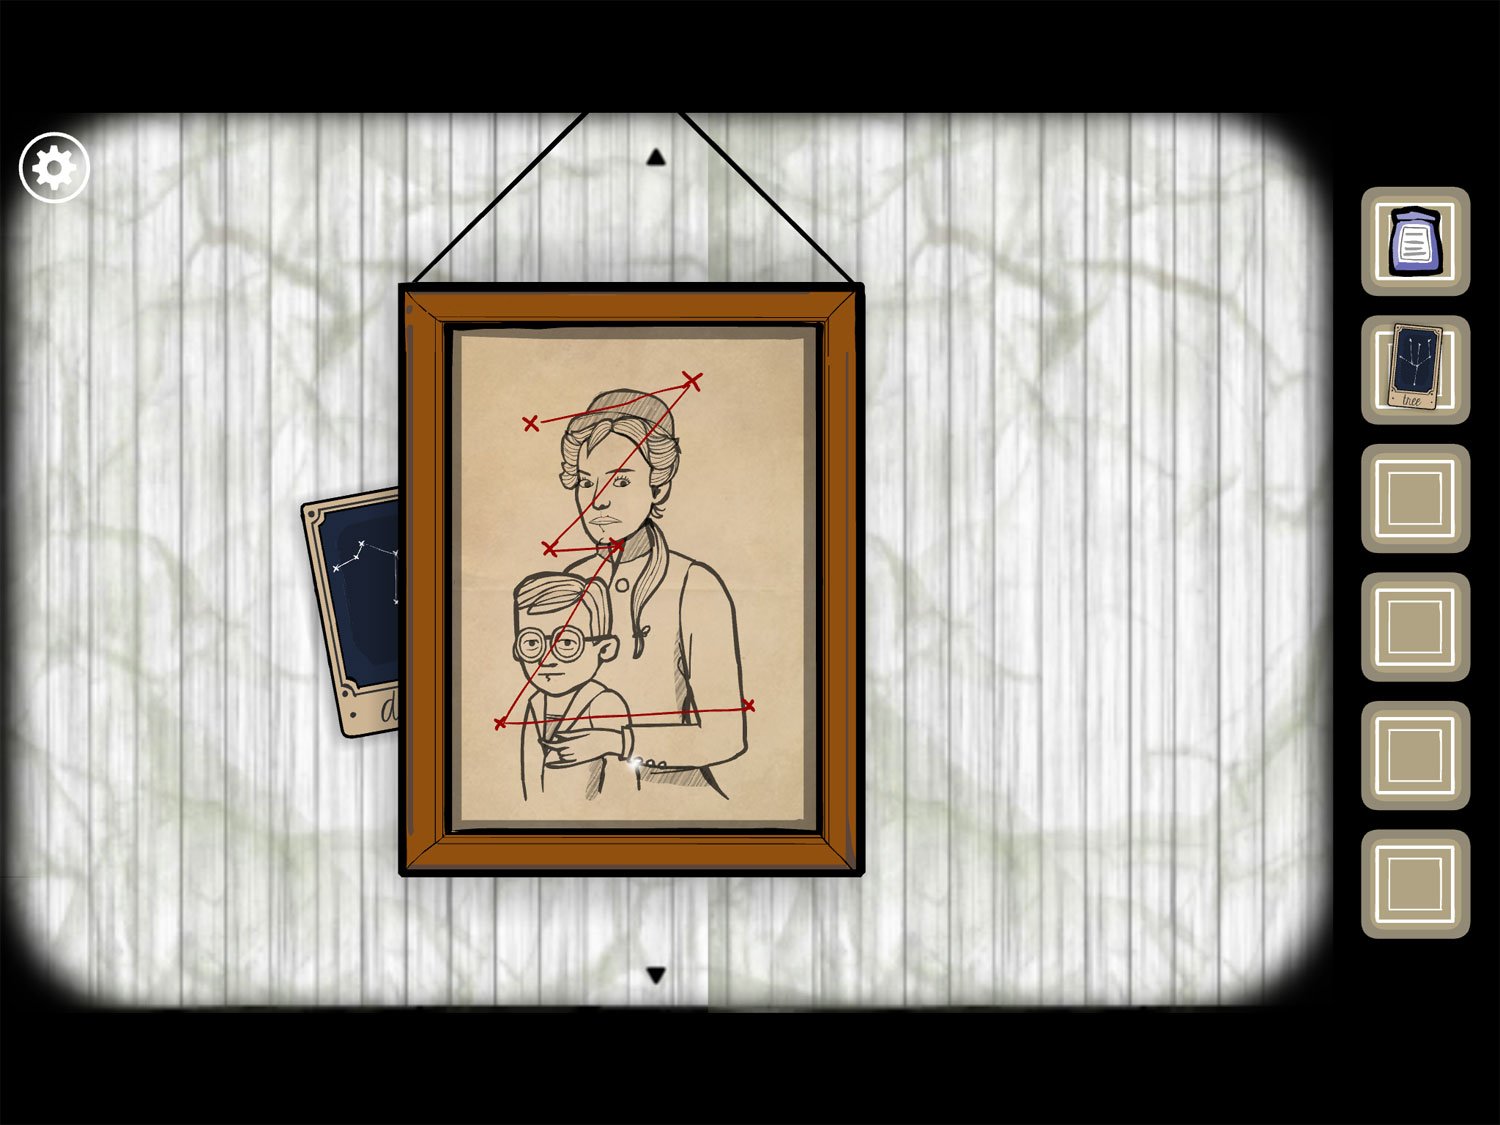
- Zoom out; tap the picture to the right of the window. Take CARD (2) that’s stuck behind the frame. Note the constellation-like map drawn on the picture of Frank and Emma
- Zoom out; tap the right-most window. Tap the window to open it. Use BIRD FOOD on the golden feeder
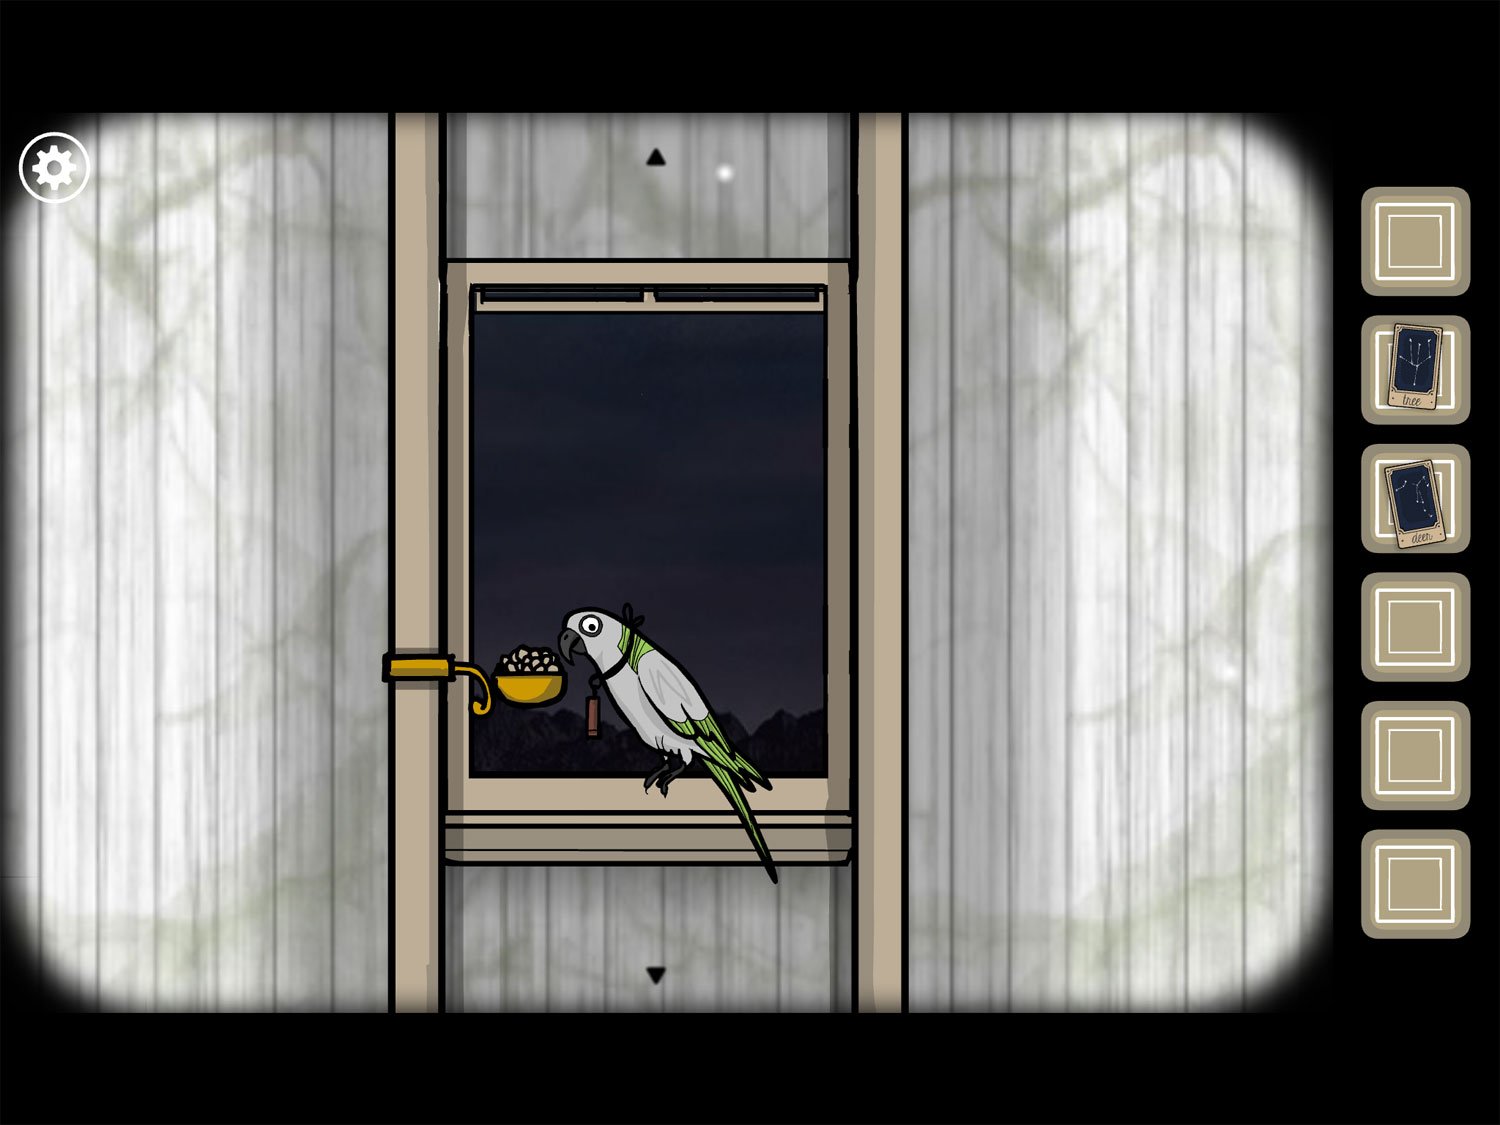
- Zoom out; zoom back in and Harvey is at the window. Tap him to zoom in on the tube around his neck. Tap it twice to receive LETTER
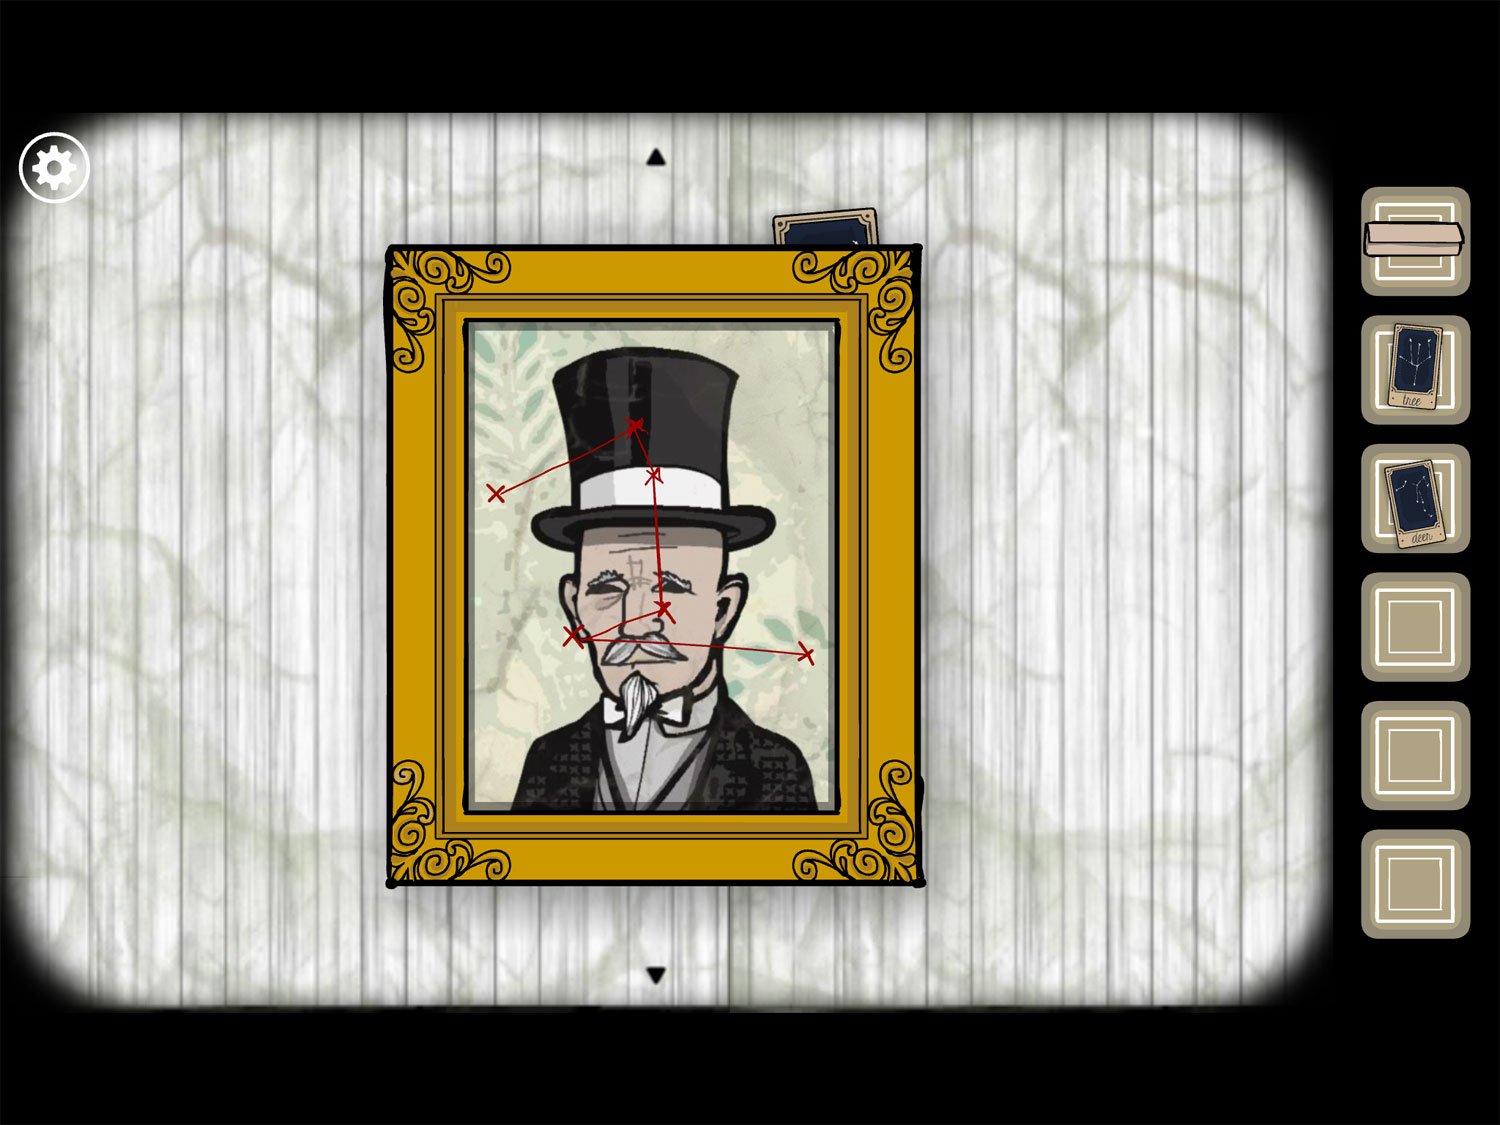
- Zoom out; tap the picture to the right of Harvey’s window. Take CARD (3) from behind the frame. Notice the constellation drawing on this image as well
- Tap the picture twice and it falls off the wall
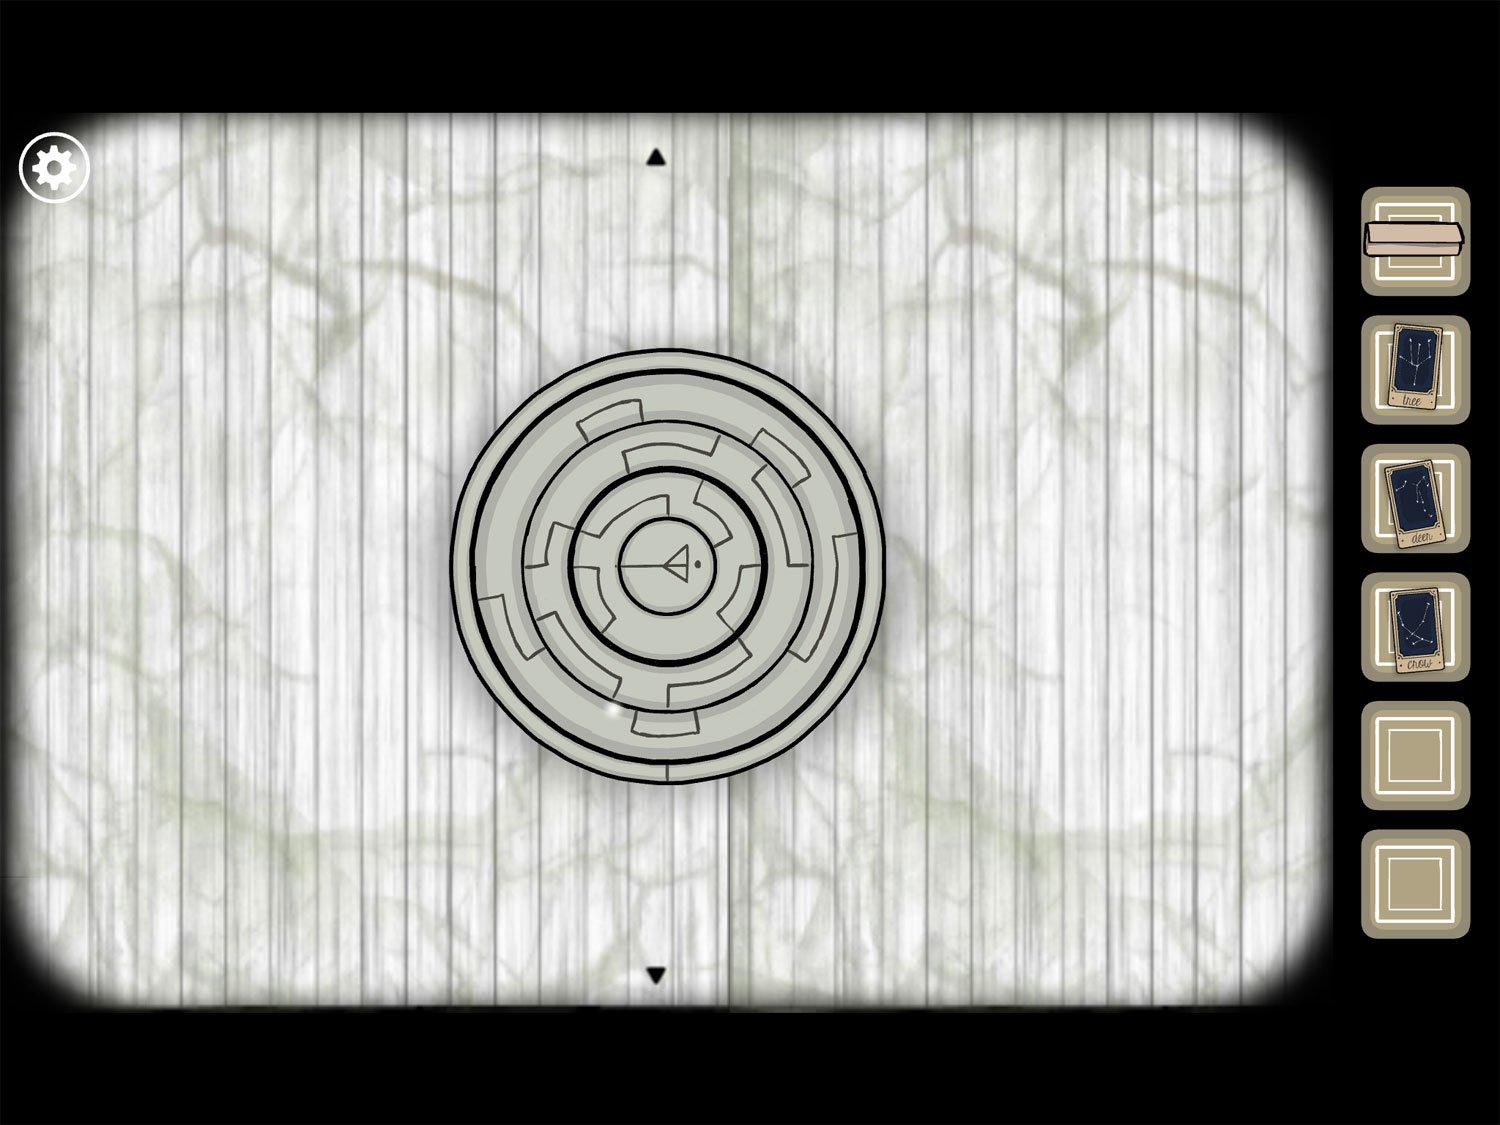
- Tap this white stone circle to zoom in. The goal of this puzzle is to connect the center circle (which is unmovable) with the small vertical line in the bottom of the outer ring (also unmovable) which is visible at 6 o’clock, if this were a clock face. You must rotate the other rings to create an unbroken line between these two immovable lines
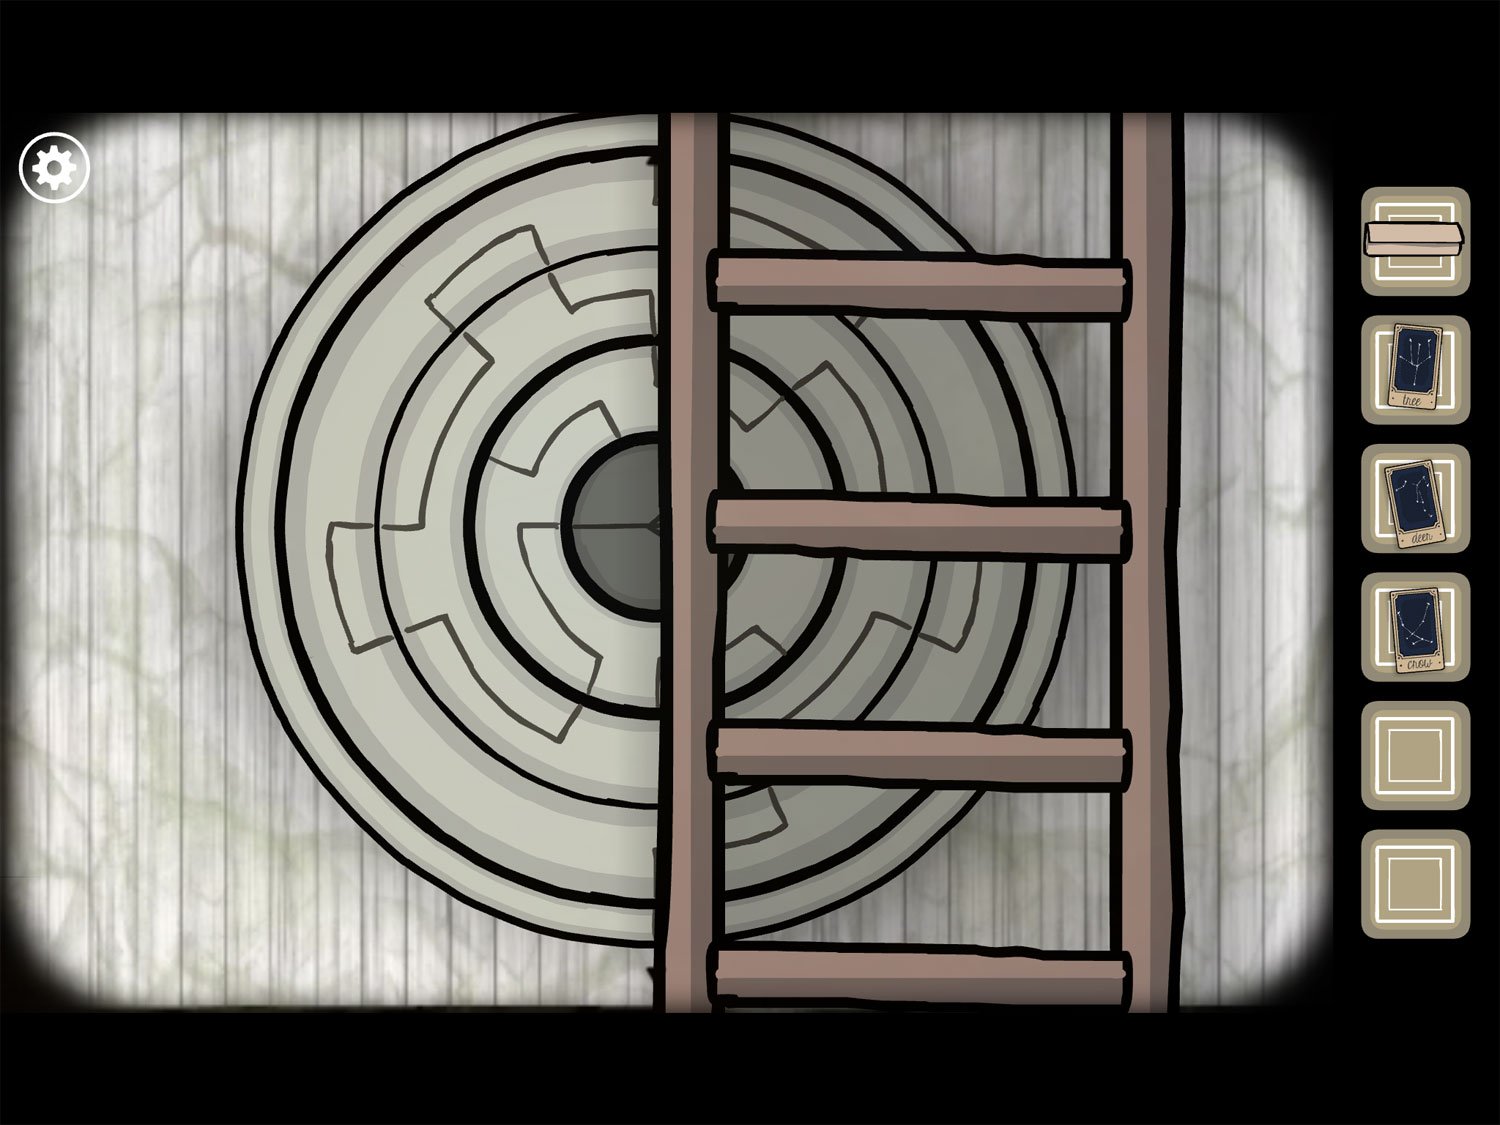
- The image above shows the correct solution behind the ladder. The line creates almost gear-like shapes along the disc, and not every line is used
- Once connected, a ladder drops down. Go up the ladder to the attic
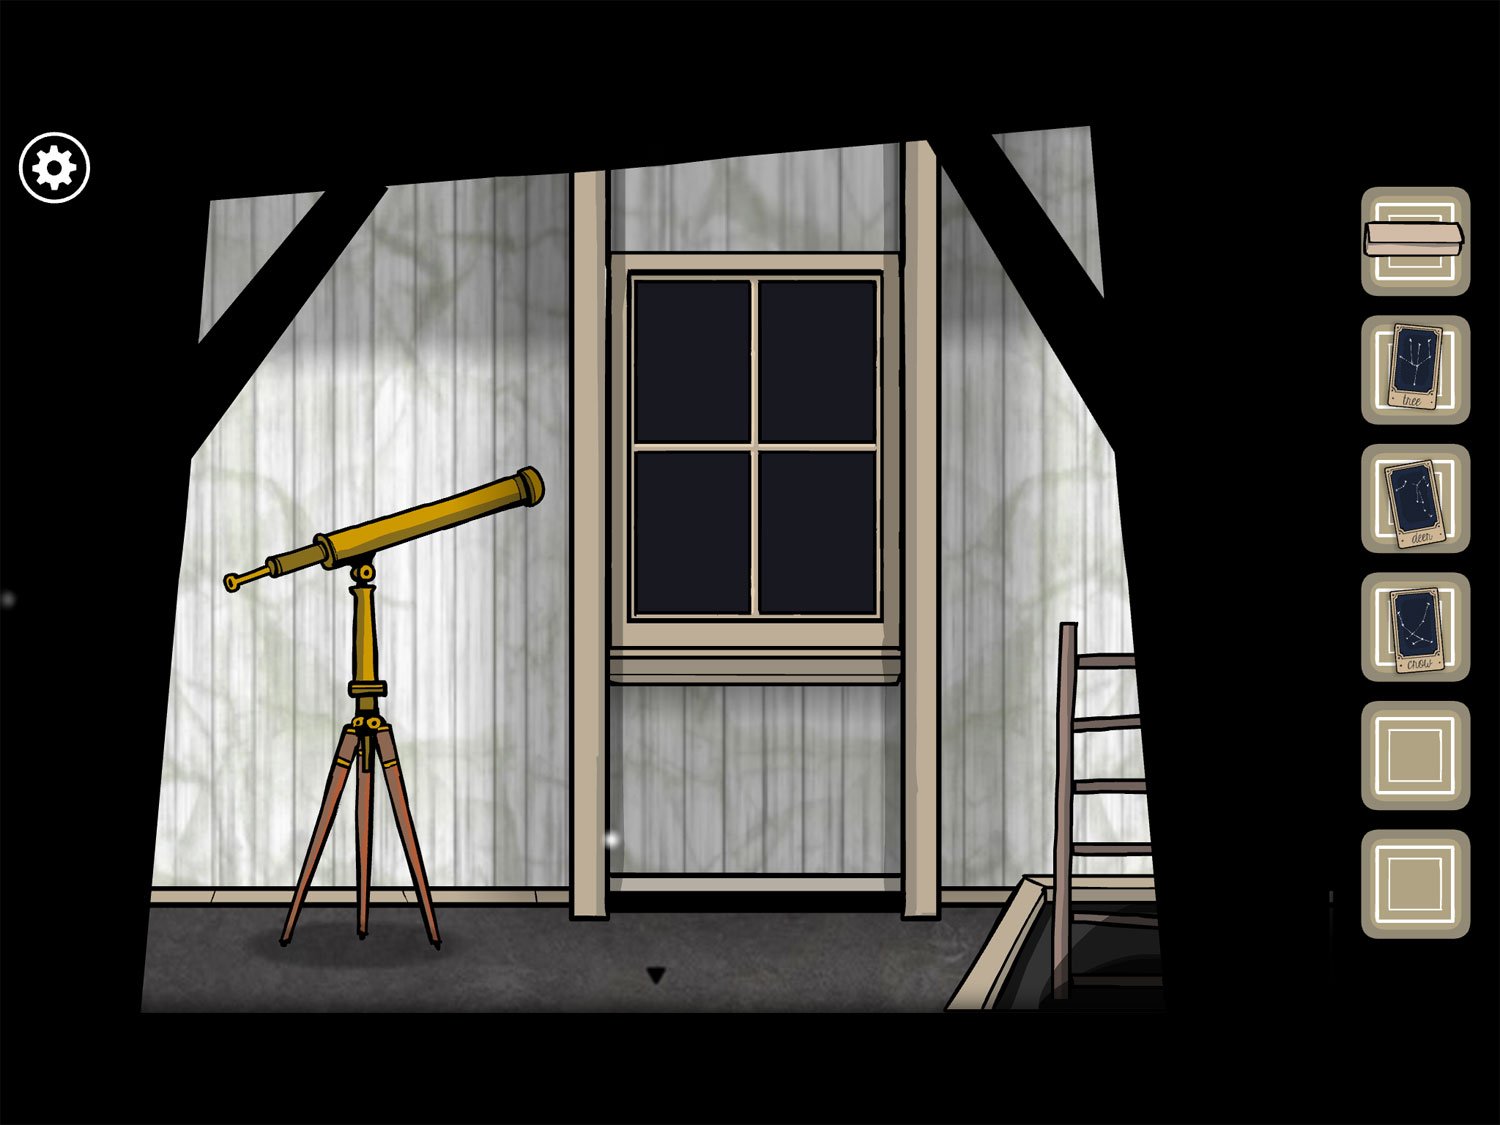
- Tap on the telescope. There is a card next to the lens that matches your other three
- Tap your CARDs and place them next to the telescope as well. You can now tap them and zoom in to see what the constellations look like and represent: Tree, Crow, Deer, and Cube.
- You need to find matching stars and draw the constellations on the telescope screen. Draw between two stars to make a line connecting them. To remove a line you’ve drawn, just tap it
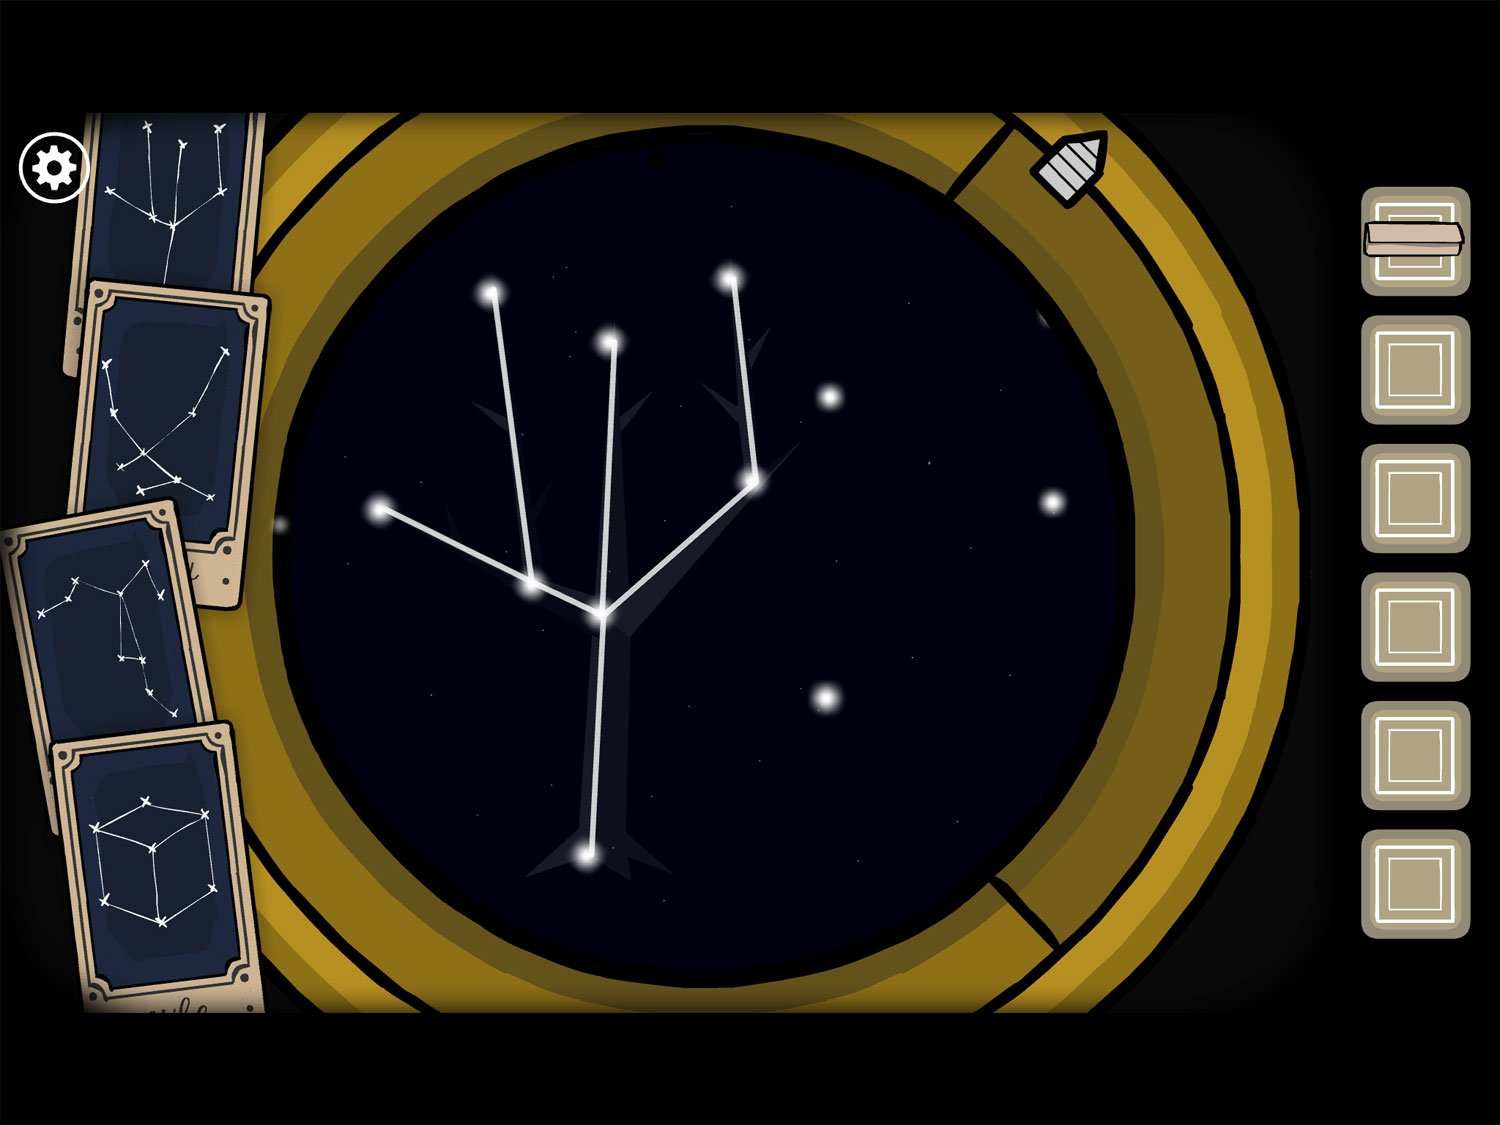
- The first constellation, Tree, is at the leftmost part of the telescope, so use the scroller to move all the way to the left. Then, draw lines to match the Tree. The leftmost star is the center-left branch of Tree
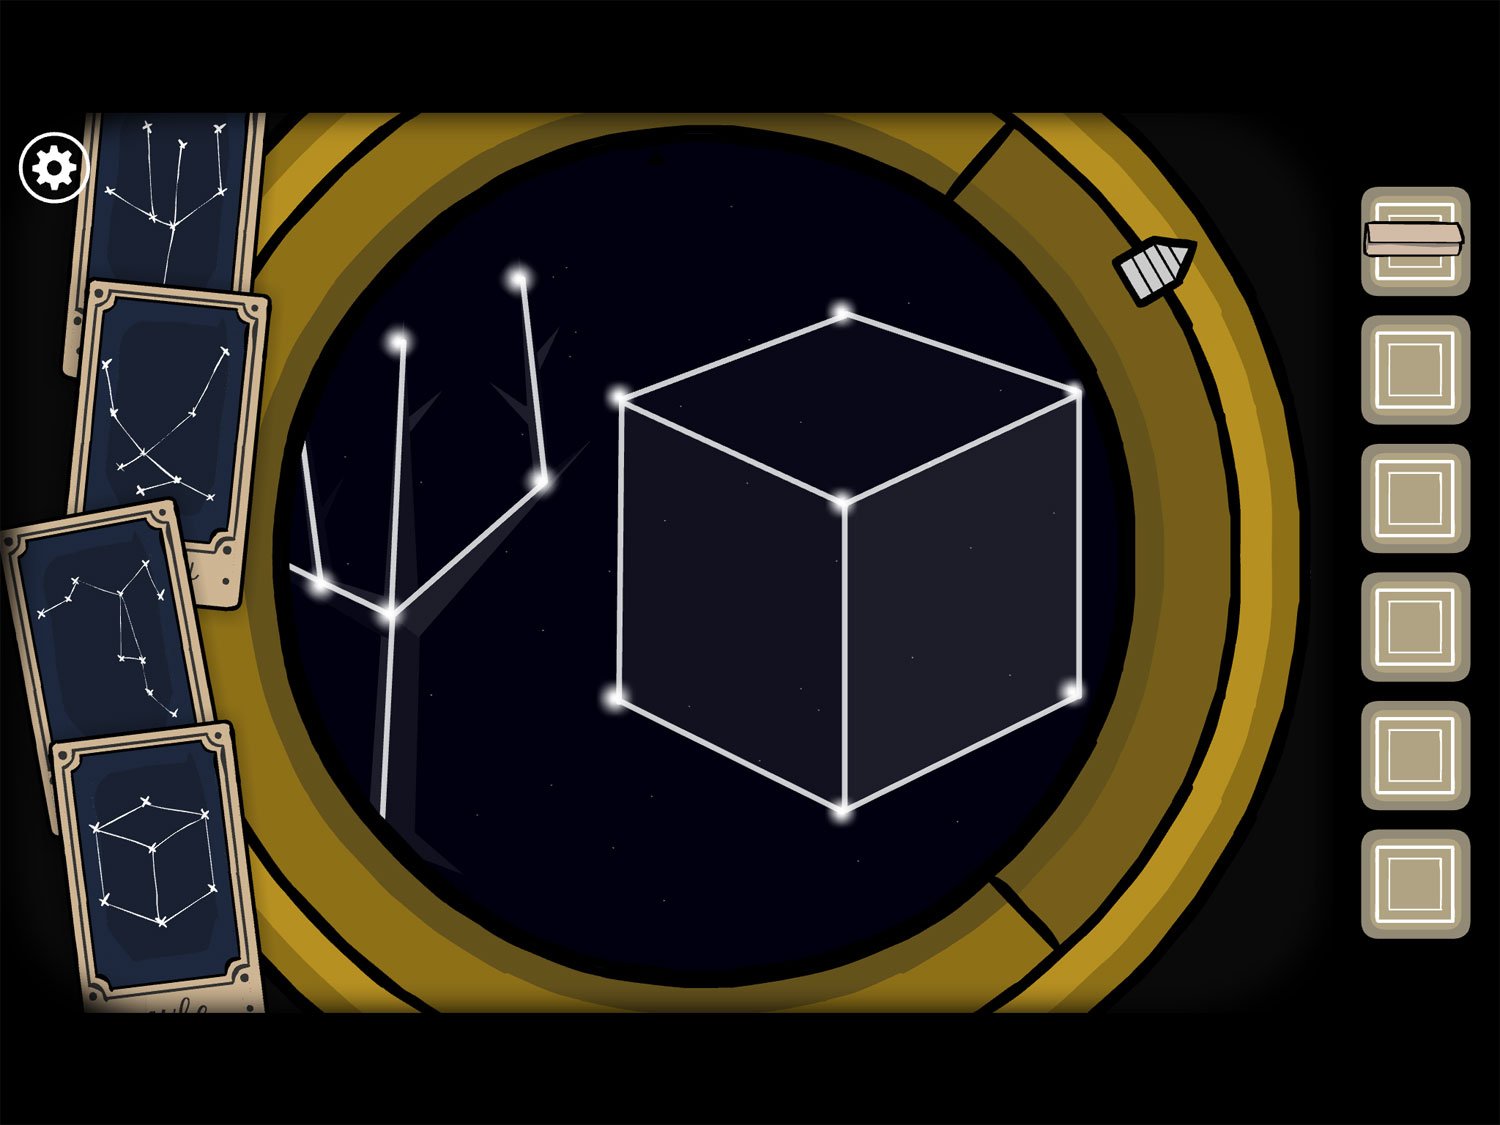
- Cube is right next to Tree. Its left front corner is the star closest to Tree’s upper branches
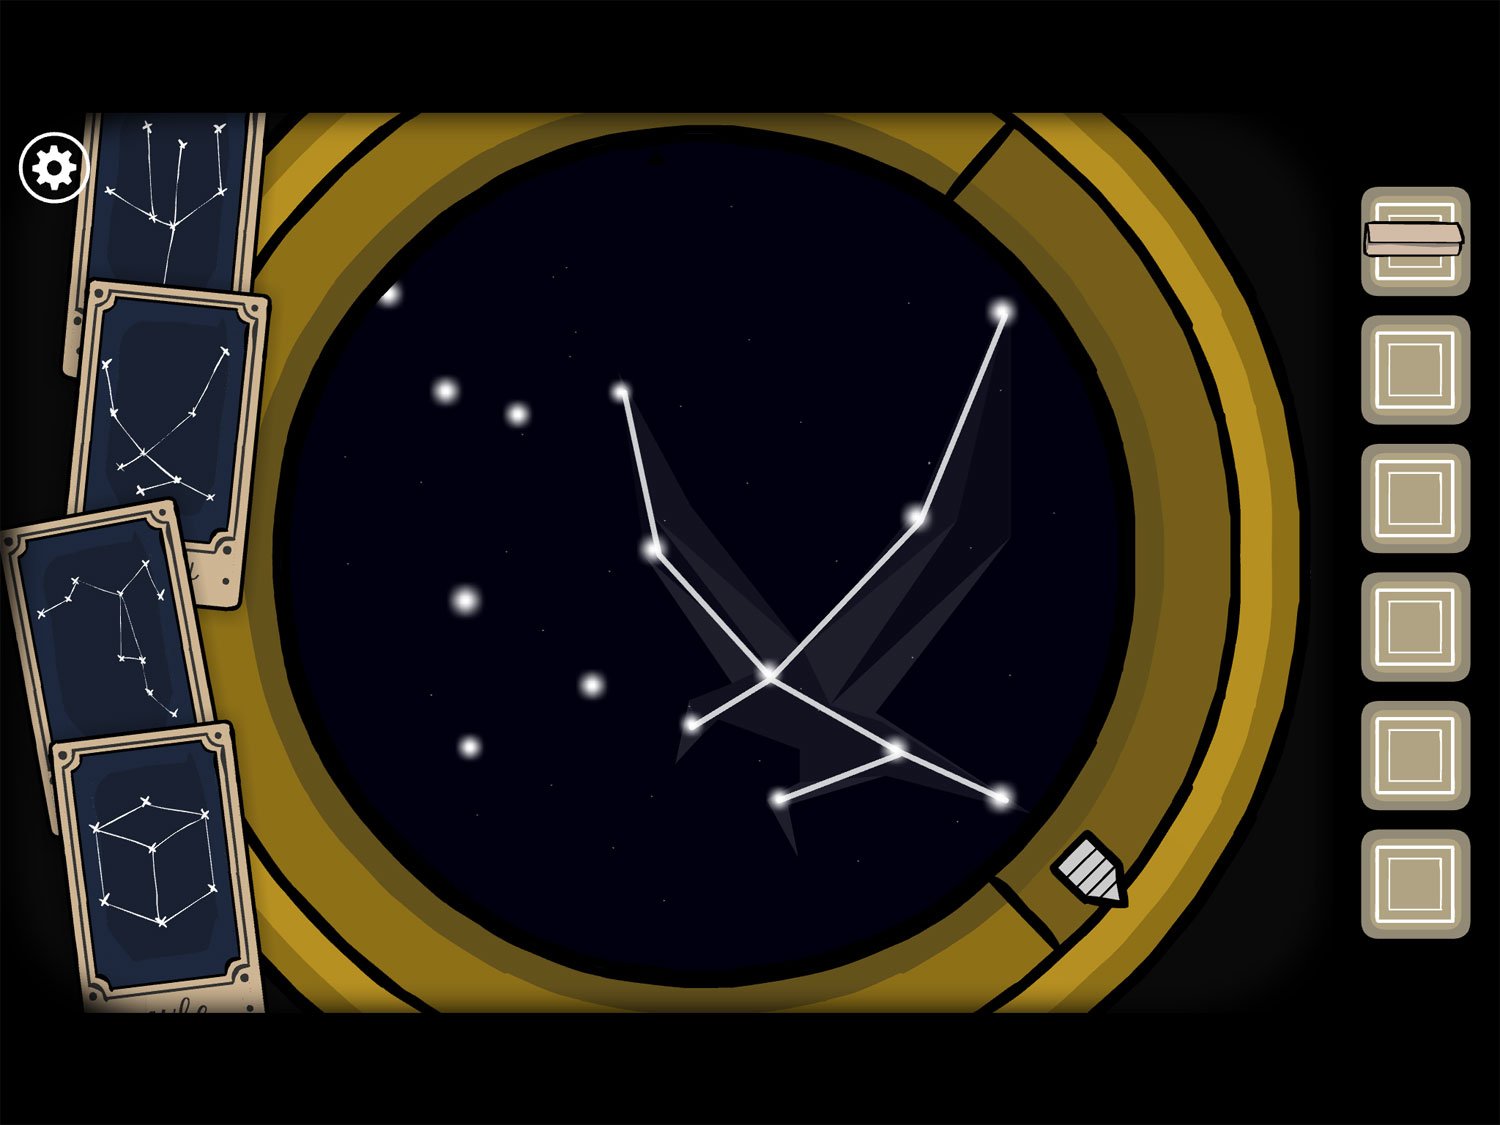
- The next constellation, Crow, is on the far right end. So use the scroller to move all the way to the right and then the bottom-rightmost star is the far right end of Crow
- Deer is the hardest as it’s a bit sideways compared to its card. We recommend completing the other three constellations first; once you’ve done the other three, the remaining stars are all for Deer. His dangling foot hangs down near Cube
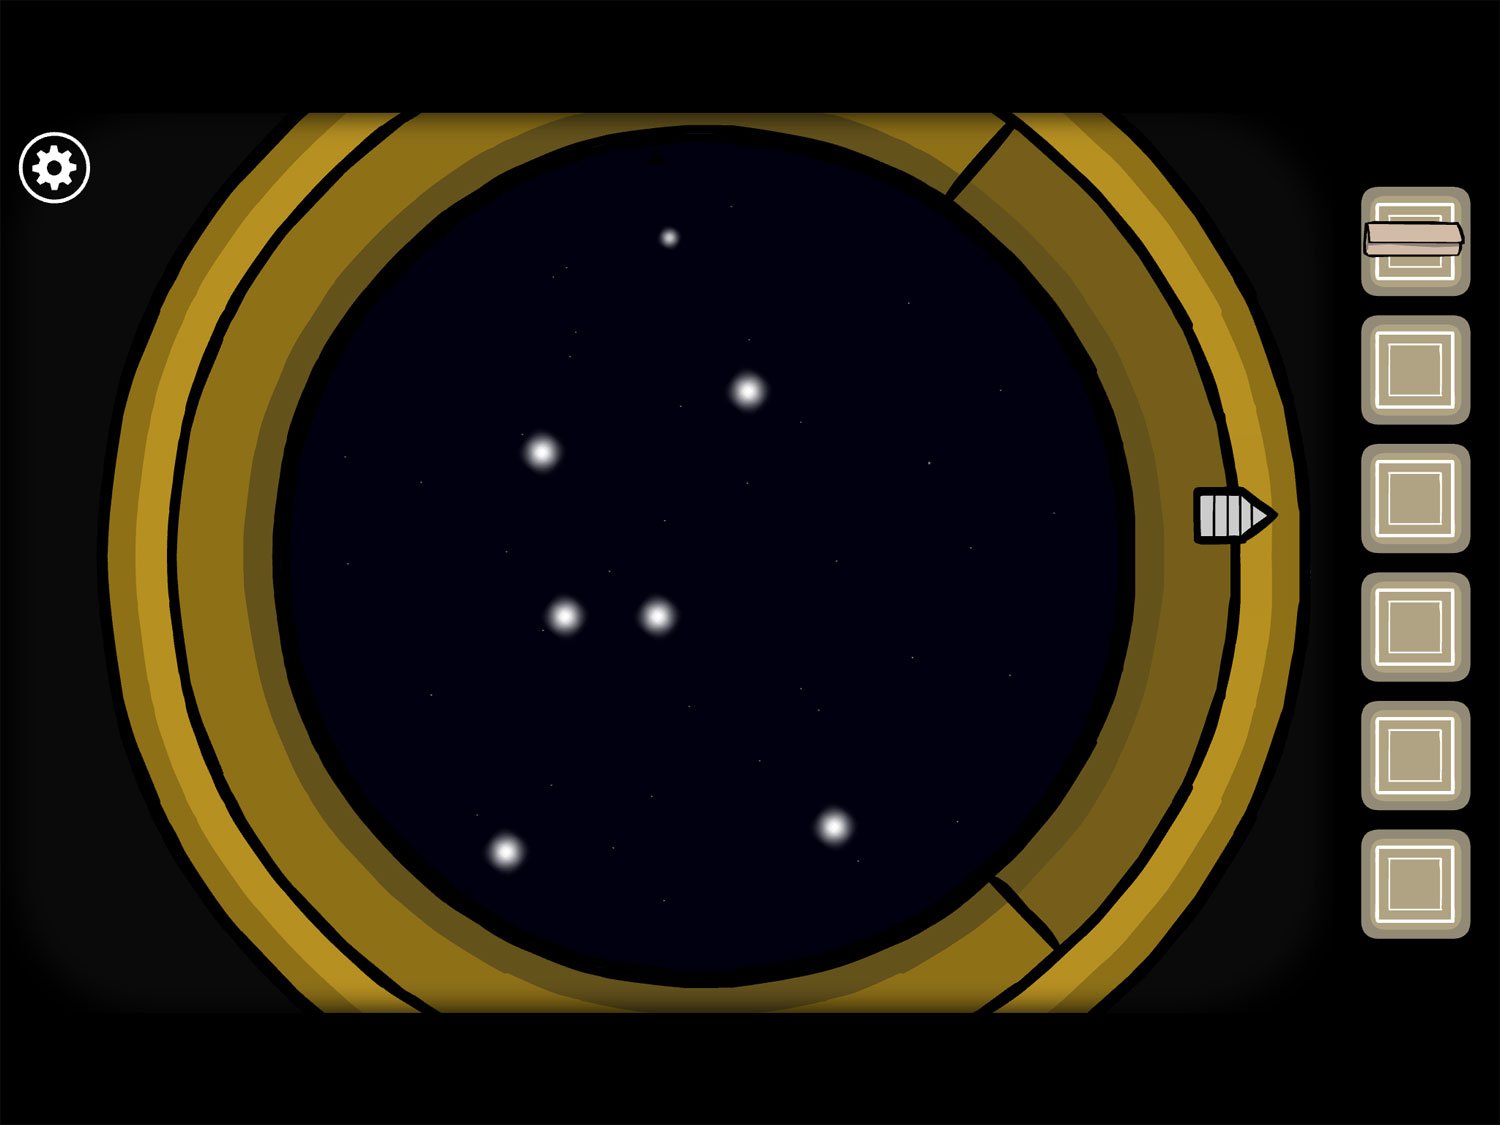
- When all four constellations are complete, a new star field will appear. This one has no associated cards; you need to recreate the constellation you saw on the drawing of Emma and Frank
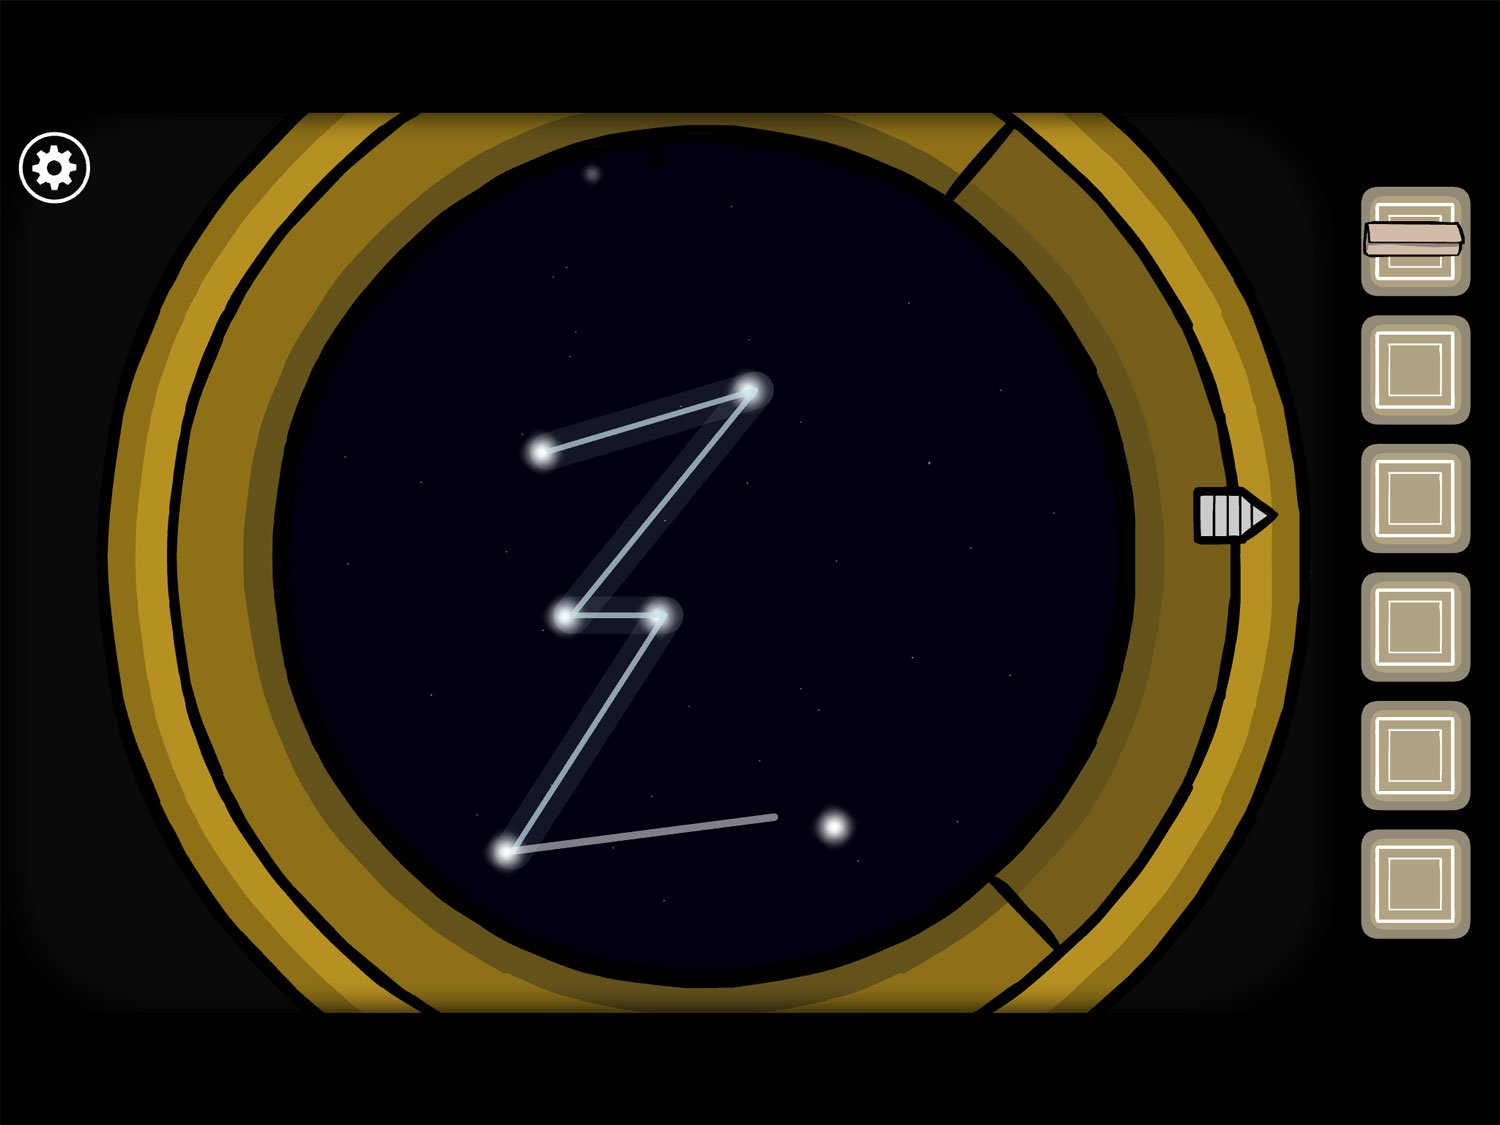
- Move to the center cluster of stars (so the pointer is near the center of the wheel) and draw two 7 symbols, then the last line should go straight out to the right
- When completed, your mother will appear and tell you to read her letter
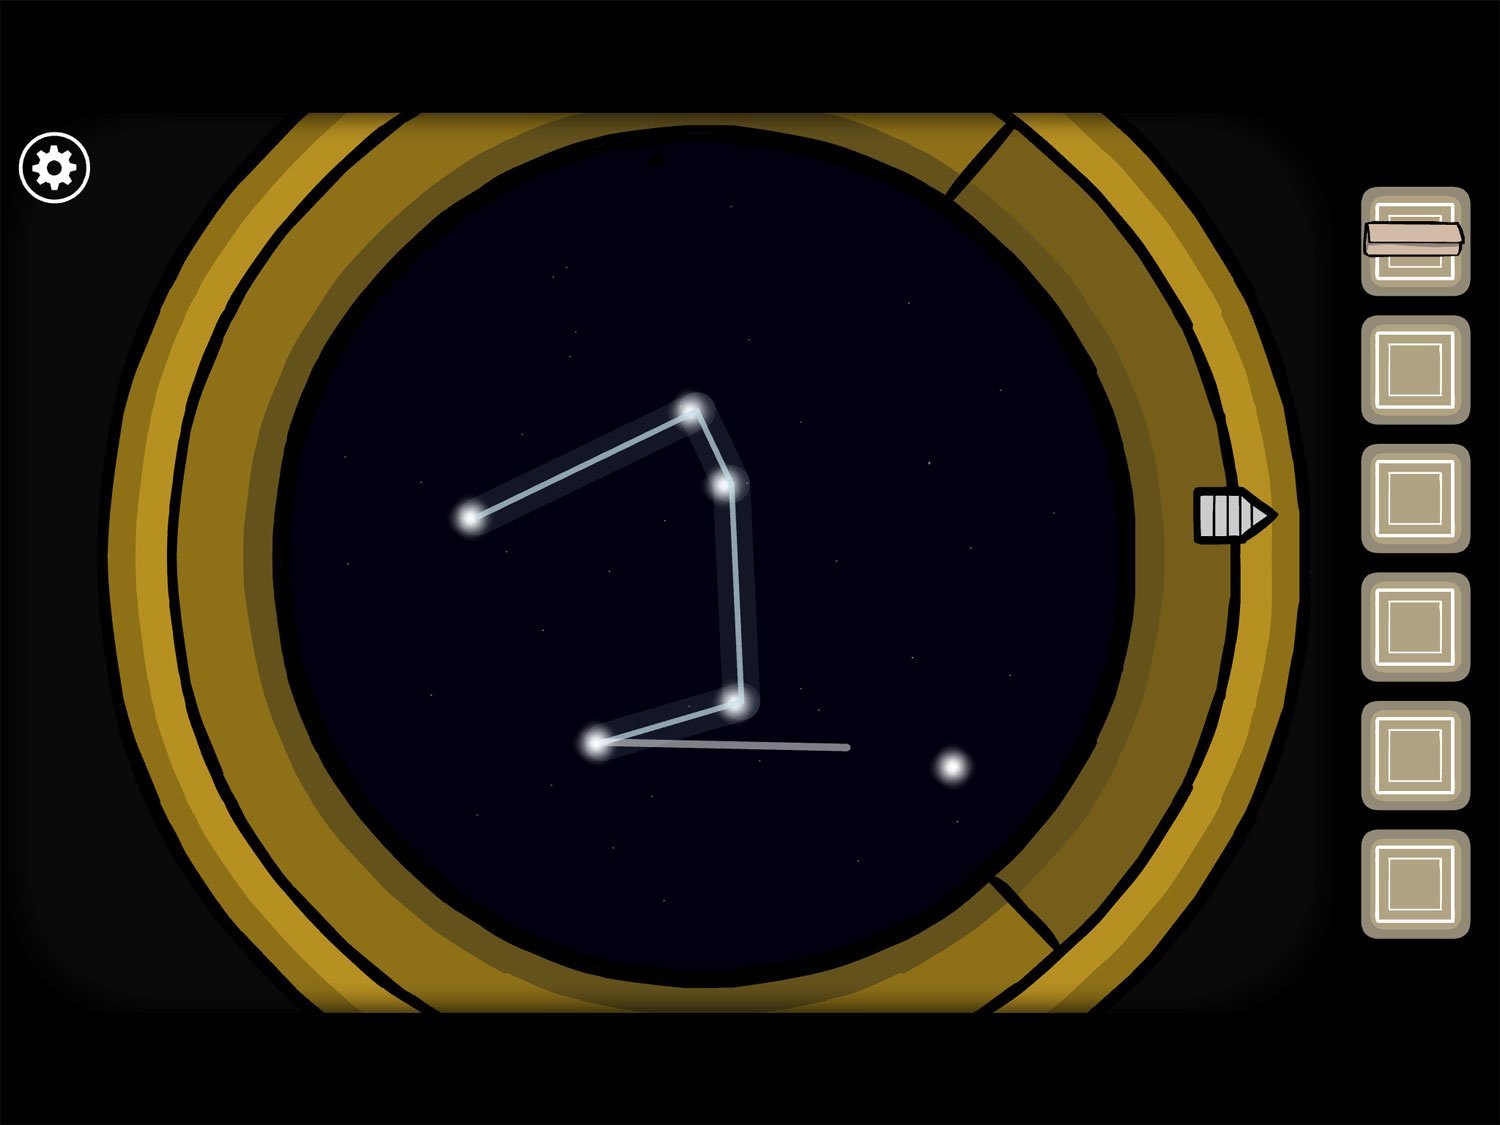
- After she vanishes, draw the constellation from the painting of the top-hatted man. It uses the same cluster of stars as Emma but in more of a large “2” formation
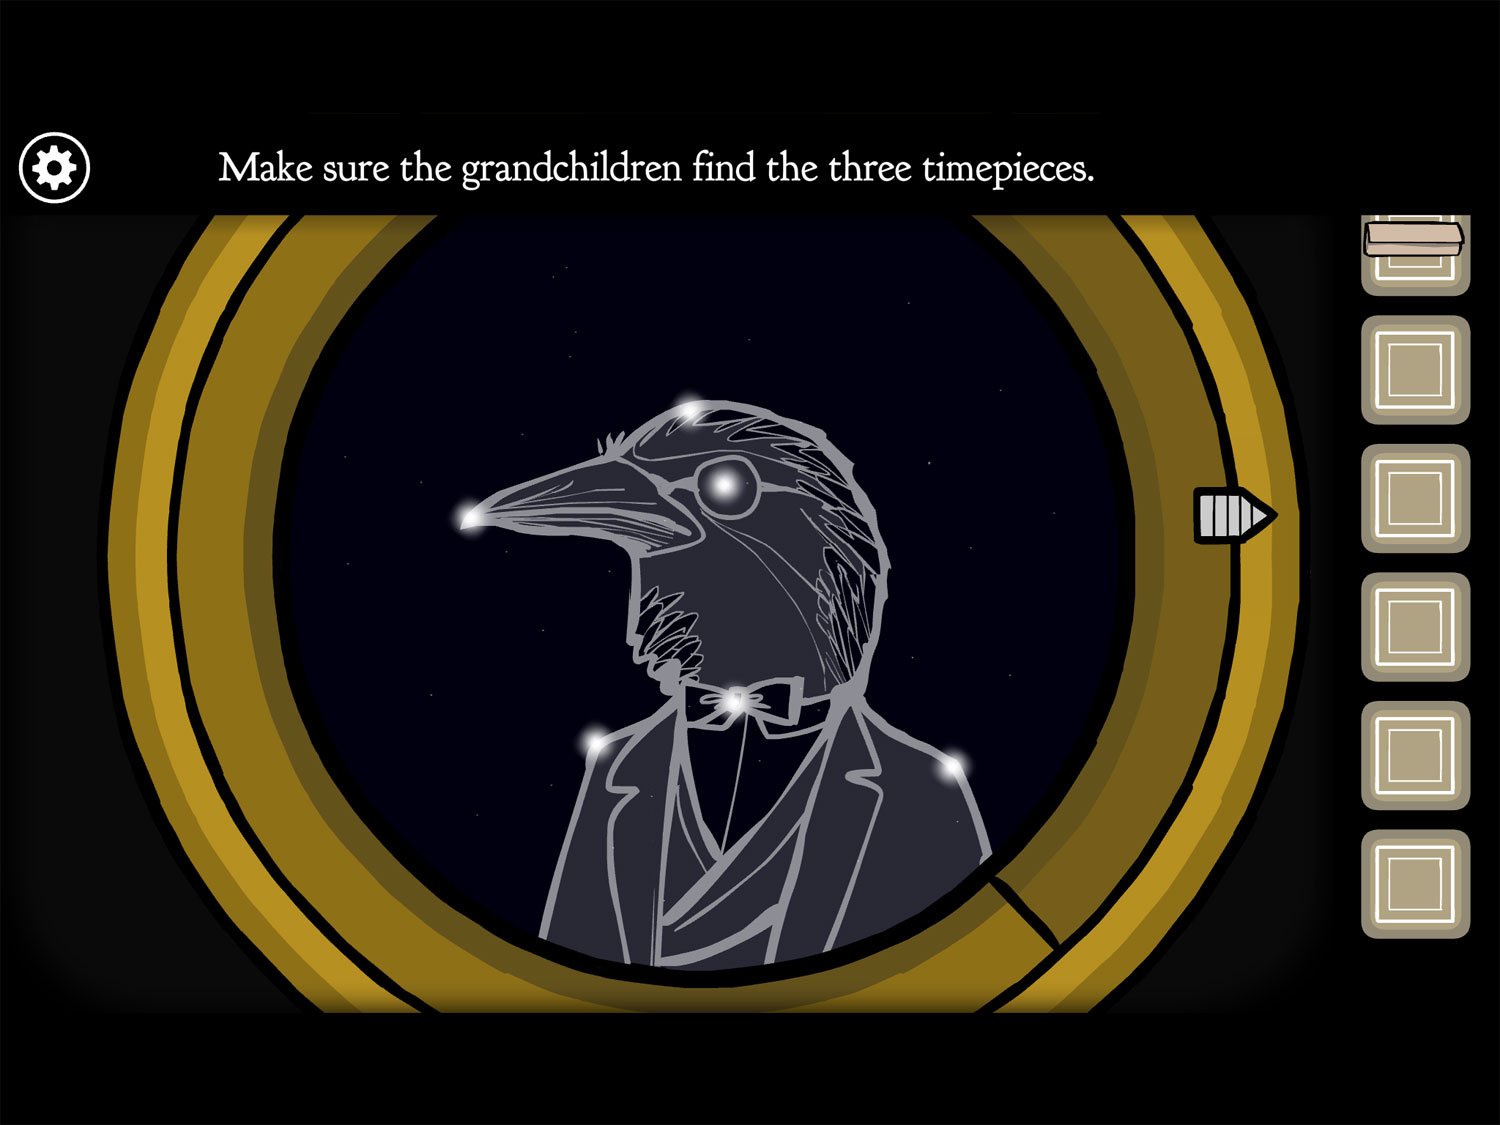
- When finished, Mr. Crow appears and speaks to you: he tells you to make sure the children find all the timepieces to bring the branches back together
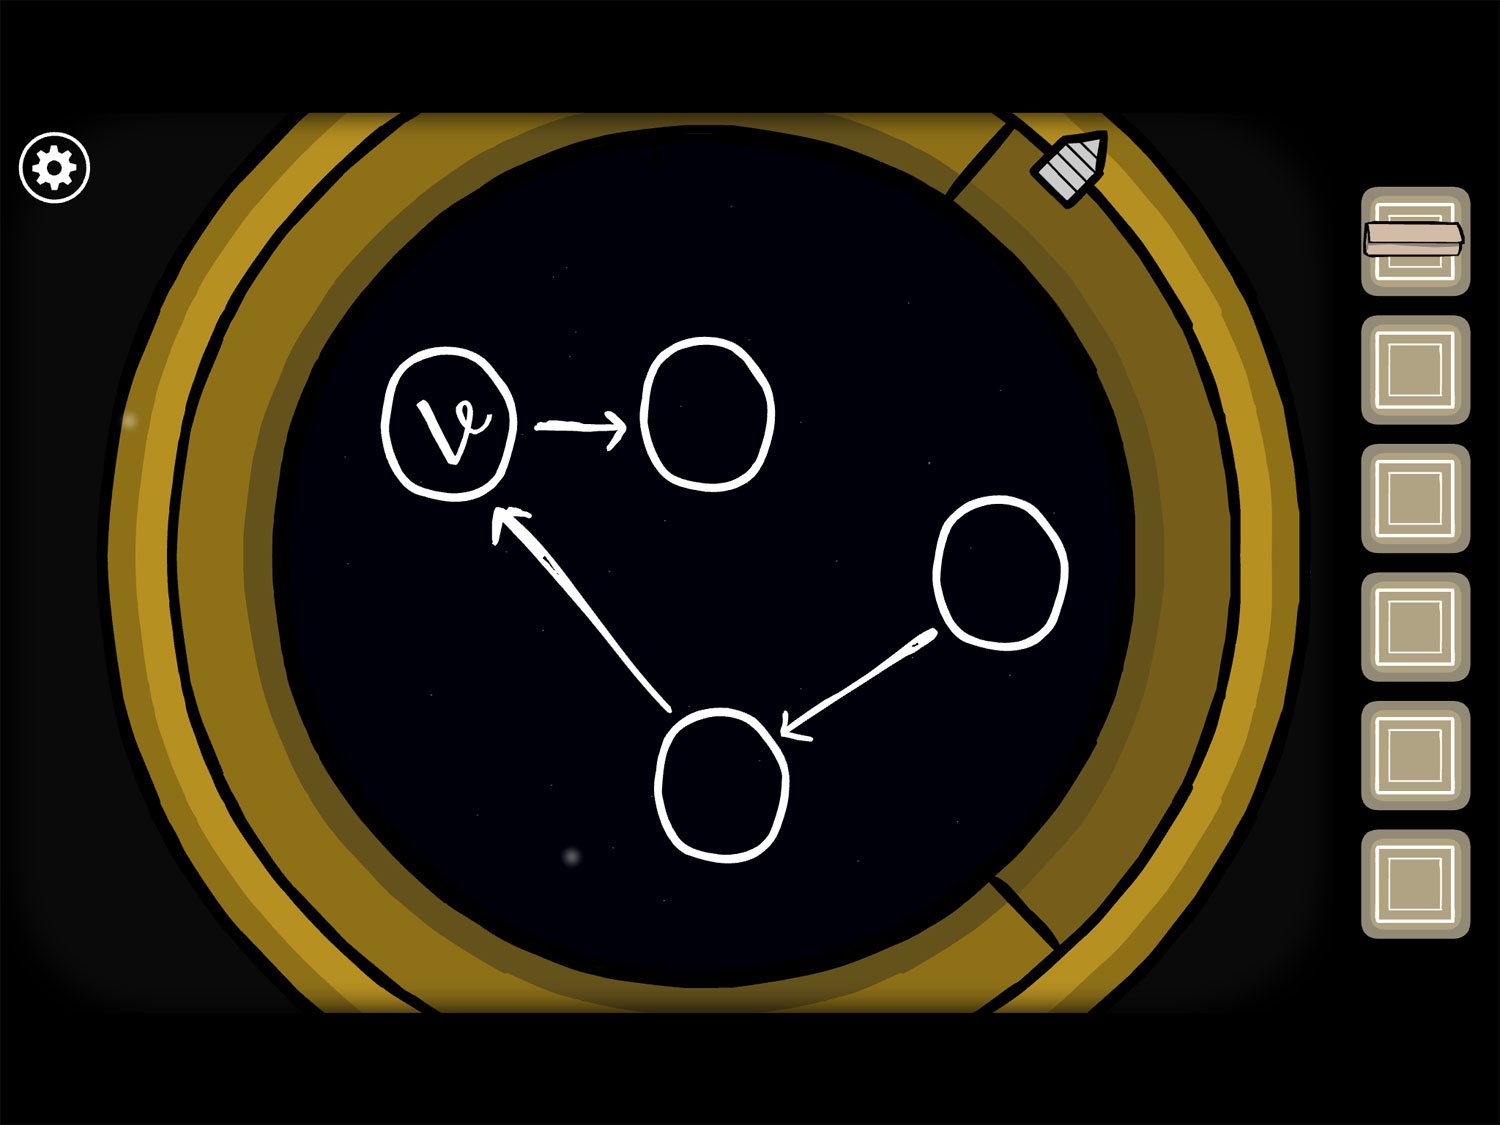
- A series of circles will appear. Tap anywhere; the telescope’s lens will become loose; tap it to get LENS. Zoom out
- Go back downstairs and tap on Frank. Use LETTER on Frank, then tap on it so he reads it
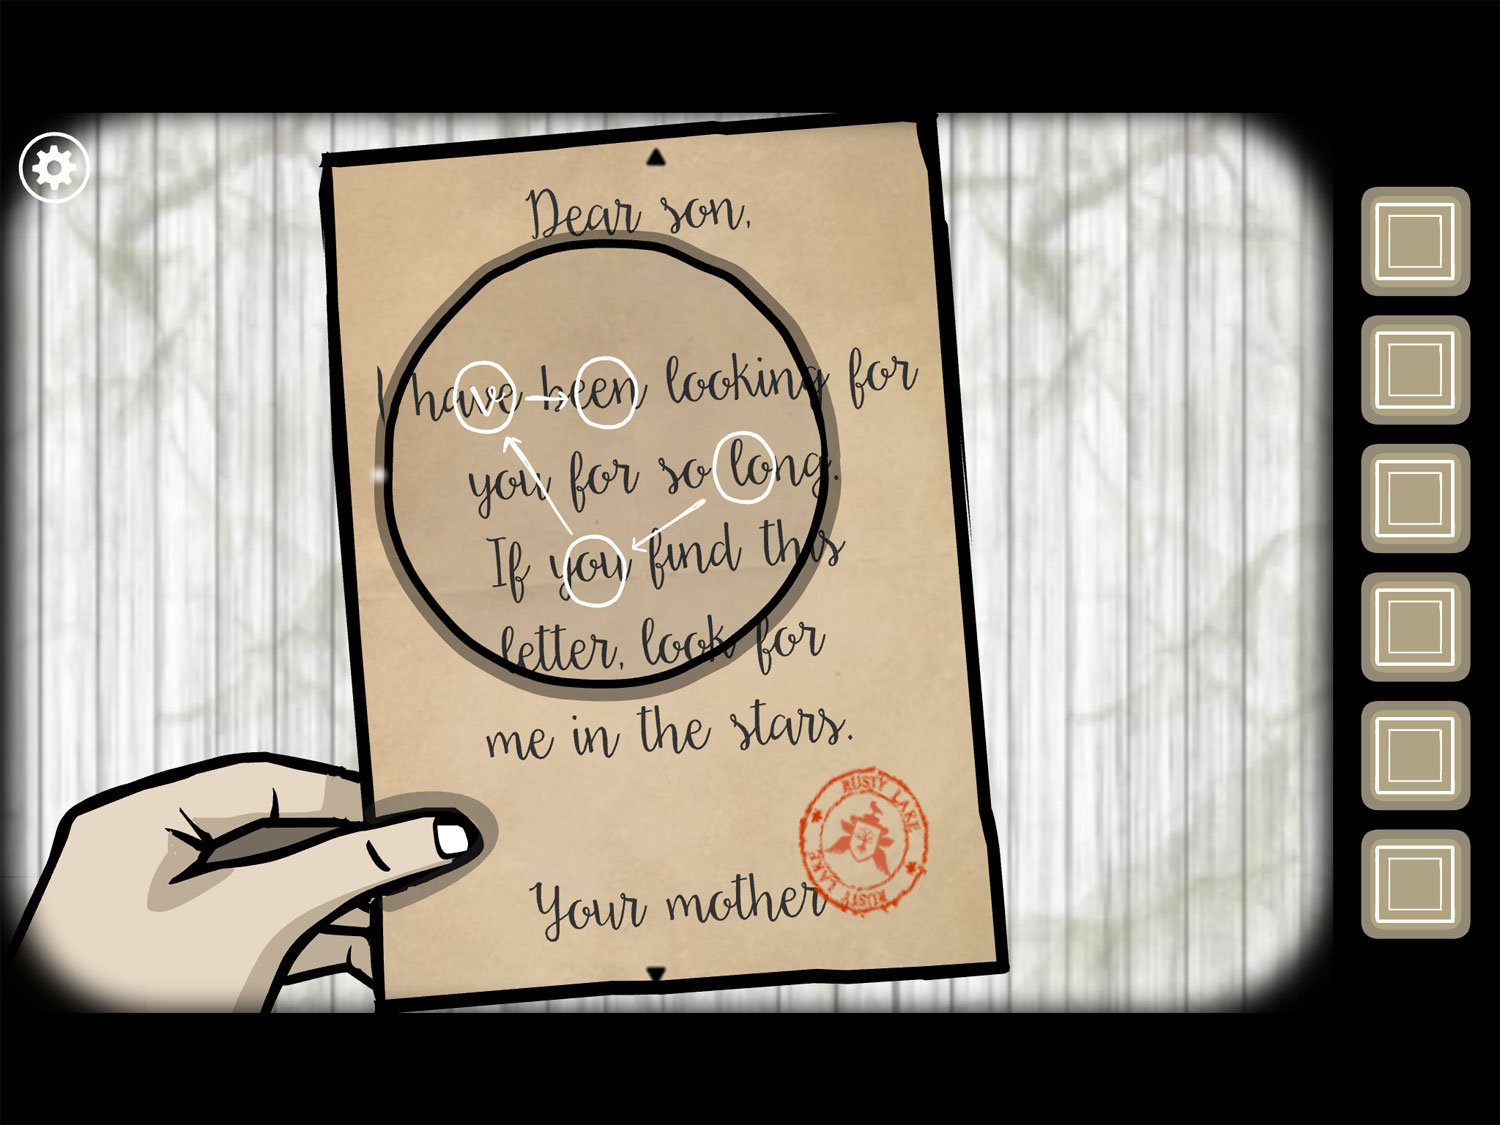
- Frank holds the letter up. Use LENS on the letter. Align the “v” on top of the “v” in “have.” The lens will circle “l, o, v, e” in that order. Exit this close-up
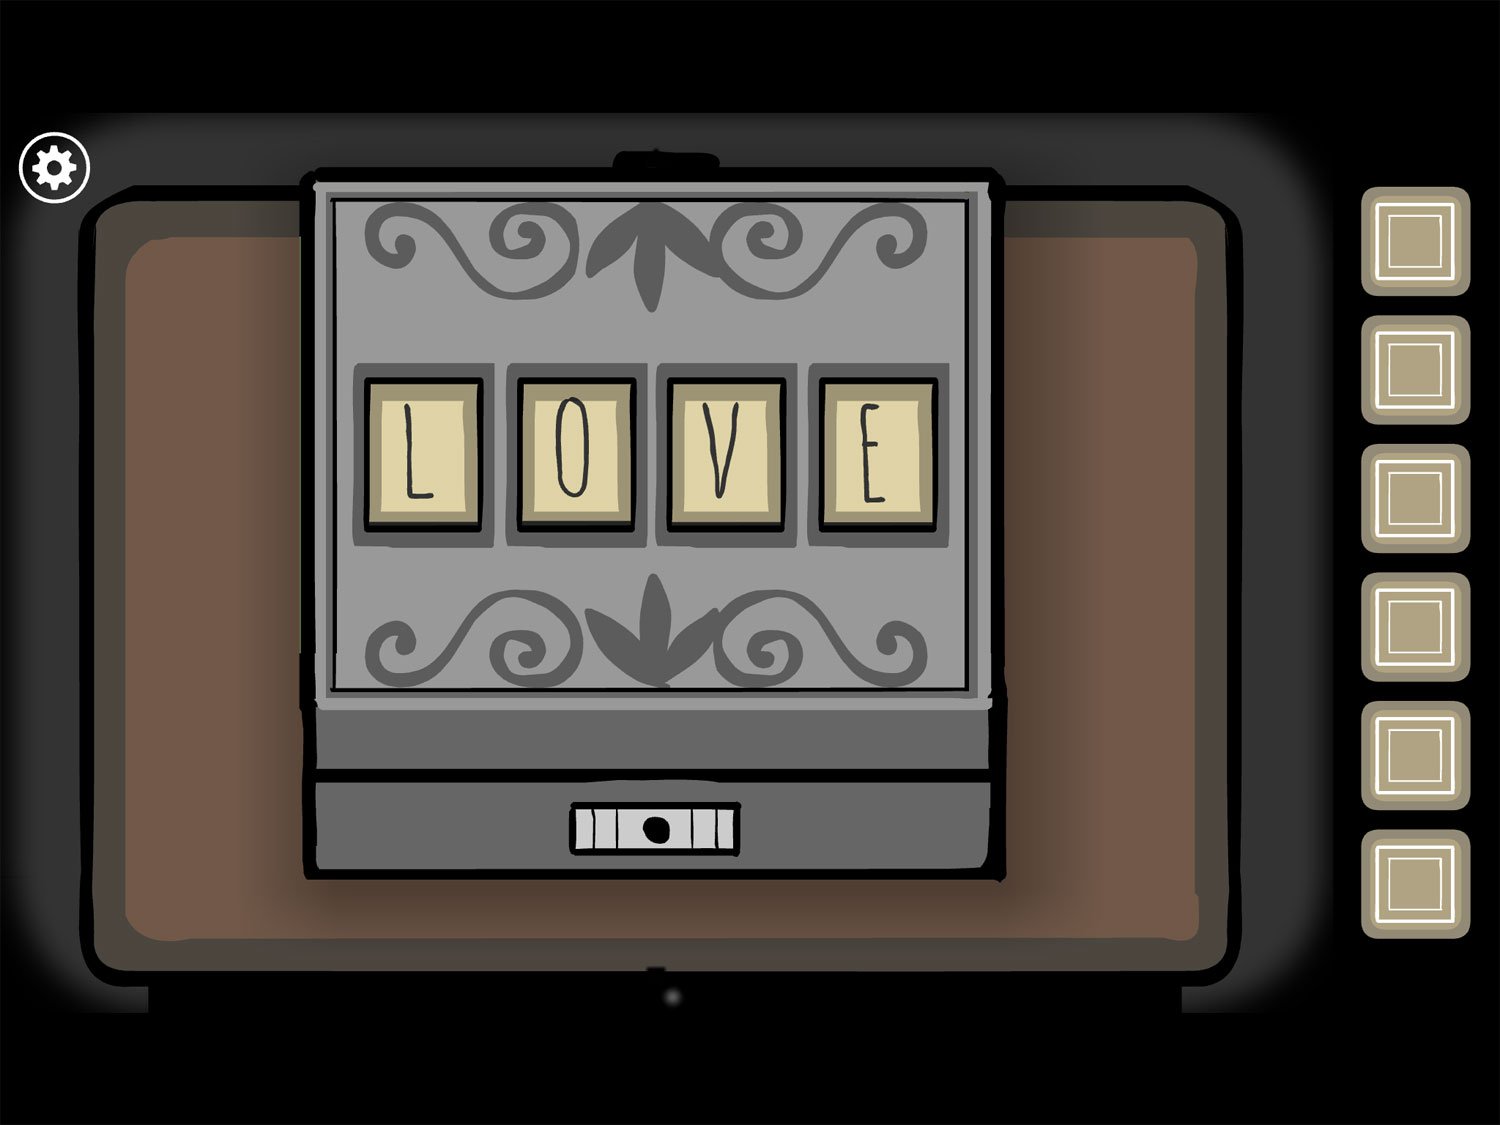
- Tap on the table left of Frank. Slide the letter tiles to spell “love” then tap on the metal latch to unlock it. Tap again to open the box
- Note: the lens technically circles both the “l” and “o”, meaning it spells either “love” or “oove.” Both codes will work on the box
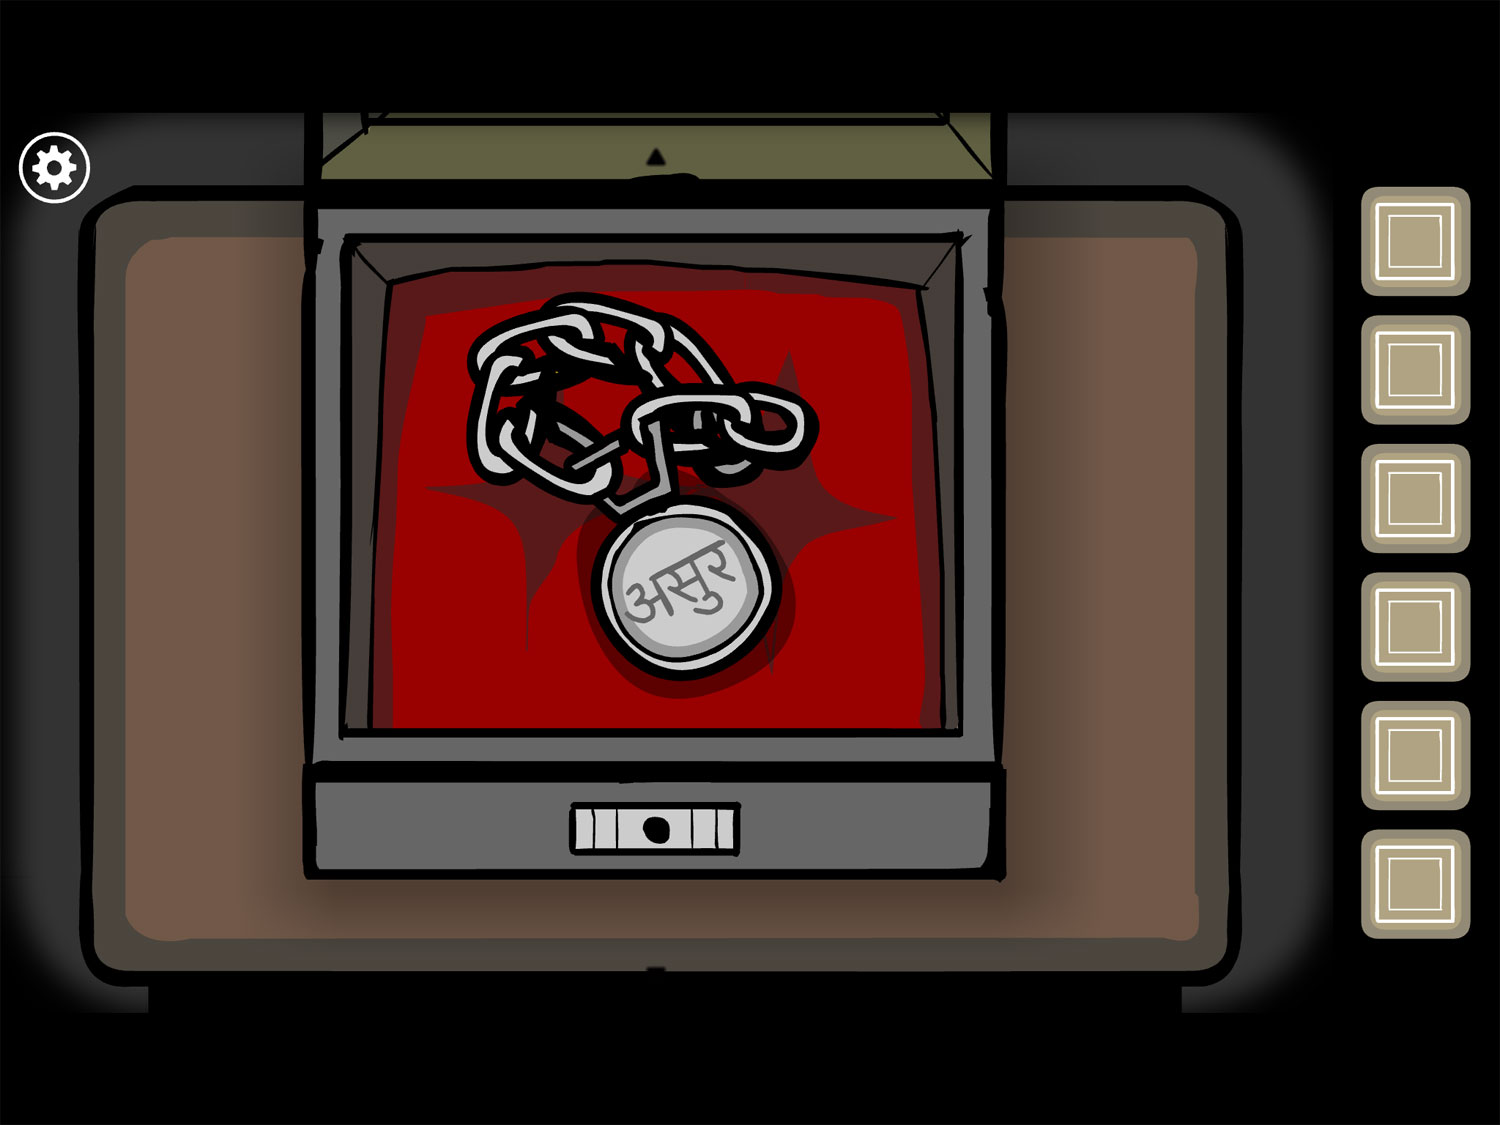
- Take the TIMEPIECE from the box
- Tap on Frank. Use TIMEPIECE on Frank; he puts it around his neck. Tap the TIMEPIECE and the white square and exit appears. This ends Emma/Frank’s branch of the tree
Level 17: The Clock, Spring 1889 – Samuel
Location: The parlor near the clock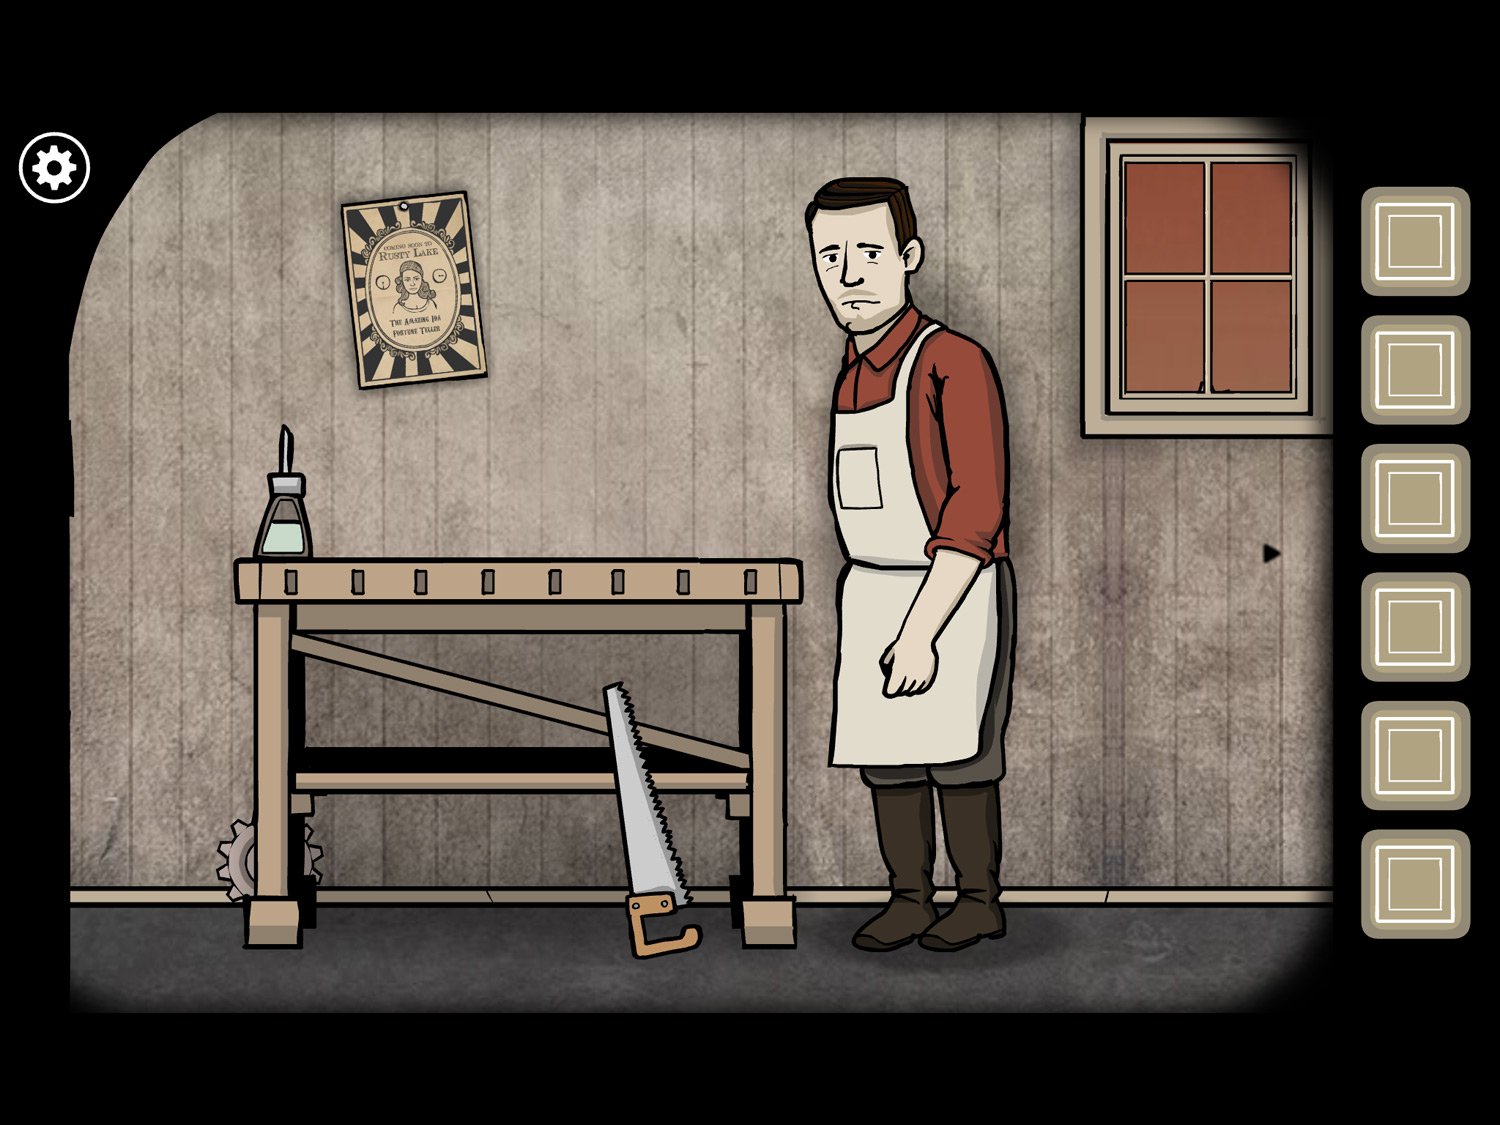
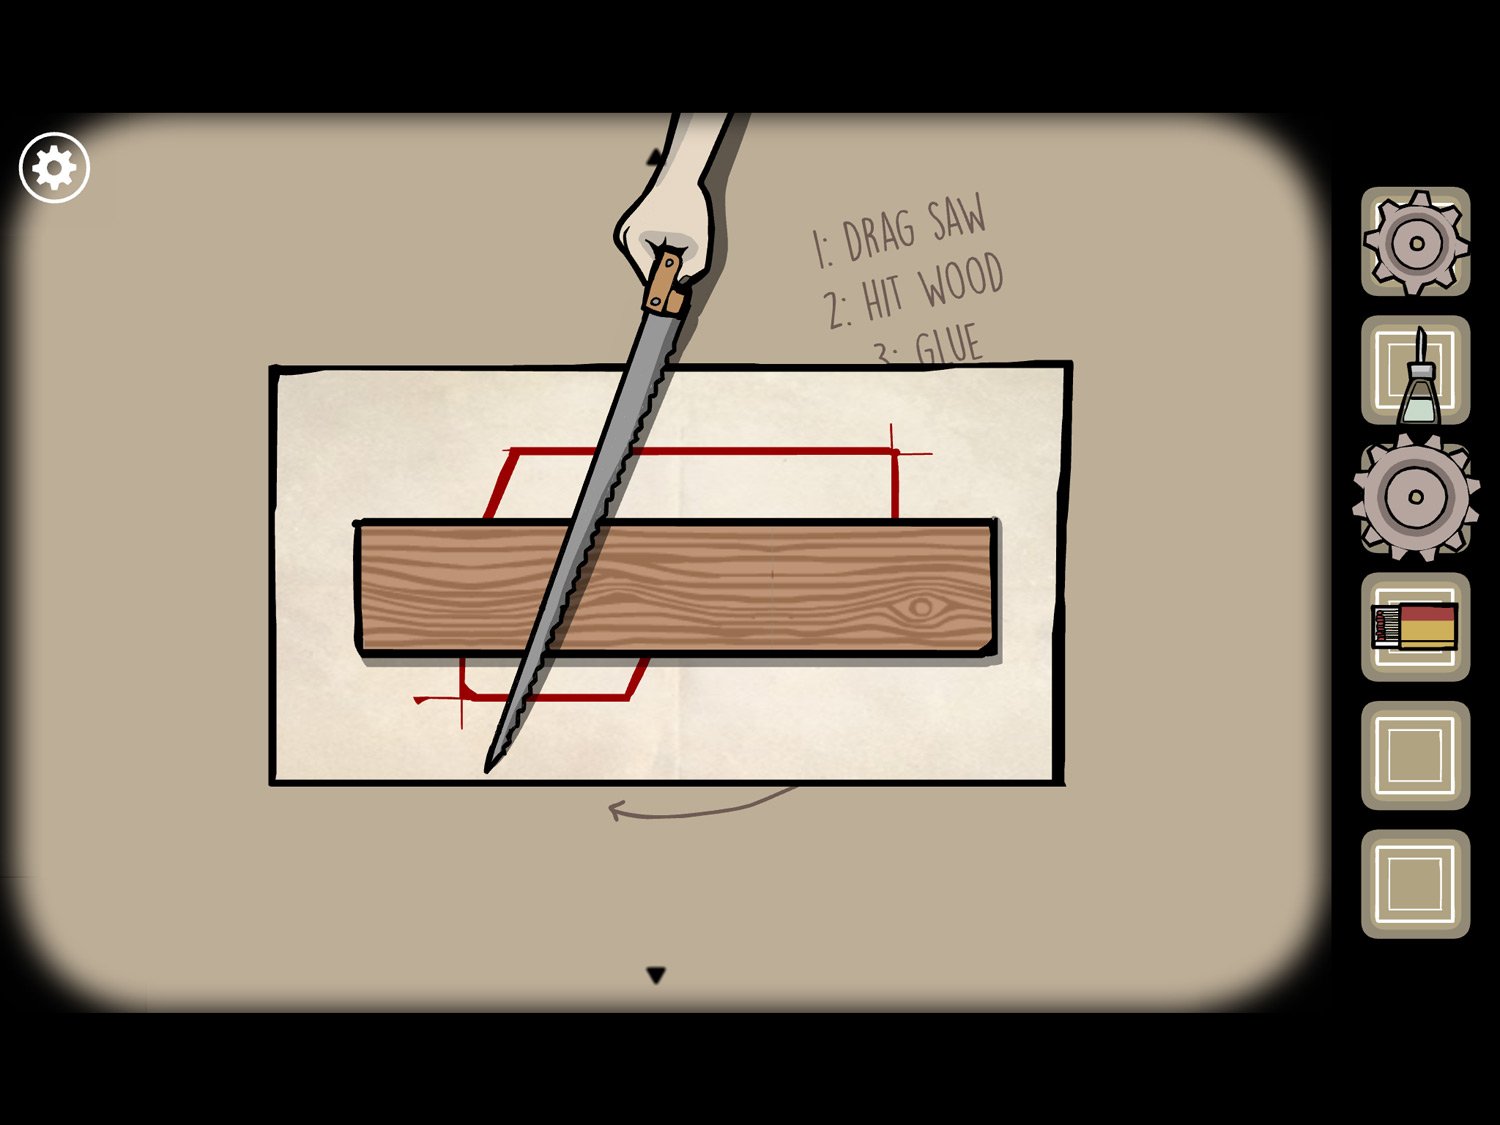
- Tap the saw to get SAW. Tap the bottle of glue on the table to get GLUE
- Tap the gear behind the left table leg to get GEAR (1)
- Tap Samuel to zoom in. Tap his pocket to get MATCHES
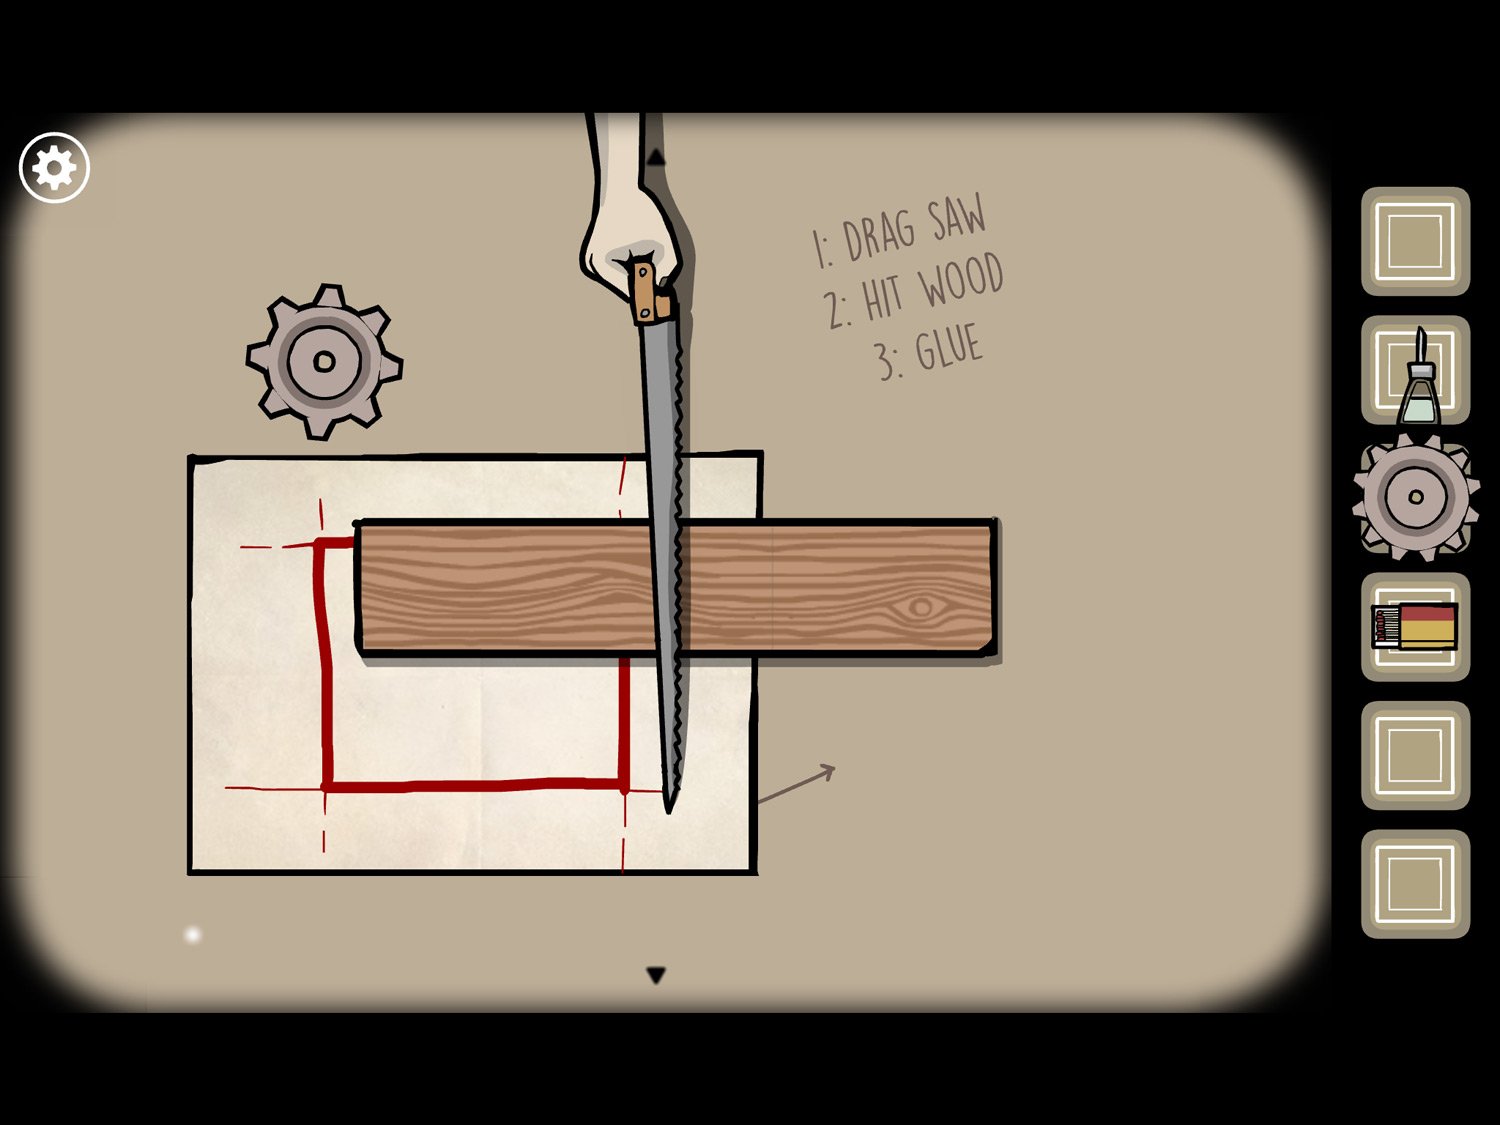
- Give Samuel SAW; tap him to enter a view of the table and a puzzle game
- First, take the GEAR (2) from near the blueprints
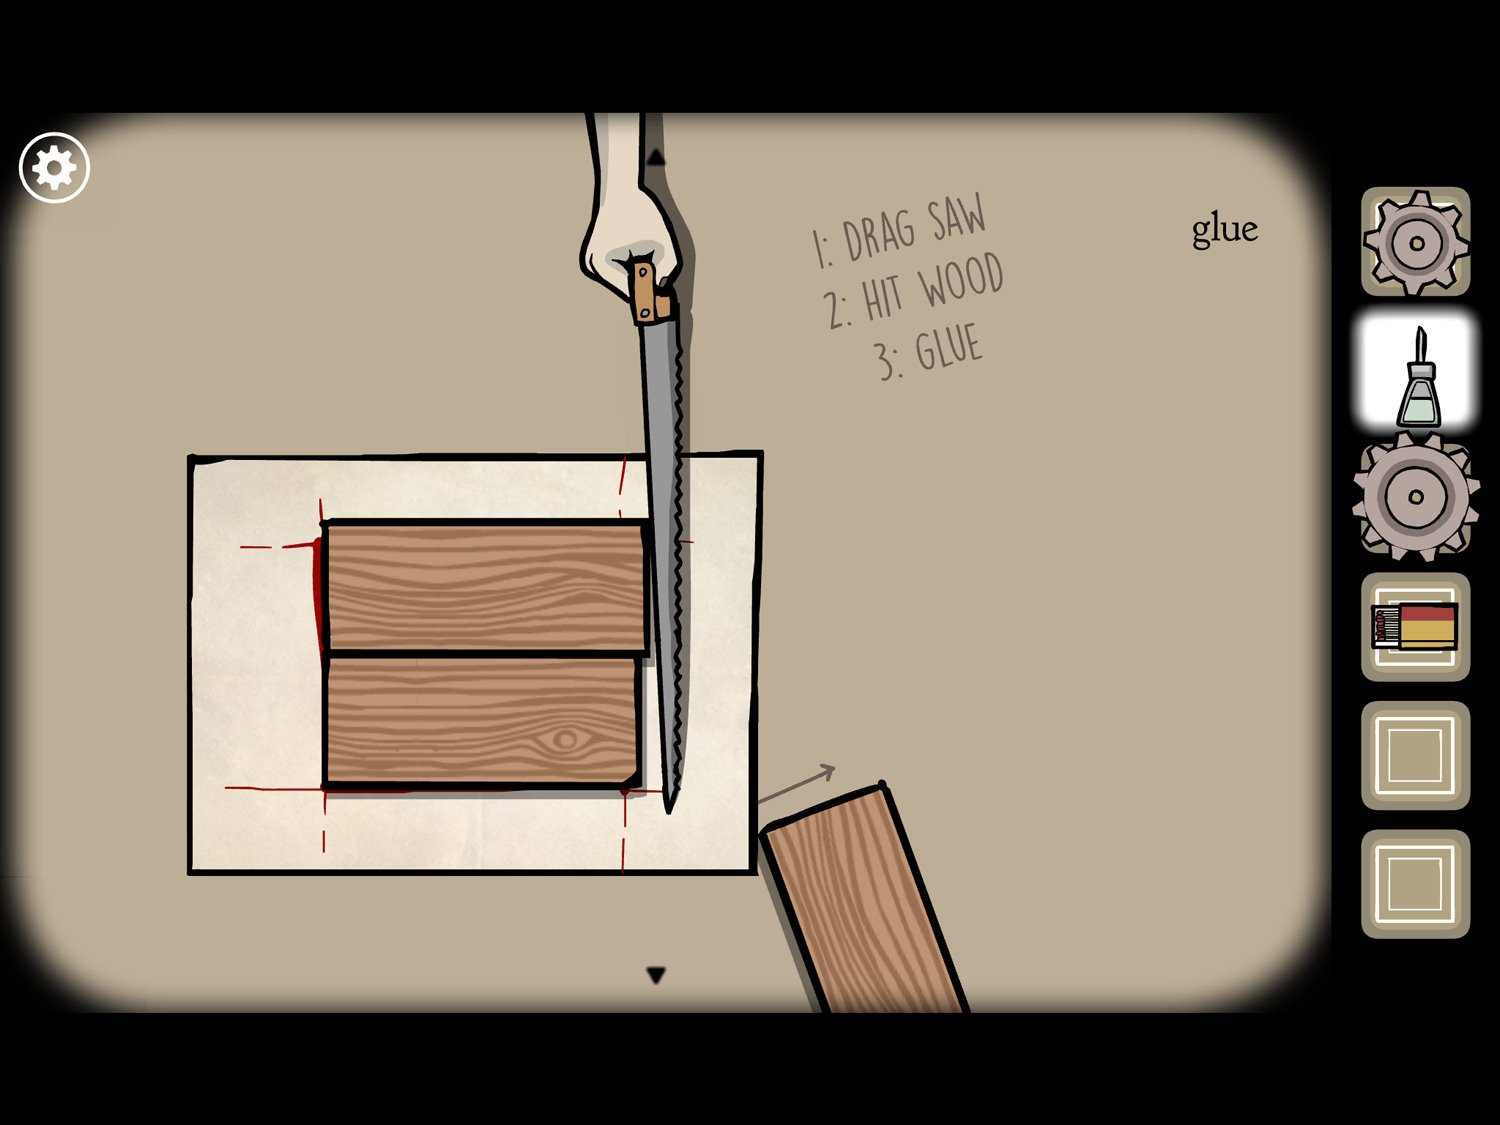
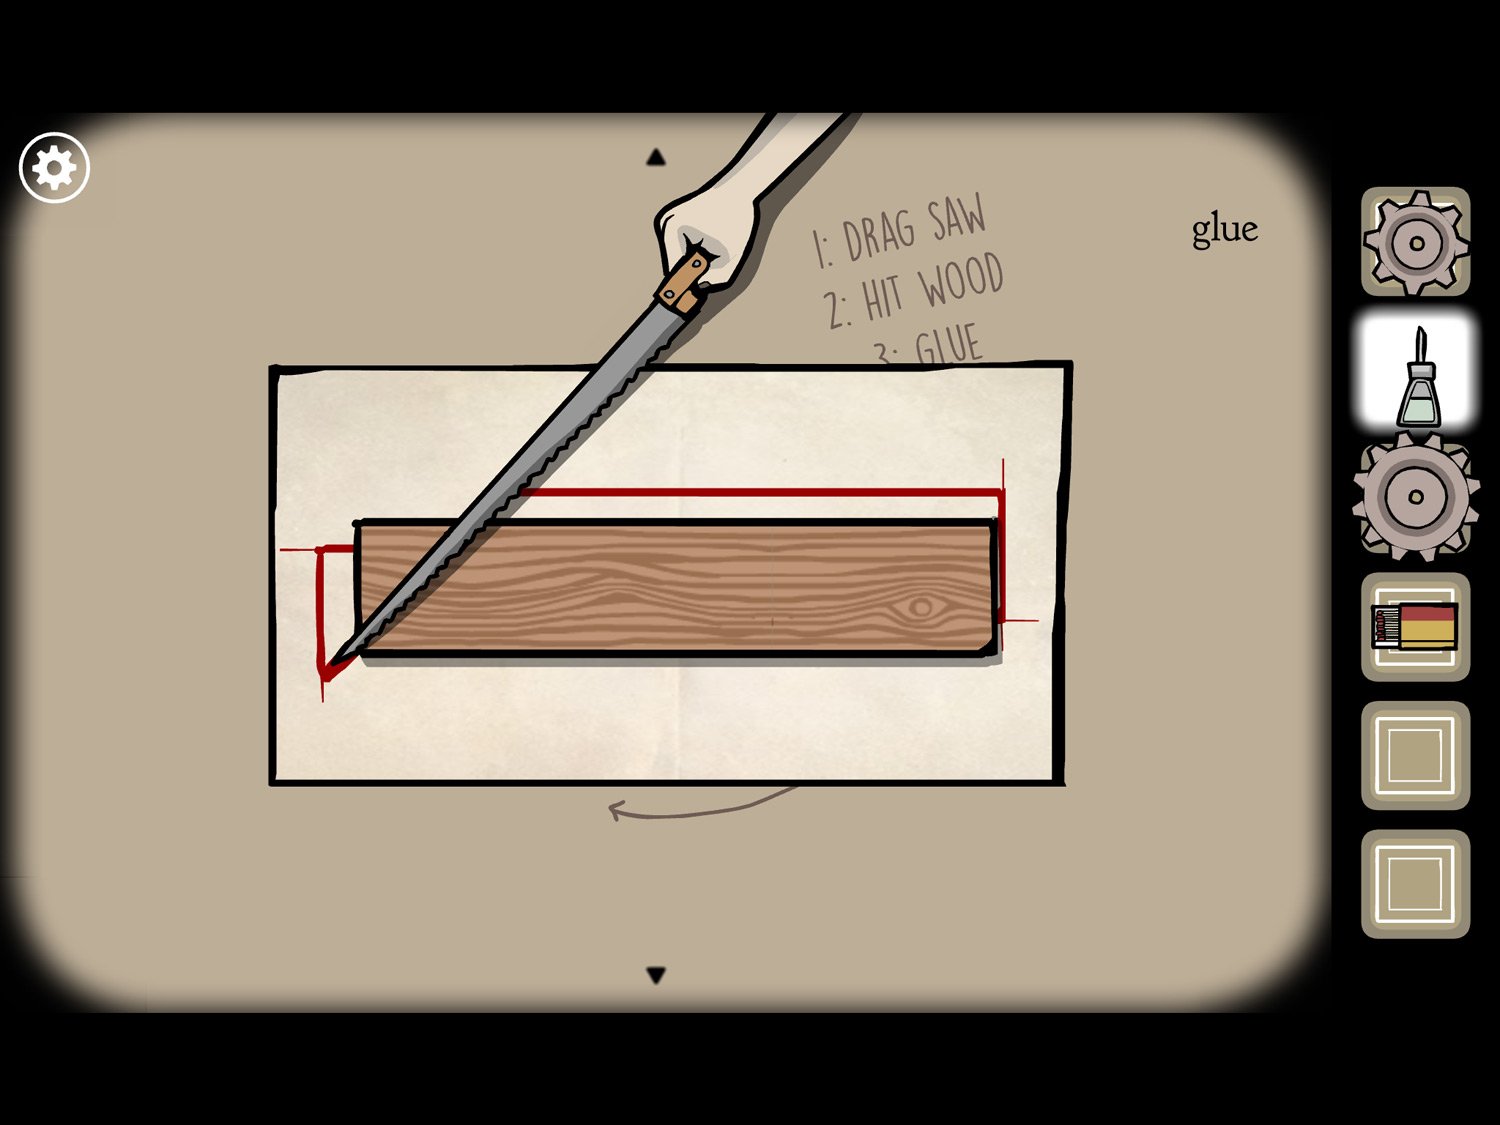
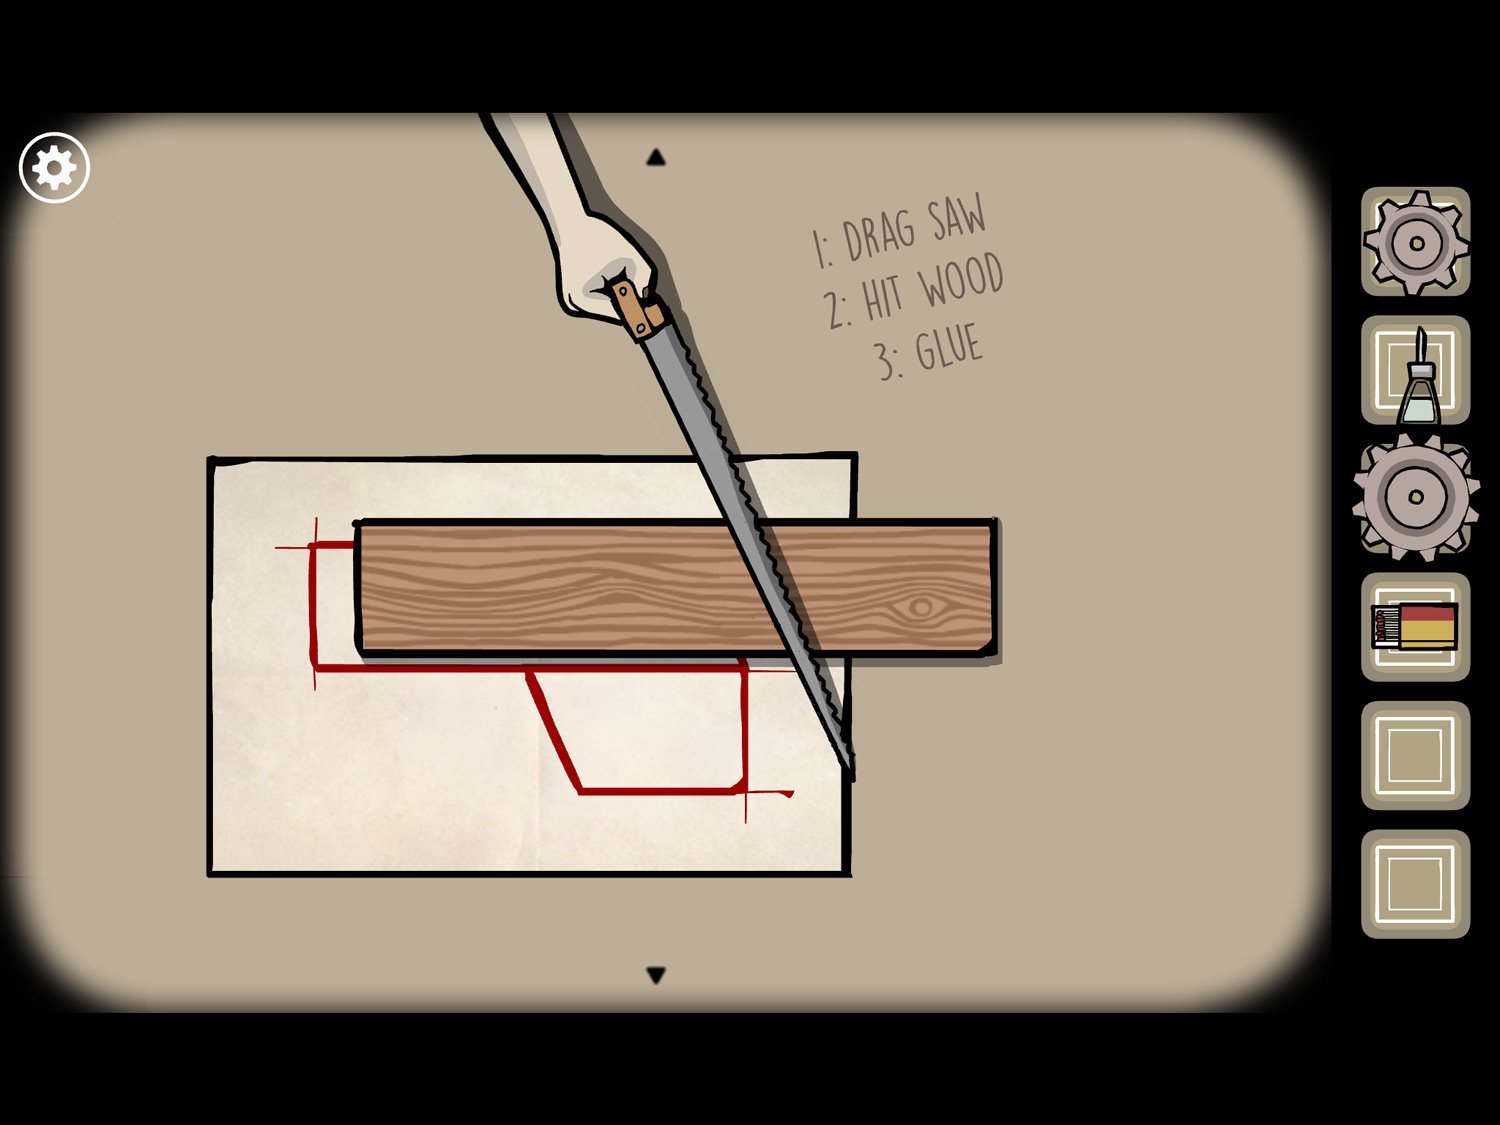
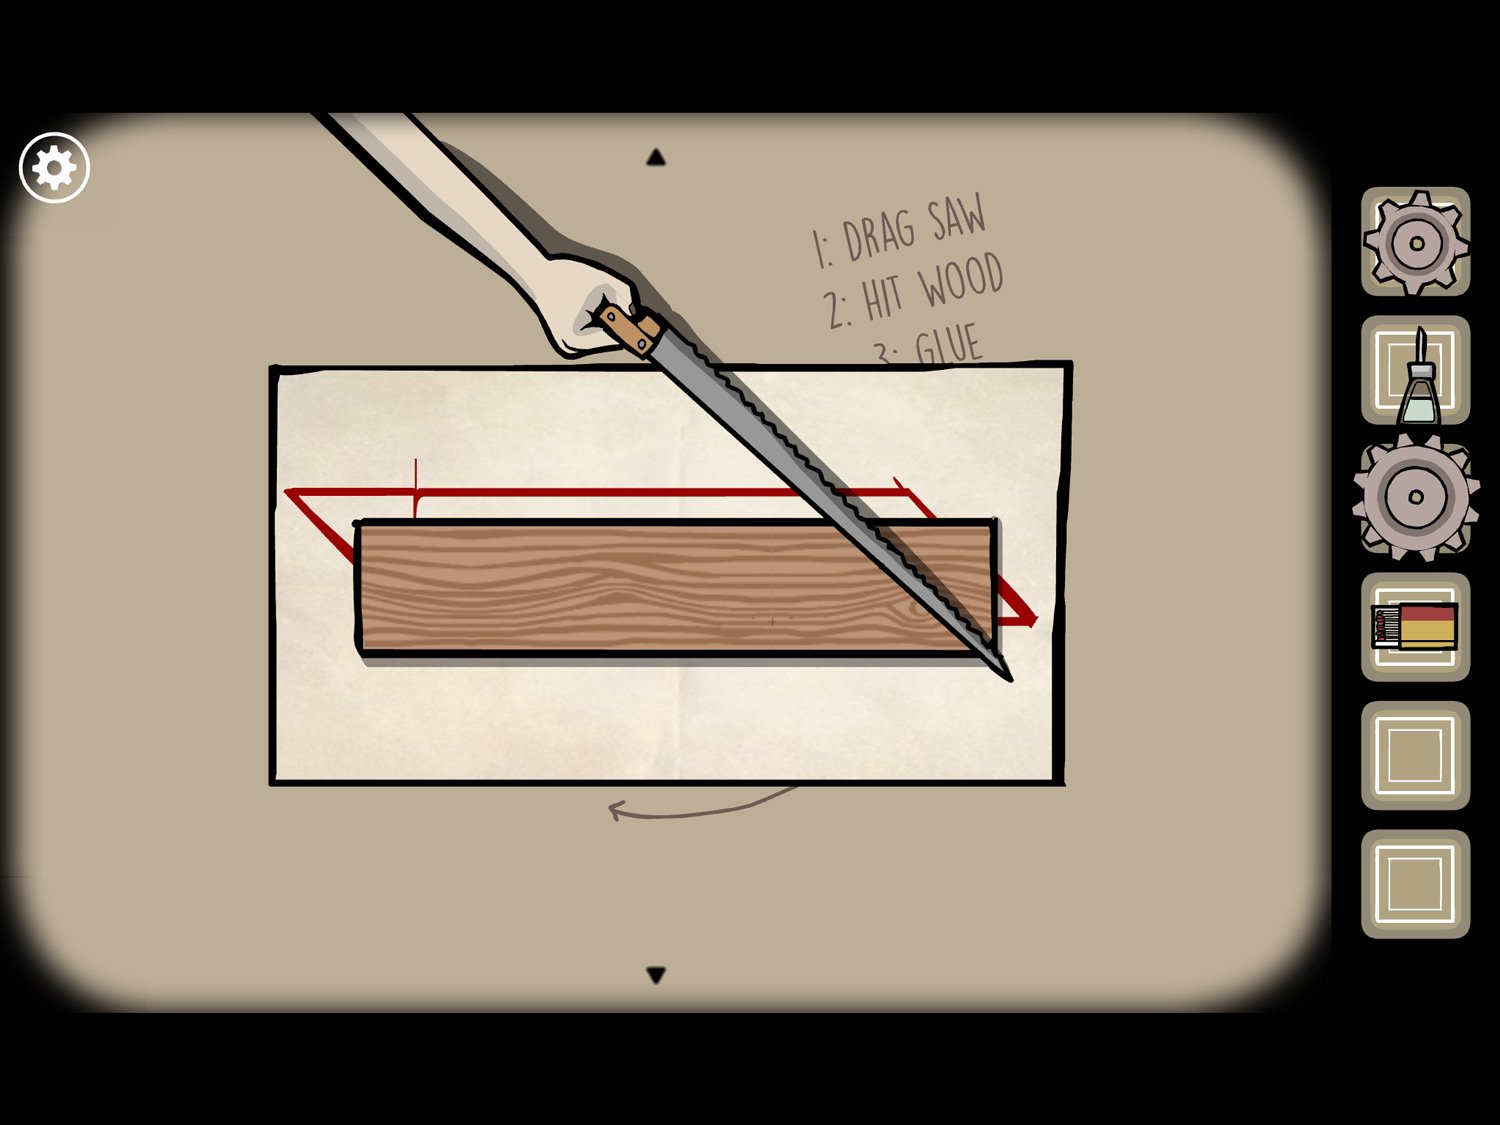
- This puzzle requires you to cut planks of wood to match the red outline on the paper. First, you have to move the arm to where you want to cut. It will only tilt; you cannot drag it to another location
- After the arm is positioned as you want, tap the wood to make a cut. You can only make one cut per piece of wood, so you have to cut the wood so its remaining two pieces can match the outline
- After the wood is cut, drag the two pieces onto the outline. Then use GLUE to stick them together. If they are the right size, sunlight will flash and after you tap the finished piece, the next outline requirement will appear. If you ever make a mistake you can get another piece of wood by tapping the piece that appears at the bottom of the screen
- The arm will move a fairly large amount when adjusted, so you don’t have to worry about getting the angle perfectly right: it should be fairly obvious when you’re in the right area
- Cut the second piece of wood at this angle
- Cut the third piece of wood at this angle
- Cut the fourth piece of wood at this angle, then drag the small piece you cut off the right side over to the left side
- Cut the fifth piece of wood at this angle. The smaller piece goes on bottom
- The final outline will say “ready” when you’ve completed all the required pieces. You can keep cutting wood just for fun, but you can exit anytime
- Tap the picture above the workbench; take GEAR (3) from behind the picture
- Note the times on the clock faces on the picture: a minute hand pointing at 6 and an hour hand pointing at 3. Exit the close-up
- Tap on the window; open the window and take GEAR (4) from the sill. Exit the close-up
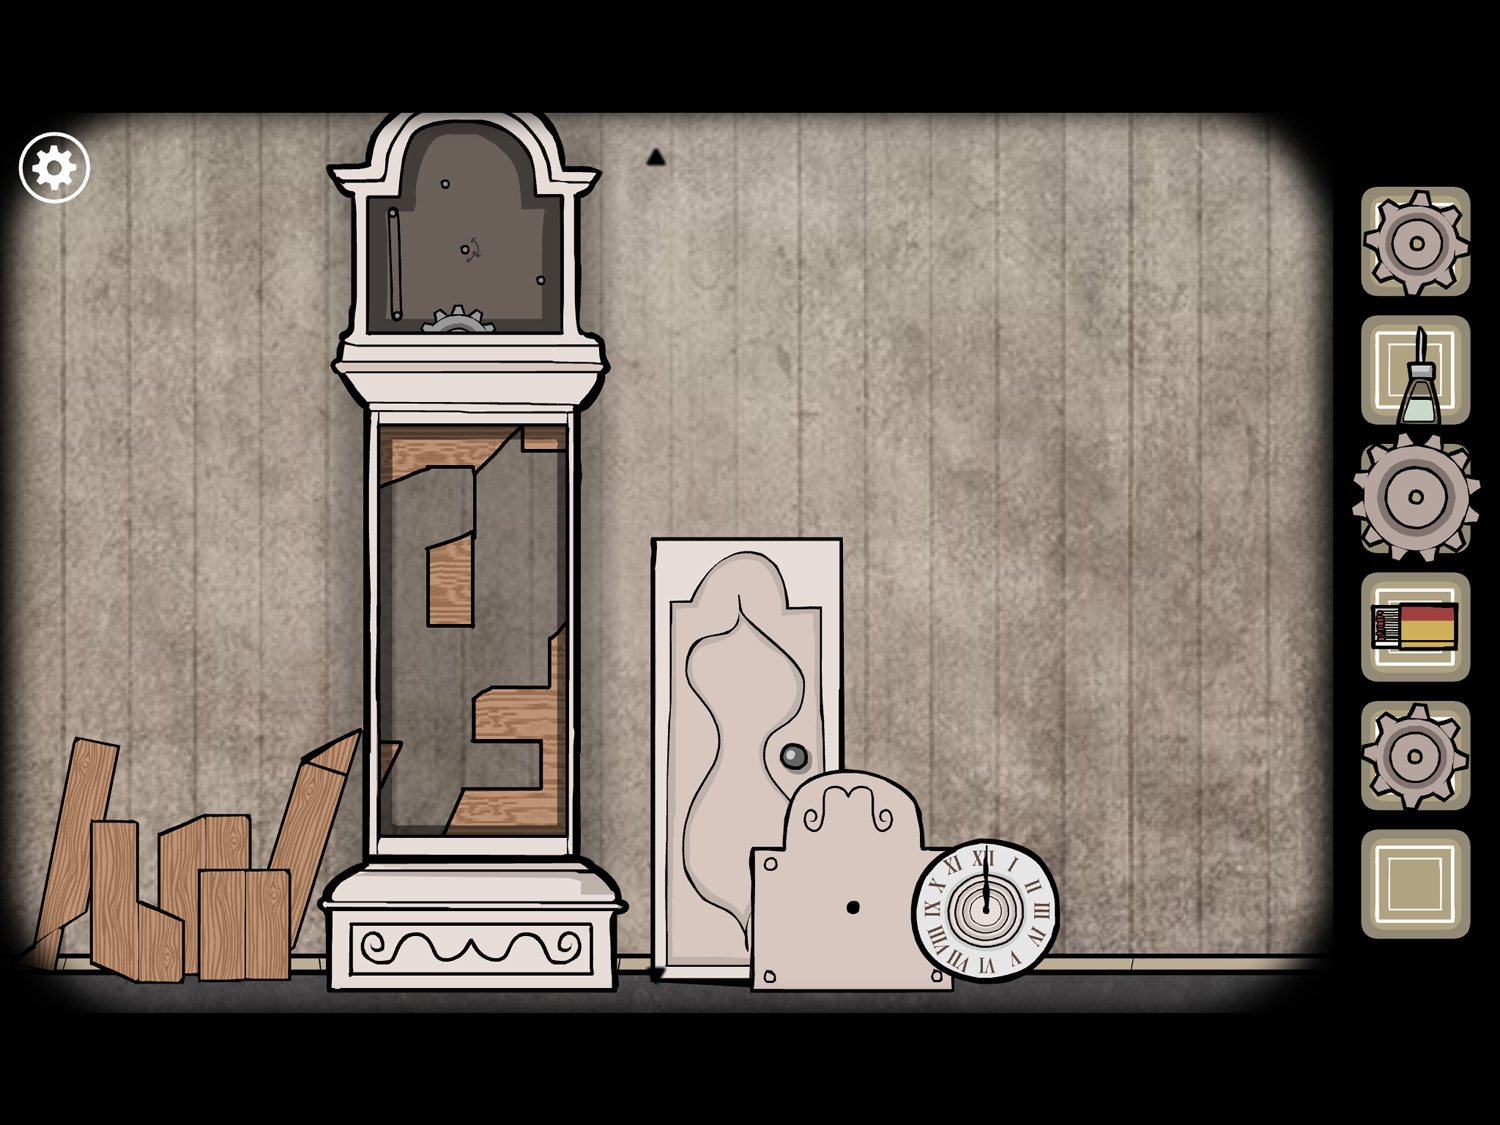
- Drag right until you see the clock. Tap on the clock to zoom in. All of the wood you just cut is lying next to the clock
- Drag the wood pieces onto the body of the clock. This is a sort of jigsaw puzzle; you just have to get the pieces in the correct spots. Like the statue from The Wake, the pieces generally snap into place when they are near where they should go
- Once all the wood is in place, drag the door on top of the clock body
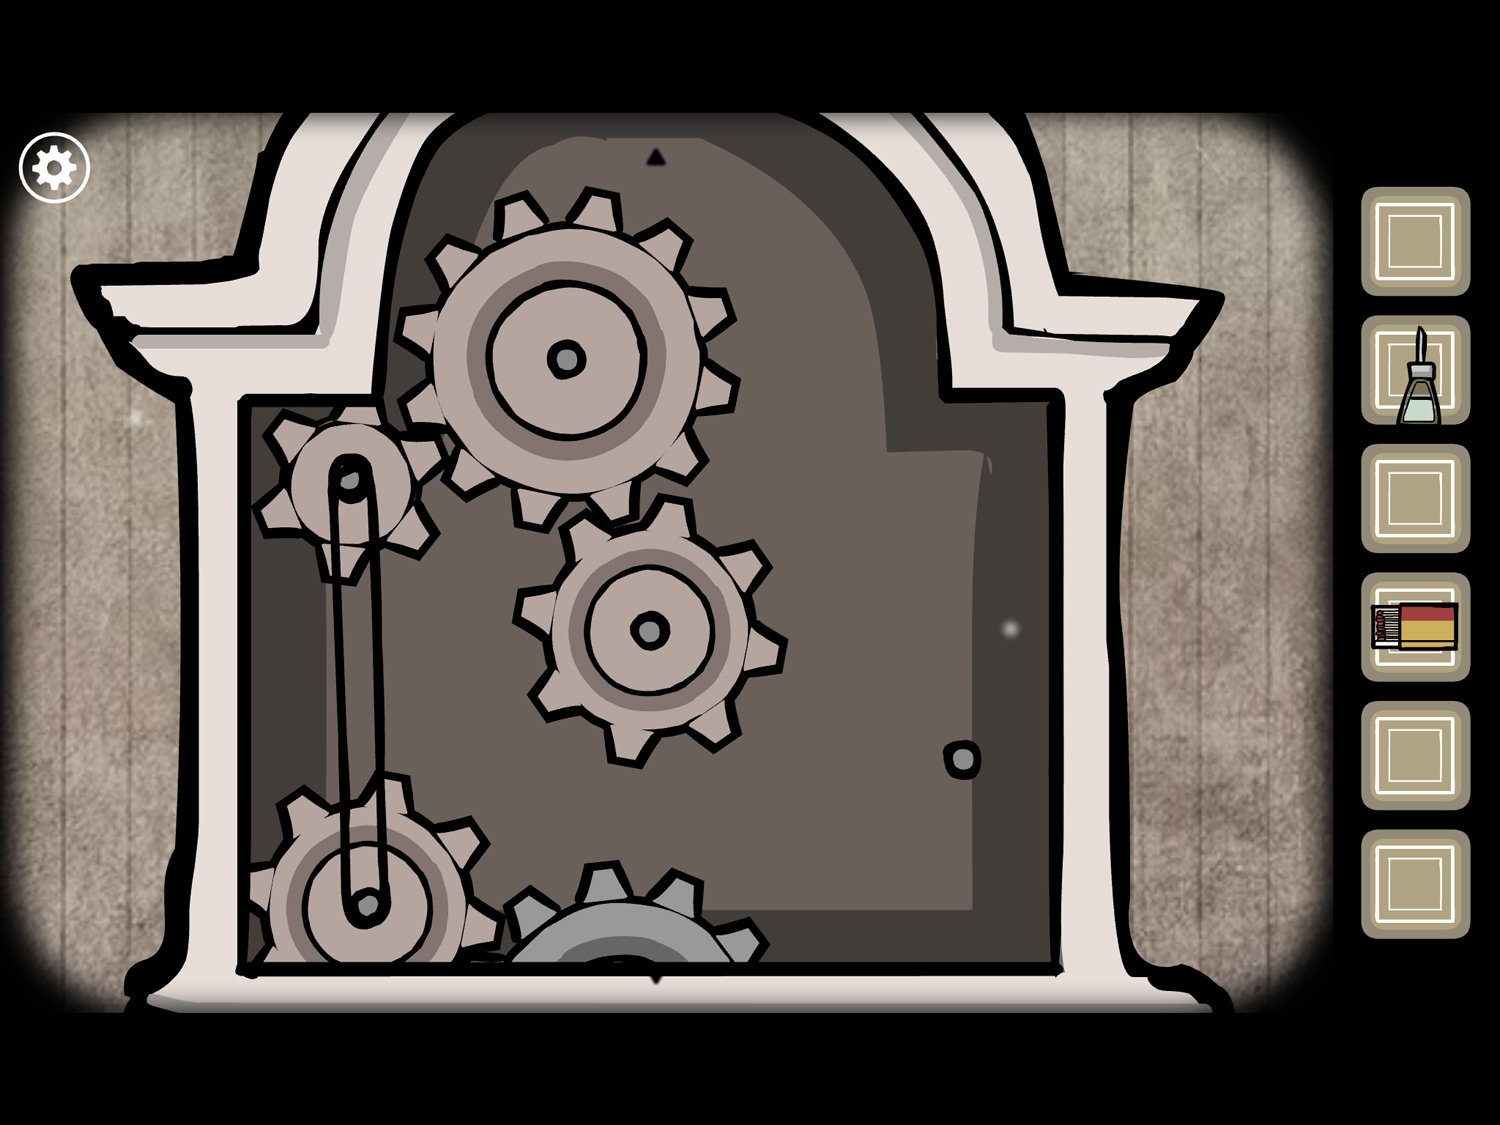
- Tap on the face of the clock to zoom in. You need to drag the gears you collected onto the clock to make it run again
- Place the gears by tapping on them in your inventory and then tapping on one of the blue dots in the clock. You can drag them between the dots to rearrange their positioning
- Arrange the gears as shown in the image above. Once placed correctly, the gears will begin rotating. Exit the clock face
- Drag the cover over the gears and the clock face onto the cover. Tap on the clock face again
- Drag the long minute hand to the 6; drag the short hour hand to the 3 so the clock reads 3:30. Sunlight will flash; exit the clock face and the clock close-up
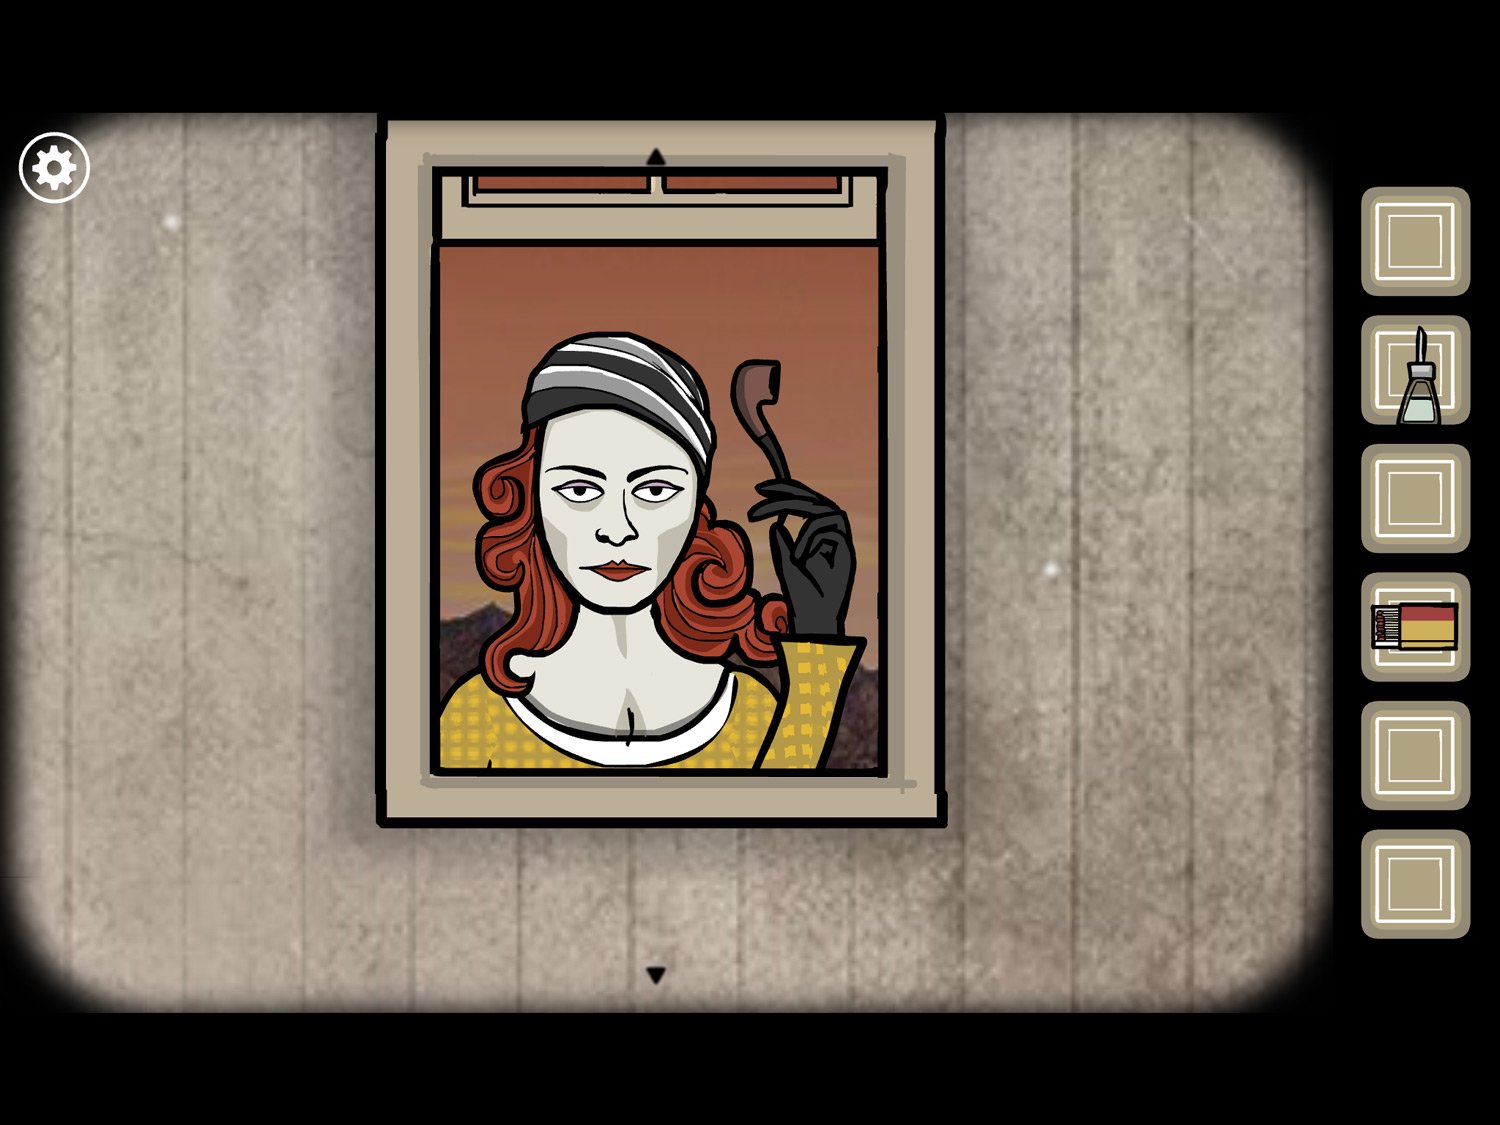
- Drag left until you see a woman at the window. Tap on her to zoom in
- Tap on her and she holds up a pipe; tap it to get PIPE. Exit the window
- Tap on Samuel. Give him PIPE. Use MATCHES on the pipe
- After the pipe is lit, tap his face to reveal the white square and exit
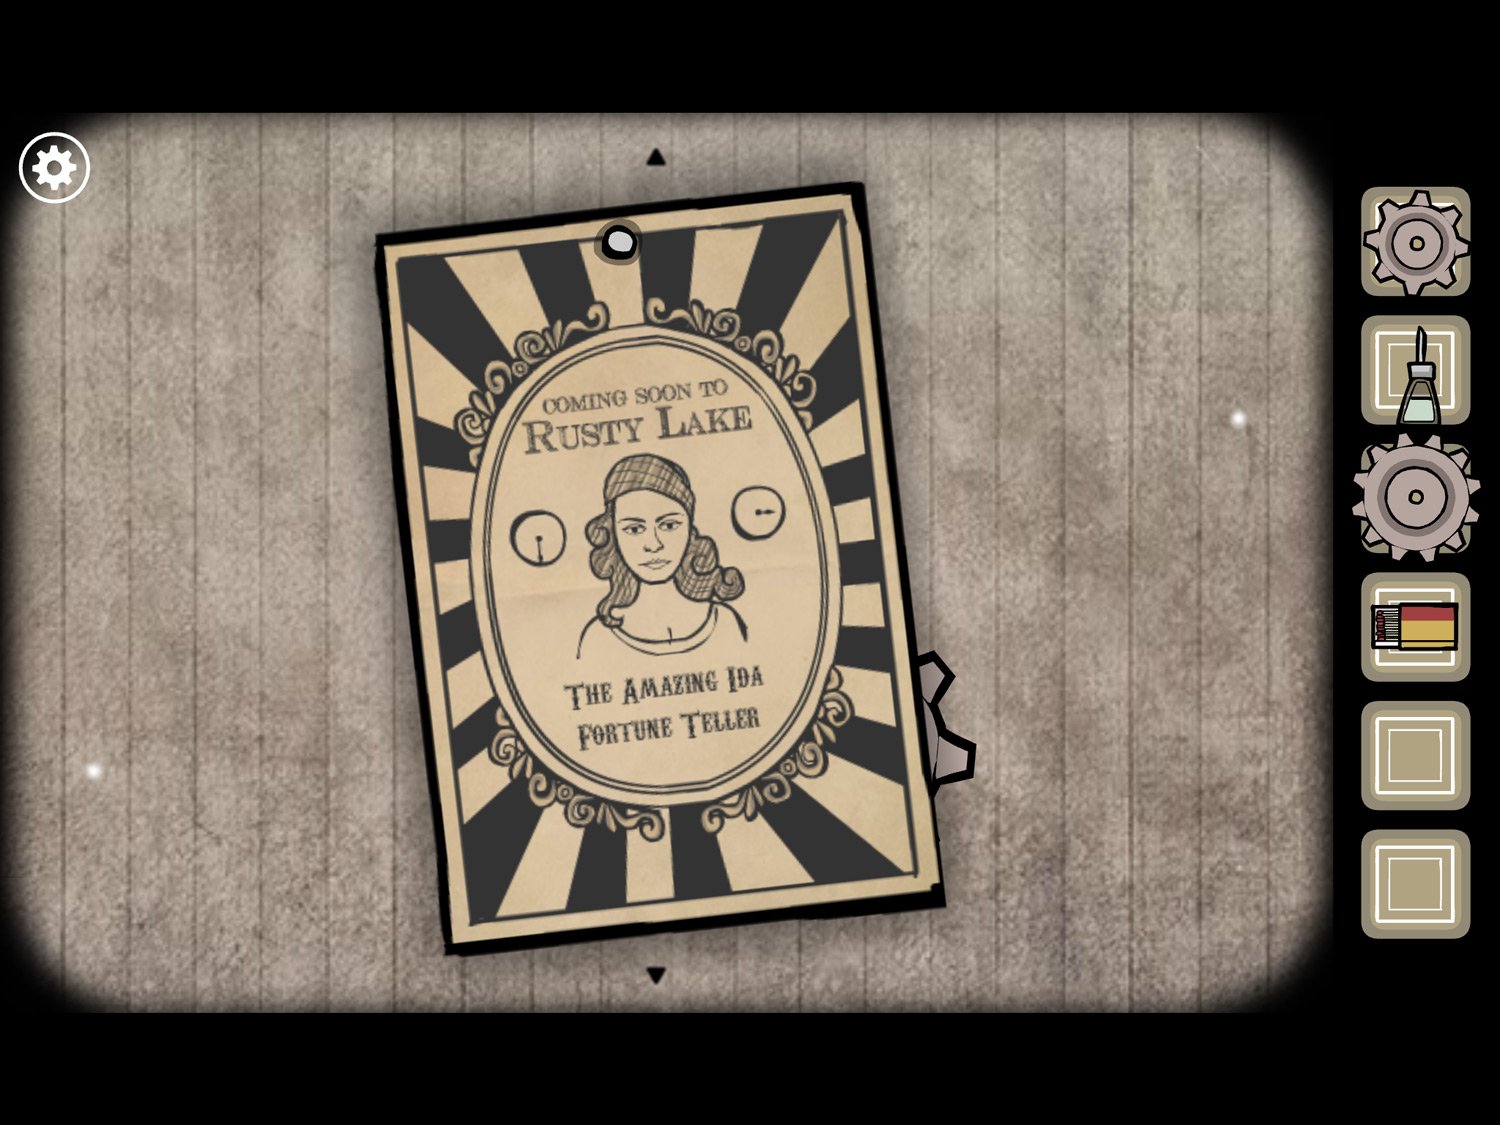
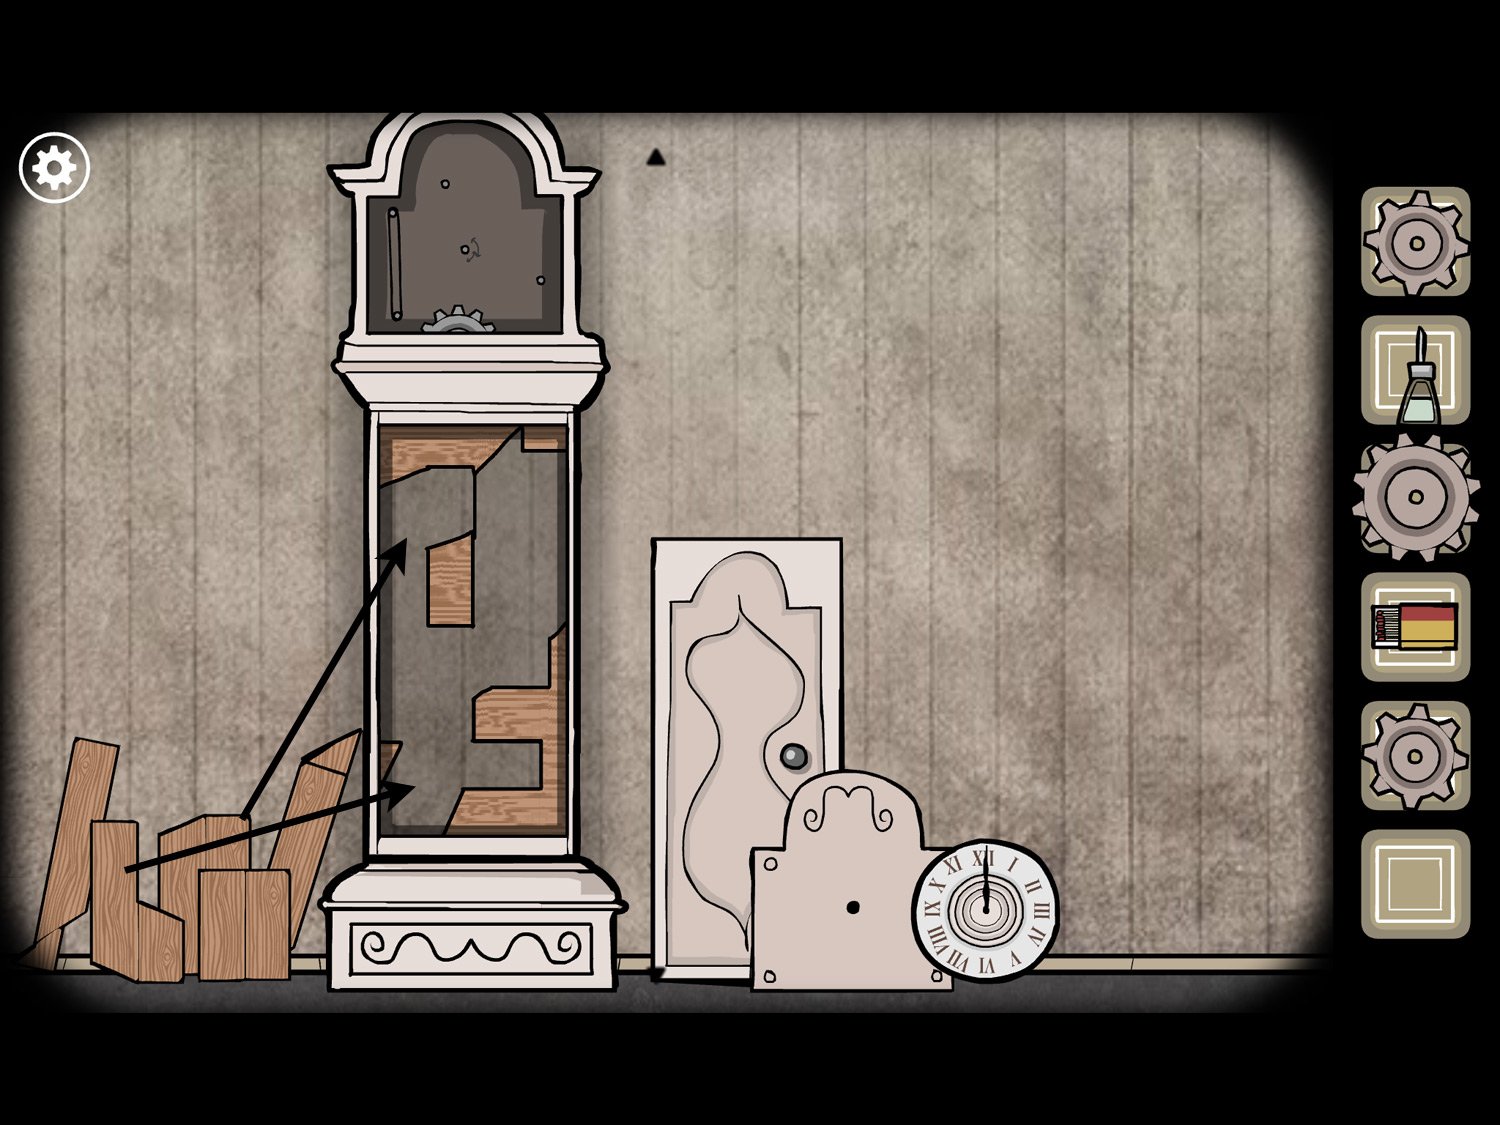
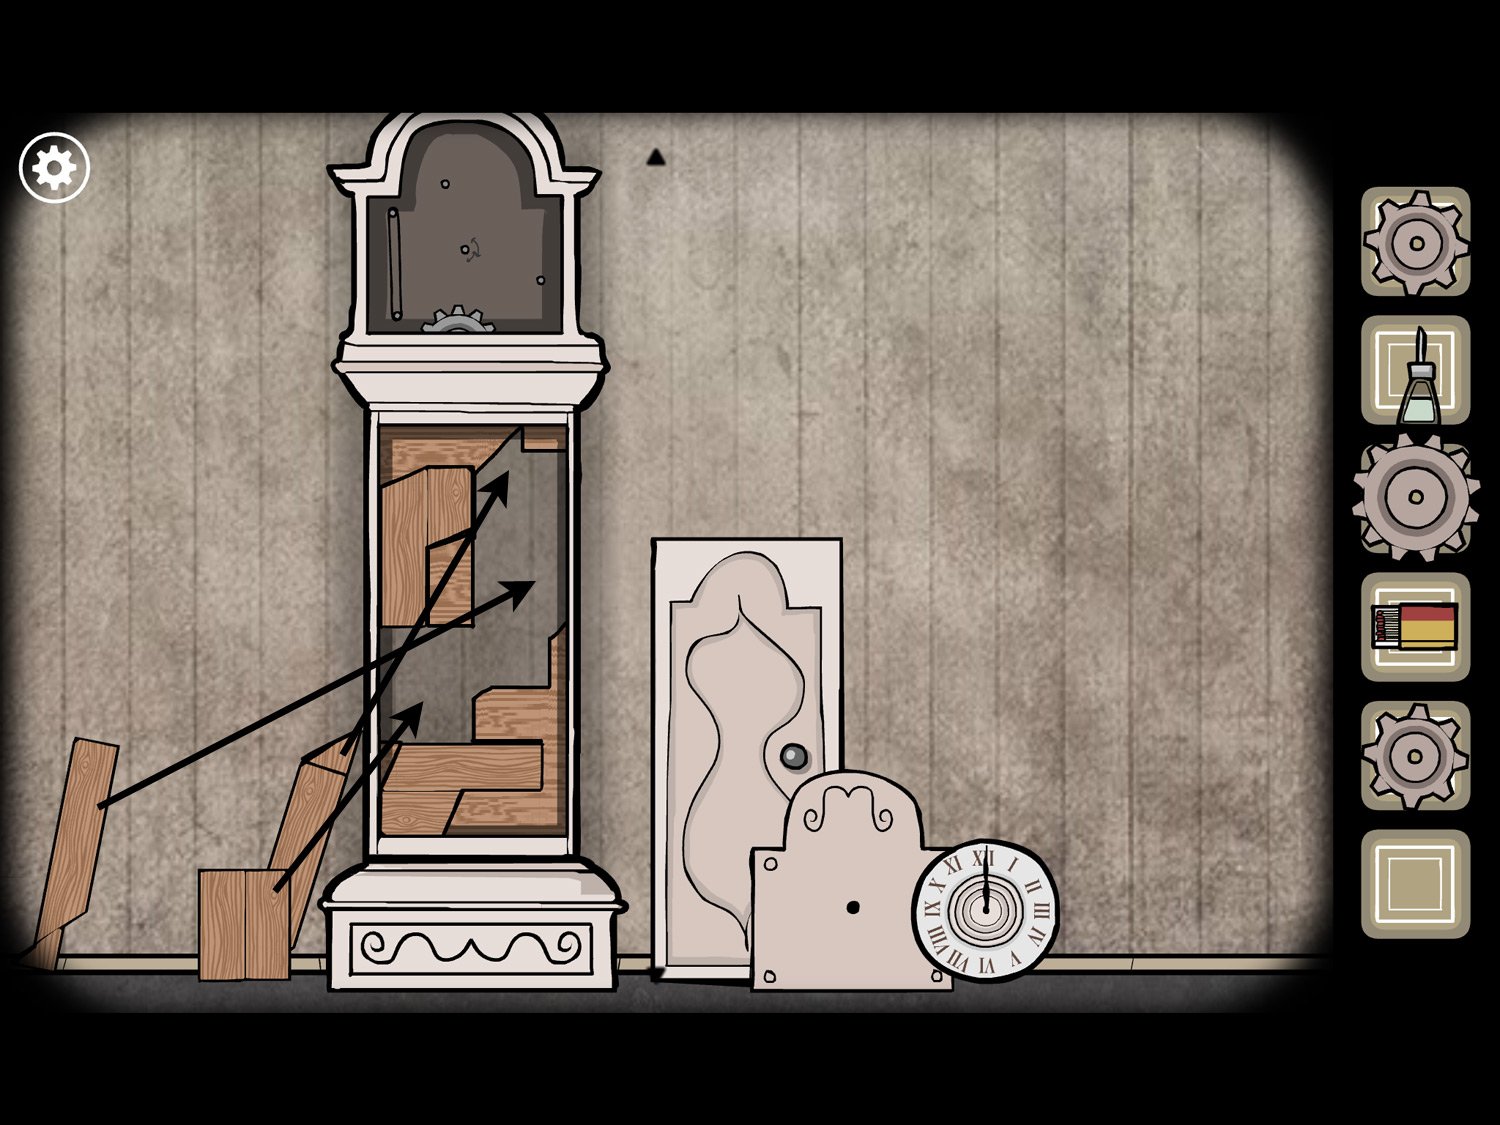
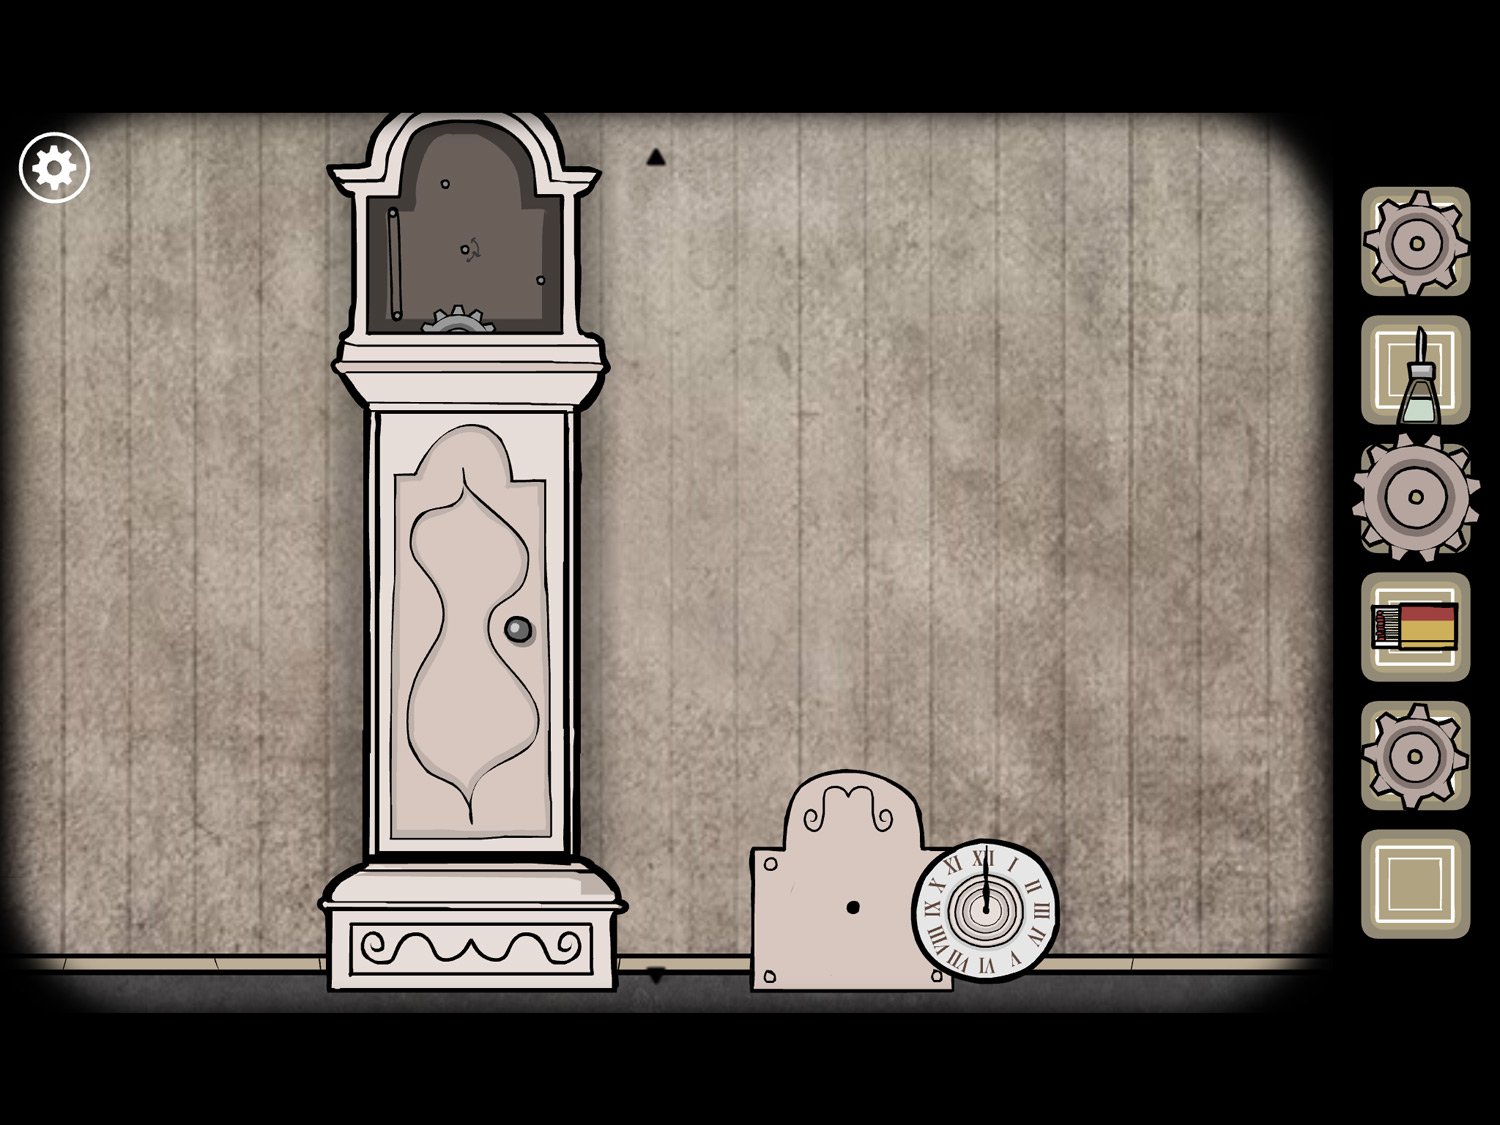
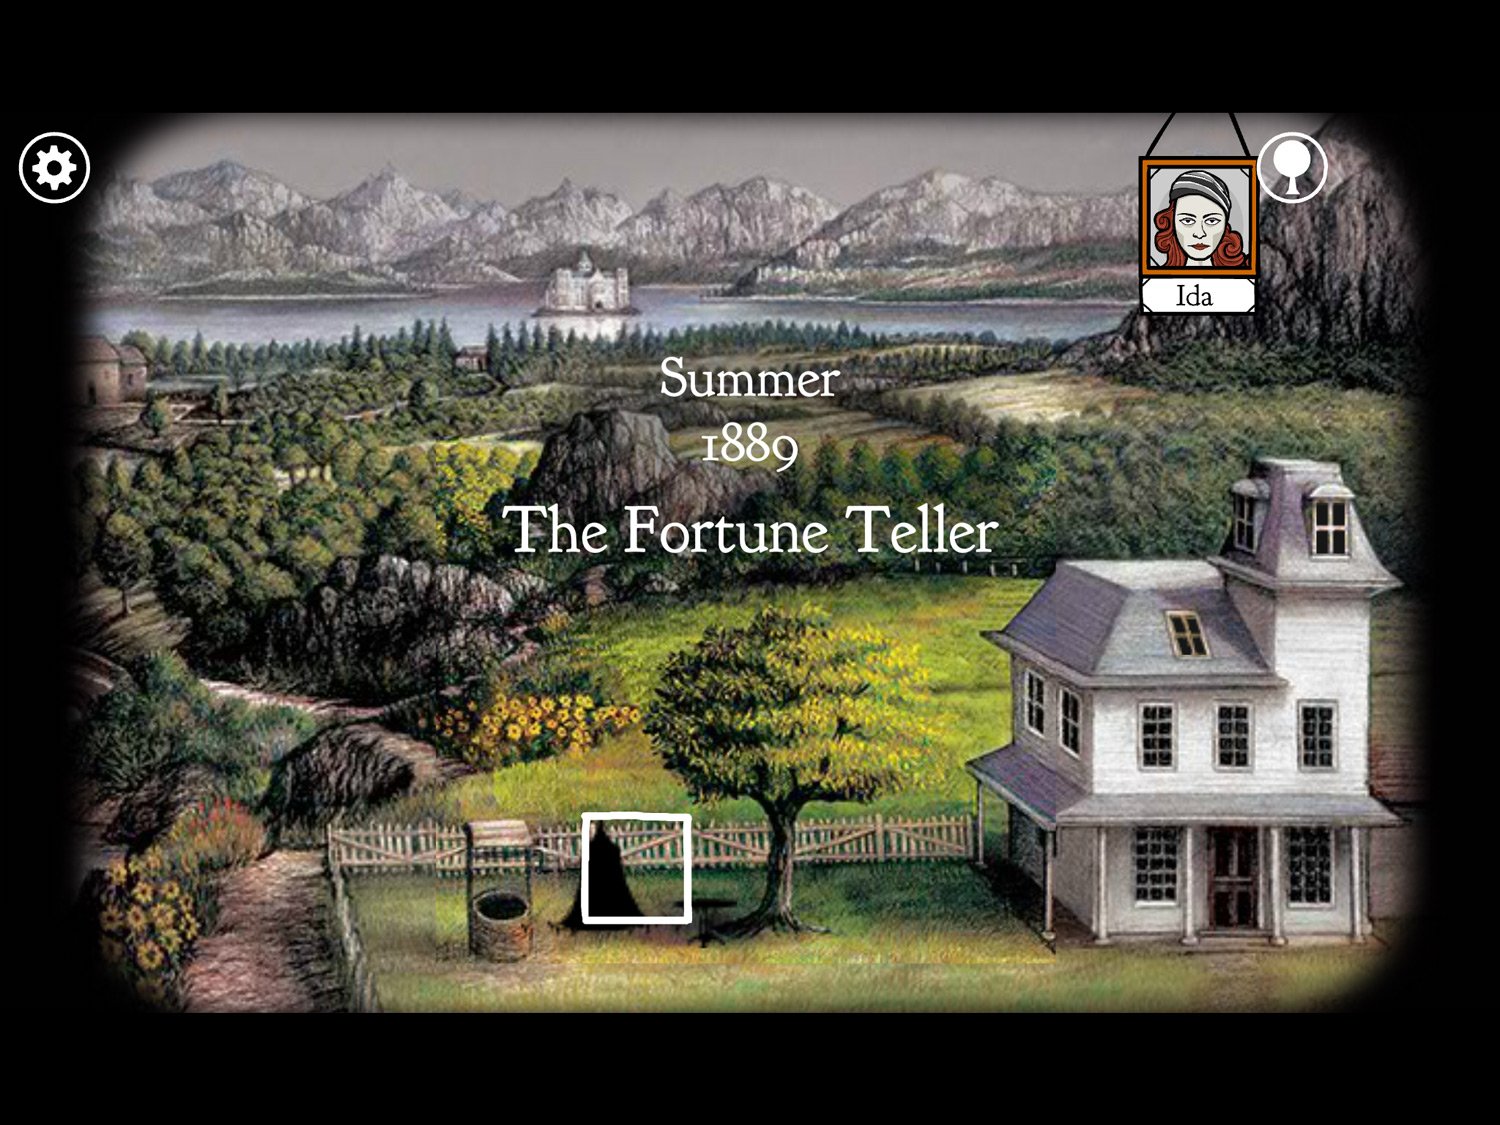
Level 18: The Fortune Teller, Summer 1889 – Ida
Location: Front yard near the tree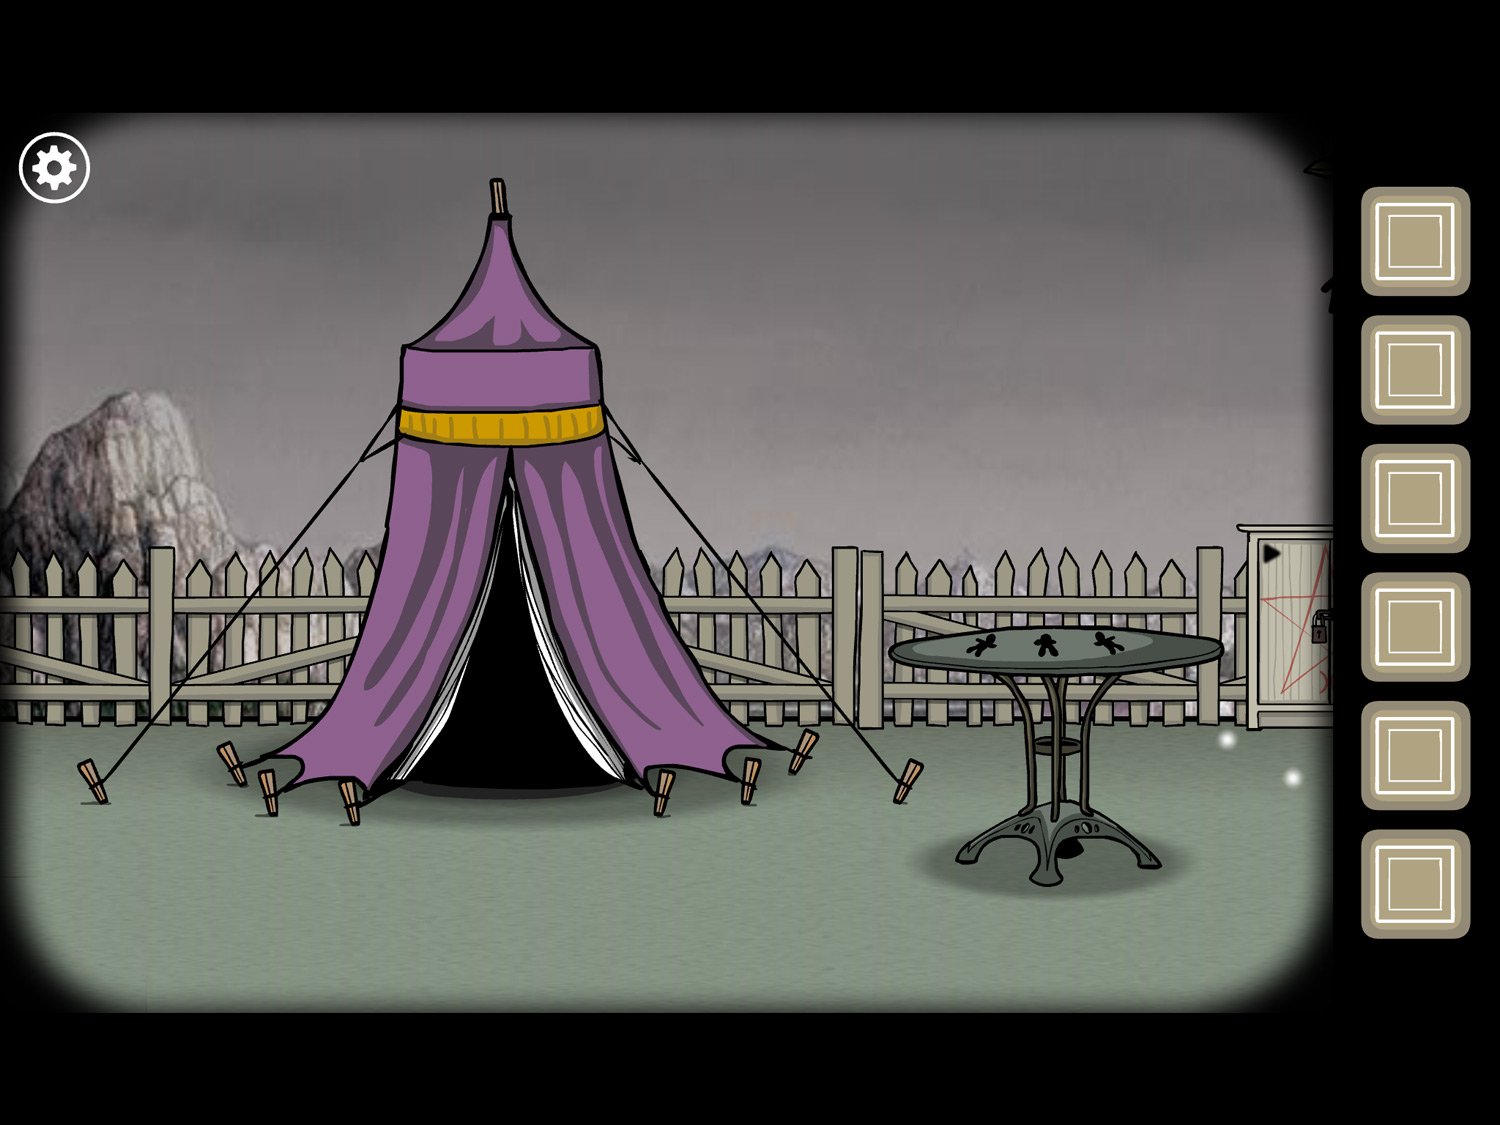
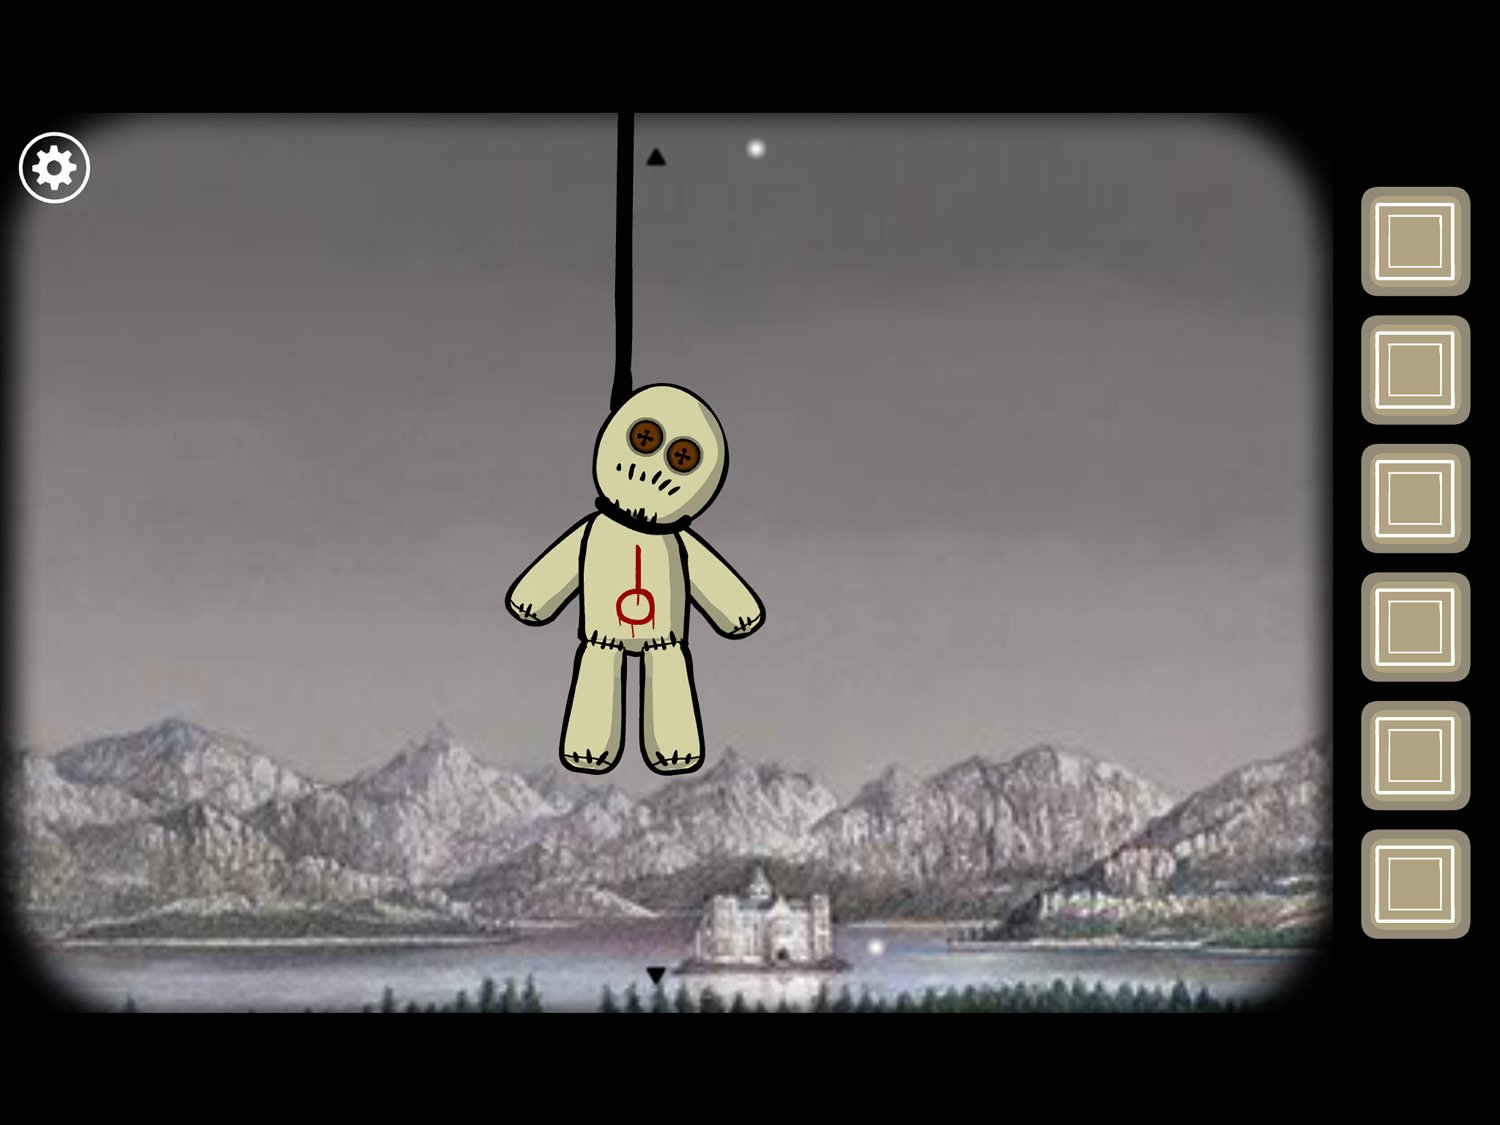
- Drag right to the tree. Tap on the figure hanging from the tree
- Note symbol on it: a circle with a vertical line sticking out of it
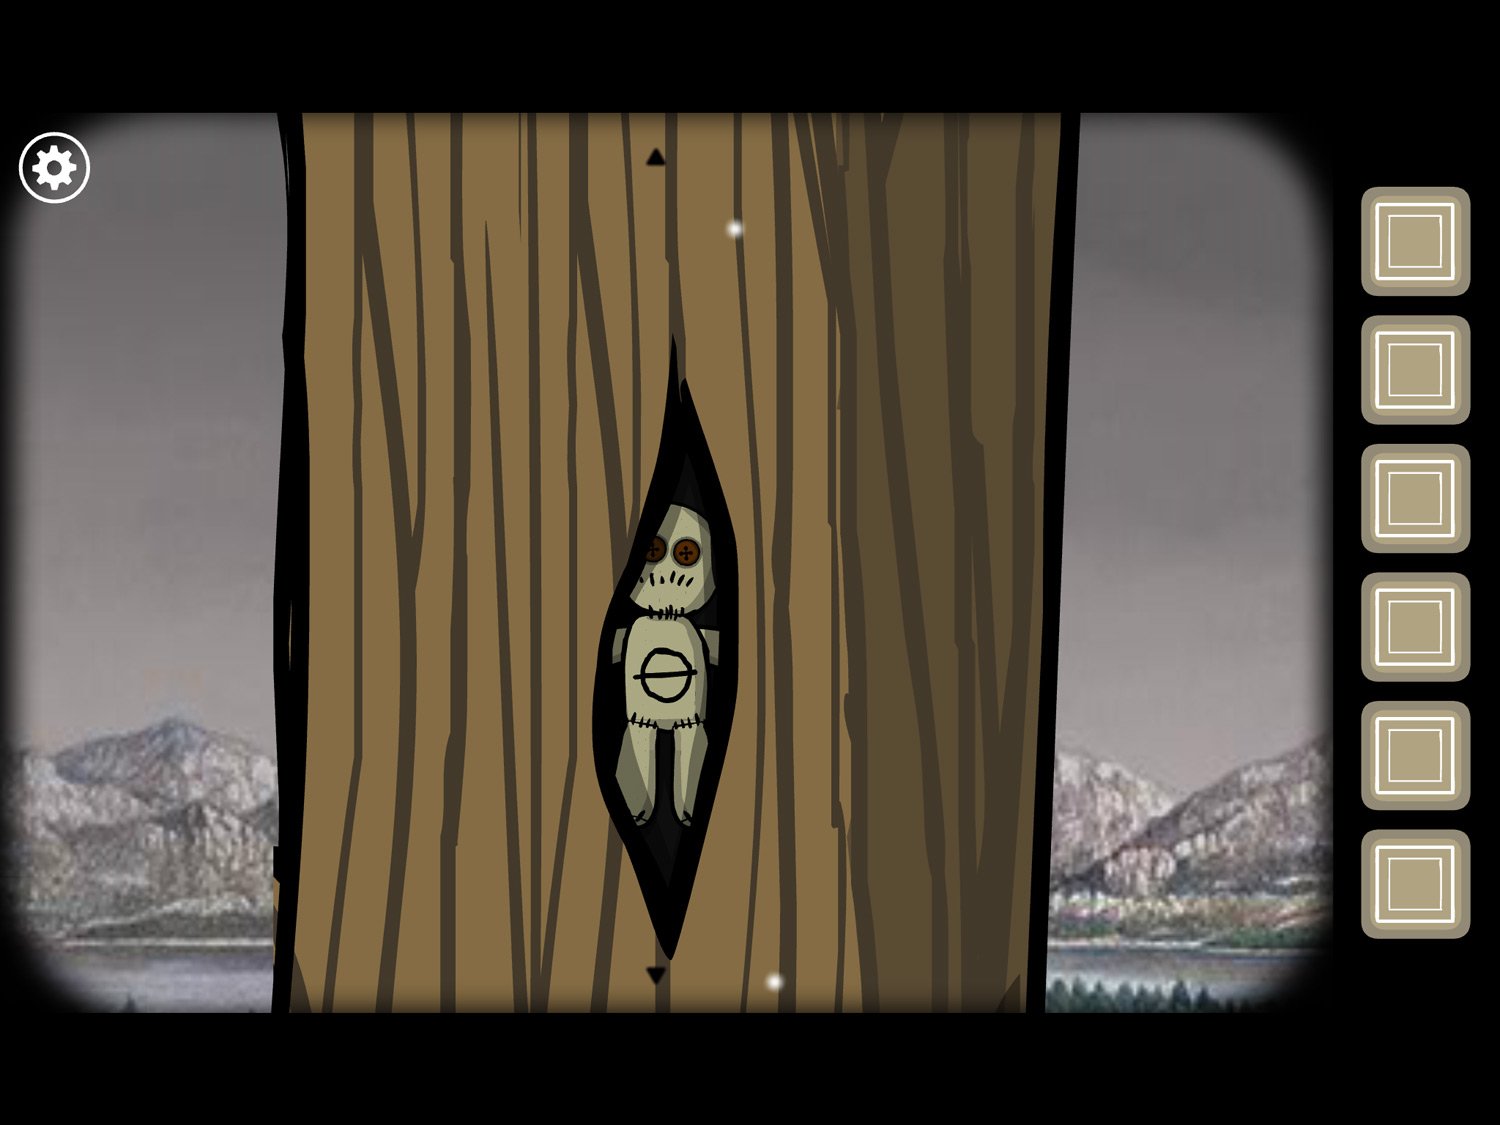
- Exit the hanged doll; tap on the tree trunk to zoom in on it
- Note the symbol on this doll: a circle with a horizontal line through it. Exit the tree close-up
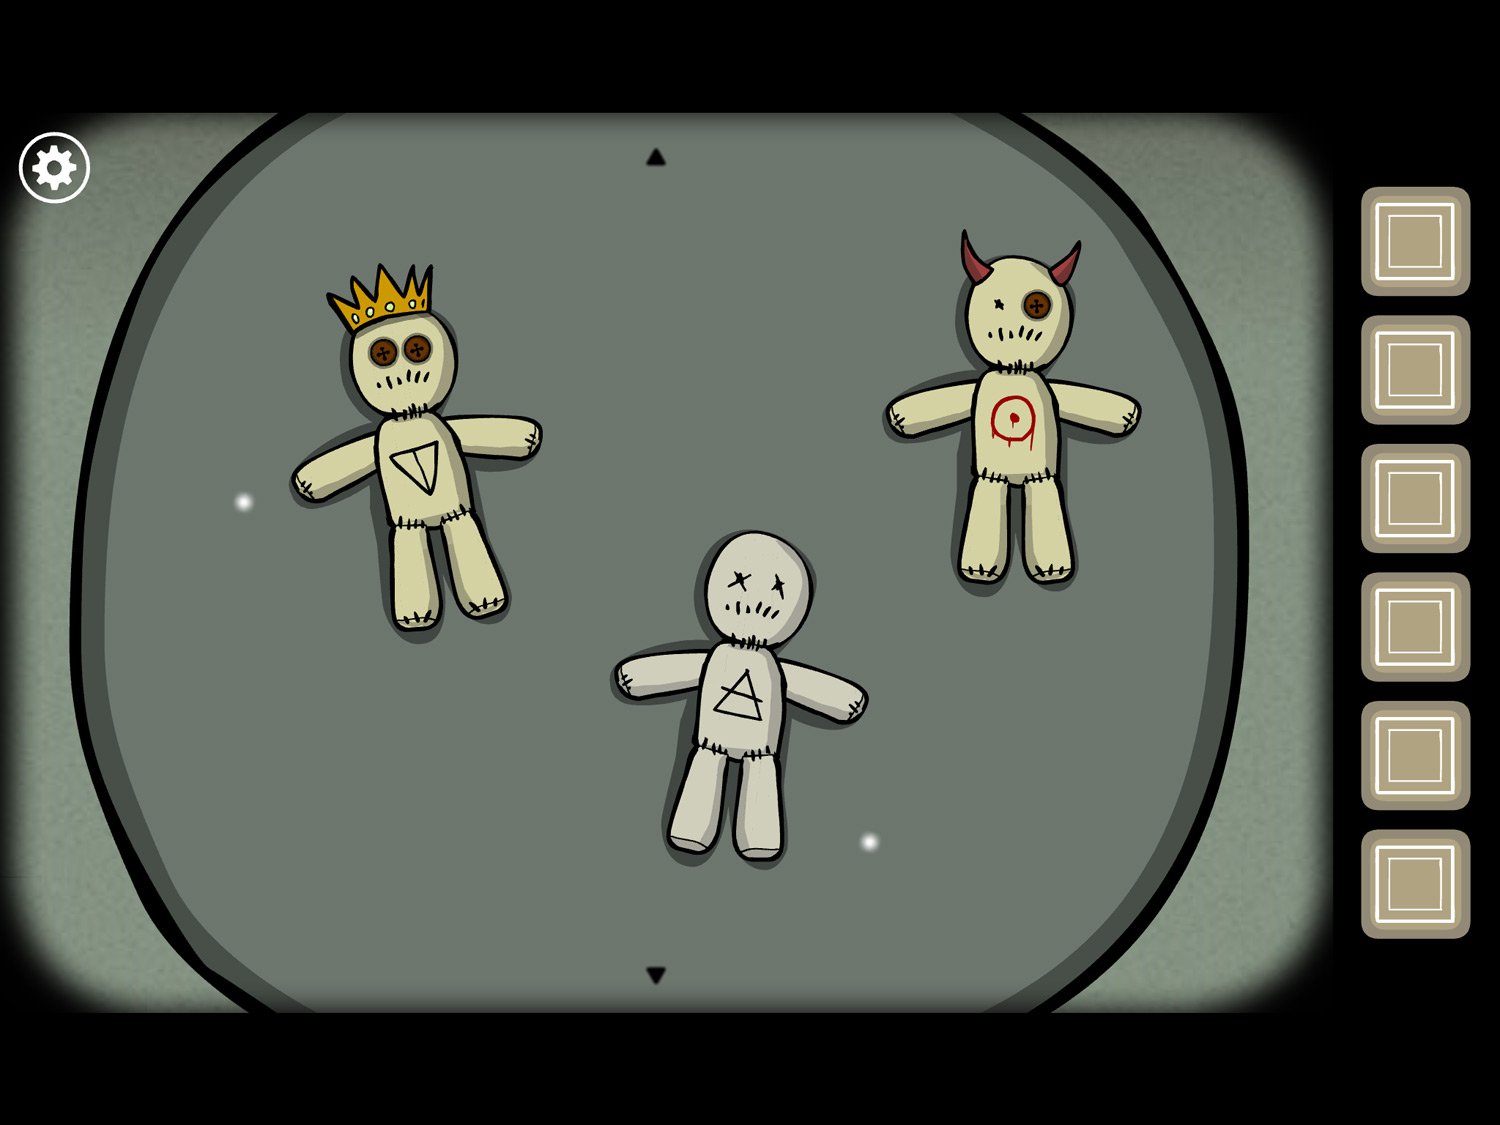
- Tap on the table in the middle of the yard. Note the symbols on these dolls: the crowned doll has an upside-down triangle. The horned doll has a circle with a dot in the middle. The x-eyed doll has a triangle with a horizontal line through it
- Exit the table; tap on the purple tent
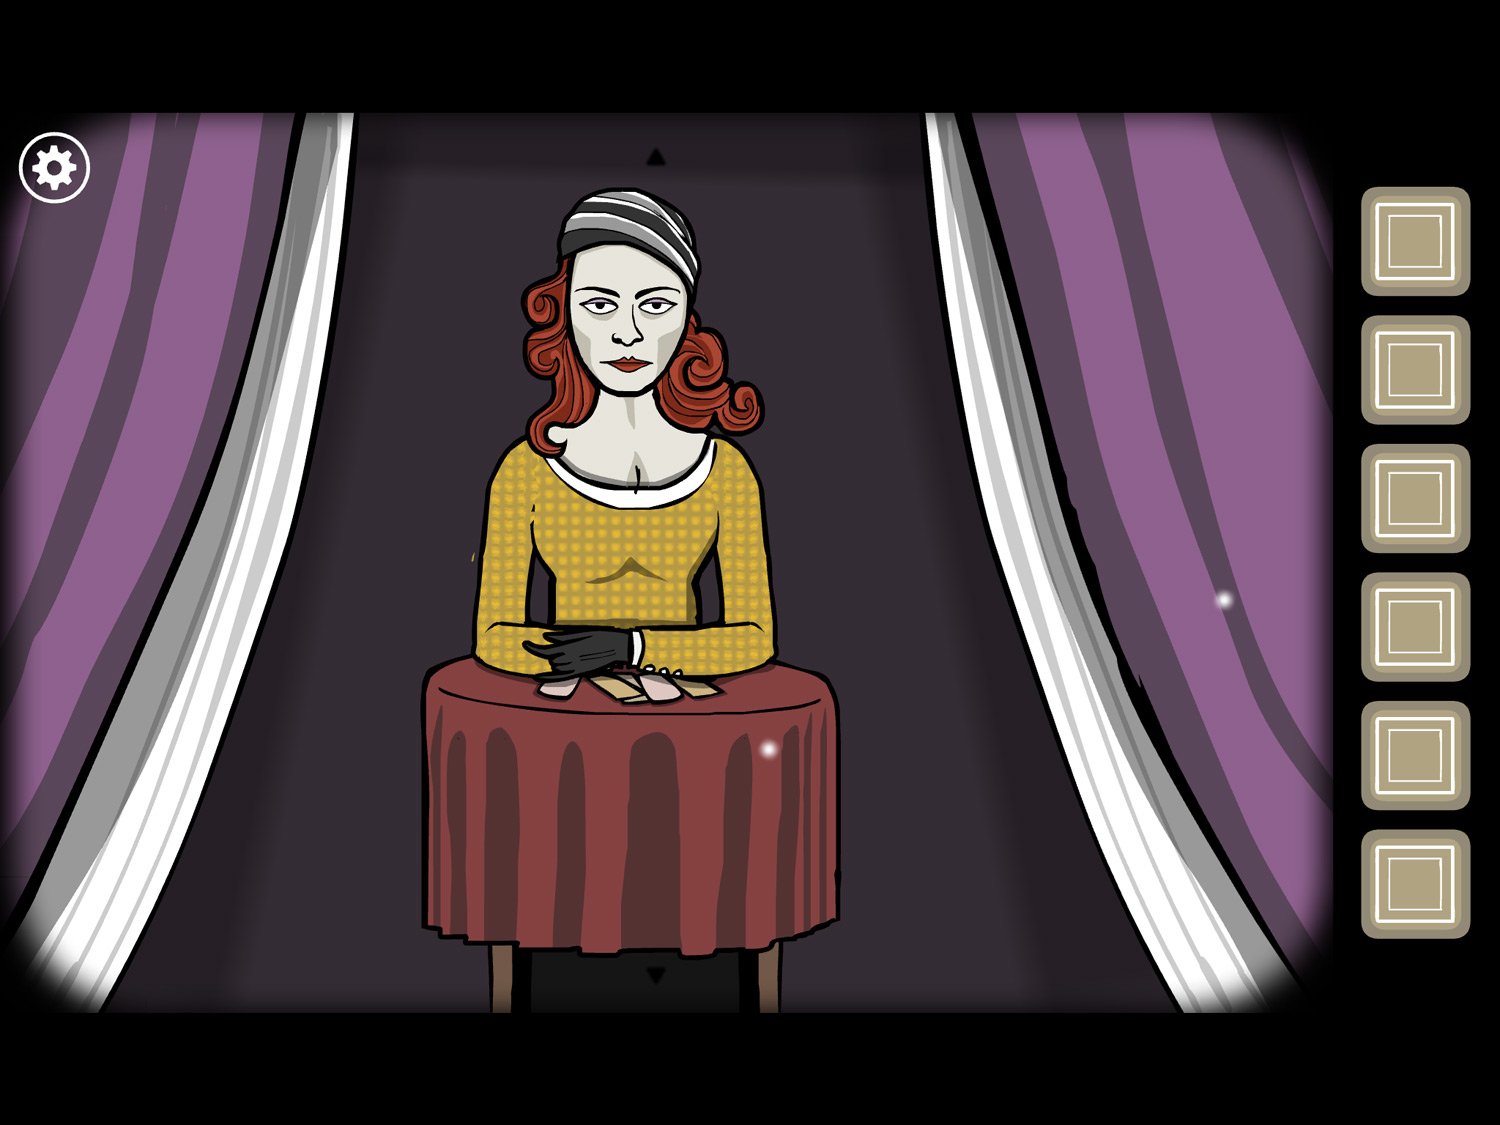
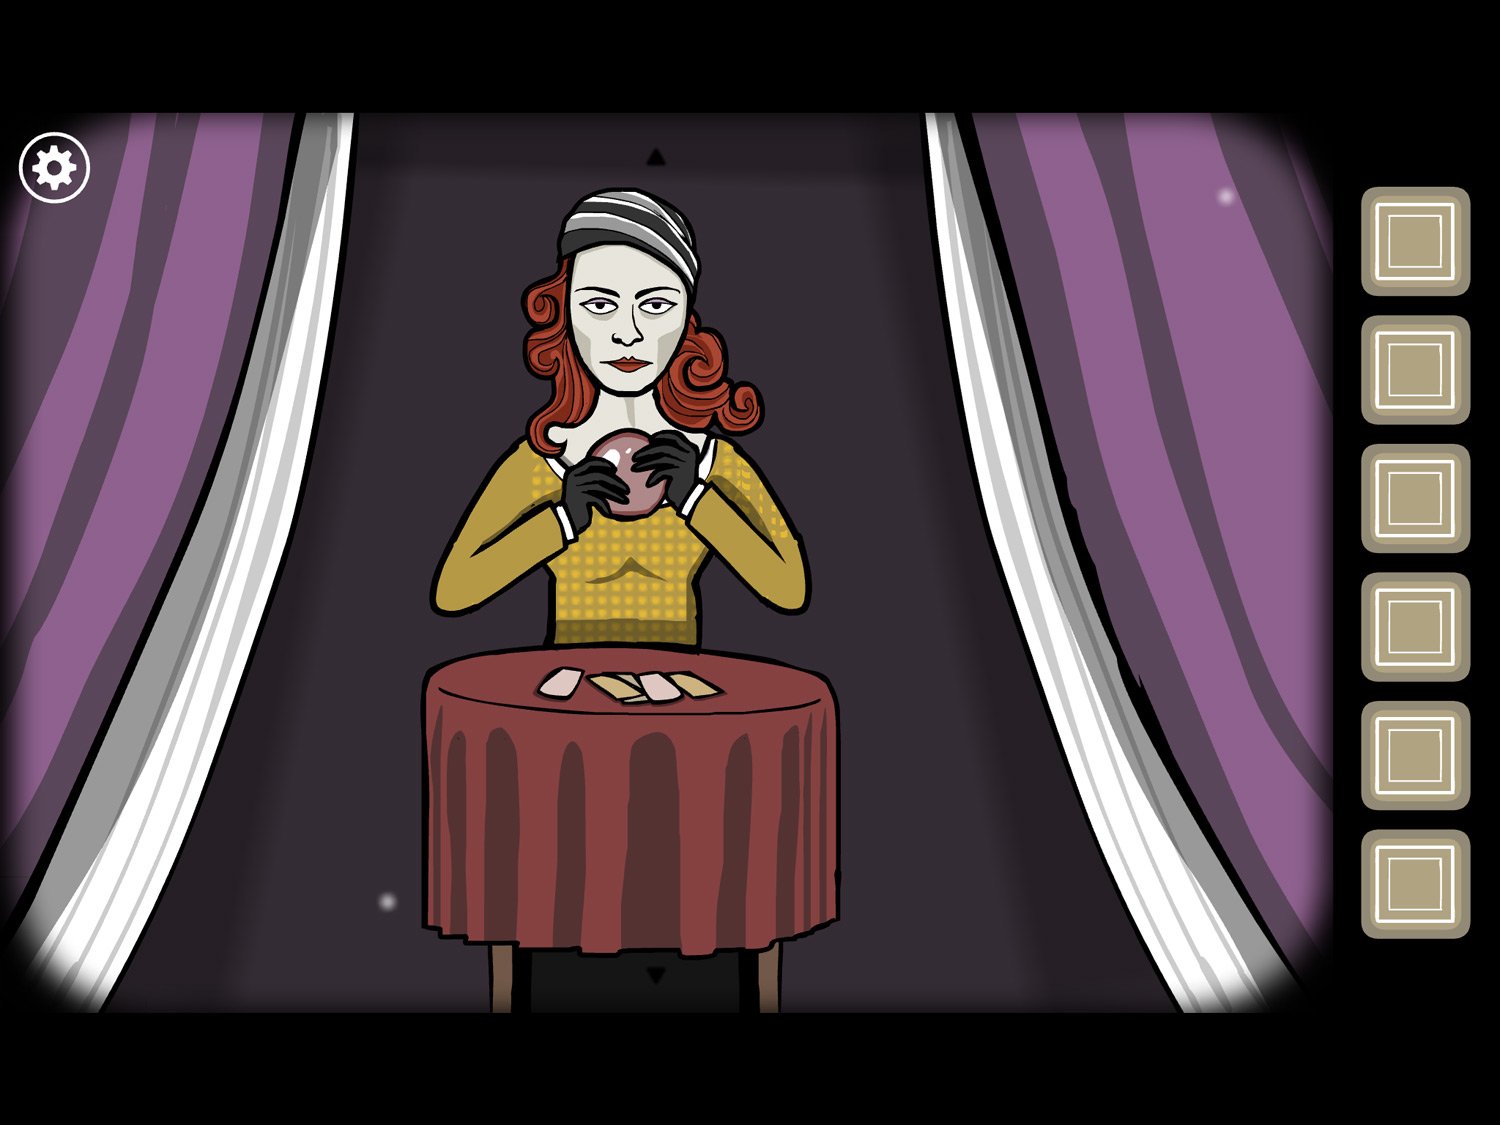
- Ida is sitting here. Tap on the table in front of her
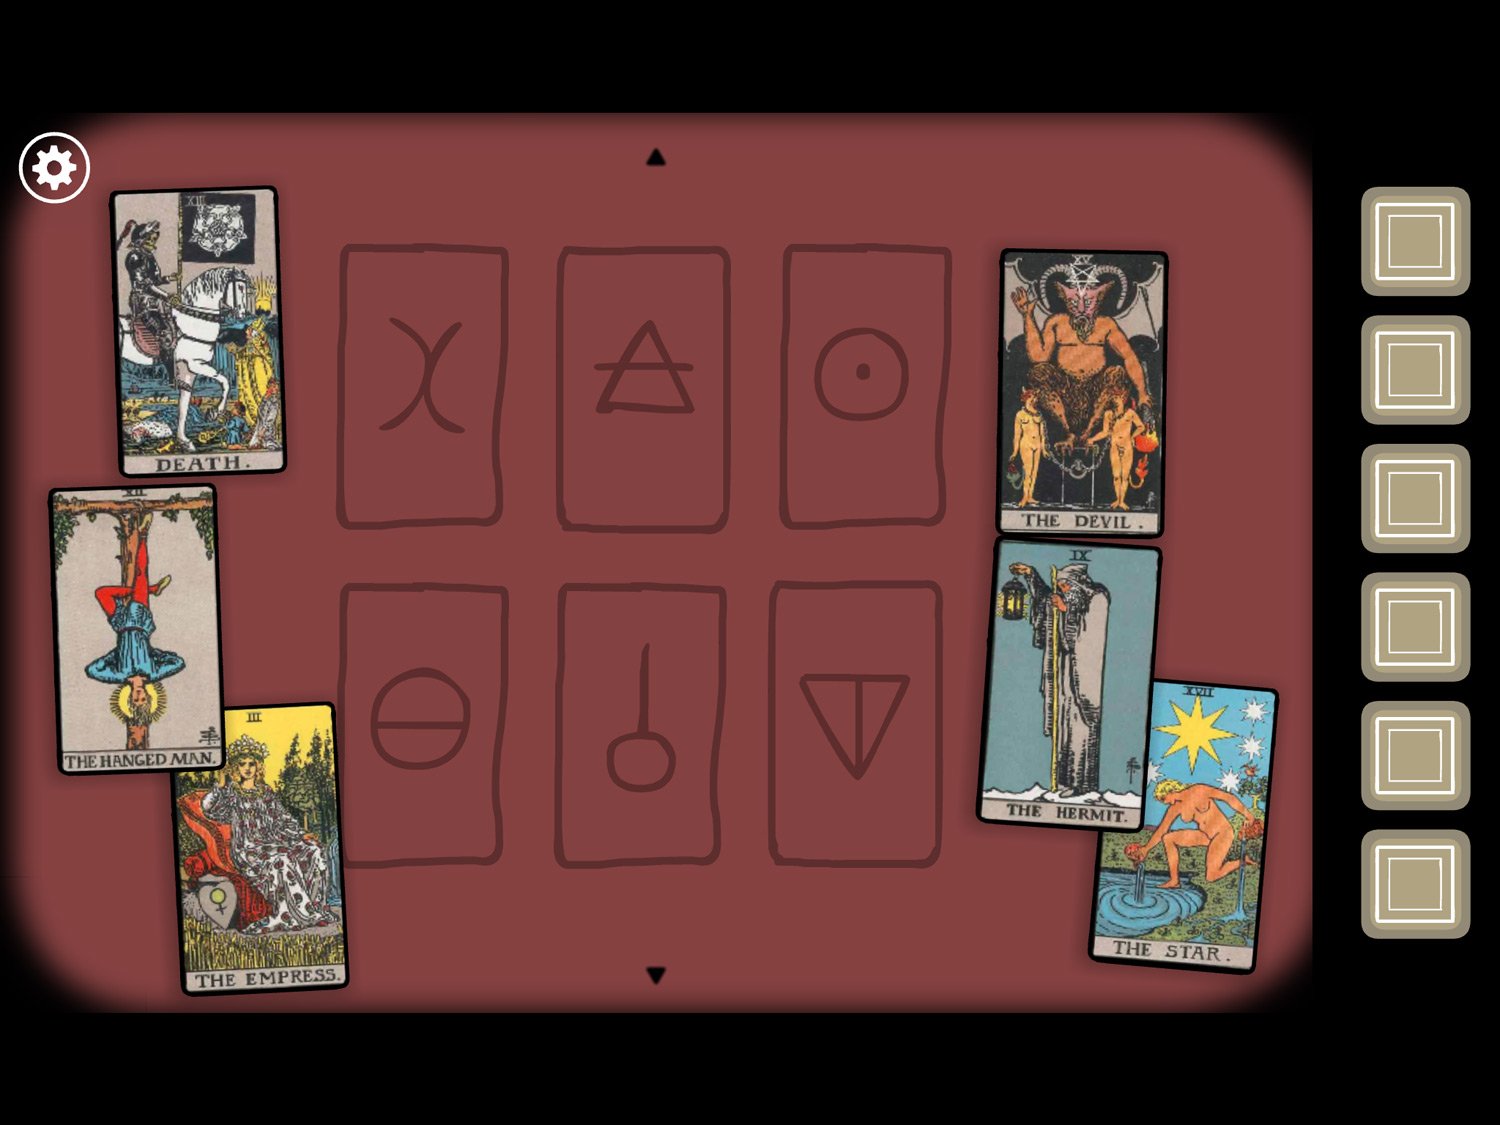
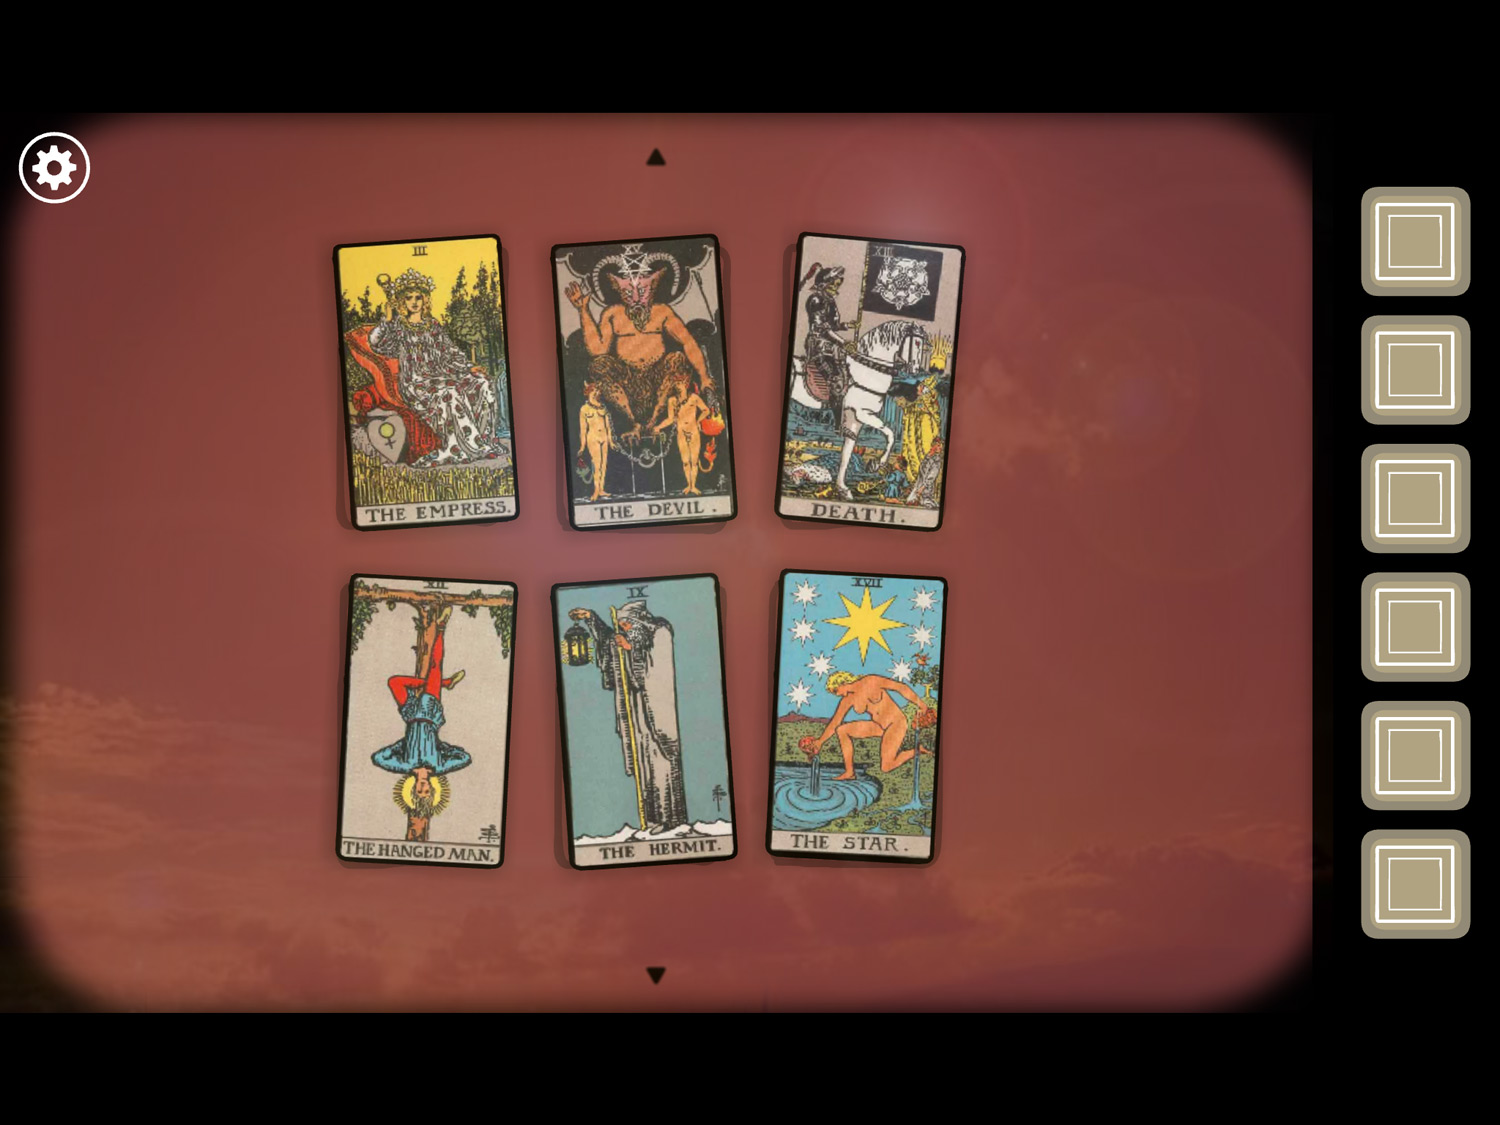
- There are six Tarot cards; grag the cards aside to reveal six symbols on the table. You need to match the cards to the proper symbols. Think back to what you saw on the dolls
- Drag the Hanged Man (doll hanging from the tree) to the symbol of a circle with a vertical line sticking out of it (bottom row center)
- Drag the Hermit (doll in the tree trunk) to the circle with a horizontal line through it (bottom row left)
- Drag the Empress (doll with a crown) to the upside-down triangle (bottom row right)
- Drag the Devil (doll with horns) to the circle with a dot in the middle (top row right)
- Drag Death (doll with x-eyes) to the triangle with a horizontal line through it (top row center)
- This leaves only one card and symbol: drag the Star to the last symbol, the two touching curves (top row left)
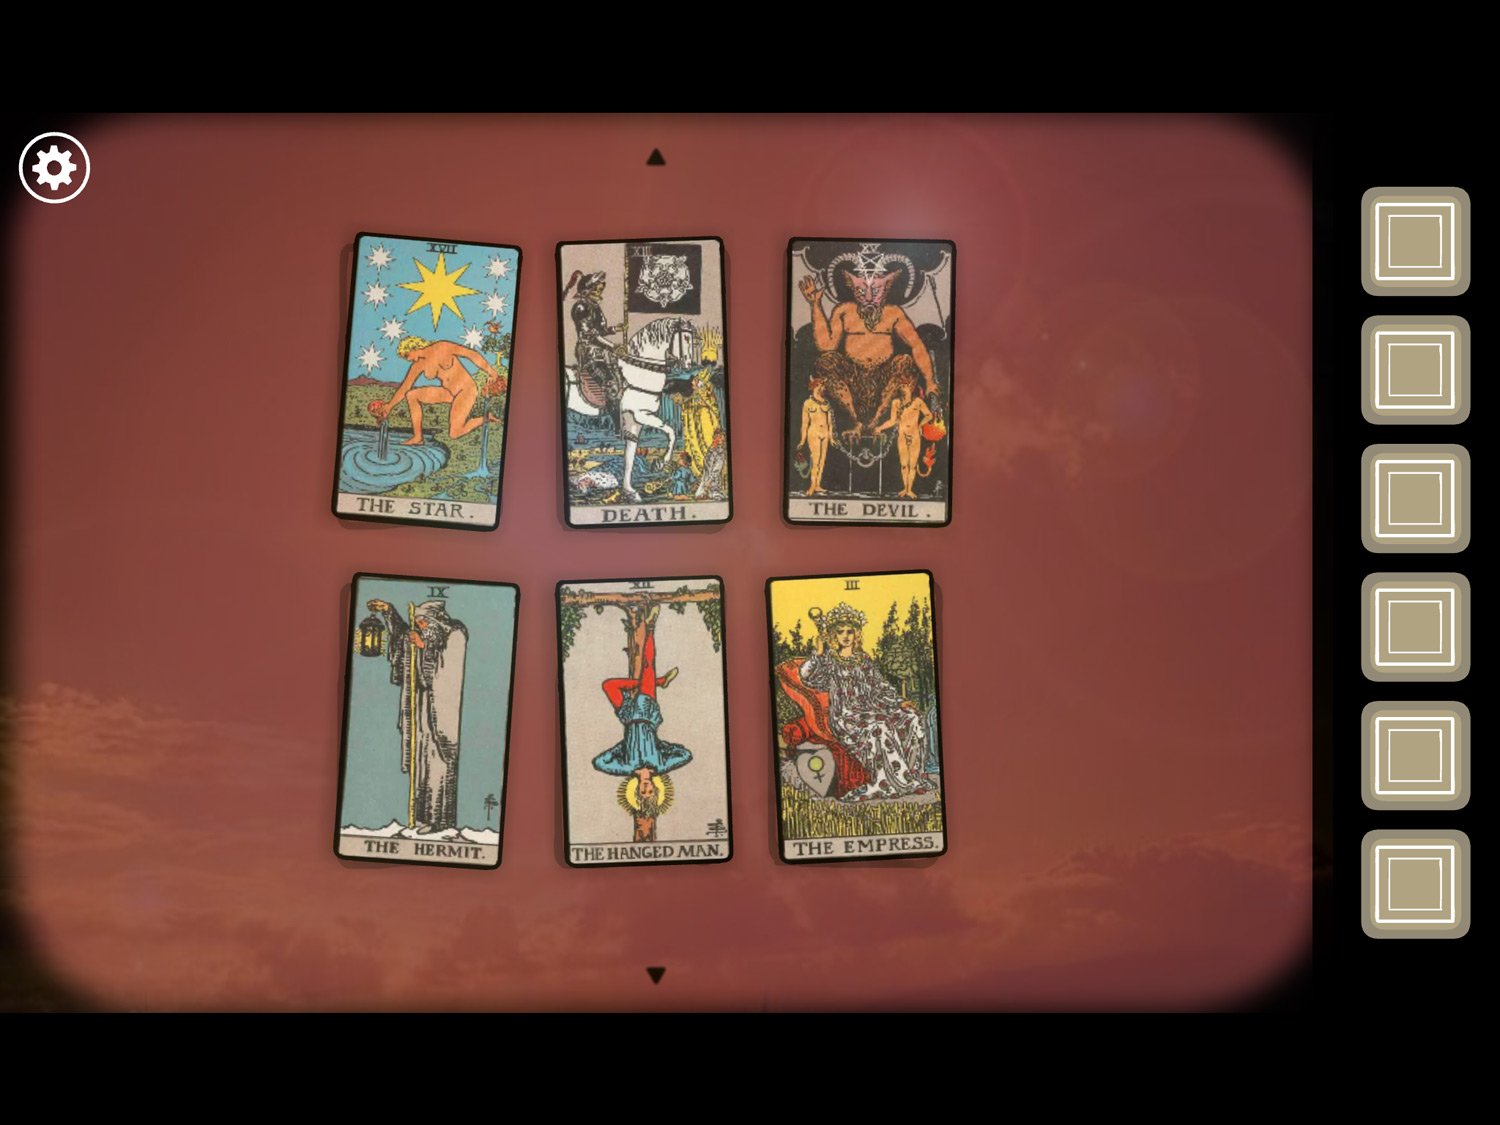
- When all cards are in the right spots sunlight will flash. Tap on the cards and a key will appear
- Take the KEY. Exit the close-up. Drag right to the cabinet near the fence
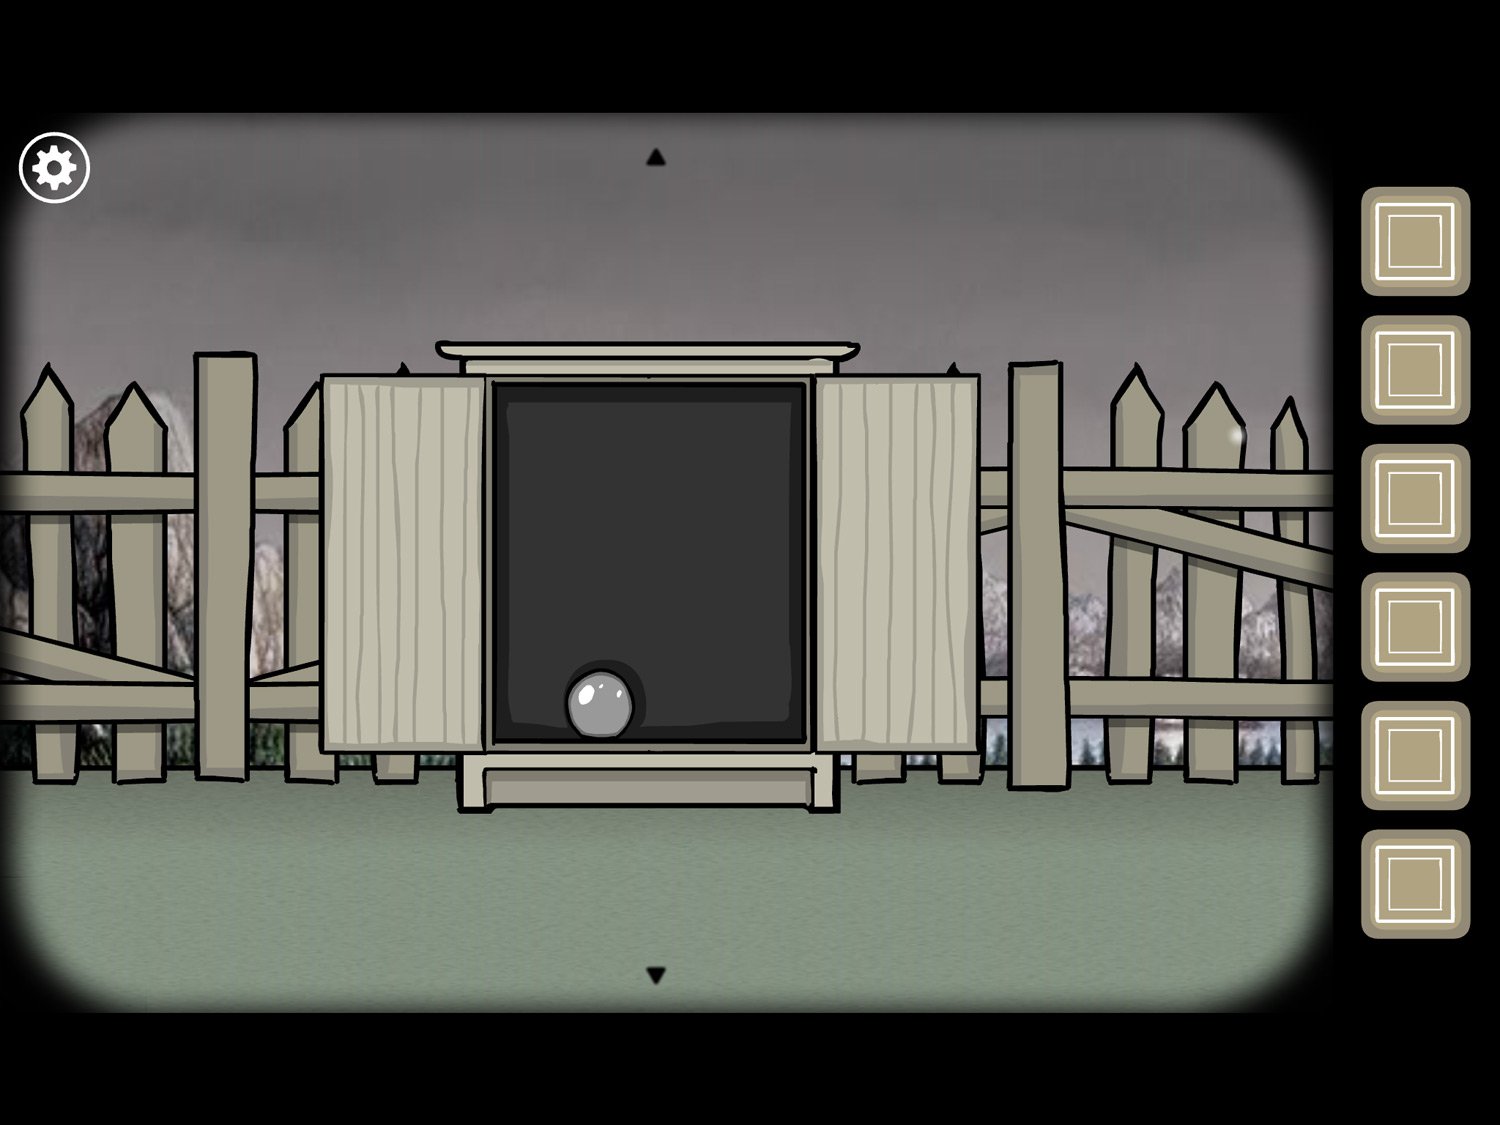
- Tap on the cabinet; use KEY on the lock then tap to open the doors. Take GLASS SPHERE from the cabinet
- Exit the close-up. Re-enter the tent. Give Ida the GLASS SPHERE
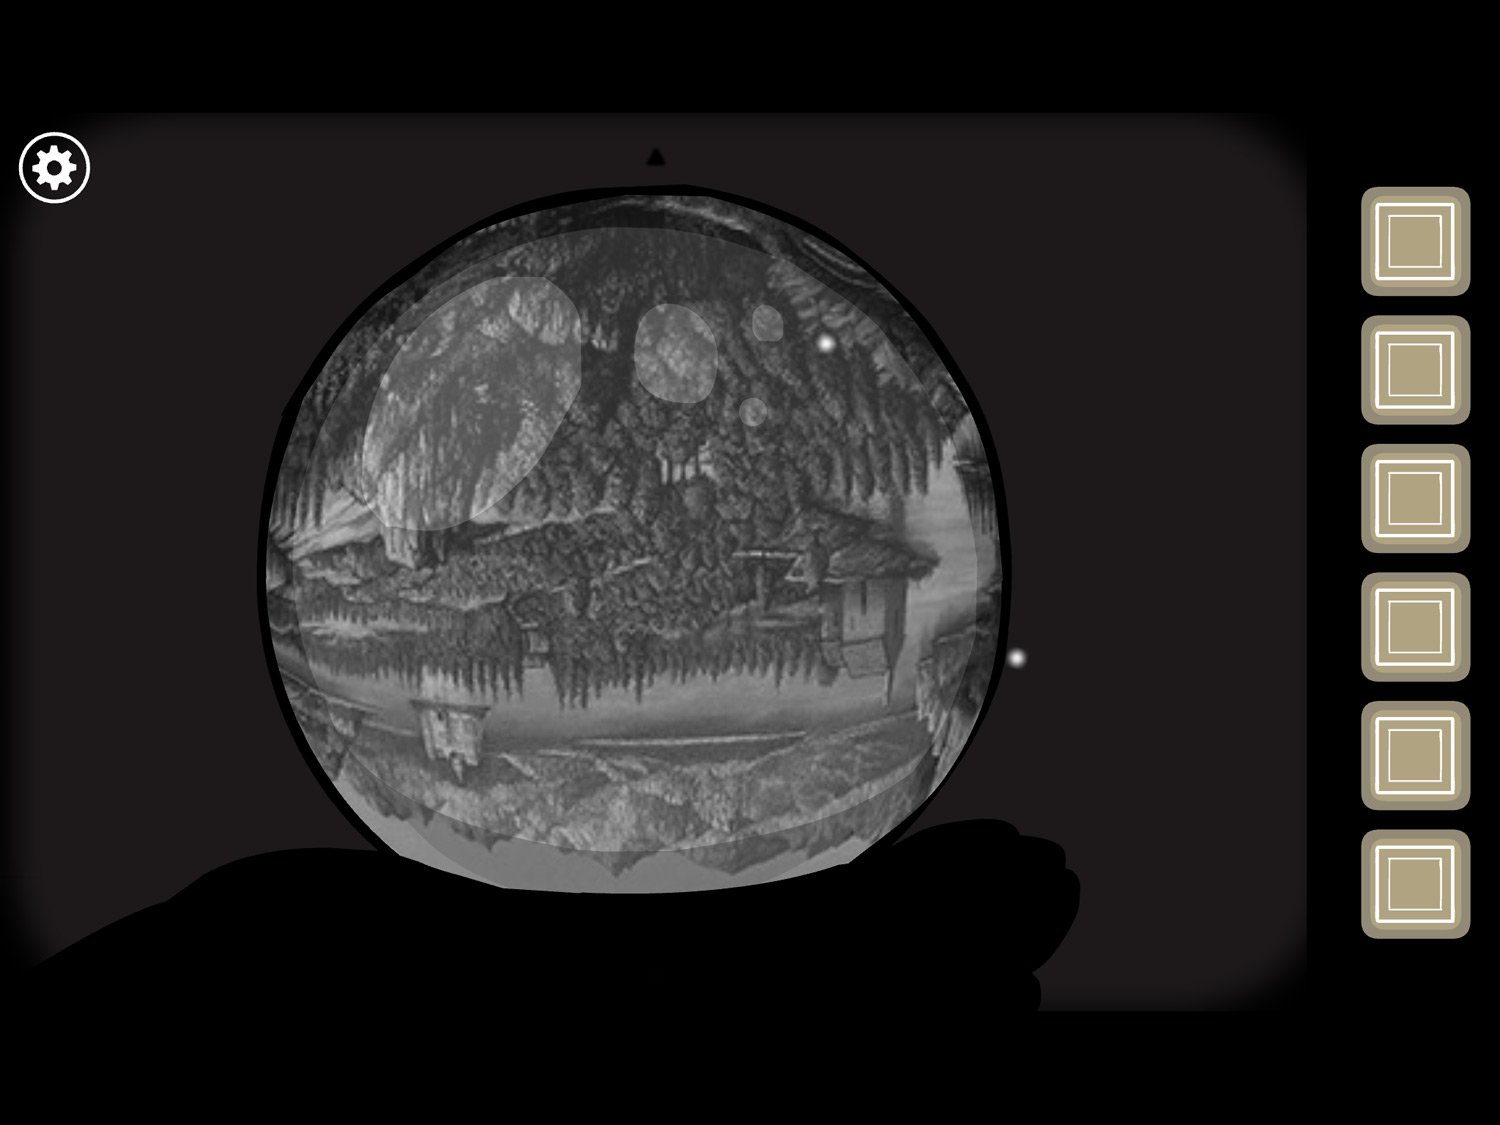
- She’ll hold it in her hand. Tap on the sphere
- You’ll see an upside-down view of the Rusty Lake area. Tap on the image to receive a brief glimpse of a person and symbol
- Keep tapping until you’ve seen six different people and symbols. Sometimes they’ll repeat, but the people and symbols you should see are: masked Albert with a triangle with horizontal line through it; eyeless James with a circle with dot in the middle; hanged Emma with a circle with horizontal line through it; Frank near the telescope with an upside-down triangle; bearded Frank with a circle with a vertical line coming out of it; crowned Rose with two touching curves
- Exit the sphere and tap on the table
- You need to change the position of the cards to match what you just saw in the sphere. Masked Albert is the Devil, a triangle with horizontal line (top row center). Eyeless James is Death, a circle with a dot in the middle (top row right). Hanged Emma is the Hanged Man, a circle with a horizontal line through it (bottom row left). Frank with the telescope is the Star, an upside-down triangle (bottom row right). Bearded Frank is the Hermit, a circle with a vertical line coming out of it (bottom row center). And crowned Rose is the Empress, two touching curves (top row left)
- Once the cards are in the correct positions, sunlight will flash again. Tap the cards to exit
- Ida is holding her sphere and it’s red now. Tap the sphere to zoom in. Tap it to see a number of visions; keep tapping until you are zoomed back out
- Tap Ida to reveal the white square and exit
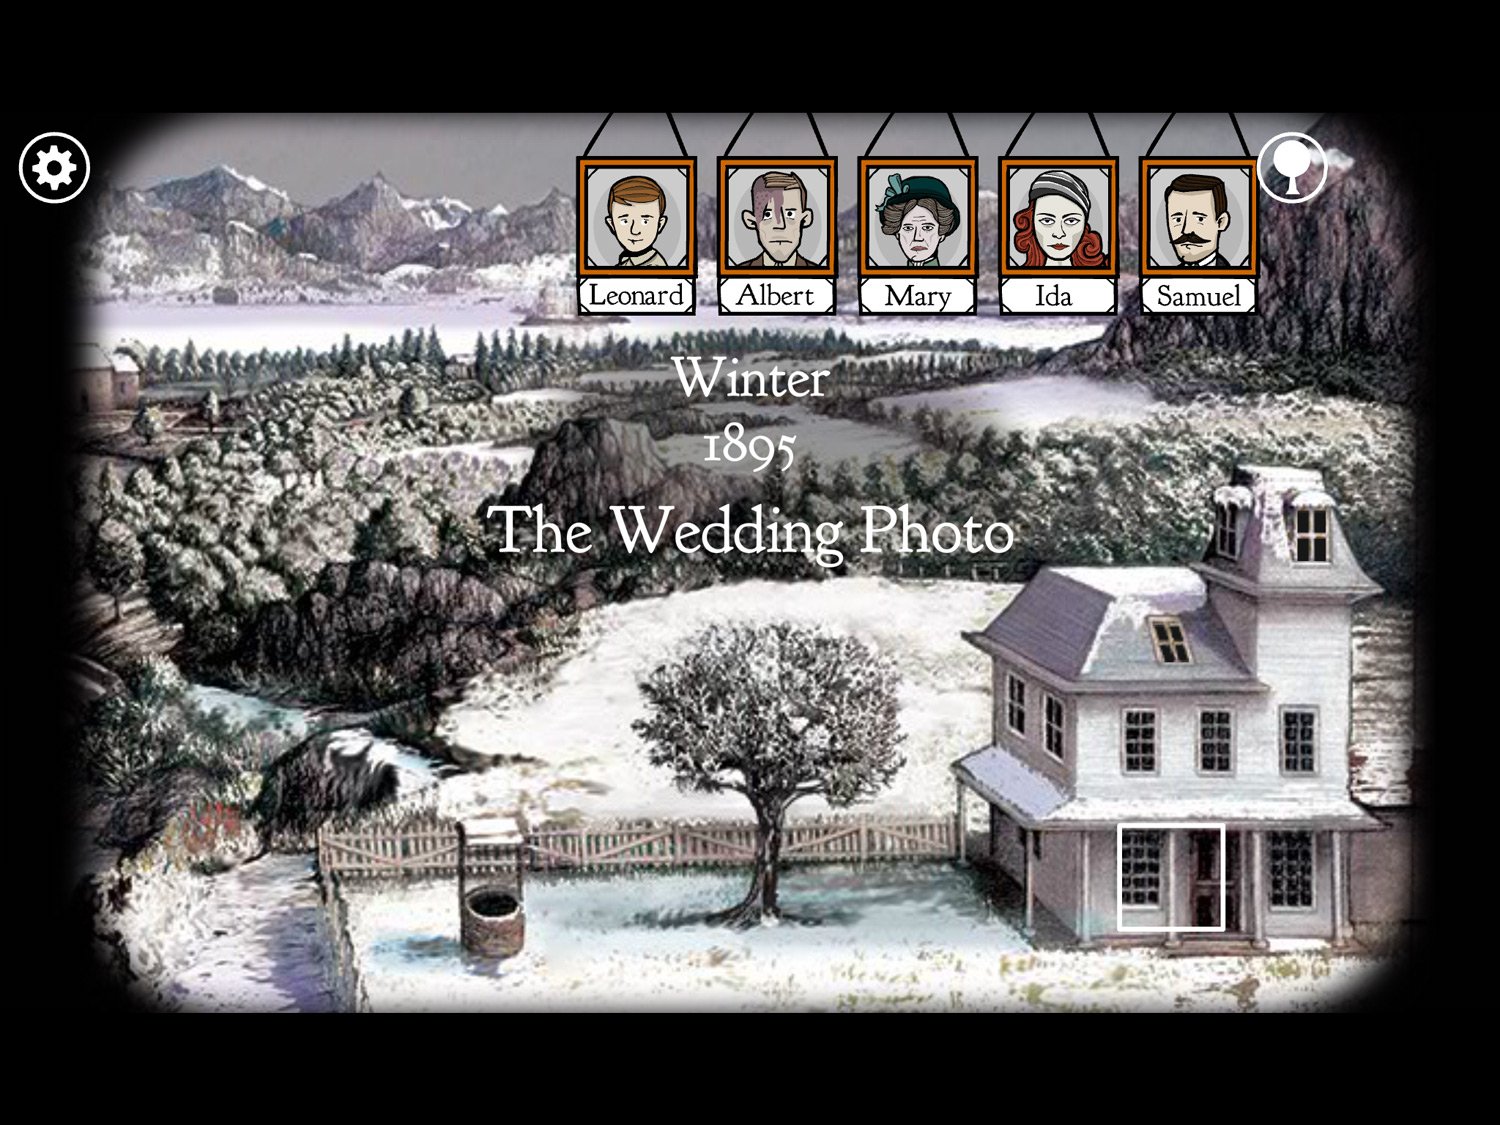
Level 19: The Wedding Photo, Winter 1895 – Leonard, Albert, Mary, Ida, Samuel
Location: The Parlor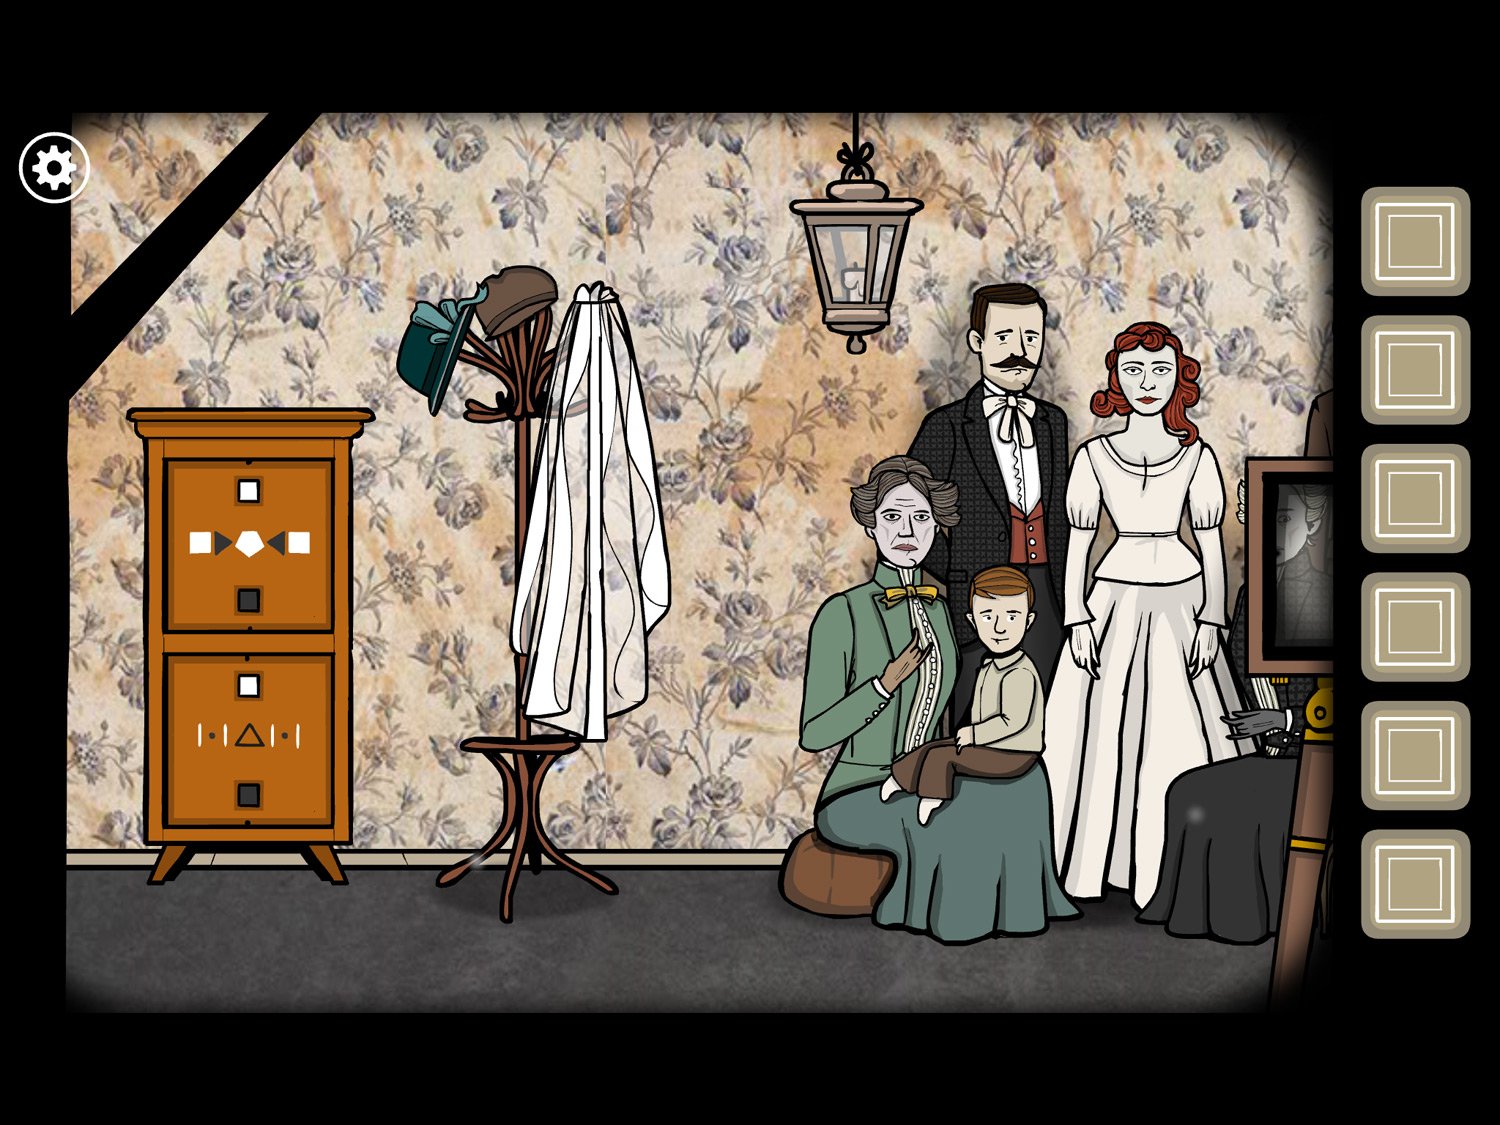
- Tap the hat rack to zoom in. Tap all three hats to get VEIL, CAP, and HAT (RIBBON). Zoom out
- Tap on the top dresser on the left side of the room. This dresser has two buttons – a white square and black square—and a series of symbols
- You need to tap the squares equivalent to the sides of the symbols shown. So, tap the white button four times because there is a white square listed first—which has four sides
- The correct order to tap is: white button four times; black button three times; white button five times; black button three times; white button four times
- After inputting this sequence you should hear the door unlock. Tap to open it and take HAT (TOP HAT). Exit the close-up
- Tap on the bottom dresser. This is a similar situation, except with lines and dots. The lines count as two and the dots as one
- Tap the buttons in this order: white two times; black one time; white two times; black three times; white two times; black one time; white two times
- Again, you should hear the door unlock. Tap to open it and take MASK. Exit the dresser
- Drag all the way right and tap on the dresser on the far right of the room
- Use the knobs to reveal a cube. Tap the door to open it and take HAT (BOWLER). Exit the close-up
- Tap on the family to zoom in (not the camera – try tapping on someone on either end to avoid the camera)
- Give everyone the correct hat. Samuel gets the HAT (TOP HAT). Ida gets the VEIL. Albert gets the MASK. Emma gets the HAT (BOWLER). Leonard gets the CAP. And Mary gets the HAT (RIBBON)
- When everyone has the right hat, sunlight will flash. Exit the close-up
- Tap on the camera. Tap the flash cord to take the picture
- Tap the picture to reveal the white square and exit
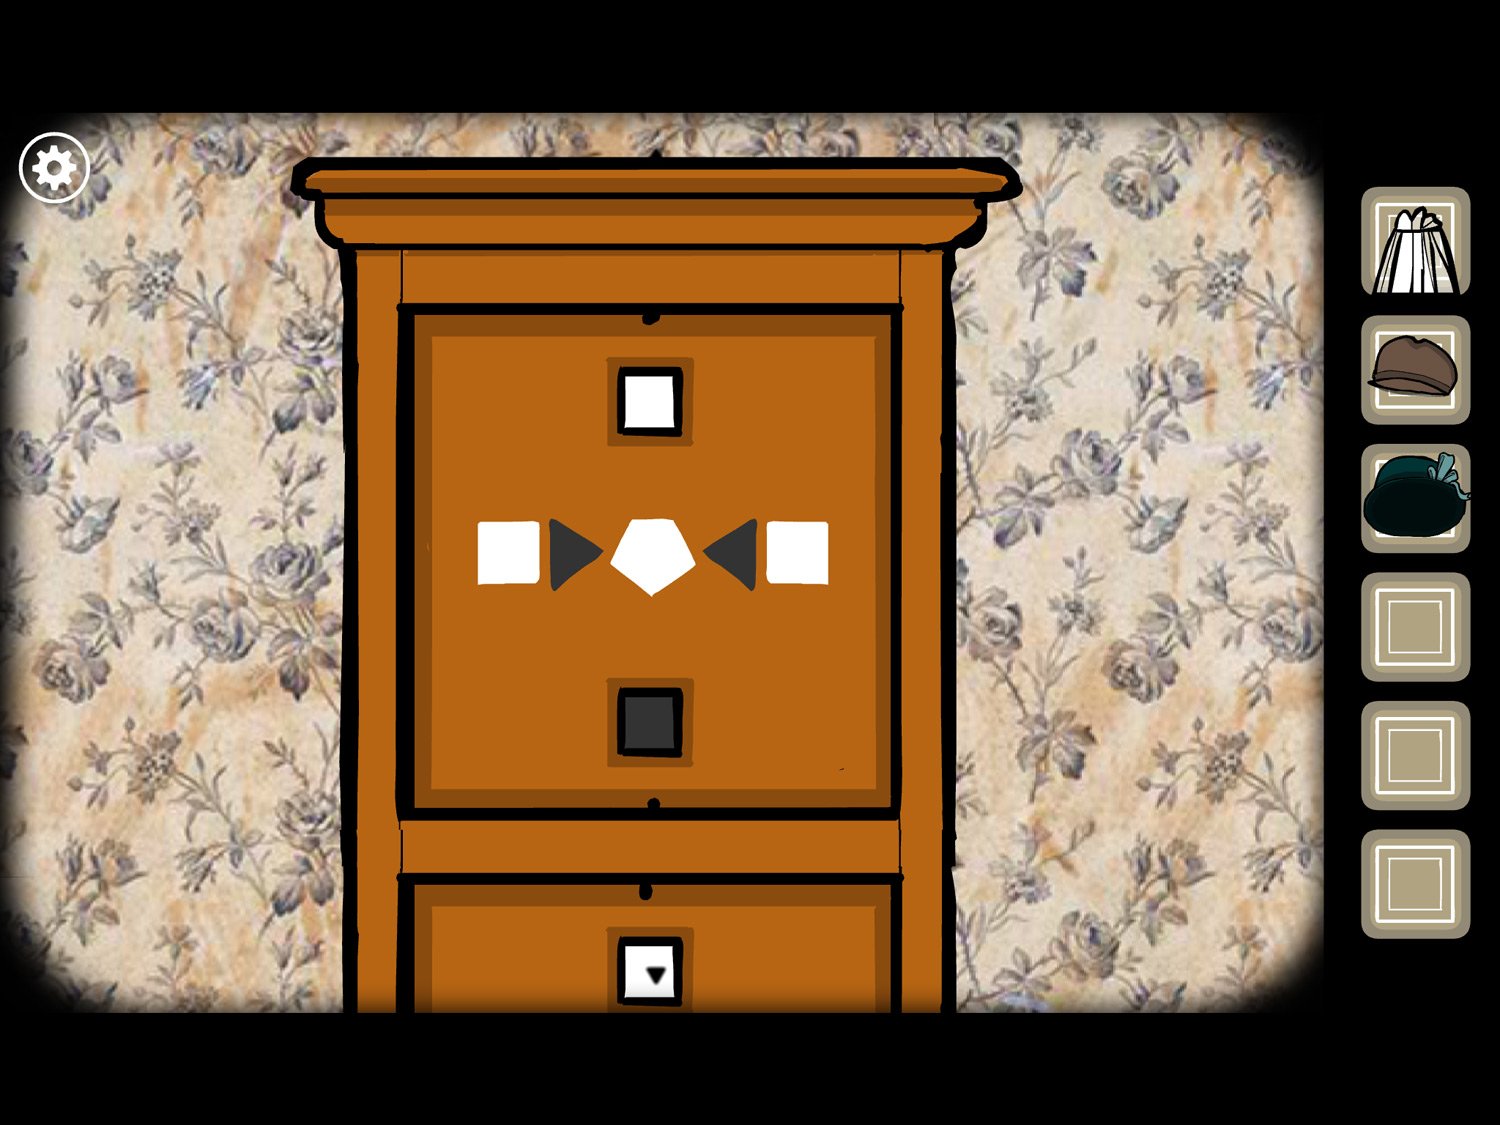
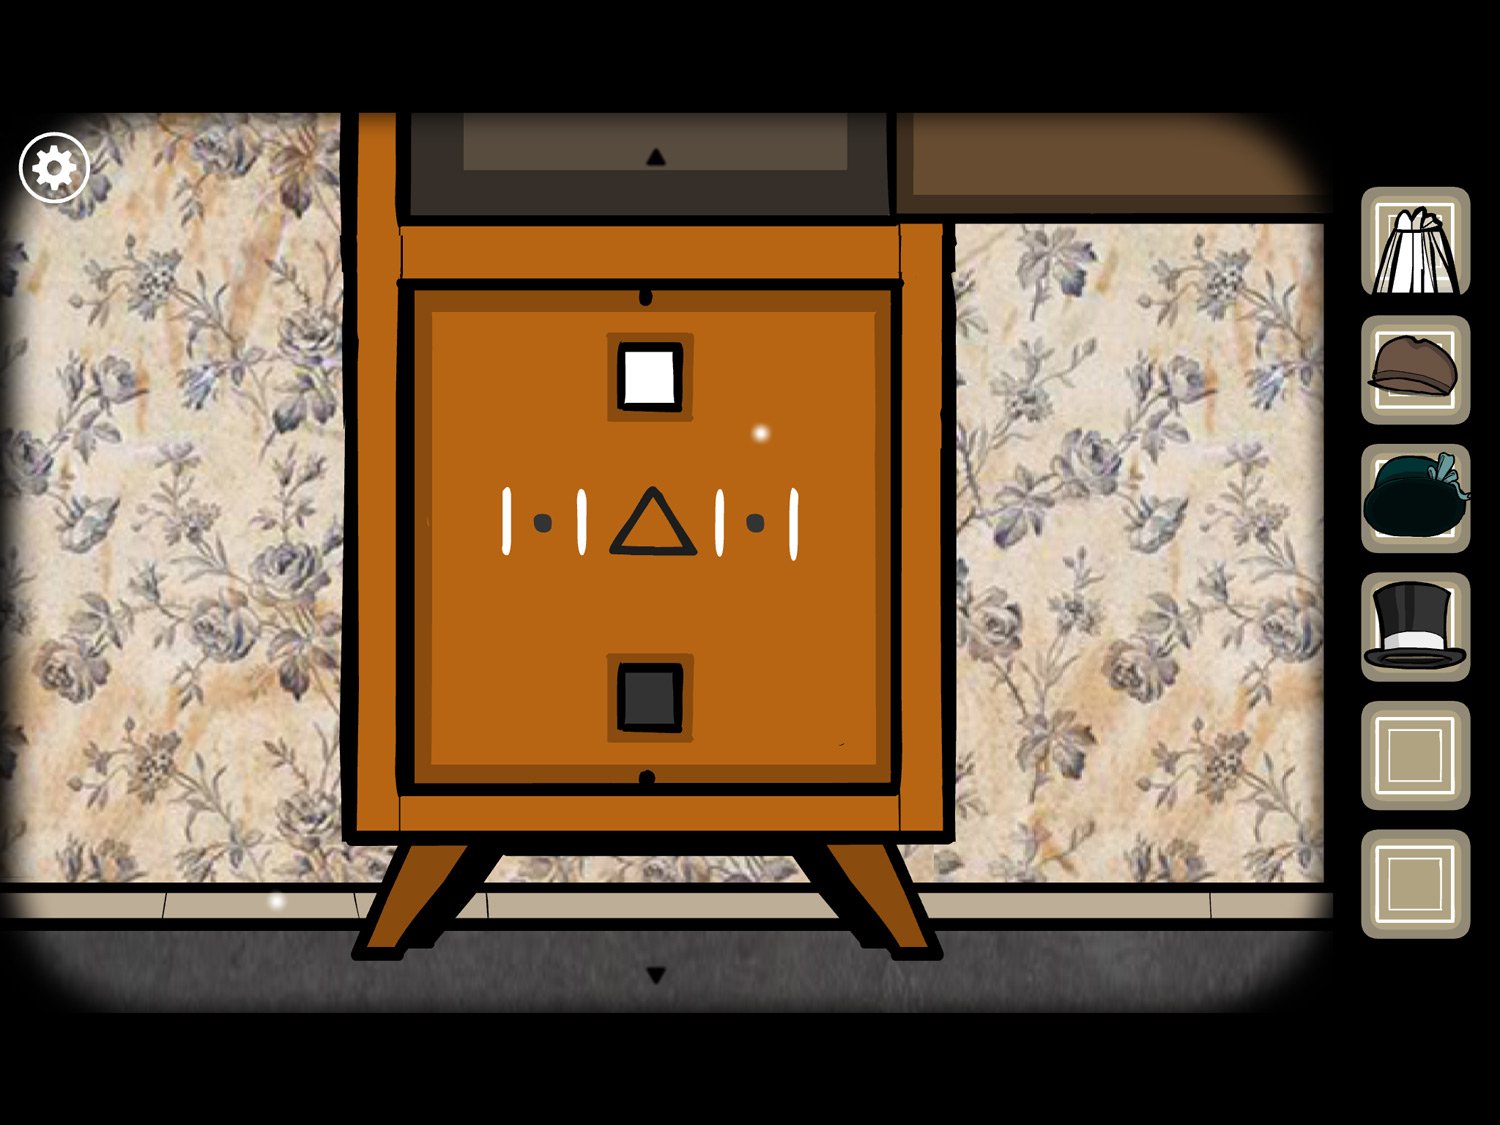
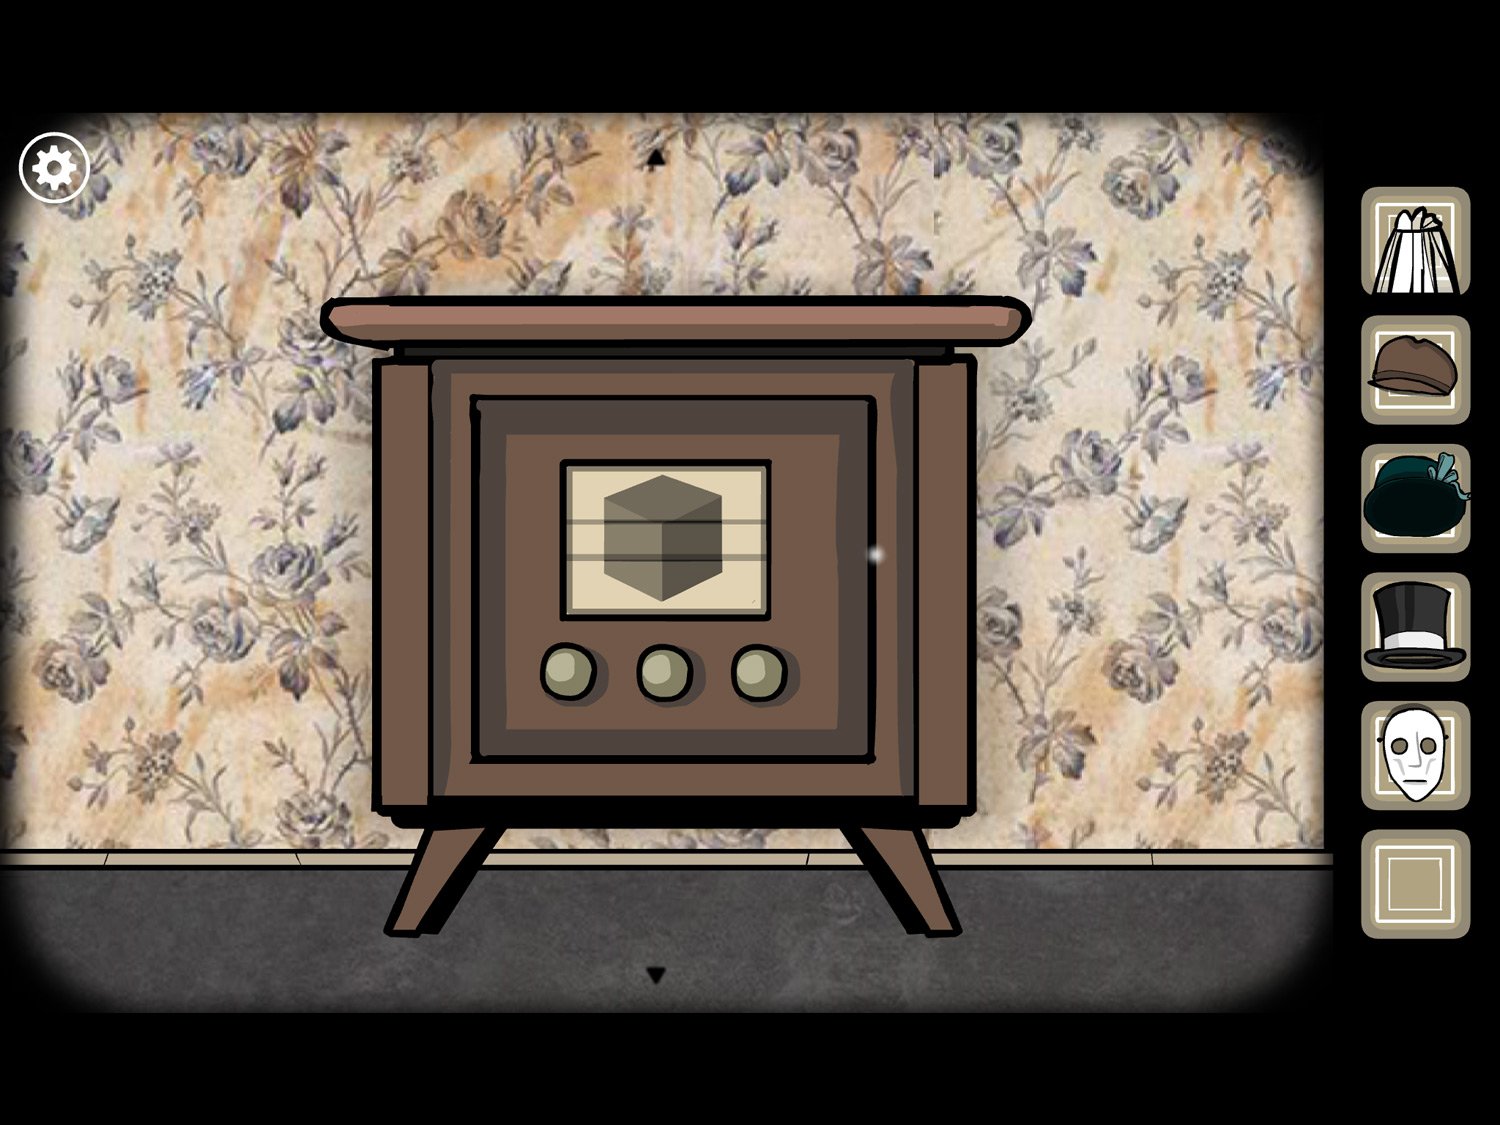
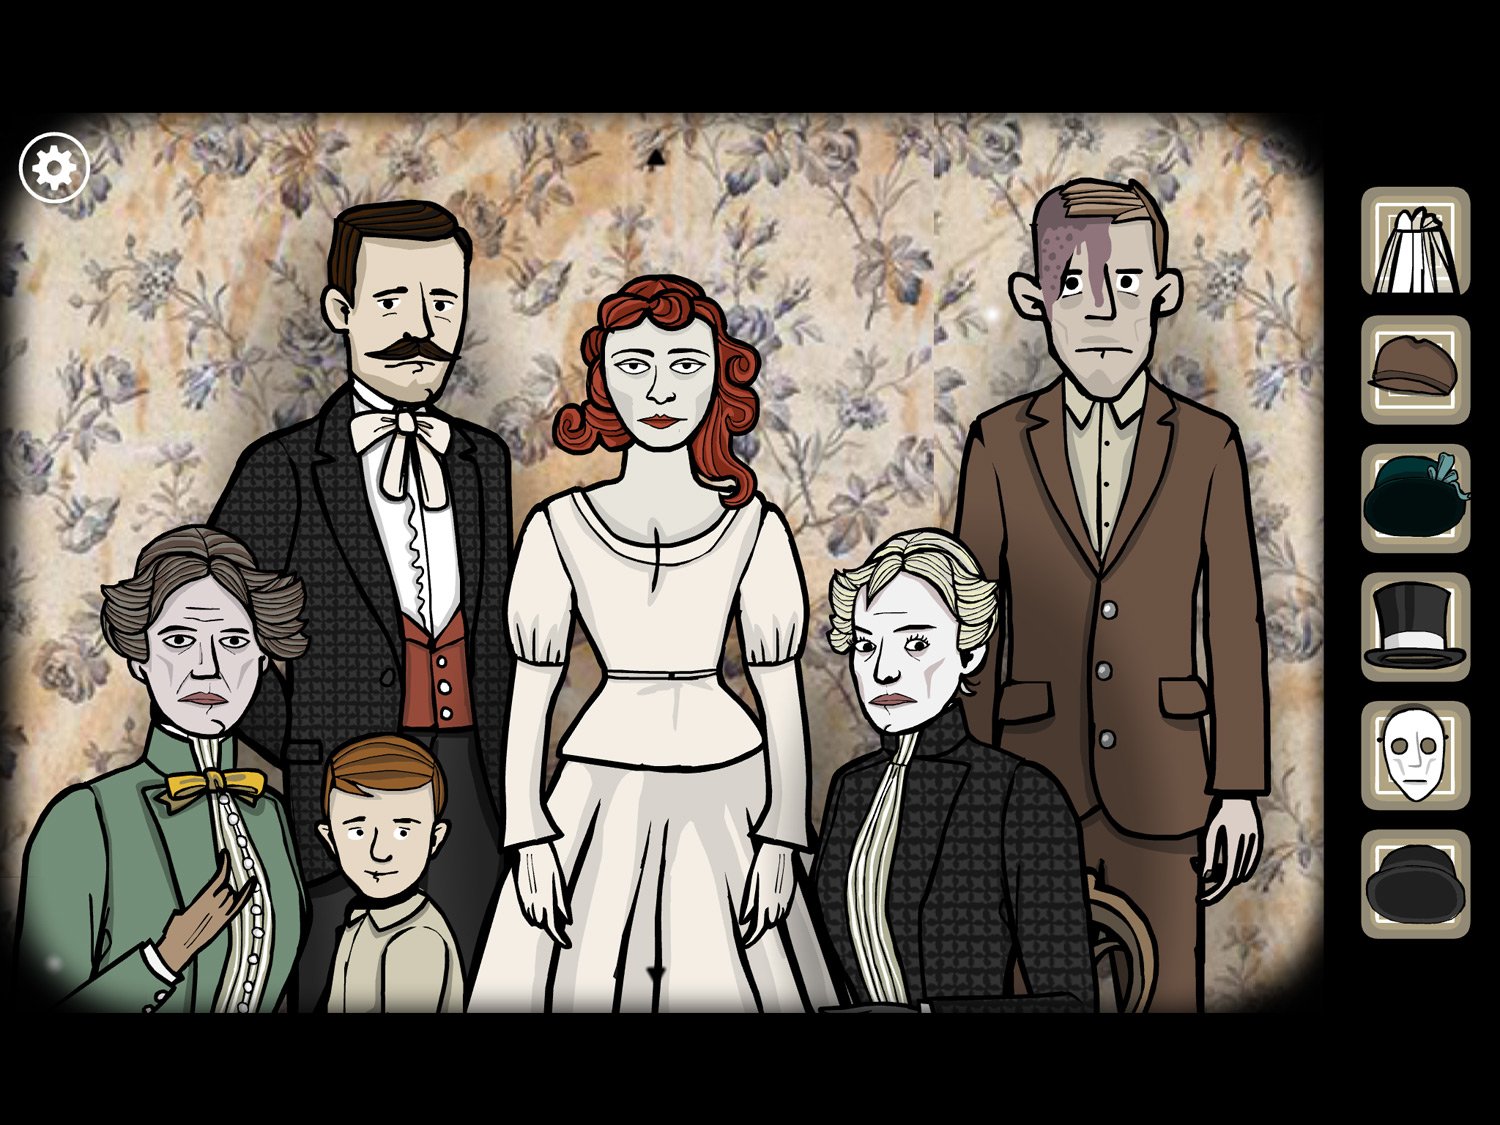
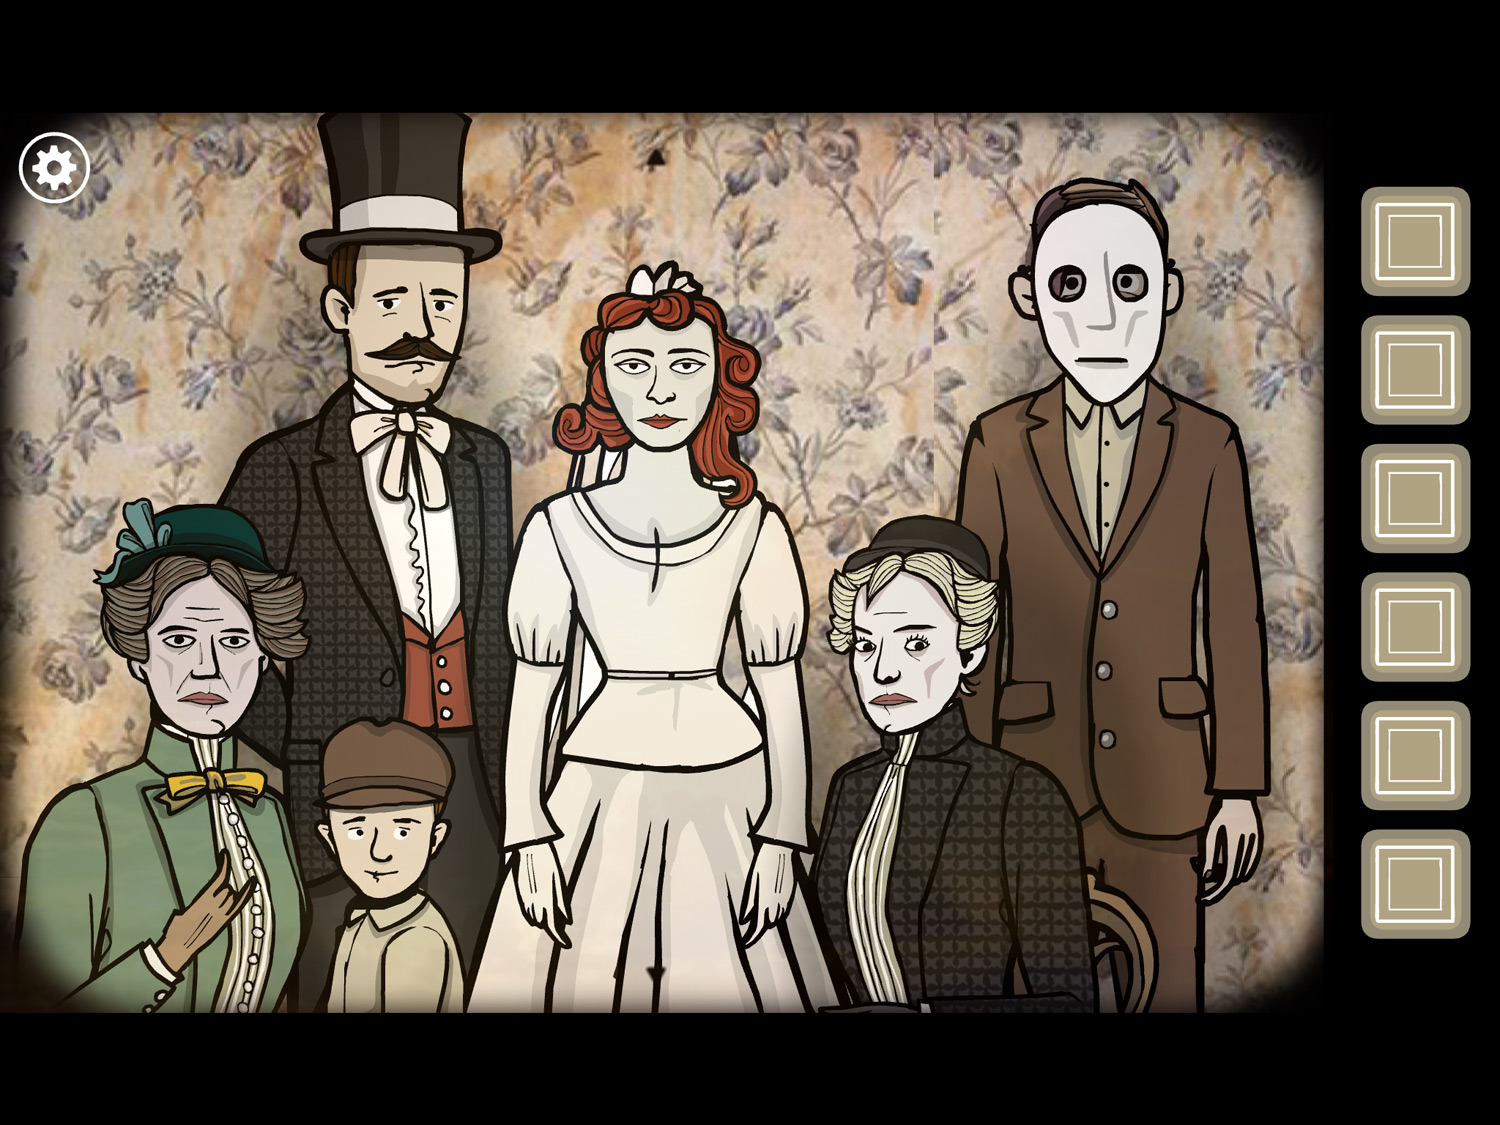
Level 20: The Family Band, Summer 1904 – Albert, Mary, Leonard, Ida, Samuel
Location: The parlor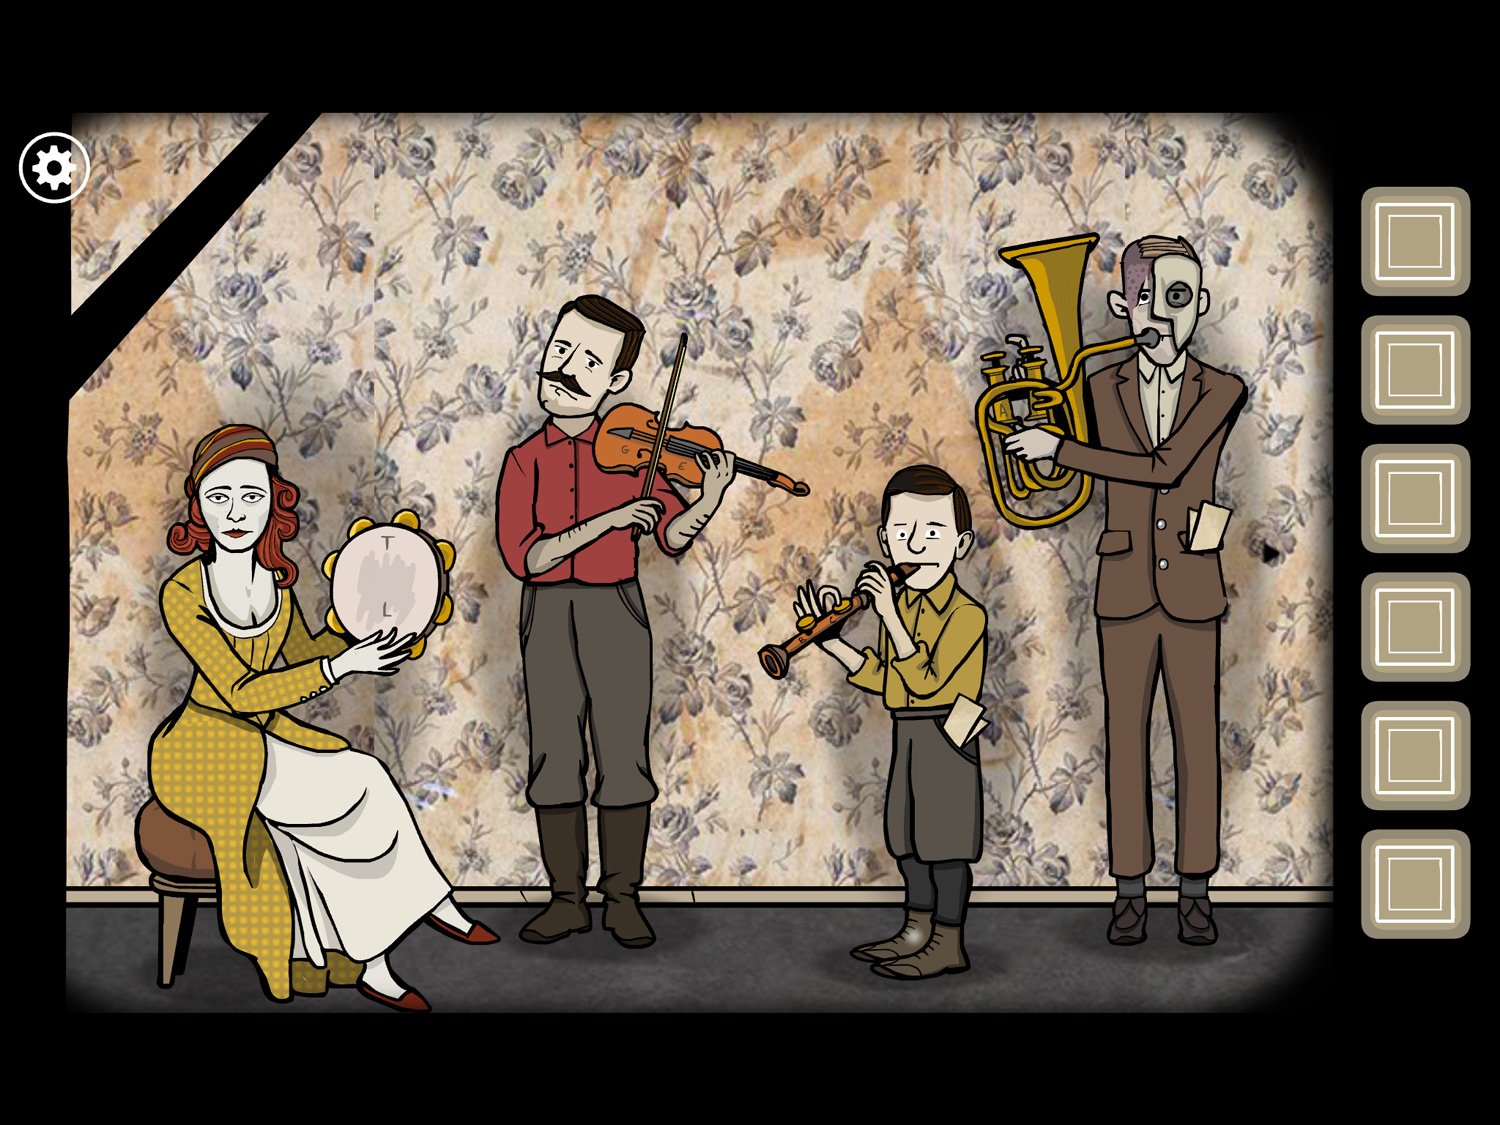
- Tap Leonard; take PAPER from his pocket; exit the close-up
- Tap Albert; take PAPER (2) from his pocket; exit the close-up
- Drag right; tape the table with the jar on it. Take PAPER (3); exit the close-up
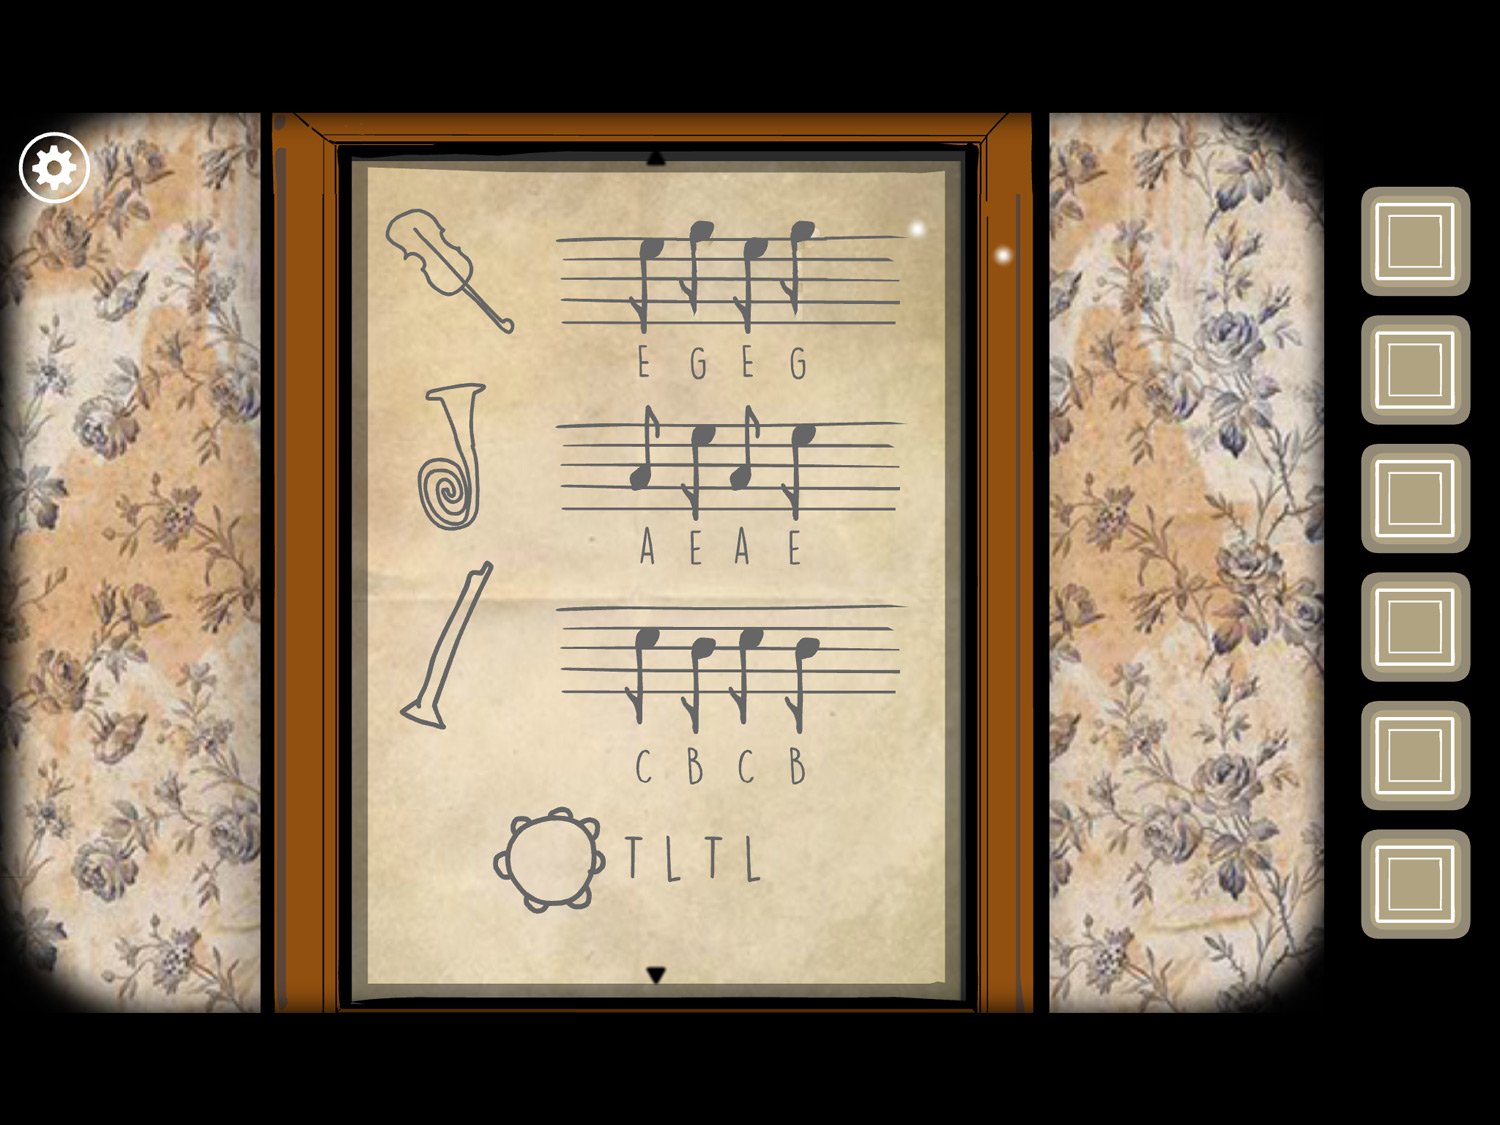
- Tap the frame above this table. Place all three pieces of PAPER from your inventory onto the frame. You’ll reveal sheet music for each instrument the family members are playing
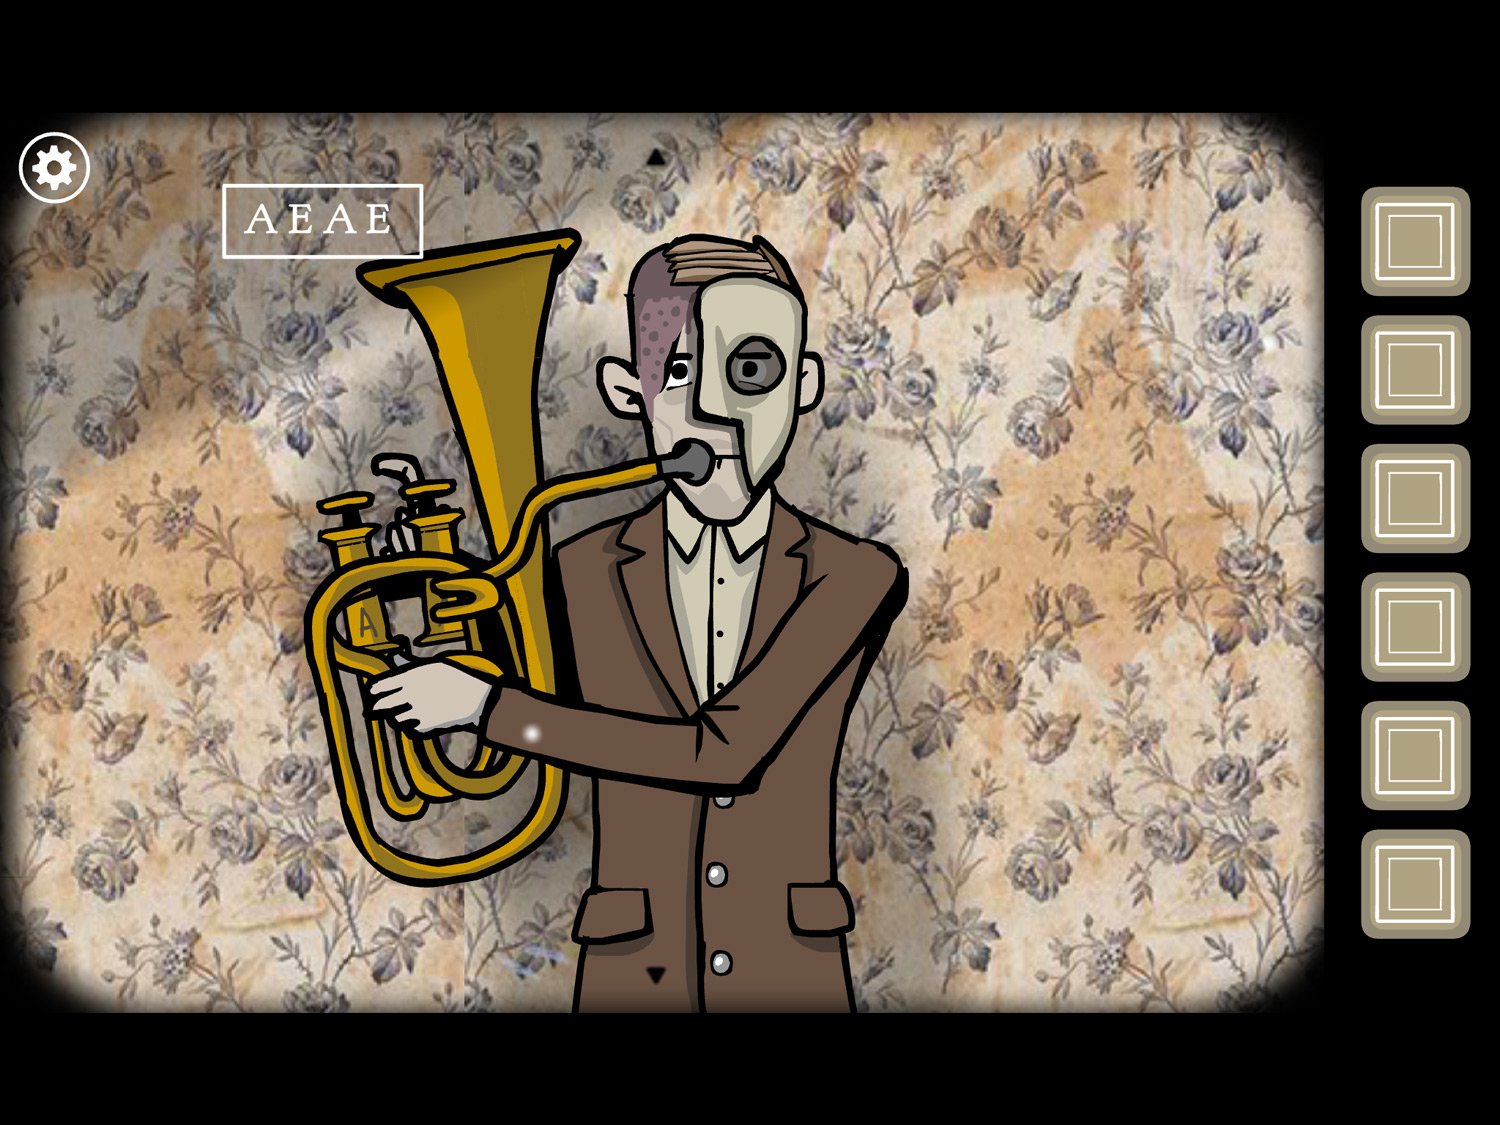
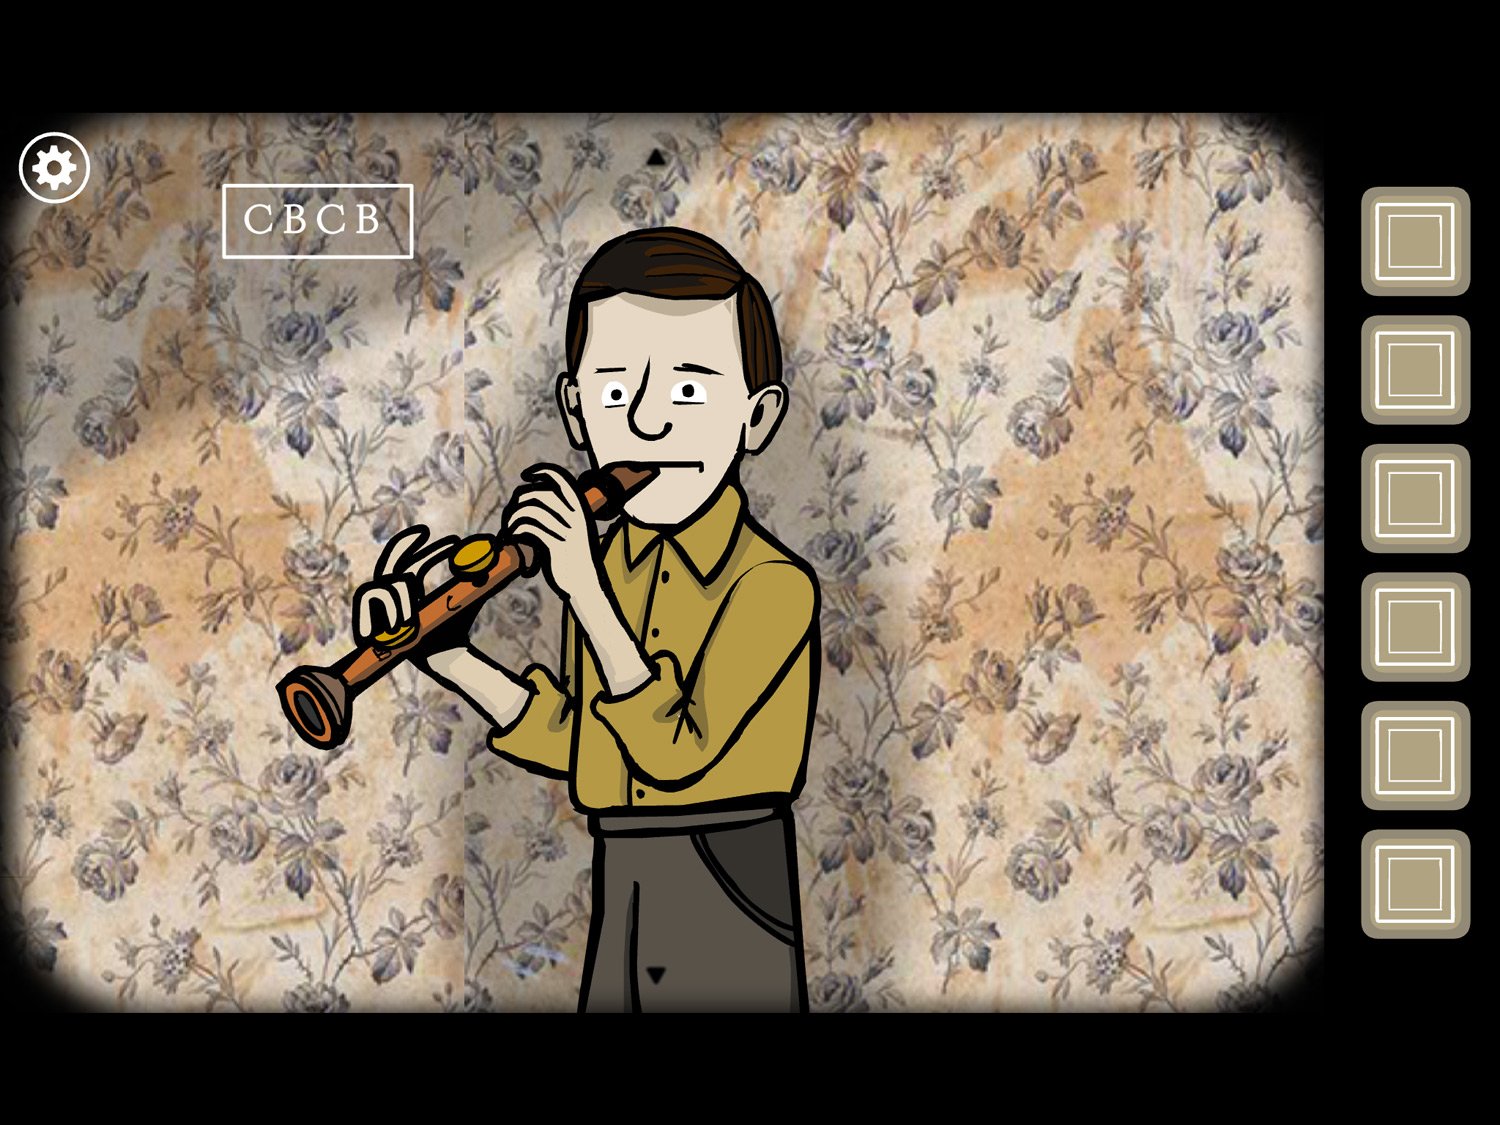
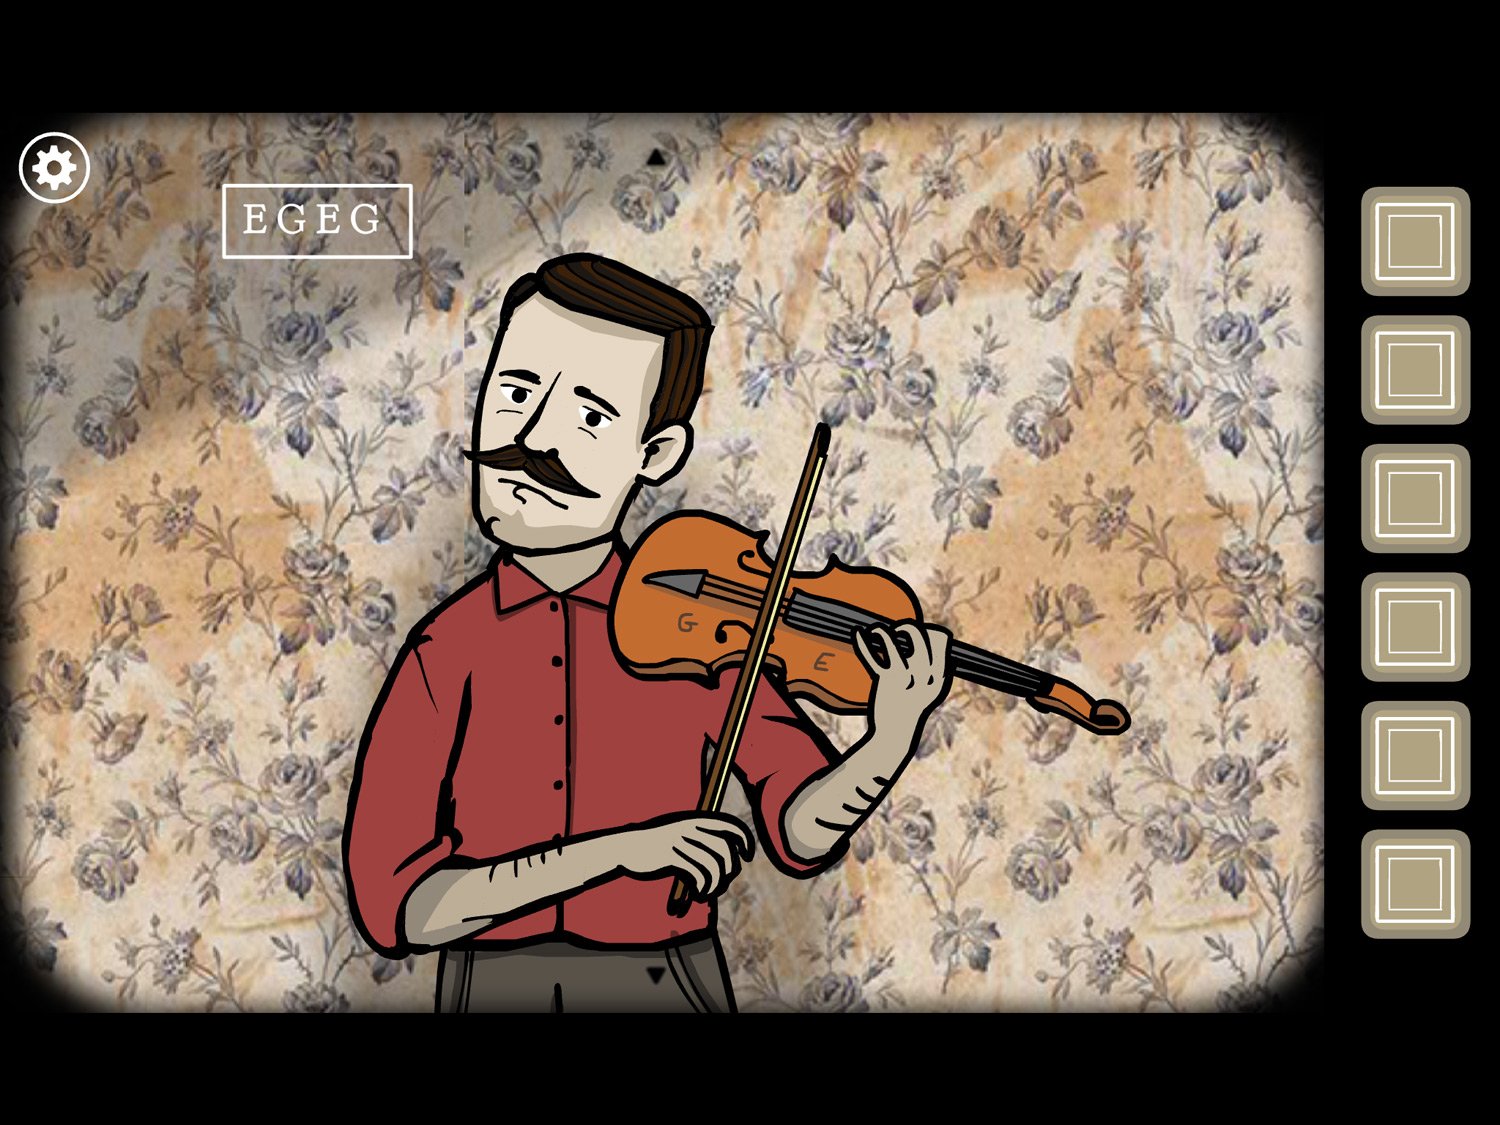
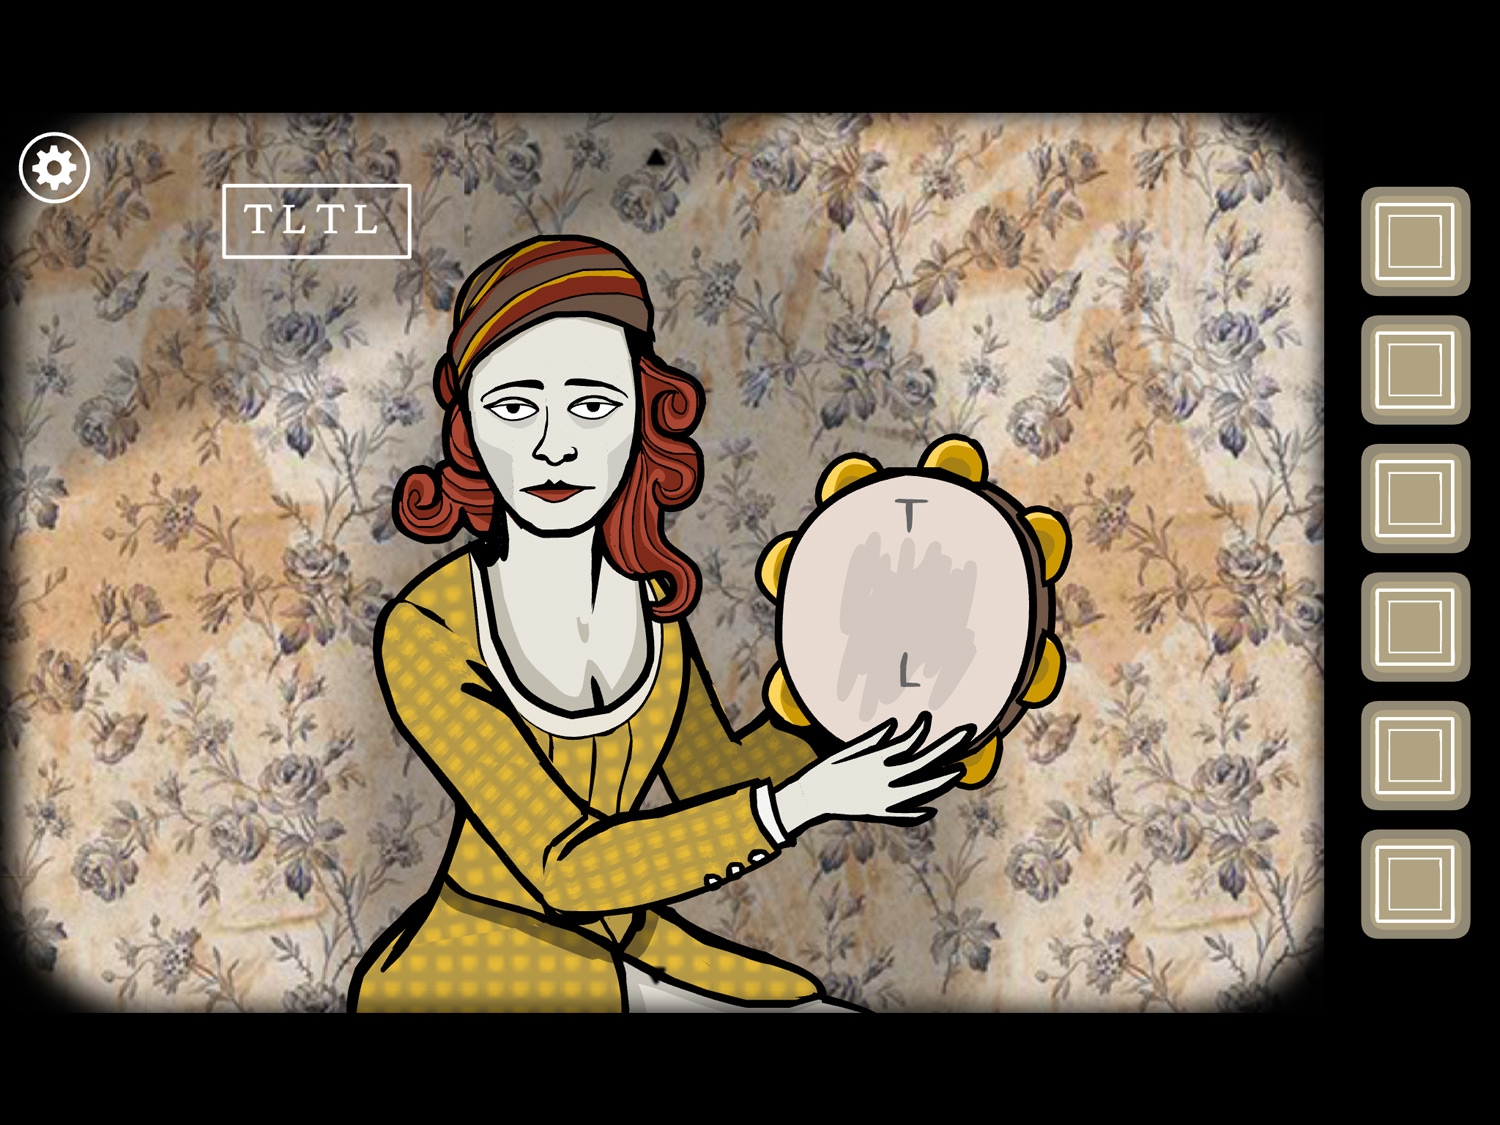
- Note the notes: violin goes EGEG. Tuba goes AEAE. Recorder goes CBCB. Tambourine goes TLTL. Exit the close-up
- Tap on Albert to zoom in. Tap the left button on his tuba to assign A, then tap the right button to assign E. Tap the left button again then the right so he’ll play AEAE. Exit the close-up and Albert will begin playing his notes
- Tap on Leonard. Tap his right button to assign C then the left to assign B. Tap right then left so he plays CBCB. Exit the close-up and now he and Albert are both playing
- Tap Samuel. Tap the right side of his violin to assign E and then the right side to assign G. Tap right then left so he plays EGEG. Exit the close-up
- Tap on Ida. Tap the top of her tambourine to assign T then the bottom to assign L. Tap top then bottom again so she plays TLTL. Exit the close-up
- The whole family plays together. After the four notes are played, light flashes and the scene changes:
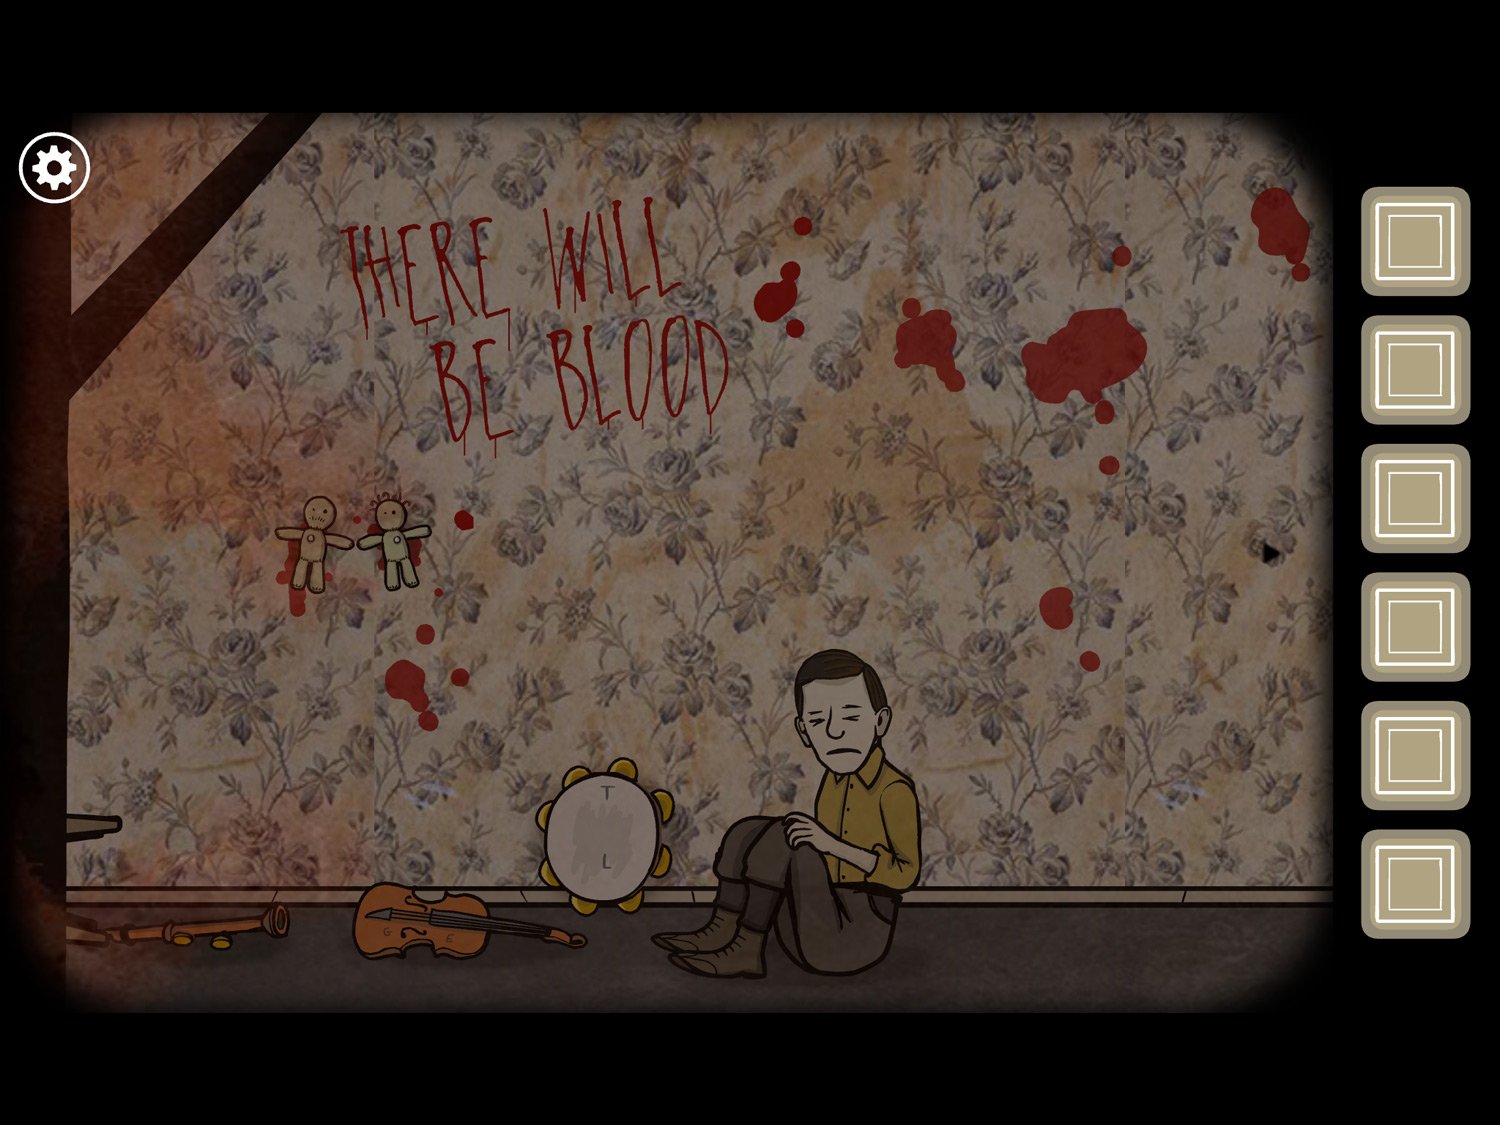
- Samuel and Ida are missing. There is blood and a note on the wall. Leonard is huddled on the floor. Mary is dead in her chair
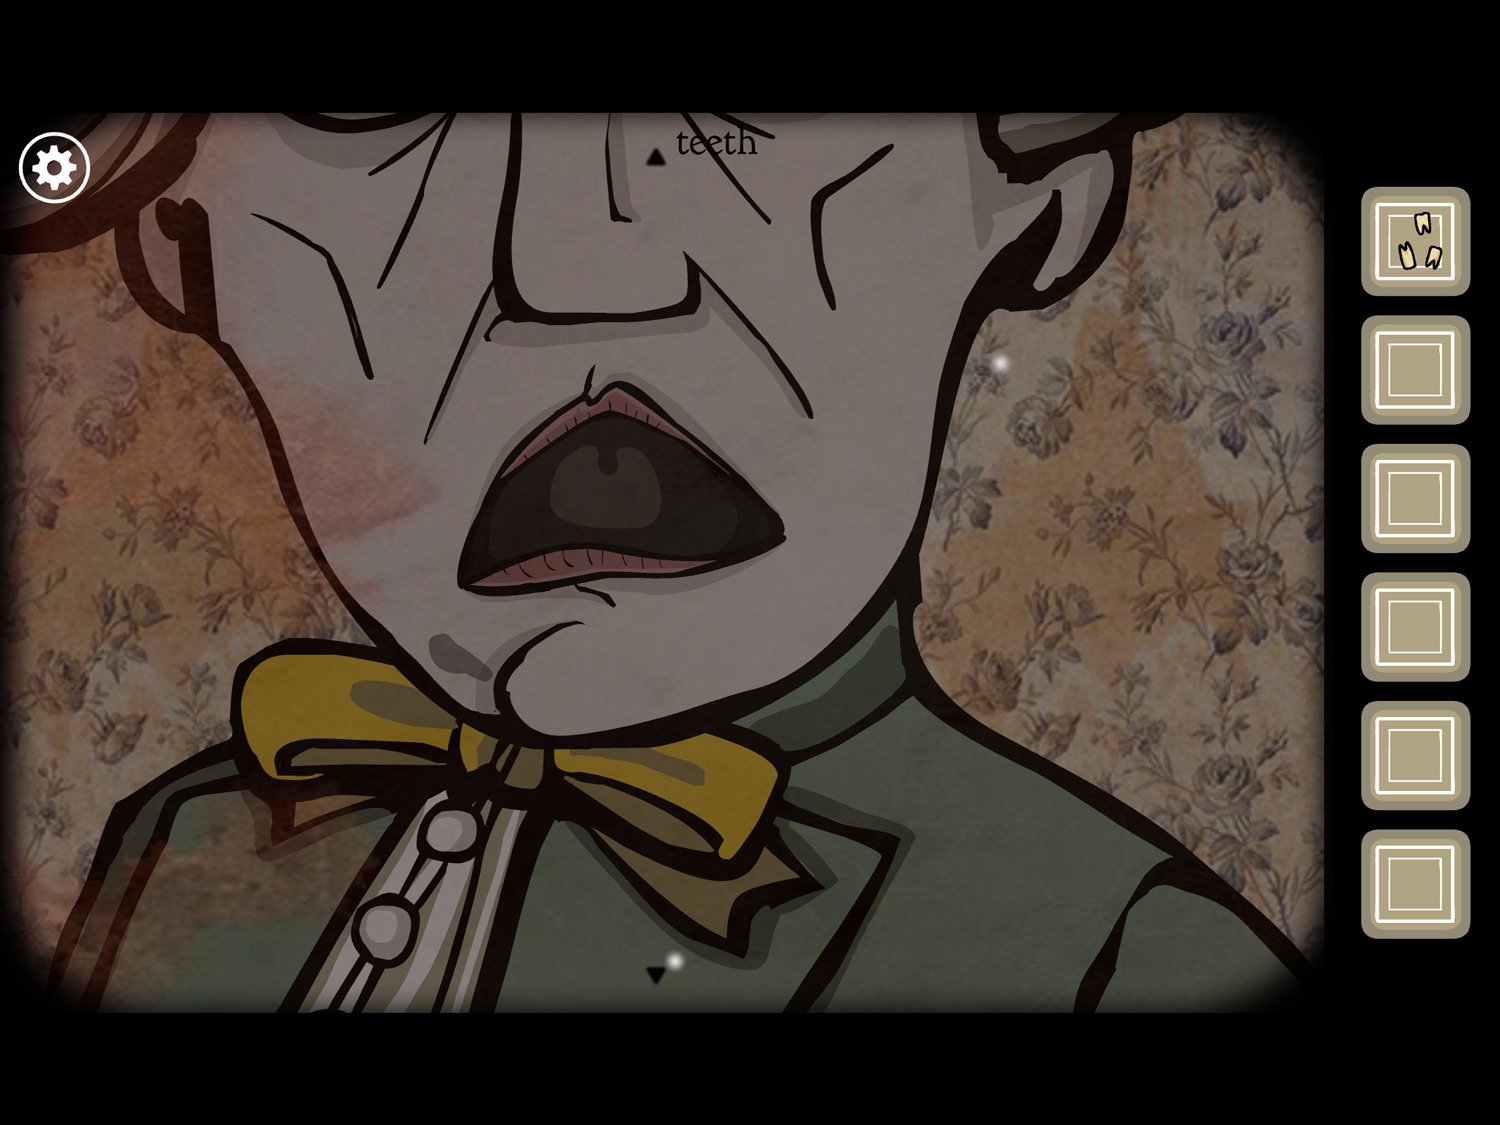
- Drag right and tap on Mary. Tap on her face to zoom in
- Tap on her mouth to get TEETH
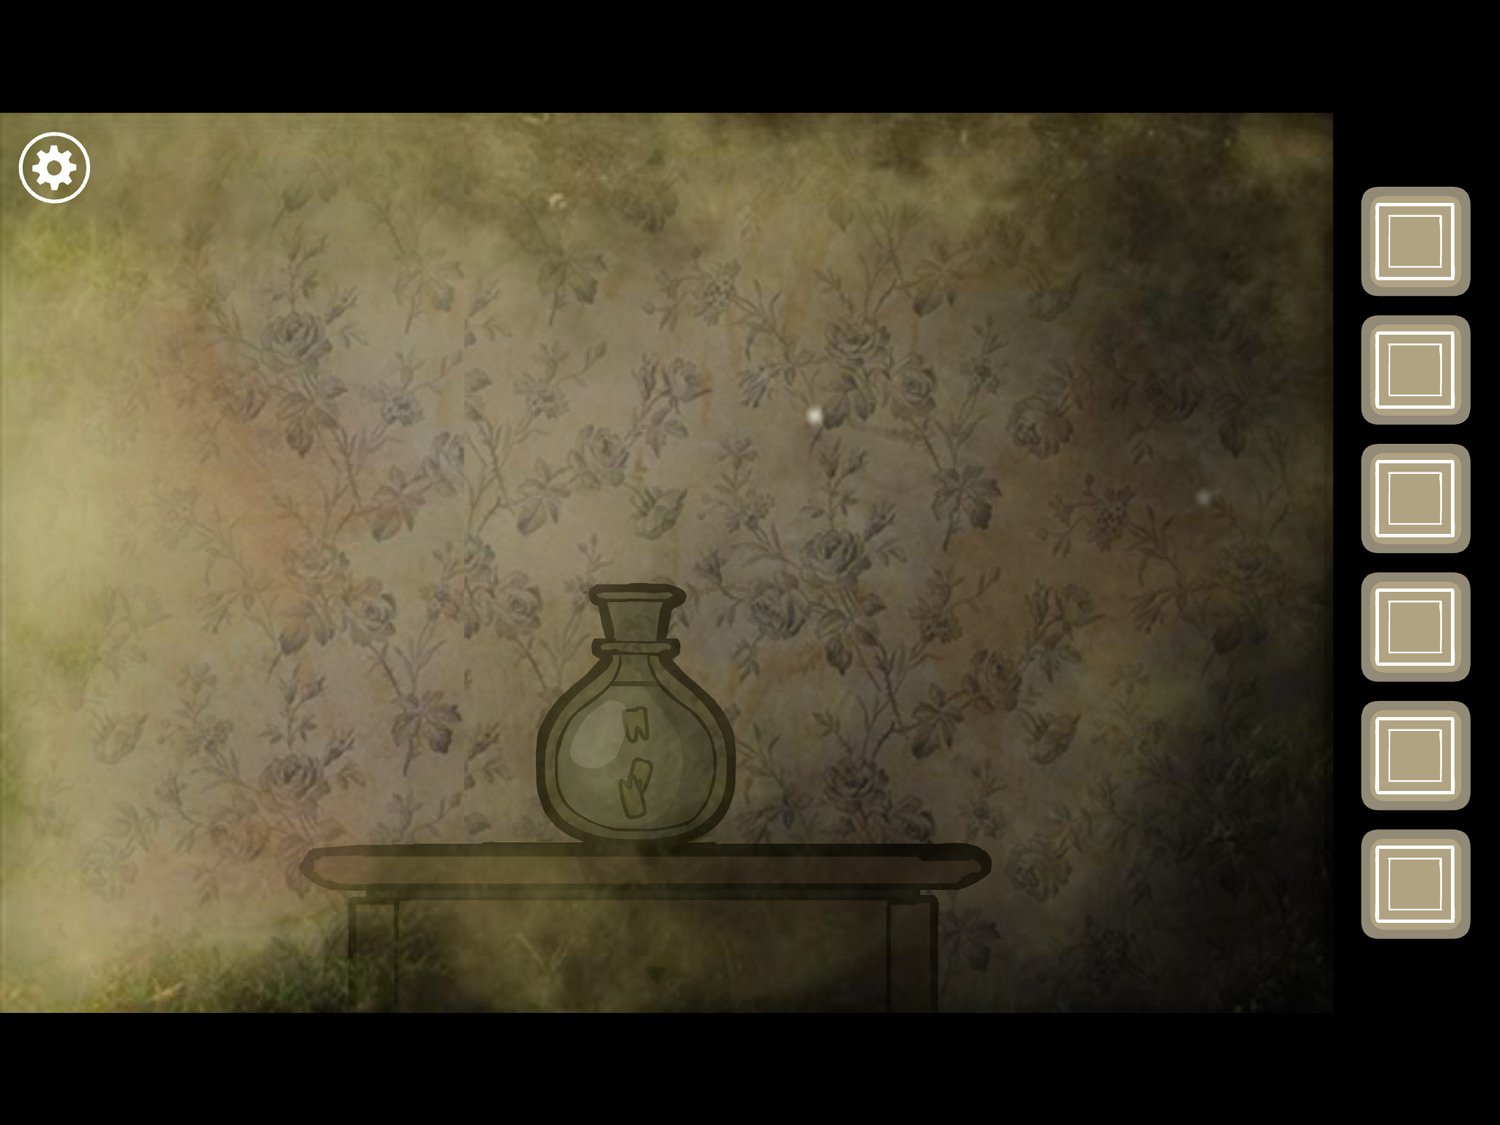
- Zoom all the way back out. Tap on the jar to her left
- Use TEETH on the jar. Tap on the teeth in the jar to reveal the white square and exit. Mary’s teeth are added to your list of sacrifices
Level 21: The War Hero, Spring 1914 – Leonard
Location: Front yard near the tree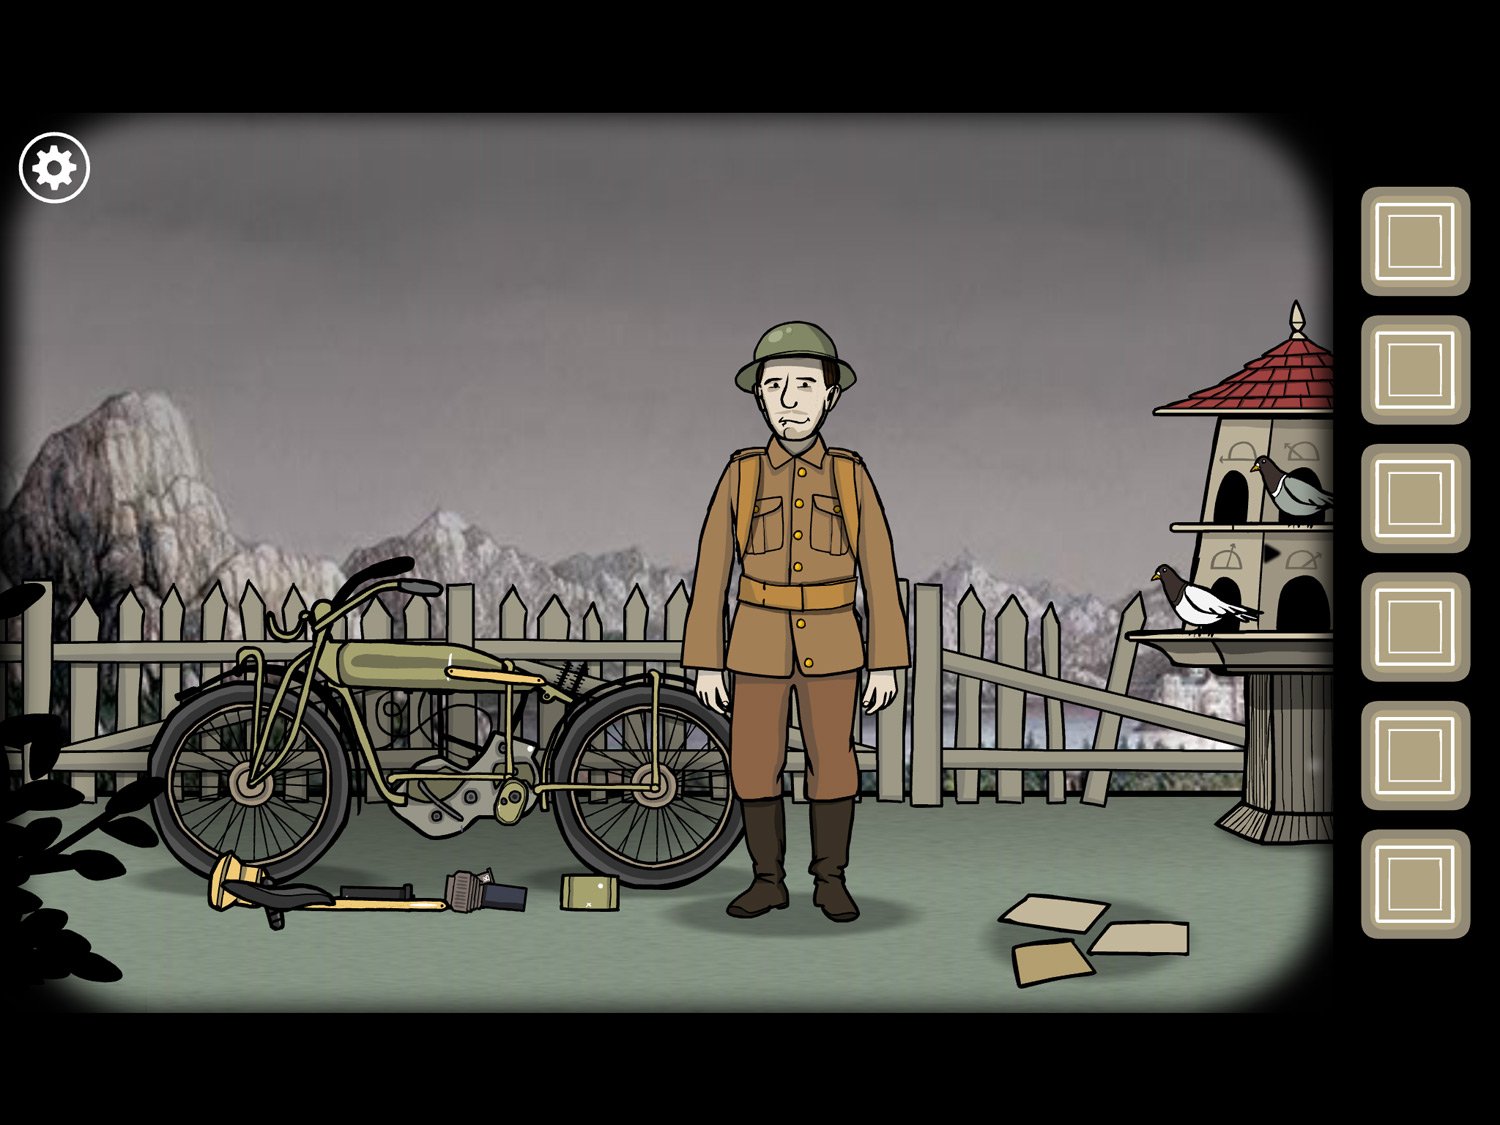
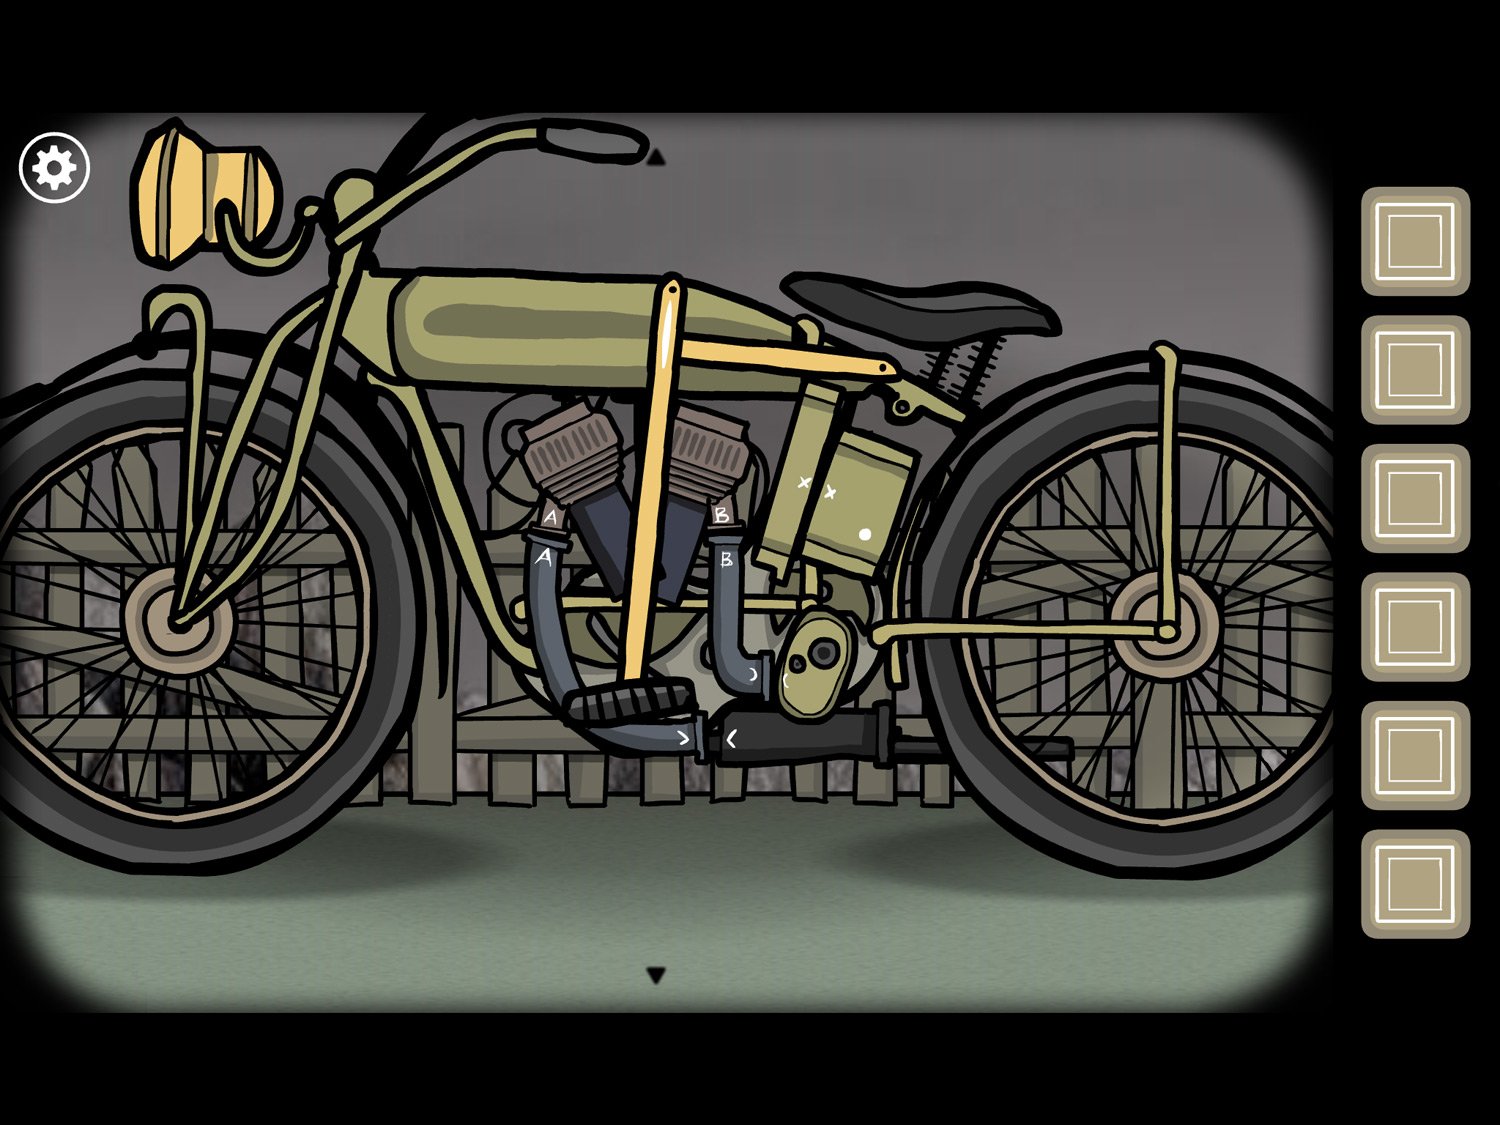
- The goal in this level is to put Leonard’s motorcycle back together. There are some parts near the bike but you’ll need to collect the others
- Tap on the papers on the ground right of Leonard
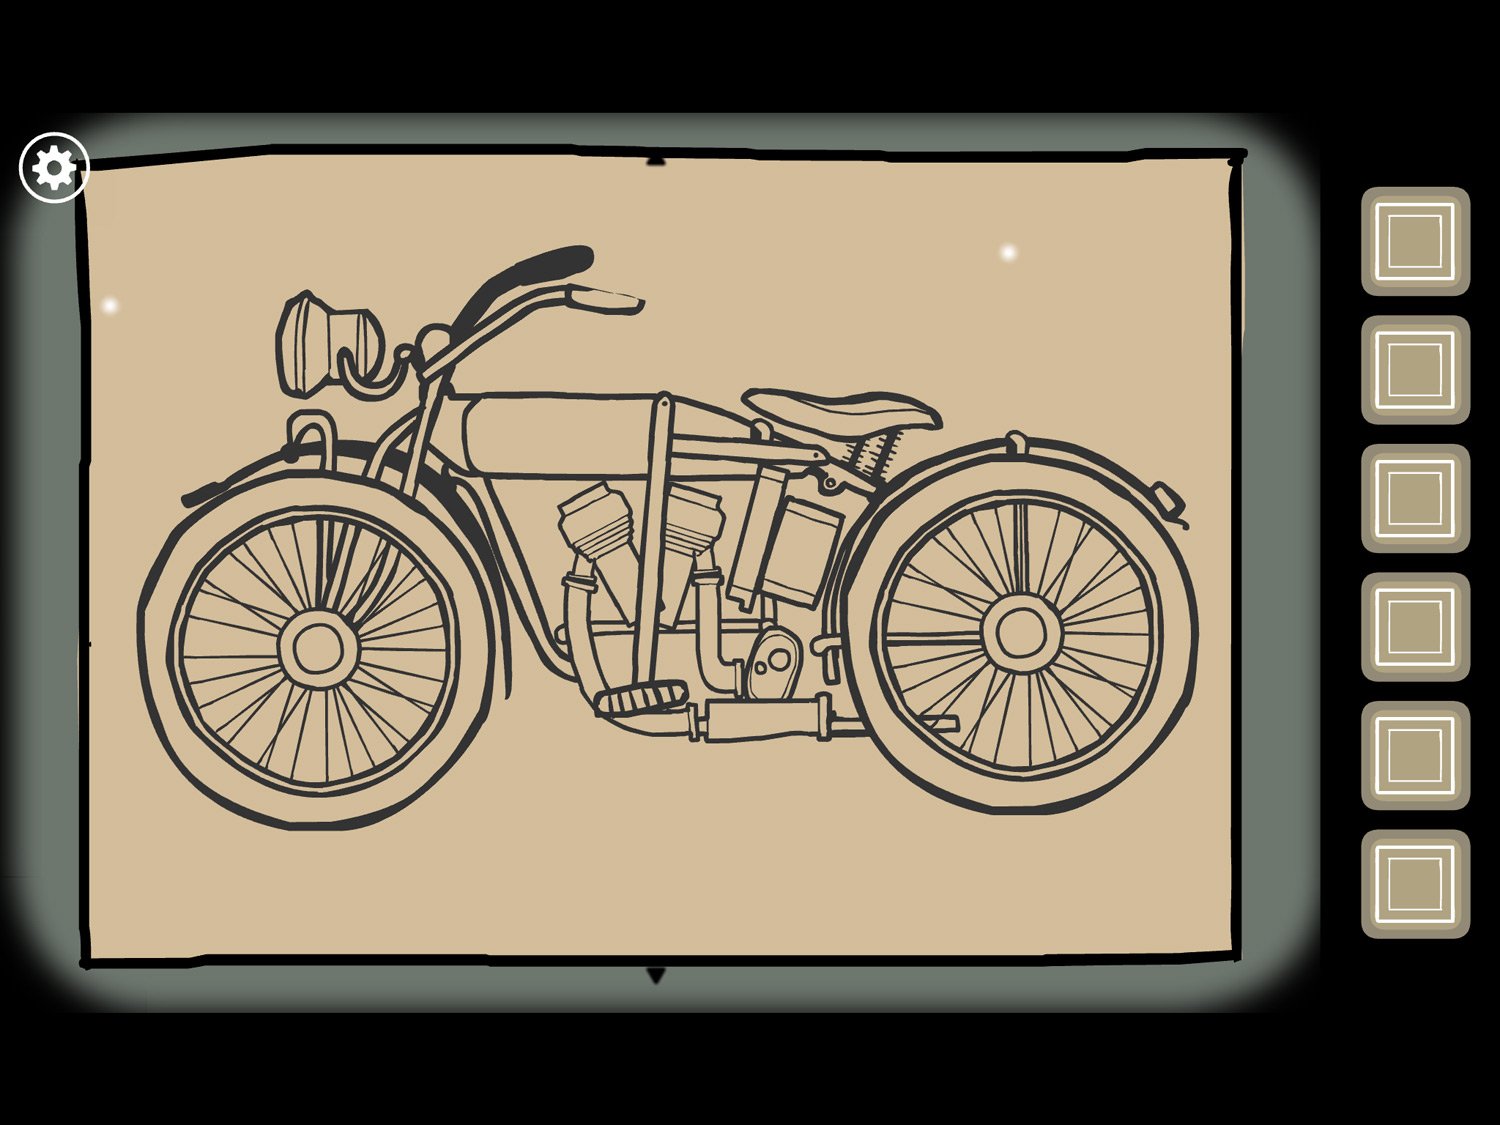
- Tap on the picture of the motorcycle. This shows where the pieces fit in; we’ll need to remember this for later
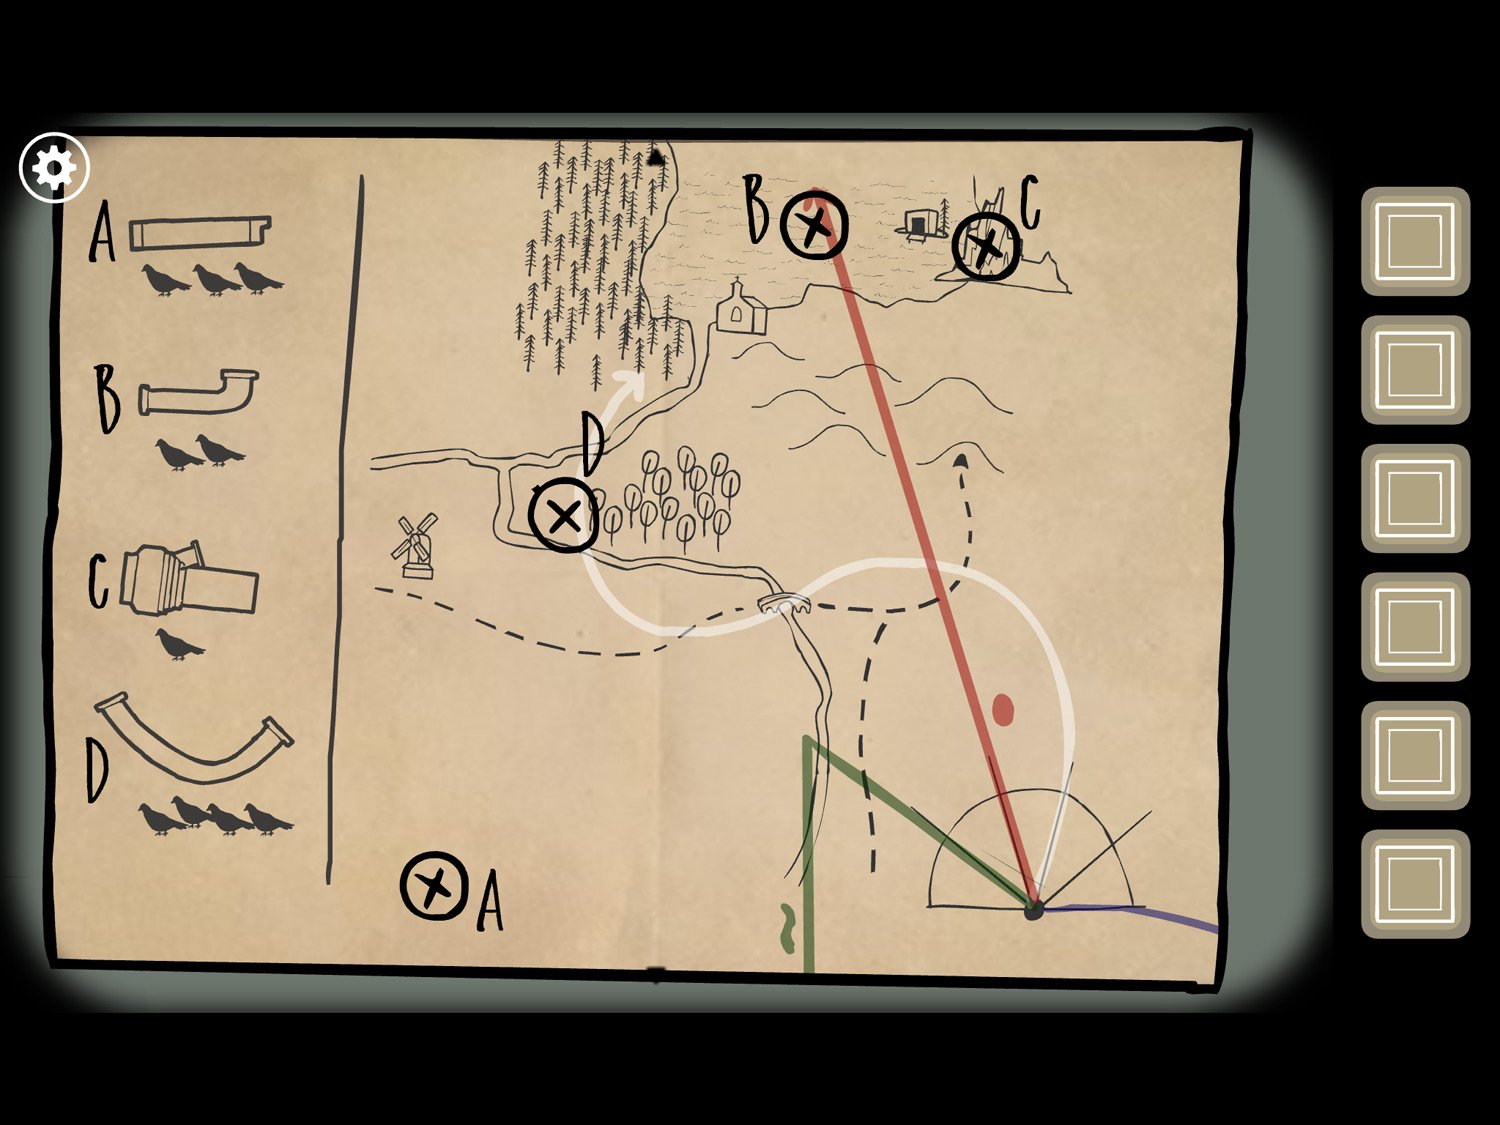
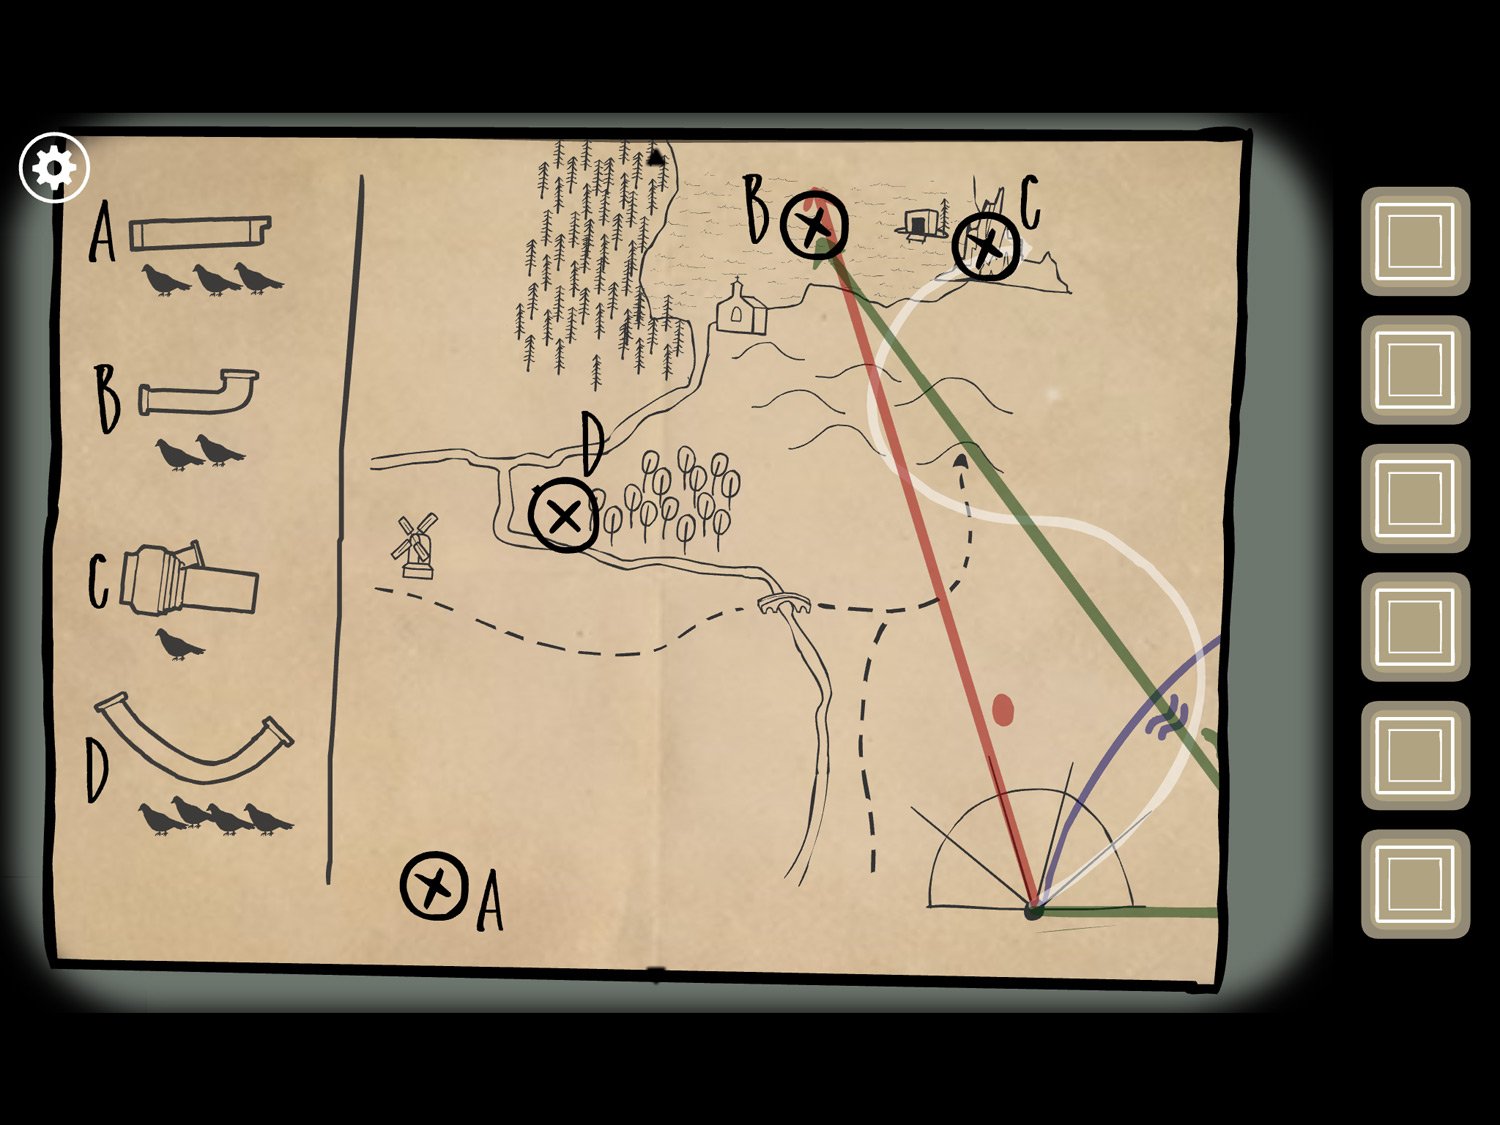
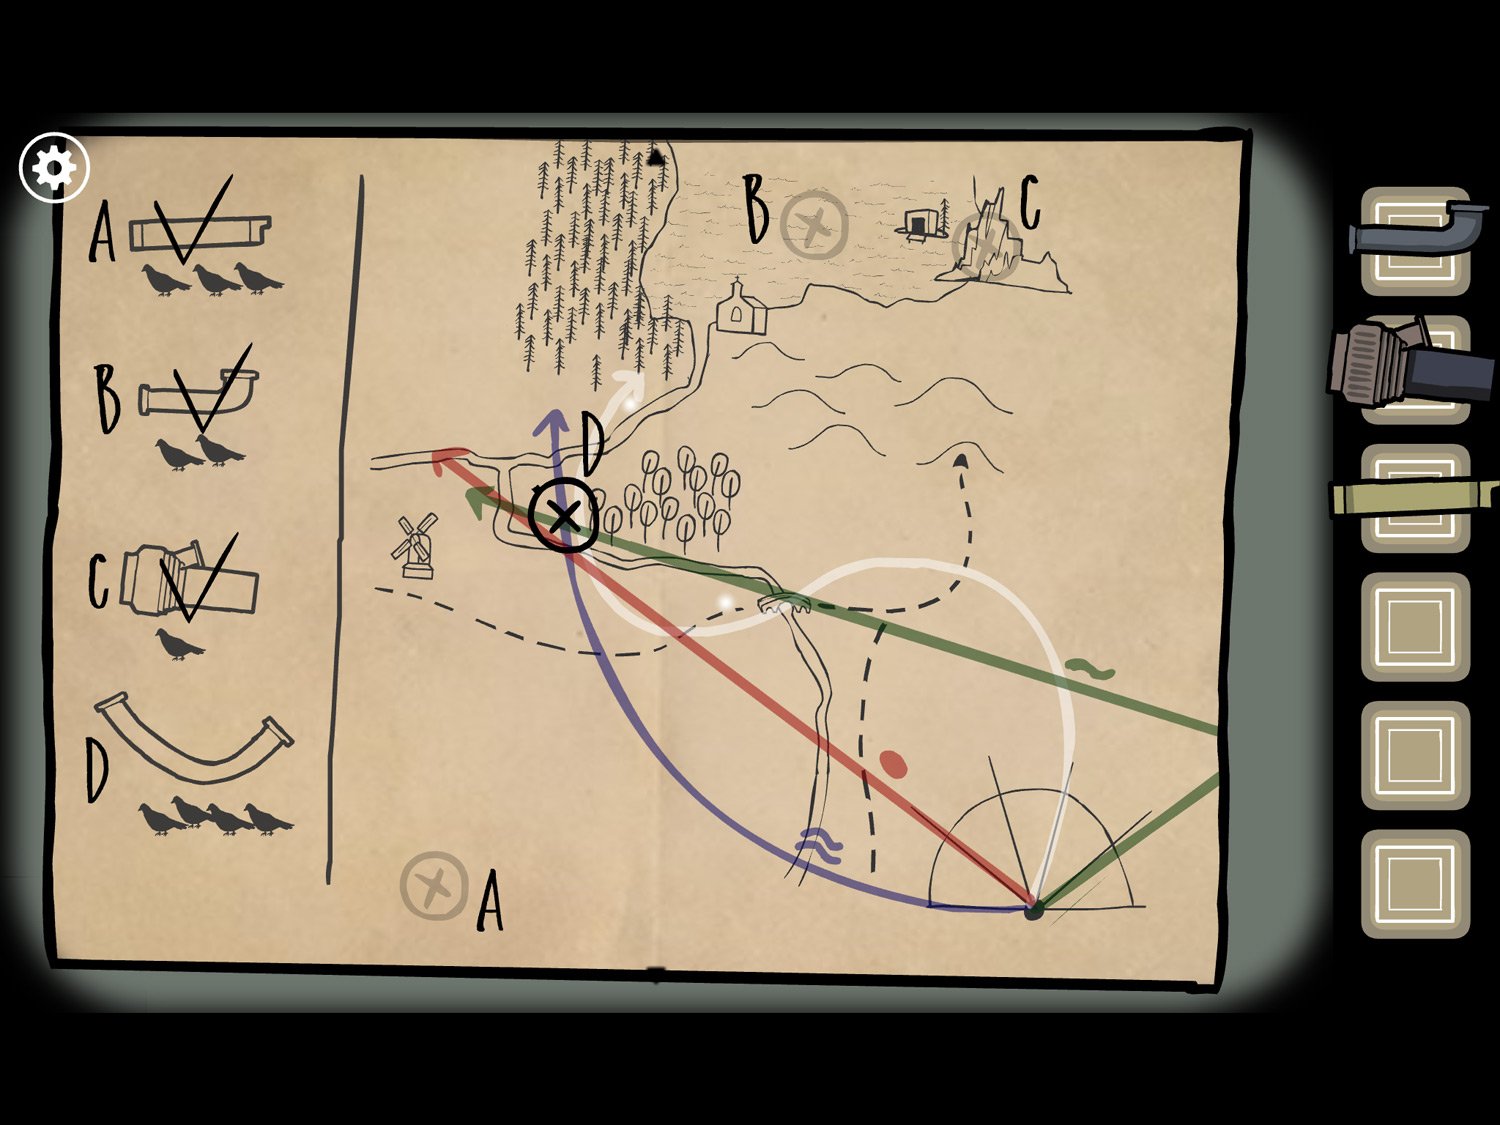
- Exit the bike picture and tap on the map image. This picture shows you a few things: on the left is a list of bike parts you still need to gather and where they are located (point A, point B, etc.). The number of birds underneath each part shows how many birds have to travel to that location at the same time to collect that part. So, to get the part from A, three birds need to go to A simultaneously
- The map shows you the destinations and the current trajectory of the four birds. In this first image, the red bird is going to B, white bird to D, and green and blue are headed off-map. Also note the half-circle with lines coming out of it where the birds originate: if read like the top half of a clock, we’re looking at 9, 10, 11, 1, 2, and 3 o’clocks
- Exit the map close-up and the picture close-up. Drag right and tap on the birdhouse
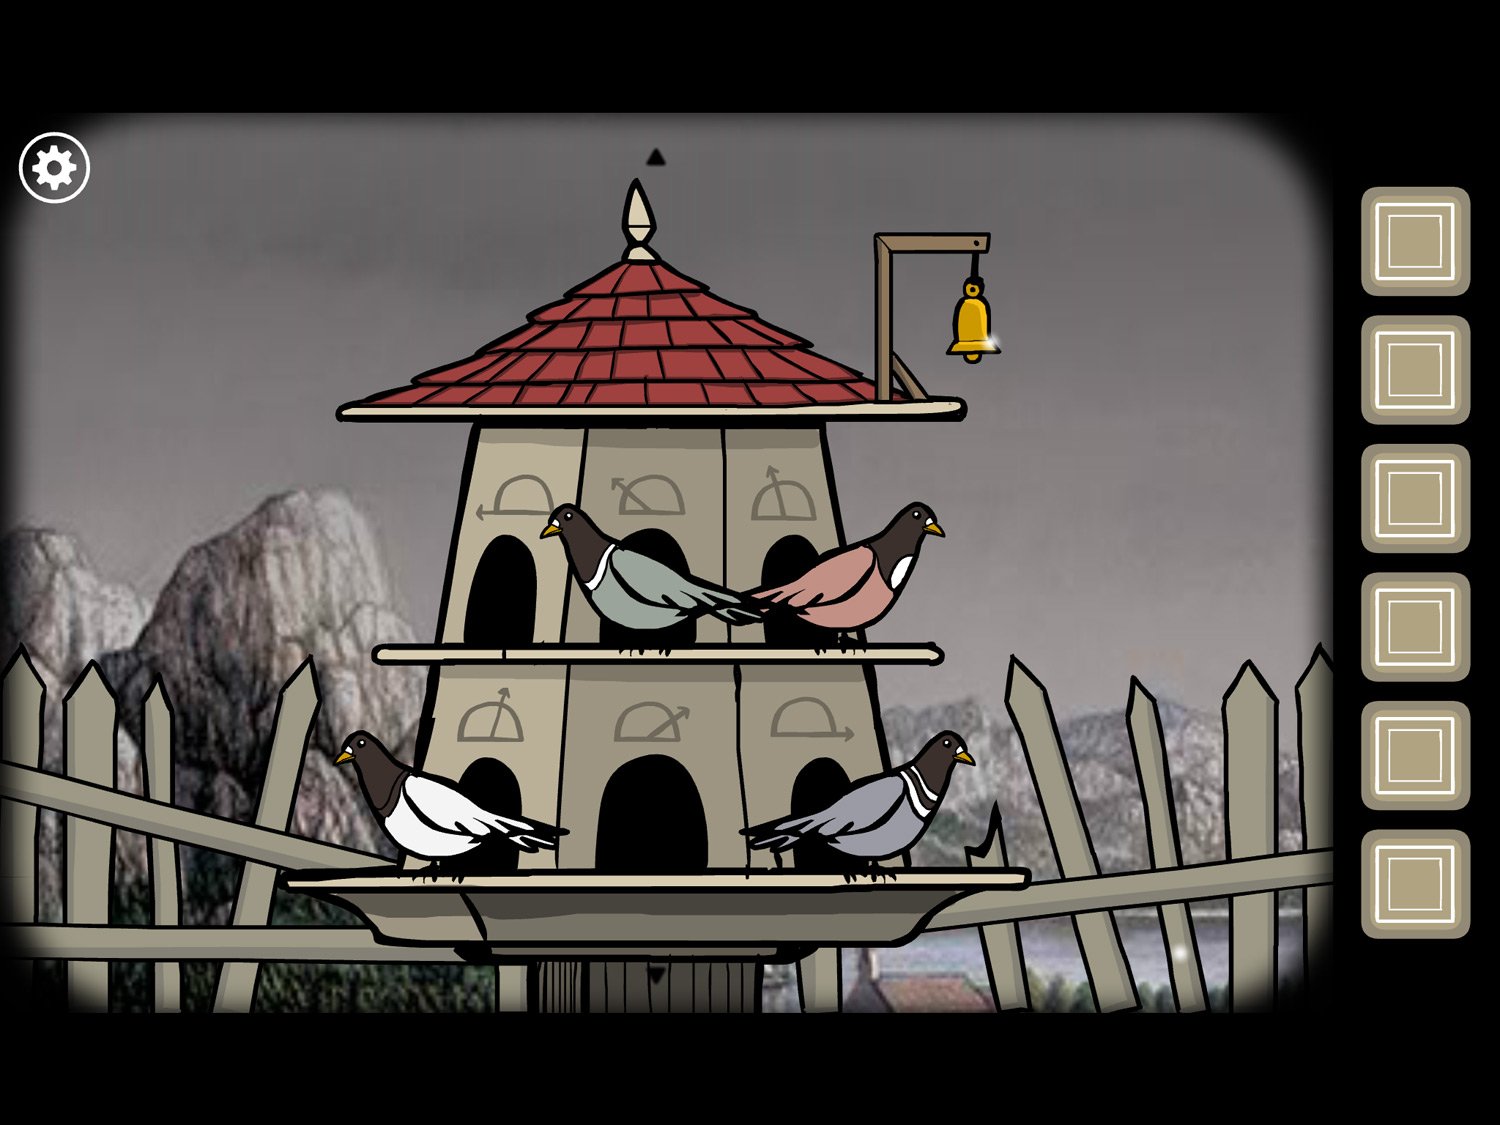
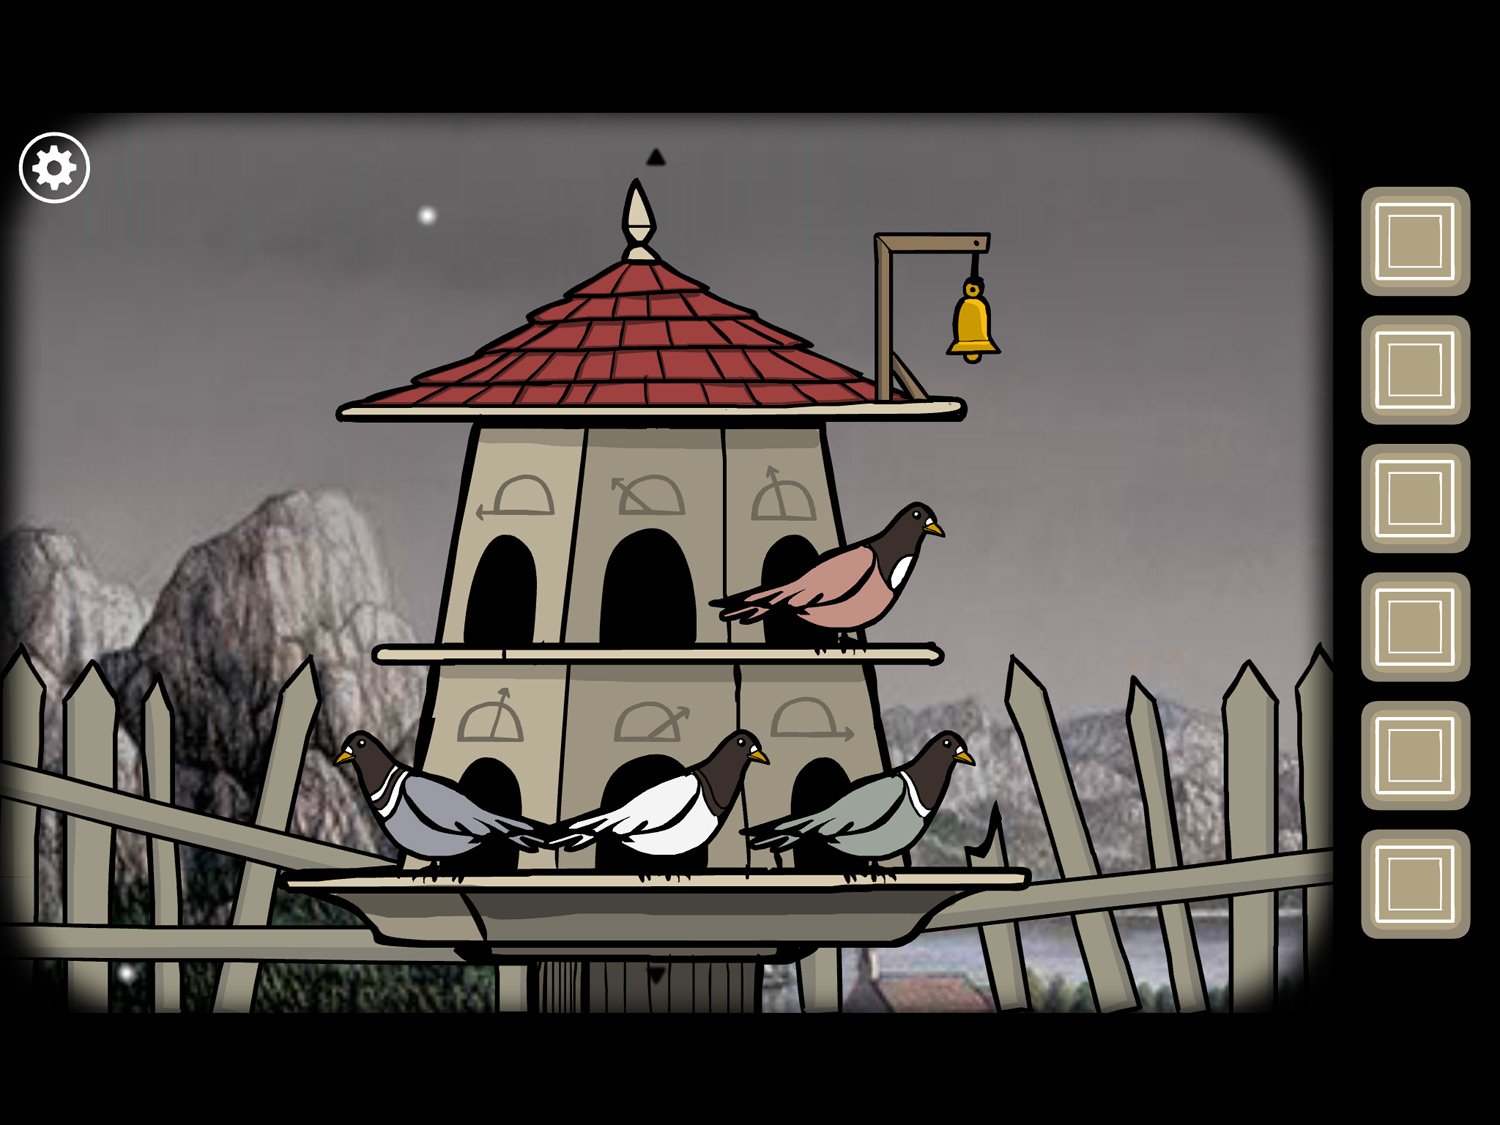
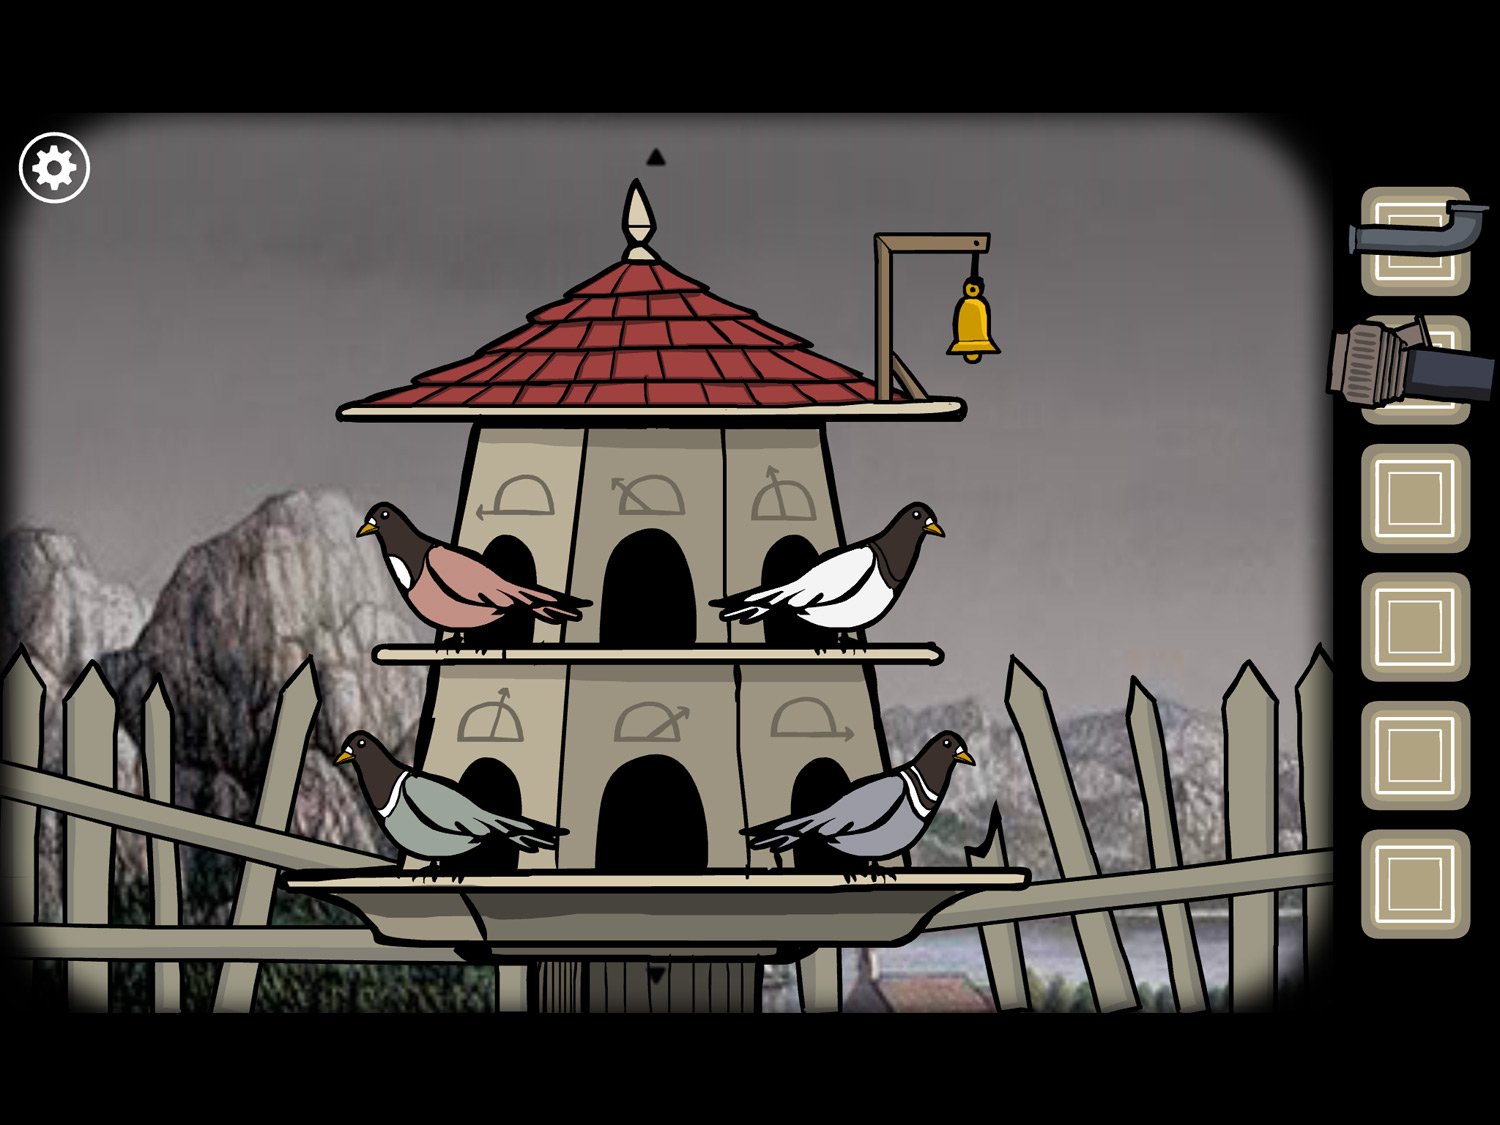
- These four pigeons correspond to the map we were just looking at. Red-bodied bird is signified by the red line (which was headed to point B), white bird by white line, etc.
- You can also see the same clock points on the doors behind the birds. On the map, red was starting from 11 o’clock, and you can see that on the door he’s currently positioned in front of
- We need to move the birds to the correct doors to send them to the assigned points on the map. We’ll need to send the birds a few different times since we need to get multiple birds to the same point at the same time. The birds always fly in the same trajectory: red bird always flies in a straight line, blue in a curve, green in a sharp zig-zag, and white in two large curves
- If you move the birds around and then go back to the map, you can see what their current positions correspond to
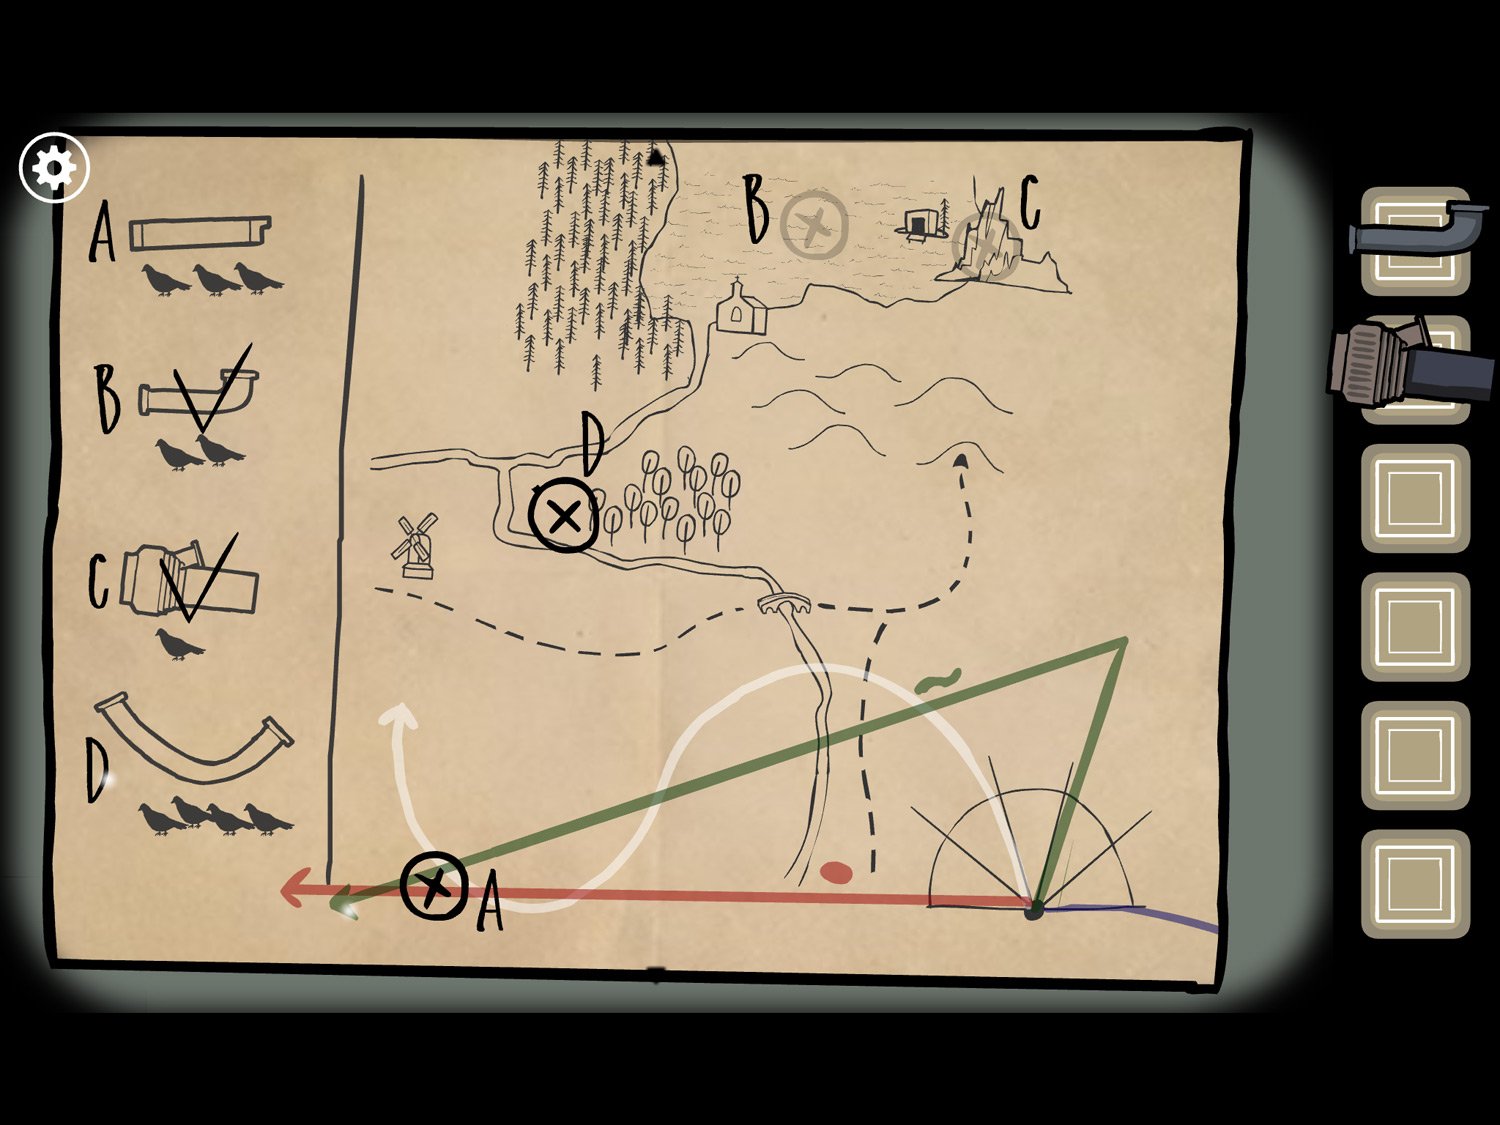
- To start, let’s send two birds to B and one bird to C. That will get us two parts of the bike in one trip
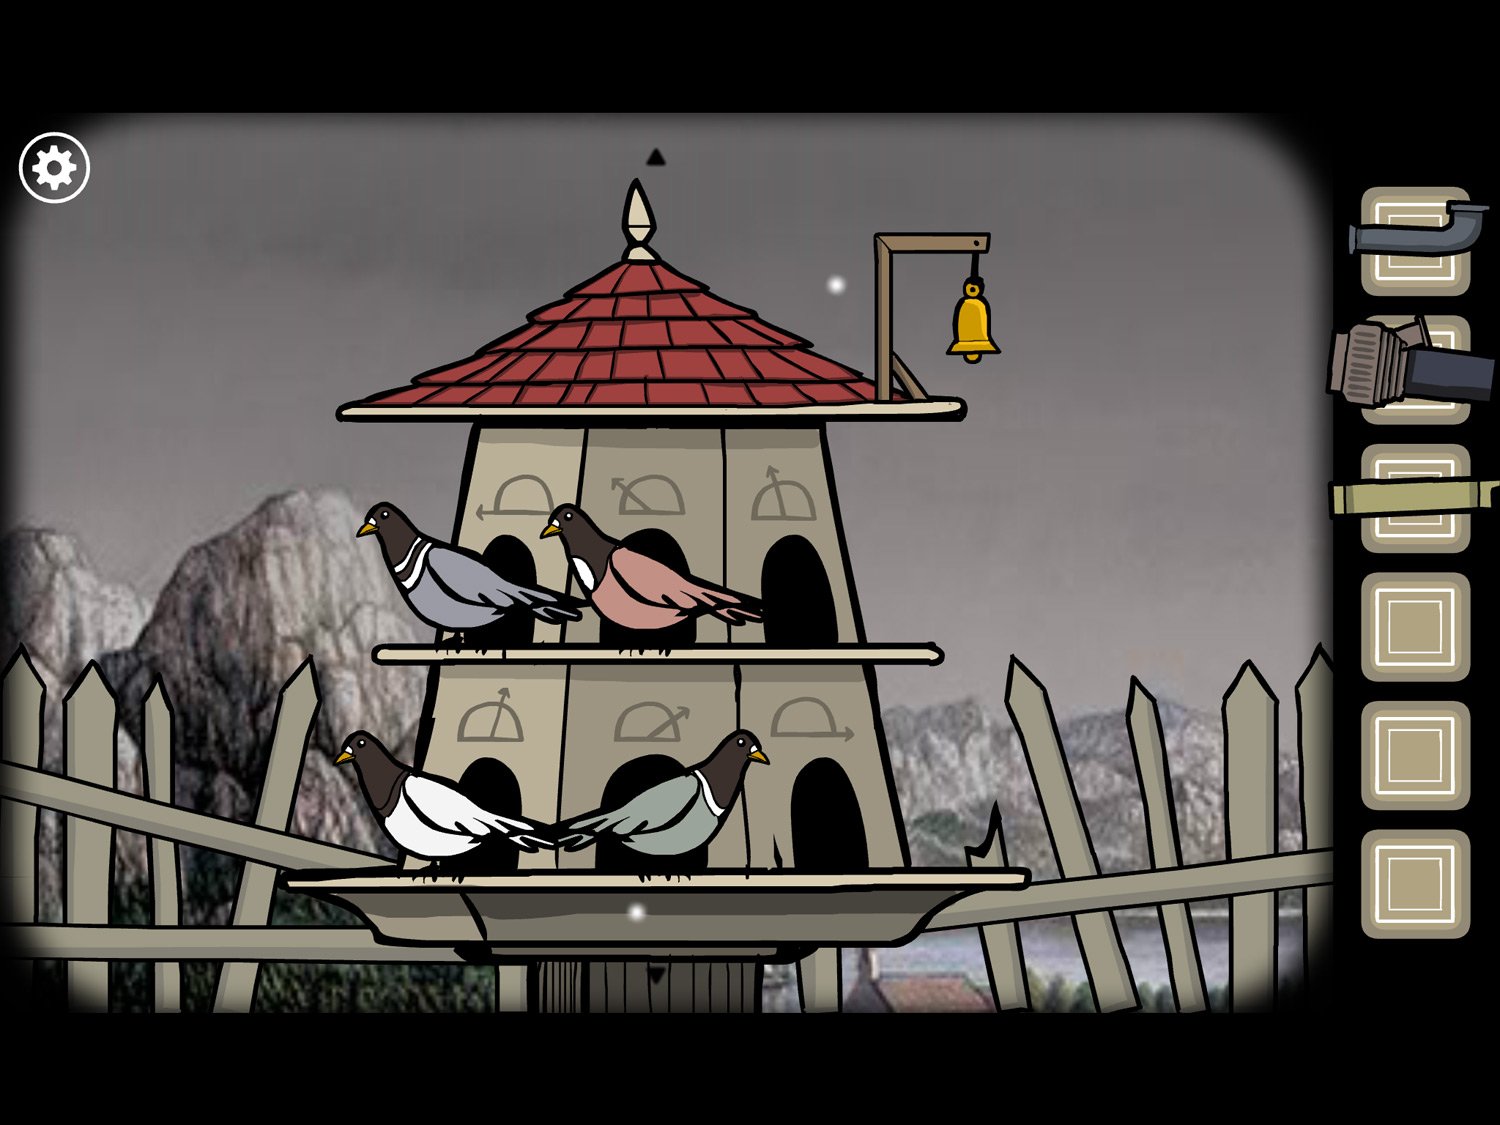
- To achieve the map image just above: move red bird to 11 o’clock (right door in top row). Move white bird to 2 o’clock (middle door in bottom row). Move green bird to 3 o’clock (right door in bottom row). Blue bird’s position doesn’t matter right now
- Tap the bell above the birdhouse to send the birds out. After they’ve all flown away, hit the bell again. They should return with the bike parts from B and C
- Zoom out to pick up the bike parts that are now below the birdhouse: tap to get BIKE PART and BIKE PART (2)
- Return to the birds. This time we need to send three birds to point A on the map
- Move red bird to 9 o’clock (left door in top row). Move white bird to 11 o’clock (right door in top row). Move green bird to 1 o’clock (left door in bottom row). Blue bird is again not used
- Tap the bell once the birds are in their spots. Tap again and they return with another bike part. Zoom out and pick up BIKE PART (3)
- We need to send the birds out one more time. Point D requires all four birds to go there at the same time
- Move blue bird to 9 o’clock (left door in top row). Red bird to 10 o’clock (middle door in top row). White bird to 1 o’clock (left door in bottom row). Green bird to 2 o’clock (middle door in bottom row)
- Hit the bell to send them out and hit it again to get them to return. They’ll bring back the fourth and final bike part
- Zoom out and pick up BIKE PART (4). Scroll left and tap on the motorcycle
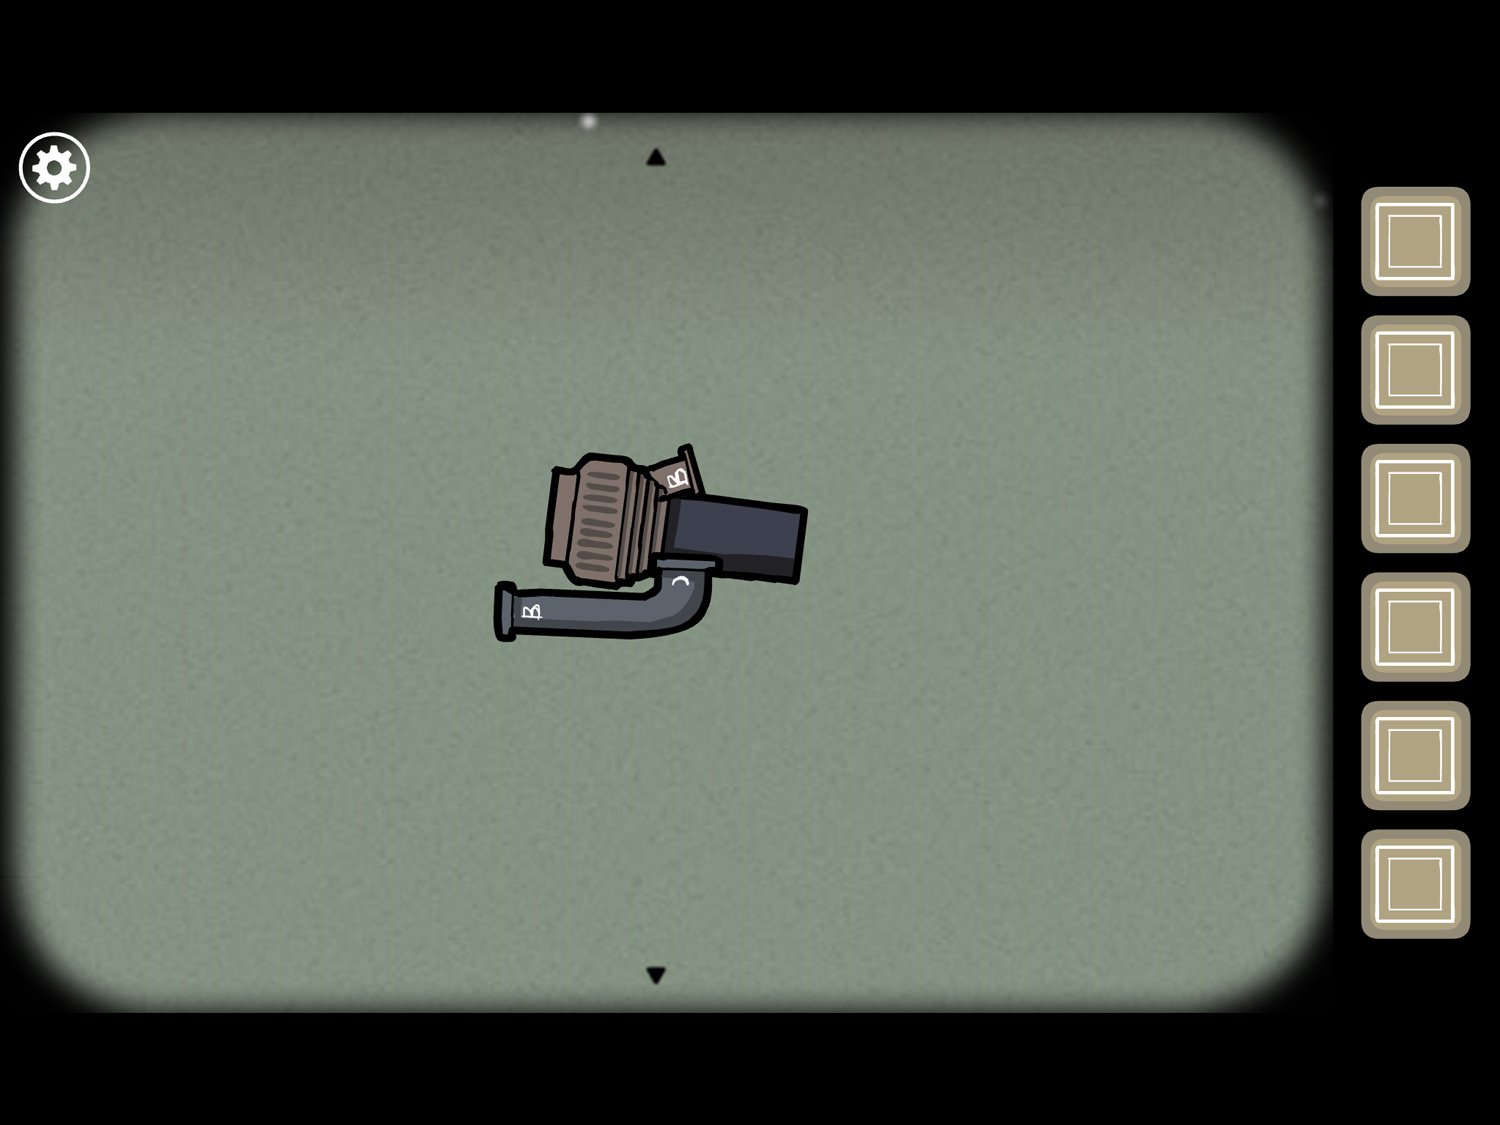
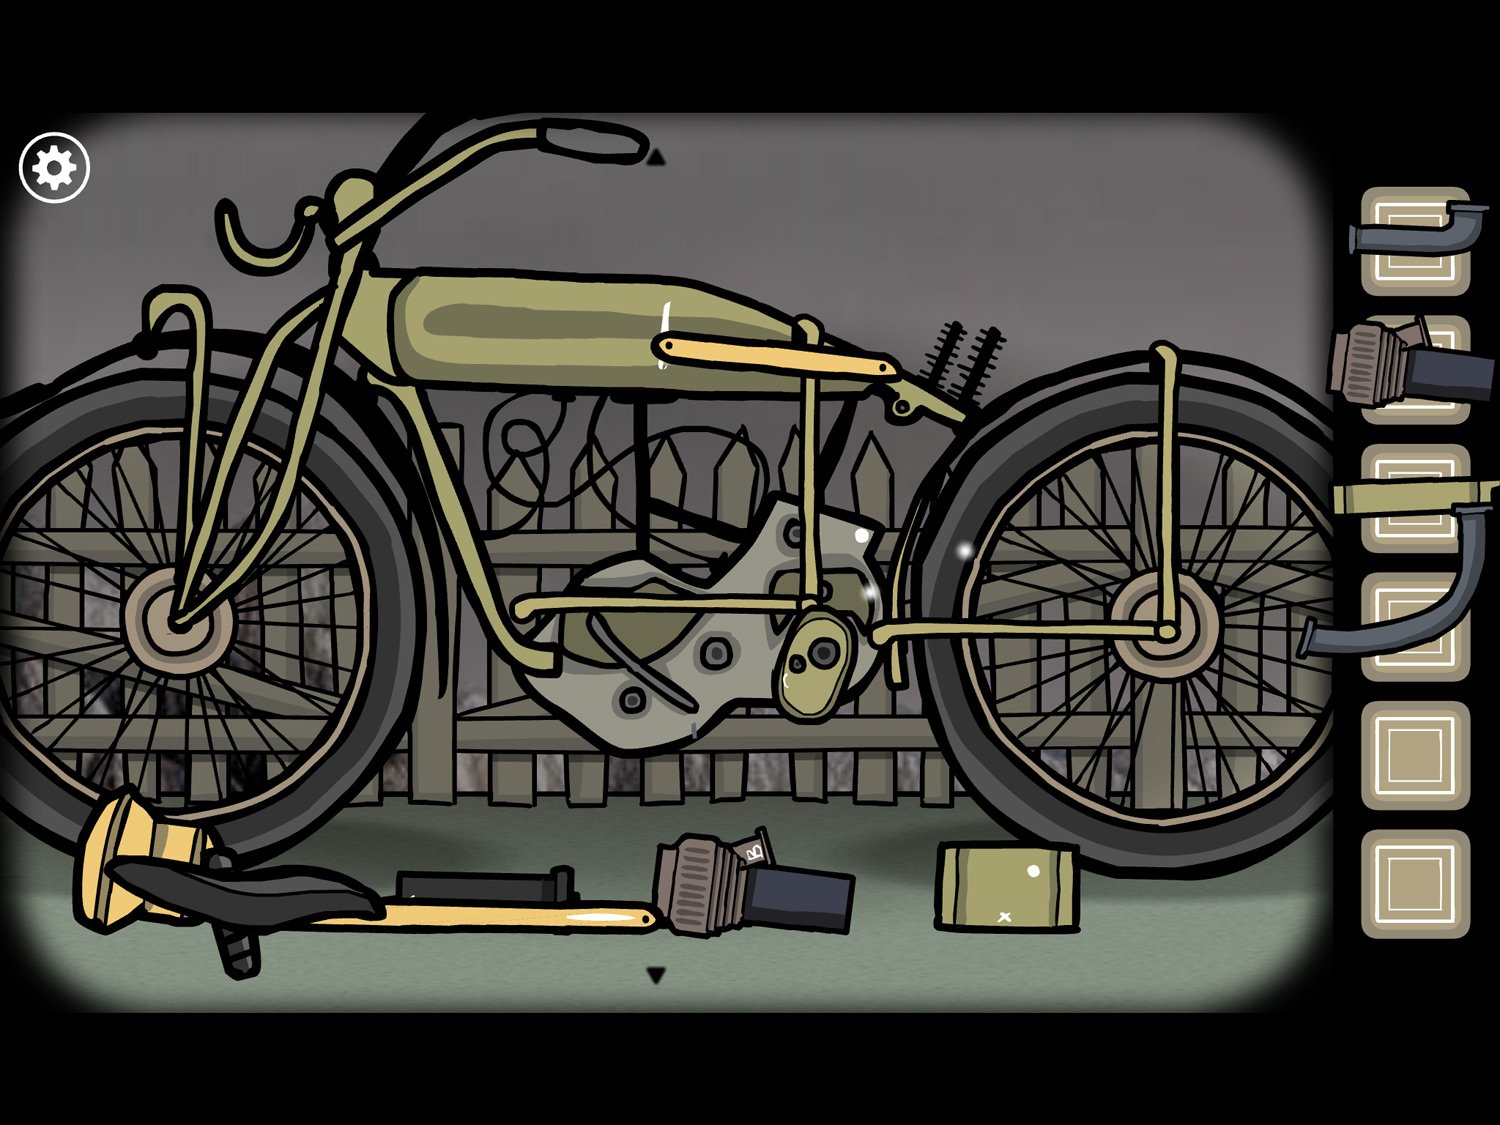
- There are two hints to putting the bike back together: the first is the picture of the bike next to the bird map. The second is the symbols on the bike parts themselves. Like symbols go next to each other: so the two “B”s will end up next to one another, the two “X”s, etc. And symbols on already-existing parts of the bike represent where other parts should go. So the green box with a dot on it goes on top of the dot near the wheel. The yellow pole with a vertical line on it goes on top of the vertical line on the body
- The image above shows the bike with all pieces in place
- Once everything is in place, tap the bike. Leonard will hop on; tap him again to reveal the white square and exit
Level 22: The Trenches, Winter 1918 – Leonard
Location: The parlor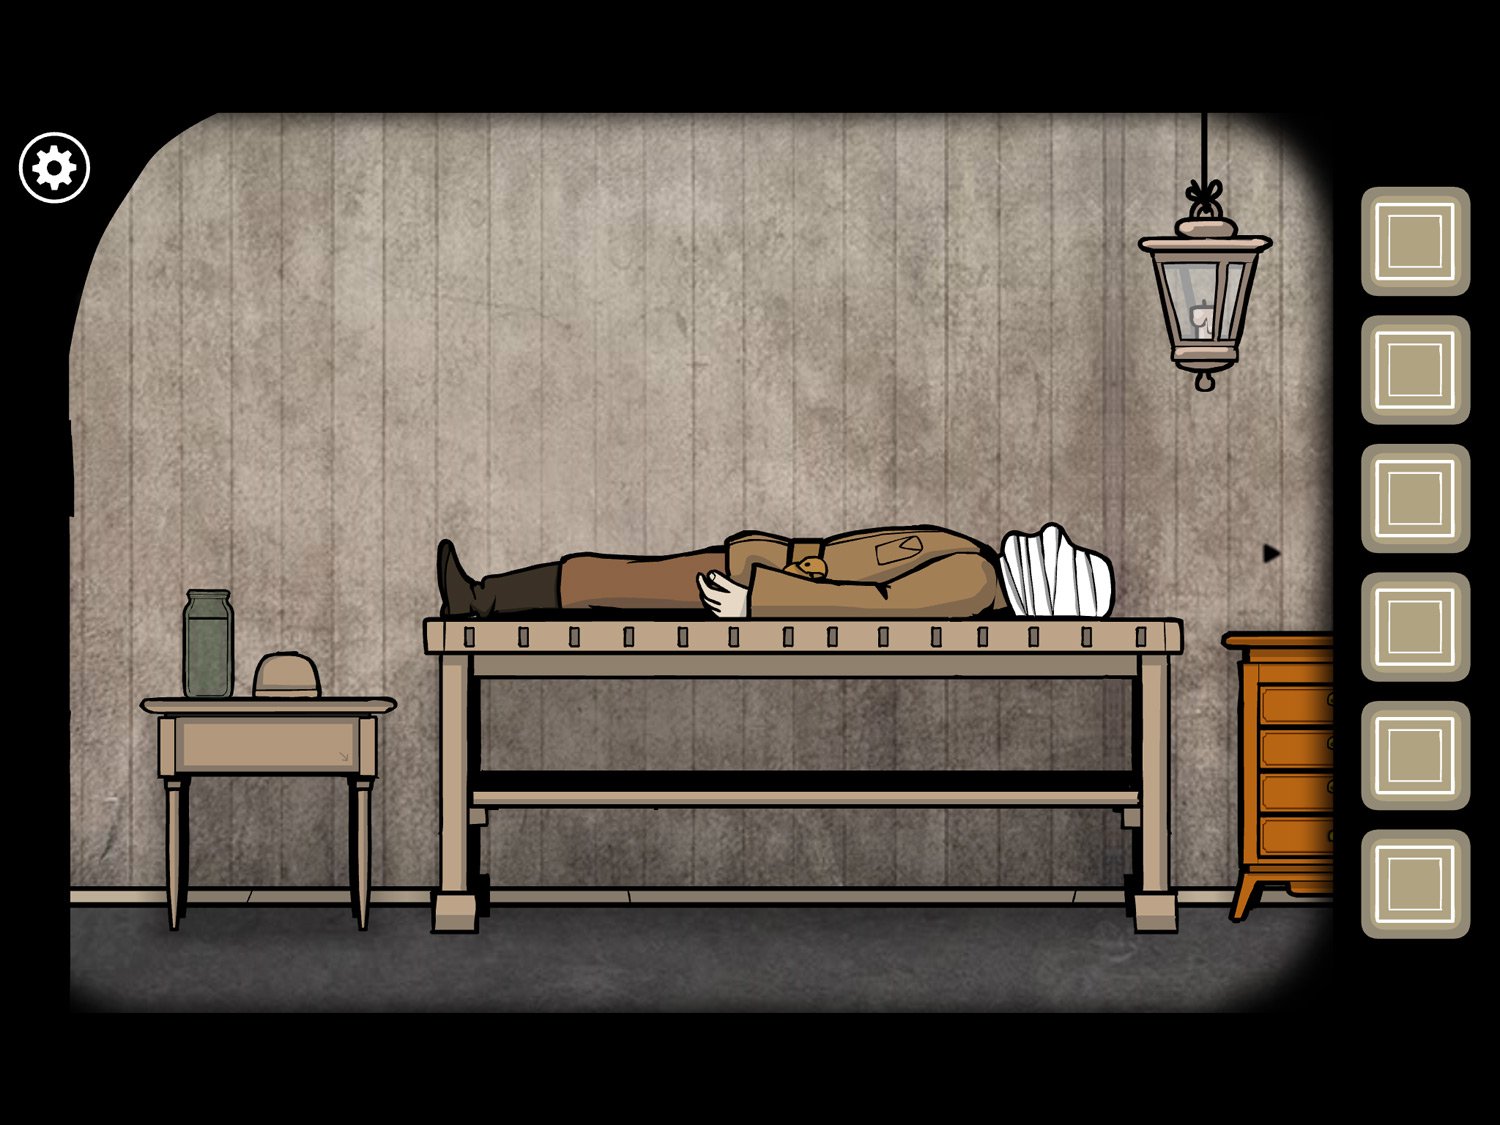
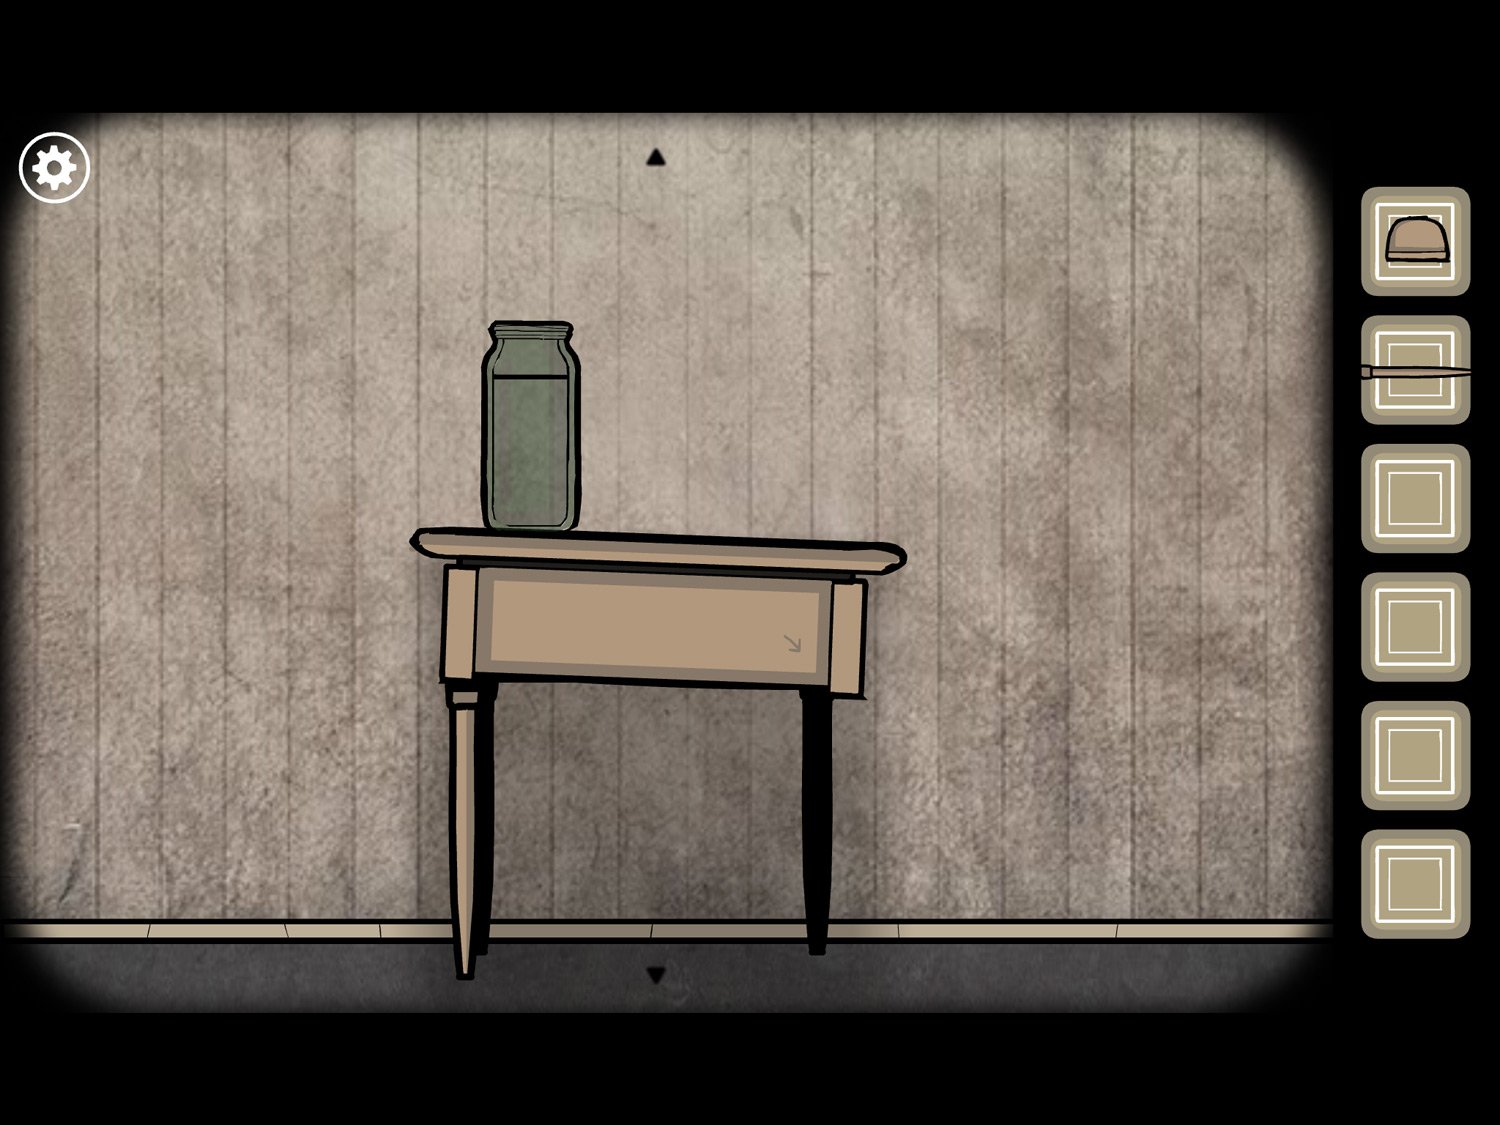
- Tap the small table on the left side of the room
- Take WOODEN CUP. Tap the right left of the table to get WOODEN LEG
- Exit the table; drag right and tap on the dresser
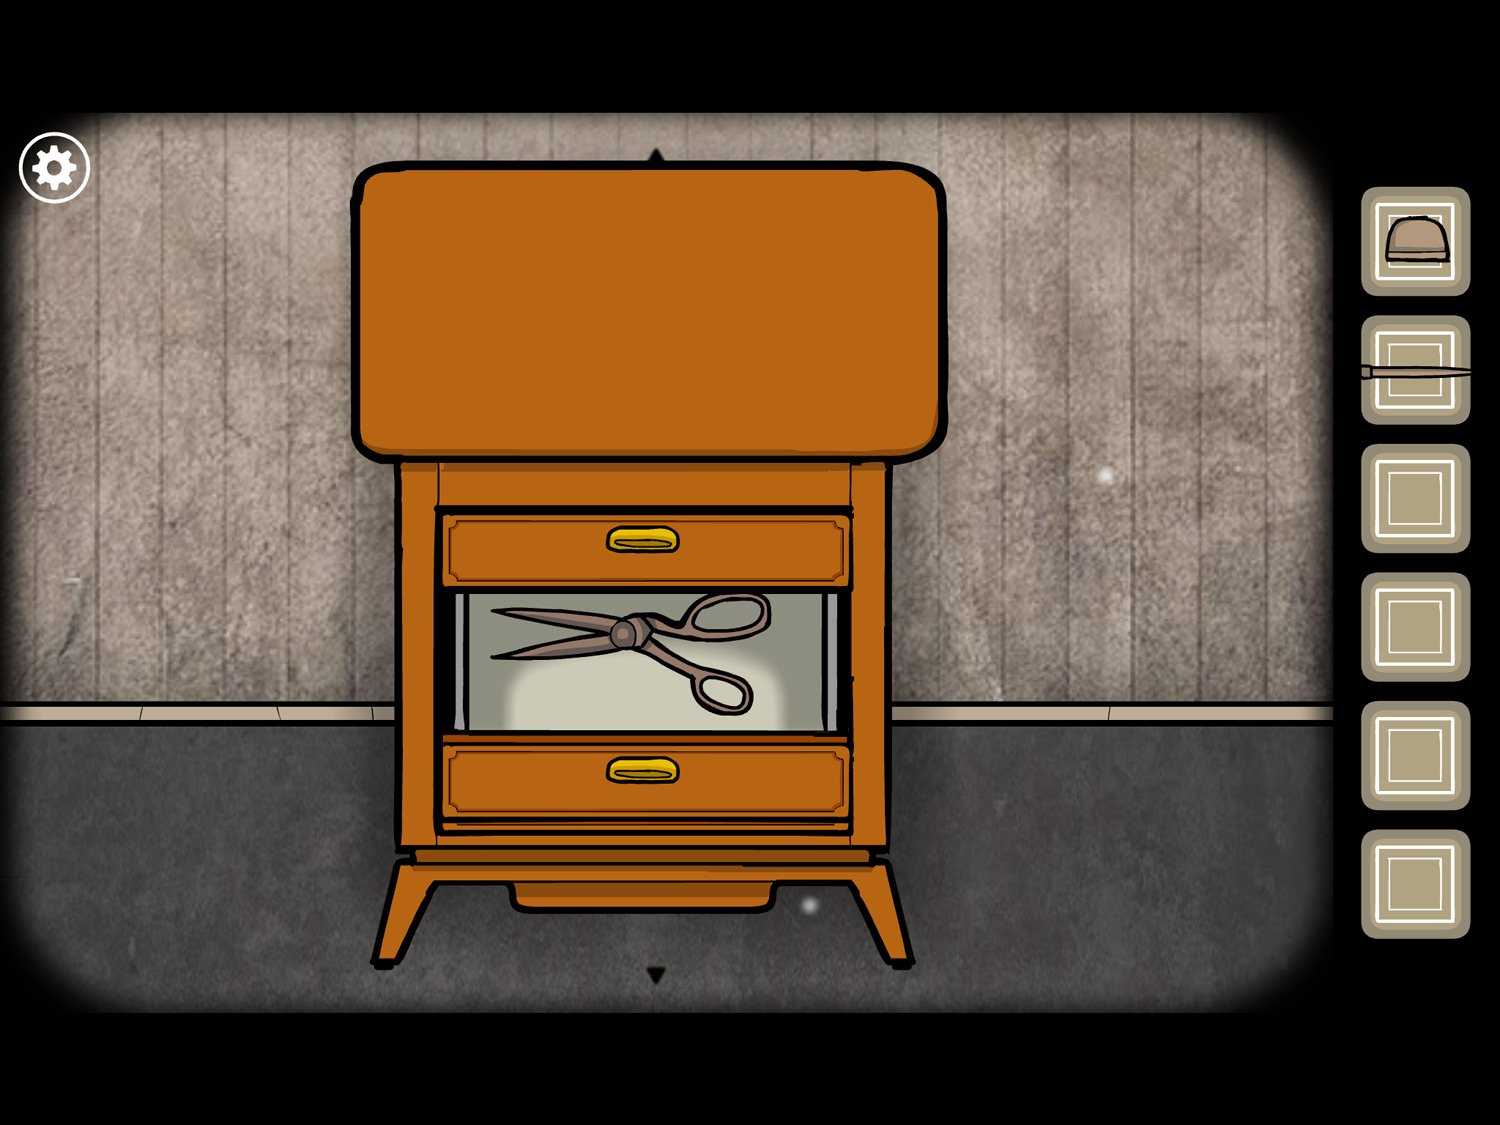
- Open the second drawer and take SCISSORS. Exit the dresser
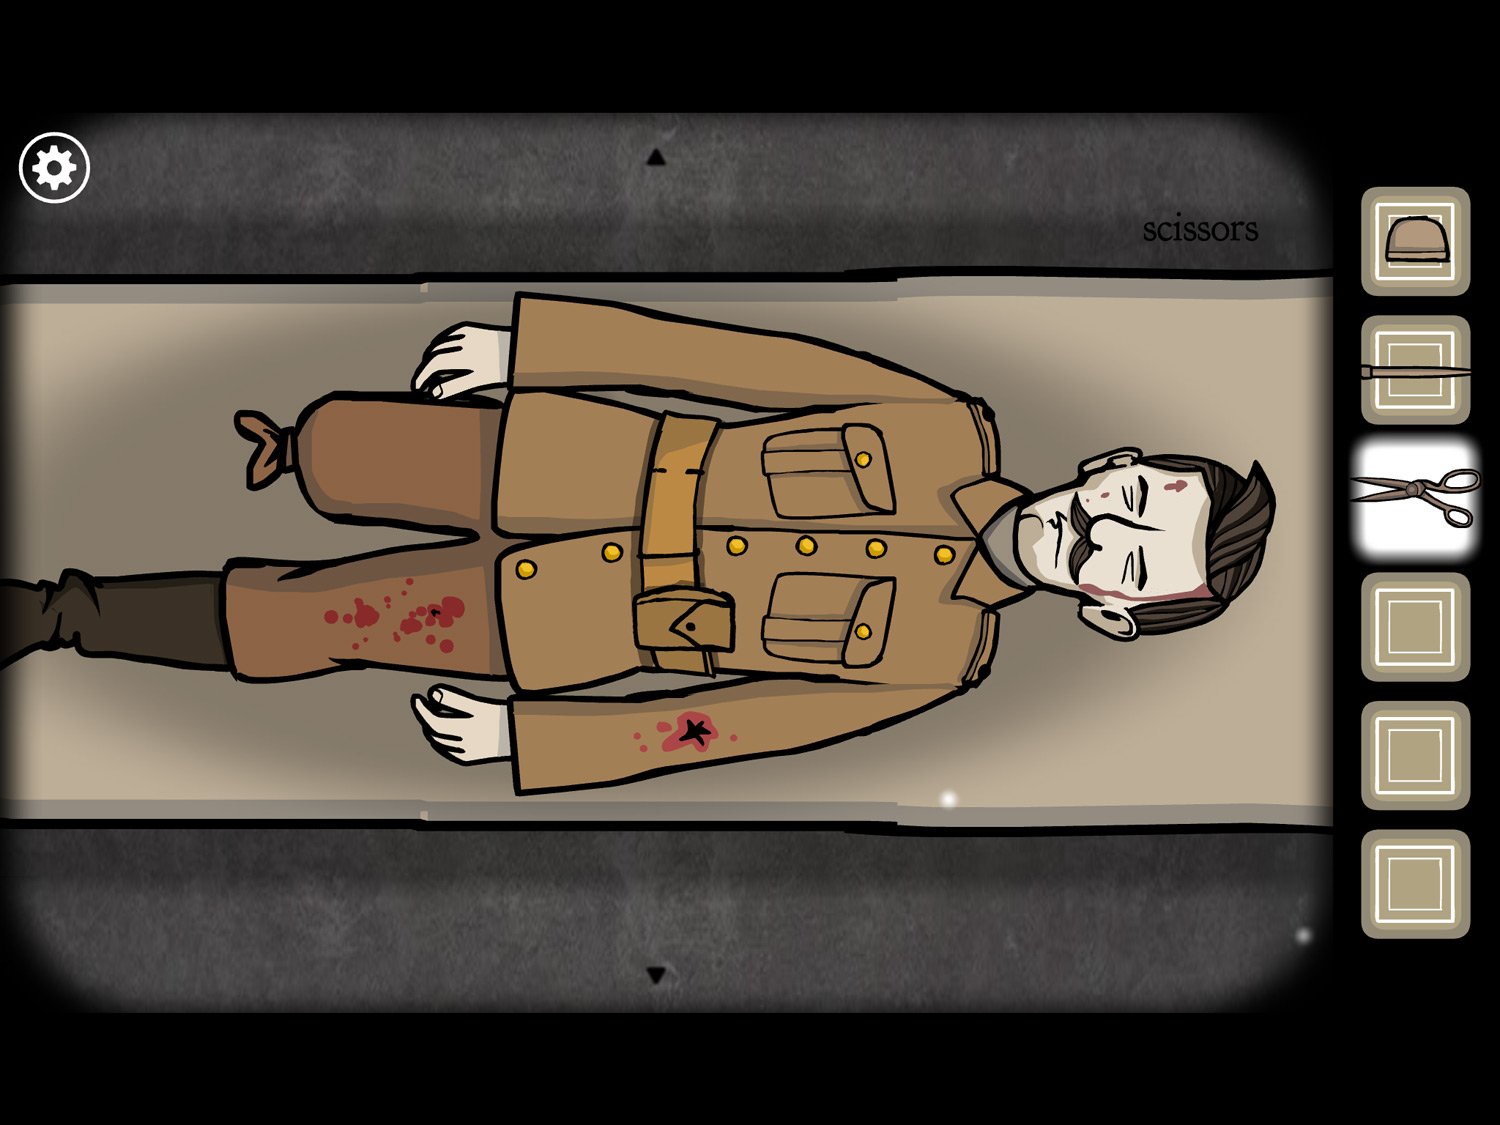
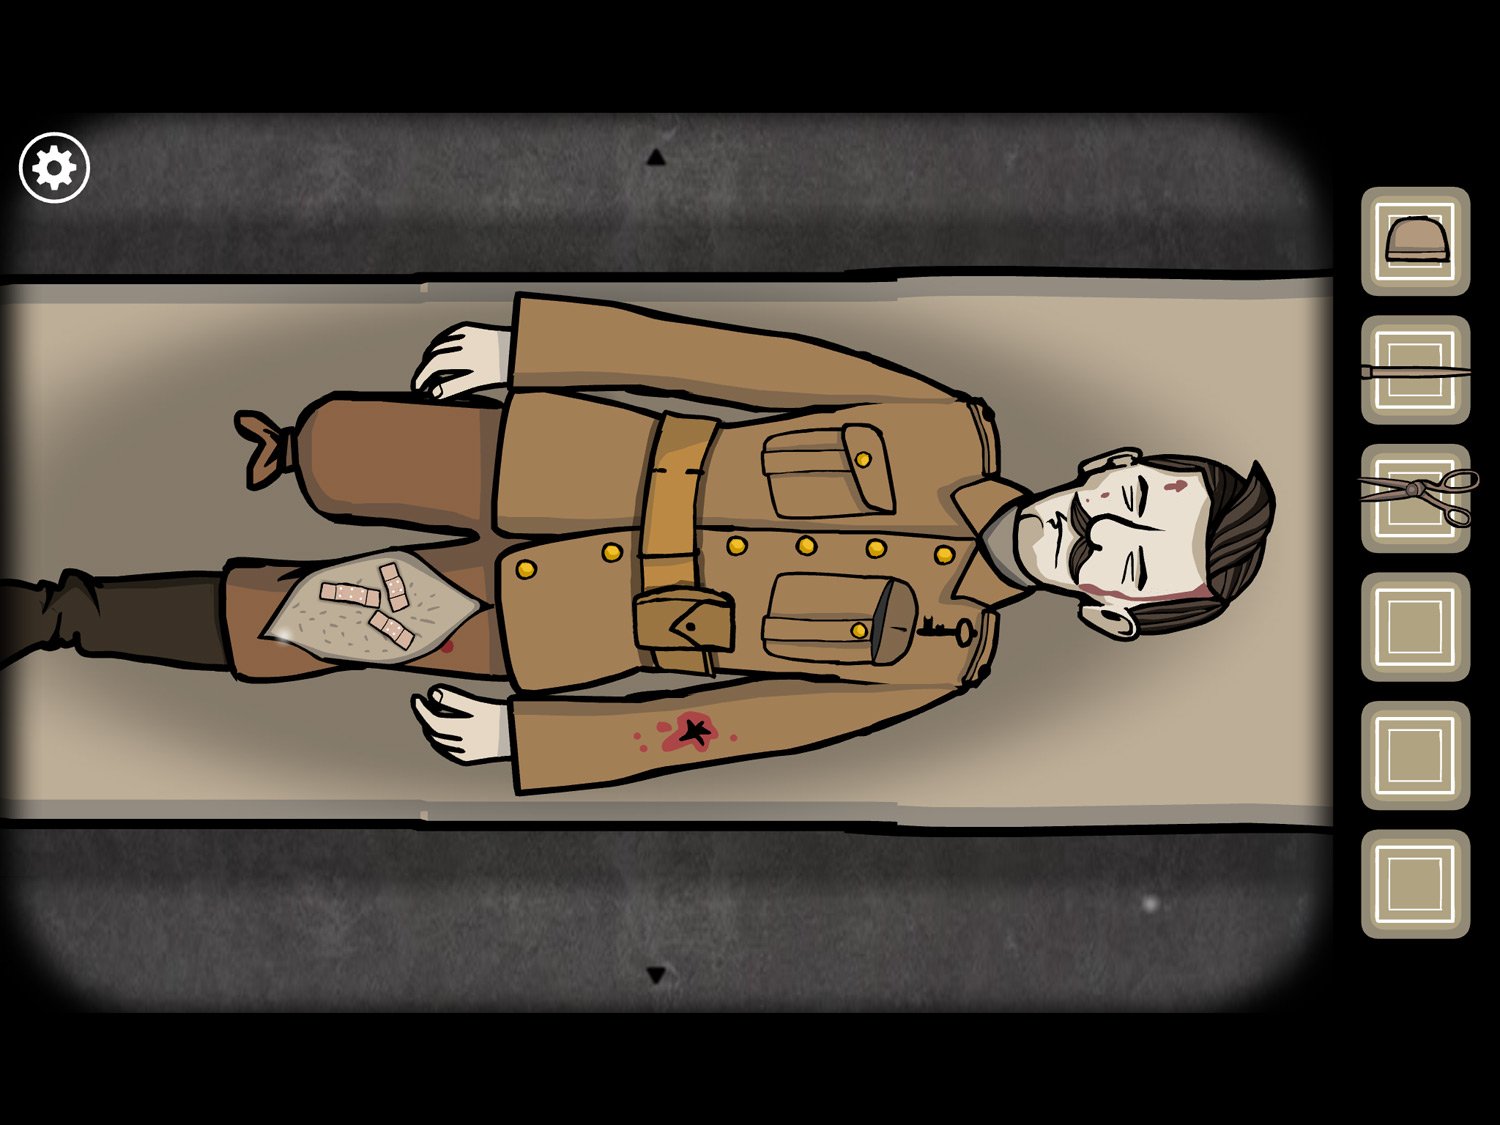
- Tap on the body on the table
- Use SCISSORS on his bandaged face. Tap eight times to remove all the bandages and zoom in on Leonard’s face
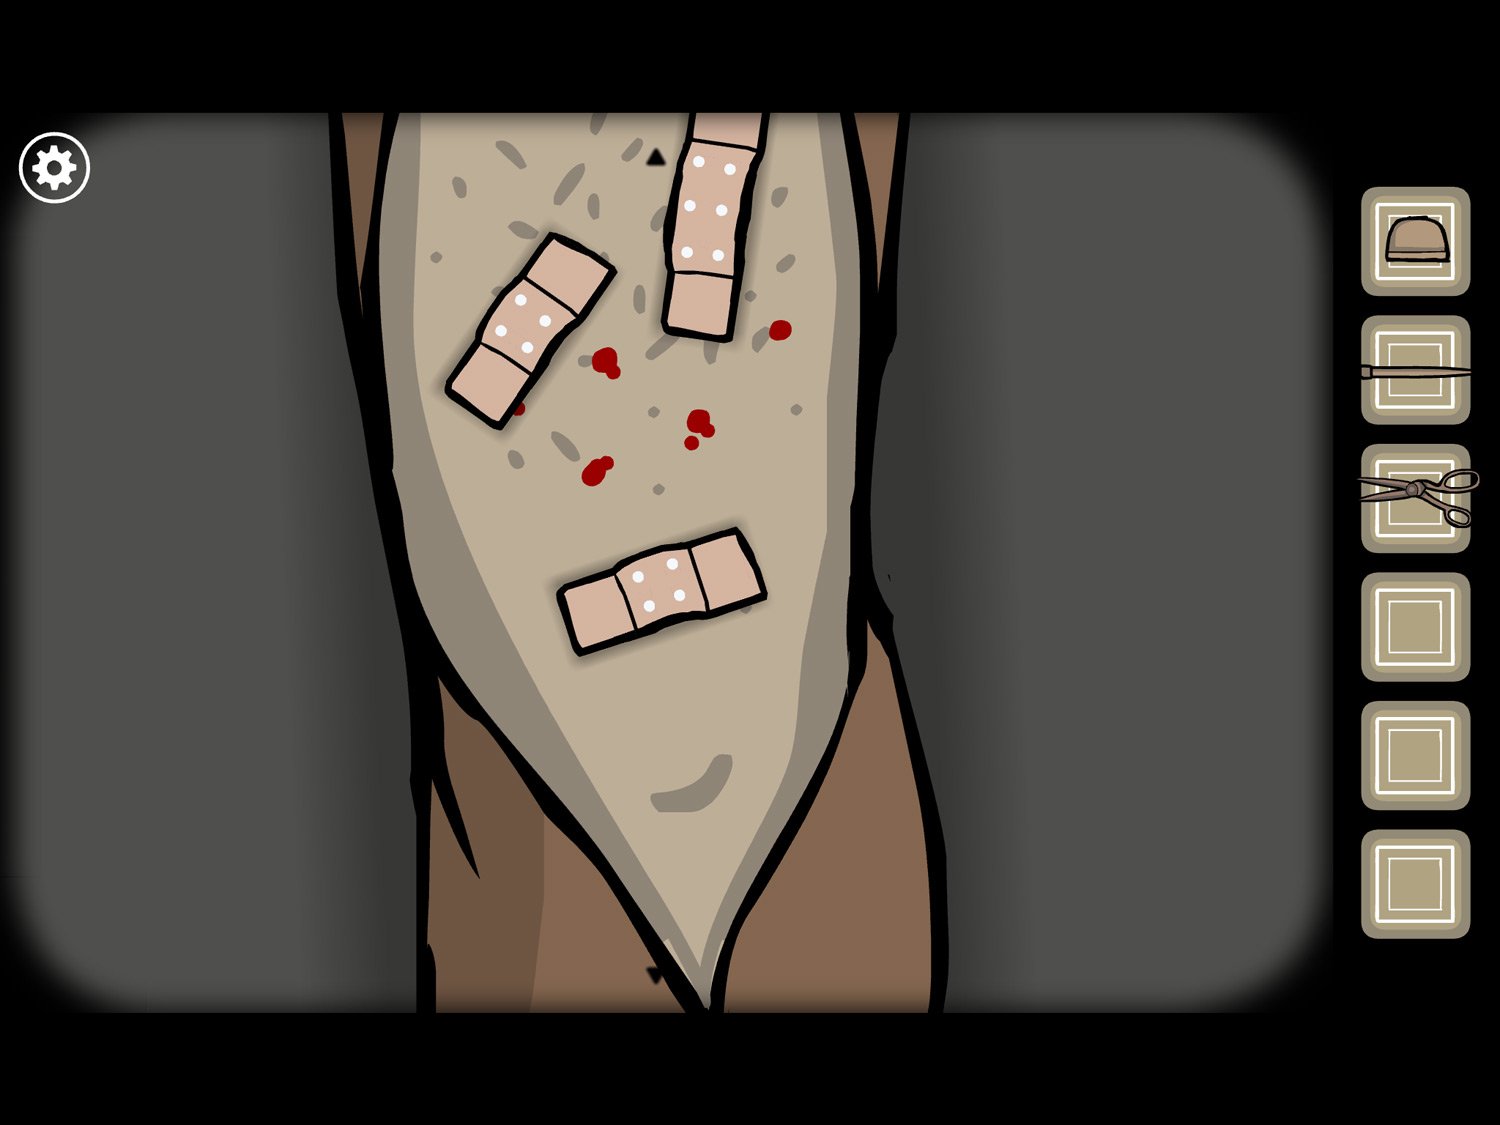
- Zoom back out; use SCISSORS on his bloody leg to zoom in
- Use SCISSORS on the leg four times to pull the cloth apart
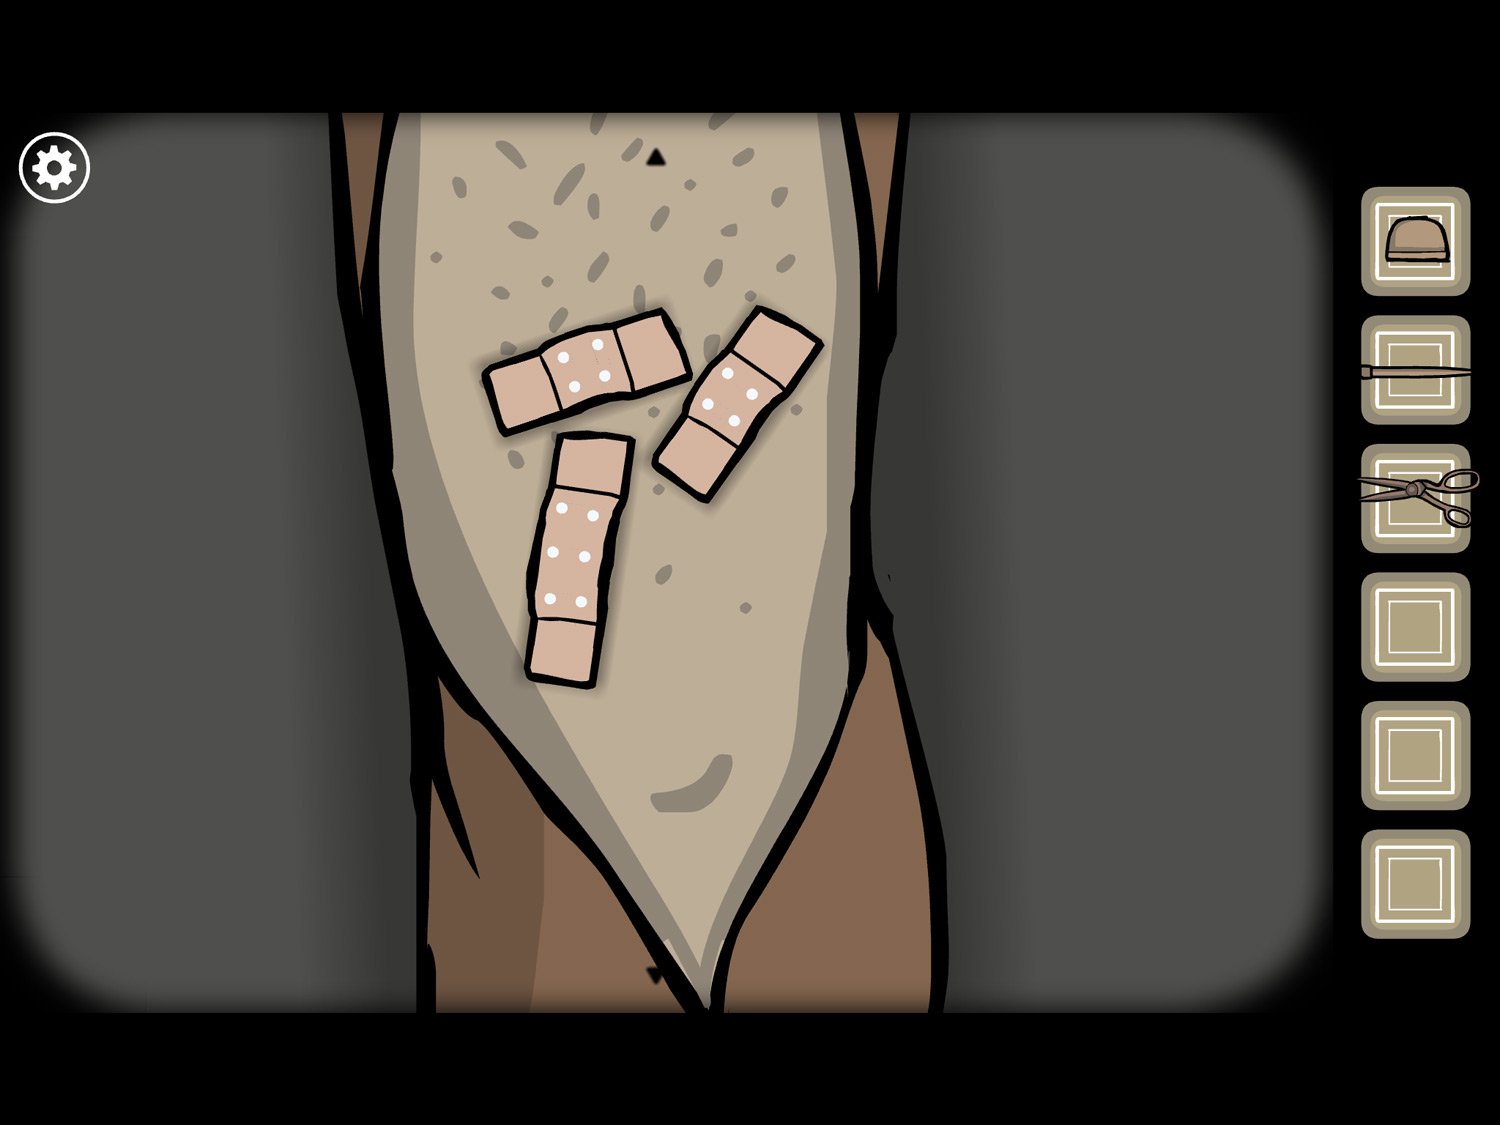
- There are three bandages; you need to move the bandages to cover all his bloody spots
- Arrange the bandages as shown; when placed correctly, sunlight will flash
- Zoom back out; tap on Leonard’s left shirt pocket to open it
- Tap again to reveal a key; tap it to get KEY
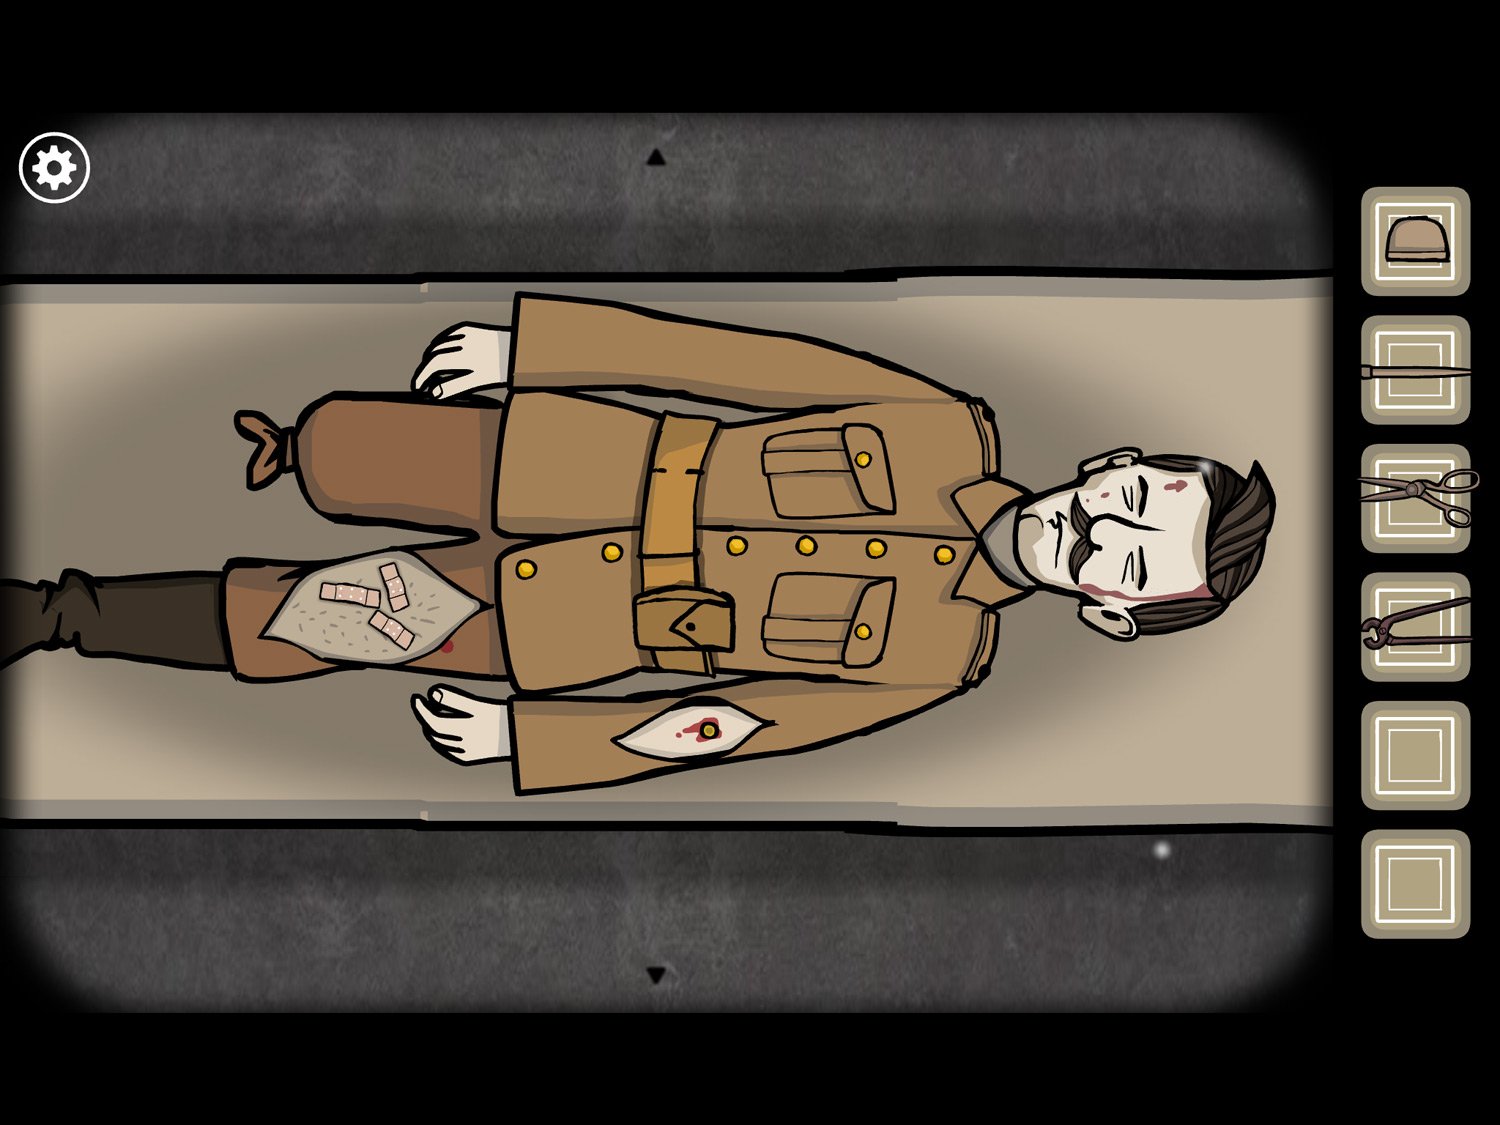
- Zoom out and return to the dresser. Use KEY on the bottom drawer. Take PINCERS
- Return to Leonard. Use SCISSORS on this bloody arm. Tap three times to remove all the cloth and reveal a bullet
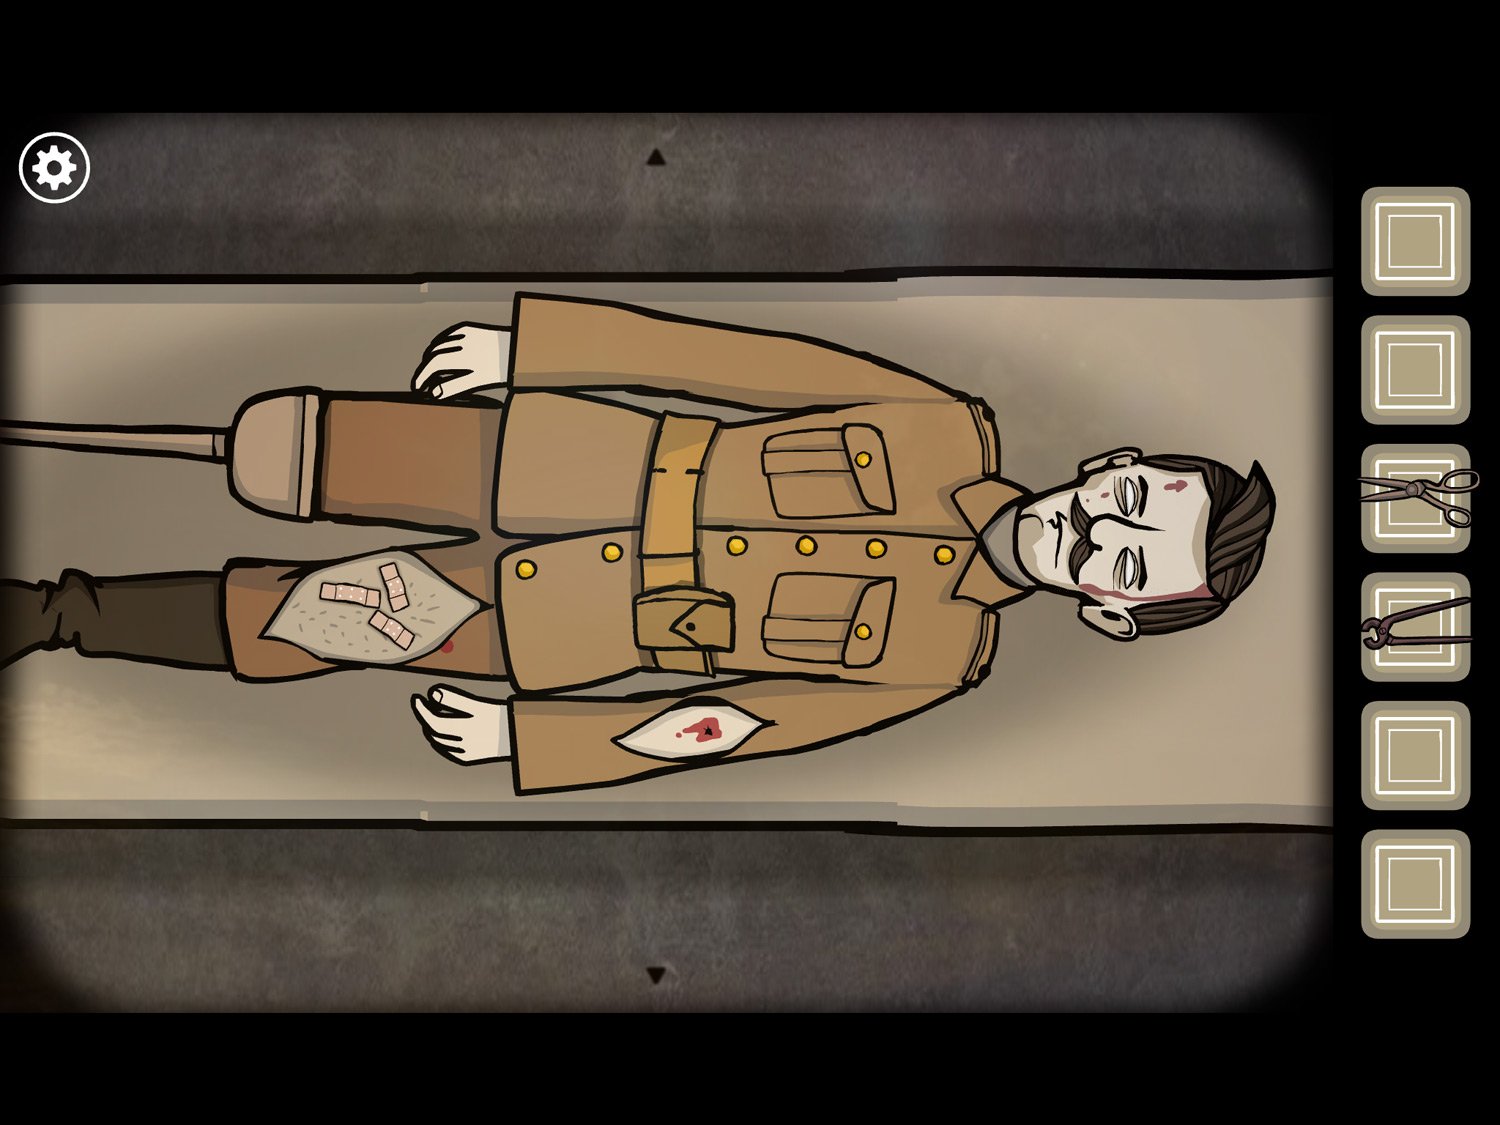
- Use PINCERS on the bullet in his arm. Sunlight will flash when it’s removed
- Use WOODEN CUP on his missing leg. Use WOODEN LEG on the WOODEN CUP
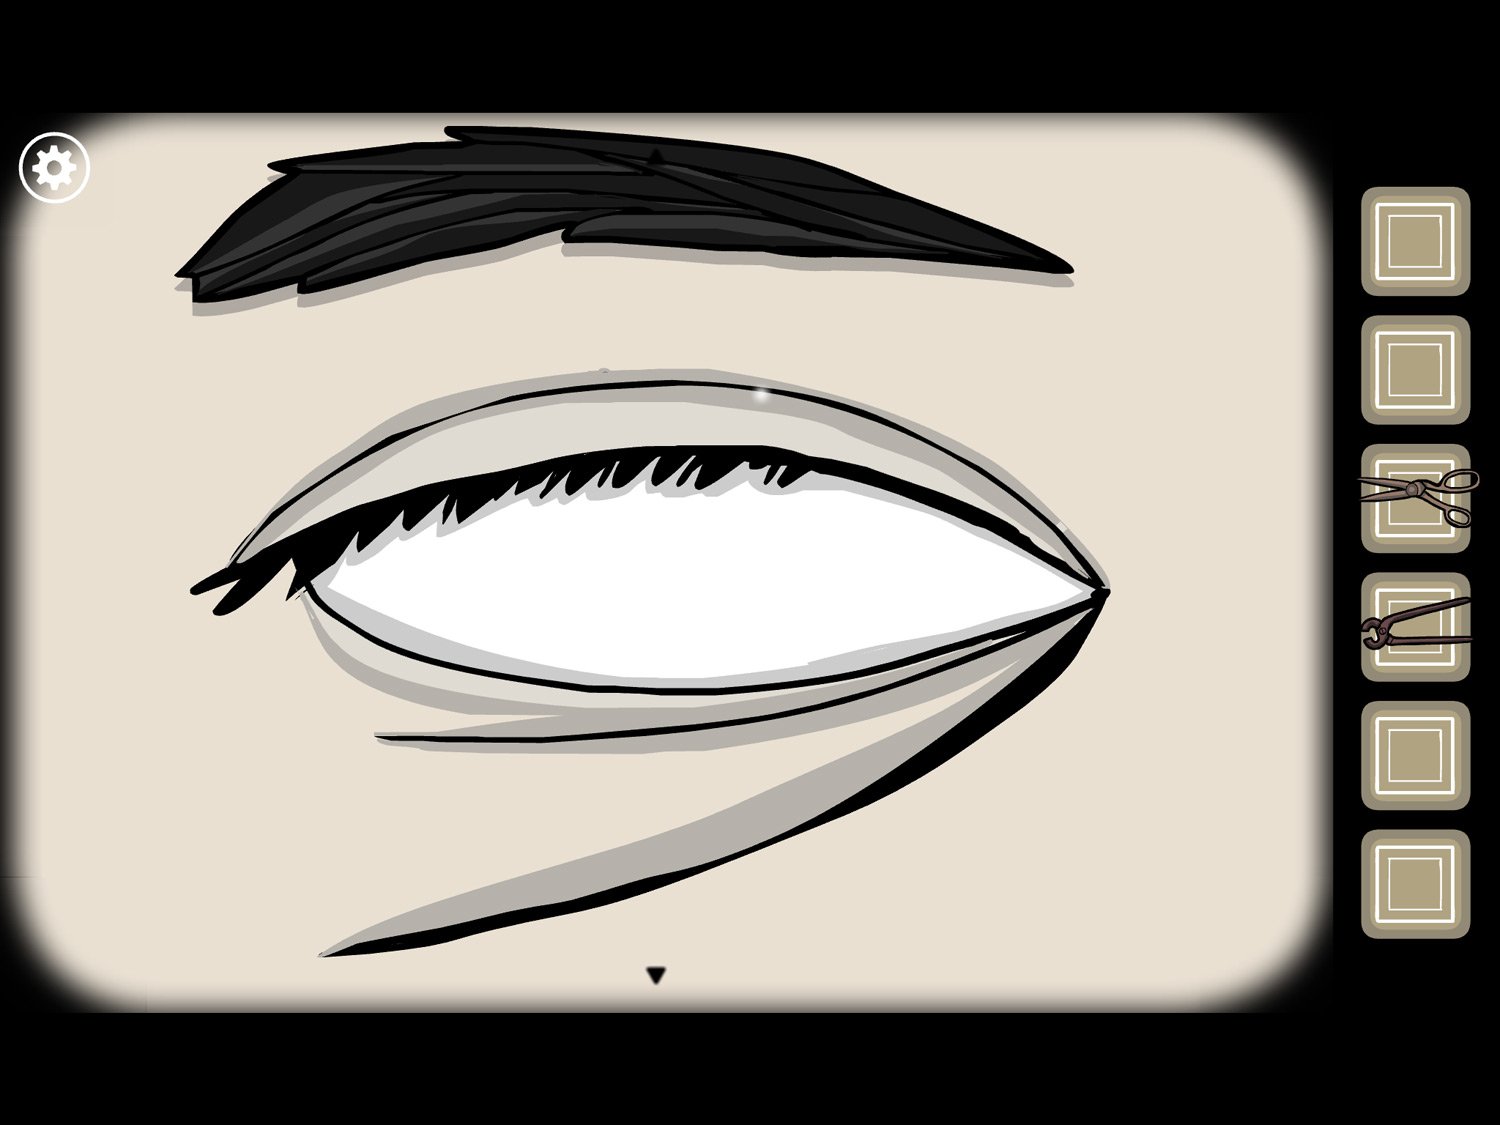
- Sunlight will flash. With all areas addressed (bloody leg; bullet in arm; wooden leg), Leonard’s eyes will open
- Tap on his face. Tap his face again to zoom in farther
- Tap his eye
- You’ll be in a trench. Tap on the grenade on the ground next to Leonard
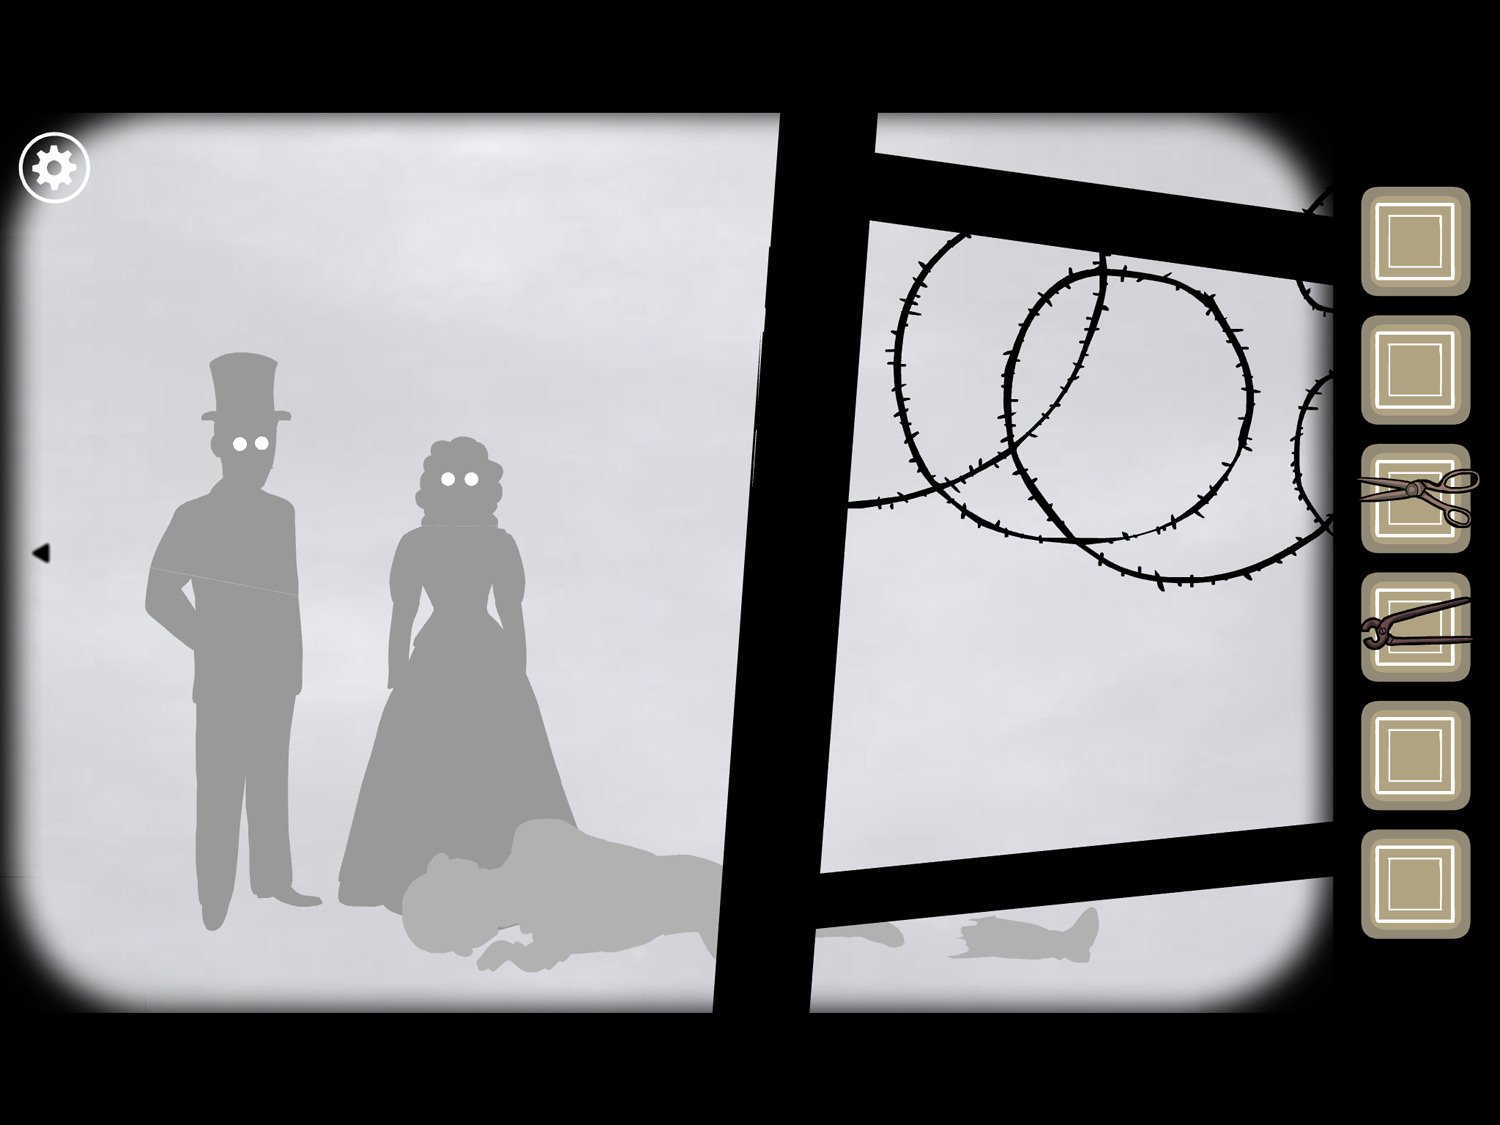
- Pull the pin from the grenade. It will explode and you’ll be in a haze with Leonard on the ground. A darker shadow’s legs loom over him
- Drag left until you see the top of the shadow. Drag the top half of the shadow onto its legs. When aligned properly, the screen will flash. Tap the shadow to return to Leonard on the table
- He is awake and screaming. Tap his face and eye again
- You’re back in the trench. Pull the grenade pin again
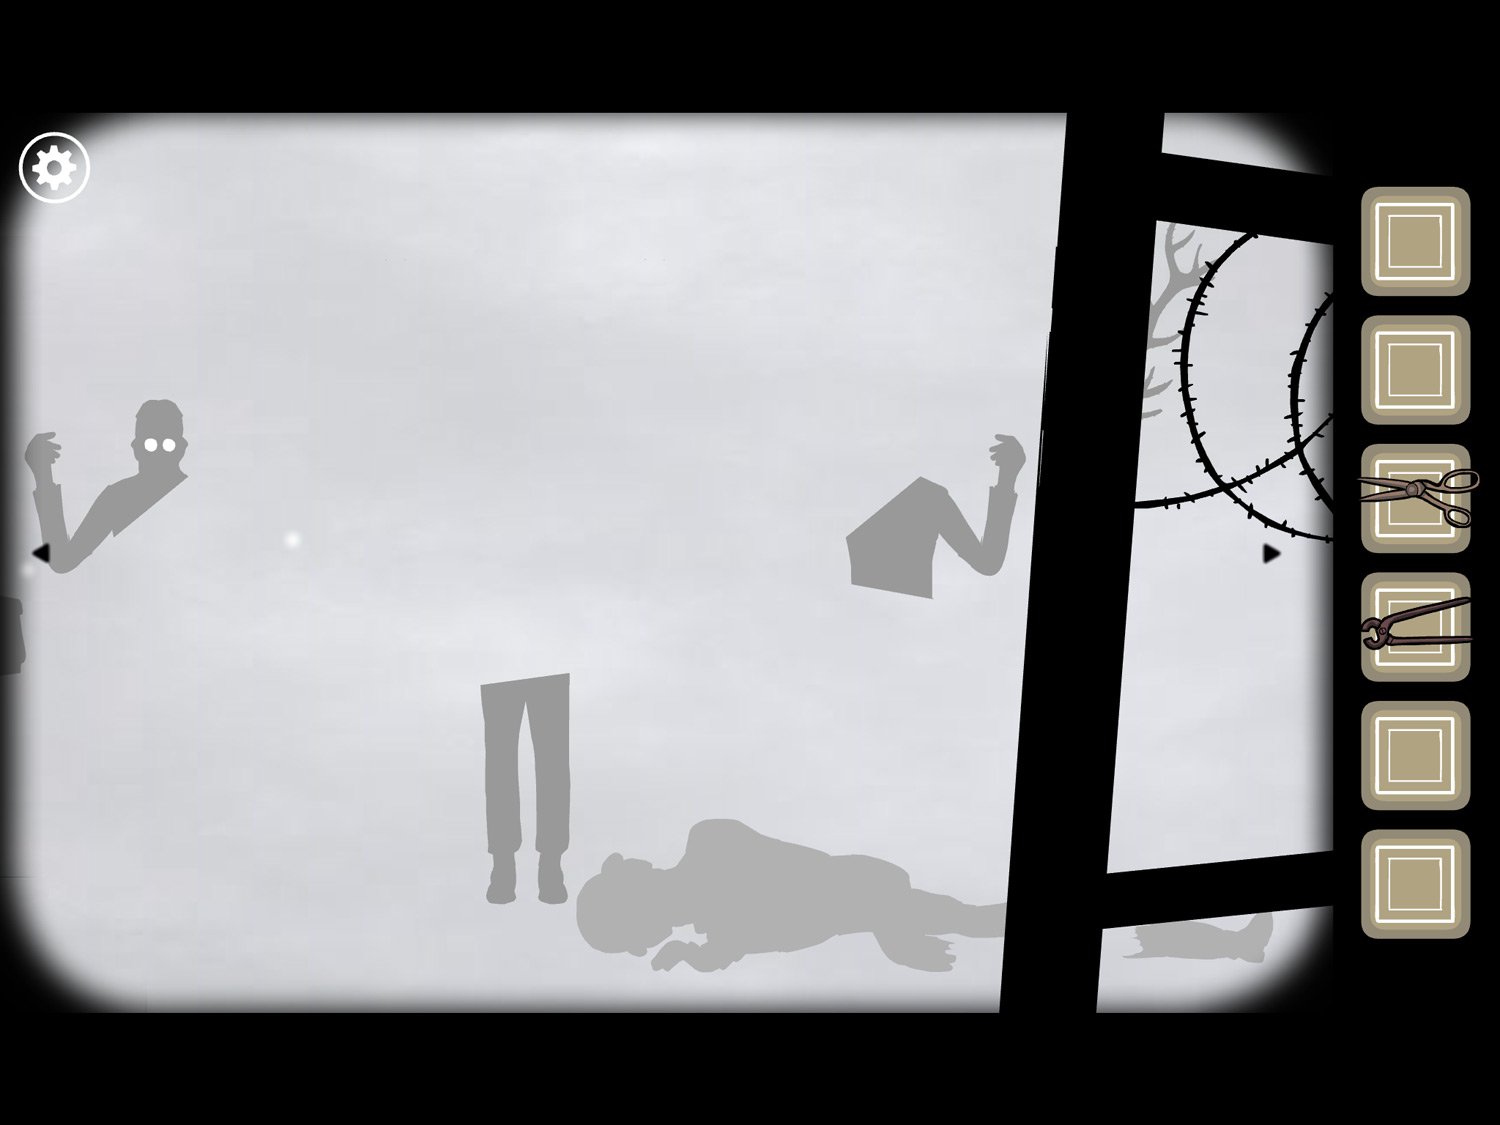
- This time there are two other shadows in the haze
- Put them together then tap to return to Leonard
- Tap his face and eye again. Pull the grenade pin again
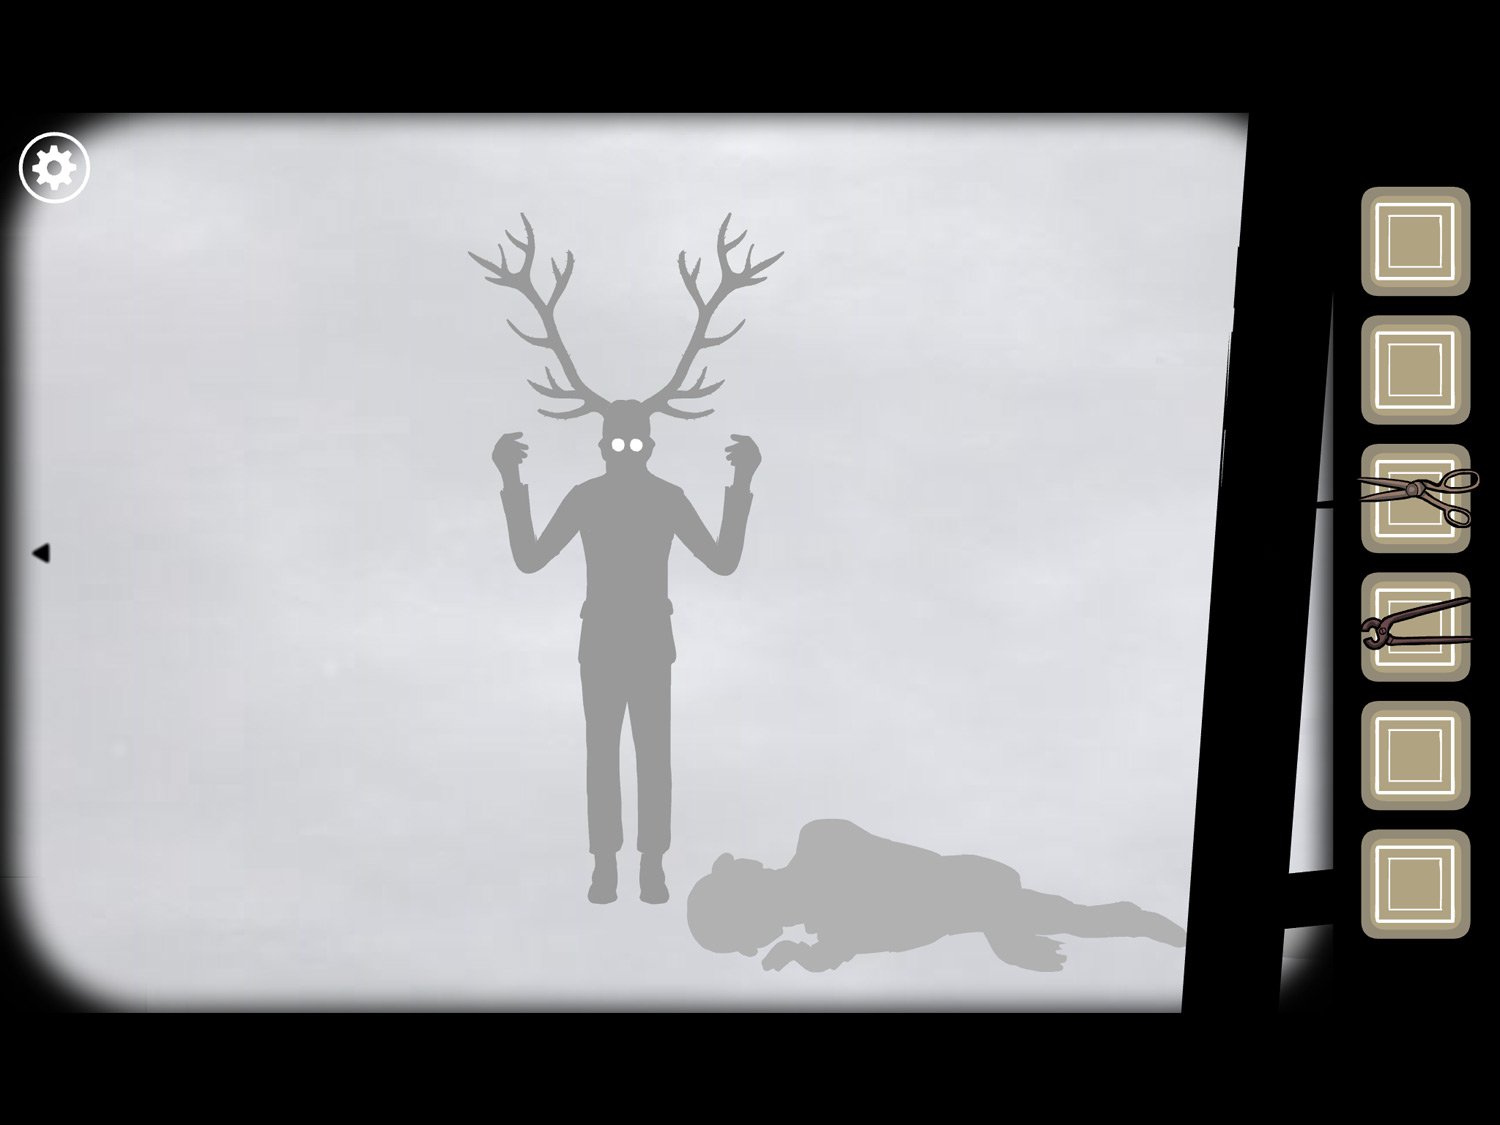
- There is one other figure in the haze and deer antlers
- Put it together and tap to return
- Tap his face and eye yet again and pull the grenade pin
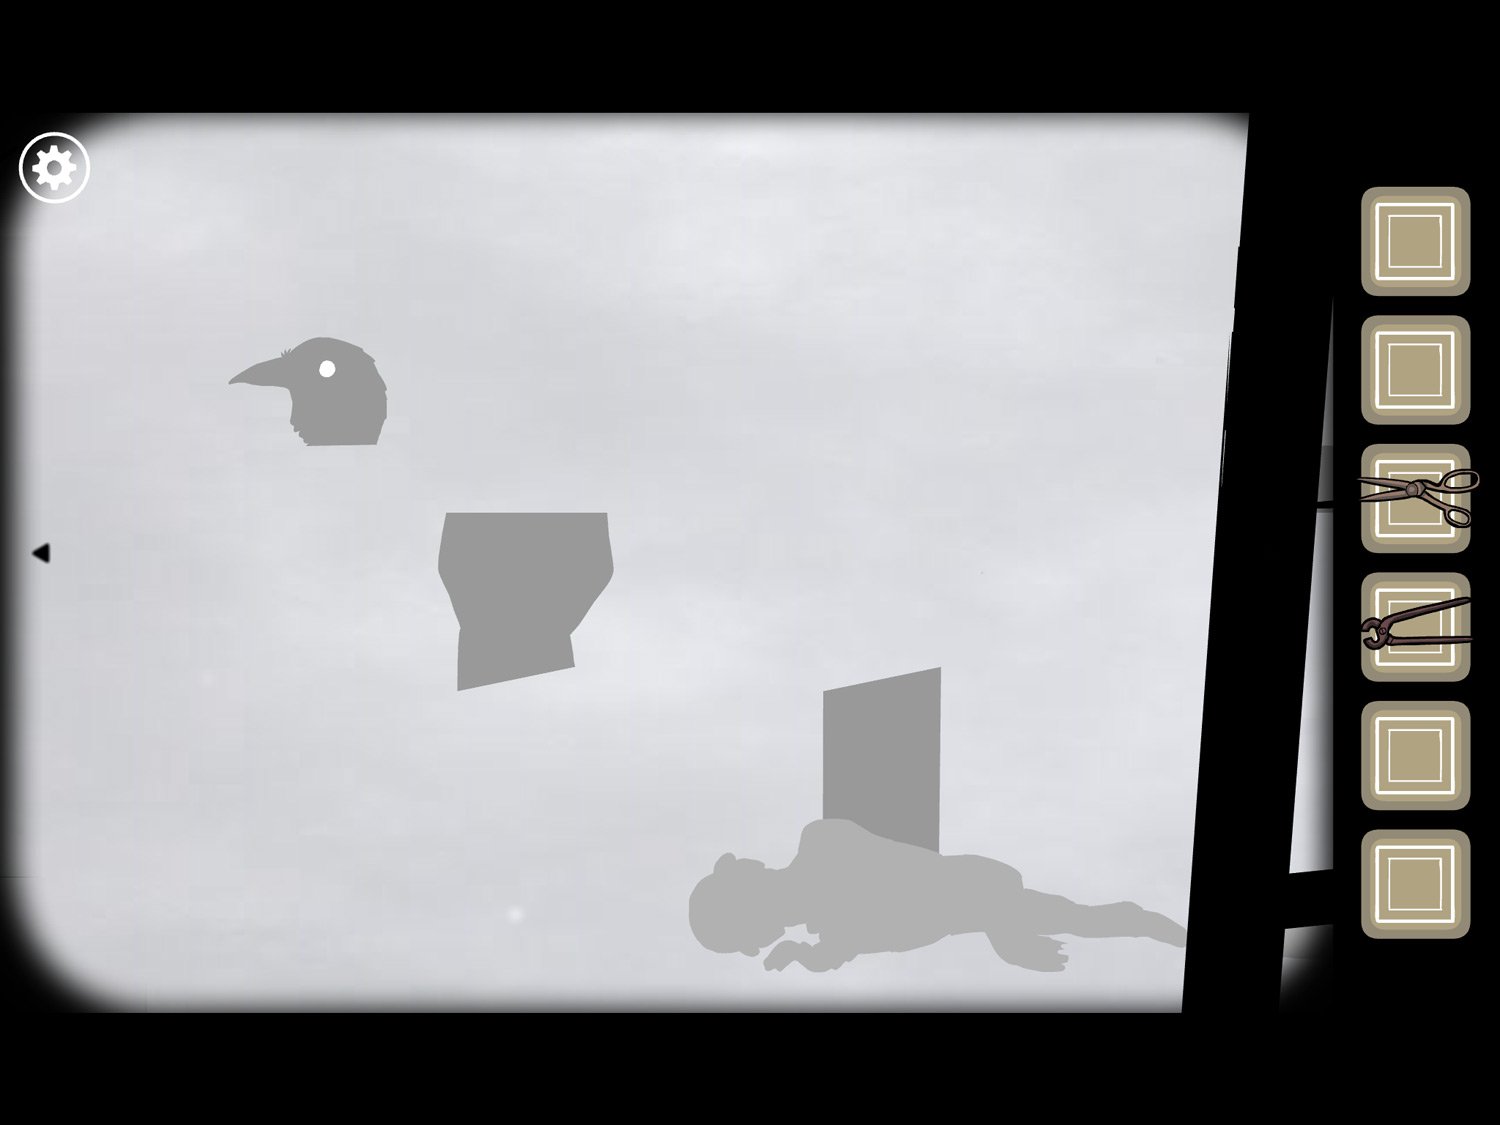
- Mr. Crow’s shadow is in the haze
- Put him together and tap on him. He will speak to you
- Tap through his dialogue; at the end he holds up a key; take KEY
- You’ll return to Leonard screaming one more time. Tap his eye and face
- This time, tap on the locked chest to Leonard’s right
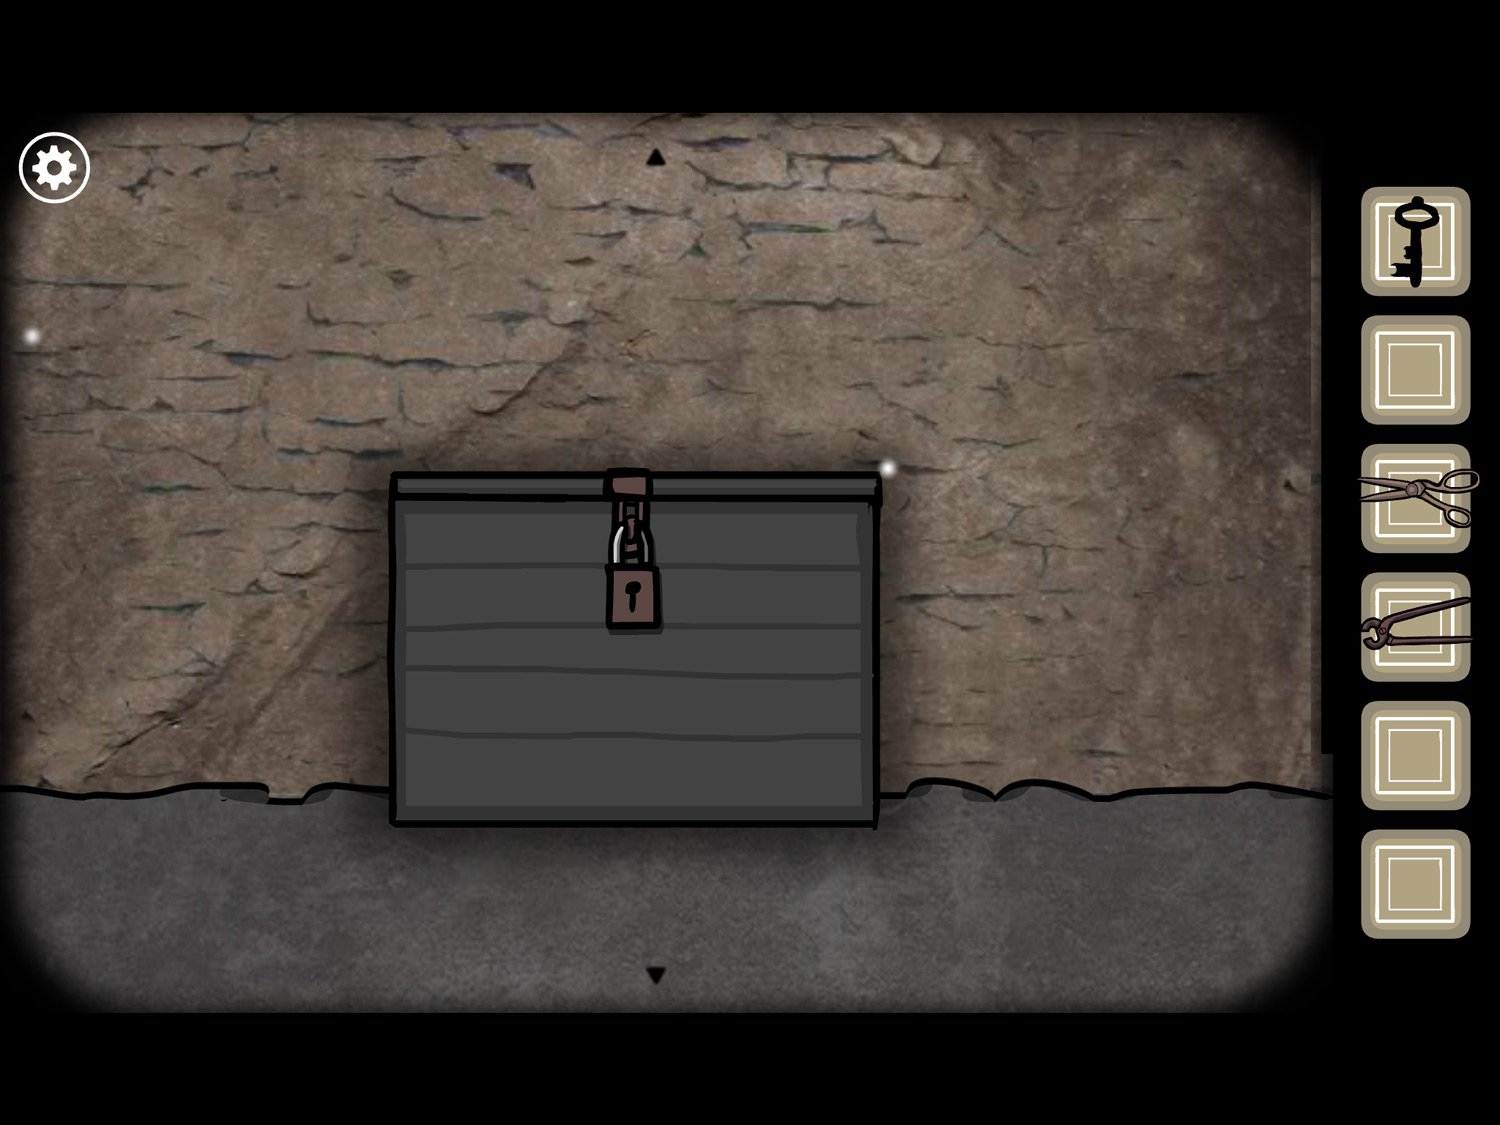
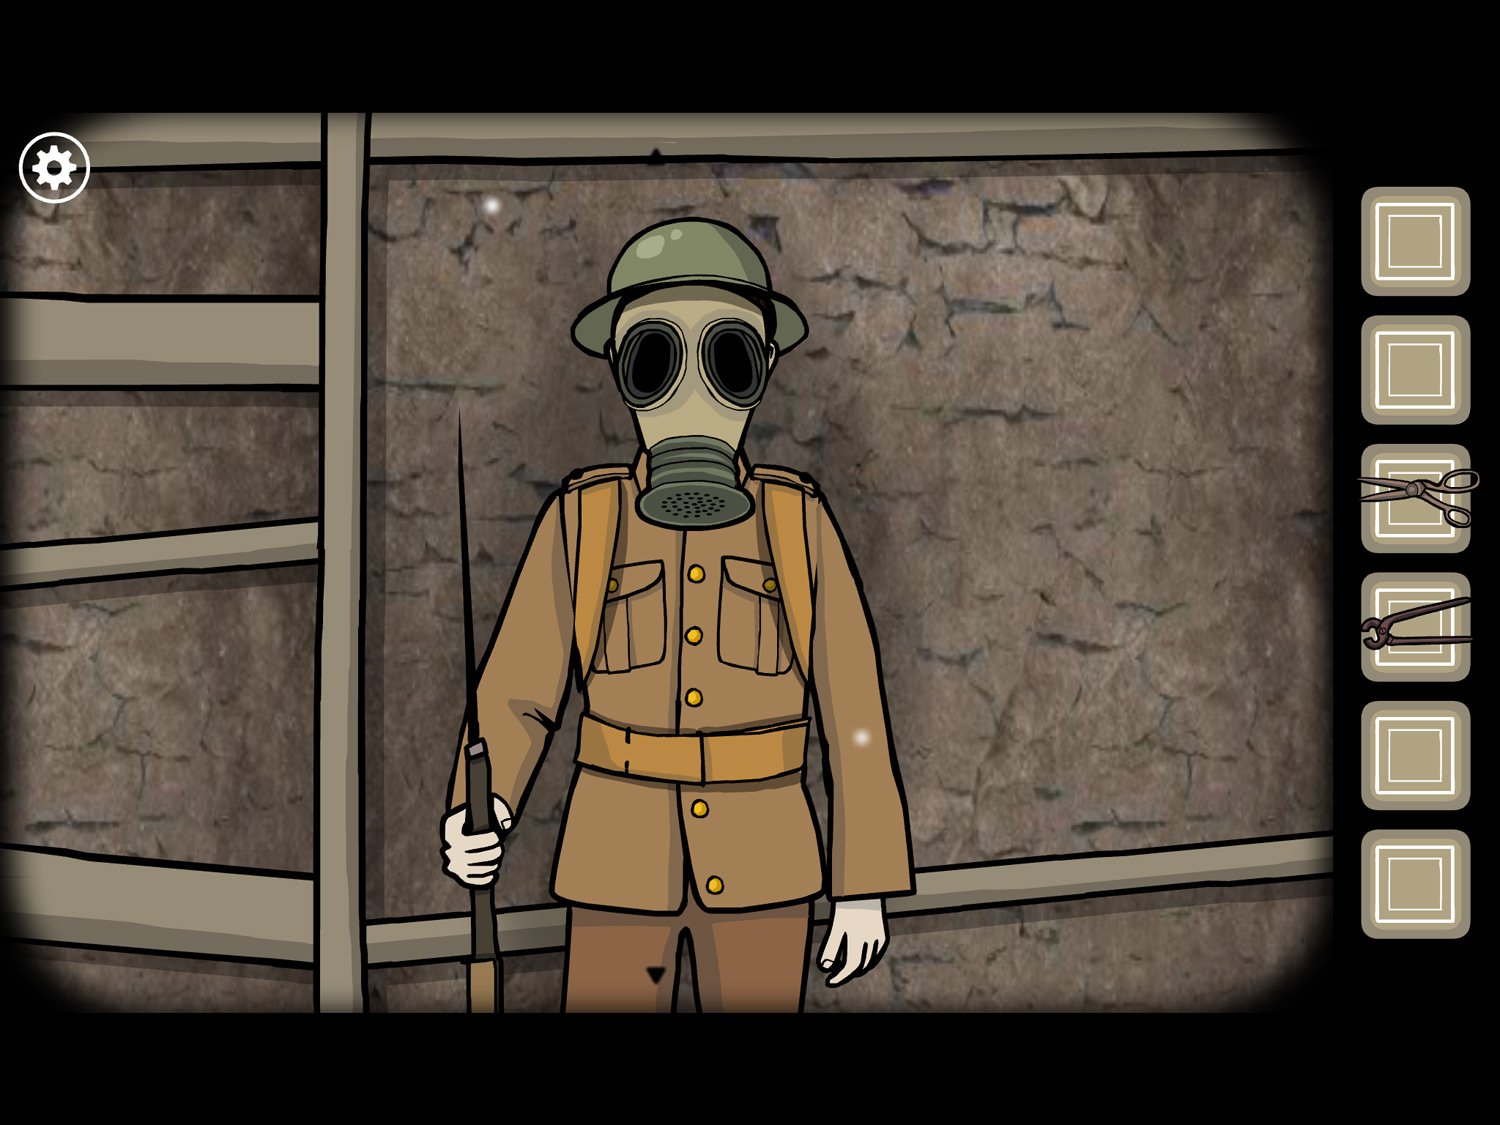
- Use KEY on the lock and tap two times to get GAS MASK
- Return to Leonard. Tap on him; give him GAS MASK
- Zoom out; tap the grenade and pull the pin
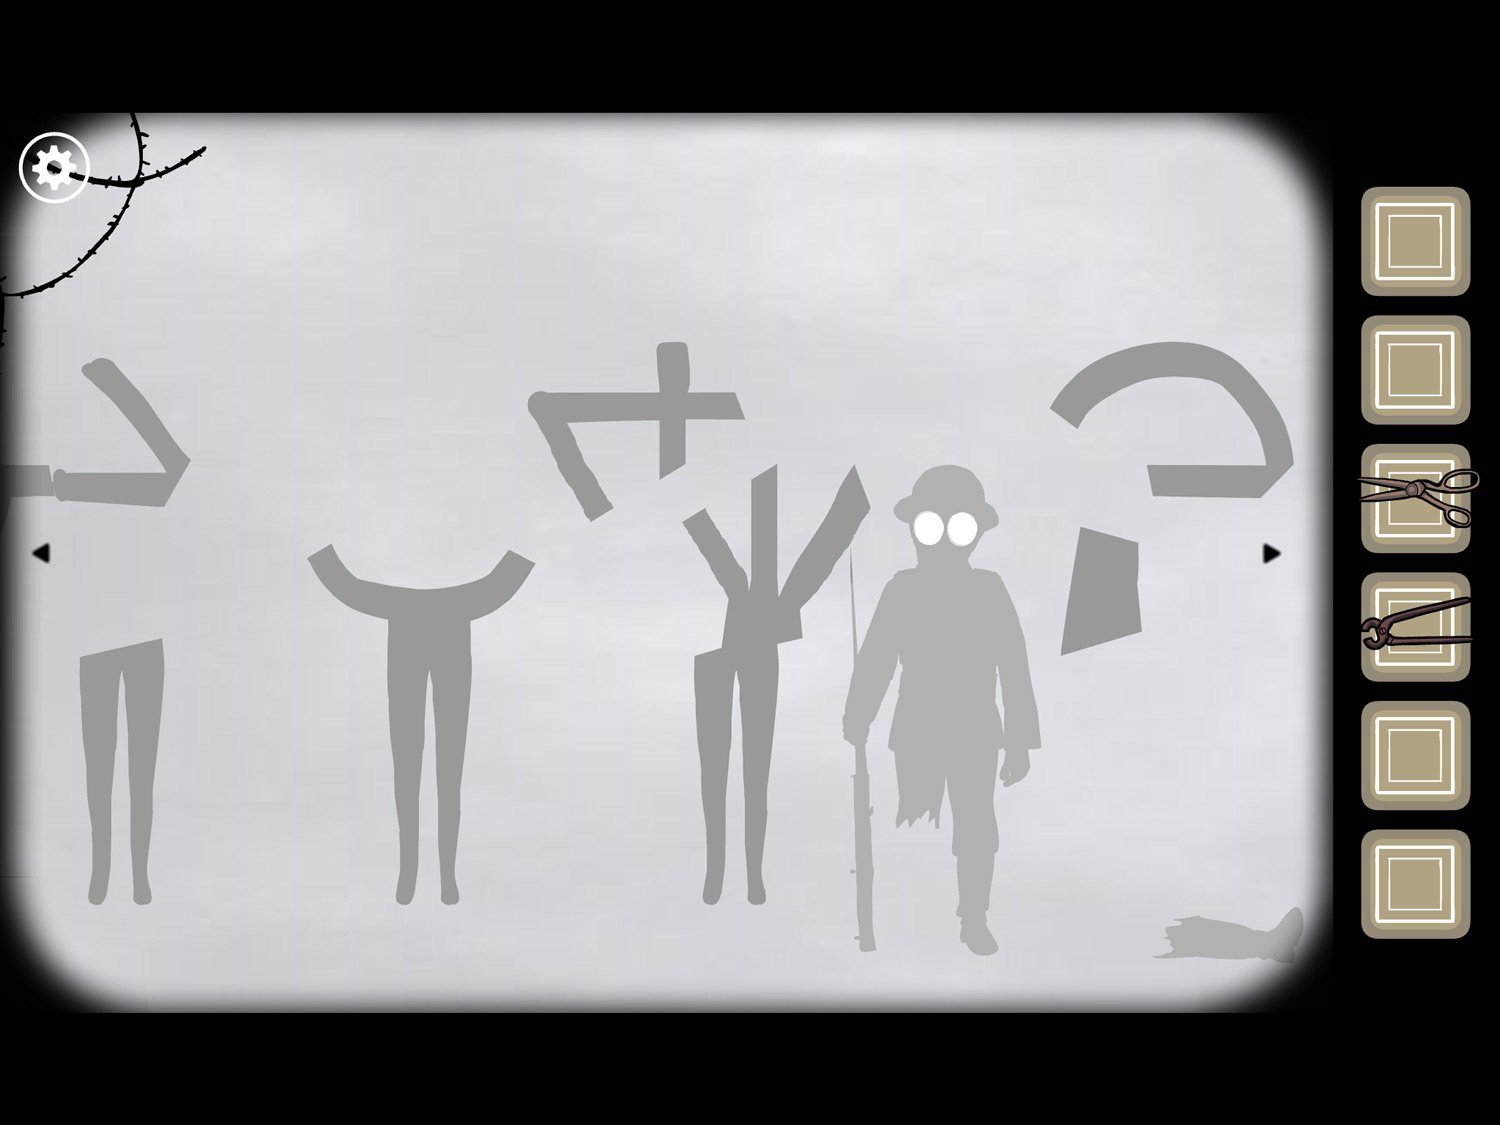
- This time there is only Leonard’s shadow in the haze. Tap on him to reveal other figures
- Put these three figures together. The slanted torso goes on the right; the torso with a “W” sticking off the top goes on the left
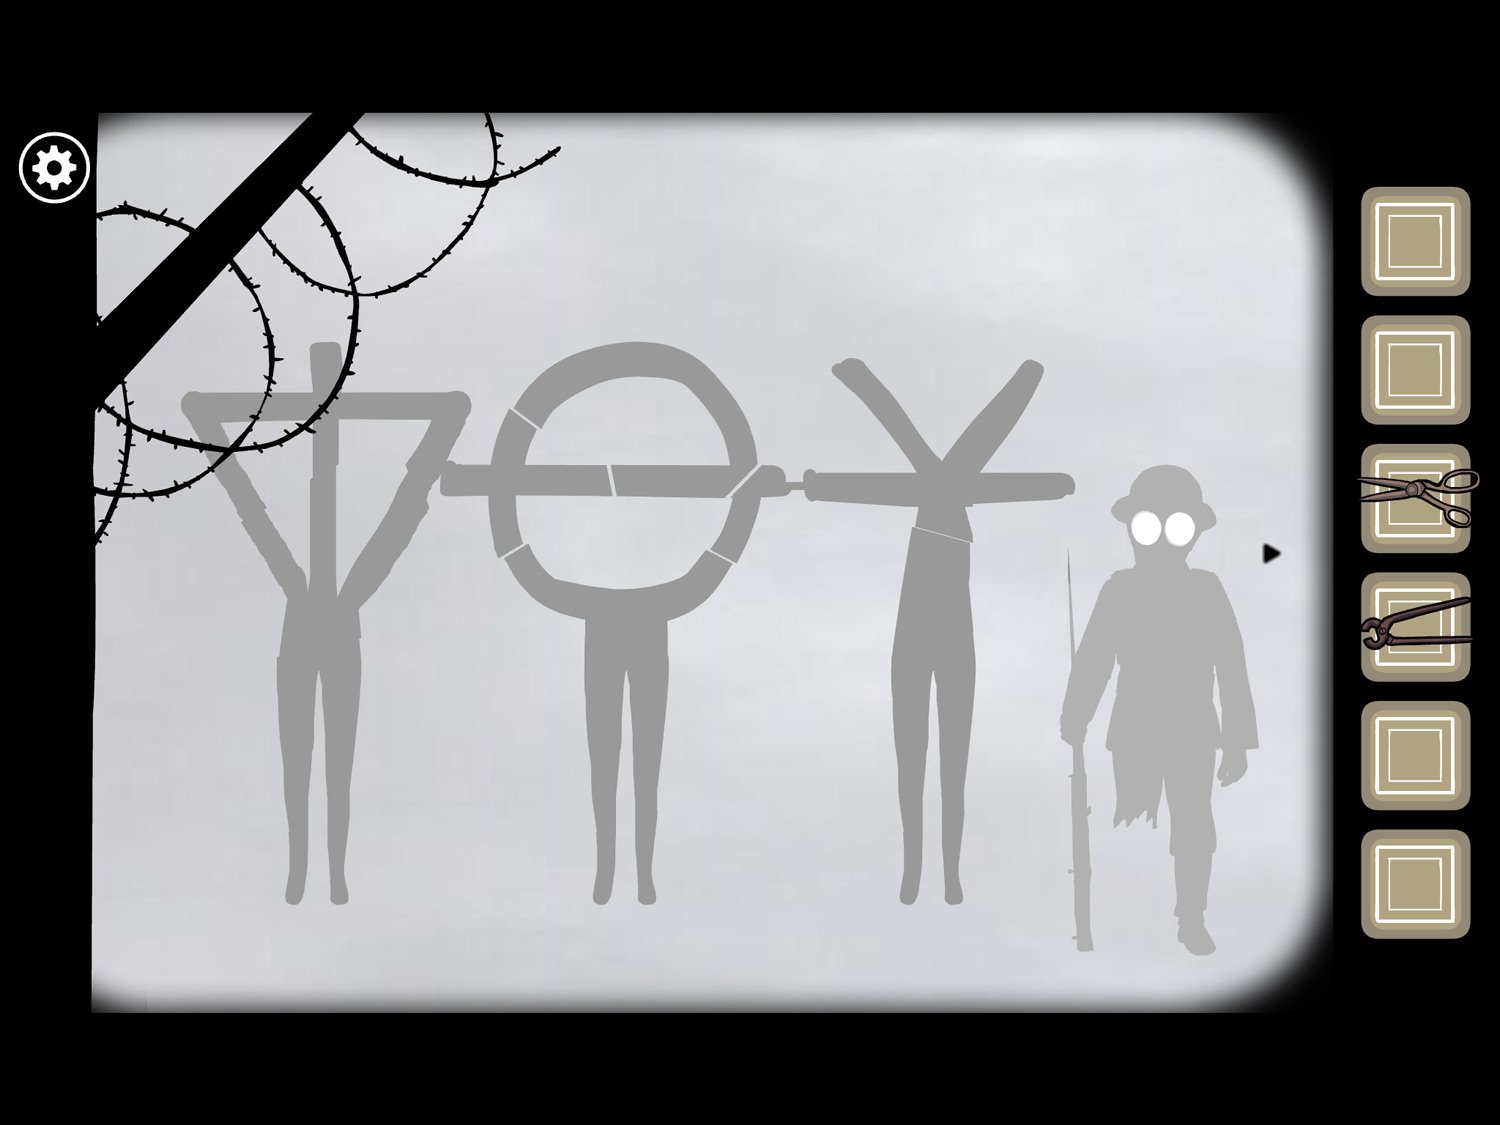
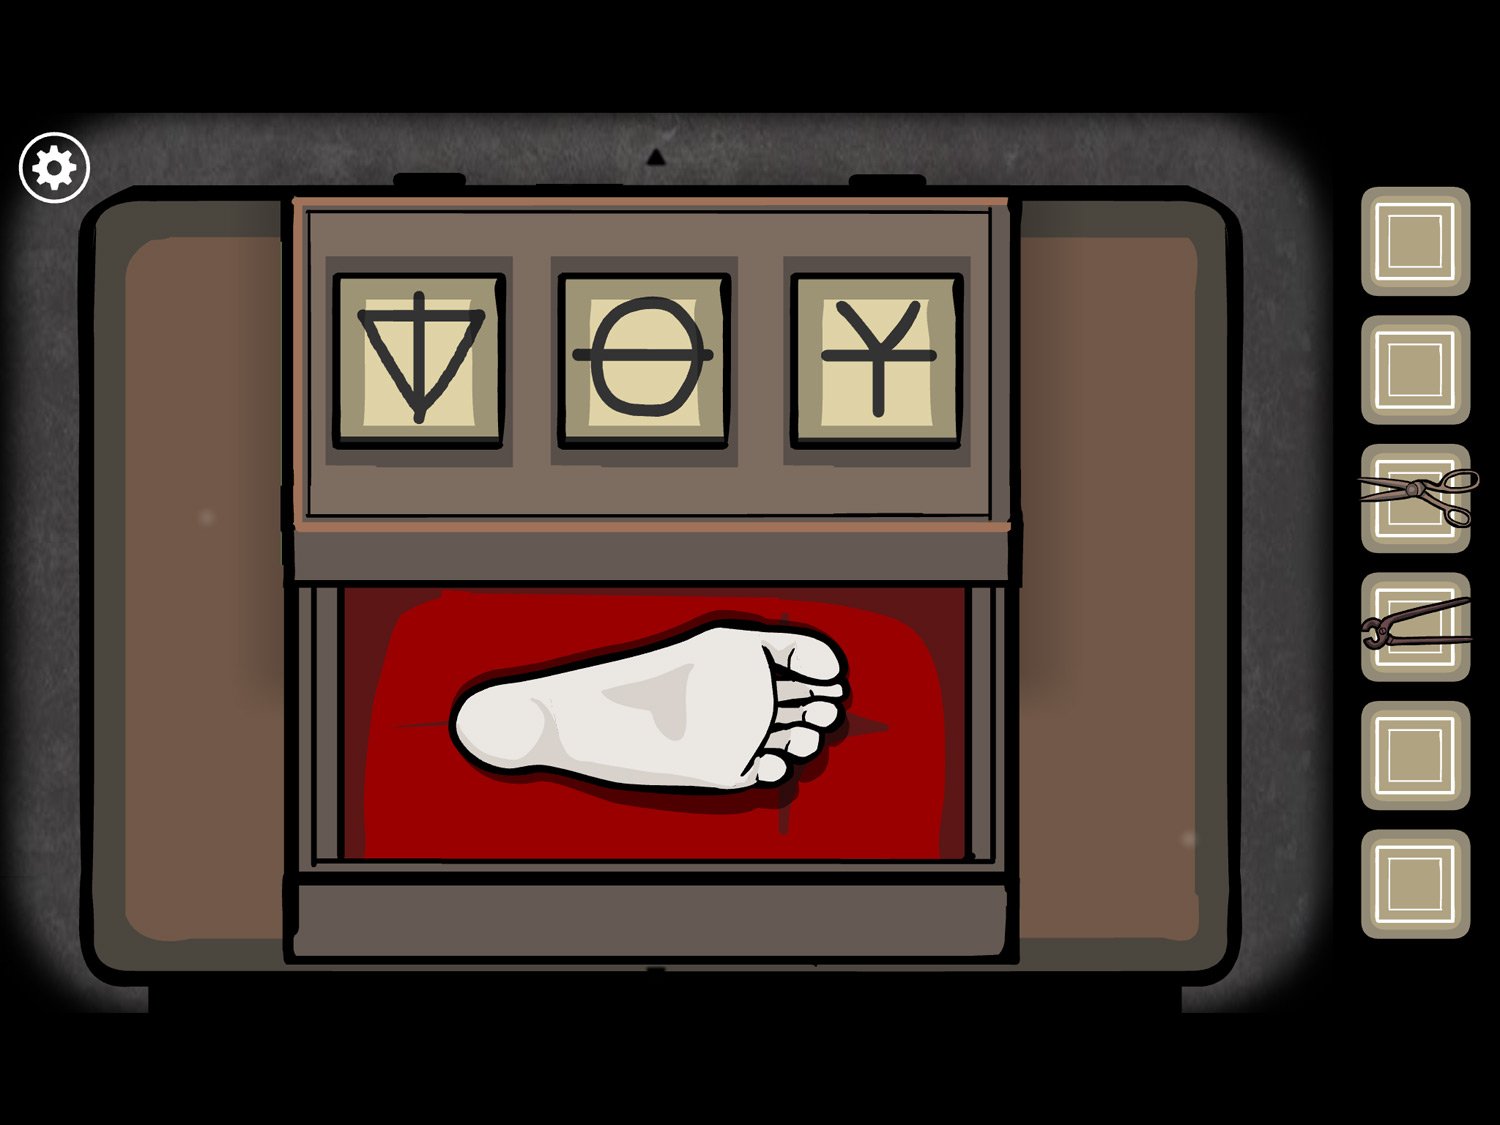
- Altogether, the figures form three symbols: an upside-down triangle on the left, a circle with a line through it in the middle, and a Y with a line through it on the right
- Once completed (they will also flash when finished), tap the figures. You’ll return to Leonard; don’t tap him this time
- Instead, zoom out and head right. Tap on the table with the metal box on the far right side of the room
- Drag the symbols to match what you just saw in the haze
- Tap to open the box; take FOOT. Zoom out
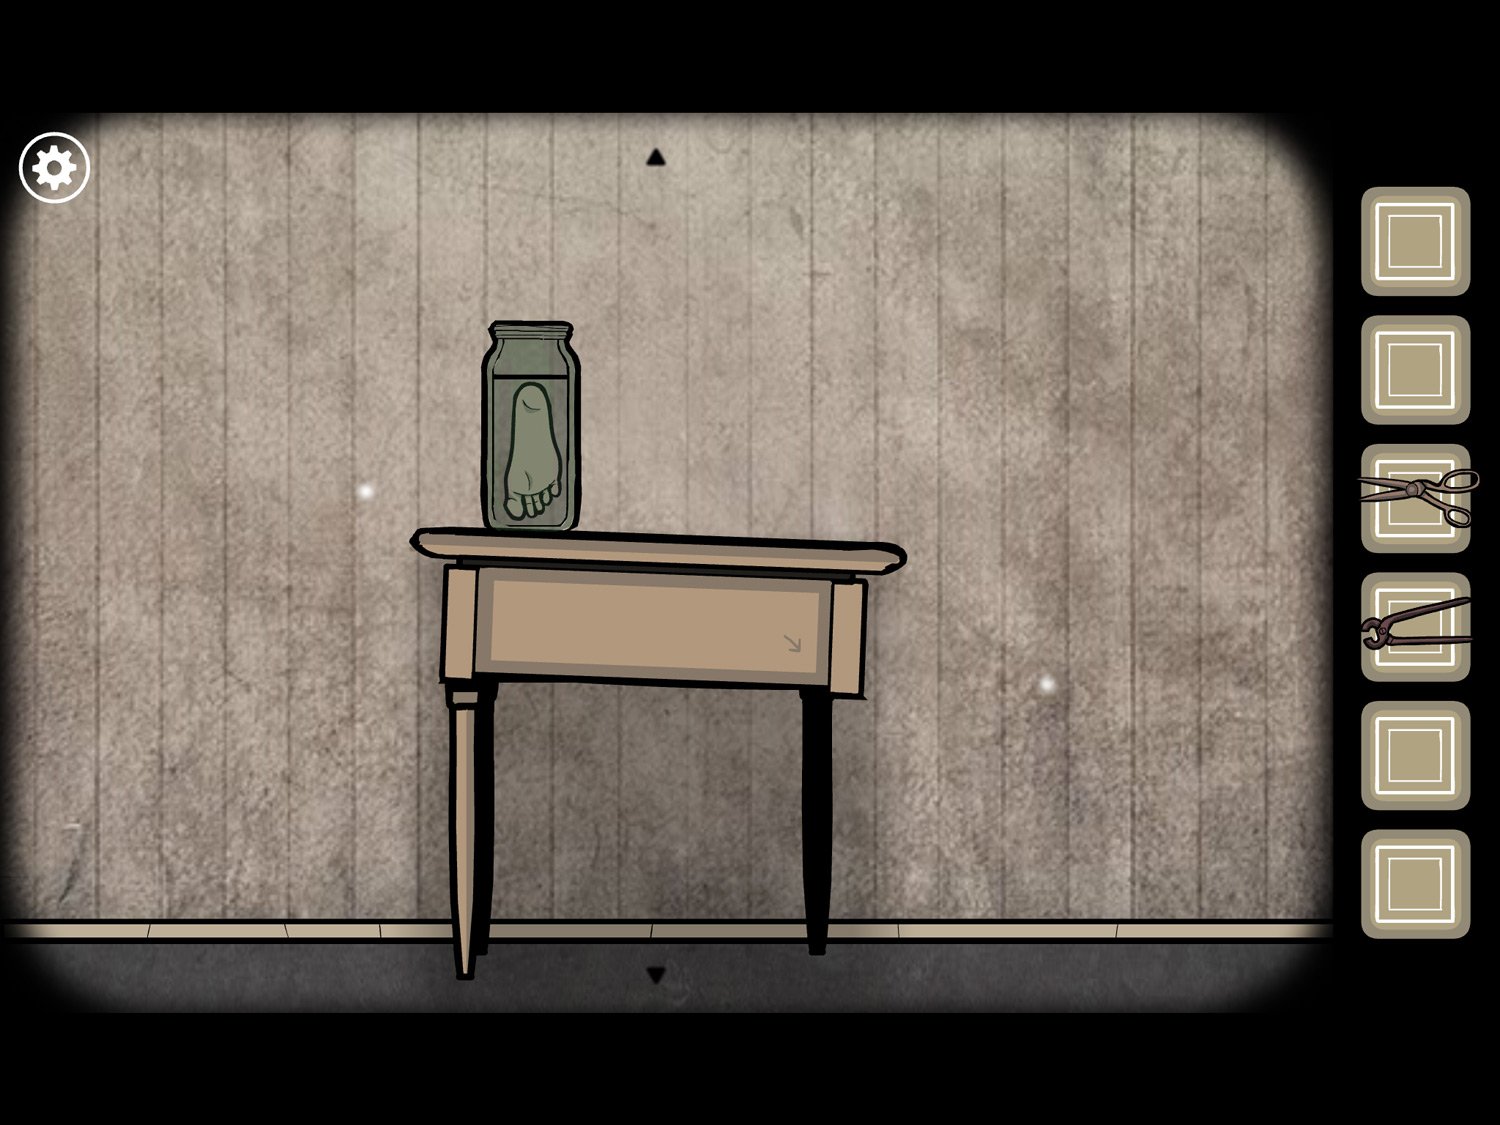
- Head to the left side of the room and tap on the jar on the far left table
- Use FOOT on the jar. Tap the foot in the jar to reveal the white square and exit. Leonard’s foot is added to the list of sacrifices
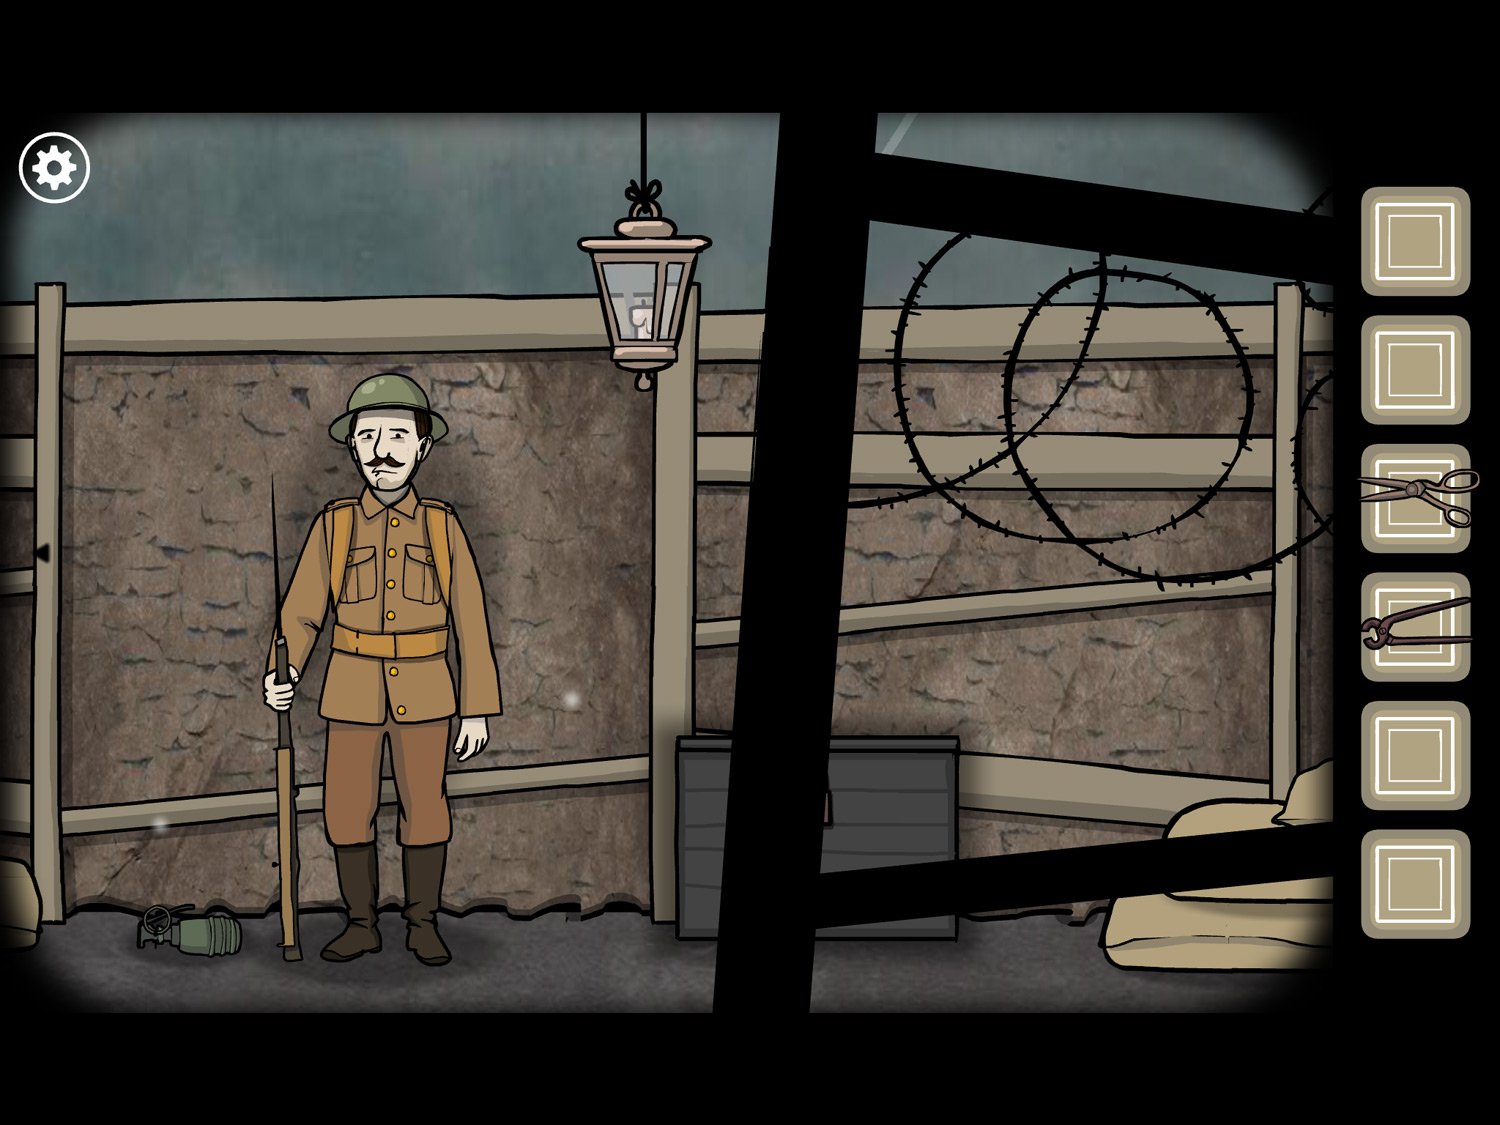
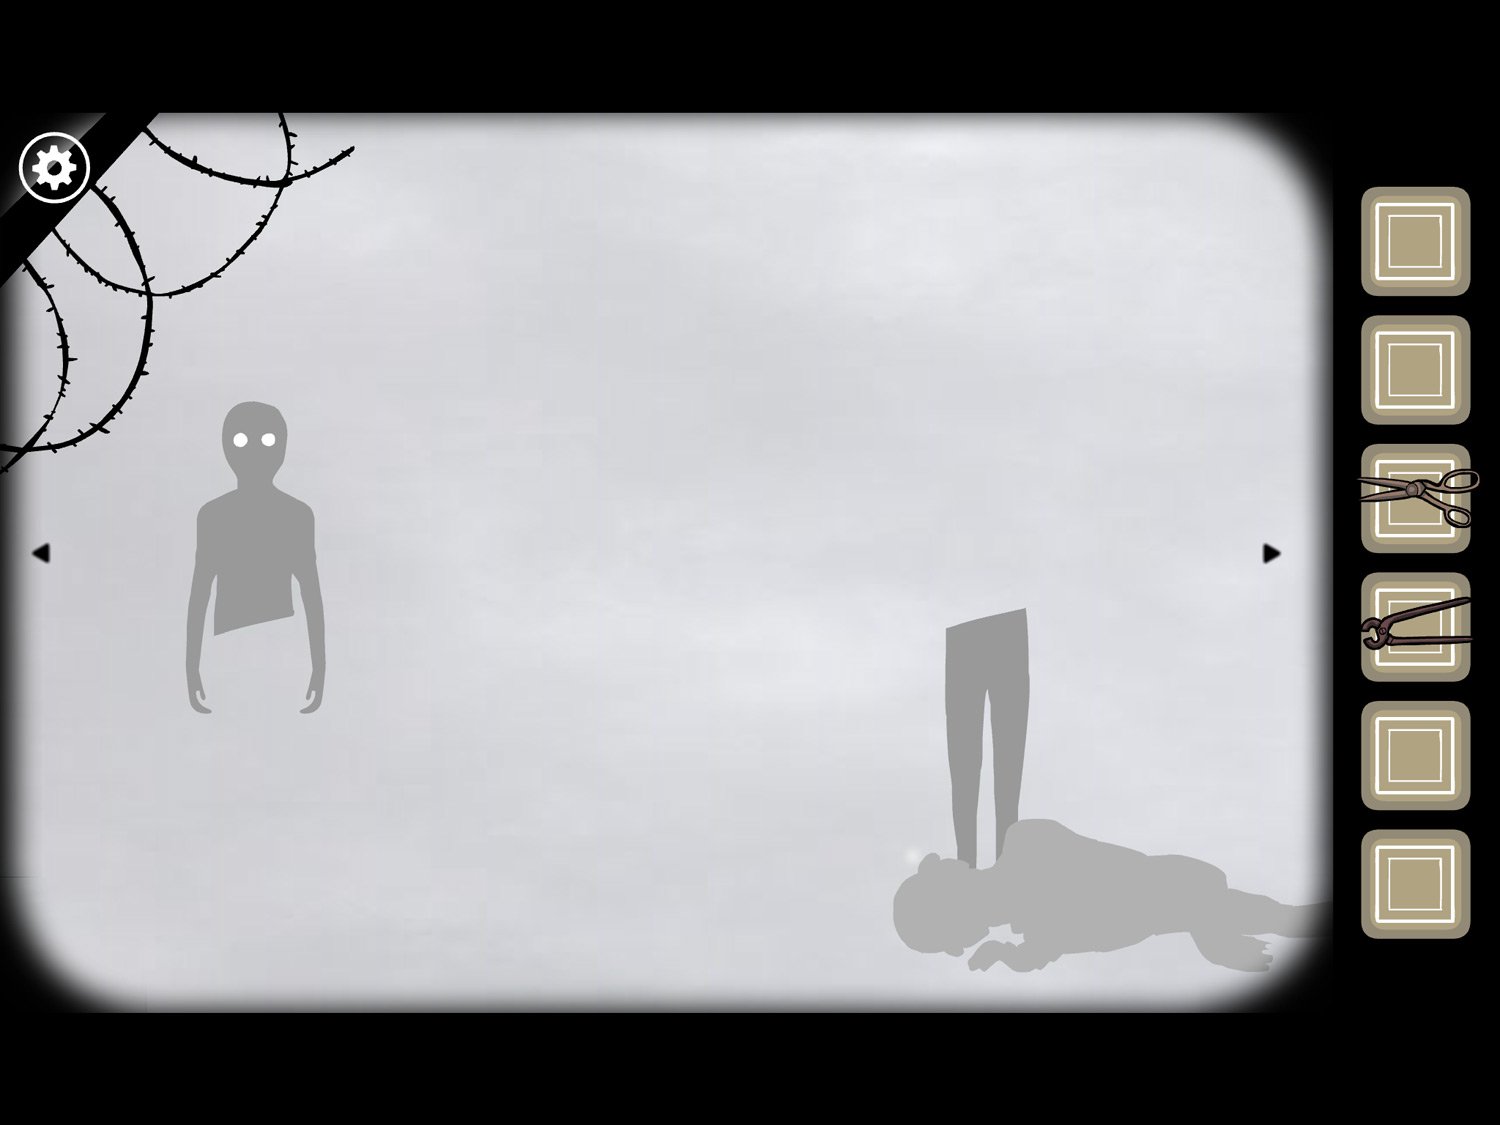
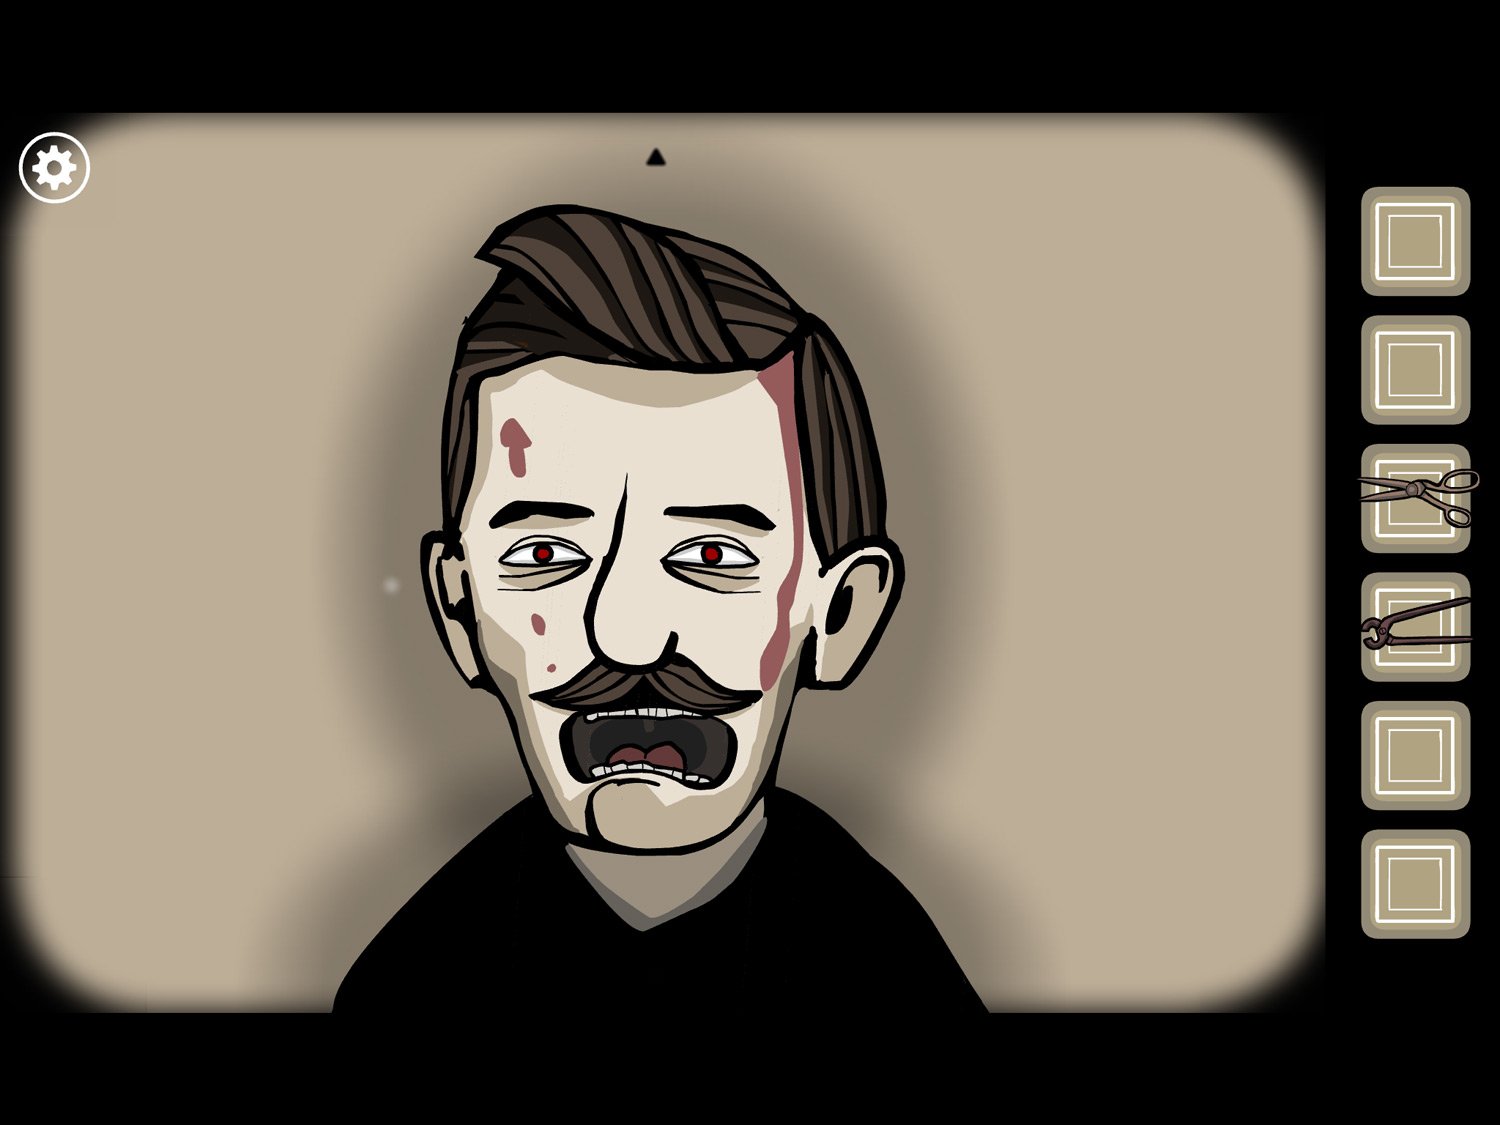
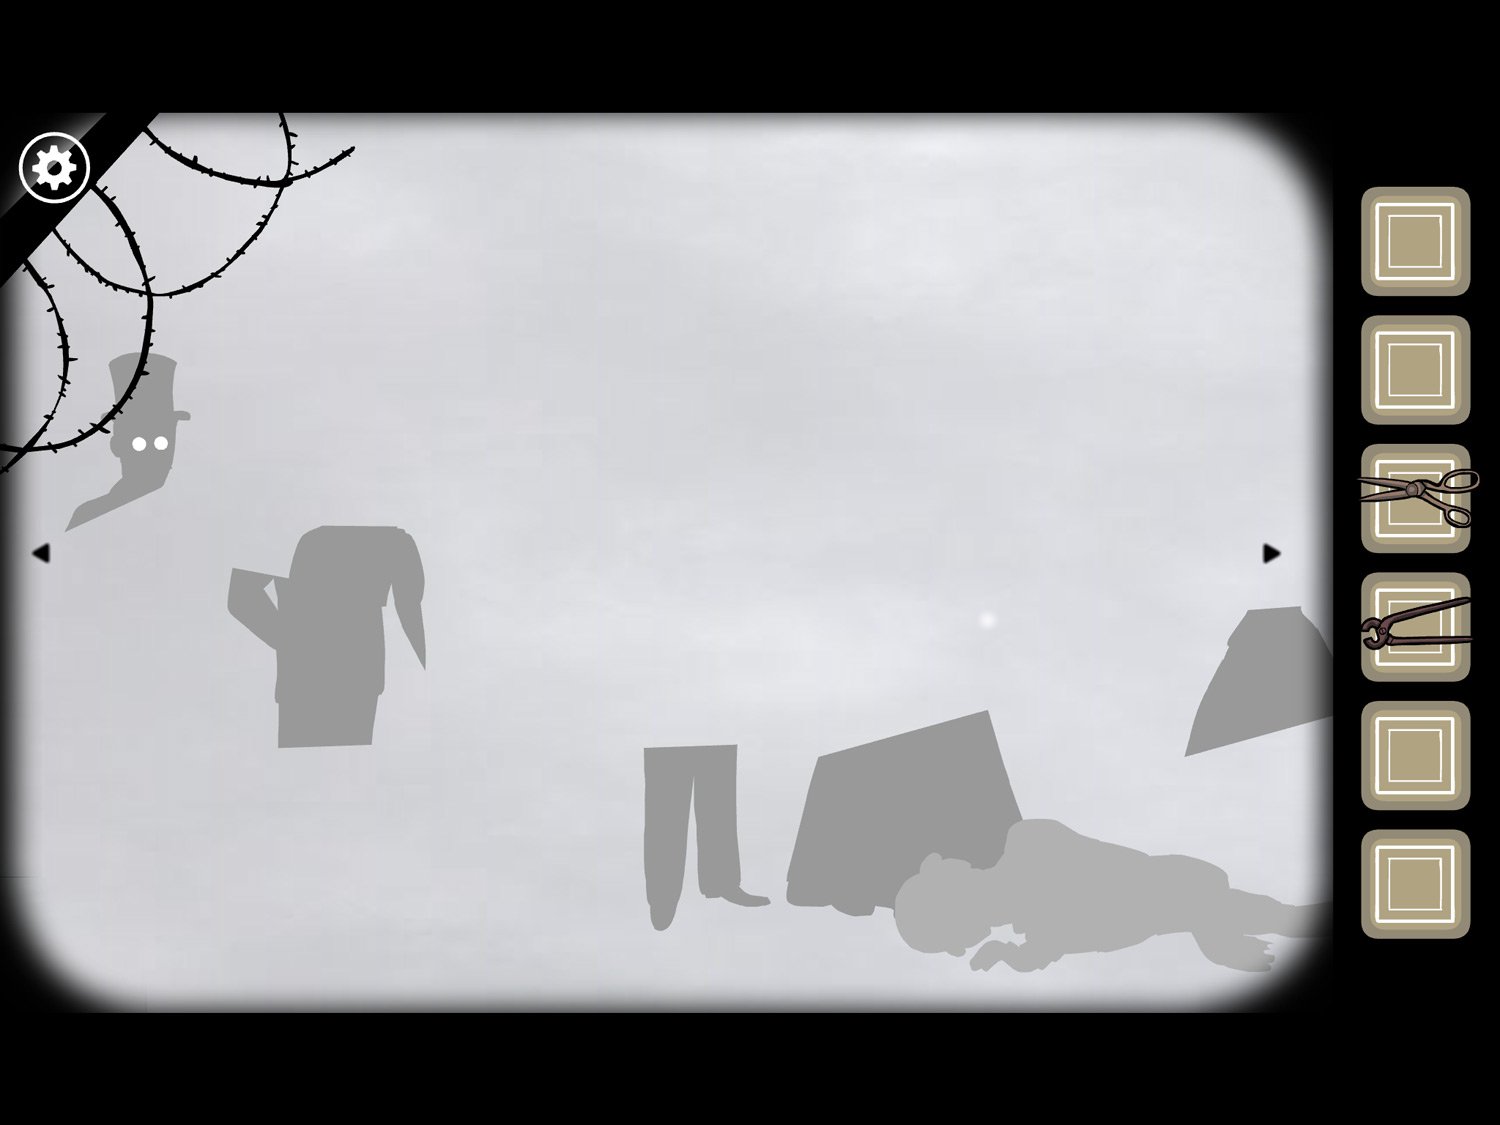
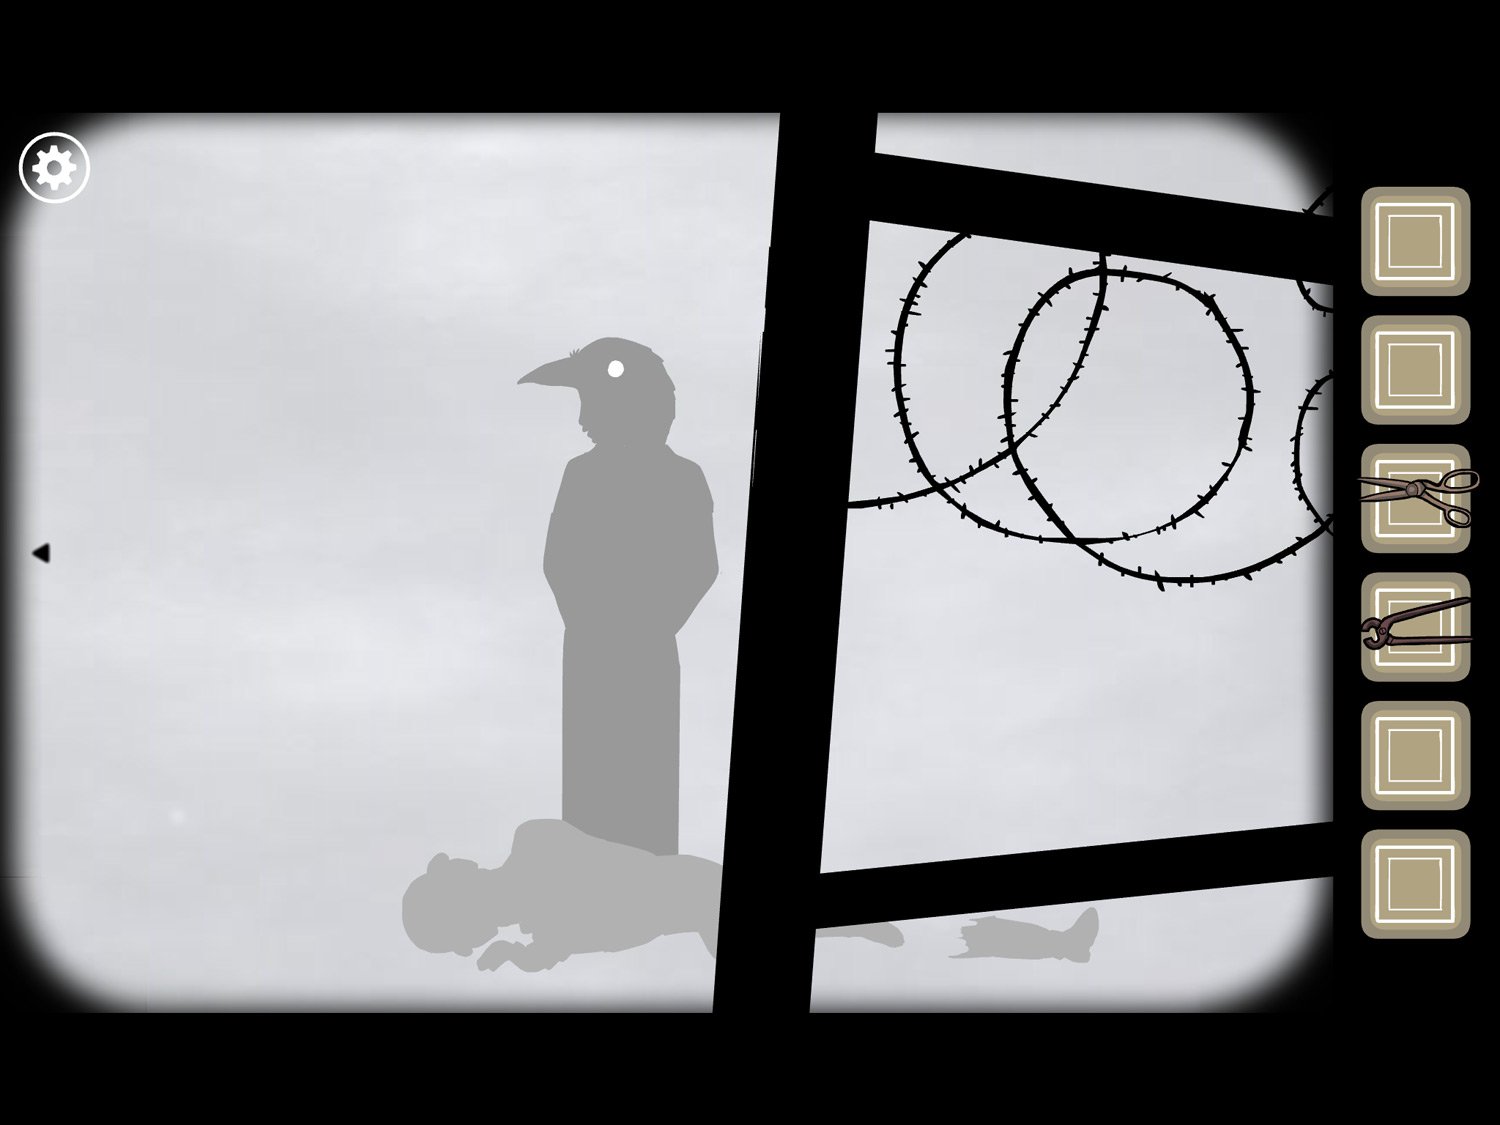
Level 23: The Treasure, Fall 1929 – Leonard
Location: Front yard near the tree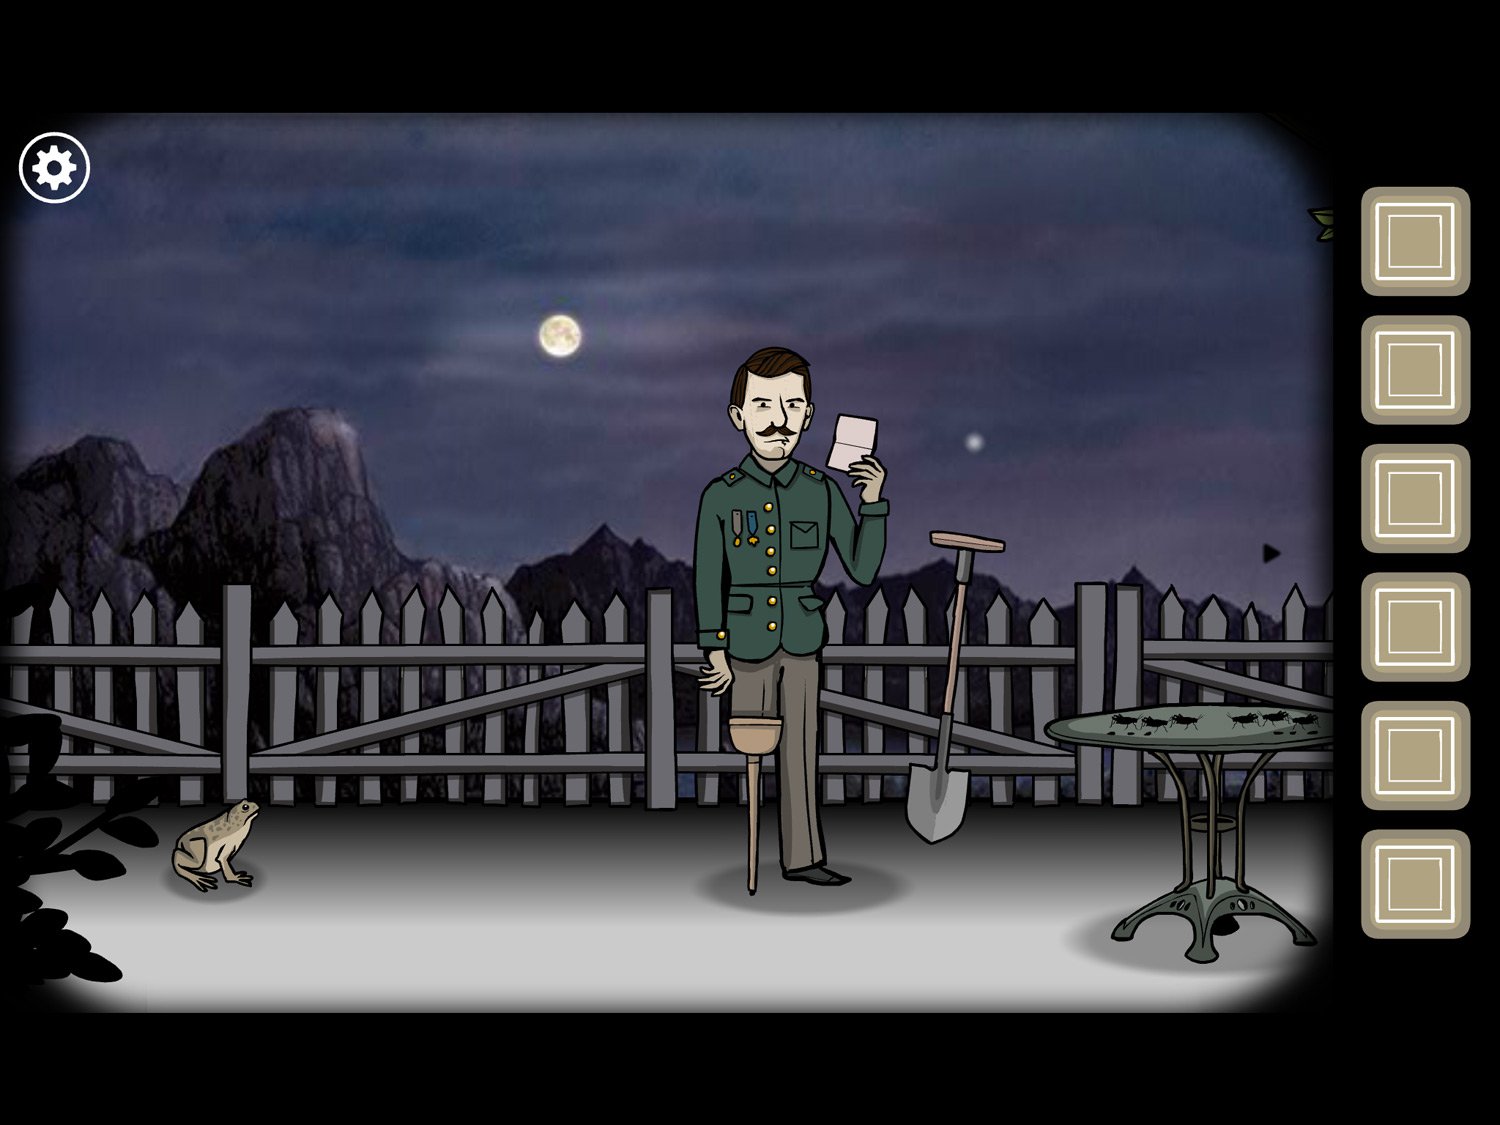
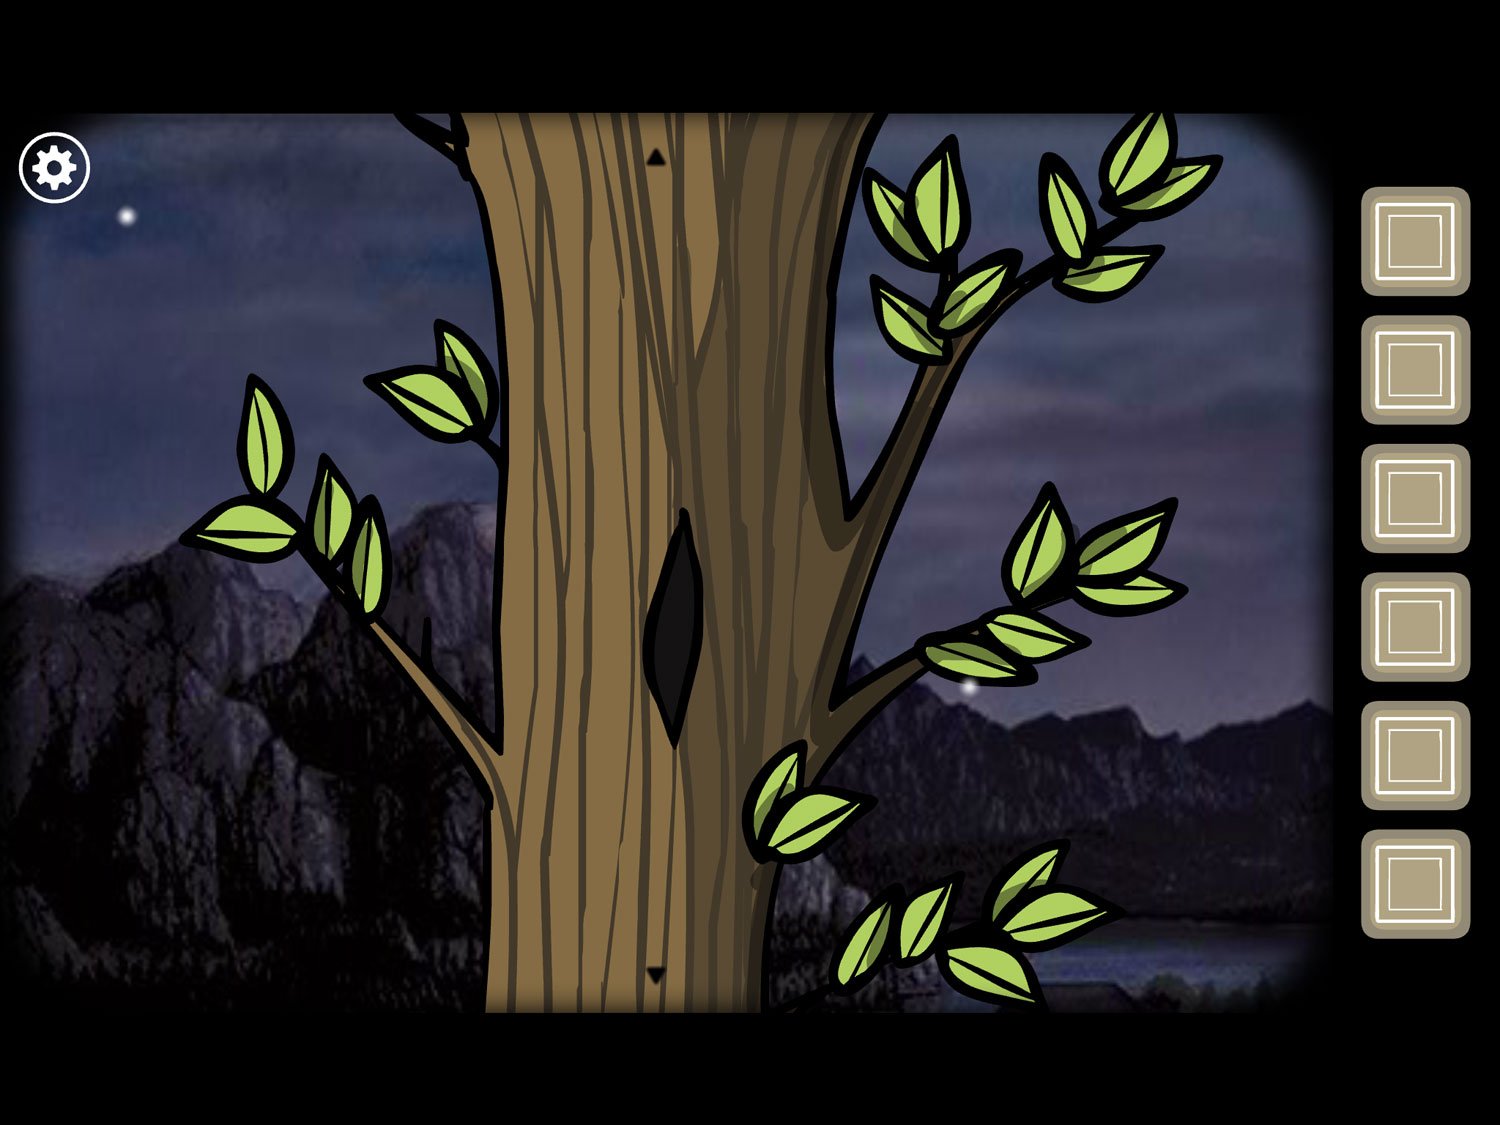
- Drag right and tap on the tree
- Tap the hole in the tree to make a bug appear. Tap the bug three times to receive INSECT
- Exit the tree; tap the table left of the tree
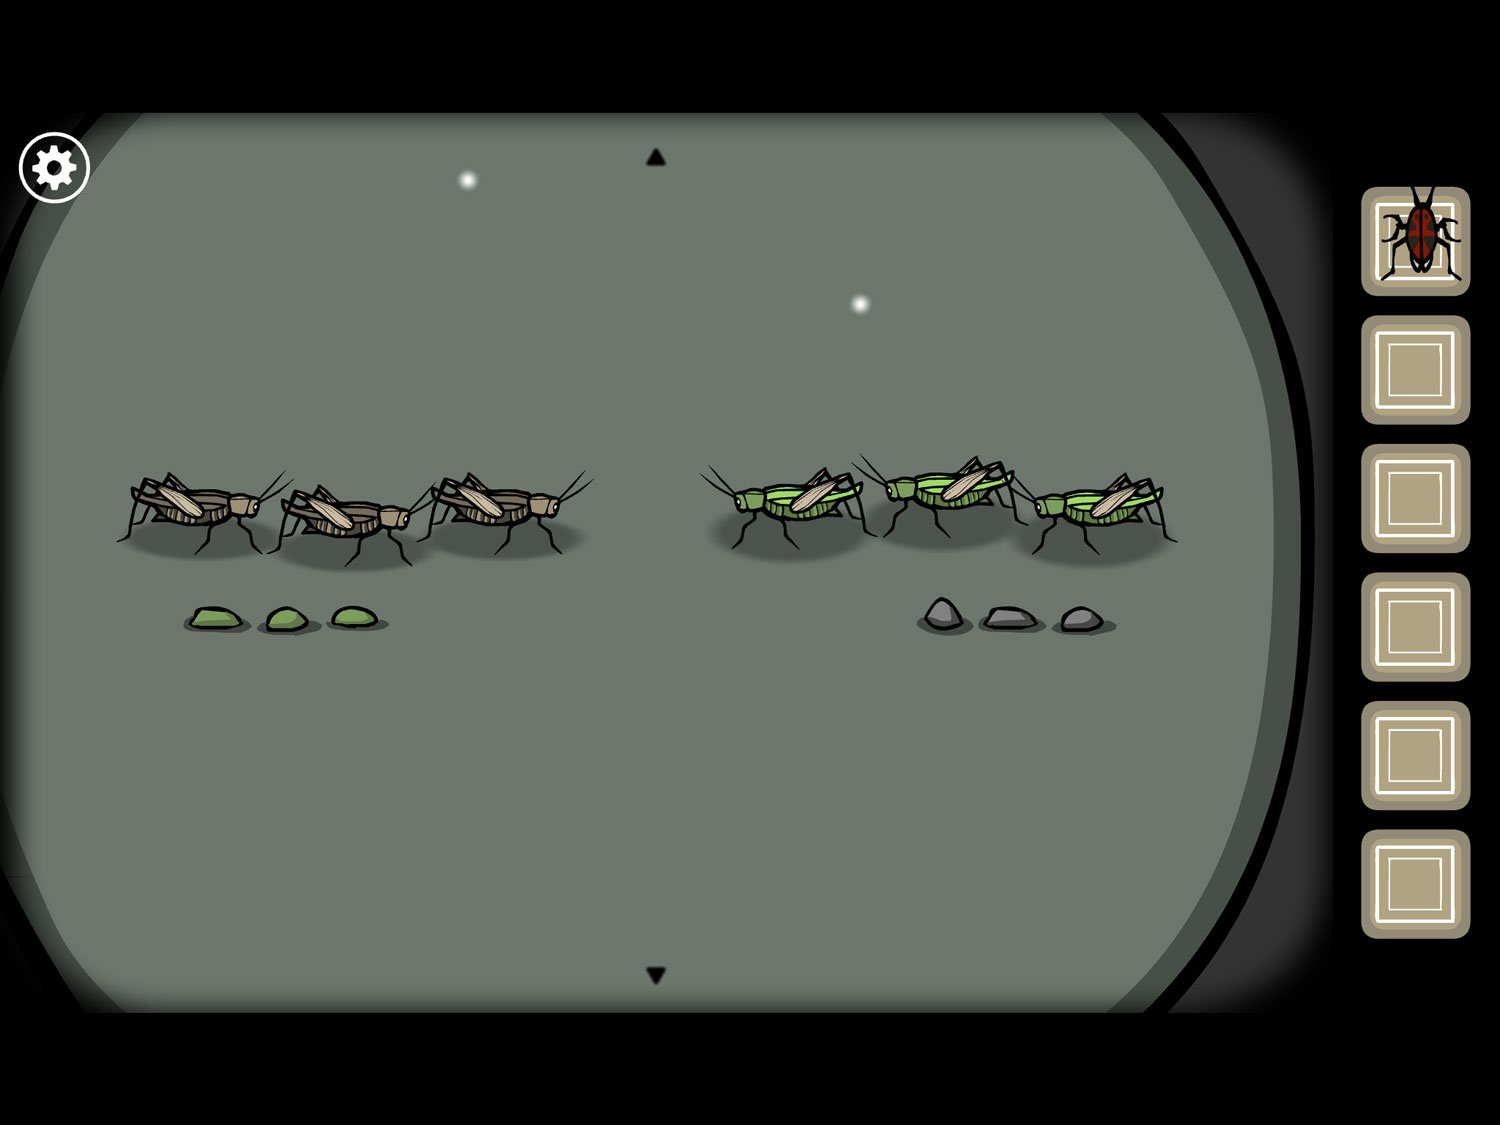
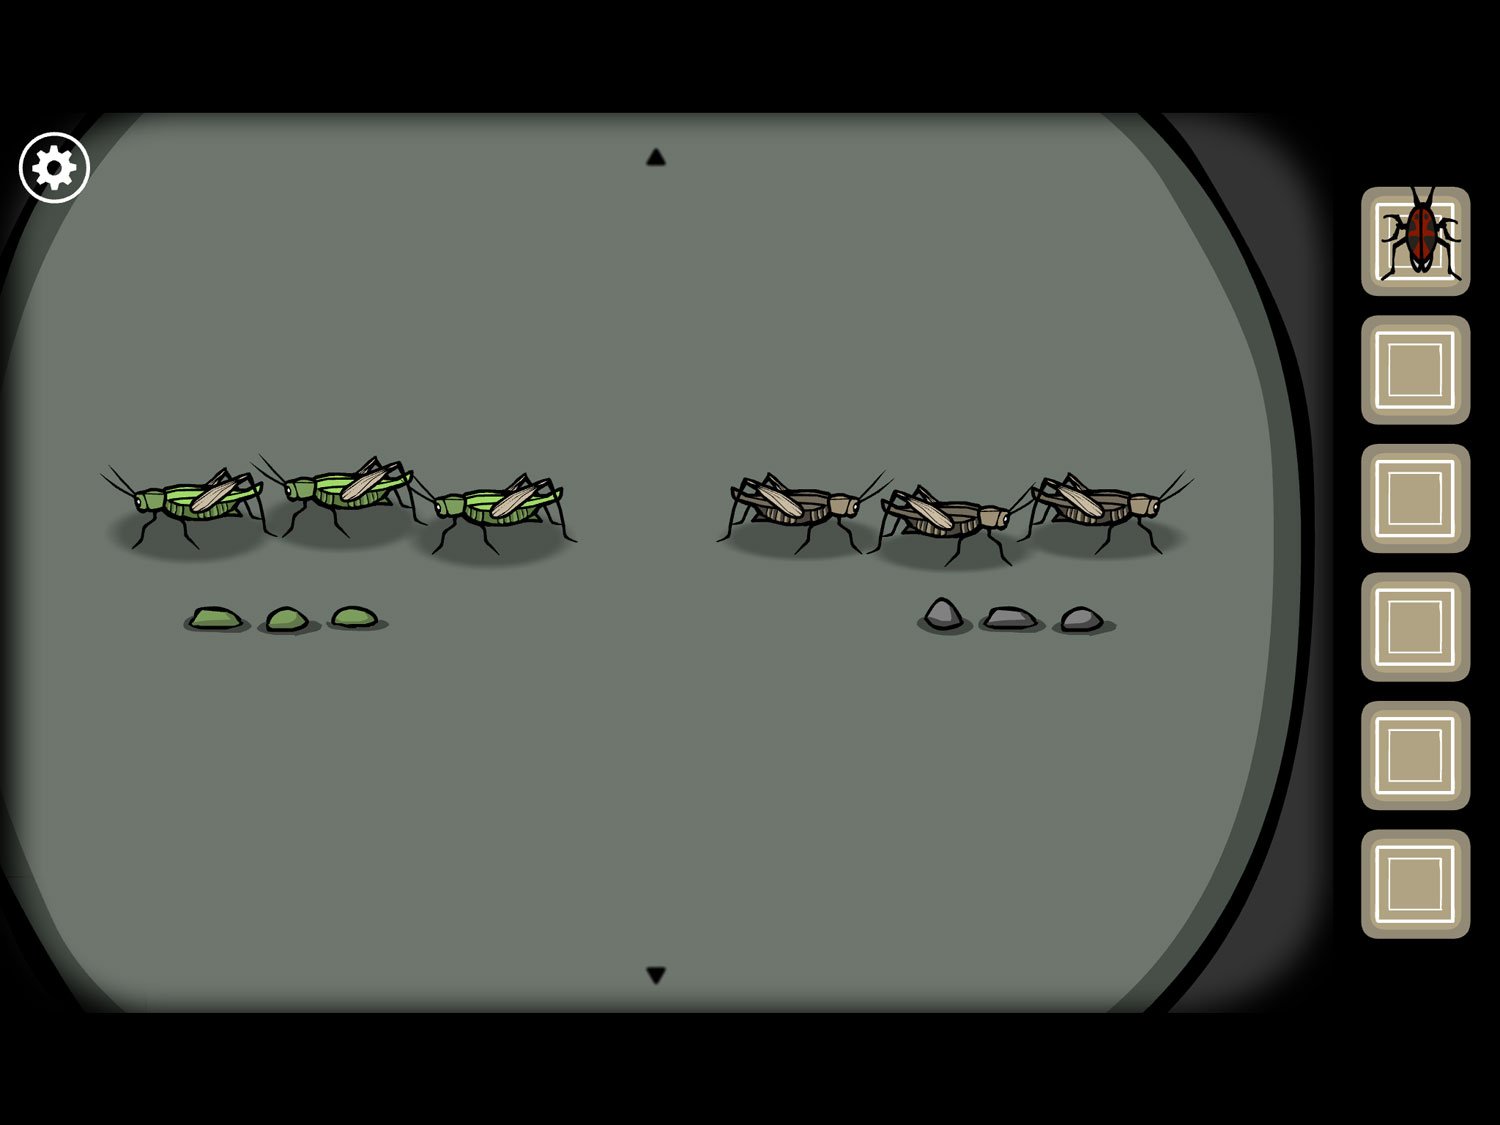
- There are three crickets and three grasshoppers here. You need to get the grasshoppers to the left side of the table and the crickets to the right side. Each insect can jump over one other at a time
- Tap in this order: leftmost grasshopper, rightmost cricket, middle cricket, leftmost grasshopper, middle grasshopper, rightmost grasshopper, rightmost cricket, middle cricket, leftmost cricket, leftmost grasshopper, middle grasshopper, rightmost grasshopper, middle cricket, leftmost cricket, rightmost grasshopper
- When the insects are on their correct sides, tap and all flutter away but one grasshopper. Tap it to get GRASSHOPPER
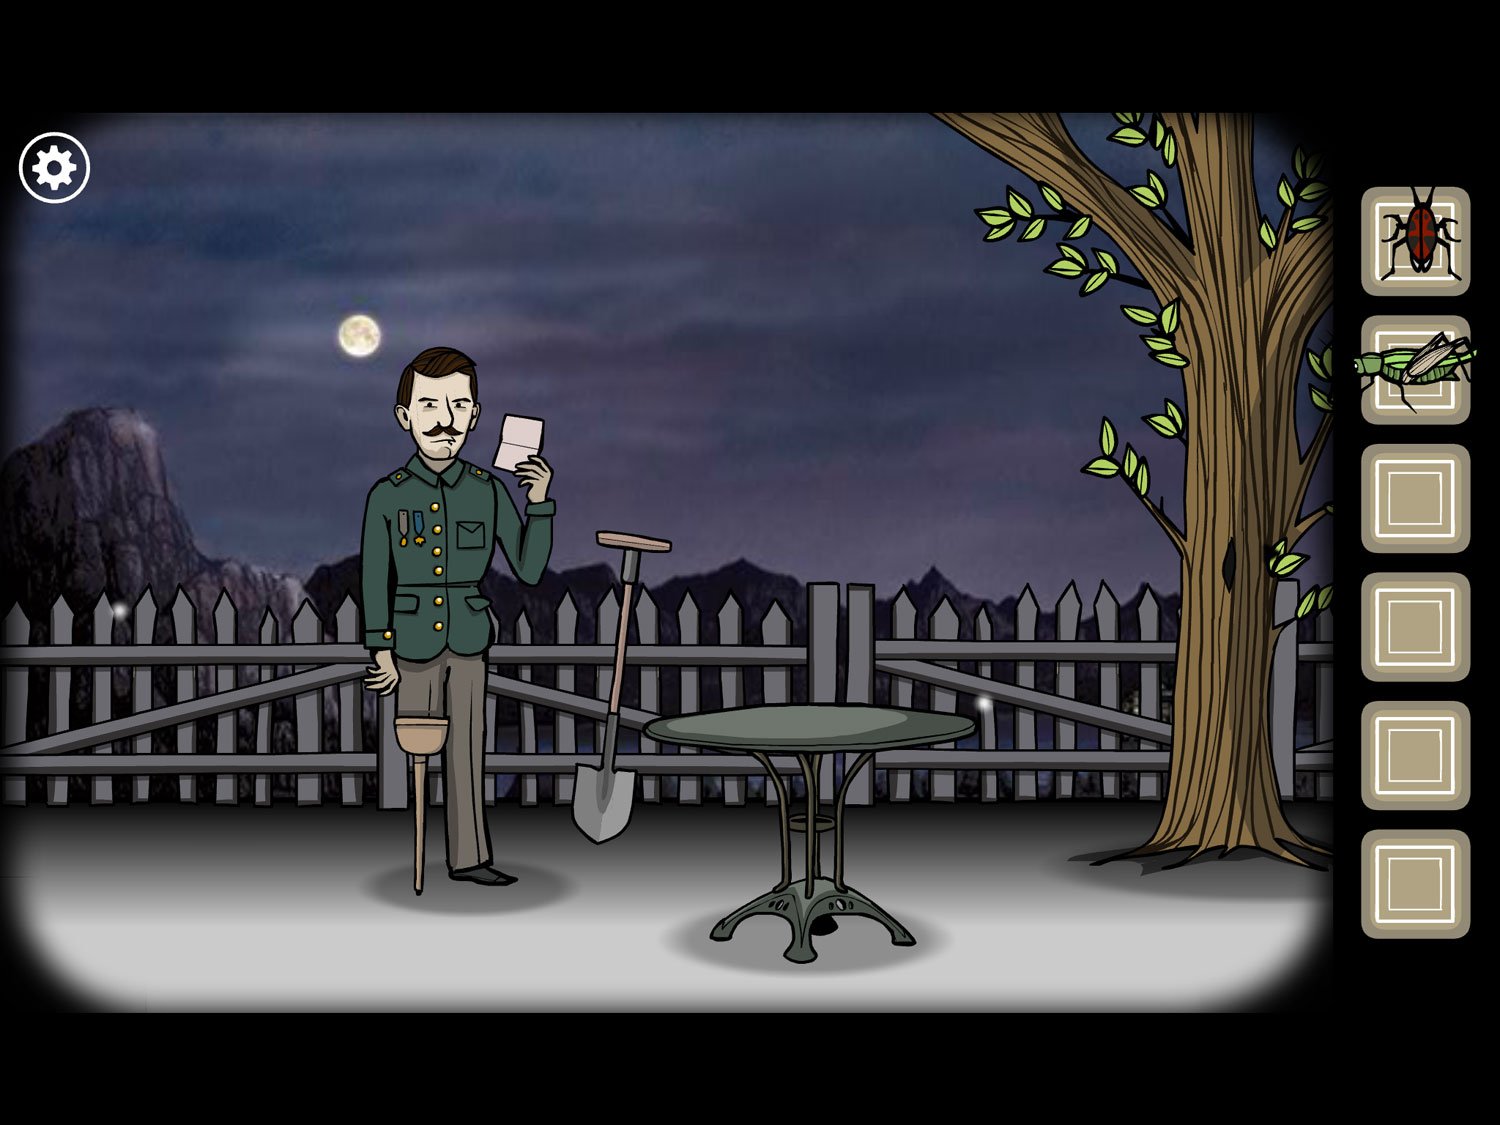
- Exit the table; tap the shovel next to Leonard to get SHOVEL
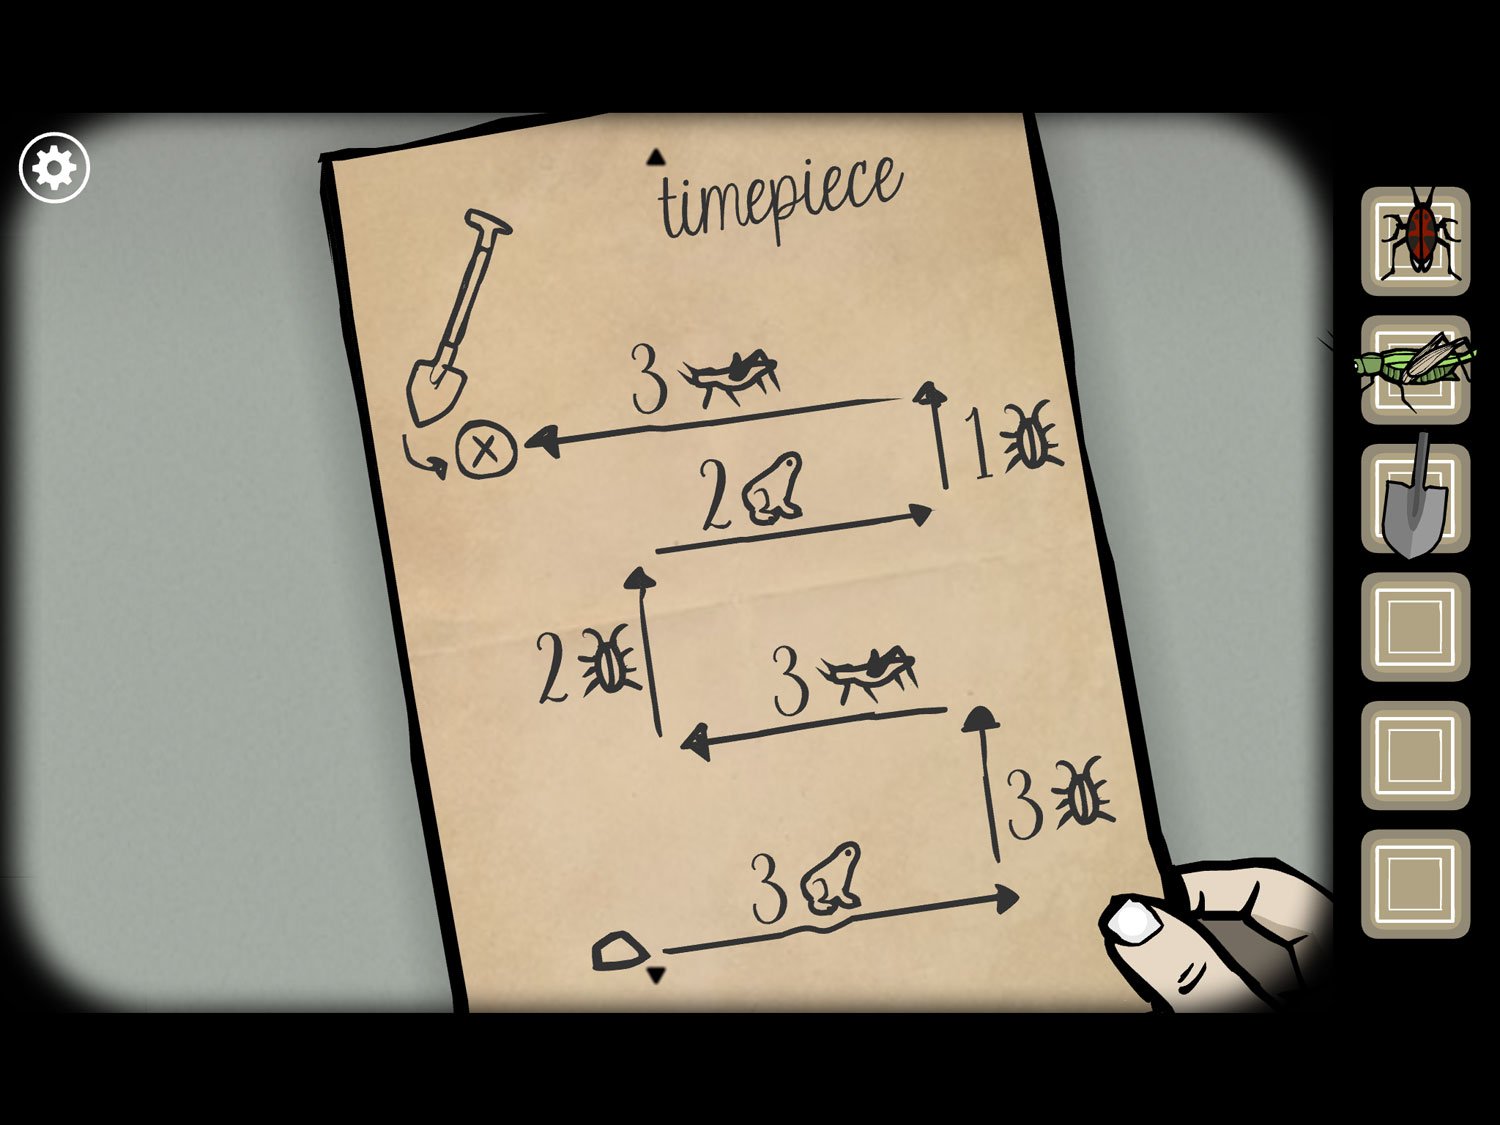
- Tap Leonard. Tap the paper in his hand
- This is a map to a buried treasure. It shows how many steps of each animal type to take: from the rock, go frog-3, insect-3, grasshopper-3, insect-2, frog-2, insect-1, grasshopper-3. Zoom back out
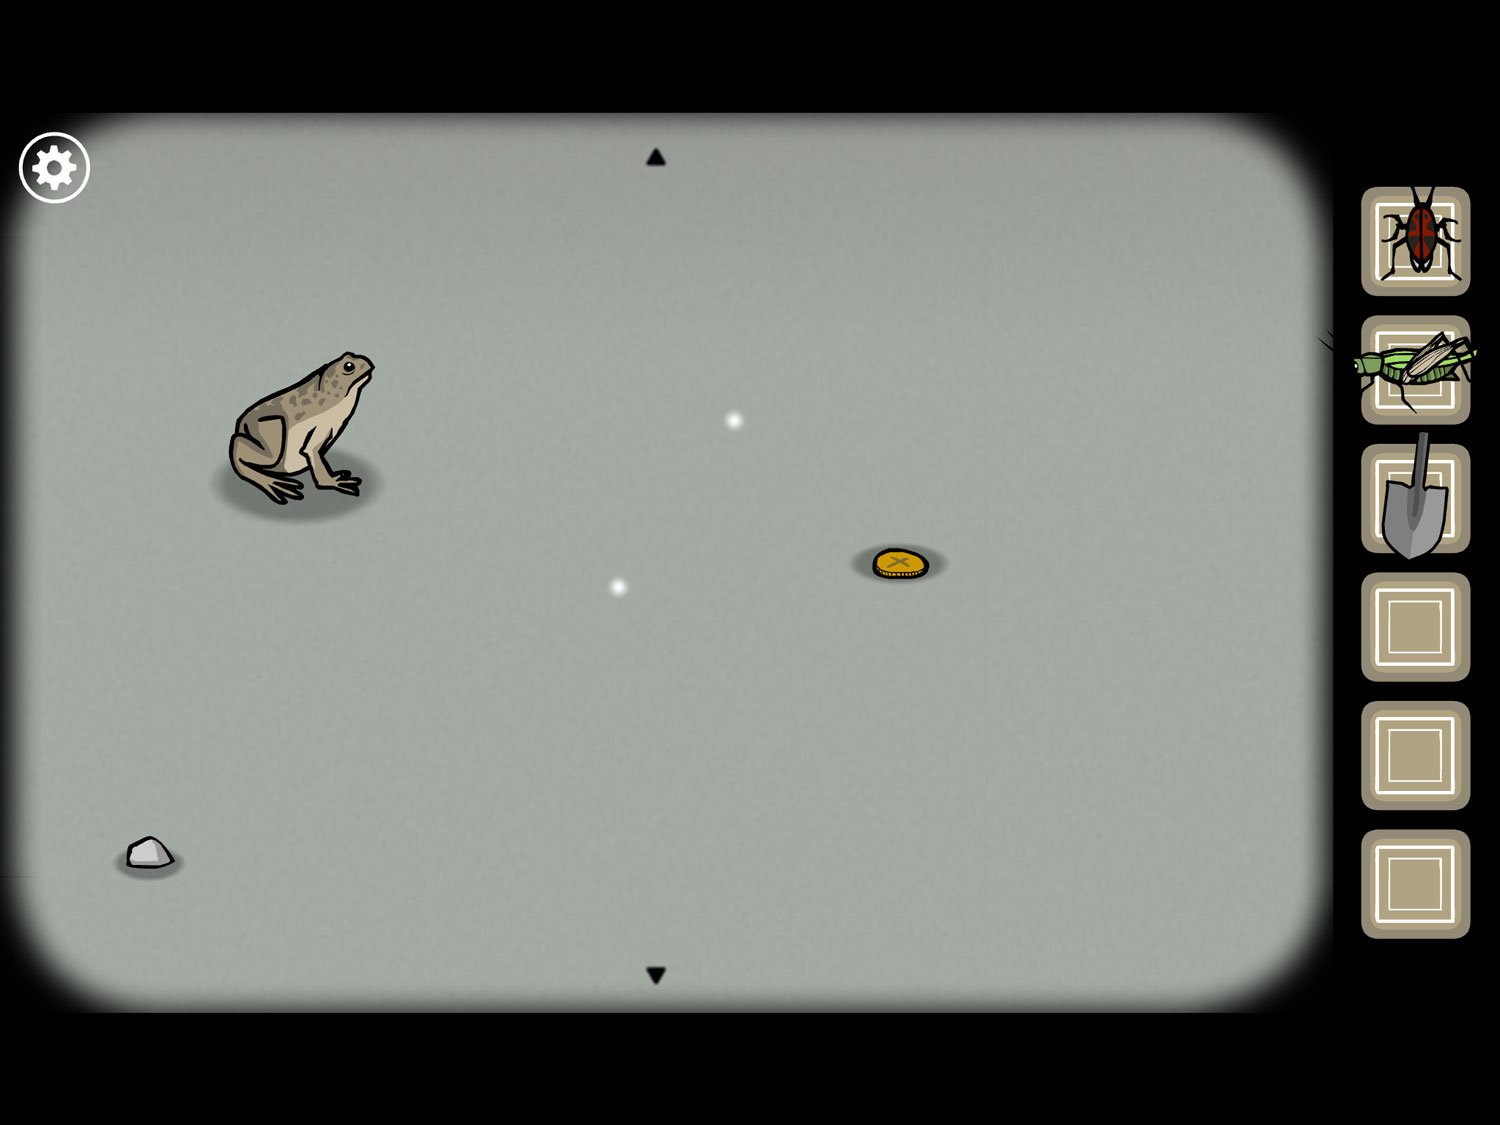
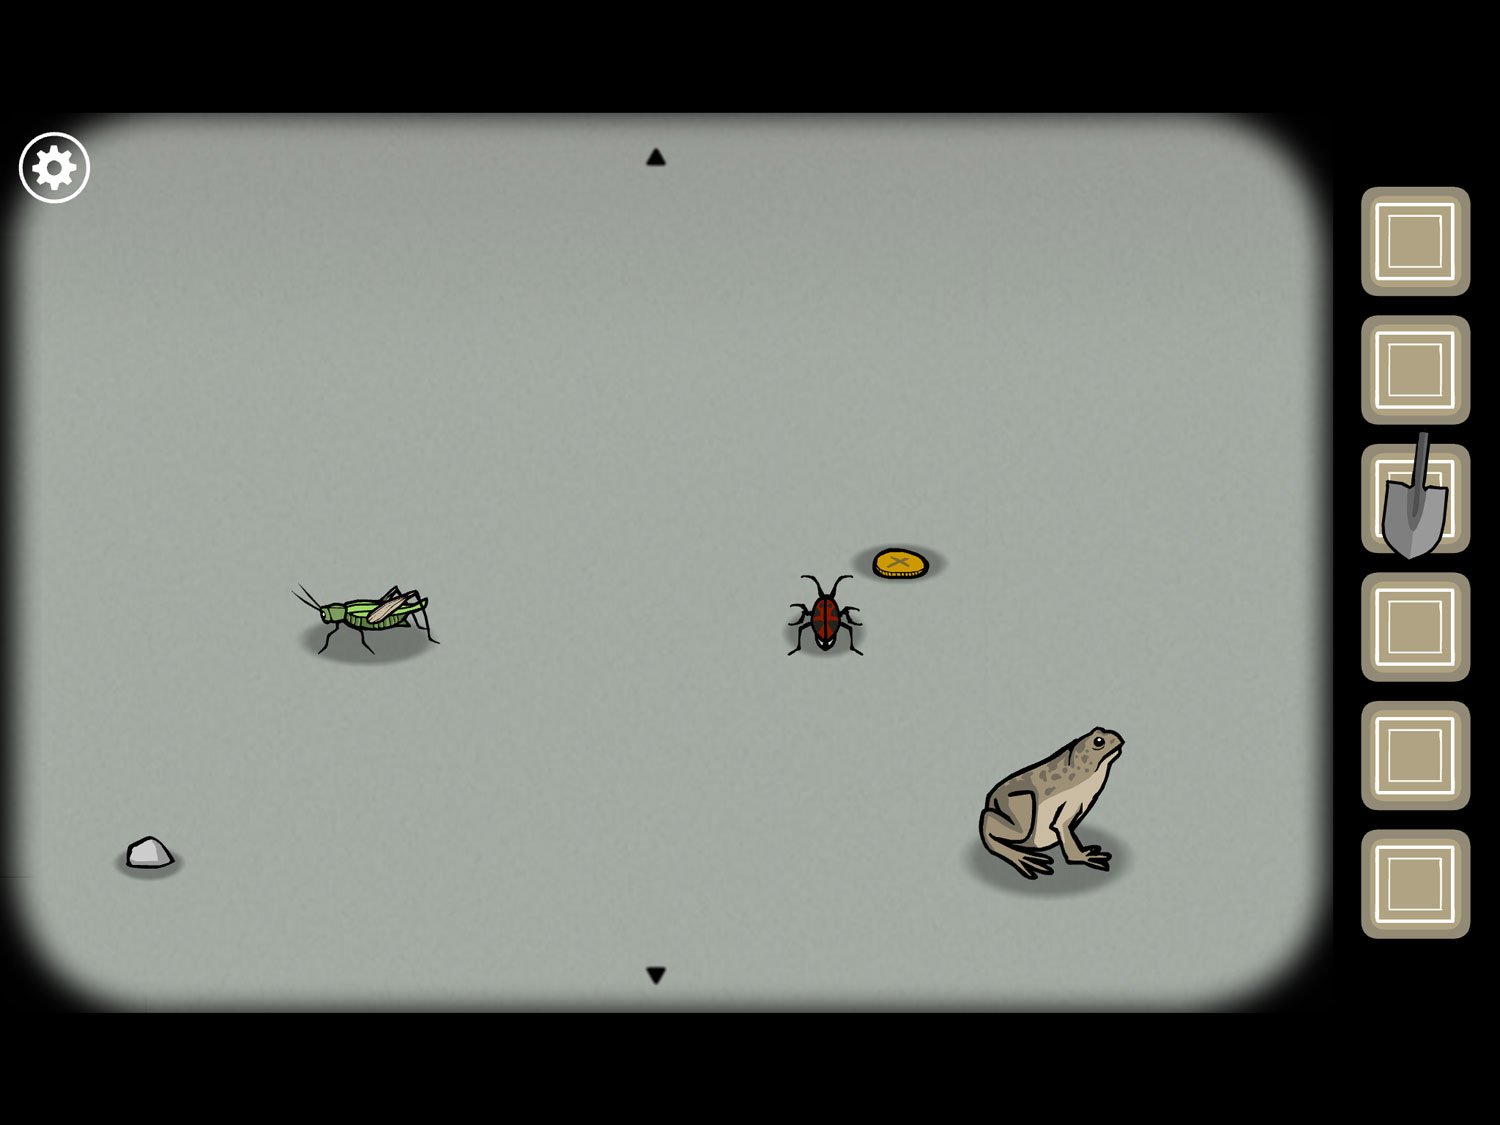
- Drag left and tap the frog on the ground. You will see a frog, a small rock, and a gold coin. We need to recreate the steps we saw in Leonard’s paper
- Drag the frog on top of the rock. Tap to make him jump three times
- Place the INSECT from your inventory onto the ground. Drag it onto the frog. The frog will jump away and the insect will take his place
- Tap the insect to make him move three times
- Place the GRASSHOPPER from your inventory onto the ground. Drag it onto the insect
- Tap the grasshopper to make it jump three times
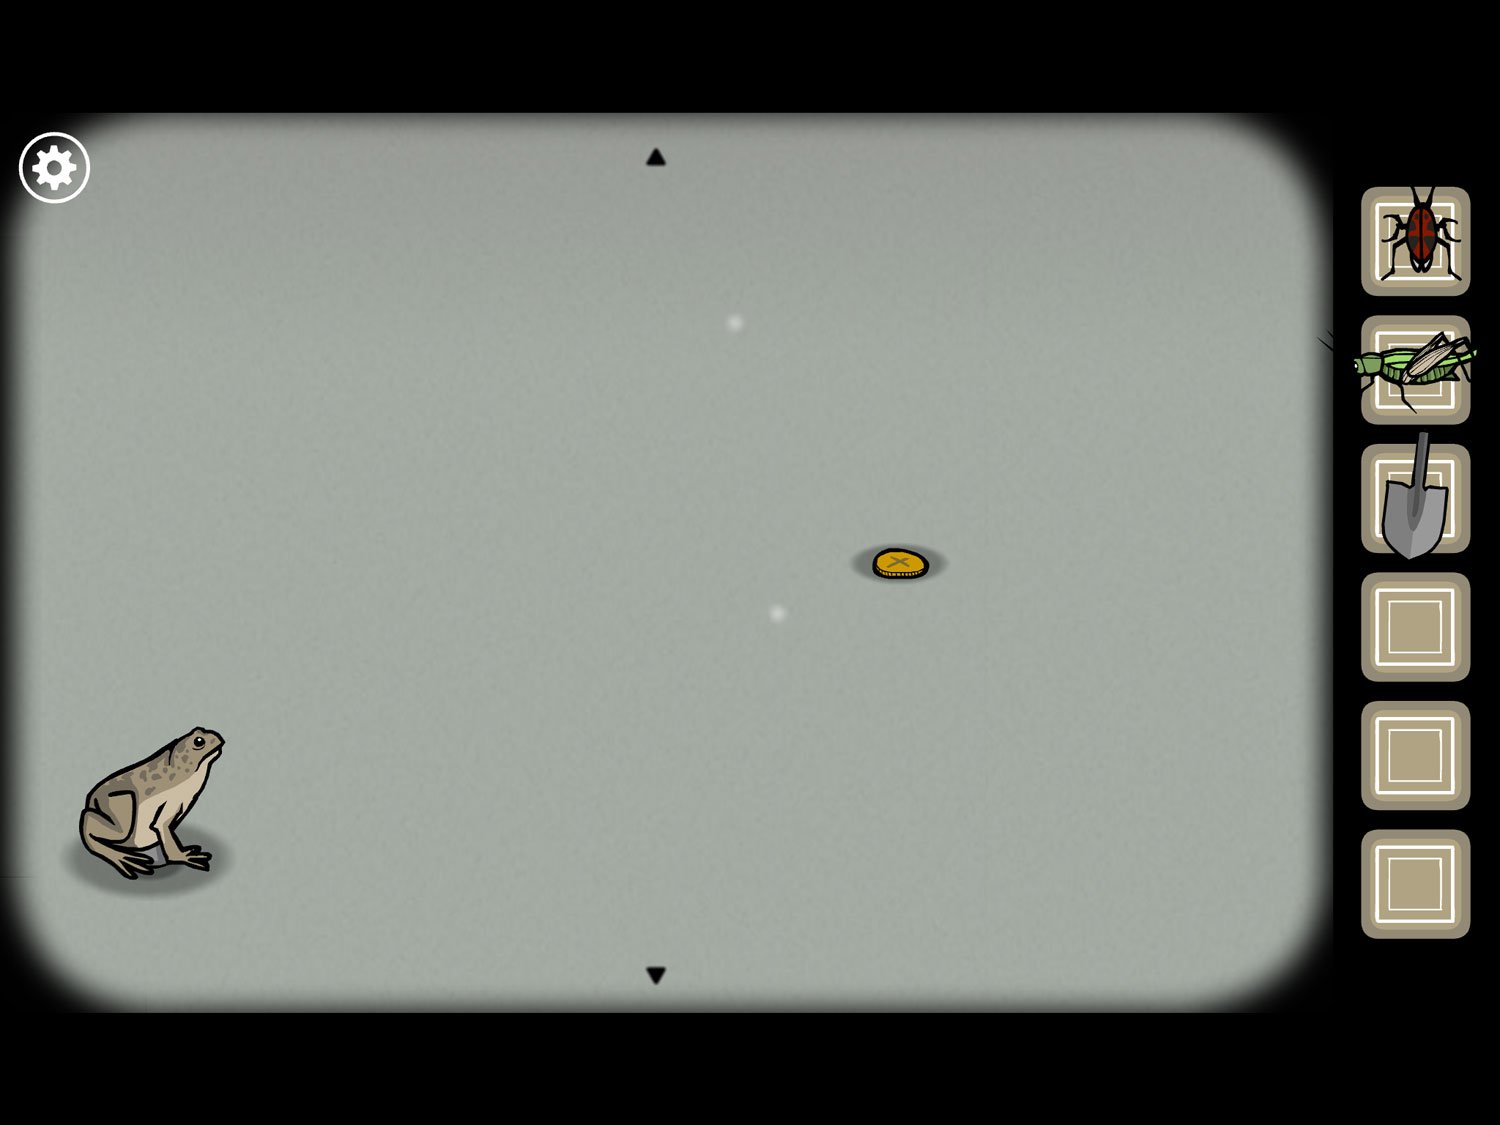
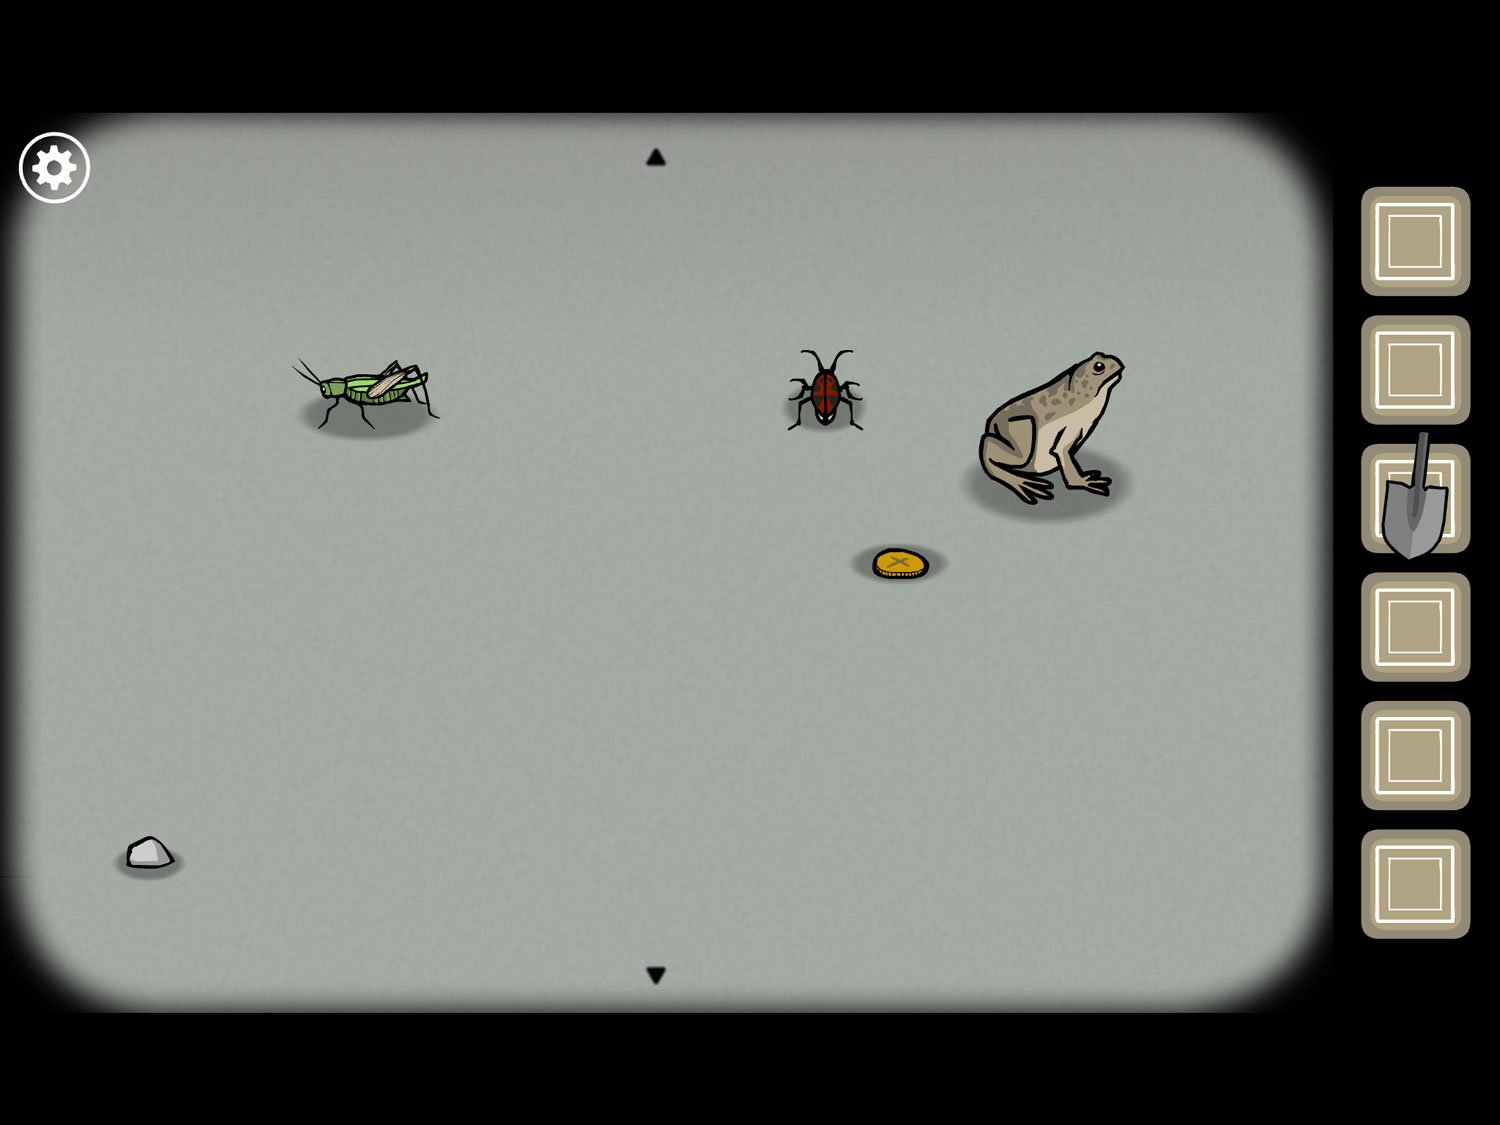
- Your animals should now be in the positions shown above (ignore the gold coin)
- Drag the insect onto the grasshopper. Tap it two times
- Drag the frog onto the insect. Tap it two times
- Drag the insect onto the frog. Tap it once
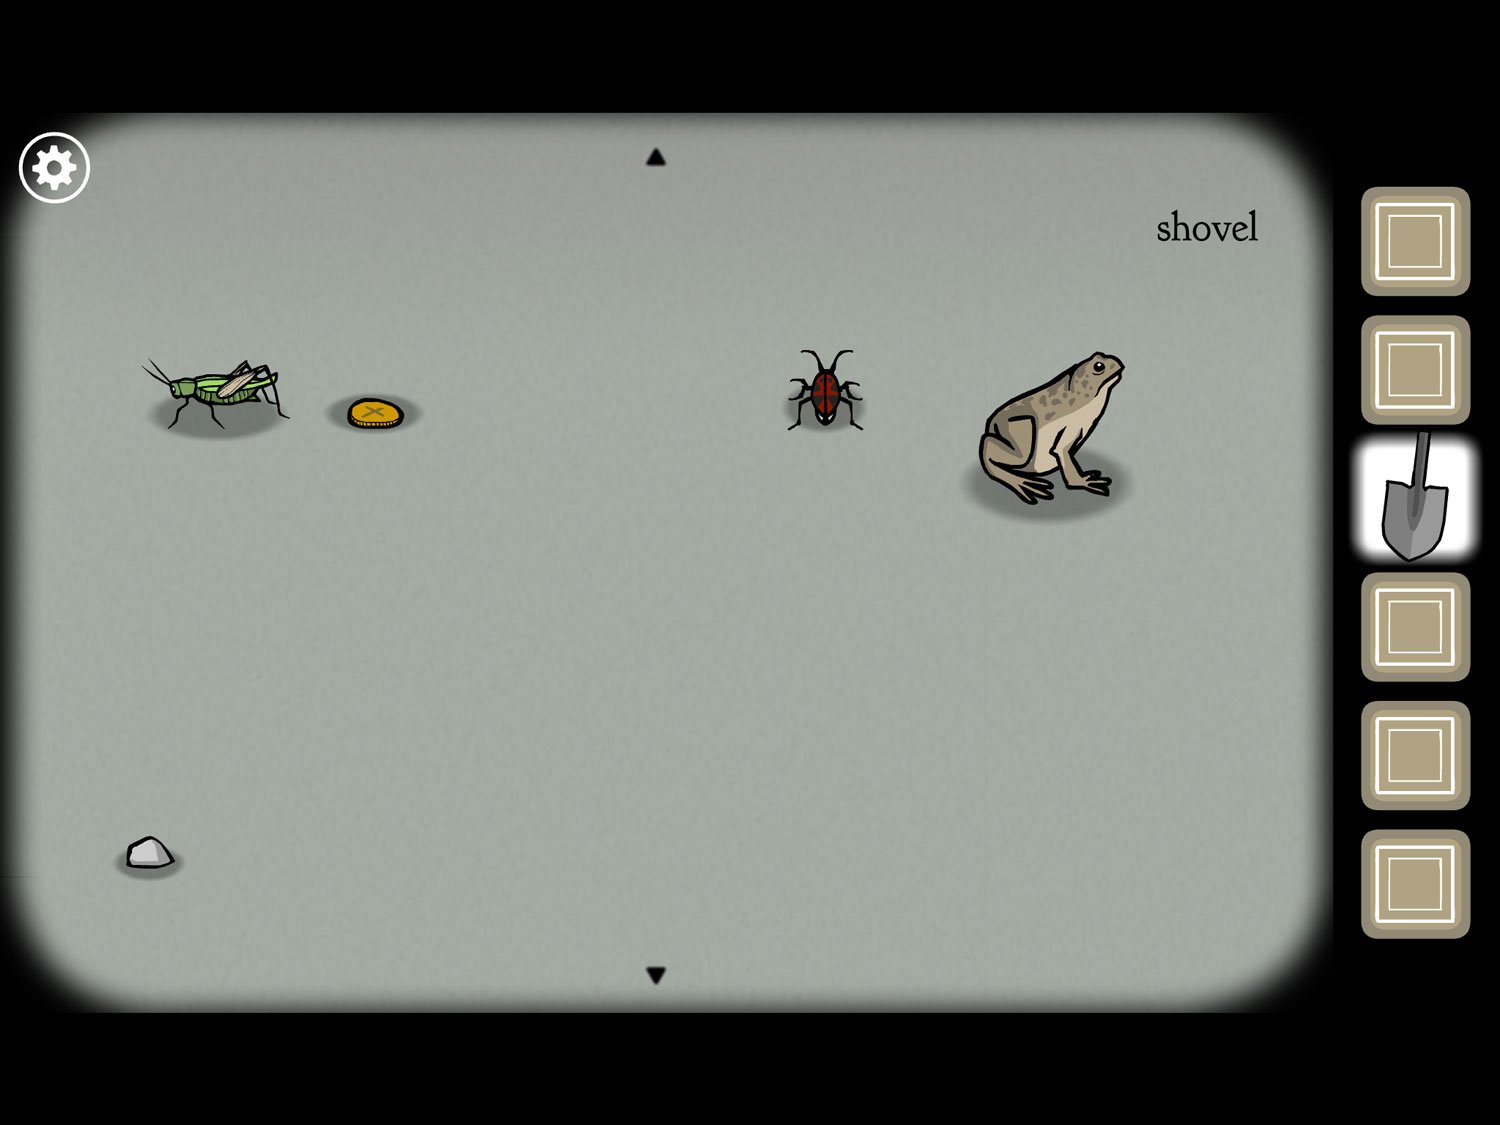
- Drag the grasshopper onto the insect. Tap it three times
- The spot where the grasshopper lands is your goal. Drag the gold coin onto the grasshopper
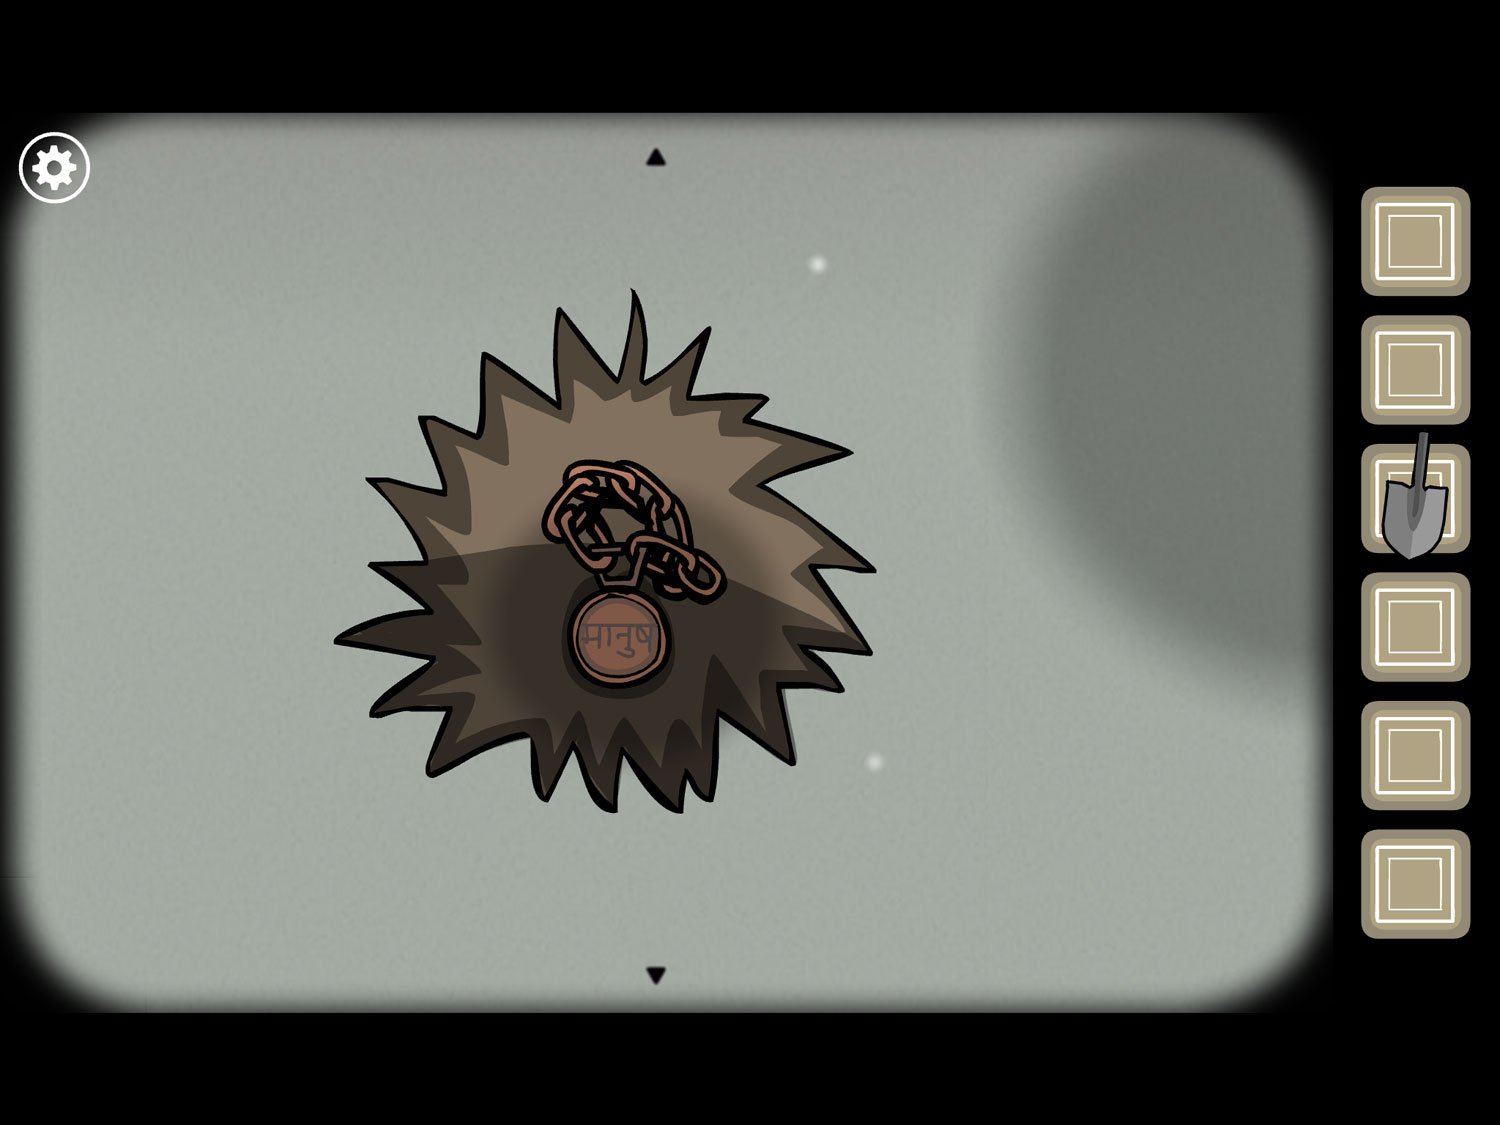
- Use the SHOVEL on the gold coin to begin digging. Tap again and you’ll zoom out
- Tap the spot you just dug to zoom back in and reveal a copper timepiece. Tap it to get TIMEPIECE
- Zoom out and tap on Leonard. Use TIMEPIECE on Leonard
- Tap the timepiece when it’s hanging from his neck to reveal the white square and exit. Leonard’s tree branch ends here
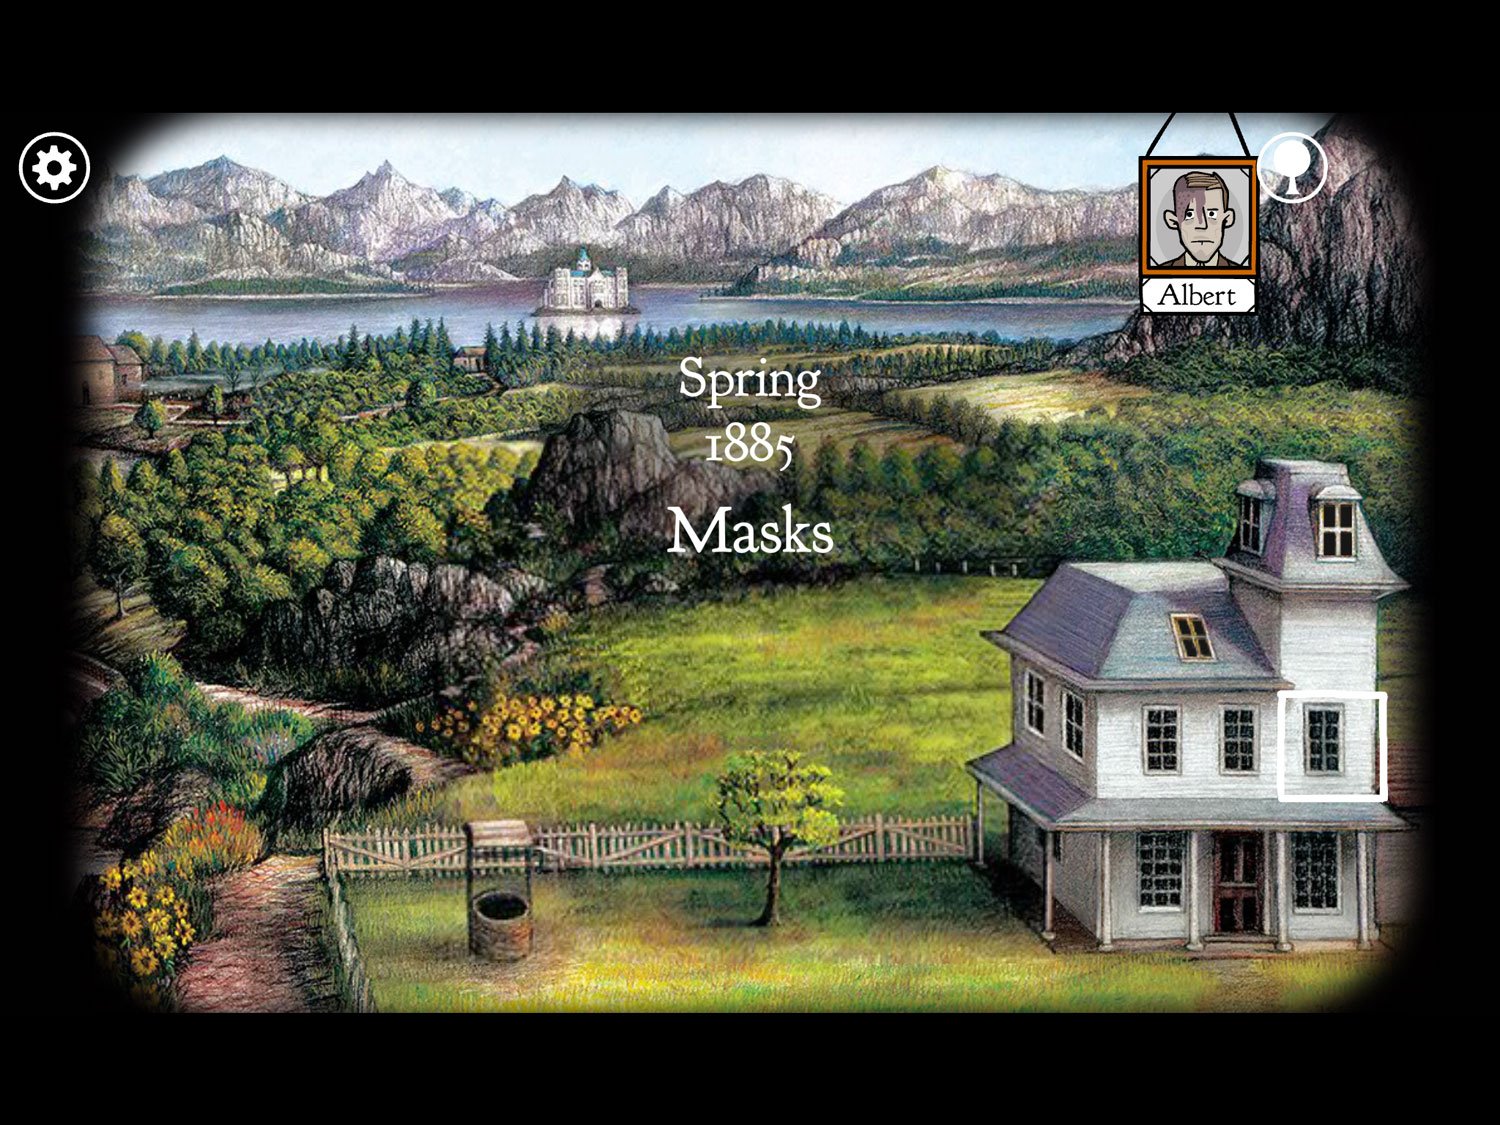
Level 24: Masks, Spring 1885 – Albert
Location: Upstairs bedroom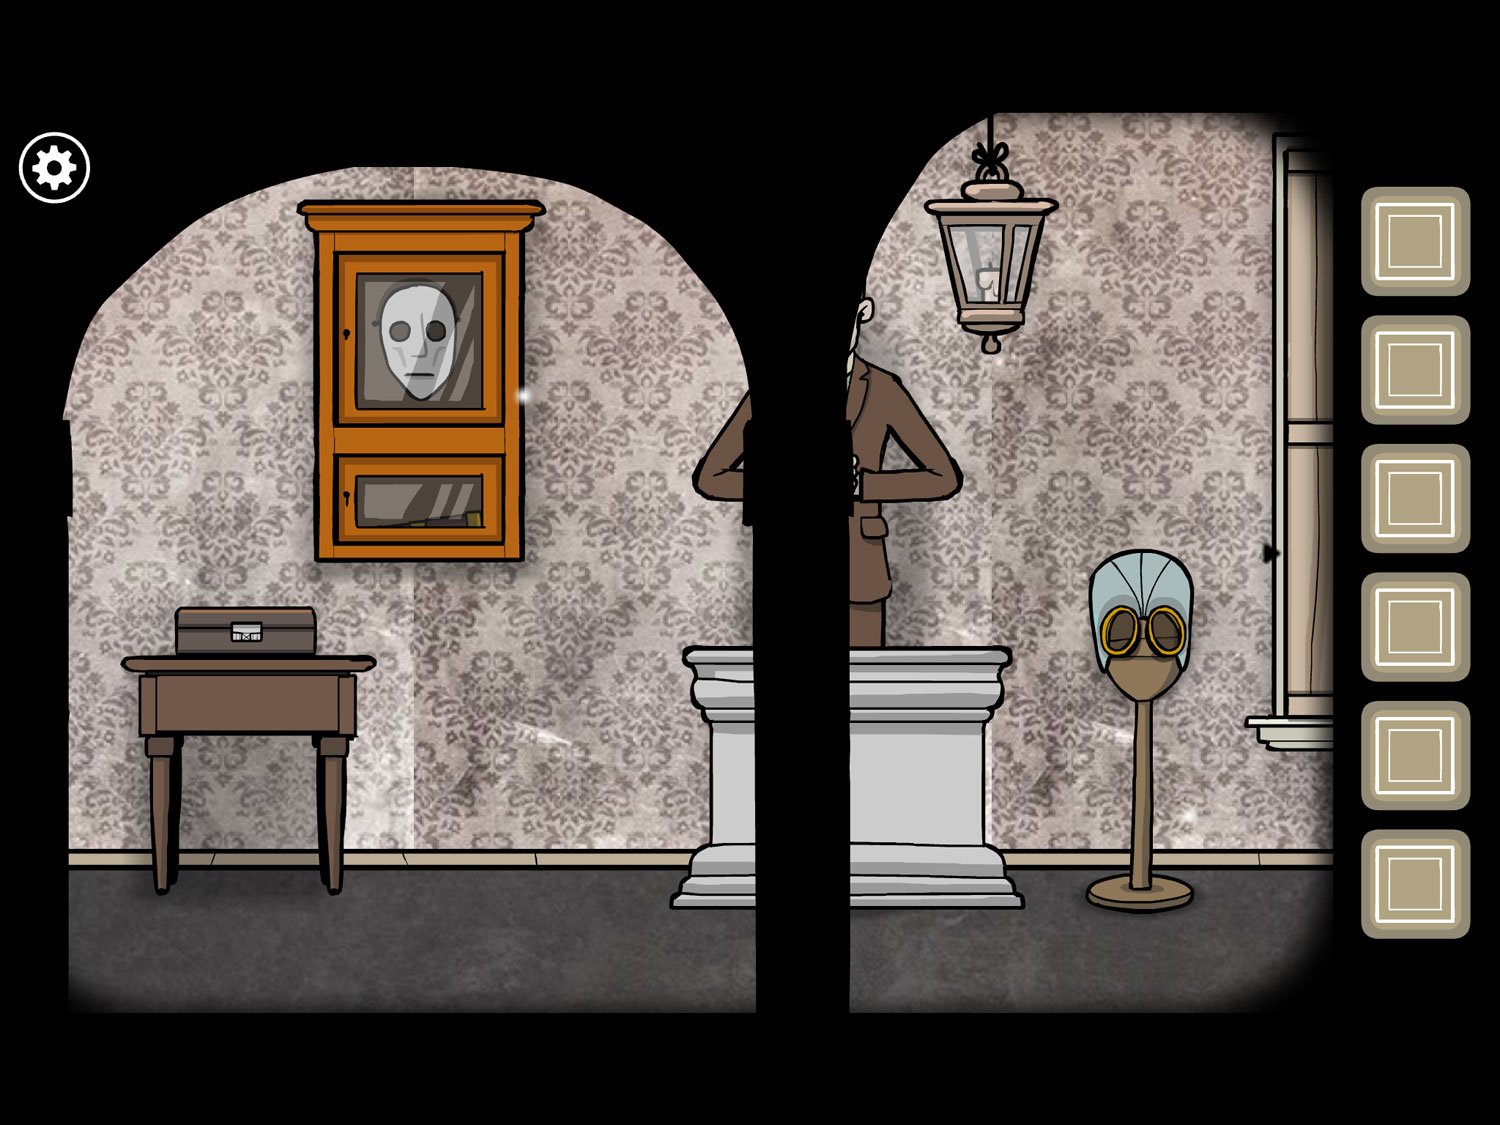
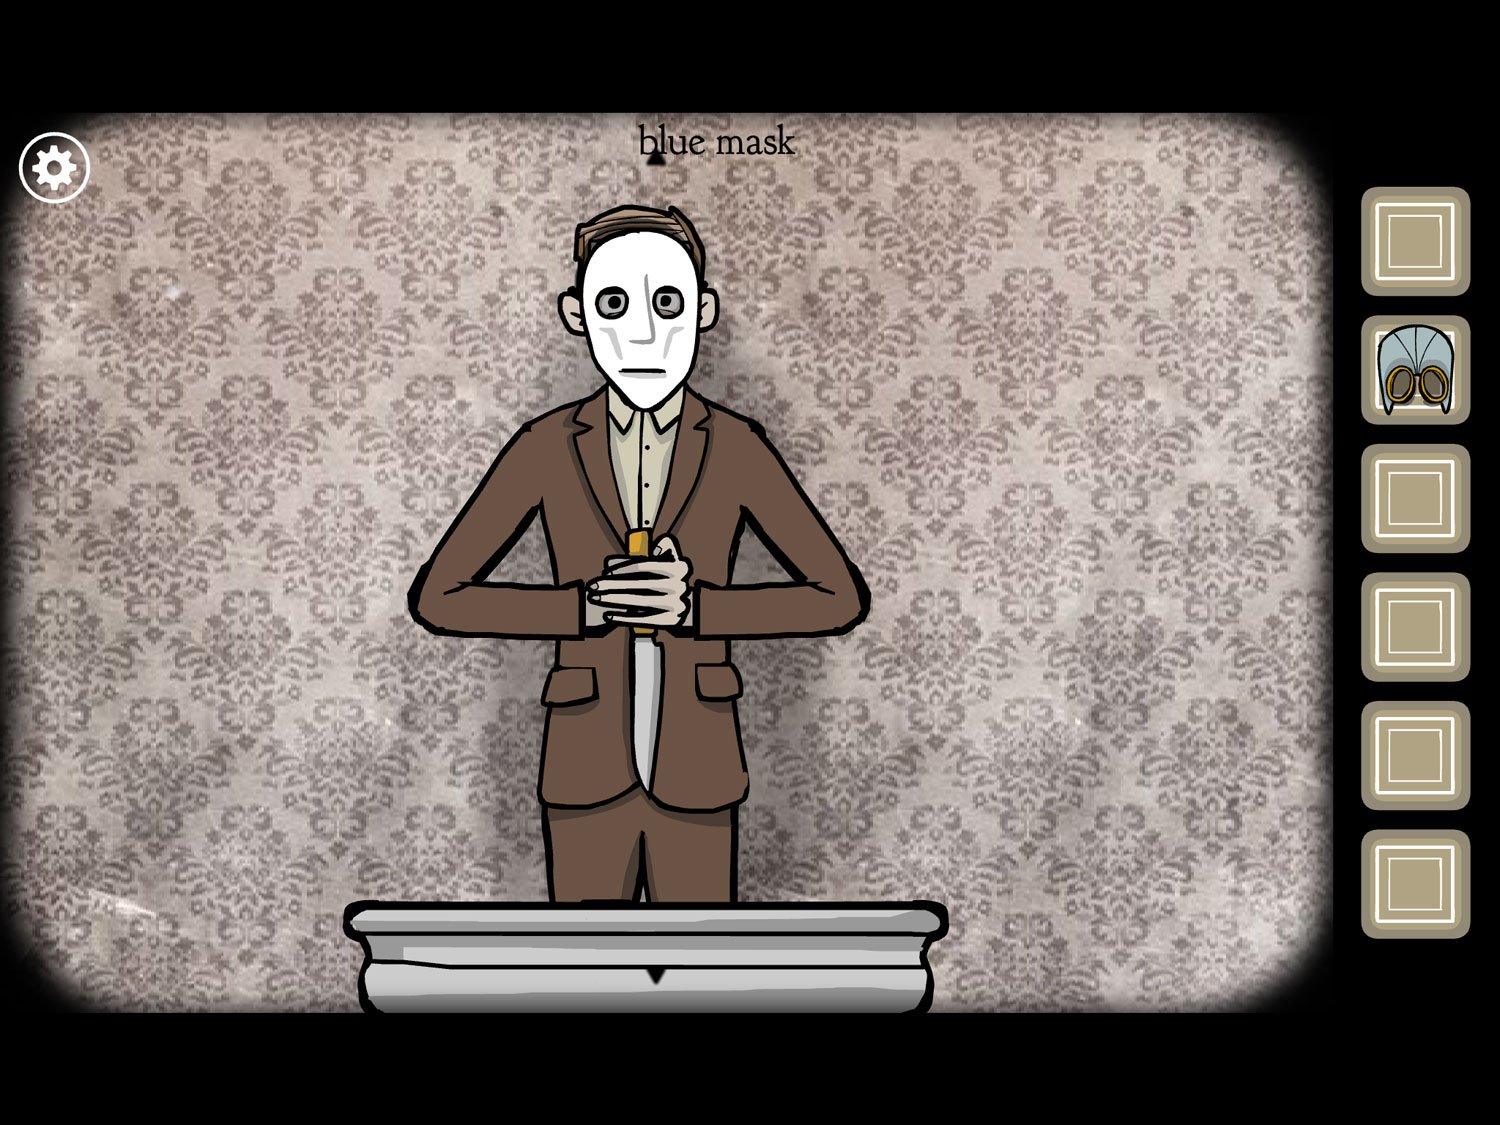
- Tap on the mask right of Albert to zoom in. Tap it to get BLUE MASK
- Drag right; tap the dresser to zoom in; tap the can to get WATERING CAN
- Zoom out; drag back to Albert. Tap on him, then give him BLUE MASK
- Sunlight will flash; exit the close-up. Drag right and open the boarded-up window
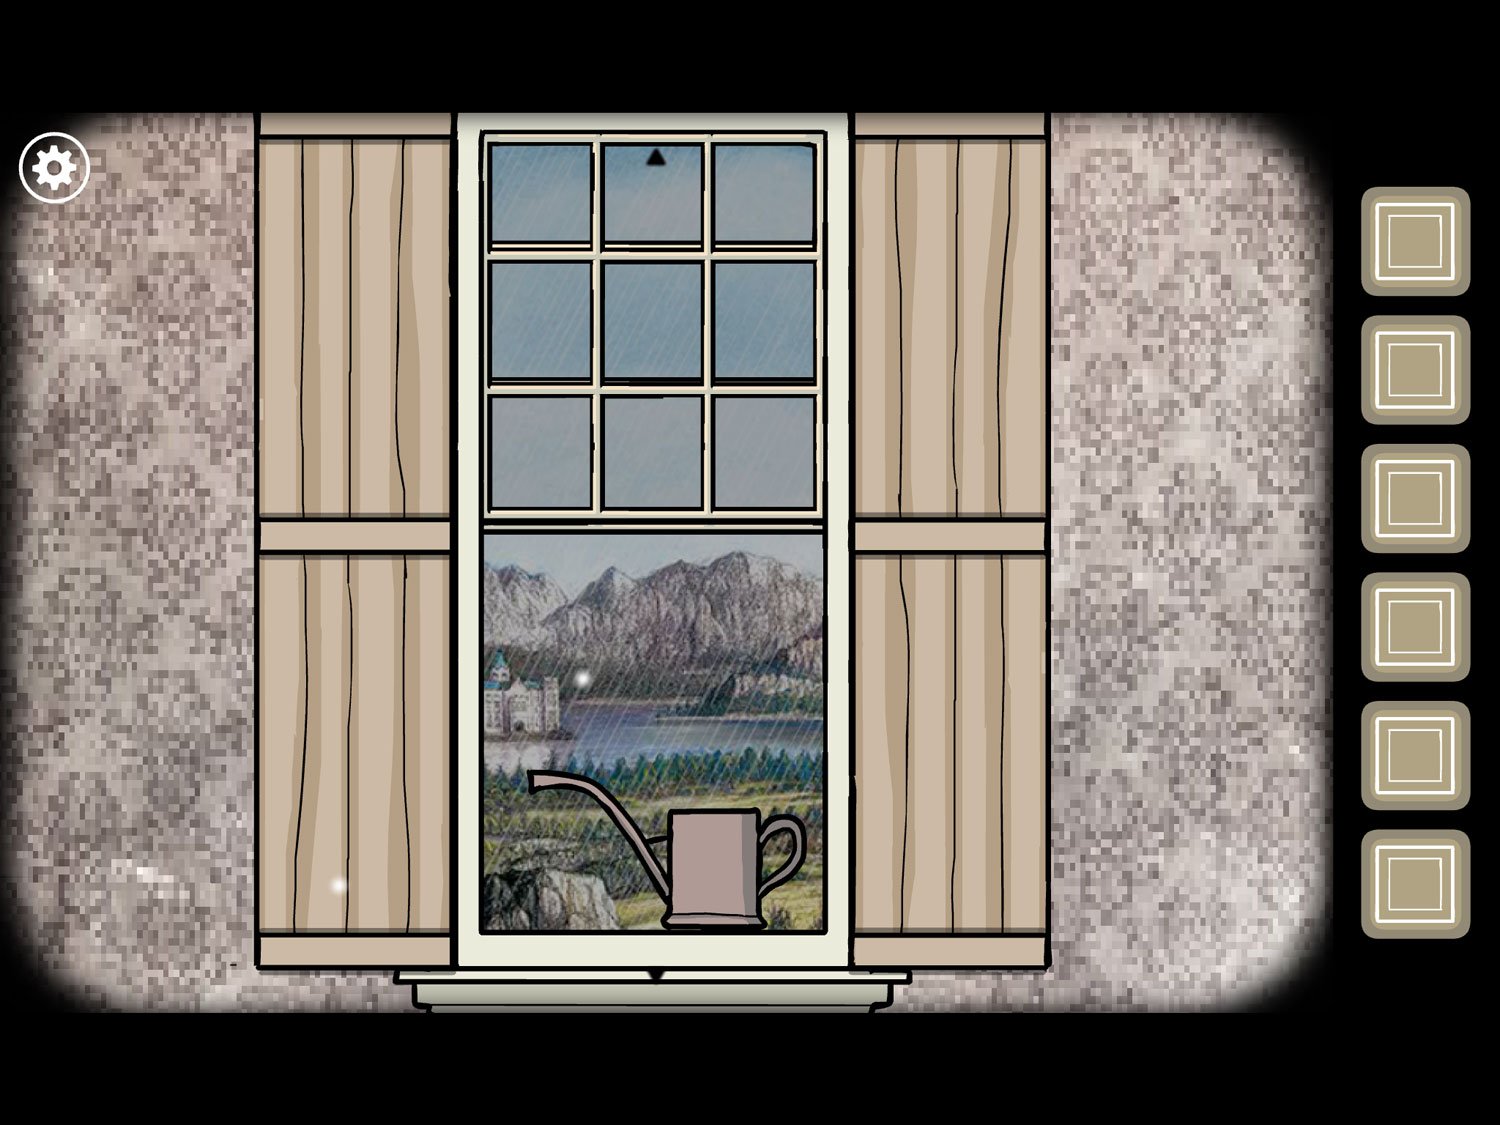
- It’s raining outside. Open the window and place WATERING CAN on the sill. Tap the can to get CAN WITH WATER. Exit the window
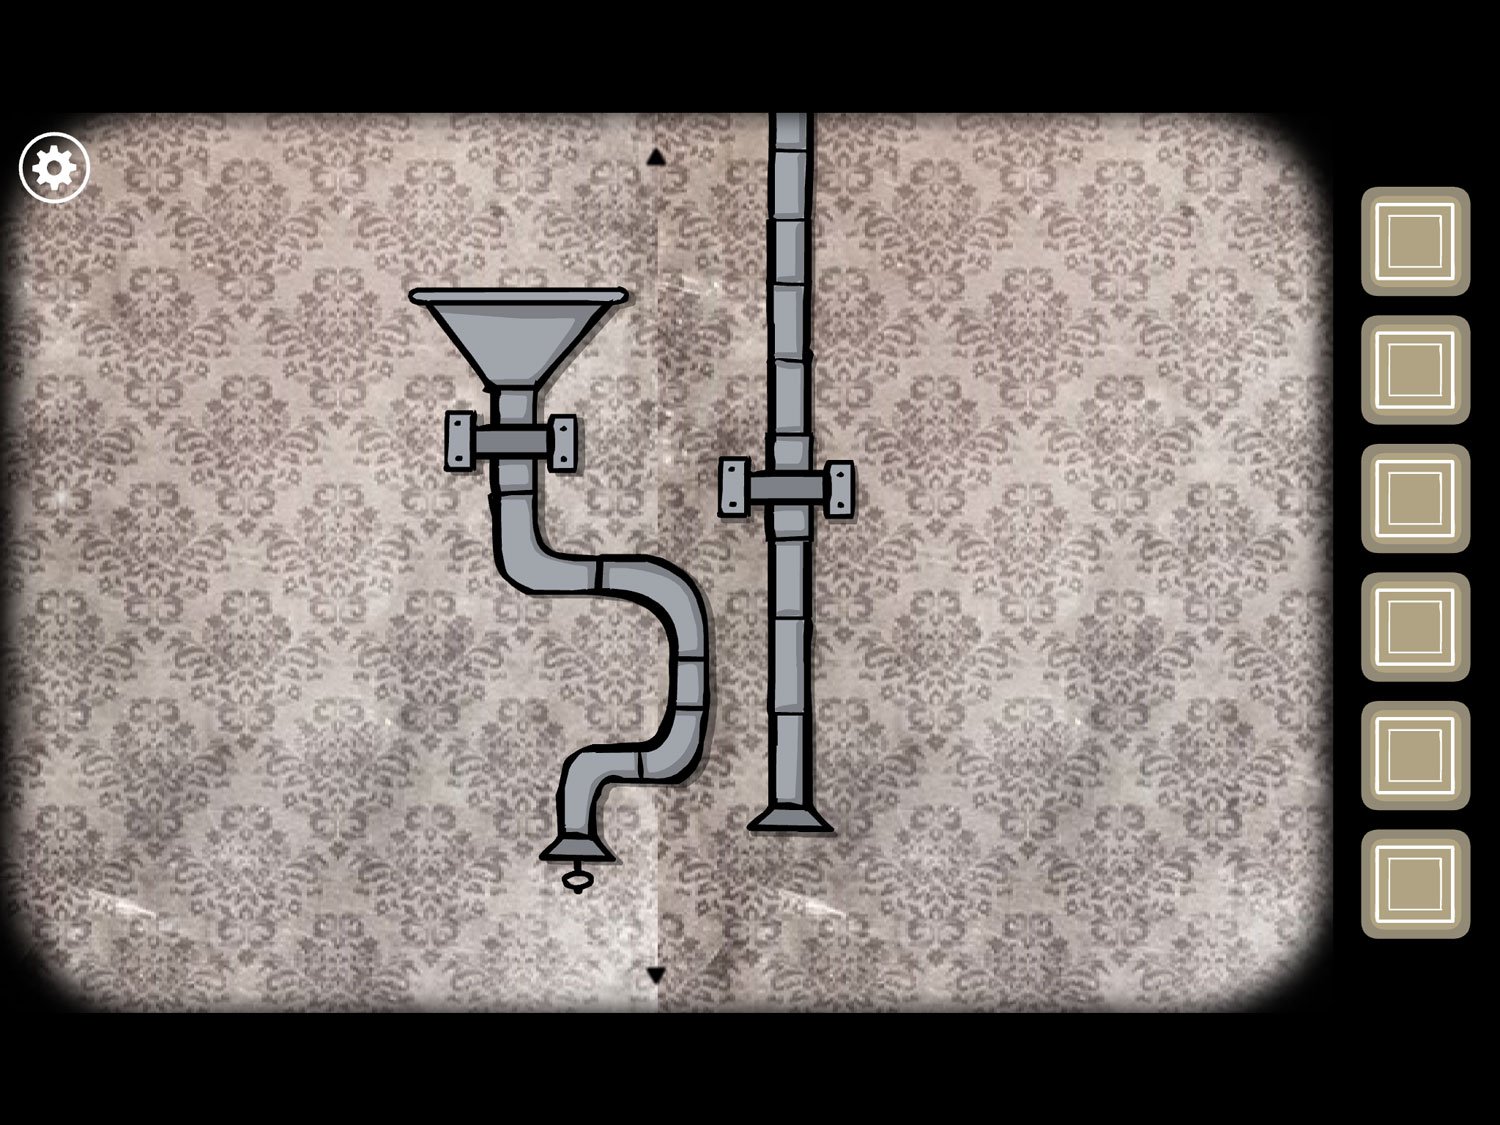
- Tap on the pipes above the dresser on the right. Use CAN WITH WATER on the funnel on the left pipe
- A key sticks out the bottom; tap to get KEY. Exit the pipes
- Drag left and tap on the glass cabinet left of Albert. Use KEY on the top door then tap to open it
- Take WHITE MASK. Exit and return to Albert
- Tap on Albert to take back BLUE MASK. Give him WHITE MASK
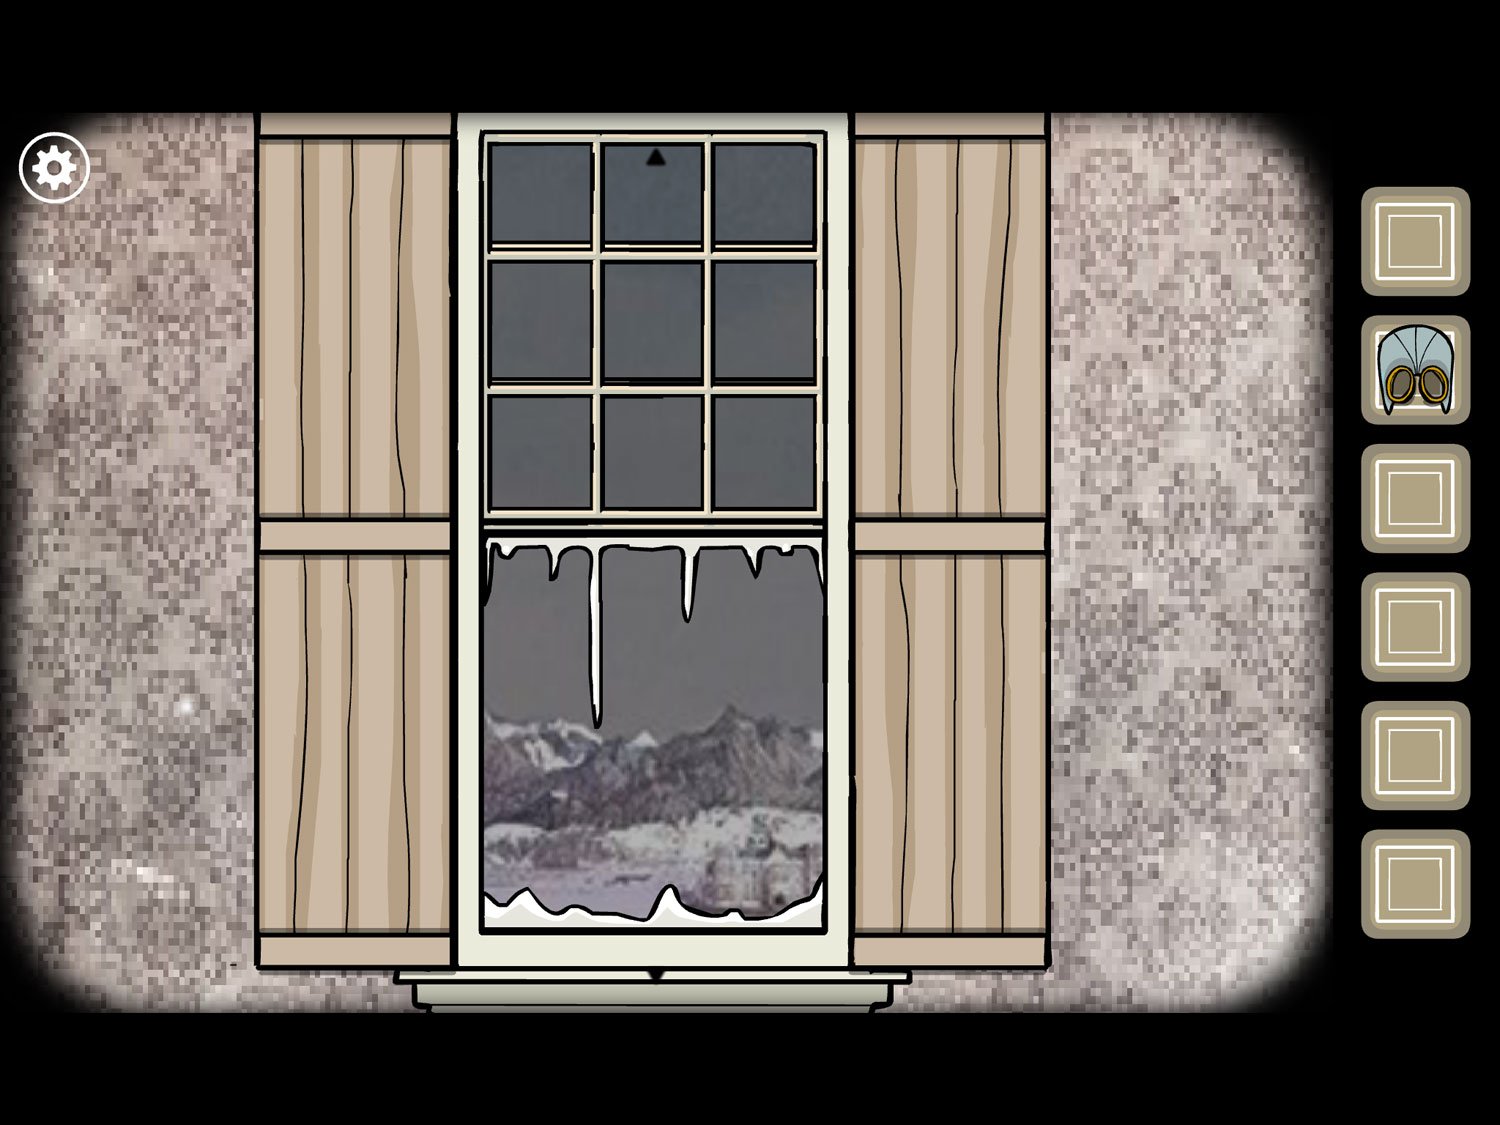
- Exit and return to the window. It’s now snowing outside. Tap the window
- Tap the long icicle on the left side of the window to get ICICLE. Exit the close-up
- Return to the pipes. Use ICICLE on the bottom of the pipe on the right
- Tap the icicle twice to stick it in the pipe and unclog a key. Take KEY (2) and exit the pipes
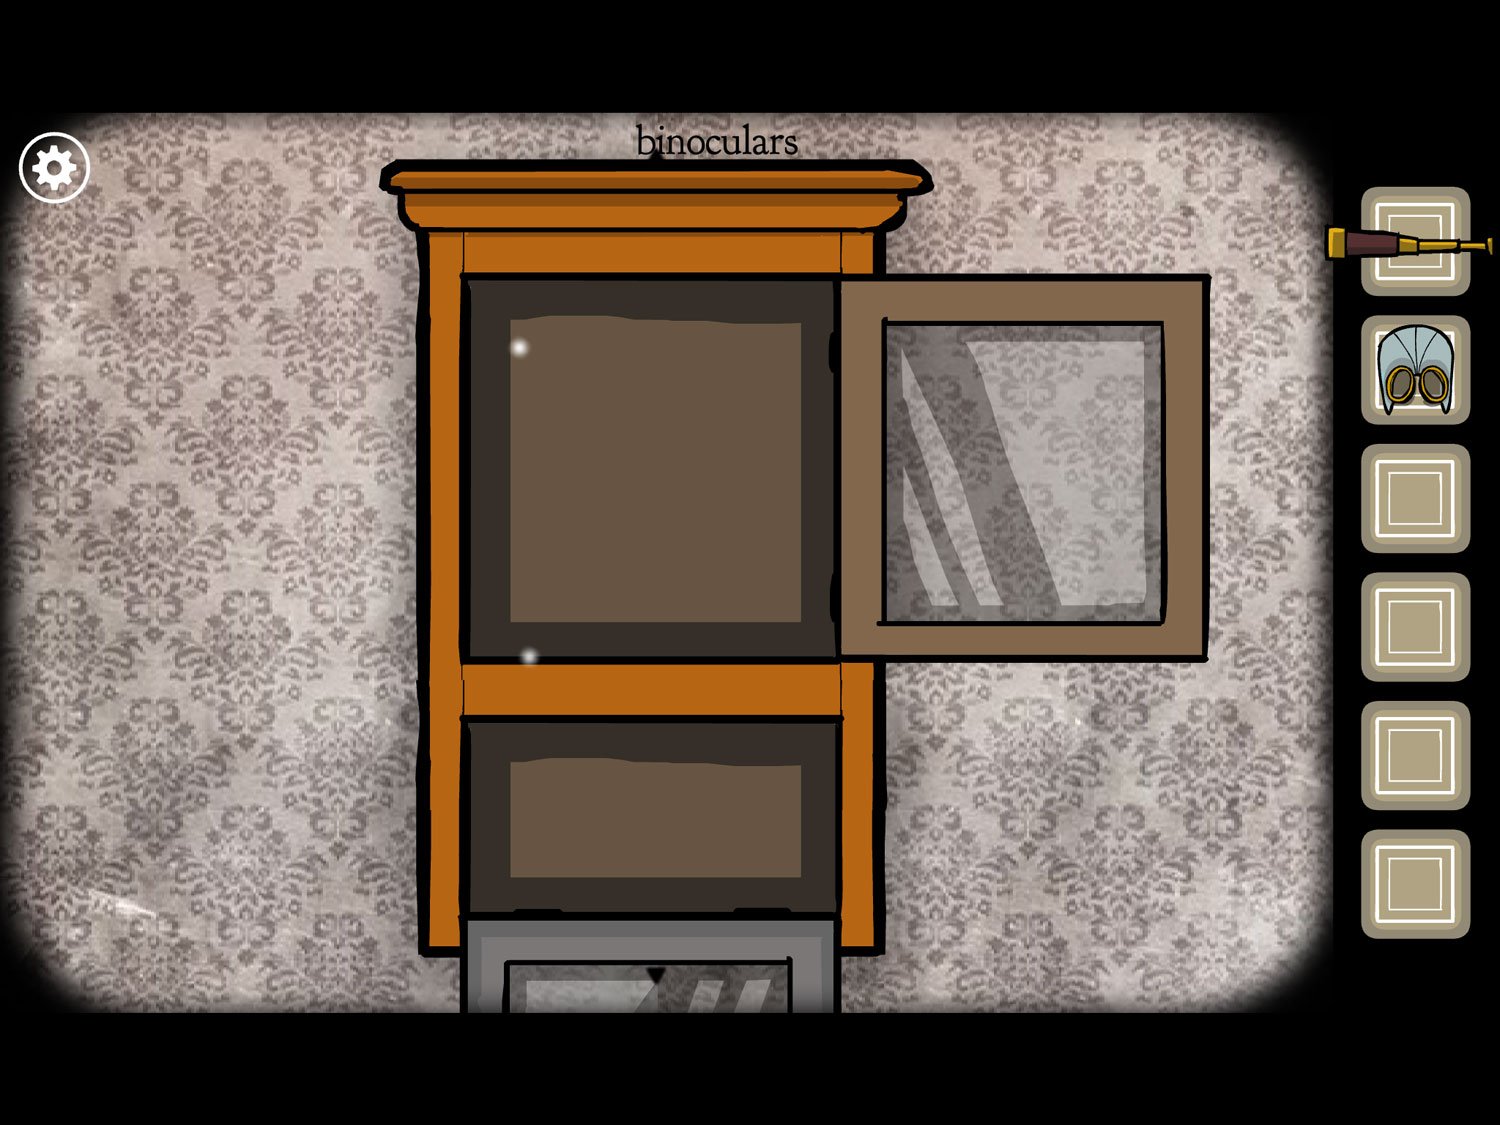
- Return to the glass cabinet and open the bottom door with KEY (2). Take BINOCULARS
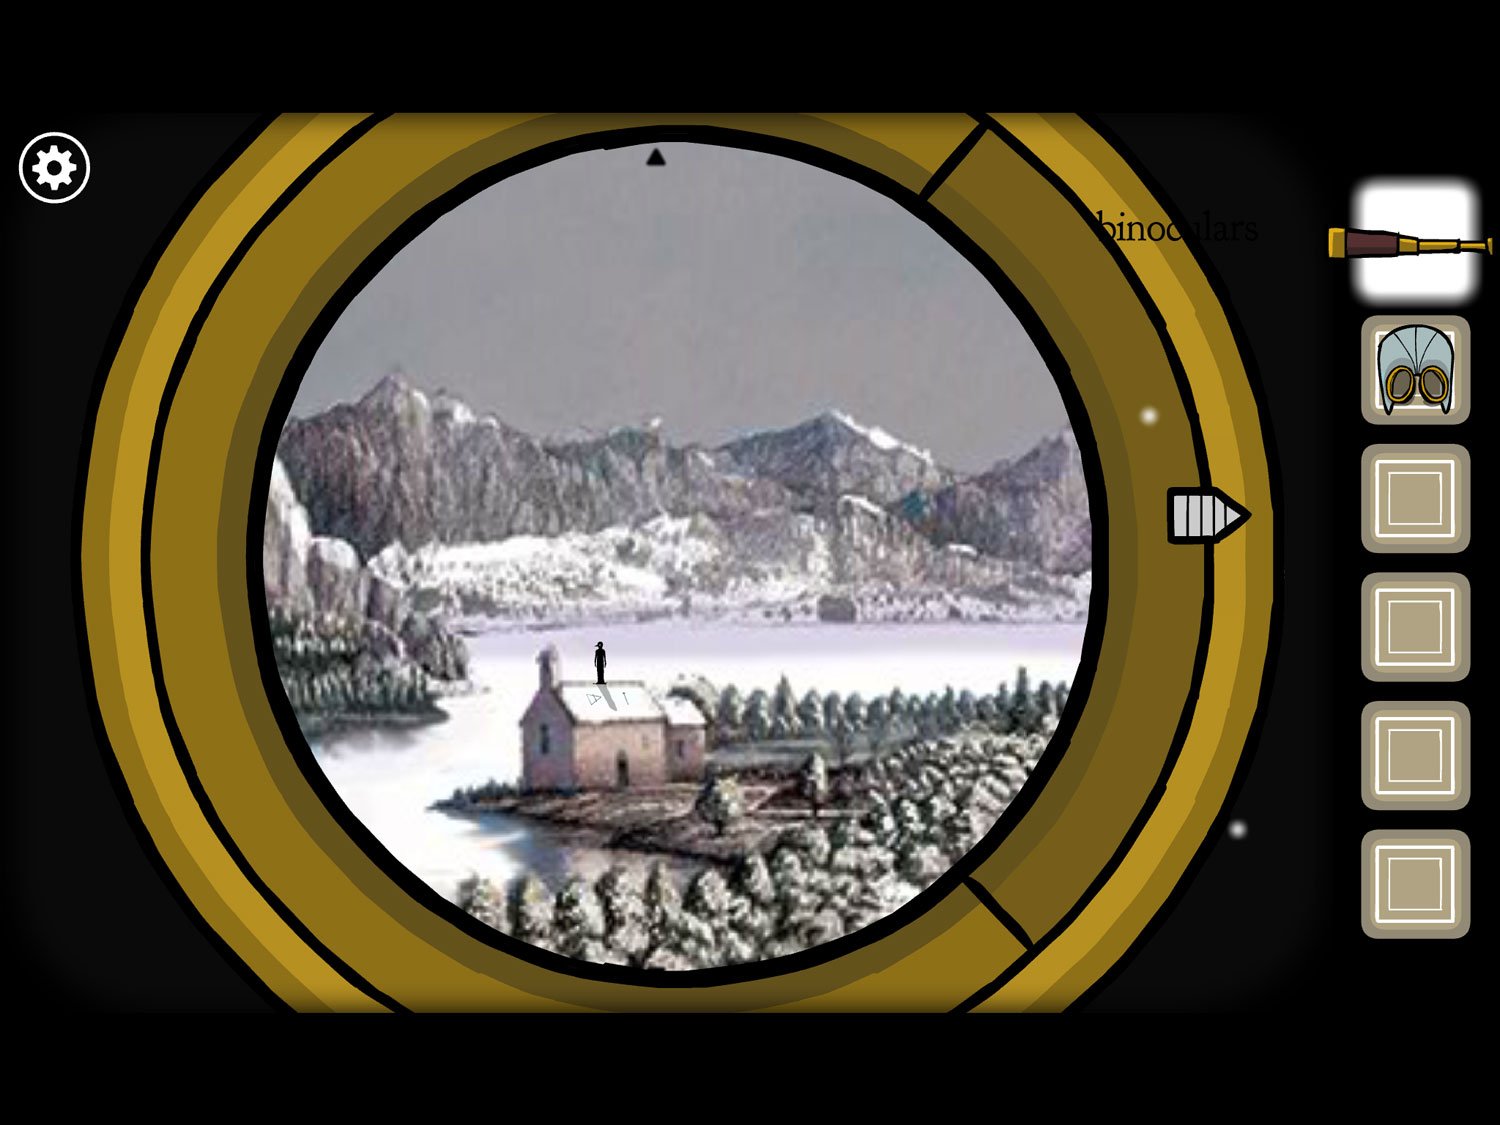
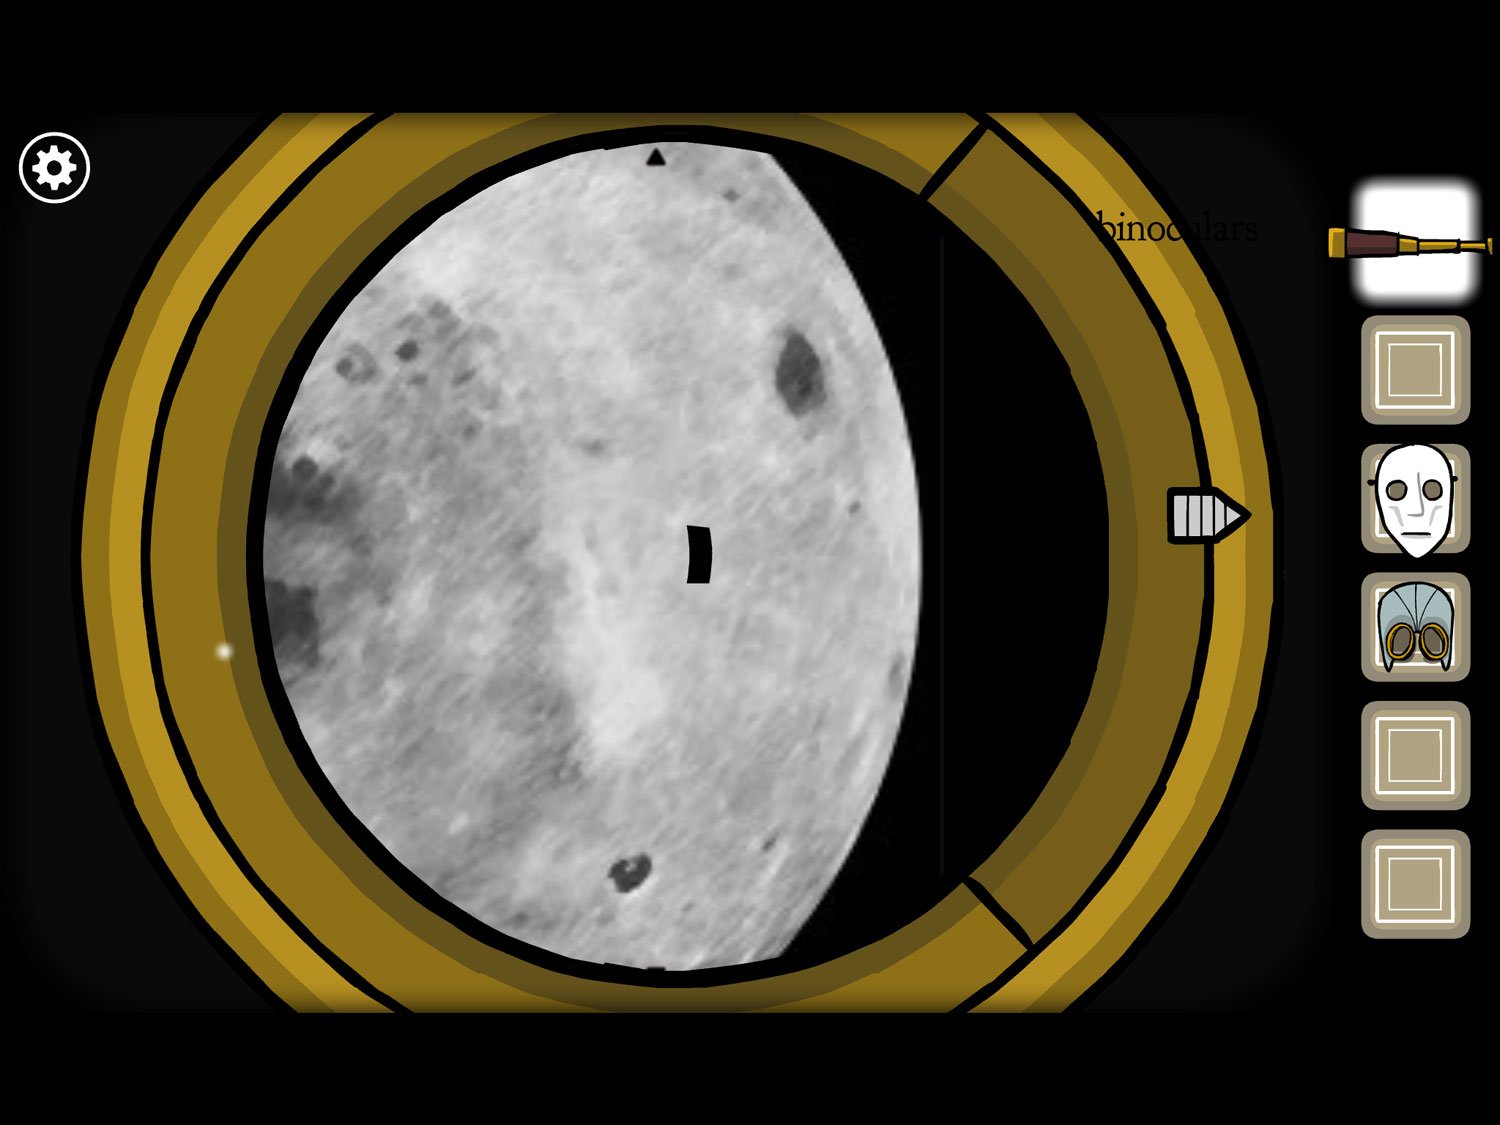
- Return to the window. Use BINOCULARS on the window
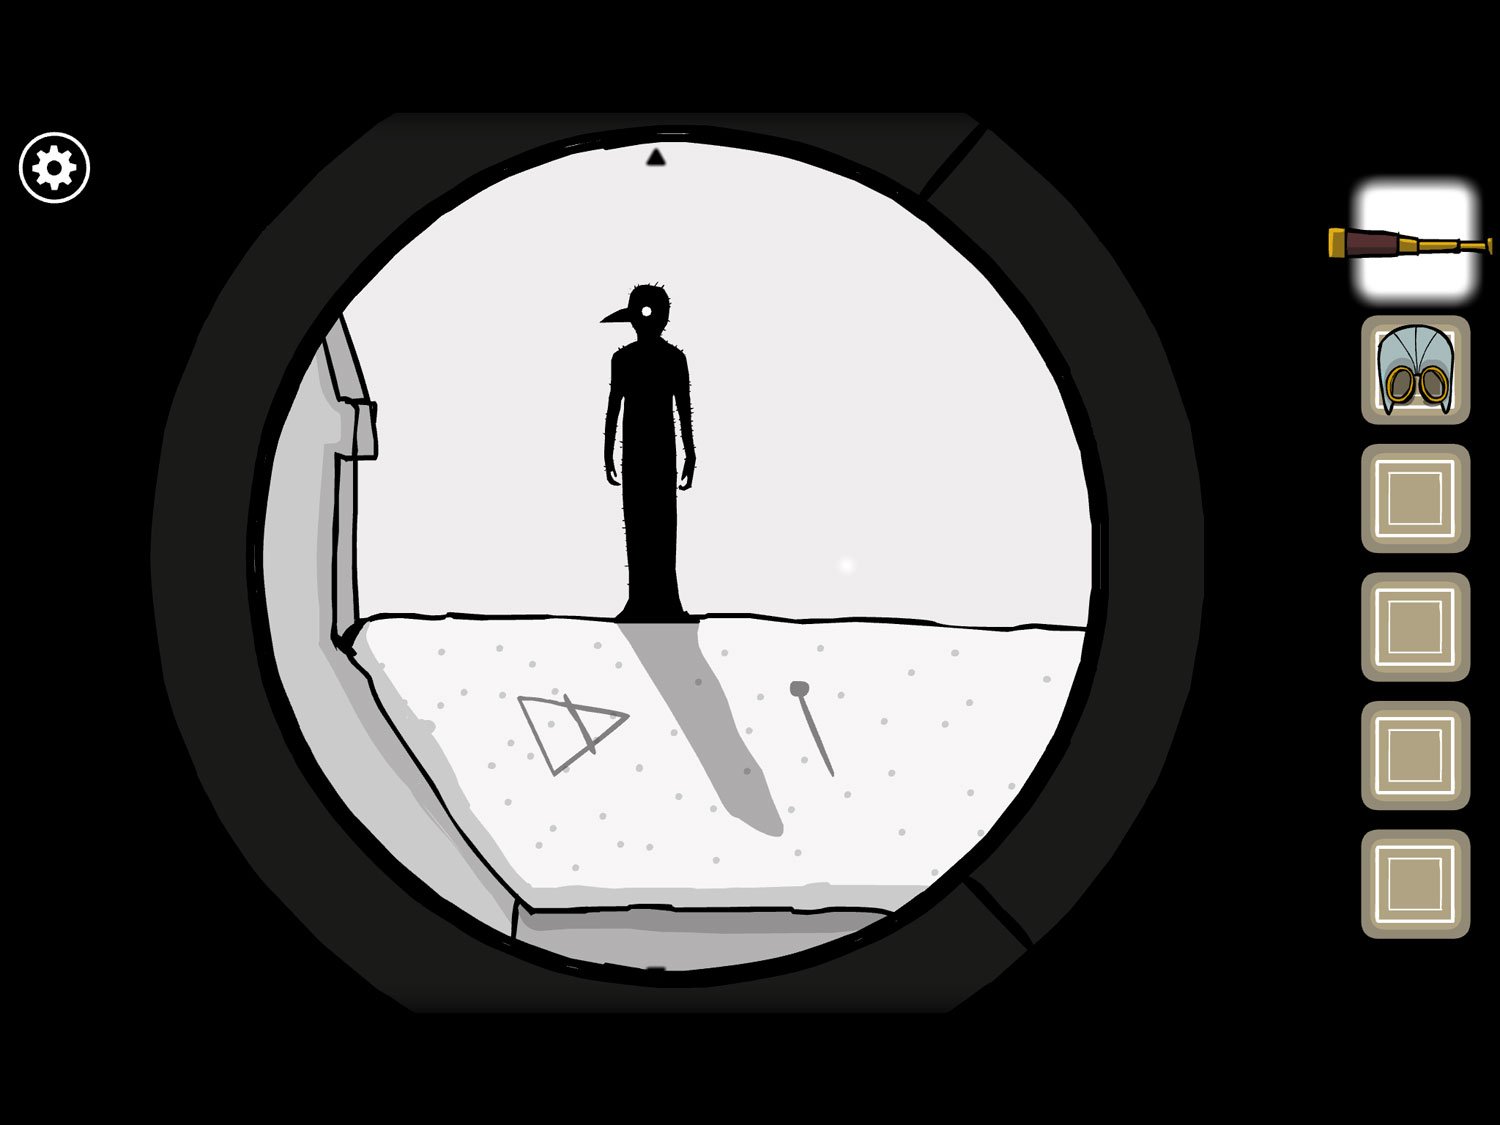
- Drag the scrolling pointer right until you reach the church. There is a shadowy figure standing on top of it; tap on him
- When you zoom in, you’ll see two symbols: a triangle with a line through it and the smallest point facing right; and a needle-looking symbol with the tip facing down
- Tap on the shadowy figure to make him vanish. Exit the close-up
- Return to Albert. Take his WHITE MASK and give him back BLUE MASK
- Return to the window. It’s raining again. Use BINOCULARS on the window
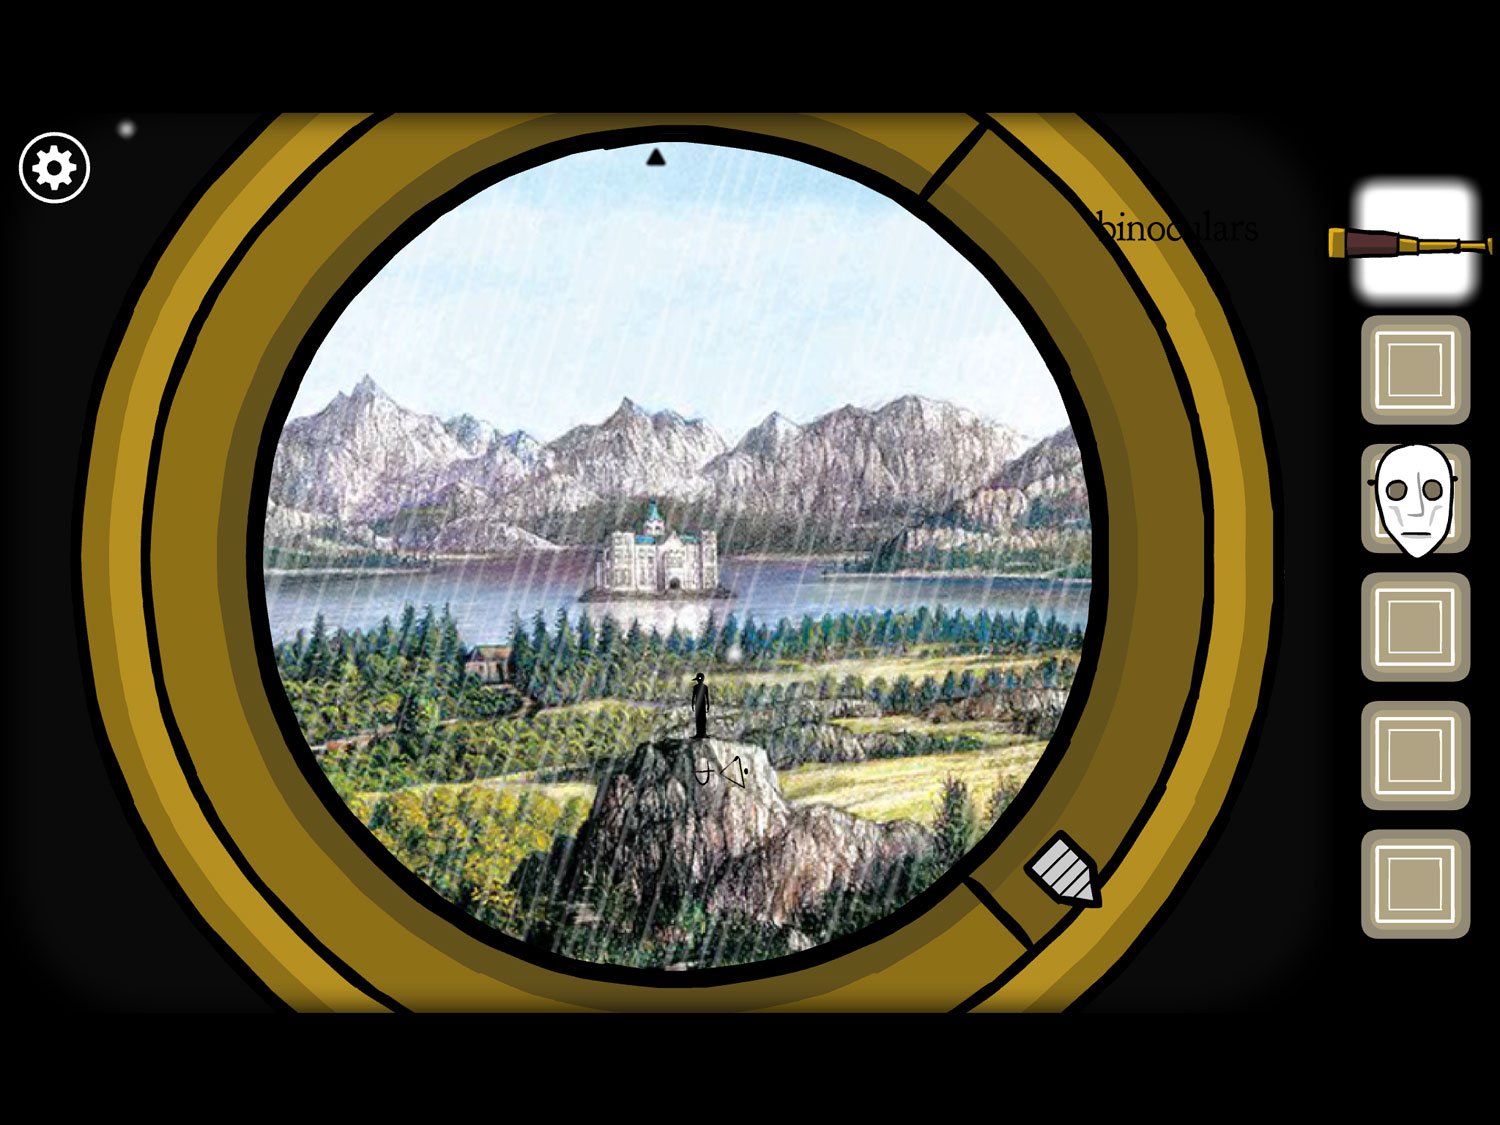
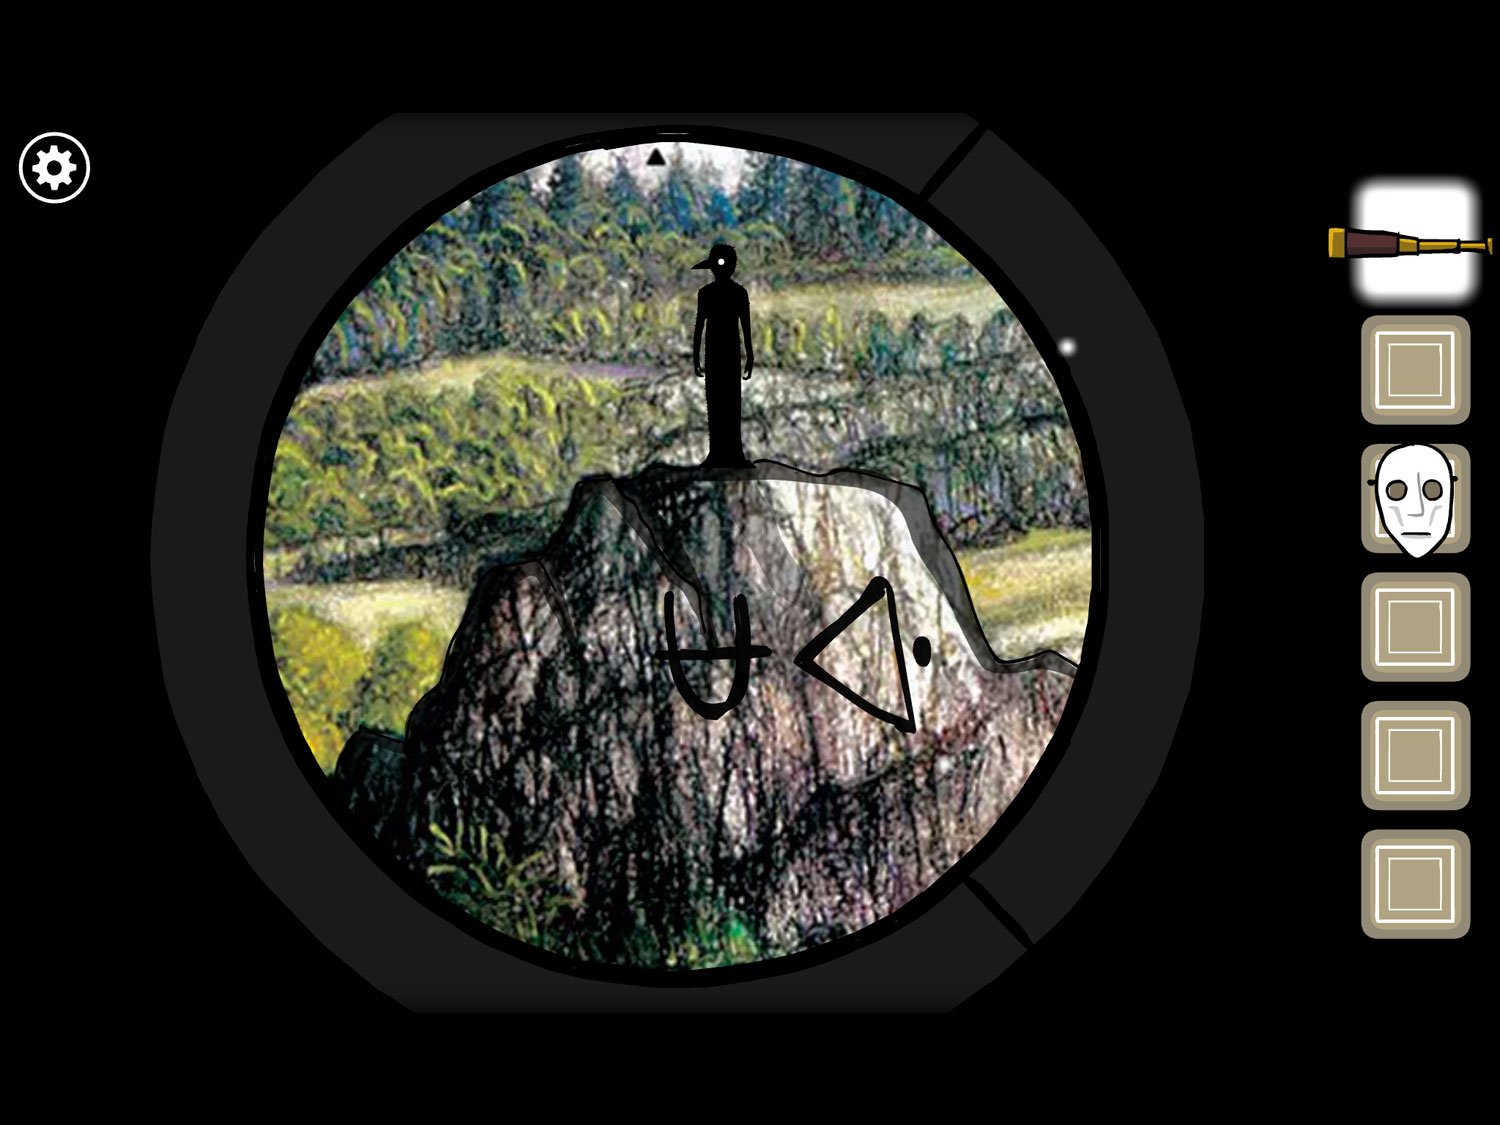
- Scroll all the way to the right, until you see Rusty Lake hotel and a shadowy figure on a large rock. Tap on the figure to zoom in
- There are two more symbols on the rock: a U with a line through it and a triangle with a dot to its right
- Tap the shadowy figure to make him vanish. Exit the close-up
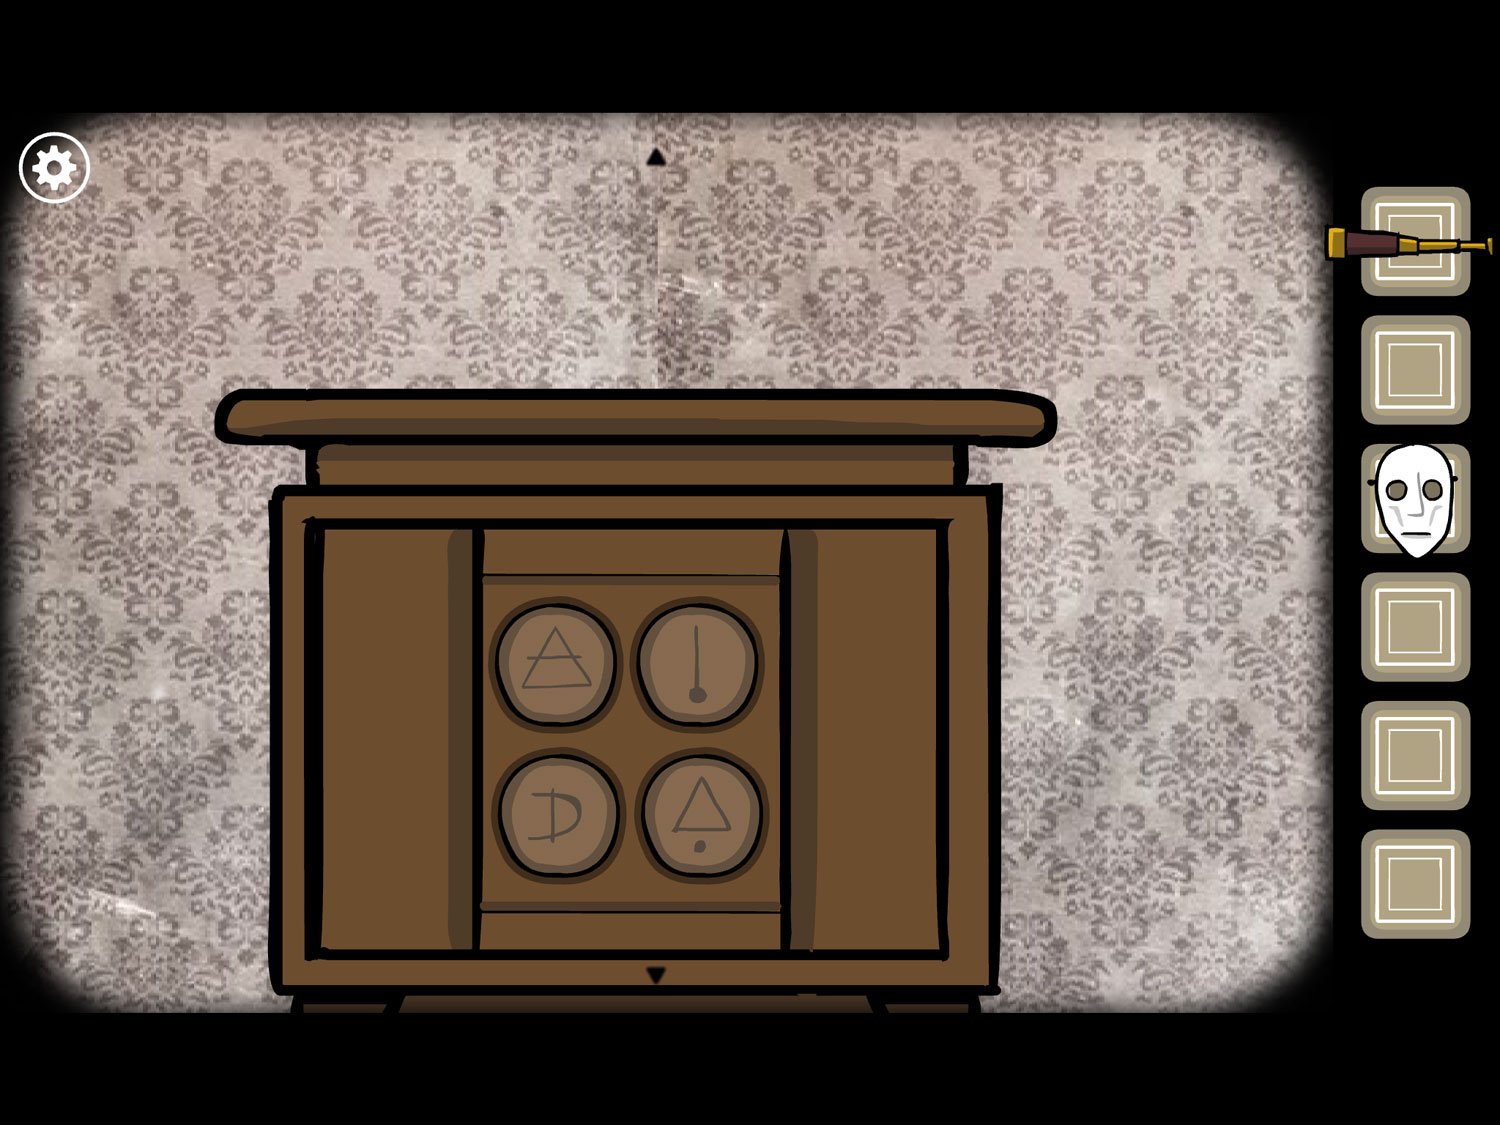
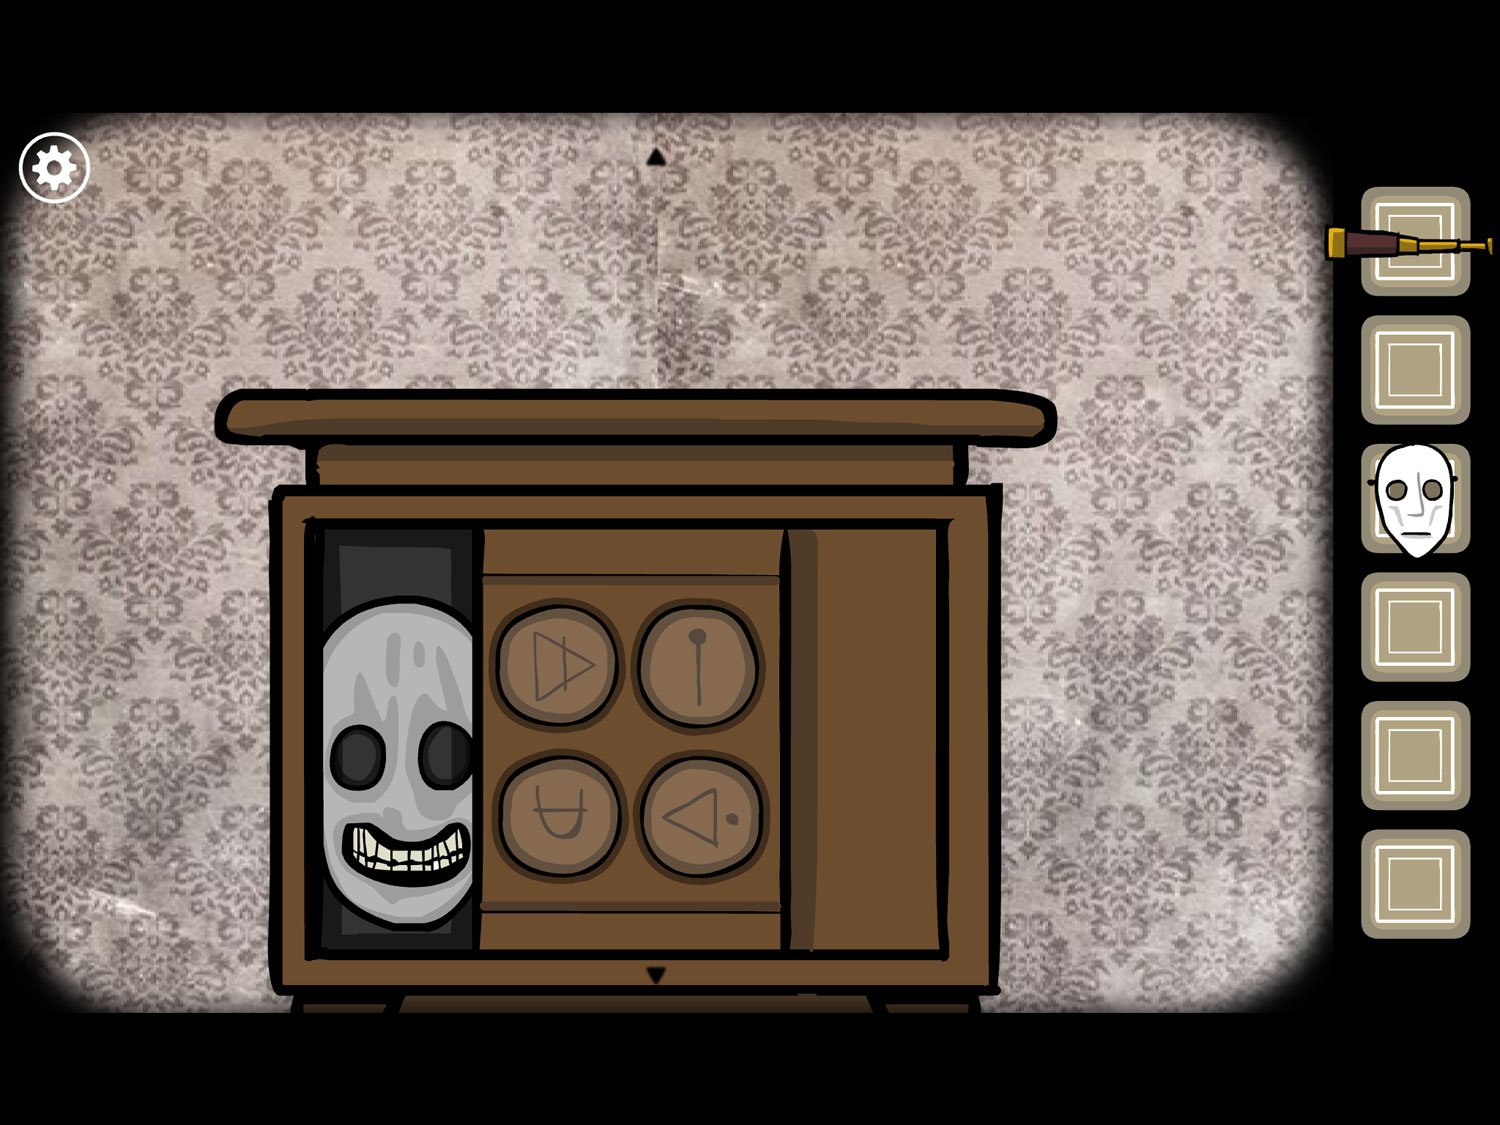
- Scroll right to the dresser beneath the pipes. There are a series of symbols here; we need to rotate the symbols so they match what we just saw in the window
- Turn the symbols to match the image above. When correct, you’ll hear a click. Tap the door to open it
- Take MOON MASK. Exit and return to Albert
- Take BLUE MASK from Albert. Give him MOON MASK. Zoom out
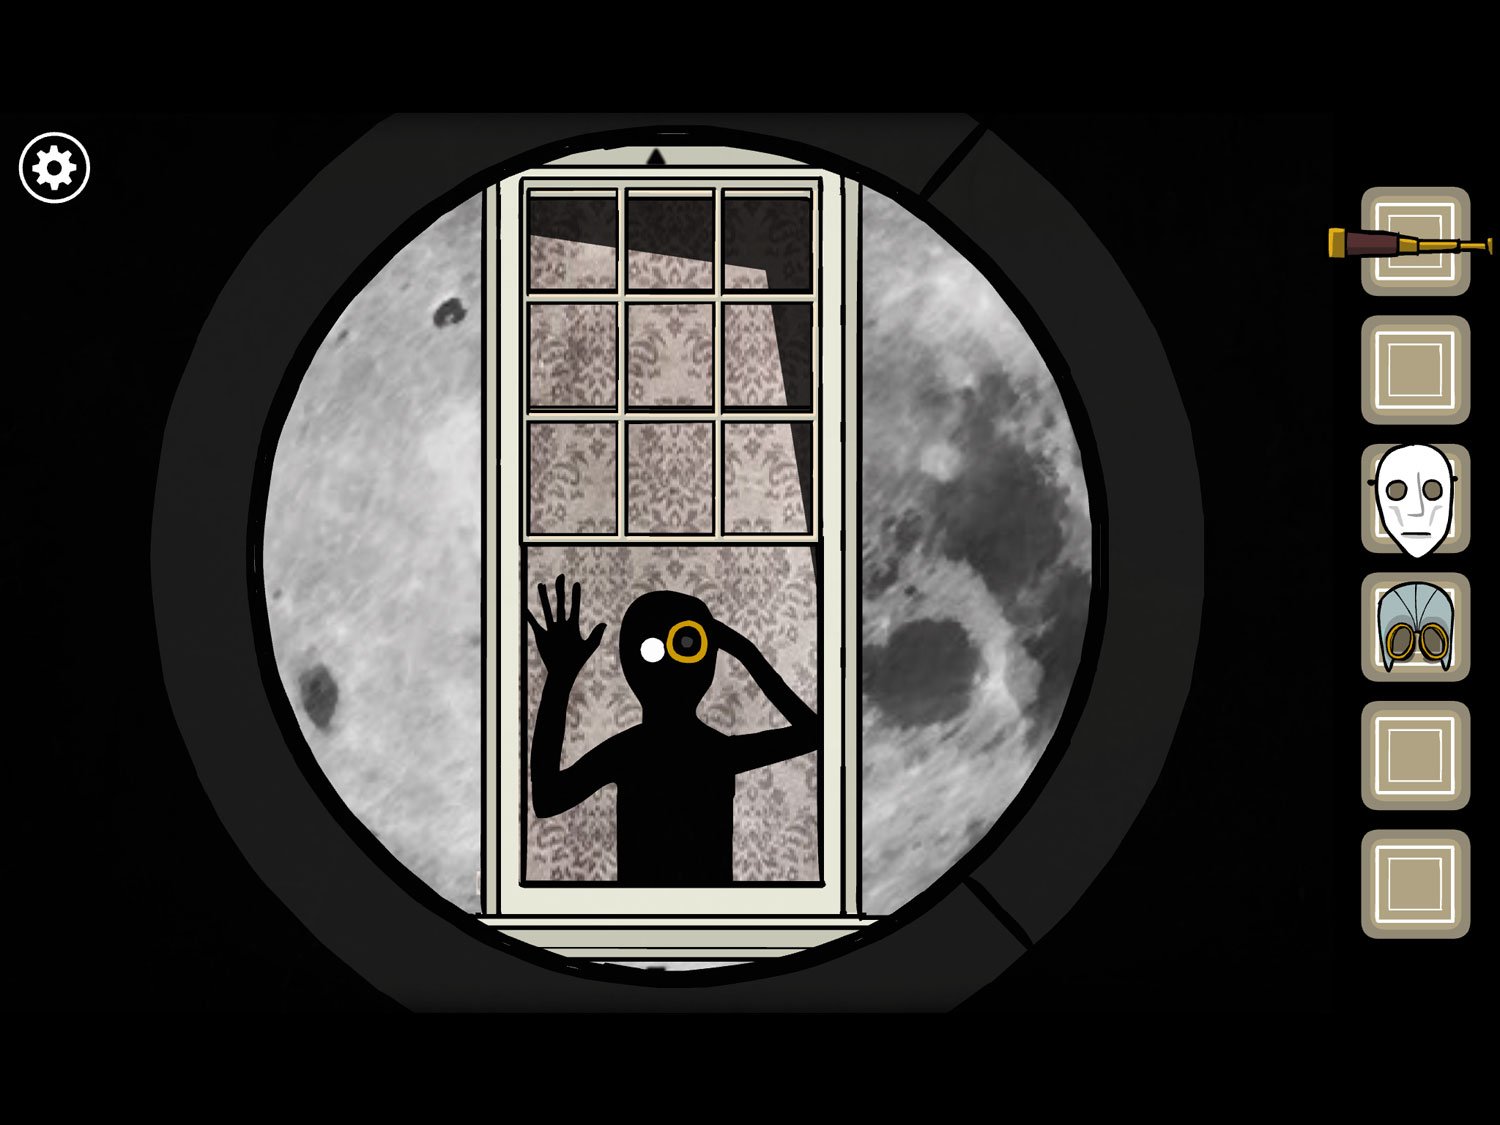
- Return to the window. It’s now nighttime. Use BINOCULARS on the window again
- Scroll left until you see a doorway in the moon. Tap on it to zoom in and see a figure at another window. Tap to zoom in on him
- Tap him and a light will flash; he’ll hold up one hand. Tap him again and he changes the number of fingers he’s holding up. Tap him two more times to see two more sets of fingers
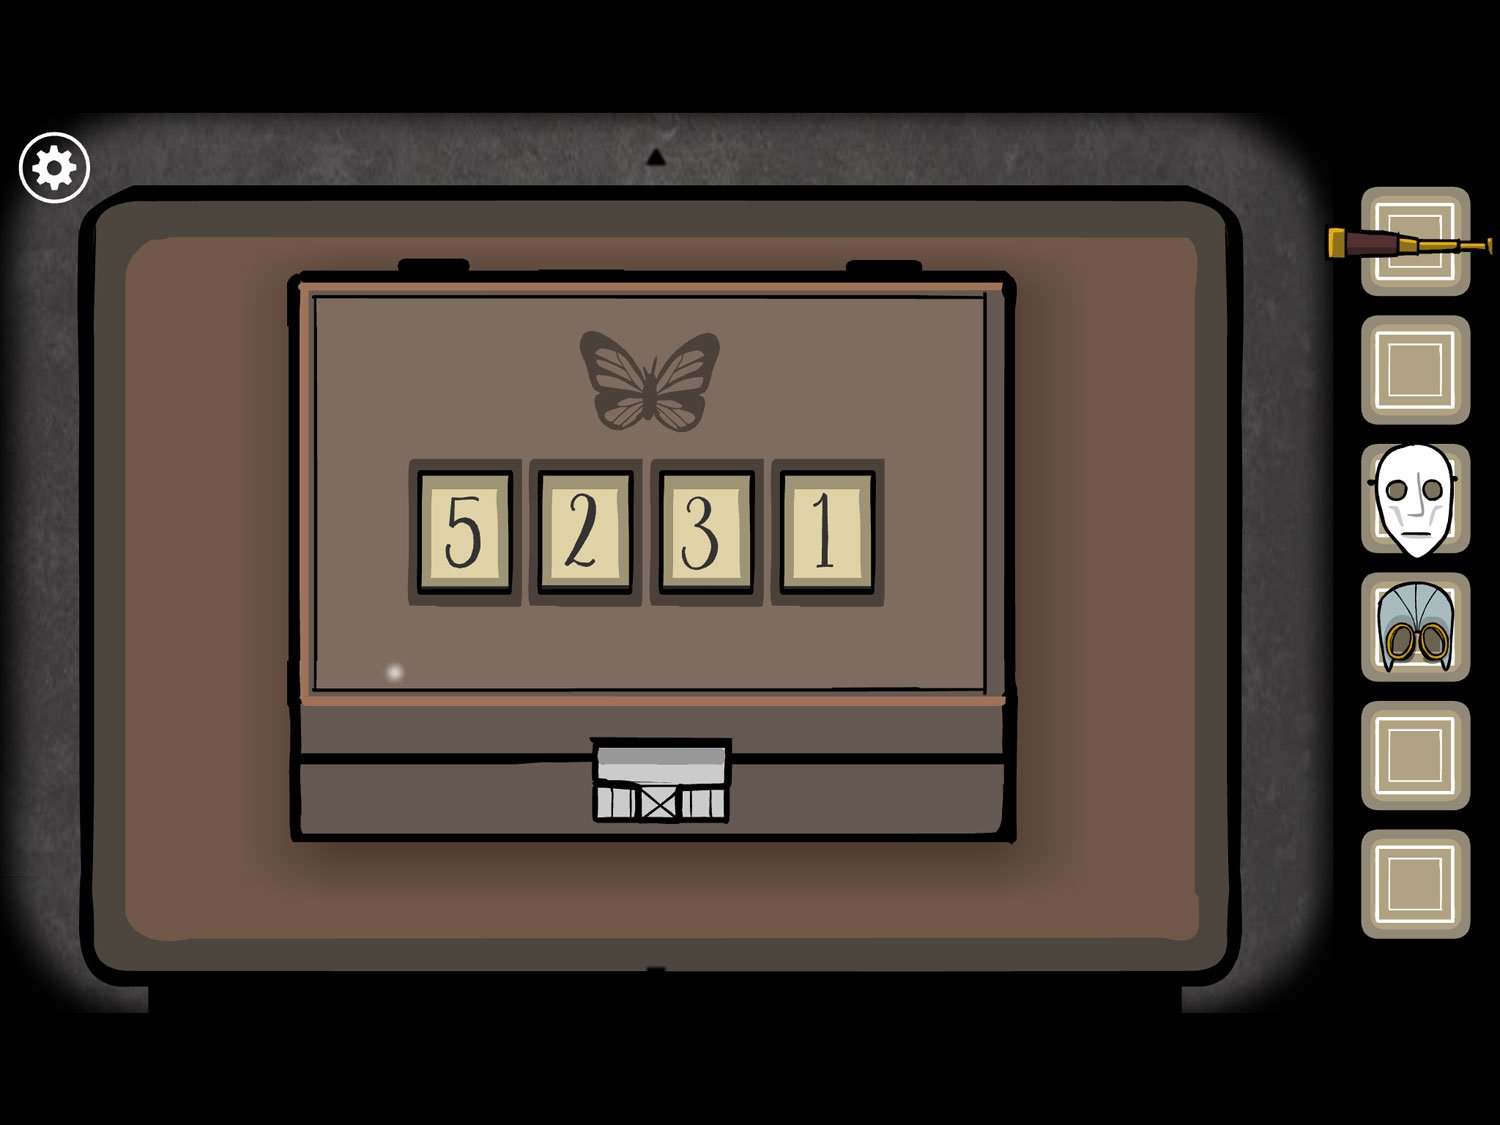
- The figure’s finger counts are: 5, 2, 3, 1. After you’ve seen all of these, exit the close-up
- Scroll left and tap on the table on the far left side of the room. There is a box here with four number tiles on it
- Drag the tiles so they display the numbers you just saw on the moon: 5, 2, 3, 1
- Tap the box to open it and take BUTTERFLY
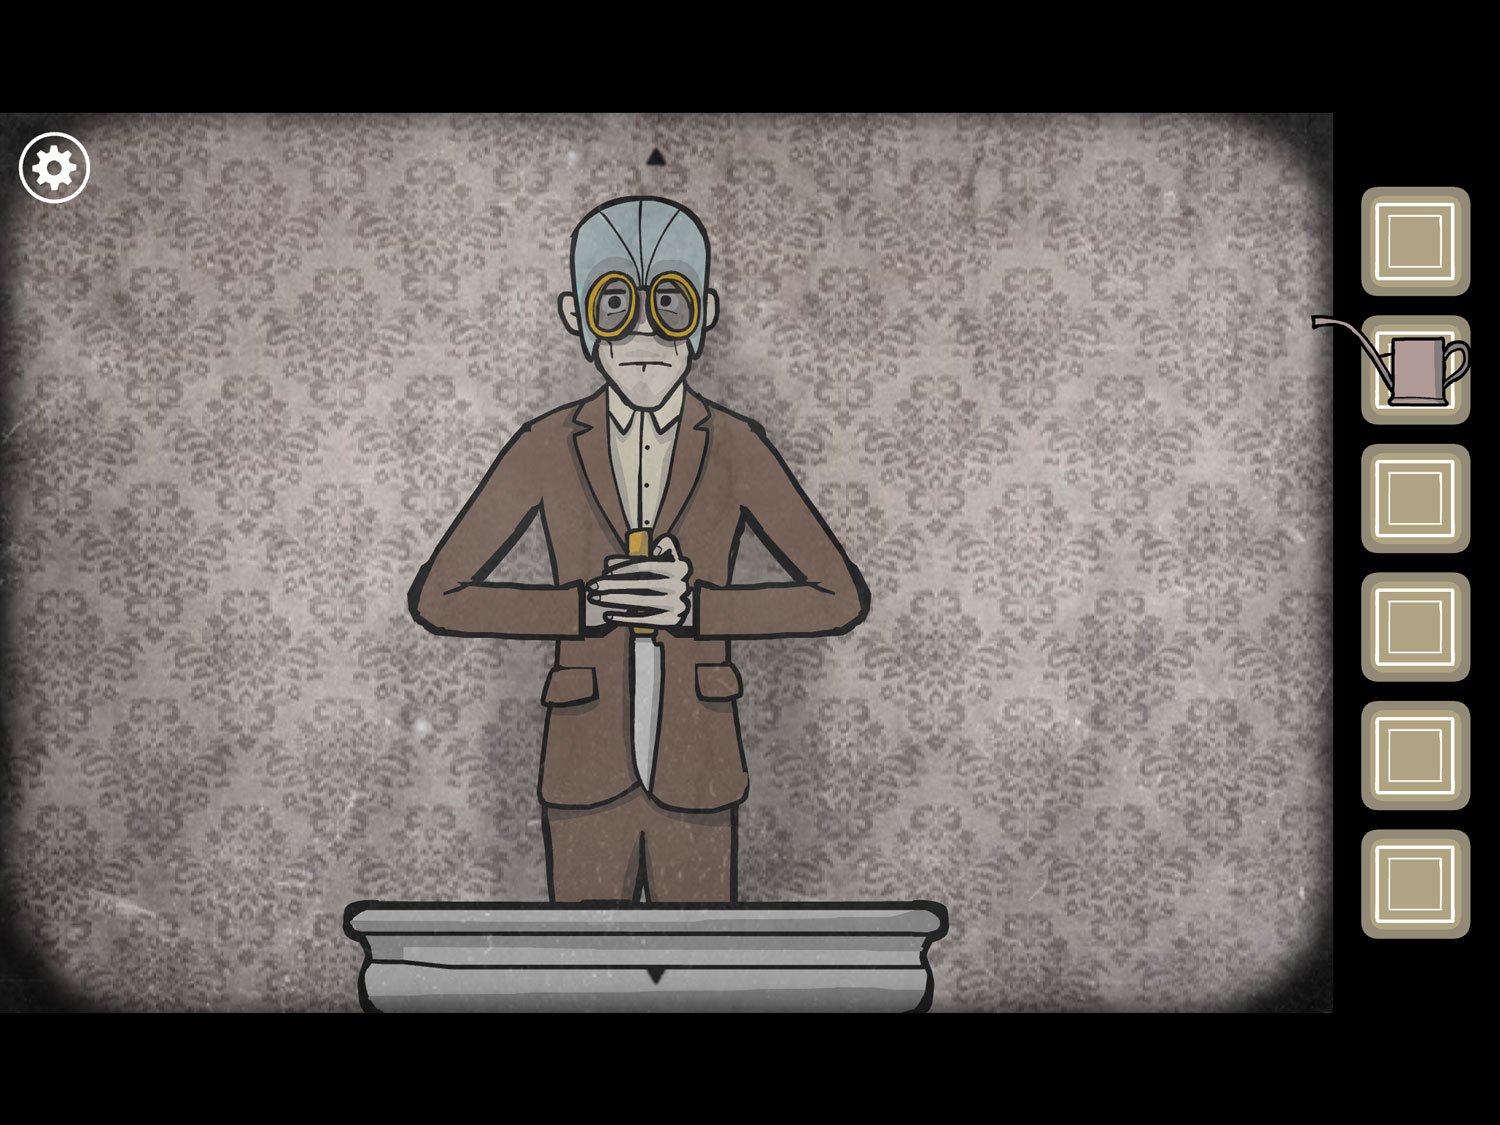
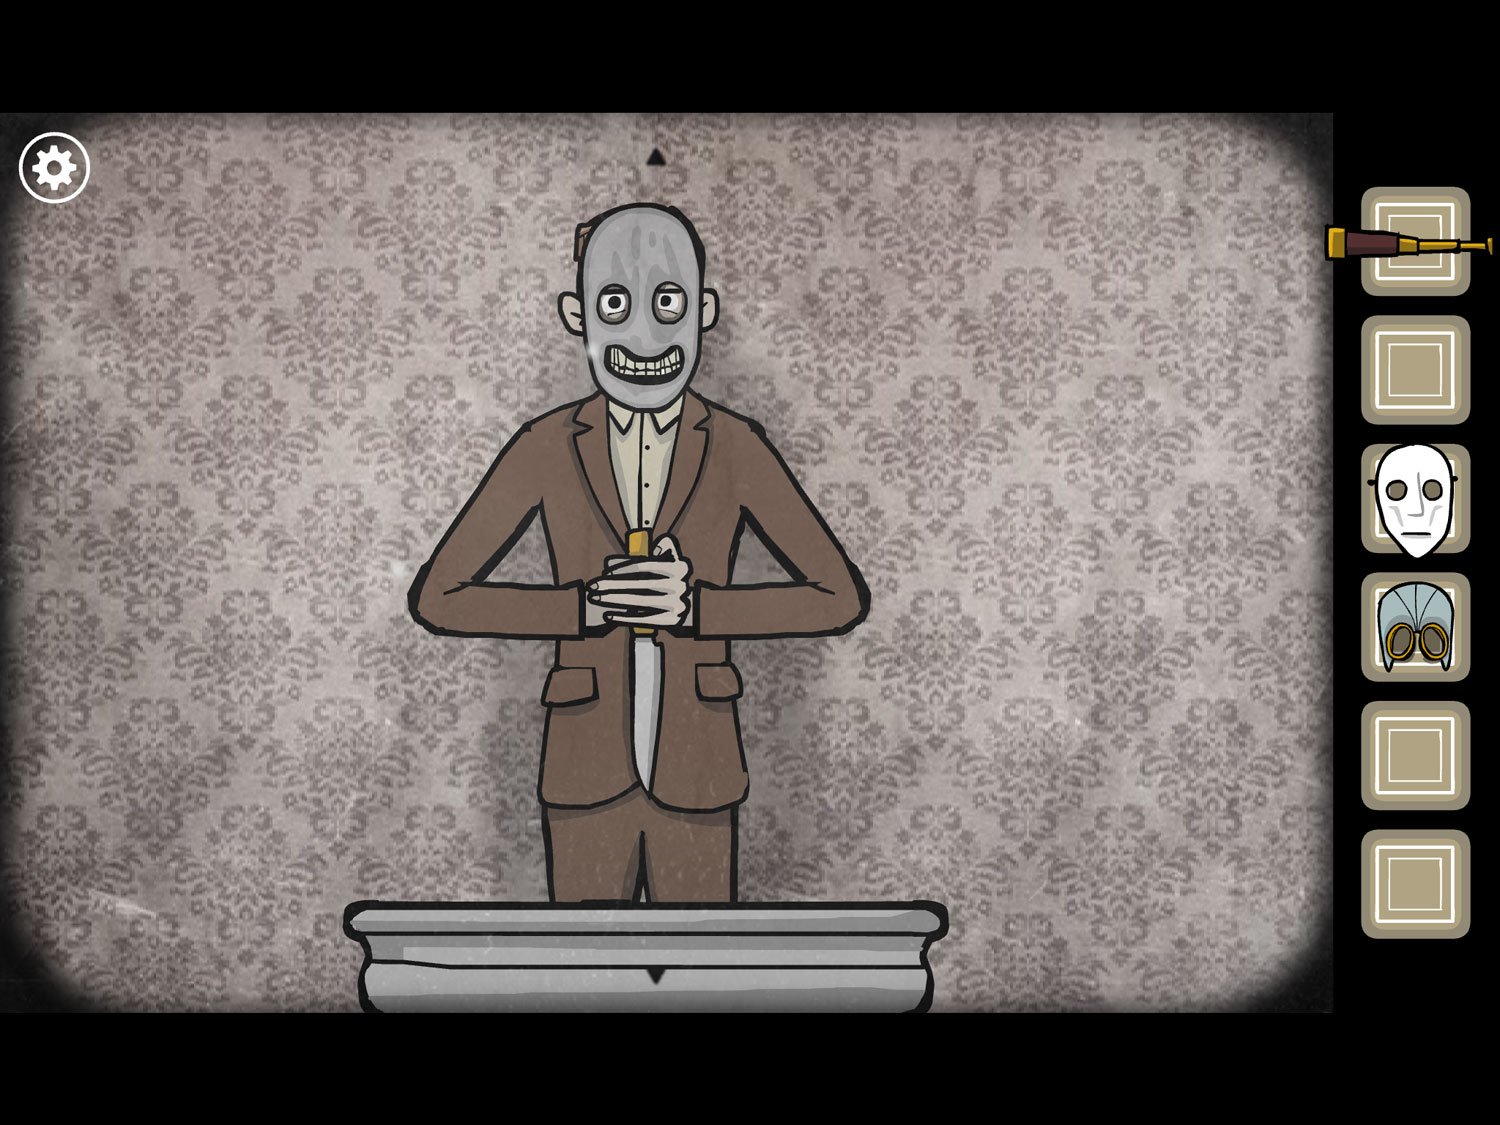
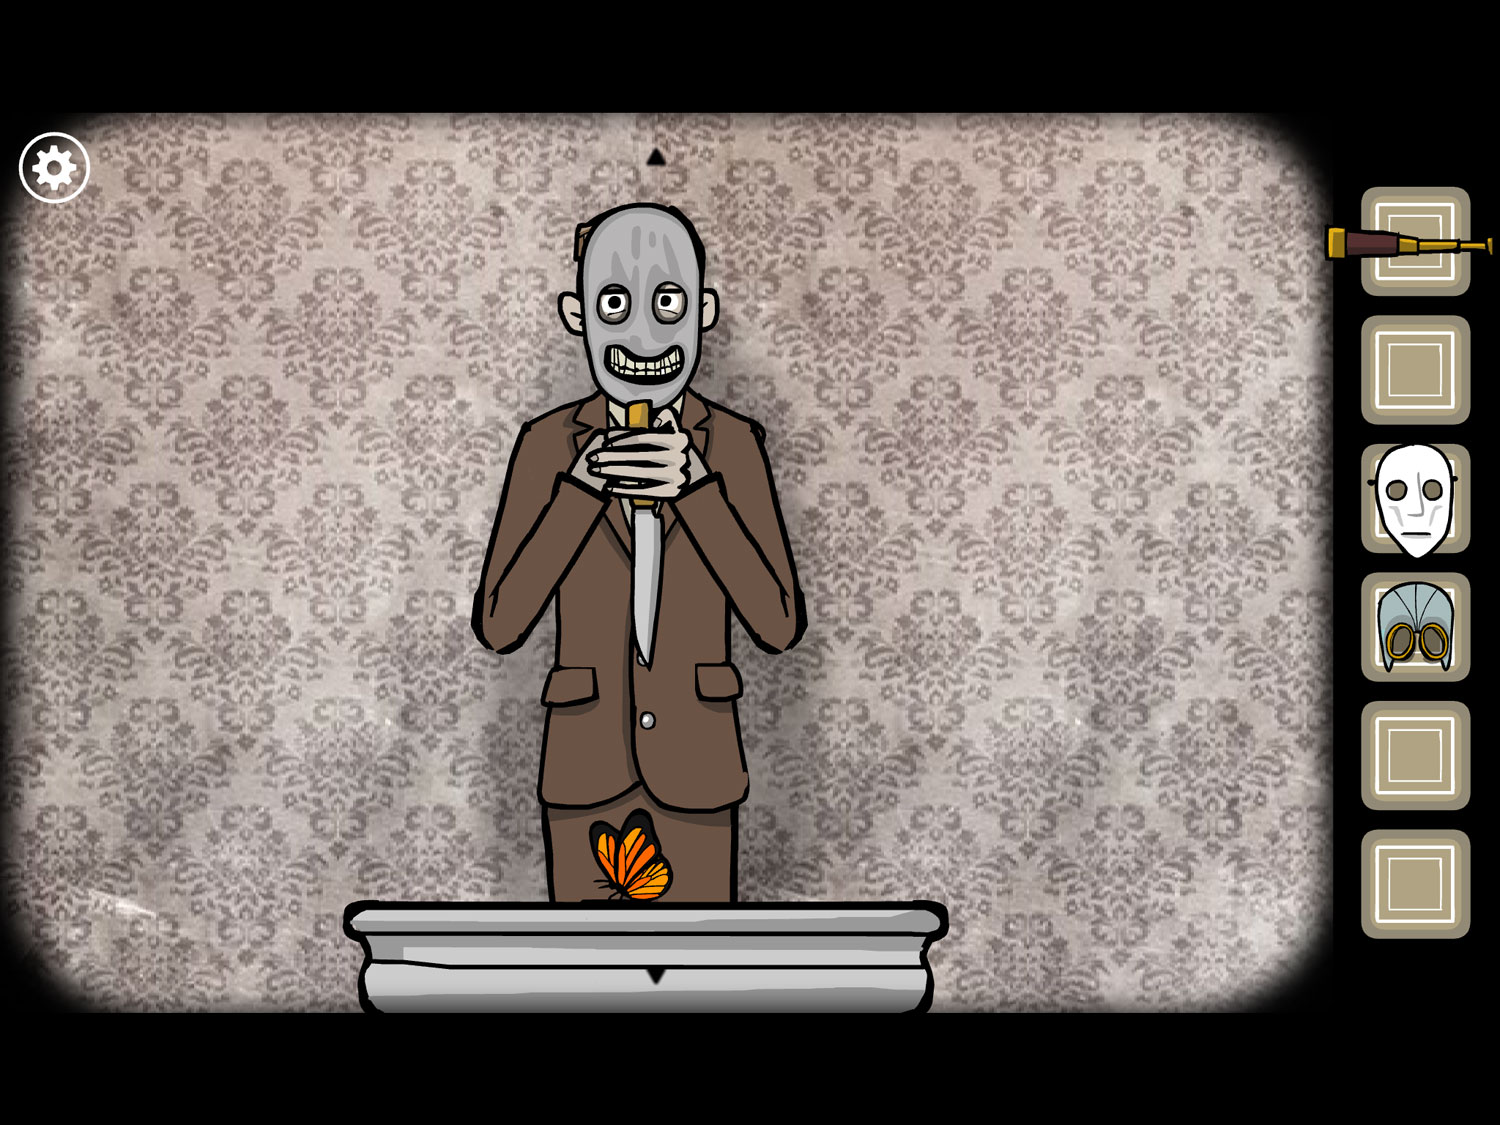
- Exit and return to Albert. Give him BUTTERFLY. It sits on the pedestal in front of him
- Tap Albert and he pulls back his knife
- Tap him again and he stabs the butterfly. Tap him one more time to make the white square and exit appear
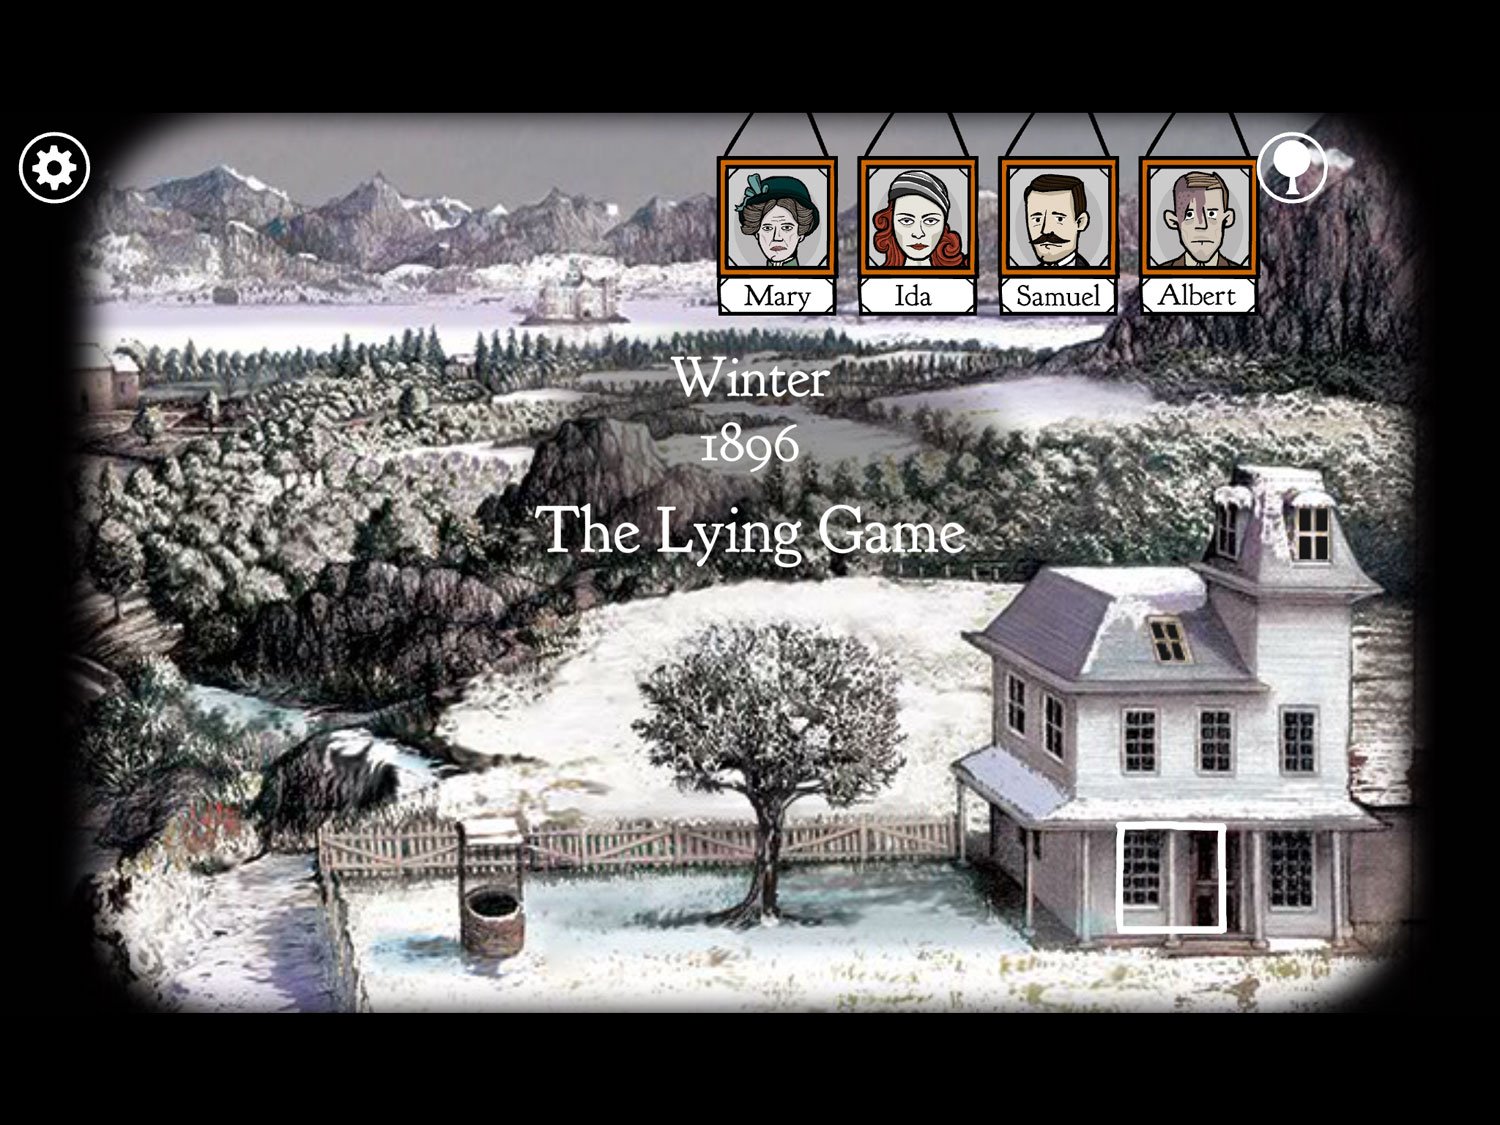
Level 25: The Lying Game, Winter 1896 – Mary, Ida, Samuel, Albert
Location: The parlor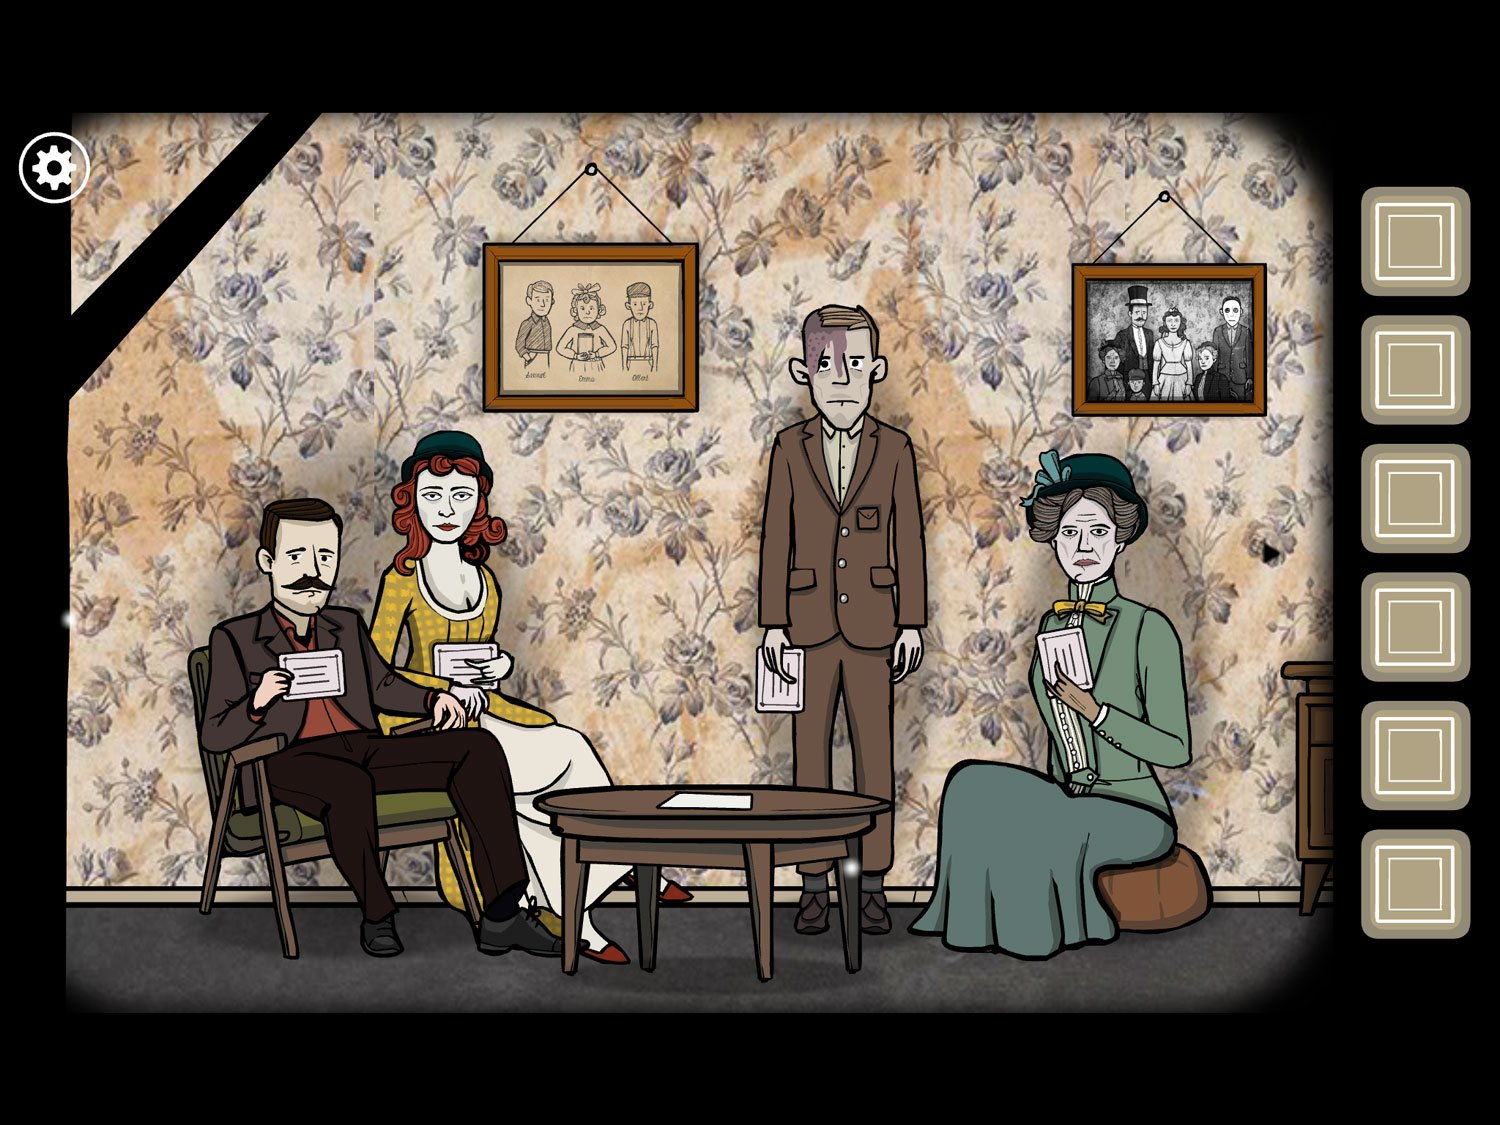
- Tap Samuel to zoom in; tap on his cards to zoom in further
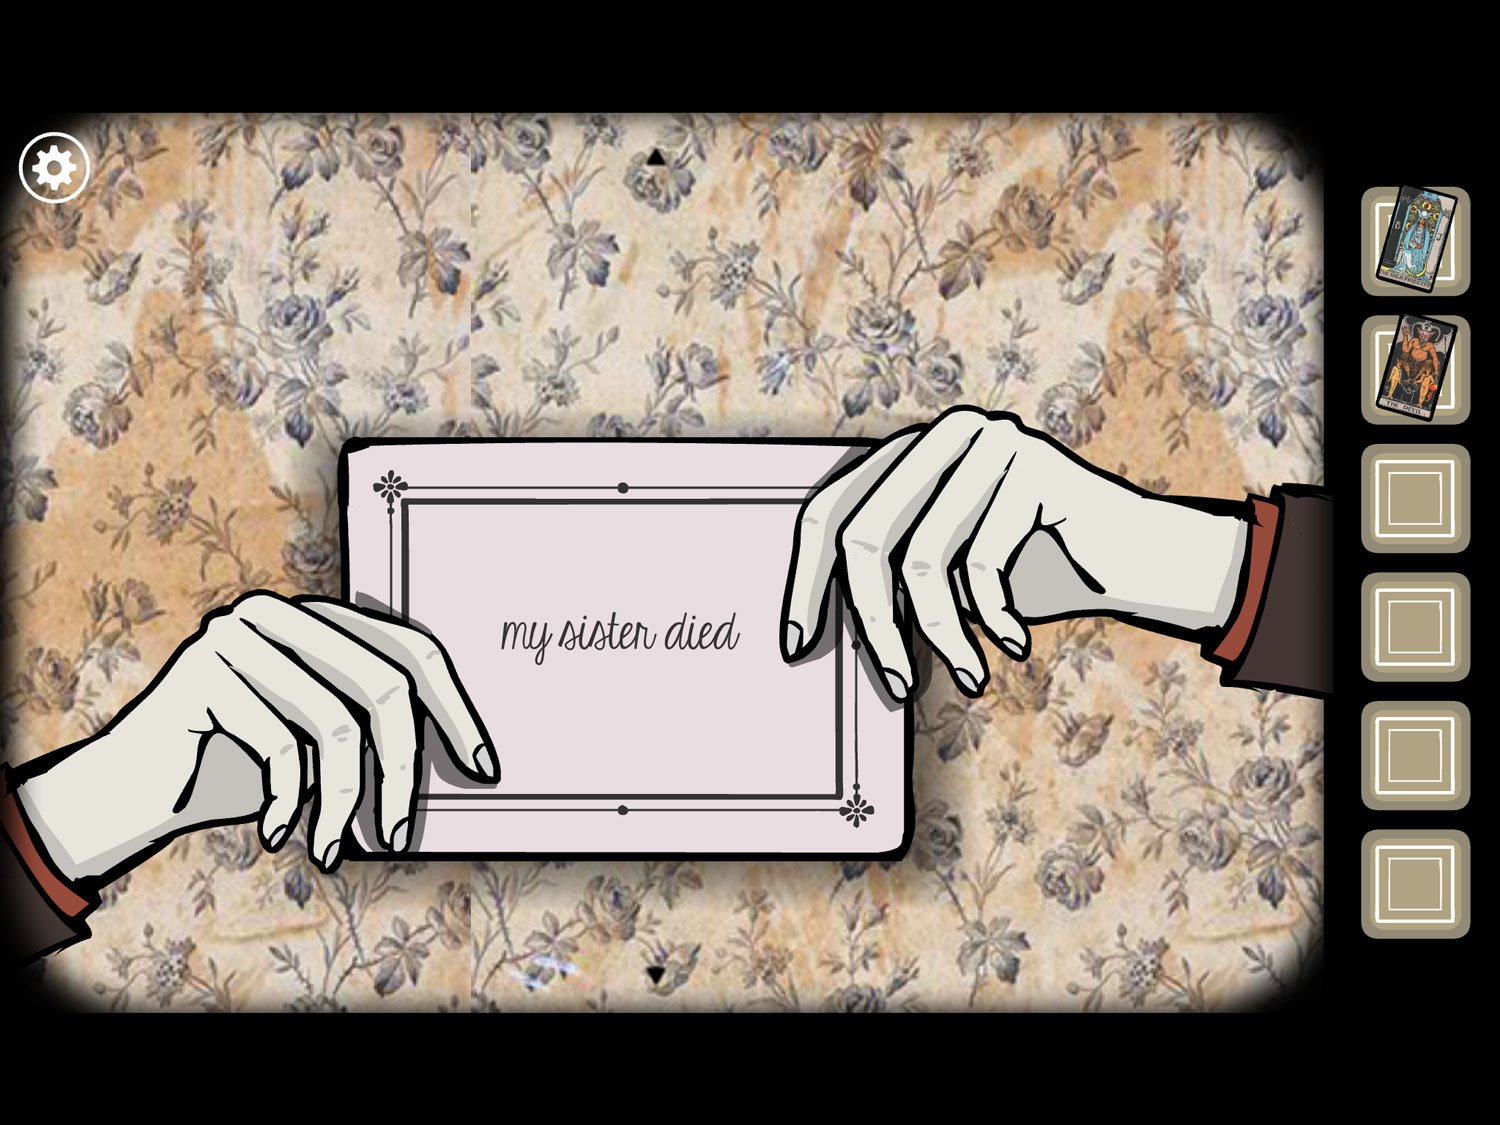
- Read through Samuel’s cards by tapping on them: 1) My sister died, 2) The locker code starts with 37, 3) A key is hidden behind the bottom right corner of the painting
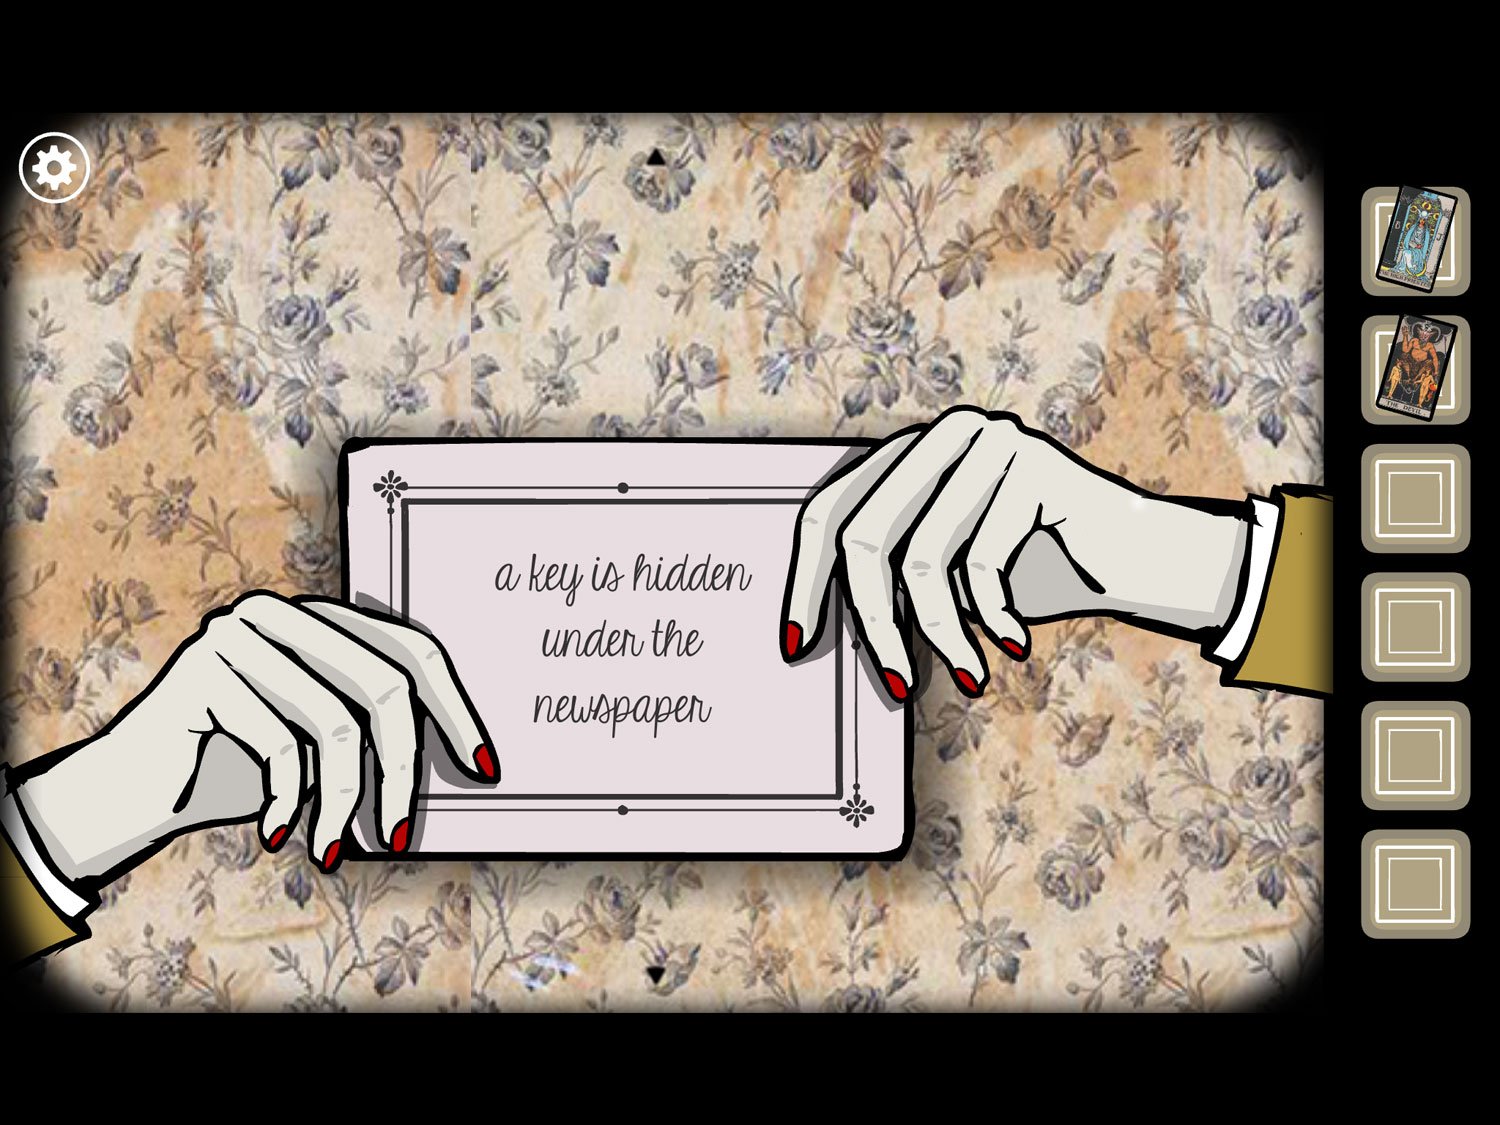
- Zoom out and tap on Ida. Read her cards by tapping on them: 1) A key is hidden under the newspaper, 2) The devil has my photo in his pocket, 3) The locker code ends with 46
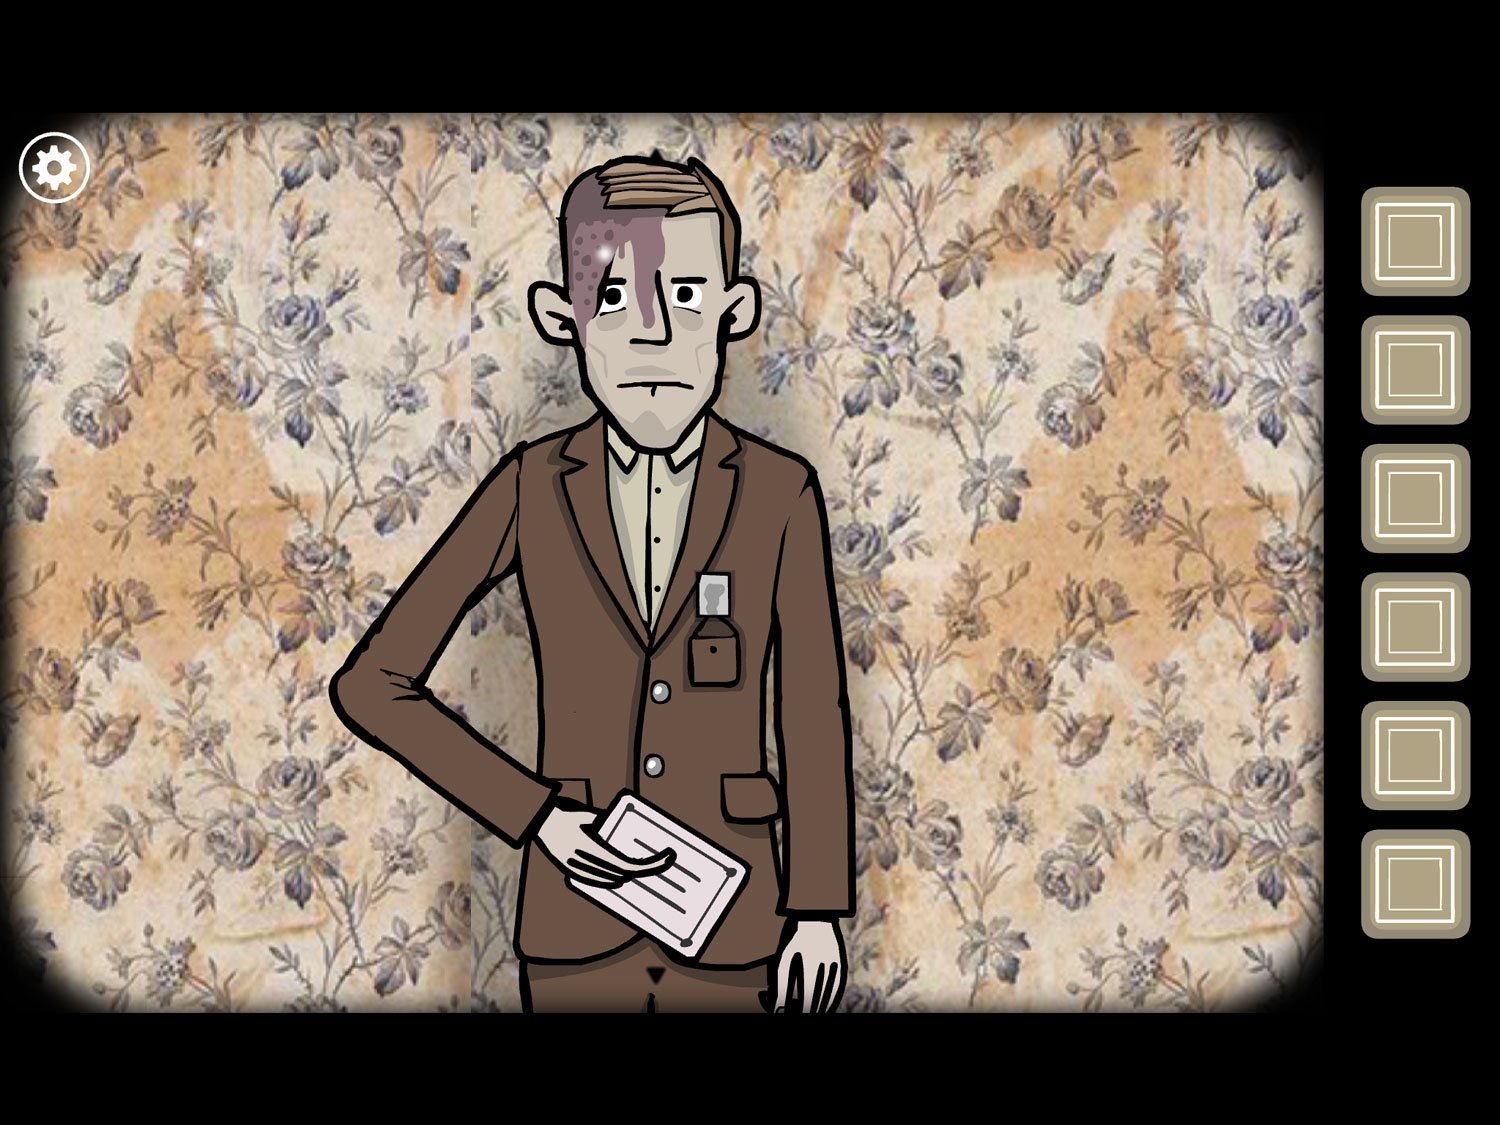
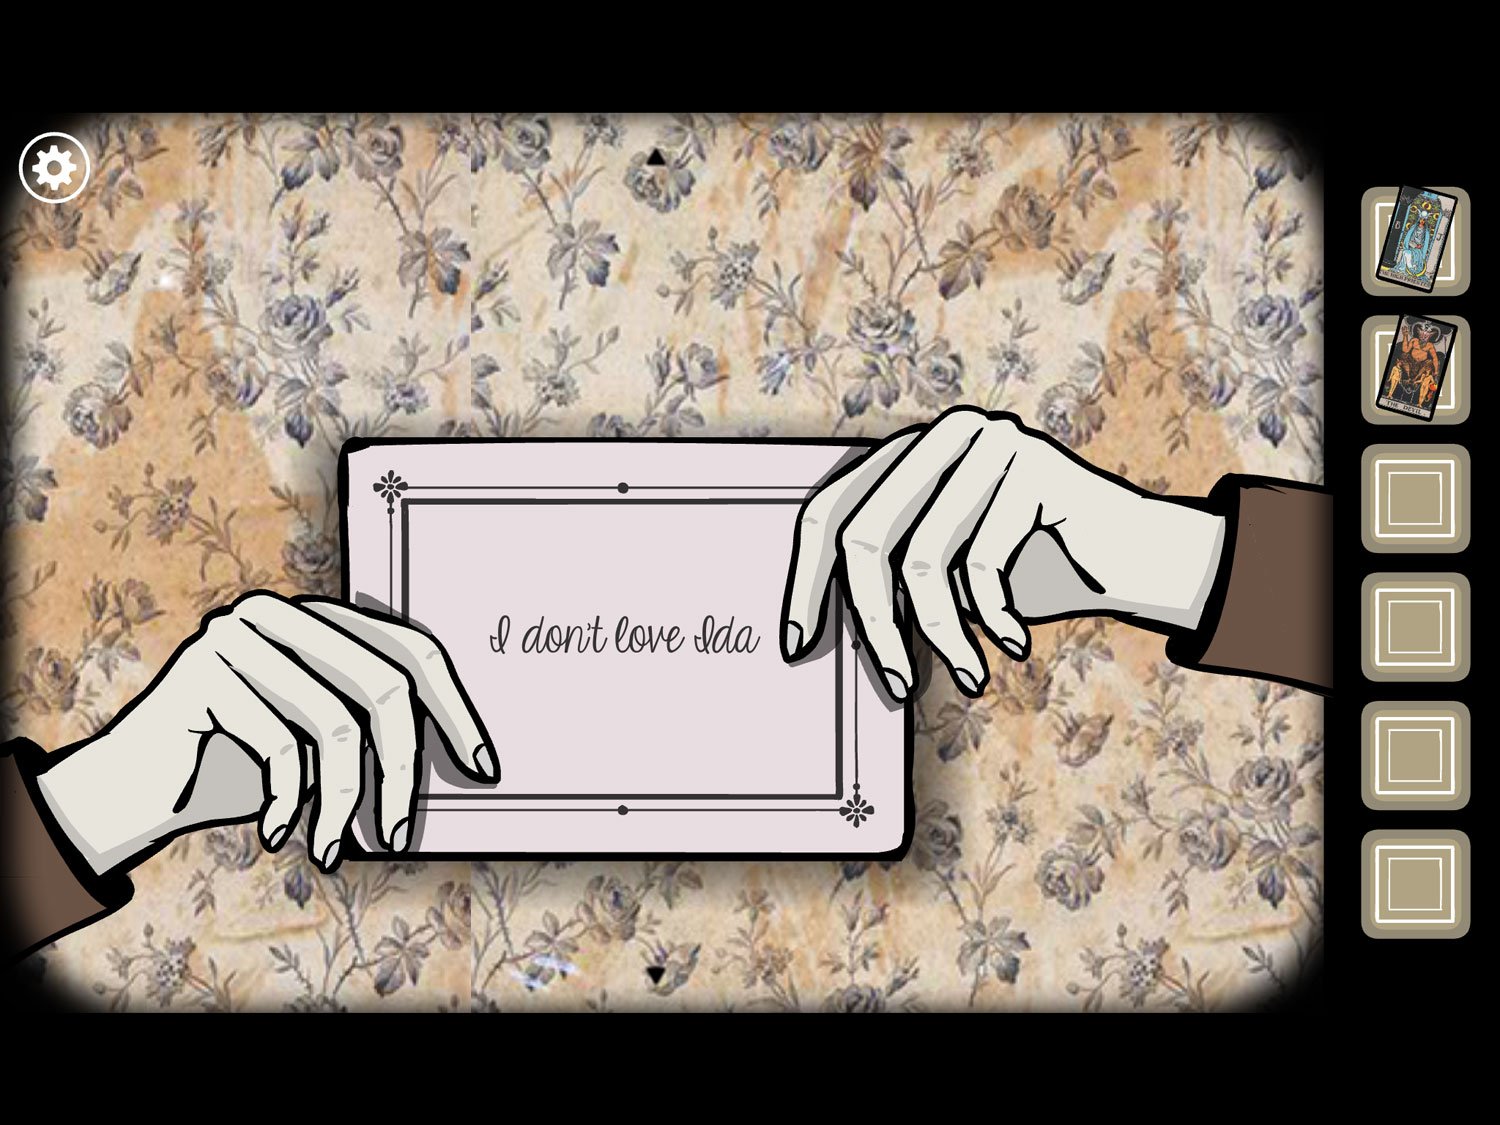
- Zoom out twice and tap on Albert. Tap on his upper shirt pocket to reveal a photo; tap on it to zoom in and see it is Ida
- Tap his cards and read through them: 1) I don’t love Ida, 2) My brother is not married, 3) A card is hidden right of the painting
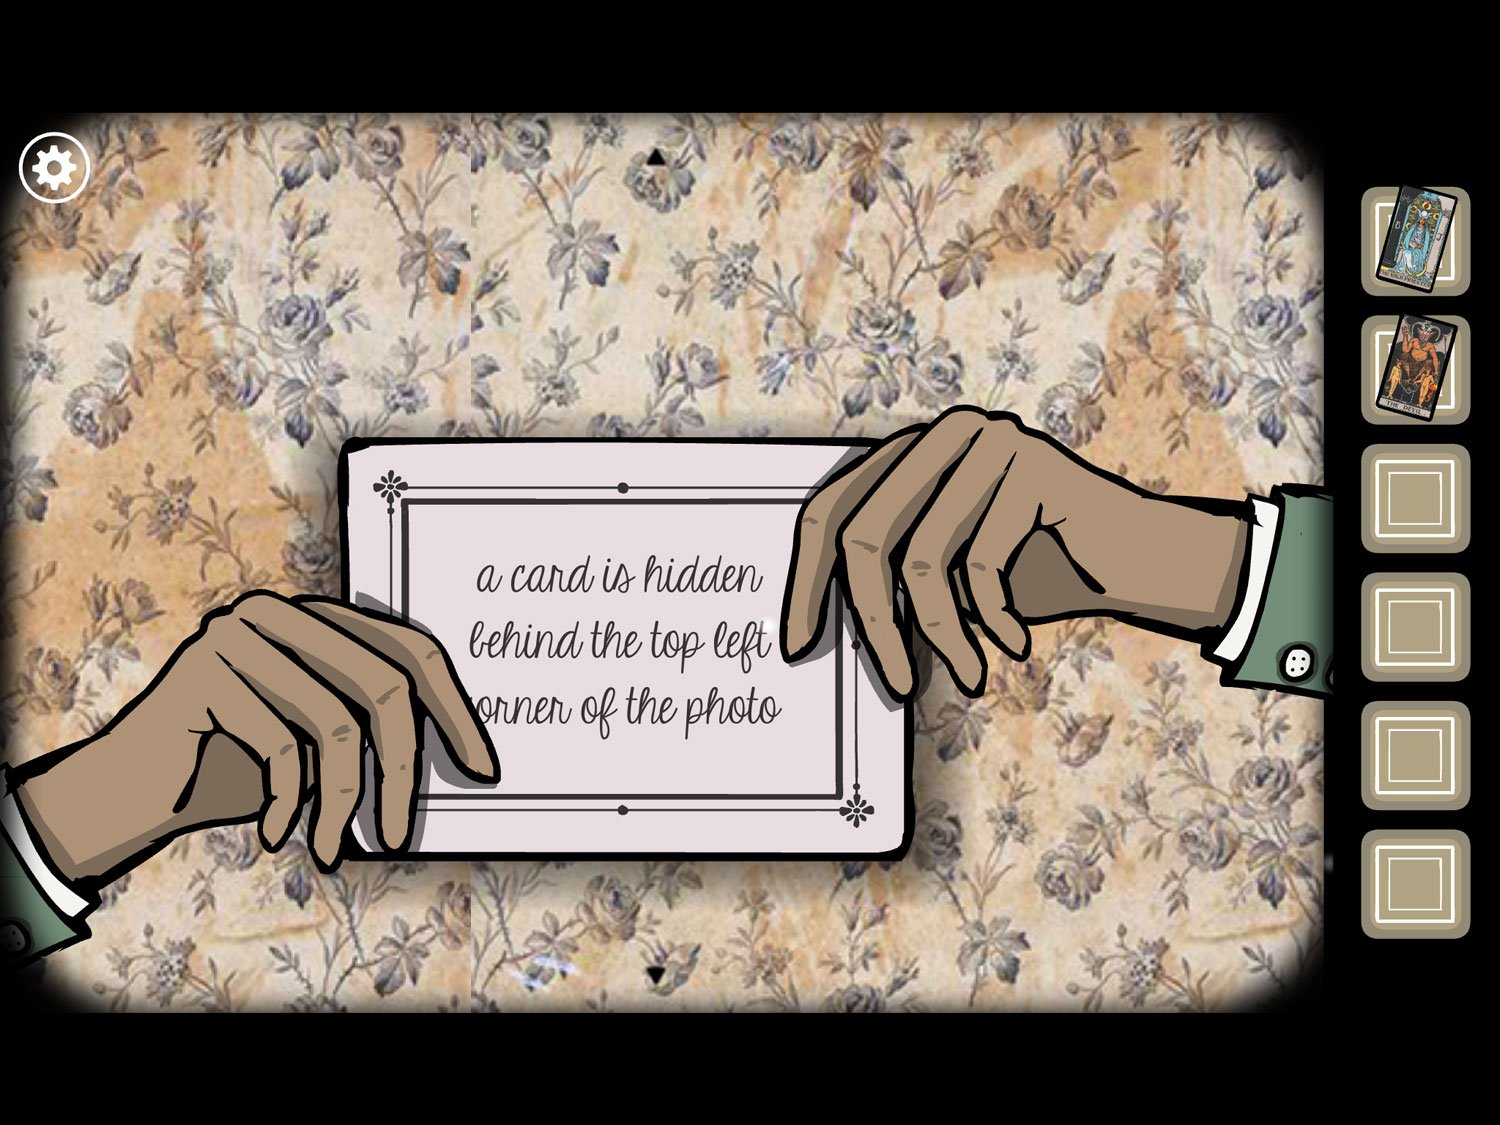
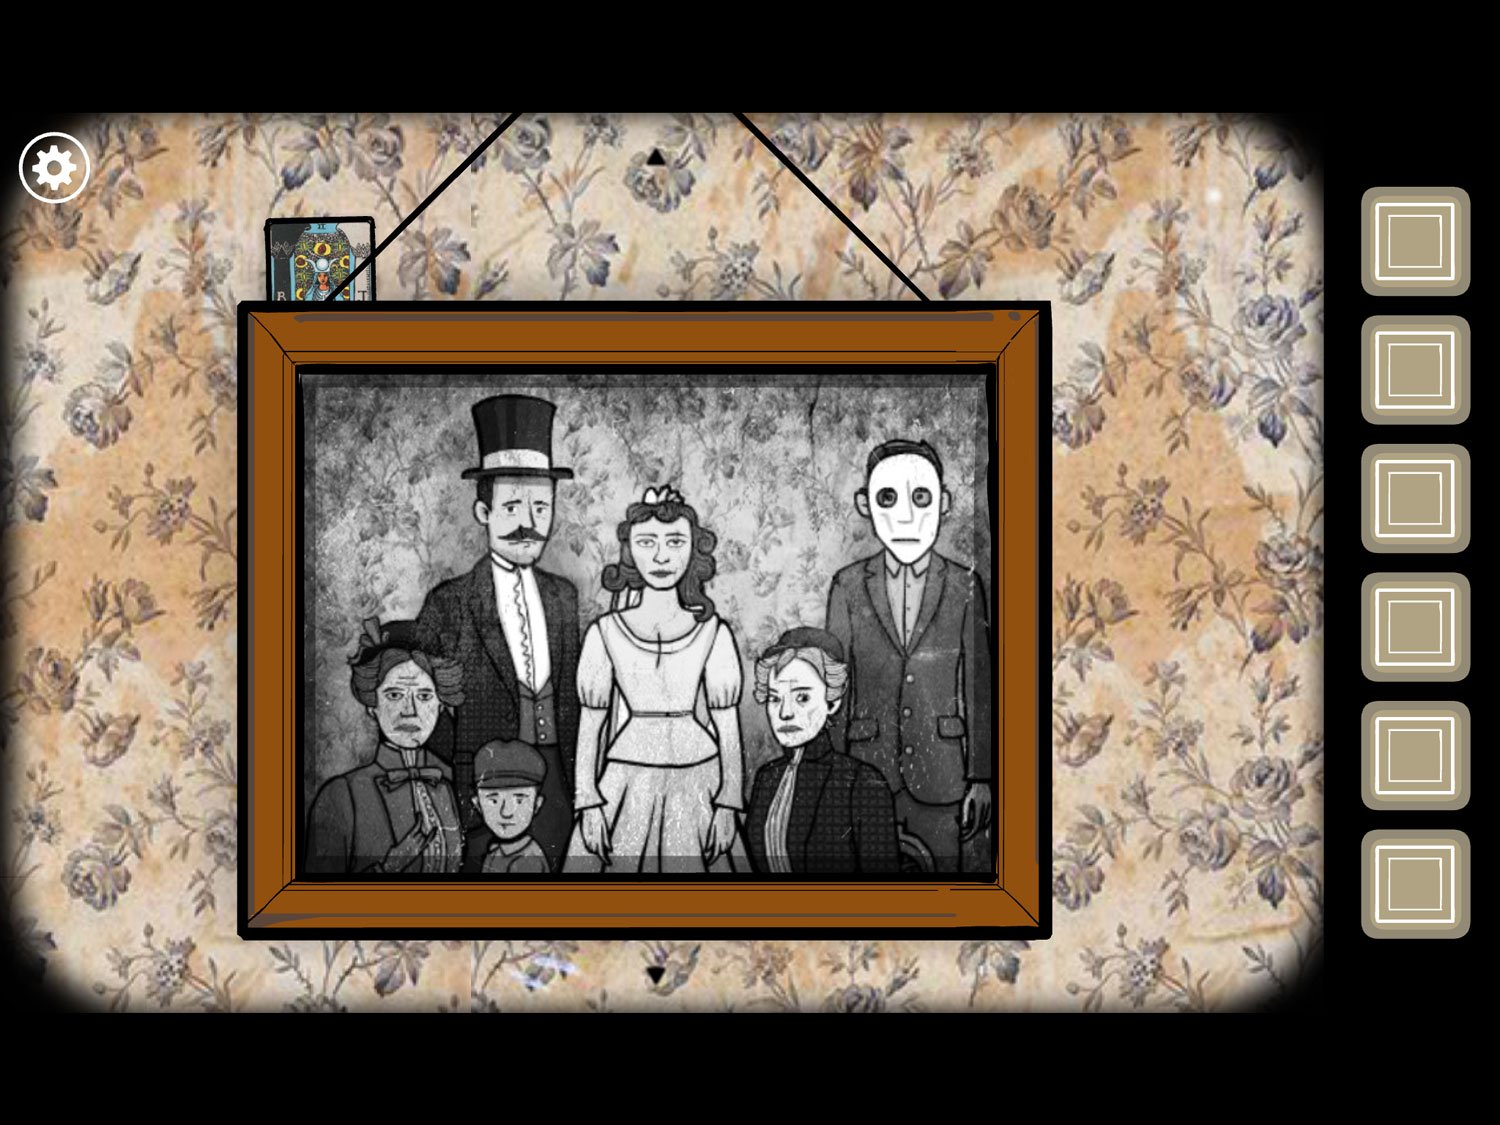
- Zoom out twice and tap on Mary. Tap her cards and read them: 1) A card is hidden behind the top left corner of the photo, 2) The locker code ends with 94, 3) It is summer
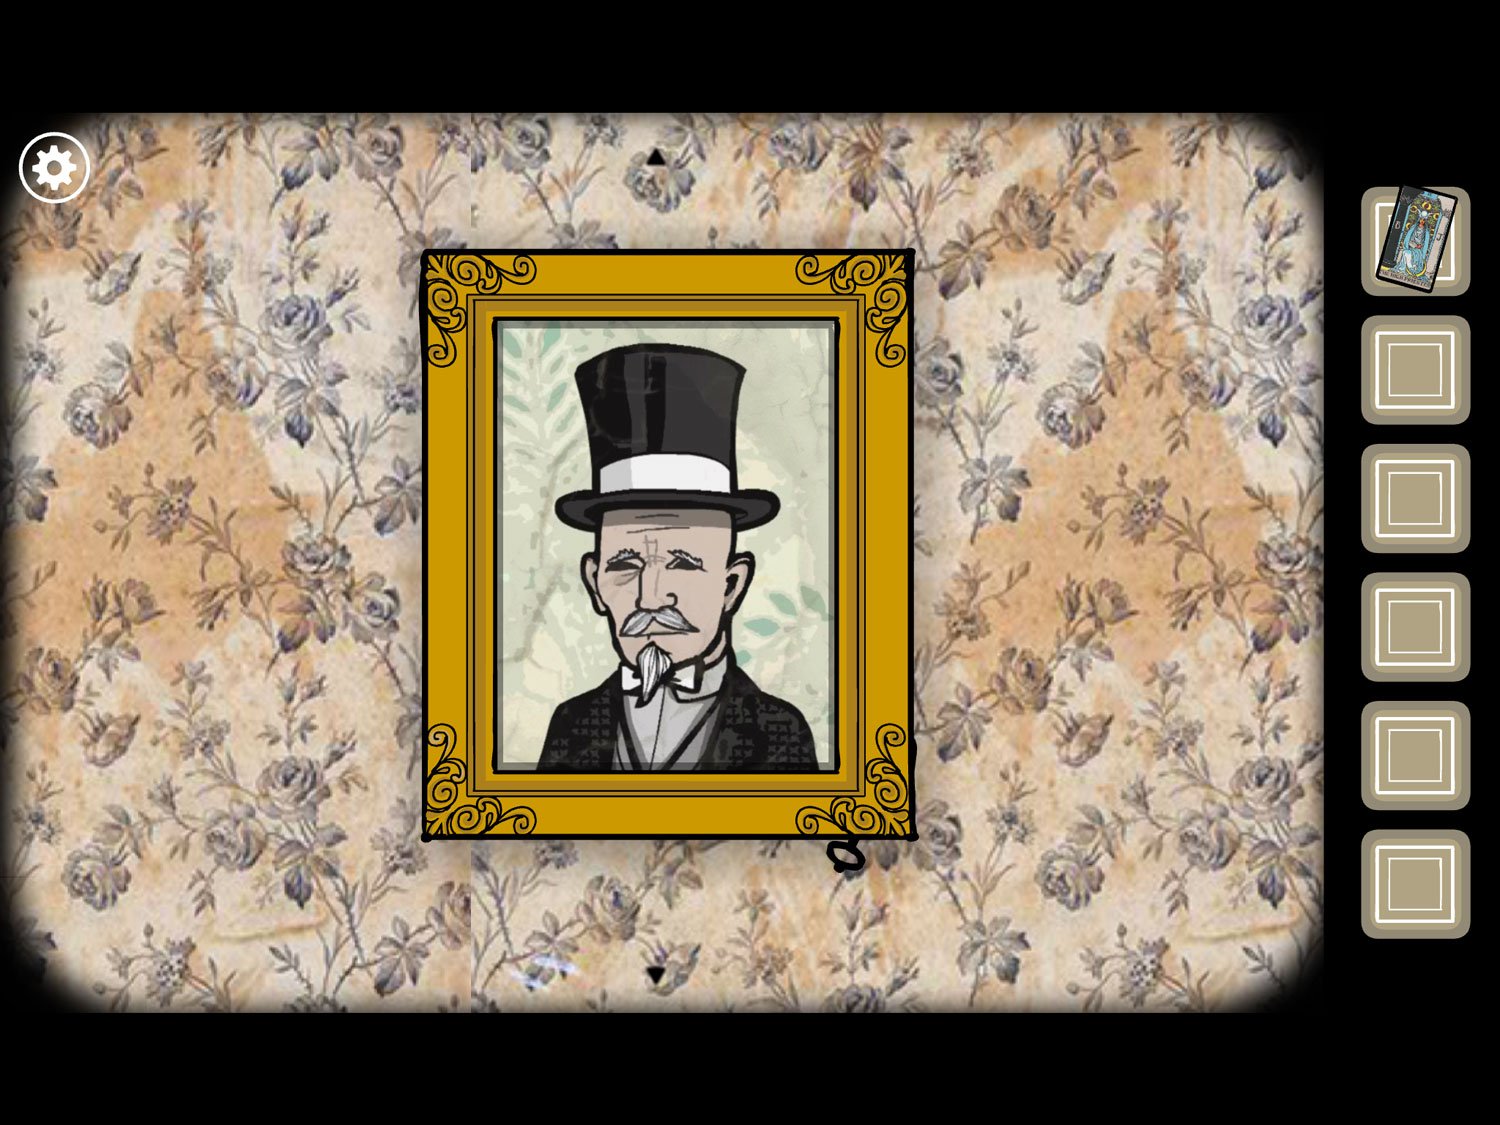
- Zoom out twice. Tap on the picture above Mary. Tap on the upper left corner to reveal a Tarot card. Tap the card to get CARD (1)
- Zoom out; scroll right and tap the gold-framed painting. Tap the bottom right corner to reveal a key. Tap it to get KEY
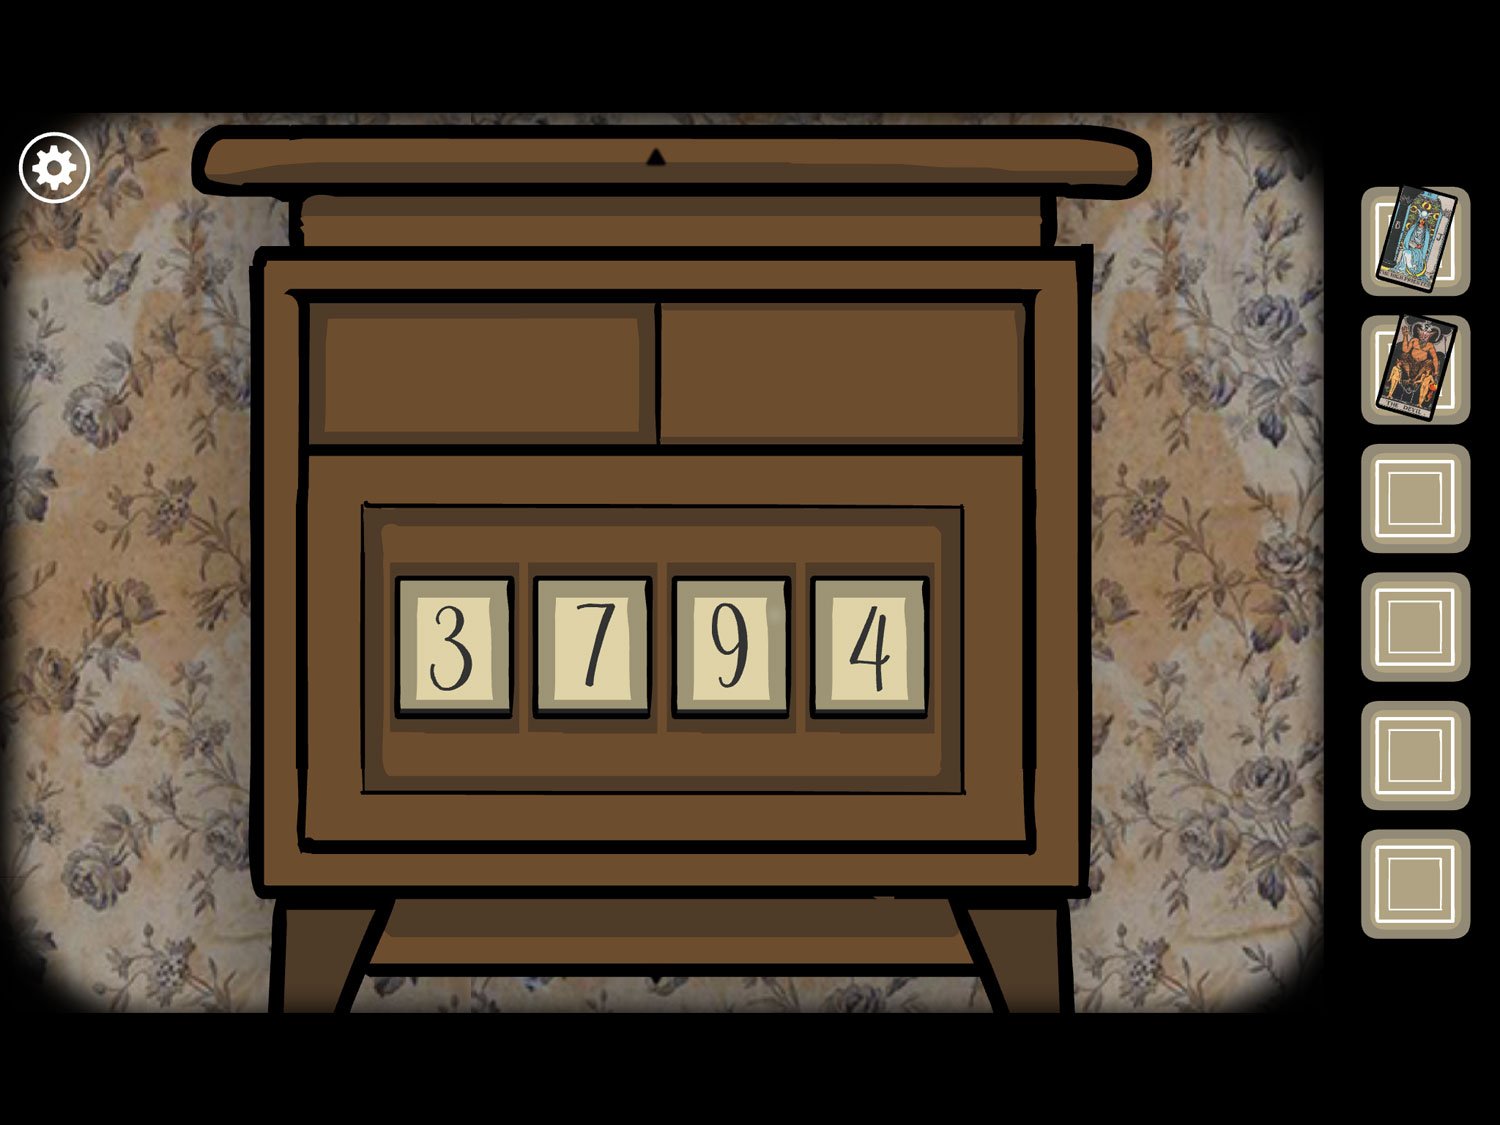
- Tap the dresser below the painting. Because of the family’s cards, you have two possible codes for this: 3746 and 3794
- The correct code is 3794: drag the numbers to match this then tap to open the door. Take CARD (2) then zoom out
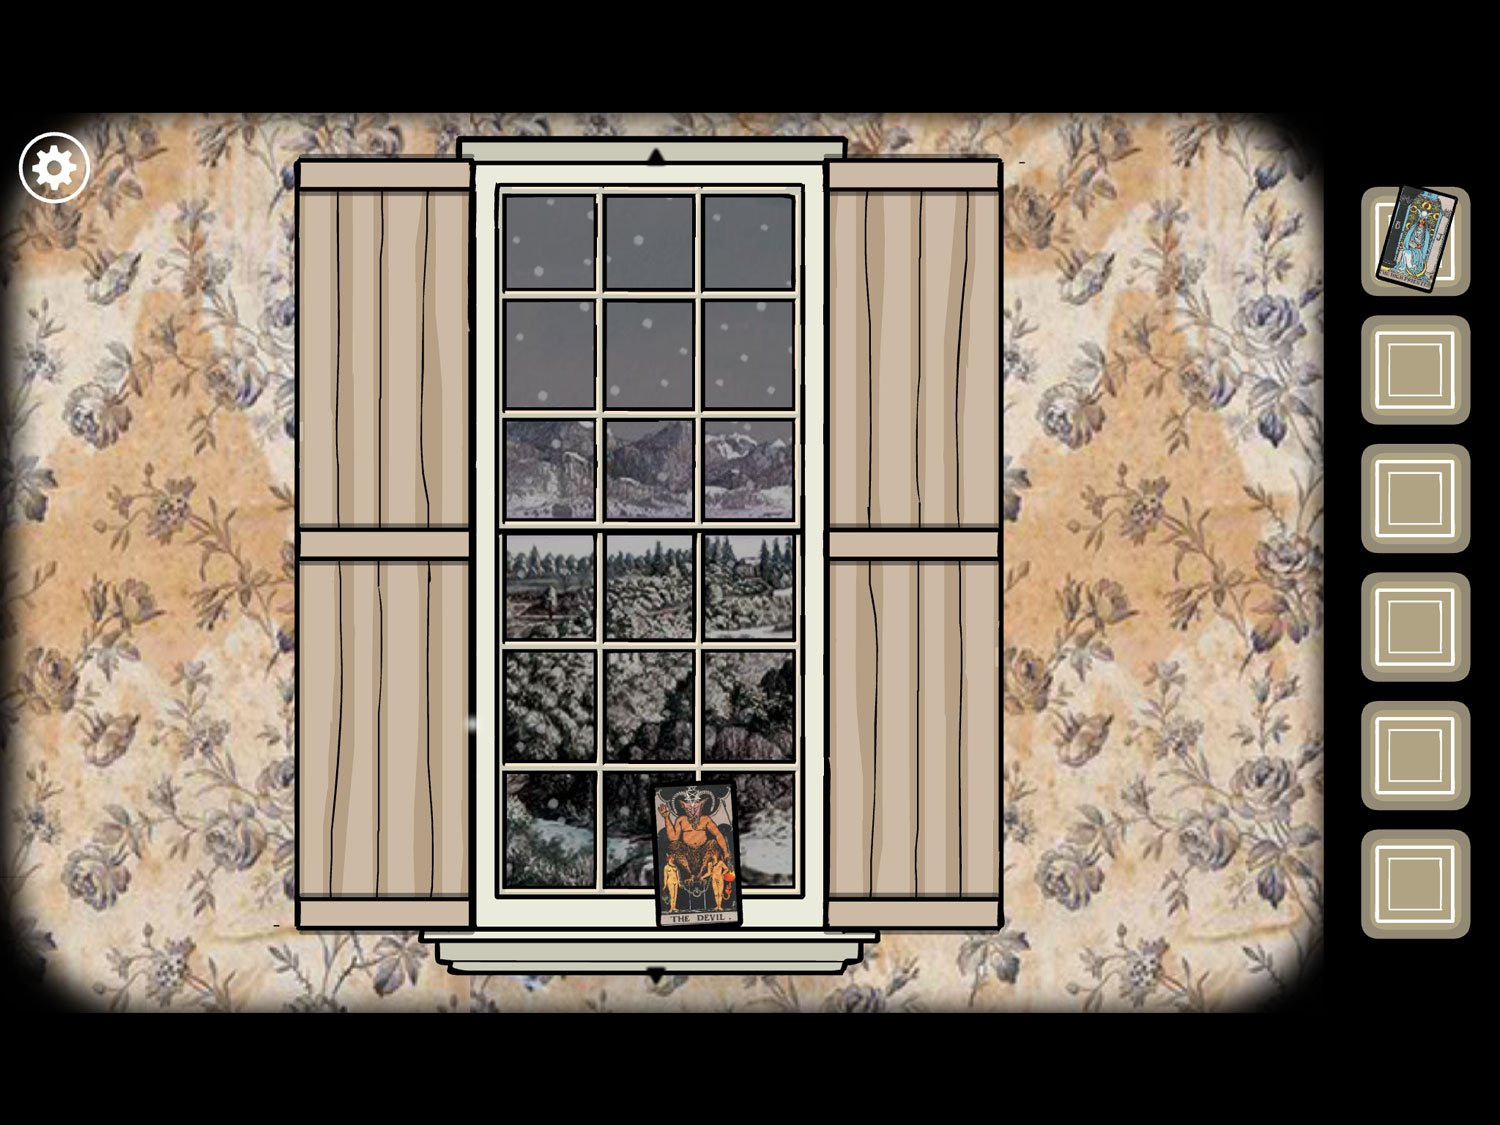
- Tap the boarded-up window; use KEY on the lock to open it and reveal another Tarot card. Tap it to get CARD (3). Note that it is snowing outside
- Return to the family. Tap the table in front of them
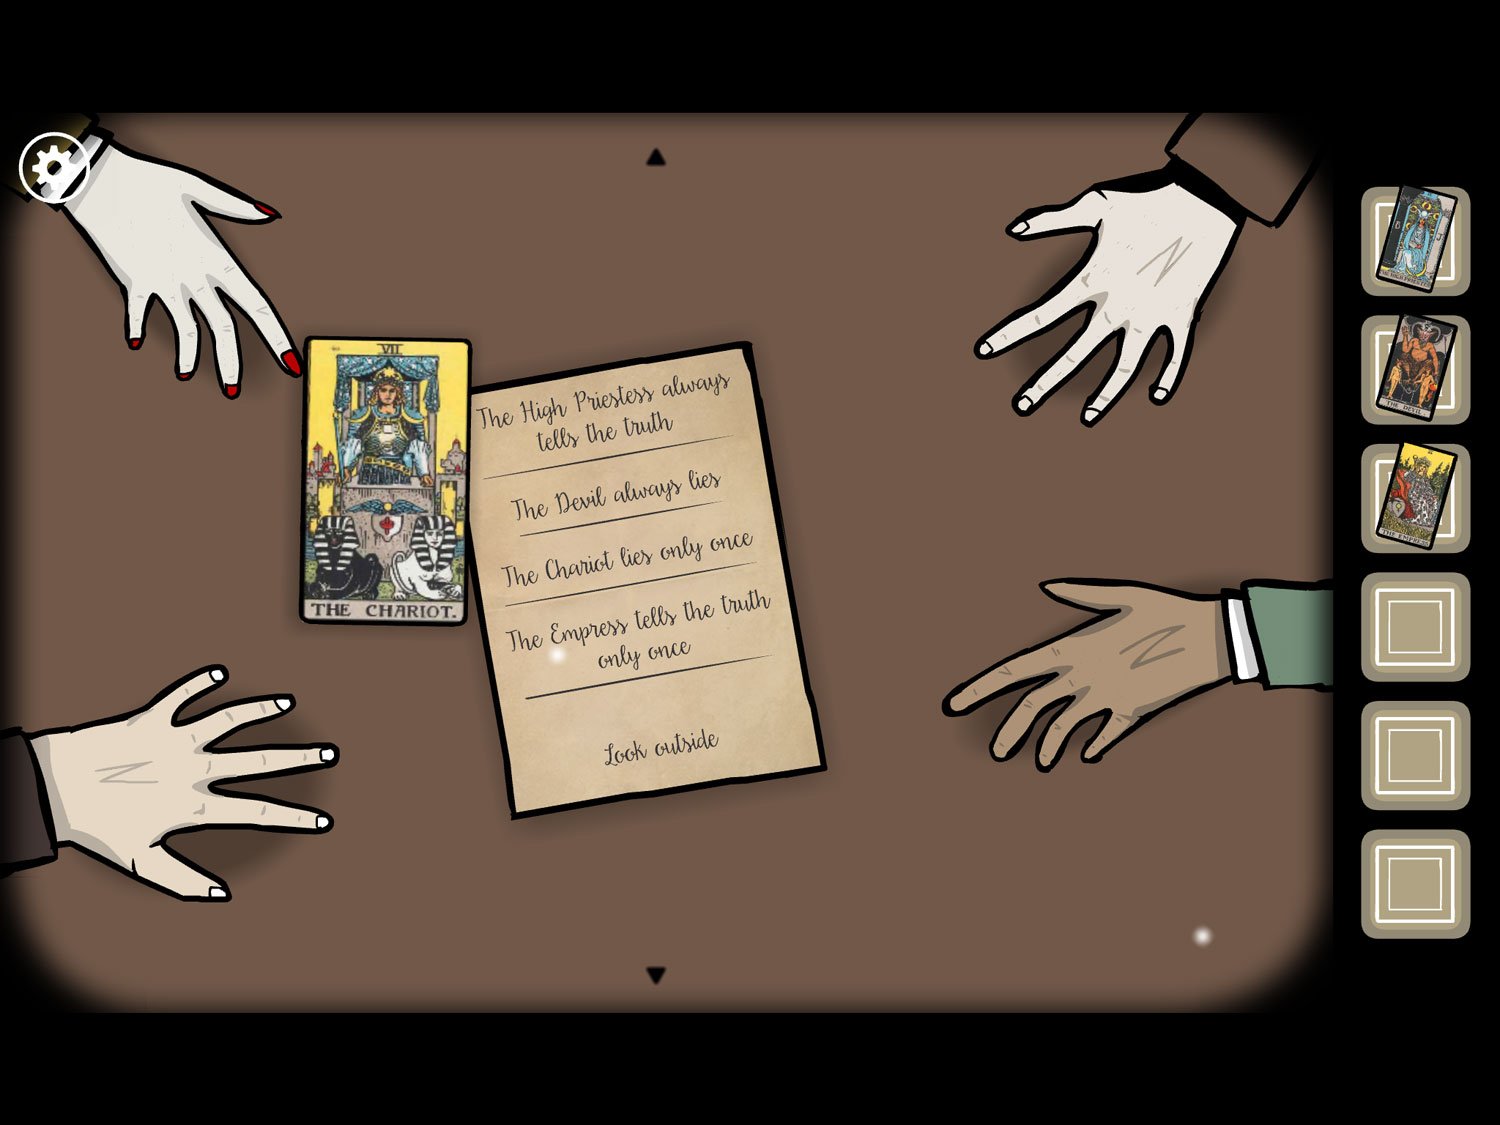
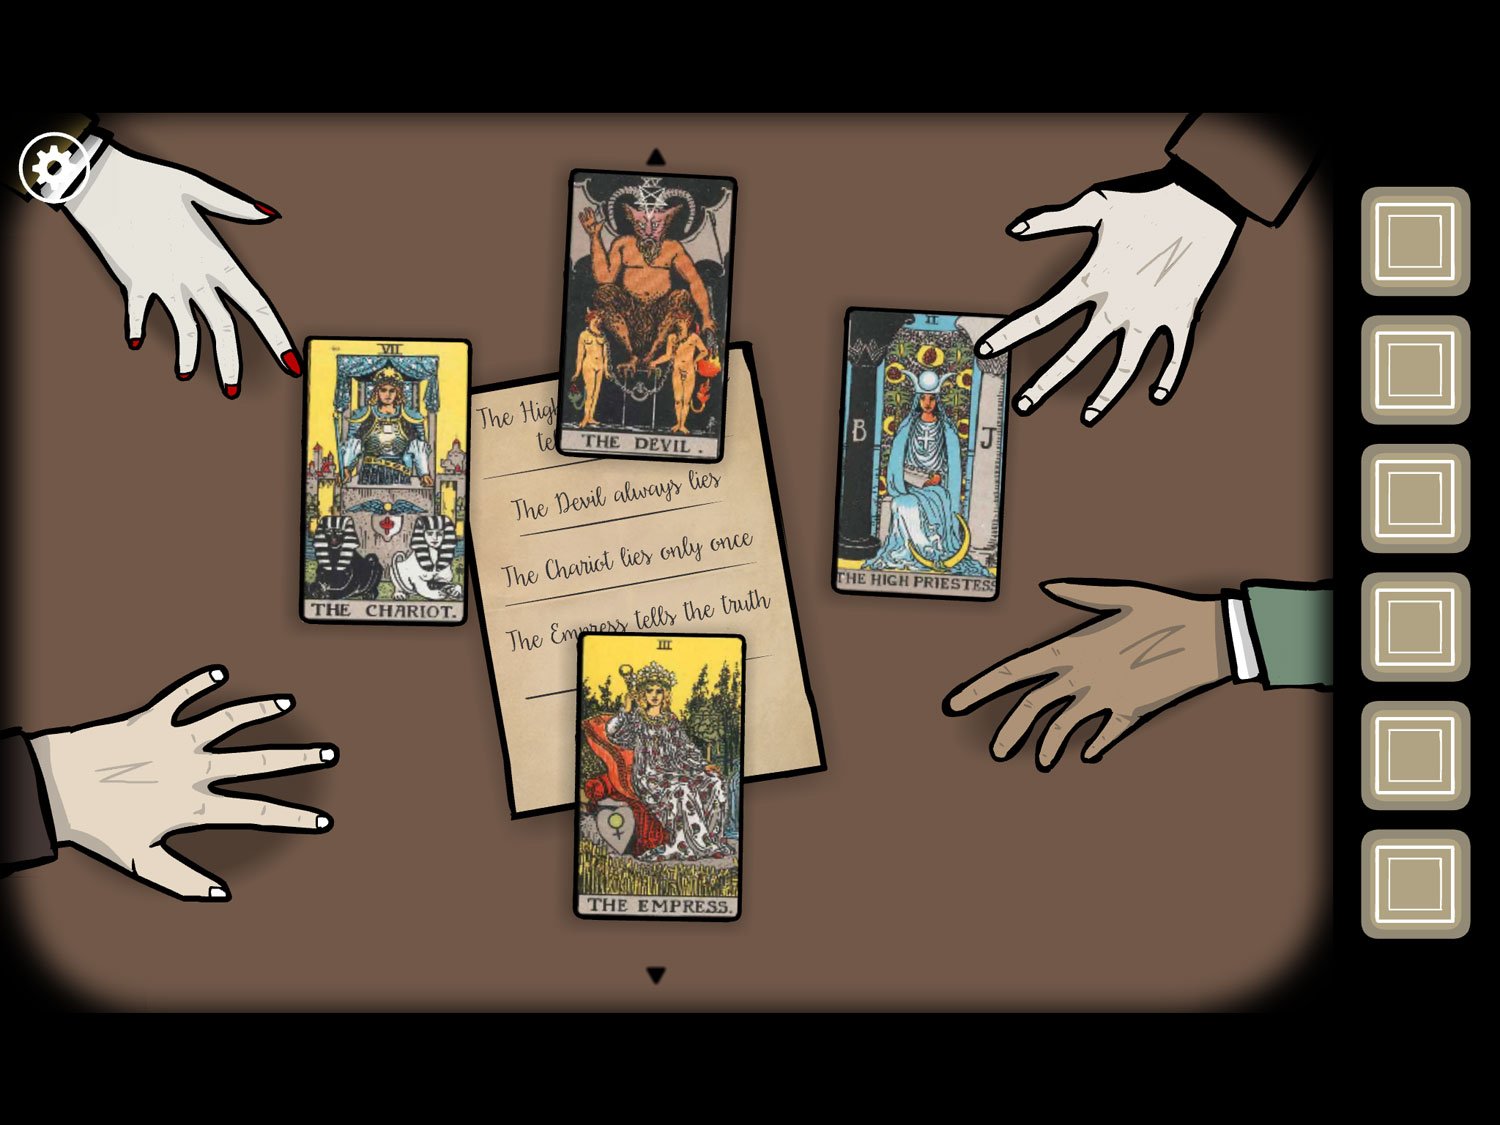
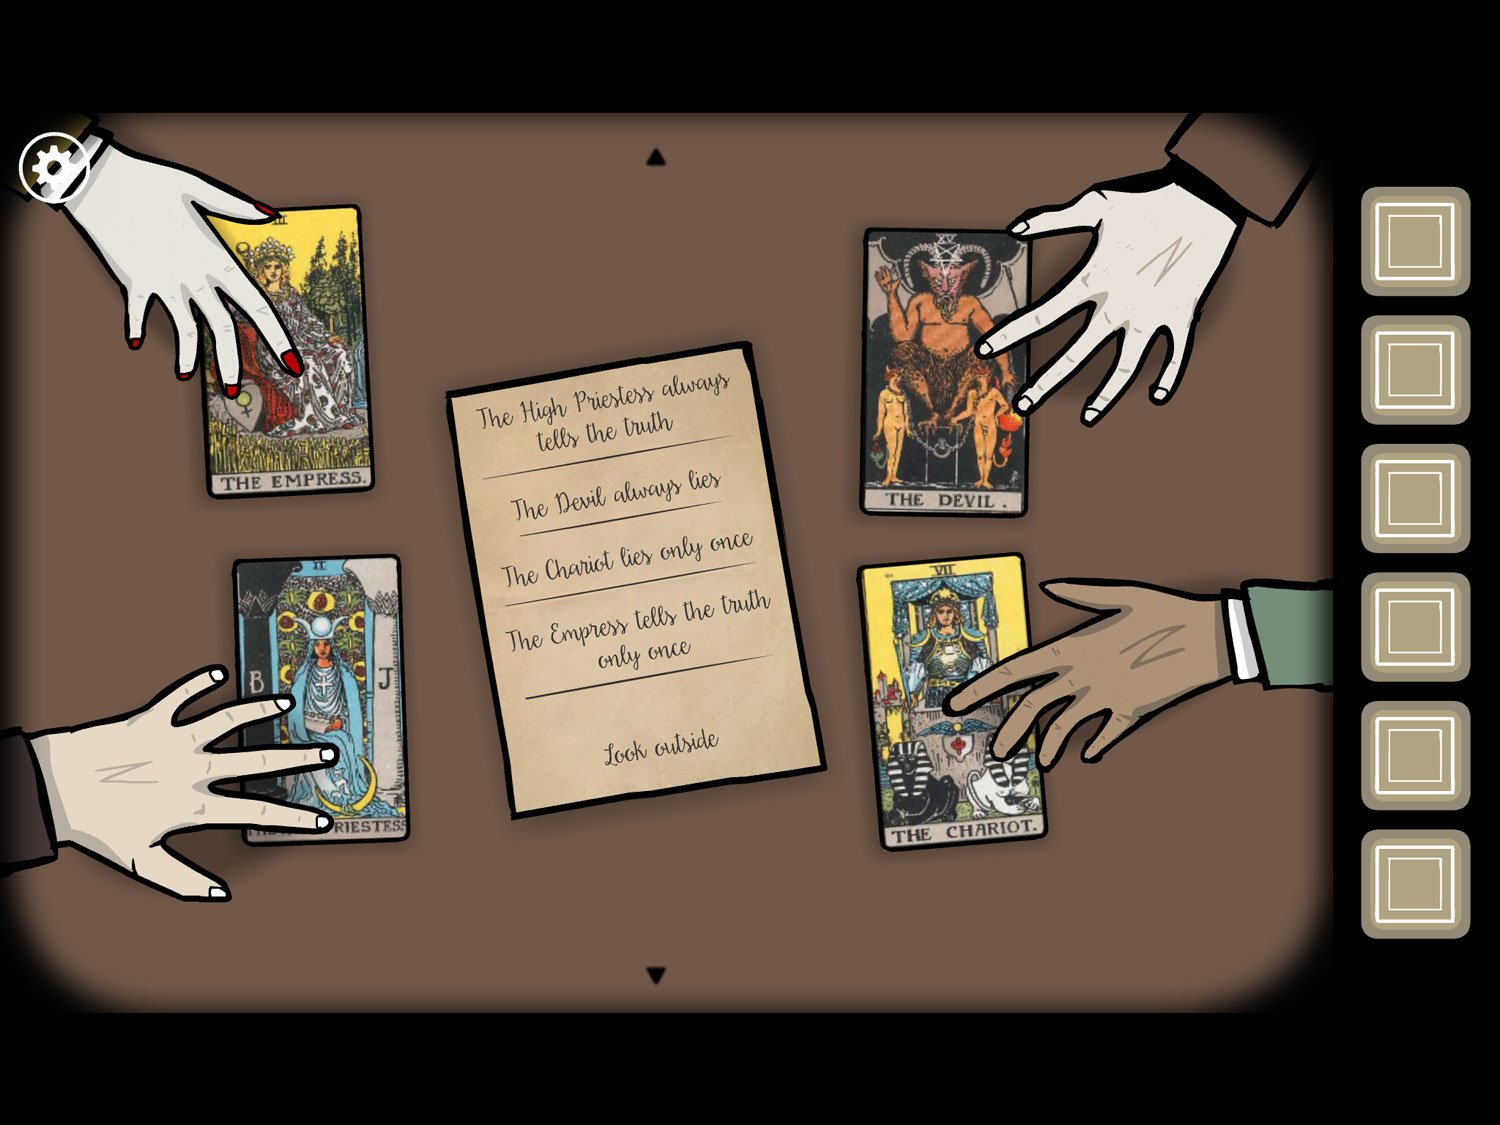
- There is a note here: “The High Priestess always tells the truth. The Devil always lies. The Chariot lies only once. The Empress tells the truth only once. Look outside.”
- You need to figure out which family member is which card base on their three statements. Tap the CARDs in your inventory and then the table to place them down
- Let’s start with Samuel (the hand on the bottom left). All three of his statements—my sister died, the locker code starts with 37, and there’s a key behind the painting—were true. Thus, he is the High Priestess, who always tells the truth. Slide the High Priestess card under his hand
- Ida (the hand in the upper left with red nail polish) told two lies: there was no key under the newspaper and the locker code did not end in 46. Thus, she is the Empress, who only tells the truth once. Slide the Empress card under her hand
- Albert (upper right hand) told only lies. His brother is married, he is in love with Ida, and there was no card hidden right of the painting. (This last point is debatable since there is a card in the window right of the painting, but for the game’s purposes, this is considered a lie.) Thus, he is the Devil, who always lies. Slide the Devil card under his hand
- That leaves only Mary, who must be the Chariot, but we can confirm this because she told only one lie: it is summer (we know it’s winter because it’s snowing and the title to the level told us so). Slide the Chariot under her hand in the bottom right
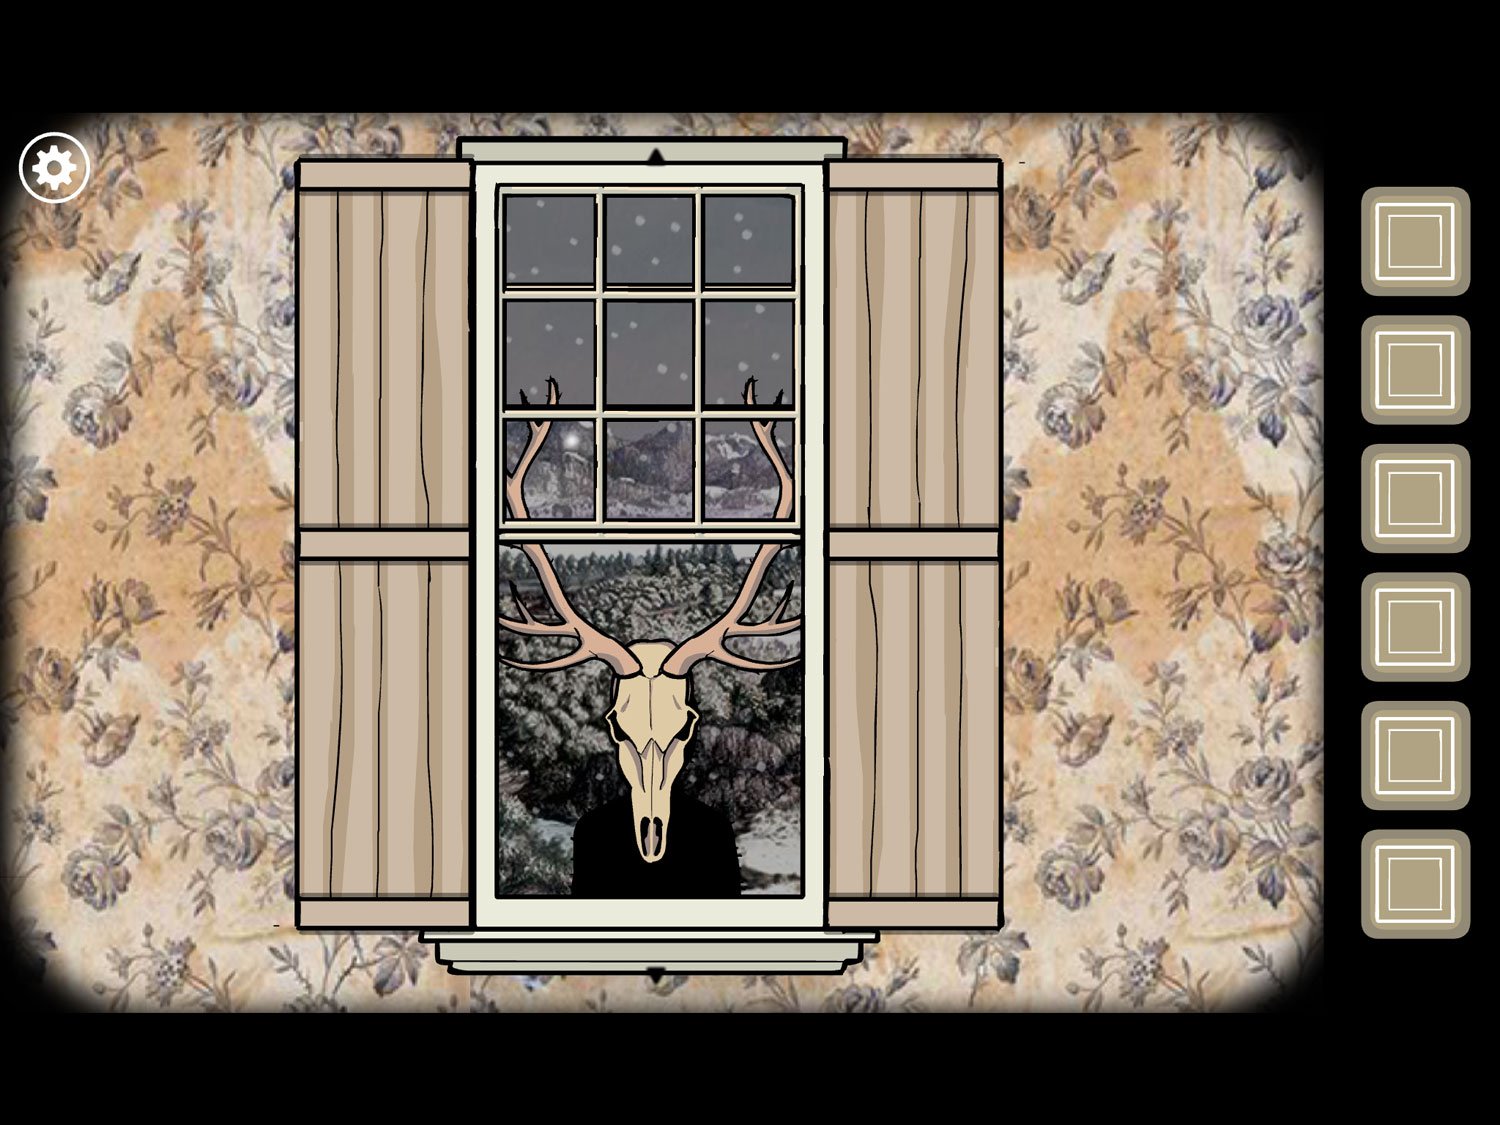
- When all cards are placed, zoom out and go to the window. There is a deer-masked figure outside. Tap on the window to zoom in
- Tap the window to open it. Take the SKULL from the shadowy figure, then tap him to send him away
- Zoom out and return to the family. Tap on Albert. Give Albert the SKULL. Tap him to make the white square and exit appear
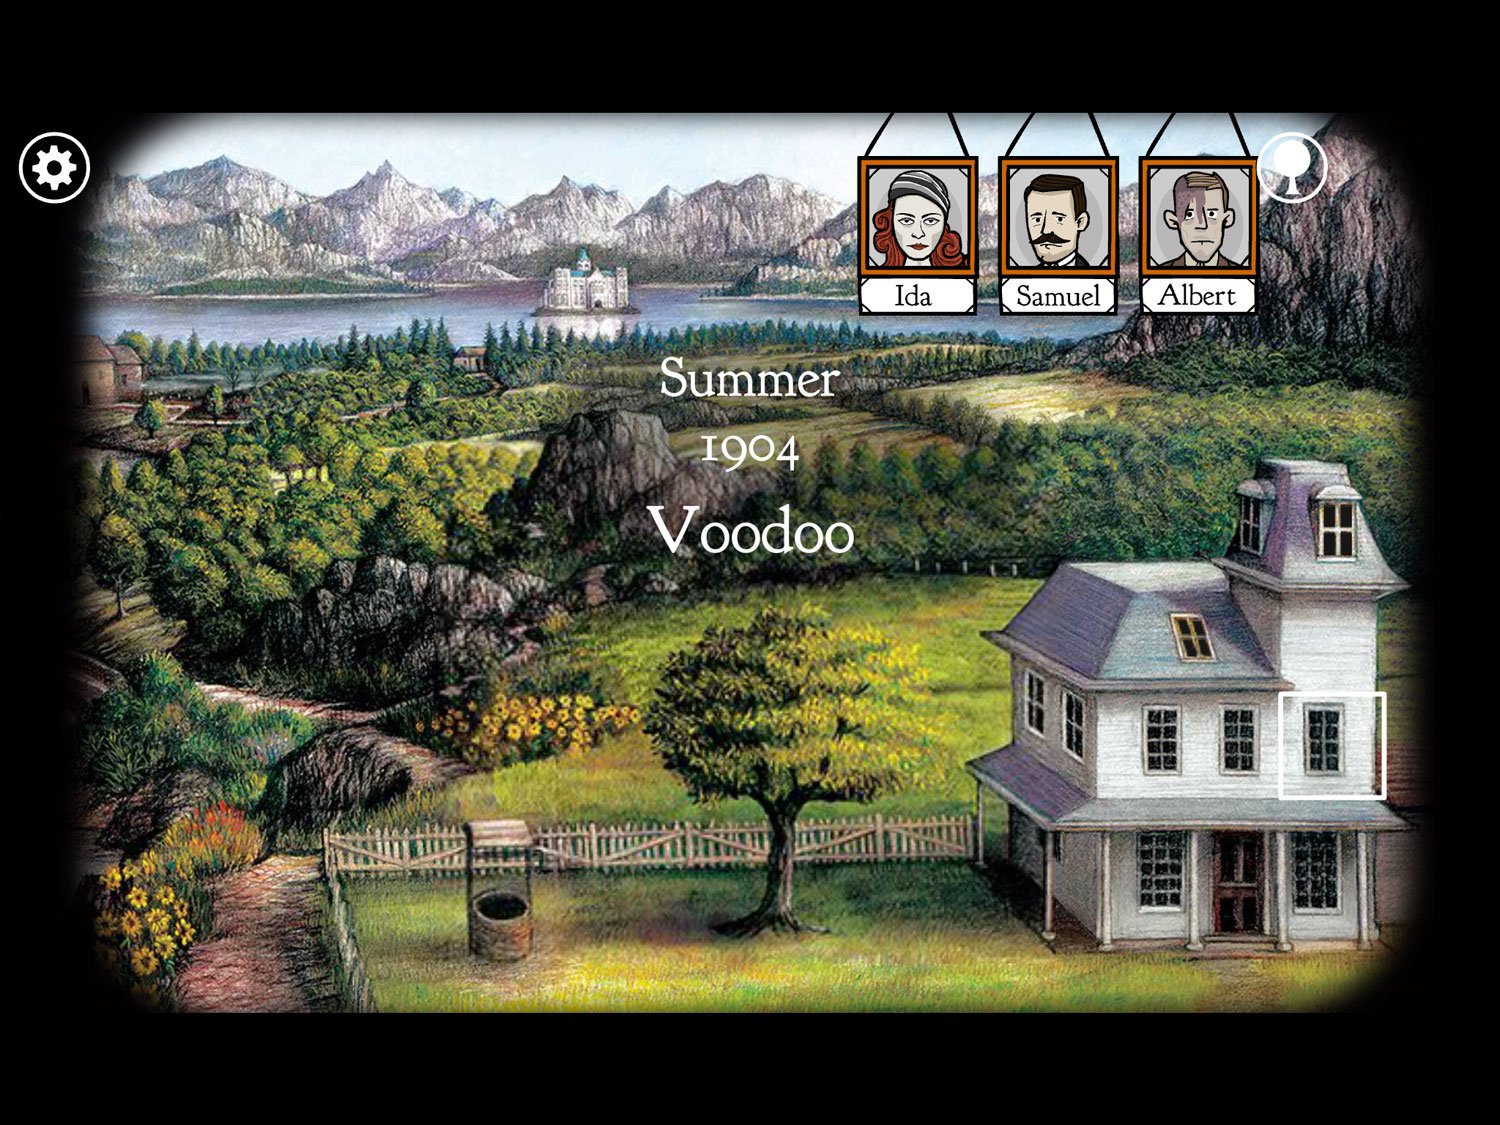
Level 26: Voodoo, Summer 1904 – Ida, Samuel, Albert
Location: Upstairs parlor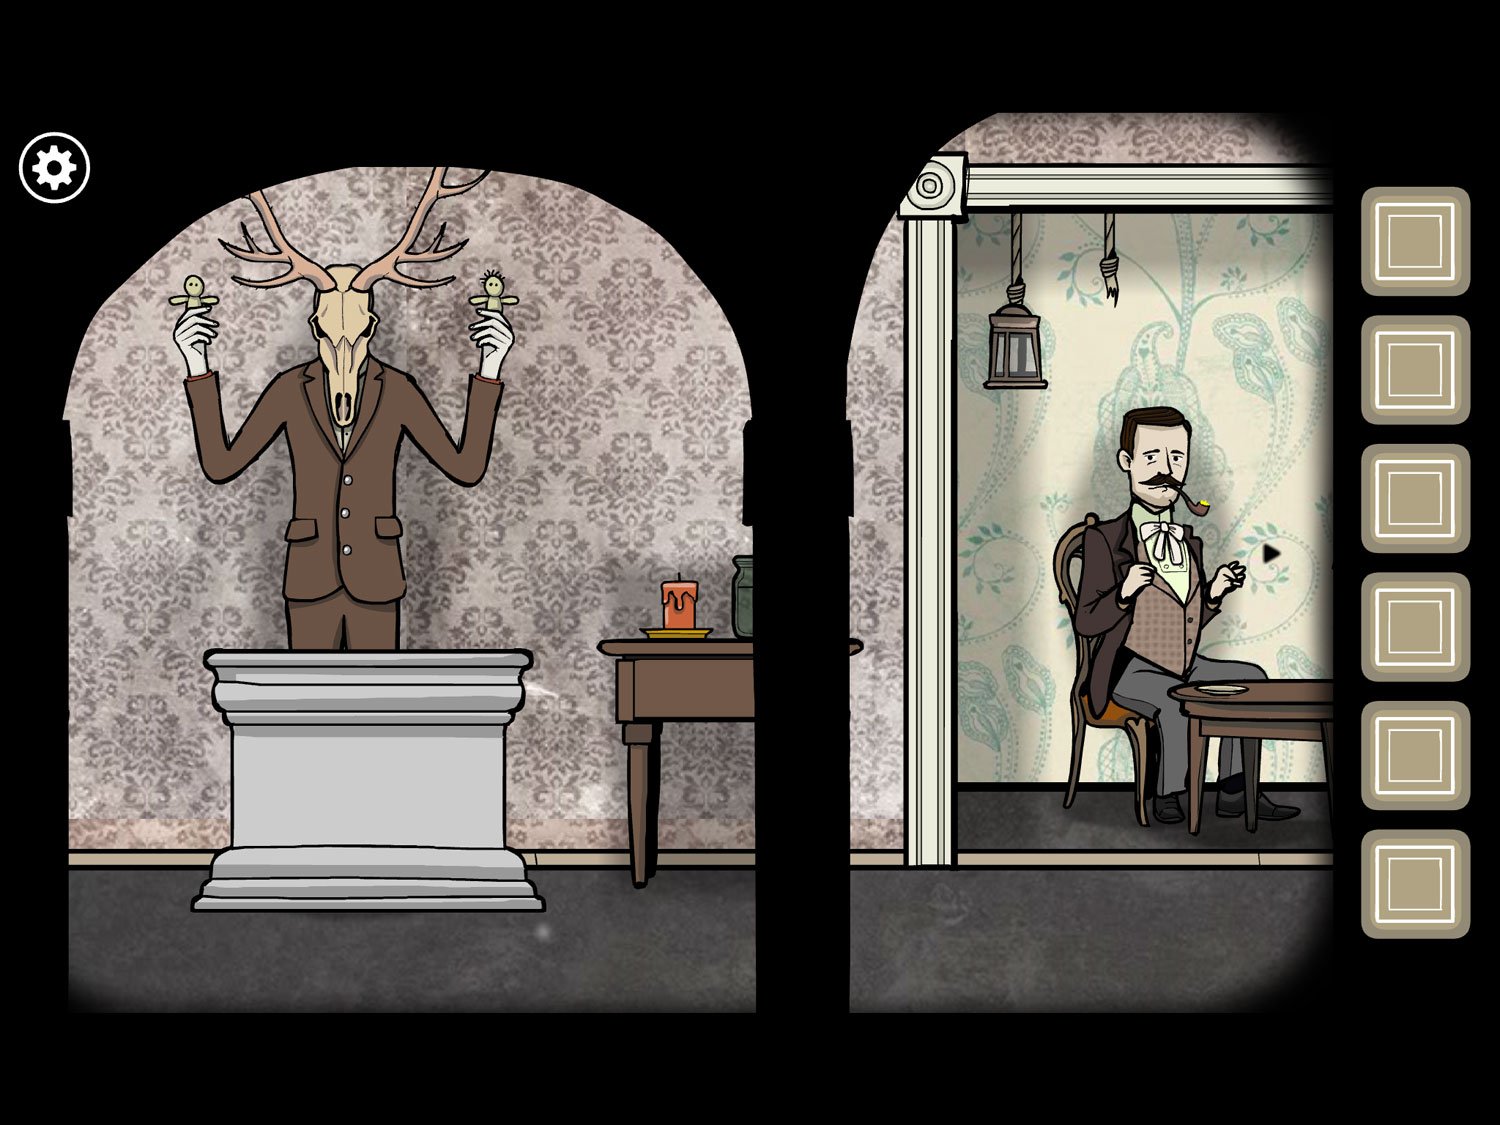
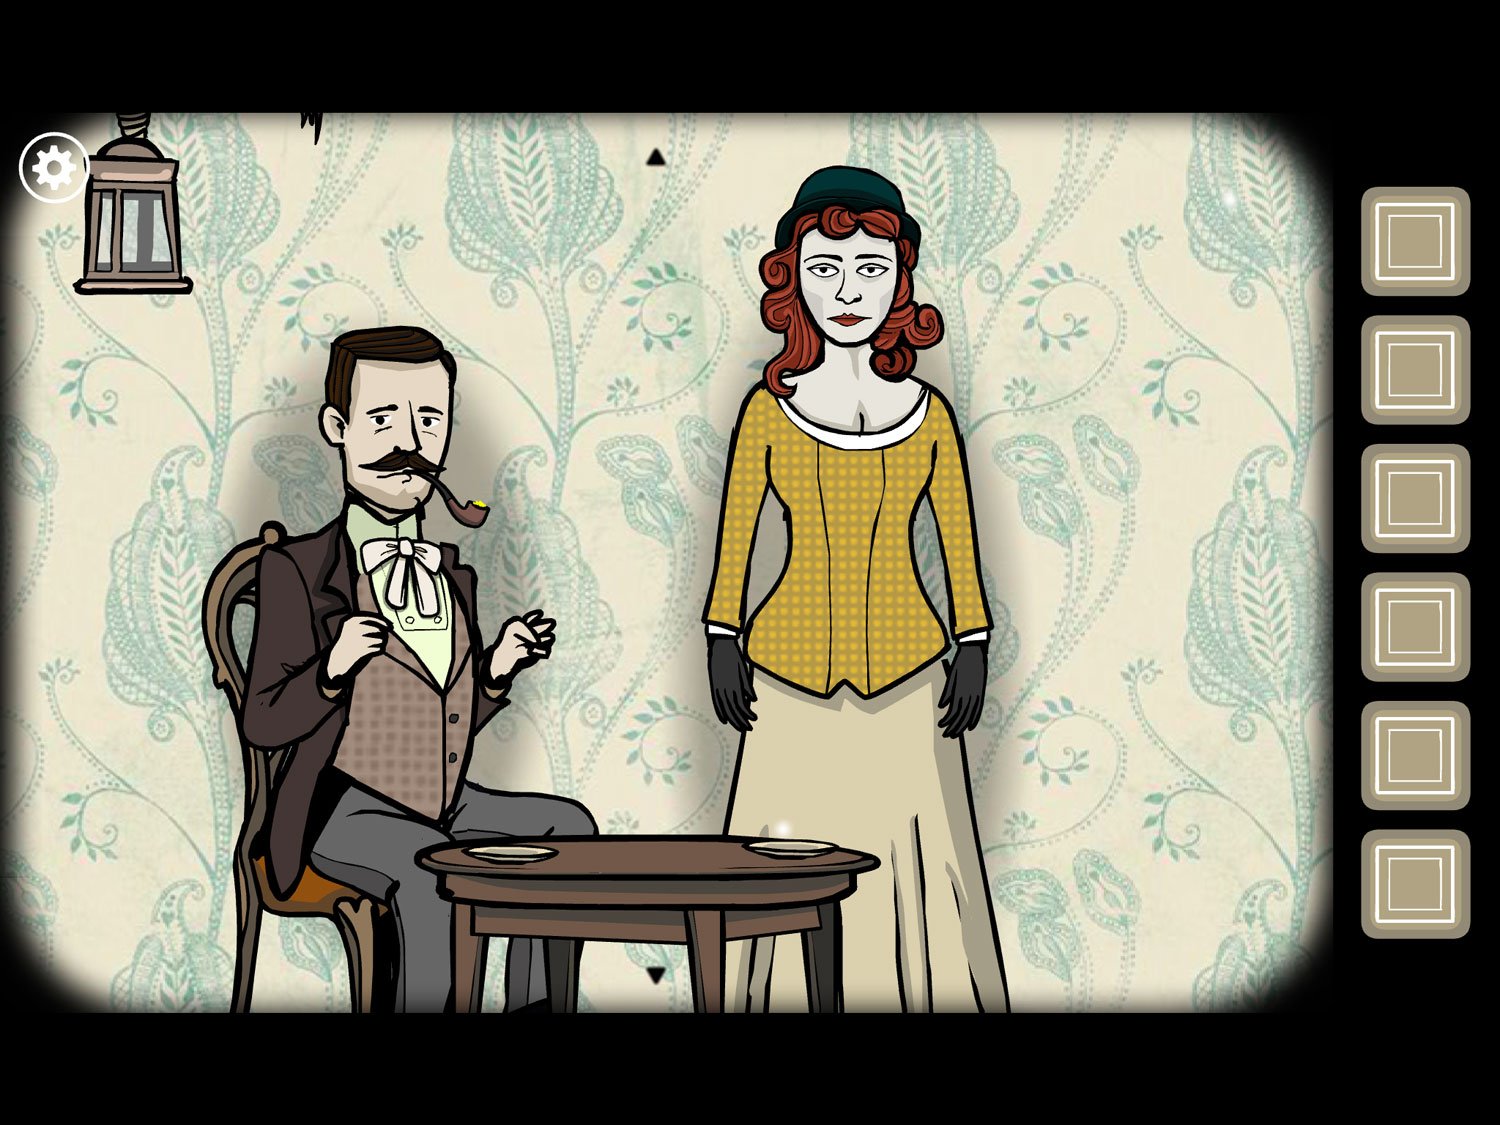
- Tap on Samuel in the dining area
- Take his lit pipe to get PIPE
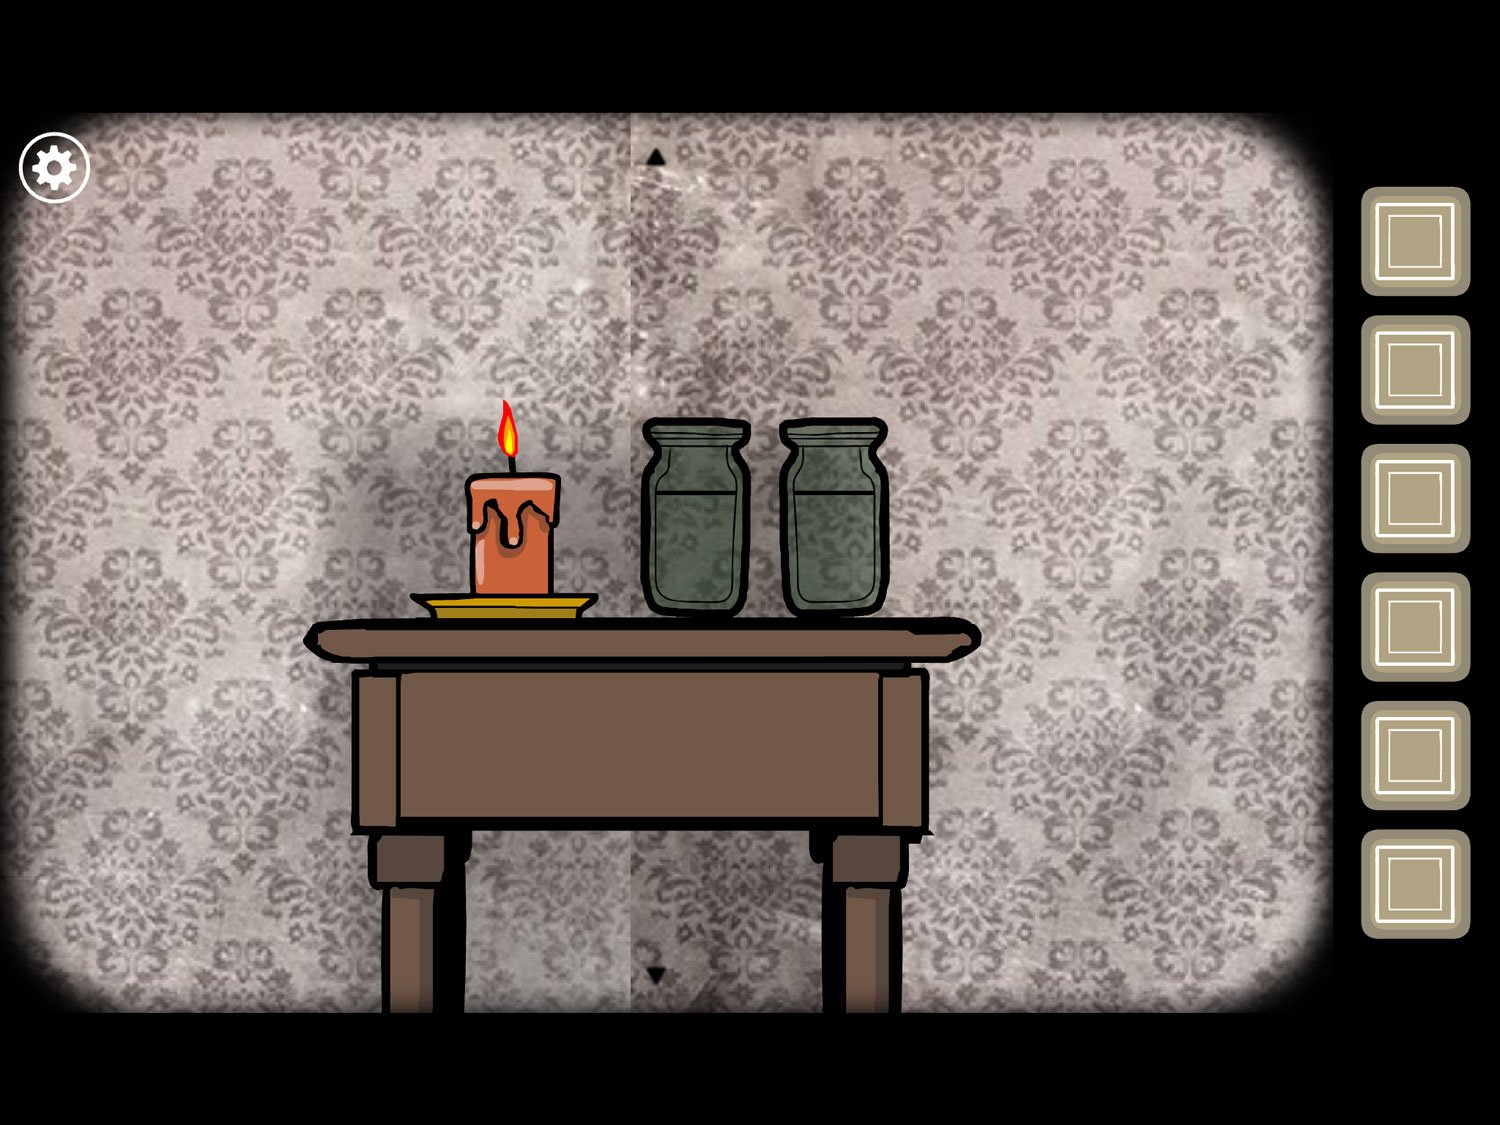
- Return to the hallway and tap on the side table near Albert
- Use PIPE on the candle to light it. Tap the candle to get CANDLE. Zoom out
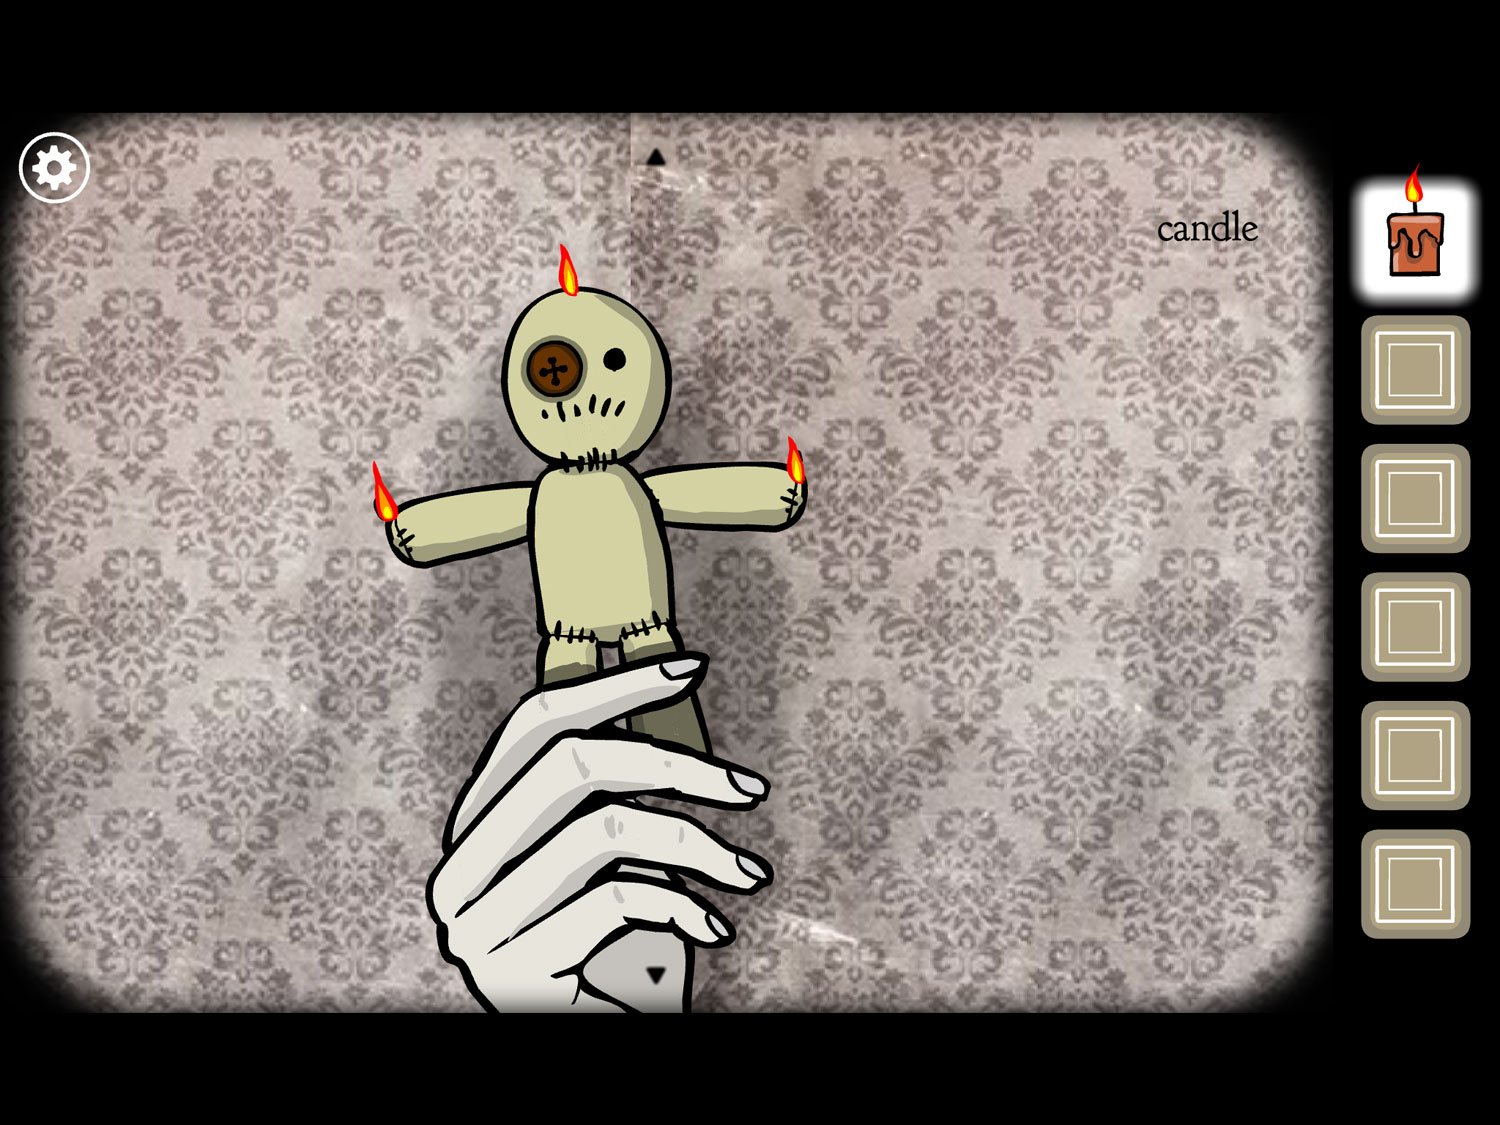
- Tap on Albert. Tap on the doll in his right hand (our left)
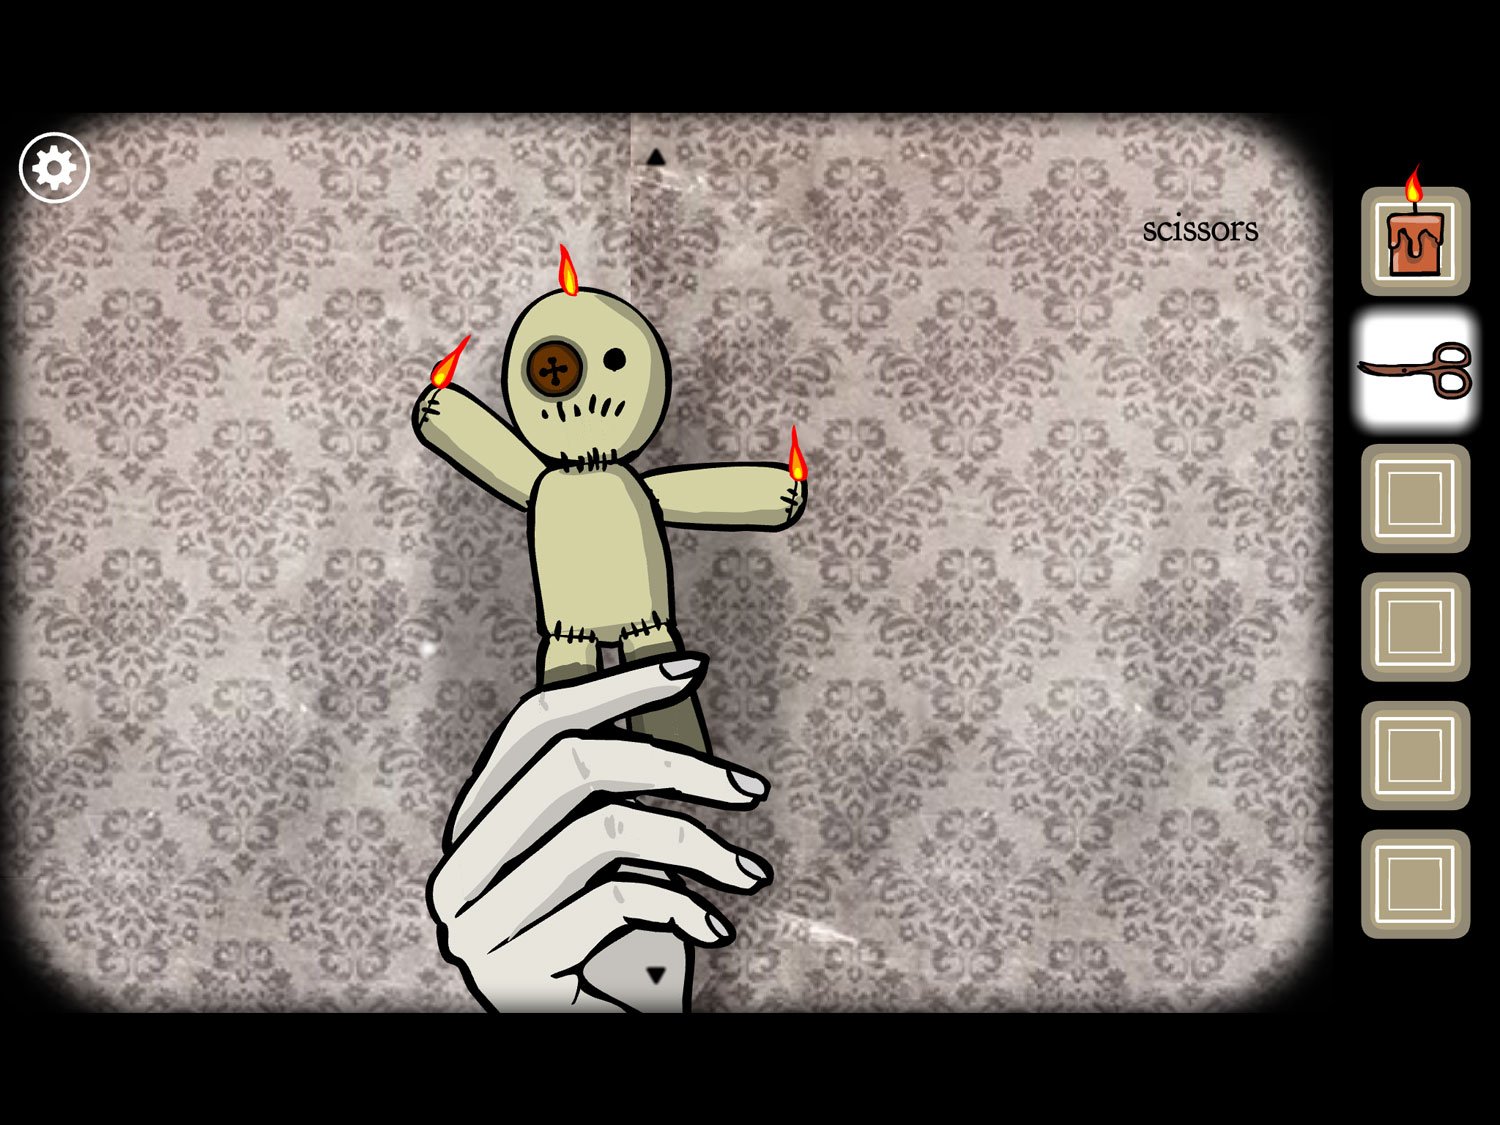
- Use CANDLE on the wicks sticking off the doll’s head and both hands
- Tap the doll’s right arm (our left) so it’s raised in the air. Sunlight will flash and you’ll hear a crack
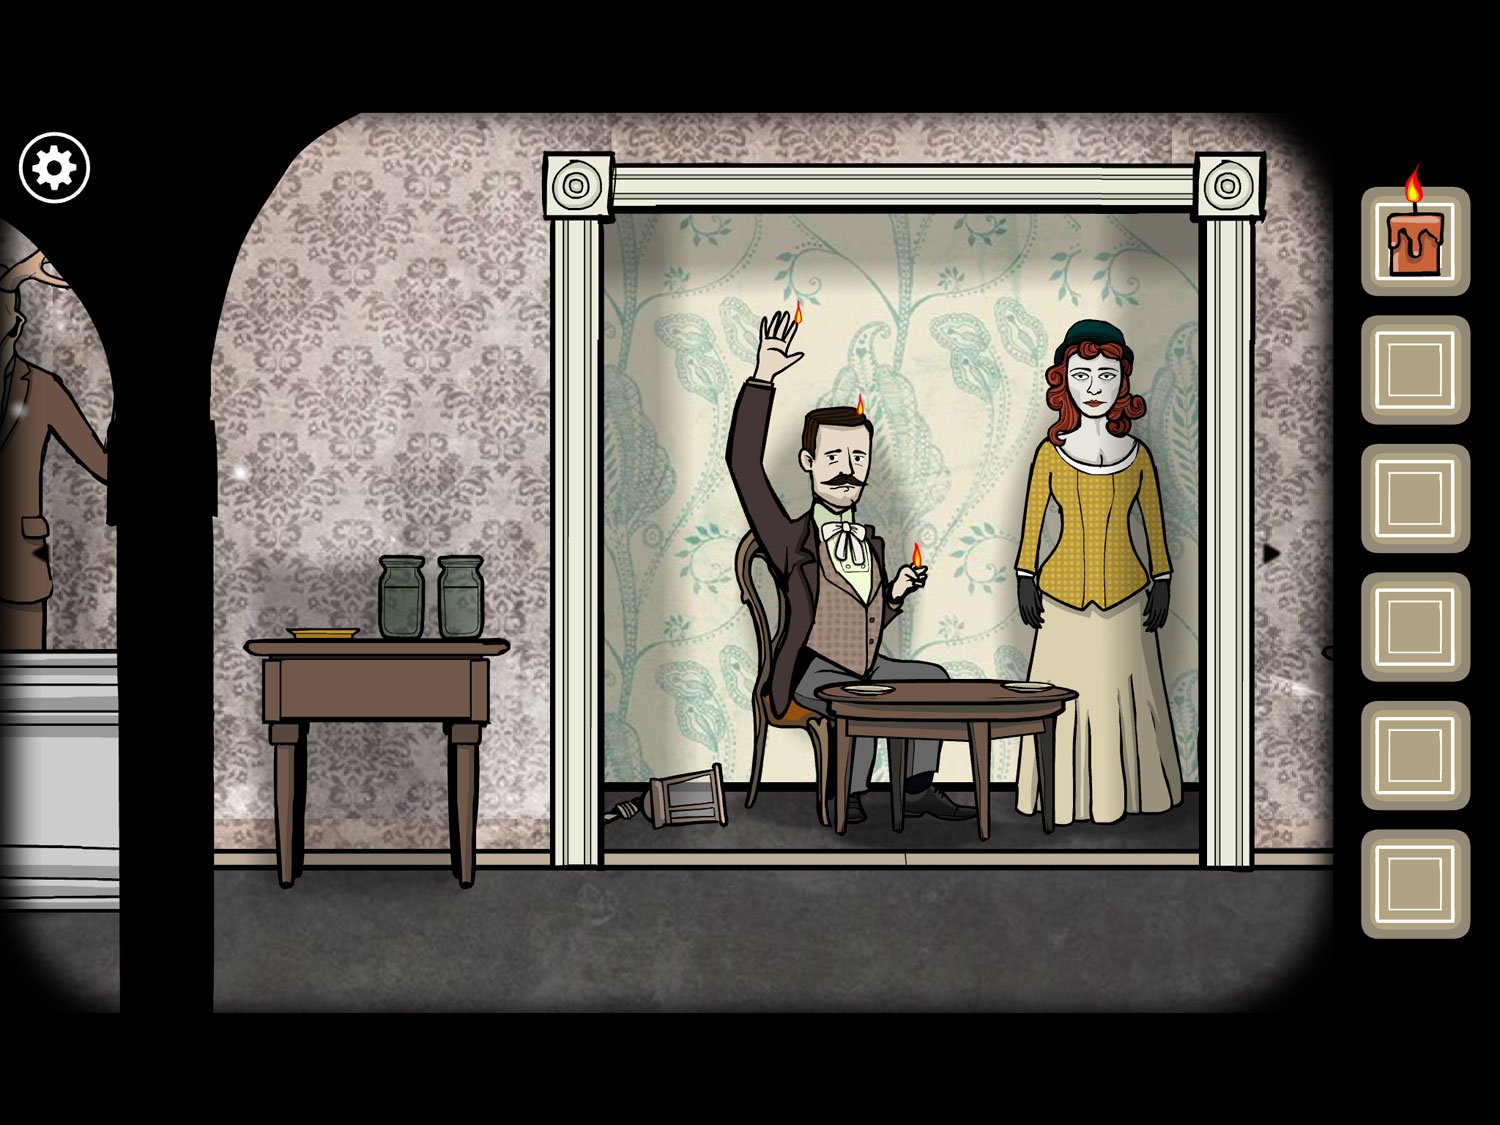
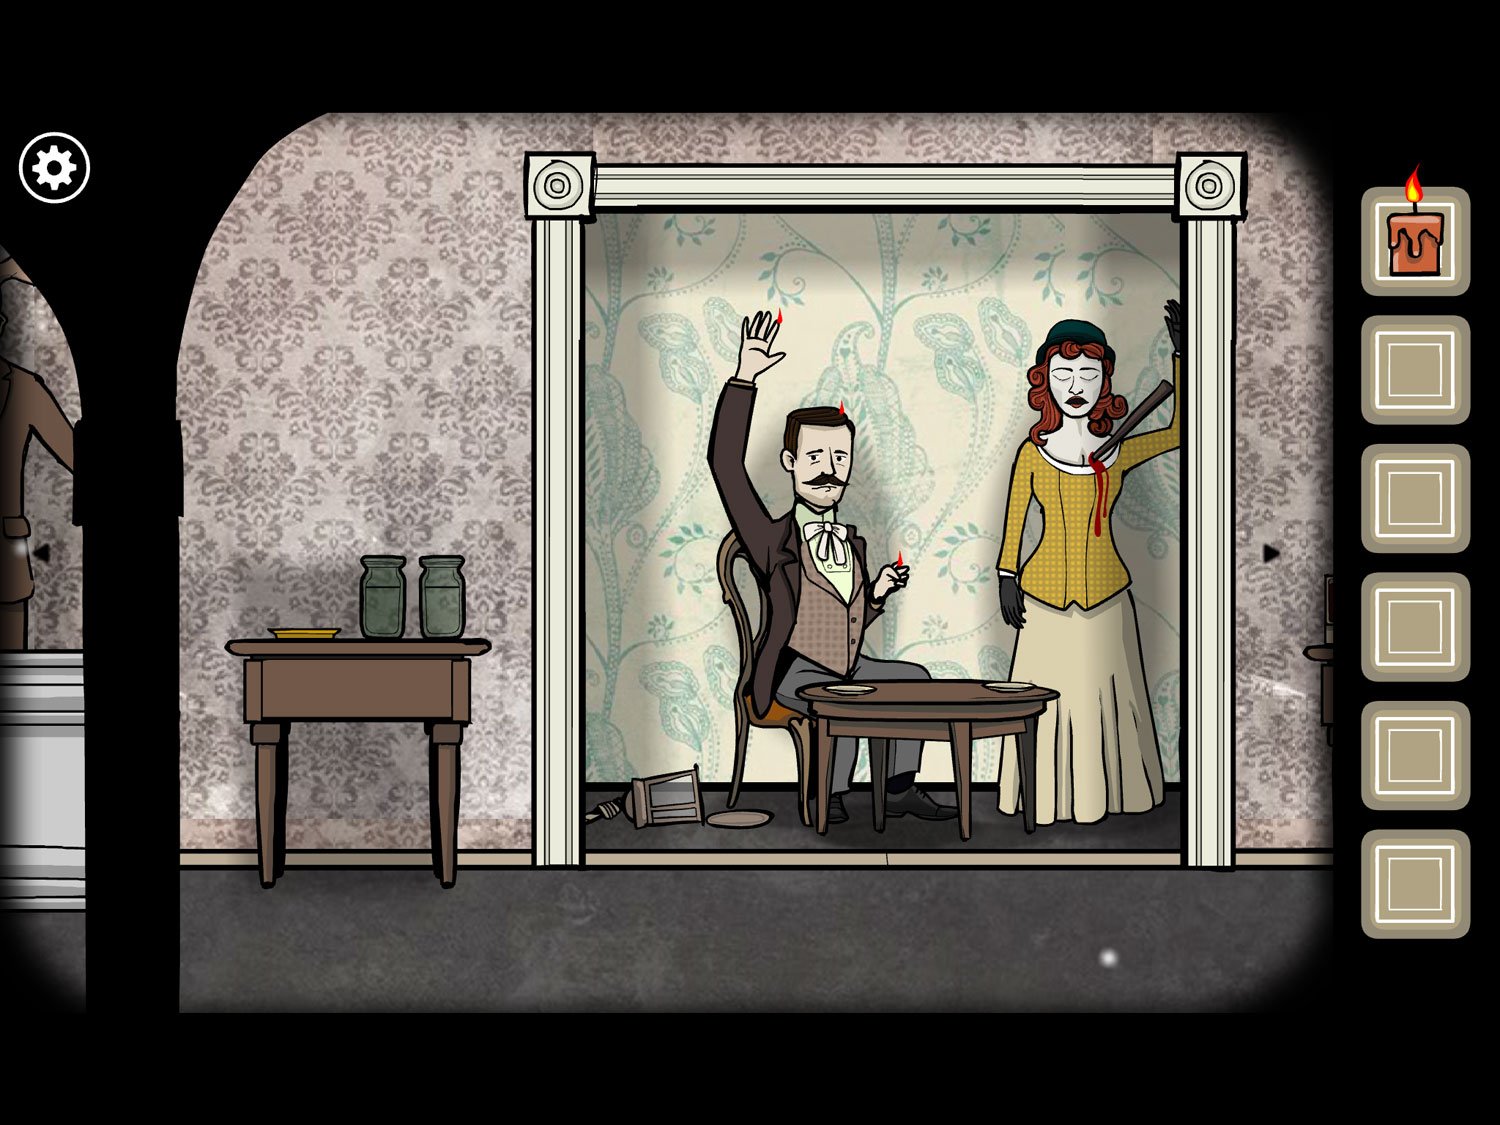
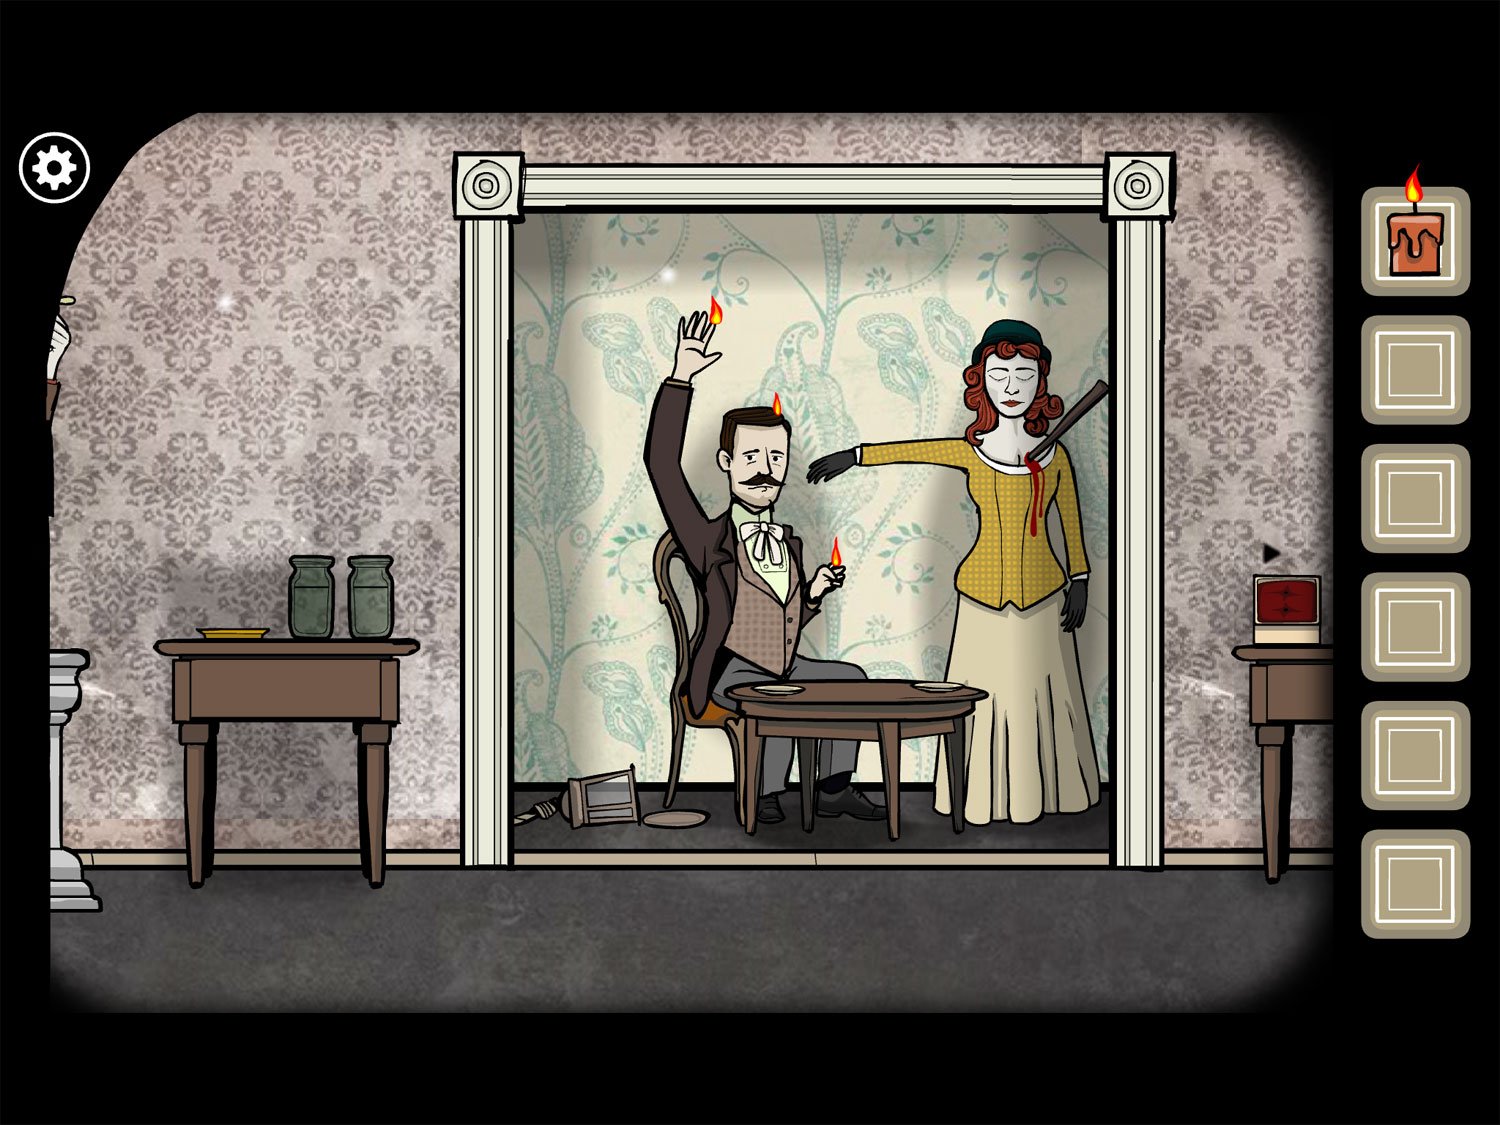
- Zoom out and return to Samuel. His hands and head are on fire and the lamp has crashed to the floor
- Tap on the lamp to zoom in and tap it again to open the door. A key falls out; tap it to get KEY
- Zoom out and scroll right to a small table. Tap to zoom in
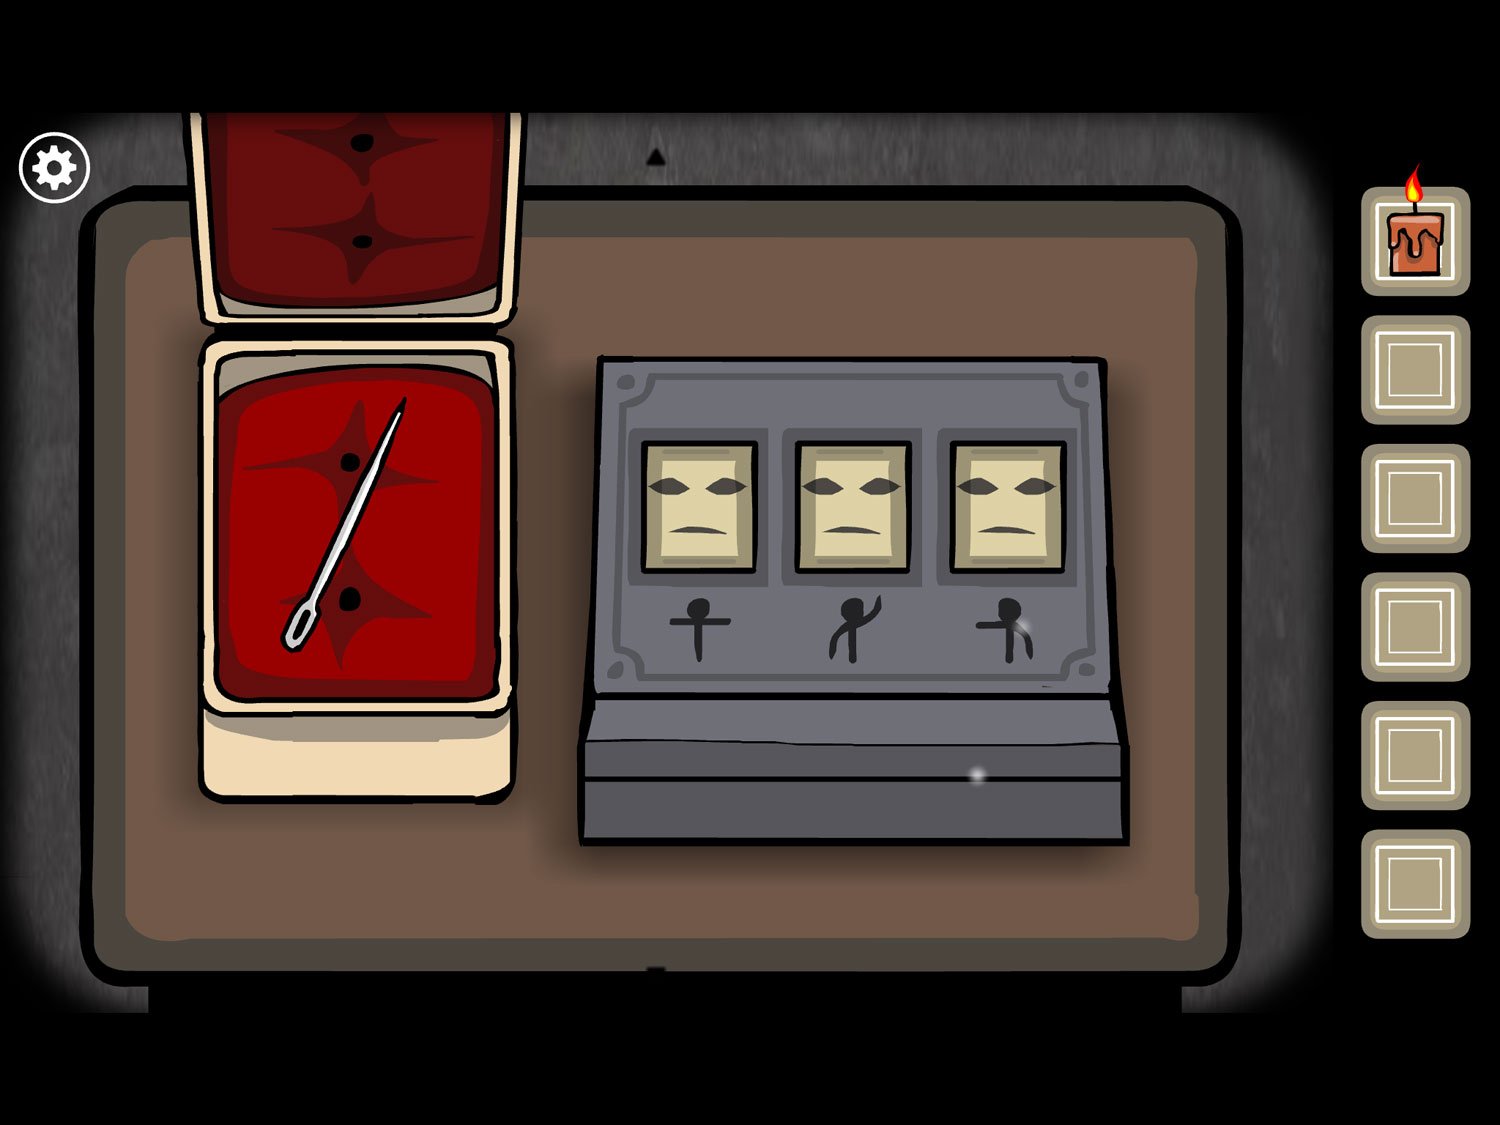
- Use KEY on the locked box on the left. Tap to open it; tap the needle to get PIN
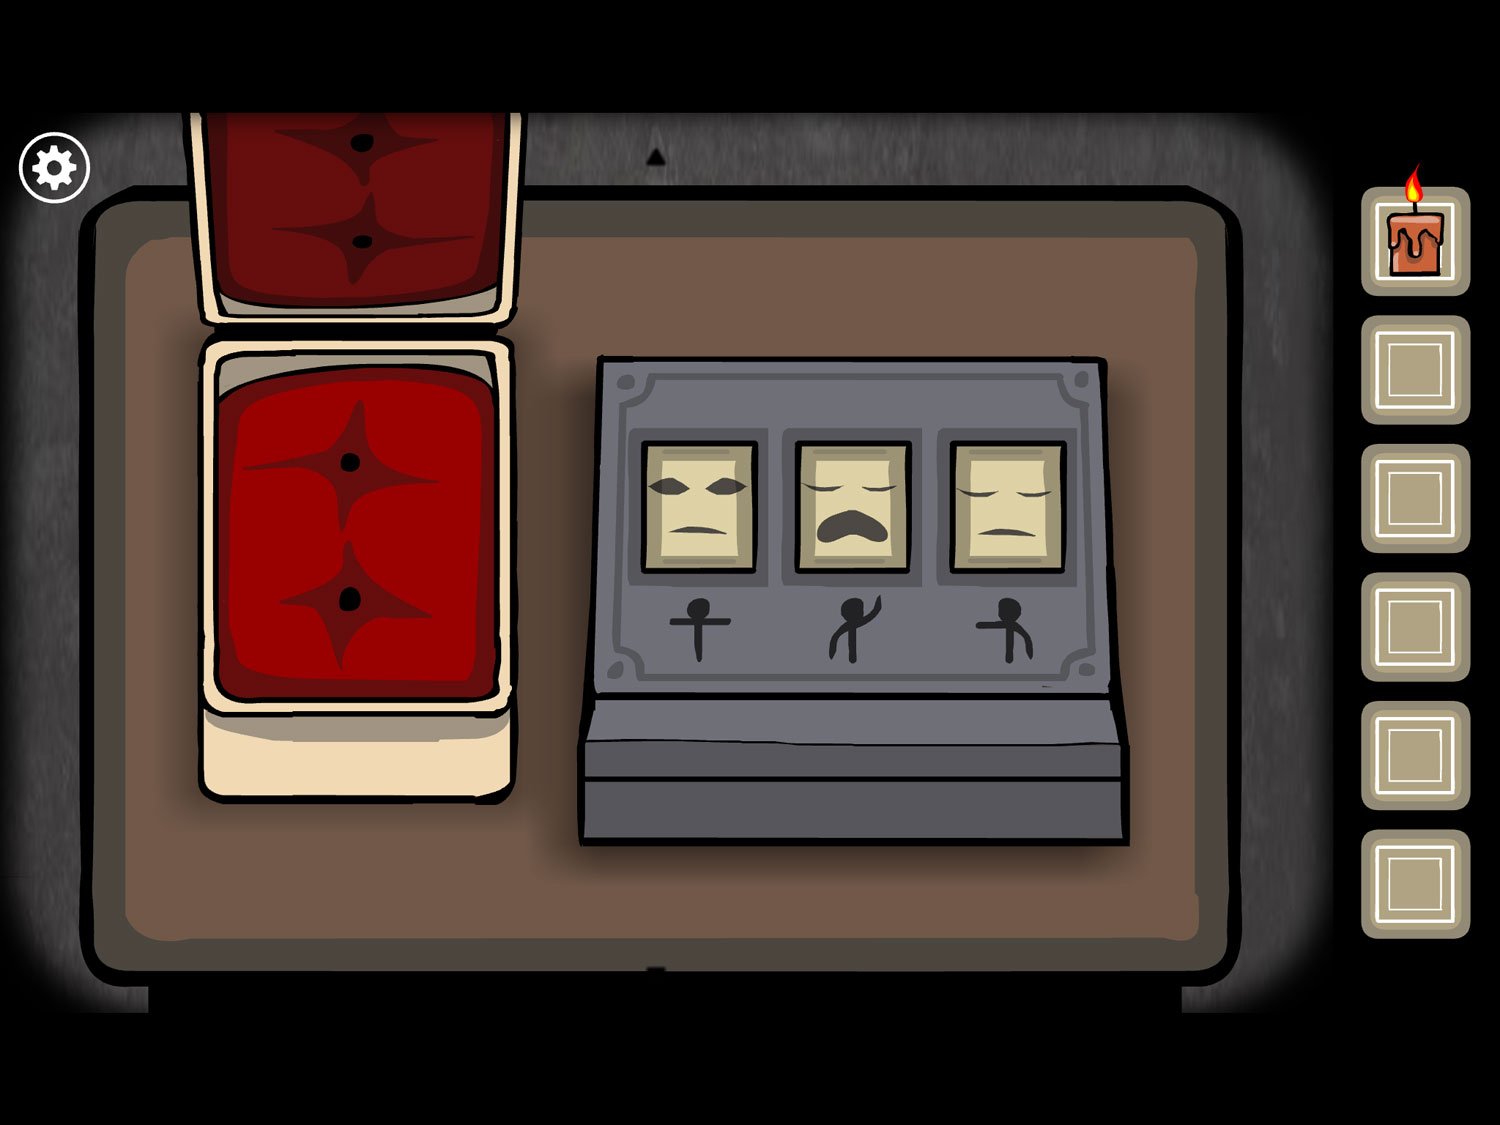
- Note the box on the right and the figures here: a person with both arms straight out, left arm down and right arm up, and left arm straight out and right arm down
- Zoom out and return to Albert. Tap him then tap the doll in his left hand (our right)
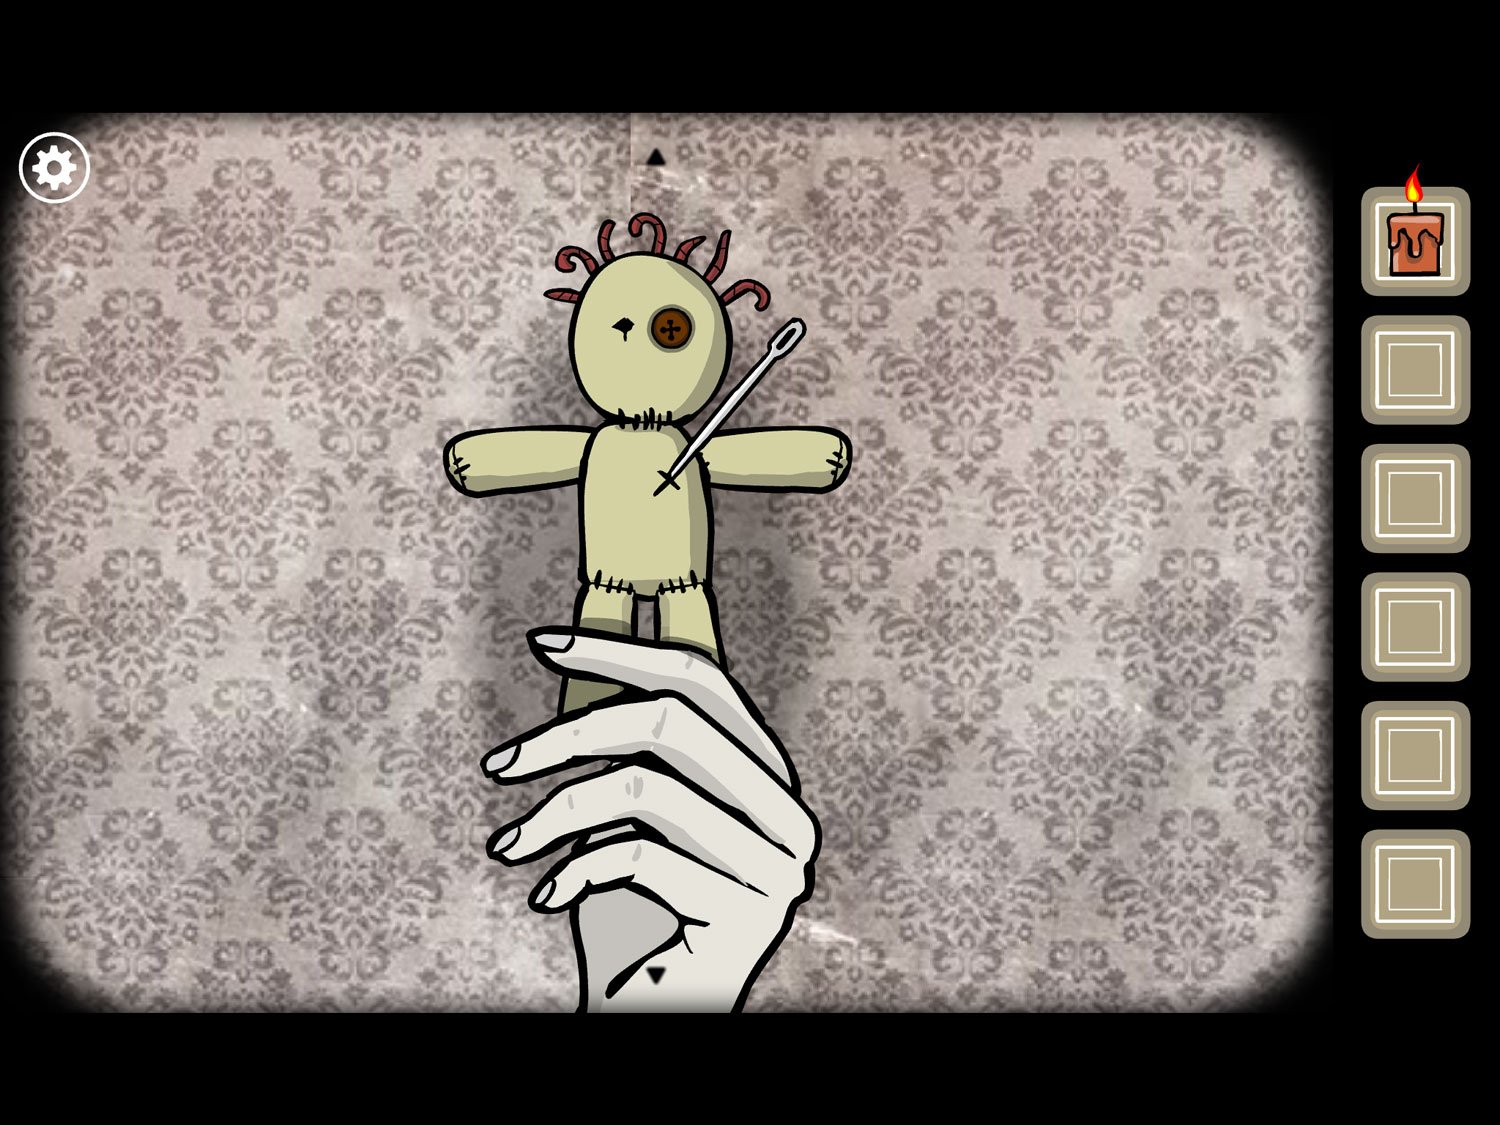
- This doll has red hair; use PIN on the X over the doll’s heart
- Move both arms so they are sticking straight out to the sides. Zoom out and look at Ida
- Her eyes are open and mouth is in a relaxed position. Return to Albert and tap on the red-haired doll
- Move the doll’s arms so its right arm (our left) is pointing down and its left arm (our right) is pointing up
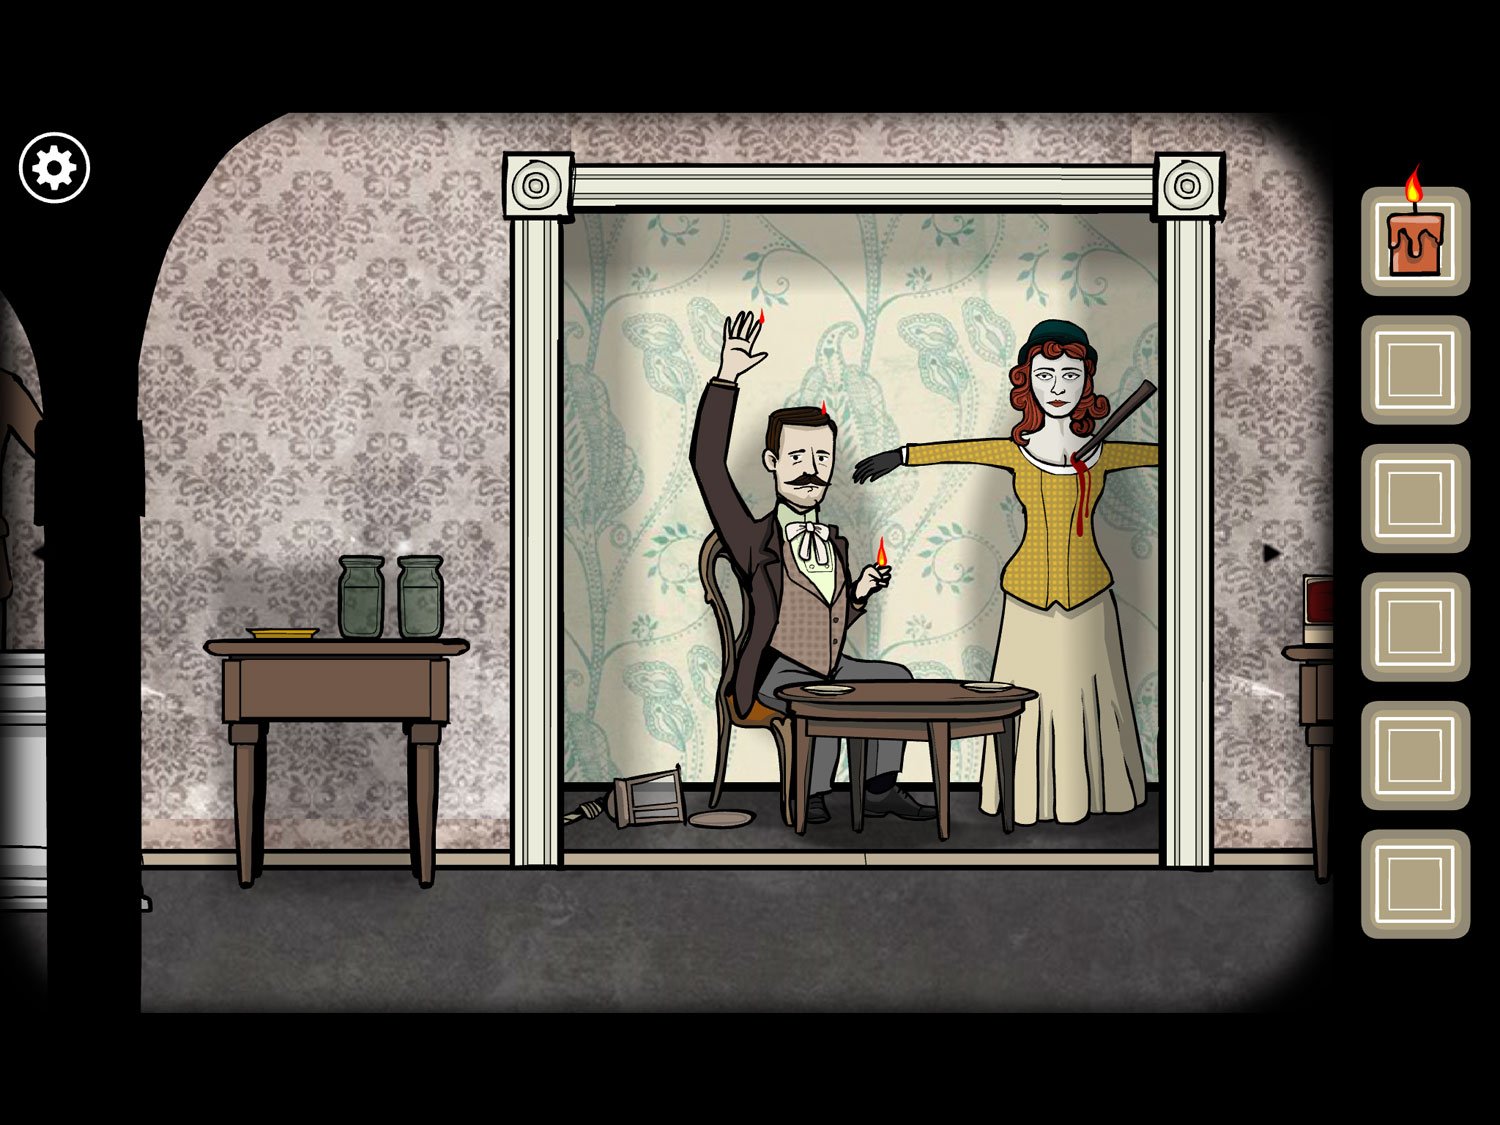
- Zoom out and look at Ida again. Her eyes are closed and her mouth is open, tilted downward
- Return to Albert and tap on the red-haired doll one more time
- Move its arms so its right arm (our left) is sticking straight out and its left arm (our right) is pointing down
- Zoom out and look at Ida. Her eyes are closed and mouth is flat and relaxed
- Move back to the table on the right side of the room and tap to zoom in
- Move the tiles in the box to match Ida’s facial expressions when her arms were in each position. The first tile (arms out) should have eyes open and mouth relaxed – this is what the default tiles are so you shouldn’t have to move it
- The second tile should look like closed eyes with an open, downward tilted mouth
- The third tile should be eyes closed and mouth relaxed
- The correct symbols are above. Once the box matches this, tap to open it
- Take SCISSORS from the box and return to Albert
- Tap the Samuel doll; use SCISSORS on its button eye
- Zoom out and tap the Ida doll; use SCISSORS on its button eye
- Zoom out and return to the real Samuel and Ida. They are each missing an eye, which is on the plate in front of them
- Take EYE from in front of Samuel and EYE (2) from in front of Ida. Zoom out
- Go to the table with two jars just right of Albert. Put EYE in a jar and EYE (2) in the other jar
- Tap either jar when finished to reveal the white square and exit. Samuel and Ida’s eyes are added to your list of sacrifices
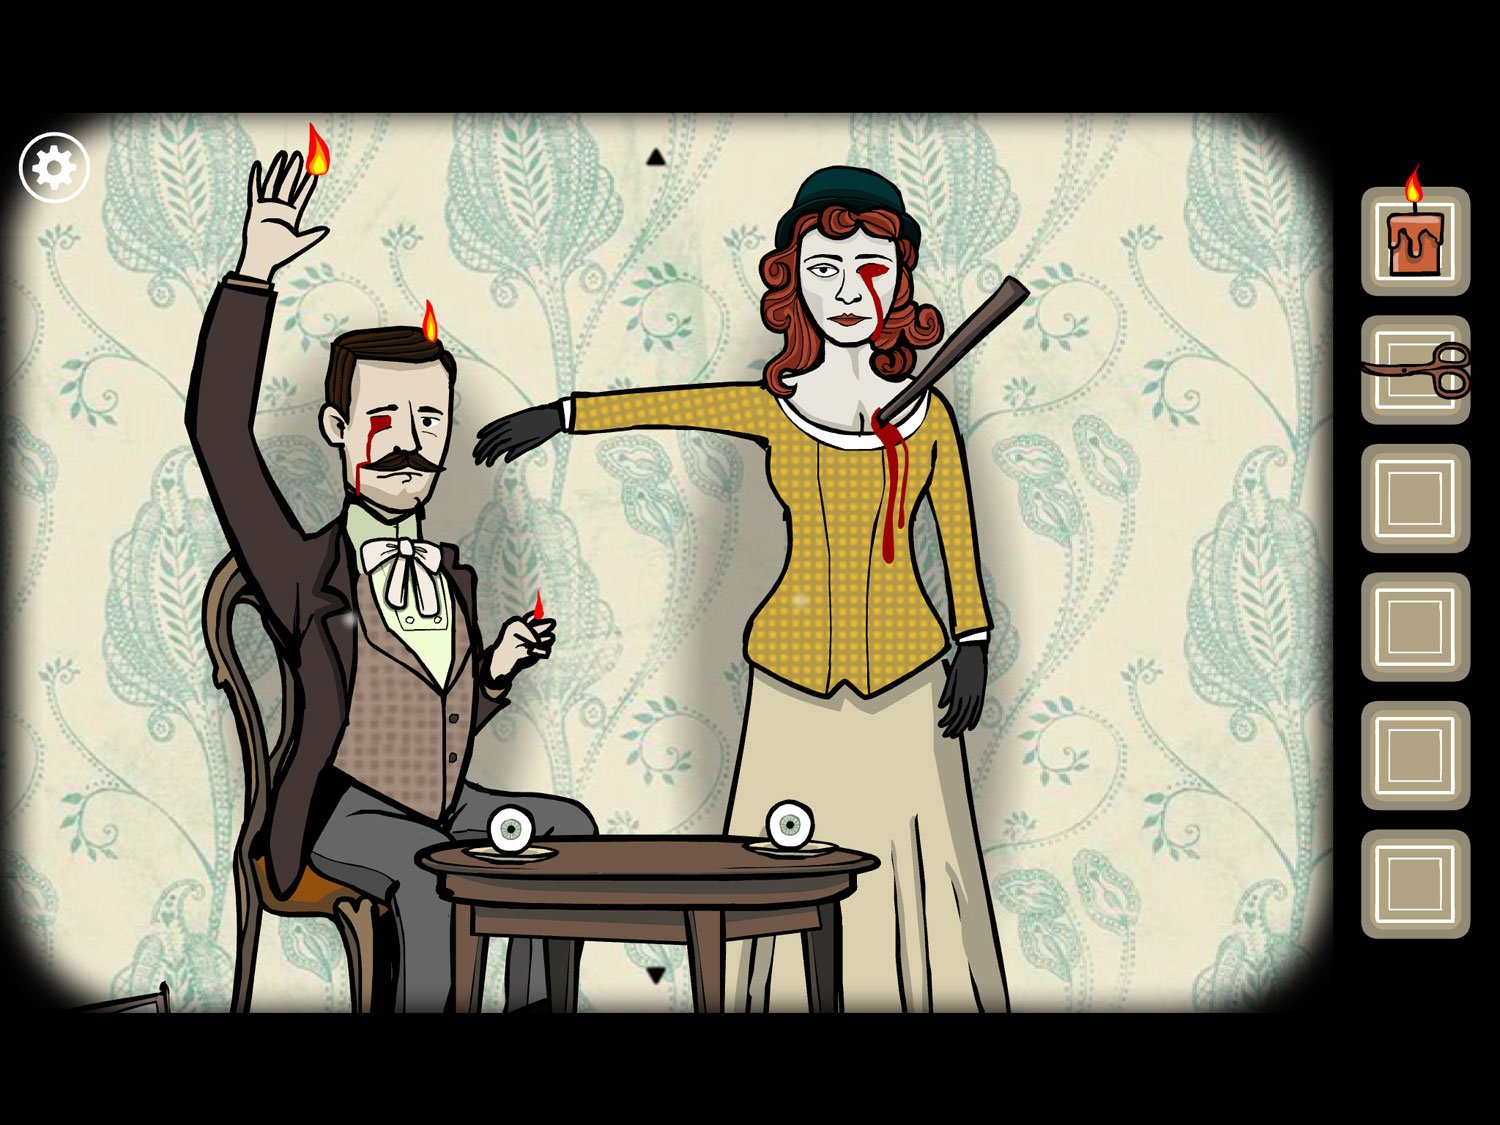
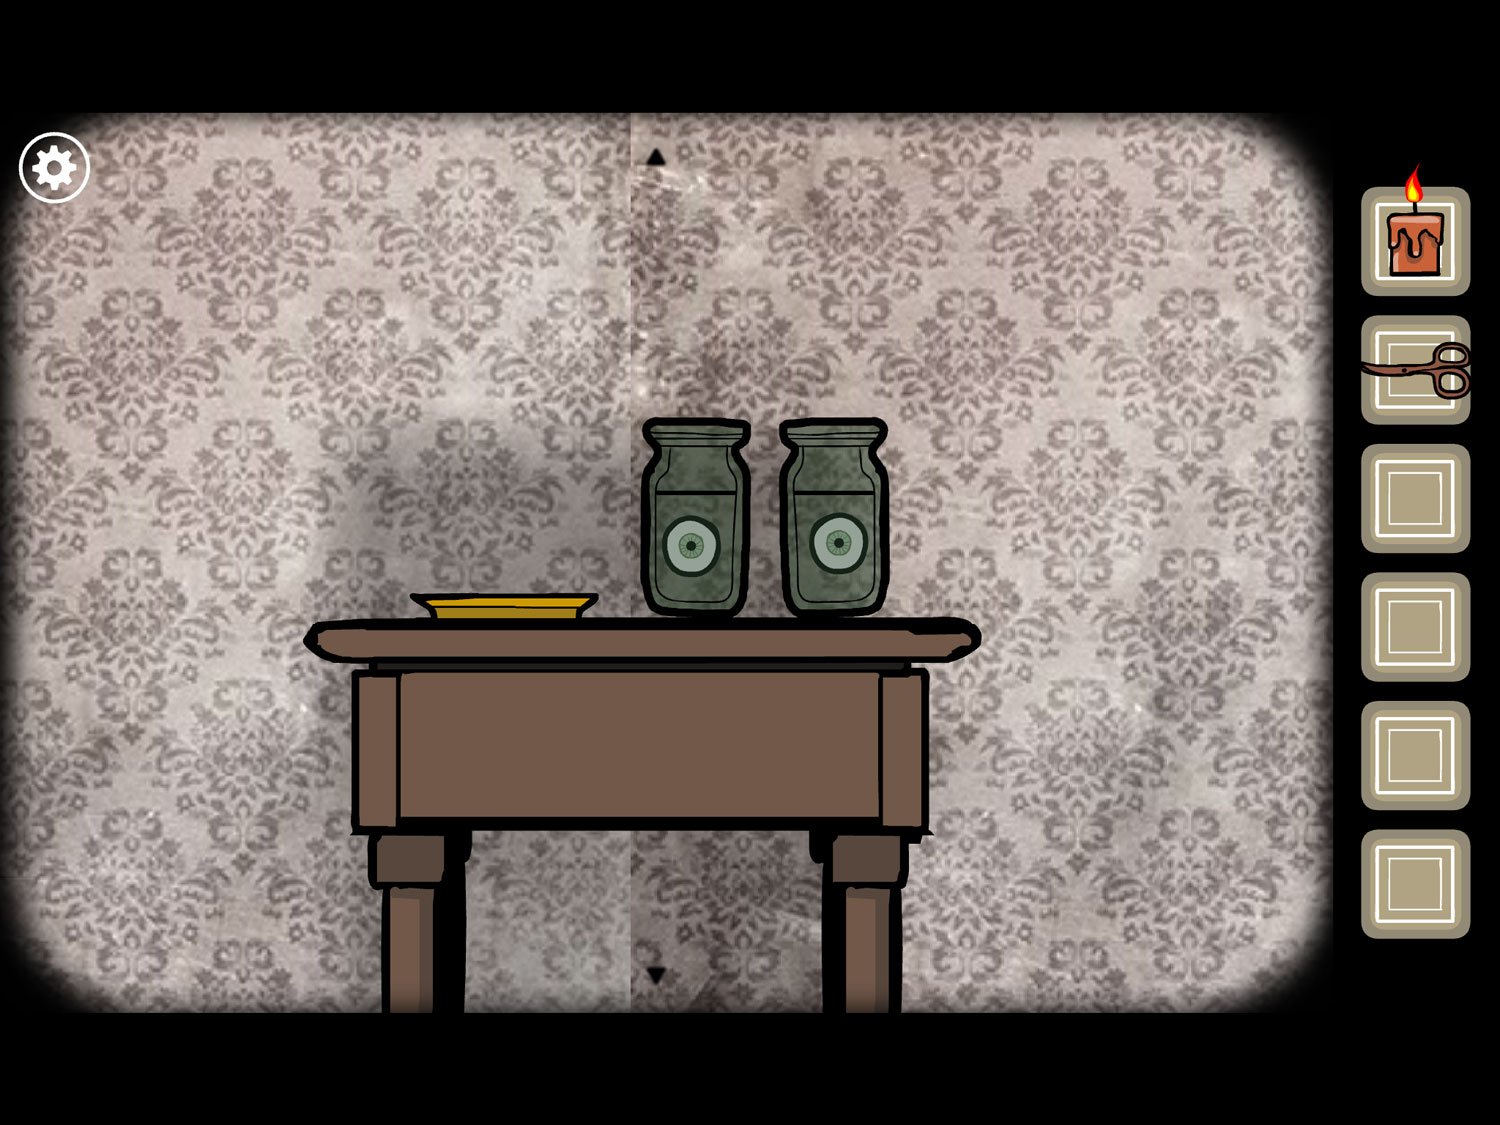
Level 27: The Brood, Summer 1909 – Albert
Location: Underground room below the study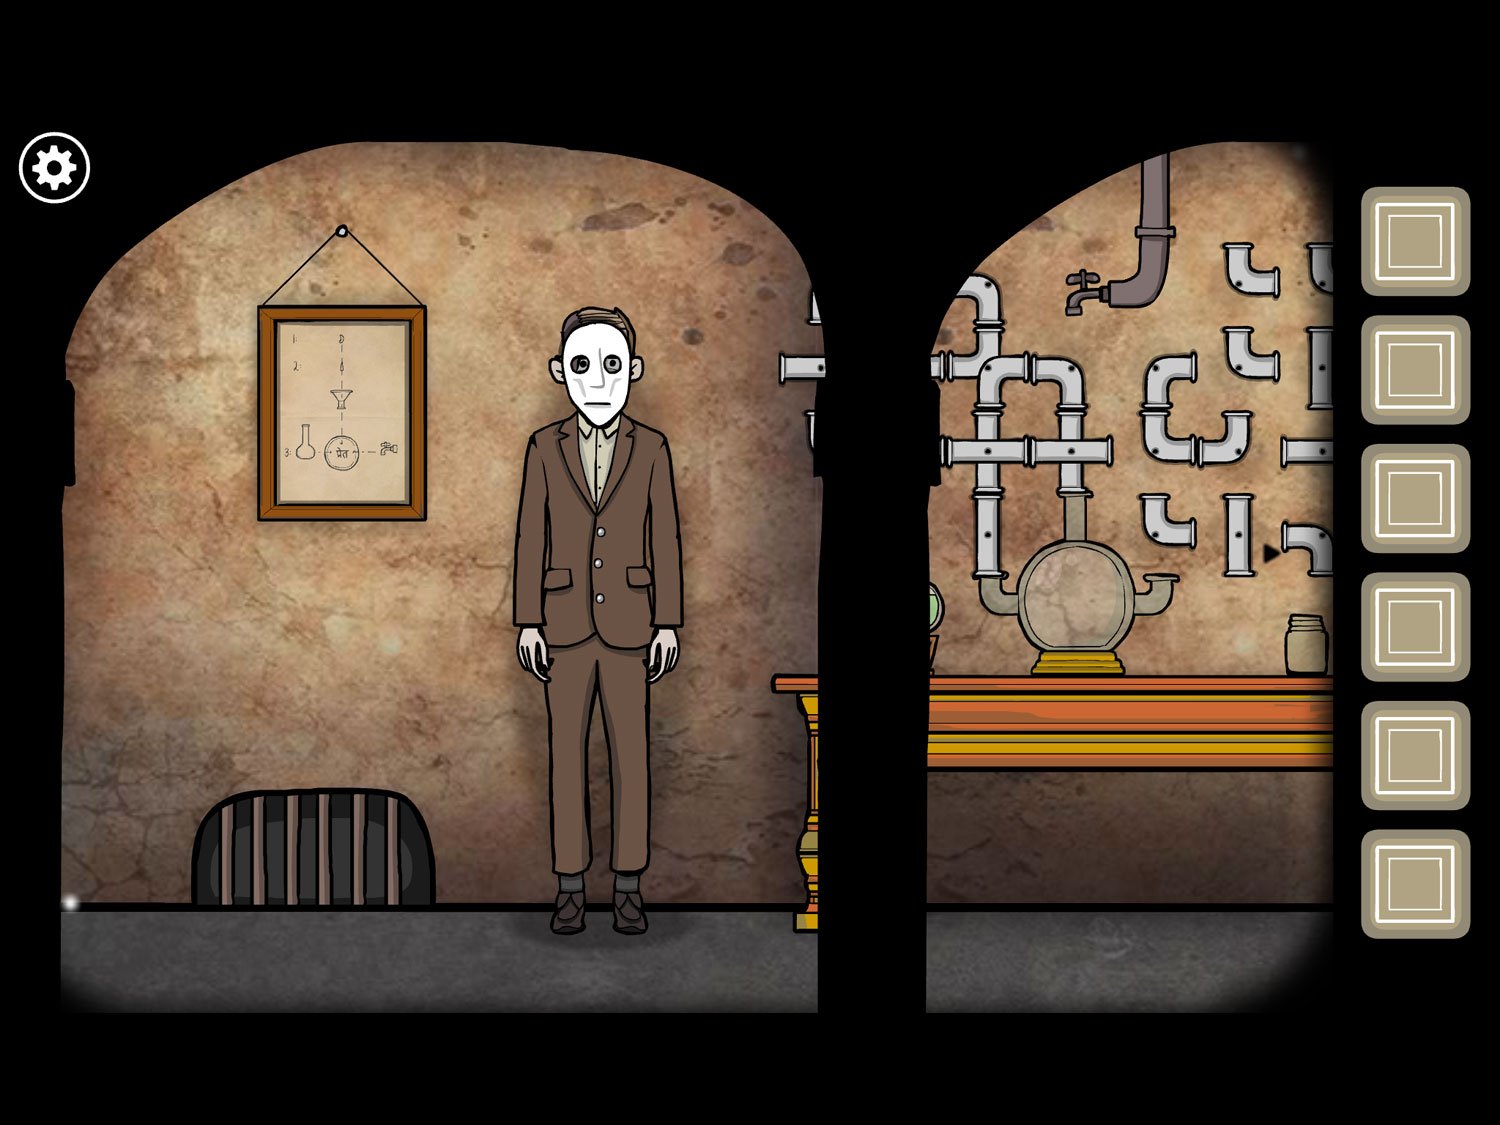
- Tap on the picture left of Albert
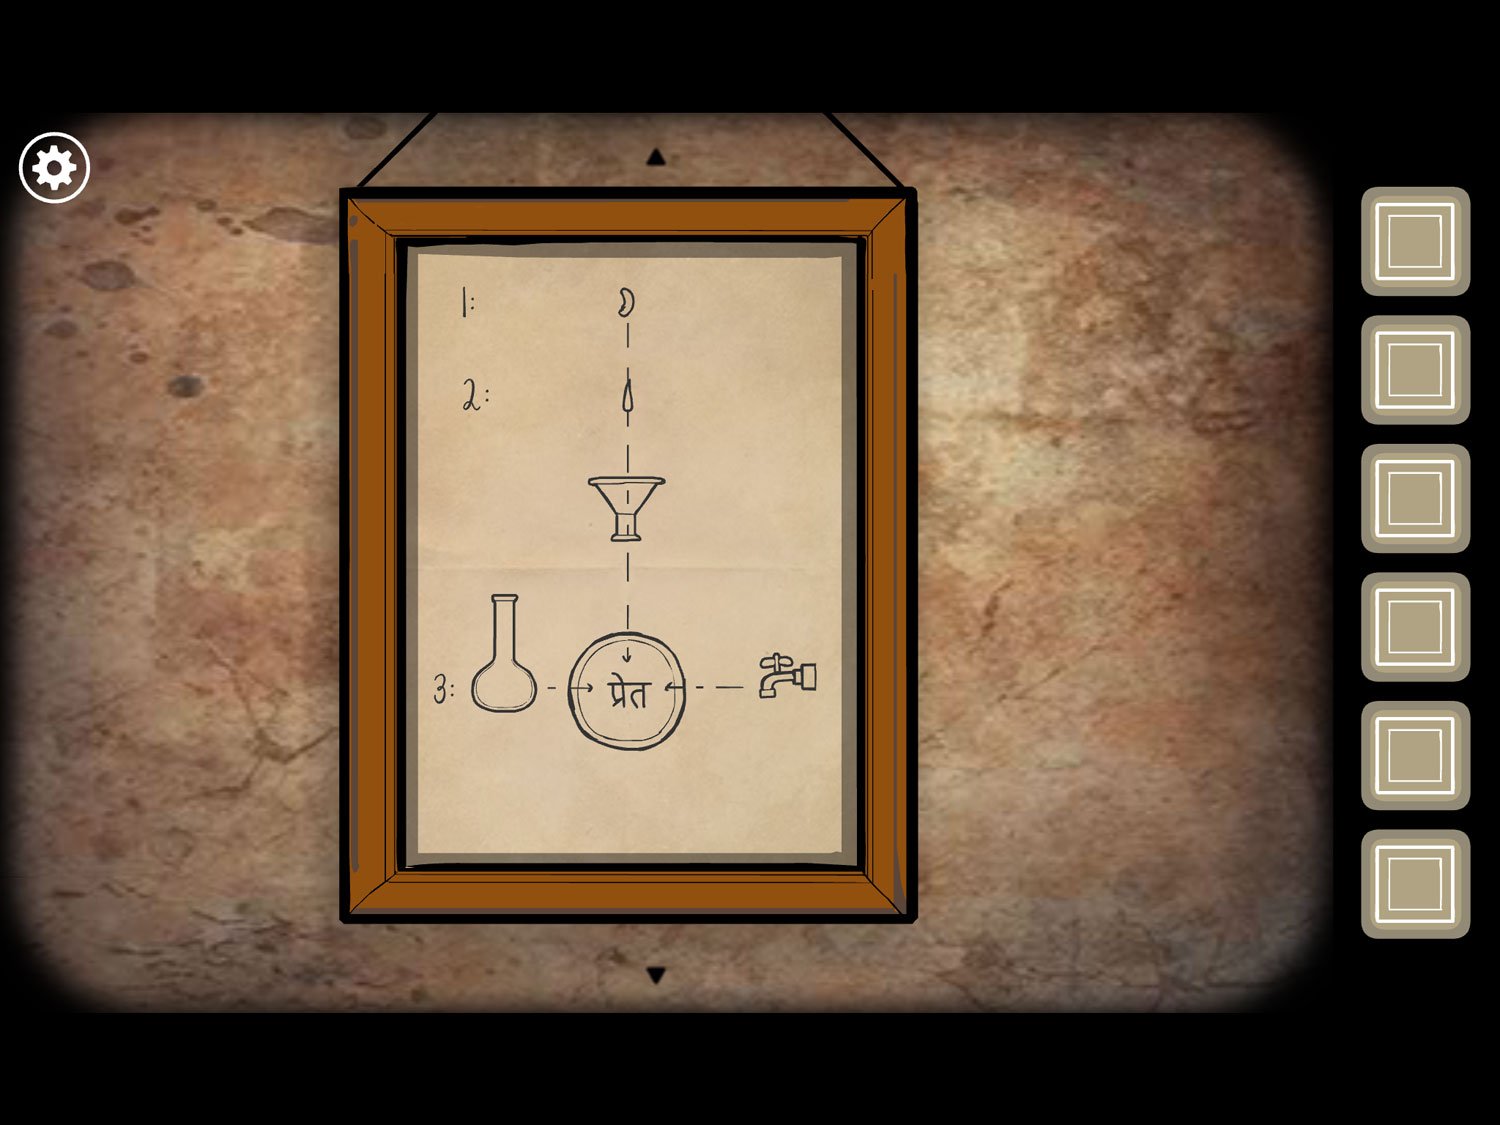
- There is a diagram here showing a bean-like shape and a liquid droplet pointing down. There is a beaker pointing right and a faucet pointing left. We’ll reference this shortly. Zoom out
- Drag right and tap on the small table right of all the pipes. There is a red box here and a white stone next to it; take the stone to get POTATO
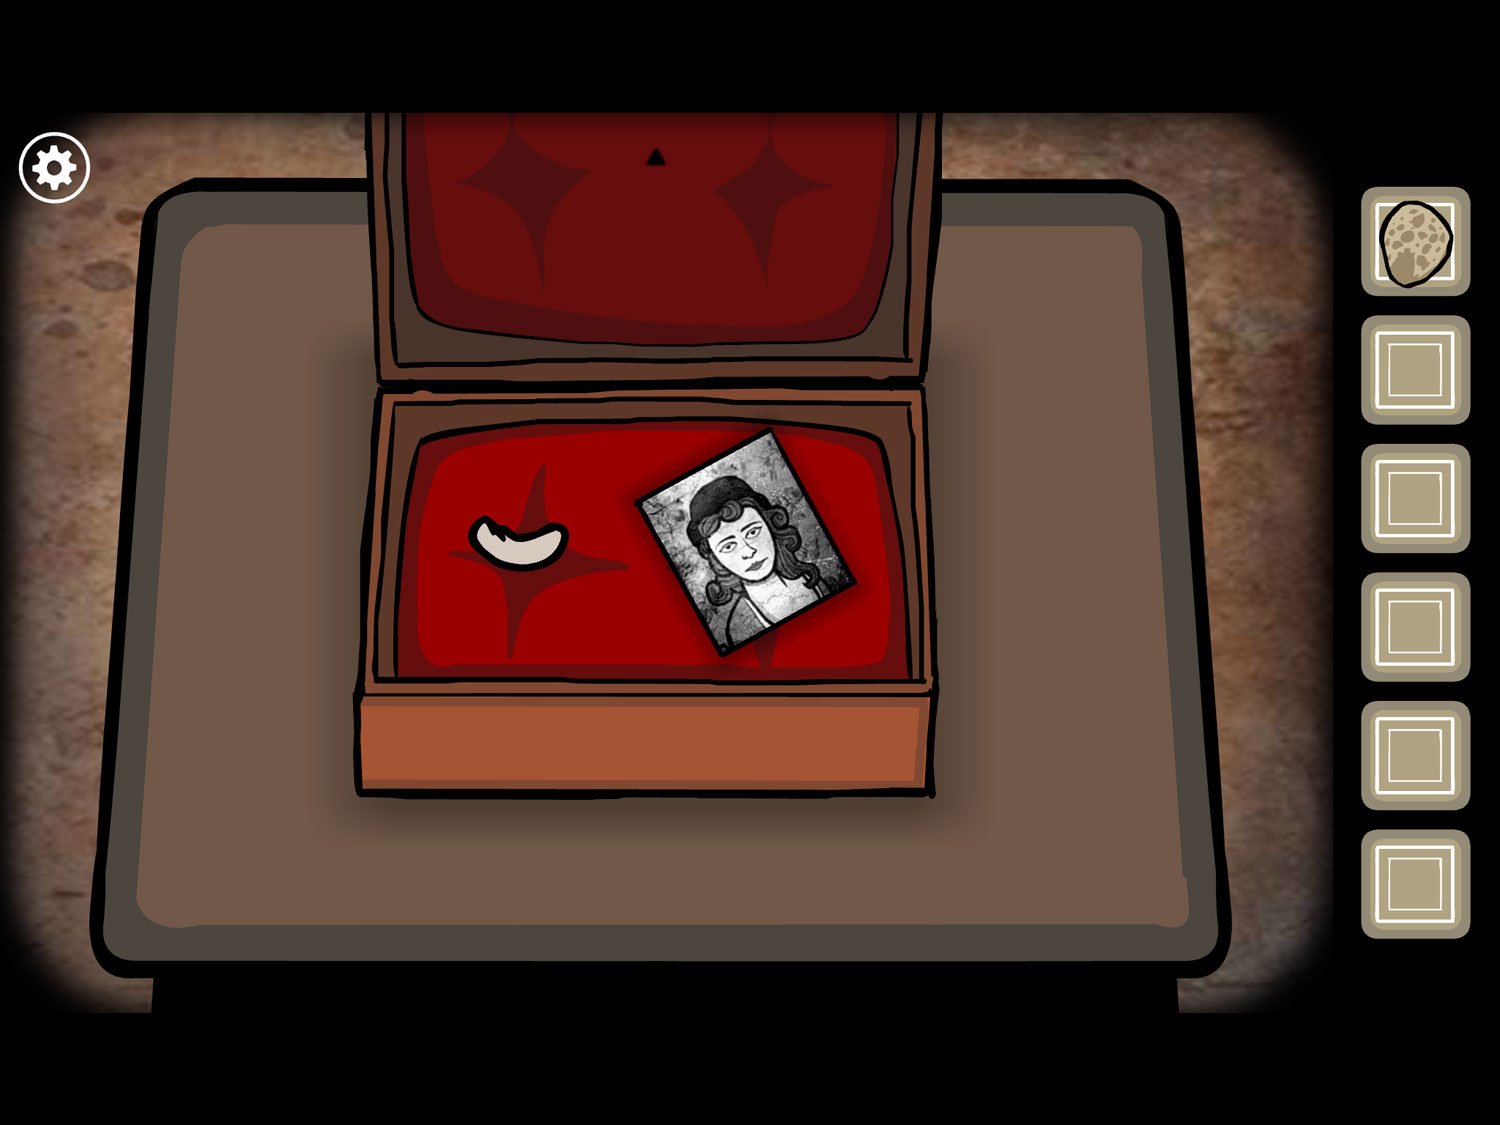
- Slide the gold button right to open the box. There is a picture of Ida and a small white object; tap the white object to get EGG
- Tap the table with all the pipes. Tap the small jar on the right to get POT. Zoom out
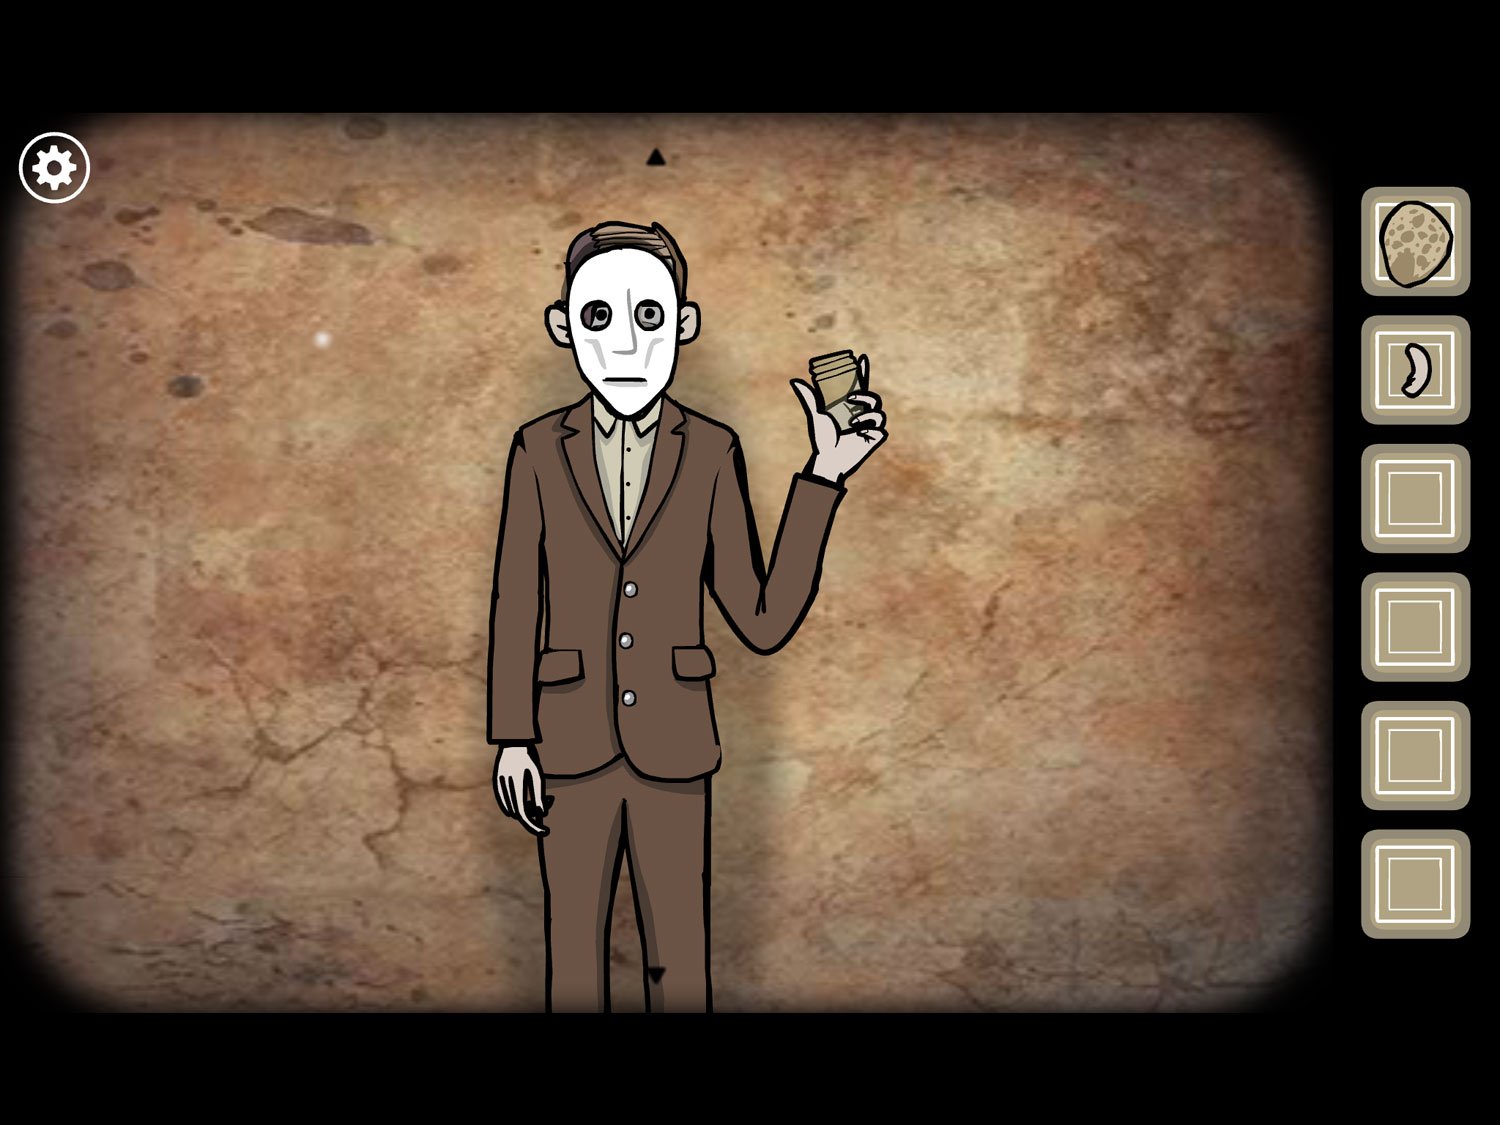
- Tap on Albert. Give him POT. Tap him and he sticks it in his pants
- Tap him two more times and he removes the pot. Tap it to get POT WITH SEMEN
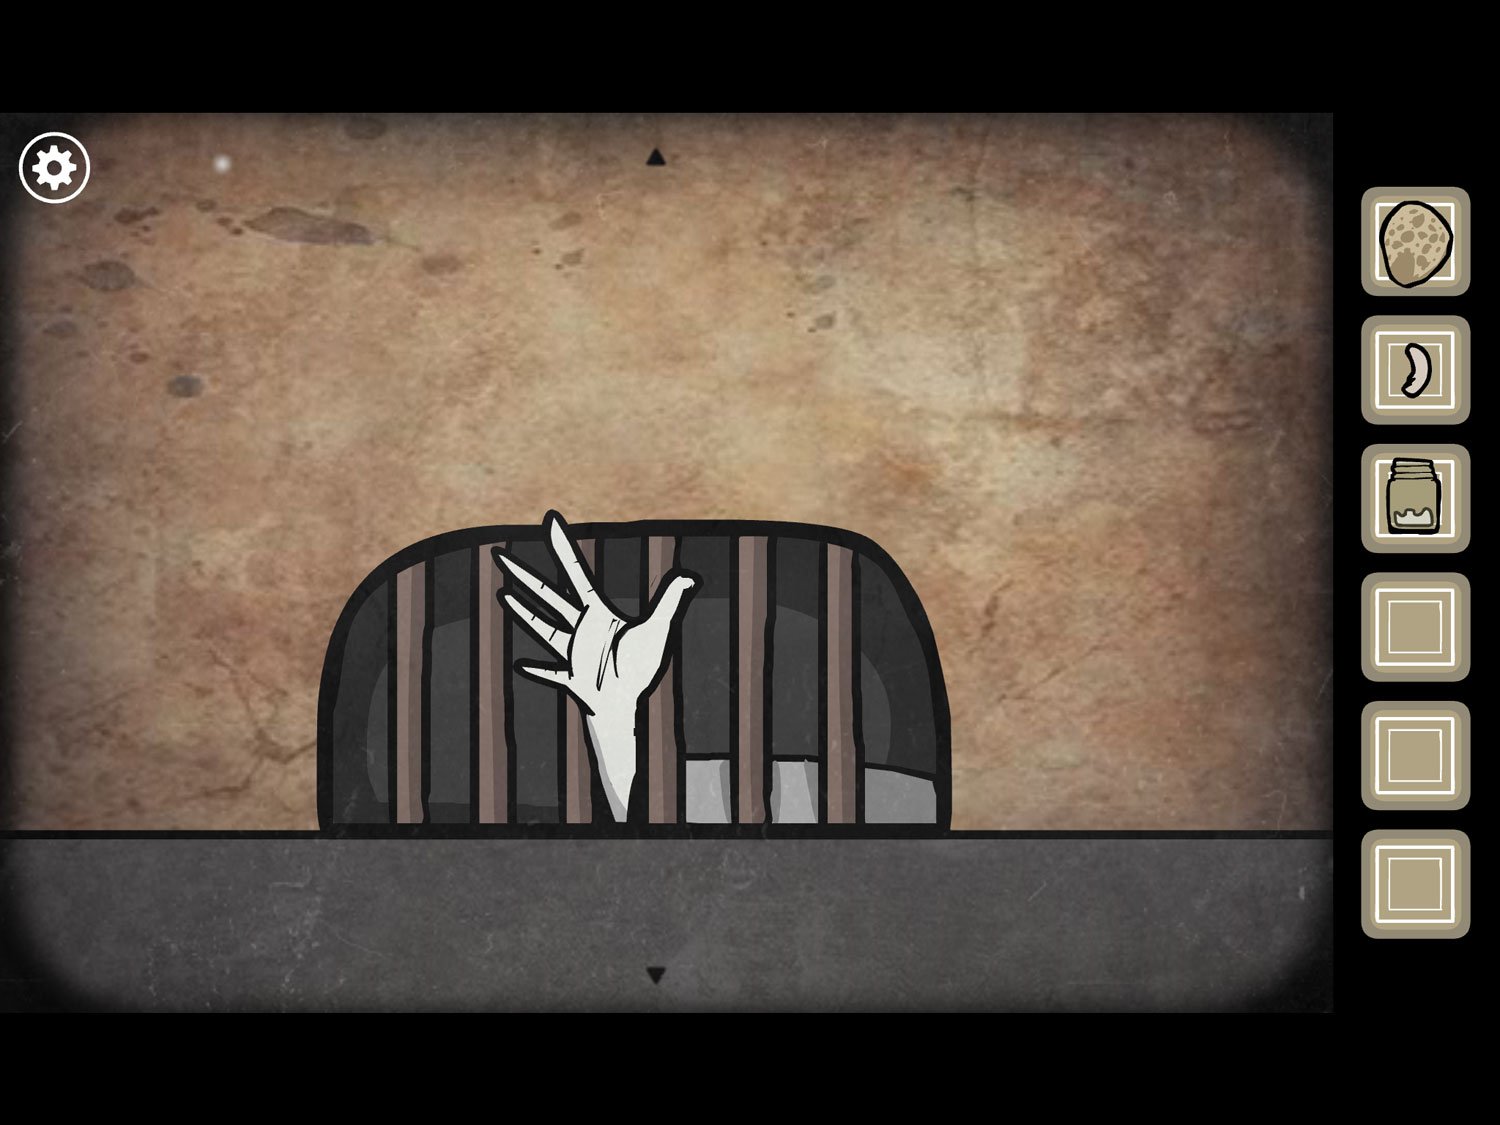
- Zoom out. Tap on the bars on the ground left of Albert
- Tap the bars to reveal a hand. Give the hand POTATO (you’ll have to tap about three times for him to take it)
- Tap again and small black specks appear on the ground. Tap them to get FLINTS
- Zoom out. Return to the table with the pipes
- Use FLINTS on the candle below the beaker with green liquid to light it
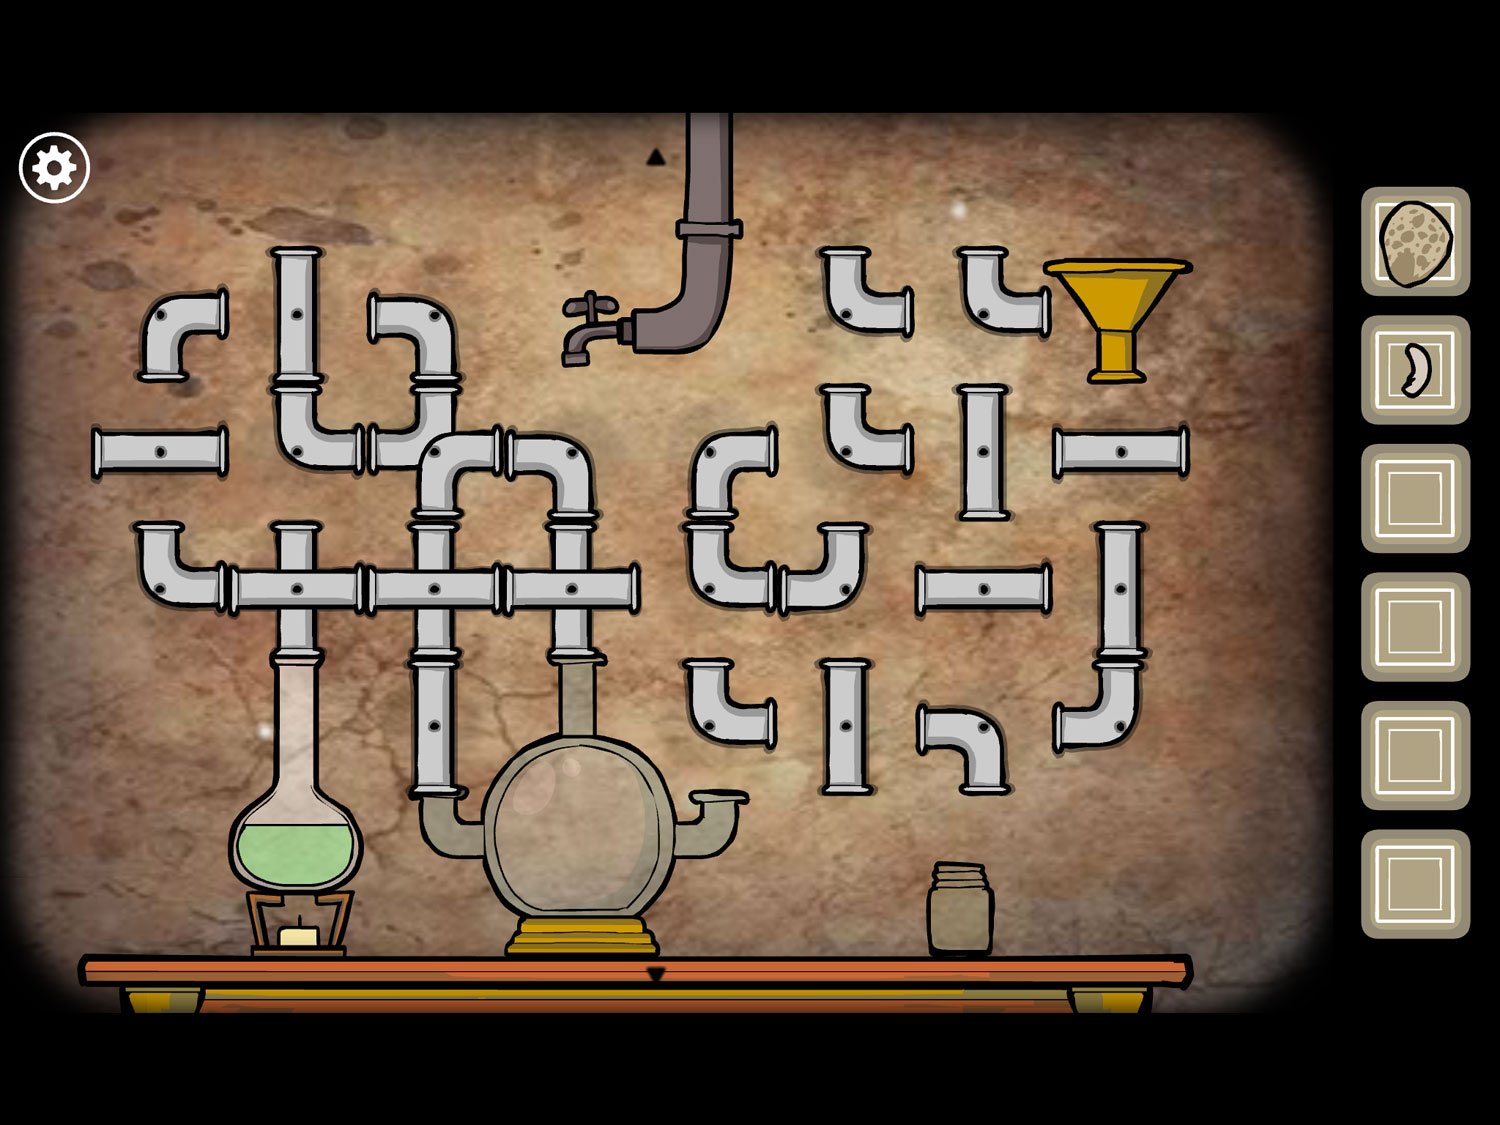
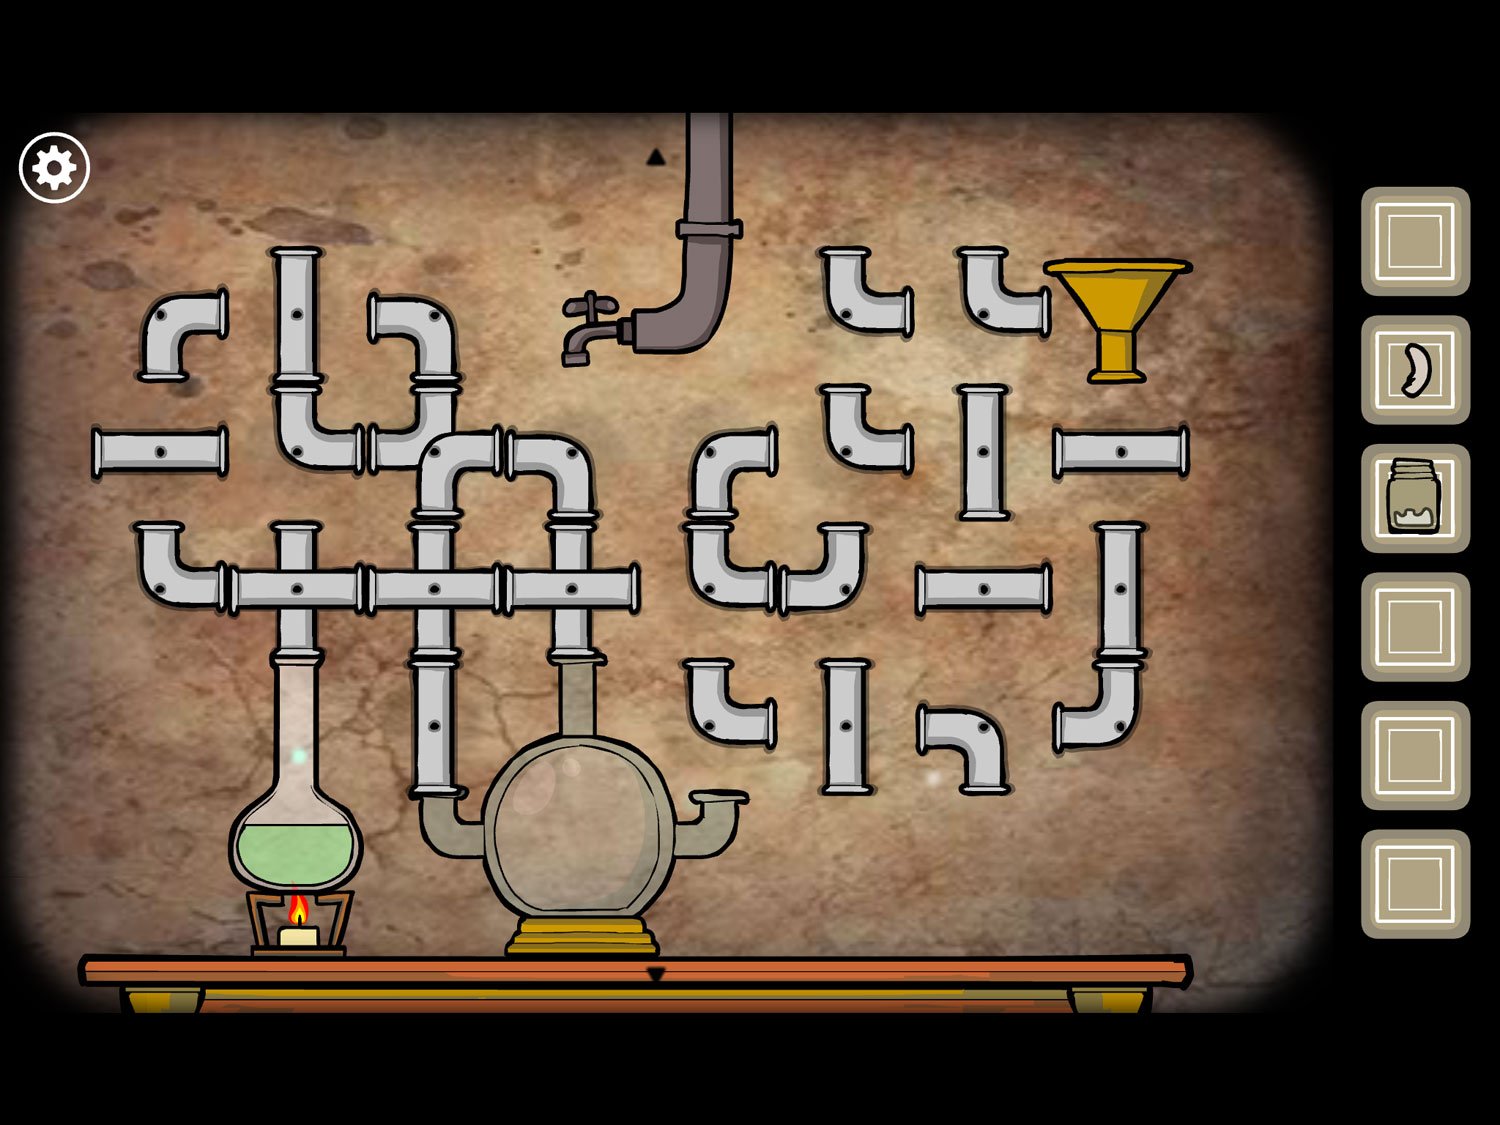
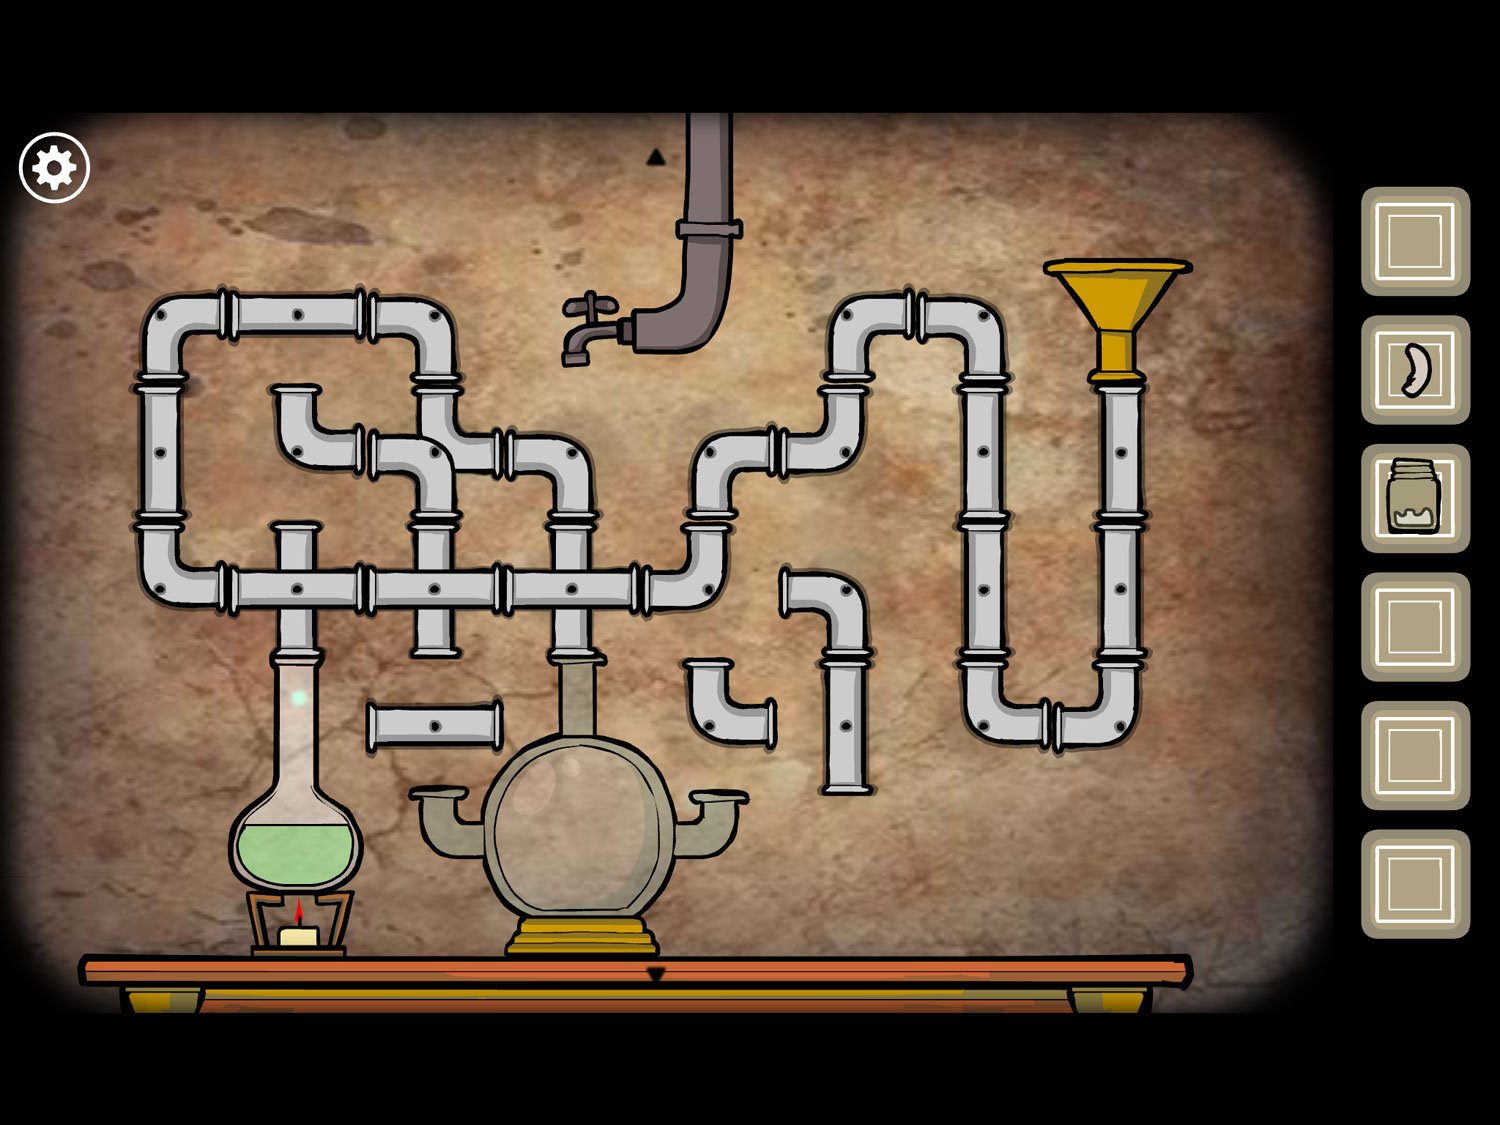
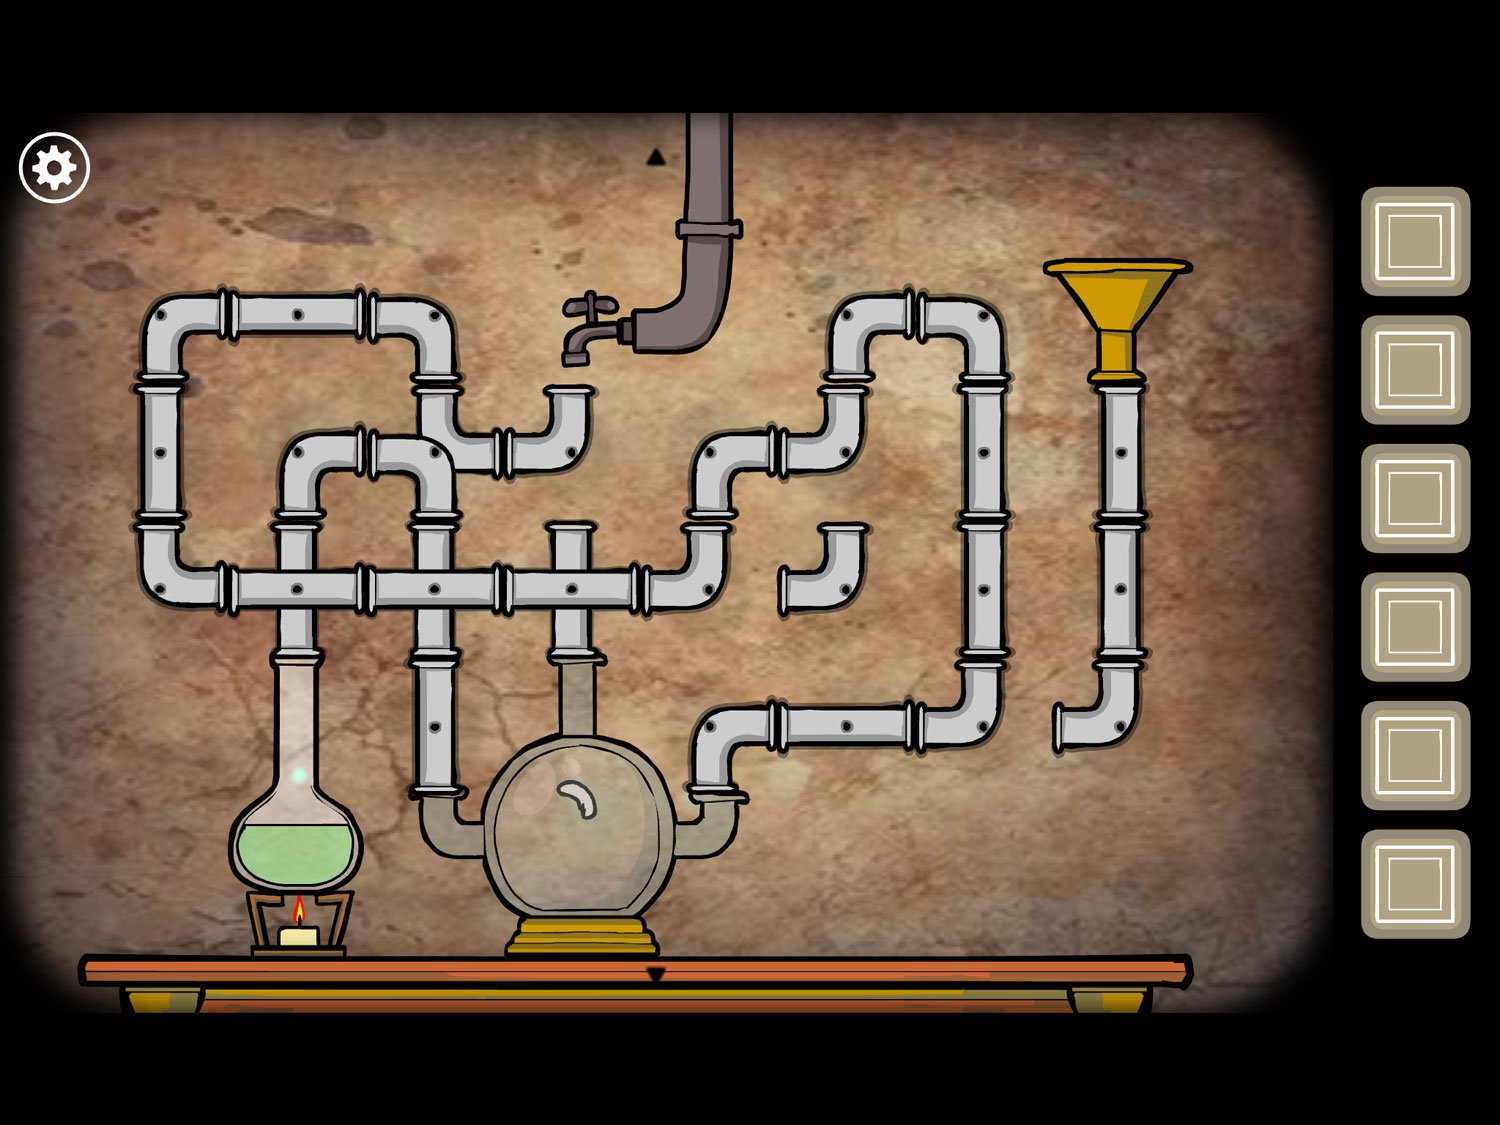
- The goal here is to recreate what we saw on the diagram at the beginning of the level. We need to get the egg and semen into the large bottle via the top opening. They need to be placed into the funnel, so we need to arrange the pipes so they form a continuous path from the bottom of the funnel to the top of the bottle
- You actually have to take a very long, roundabout way to make this connection. The image above shows a completed path from the funnel to the top
- Once completed, put EGG into the funnel. After a few seconds it should appear in the bottle
- Put POT WITH SEMEN into the funnel, too
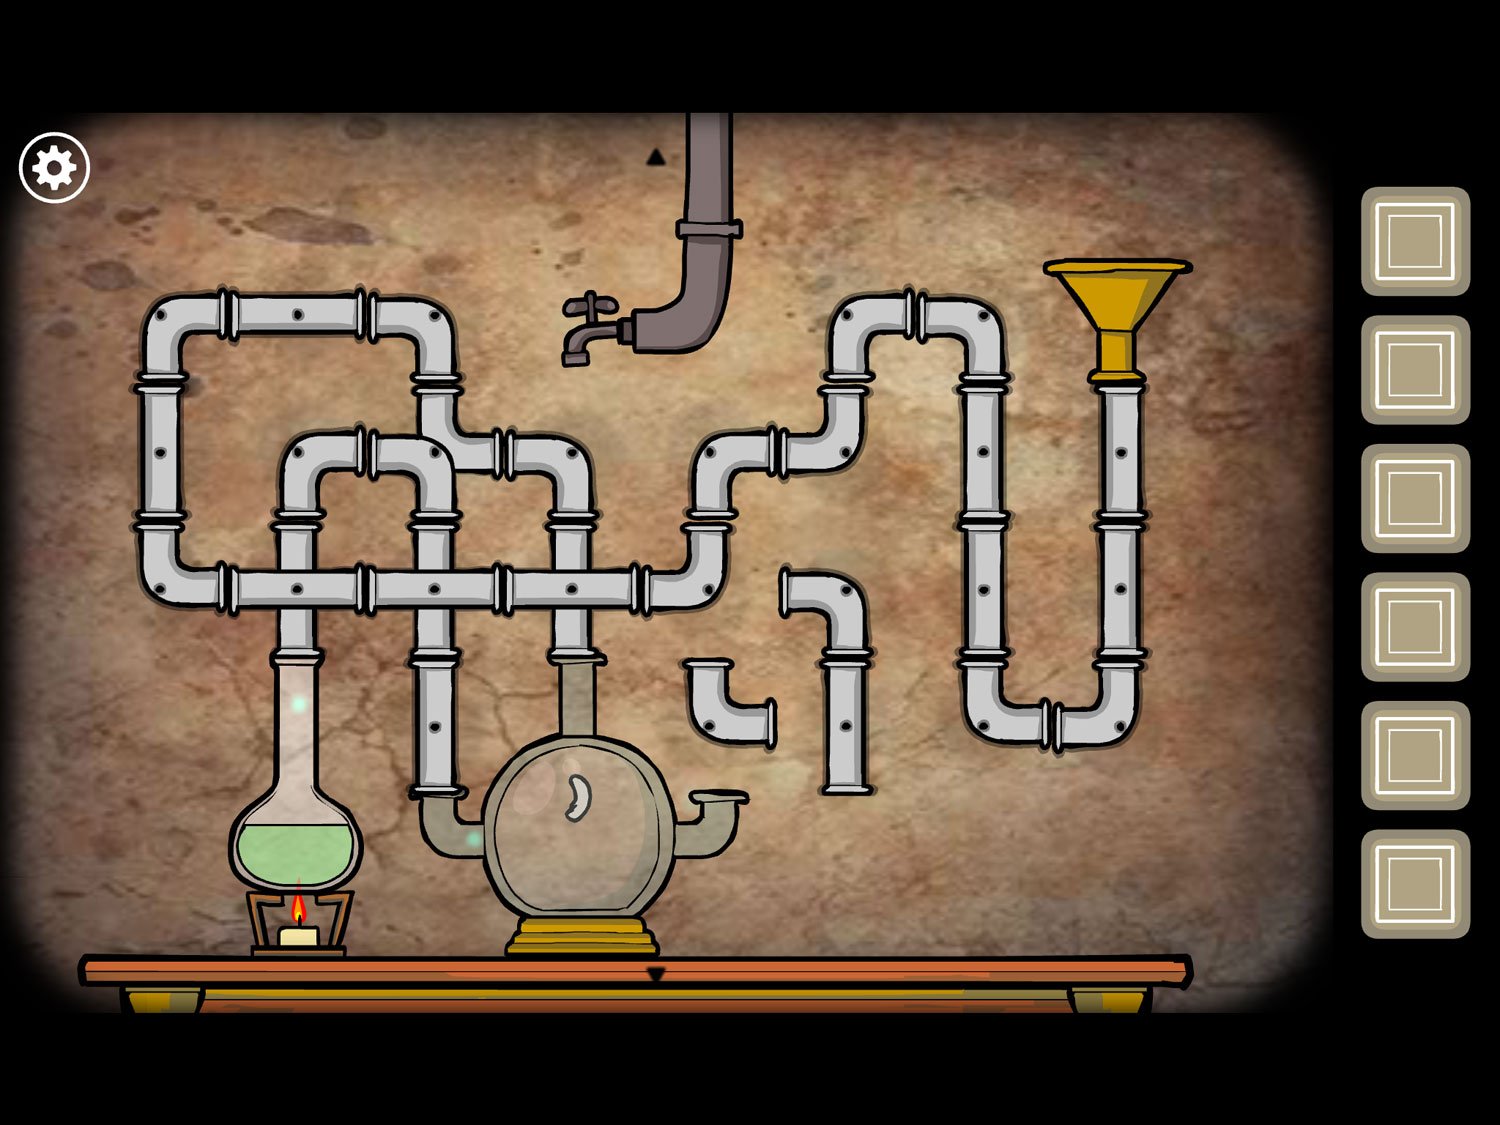
- Next we need to get the beaker of green liquid to connect with the left opening of the bottle
- The path between these two is fairly short and simple, as shown in the image above
- Finally, connect the water faucet at the top to the opening on the right side of the bottle
- You’ll use some of the pipe path you made for the funnel for the water faucet. The final path is shown above
- Tap the faucet to turn it on. With all four steps finished, a baby appears in the bottle
- Tap the baby to reveal the white square and exit
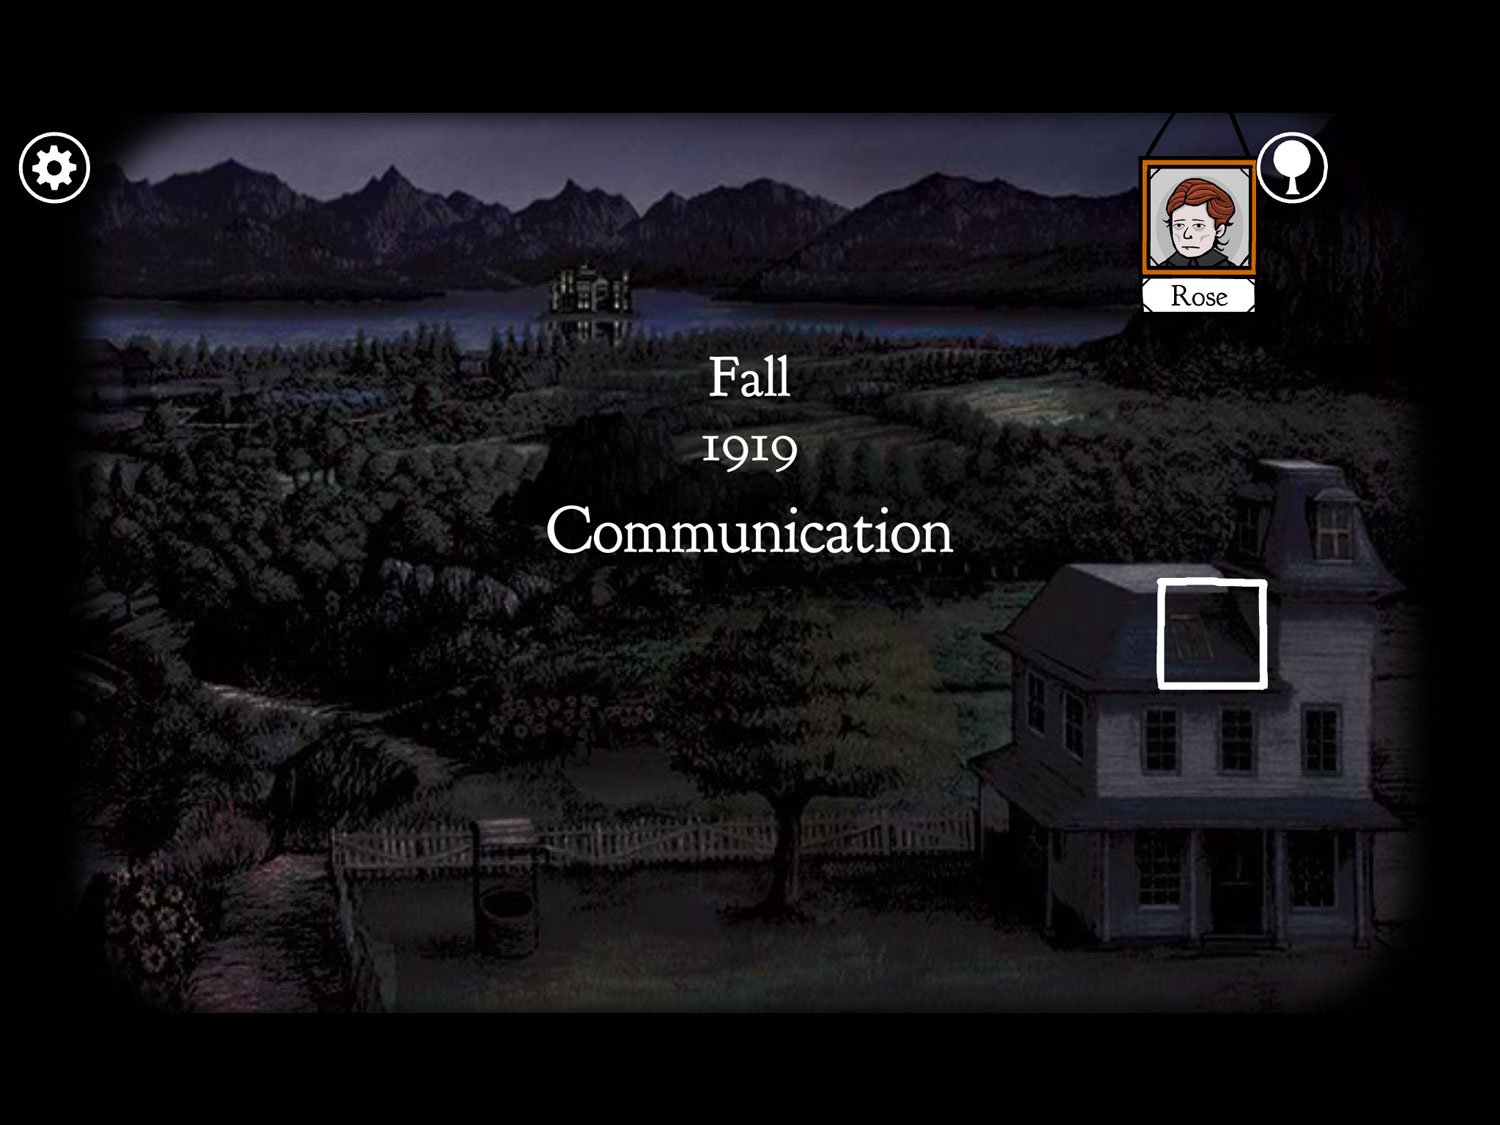
Level 28: Communication, Fall 1919 – Rose
Location: Attic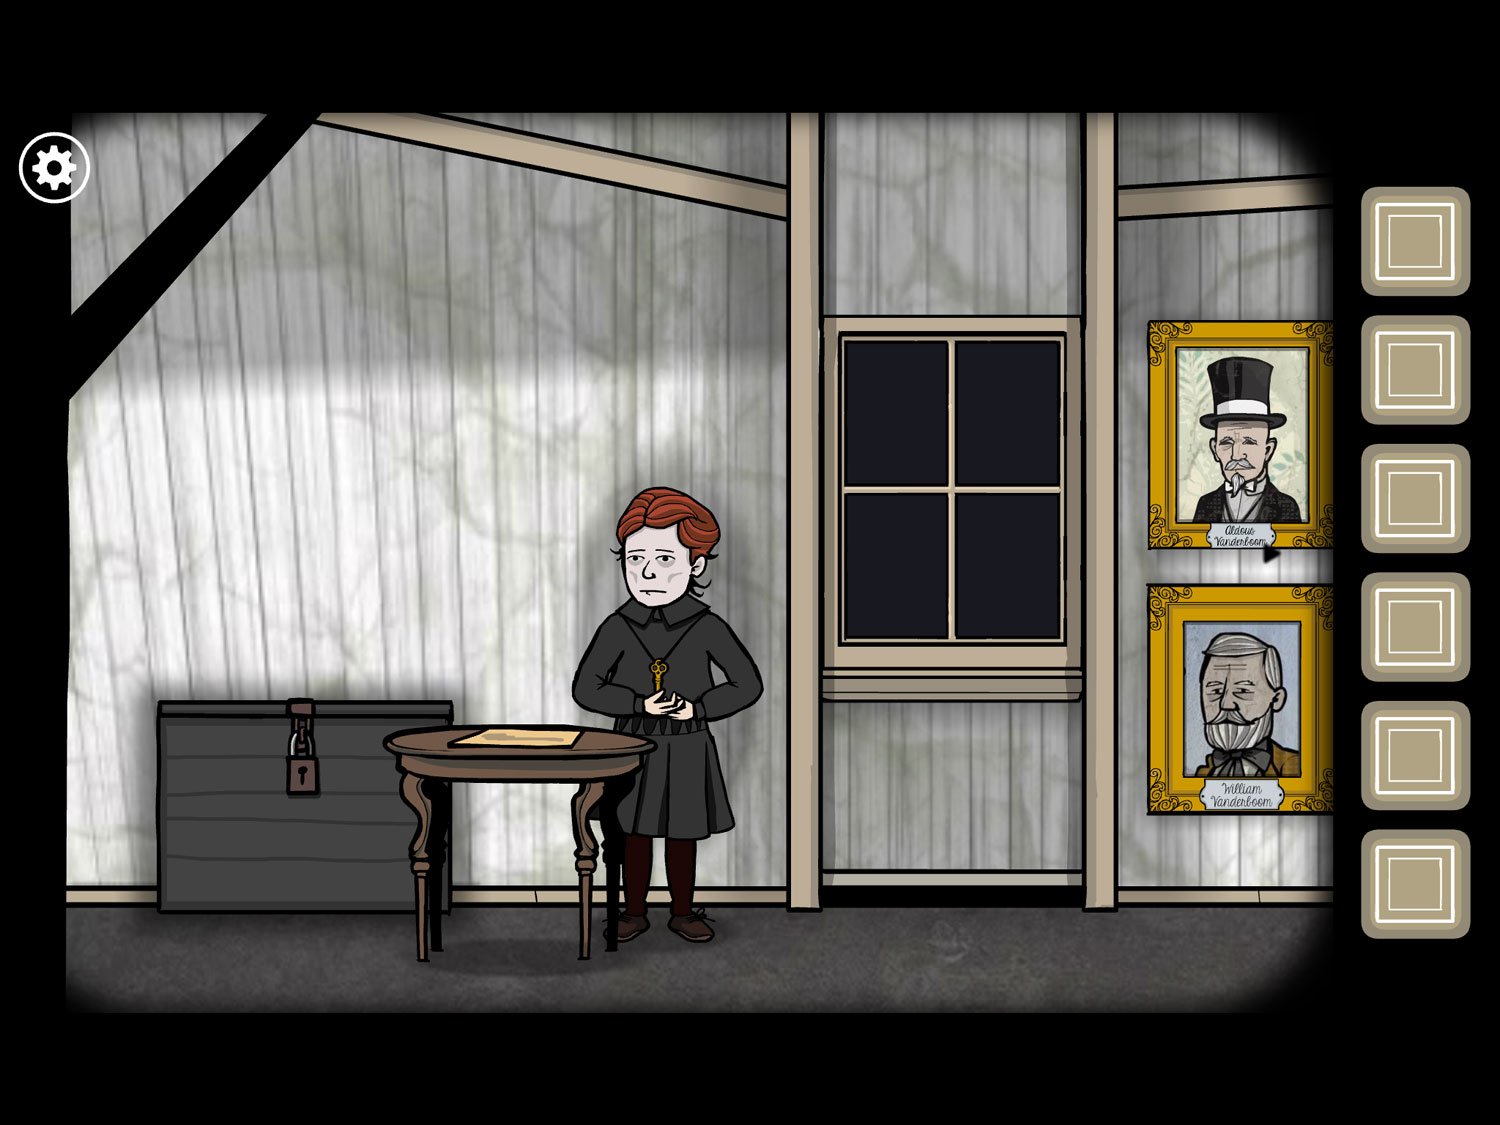
- Tap the upper painting to the right of the window
- Read the name: Aldous Vanderboom
- Do the same for the lower painting: William Vanderboom
- Exit the close-up; tap on Rose
- Tap her again; she says “Can you hear me?”
- Tap the table in front of her. It’s a Ouija board
- Note: to say something with the Ouija board, move the planchette so the circle outlines what you want to say, then lift your finger. Whatever you chose will appear in the upper left corner. So, if you wanted to spell “hi,” you’d move to the H, lift your finger, then drag the planchette over the I and lift your finger
- If you make a mistake you can start over by moving the planchette to the back arrow at the top right of the board
- When your answer is “correct” sunlight will flash
- Drag the triangular planchette over “Yes” at the bottom of the board
- Sunlight flashes; zoom out and tap on Rose. She asks “What is your first name?”
- Tap on the table again. Use the planchette to spell out “William.” You can also spell out “Aldous” if you prefer; either will work
- Zoom out and tap on Rose. She asks “What is your last name?”
- Return to the Ouija and spell “Vanderboom”
- Return to Rose; tap on her and she asks “Do you want my key?”
- Go back to the Ouija and move to the “Yes” at the bottom. Note: you can also spell “Y-E-S” but choosing “Yes” is just faster
- Return to Rose and tap on her. She holds up her key. Take it to get GOLDEN KEY
- Zoom out and scroll all the way to the right. Tap on the golden cabinet
- Use GOLDEN KEY on the cabinet’s lock. Tap the cabinet to open the left door; tap again to open the right door
- Take the key in the upper right corner to get KEY
- Tap the shadowy figure in the mirror and the mirror is covered in blood
- Tap the bloody mirror to reveal the word “LIVE”
- Zoom out. Scroll left and tap on the chest left of Rose
- Use KEY on the lock and tap the chest to open it. Tap again to look inside
- There are two pieces of paper in here. Tap the left one; it shows the word “Timepieces” and a picture of a gate
- Zoom out and tap the right paper. It shows “Sacrifices –> Rebirth” over a line of organs
- Zoom out. Return to Rose. Tap her and she asks “What do you want?”
- Return to the Ouija board. Spell “LIVE”
- Zoom out and tap on Rose. She asks “What do you need to live again?”
- Return to the Ouija board. Spell “SACRIFICES”
- Return to Rose once more; tap her and she asks “What do you need to open the gate?”
- Use the Ouija board to spell out “TIMEPIECES”
- Return to Rose one final time. Tap her and she says “I will help you”
- Tap her again to reveal the white square and exit
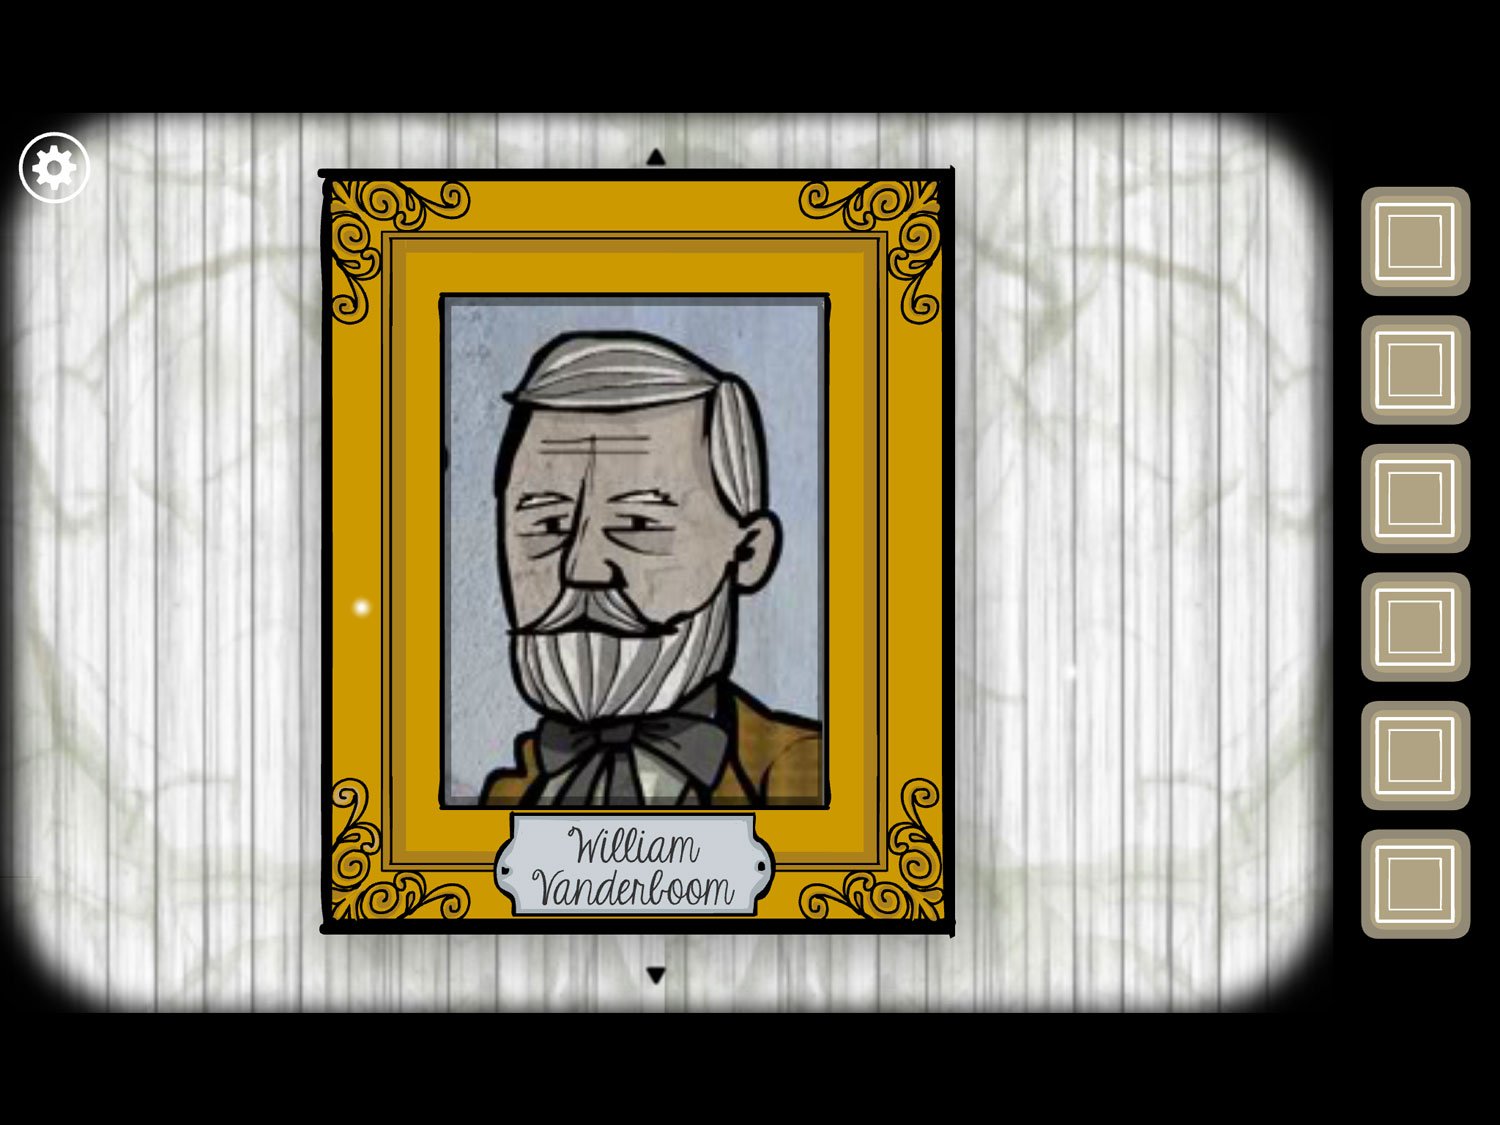
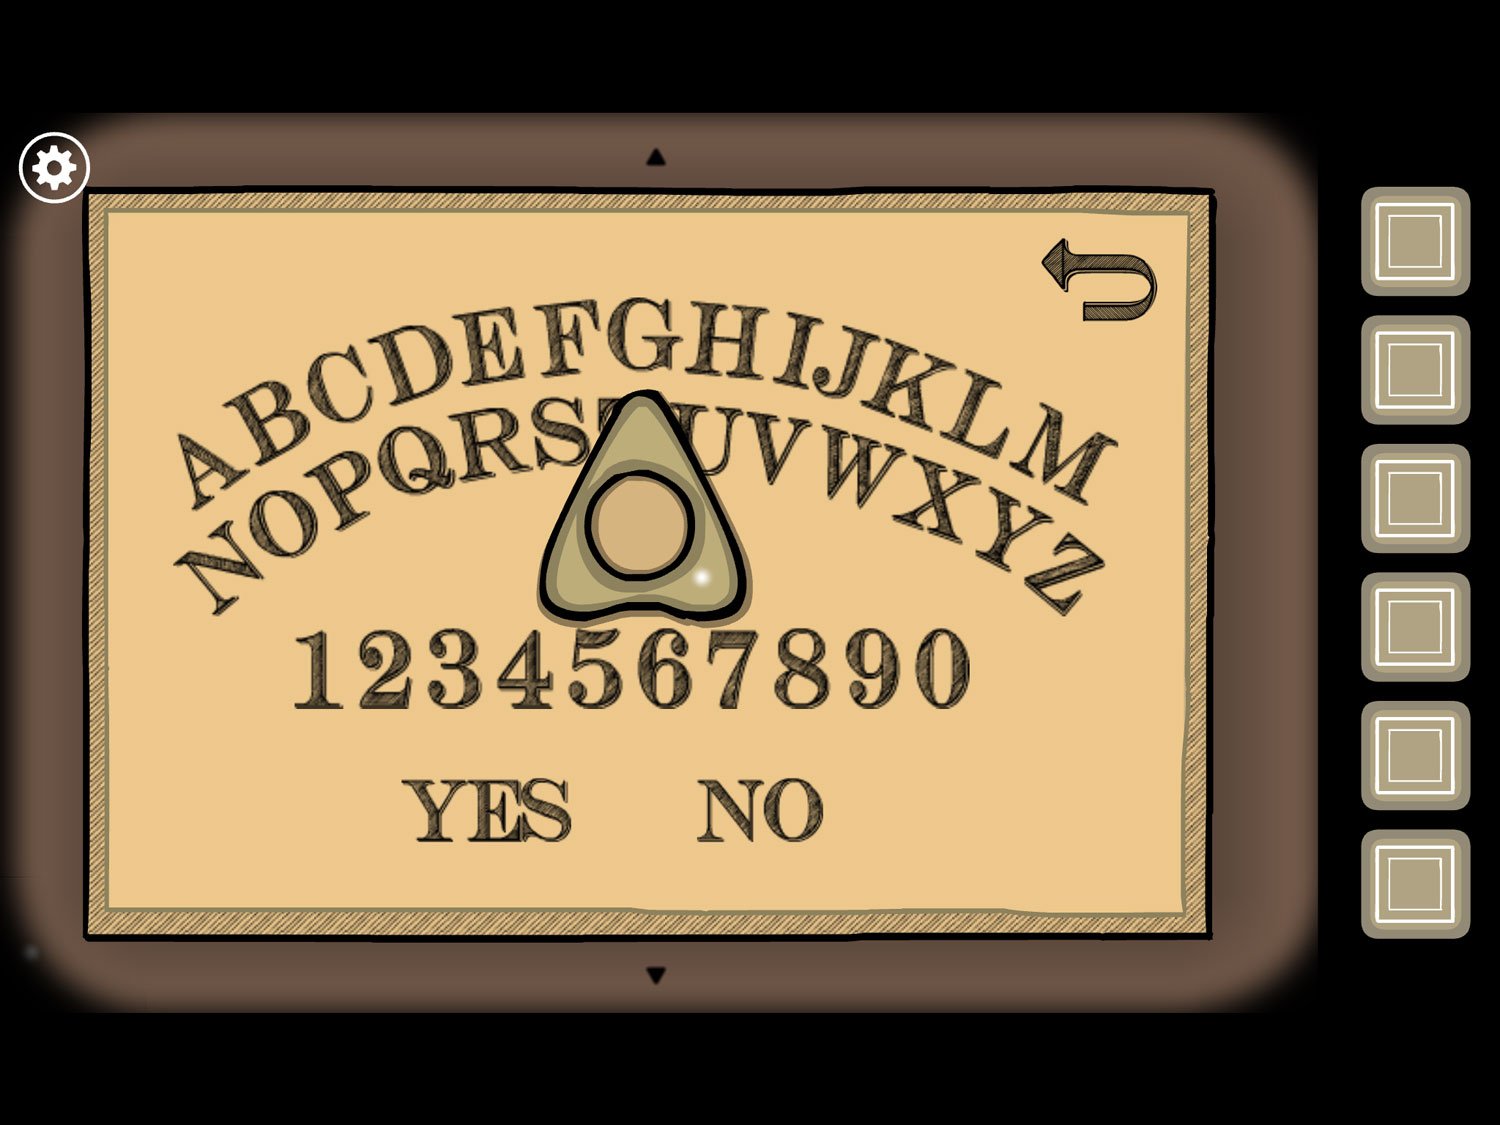
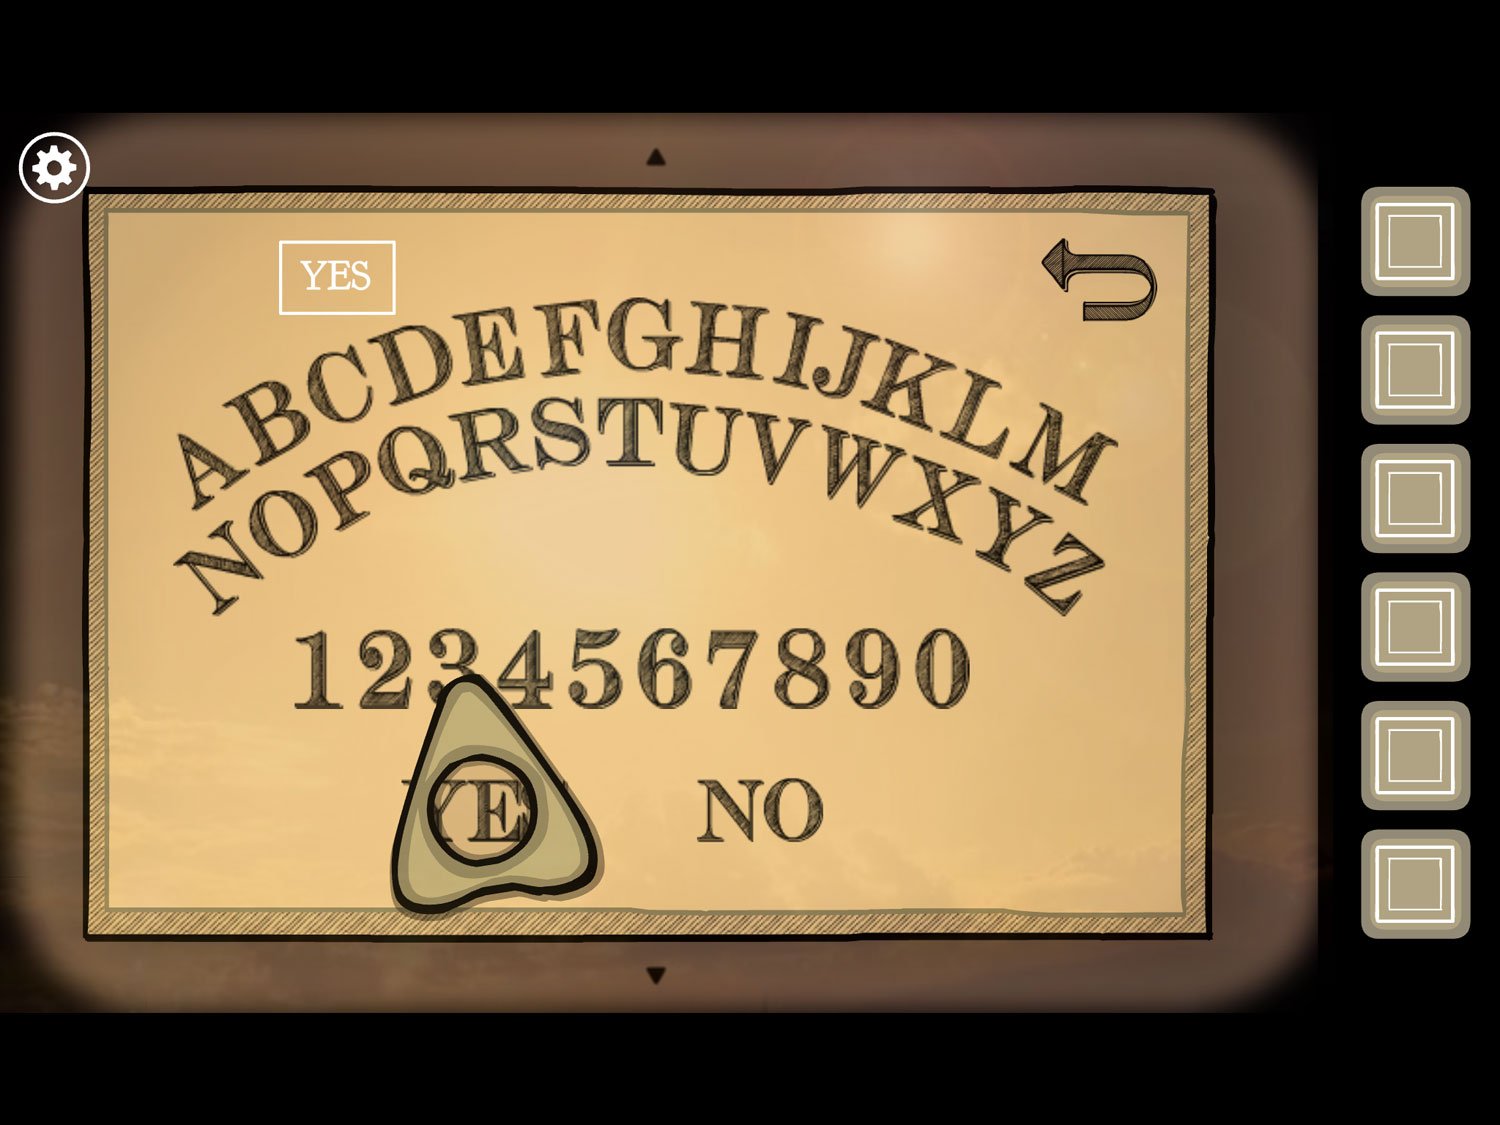
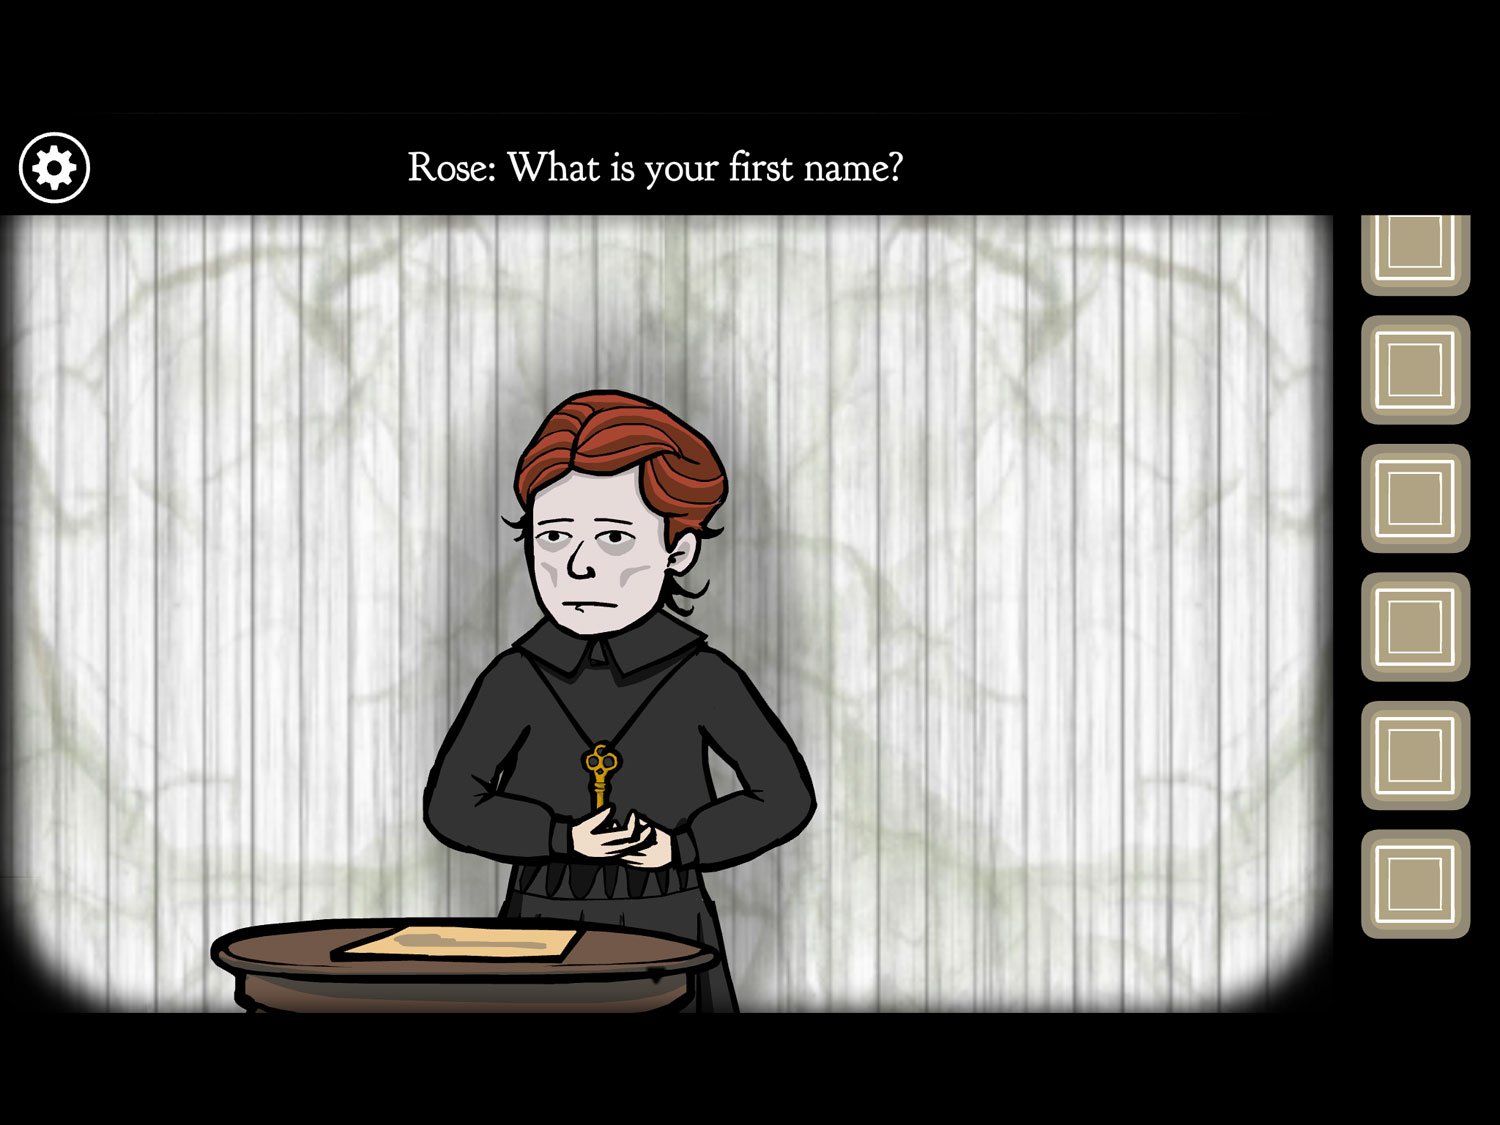
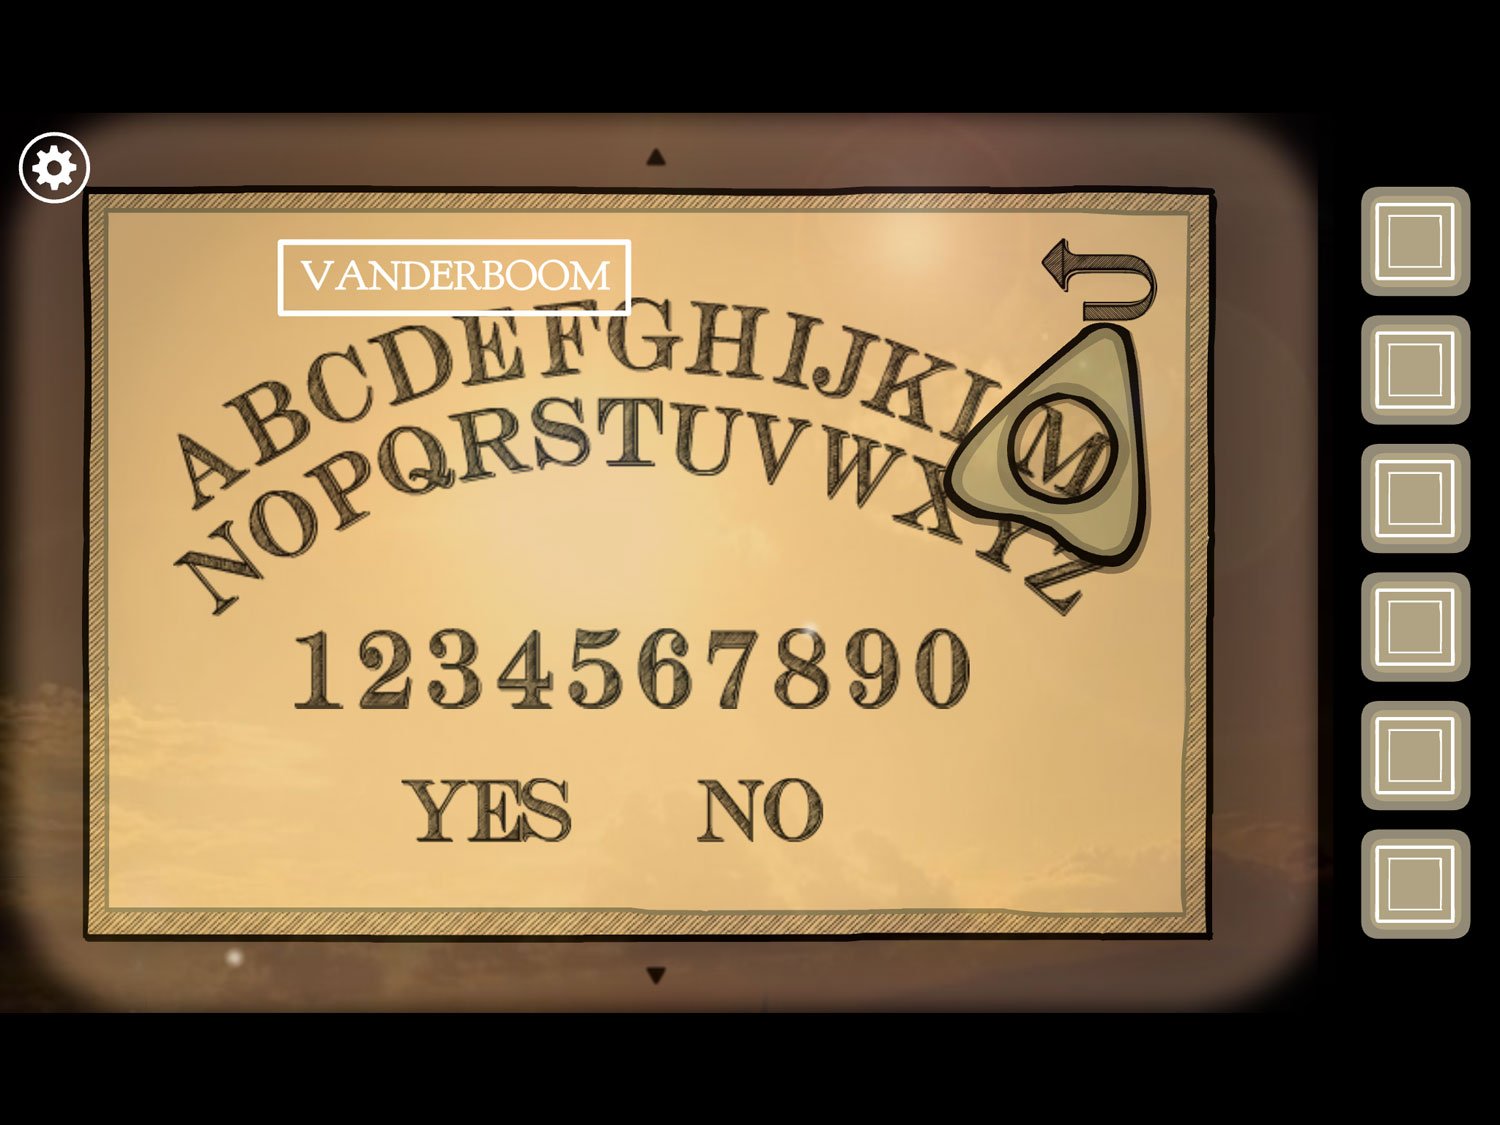
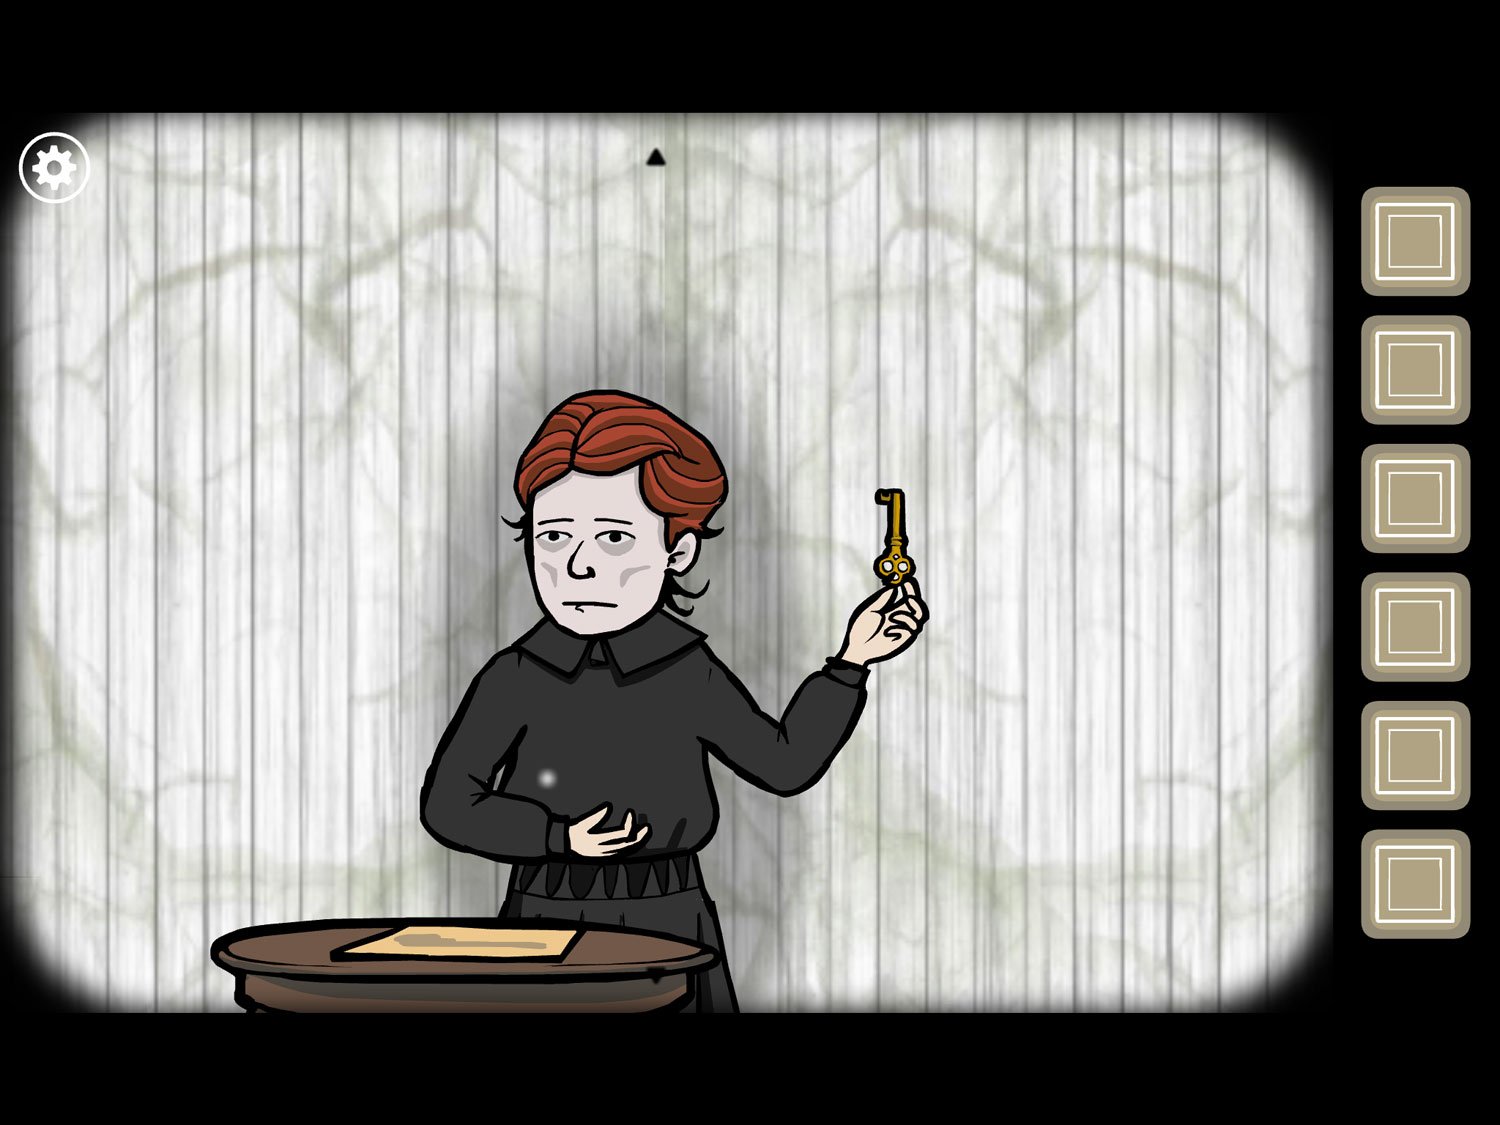
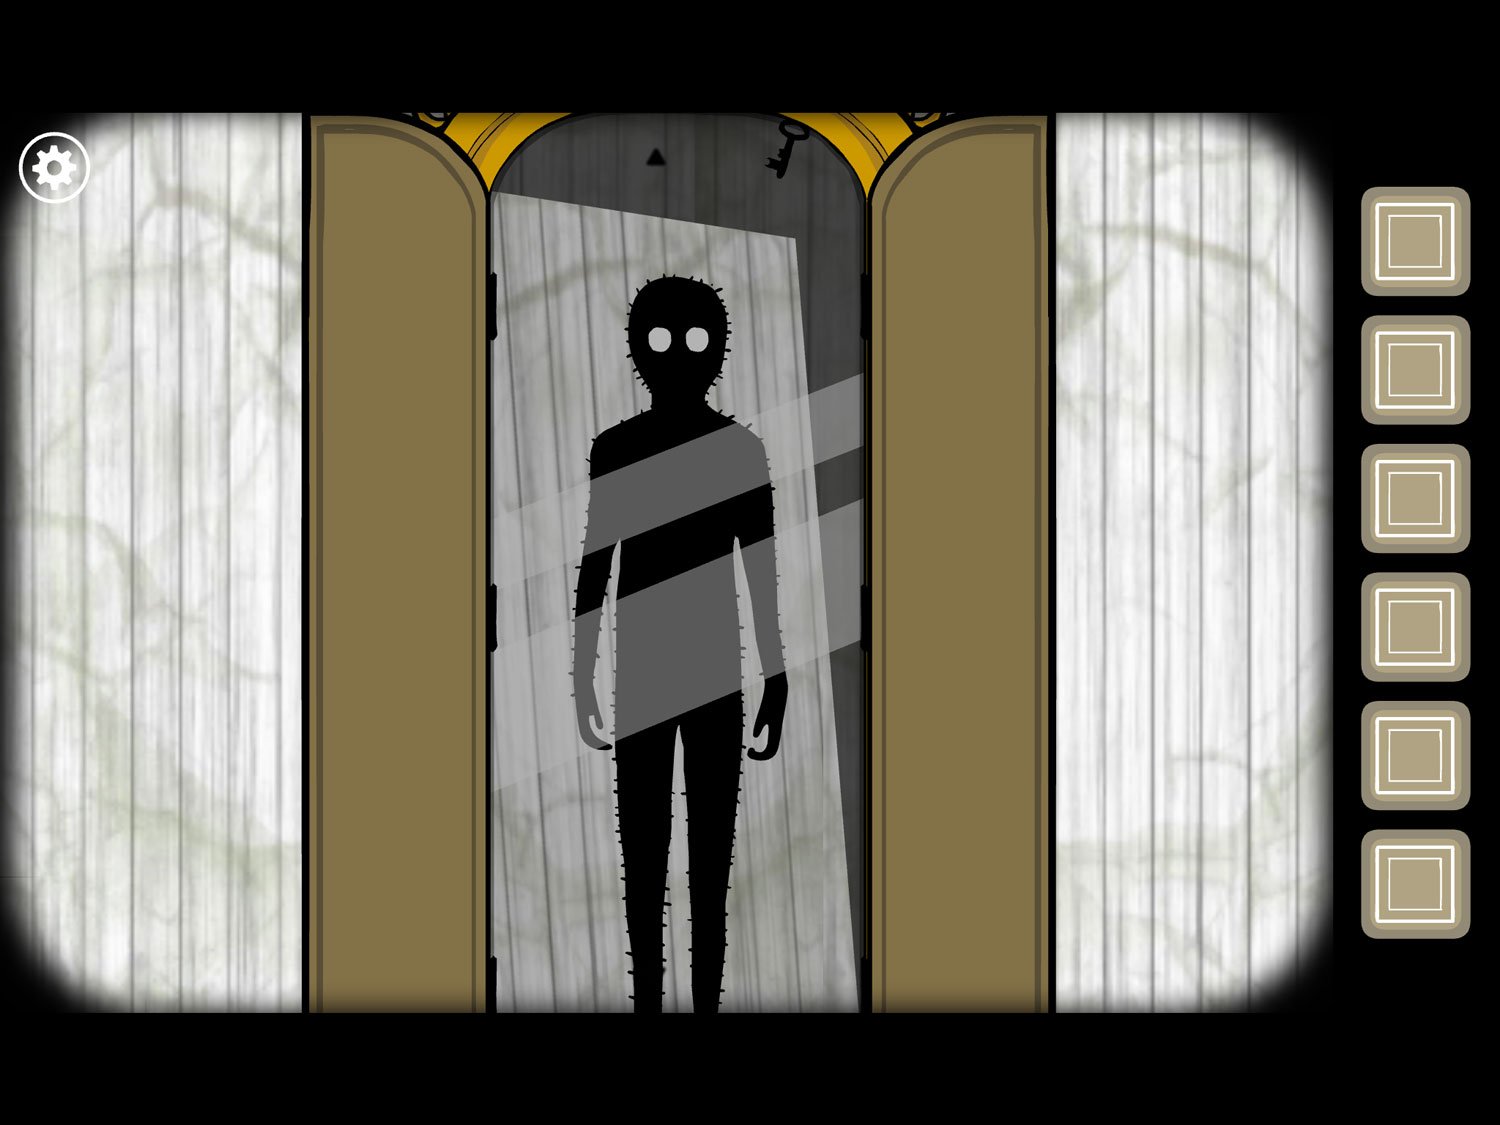
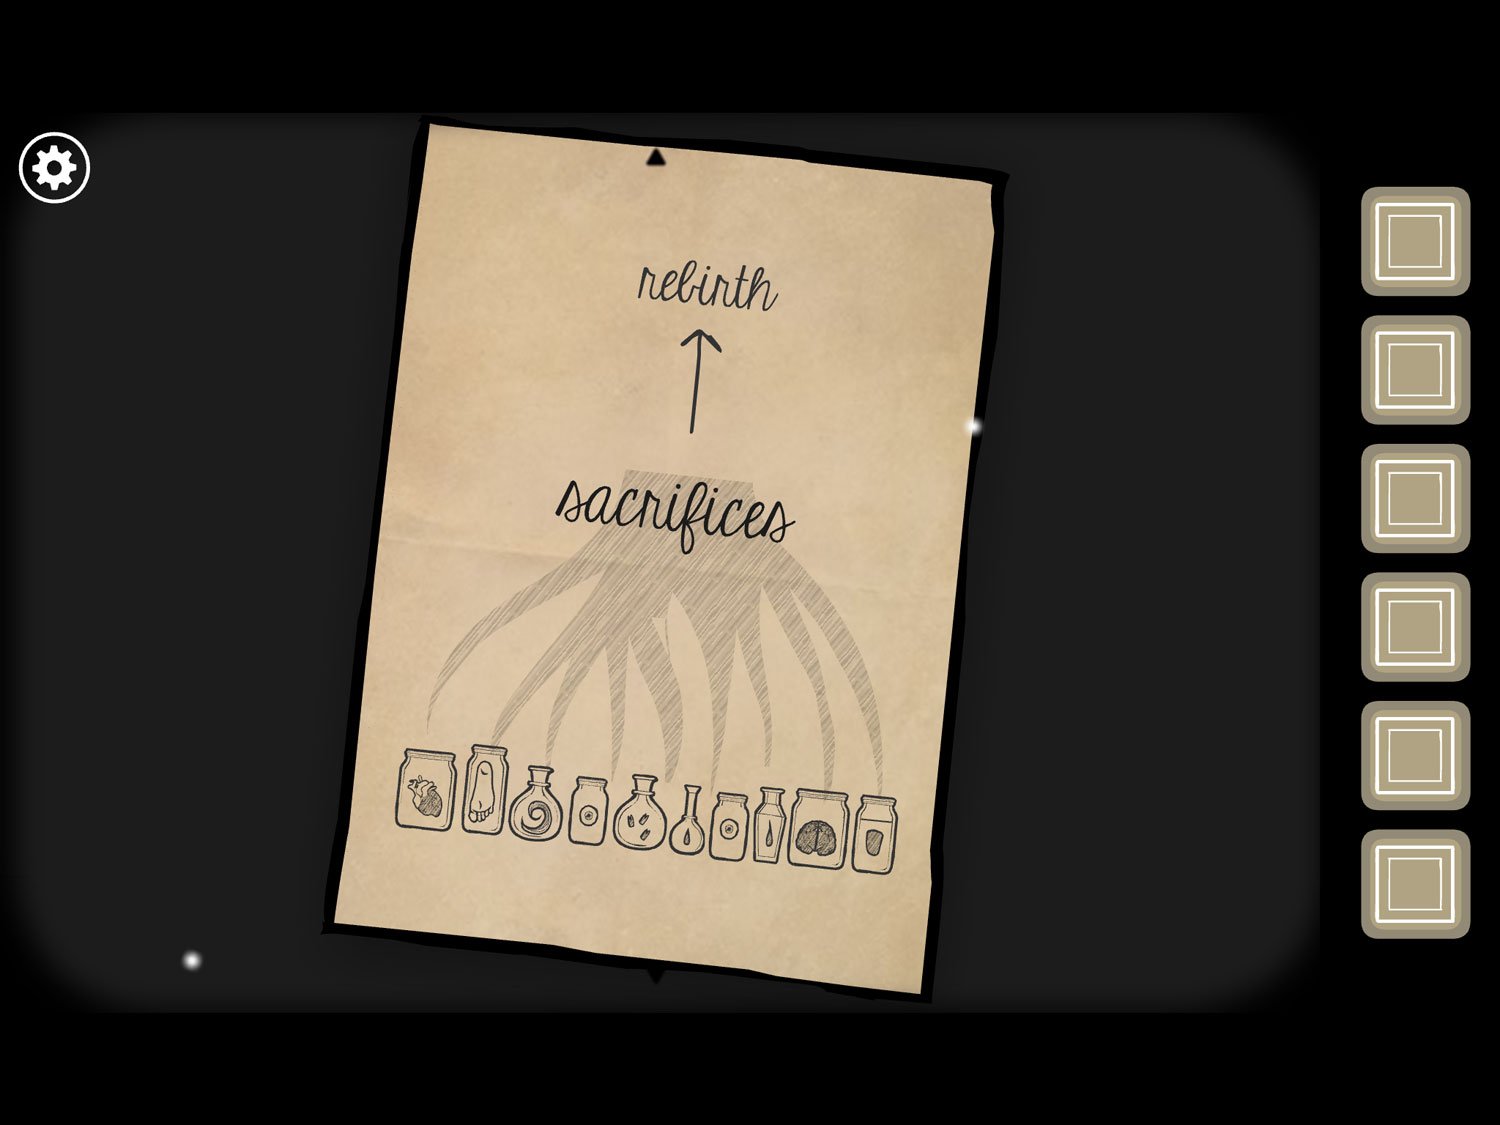
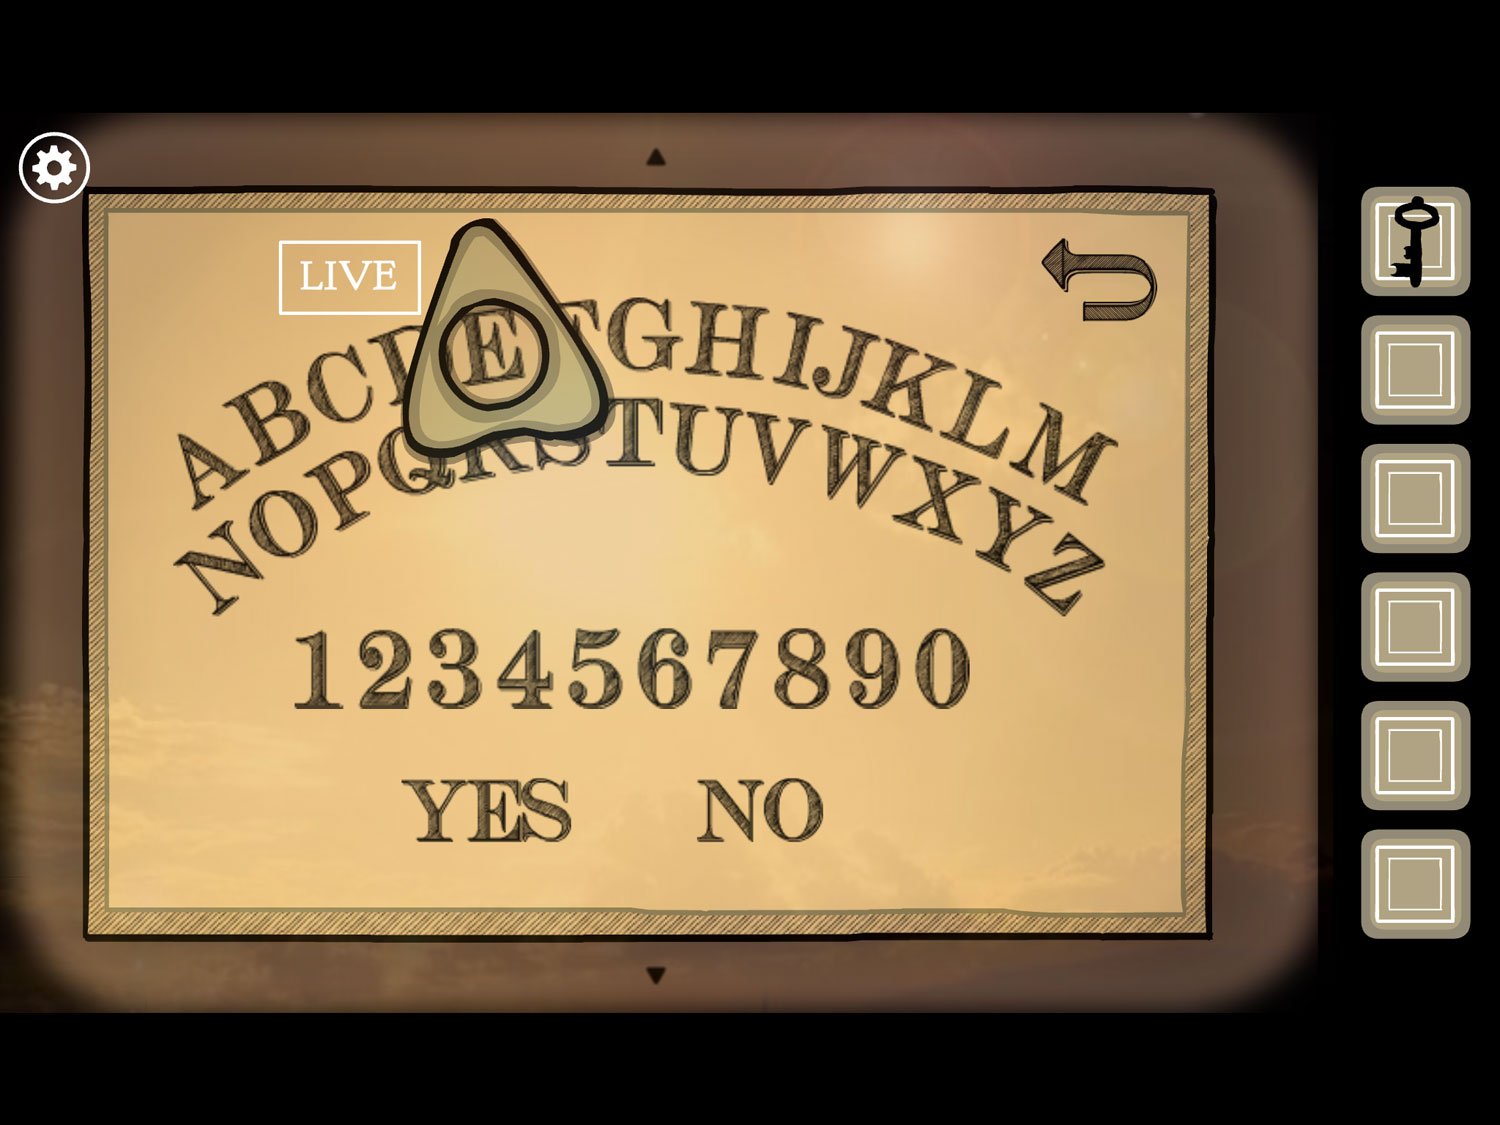
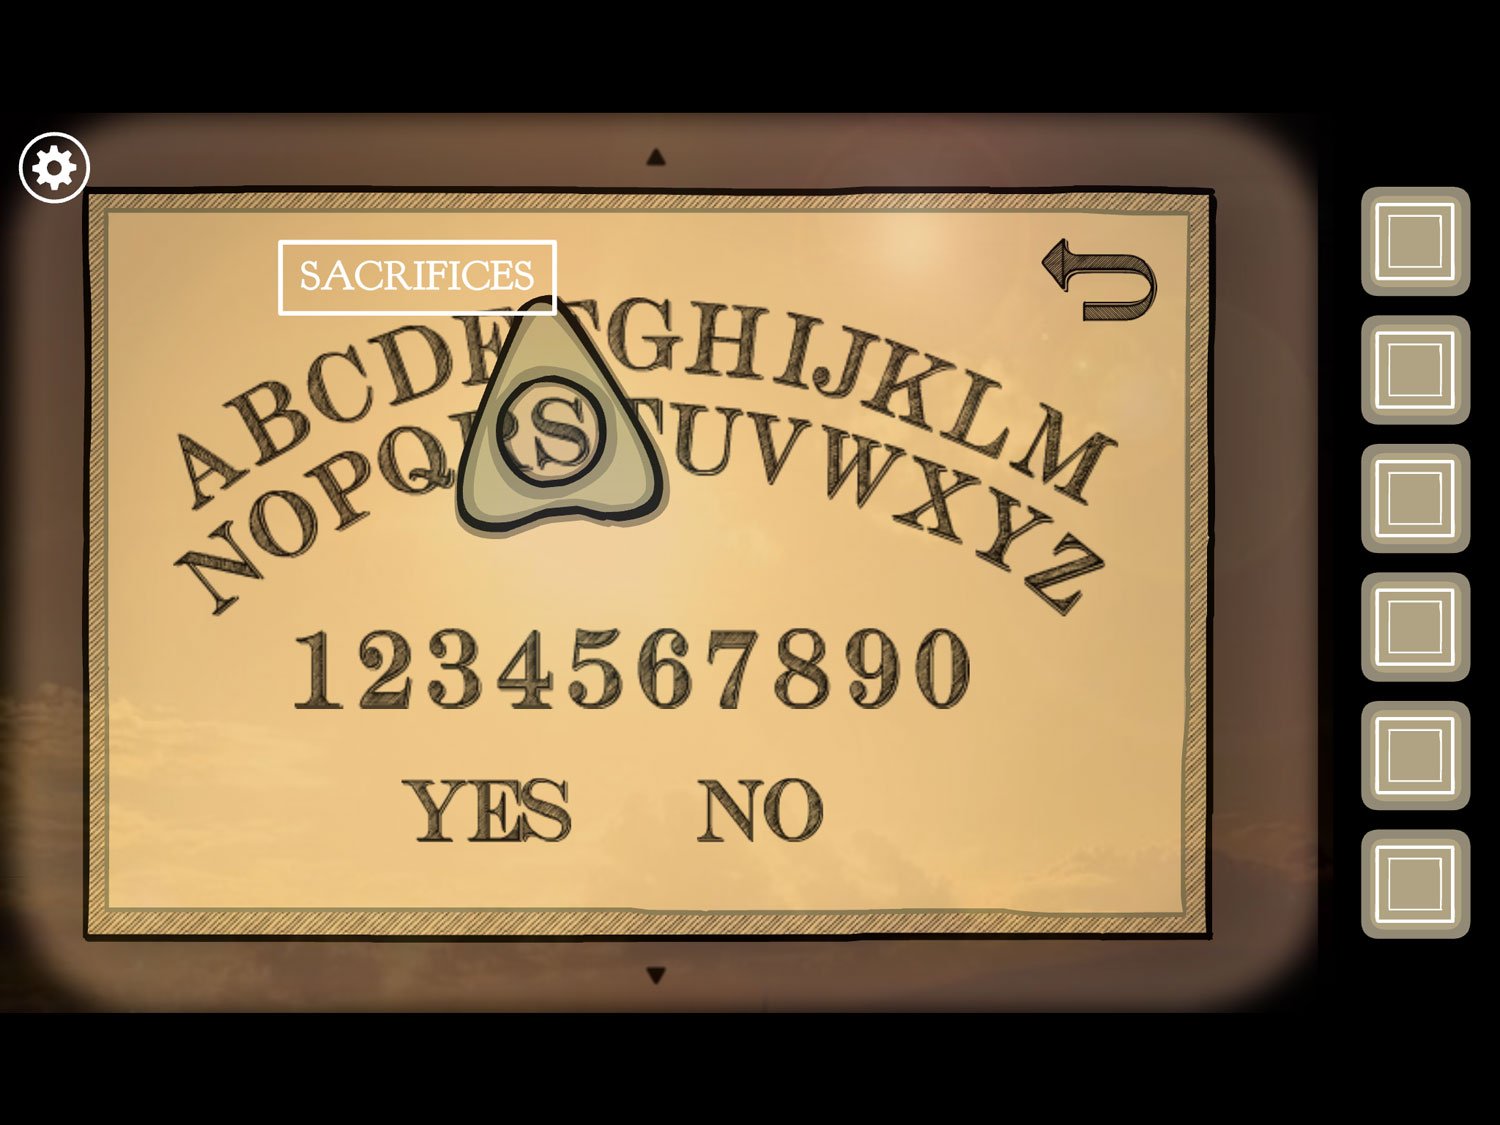
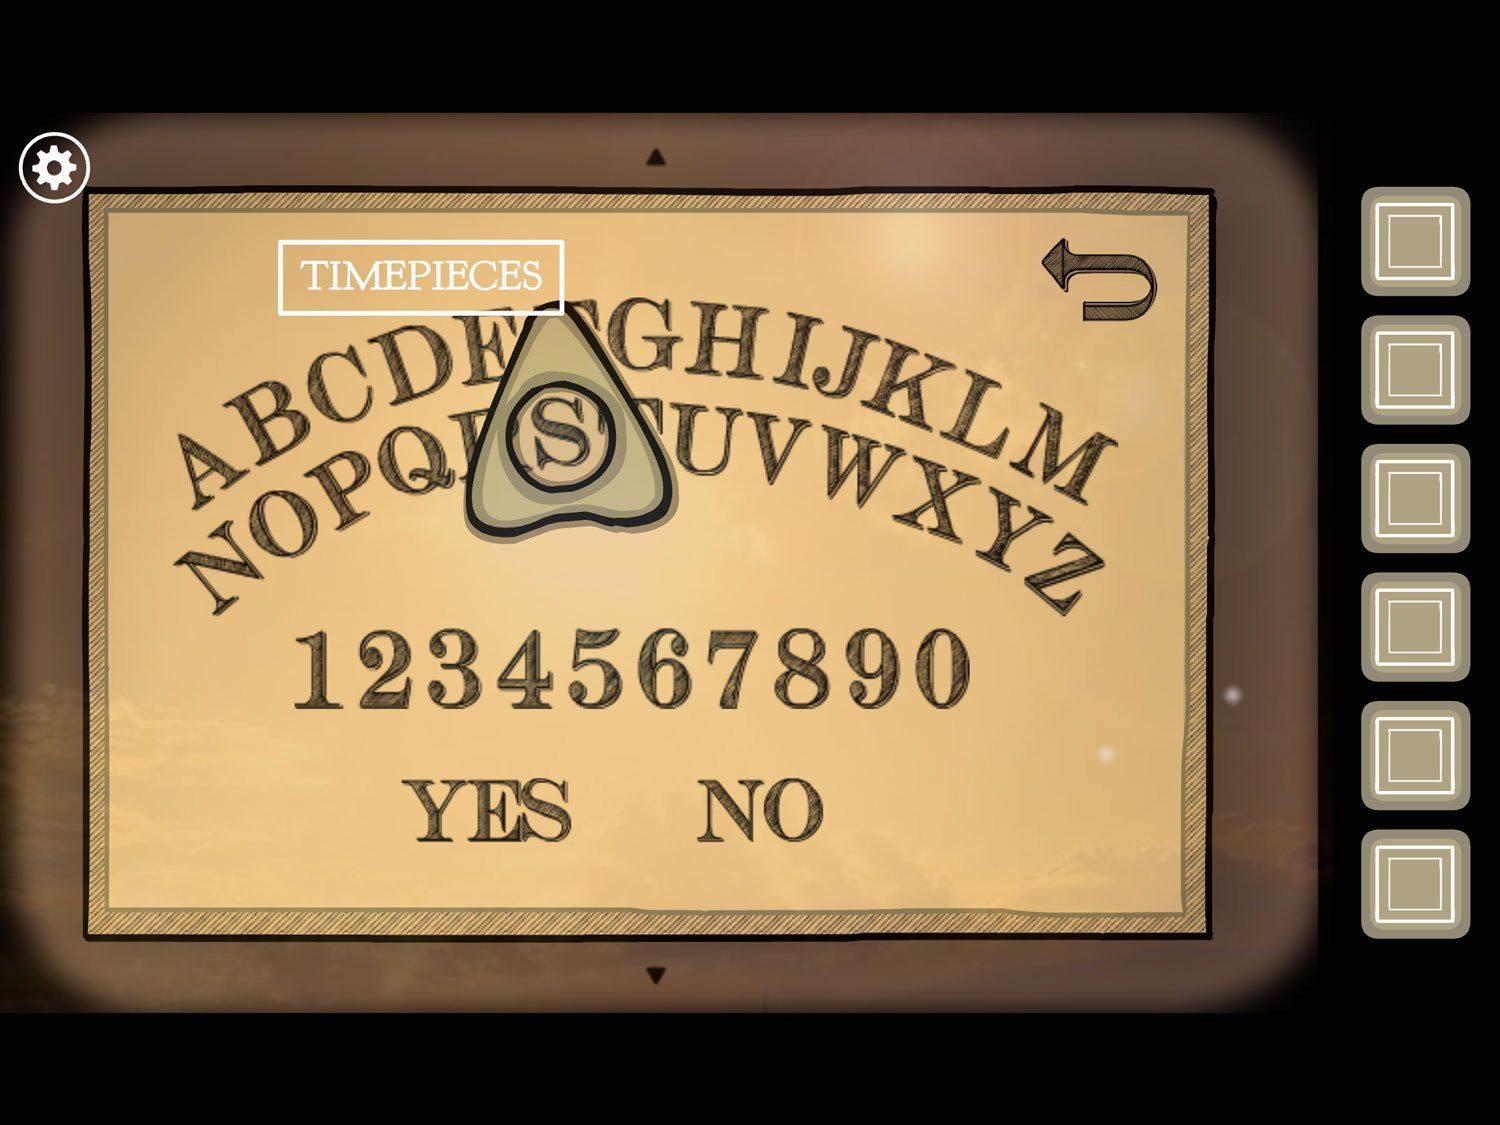
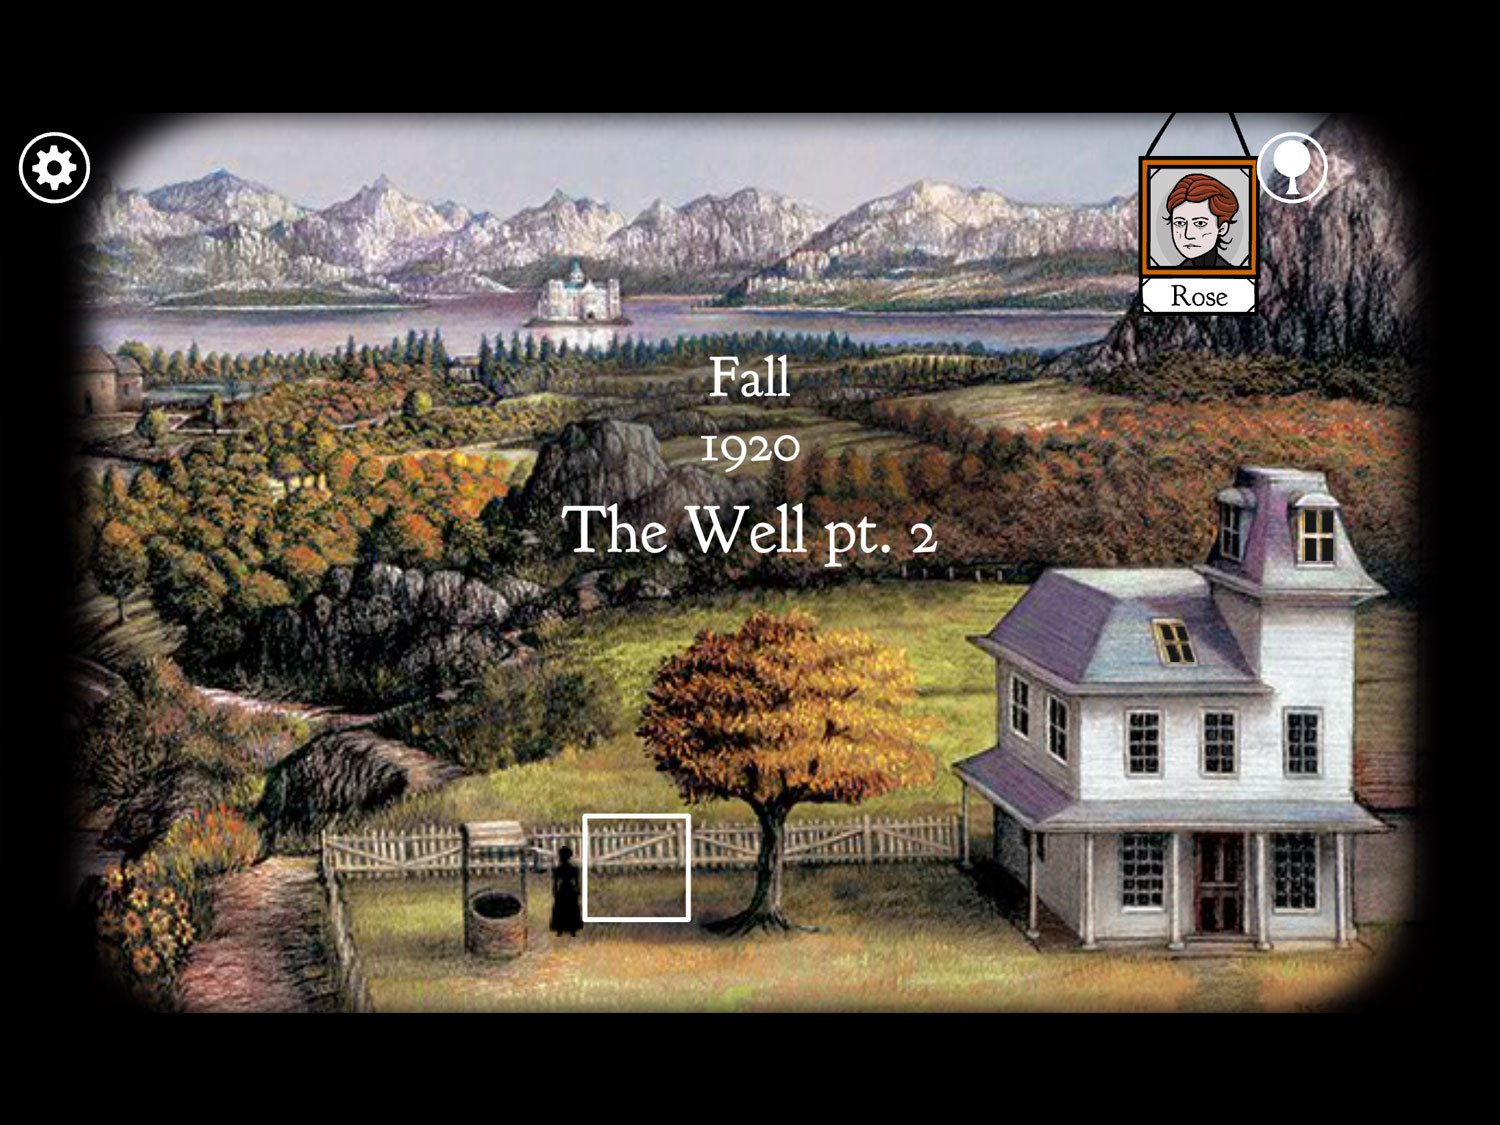
Level 29: The Well Pt. 2, Fall 1920 – Rose
Location: Front yard, near the tree and well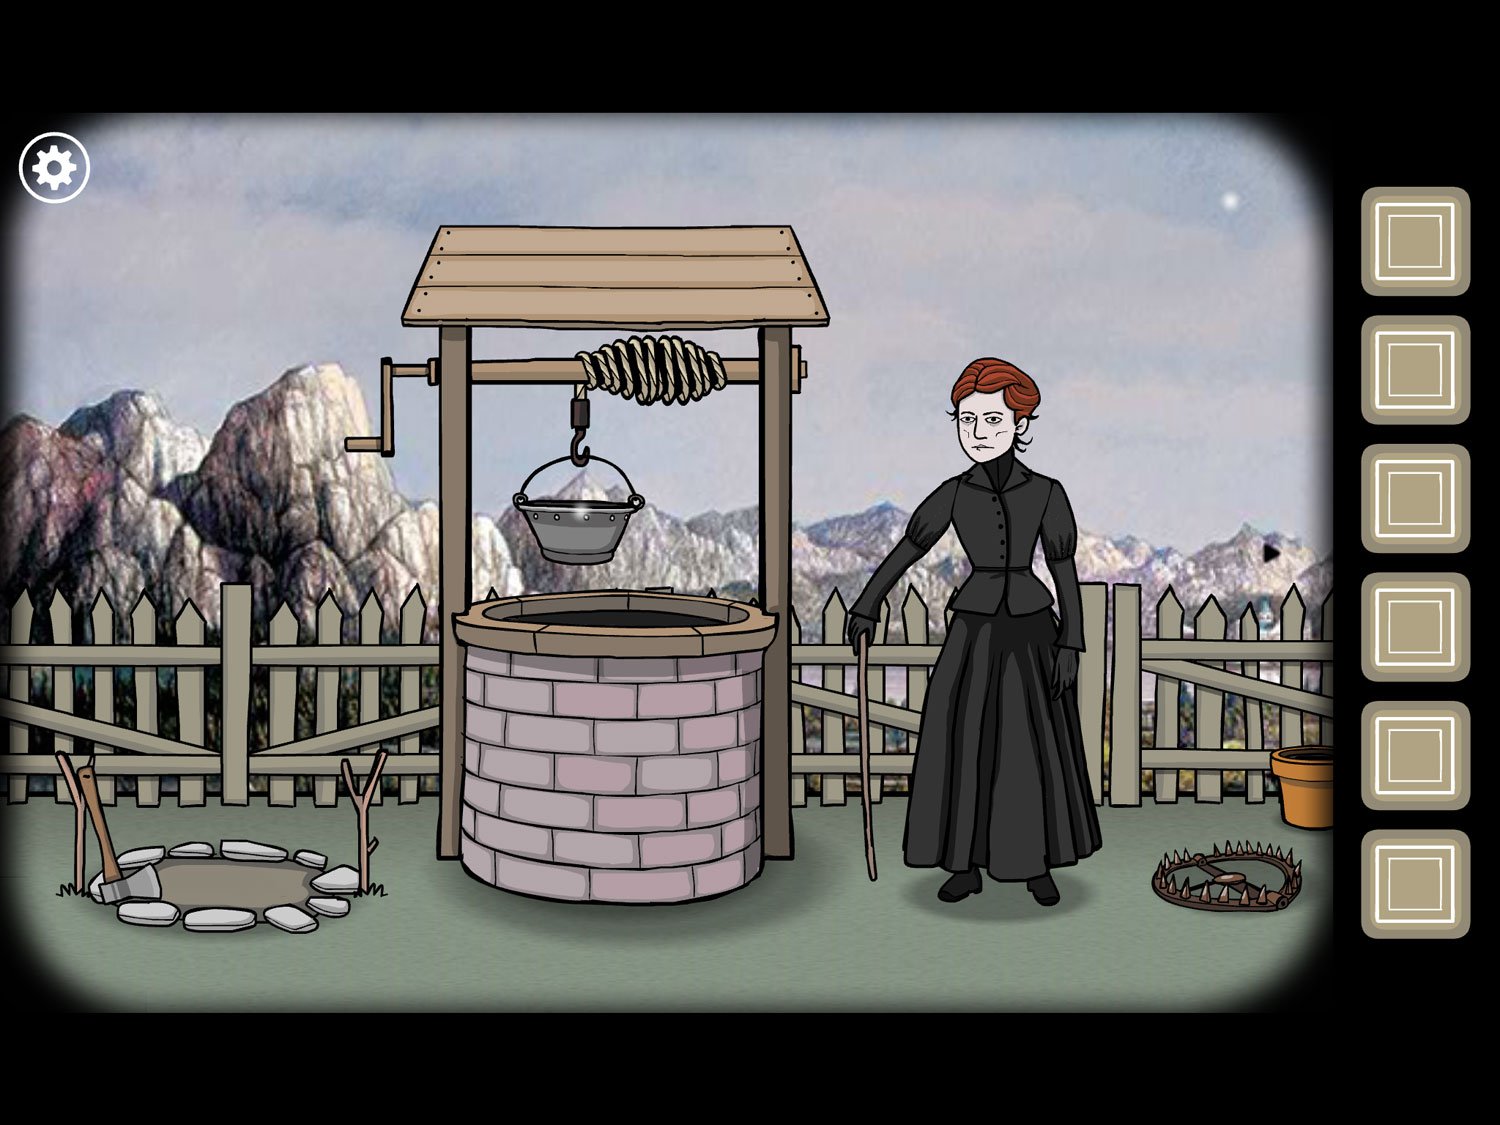
- Drag right and tap on the flower pots near the fence
- Tap the worm near the left flower pot to get WORM
- Tap the mug behind the right flower pot to get CUP
- Tap the left flower pot to get MATCHES. Zoom out
- Tap the dog to zoom in. Tap CUP and the ground to place it on the ground
- Tap the dog; he raises his leg to pee
- Drag the cup so it’s where the dog’s pee will land
- Tap the dog again; he pees again
- Tap the just-peed-in cup to get CUP WITH LIQUID
- Zoom out. Tap on the trap left of the dog
- Place WORM on the center of the trap
- Zoom out. Tap on Rose. Tap on her stick to get WOODEN STICK
- Zoom out. Tap the fire pit left of the well
- Take HATCHET. Use WOODEN STICK on the fire pit to place it between the two y-shaped sticks
- Zoom out. Drag right; tap on the trap
- There is a fish caught in it; tap to get FISH
- Zoom out; tap on the tree. Use HATCHET on the tree to chop off a branch
- Use HATCHET on the fallen branch to cut it up. Tap on the pile to get WOOD
- Zoom out. Return to the well
- Tap on the well. A paper airplane flies up and lands near Rose’s feet
- Tap on the paper airplane; tap again to read it. It’s Frank’s note: Y with line = drink, r Y = food, fishbone Y with a line = wooden stick, get out
- Zoom out. Tap on the handle of the well to send the bucket down. Tap the handle again to bring it back up
- Tap the bucket to look inside. There is a Y with a line. Use CUP OF LIQUID on the bucket
- Zoom out and use the handle to send the bucket back down
- Before we bring it back up, tap on the fire pit
- Use WOOD on the fire pit and MATCHES on the wood
- Use FISH on the wooden stick
- Zoom out then zoom back in on the fire pit. Take the GRILLED FISH
- Take the WOODEN STICK, too. Zoom out
- Use the well handle to bring the bucket back up. Tap the bucket to look inside
- The cup is gone; there is now “r Y” (food)
- Put GRILLED FISH in the bucket. Zoom out and use the handle to send it back down
- Use the handle to bring it back up. The symbol is now fish bone, Y with a line (wooden stick)
- Use WOODEN STICK on the bucket. Zoom out and use the handle to send it back down
- Use the handle to call it back up. Frank is in the bucket
- Tap on Frank to reveal the white square and exit
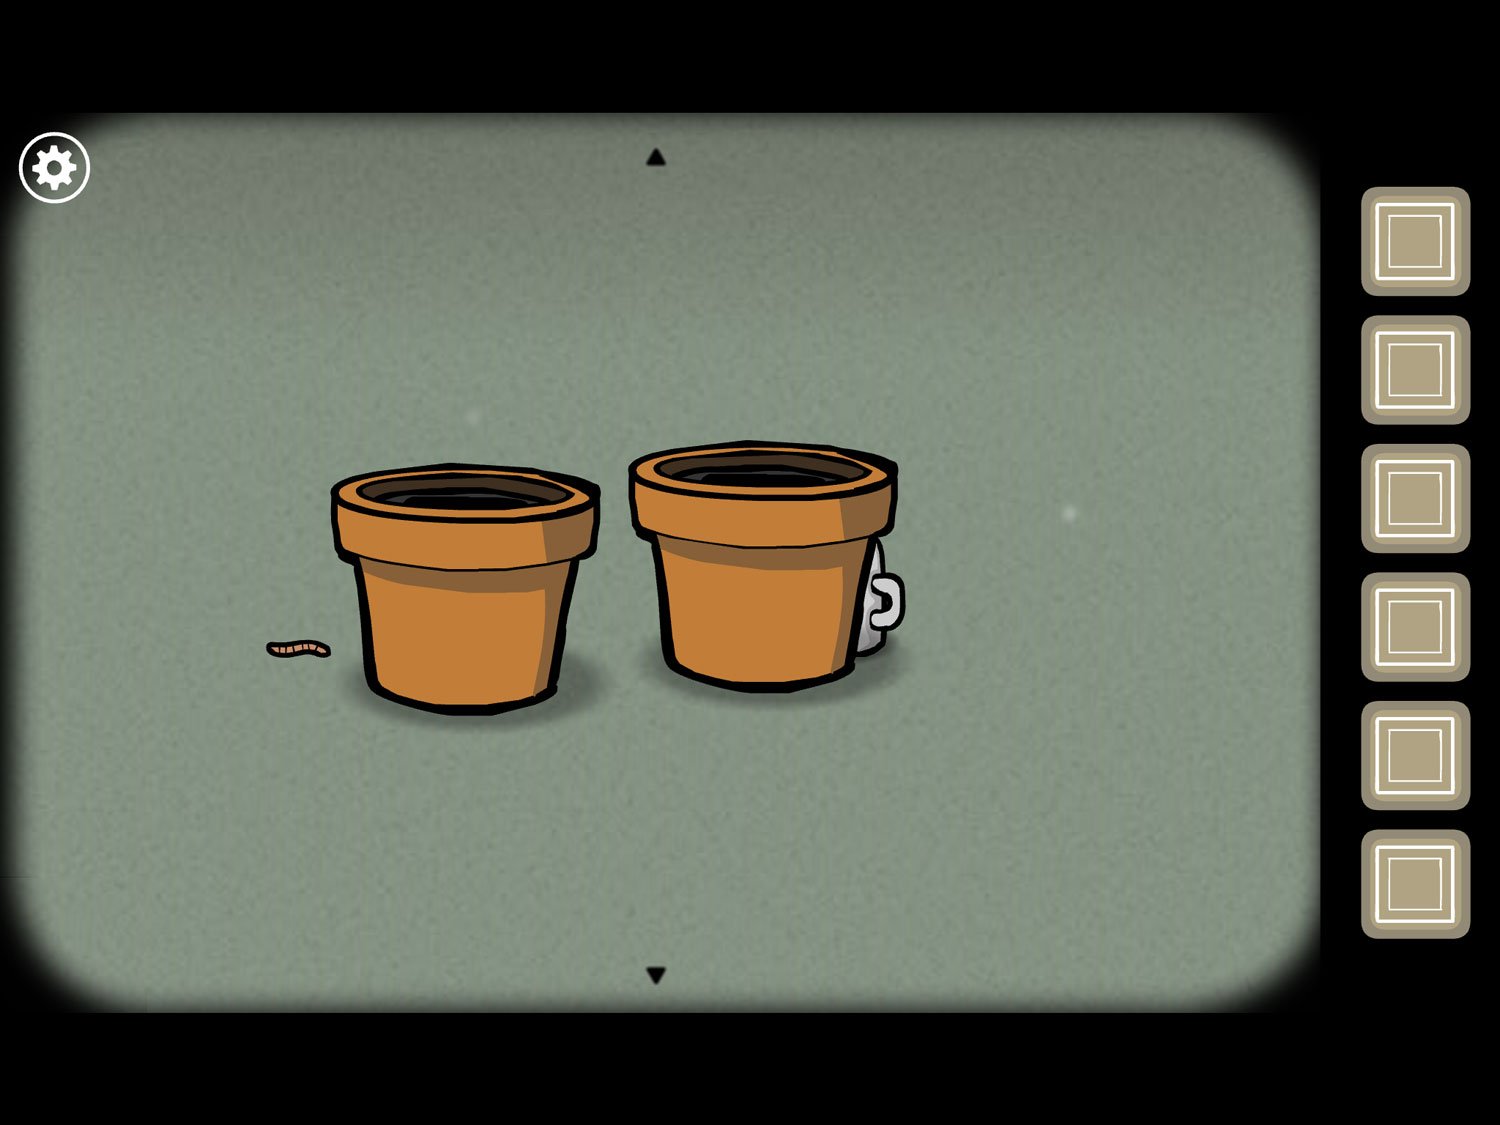
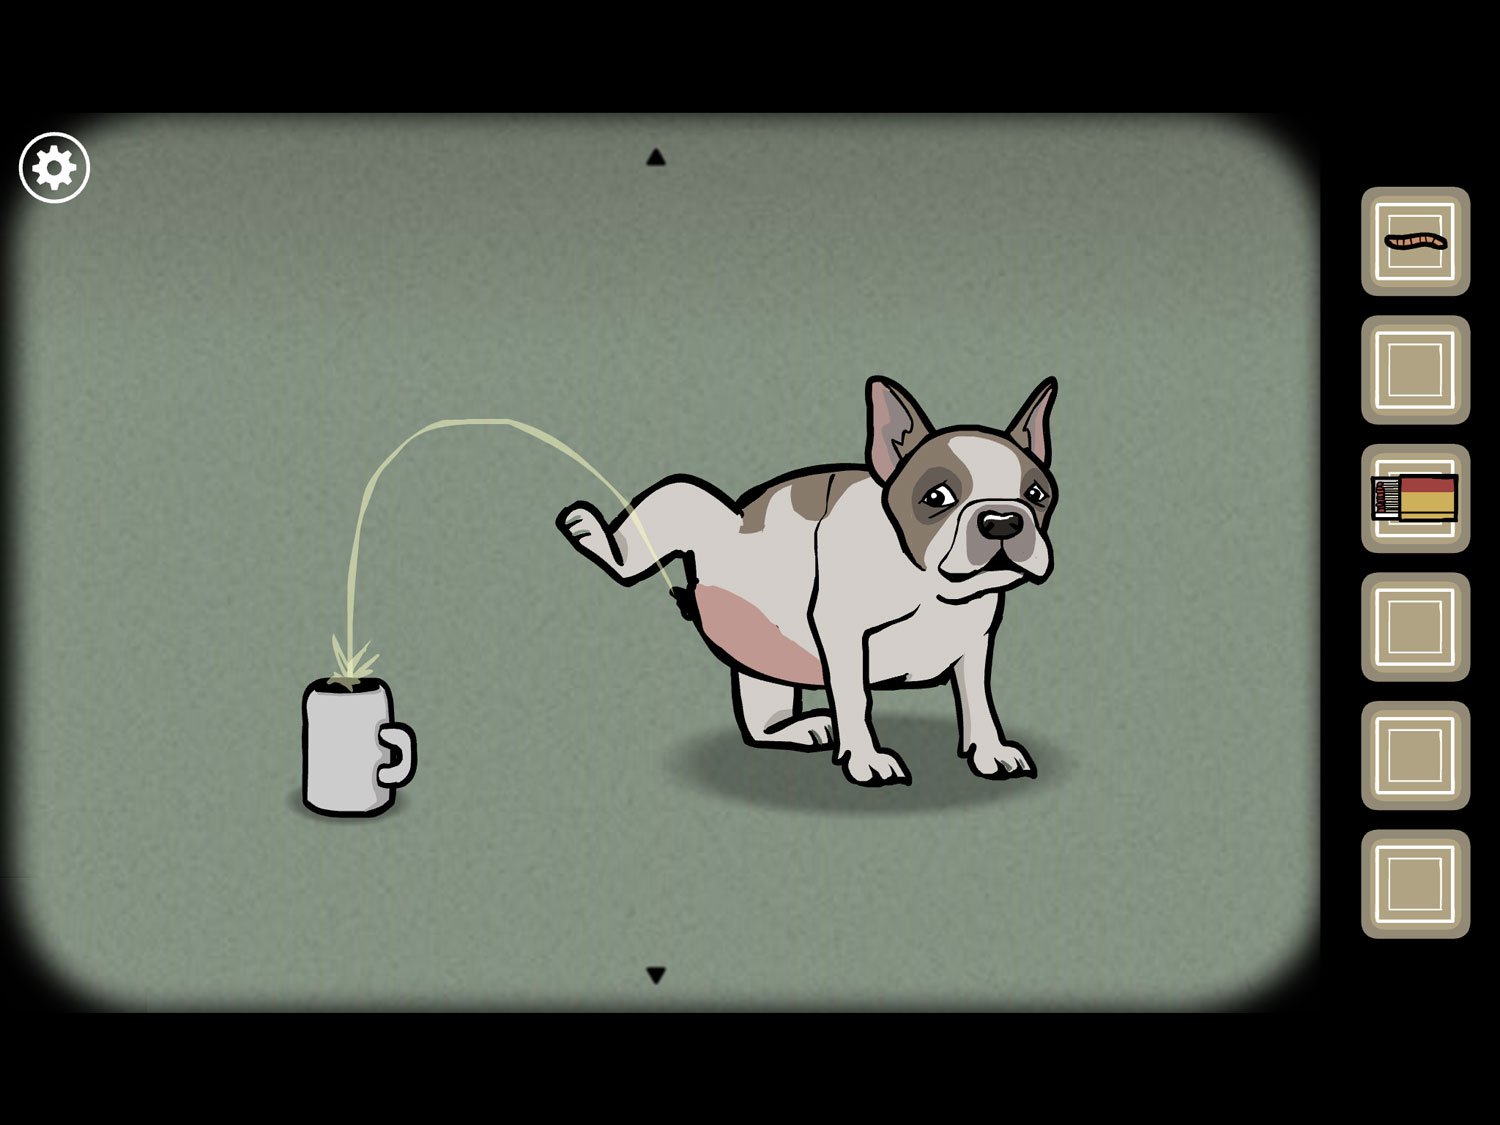
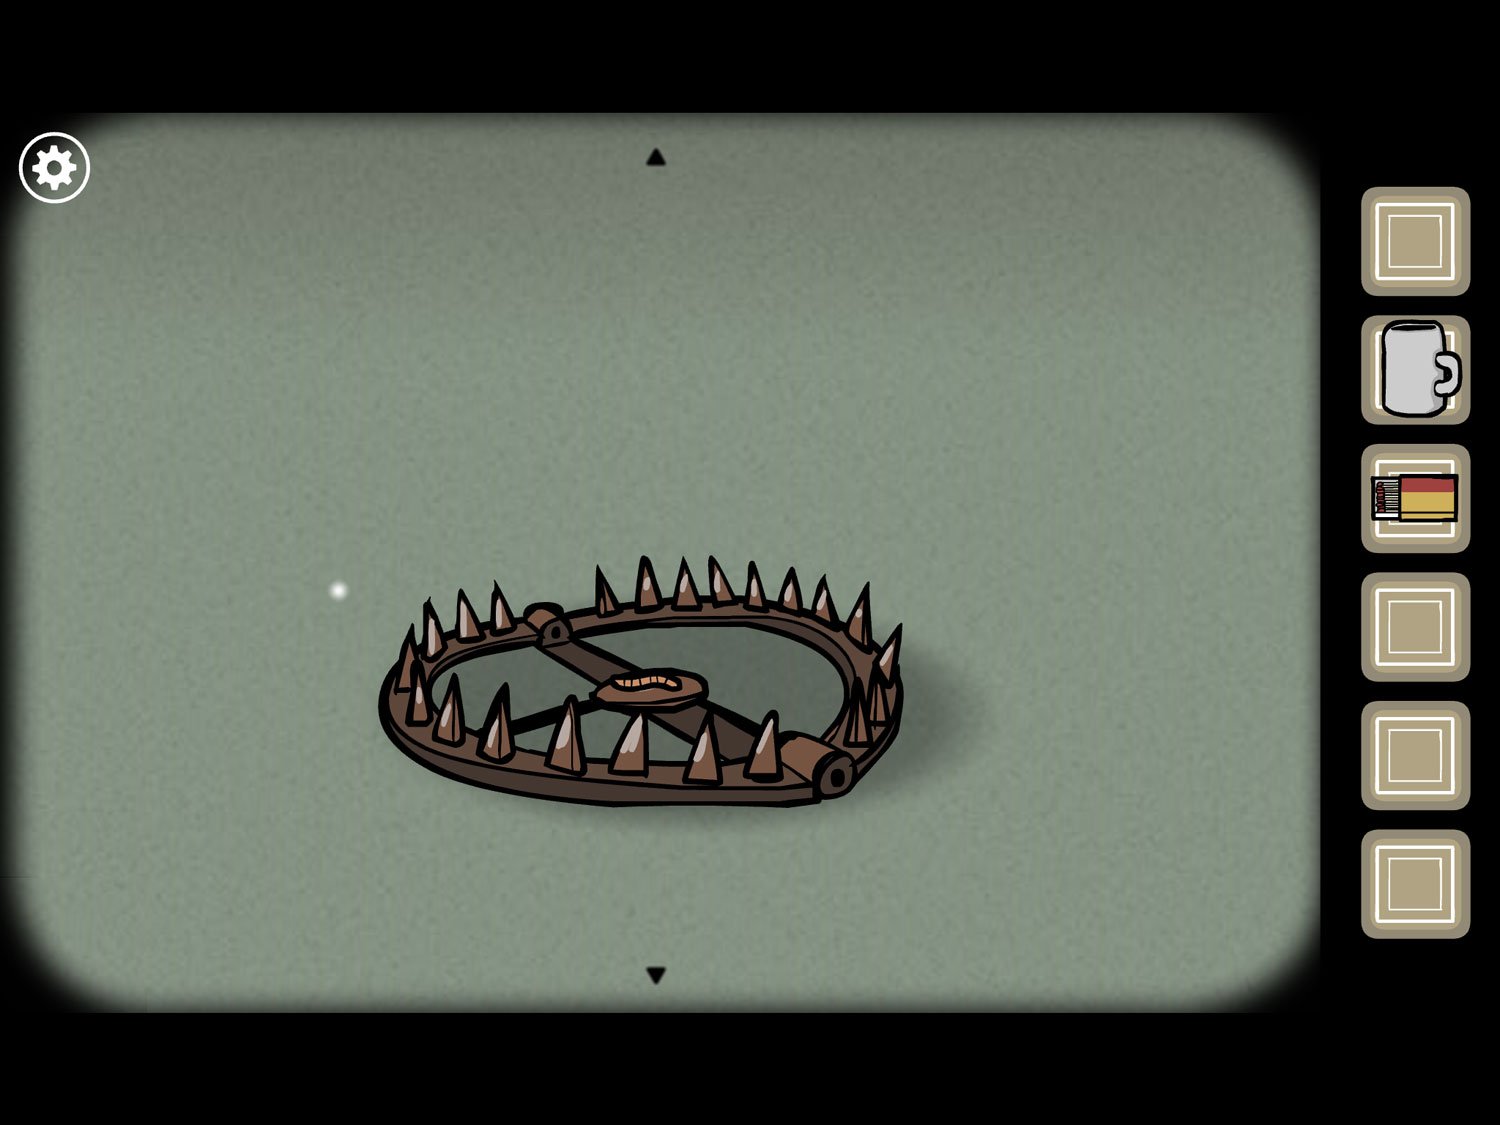
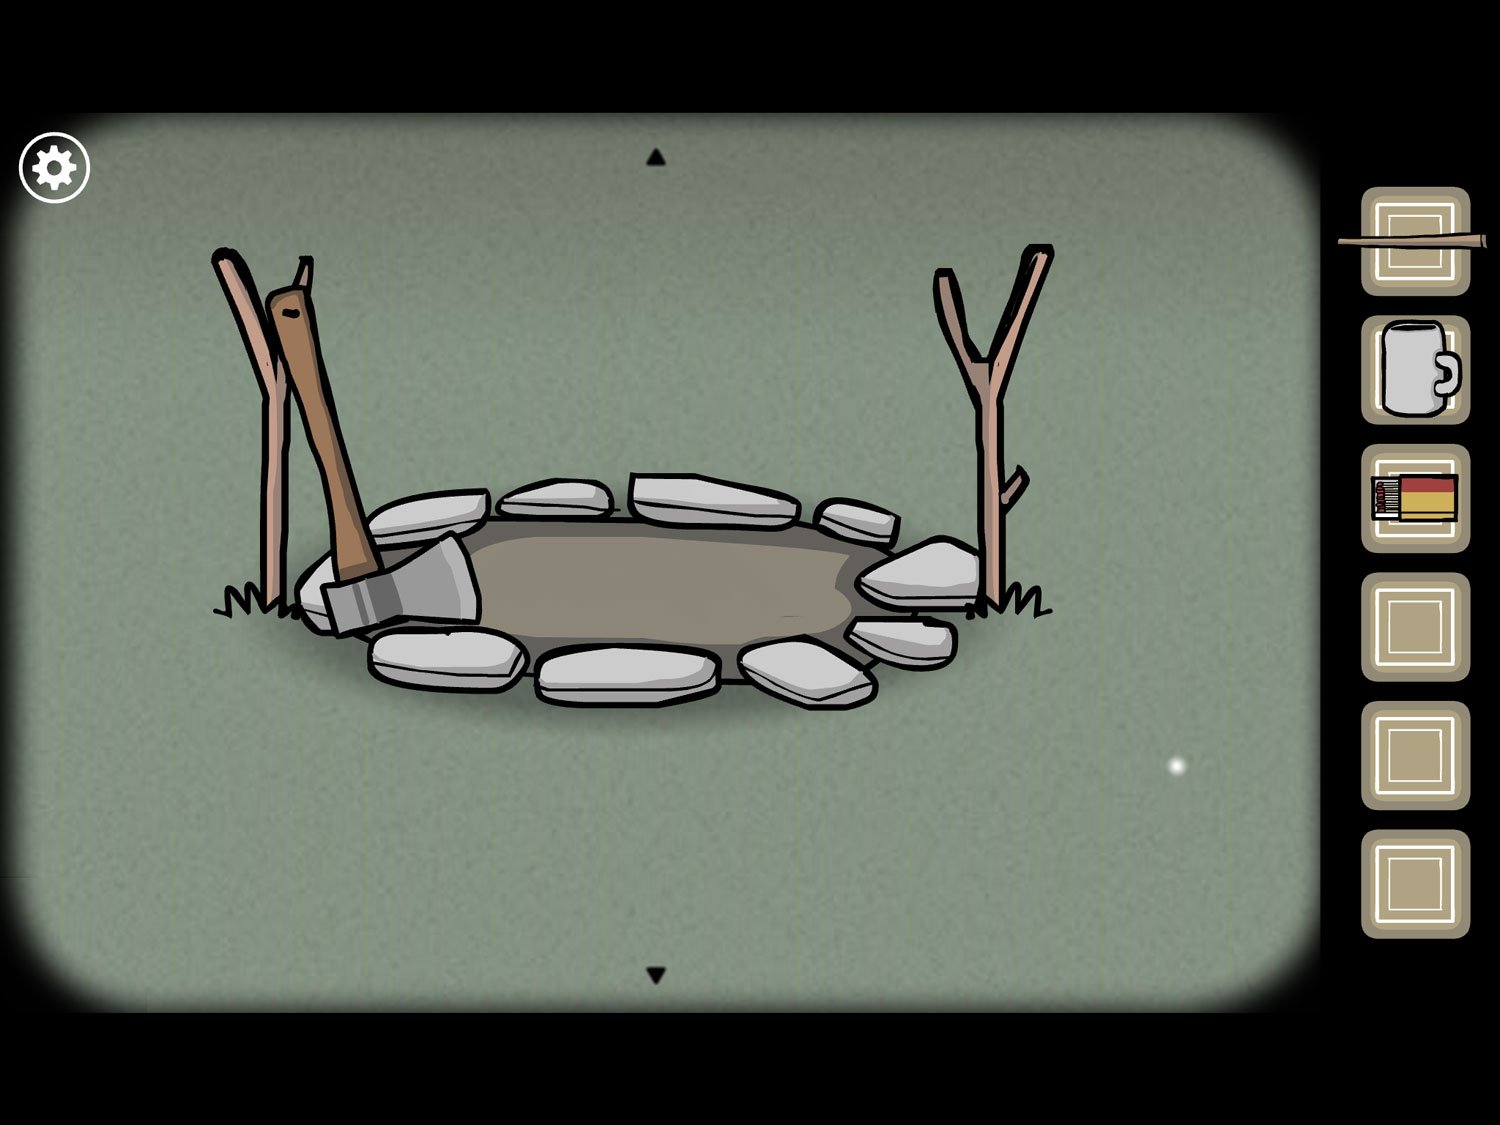
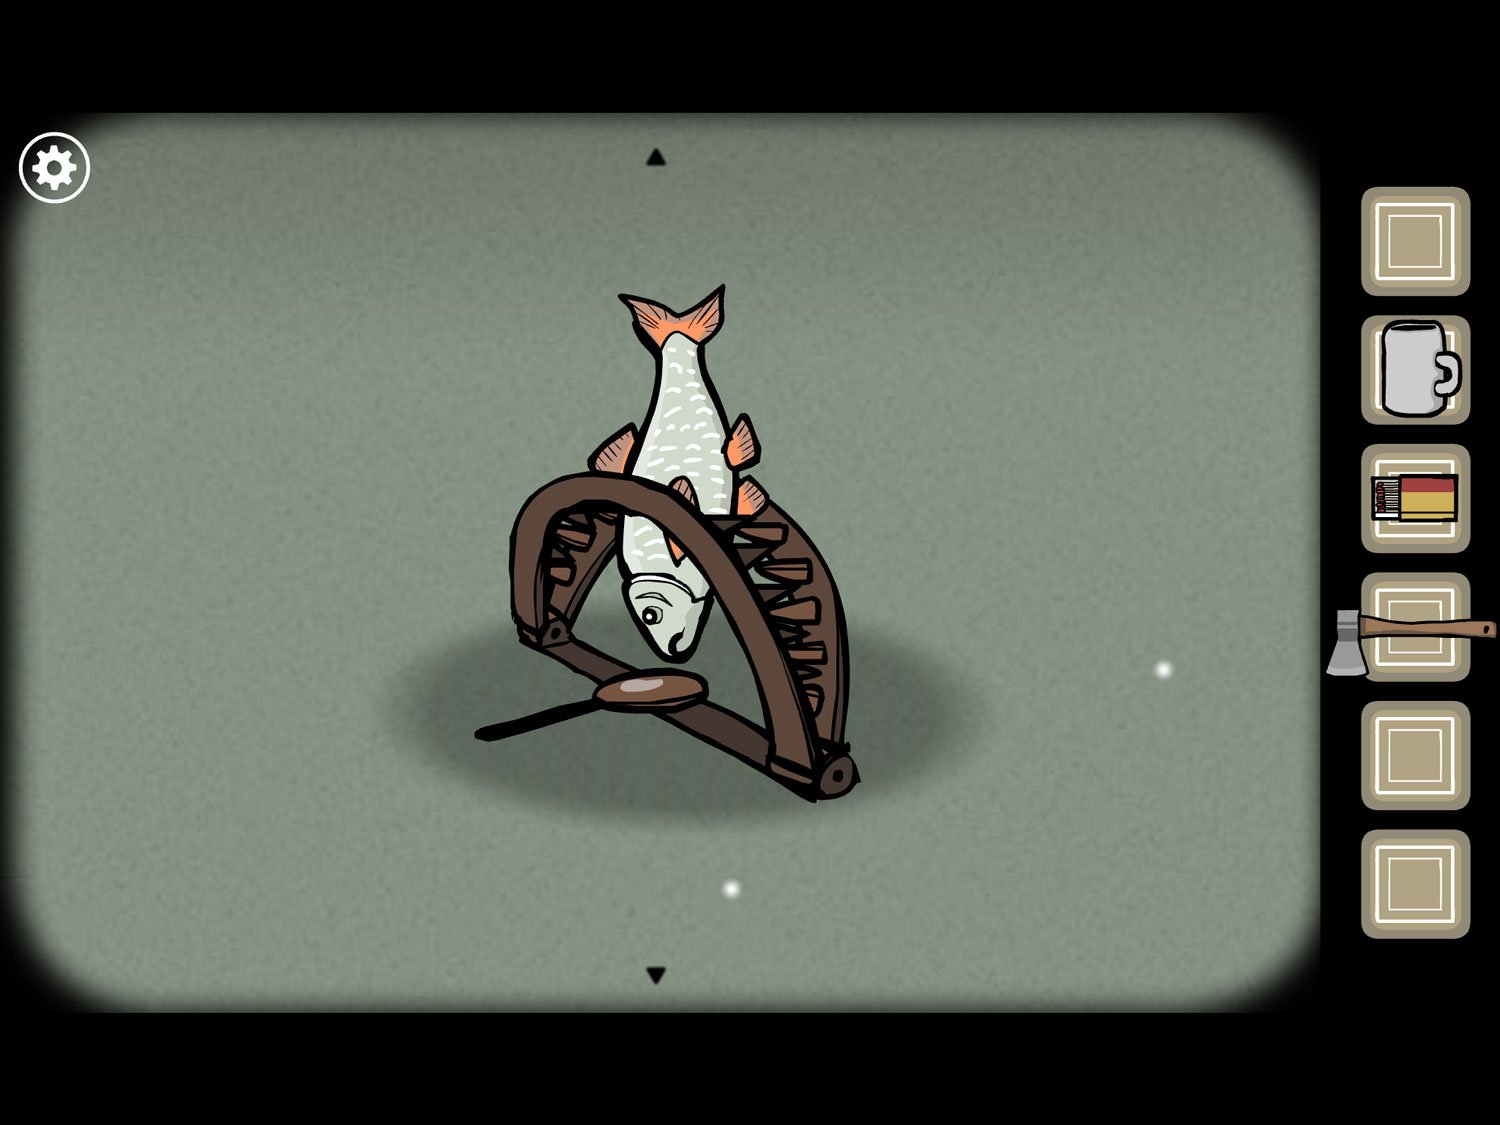
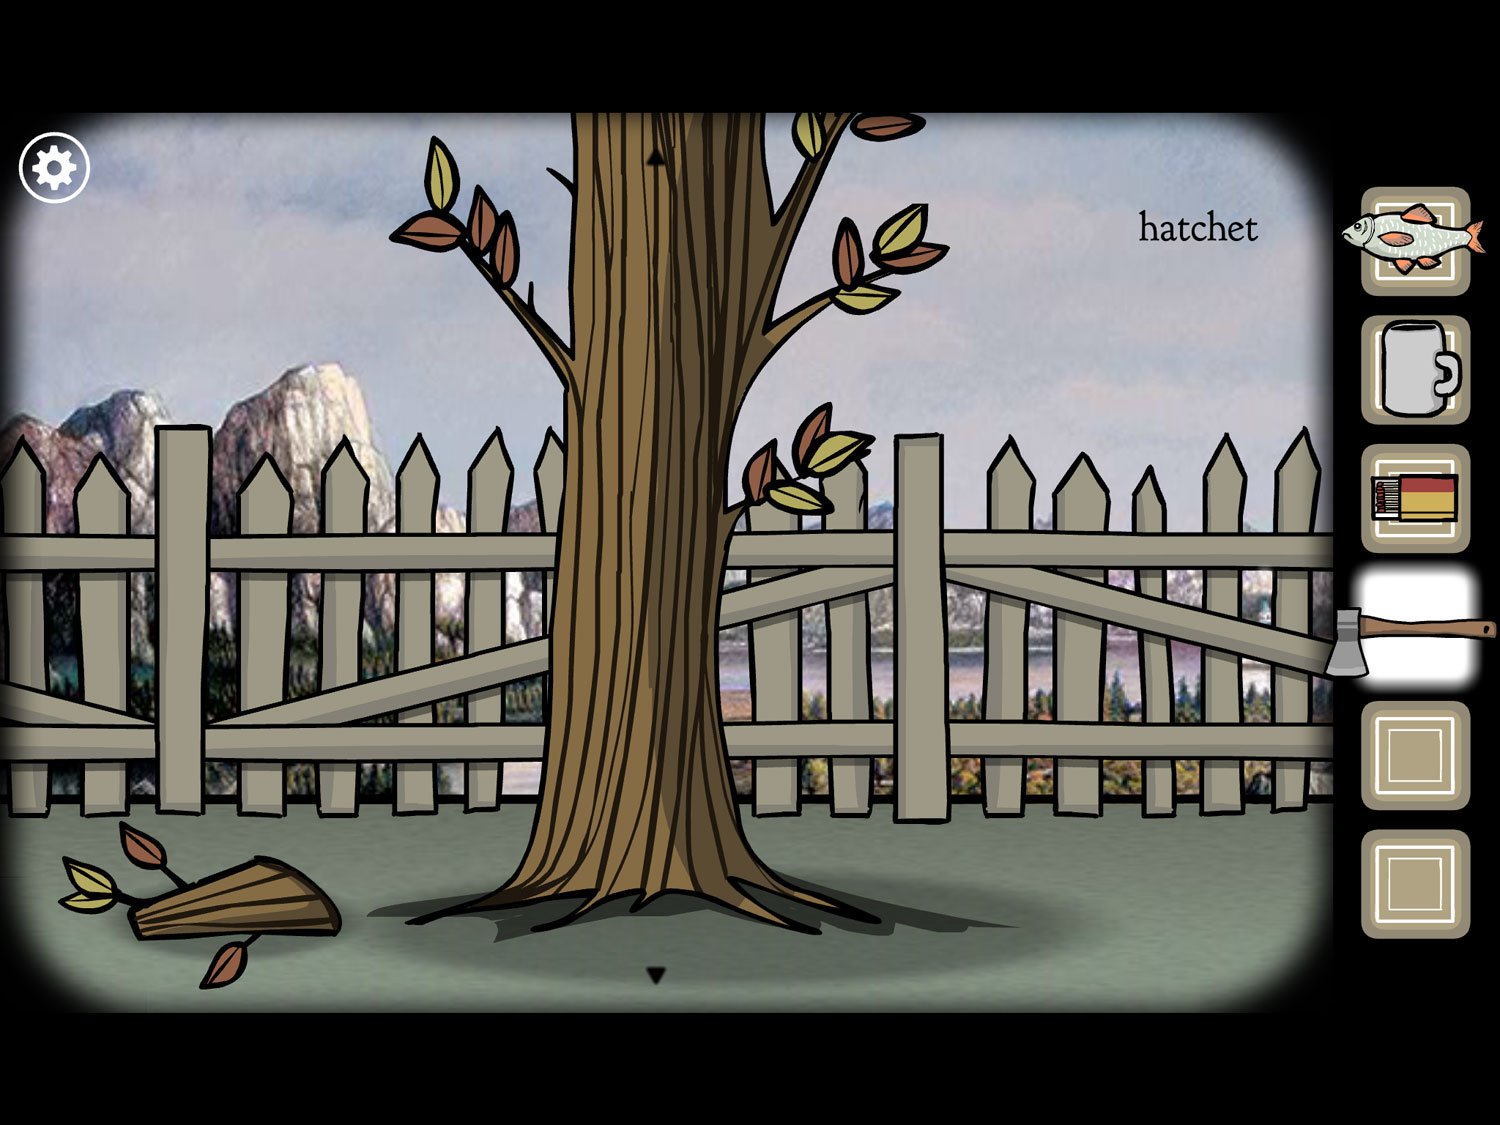
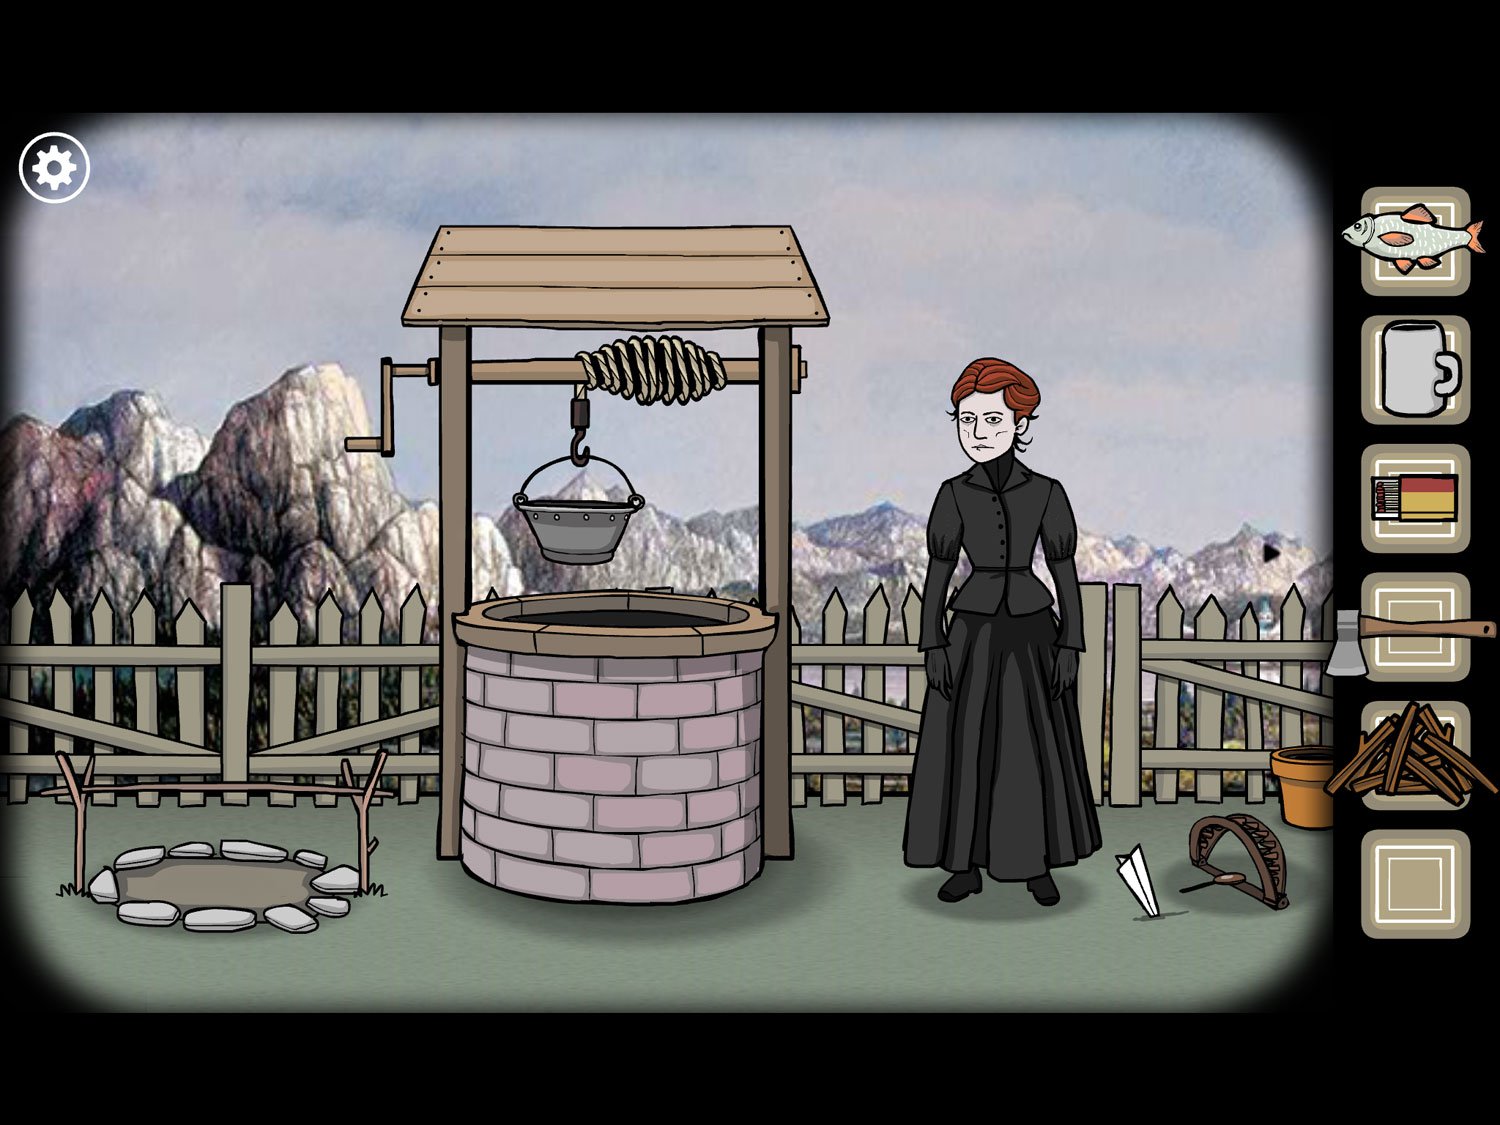
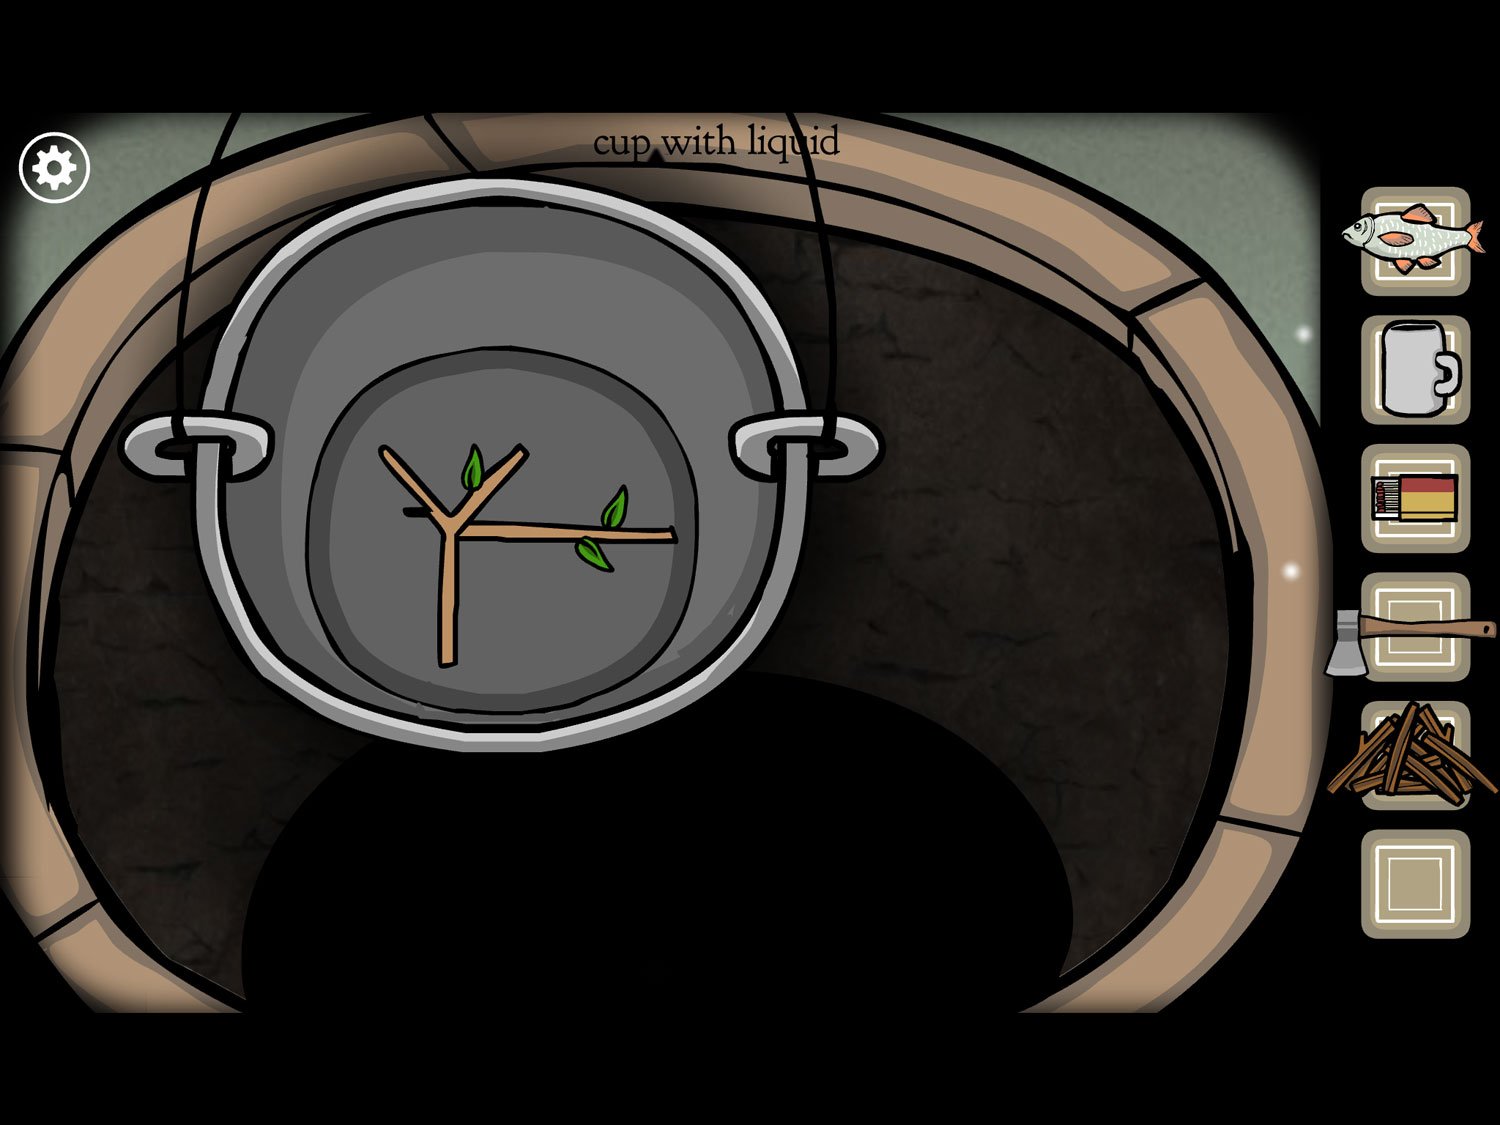
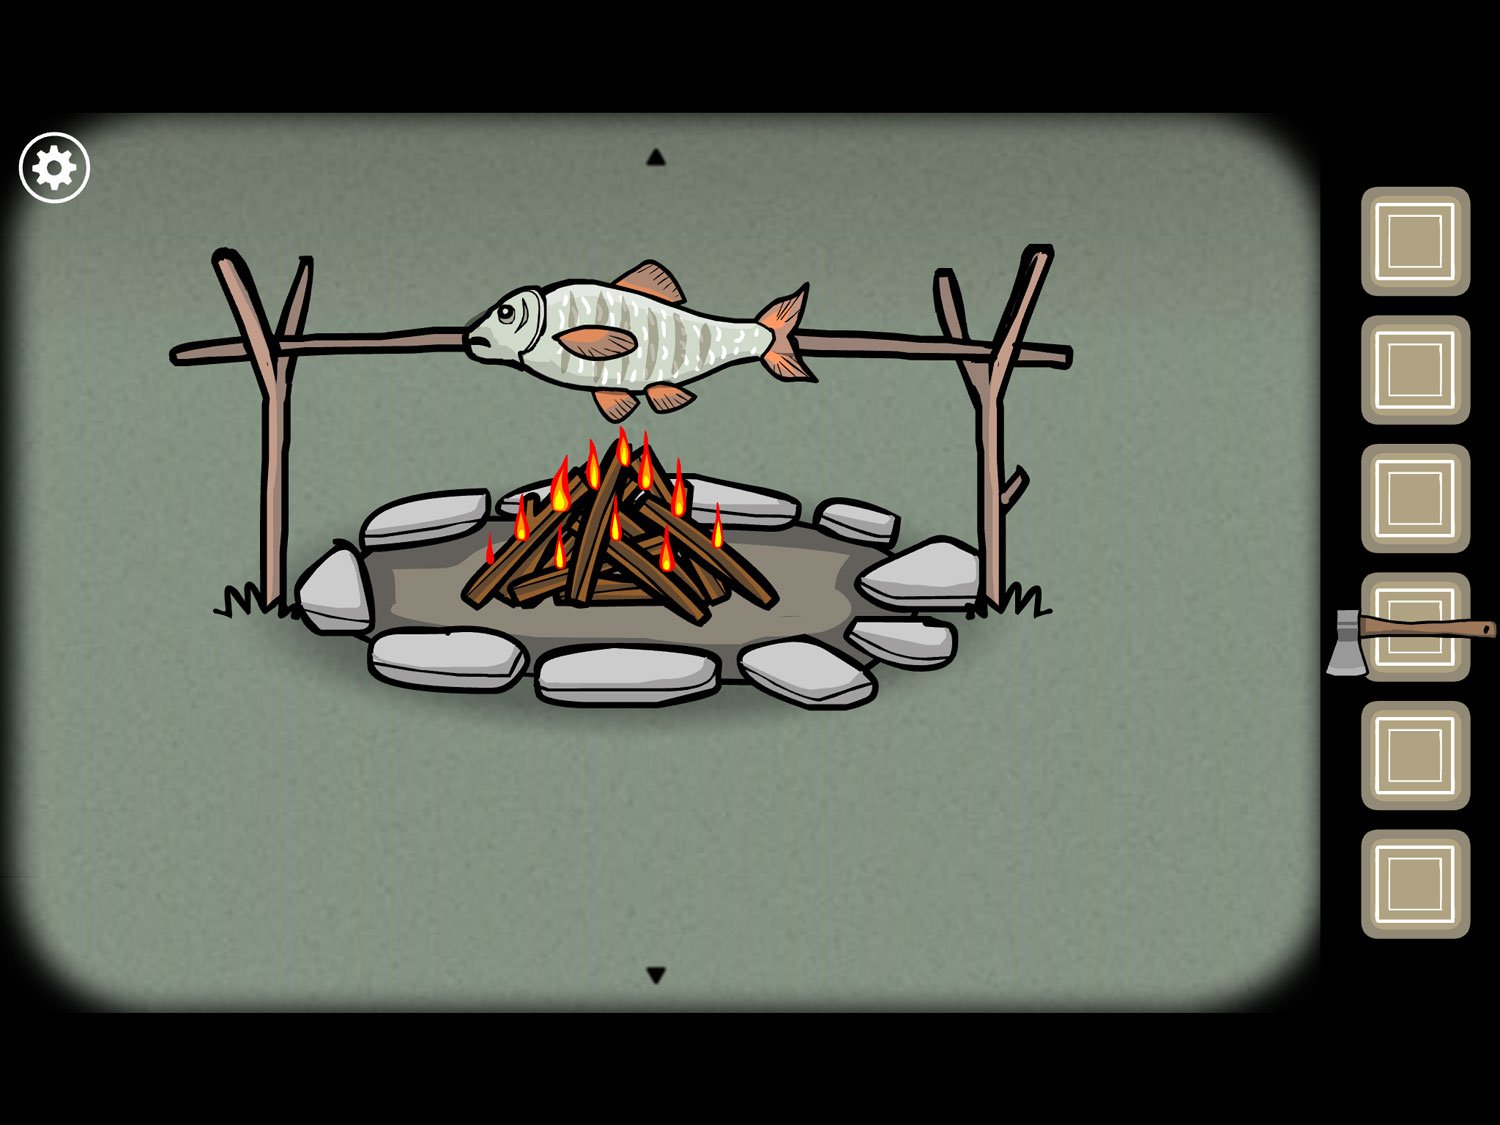
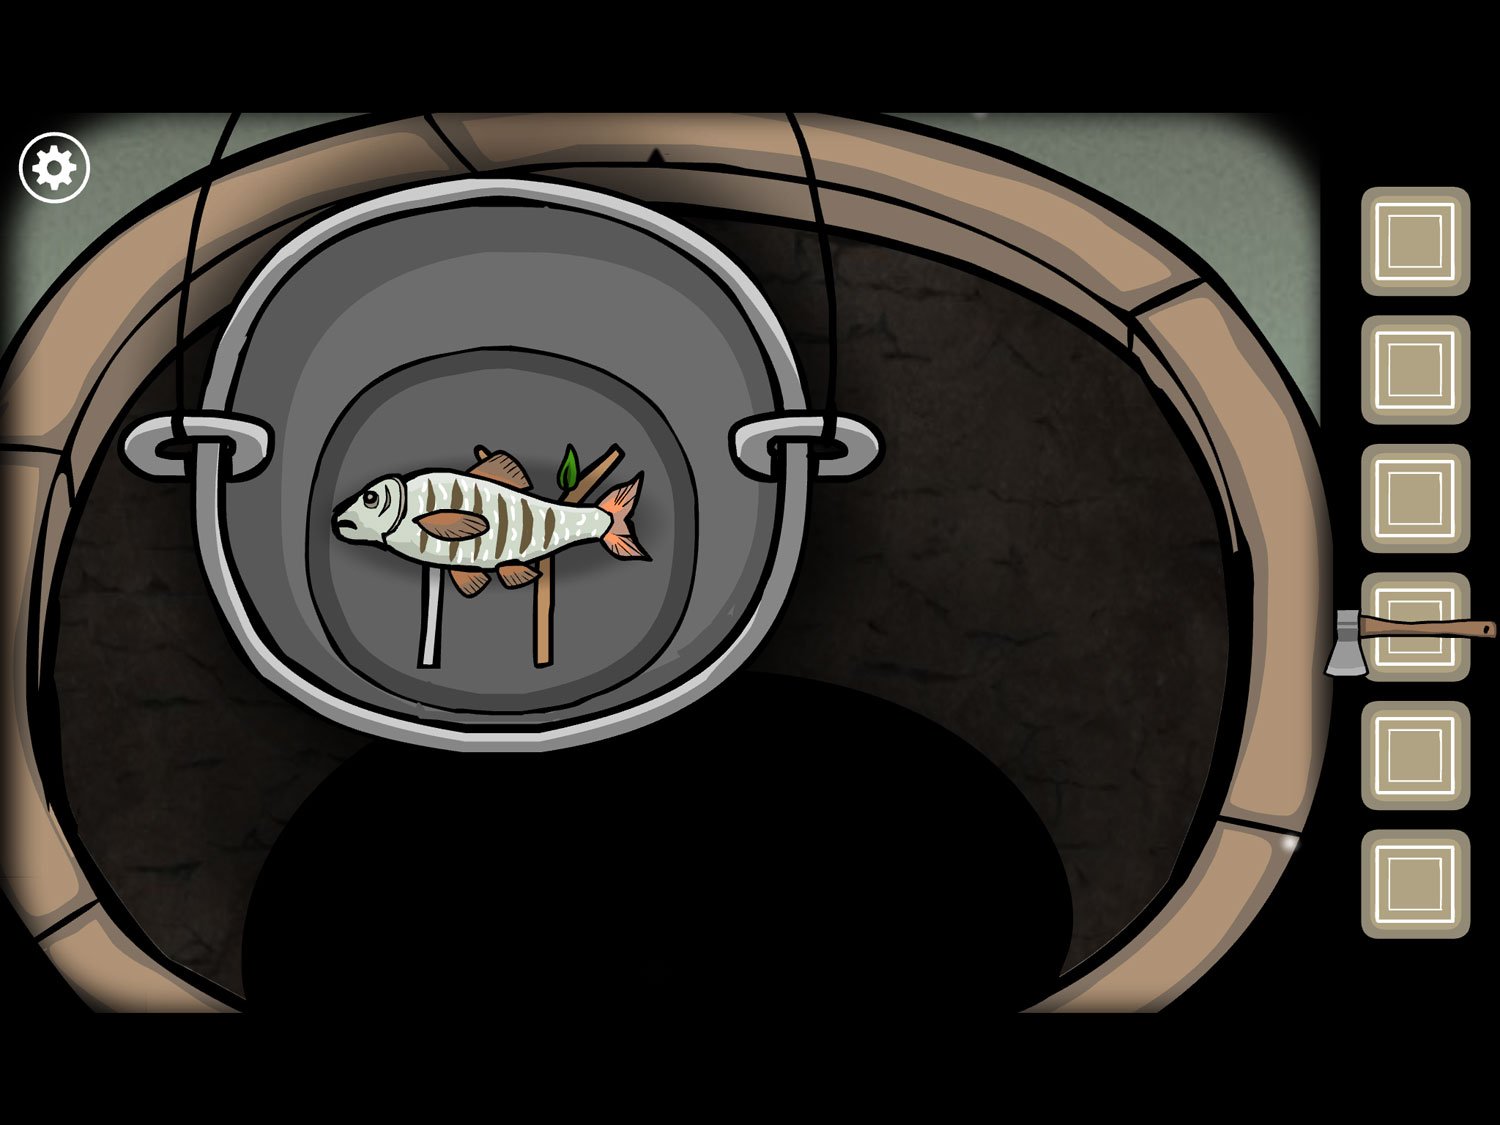
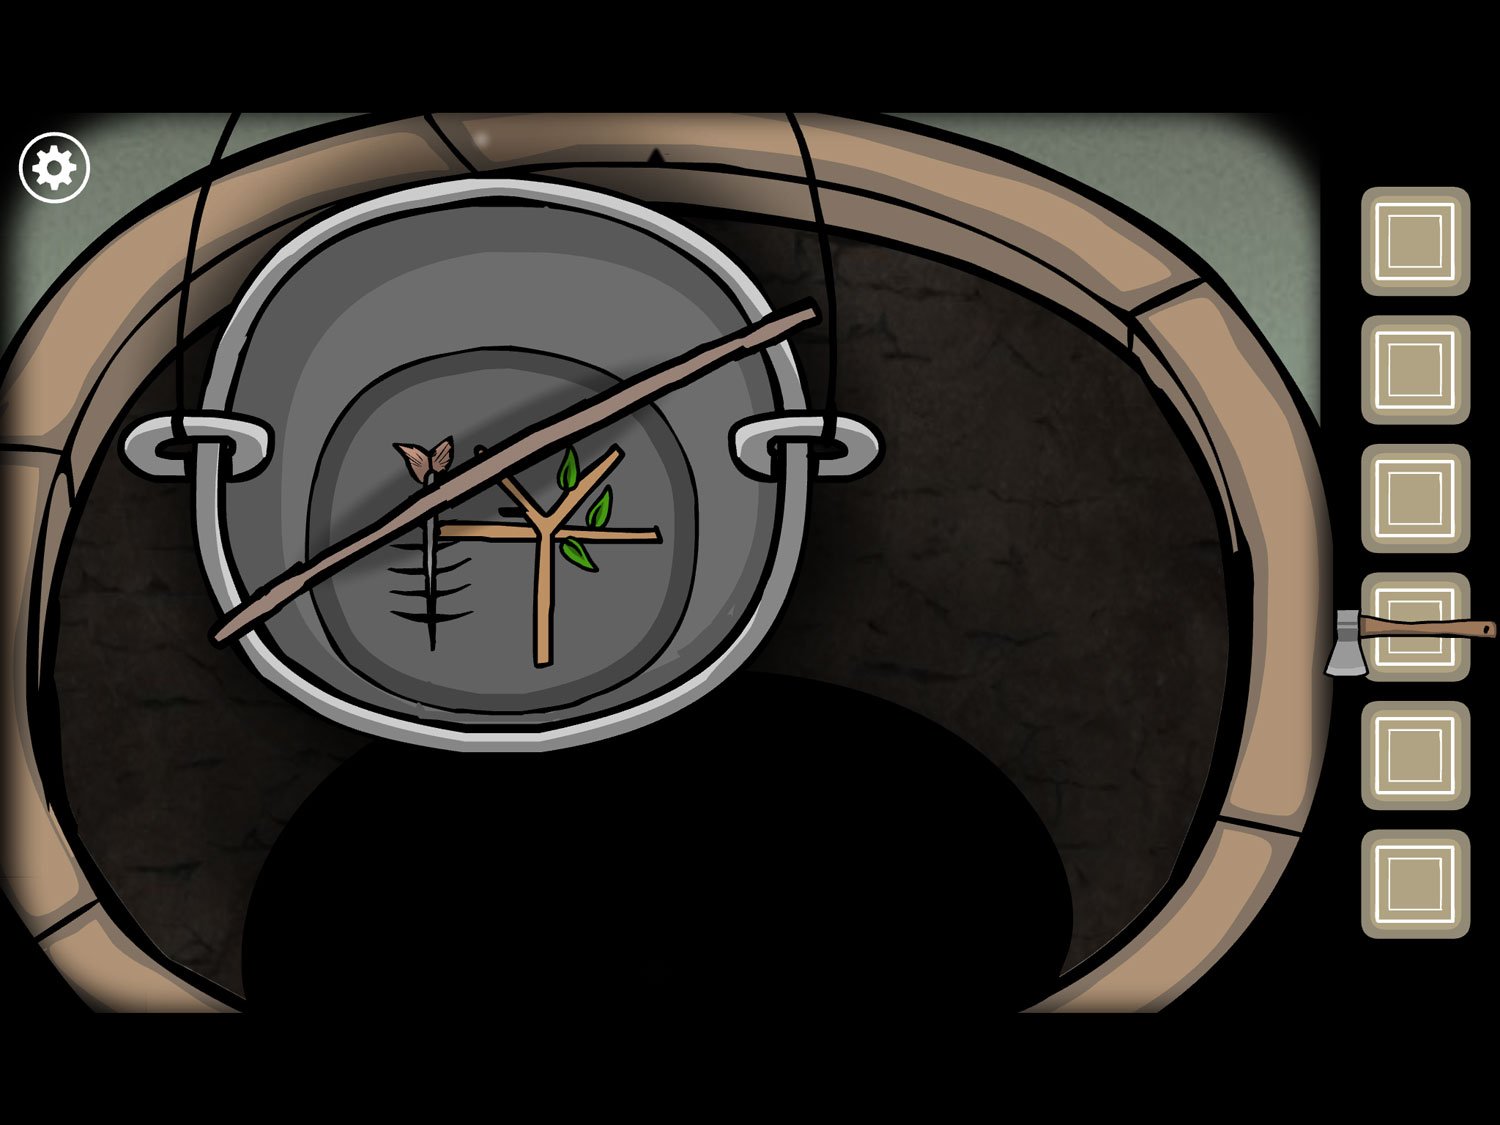
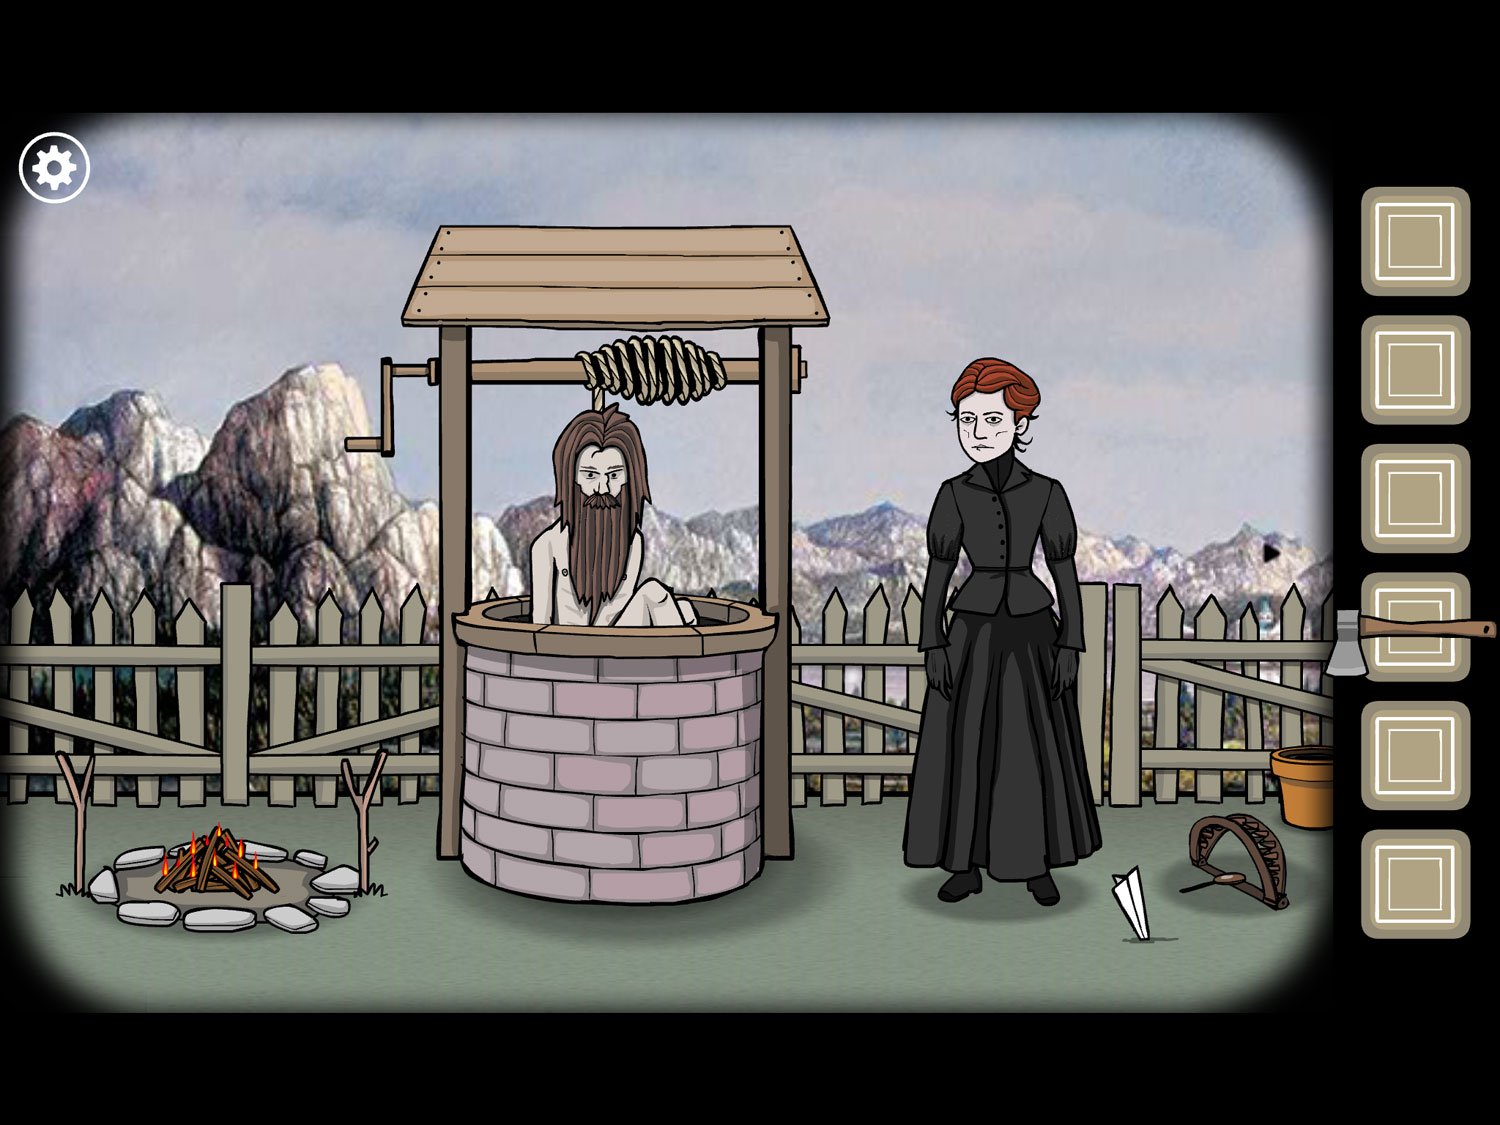
Level 30: Checkmate, Fall 1926 – Frank, Albert
Location: Upstairs bedroom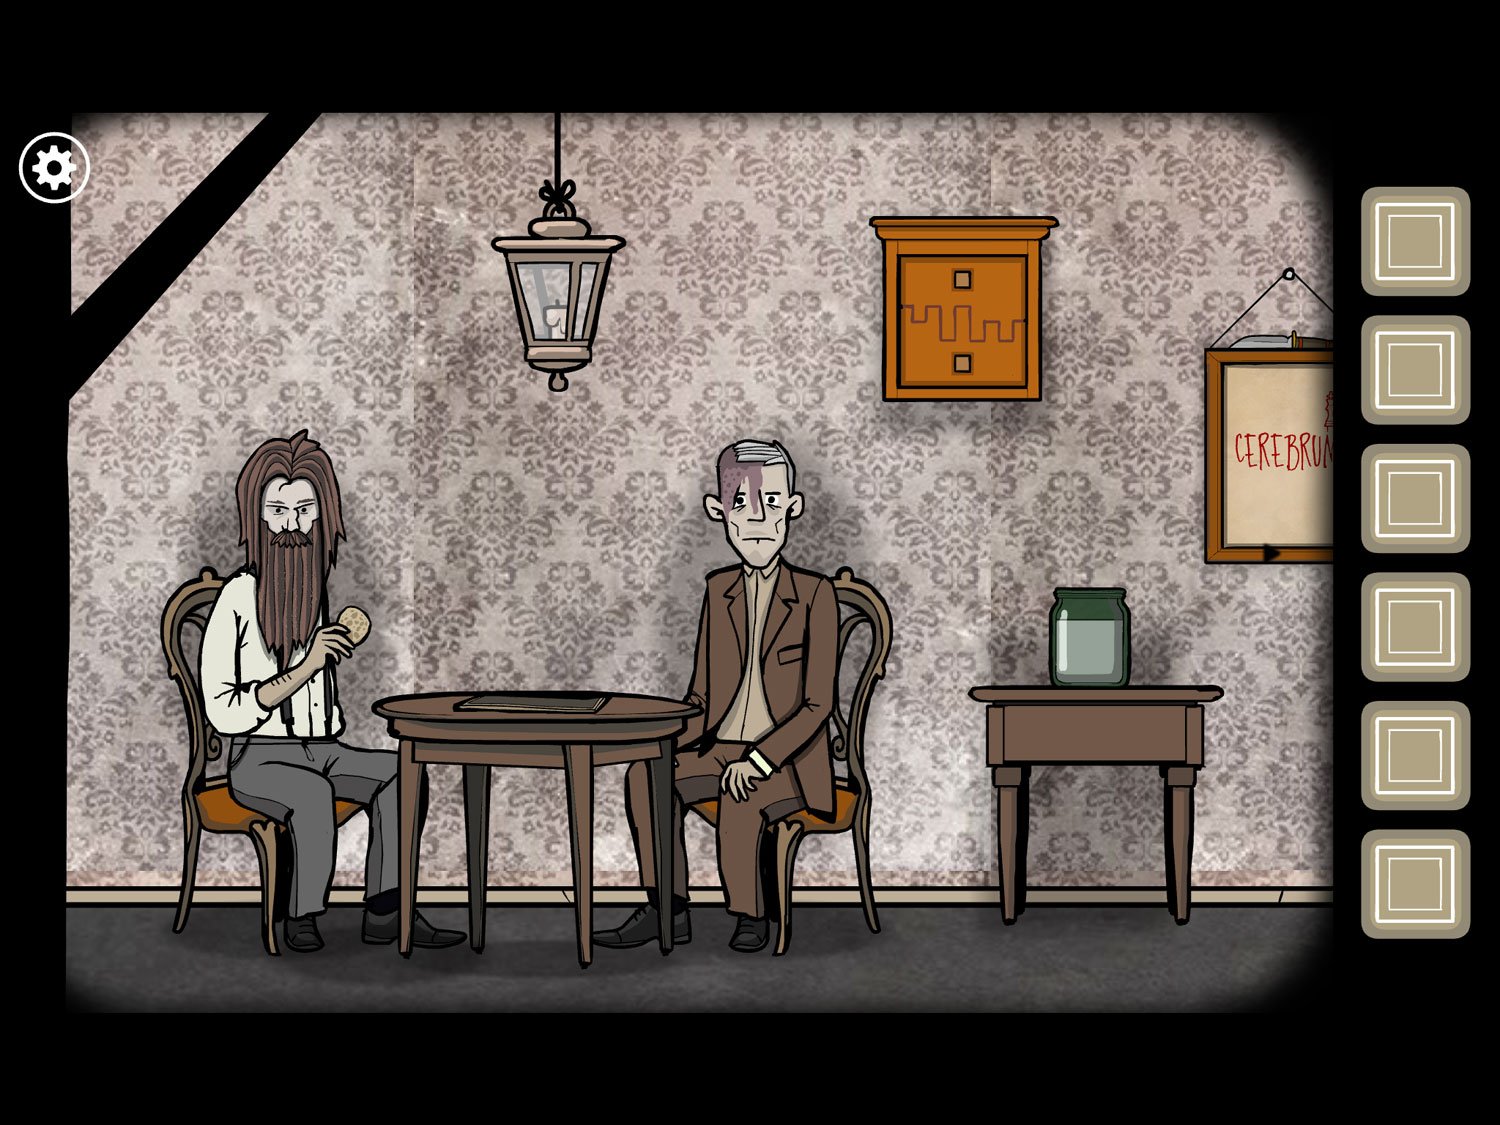
- Tap on the wooden box on the wall right of Albert
- Tap the buttons in the following order: top, bottom, top, bottom, bottom, top, top, bottom, bottom, top, bottom, top
- Tap the box to open it; tap the Knight to get CHESS HORSE
- Zoom out. Tap the poster right of the wooden box
- Take KNIFE from the top of the poster. Remember the word “CEREBRUM” with the King over the M. Zoom out
- Scroll left to Frank and Albert. Tap on Frank
- Tap on Frank’s hand. Use KNIFE on the potato in his hand
- Tap seven times to carve it and get CHESS KING
- Zoom out. Tap the chessboard
- Use CHESS HORSE on the chessboard. Use CHESS KING on the chessboard
- You now need to move the Knight onto the King. To move the Knight, just tap where you want him to go. Just like a regular chess Knight he can only move in L-formation. And he cannot move onto any of the X spaces
- If we labeled the columns of this chessboard ABCDEF from the upper left to the king (King at F1), and the rows 123456 from the upper left to the Knight (Knight at A6), you should move the Knight in this order: C5, B3, A1, C2, E3, F1 (King)
- Zoom out after taking the King. Albert will be wearing a crown
- Zoom back in. The board will be reset with letters all over the spaces
- We need to spell “CEREBRUM” with our steps this time. Just like before, simply tap where you want the Knight to end up
- Move in this order: B4 (C), A2 (E), C1 (R), A2 (E), C3 (B), E4 (R), D2 (U), F1 (M and King)
- Zoom out. Frank is now standing behind Albert with his hands around his neck
- Tap on Frank to zoom in. Tap Albert twice to choke him. Frank leaves
- Tap on Albert to zoom in again. Tap him and the crown flies up, revealing his brain
- Use KNIFE on his brain to get BRAIN
- Zoom out. Tap on the jar just right of Albert. Use BRAIN on the jar
- Tap on the jar to reveal the white square and exit. Albert’s brain is added to your list of sacrifices
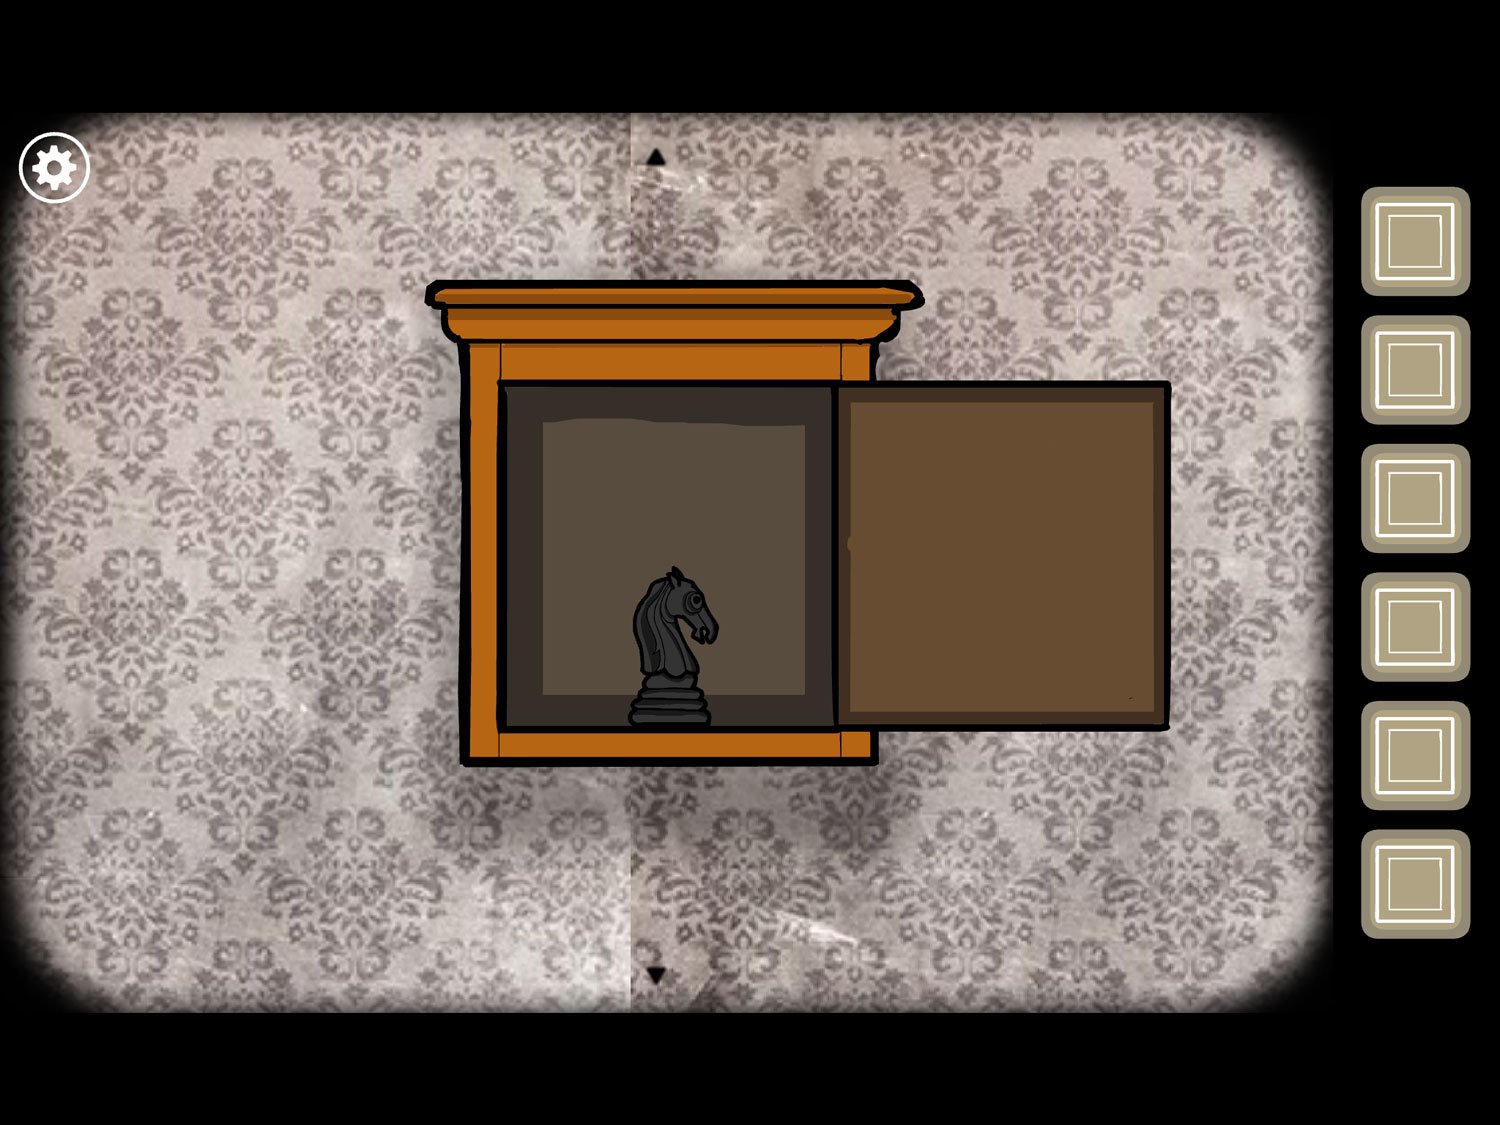
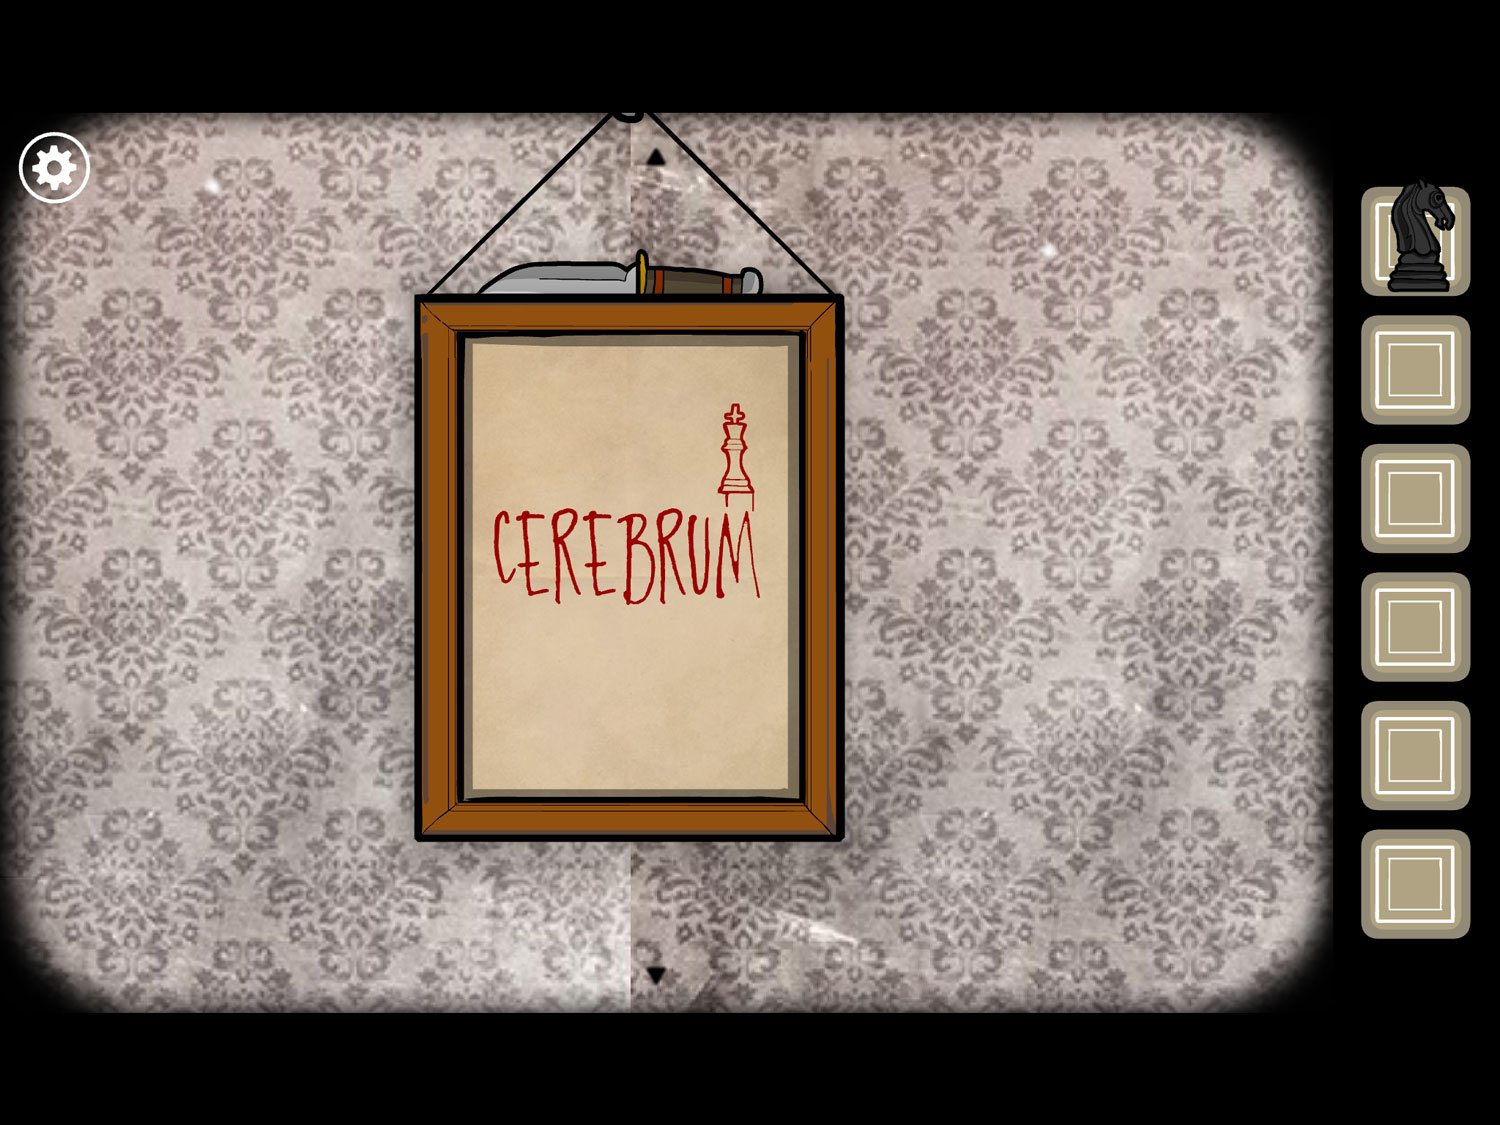
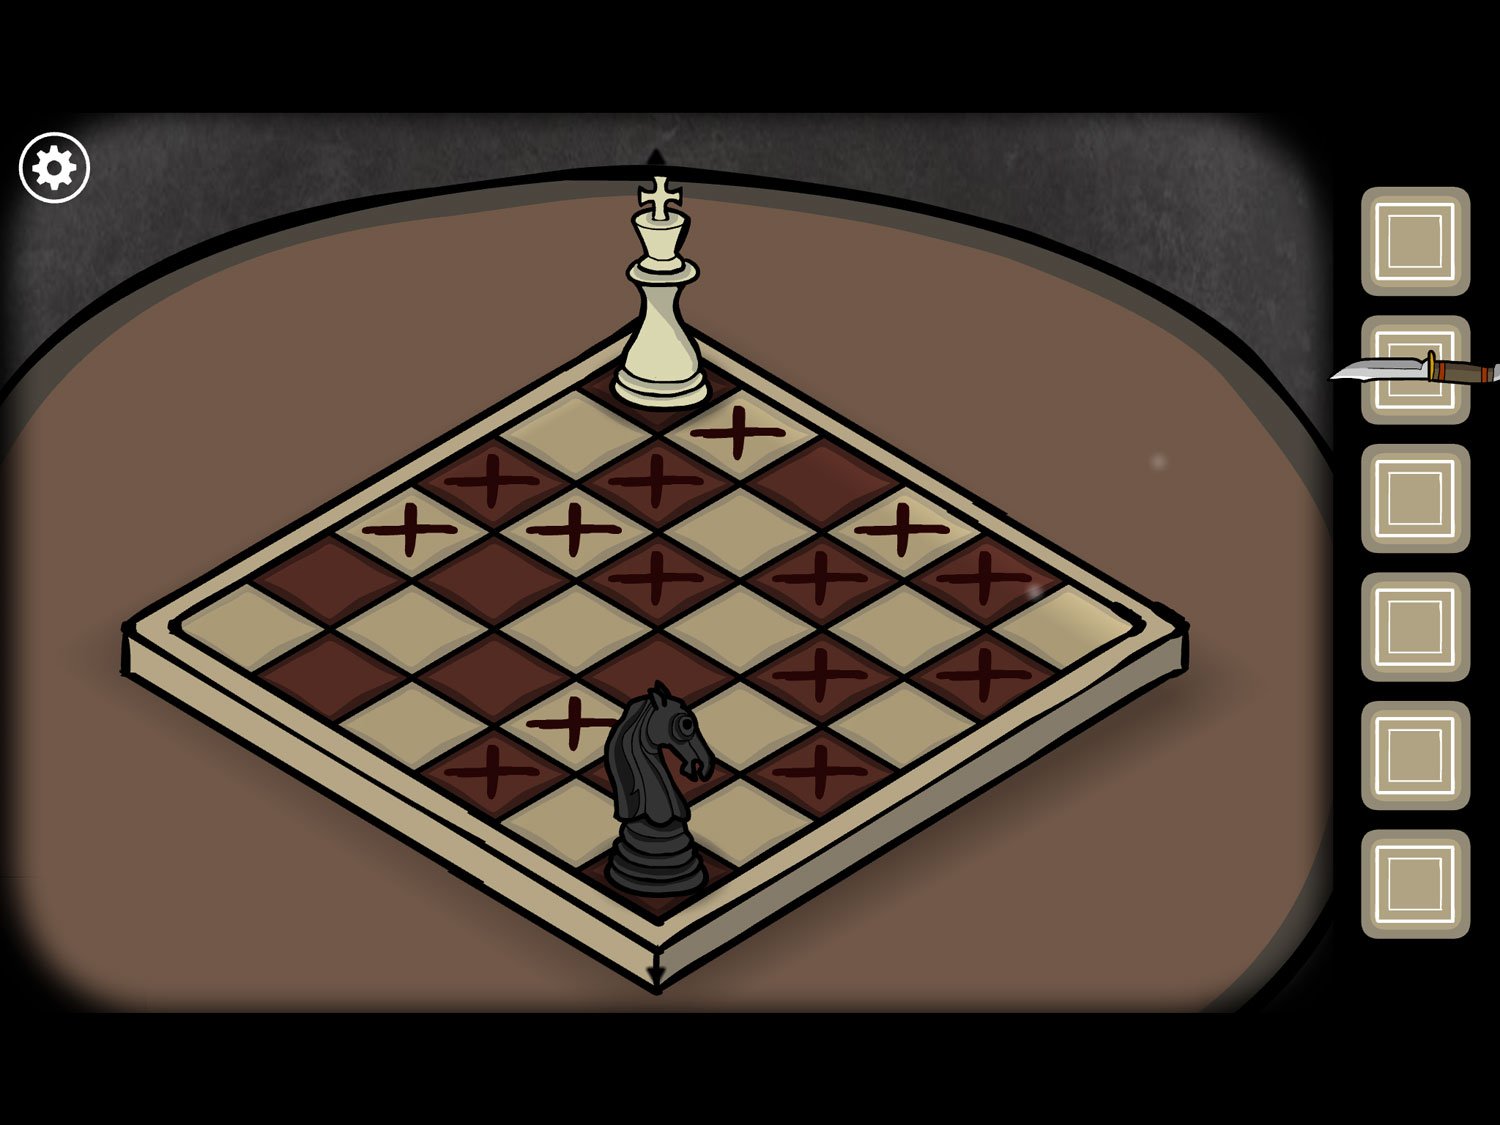
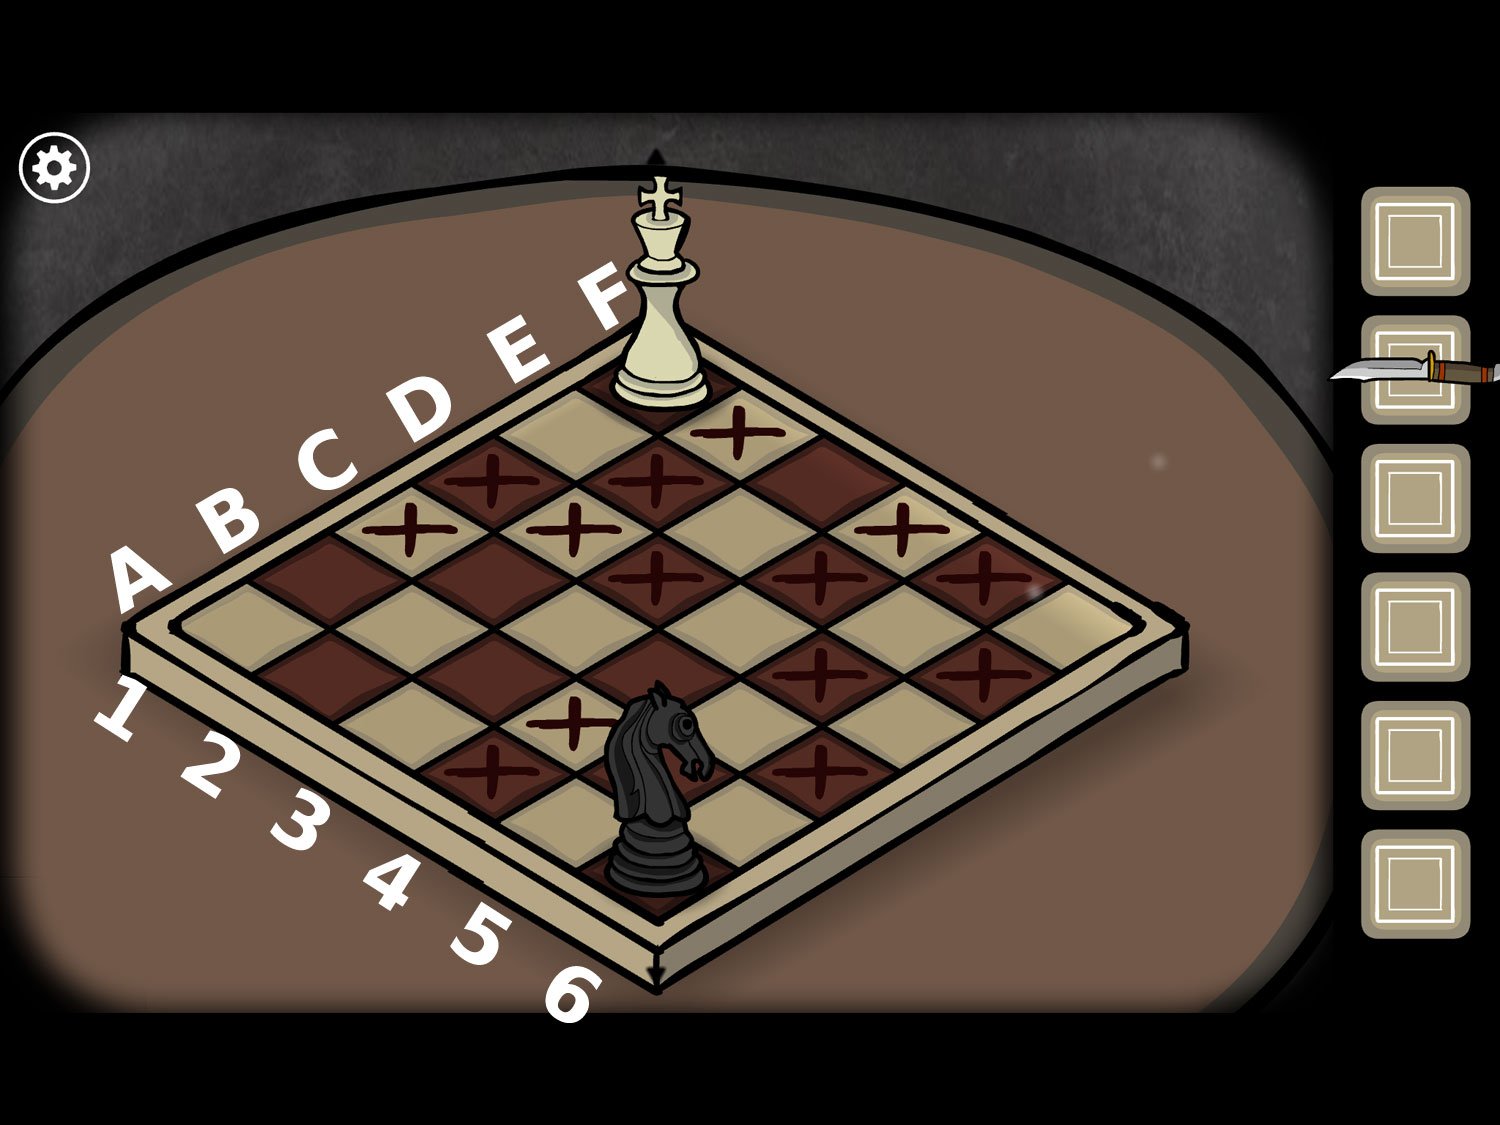
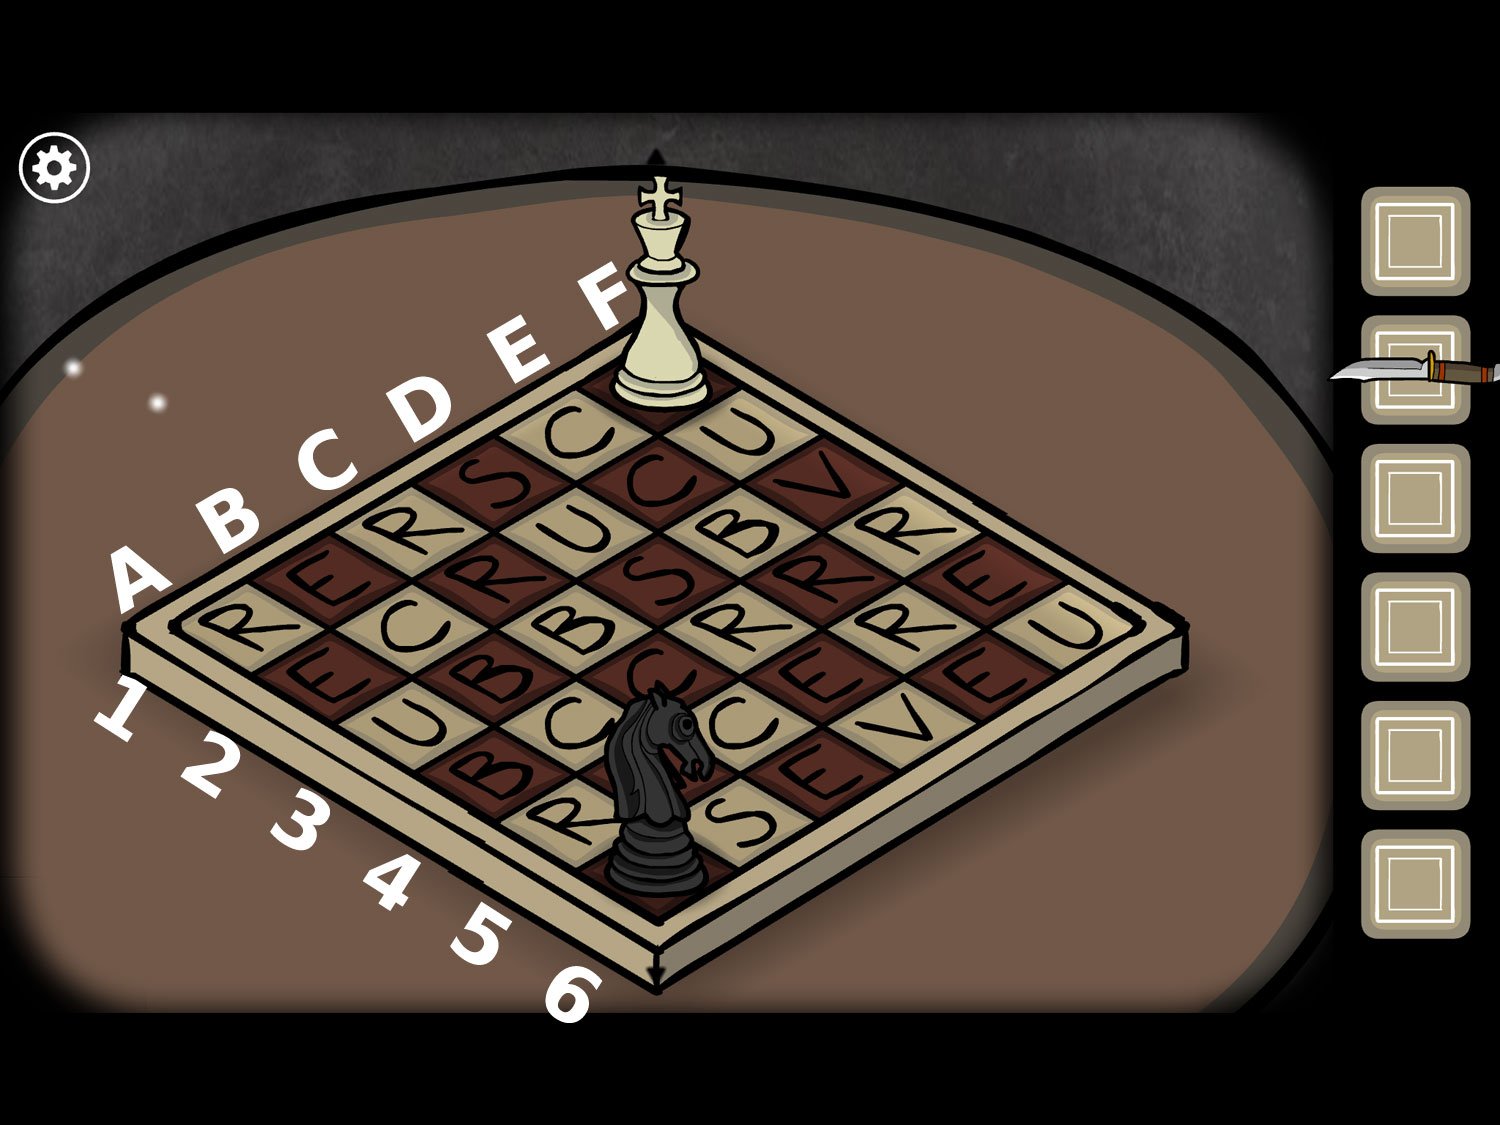
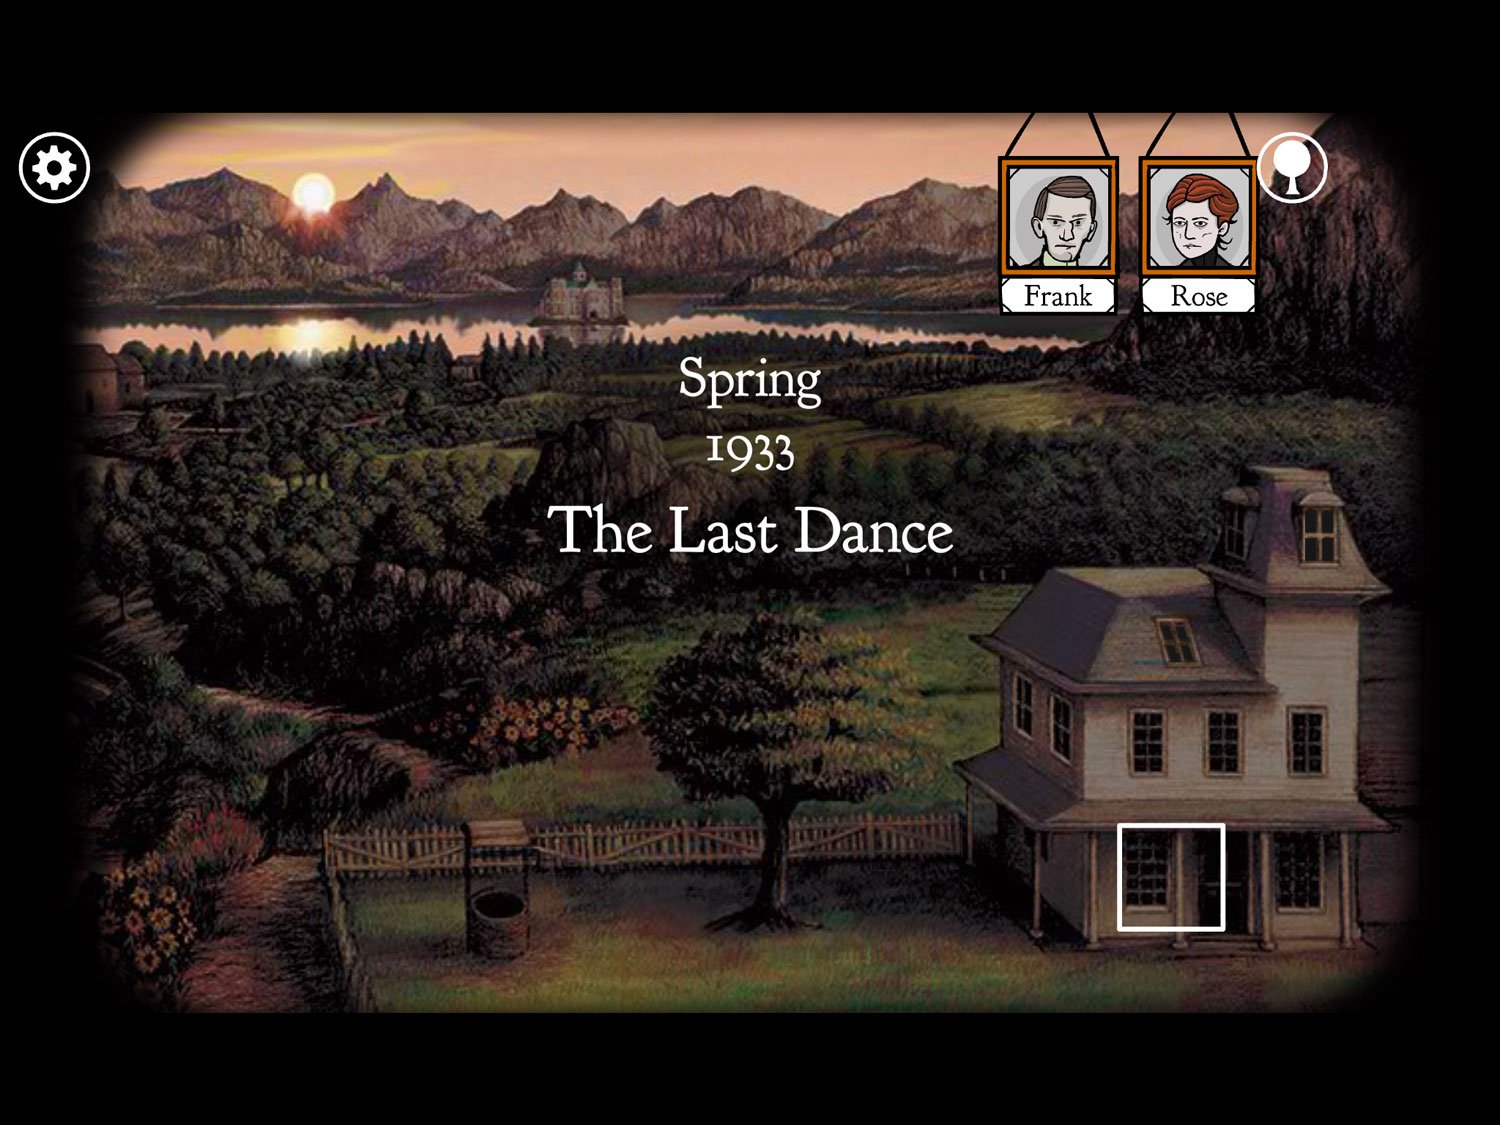
Level 31: The Last Dance, Spring 1933 – Frank, Rose
Location: Parlor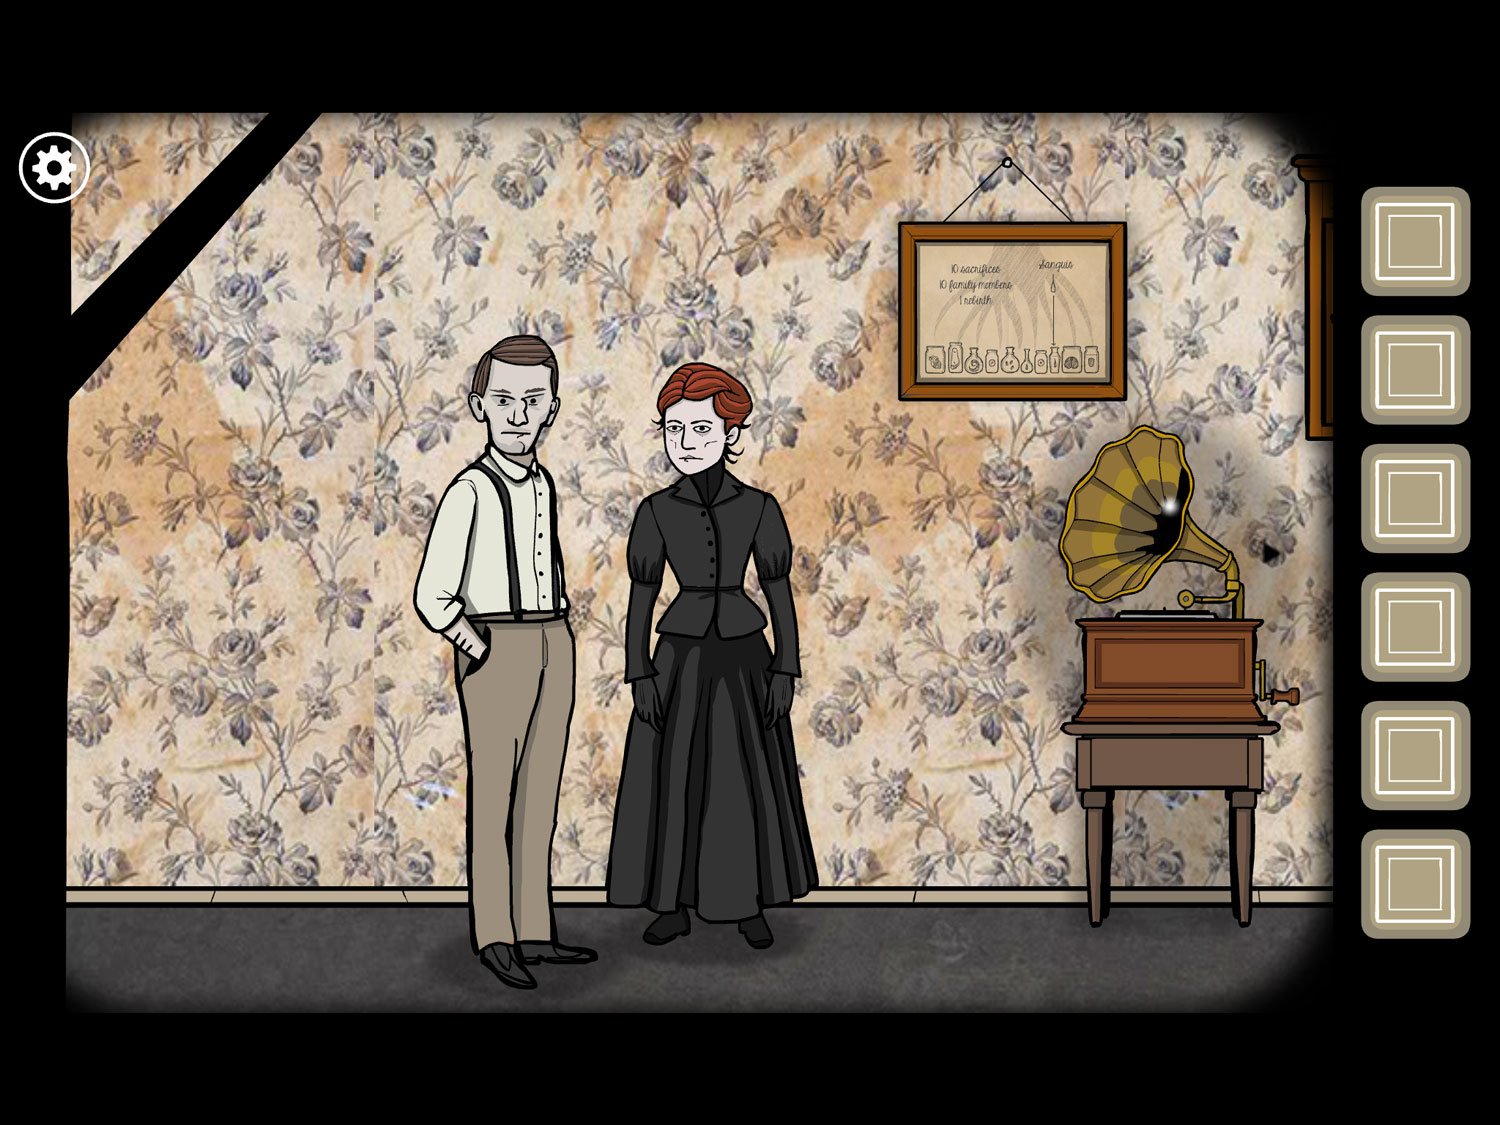
- Scroll right. Tap on the wooden dresser on the far right
- This is a sliding block puzzle. You need to slide the yellow block onto the square with the design. If you ever need to reset the blocks, hit the red button on the upper right of the dresser
- For this first one, slide the yellow block down and then right
- When the block hits the right spot, the door will open, revealing another puzzle
- For puzzle two, slide the top block down then right. Slide the bottom block left
- For puzzle three, slide the middle block right, then down. Slide the leftmost block left and the rightmost block right
- For puzzle four, slide the bottom block up and then left. Slide the other two blocks right
- For puzzle five, slide the left-bottom block right then down. Slide the rightmost block down. Slide the leftmost block right, then down, then right. Slide the bottom block right. Slide the remaining block up
- For puzzle six, slide the top block left. Slide the bottom block up. Slide the top block right, then down, then left, then up, then right. Slide the remaining block left
- After puzzle six is complete, the dresser slides open. Take the Vanderboom’s Family Time record to get RECORD
- Before leaving, note the icons etched in the dresser above the record. They point right, right, left, left, right, right, right, left, left, left, right, right
- Zoom out. Tap on the record player
- Use RECORD on the player then tap on the handle to begin playing it
- Zoom out. Frank holds his hand out to Rose. Tap them and they move into a dancing position
- If you tap Frank, the couple will move left. If you tap Rose, they will move right
- Recreate the icons you saw in the dresser that held the record: tap Rose, Rose, Frank, Frank, Rose, Rose, Rose, Frank, Frank, Frank, Rose, Rose
- Once completed correctly, they stop dancing and Rose holds up a key. Tap Rose and take KEY
- Zoom out and go to the glass cabinet above the dresser
- Use KEY on the cabinet; tap to open it
- Take DRESS and RECORD (2)
- Note the icons etched in this cabinet: right, right, right, left, right, left, right, left, left, right, right, right. Zoom out
- Tap the record player. Tap the handle to stop the music; tap the record to take it
- Use RECORD (2) on the record player. Use the handle to begin playing it
- Zoom out. Tap on Rose. Give her DRESS
- Zoom out. Frank holds out his hand again. Tap them to begin dancing
- Move the couple to match the icons from the glass cabinet: tap Rose, Rose, Rose, Frank, Rose, Frank, Rose, Frank, Frank, Rose, Rose, Rose
- Once completed, they stop dancing and Rose holds up her hand. You’ll hear a crash
- Tap on the record player. The record has broken
- Tap the needle laying on the record player to get NEEDLE
- Zoom out; tap on Rose
- Tap on her again to zoom in on her hand
- Use NEEDLE on the X on the tip of her index finger. She begins bleeding
- Tap her blood to reveal the white square and exit. Rose’s blood is added to the list of sacrifices; it is the last of the ten
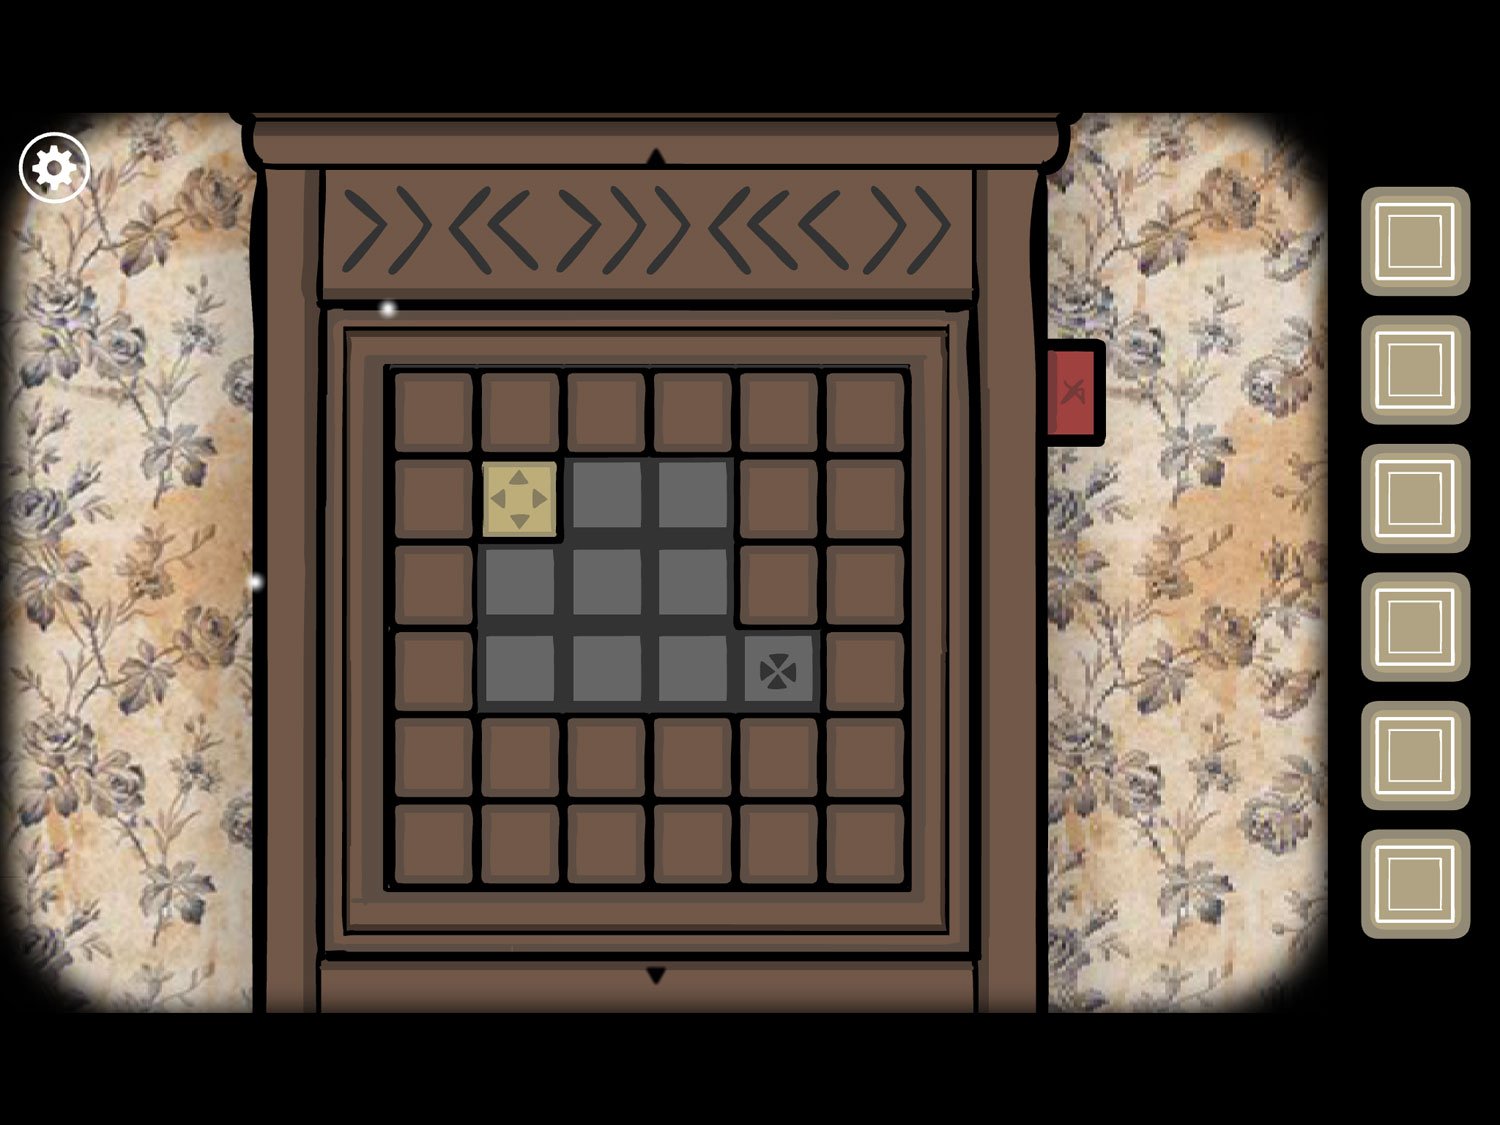
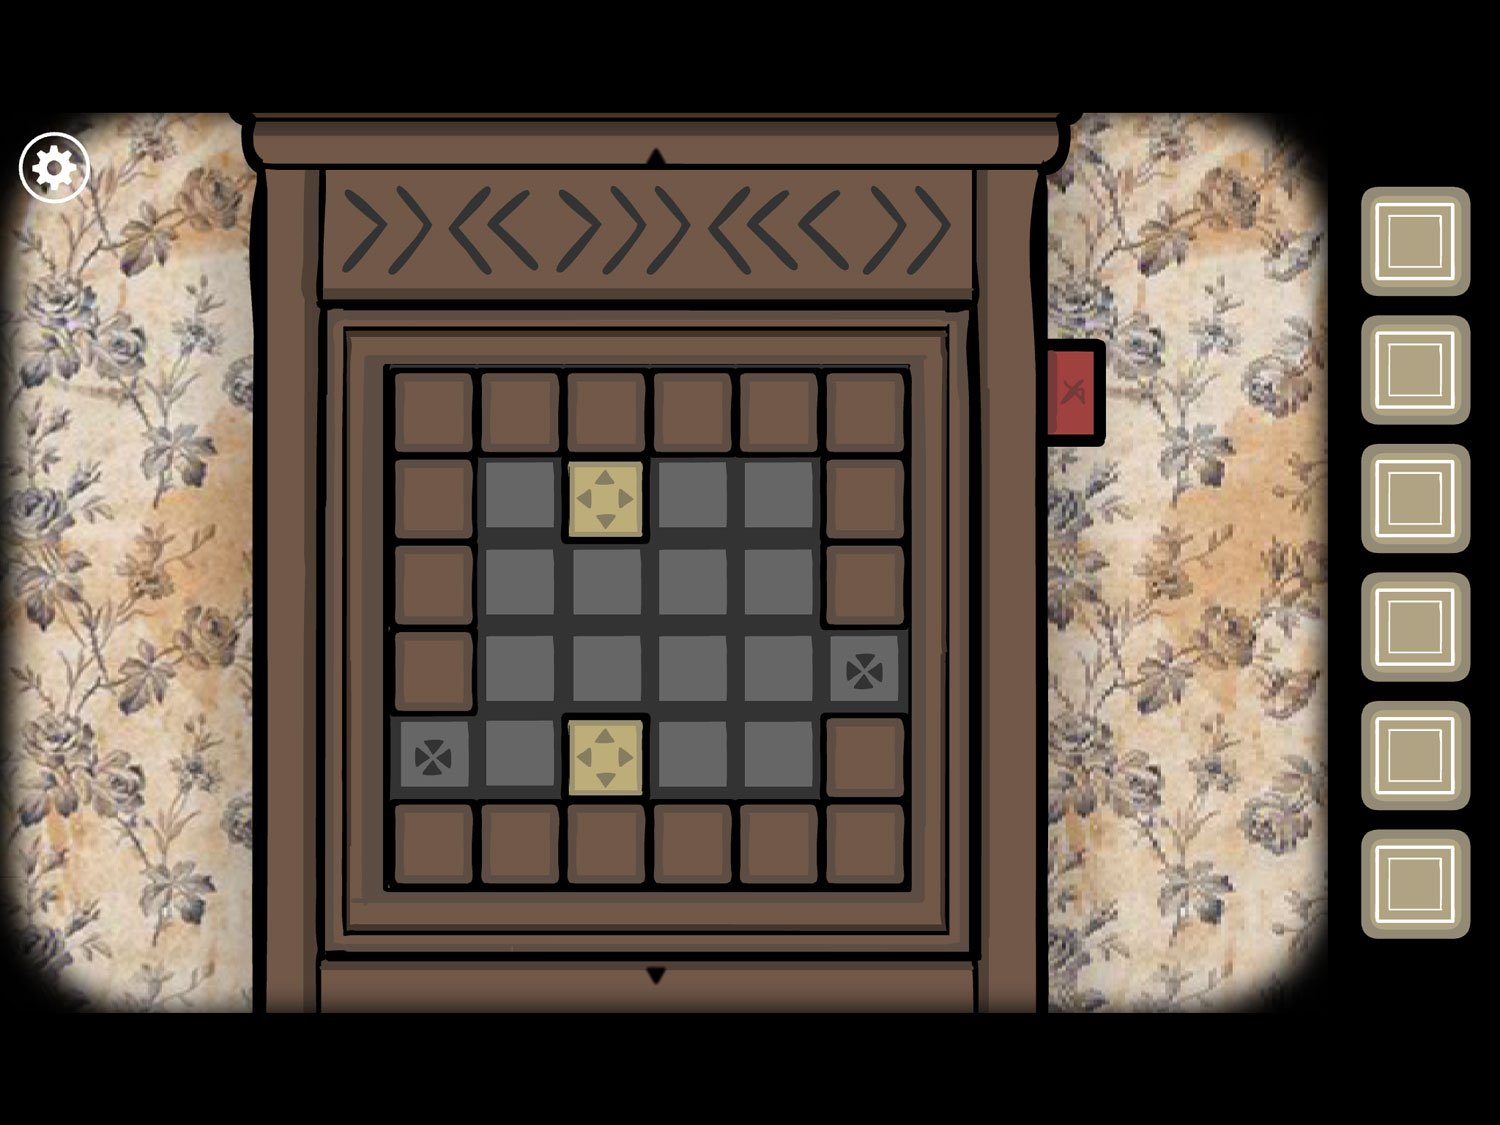
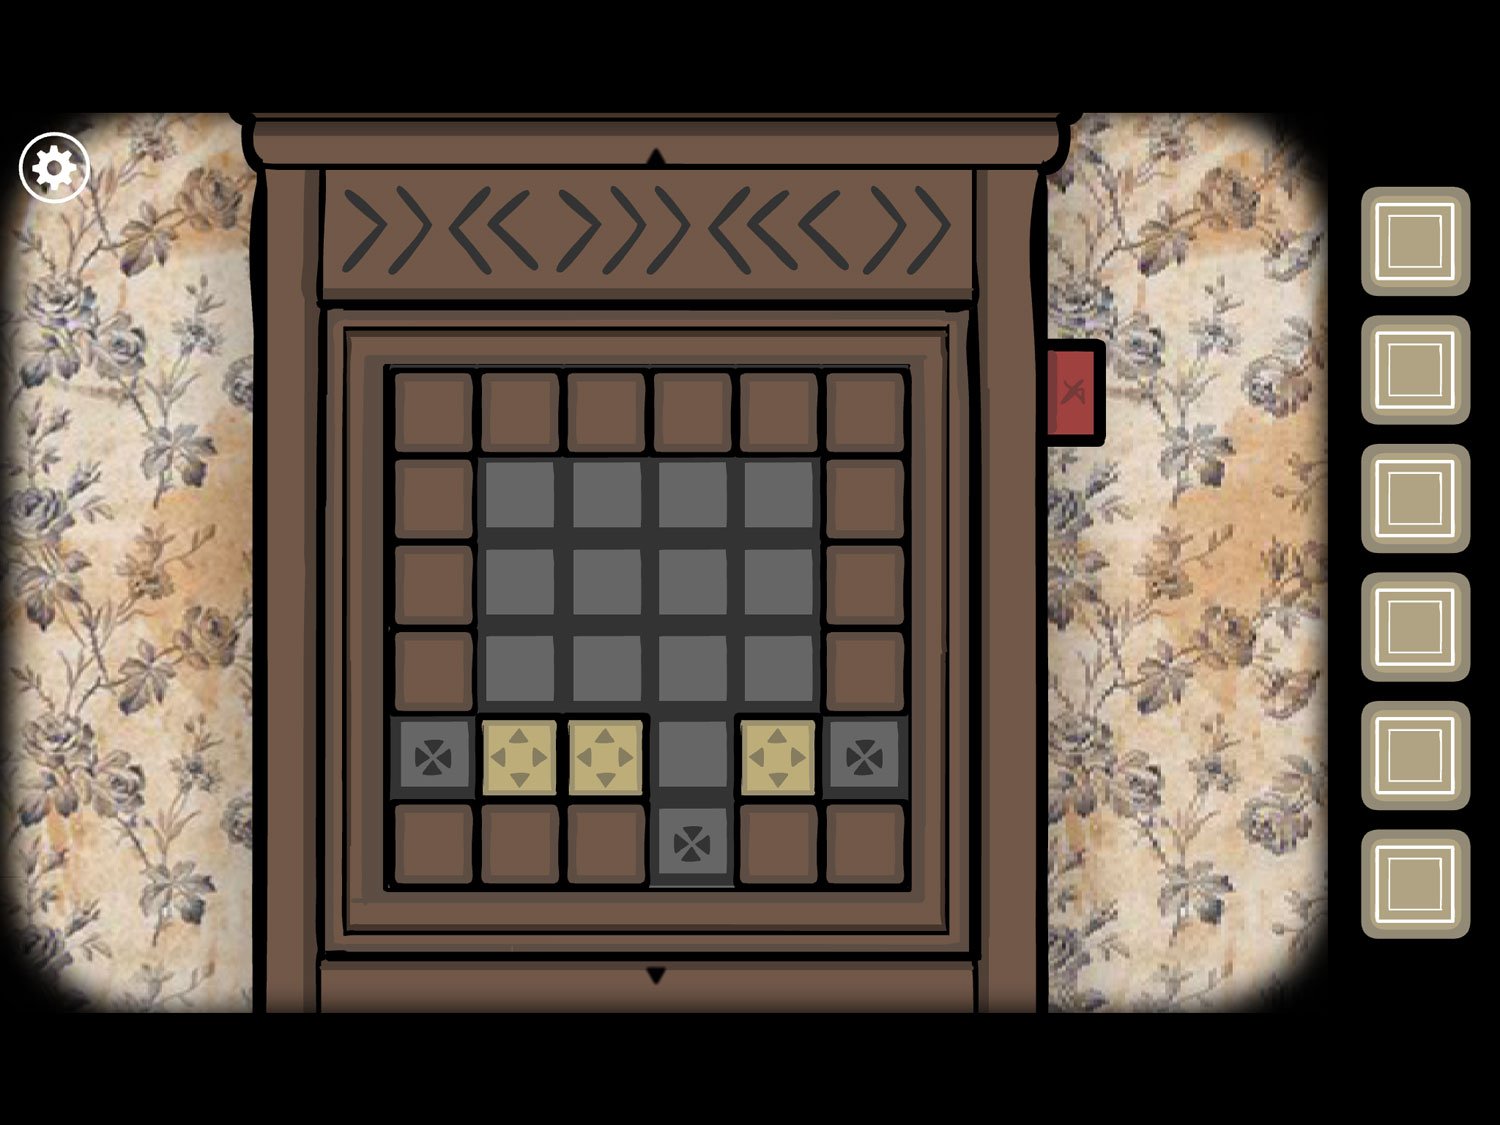
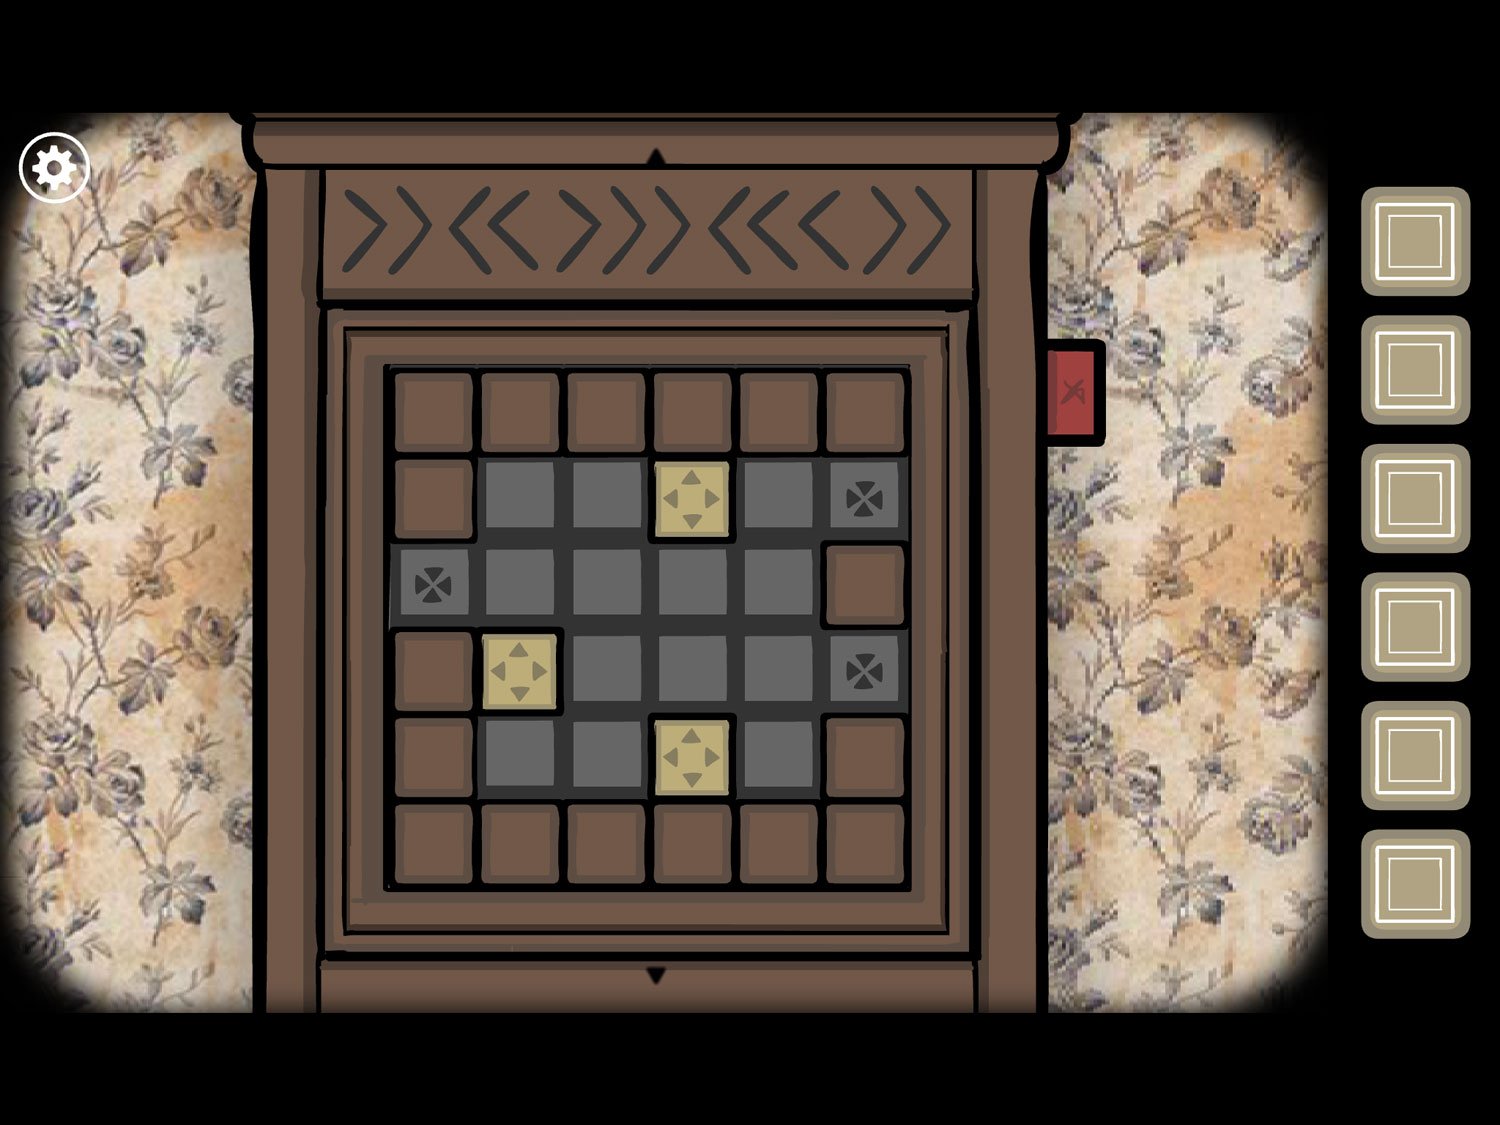
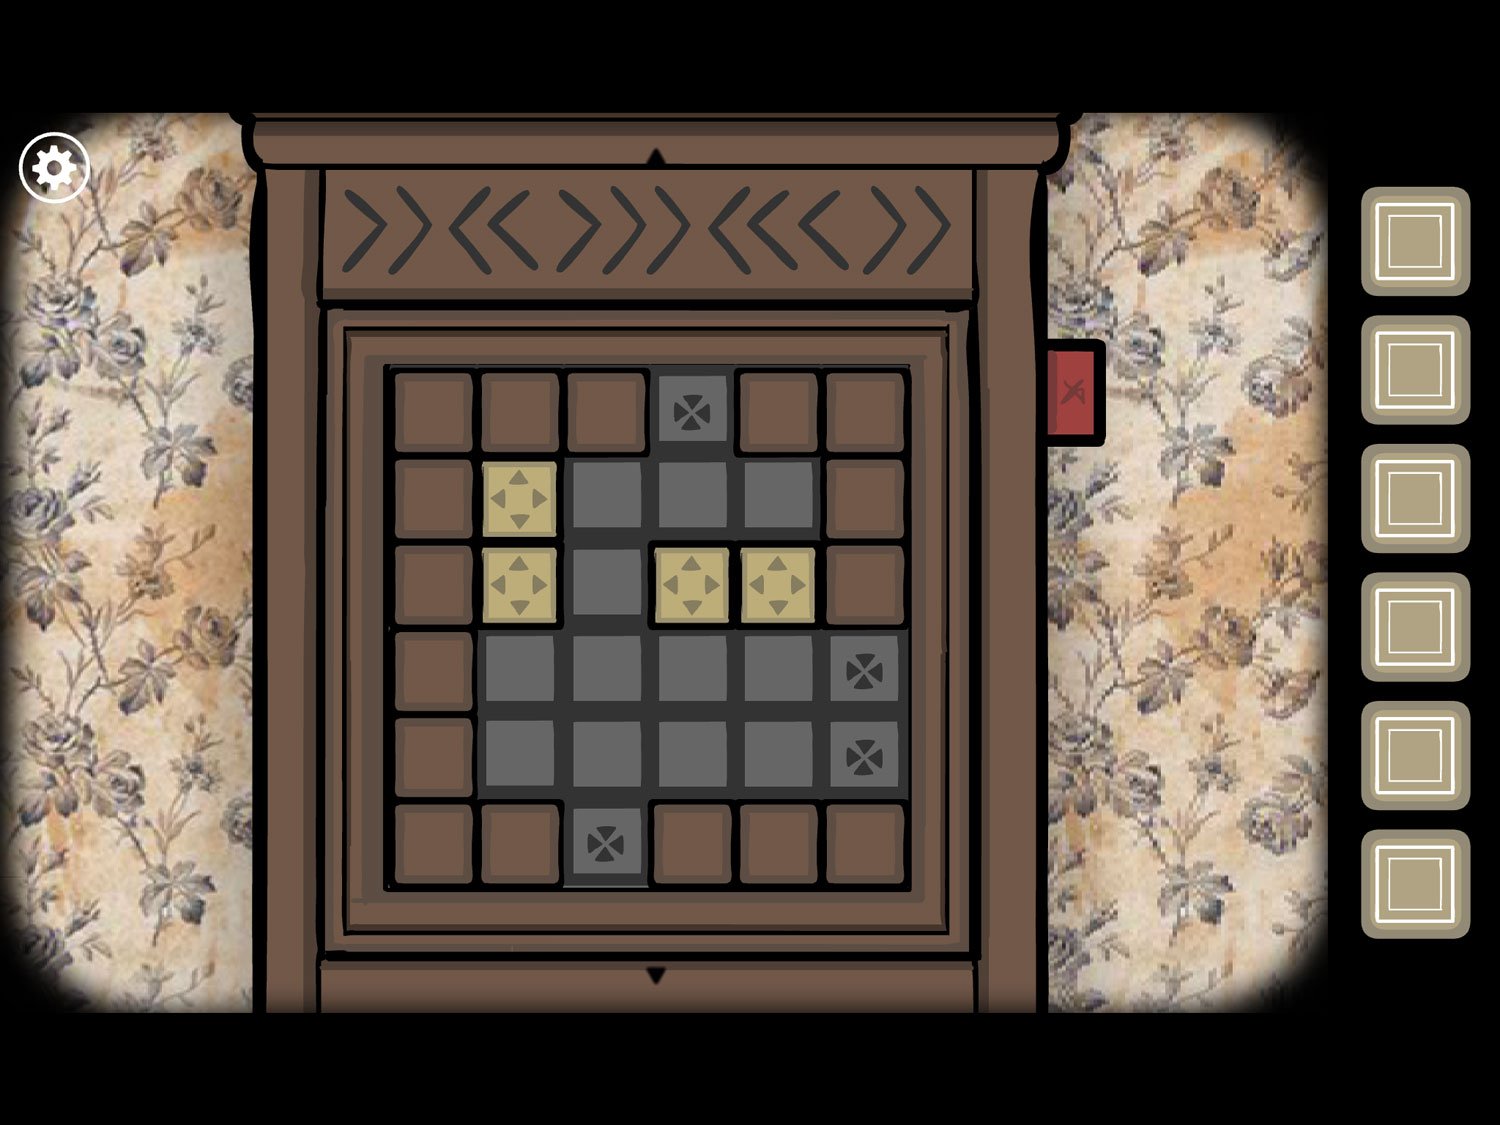
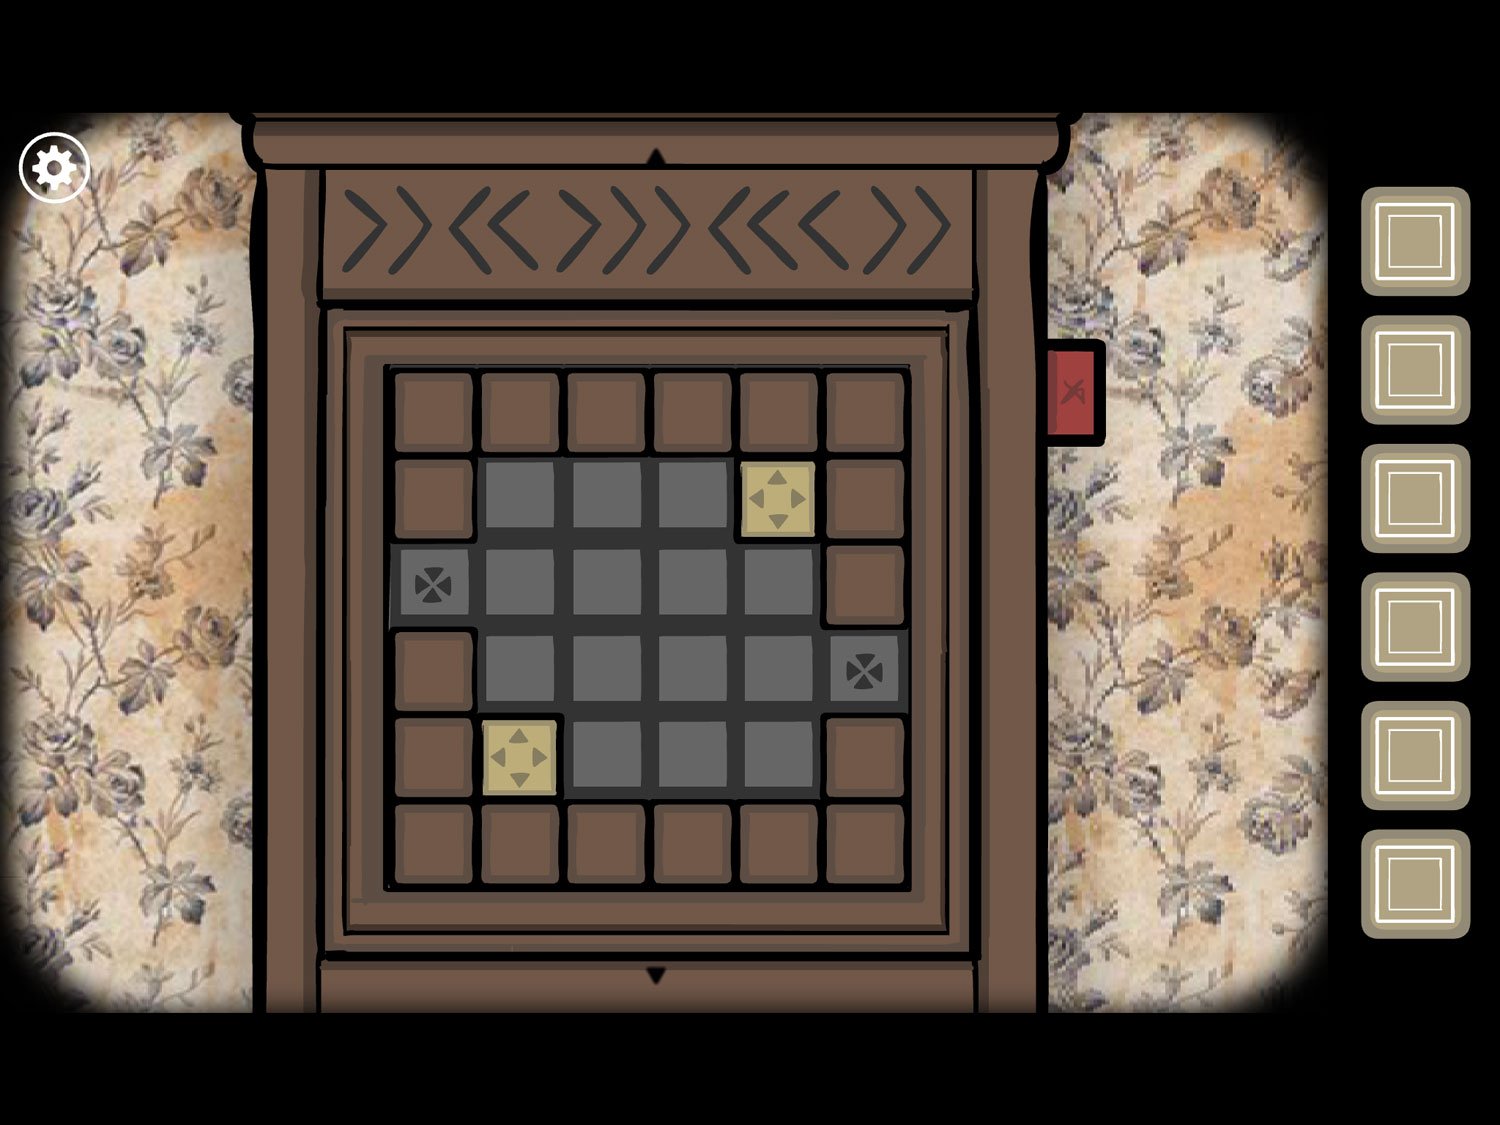
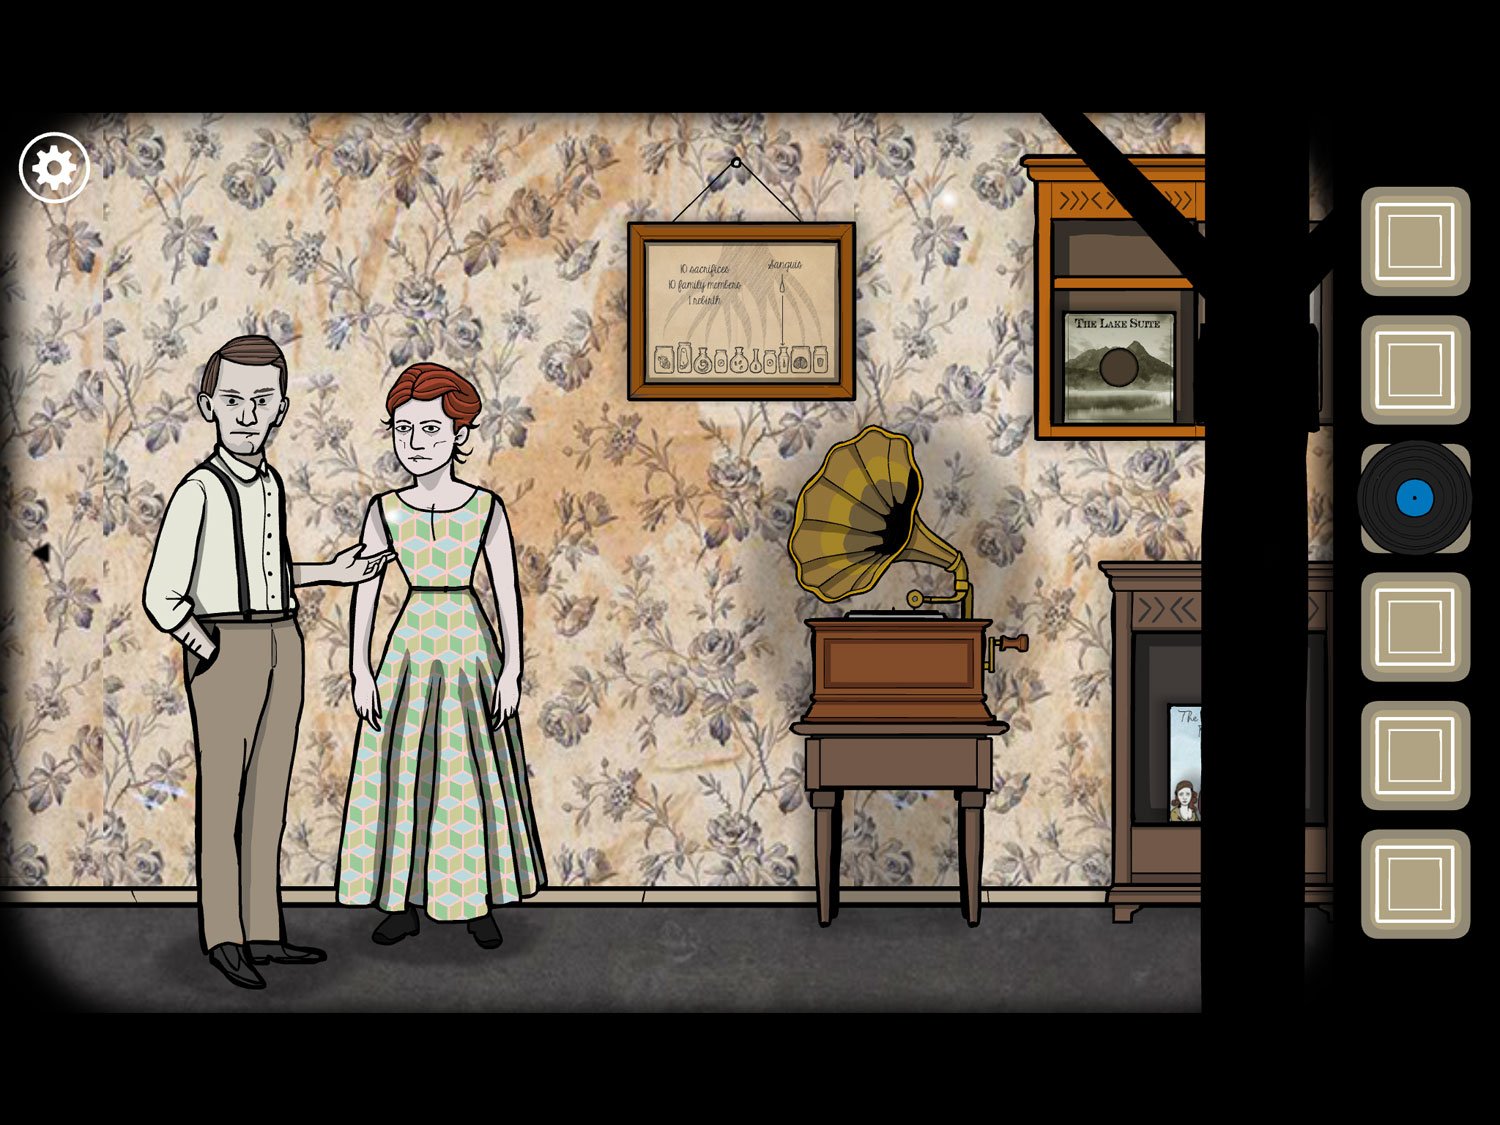
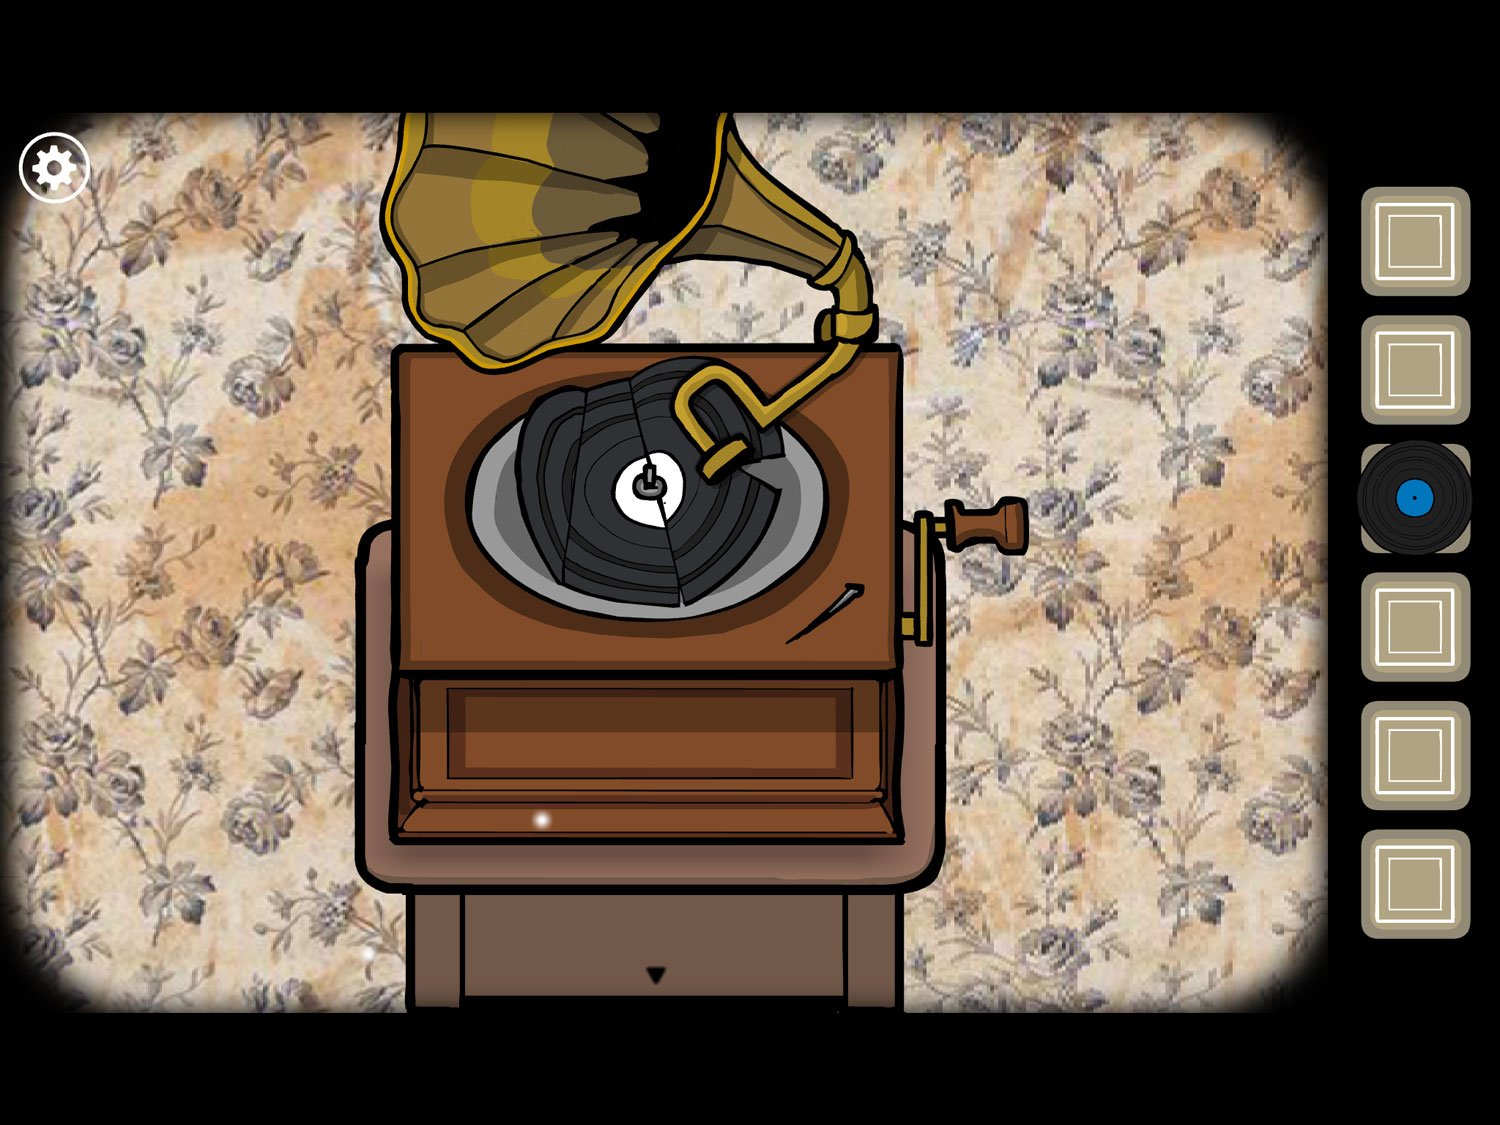
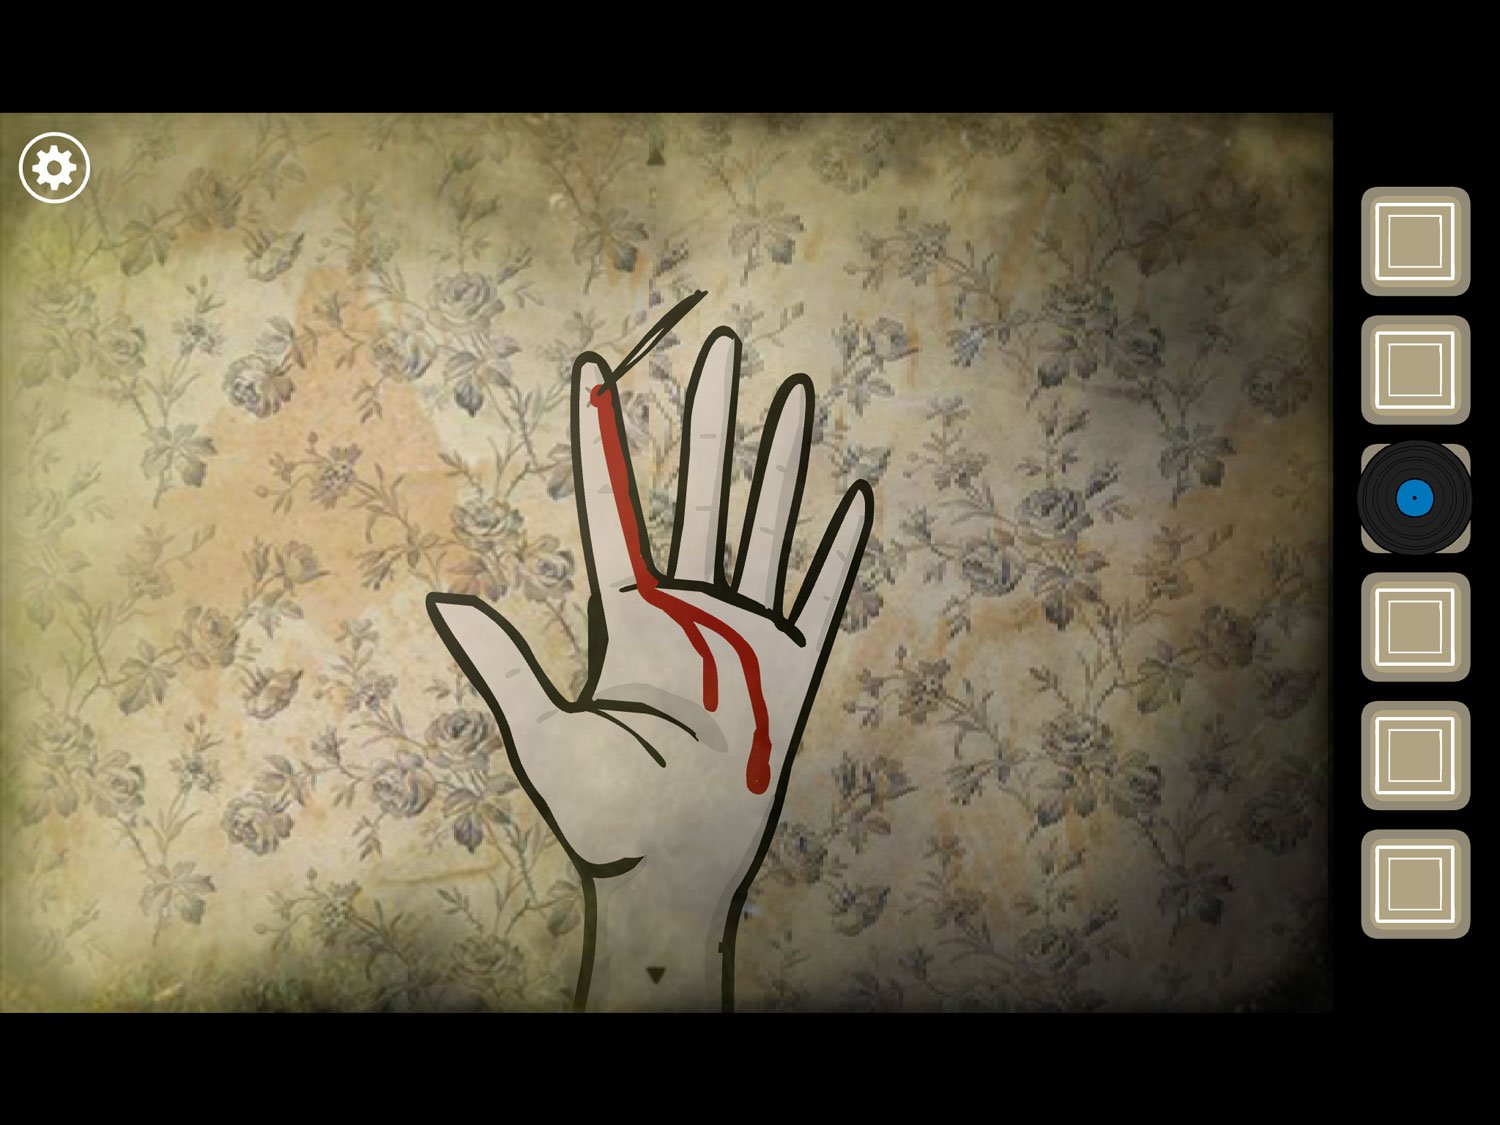
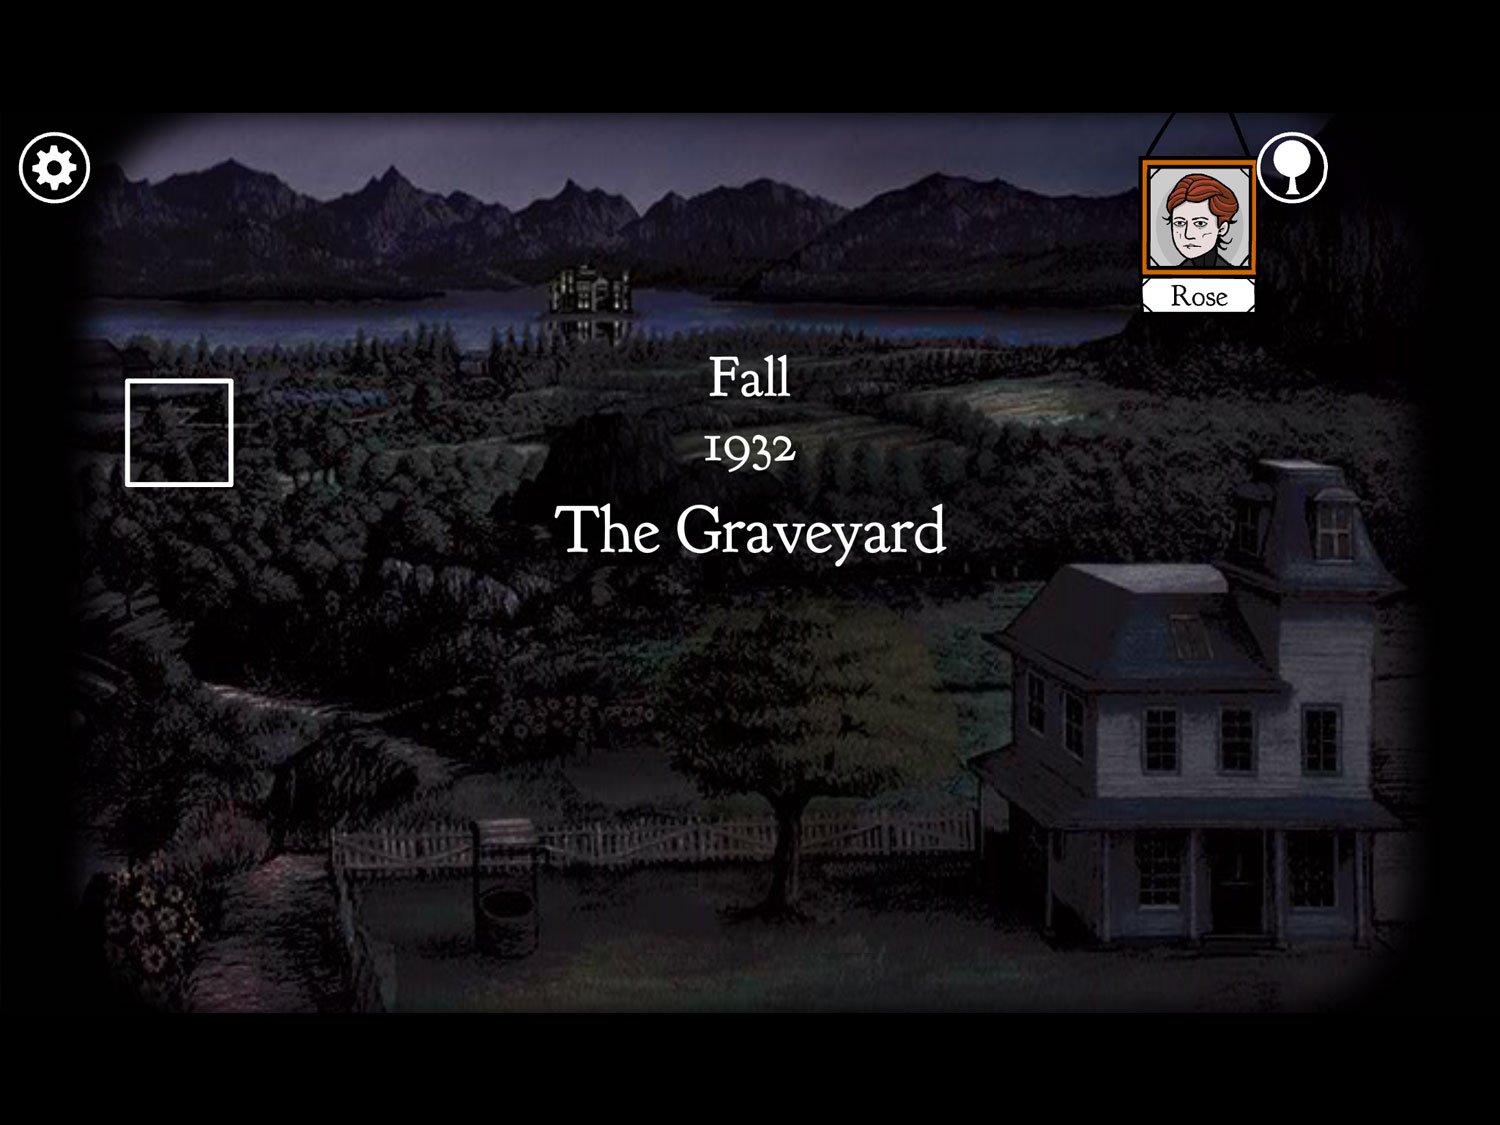
Level 32: The Graveyard, Fall 1932 – Rose
Location: Graveyard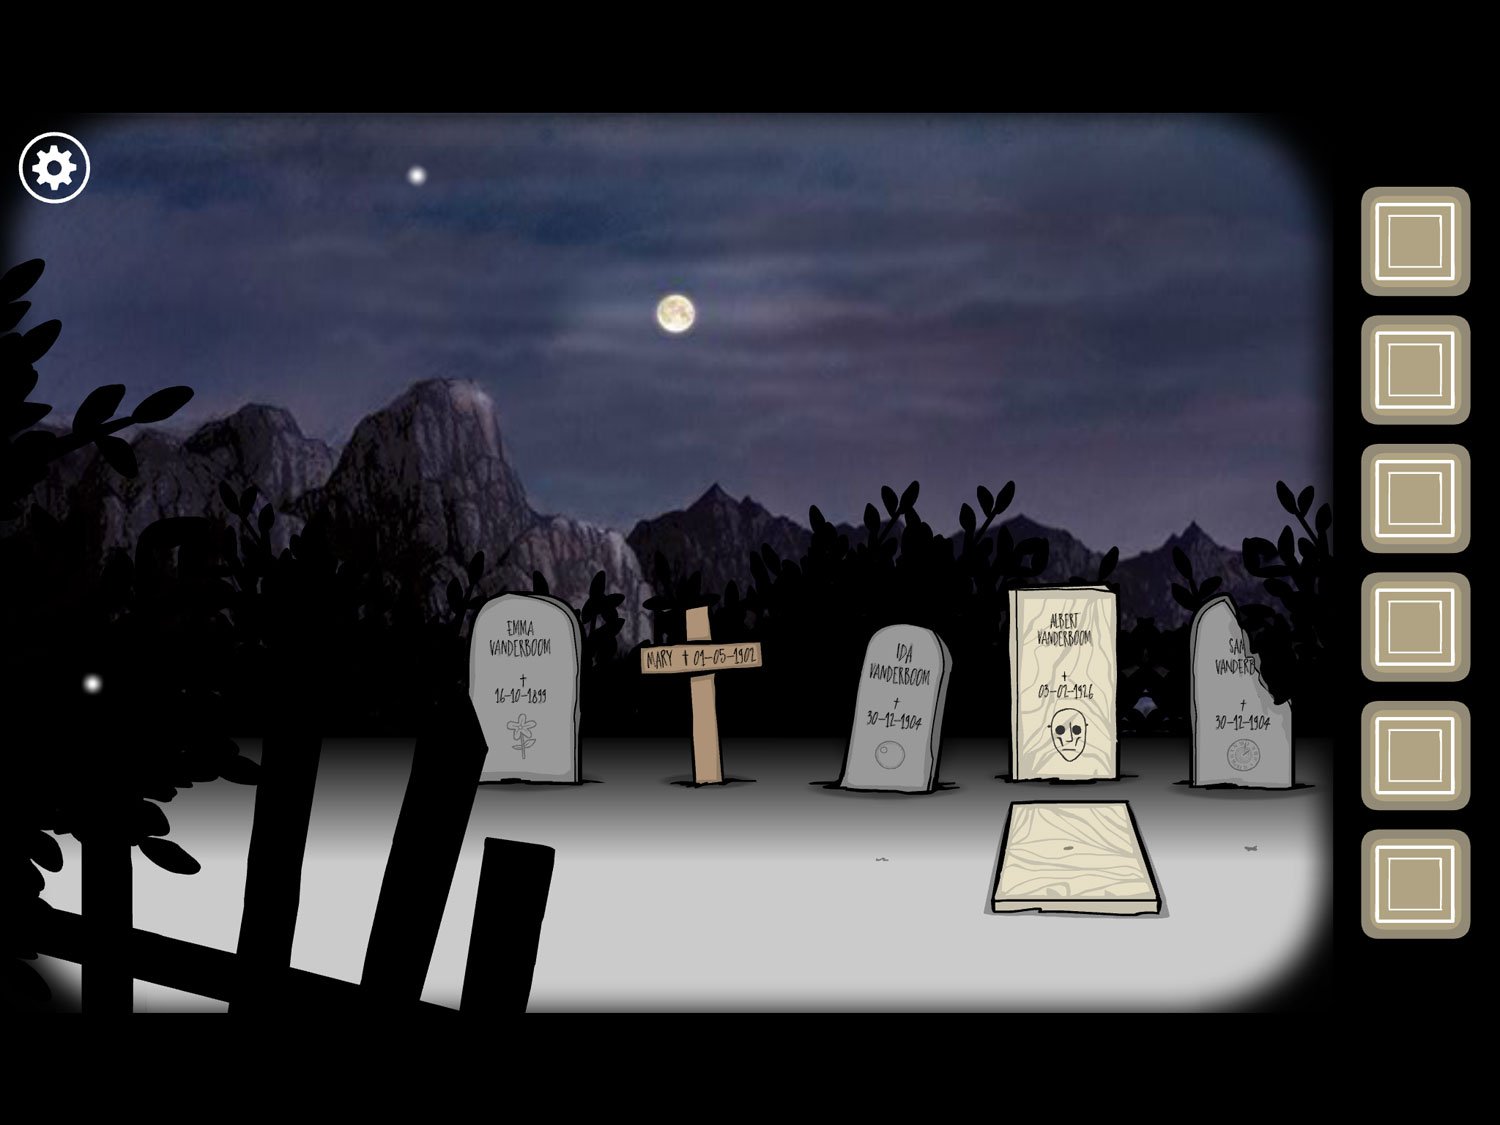
- Drag right until you see Rose and the dog
- Tap on the dog; take BONE from his mouth. Zoom out
- Tap on the open grave next to Rose. Take SHOVEL. Zoom out
- Tap on the grave closest to Rose (James). Use SHOVEL on the small X on the ground. Dig twice then take BONE (2). Zoom out
- Tap on the grave left of this one (Samuel). Note the symbol and year on Samuel’s grave: a clock, and 30-12-1904. Use SHOVEL on the small X. Dig twice and take BONE (3). Zoom out
- Tap on Albert’s grave. Simply note the symbol and date: mask and 03-02-1926. Zoom out
- Tap on the grave left of Albert’s (Ida). Note the symbol and year here: an eyeball, and 30-12-1904. Use SHOVEL on the small X. Dig twice and take BONE (4). Zoom out
- Skip the next grave and tap on the one on the farthest left (Emma). Note the symbol and date: a flower, and 16-10-1899. Use SHOVEL on the ground in front of the gravestone and dig twice then tap to get BONE (5).
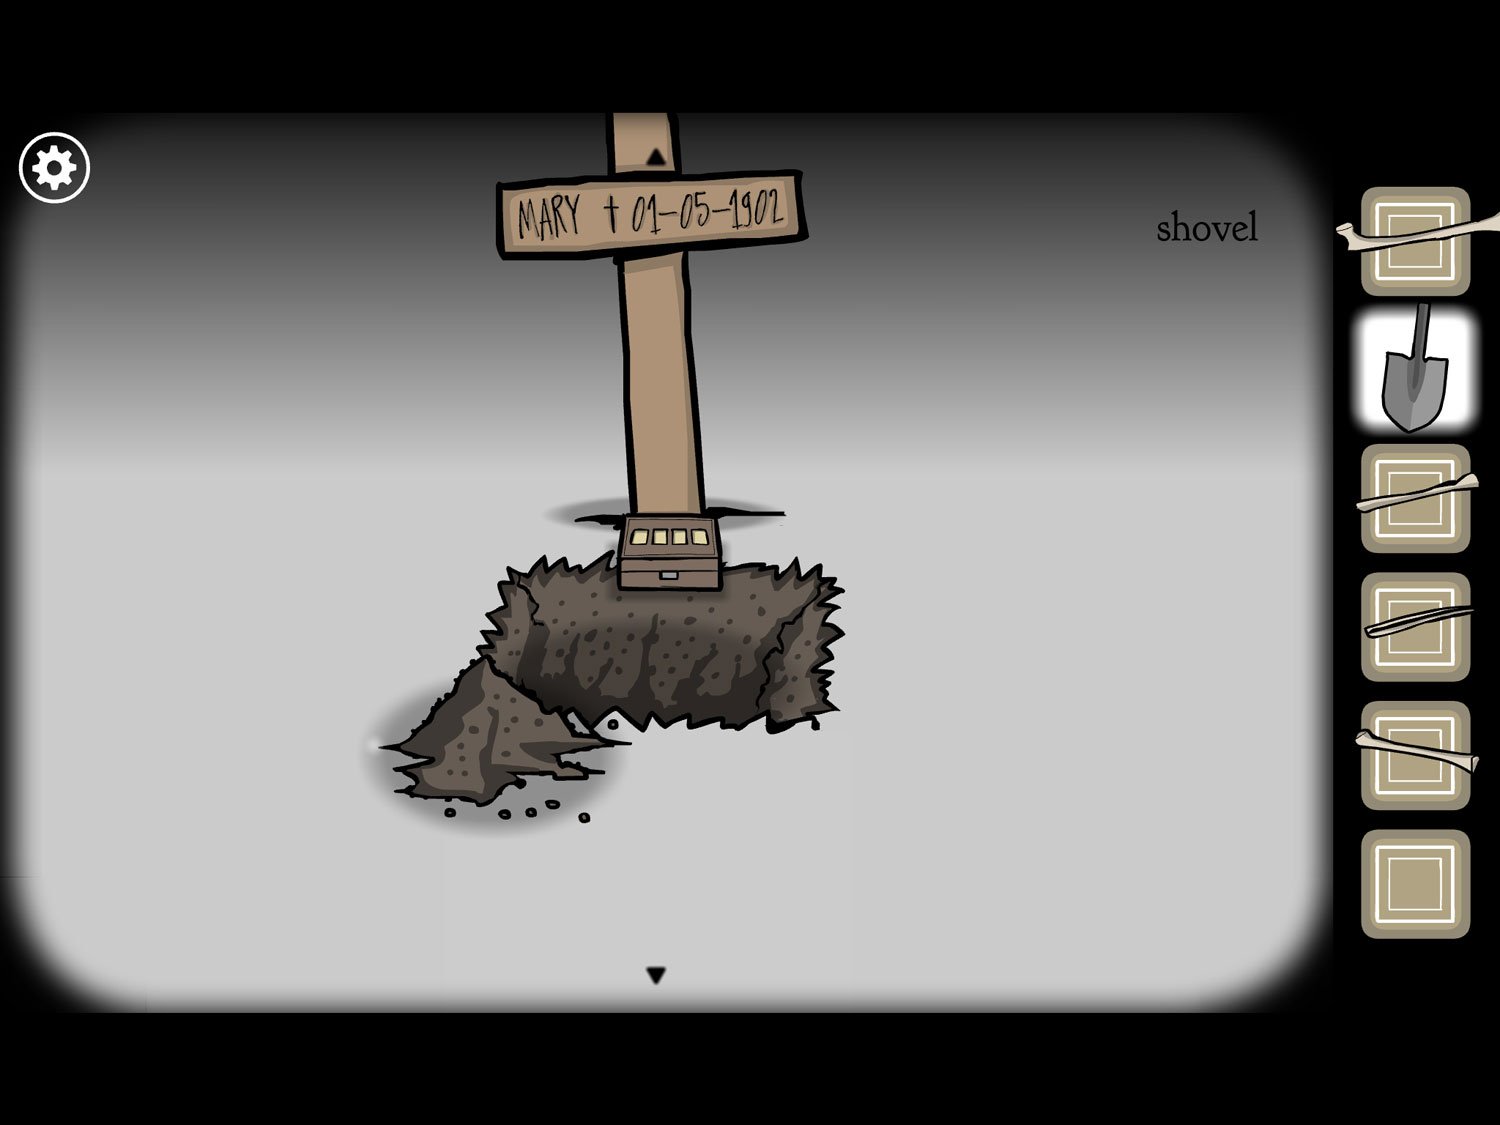
- Tap on the grave right of Emma’s (Mary). Use SHOVEL on the ground in front of the gravestone. Dig twice then tap to reveal a small box. Tap on the box to zoom in
- The box has four digit tiles and says “Flower + eyeball months” and “clock + mask” days
- Note that the dates are written in day-month-year format, so look at the middle number to find months
- The month on the flower grave (Emma) was 10 and the month on the eyeball grave (Ida) was 12. 10 + 12 = 22
- The day on the clock grave (Samuel) was 30 and the day on the mask grave (Albert) was 3. 30 + 3 = 33
- Drag the tiles so they read 22 33. The drawer will open; take PIERCER
- Return to Albert’s grave. Use PIERCER on the hold in the center of the stone on top of his grave
- Tap it to break the stone. Take BONE (6). Zoom out
- Drag right and tap on the open grave next to Rose again
- Tap all the BONEs in your inventory and then the ground to place them in the grave
- Drag the bones to their proper location on the body. The head / ribcage are already in the right location and cannot be moved, so use these as your basis
- Just like other jigsaw-style puzzles in this game, the bones will snap together when in the right location
- The image above shows them aligned properly
- When finished, tap the skeleton; his mouth will chatter
- Tap his face to zoom in. Tap his mouth twice and a gold timepiece will fall out
- Take the TIMEPIECE and zoom out
- Tap on Rose. Give her the TIMEPIECE. Tap the timepiece around her neck to reveal the white square and exit
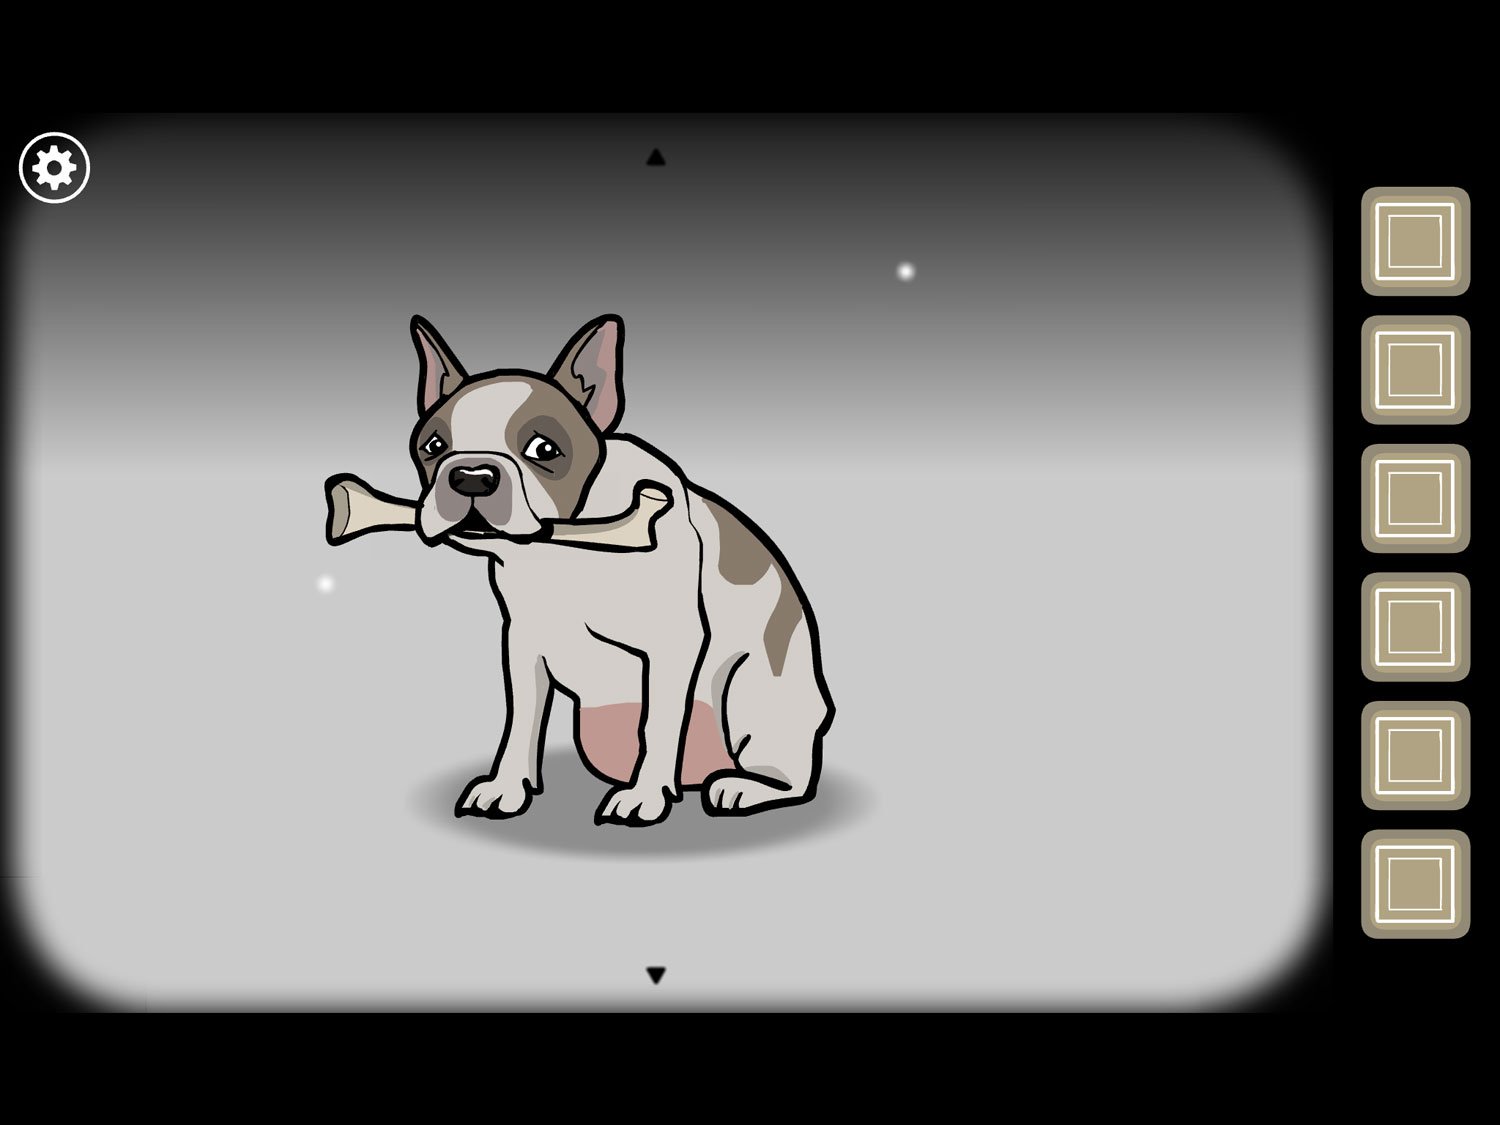
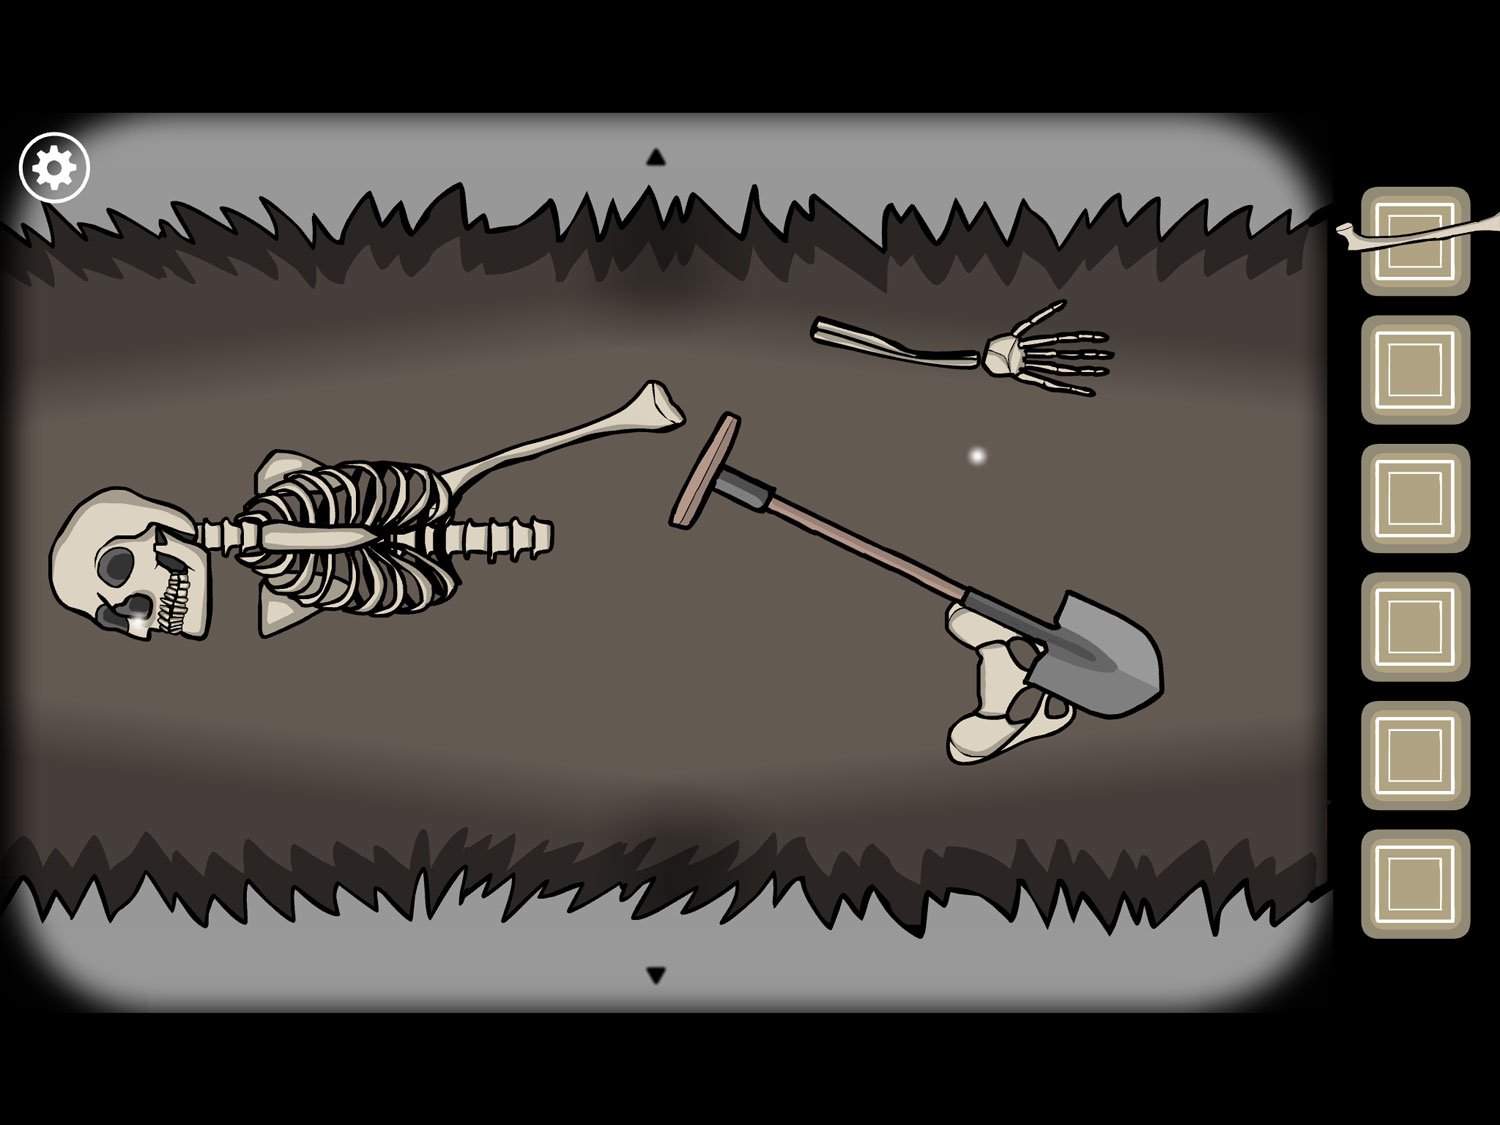

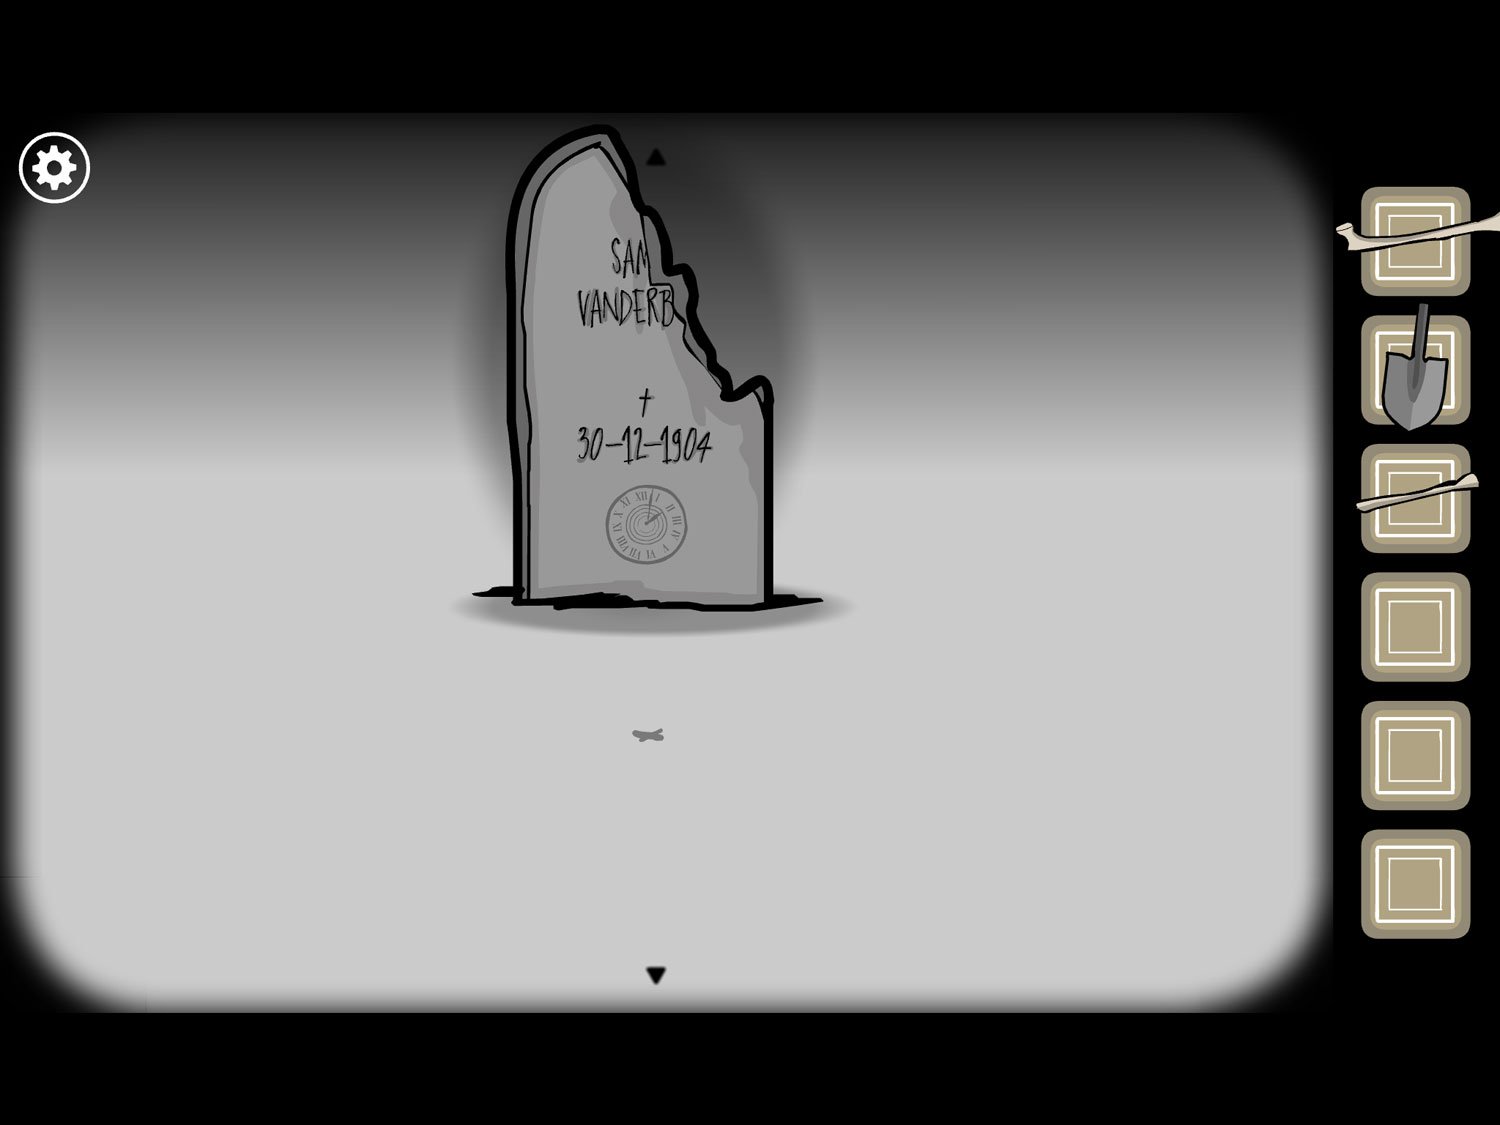
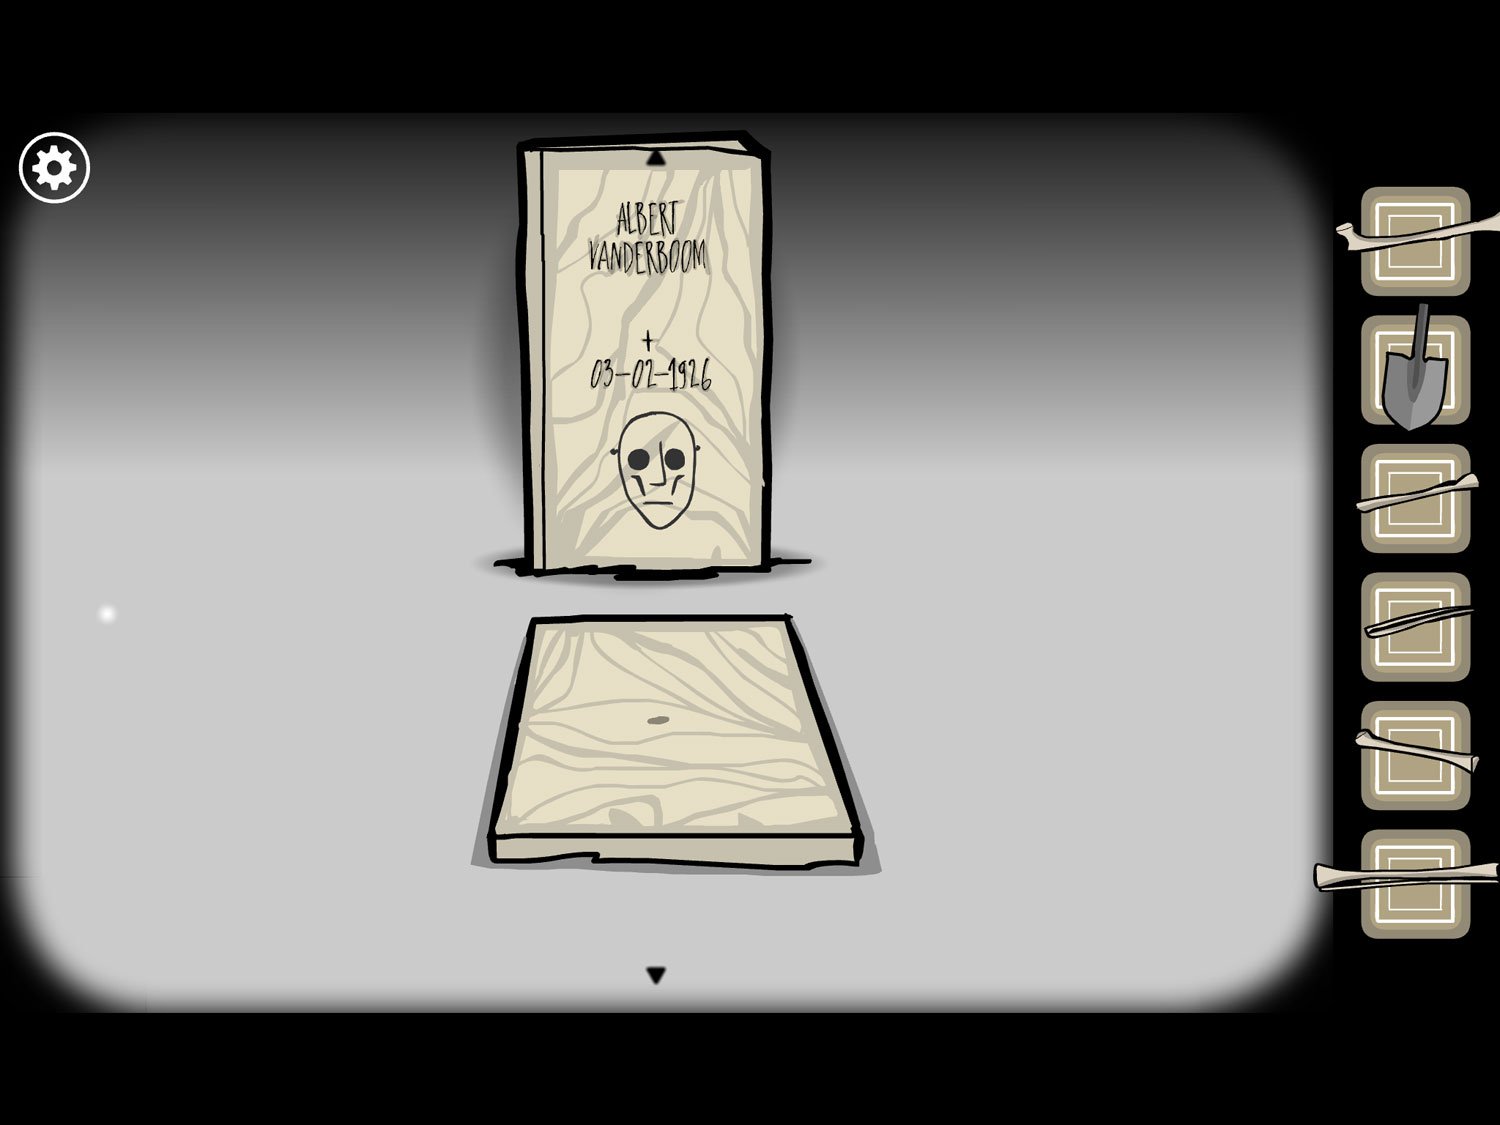
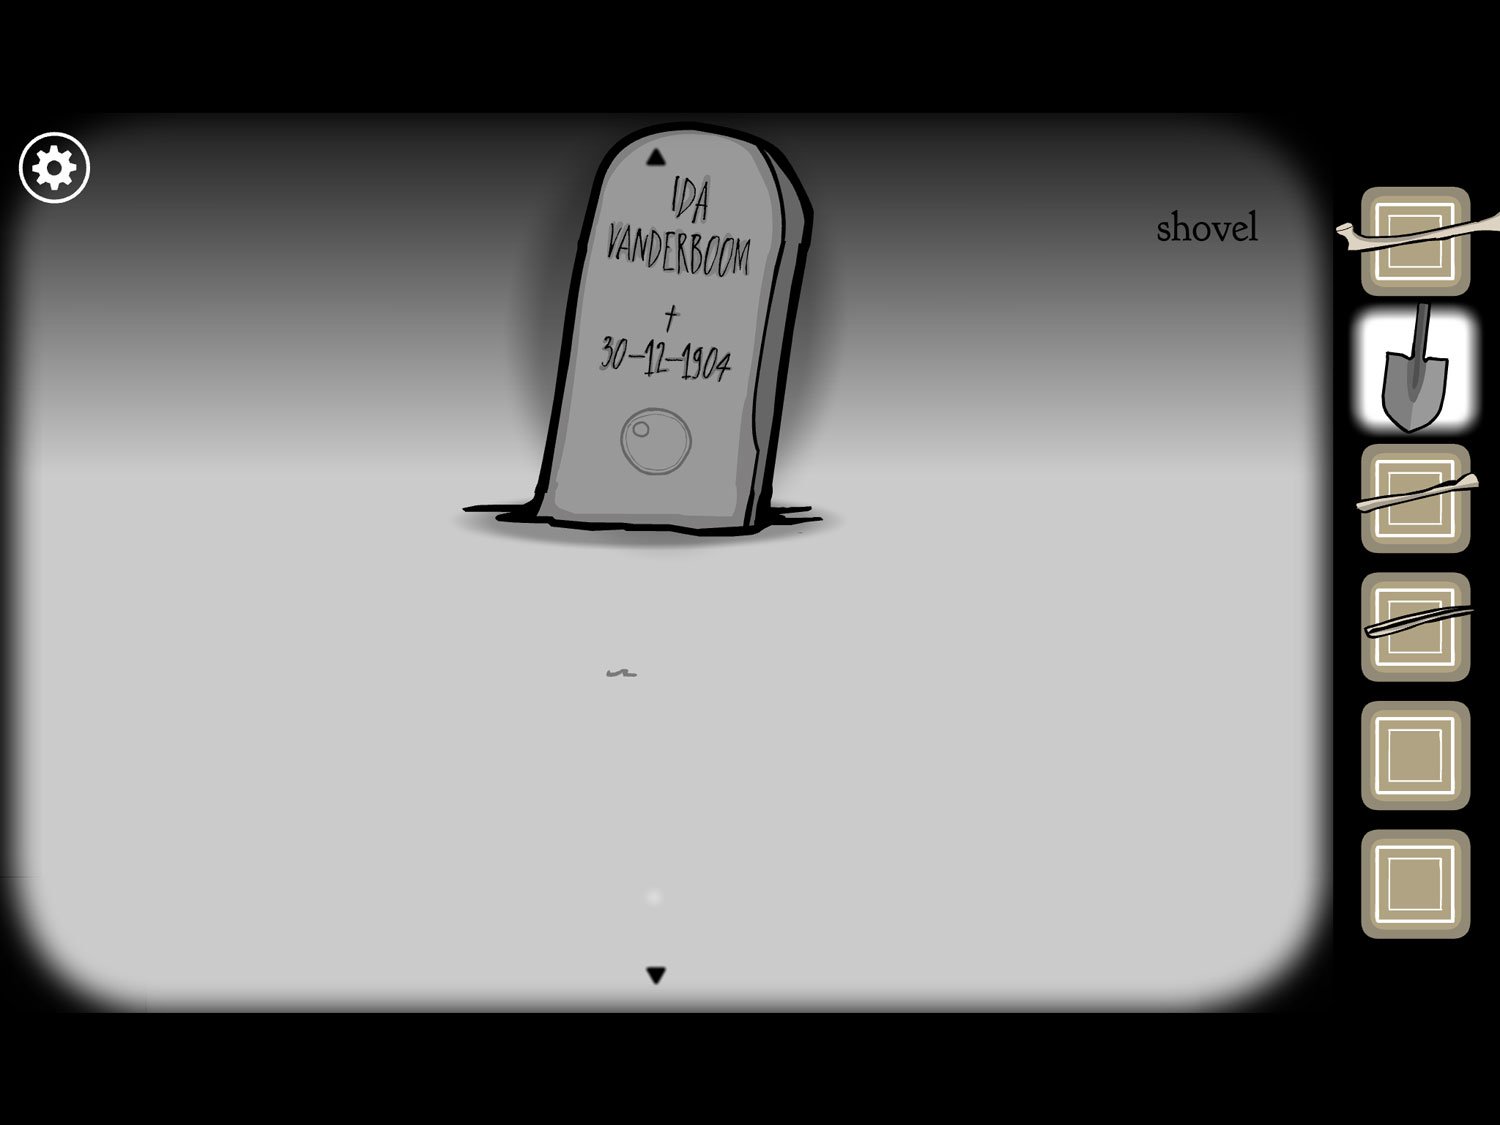
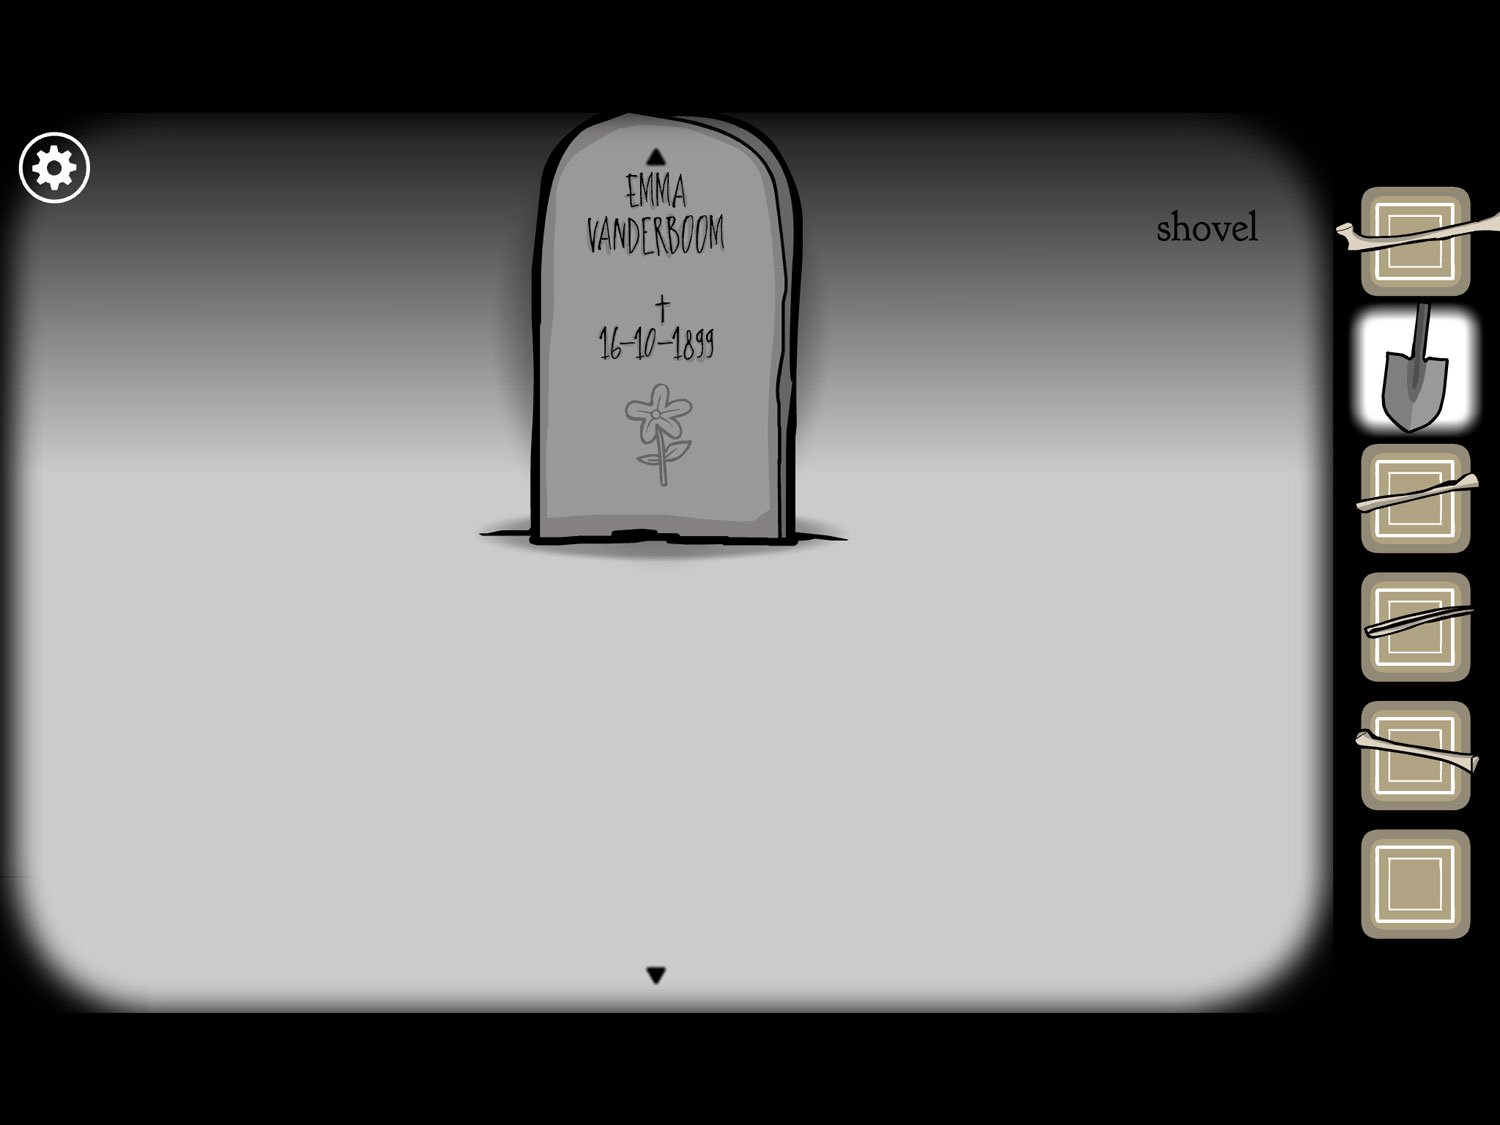
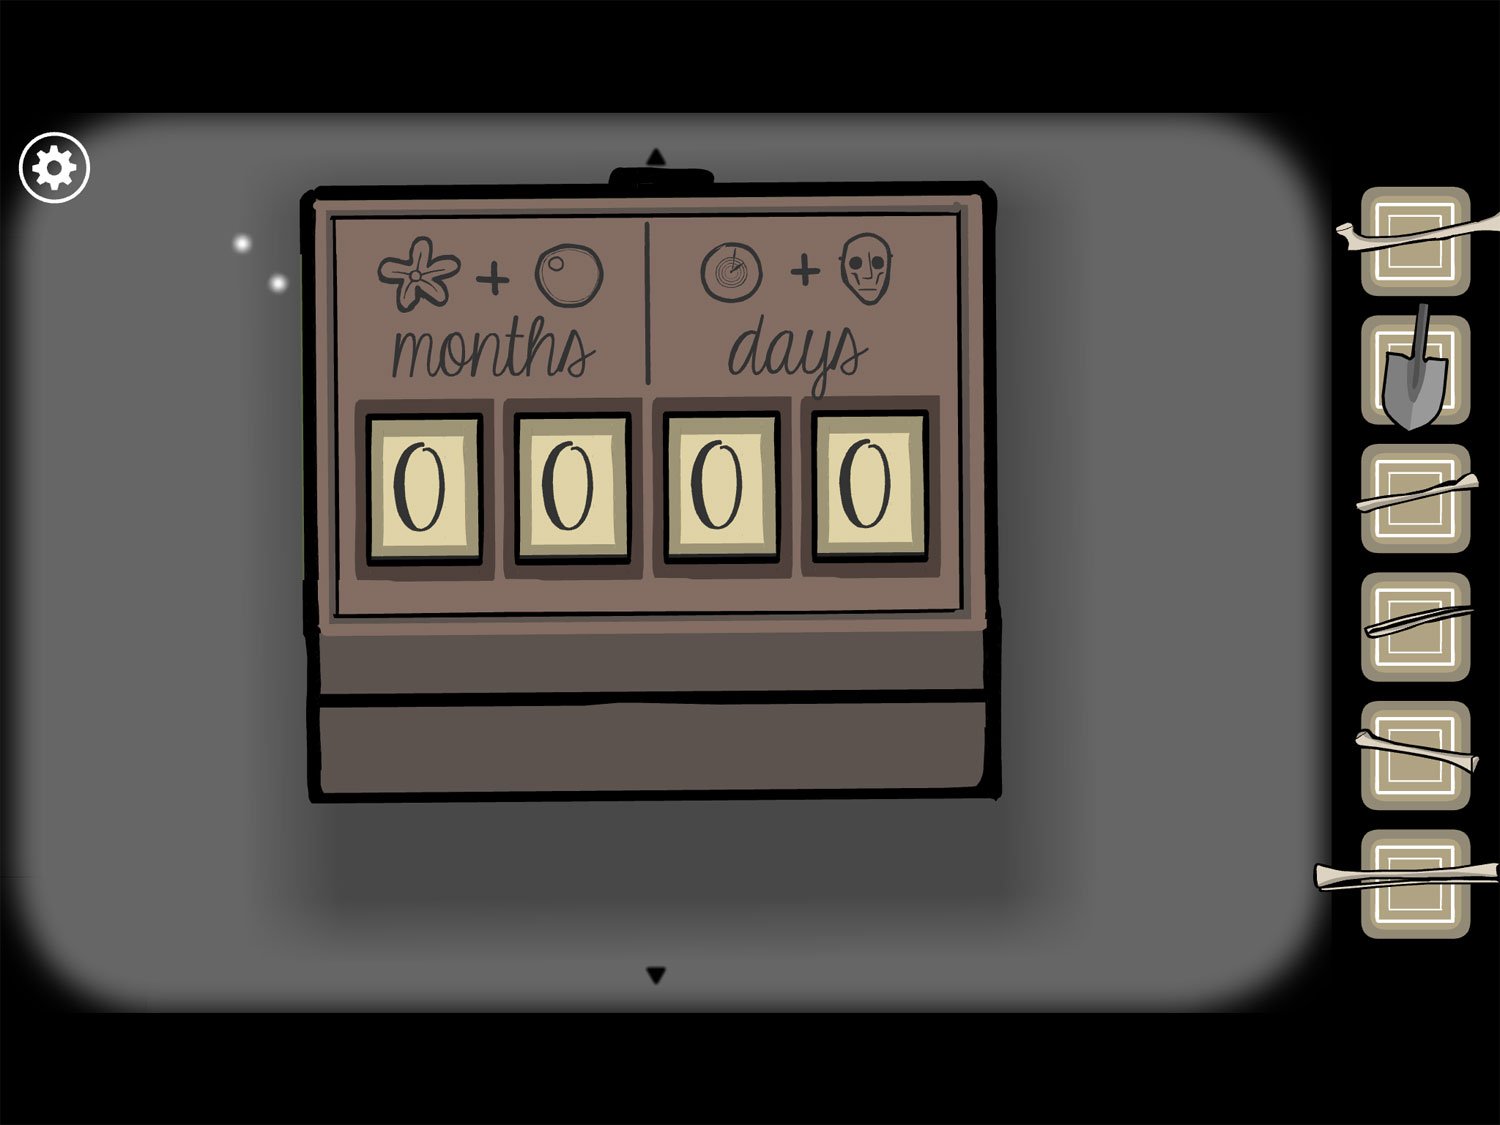
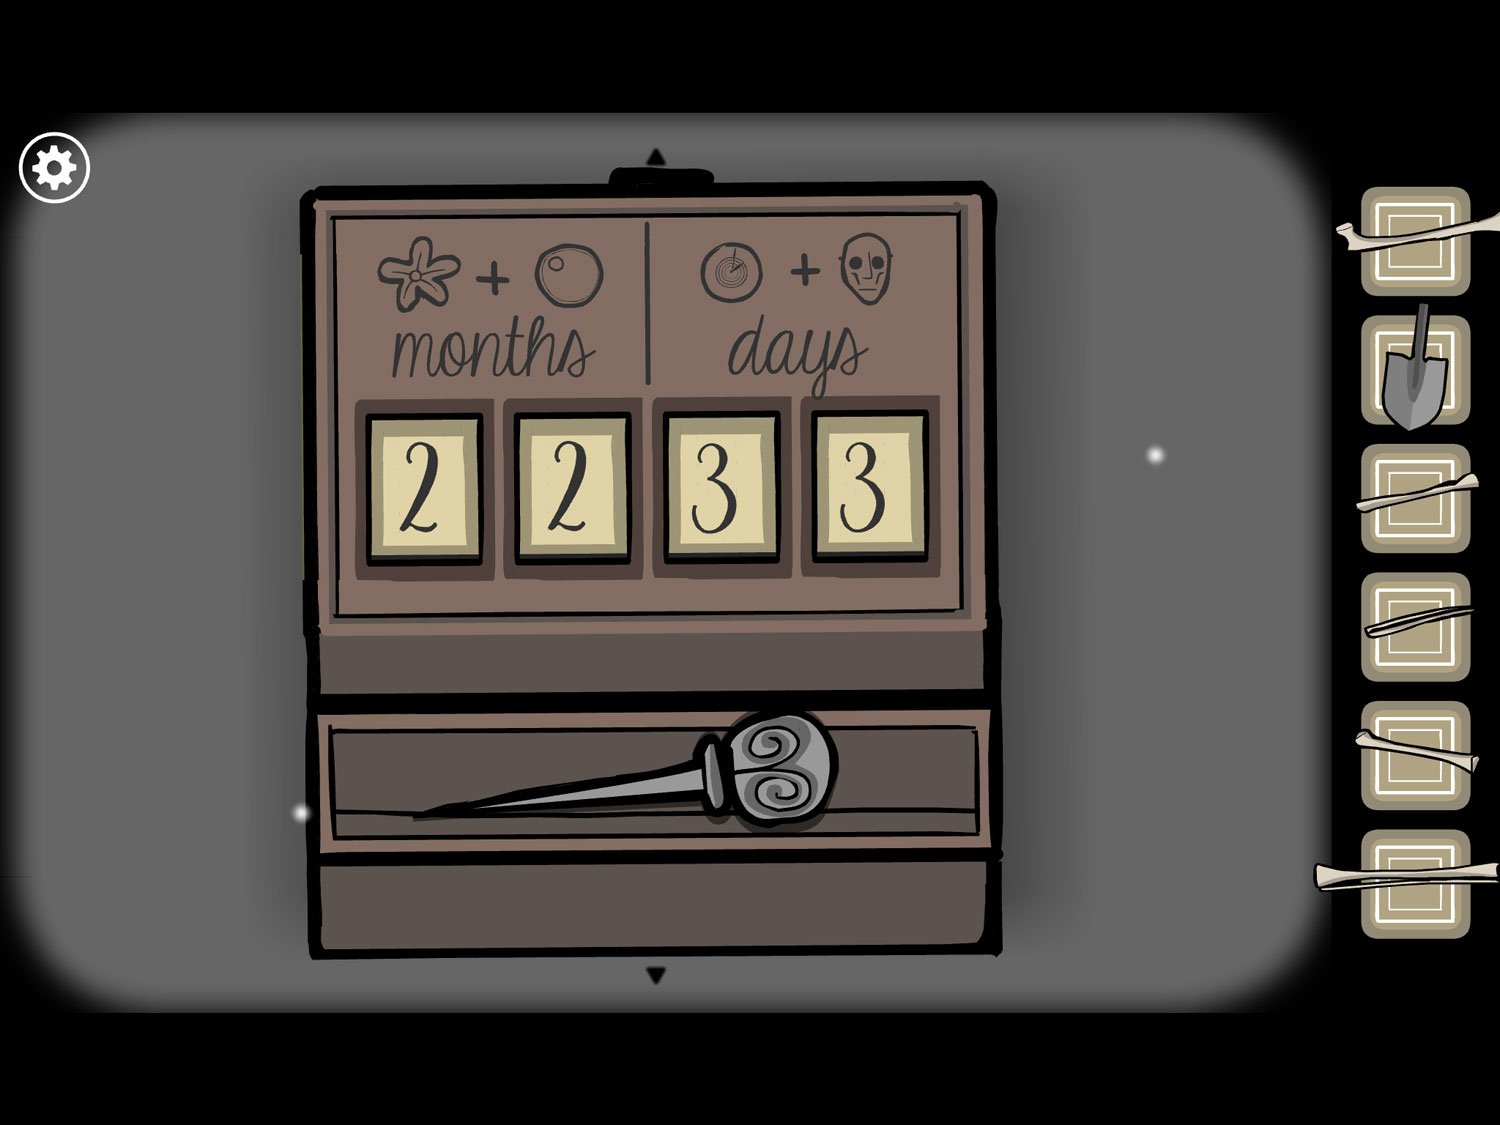
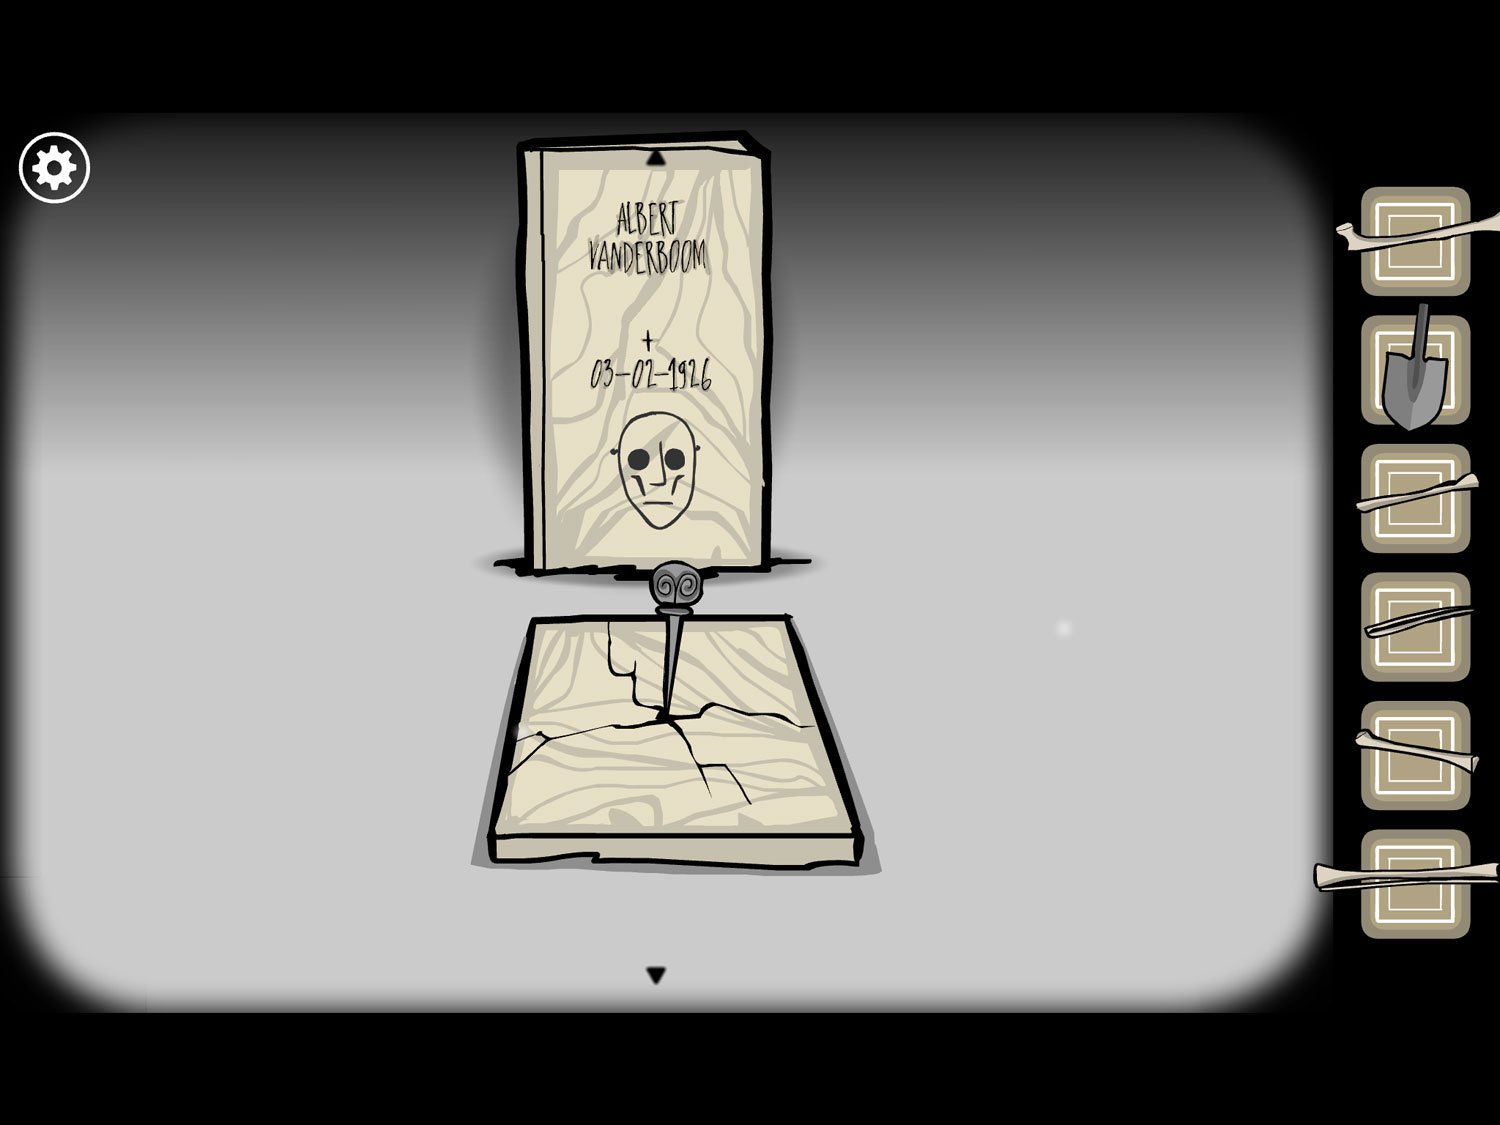
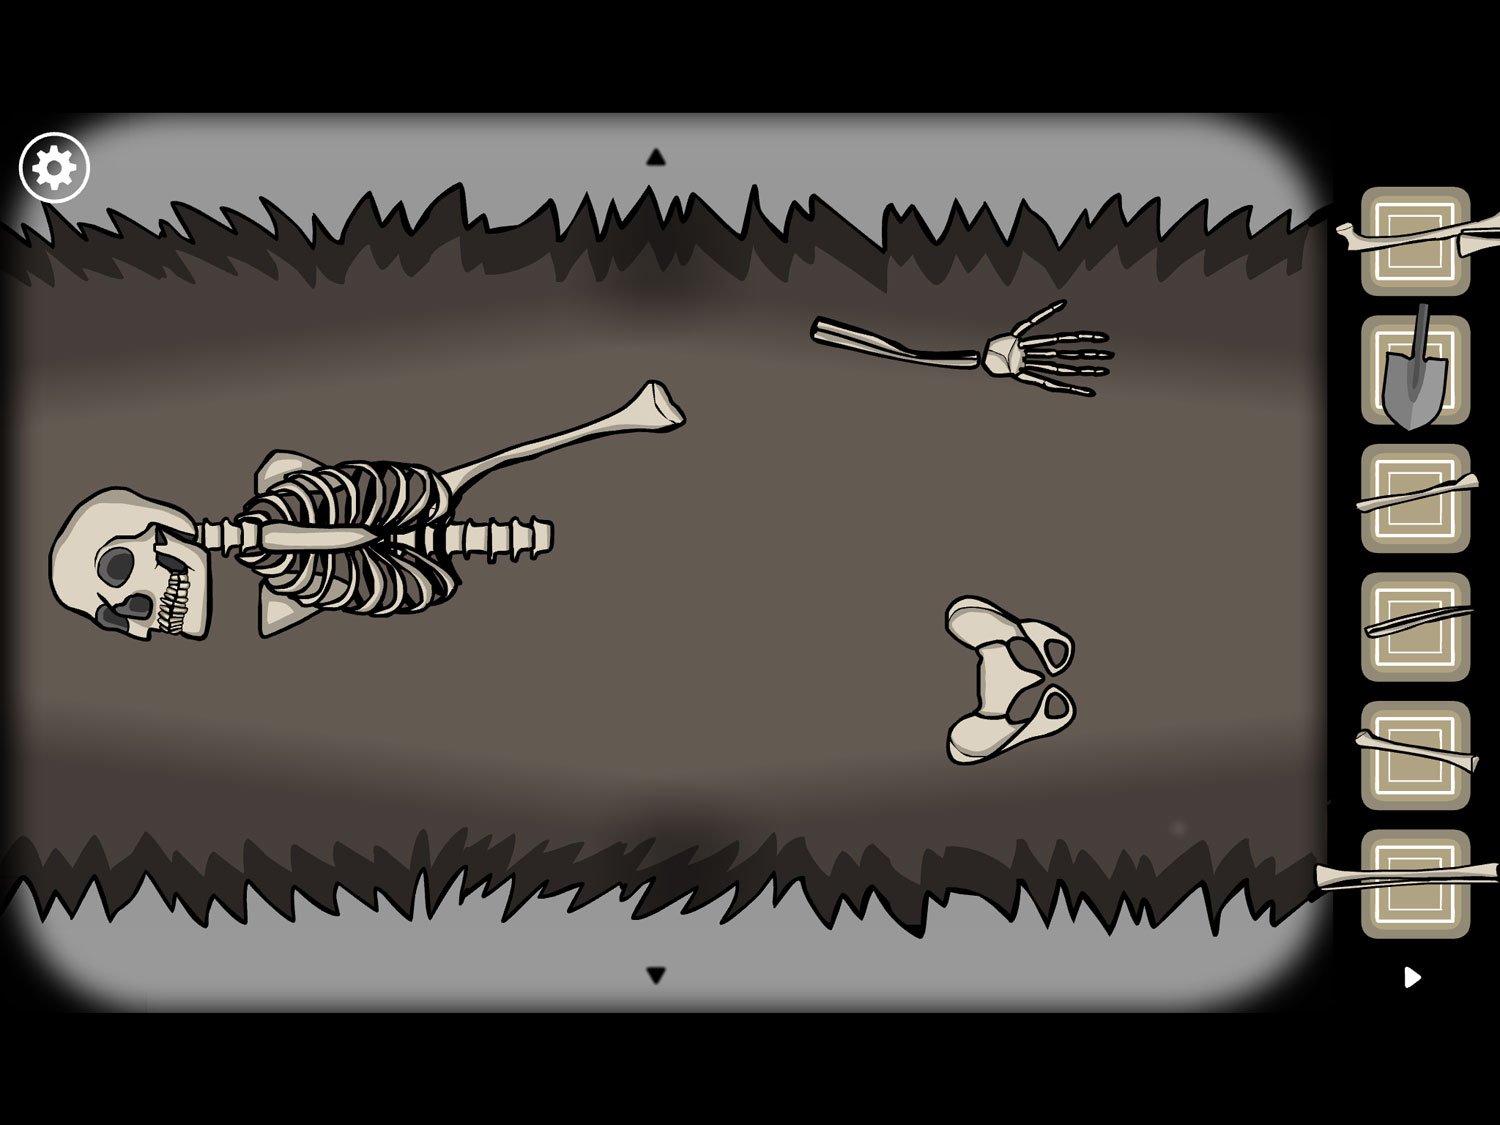
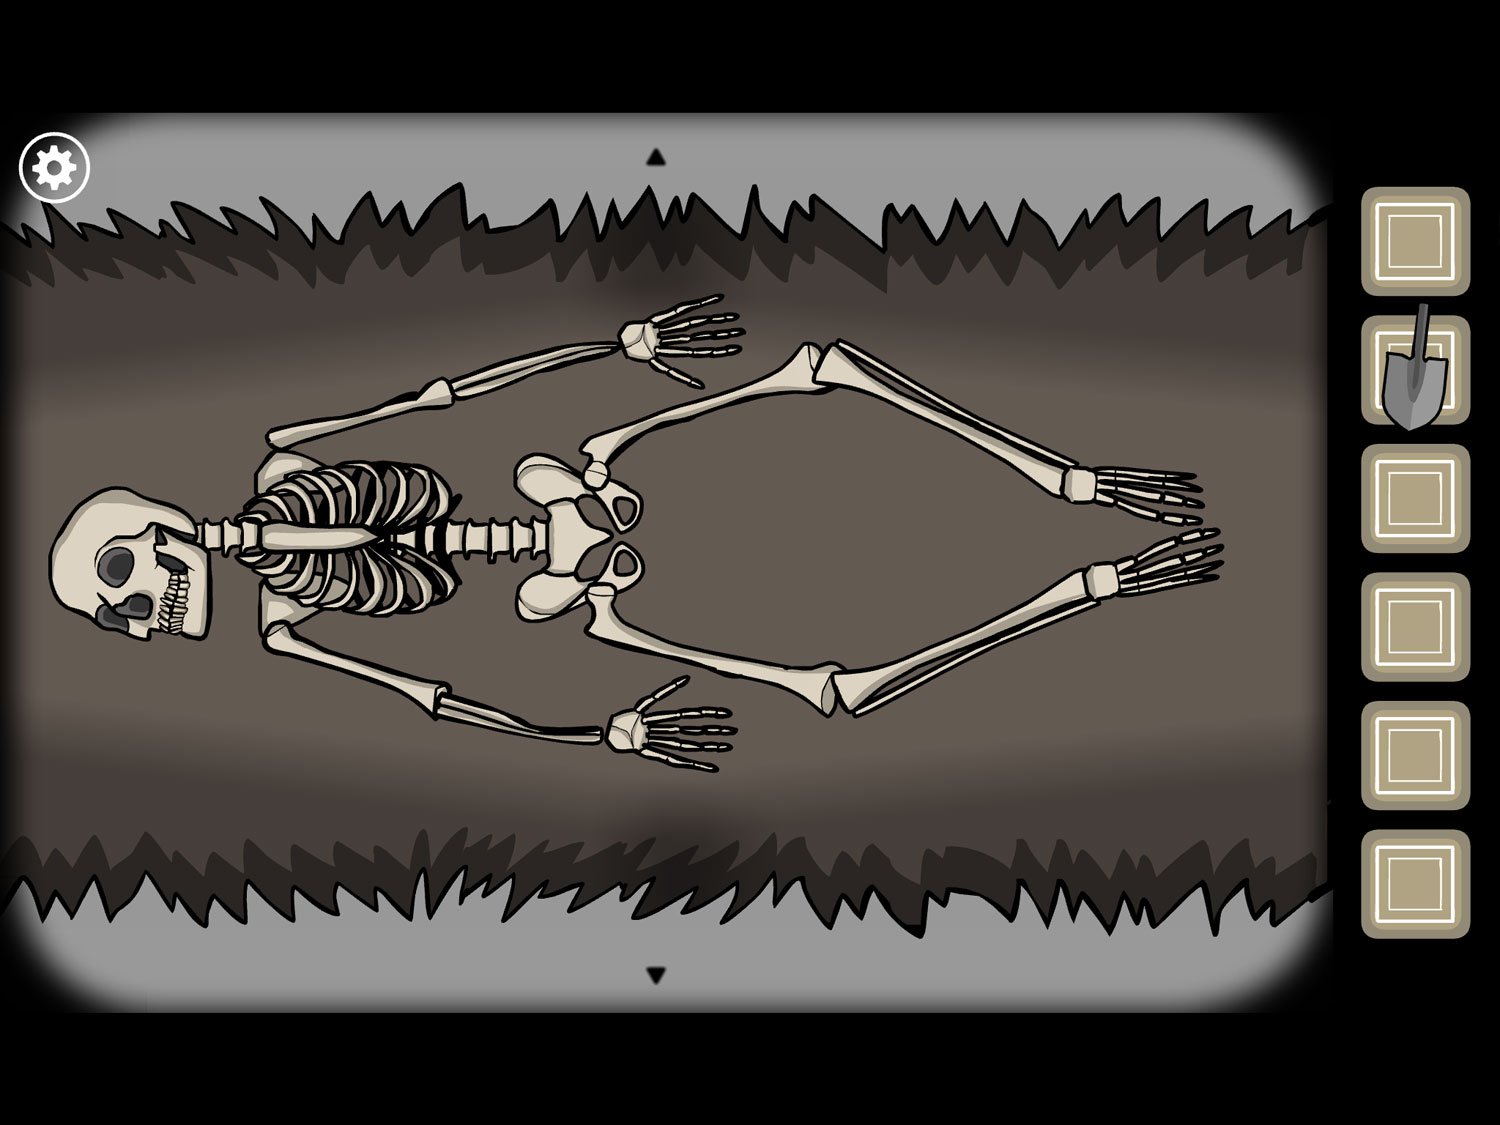
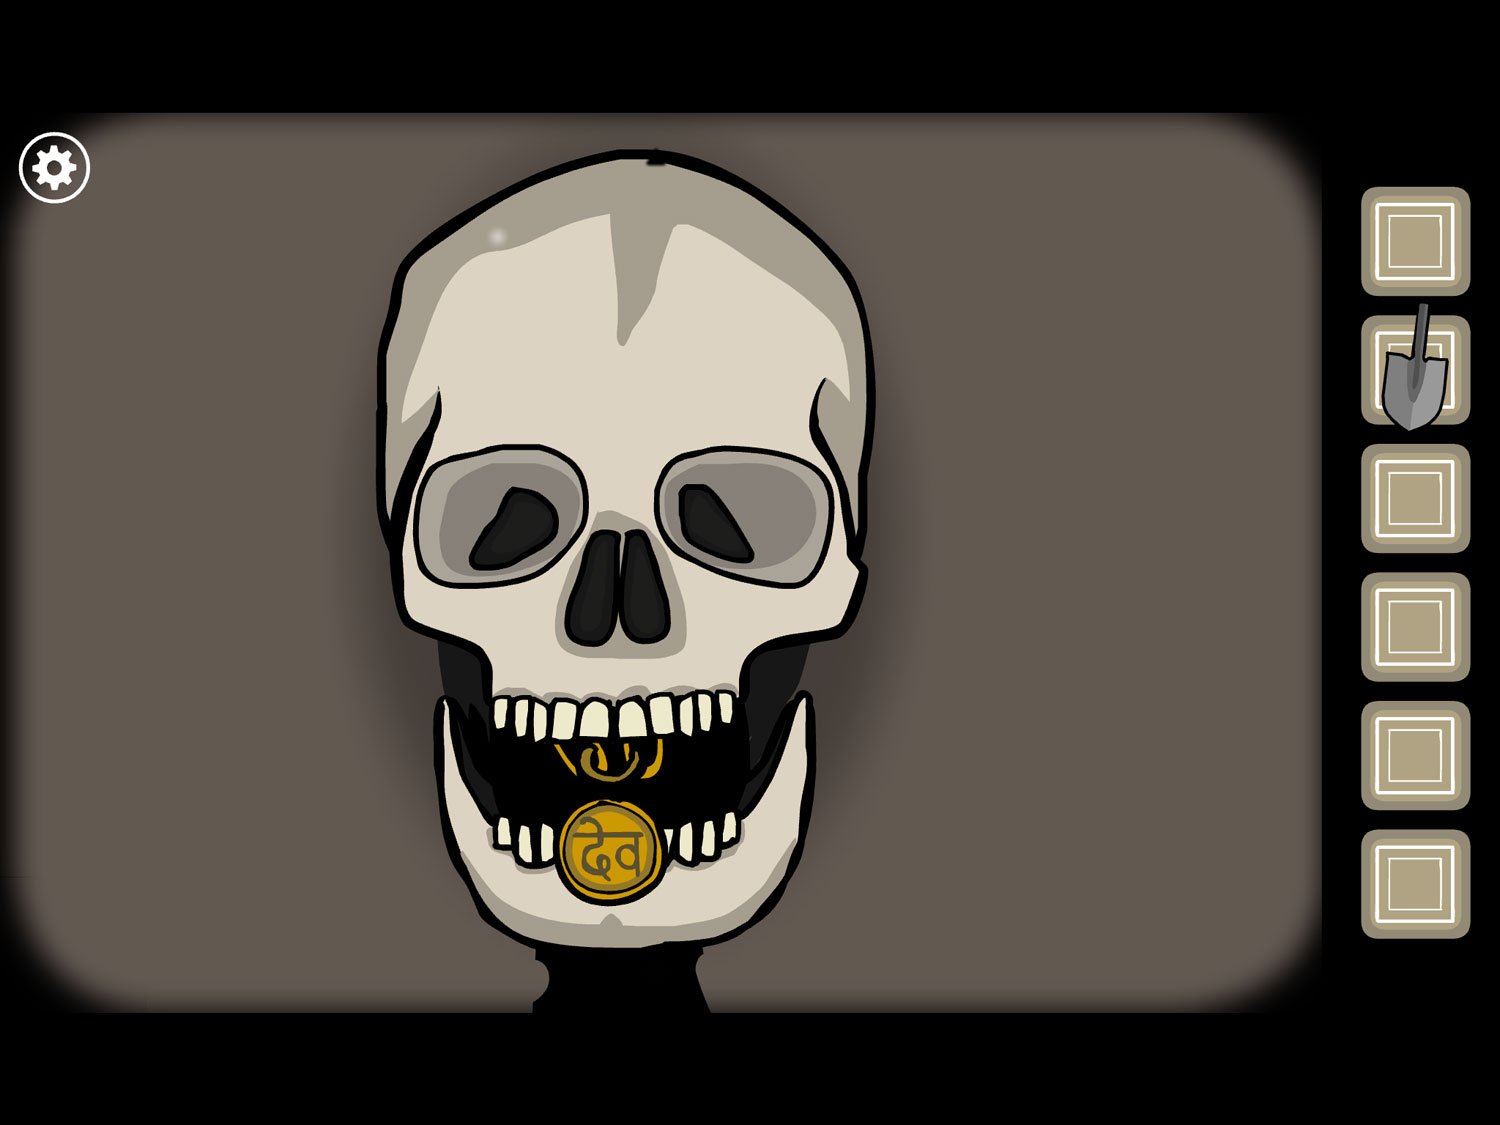
Level 33: Roots, Spring 1935 – Leonard, Frank, Rose
Location: Underground room below the study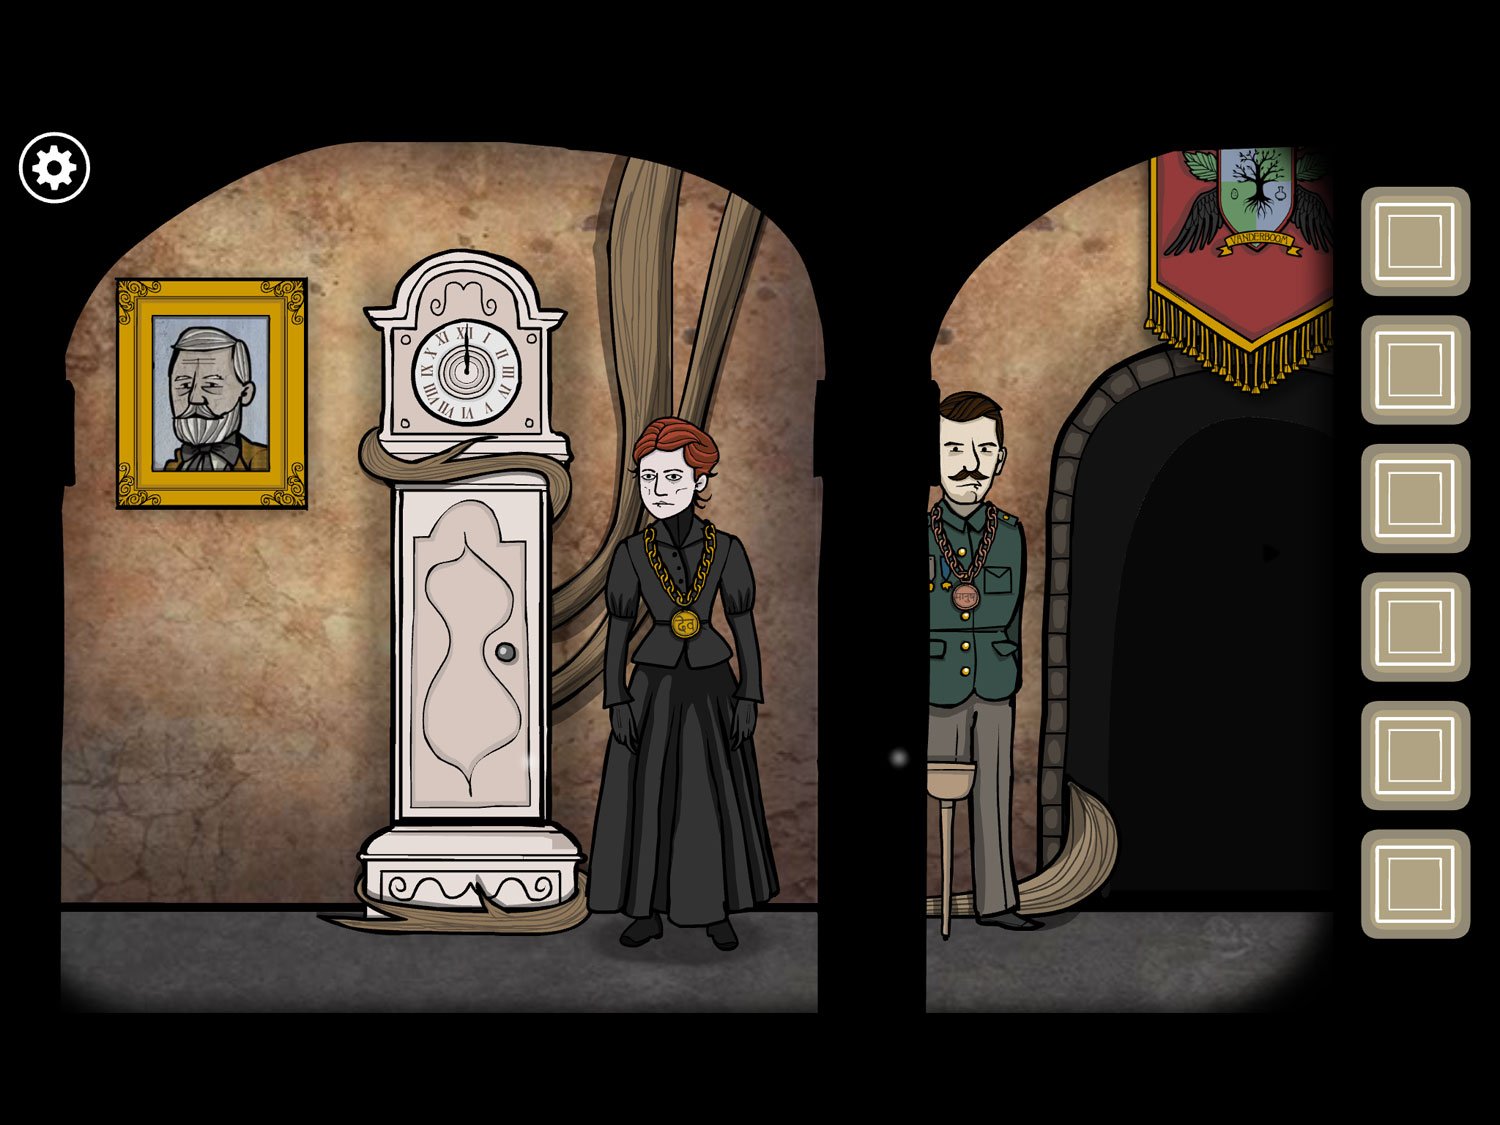
- Tap on Rose. Tap the timepiece around her neck to get TIMEPIECE (GOLD)
- Zoom out. Tap on Leonard. Tap the timepiece around his neck to get TIMEPIECE (BRONZE)
- Zoom out. Drag right to Frank. Tap on him, then tap the timepiece around his neck to get TIMEPIECE (SILVER)
- Tap on the doorway between Frank and Leonard. Tap the leftmost picture in the altar below the gate
- Use TIMEPIECE (BRONZE) on this picture. Tap it to open it; it reads 2:45. Zoom out
- Tap the middle picture. Use TIMEPIECE (SILVER) on this picture. Tap it to open it; it reads 2:45. Zoom out
- Tap the rightmost picture. Use TIMEPIECE (GOLD) on this picture
- Tap the final timepiece once placed. It also reads 2:45. Zoom out and return to the first room
- Frank and Leonard are both wrapped in tree roots. Drag left and tap on the clock. Tap on the clock face to zoom in
- Change to the time to 2:45 by dragging the small hour hand to 2 and the longer minute hand to 9. You should hear a click; zoom out
- Rose is now sitting in the clock. Tap on her and tree roots wrap around her
- Tap the clock door to close it; zoom out
- Drag right, past Frank. Tap on the pictures on the wall
- These pictures show different members of the Vanderboom family and their personal sacrifices. We also see their first initials denoted (J for James, R for Rose, etc)
- There are also two numbers: James’ tongue has a “1” and Frank’s hair has a “3”. Zoom out
- Return to the room with the pictures and gate. The gate now opens, revealing the 10 sacrifices of the Vanderboom family. Tap on the sacrifices to zoom in
- The jars are seated on numbered pedestals. These pedestals represent a certain weight: for instance, the wooden “1” pedestals are only 1 pound each while the golden “5” pedestals are 5 pounds each
- We need to figure out the weight of each Vanderboom sacrifice. We know from the images we just looked at that James’ tongue weighs 1 and Frank’s hair weighs 3. So, if you put the hair on a 3-pound pedestal and the tongue on a 5-pound pedestal, they should balance out (3 + 3 = 6, 1 + 5 = 6)
- Mary’s teeth are already balanced with the hair and tongue on a 3-pound pedestal. That means they must weigh 3 pounds
- You can figure out all the weights by moving the jars around and seeing what balances with what. We eventually figured out all the weights by balancing them all at six pounds as in the image above. There is one empty 5-pound pedestal left in the middle
- So, by comparing the sacrifices, we know that they weigh as follows: Frank’s hair = 3, Samuel and Ida’s eyeballs = 5, Rose’s blood = 4, Emma’s tears = 2, Mary’s teeth = 3, Leonard’s foot = 4, Albert’s brain = 3, James’ tongue = 1
- Exit the close-up and return to the main room
- Drag right and tap on the dresser under the pictures
- There are three tiles here with initials next to them. We need to input the weight of each item next to the proper initial. S = Samuel, M = Mary, I = Ida, E = Emma, A = Albert, R = Rose
- S = 5, M = 3, I = 5, E = 2, A = 3, R = 4
- Once inputted, tap the door to open it. Take the POT WITH HEART
- Behind the heart there is a note: “Balance the substance of your past lives” with the number 6. Return to the other room
- Tap on the sacrifices to zoom in. We already balanced all the jars a few images above by getting them to weigh six pounds between the jar and the pedestal. We just need to put the POT WITH HEART on the remaining five pound pedestal
- Once placed, tree roots dip down into the jars. Tap all the jars, in any order. The roots suck up the contents
- Once all the jars are absorbed, the camera pans up the roots until you reach the heart at the top. Tap the shadowy figure in the center
- Drag all the sacrifices onto the shadowy figure (again, no specific order required and they don’t need to go in the right location on the body). You can just keep dragging until they’re all absorbed
- Once all the body parts are absorbed, the figure becomes a baby
- Tap the baby. We see the tree, fully grown
- Tap the tree. We see a clock running forward
- Tap the clock, then the tree, then the clock, then Rusty Lake (basically just keep tapping)
- Rose appears in the lake, holding the baby
- Tap Rose to reveal “The End,” then tap again to reveal the white square and exit
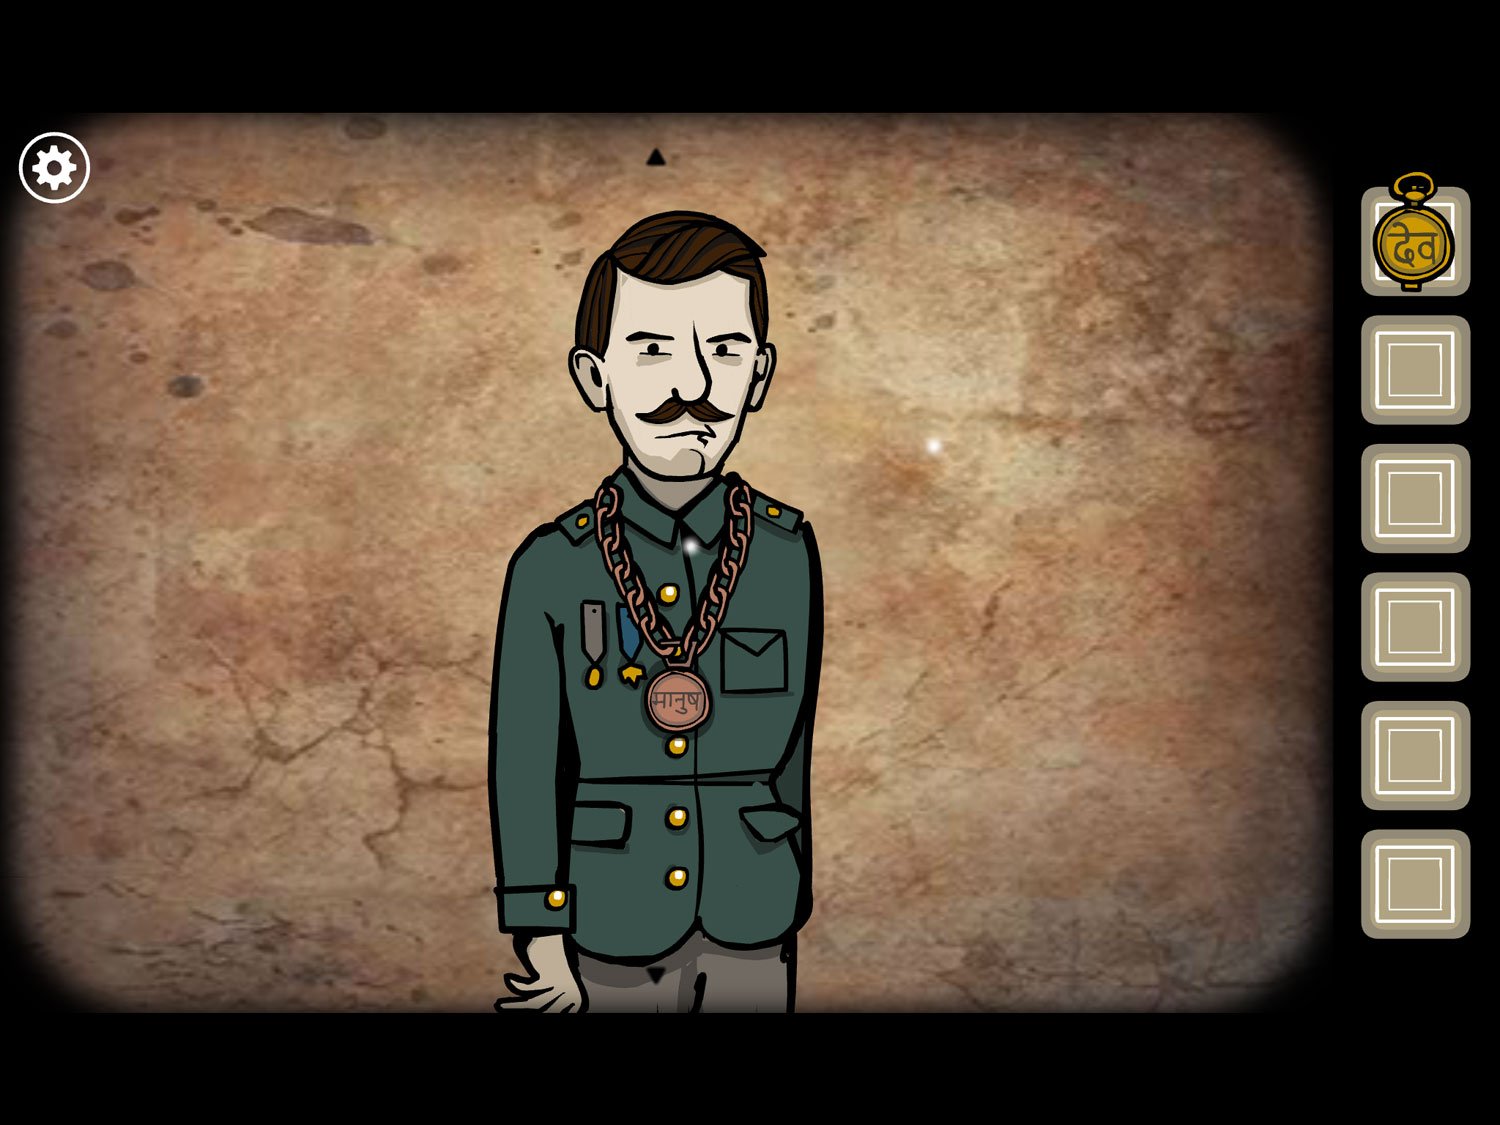
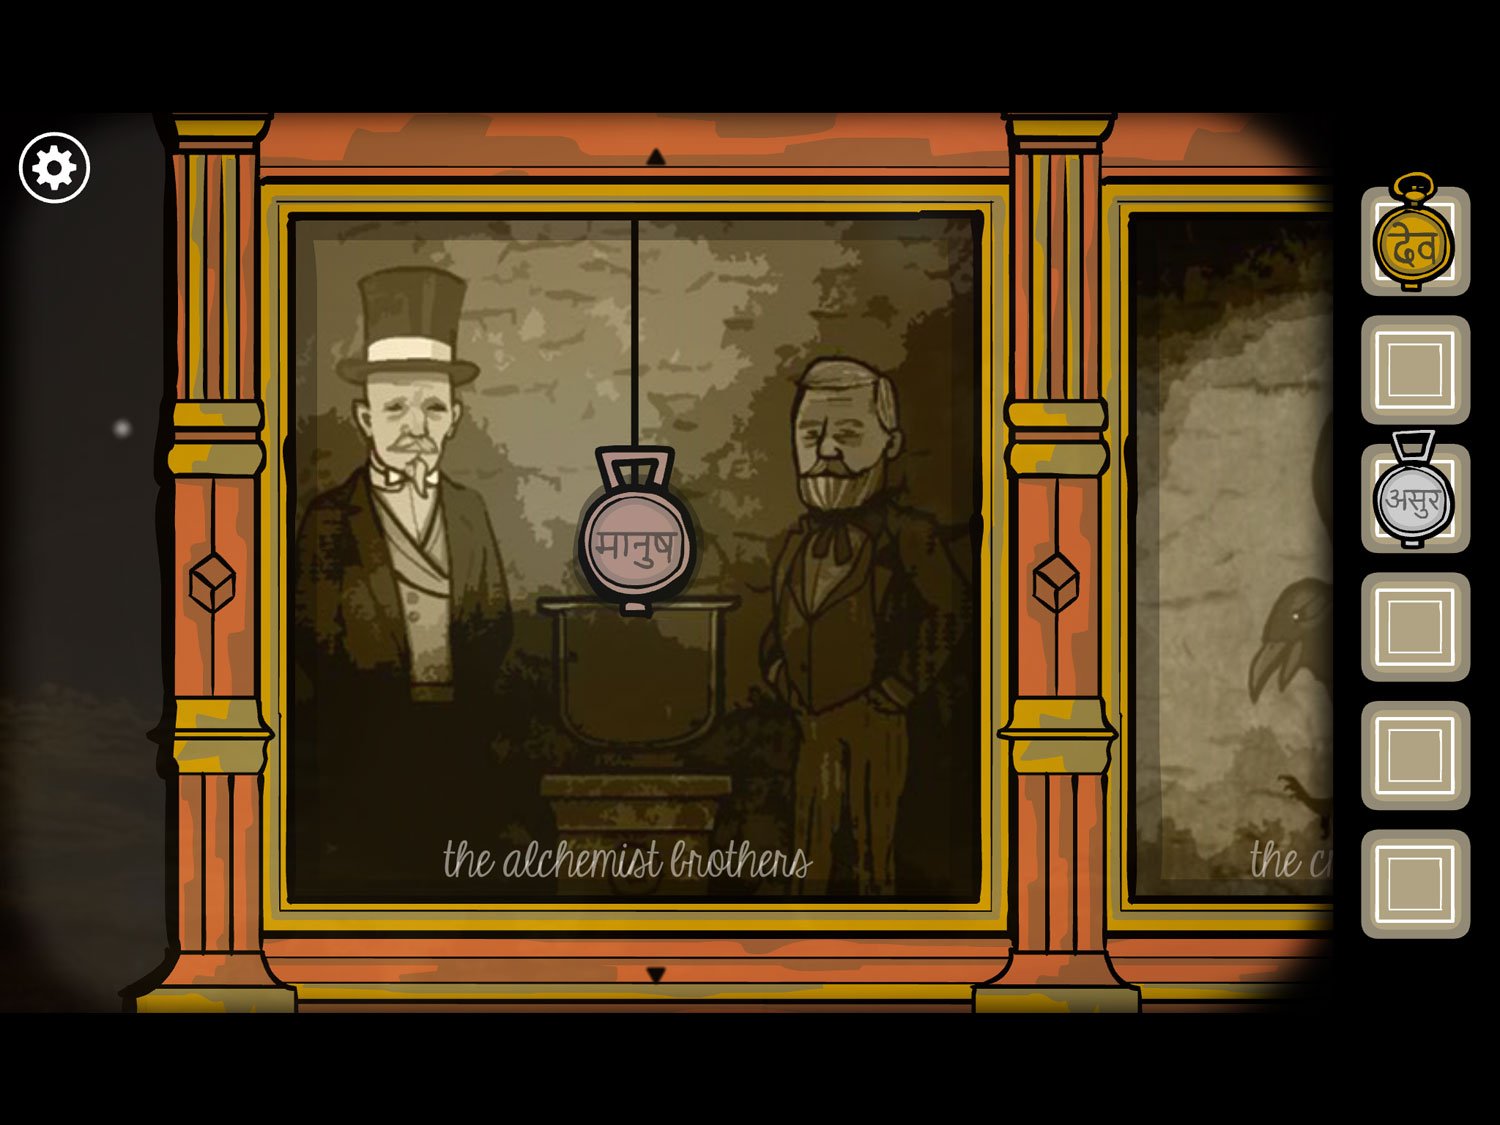
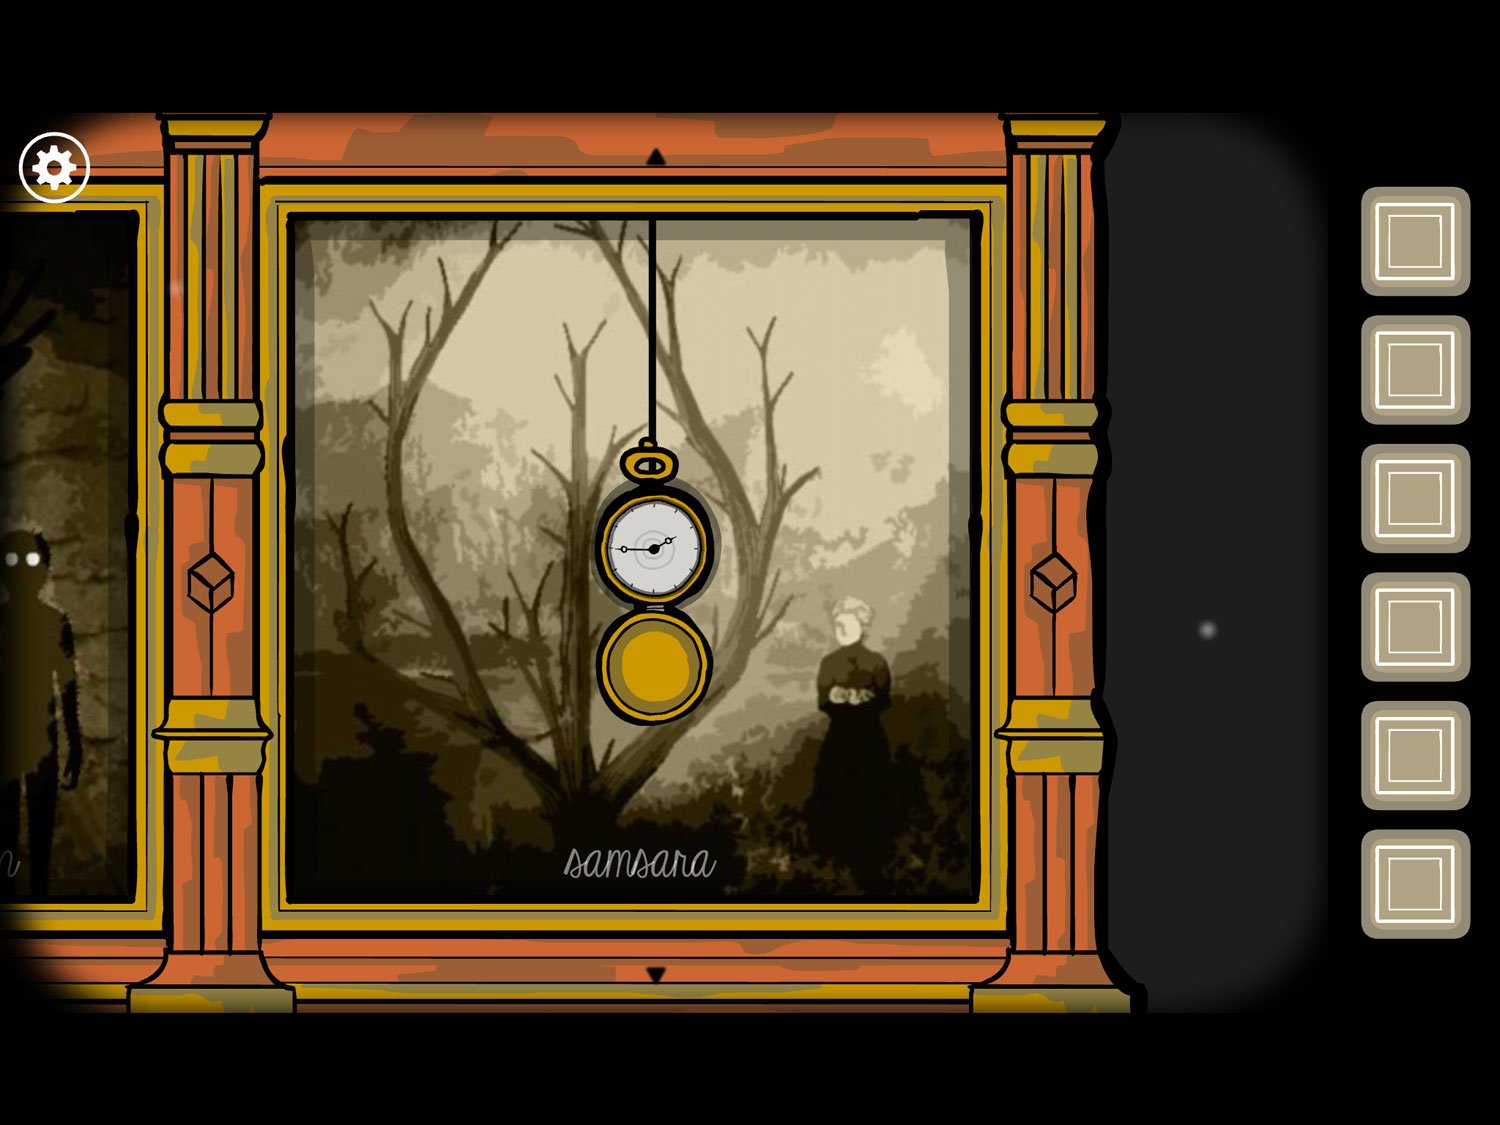
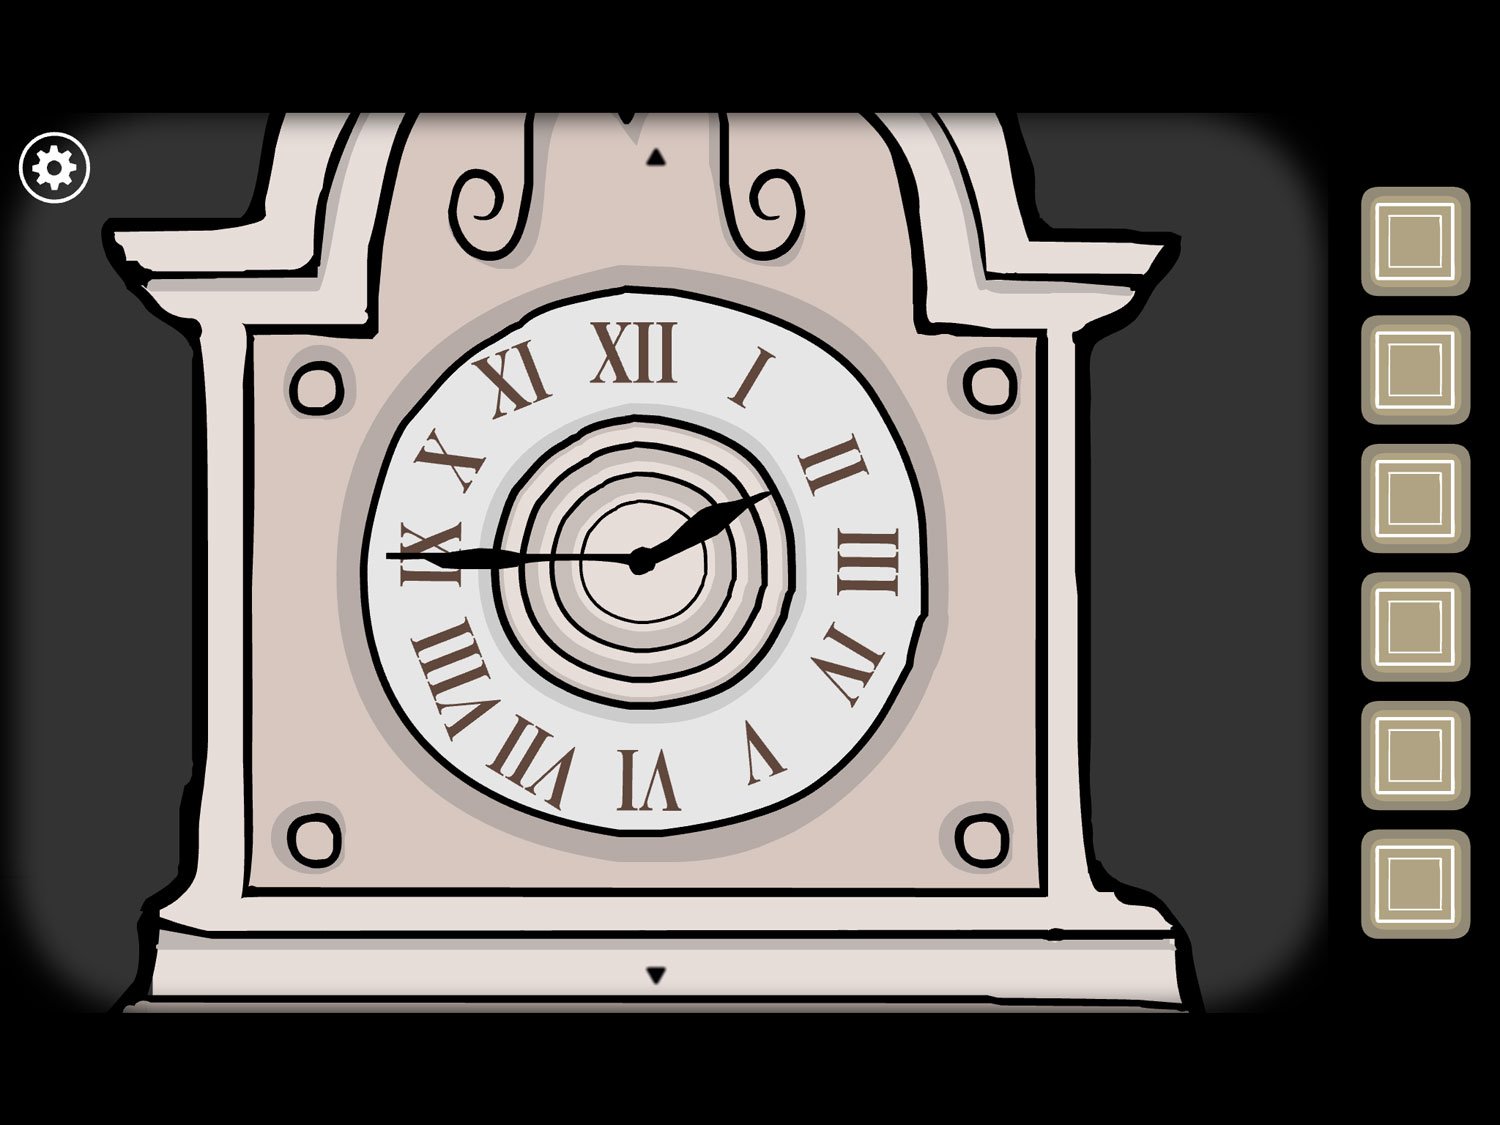
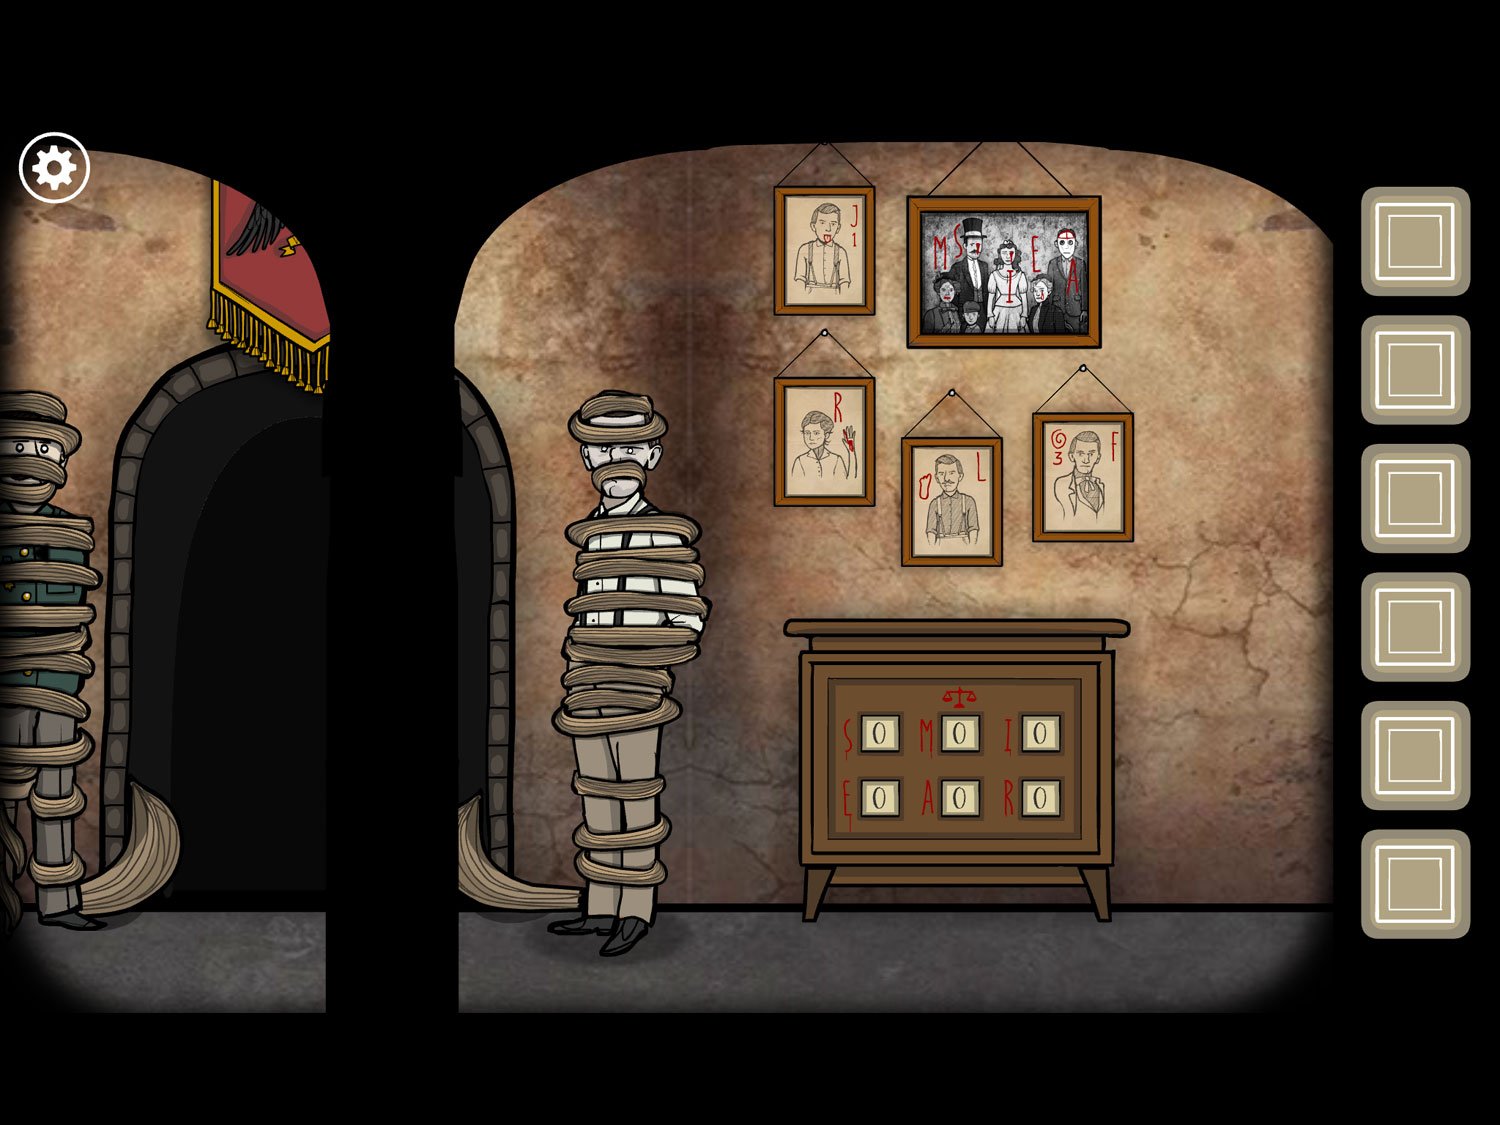
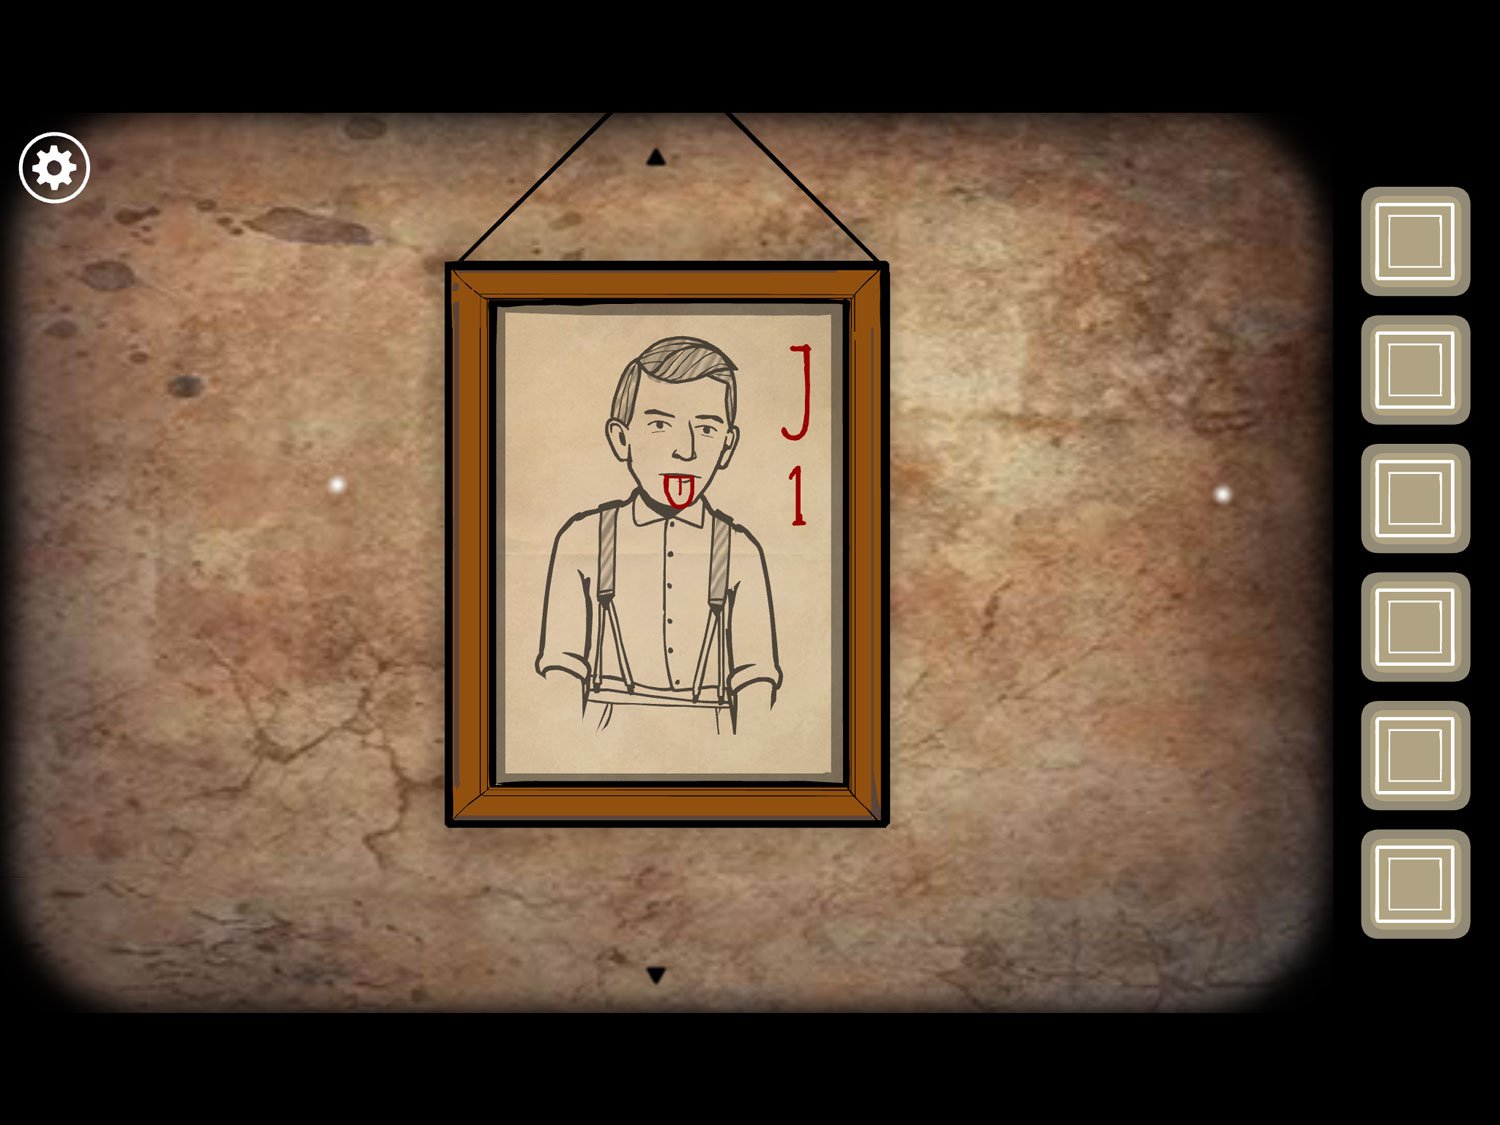
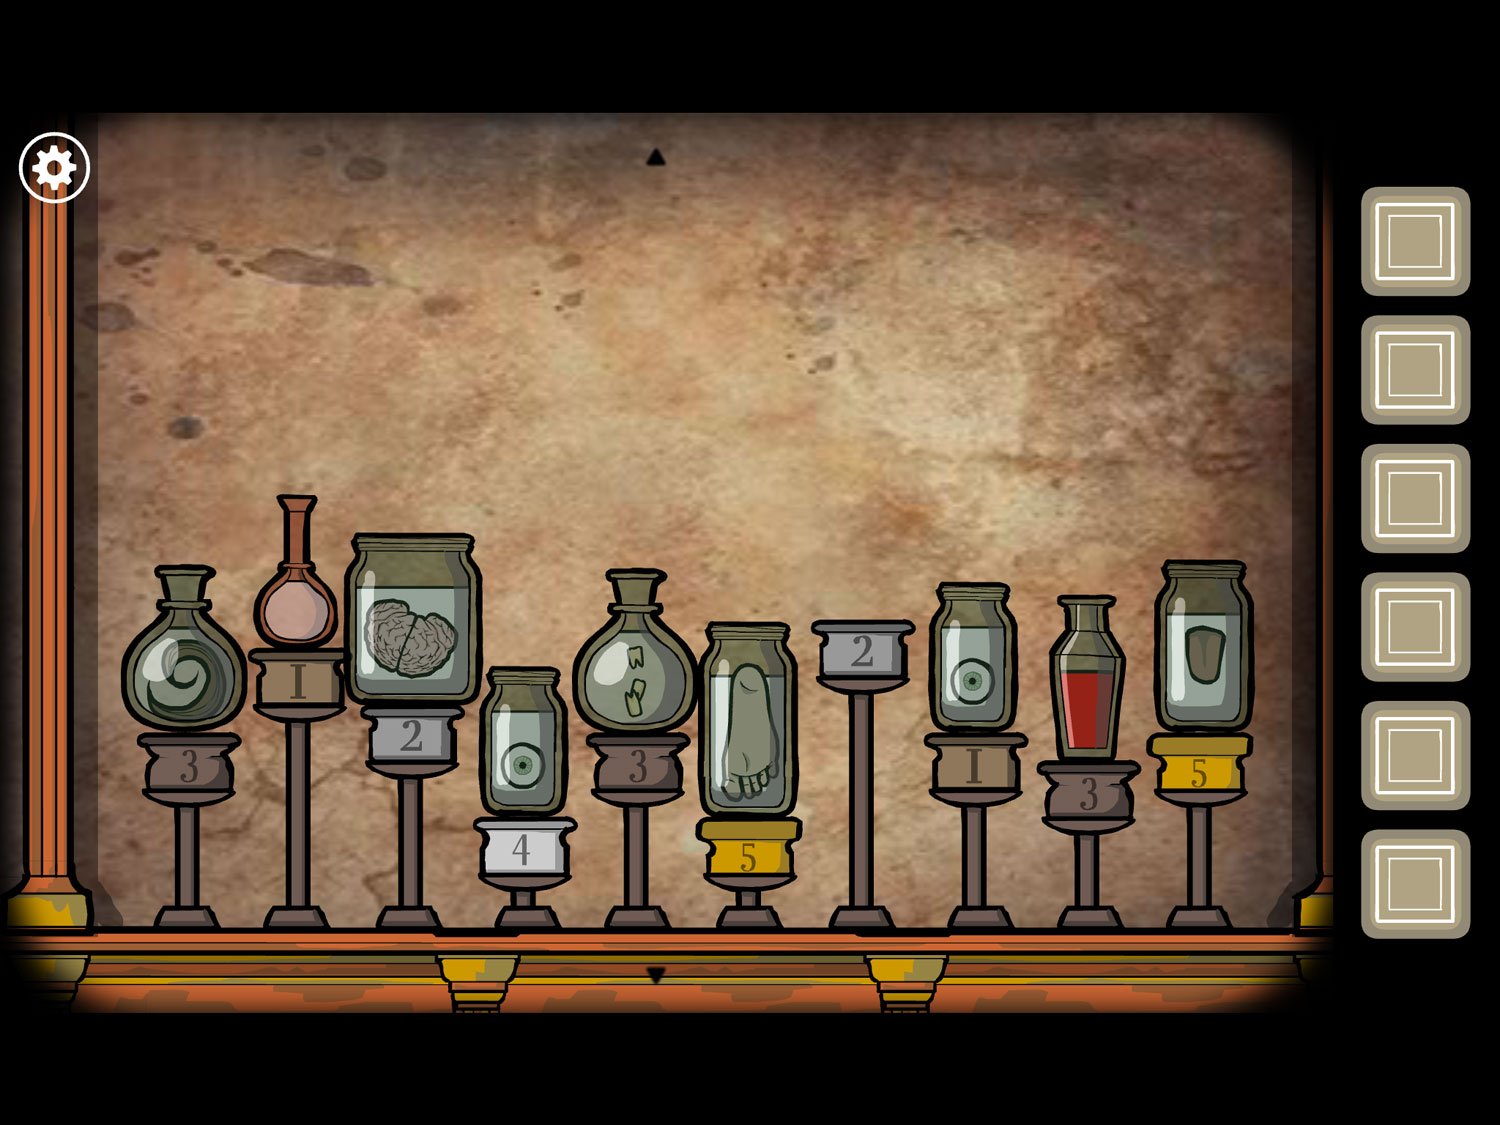
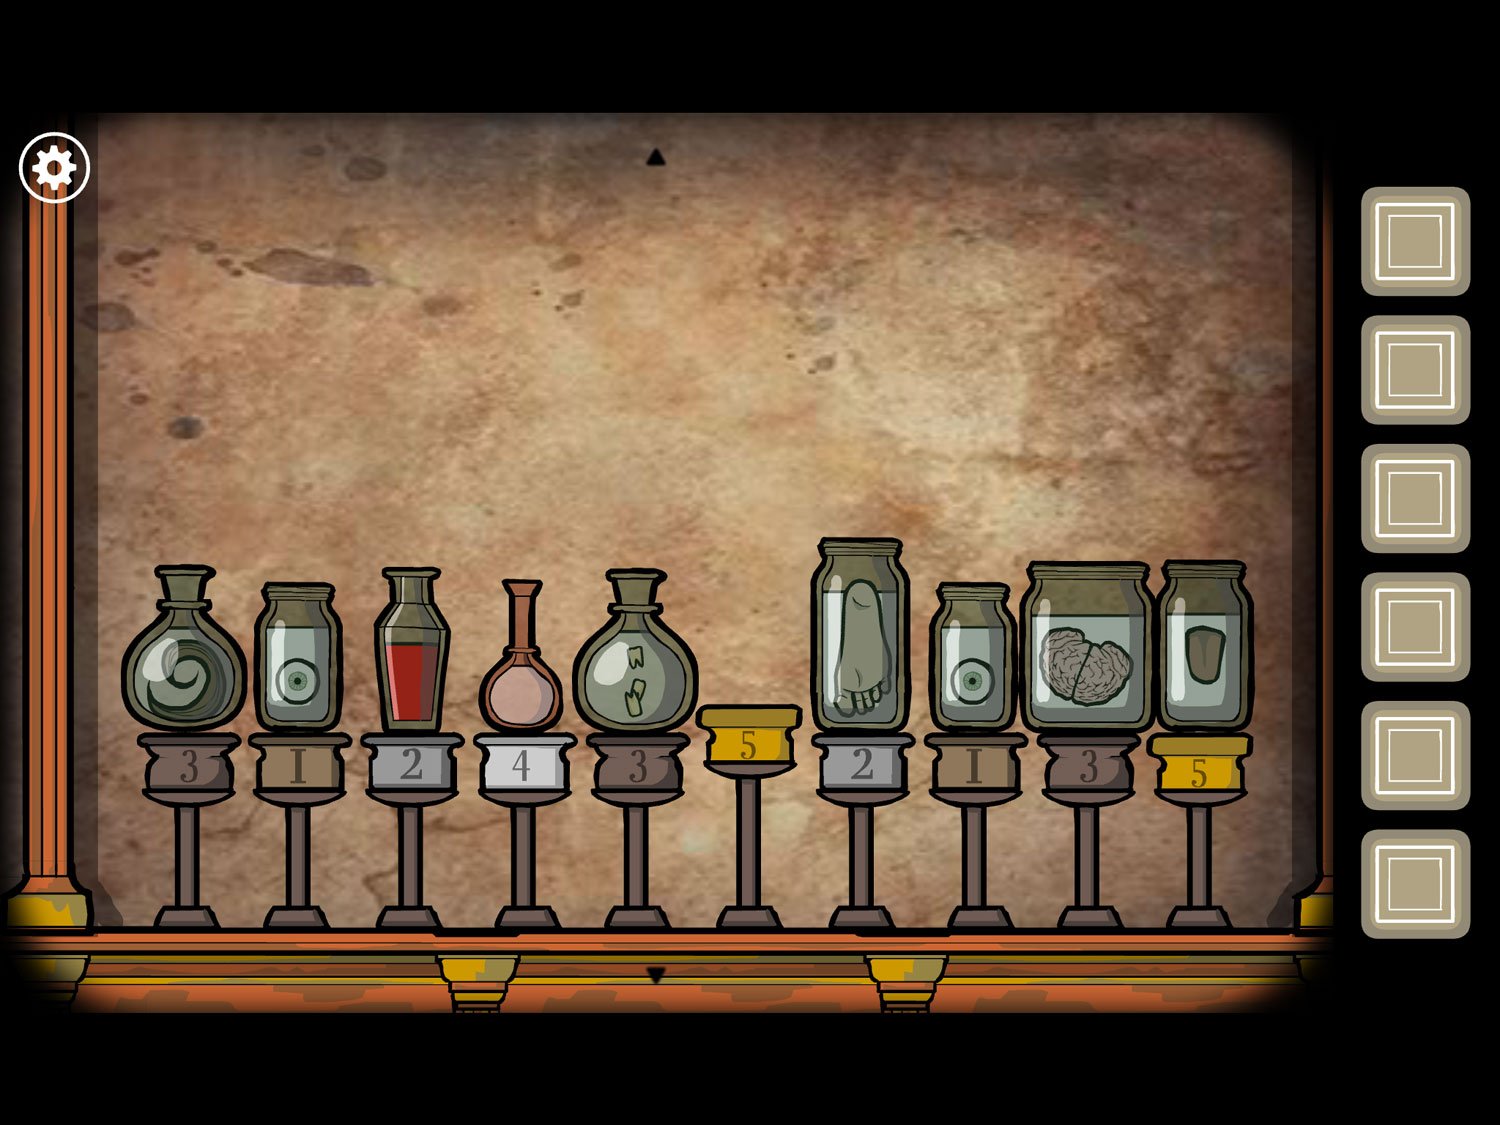
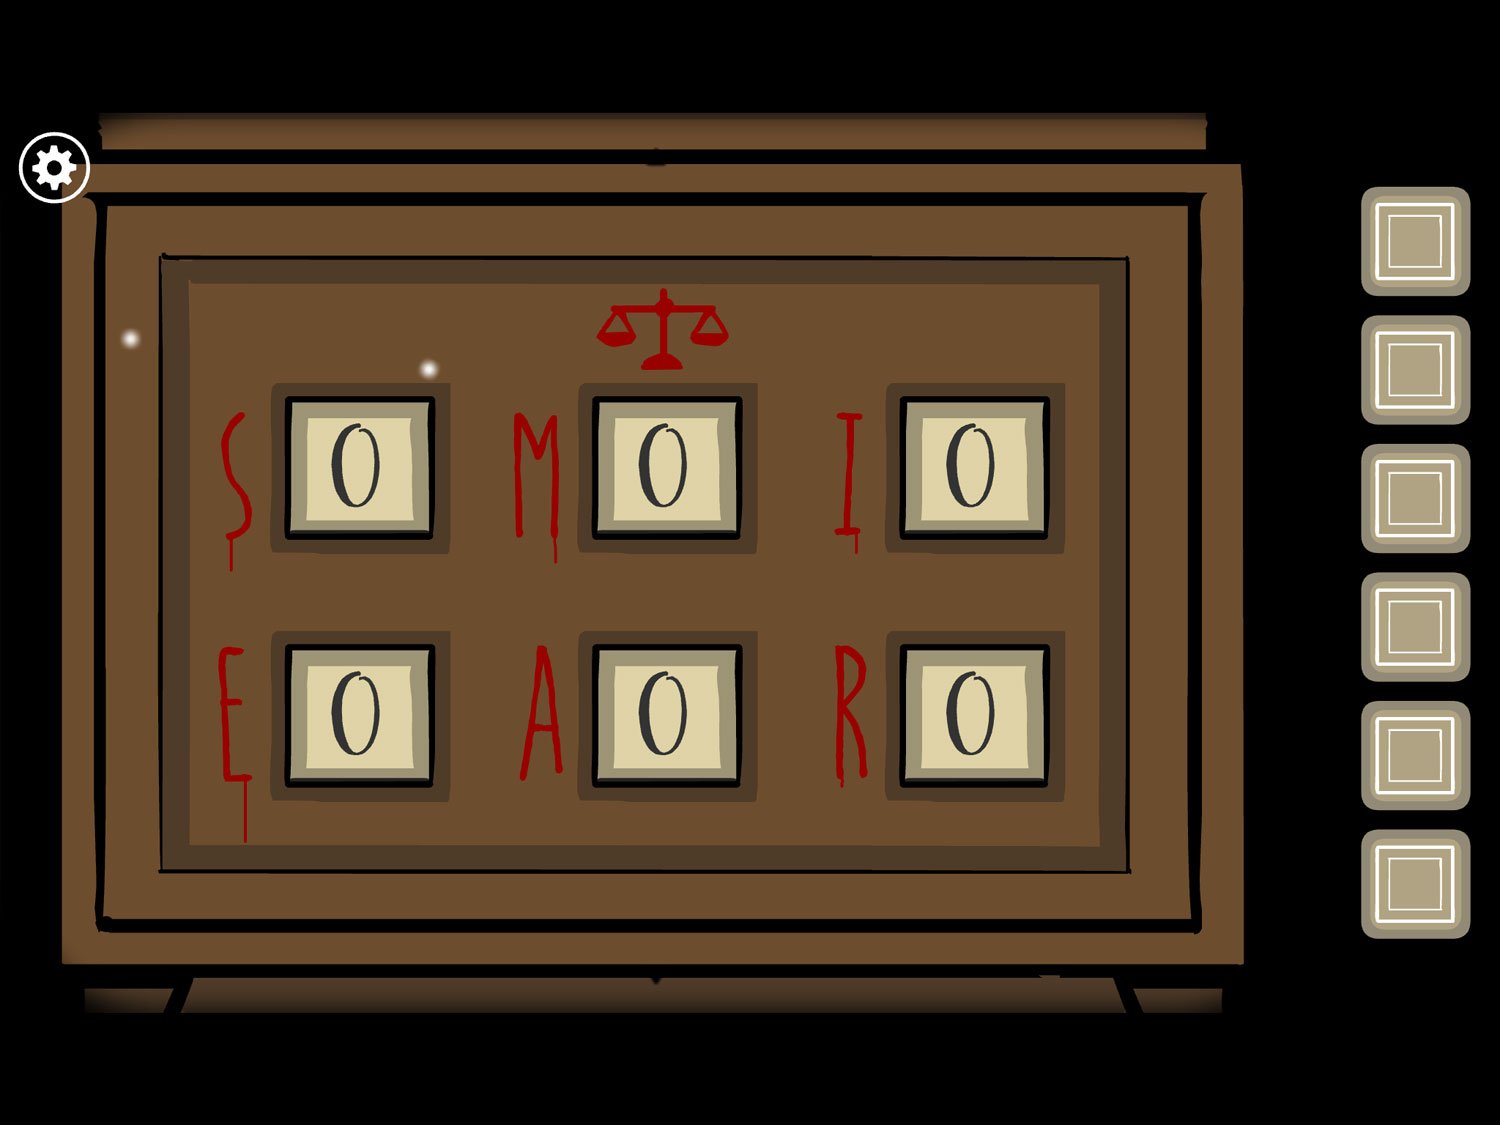
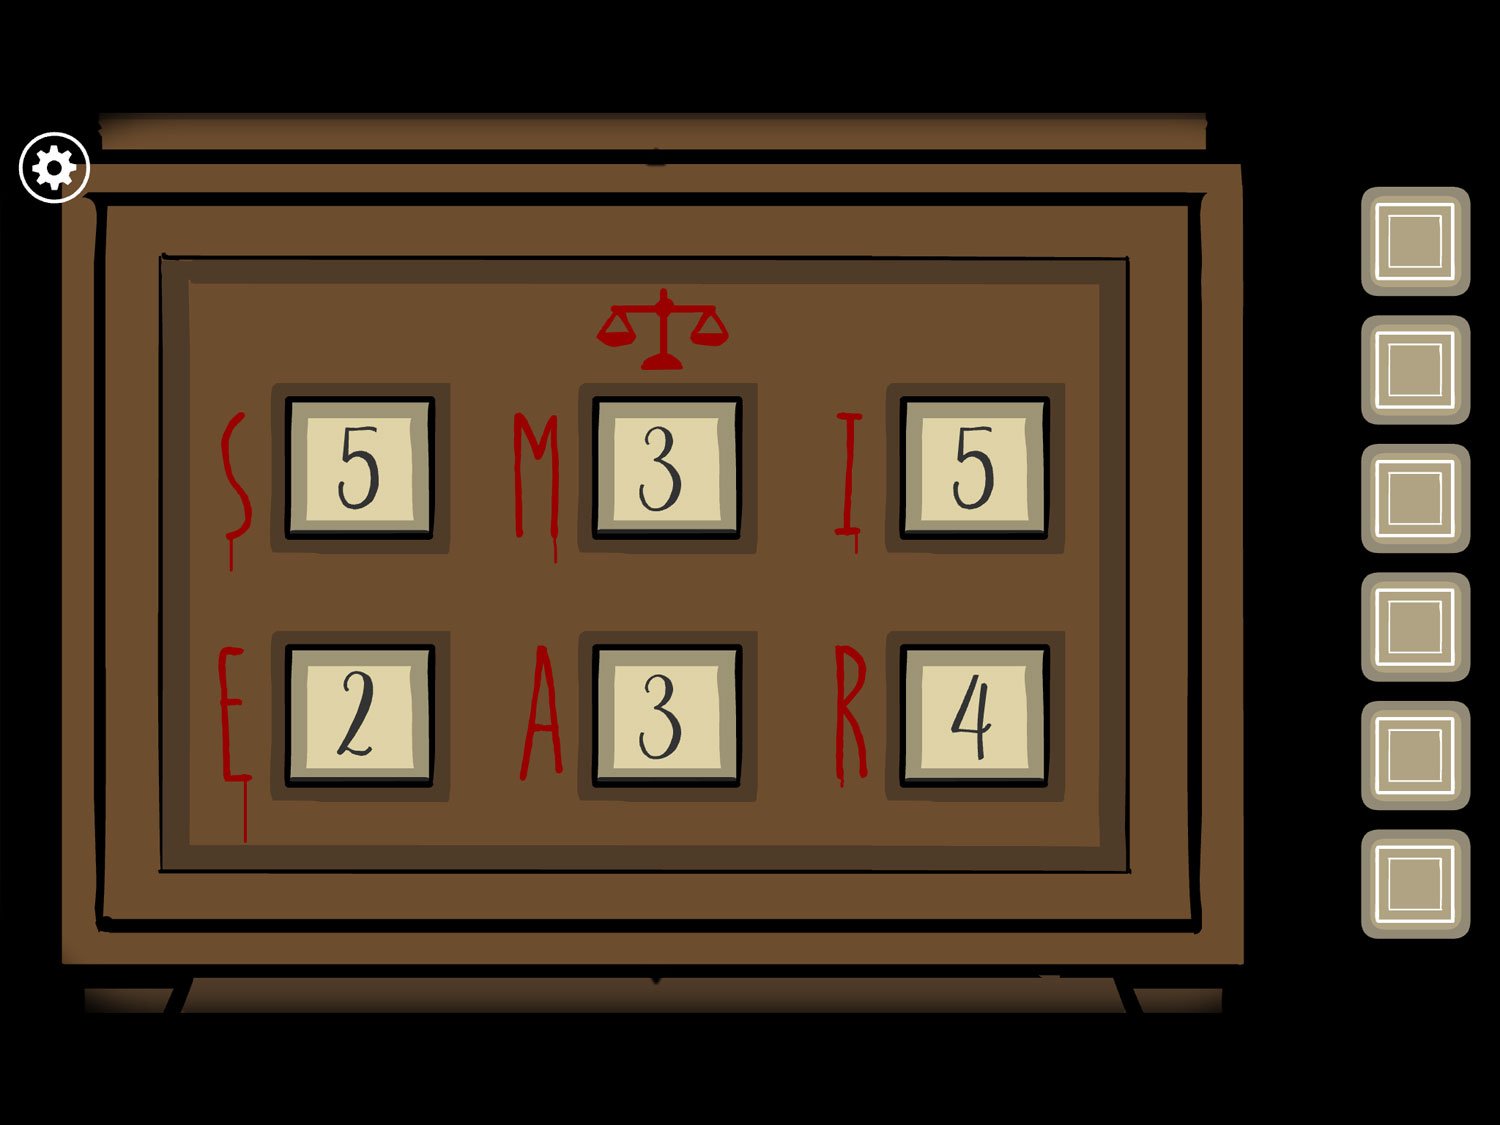
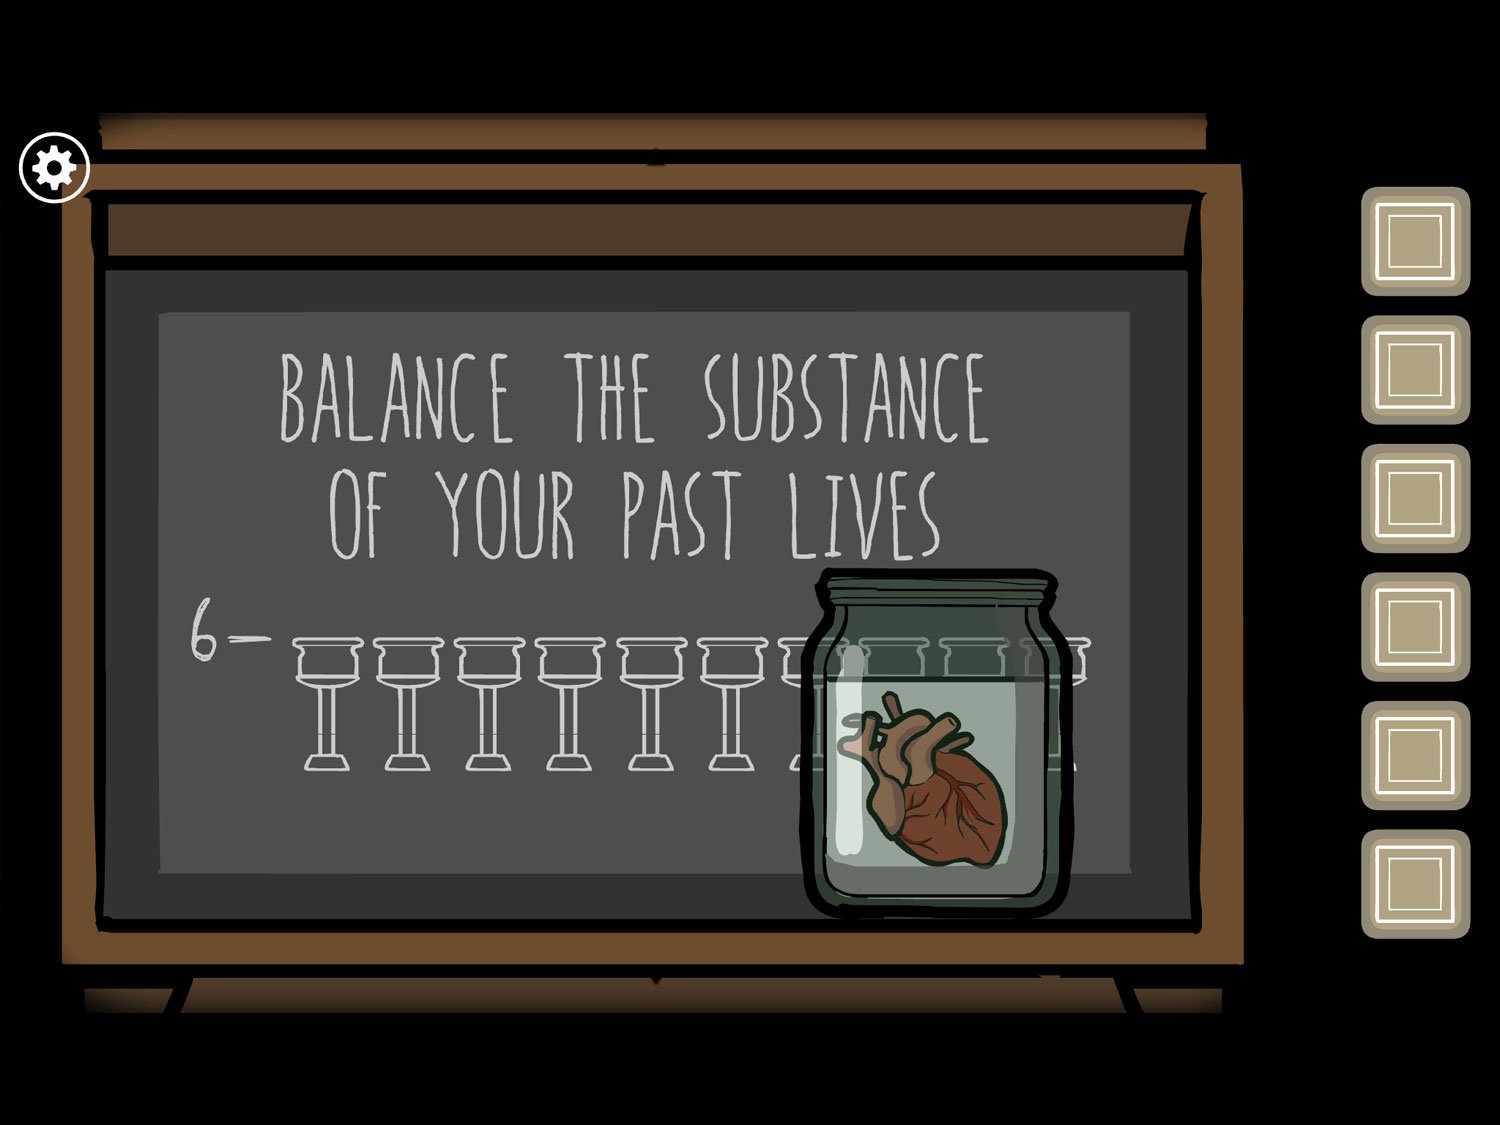
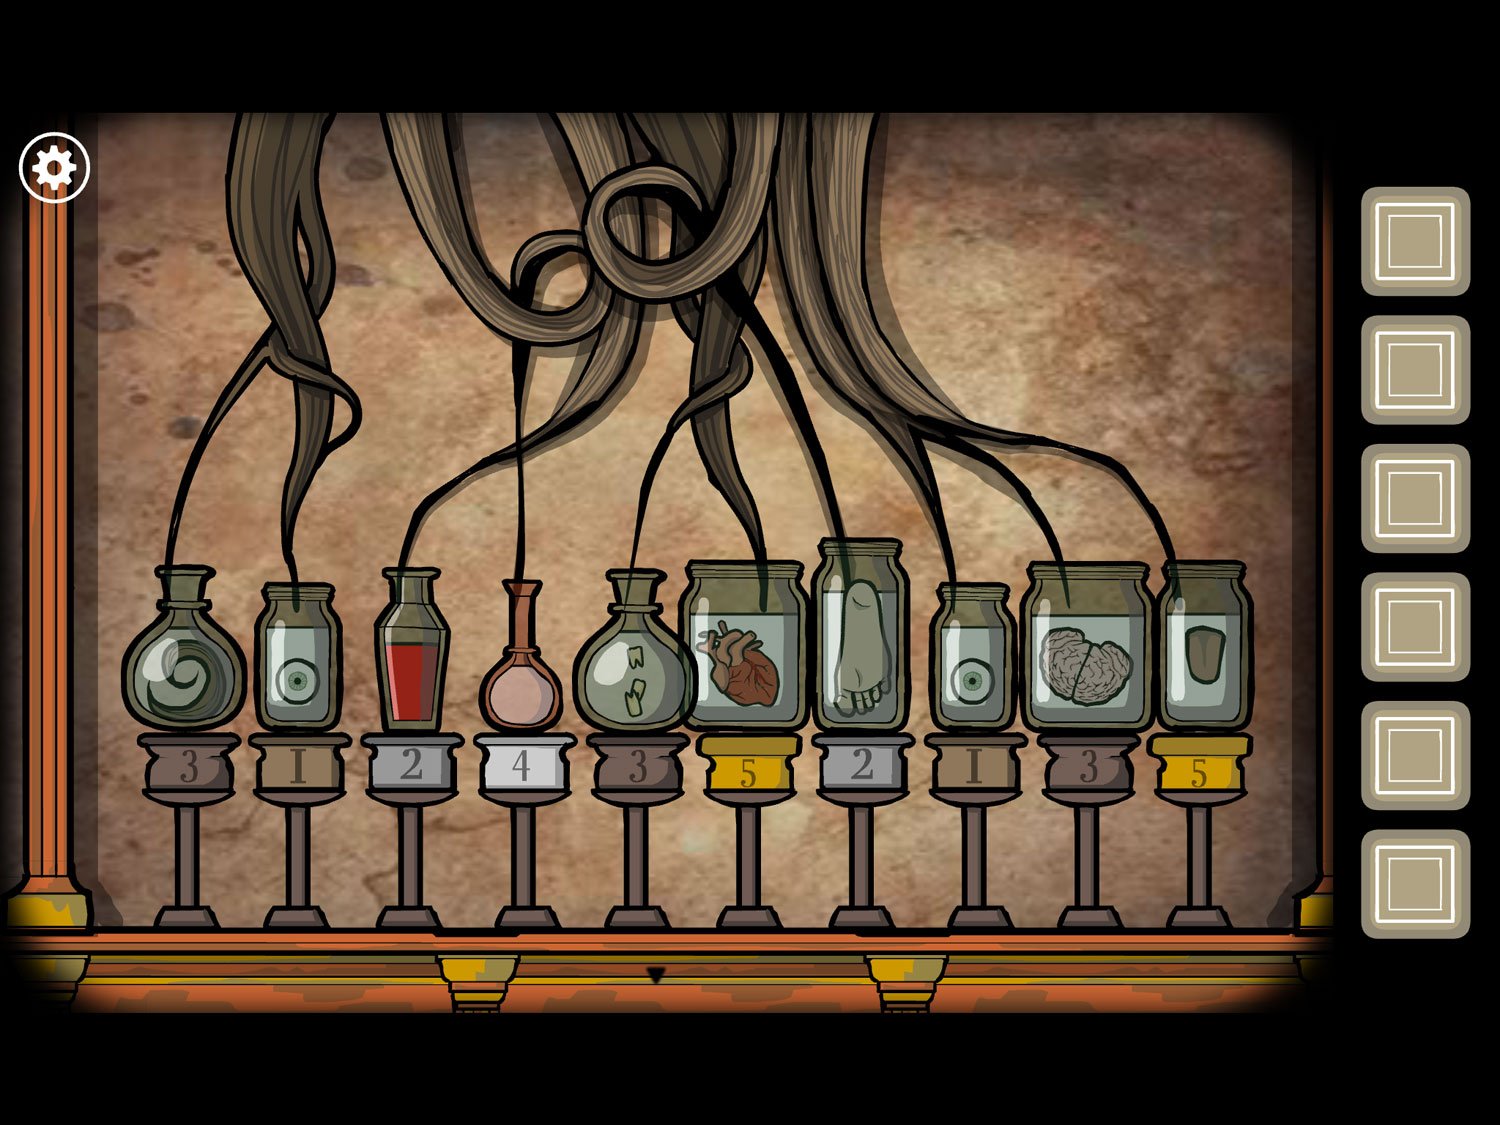
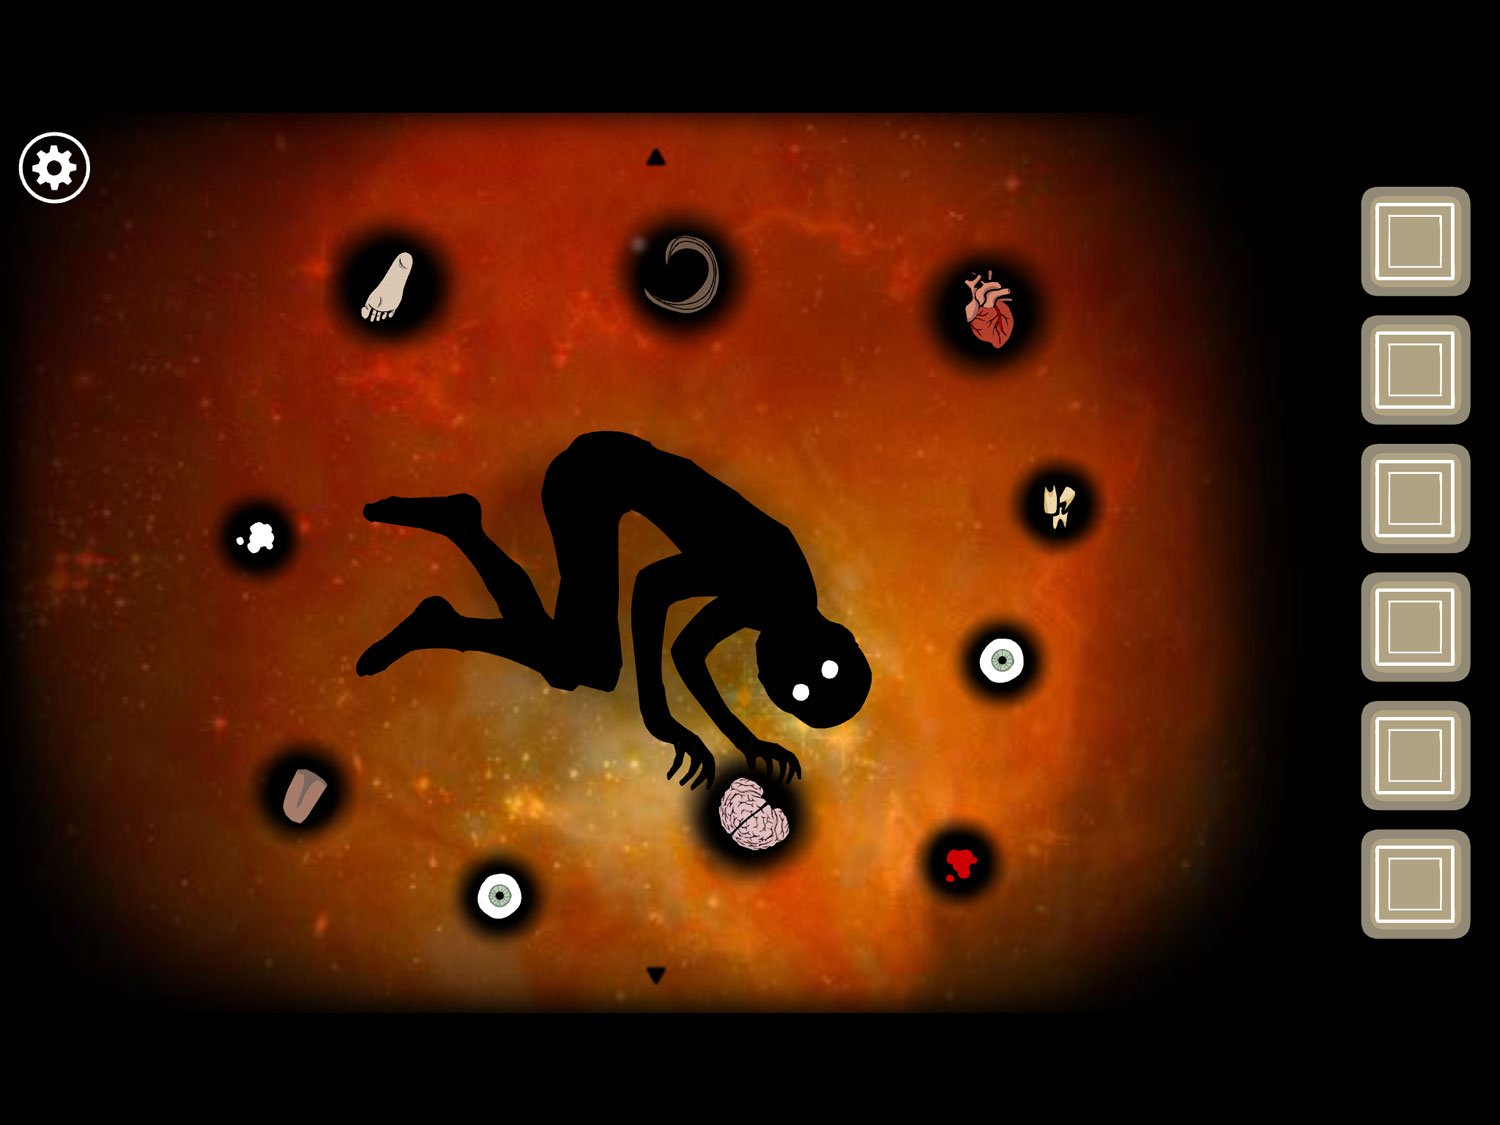

Bonus: More Roots
Find all the gold family emblems
- After you complete the main game of Rusty Lake: Roots, a bonus section opens up. You can revisit the large portrait levels for each family member and try to find the gold family emblem in the level
- When you find the emblem in someone’s level, the frame around the portrait for that level will turn gold
- The first hint you receive is “666”
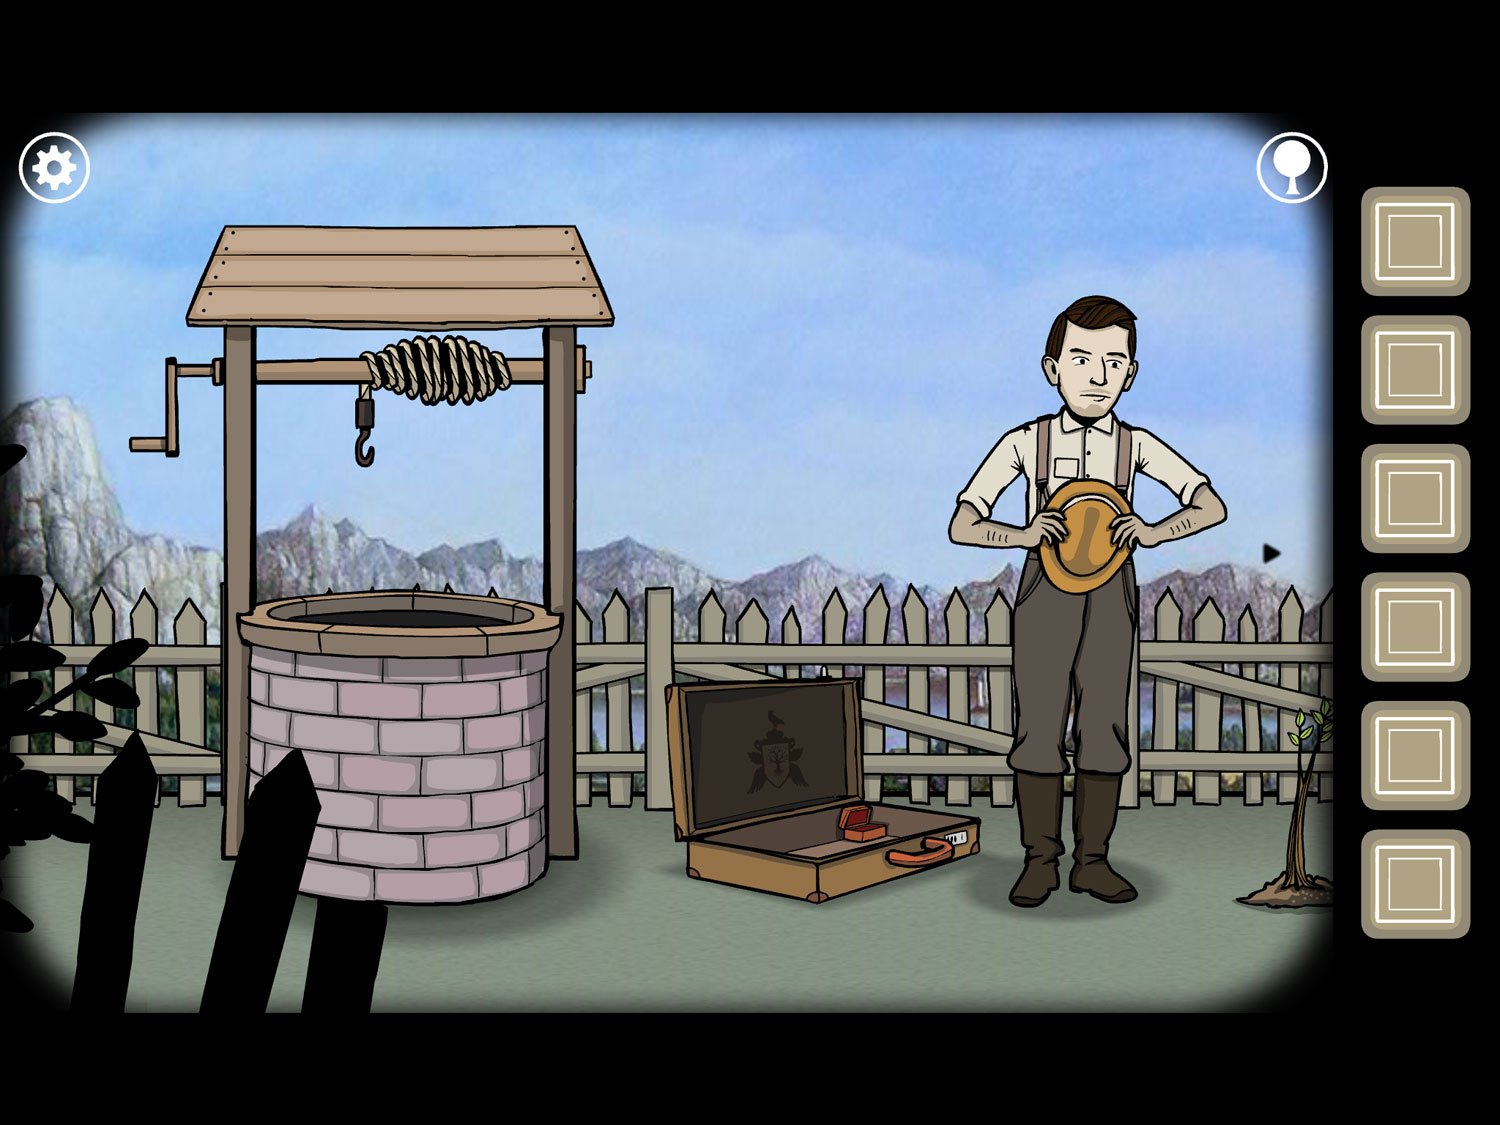
Emblem 1
Location: James’ portrait, level in the front yard (previously Level 1)
- Tap on James’ suitcase
- Tap on the lock. Change the code to “666.” Tap the lock again and you’ll hear a tearing sound
- Zoom out and you’ll see the back of the suitcase has torn. Tap on it to zoom in
- Tap the fabric to pull it back. There are a series of Tarot cards underneath with some drawings as well as a golden family emblem
- Tap on each Tarot card to zoom in on it. Note the symbols on each:
- The Hermit: red needle pointing up the word “CROW” written in white
- Wheel of Fortune: the wheel looks like a clock face pointing to 10:35
- Death: a red upside-down triangle with a line through the middle. And four pigeon icons, pointing to 9 o’clock with two waves underneath, 10 o’clock with a dot underneath, 11 o’clock with nothing underneath, and 1 o’clock with a single wave underneath
- Queen of Pentacles: the numbers III, IV, II, IV, I
- The Devil: a red circle with a dot in the middle and white symbols: triangle pointing left, needle pointing left, U pointing right, triangle with dot on the bottom
- The Star: two red curves touching
- The Hanged Man: a red circle with a line through the middle
- After you’ve examined all the cards, tap the gold family emblem. A yellow square appears; tap to exit
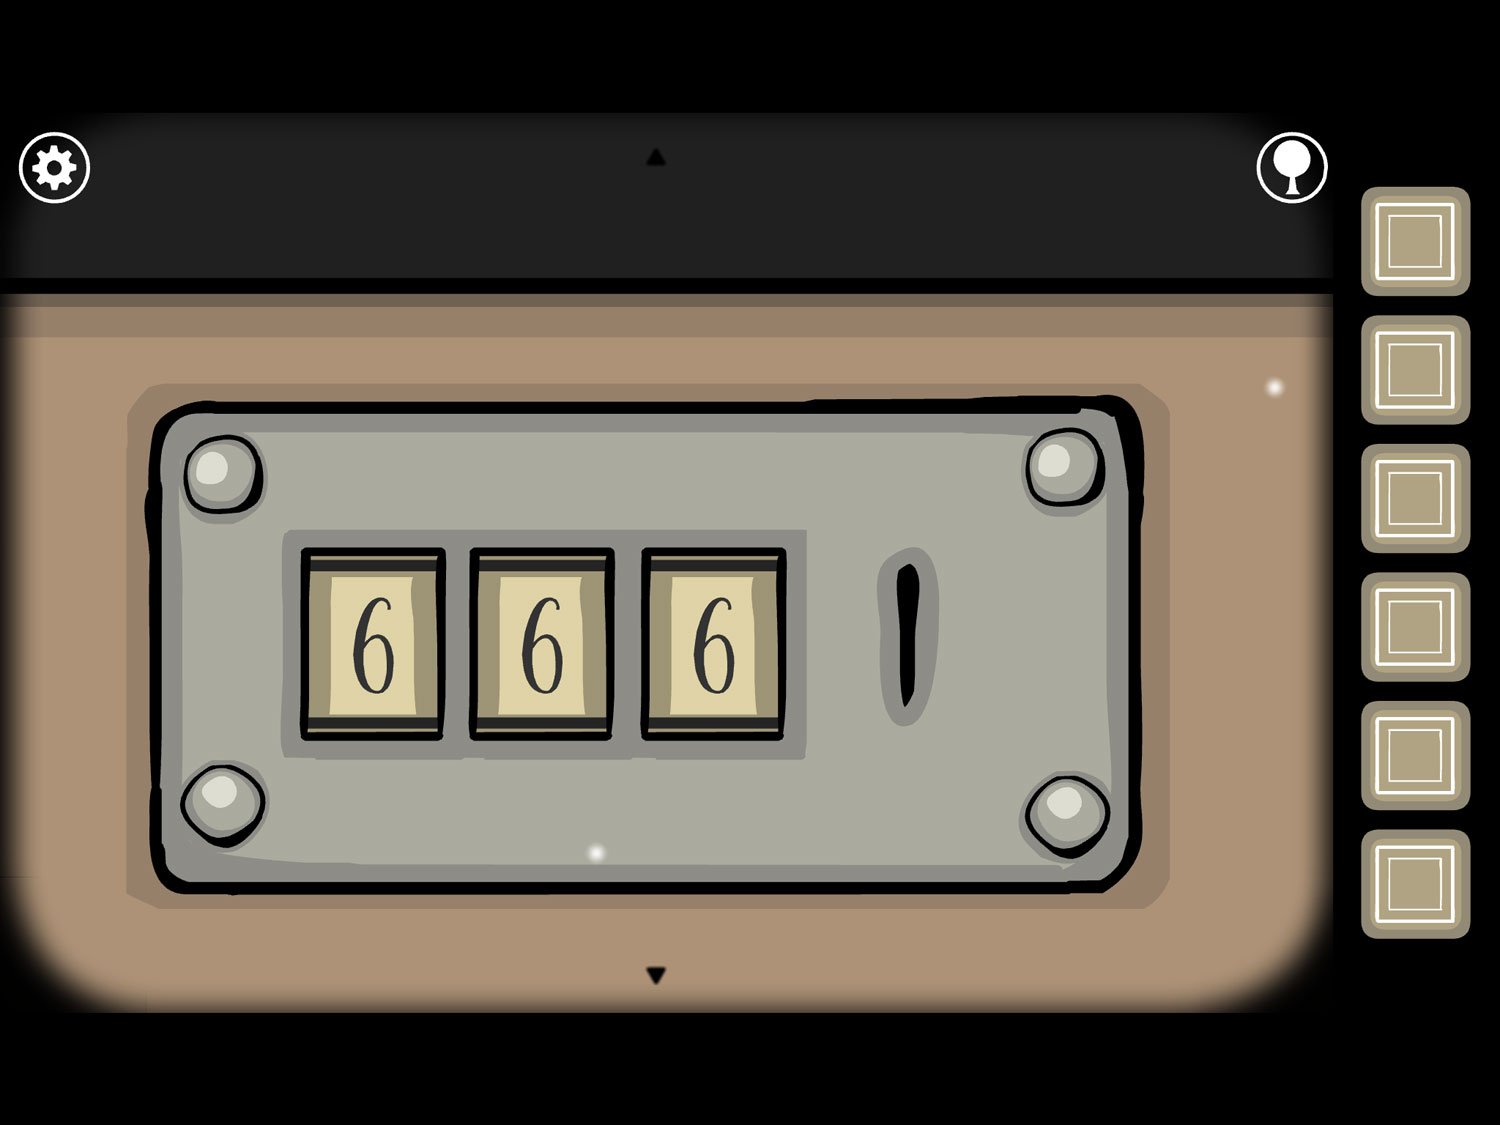
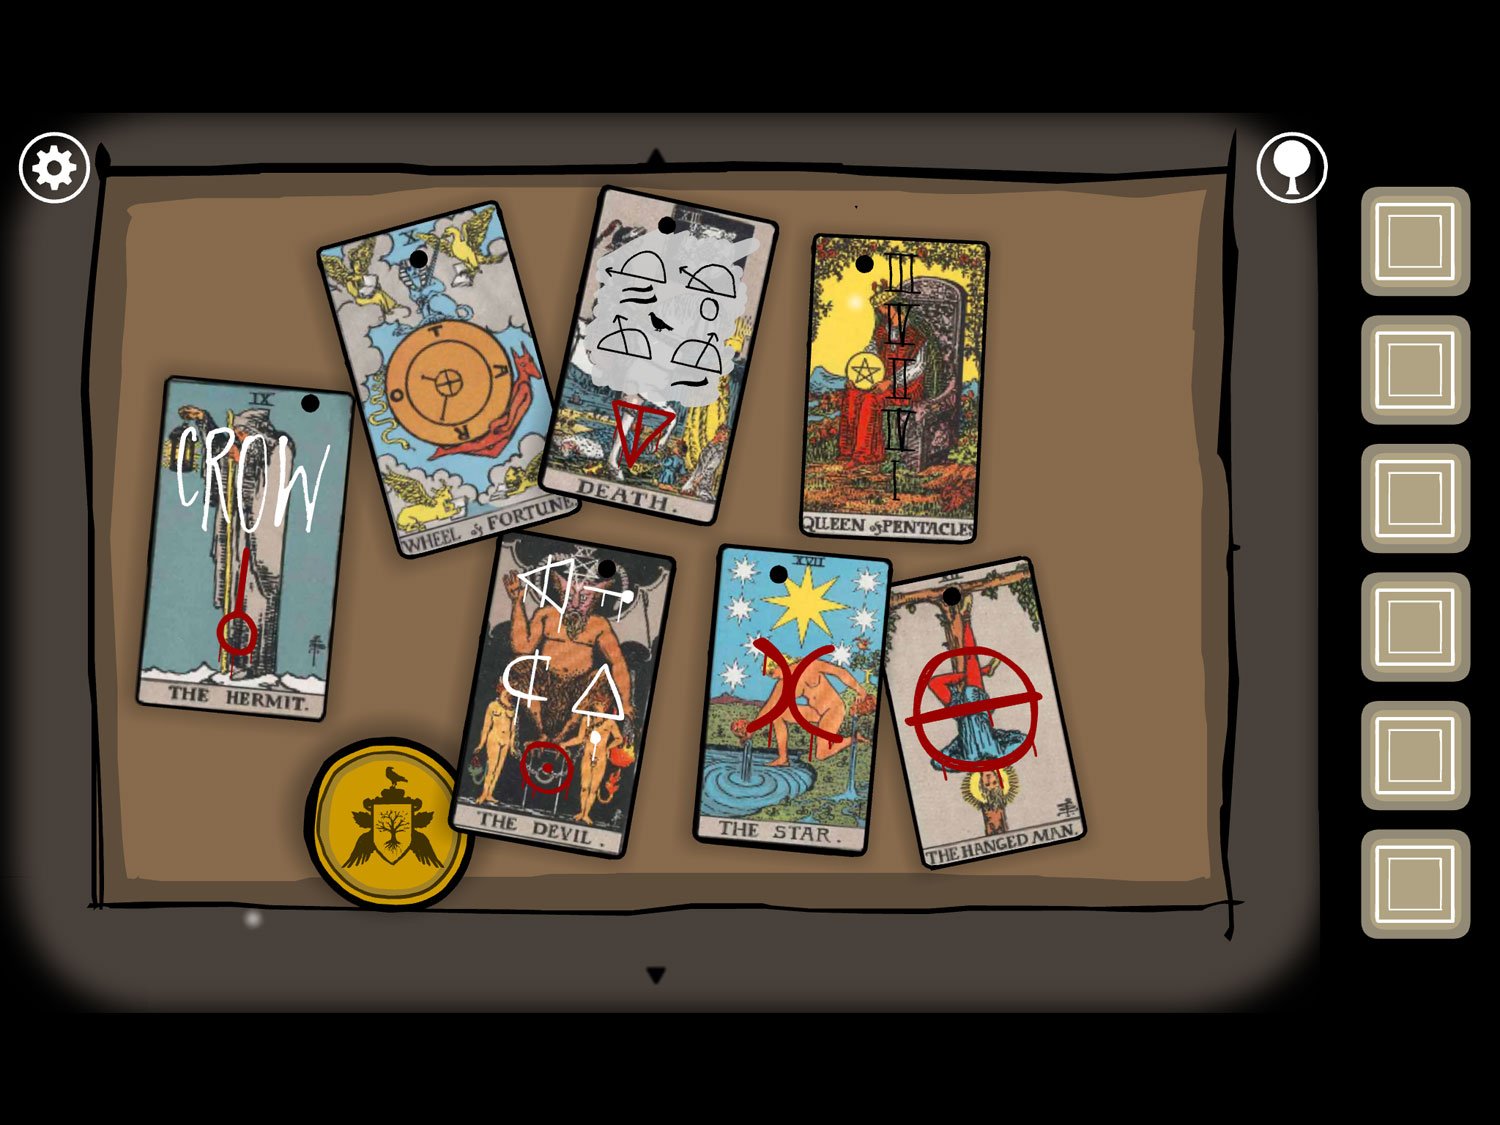
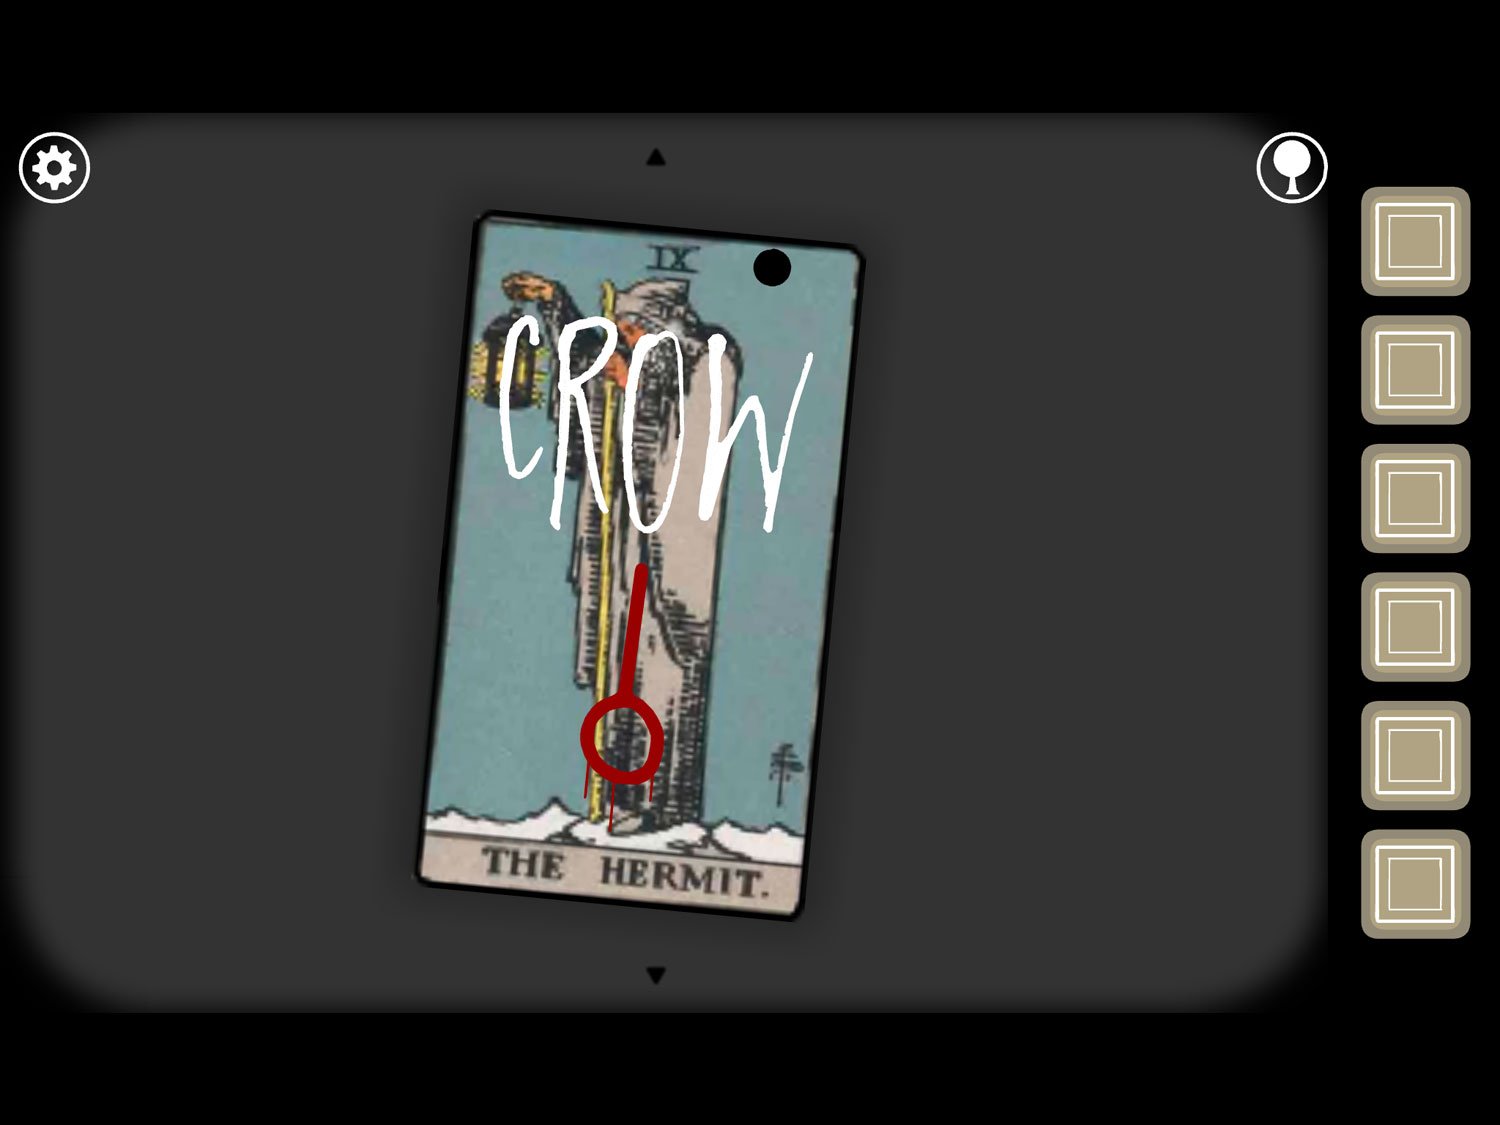
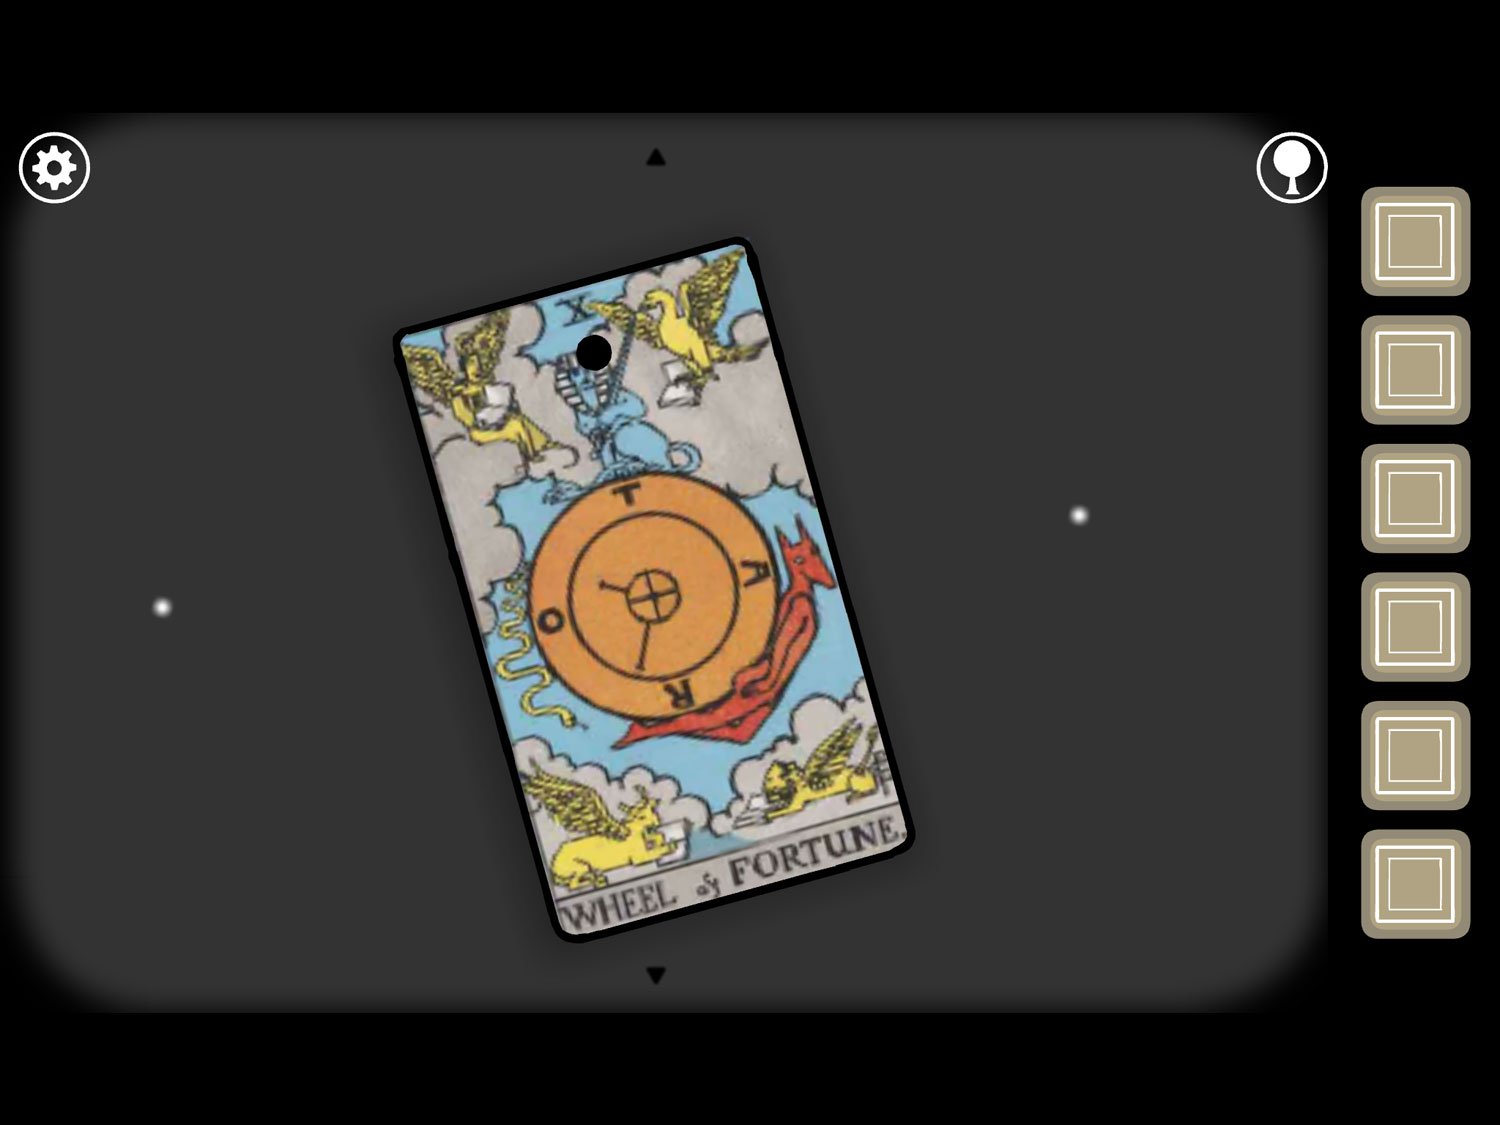
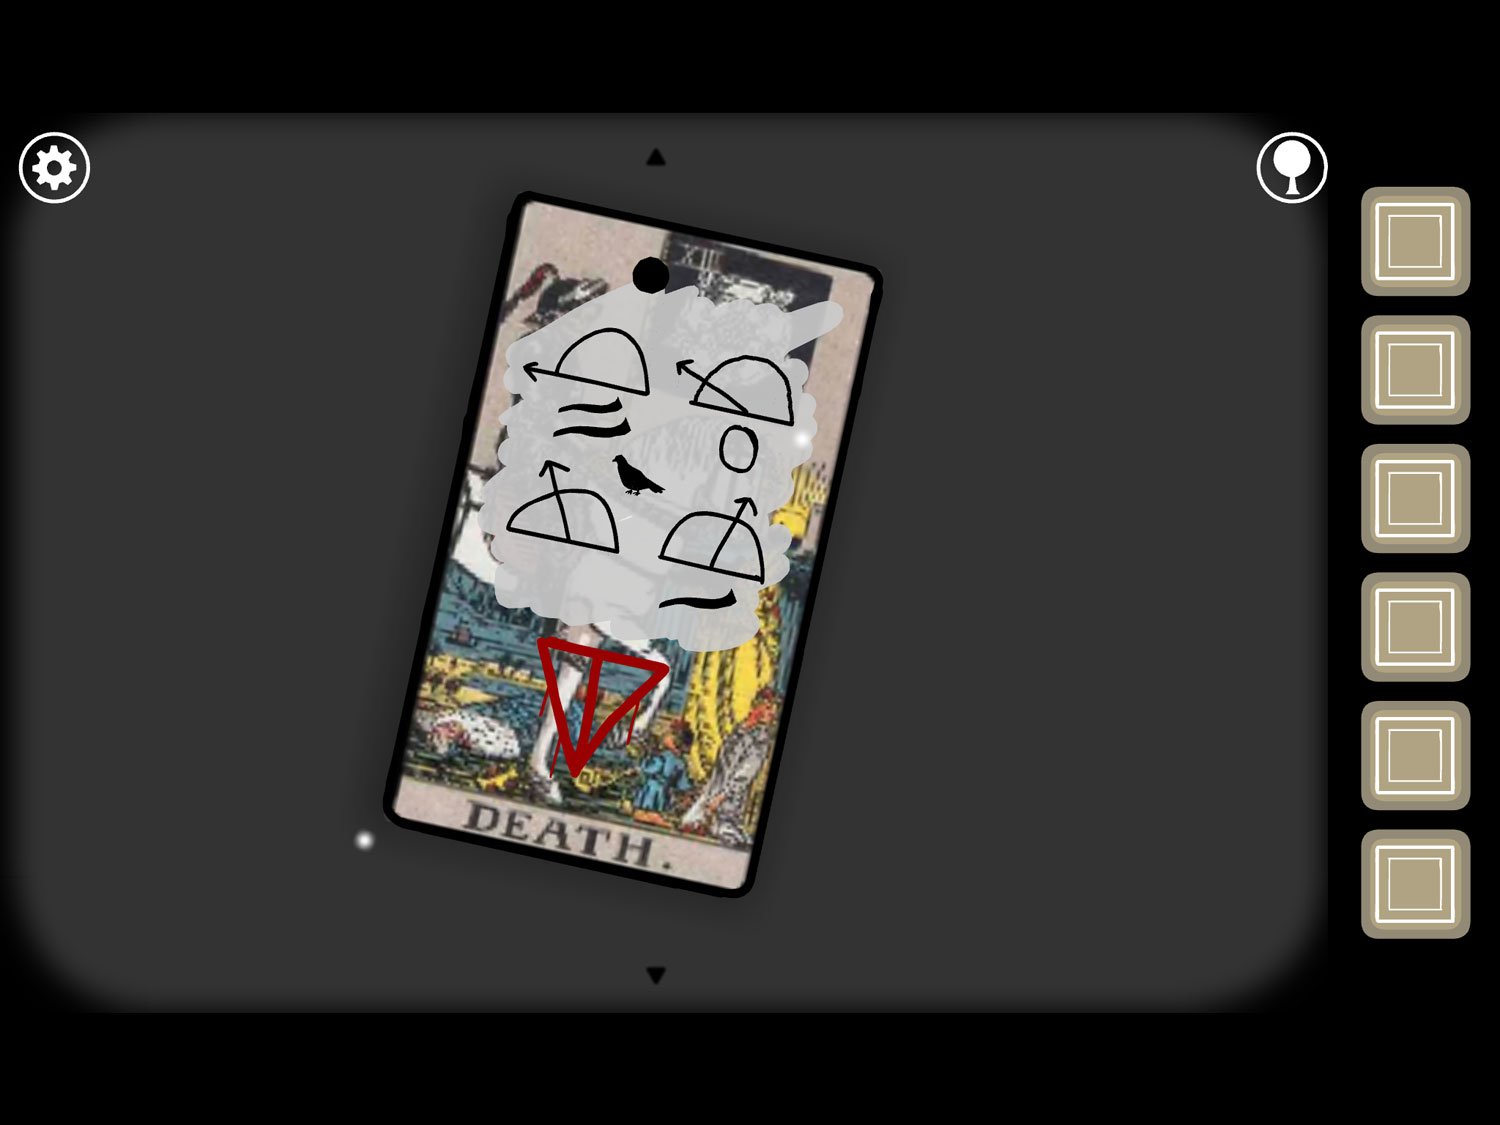
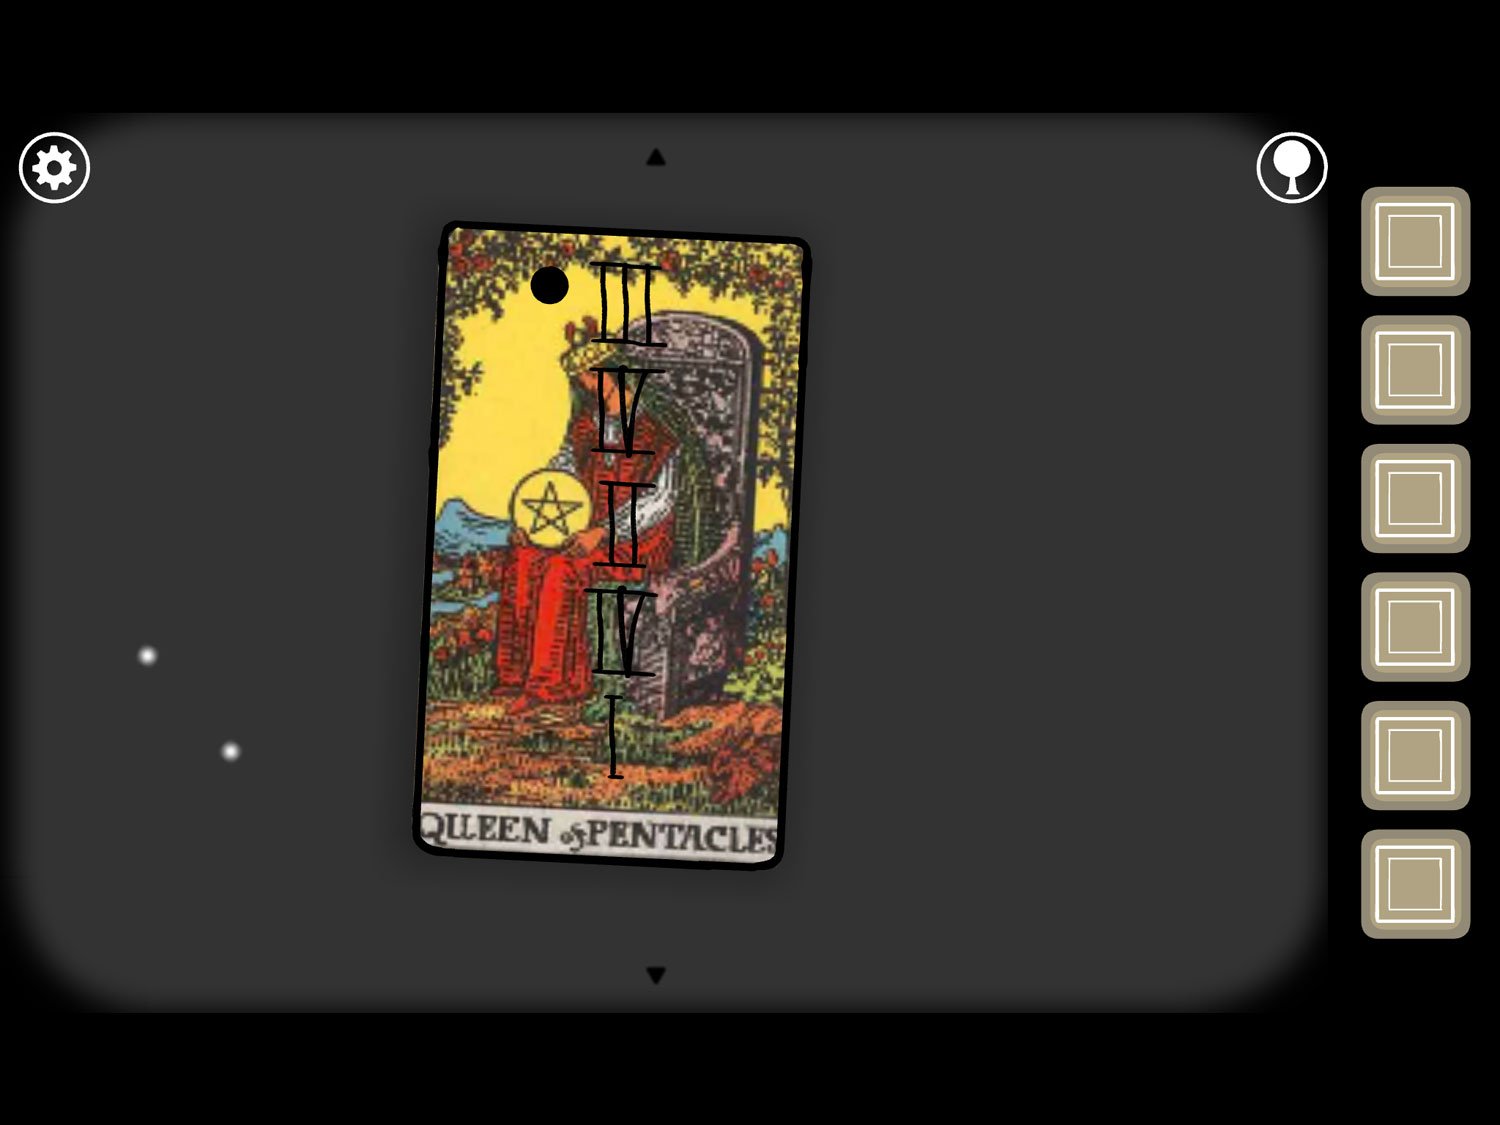
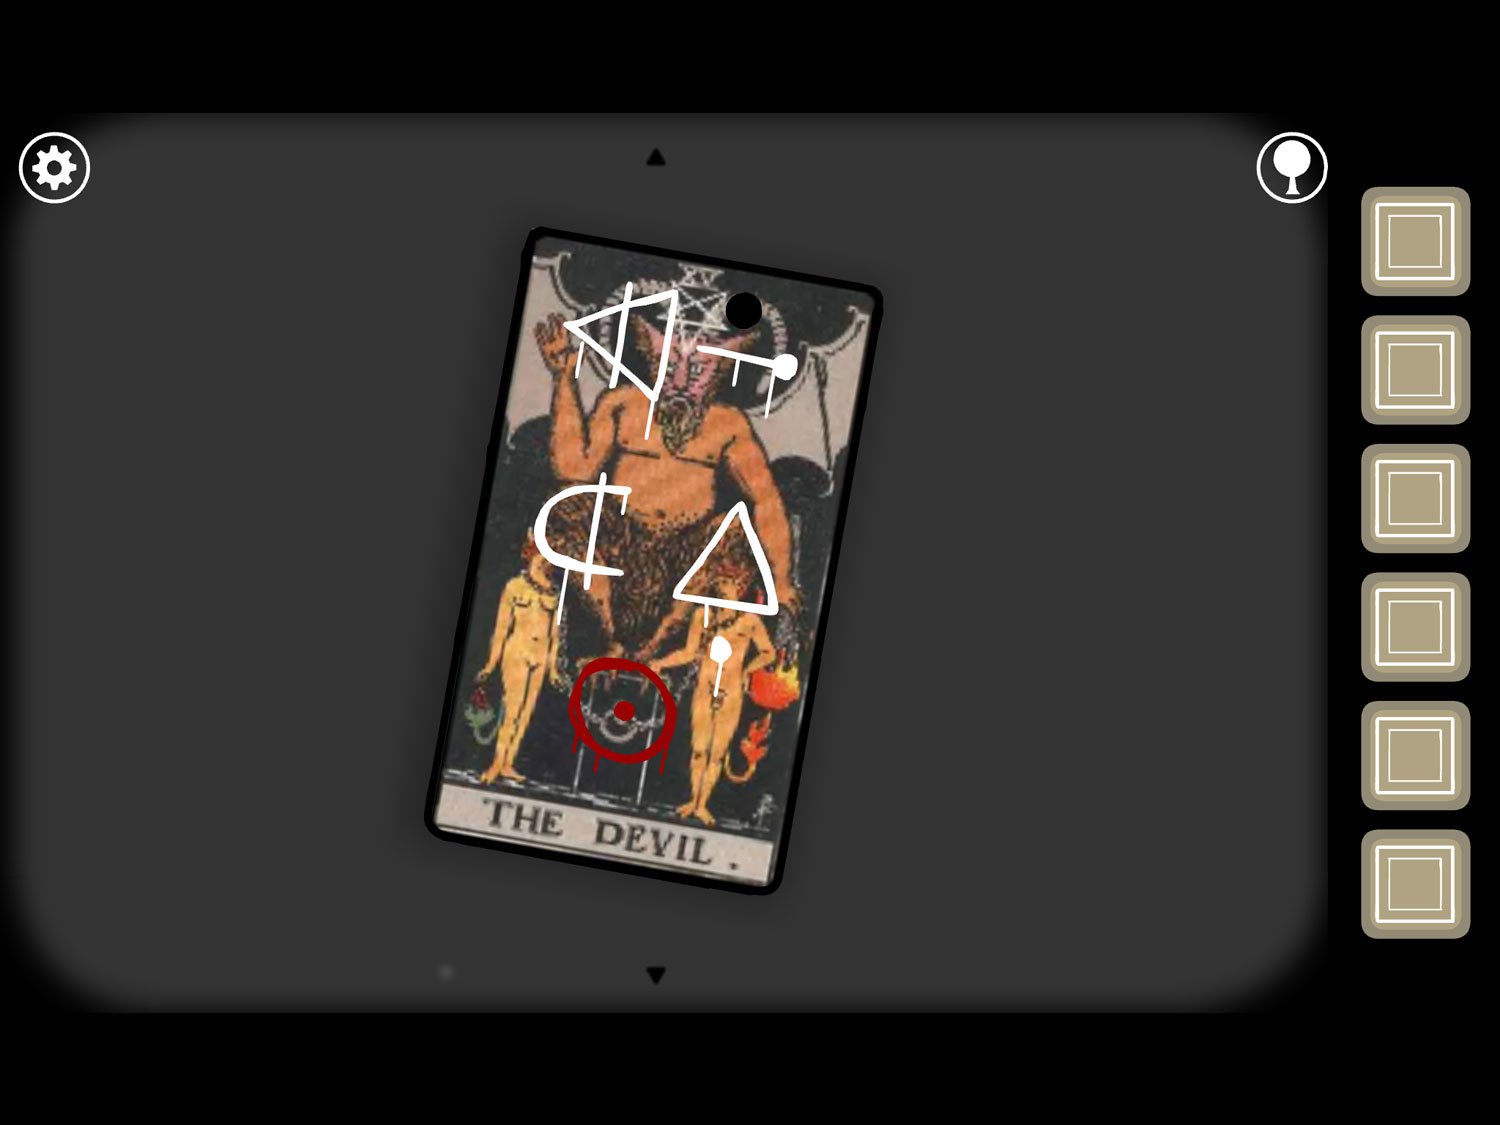
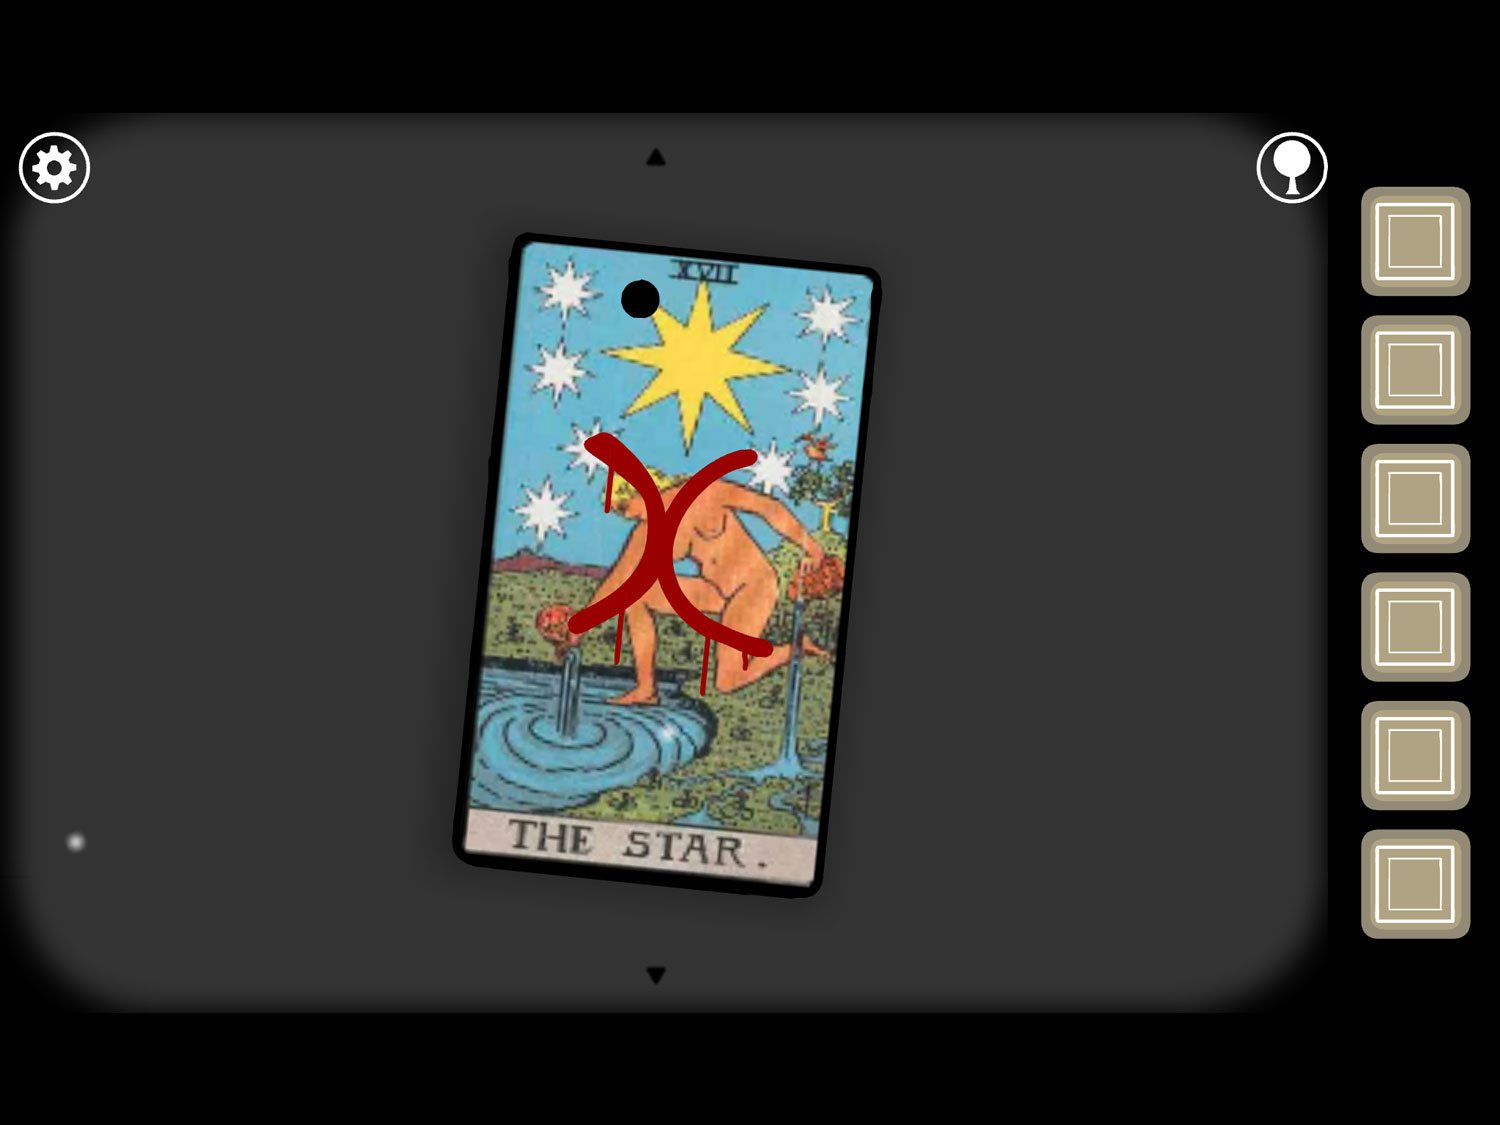
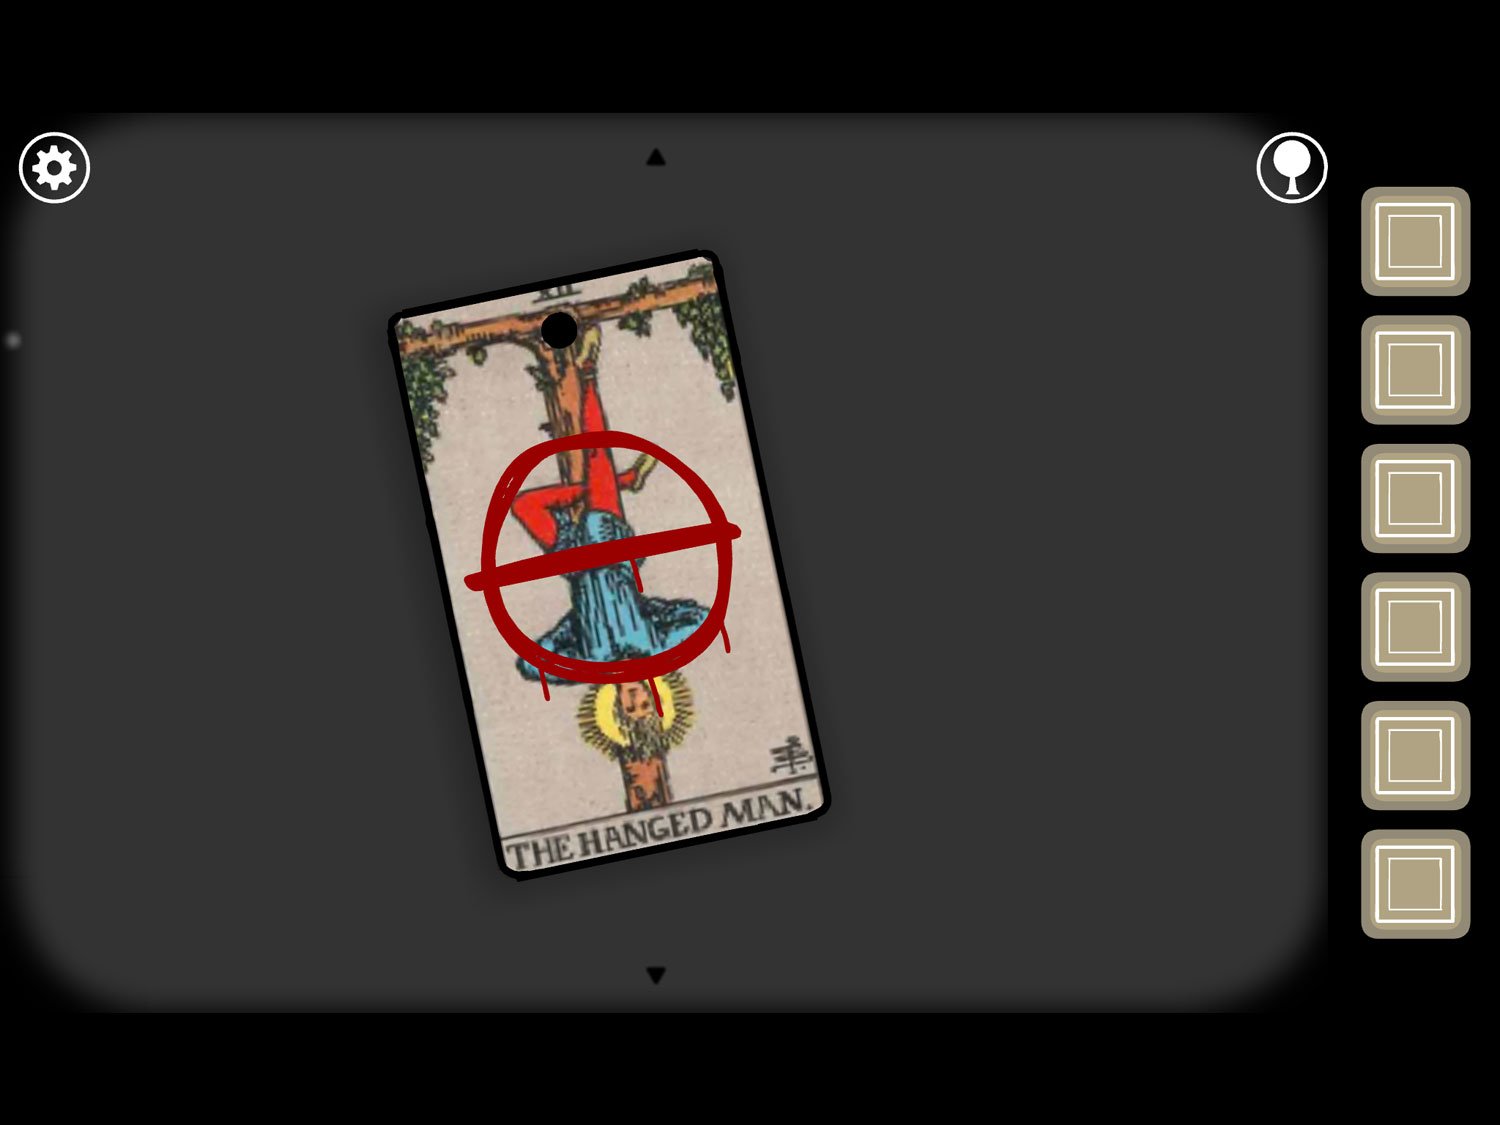
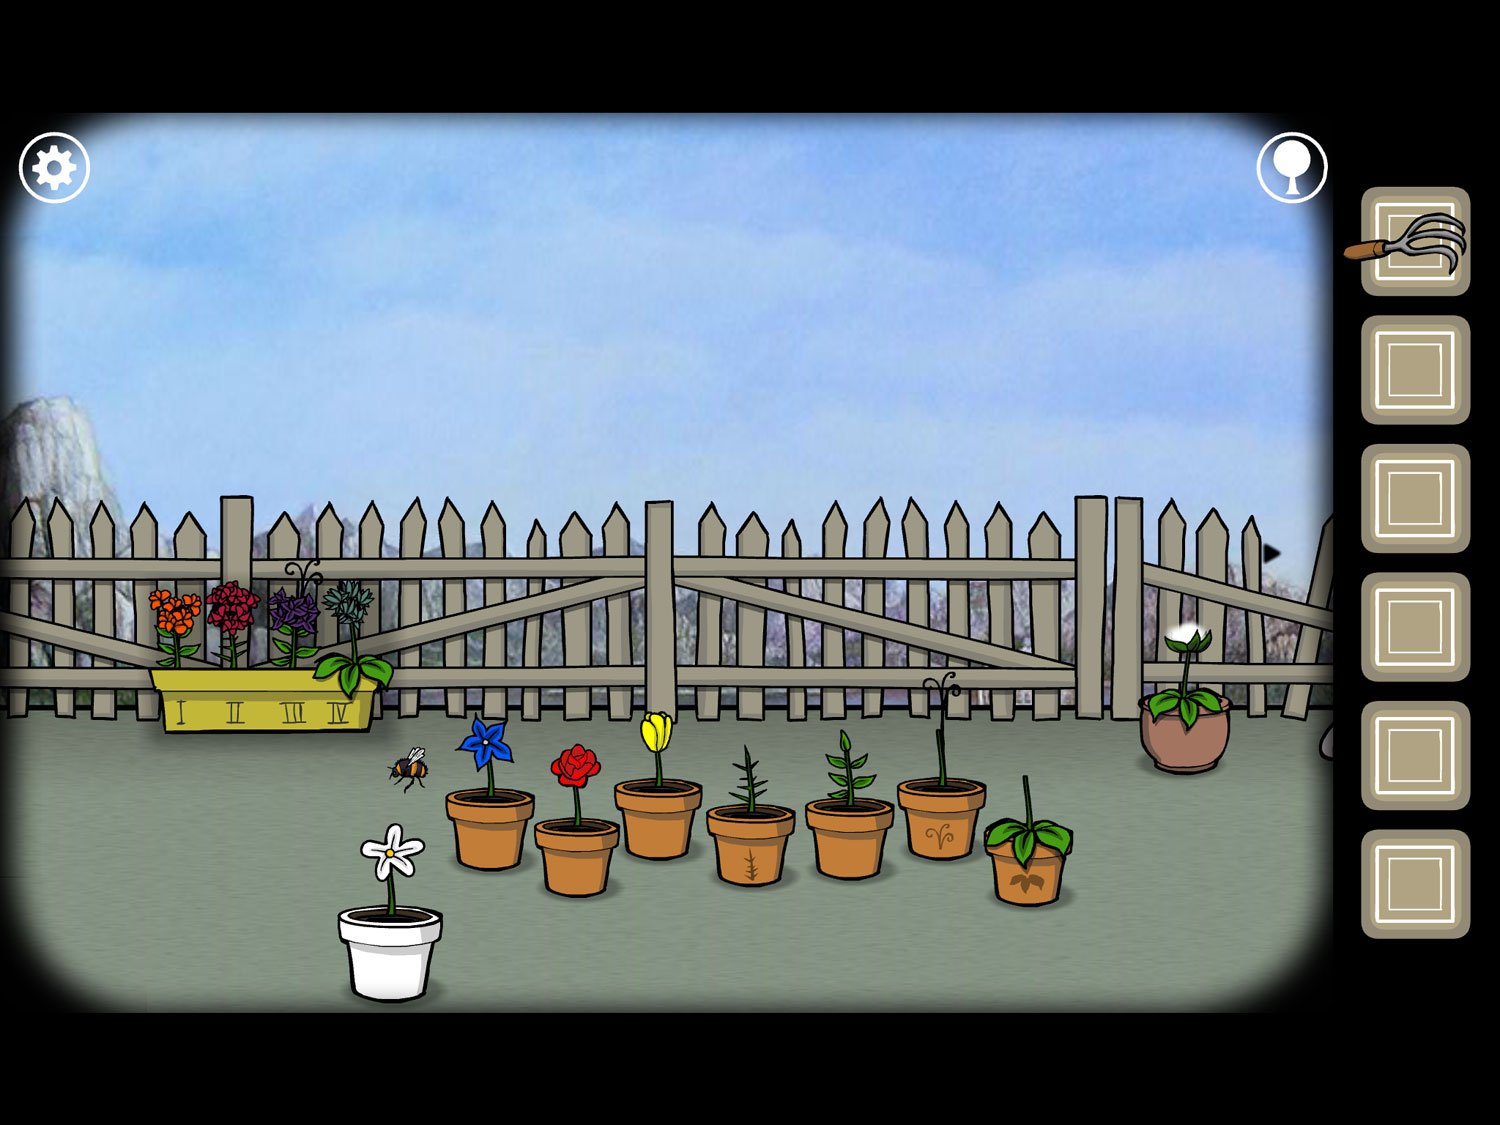
Emblem 2
Location: Emma’s portrait, level in the garden (previously level 10 “Fertility”)
- Tap on the flowers in the yellow bed near the fence
- Tap the flowers in the order we saw on the Queen of Pentacles card: III, IV, II, IV, I
- A family emblem appears left of the pot; tap it to reveal a yellow square and exit
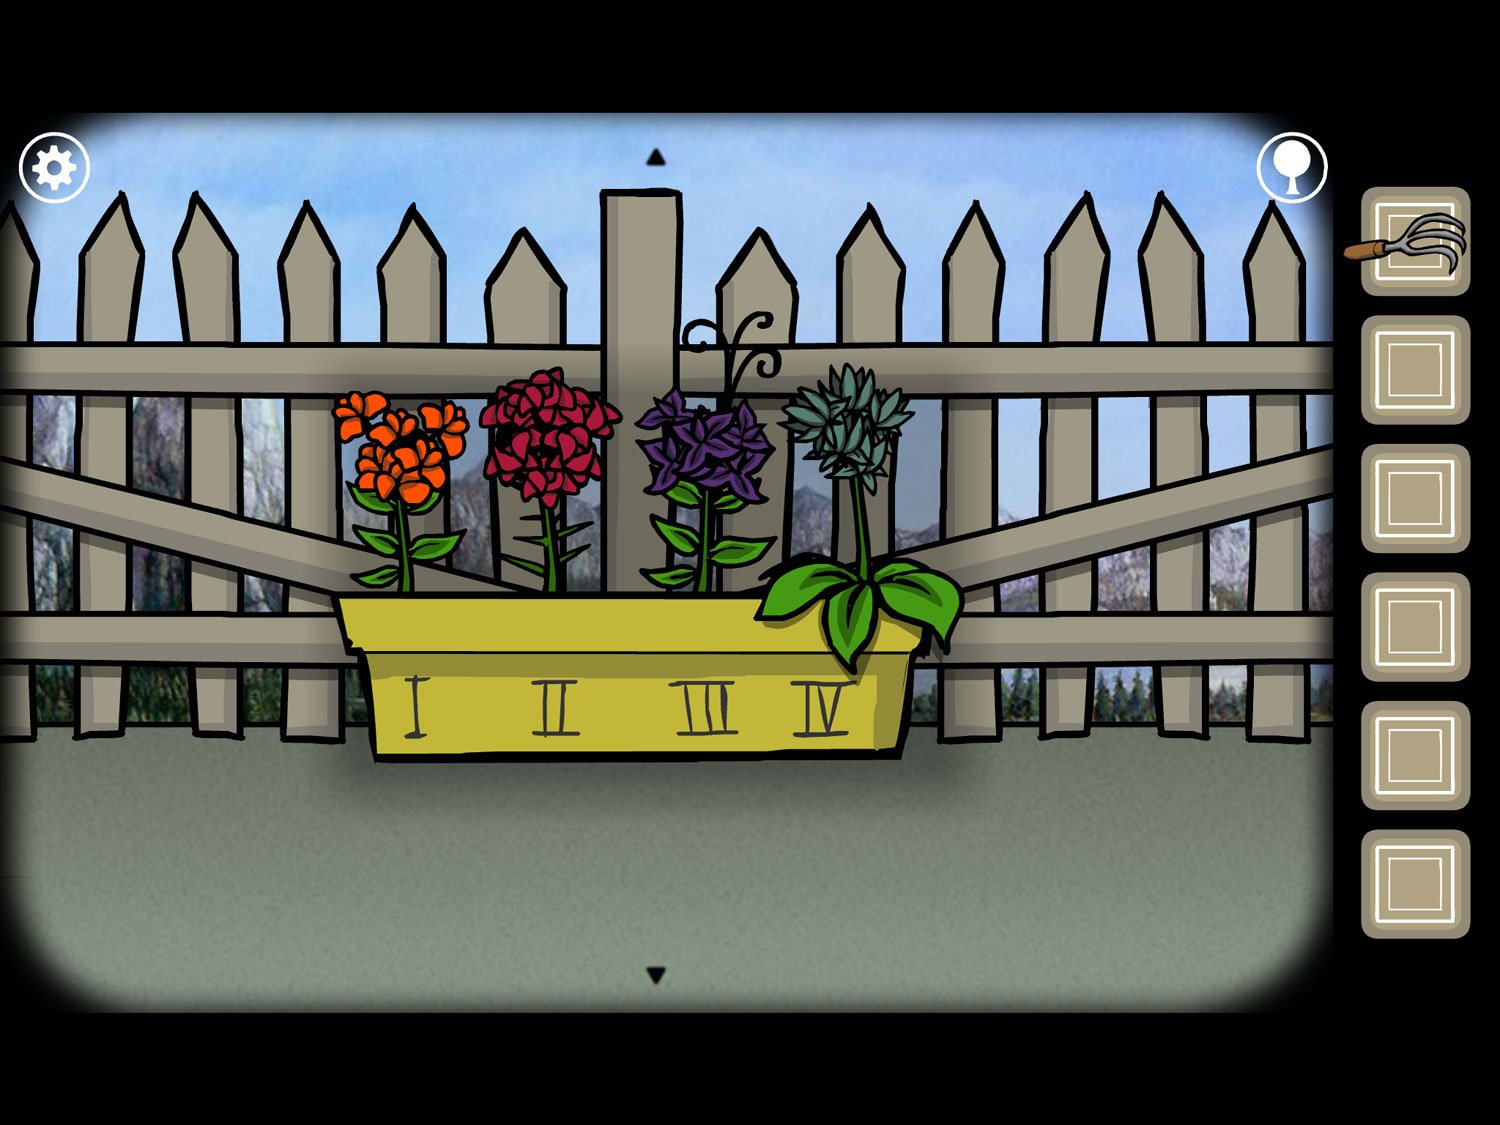
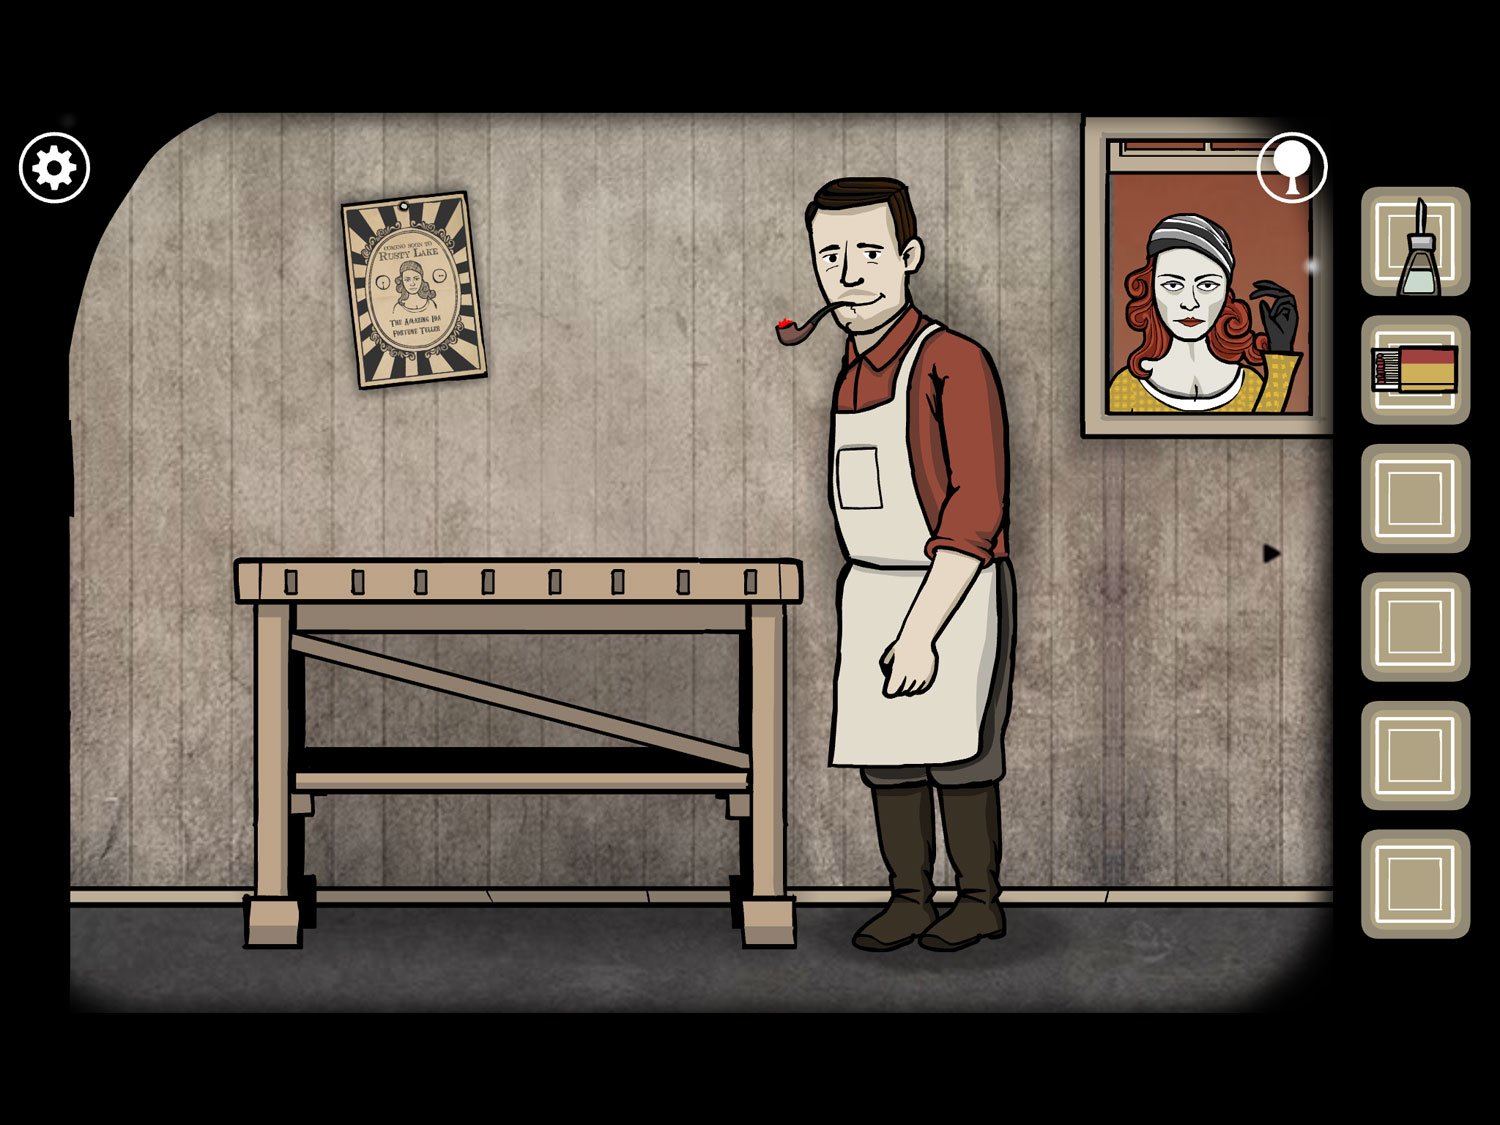
Emblem 3
Location: Samuel’s portrait, in the parlor with the workbench(previously level 17 “The Clock”)
- Drag right and tap on the clock
- Tap the clock face to zoom in
- Change the time to match what we saw on the Wheel of Fortune card: 10:35 (hour hand at 10, minute hand at 7)
- The family emblem appears right of the clock face; tap it to reveal the yellow square and exit
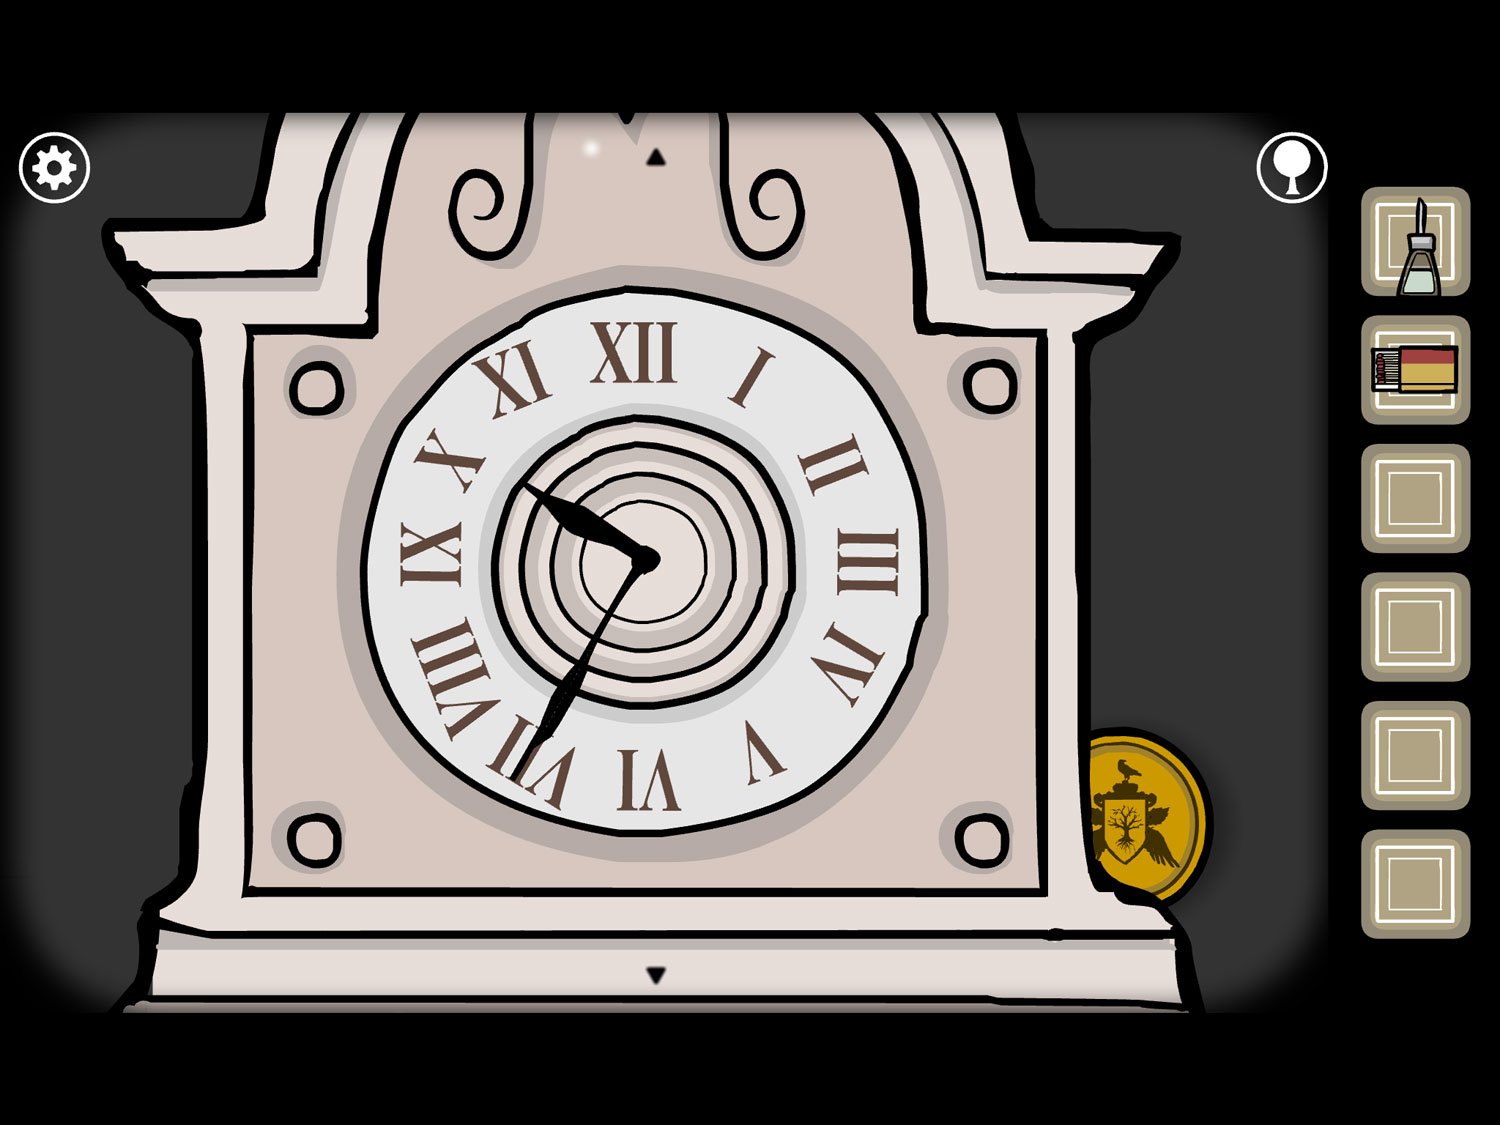
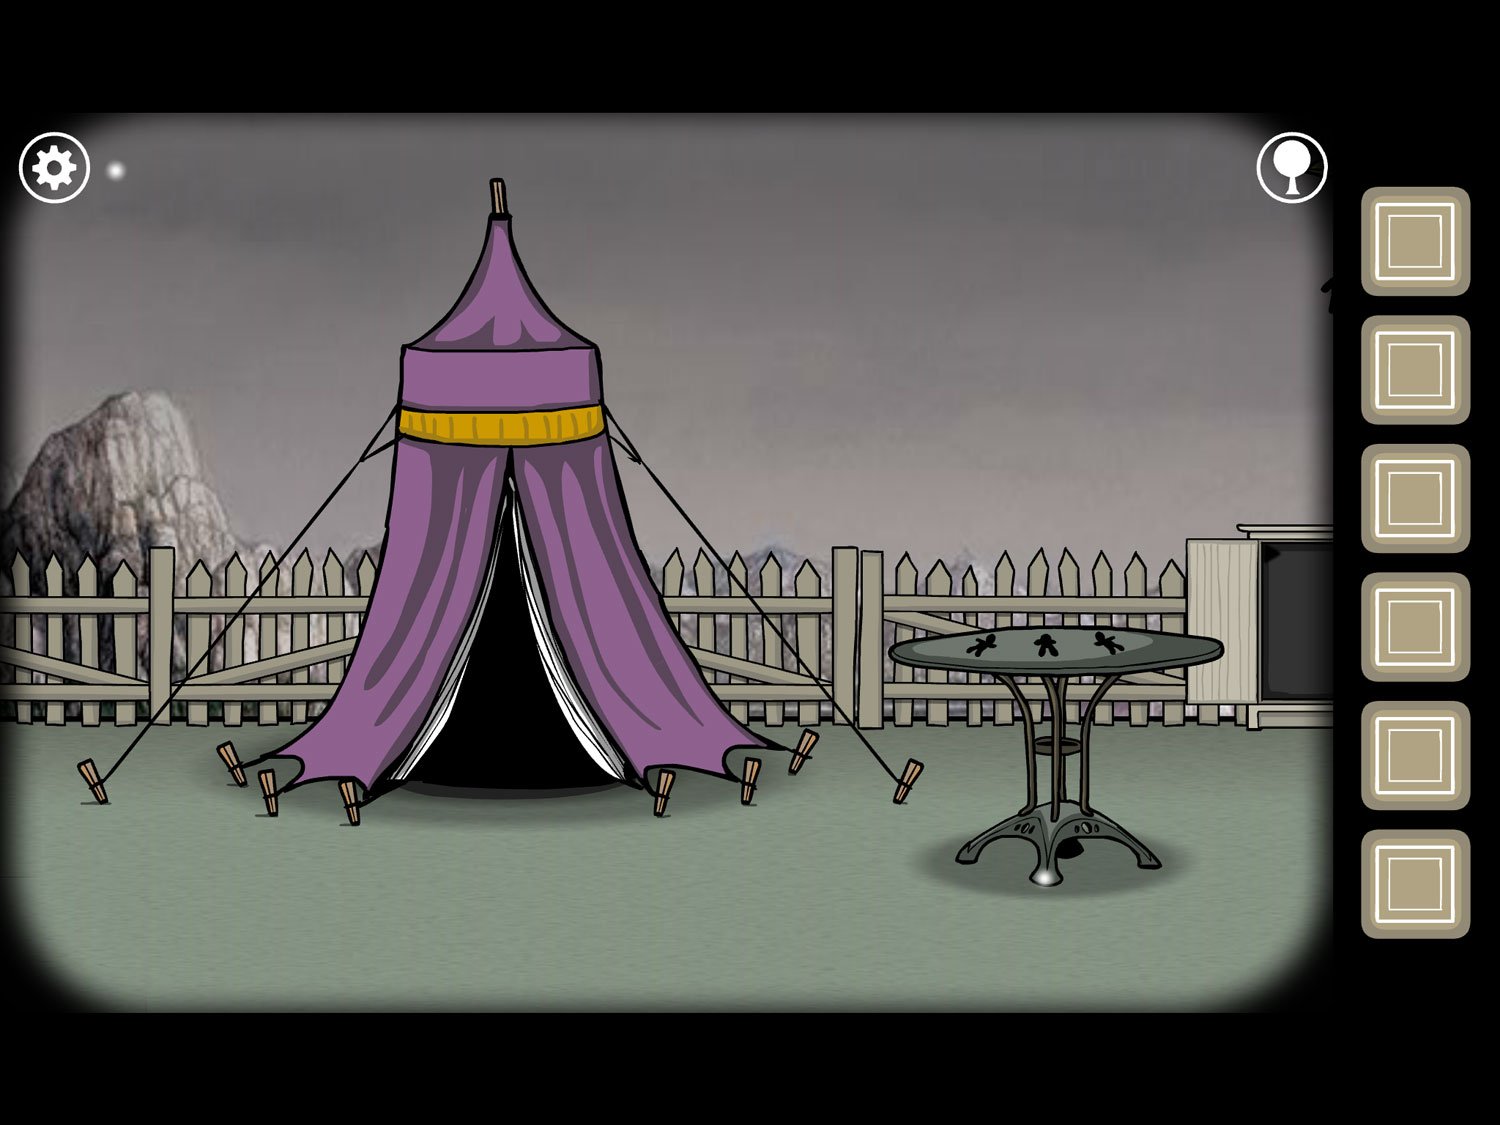
Emblem 4
Location: Ida’s portrait, in the yard near her tent (previously level 18, “Fortune Teller”)
- Tap on the tent and tap on the table to zoom in
- Move the Tarot cards off the symbols
- Place the cards on the symbols you saw in James’ suitcase: Hermit on the needle (bottom row center), Death on the upside-down triangle (bottom row right), Devil on the circle with a dot in the middle (top row right), Star on two curved lines touching (top row left), Hanged Man on circle with line through middle (bottom row left), Empress on the remaining spot (top row middle)
- Tap the cards after the sunlight flash and Ida will hold out an emblem
- Tap it to reveal the yellow square and exit
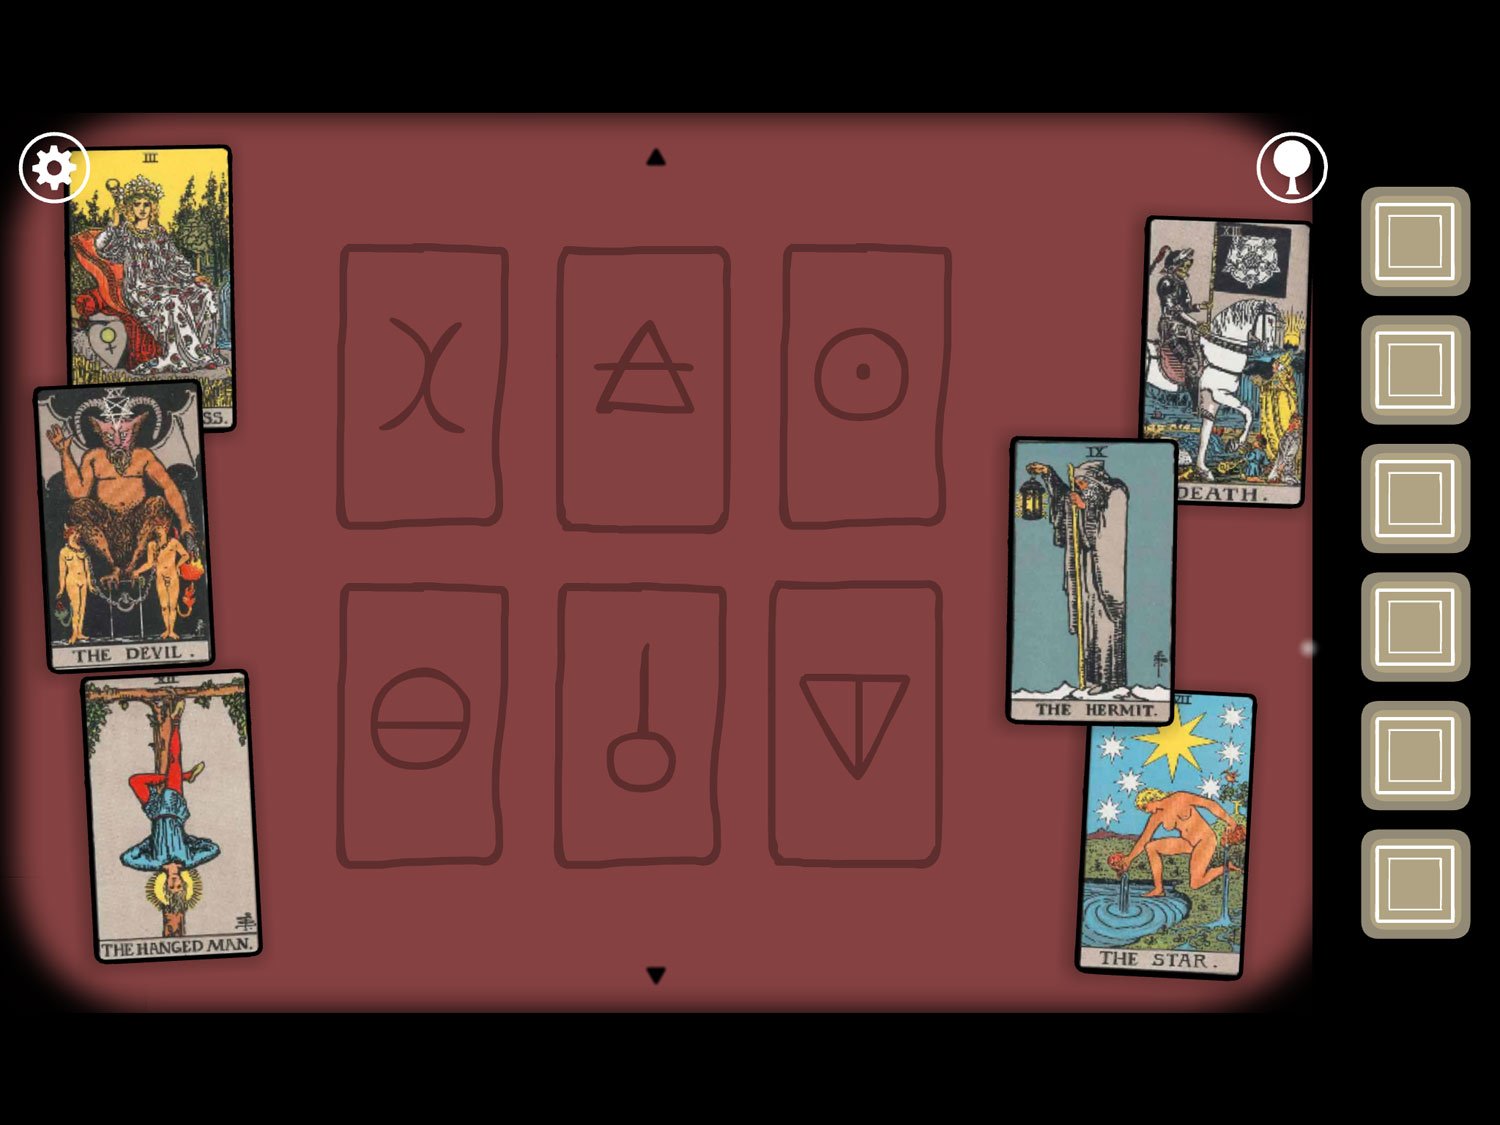
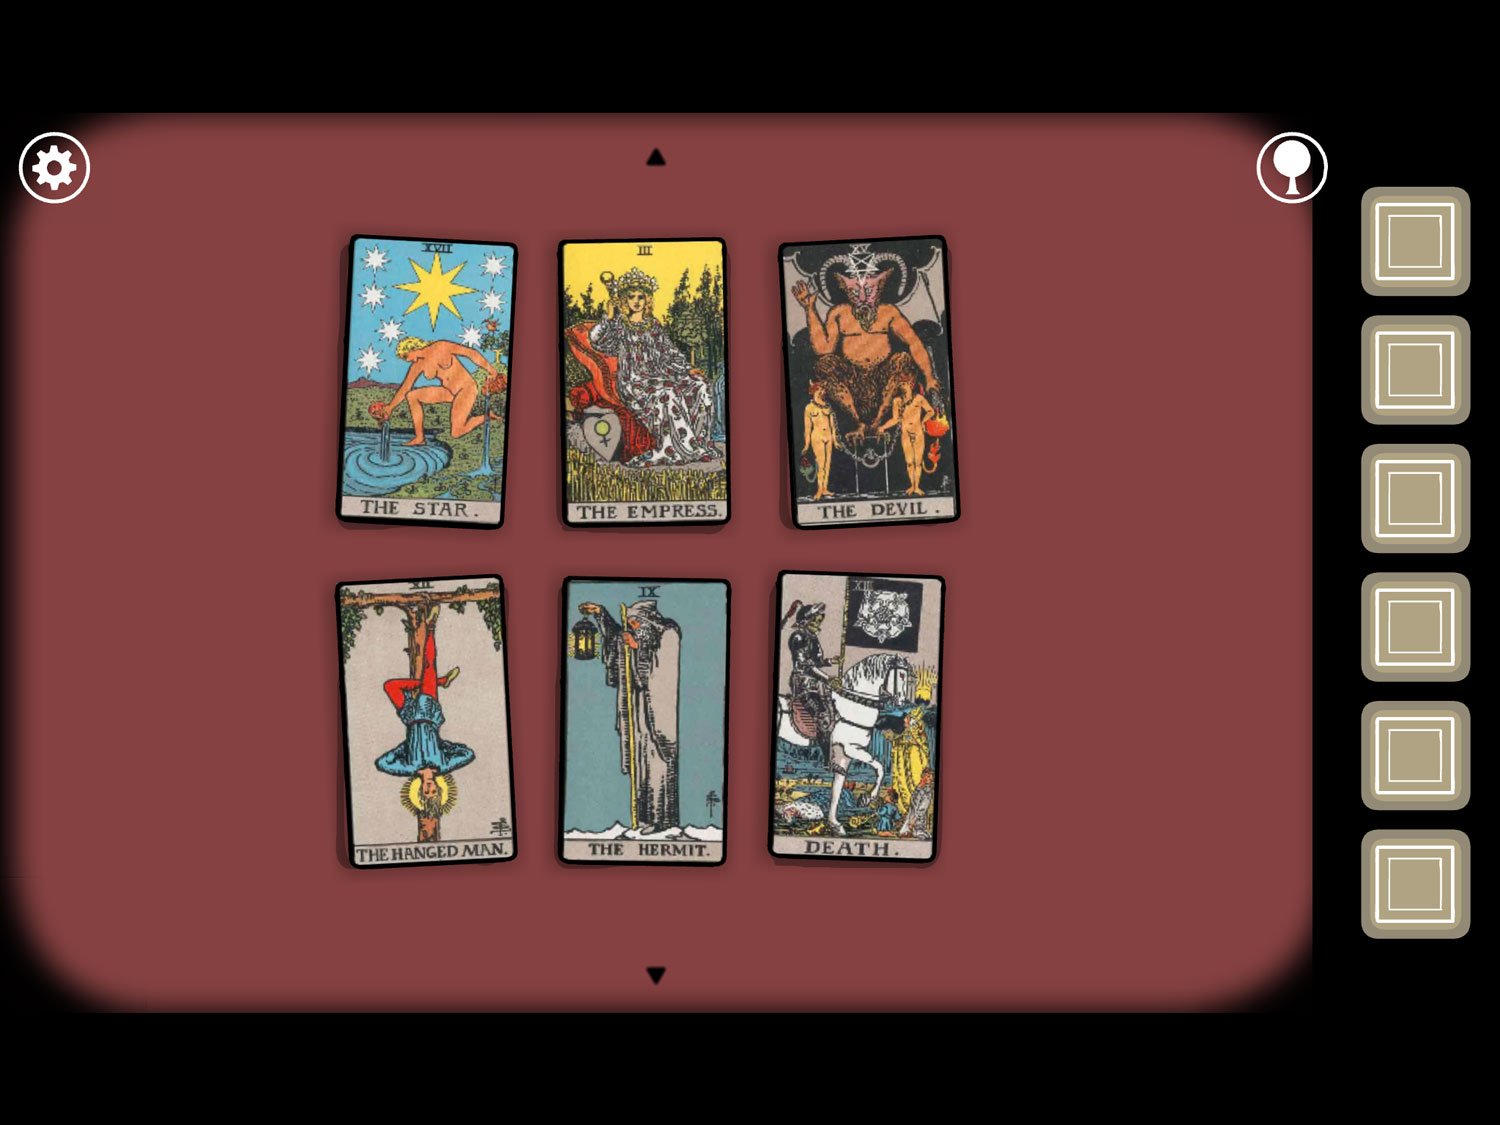
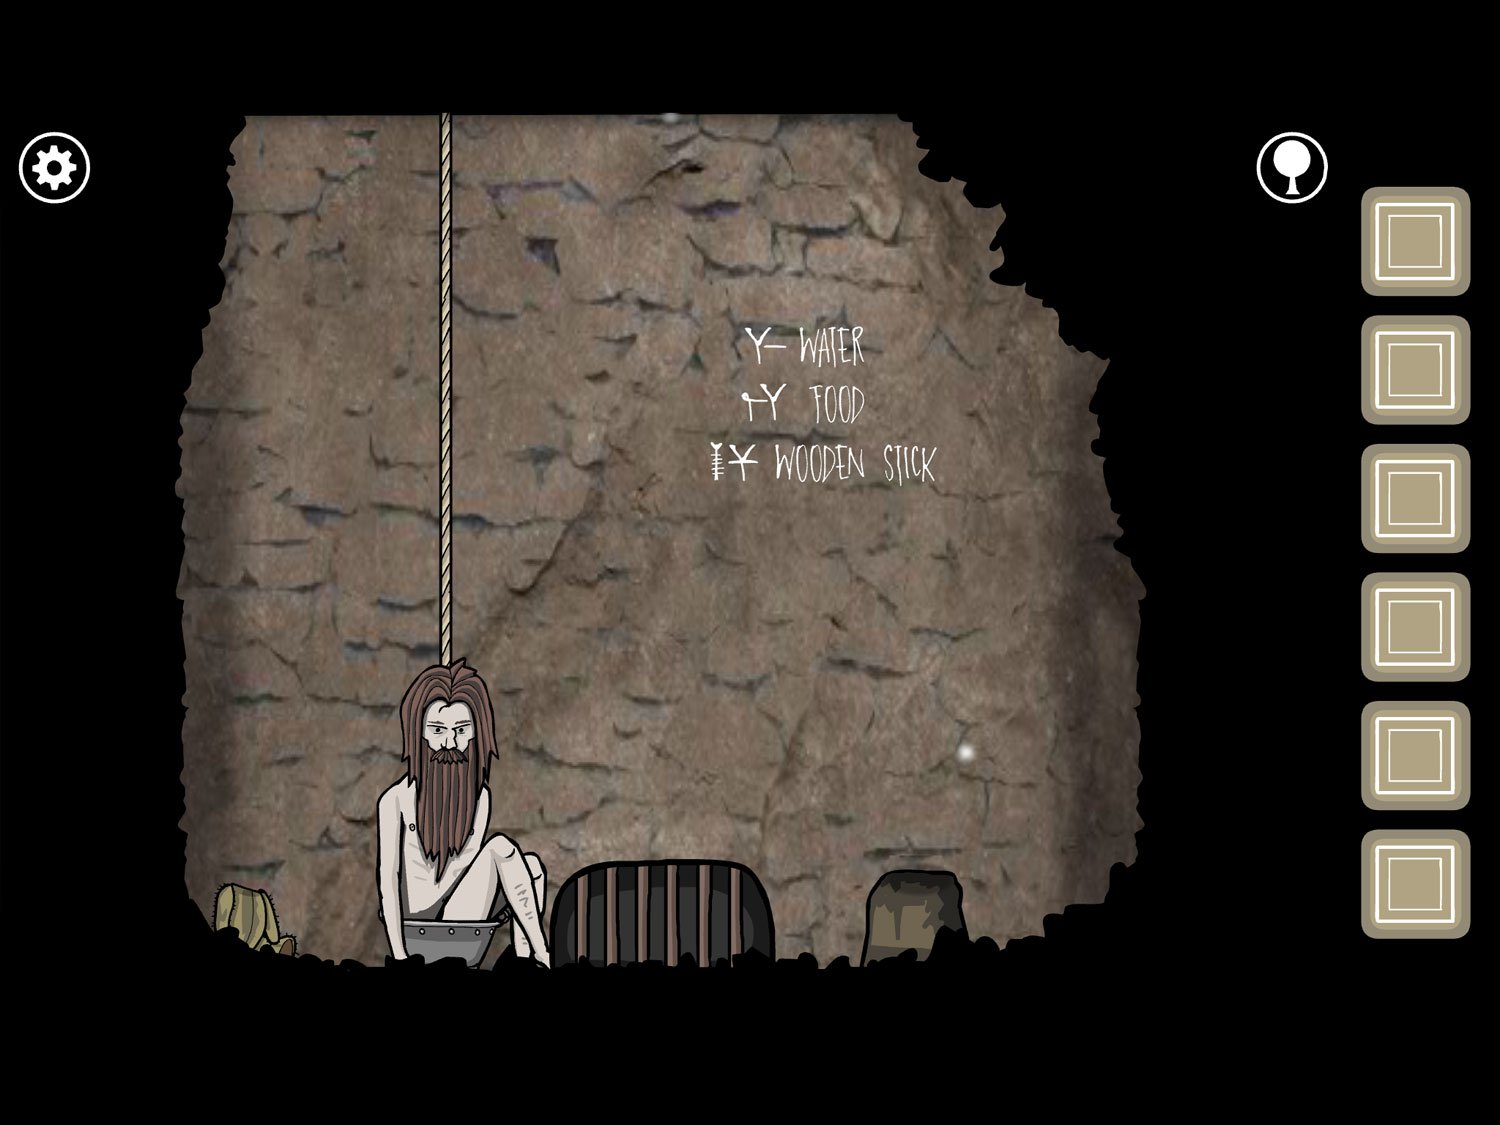
Emblem 5
Location: Frank’s portrait, inside the well (previously level 14, “The Well Pt. 1”)
- Tap the words on the well wall to zoom in
- Spell out the word “CROW” by tapping letters on the wall: tap the “C” in “Stick,” the “R” in “Water,” any of the “O”s, and the “W” in either “Water” or “Wooden”
- An outline appears in the wall by the words. Tap it to reveal another Tarot card and the family emblem
- Tap the card to zoom in on it: it’s the Lovers with a drawing of a hand. The fingers are numbered: index: 4, middle: 3, ring: 1, pinky: 2 and 5
- Zoom out and tap on the family emblem to reveal the yellow square and exit
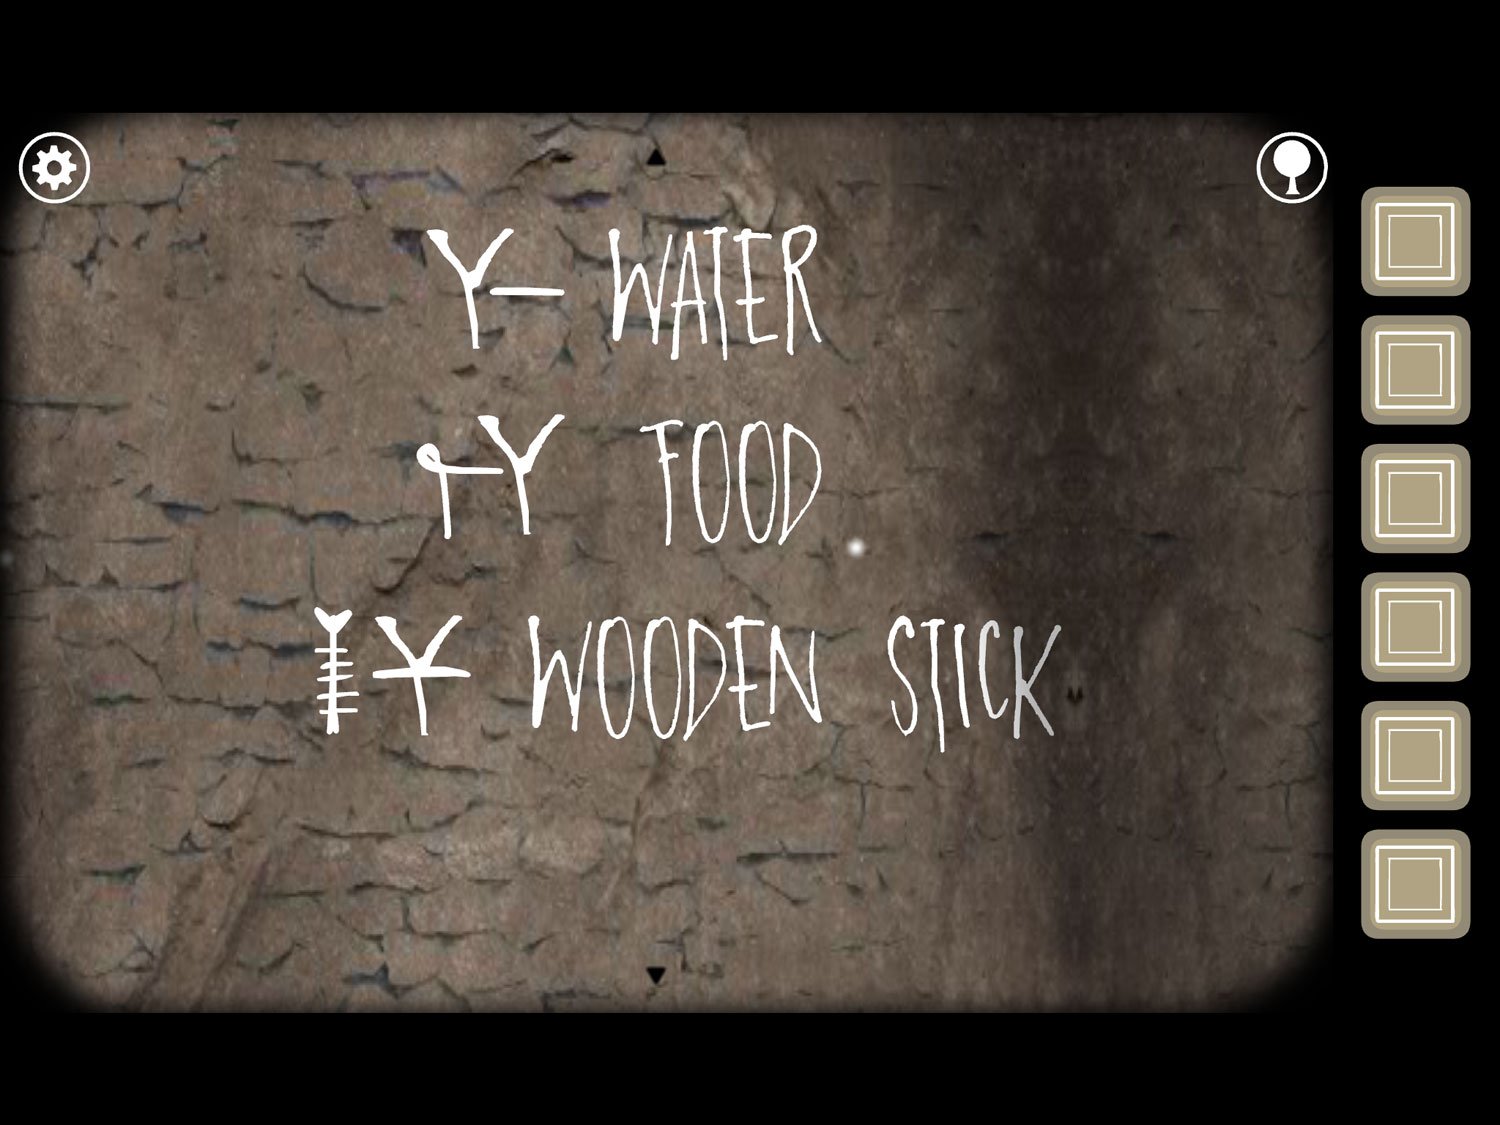
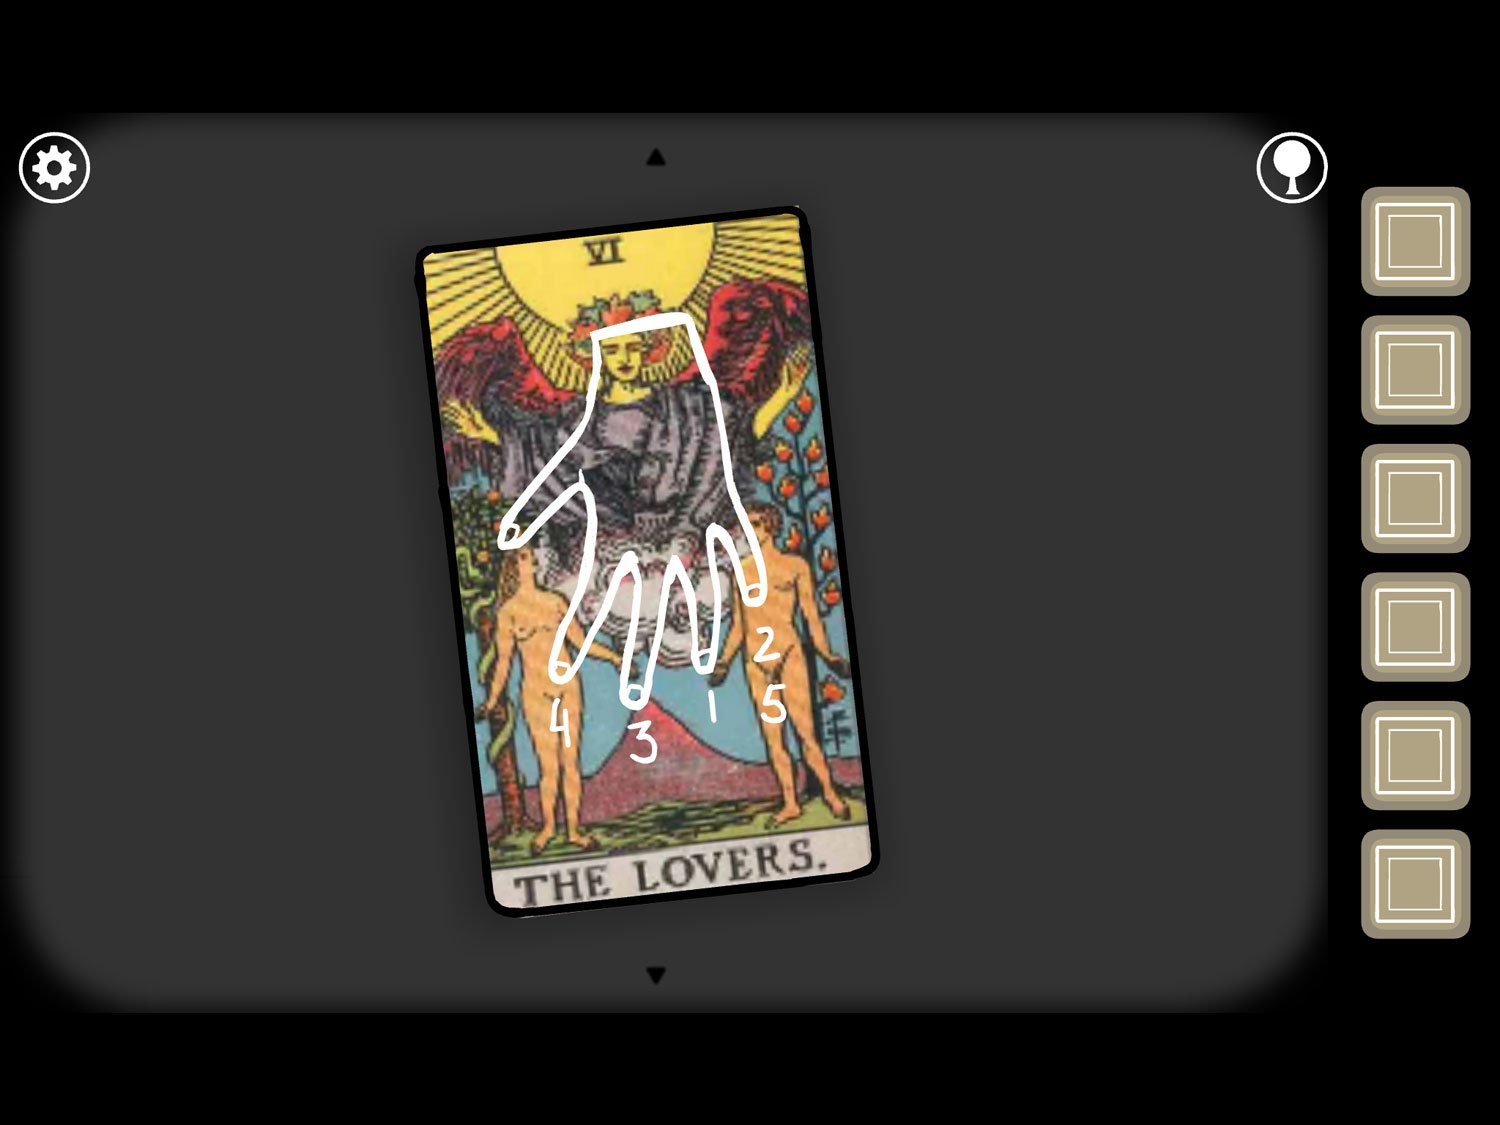
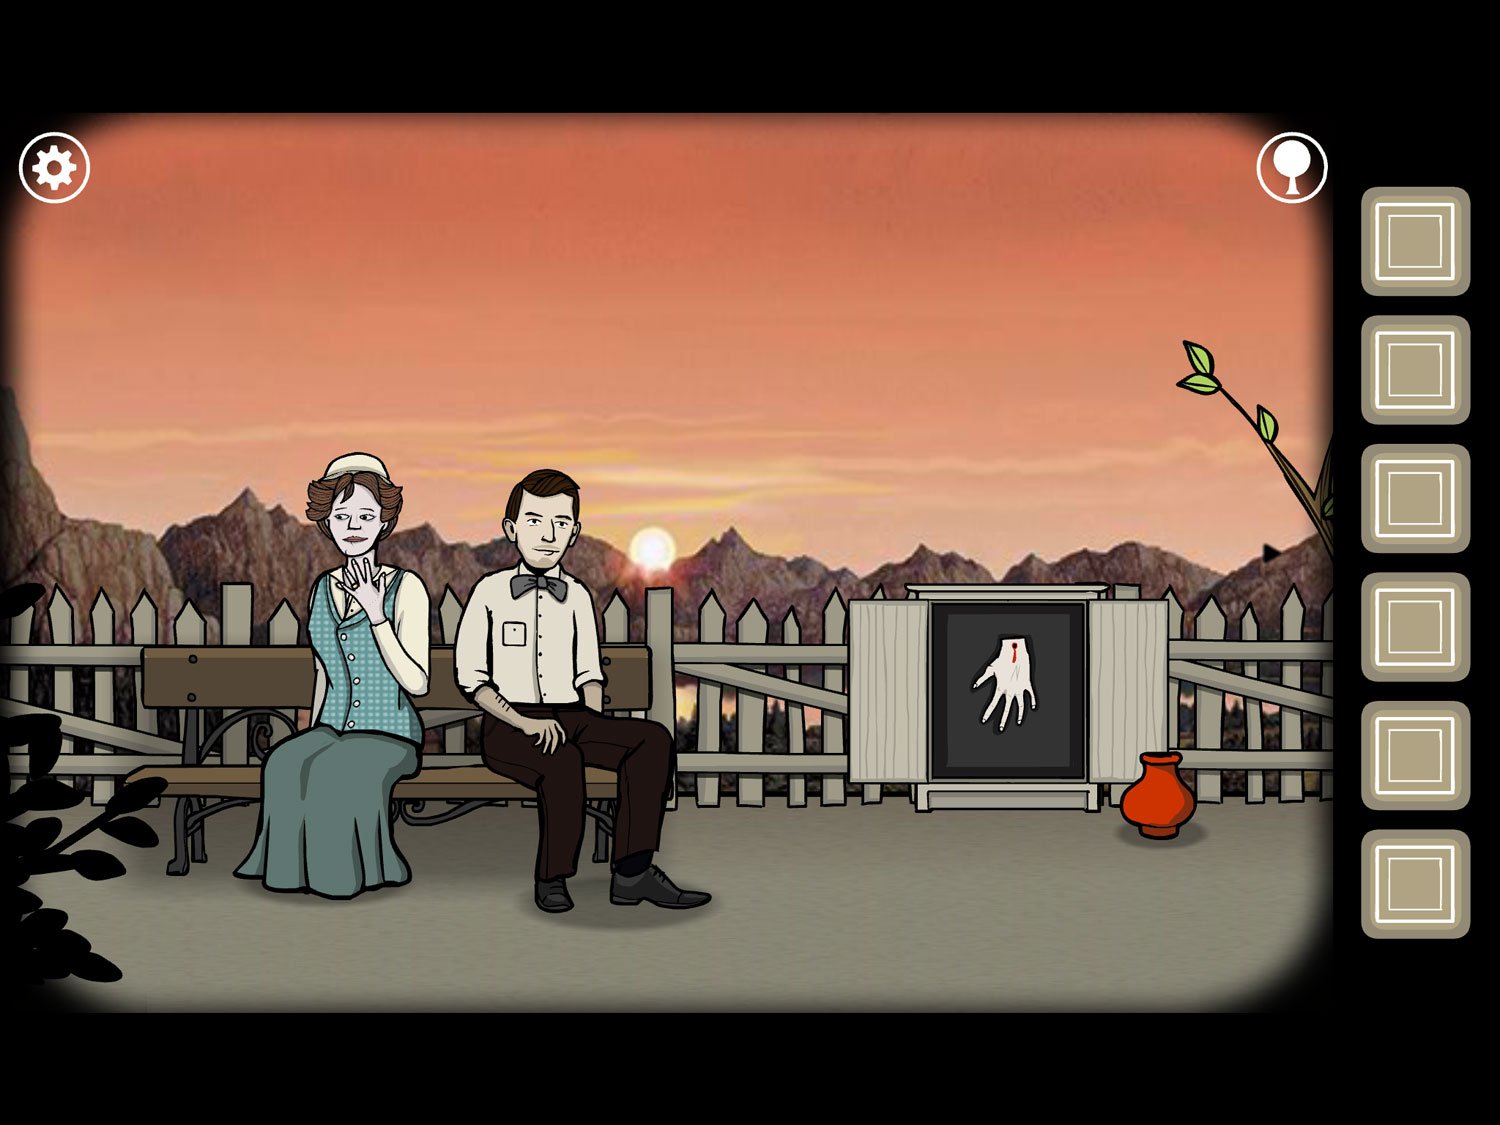
Emblem 6
Location: Mary’s portrait, in the yard where James proposed (previously level 4, “Finding Love”)
- Tap on the cabinet with the disembodied hand
- Tap on the hand to zoom in farther
- You need to tap the fingers on the hand in the order we just saw on the Tarot in Frank’s level
- It goes: 1) ring, 2) pinky, 3) middle, 4) index, 5) pinky again
- When tapped in the correct order, the emblem appears under the hand. Tap it to reveal the yellow square and exit
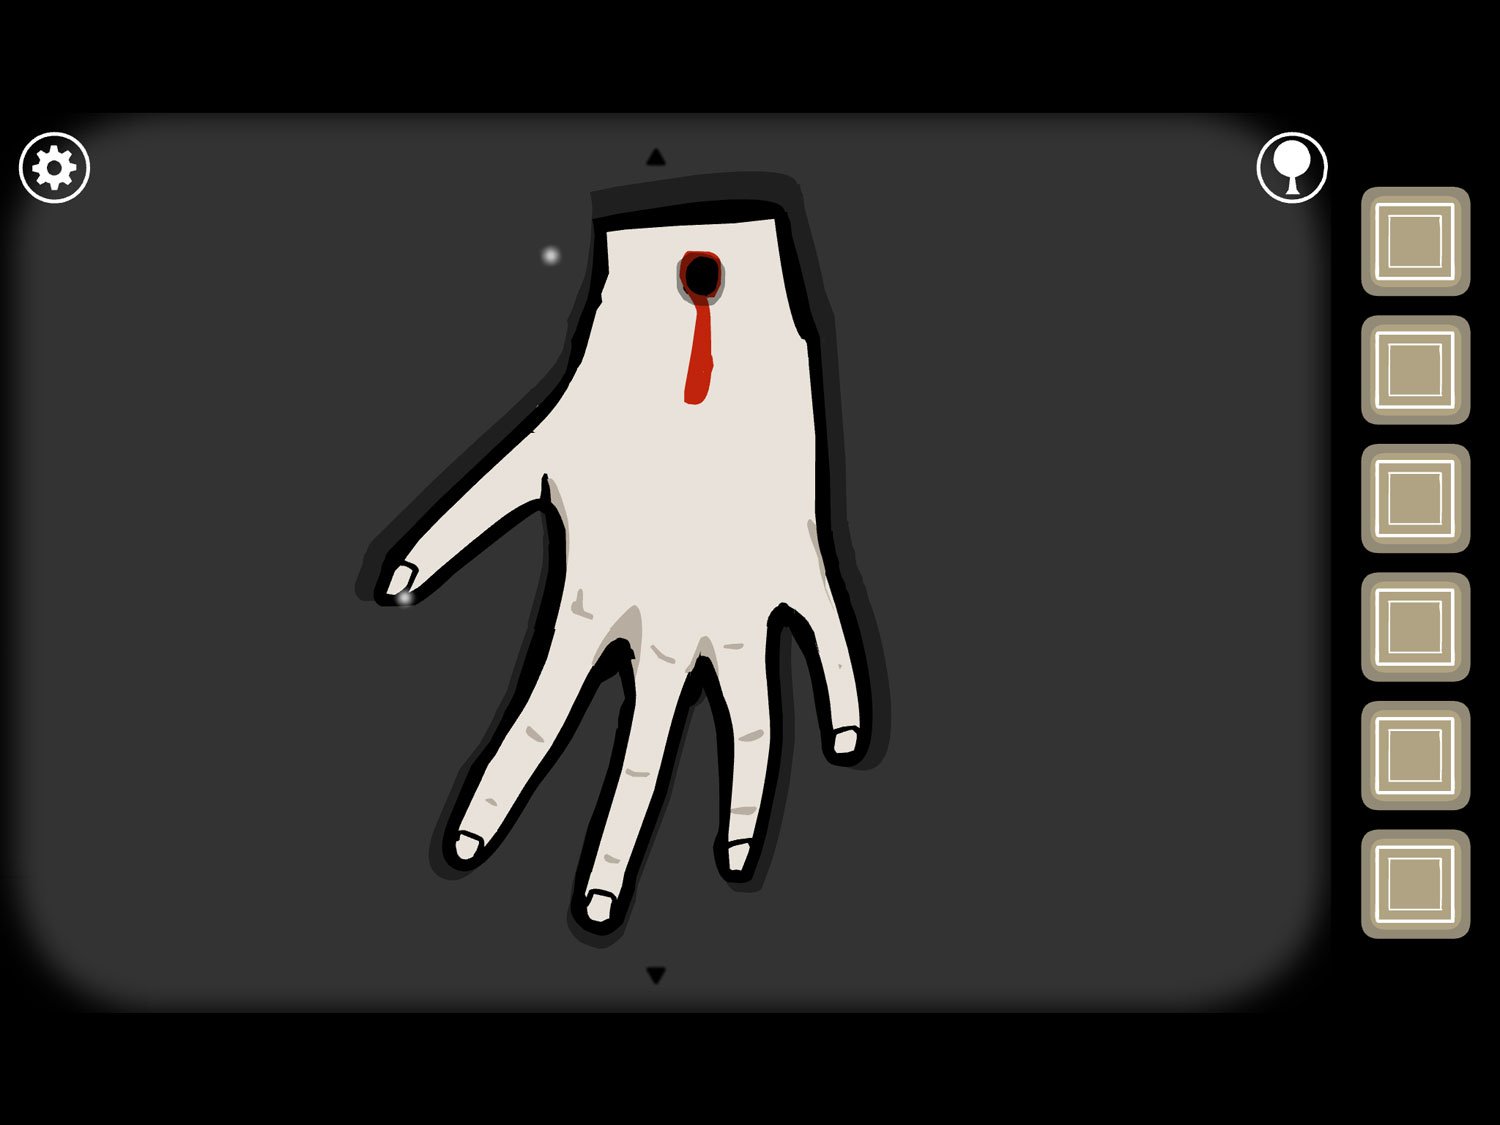
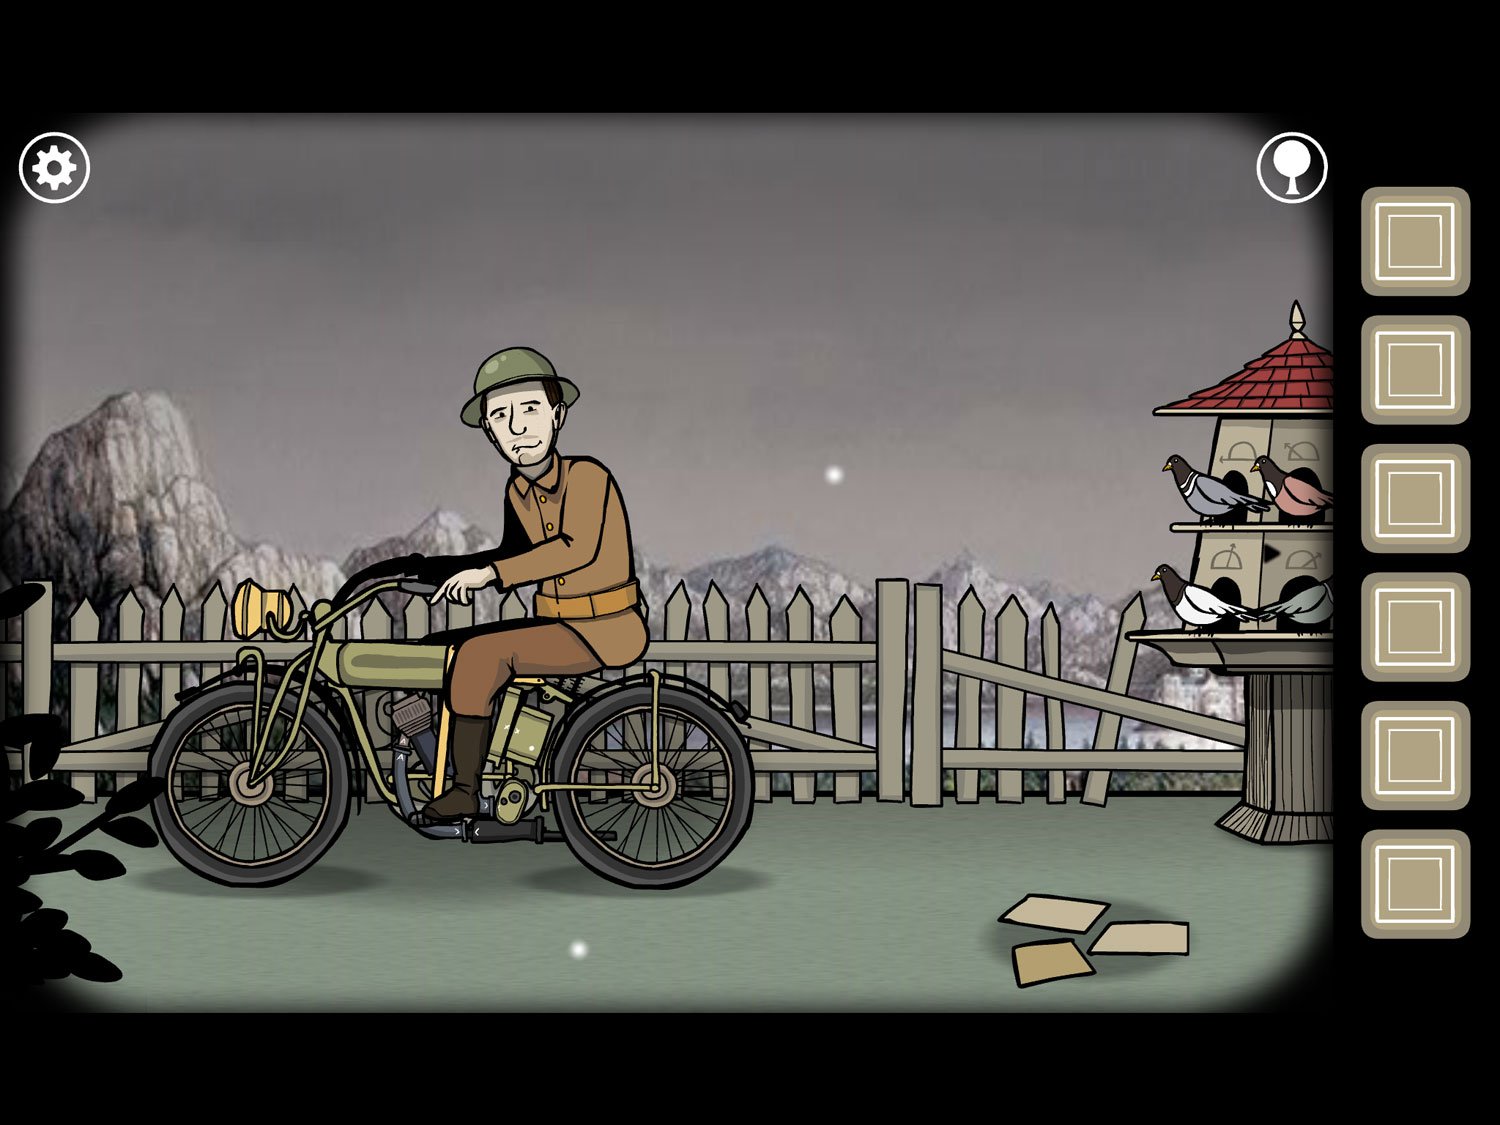
Emblem 7
Location: Leonard’s portrait, in the yard near his motorcycle (previously level 21, “War Hero”)
- Tap on the pictures on the ground
- We need to assign the birds to the locations we saw in the Tarot in James’ suitcase, but first we need to figure out which bird is which
- Tap on the bird map
- On the map, we see that the green line has a single wave over it. The red line has a dot, the blue line has two waves, and the white line has no symbol
- Exit the map and pictures. Tap on the birdhouse
- According to the Tarot, we need to send the double wave (blue) to 9 o’clock, the dot (red) to 10 o’clock, the single wave (green) to 1 o’clock, and the bird without a symbol (white) to 11 o’clock
- Arrange the birds to match this. The image above shows the correct order (top row: blue, red, white, bottom row: green)
- Once the birds are set, tap the bell
- After they’ve flown off, tap again to call them back. They’ll return with a family emblem and drop it on the ground
- Zoom out and tap on the emblem to zoom in. Tap it again to reveal the yellow square and exit
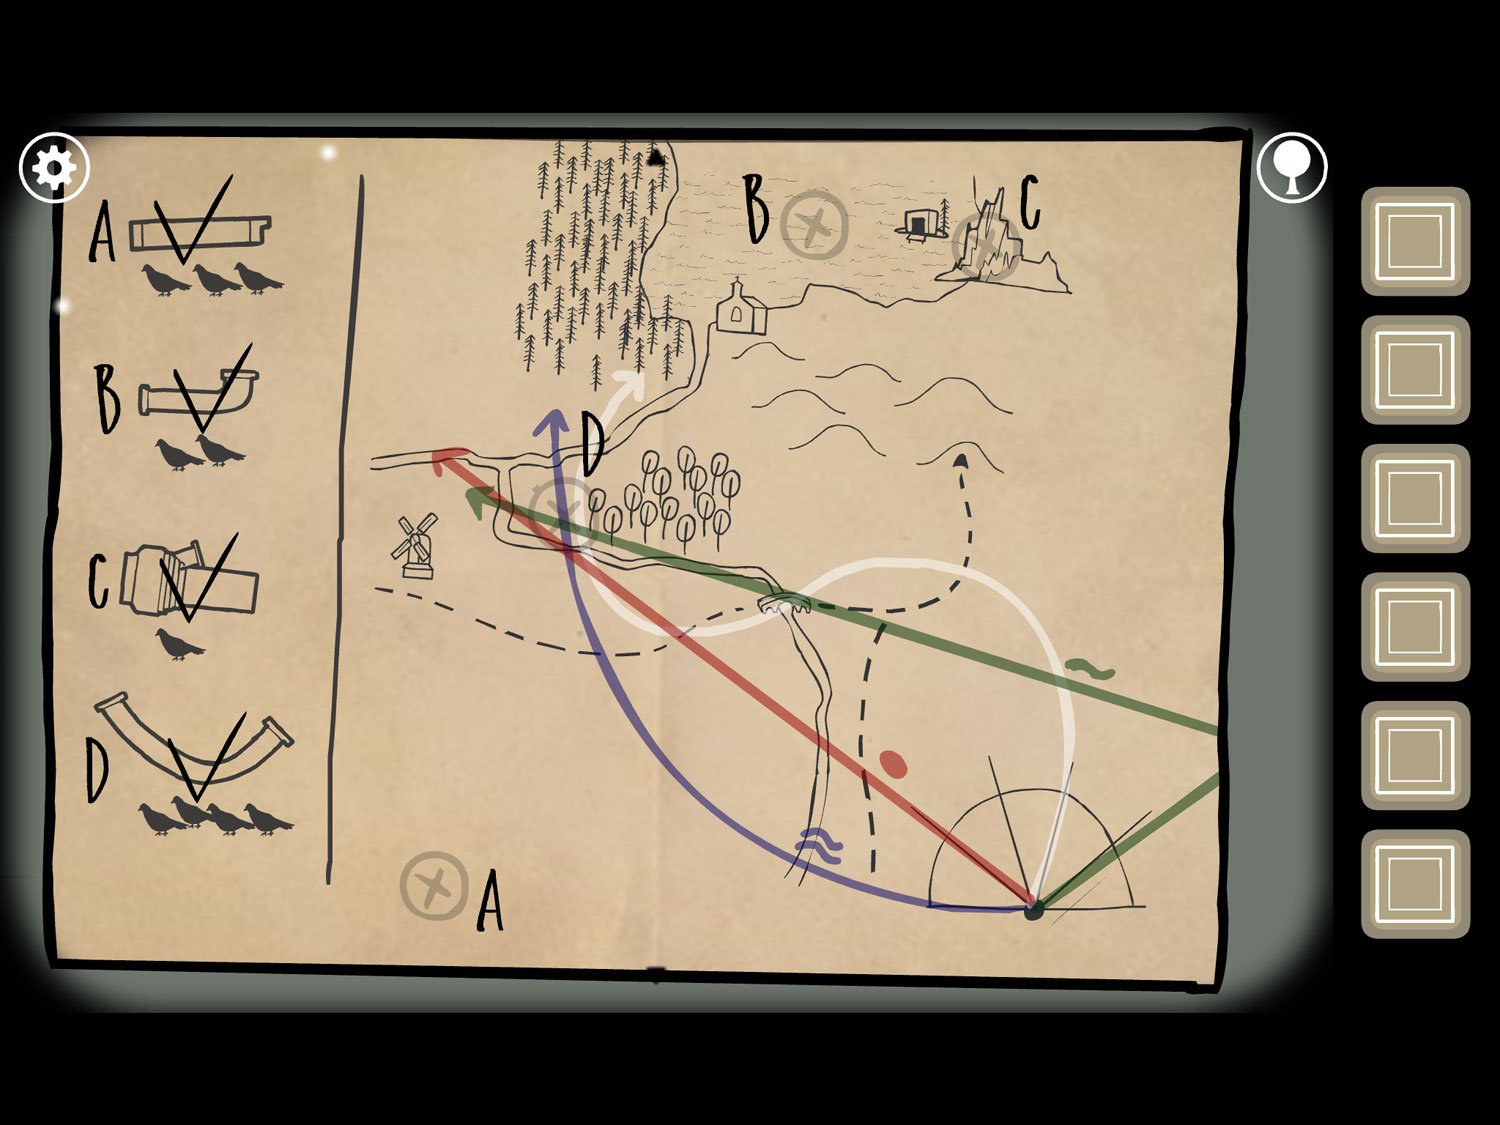
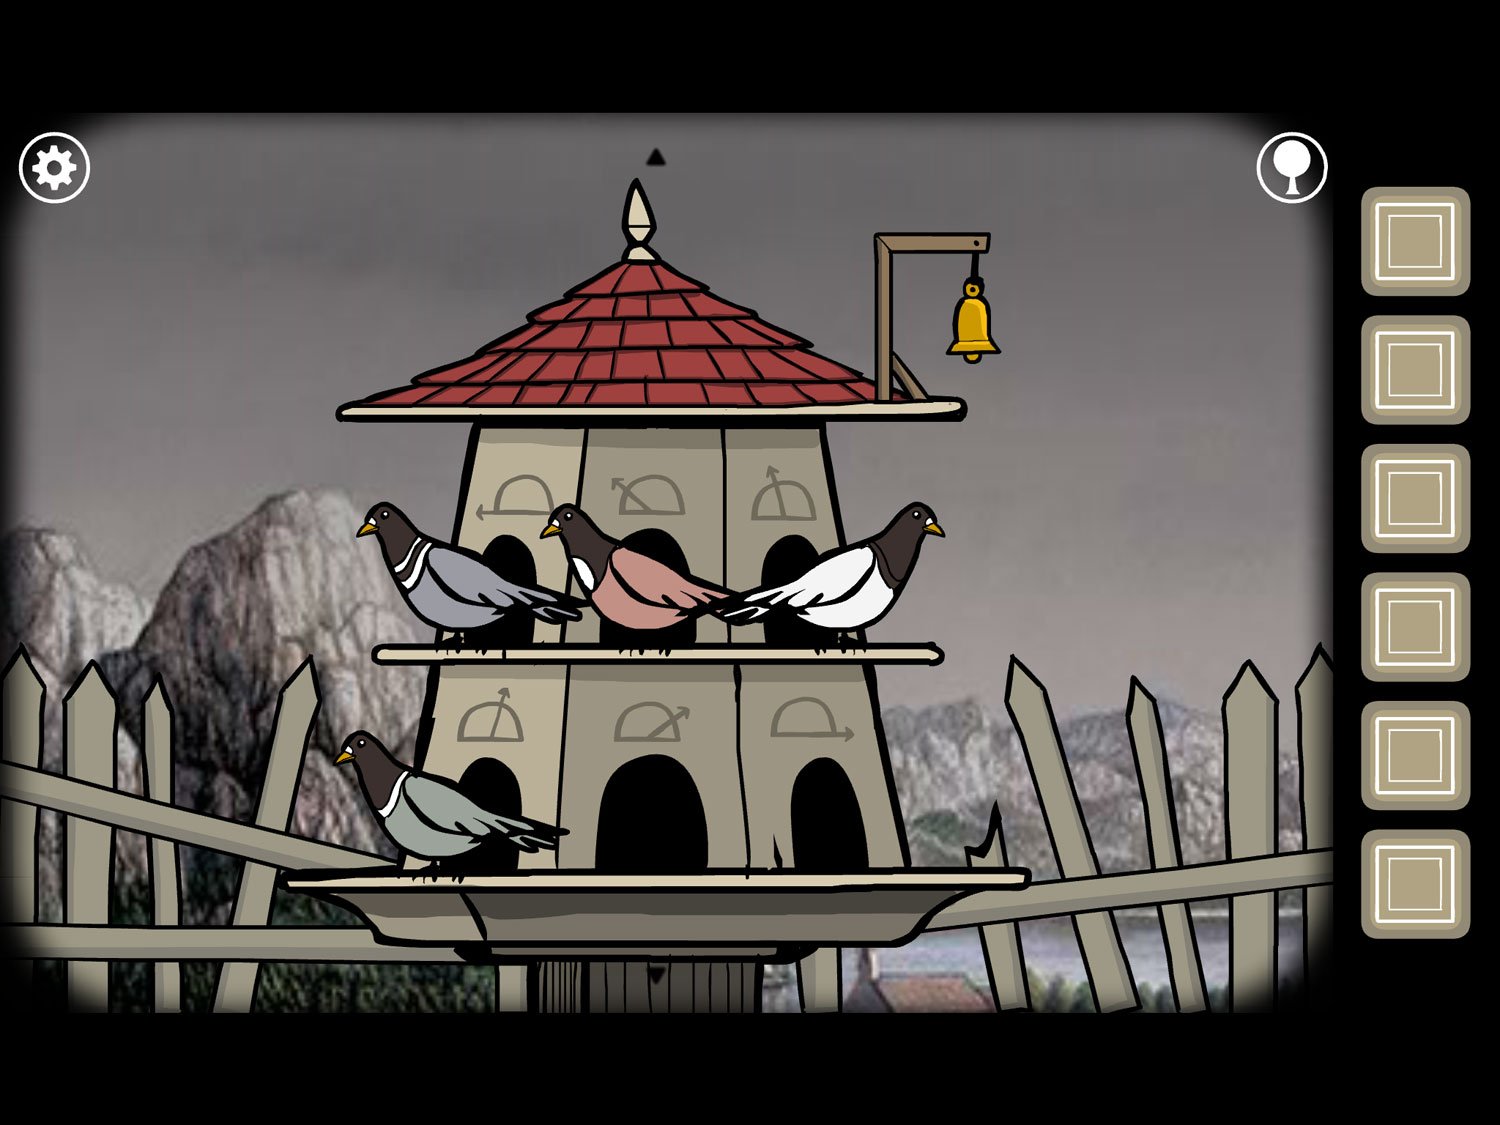
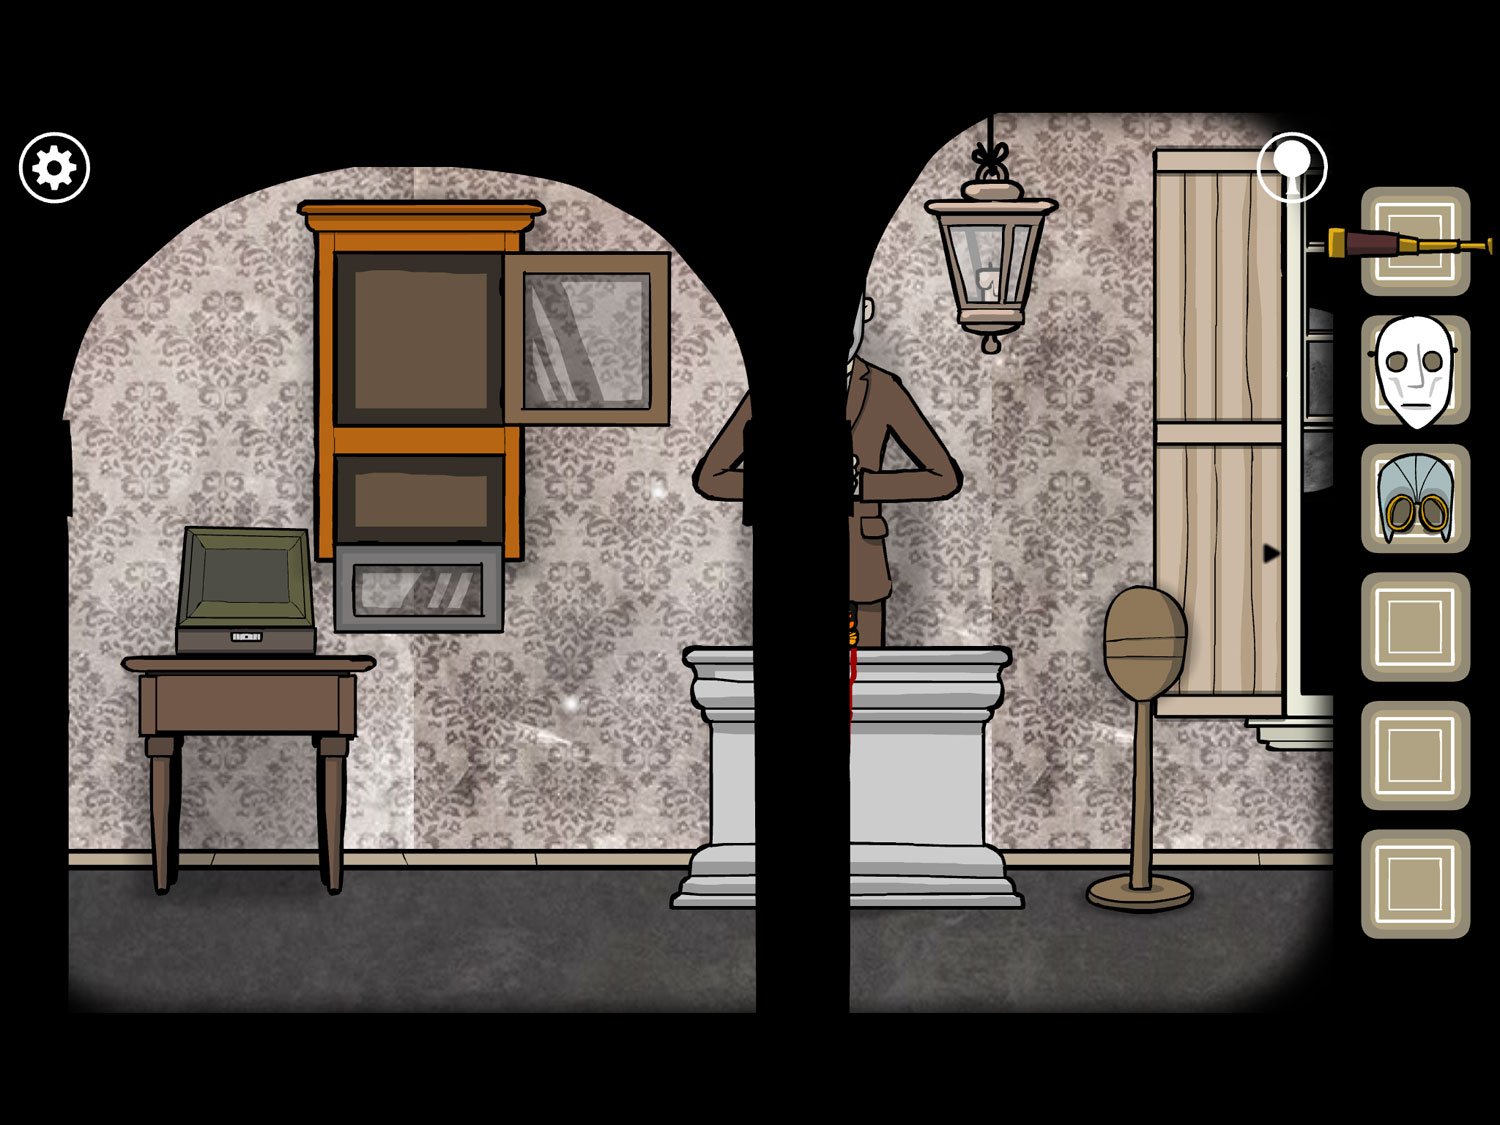
Emblem 8
Location: Albert’s portrait, in the room with all the masks (previously level 24, “Masks”)
- Drag right and tap the dresser on the far right end of the room
- You need to rotate the symbols to match what we saw on the Devil Tarot card in James’ suitcase: a red circle with a dot in the middle and white symbols: triangle pointing left, needle pointing left, U pointing right, triangle with dot on the bottom
- Move the symbols so they look like the image above
- The door will open automatically. Tap the Tarot card to zoom in
- It shows the Empress with a red triangle. Tap this card to flip it over. It says “Tell Rose the letters in the names: R1, S4, J5, A6, M4, L1, I3, F5, E1”
- Zoom out and tap on the family emblem to reveal the yellow square and exit
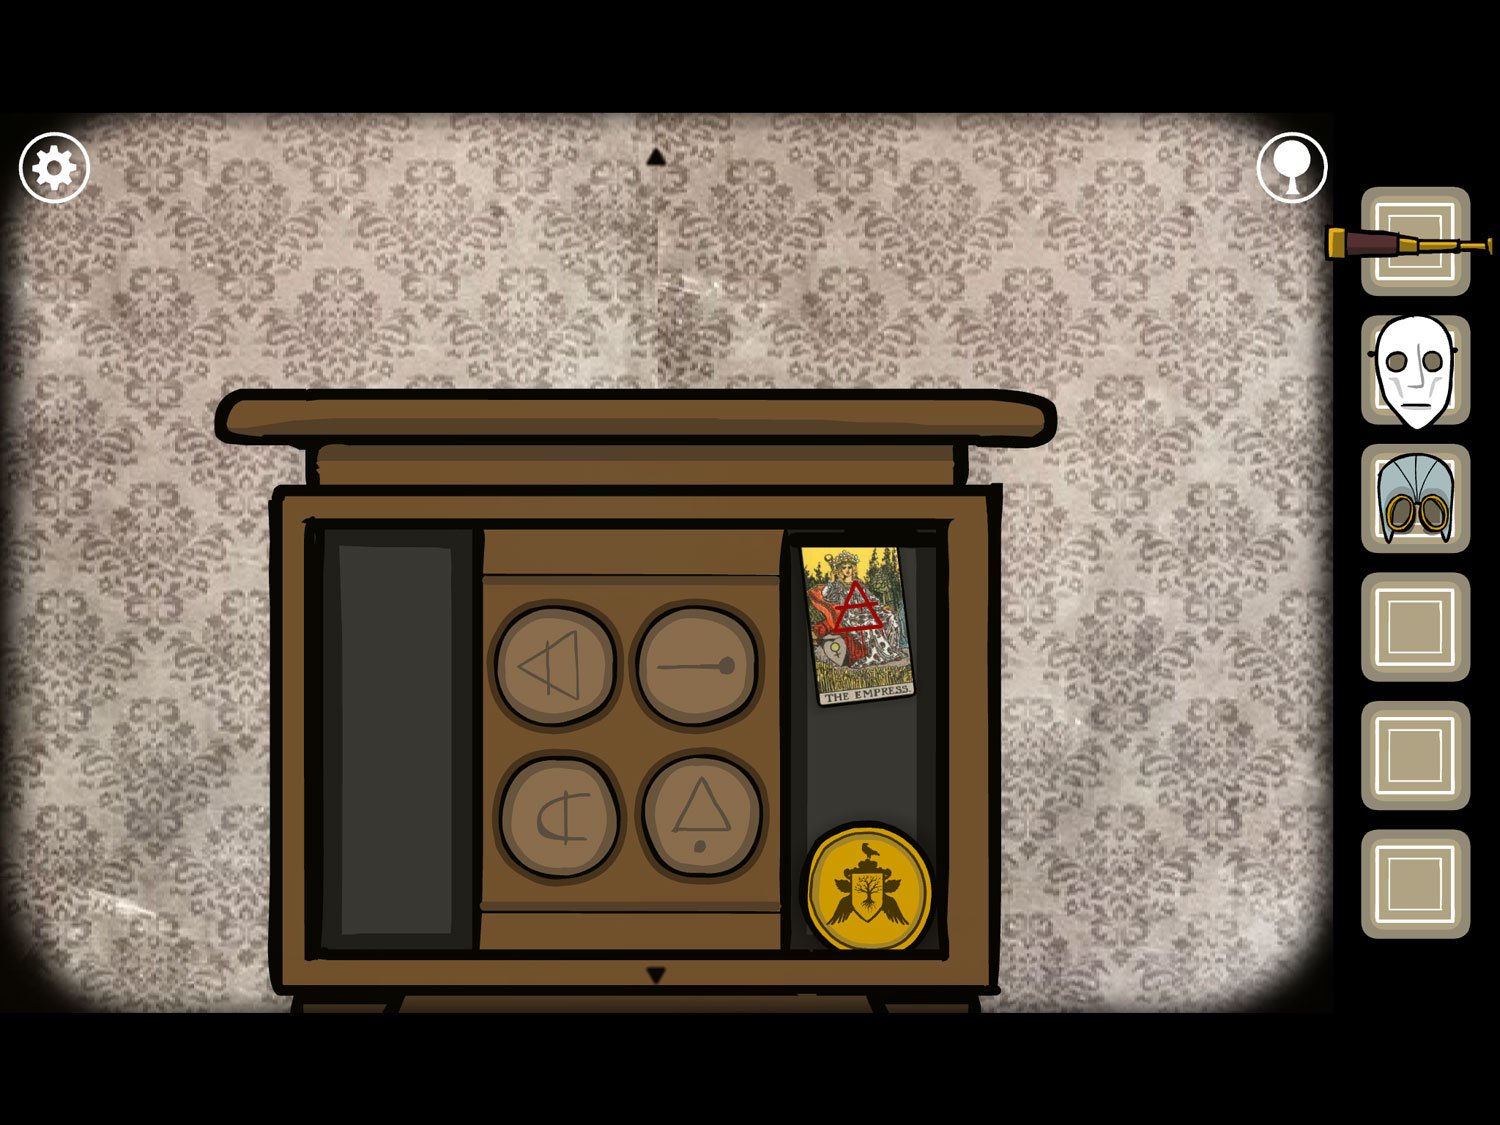
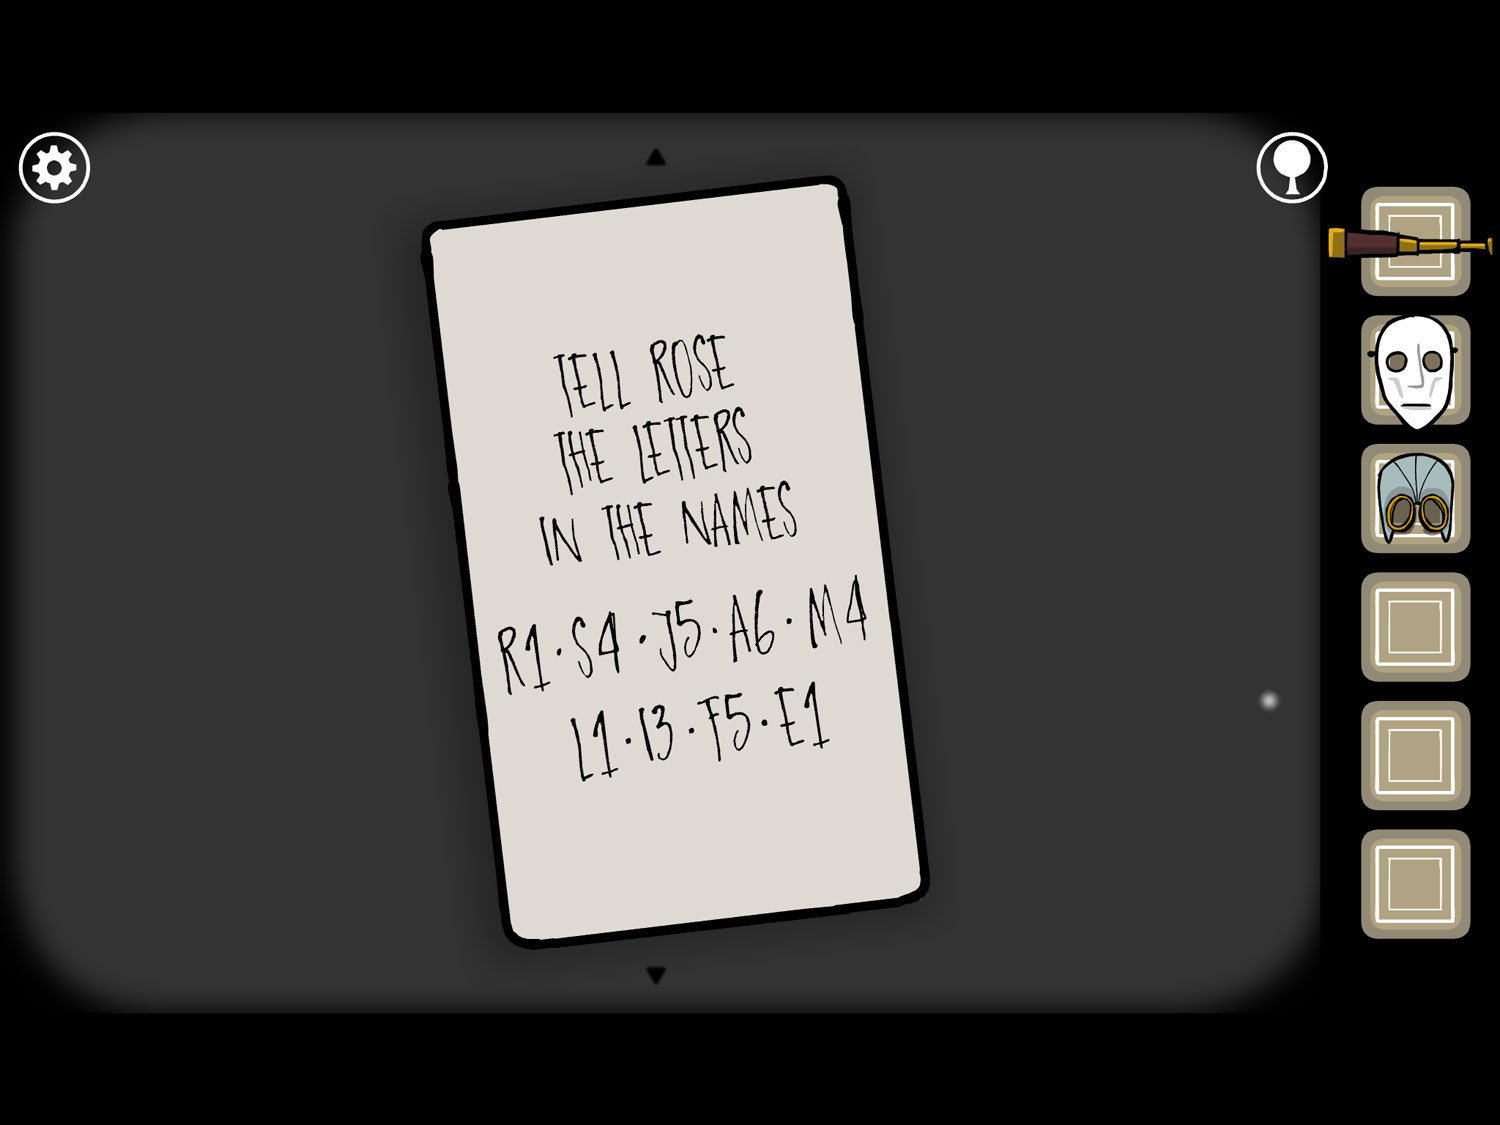
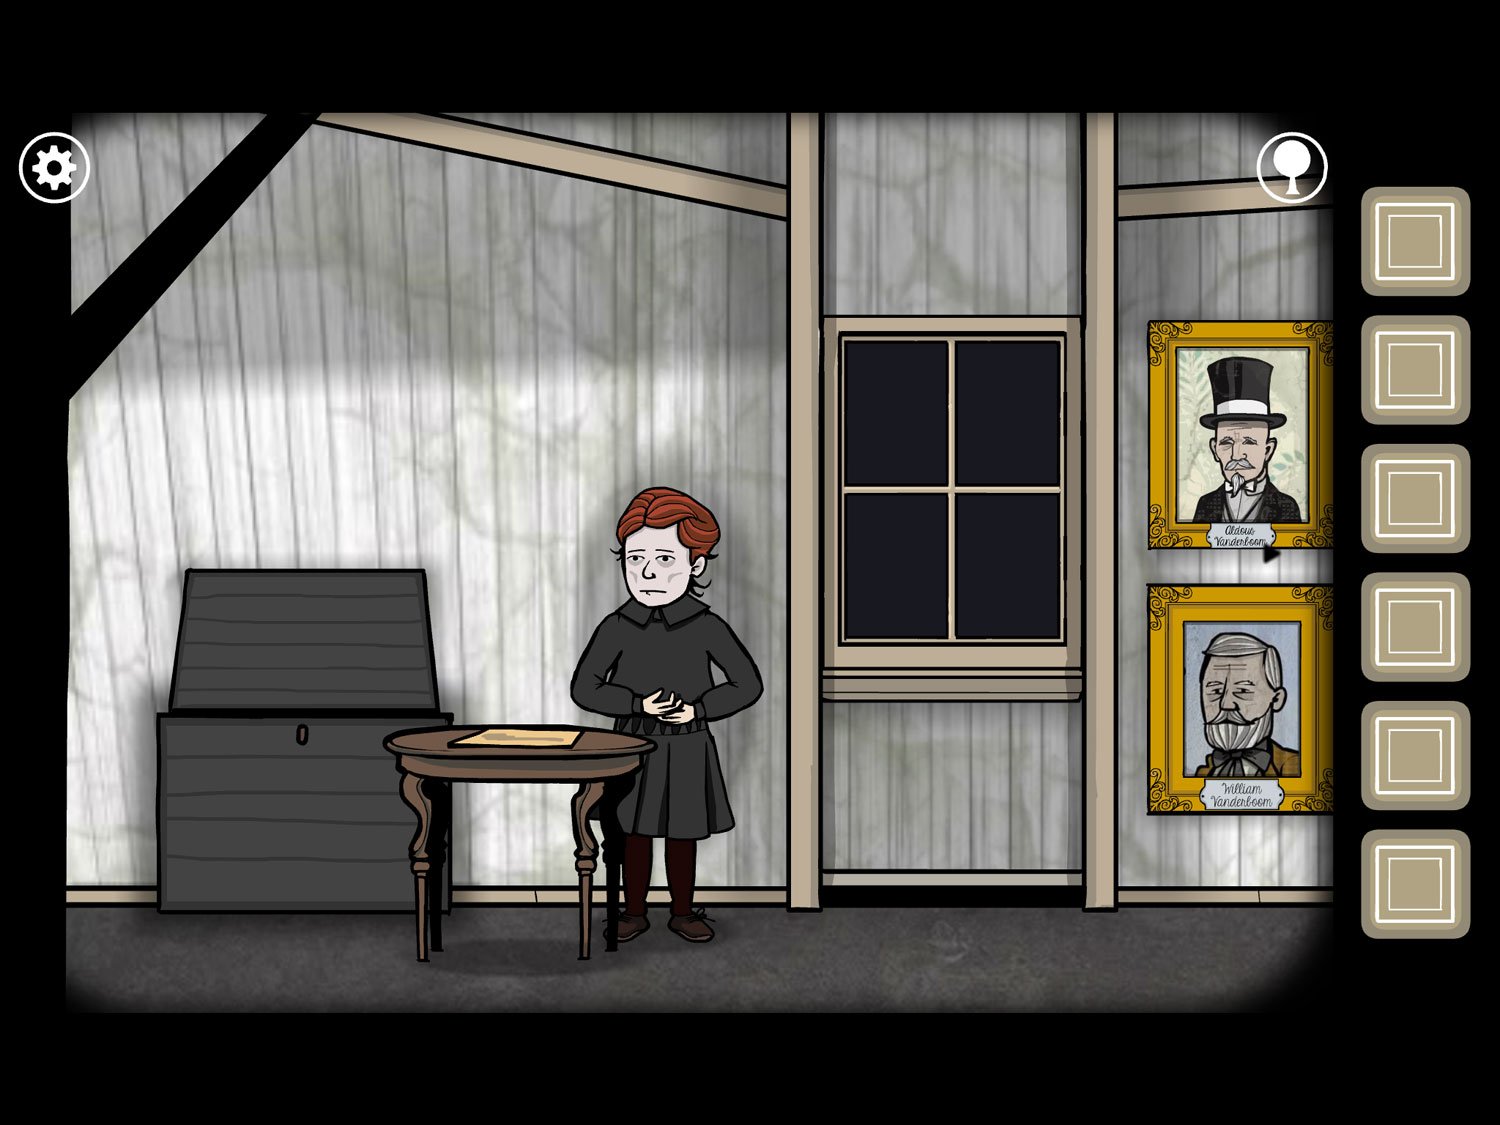
Emblem 9
Location: Rose’s portrait, in the attic with the Ouija board (previously level 28, “Communication”)
- The card we just found in Albert’s level told us what we need to do in Rose’s. The “letters in the names” means that letter in each person’s name. So “R1” would be the first letter of Robert’s name, or “R.” S4 is the fourth letter of Samuel’s name, or “U” and so on, for James, Albert, Mary, Leonard, Ida, Frank, and finally Emma
- All of the letters parsed out spell “Rusty Lake”
- Tap the table with the Ouija board. Use the planchette to spell out “Rusty Lake”
- After it’s spelled, a family emblem appears at the bottom of the Ouija board. Tap it to reveal the yellow square and exit
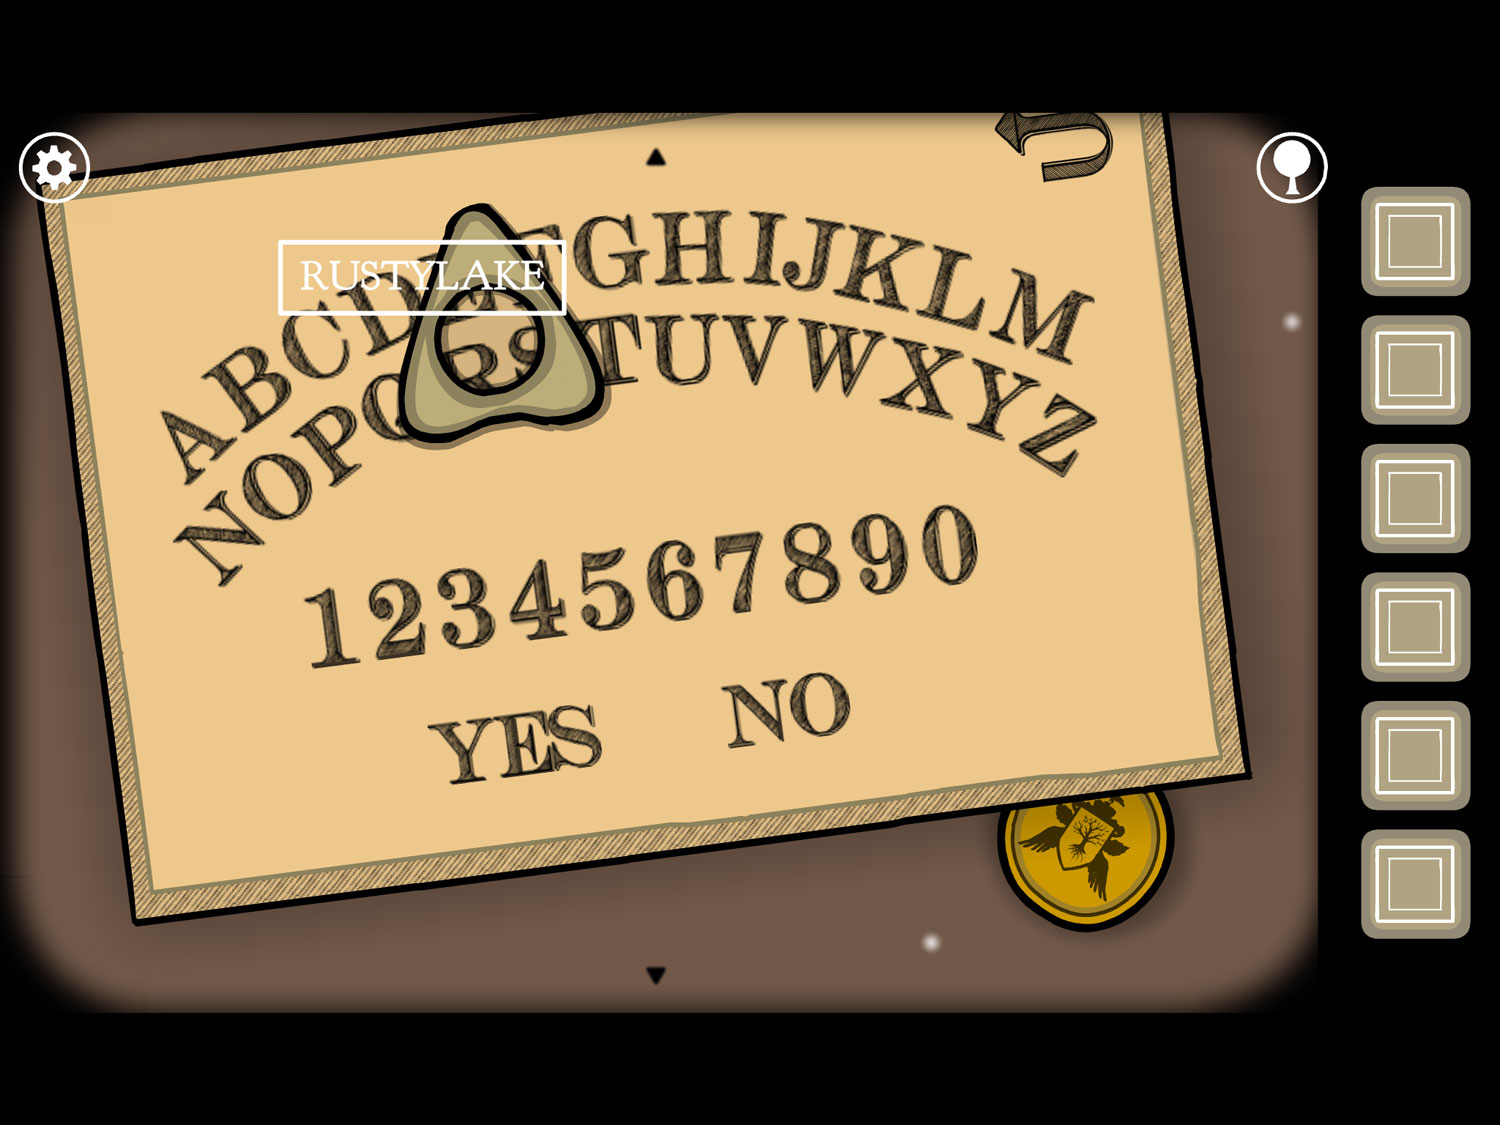
Level 34
Location: The underground room below the study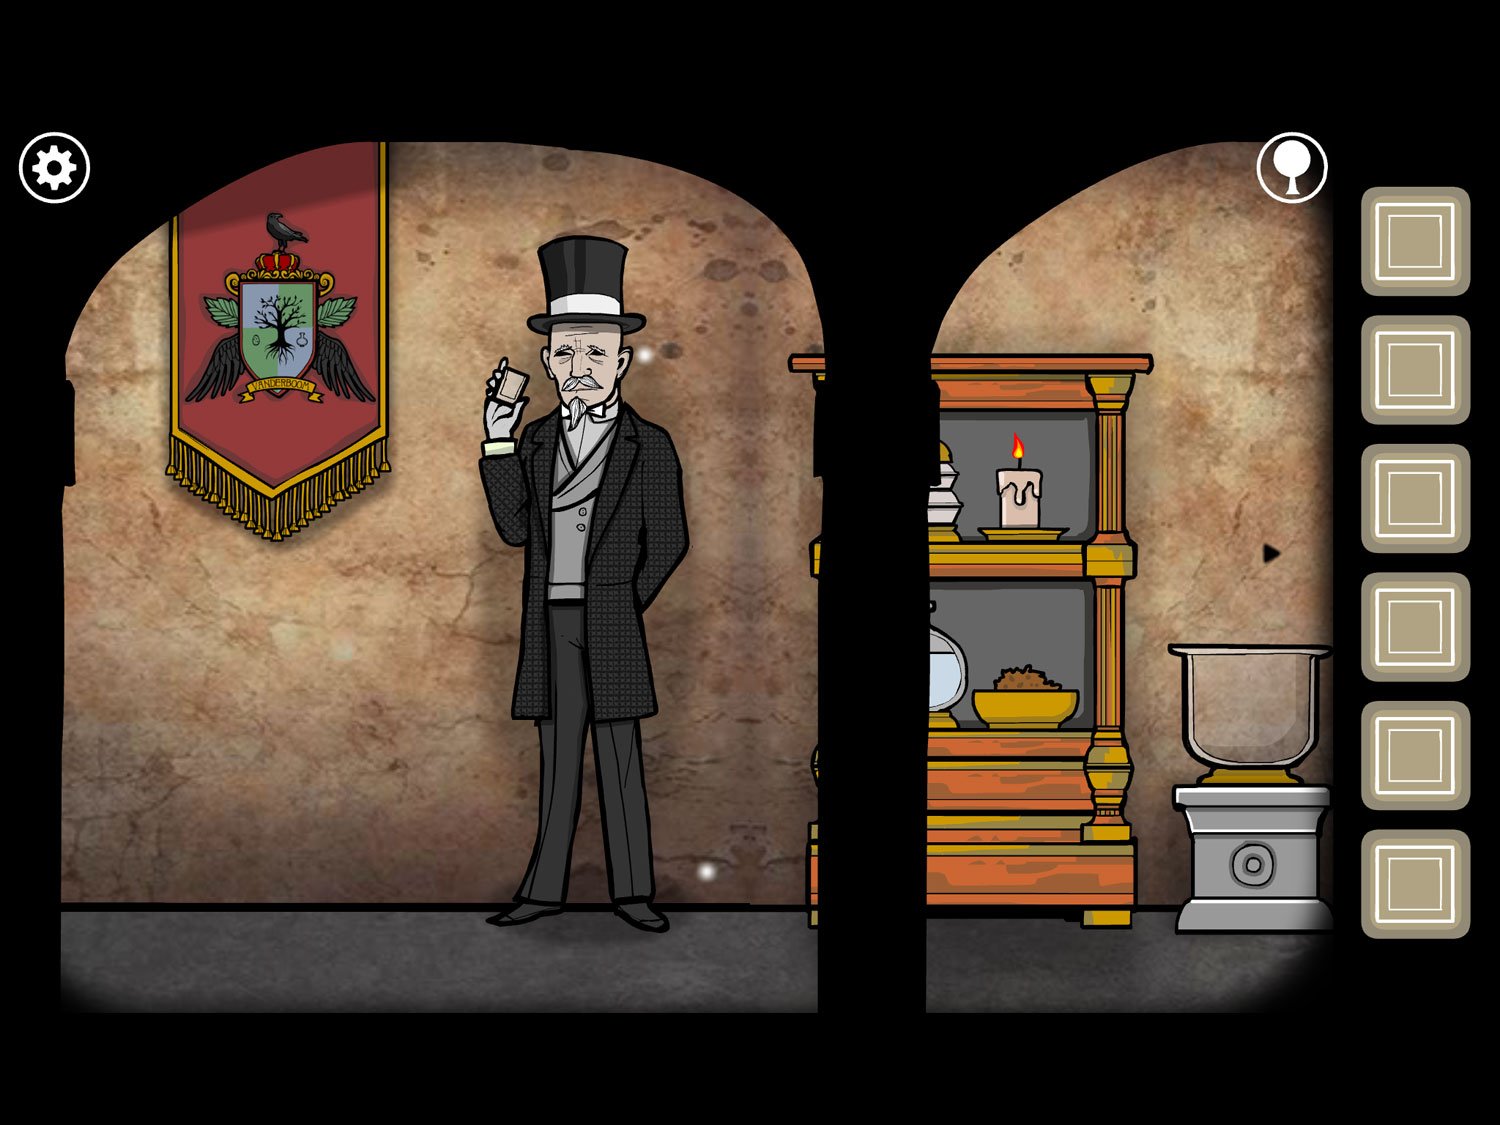
- Level 34 is the very last piece of the Roots mystery. It takes place before any of the other levels occurred, and shows Aldous Vanderboom in the underground room where James tried to create the elixir
- Tap on Aldous. Tap on him and he says “Hello brother, find the elixir”
- Zoom out. Tap on the pennant left of Aldous
- Note the symbols on the coat of arms: an egg, tree, and clear vase
- Zoom out. Drag right and tap on the shelf to Aldous’ right
- This is the truly final mystery in the game. It’s an alchemy puzzle, essentially Doodle God. You need to create the Elixir by making combinations of items
- You start with four base items: Air, Fire, Water, and Earth. These are always available on the left shelf. You can drag any two items into the large jar to the right of the shelf. Some combinations will make a new item. Some items cannot be combined and attempting to do so will have no result
- For instance, if you combine Air and Water, you will get Cloud. However, if you combine Air and Fire, nothing will happen – you’ll still just have Air. However, adding Earth to that Cloud will give you Plant
- When you make a new item you can drag it onto the tall shelf on the right. Then you can use this item to combine with future creations. So, you can drag the Cloud you just made onto that shelf and then drag it back into the jar in the future
- You can only have one of each item type on the shelf at once, so if you had a Cloud on the shelf and made another in the jar, the one on the shelf would vanish
- There are a lot of items that can be created but some will not contribute to your ultimate goal: creating the Elixir. We will not list every item combination possible: the following will cover exactly how to create the elixir
- Drag Fire into the jar. Add Earth. You will get Lava
- Add Air to the Lava to get Stone
- Add Fire to the Stone to get Metal. Put Metal on your shelf for now
- Drag Air into the jar. Add Water to get Cloud
- Add Earth to the Cloud to get Plant
- Add Water to the Plant to get Algae
- Add Air to the Algae to get Small Eggs. Place the Small Eggs on your shelf for now
- We’re going to make Algae again: add Air and Water to get Cloud. Add Earth to Cloud to get Plant. Add Water to Plant to get Algae
- Add Water to Algae to get Shell
- Drag Metal from your shelf into the jar to combine with Shell. You’ll get Chalk
- Drag Small Eggs from your shelf into the jar to combine with Chalk. You’ll get Egg. Place the Egg on your shelf for now
- If you think back to the Vanderboom coat of arms we looked at earlier in this level, it had an egg on it. We’ve created one half of the Elixir
- In the now-empty jar, combine Fire and Earth to make Lava
- Add Air to the Lava to get Stone
- Add Air to the Stone to get Sand
- Add Fire to the Sand to get Glass. If you think back to the coat of arms again, this should also look familiar. It’s the other half of the recipe
- Drag Egg from your shelf into the jar to combine with Glass. You will get Elixir
- Tap the Elixir to add it to your inventory. Zoom out
- Return to Aldous; tap on him
- Give him the ELIXIR. He’ll fill his glass
- Tap Aldous; he says “You drink first, brother.” Tap him again to zoom in on the glass
- Tap the glass to drink. You’ll enter the veiny root system we saw way back at the beginning of the game
- Tap until you come to a floating seed; tap it to get SEED
- Continue tapping until you exit the mouth
- You’ll see William’s body on the floor at Aldous’ feet. Tap Aldous
- Tap him again. He says “Don’t worry, we are always here in our past and future lives.” Tap again and he drinks
- Tap one more time and he turns into Mr. Crow
- Keep tapping; he says “Better give me the seed”
- Use SEED on Aldous/Mr. Crow. Tap on him to read through his dialogue. In total he says “The fate of Rusty Lake lies in this small seed. I have to leave now, Mr. Owl needs me. But we will meet again, in this life or the next.”
- At the end of his dialogue, the white square and exit will appear. This is the final finale of Rusty Lake: Roots
- If you’d like to replay the game, you can reset your progress from the gear icon in the upper left corner of the the menu screen
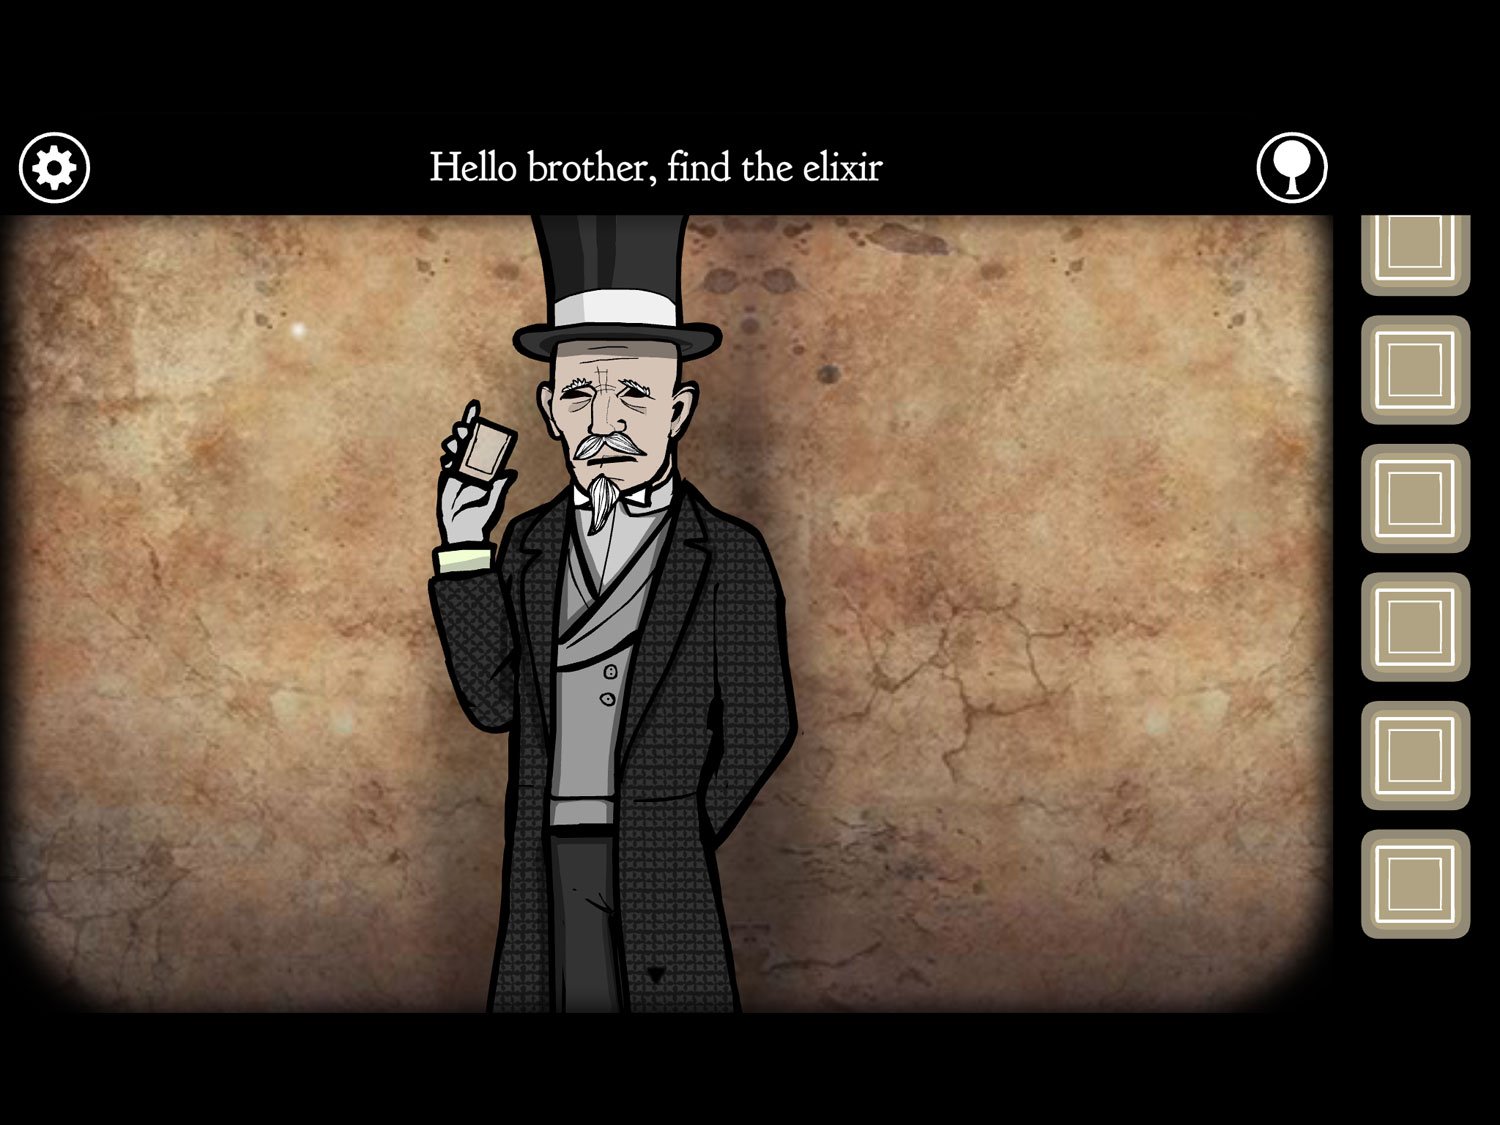
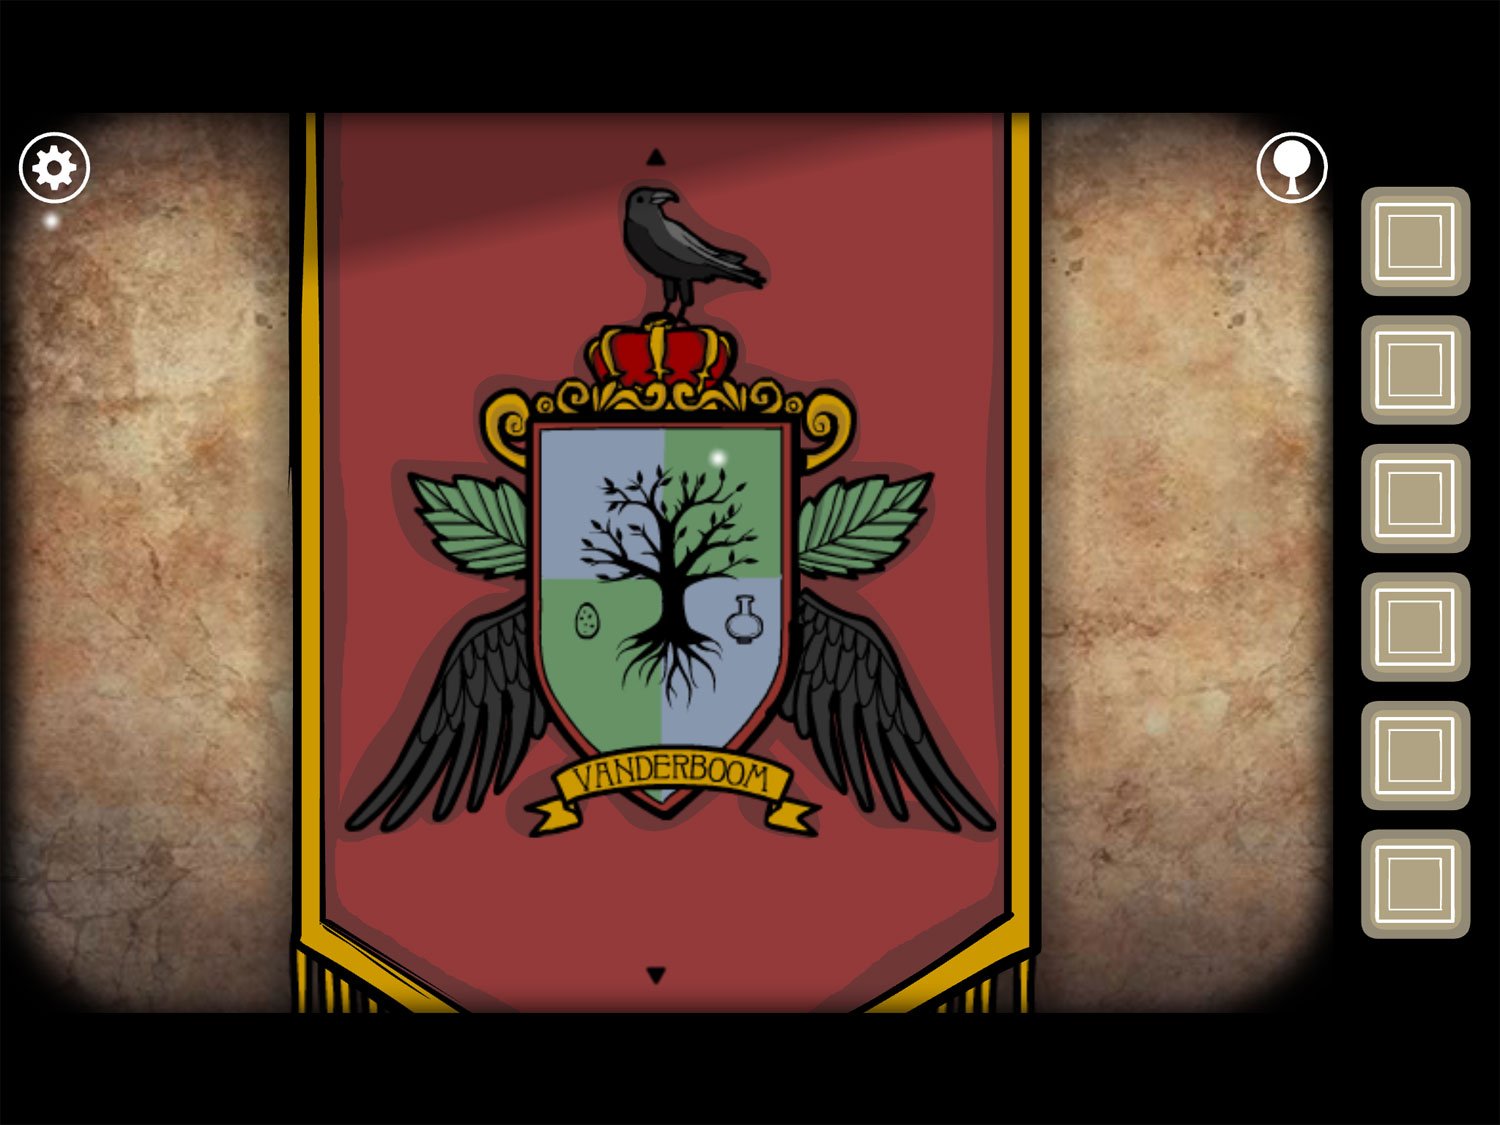
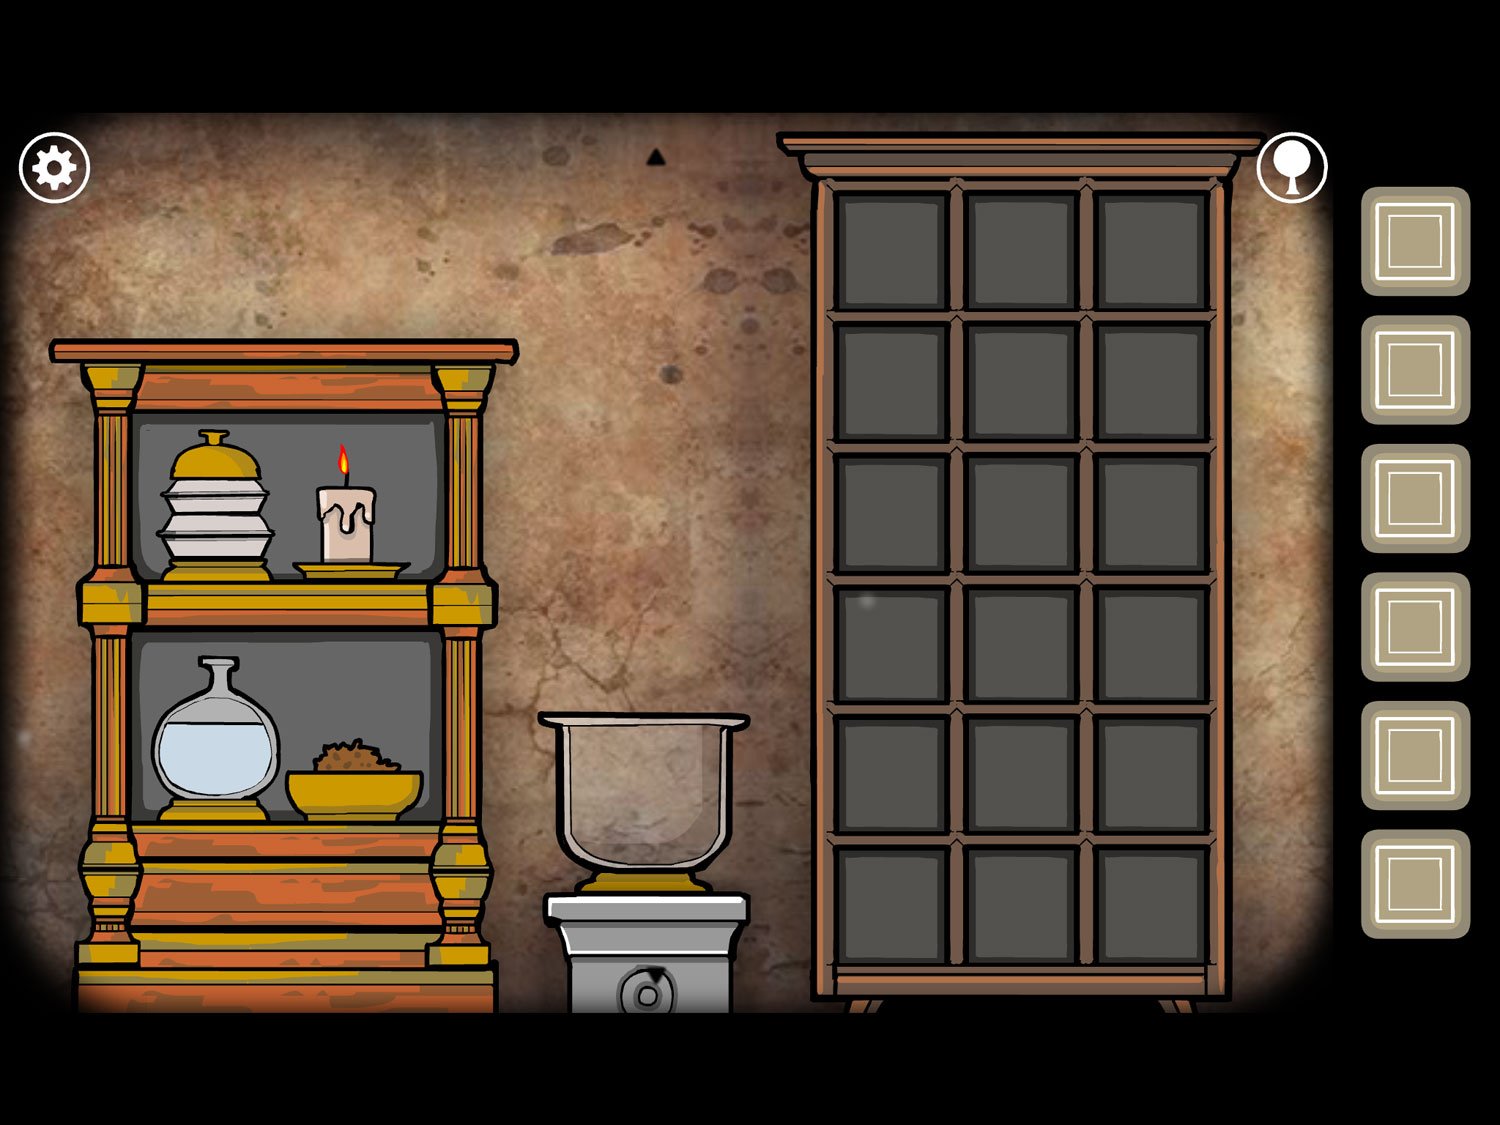

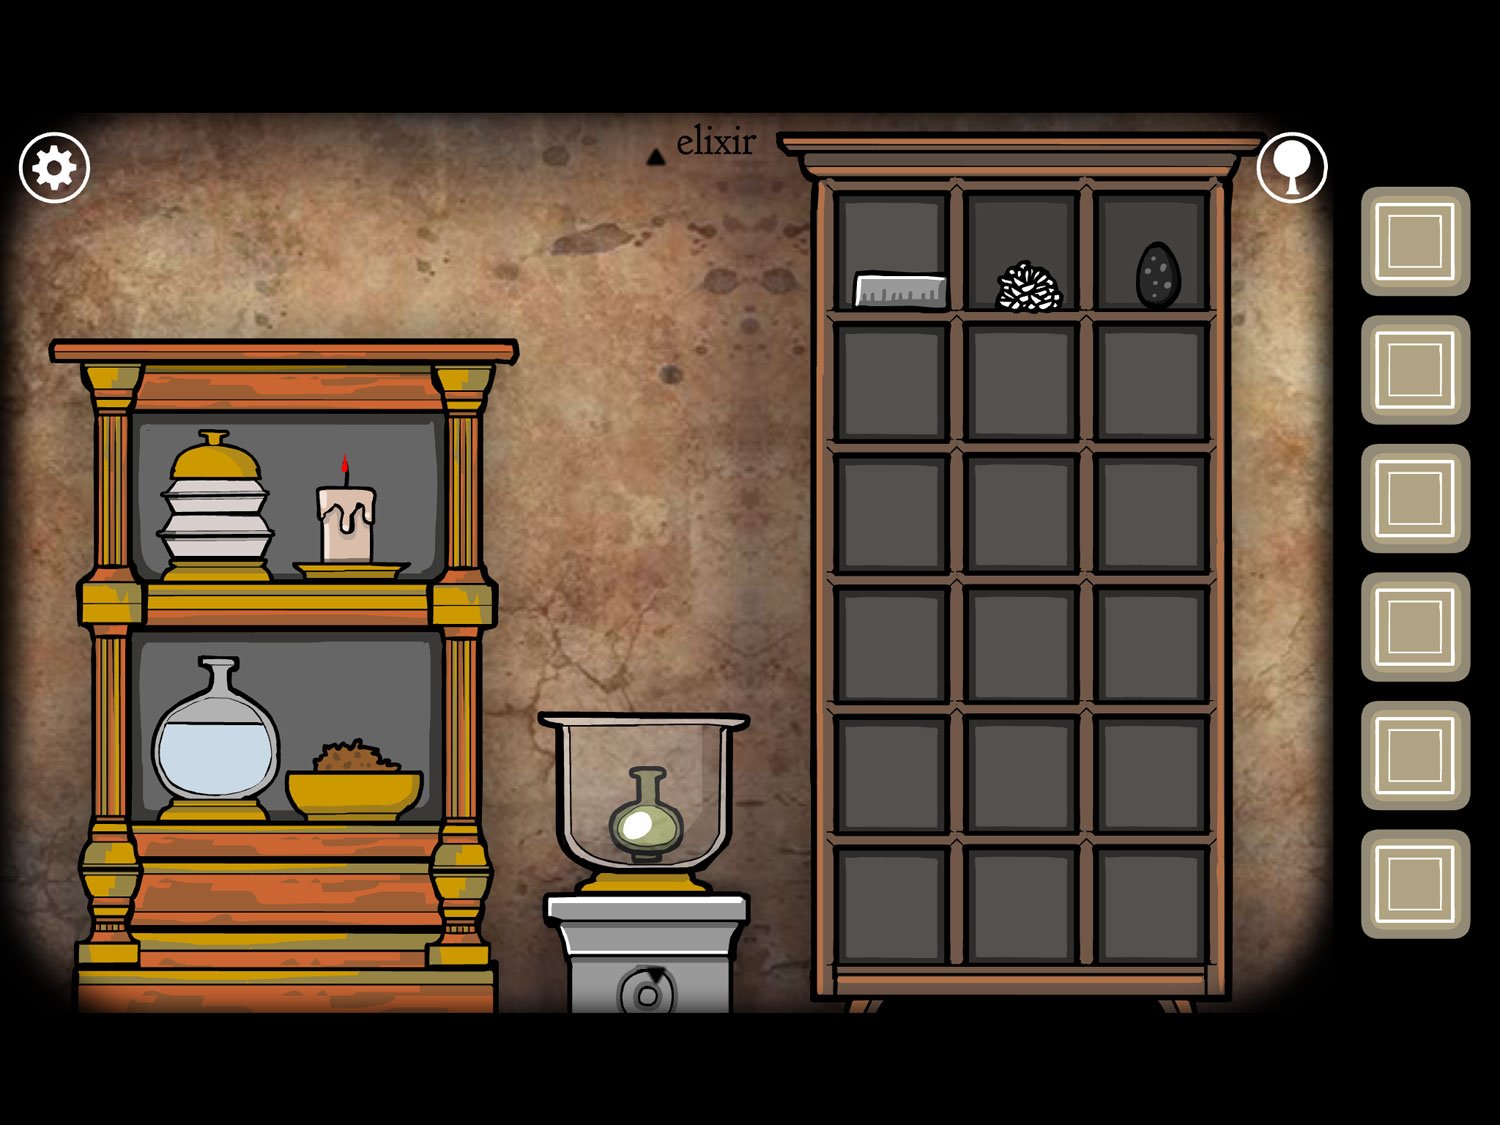
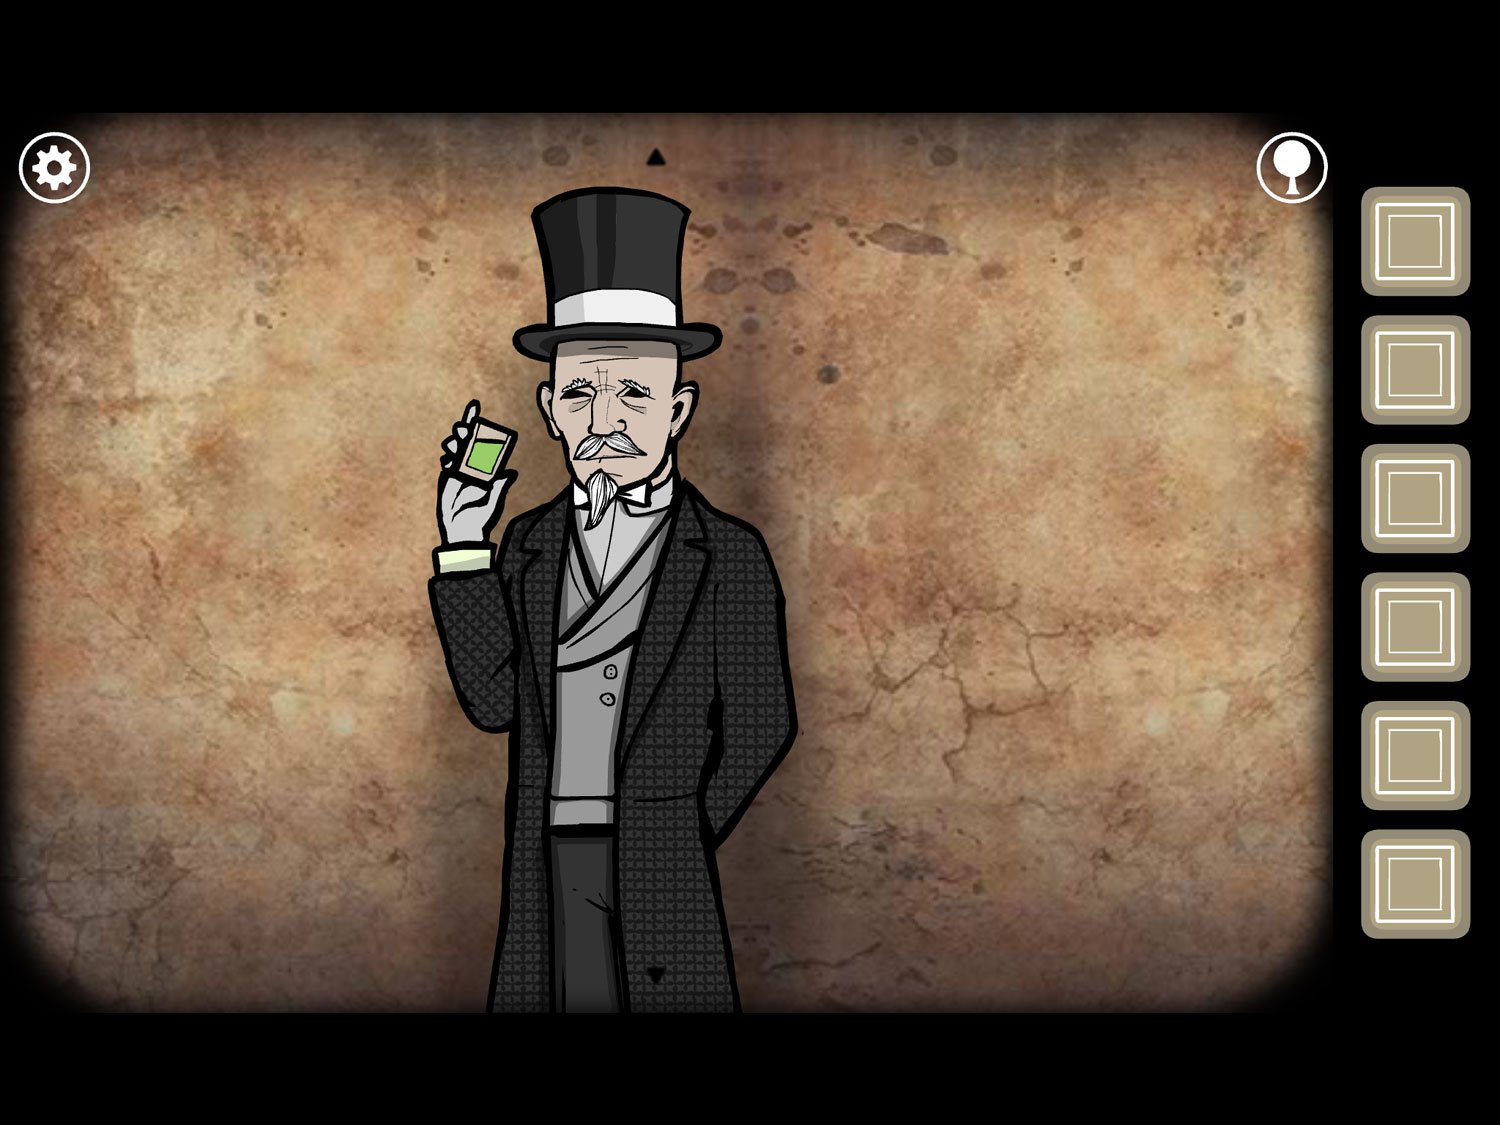
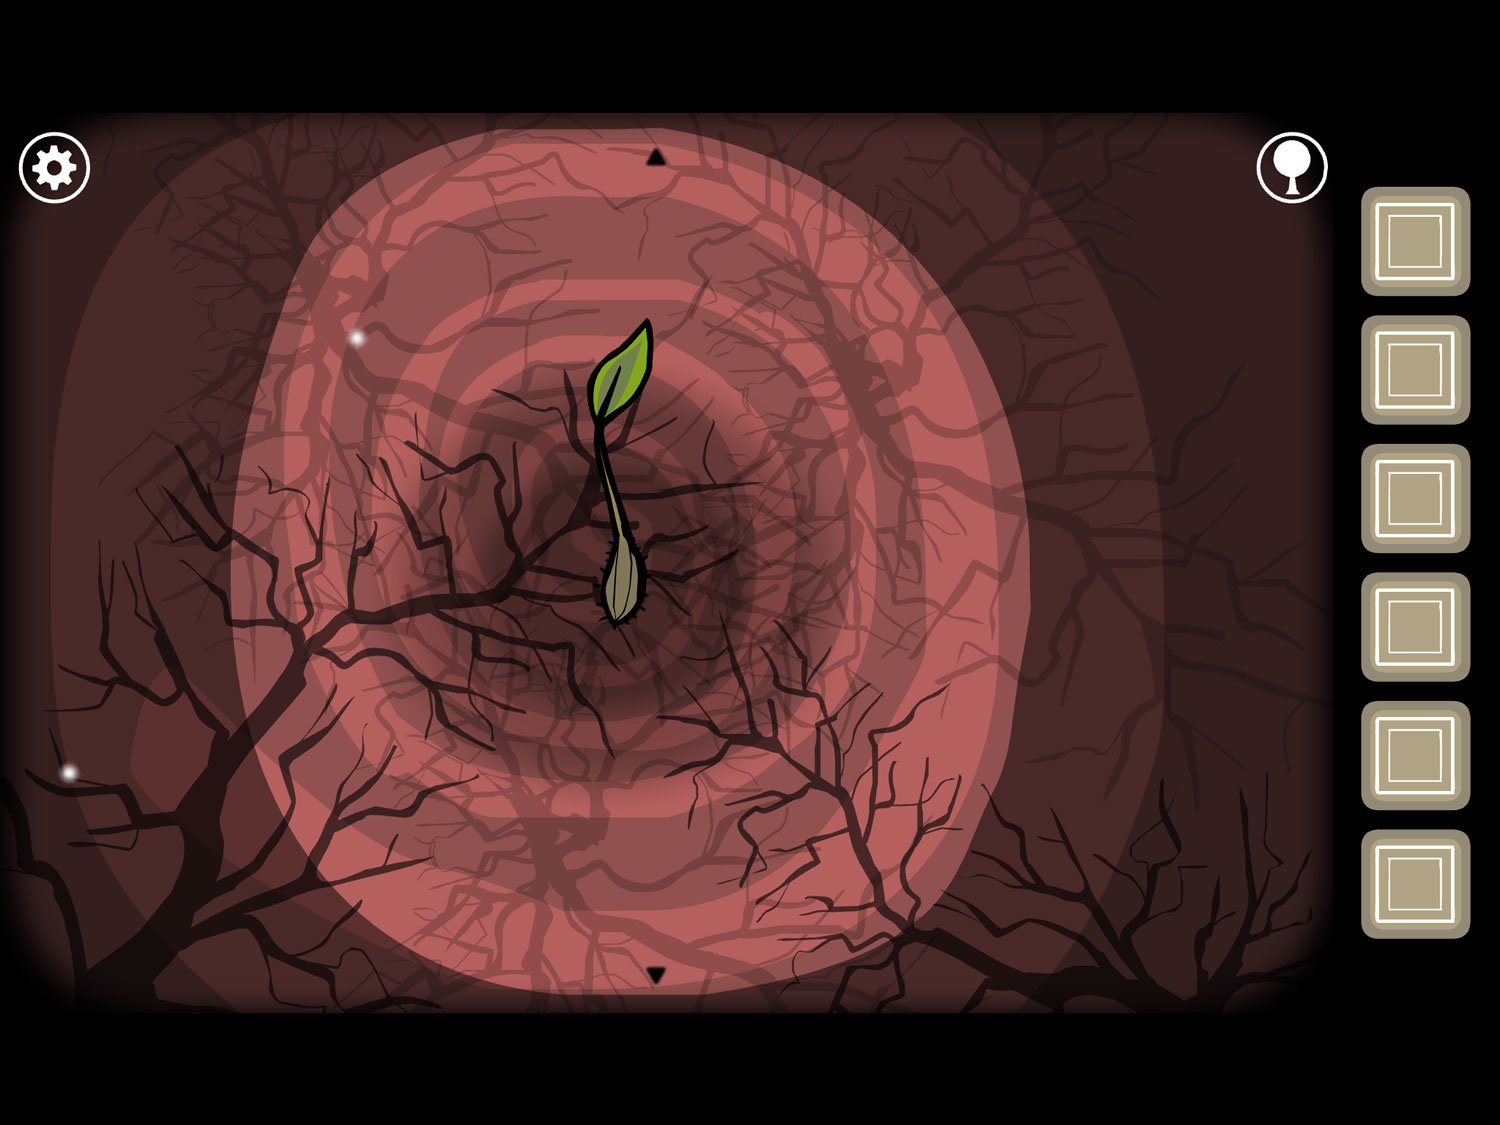
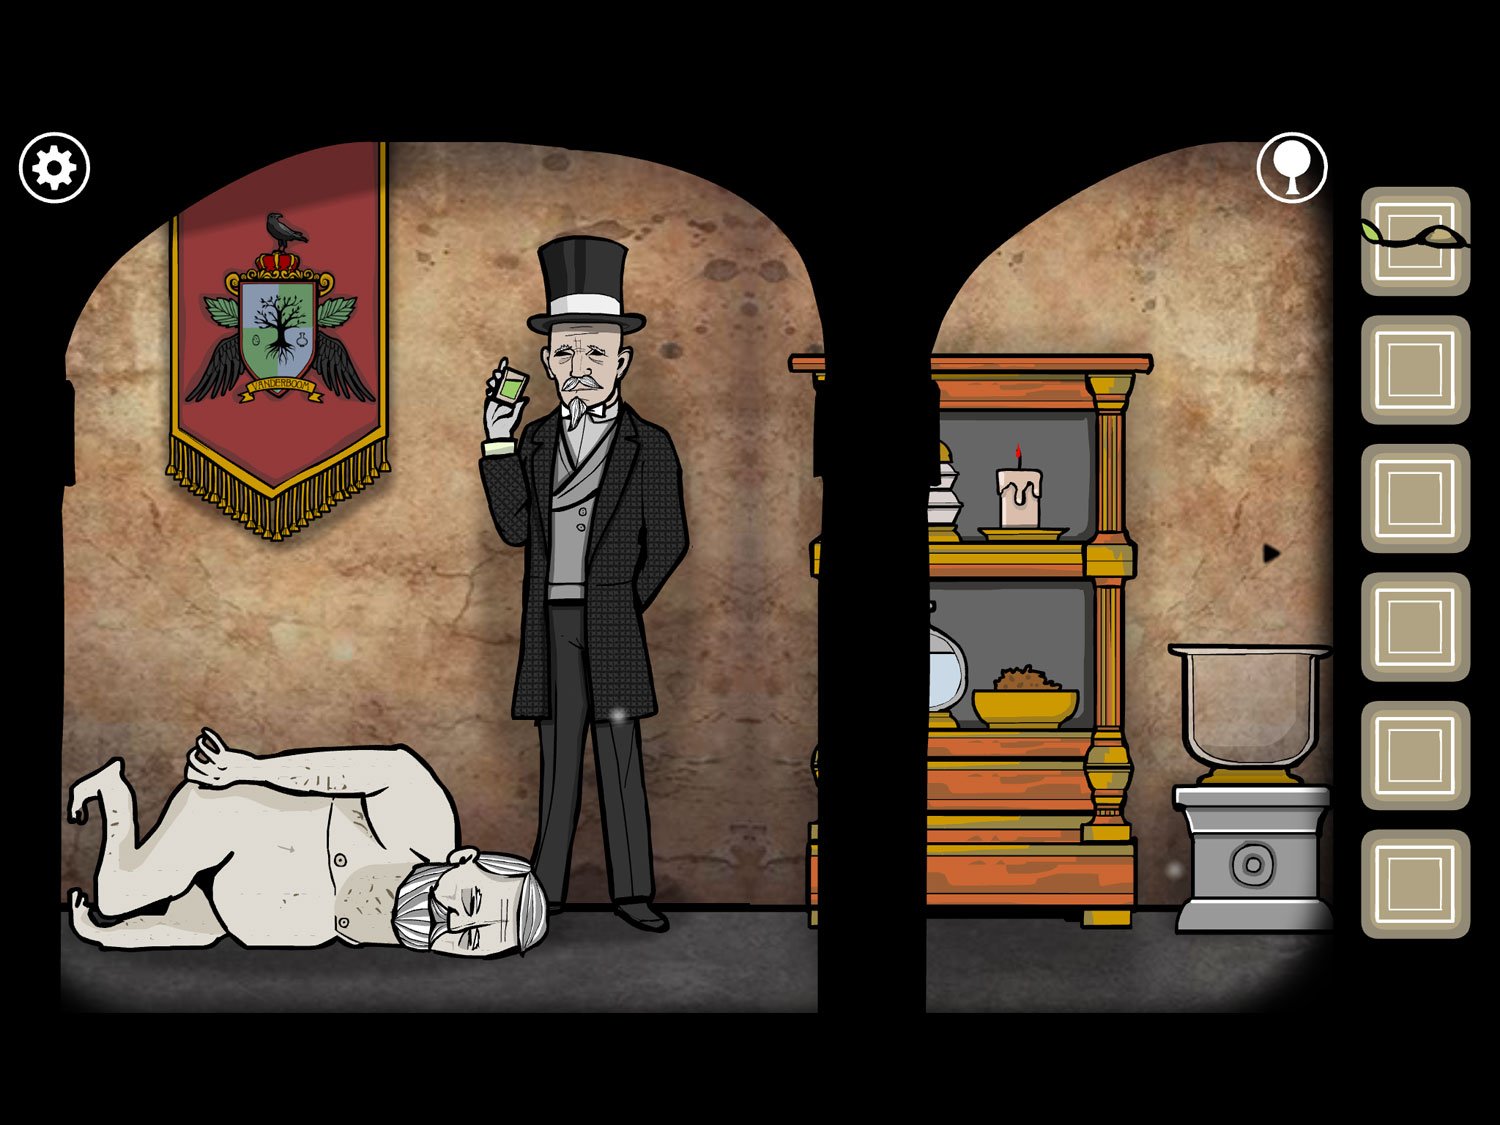
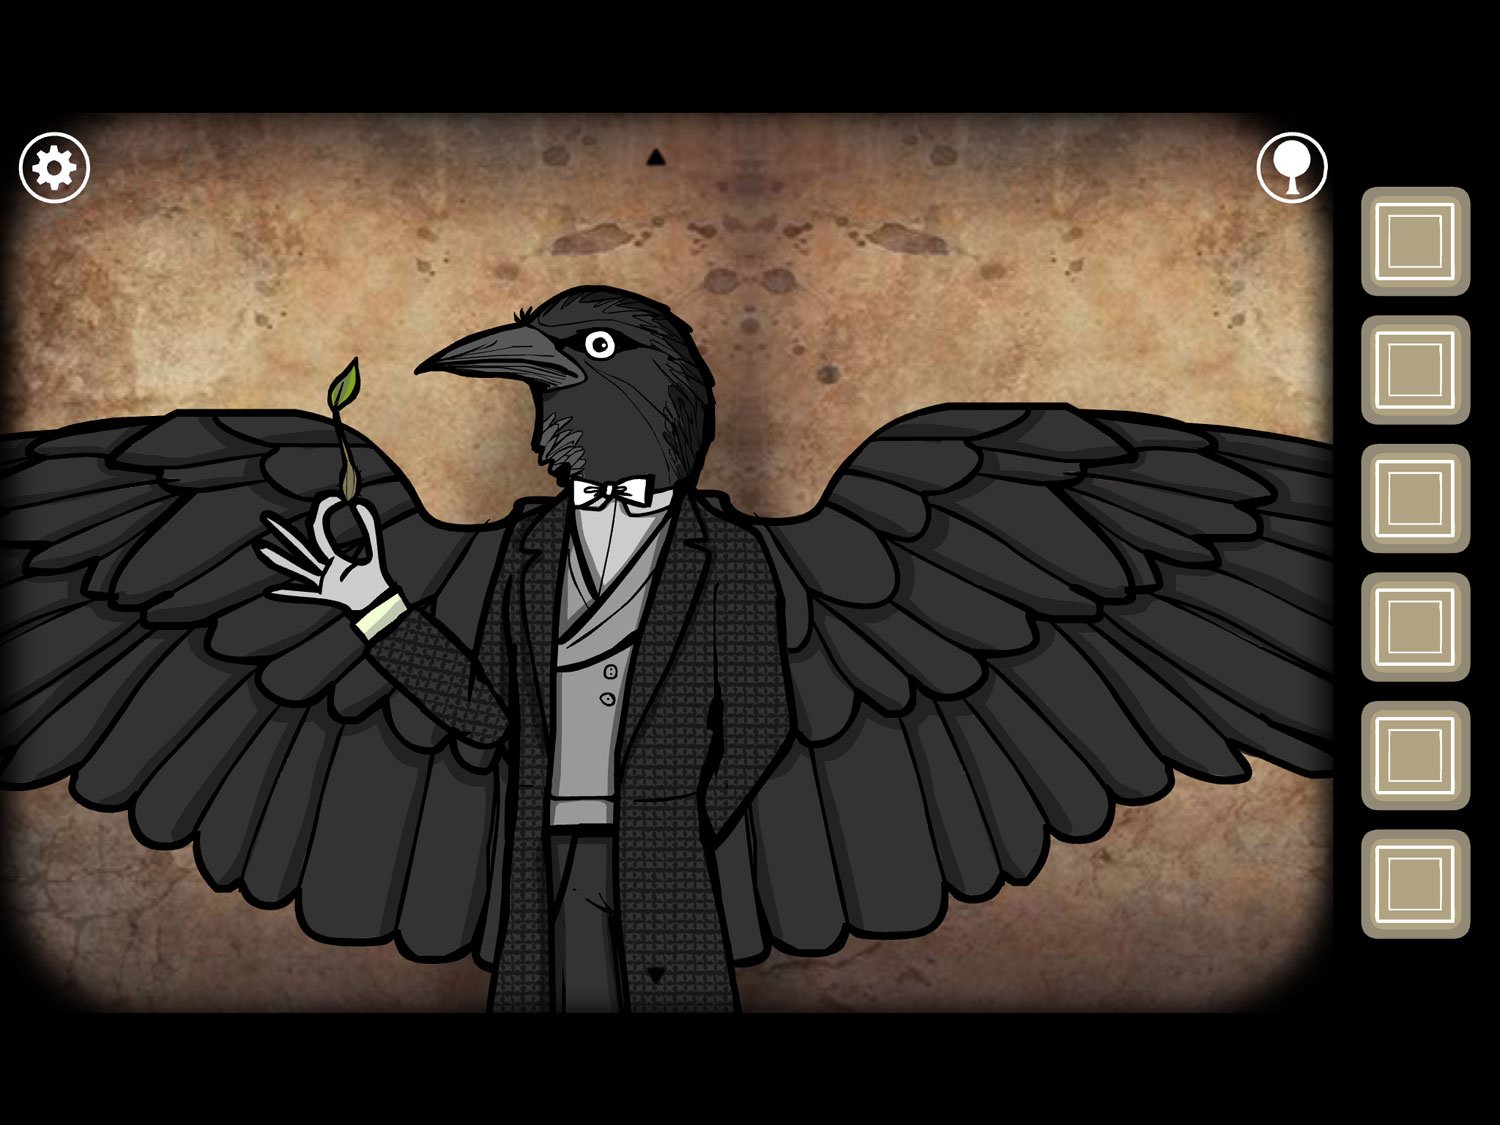

Congratulations!
You have completed Gamezebo’s walkthrough for Rusty Lake: Roots. Be sure to check back often for game updates, staff and user reviews, user tips, forums comments and much more here at Gamezebo!
More articles...
Monopoly GO! Free Rolls – Links For Free Dice
By Glen Fox
Wondering how to get Monopoly GO! free rolls? Well, you’ve come to the right place. In this guide, we provide you with a bunch of tips and tricks to get some free rolls for the hit new mobile game. We’ll …Best Roblox Horror Games to Play Right Now – Updated Weekly
By Adele Wilson
Our Best Roblox Horror Games guide features the scariest and most creative experiences to play right now on the platform!The BEST Roblox Games of The Week – Games You Need To Play!
By Sho Roberts
Our feature shares our pick for the Best Roblox Games of the week! With our feature, we guarantee you'll find something new to play!All Grades in Type Soul – Each Race Explained
By Adele Wilson
Our All Grades in Type Soul guide lists every grade in the game for all races, including how to increase your grade quickly!


