![Hololive Dreams Tier List [Best Cards]](/wp-content/uploads/2026/07/hololive-dreams-tier-list.jpg "Hololive Dreams Tier List [Best Cards]")
Hololive Dreams Tier List [Best Cards]
The best cards for the best performances.


![Iron Soul Dungeon Weapon Tier List [Best Weapons]](/wp-content/uploads/2026/07/iron-soul-dungeon-weapon-tier-list.jpg "Iron Soul Dungeon Weapon Tier List [Best Weapons]")

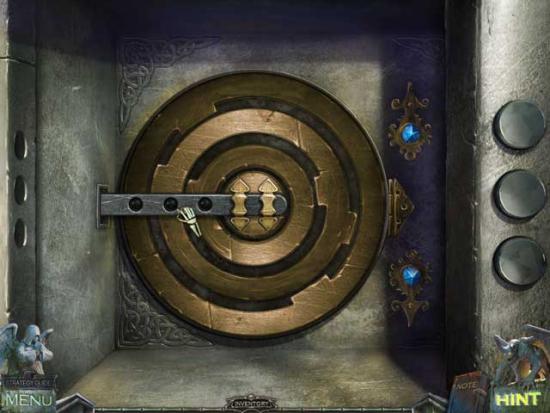
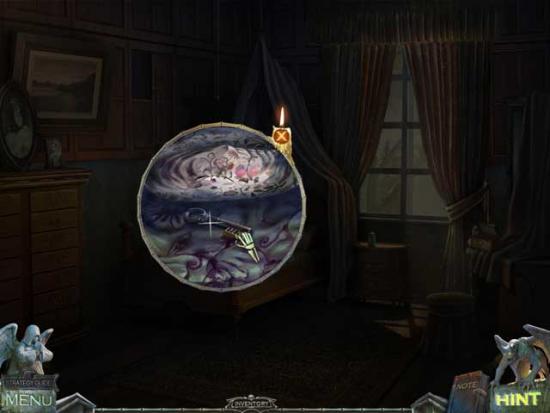
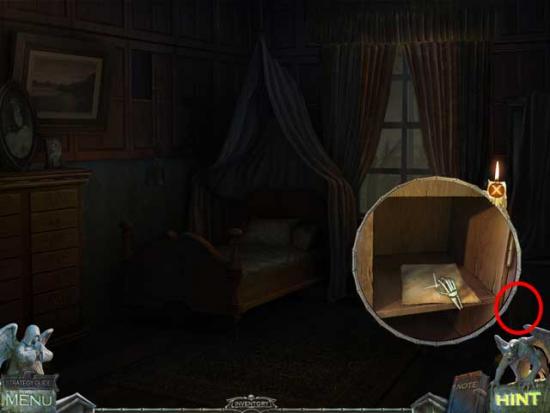
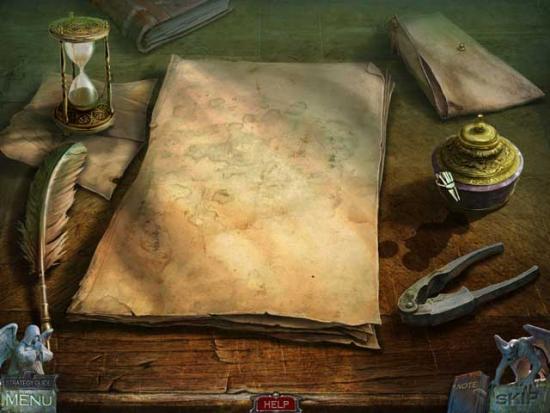
Welcome the Redemption Cemetery: Curse of the Raven walkthrough on Gamezebo. Redemption Cemetery: Curse of the Raven is a hidden object adventure game played on the PC created by Big Fish Games. This walkthrough includes tips and tricks, helpful hints, and a strategy guide for how to complete Redemption Cemetery: Curse of the Raven.
Welcome the Redemption Cemetery: Curse of the Raven walkthrough on Gamezebo. Redemption Cemetery: Curse of the Raven is a hidden object adventure game played on the PC created by Big Fish Games. This walkthrough includes tips and tricks, helpful hints, and a strategy guide for how to complete Redemption Cemetery: Curse of the Raven.
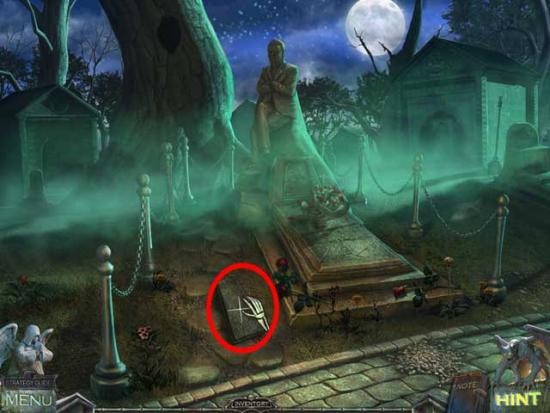
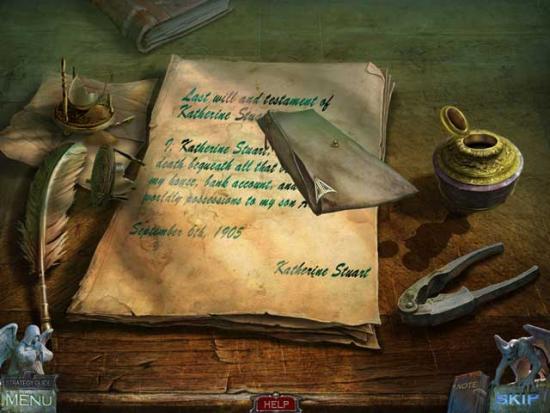
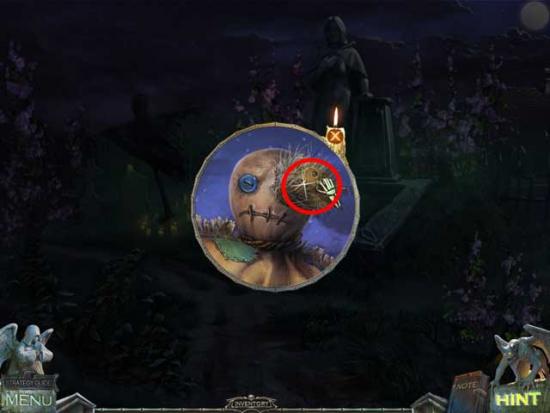
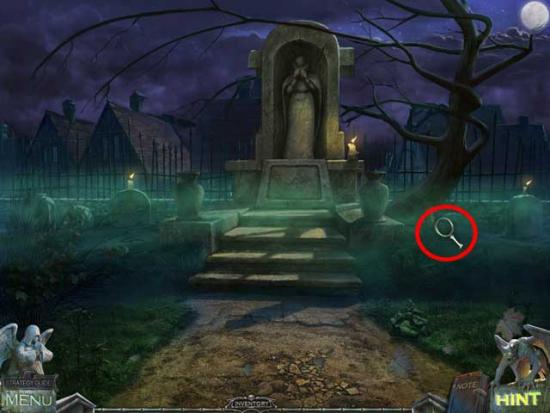
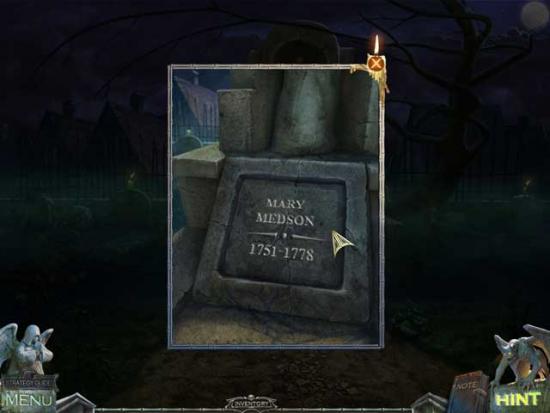
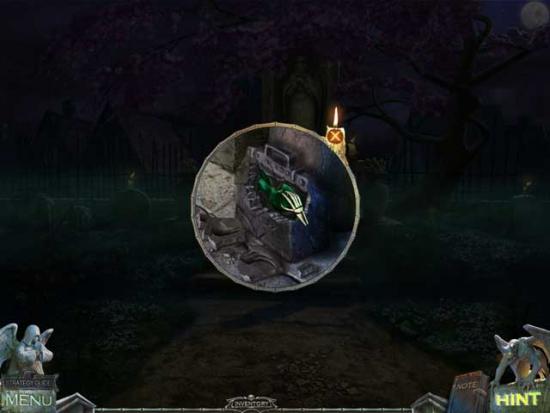
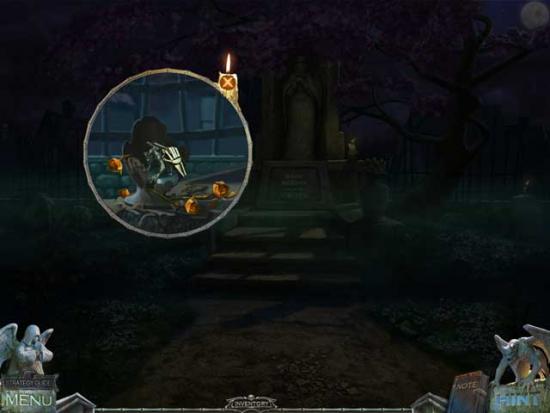
Cemetery

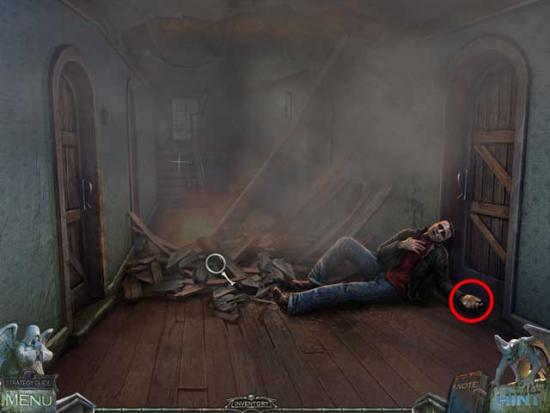
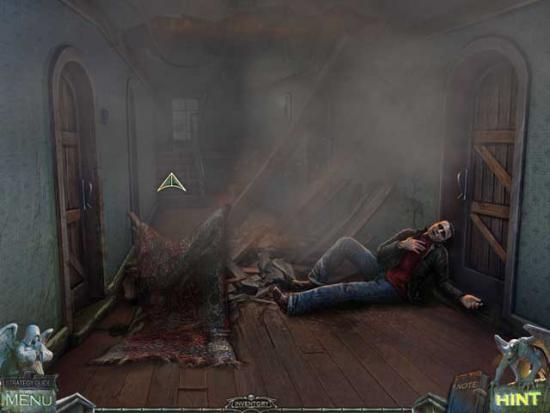
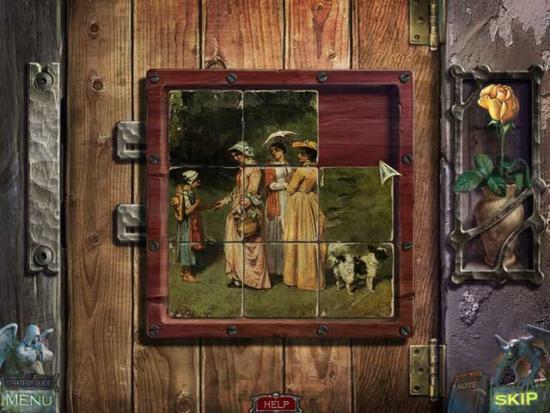
Outside the Burning House
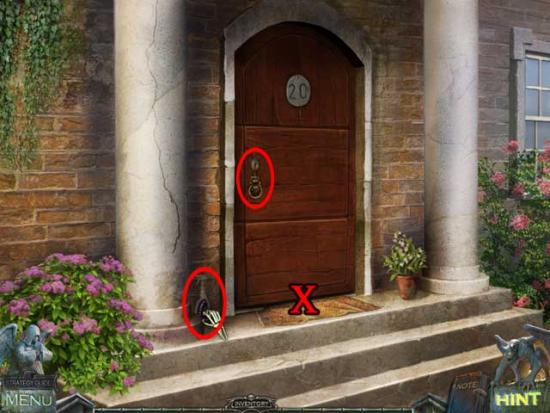
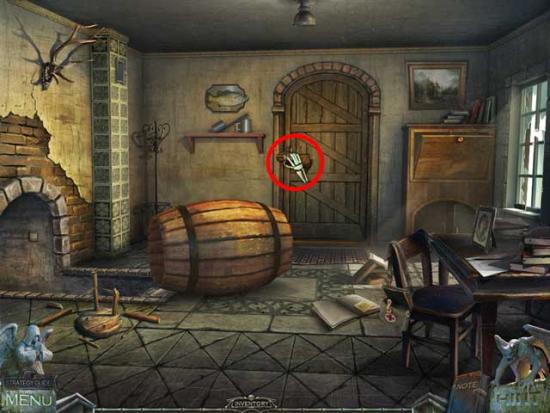
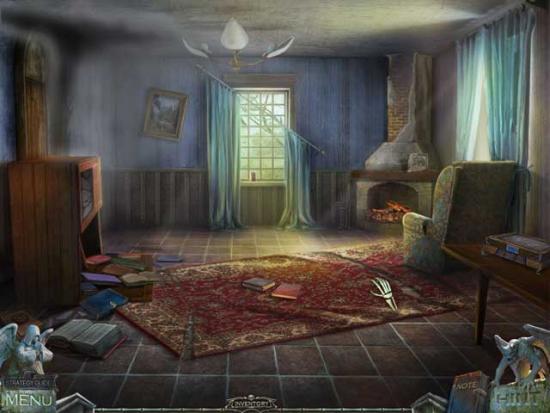
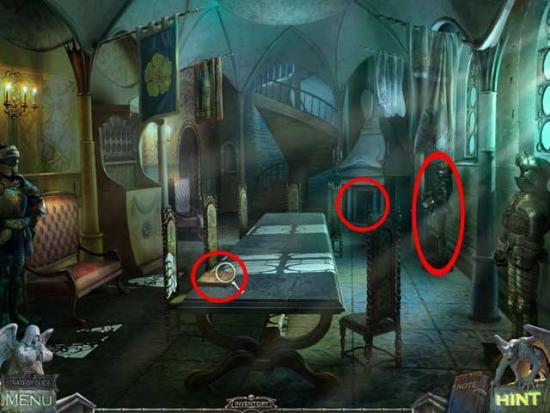
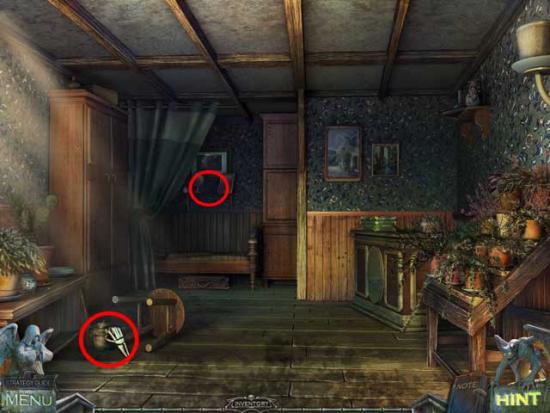
Entryway
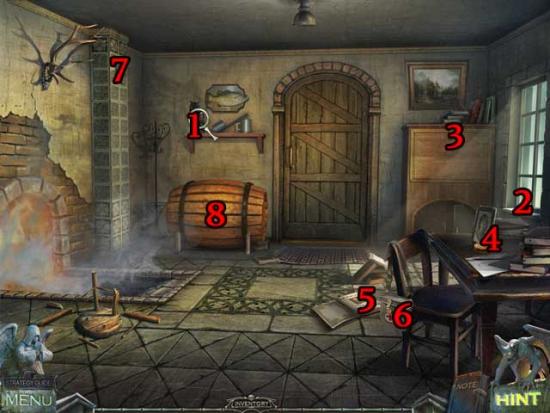
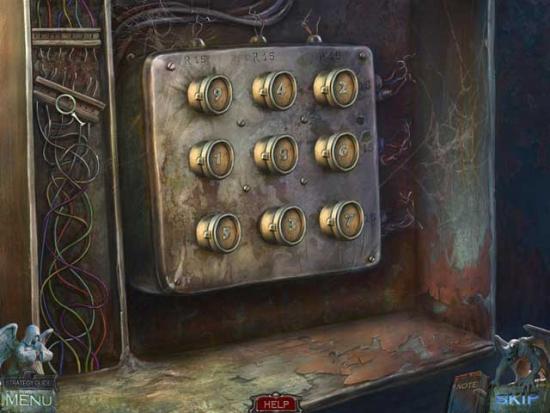
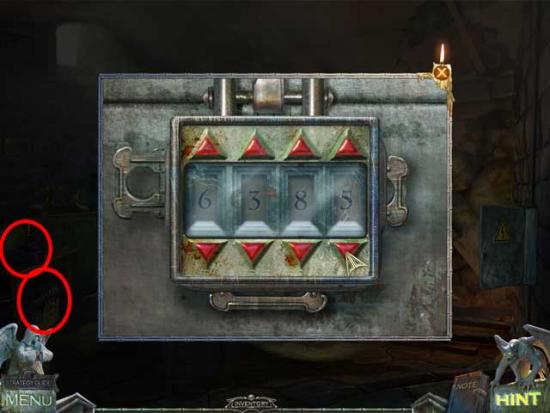
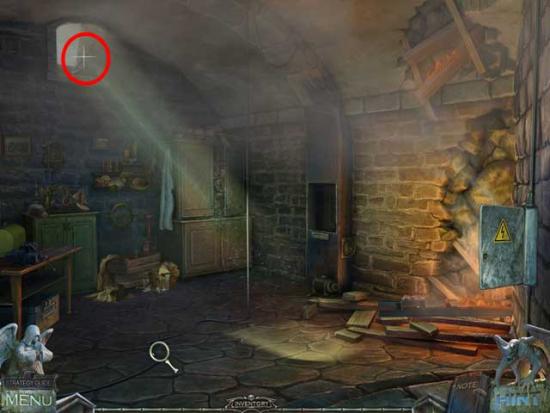
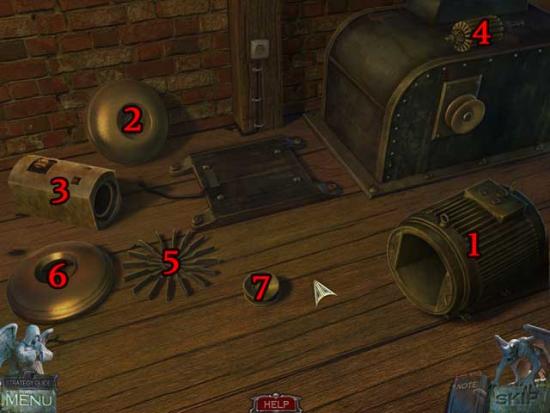
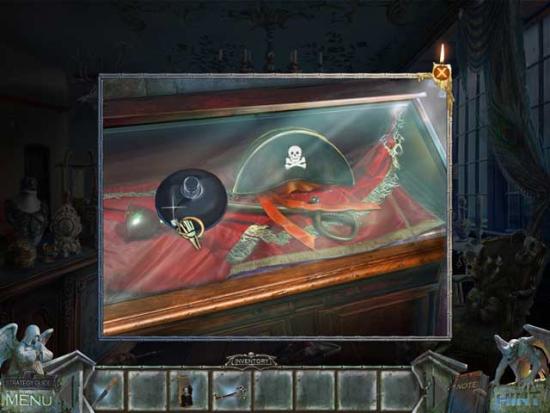
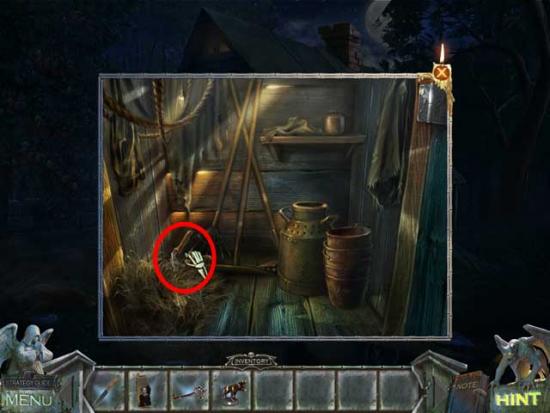
Basement

Entryway
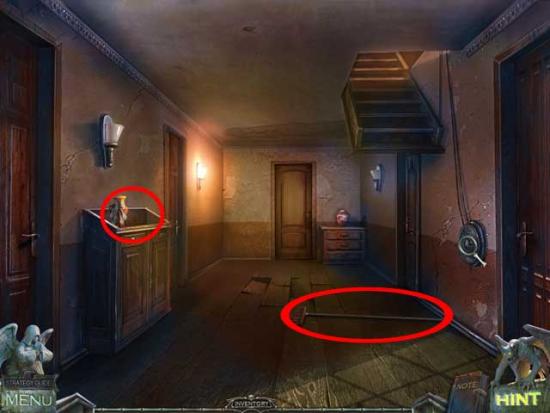
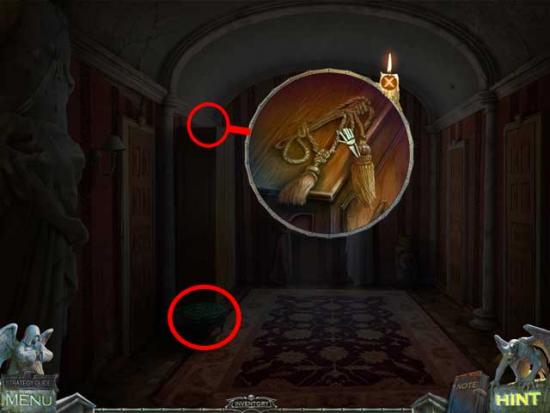
1st Floor Hallway
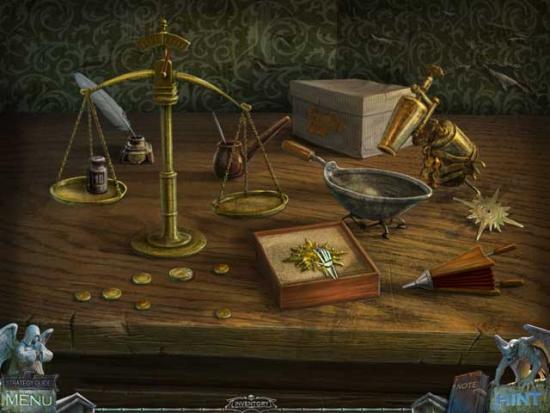
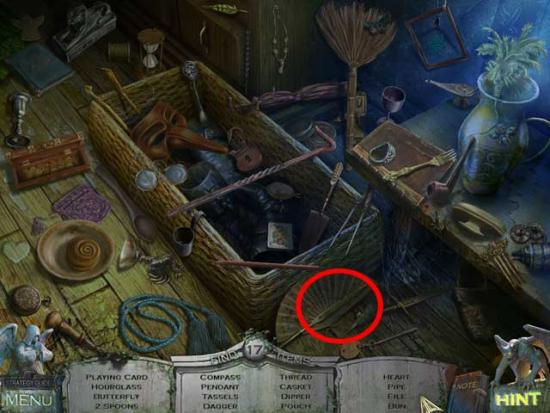
Storage Room
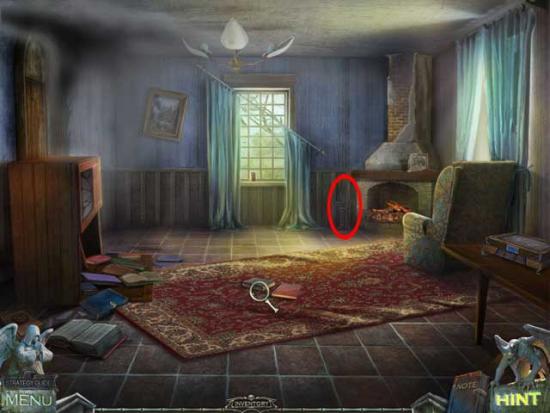
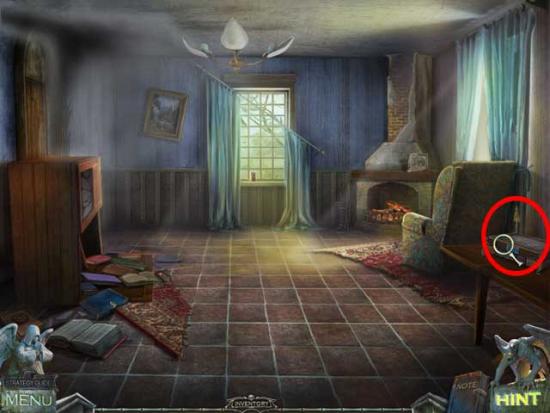
Living Room
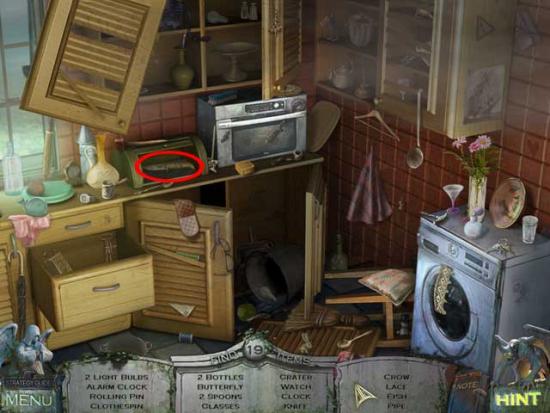
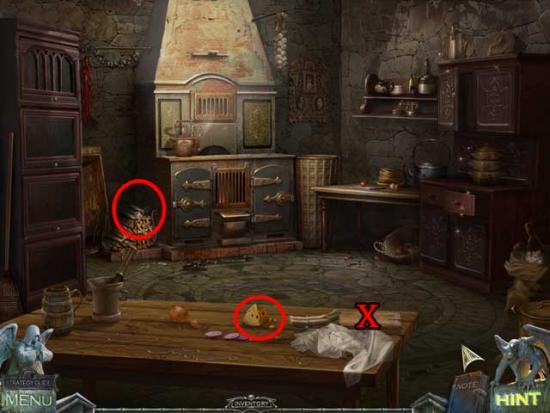
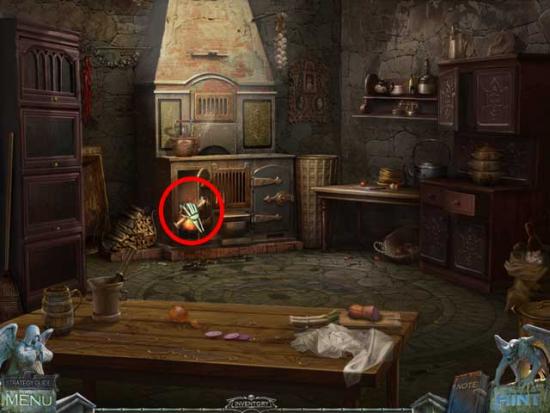
Kitchen
Entryway
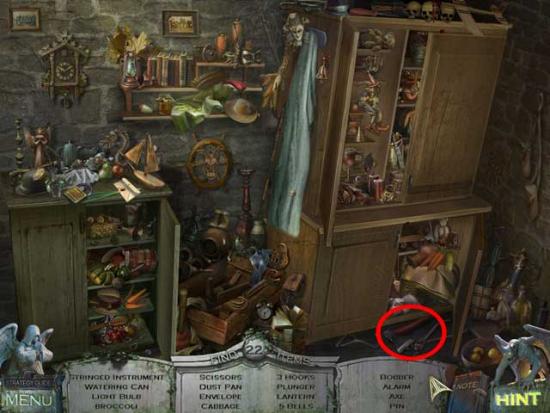
Storage Room
Living Room
Basement
1st Floor Hallway
2nd Floor Hallway
Bathroom

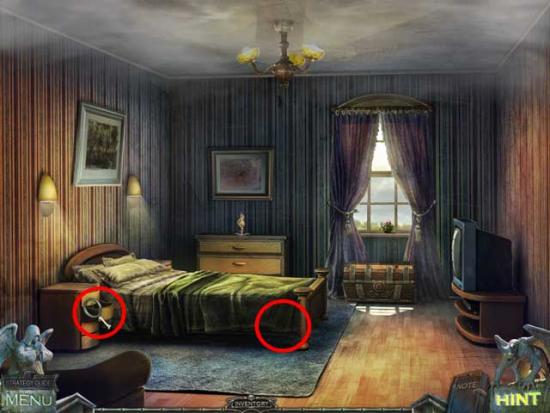
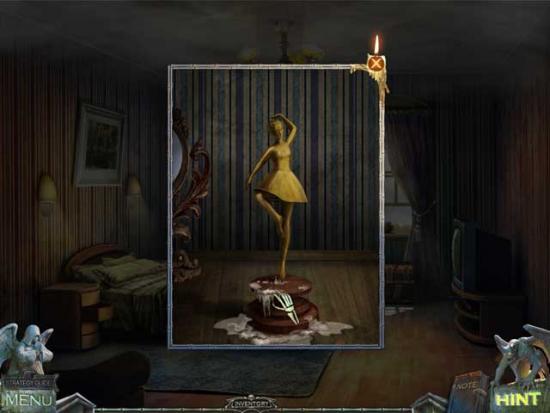
Bedroom
Basement

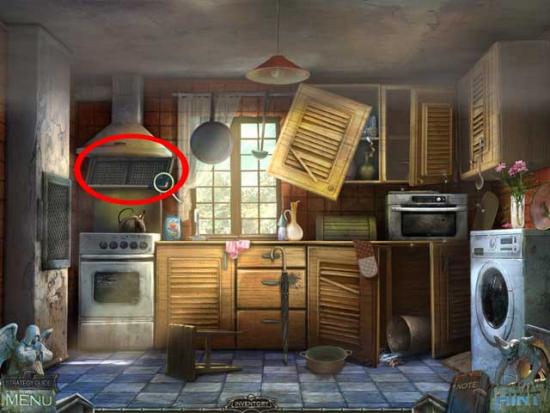
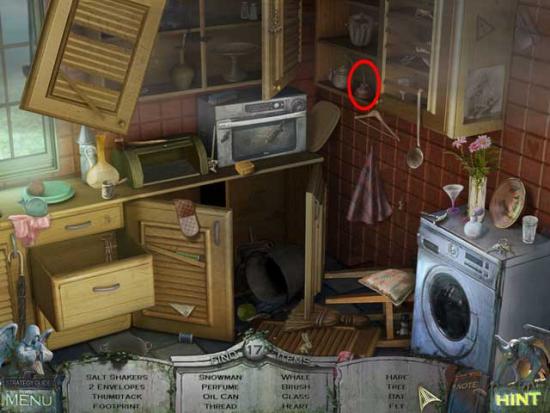
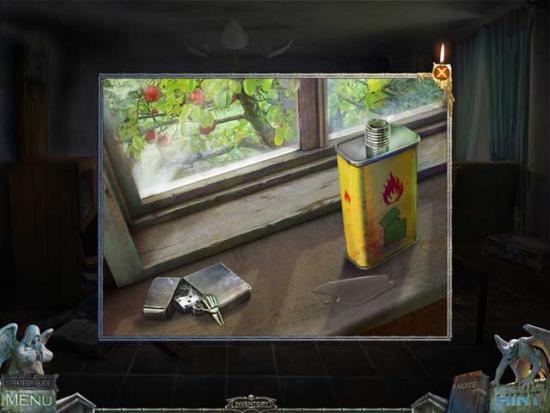
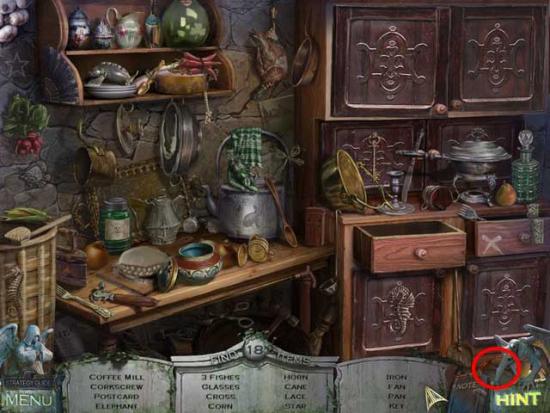
Kitchen
Living Room
Bedroom
Living Room
2nd Floor Hallway
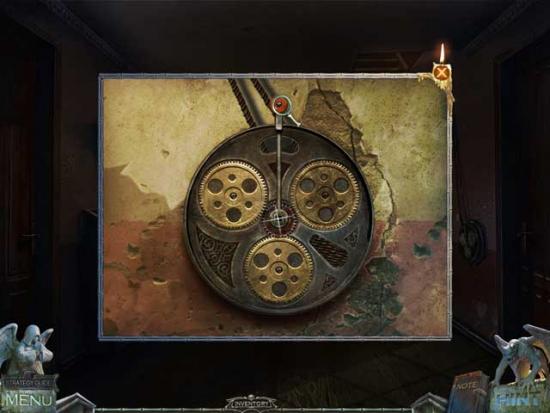
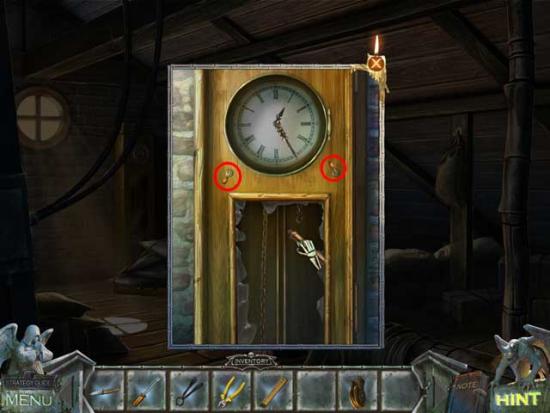
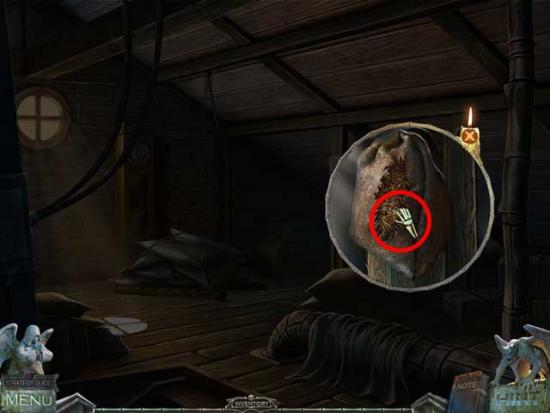
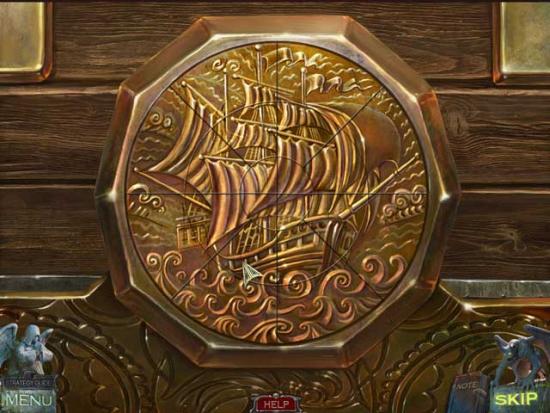
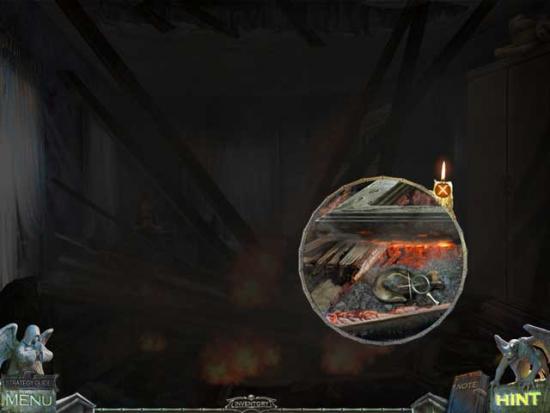
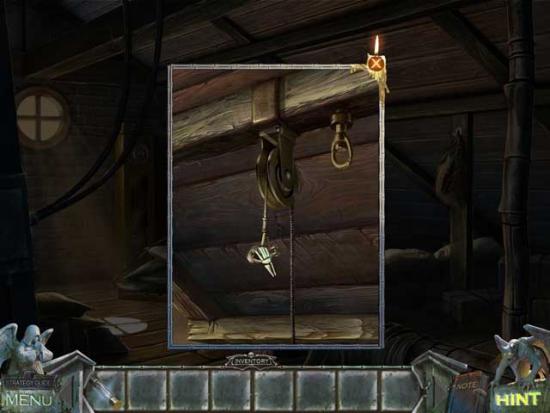
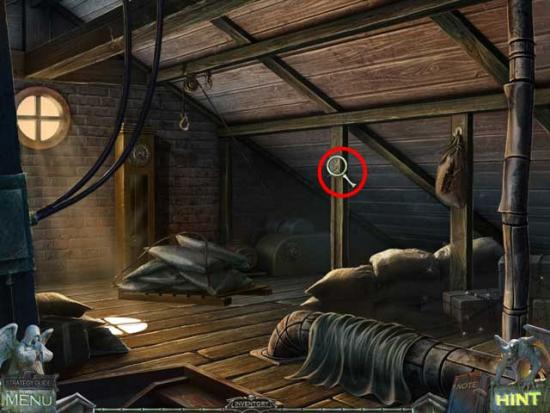
Attic

Bedroom
2nd Floor Hallway
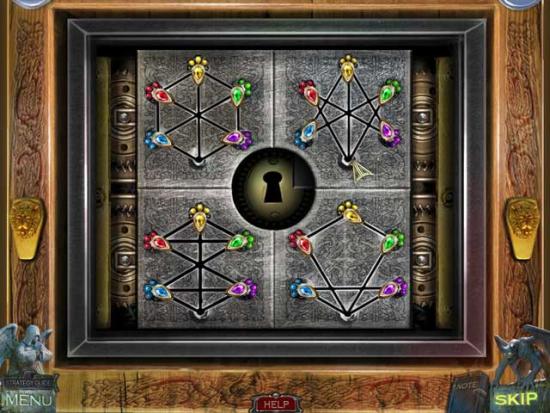
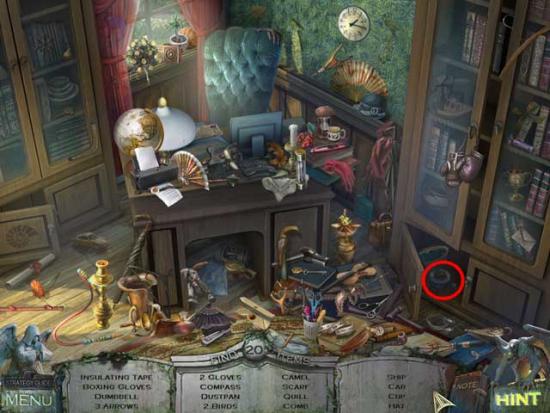
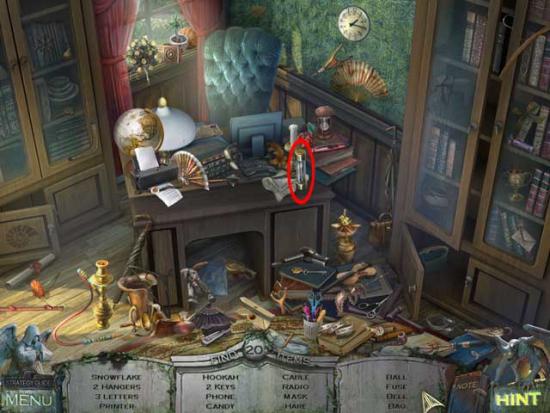
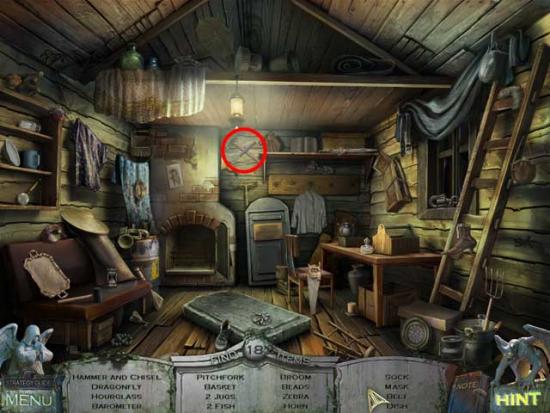
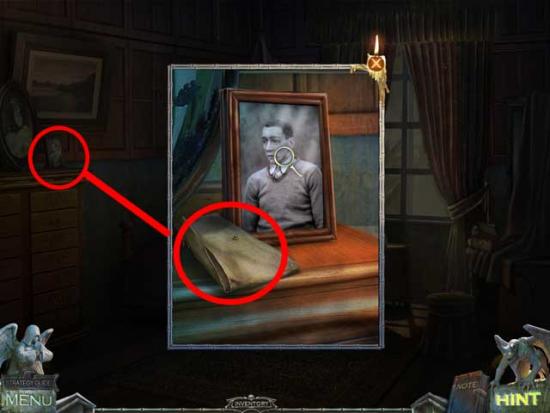
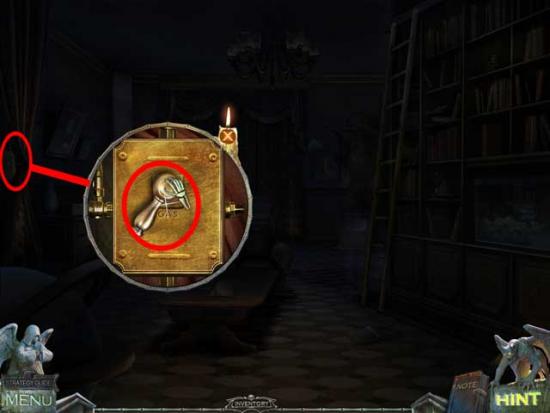
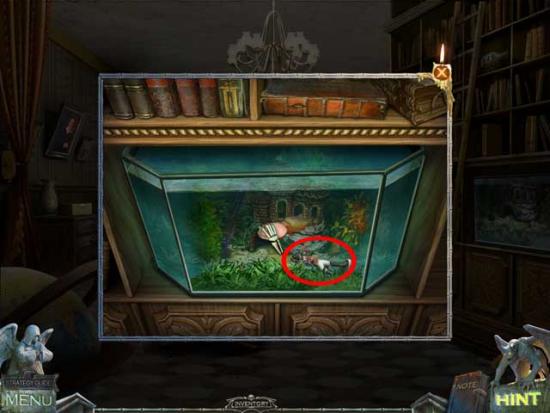
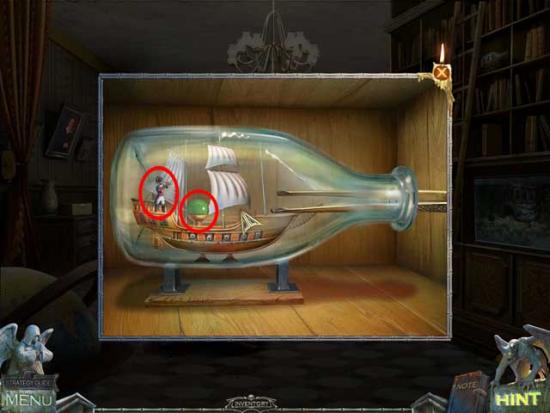
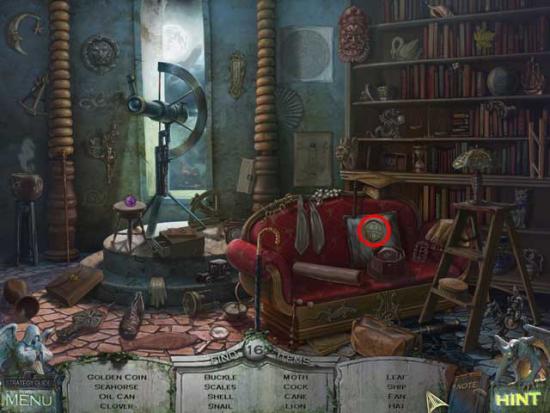
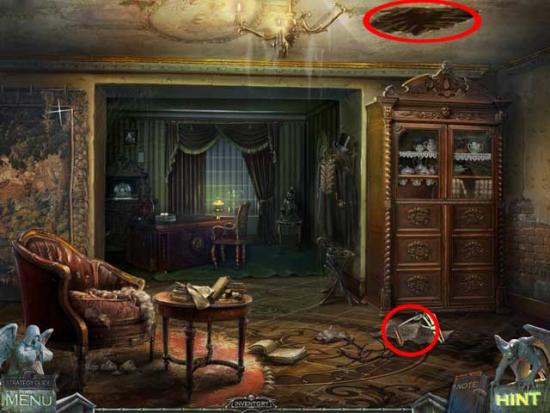
Study
Basement
Kitchen
Bedroom
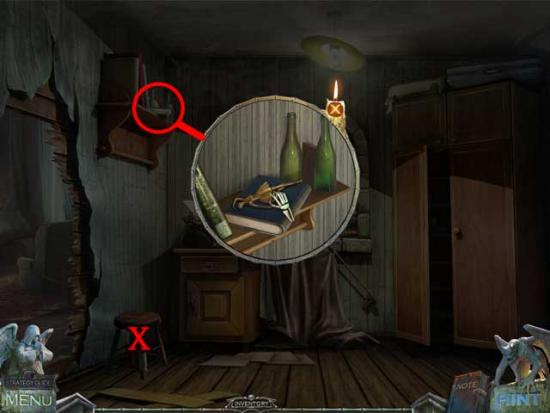
Anne-Marie’s Room
Attic

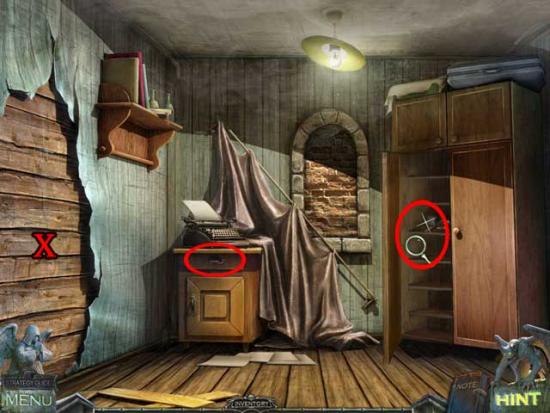
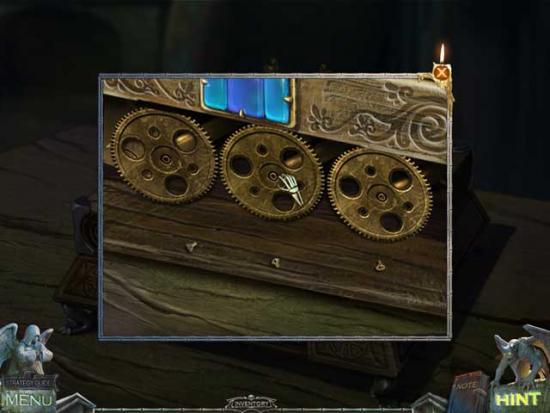
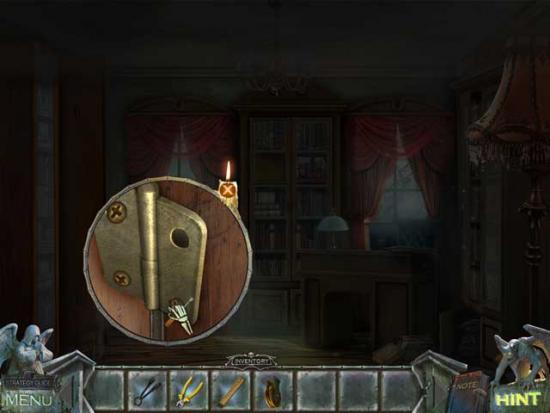
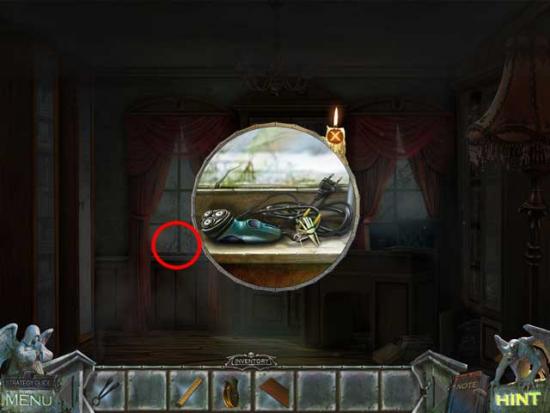
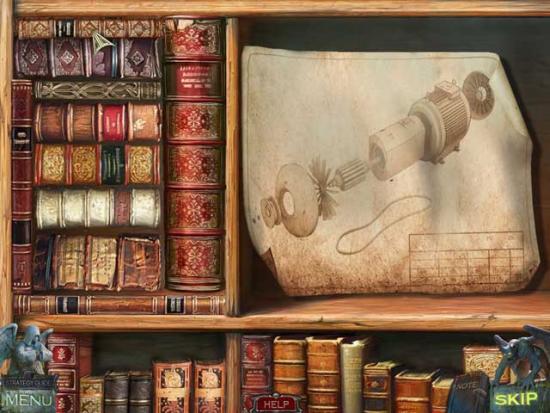
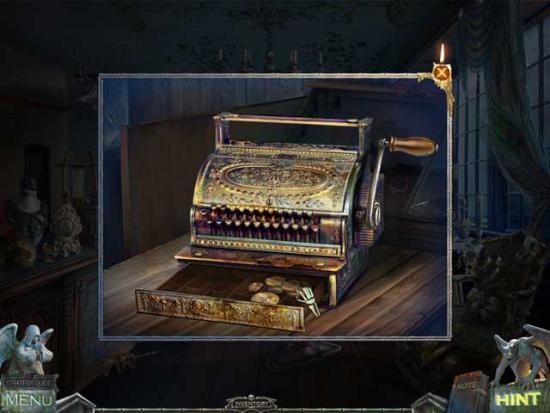
Office
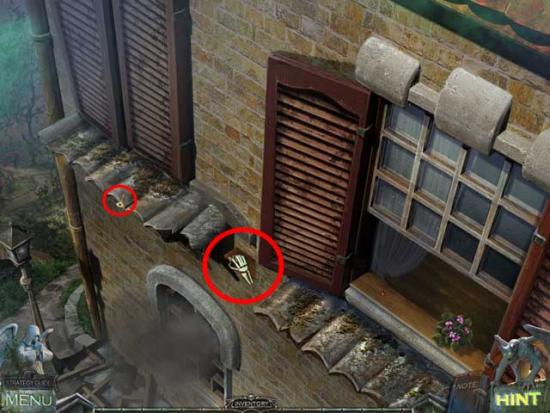
Attic
Basement

Kitchen
Basement

Bathroom
Basement
Outside the Burning House
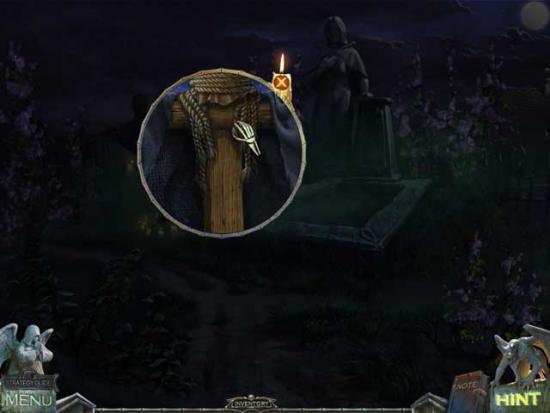
Cemetery
Outside the Estate

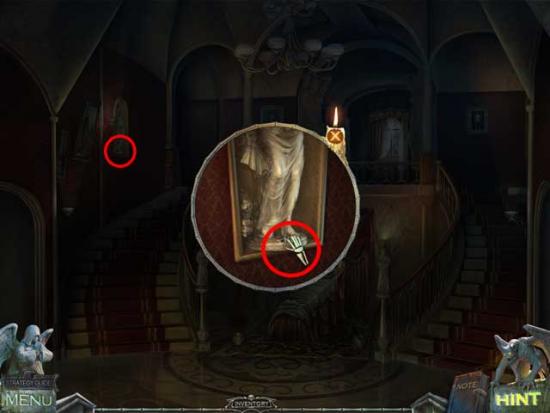
Entrance Hall
Dining Room

Kitchen
Entrance Hall
Hallway
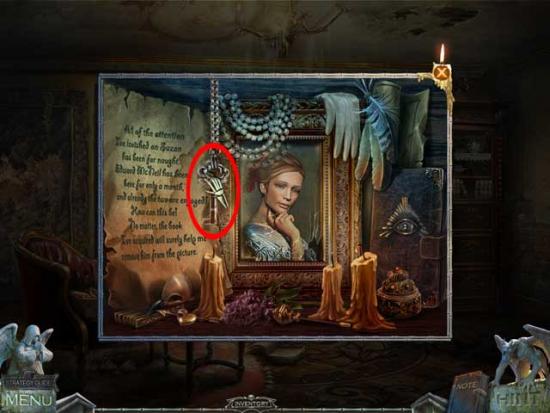
Her Bedroom


Outside the Estate
Dining Room
Kitchen
Library

Hallway
Spare Room

Her Bedroom
Kitchen
Spare Room
Library
Outside the Estate
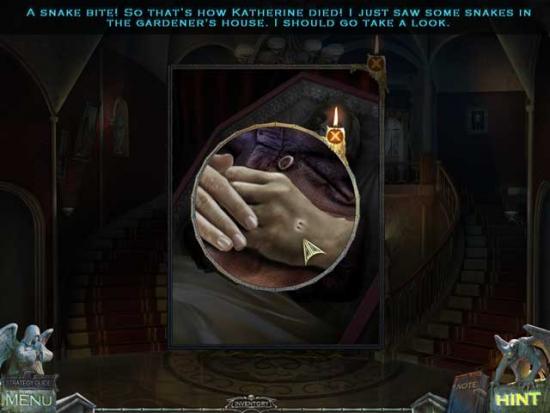
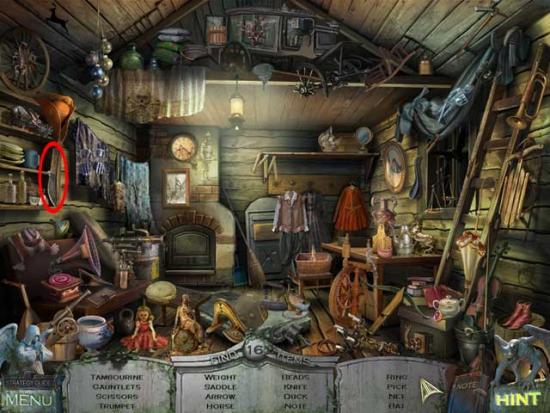
Gardener’s House
Entrance Hall
Gardener’s House
Outside the Estate
Backyard
Gardener’s House
Hallway
His Bedroom

Her Bedroom

Library
Outside the Estate
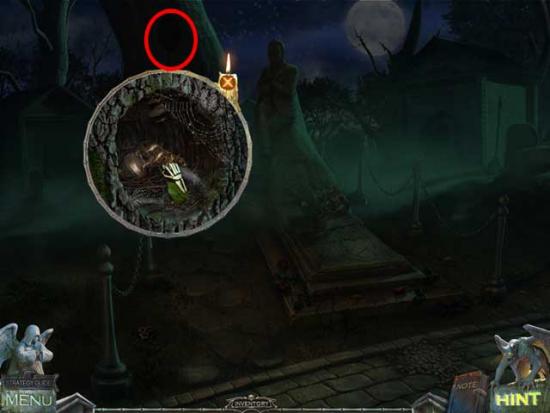
Cemetery

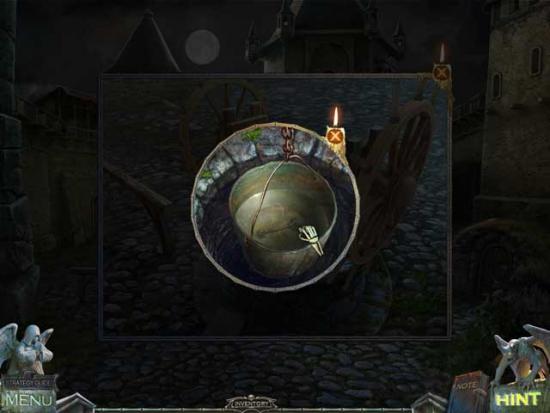
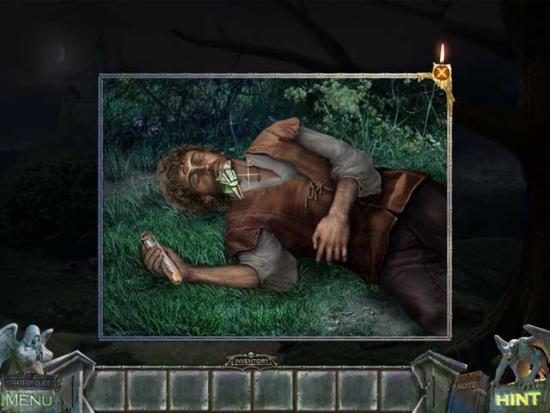
Coach Crash
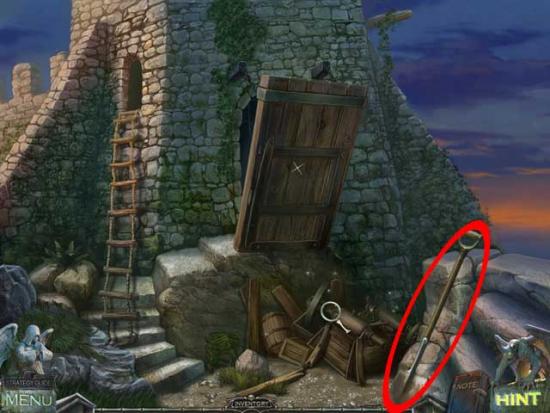
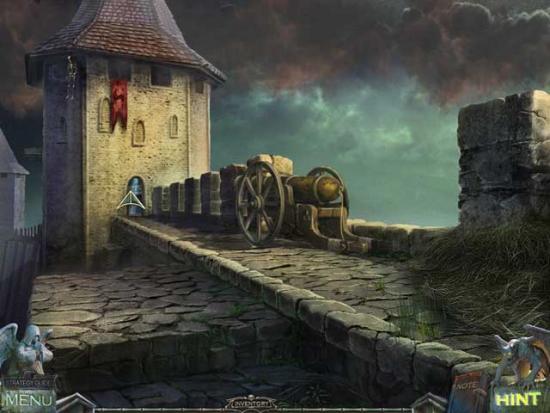
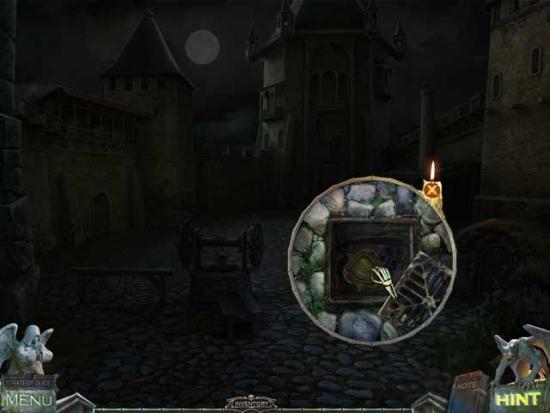
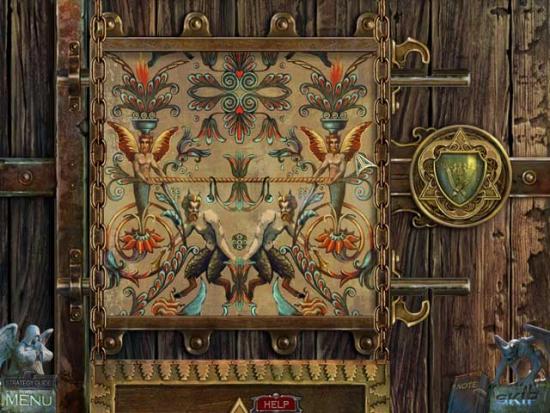
Castle Gate
Coach Crash

Castle Gate
Courtyard
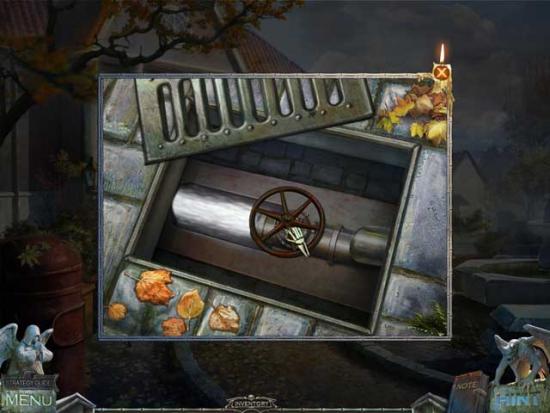
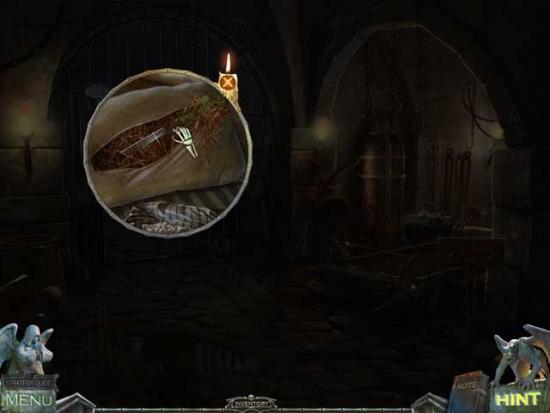
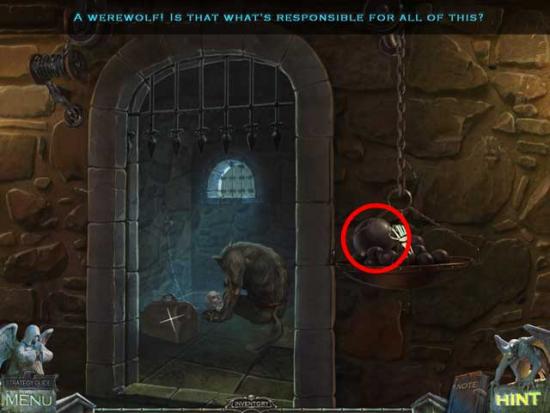
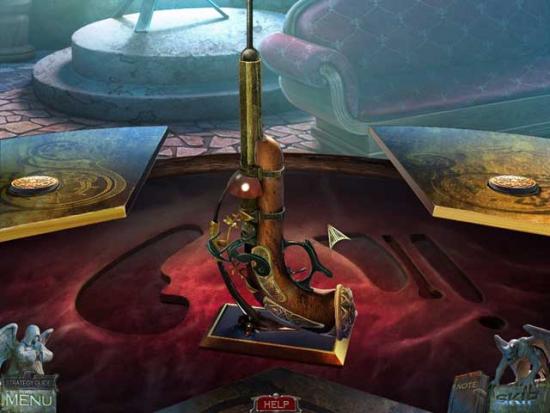
Prison

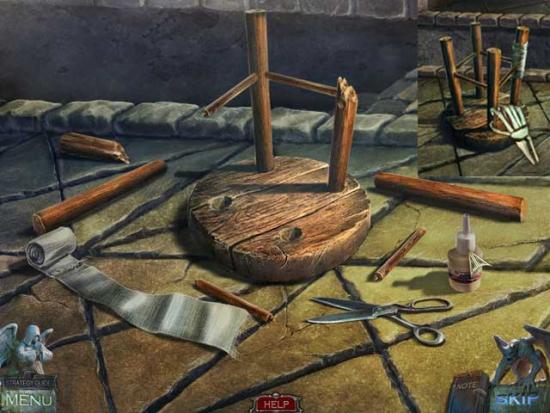
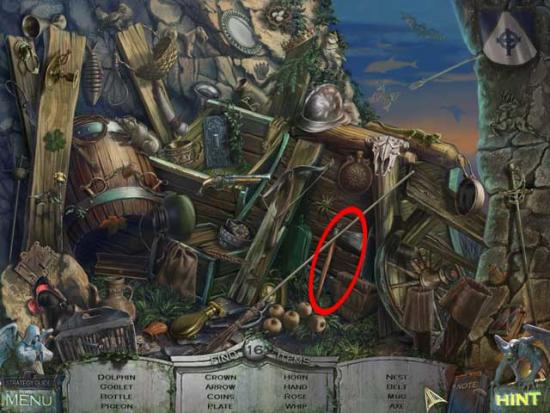
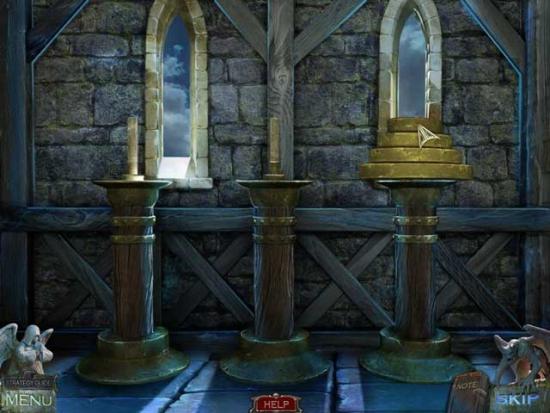
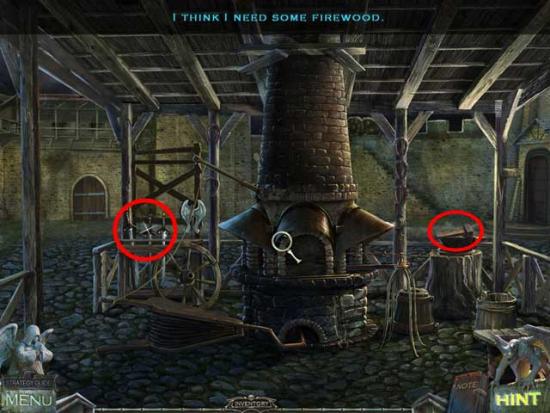
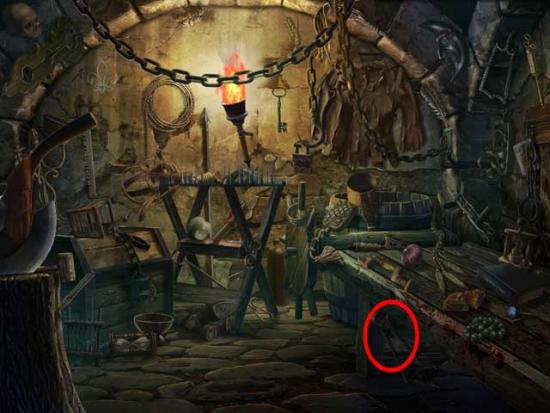
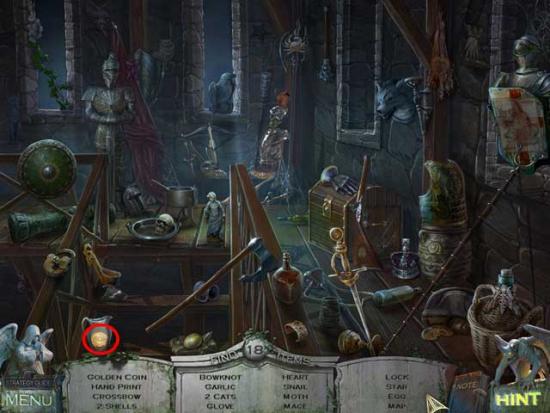
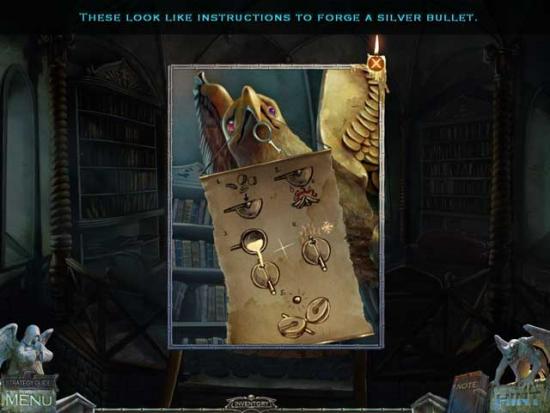
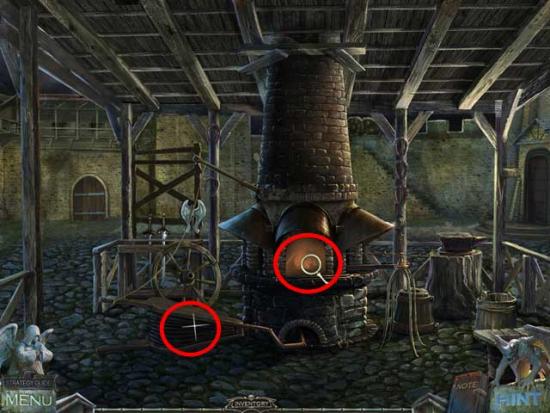
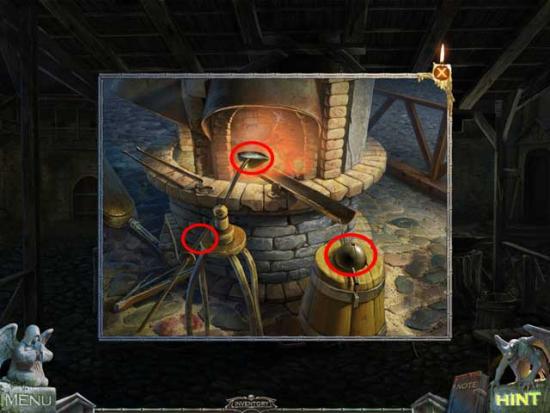
Smithy
Prison
Courtyard

Castle Gate
Courtyard

Battlements


Courtyard
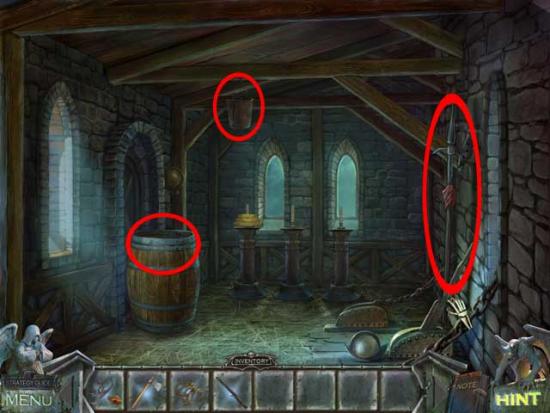
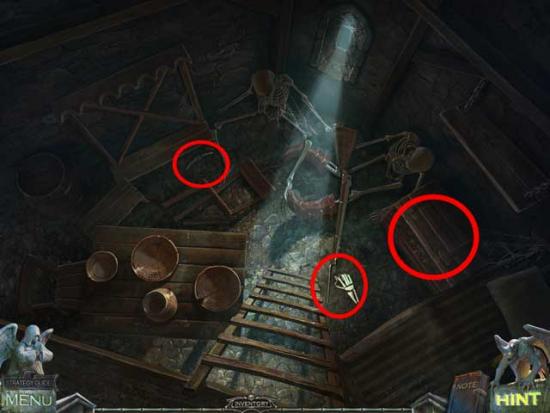
Tower


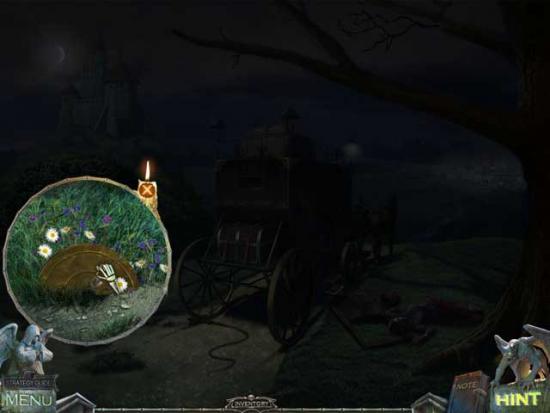
Coach Crash
Smithy
Tower
Courtyard

Coach Crash
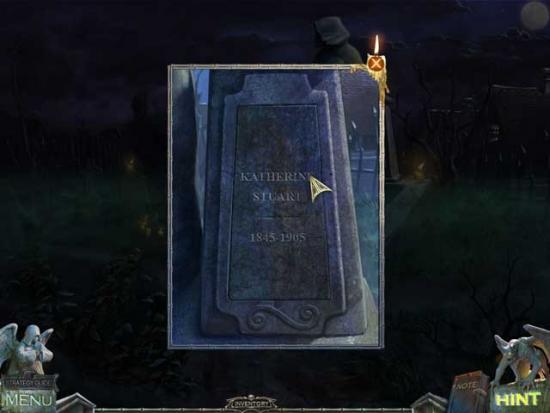
Cemetery

Congratulations, you’ve completed Redemption Cemetery: Curse of the Raven! If you own the Collector’s Edition of the game, some bonus features will now be unlocked and accessible.
If you happen to own the Collector’s Edition of Redemption Cemetery: Curse of the Raven, this bonus adventure is now accessible from the Extras menu. The following is the guide that will show you how to complete it.
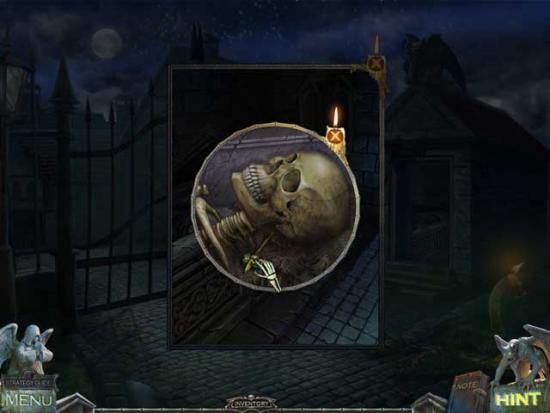
Cemetery
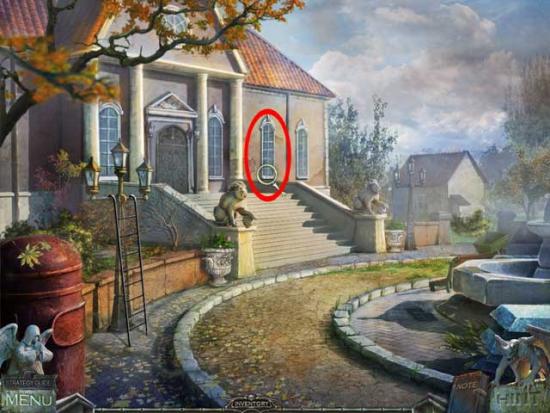
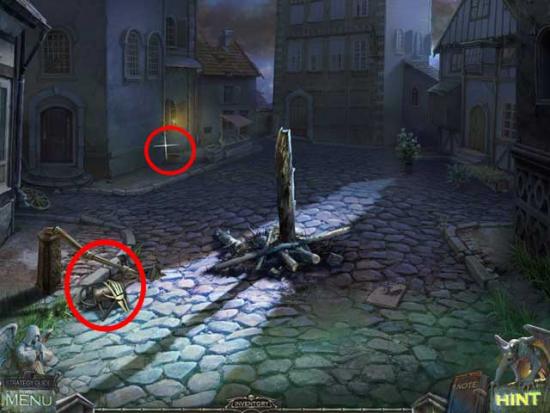
Town Square
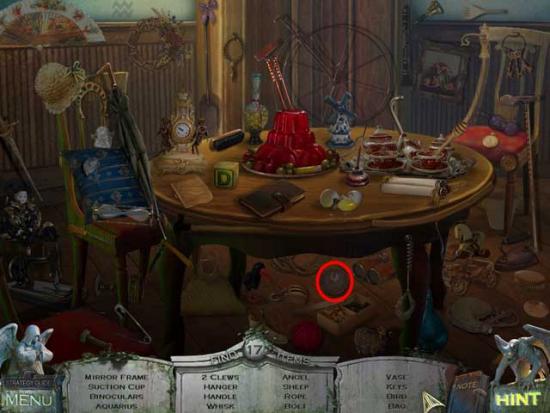
Cottage Residence
Store Cottage
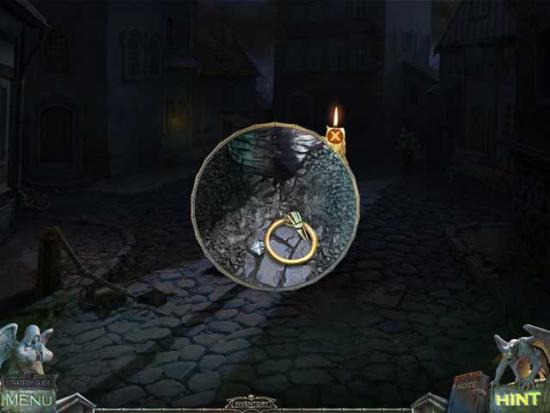
Cemetery
Town Square
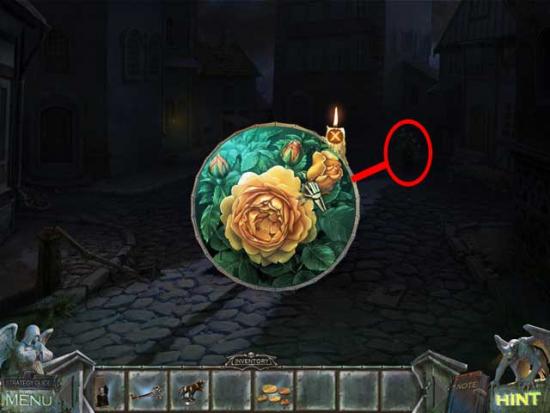
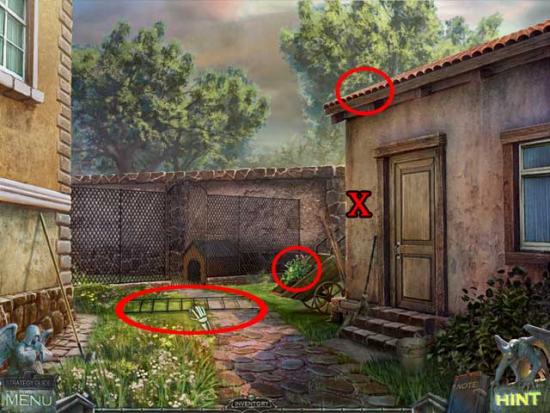
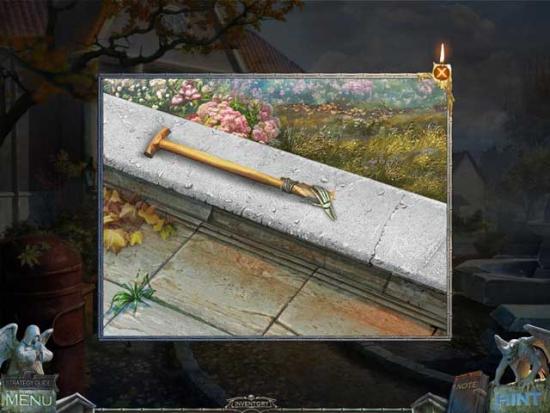
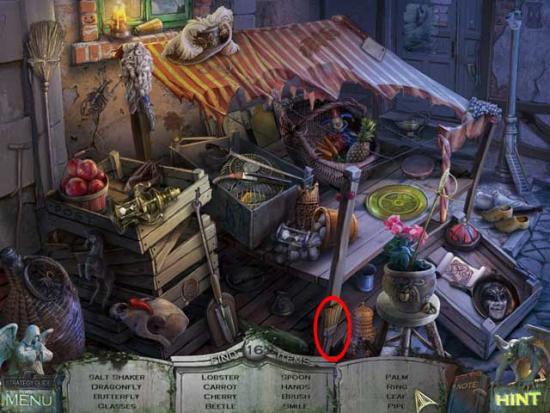
Garden Shop
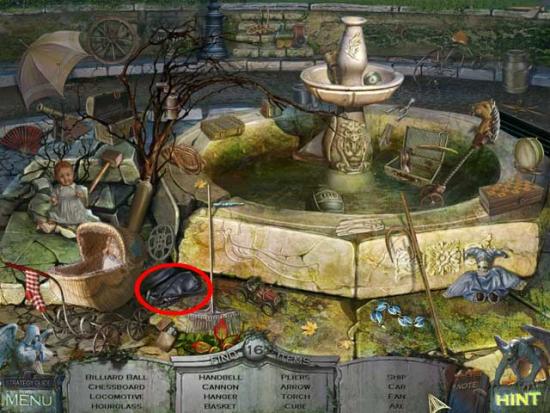
Store Cottage
Town Square
Store Cottage

Garden Shop
Town Square

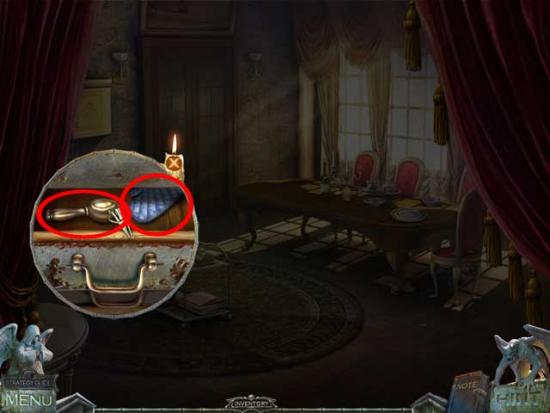
Cottage Residence
Garden Shop
Cottage Residence

Cemetery
Cottage Residence


Garden Shop
Store Cottage
Secret Chamber
Cemetery
Congratulations, you’ve completed the bonus adventure and Redemption Cemetery: Curse of the Raven Collector’s Edition! The Music, Wallpaper, Screensaver, and Concept Art are now available for viewing via the Extras menu.
