![All VV Ultimatum Titles [How to Get]](/wp-content/uploads/2026/06/vv-ultimatum-titles.jpg "All VV Ultimatum Titles [How to Get]")
All VV Ultimatum Titles [How to Get]
Do titles provide buffs?


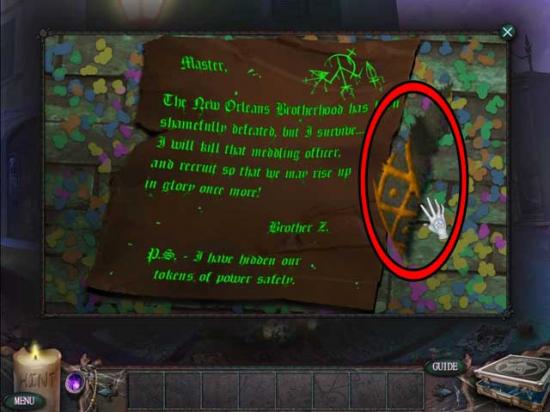
Welcome to the Paranormal Crime Investigations: Brotherhood of the Crescent Snake Collector’s Edition walkthrough on Gamezebo. P.C.I. is a hidden object adventure game played on the PC. This walkthrough includes tips and tricks, helpful hints, and a strategy guide for how to complete P.C.I.: Brotherhood of the Crescent Snake.
Welcome to the Paranormal Crime Investigations: Brotherhood of the Crescent Snake Collector’s Edition walkthrough on Gamezebo. P.C.I. is a hidden object adventure game played on the PC. This walkthrough includes tips and tricks, helpful hints, and a strategy guide for how to complete P.C.I.: Brotherhood of the Crescent Snake.
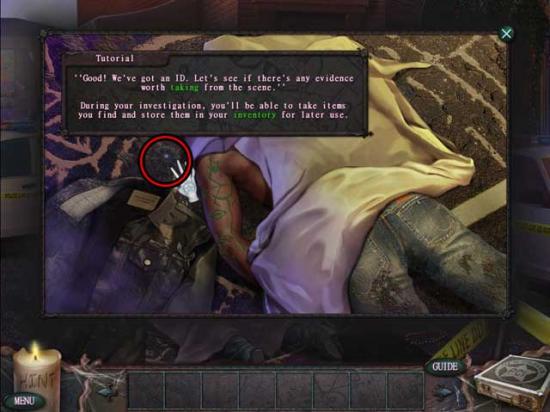
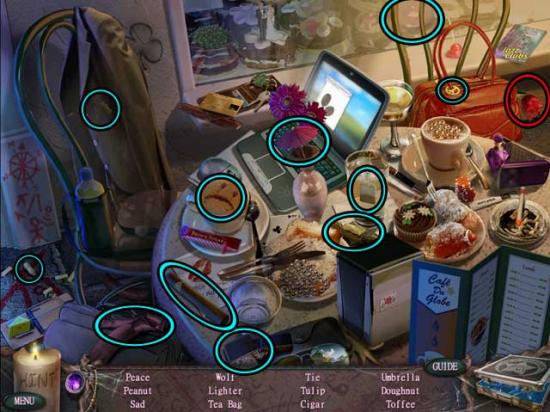
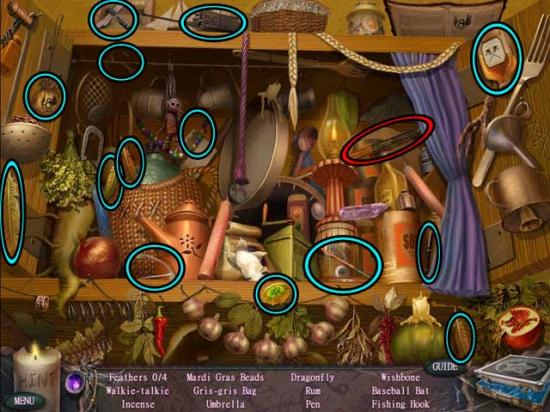
Crime Scene

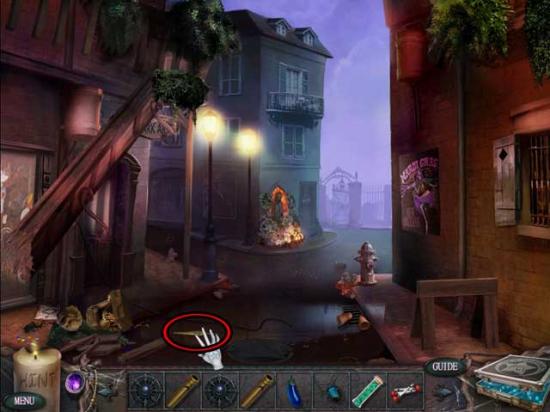
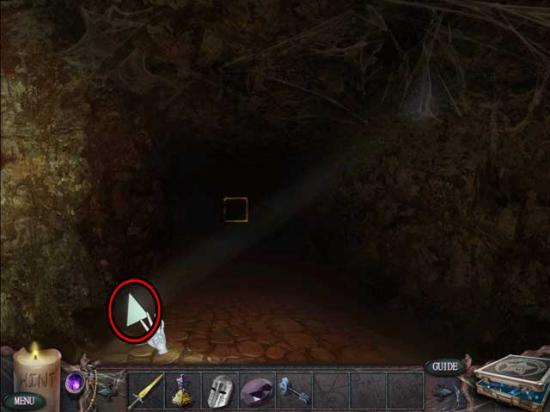
Intersection
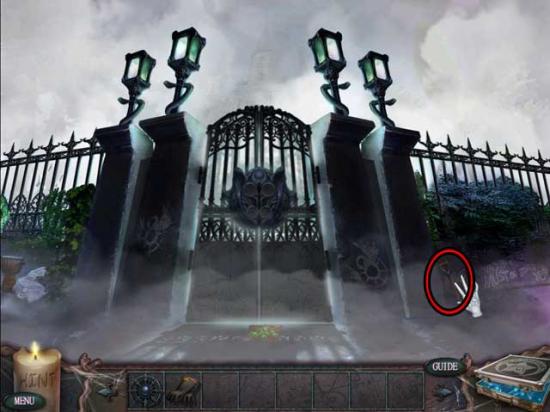
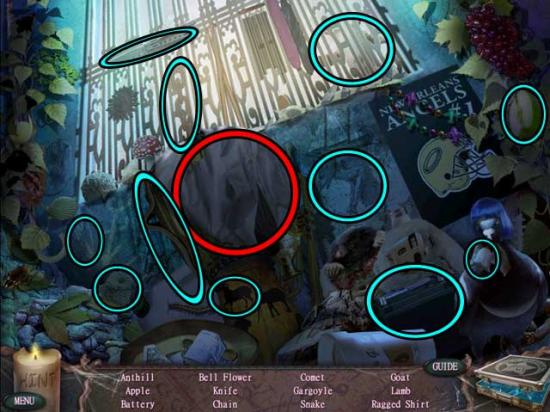
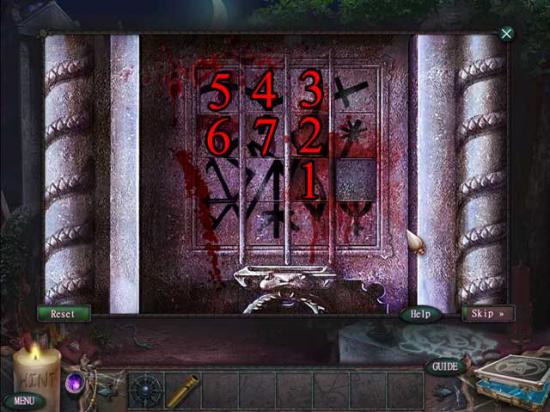
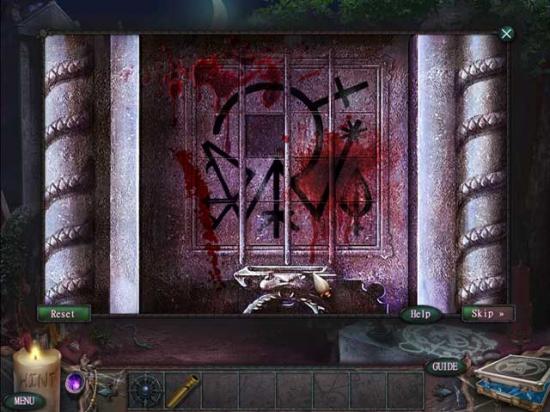
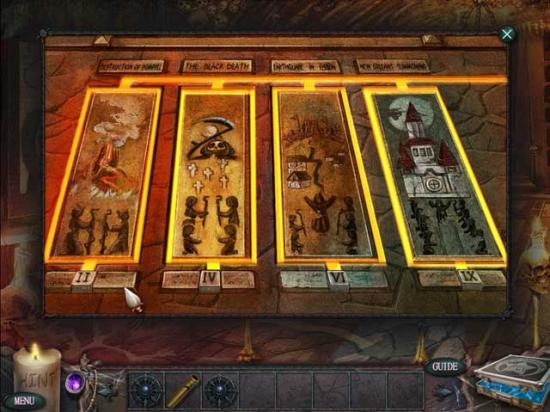
Cathedral Gate
Intersection
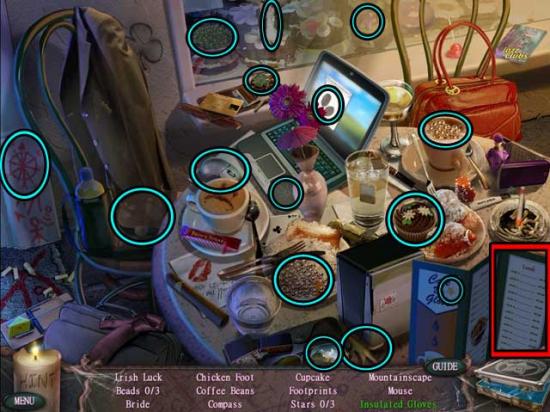
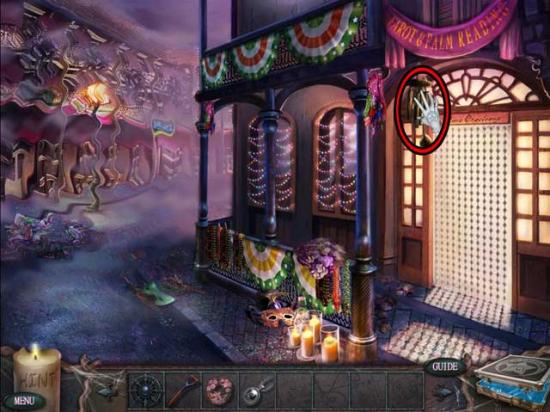
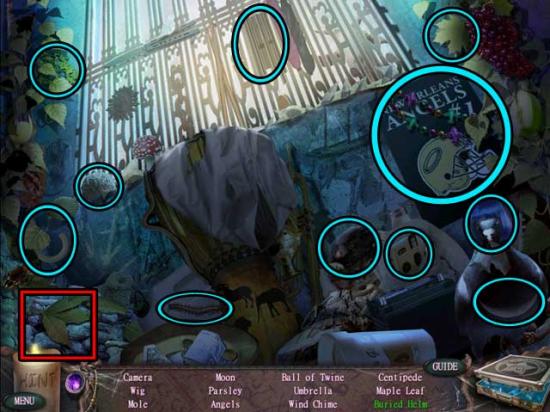
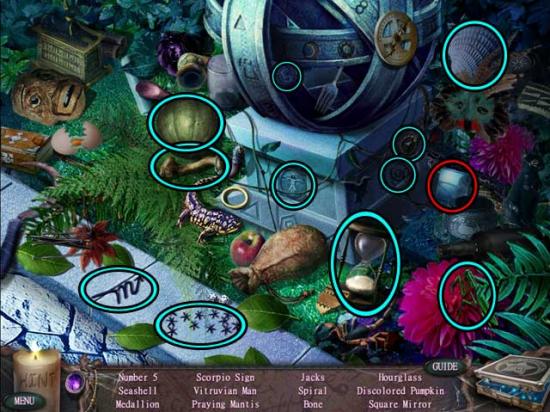
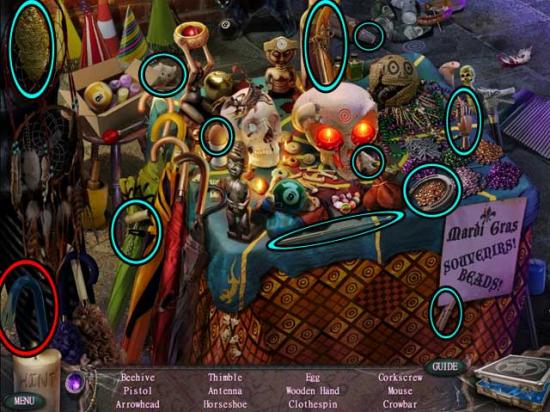
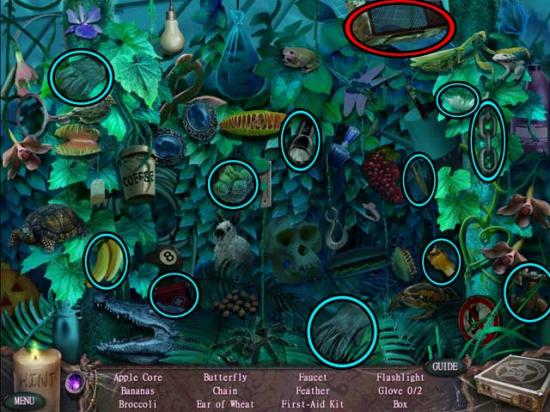
Museum Front
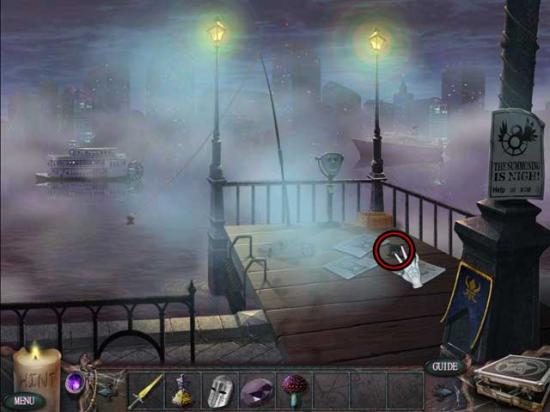
Crime Scene
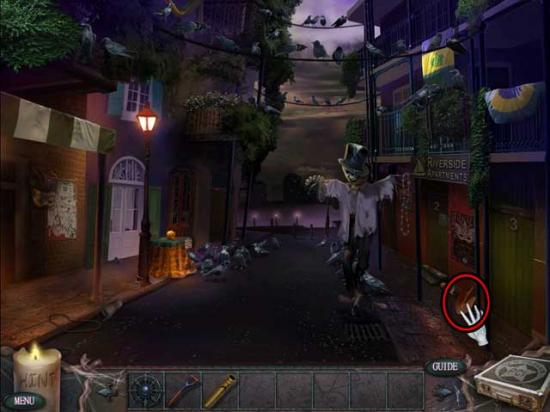
Riverside Apartments
Museum Front
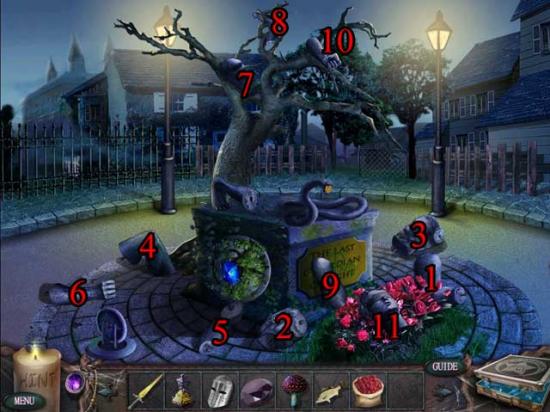
Memorial
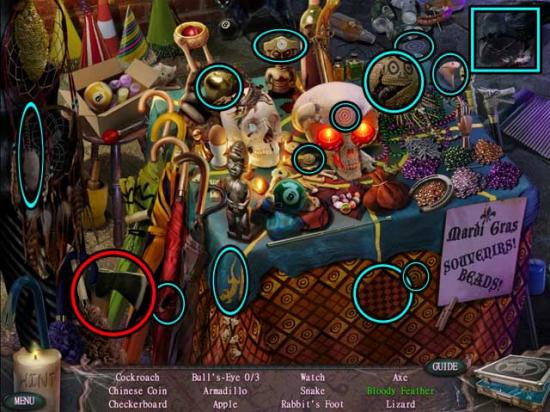
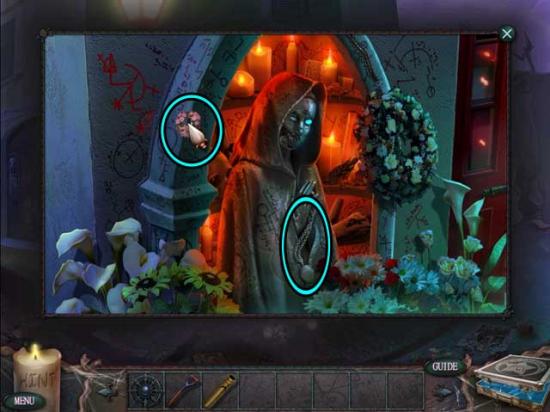
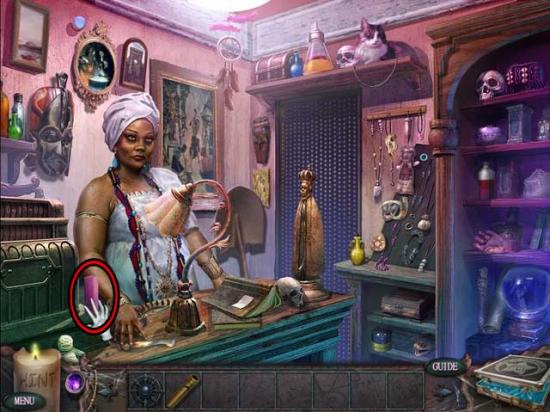
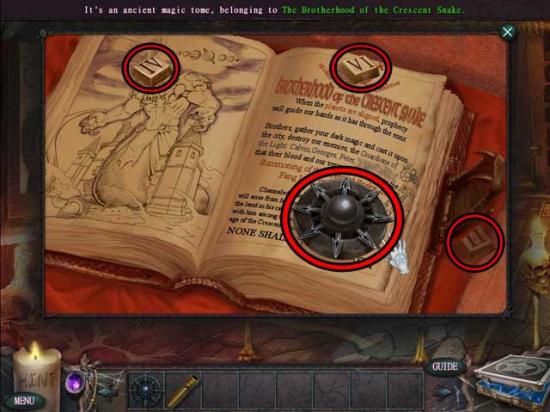
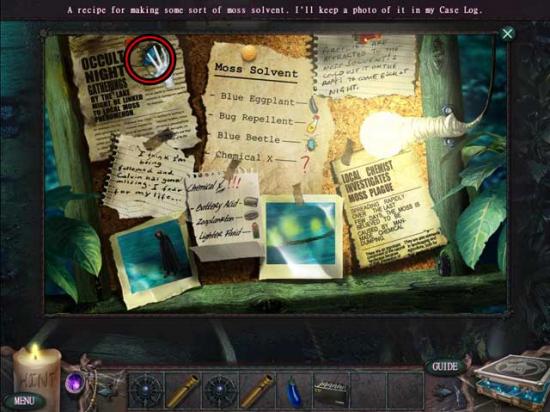
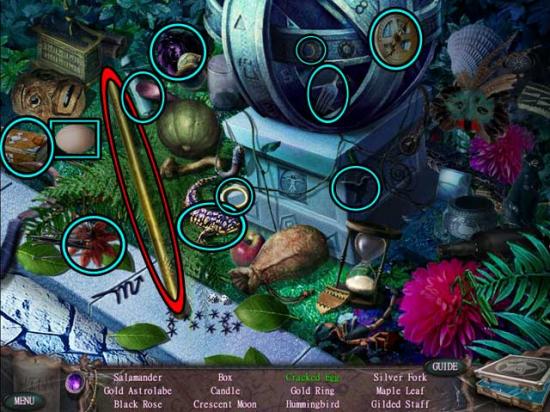
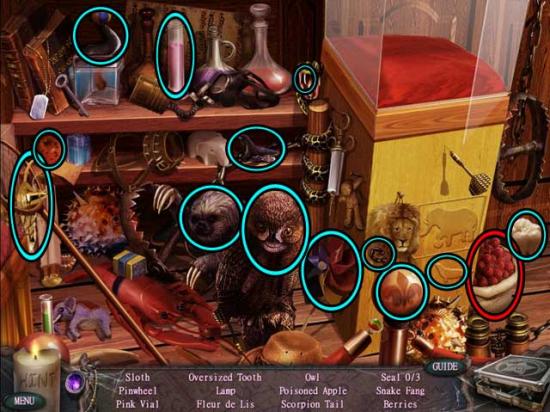
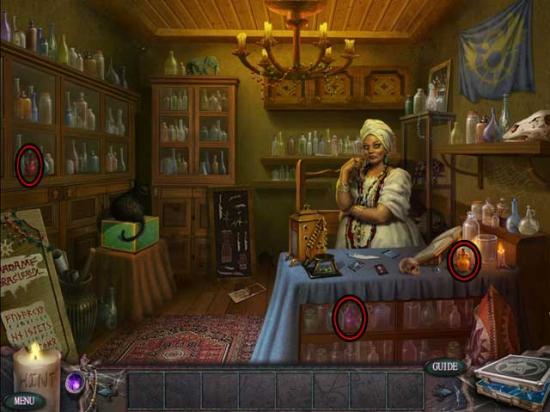
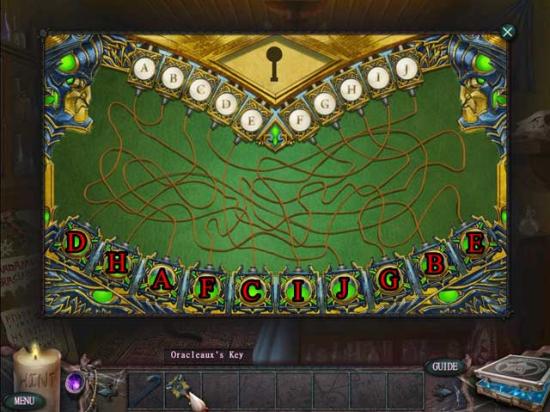
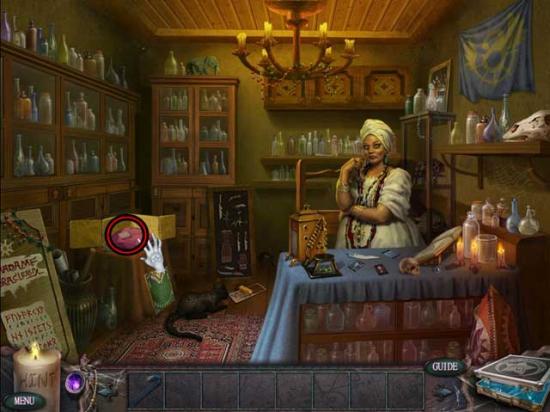
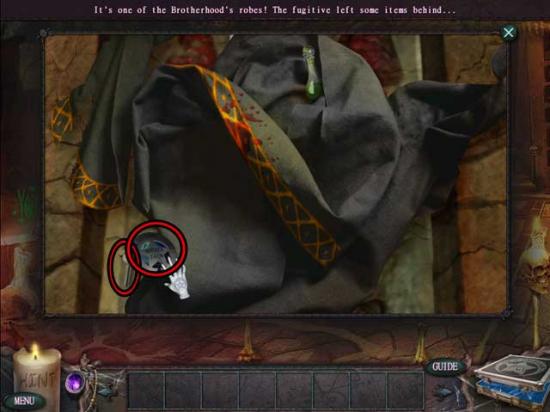
Oracleaux’s Shop
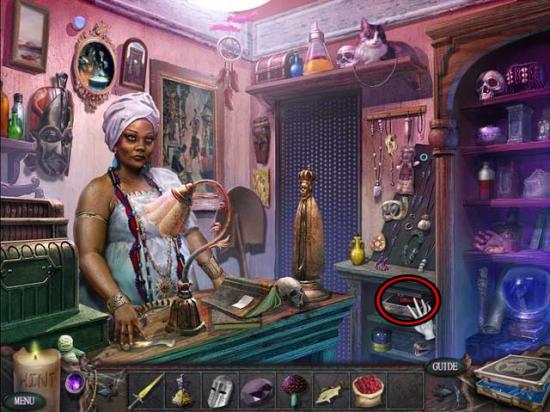
Oracleaux’s Shop (Inside)

Oracleaux’s Shop
Memorial
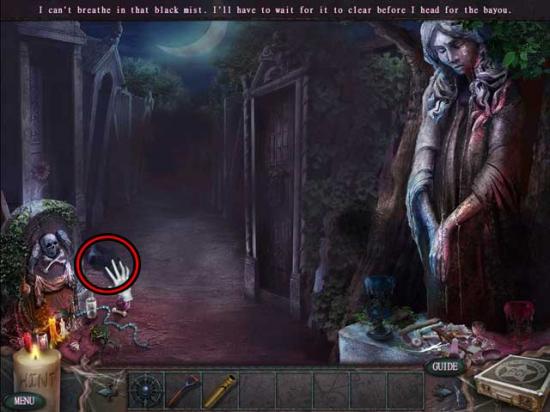
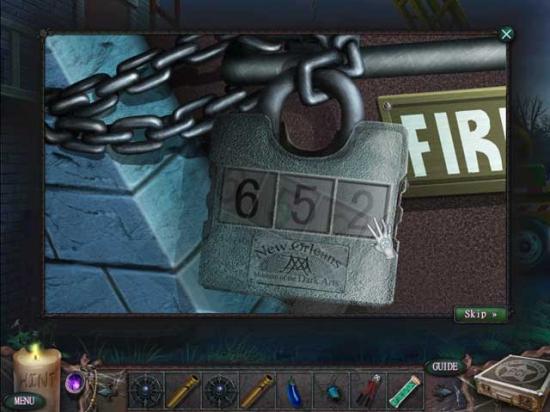
Cemetery
Riverside Apartments
Cemetery

Museum Front
Oracleaux’s Shop (Inside)
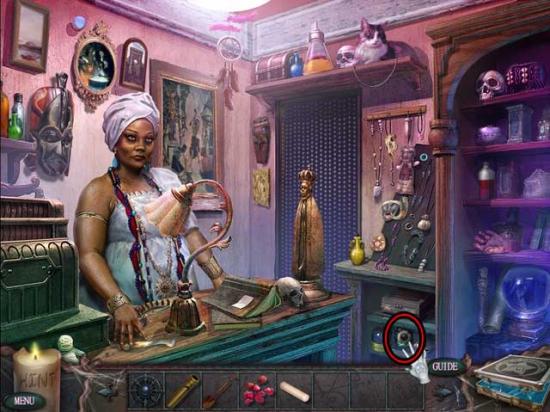
Oracleaux’s Shop
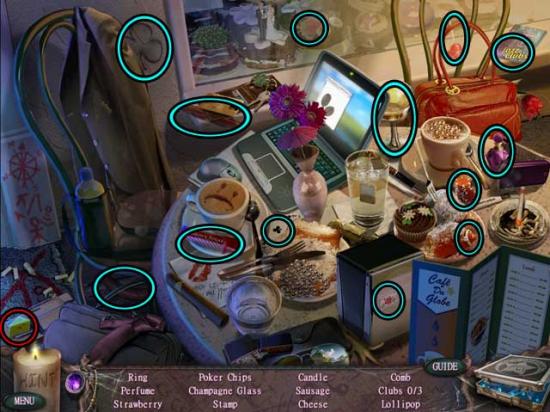
Crime Scene
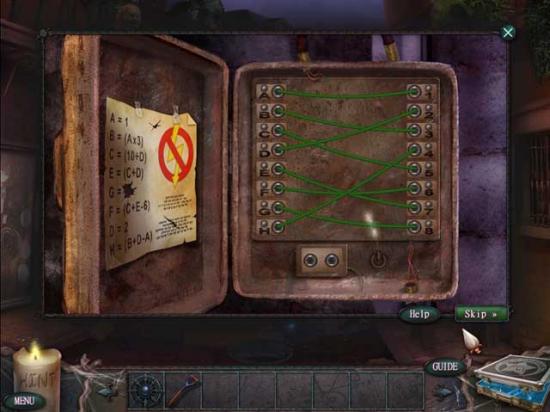
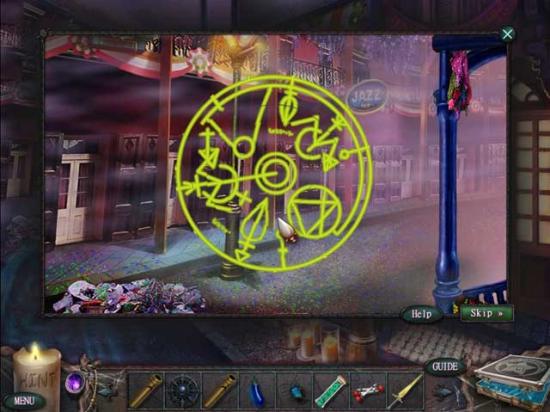
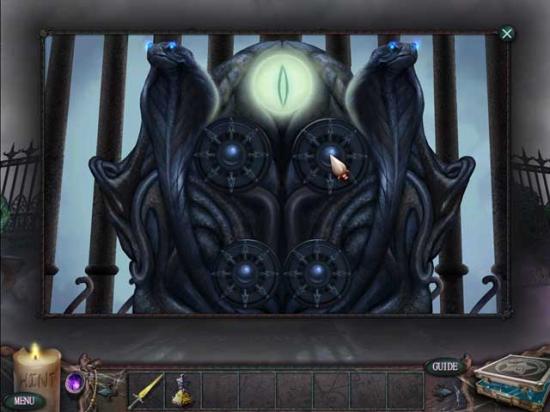
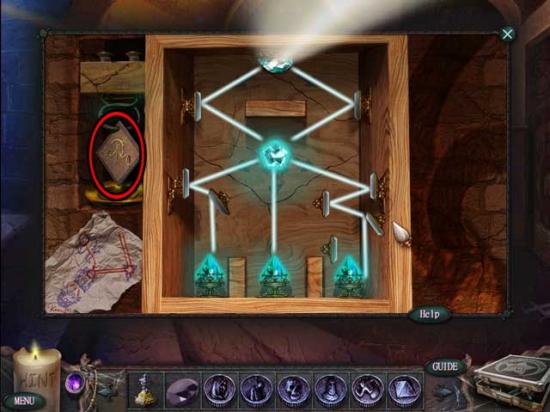
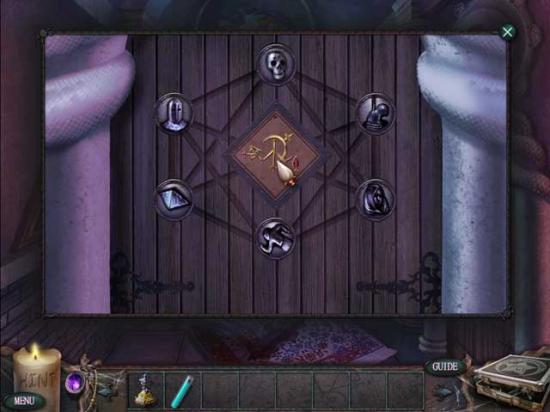
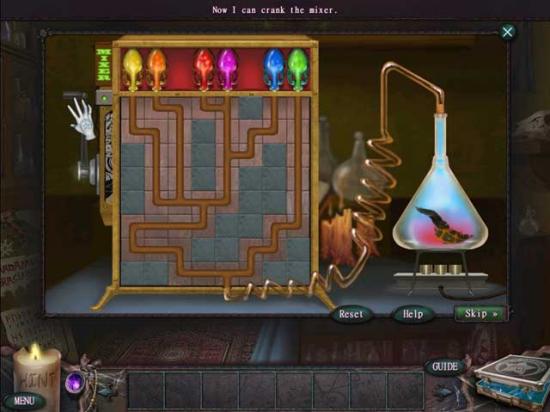
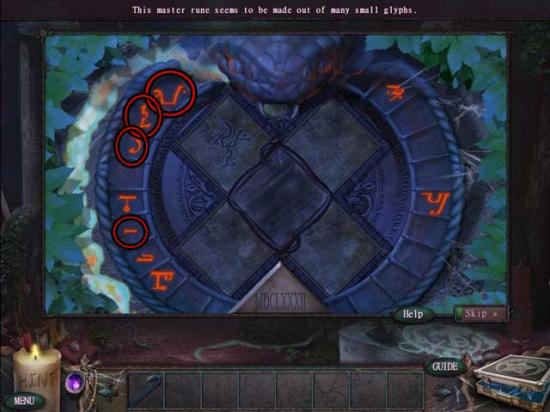
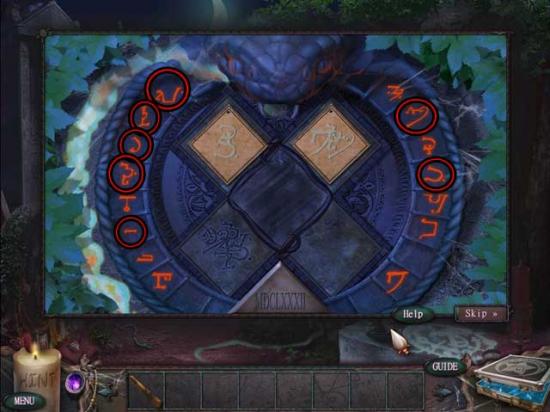
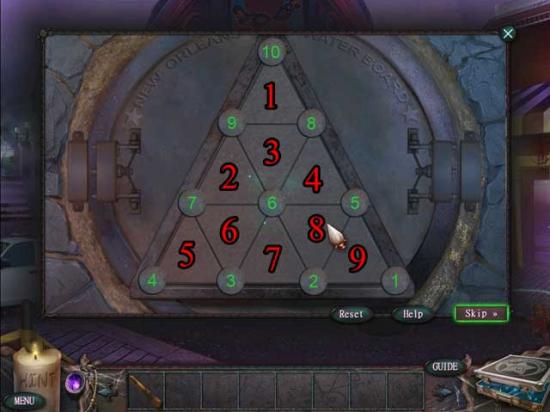
1)Rotate the board 90 degrees counter-clockwise, then 2)rotate the board 90 degrees clockwise to complete the puzzle.
Cemetery

Oracleaux’s Shop (Inside)
Riverside Apartments
Cemetery
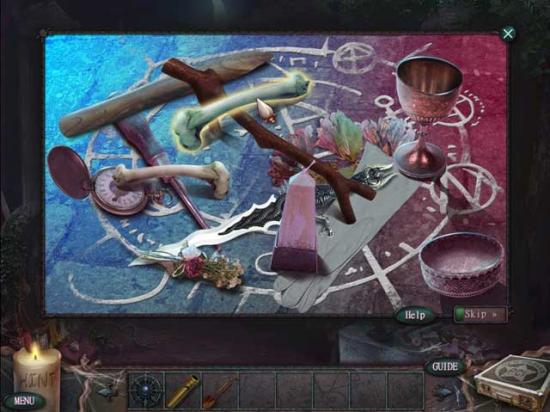
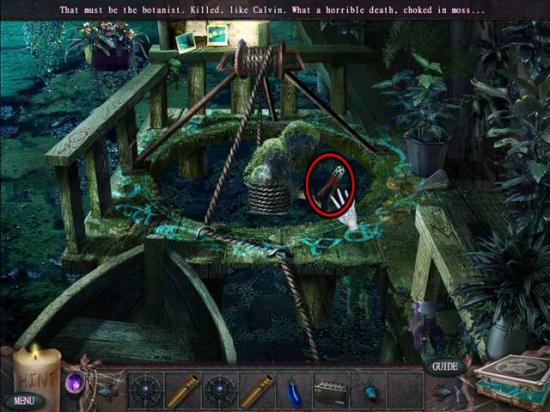
Crypt
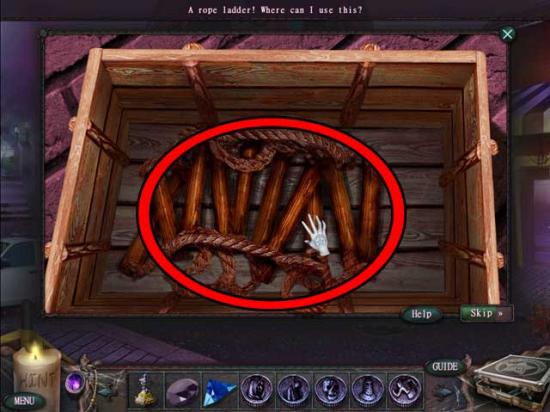
Coffin
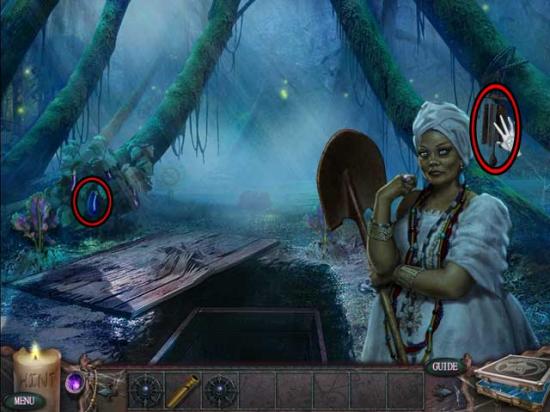
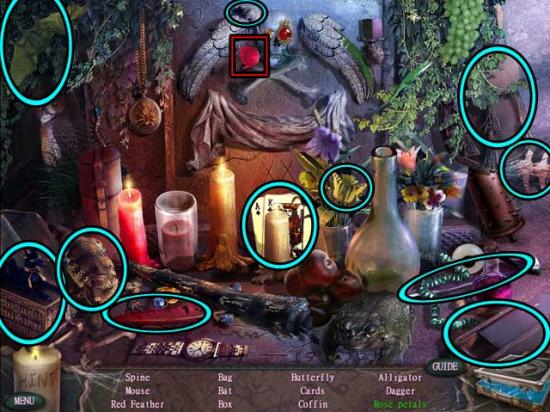
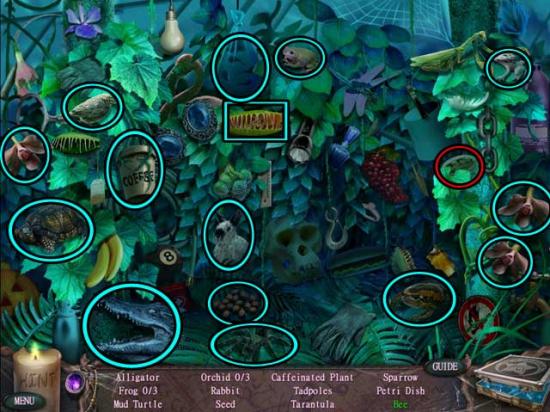
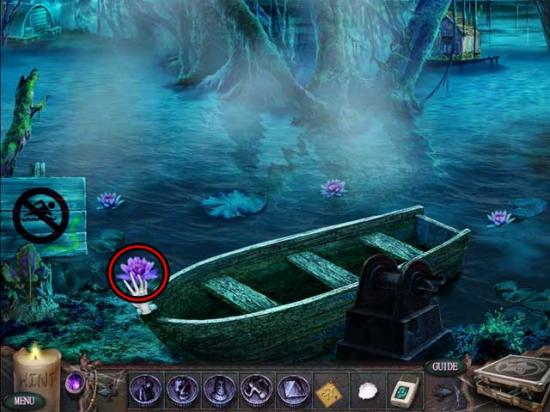
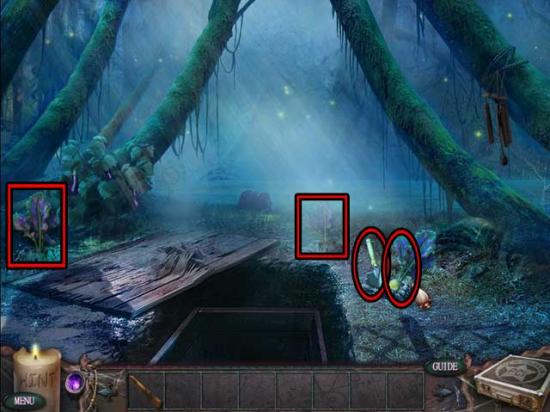
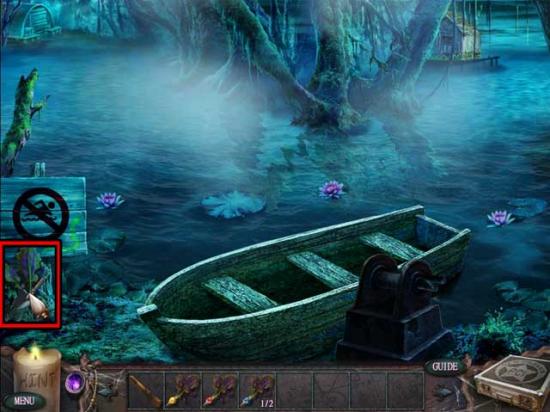
Bayou
Lake House
Bayou
Lake House
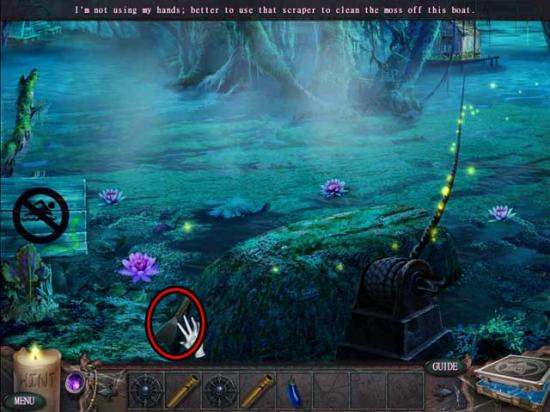
Bayou
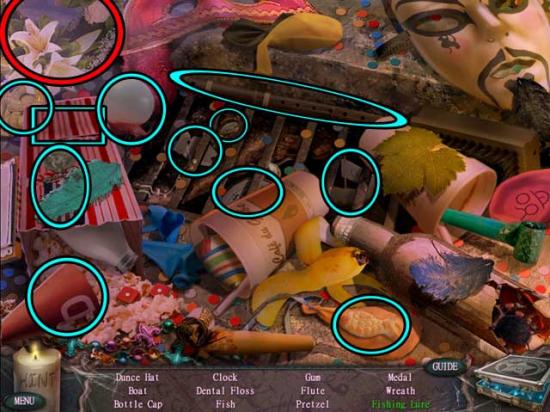
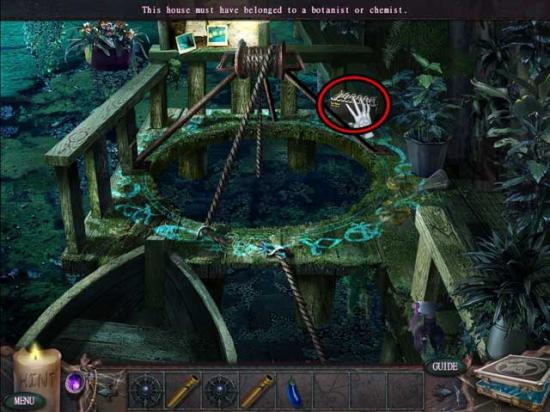
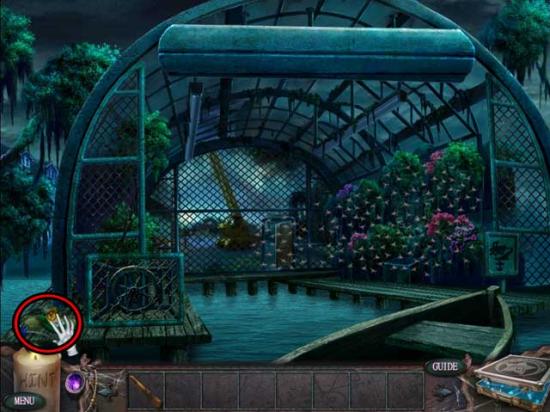
Boathouse
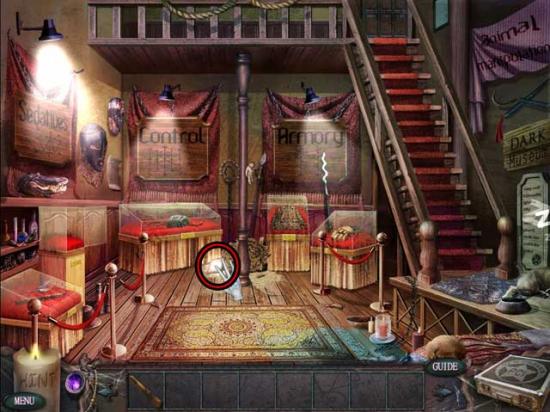
Museum Back Entrance
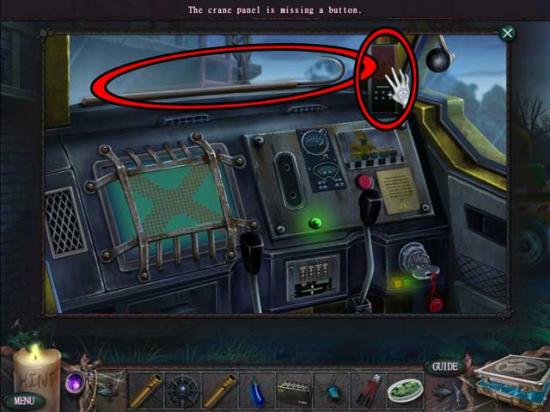
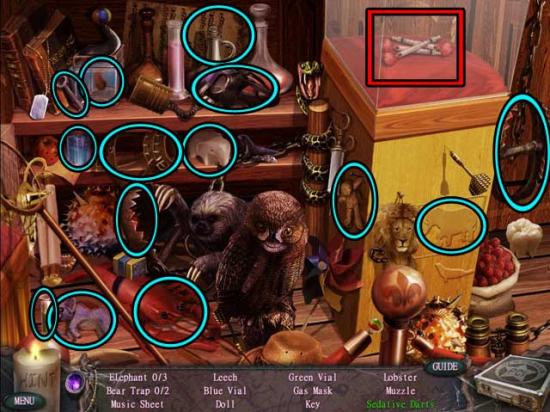
Museum of Dark Arts
Museum Front
Oracleaux’s Shop
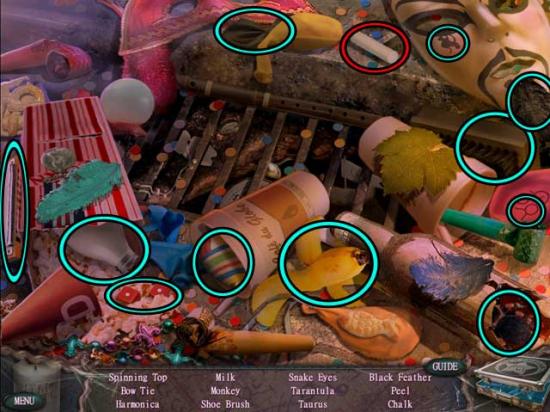
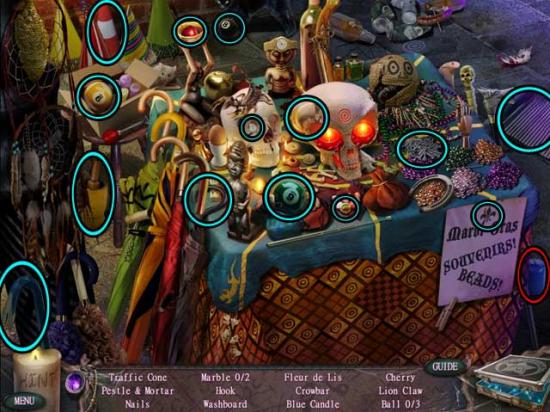
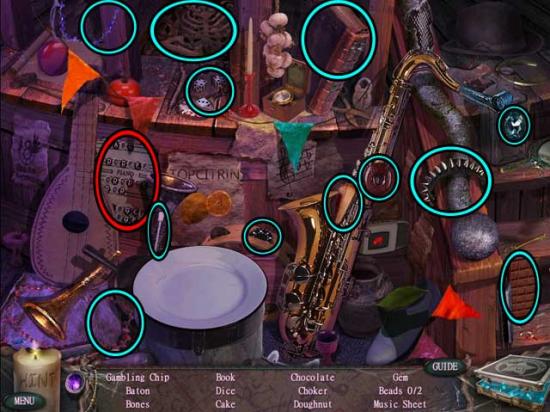
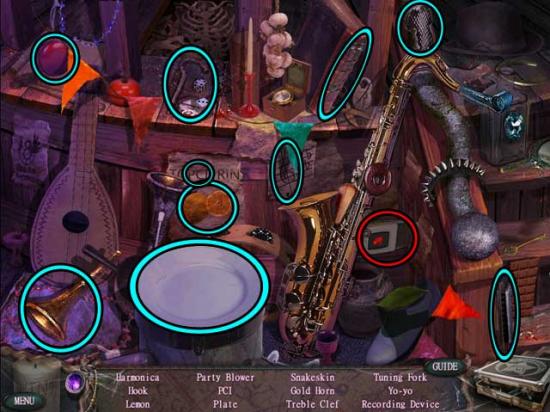
Jazz Club
Cemetery
Jazz Club
Cemetery
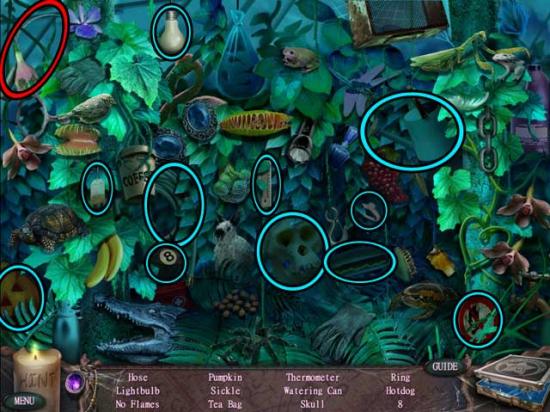
Alligator Pond
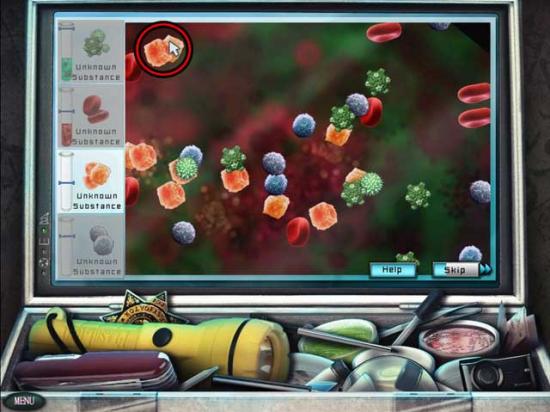
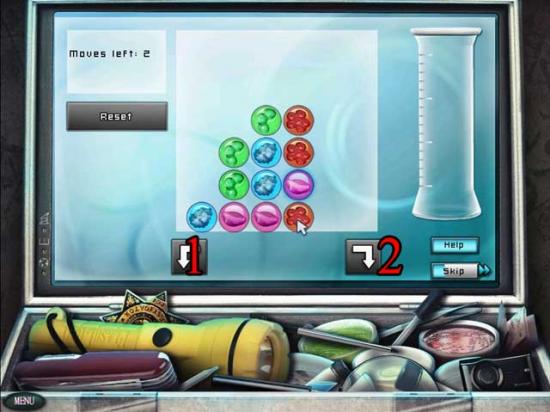
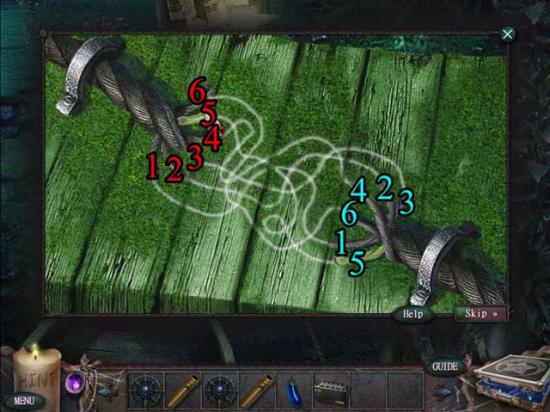
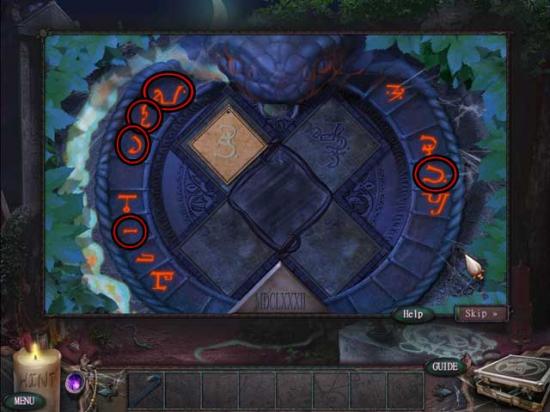
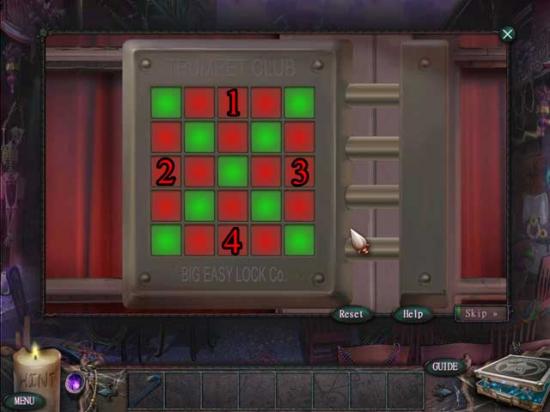
1)Rotate the board clockwise.
2)Move the topmost orange sample down to make a match.
3)Trade the bottom blue sample with the outermost pink sample to switch them, making a match for pink, then blue.
4)Rotate the board in either direction to make the final green match.
Lake House
Memorial
Cathedral Gate
Cathedral Gate
Cathedral Entrance
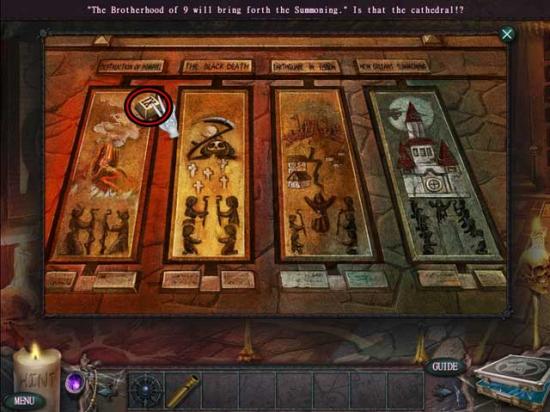
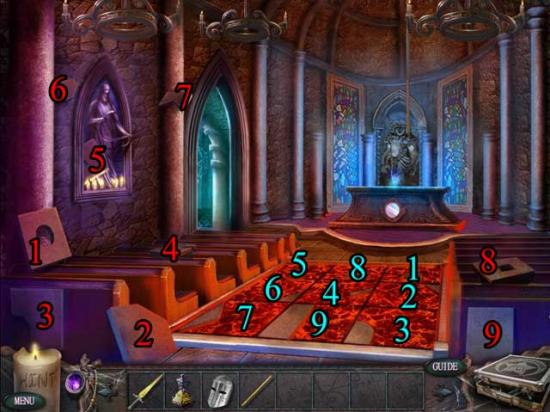
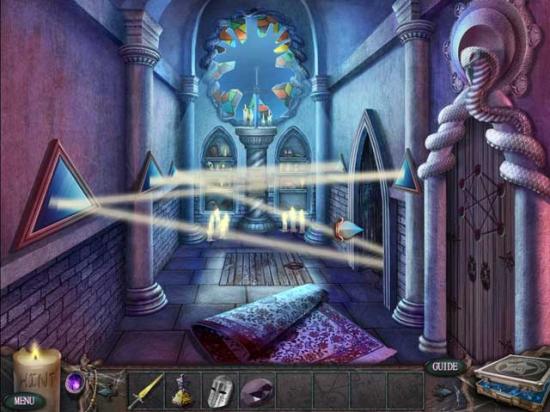
Cathedral
Side Room


Catacombs

Well Bottom
Catacombs
Well Bottom
Secret Passageway
Crypt
Cathedral Entrance
Side Room
Cathedral Entrance
Side Room
Catacombs
Well Bottom
Riverside Apartments
Docks
Museum of Dark Arts
Oracleaux’s Shop (Inside)
Museum Back Entrance
Cul-de-Sac
Intersection
Crime Scene
Cathedral
Cathedral Entrance
Intersection
Cathedral Entrance
Well Bottom
Catacombs
Cemetery
Jazz Club
Bayou
Cul-de-Sac

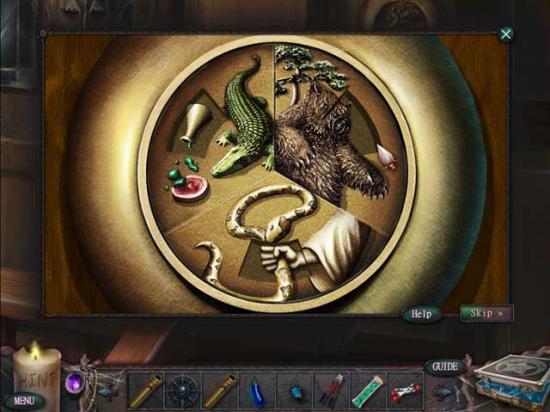
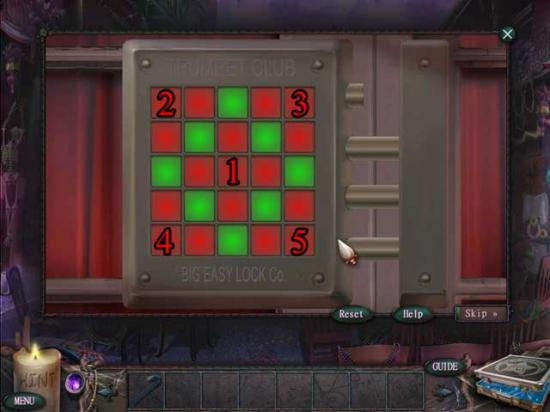
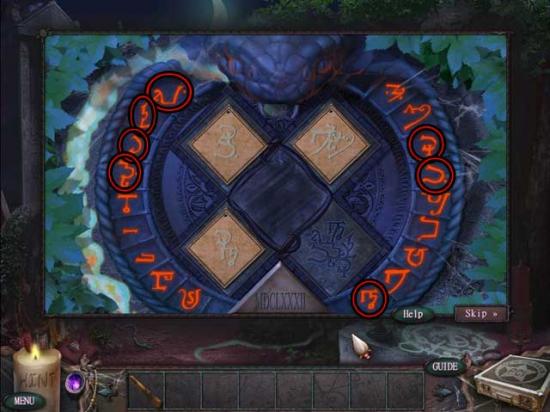
1)Rotate the board counter-clockwise. The blue ingredients will match.
2)Switch the leftmost column of green and pink ingredients vertically with each other to match the pink and green ingredients.
3)Rotate the board counter-clockwise again to match the rest of the ingredients.
Cathedral Entrance
Well Bottom
Catacombs
Side Room
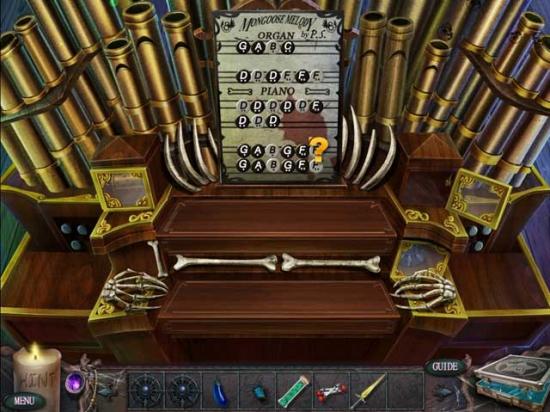
Bell Tower
Side Room
Bell Tower
Congratulations! You’ve defeated the Brotherhood! Now you can access the Epilogue adventure from the main menu.
Access this bonus content from the main menu once you’ve completed the main quest.
Intersection
Memorial
Oracleaux’s Shop (Inside)
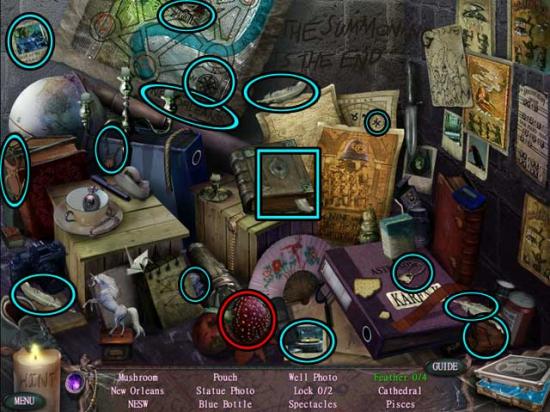
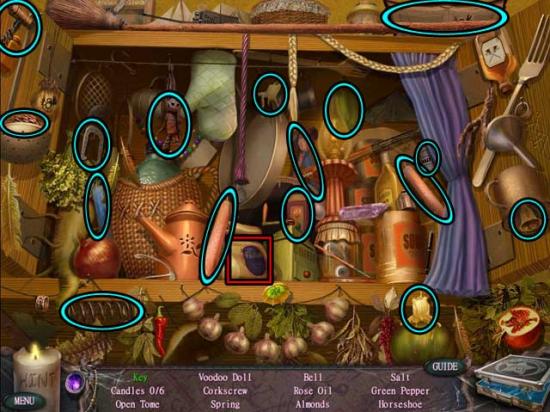
Shop Back Room
Oracleaux’s Shop (Inside)

Shop Back Room
Docks
Riverside Apartments
Crime Scene
Memorial
Cemetery
Boathouse
Cemetery
Shop Back Room
Crime Scene
Shop Back Room
Cemetery
Jazz Club
Jazz Club Interior

Shop Back Room
Jazz Club Interior
Cemetery
Boathouse
Coffin
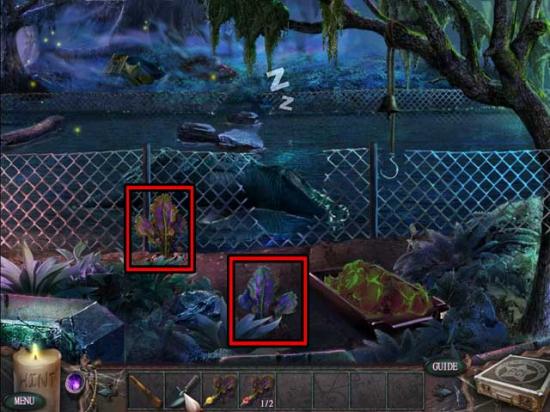
Alligator Pond
Bayou
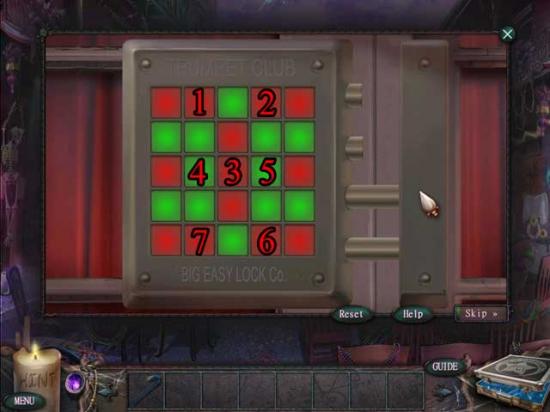
1)Rotate the board counter-clockwise.
2)Switch the leftmost yellow sample and the middle blue sample on the bottom row to make a match for the yellow sample.
3)Switch the rightmost blue sample and the red sample on the right (both in the bottom row).
4)Rotate the board counter-clockwise again to make the final matches.
Boathouse
Museum Back Entrance
Museum of Dark Arts
Cemetery
Intersection
Sewer
Shop Back Room
Sewer

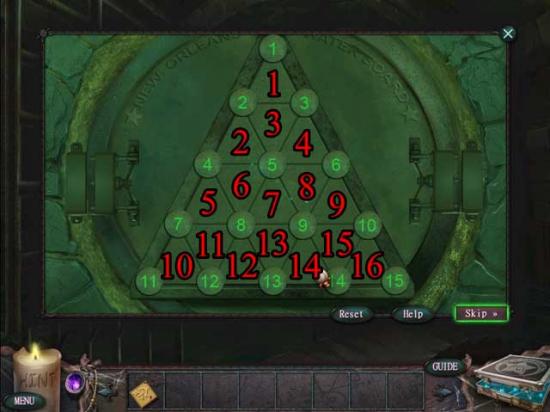
Second half (7-16): 16, 14, 12, 10, 13, 11, 10, 14, 12, 10, 11, 12, 12, 14, 15, 16, 14.
Museum Front
Cemetery
Crypt
Riverside Apartments
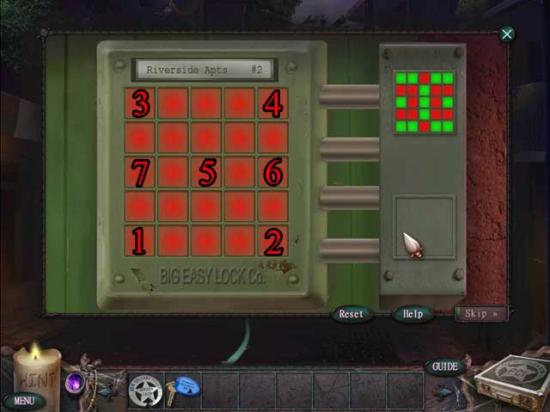
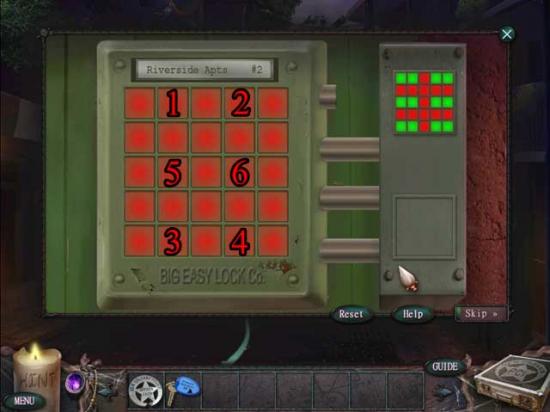
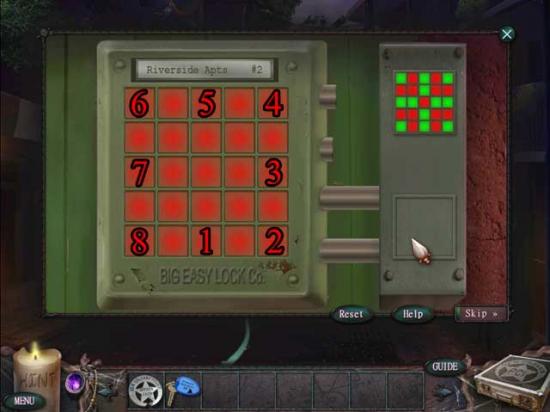
Riverside Apartments #2
Congratulations! You’ve completed Paranormal Crime Investigations: Brotherhood of the Crescent Snake Collector’s Edition!
