![Digimon UP Tier List [Supports, Buddies, and Partners]](/wp-content/uploads/2026/07/digimon-up-tier-list.jpg "Digimon UP Tier List [Supports, Buddies, and Partners]")
Digimon UP Tier List [Supports, Buddies, and Partners]
These Digimon will get you UP the leaderboard.


![Haze Seas Boss Drops [Chances, Locations, and How to Spawn]](/wp-content/uploads/2026/07/haze-seas-boss-drops.jpg "Haze Seas Boss Drops [Chances, Locations, and How to Spawn]")

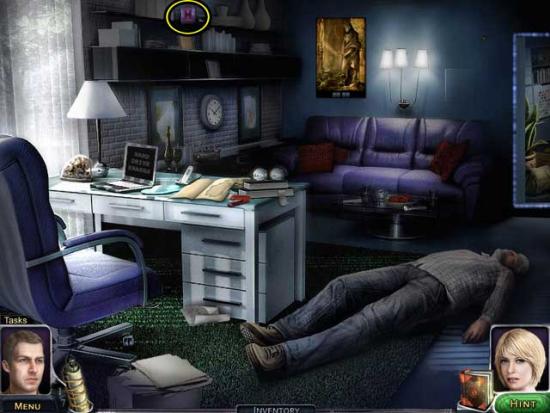
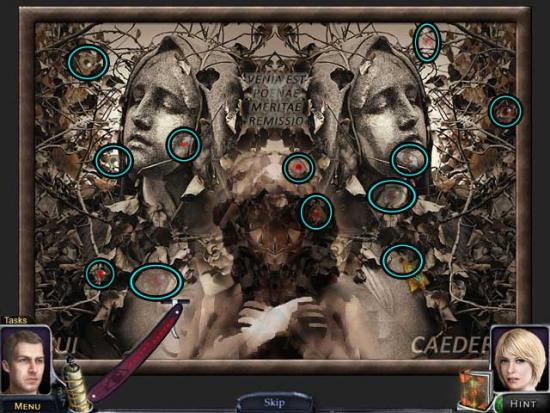
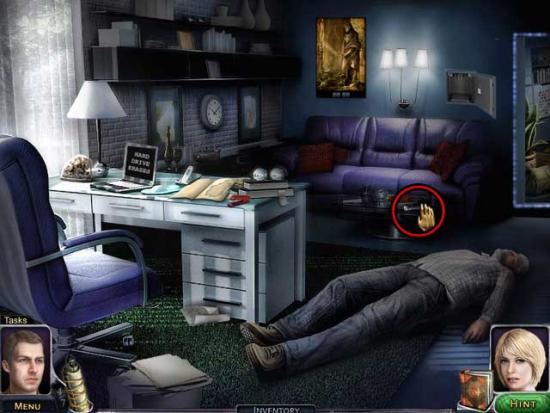
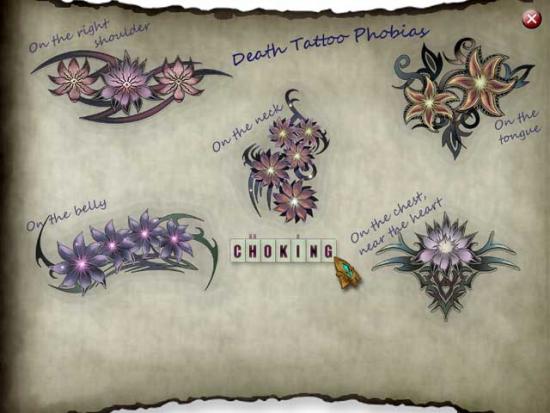
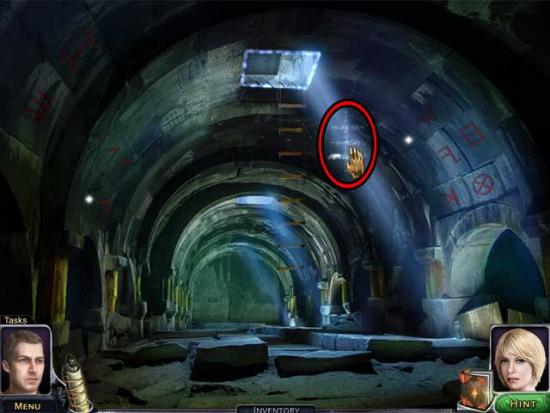
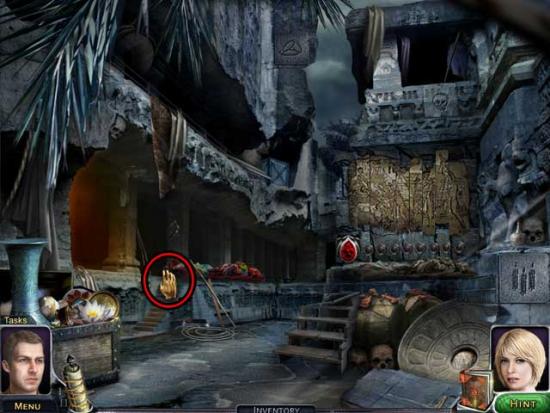
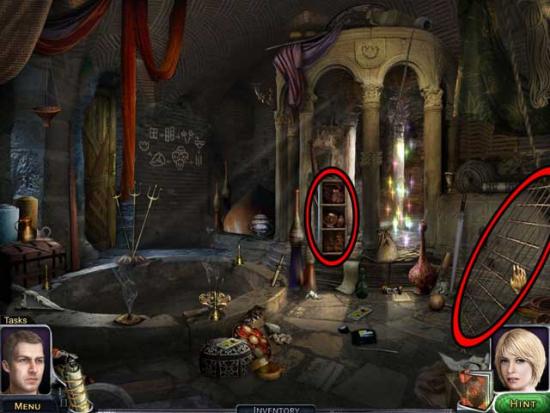
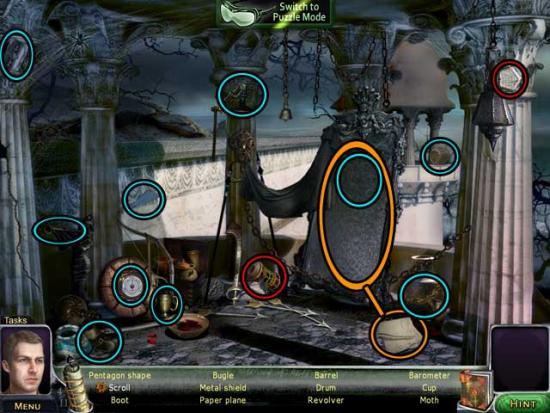
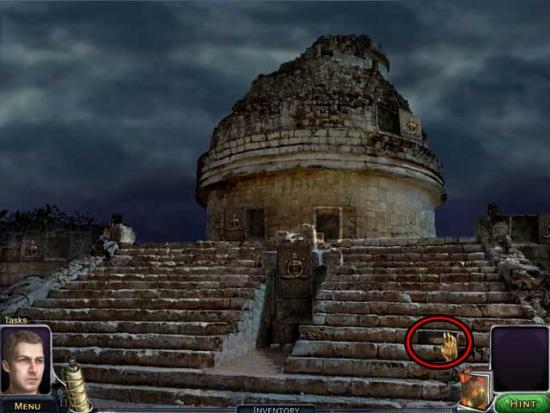
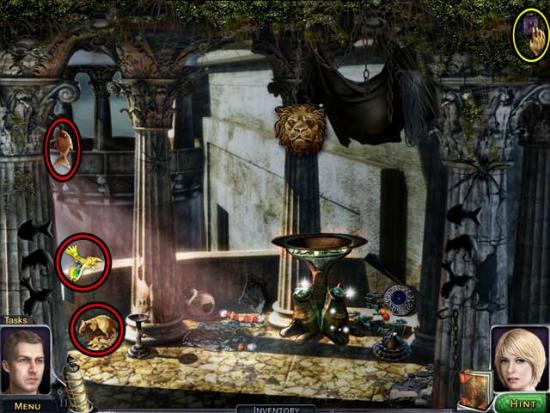
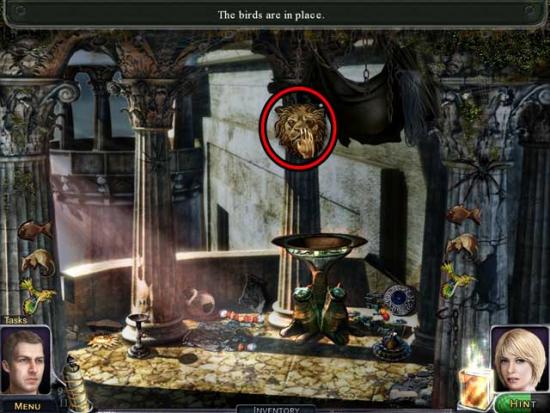
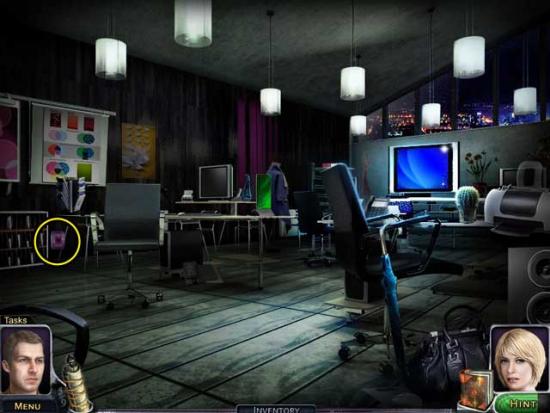
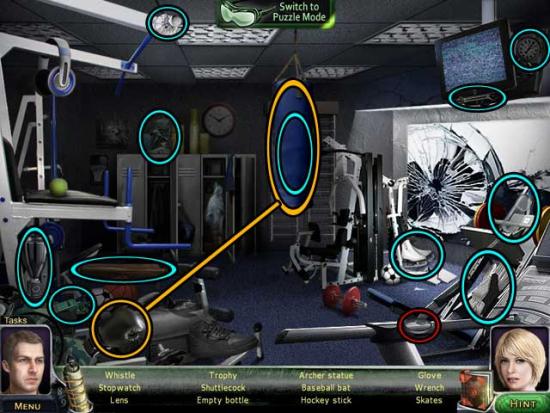
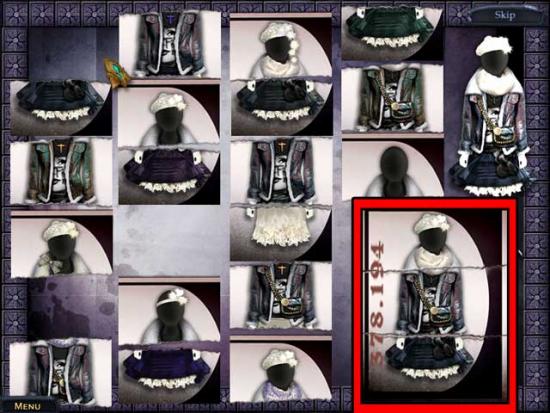
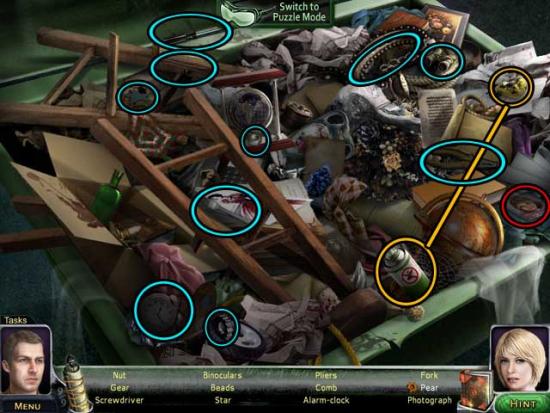
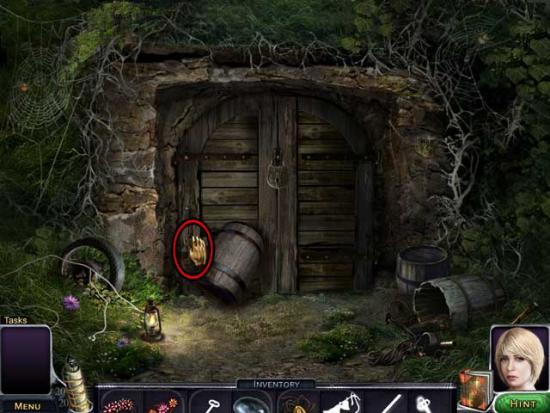
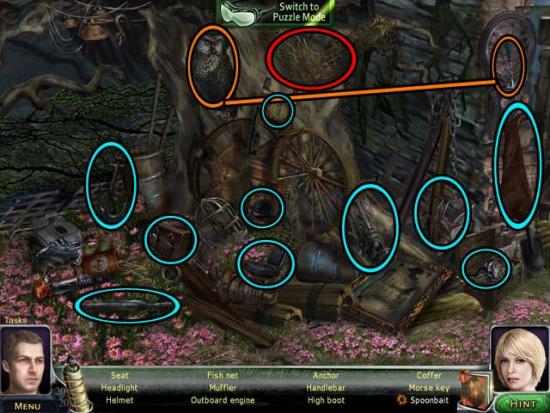
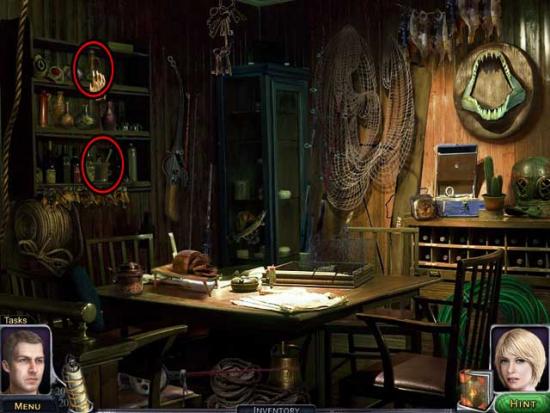
Welcome to the Our Worst Fears: Stained Skin walkthrough on Gamezebo. Our Worst Fears: Stained Skin is a hidden object adventure game played on the PC created by Puzzle Lab. This walkthrough includes tips and tricks, helpful hints, and a strategy guide for how to complete Our Worst Fears: Stained Skin.
Welcome to the Our Worst Fears: Stained Skin walkthrough on Gamezebo. Our Worst Fears: Stained Skin is a hidden object adventure game played on the PC created by Puzzle Lab. This walkthrough includes tips and tricks, helpful hints, and a strategy guide for how to complete Our Worst Fears: Stained Skin.
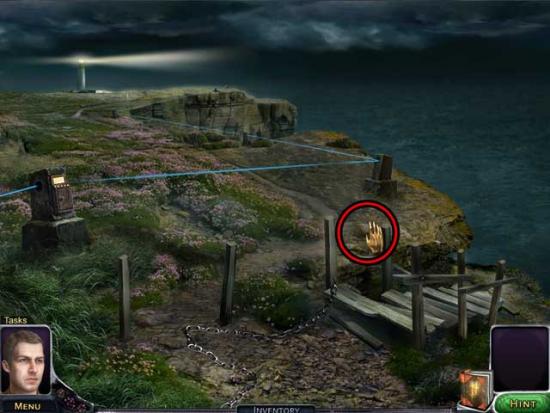
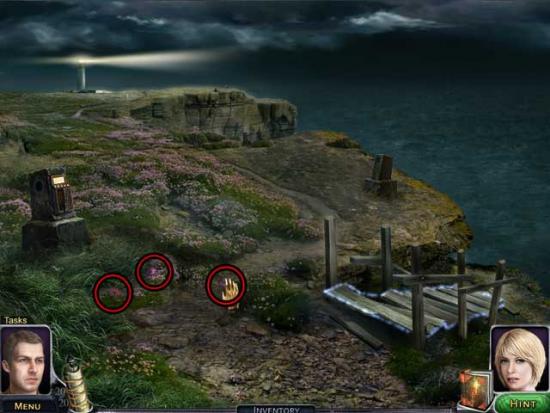
Cliff Edge

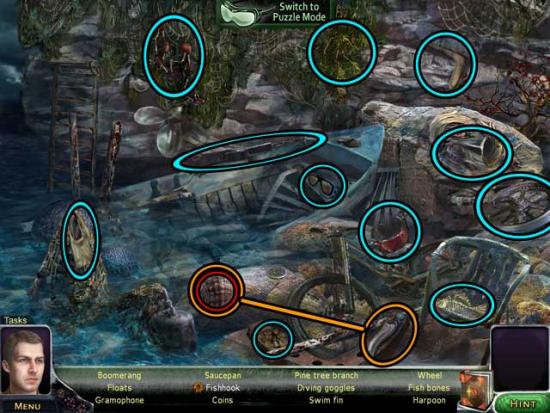
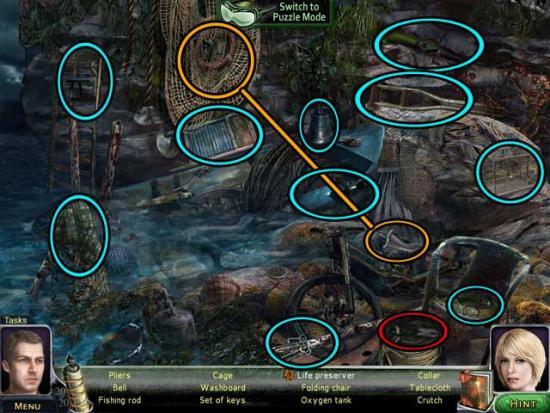
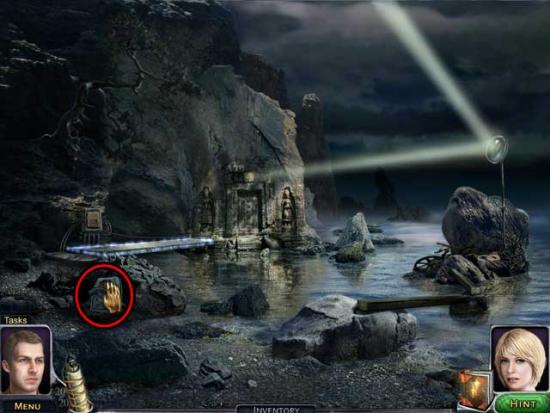
Shoreline
Cliff Edge
Shoreline

Cliff Edge
Shoreline
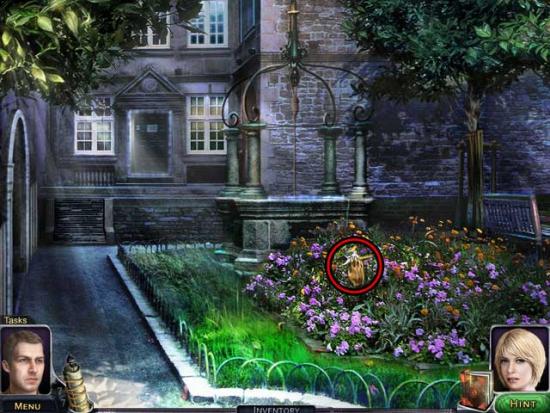
Front Garden
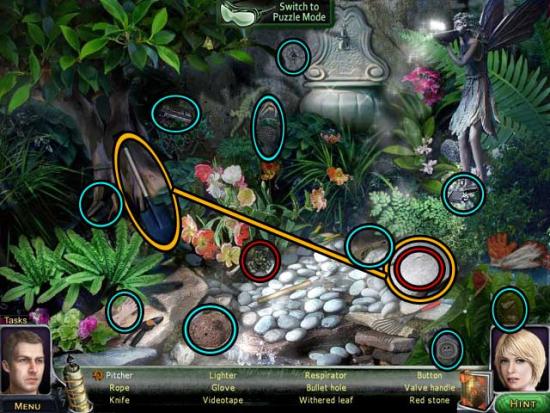
Side Garden
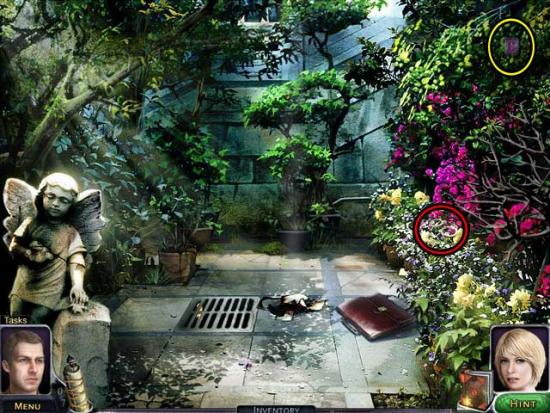
Front Garden
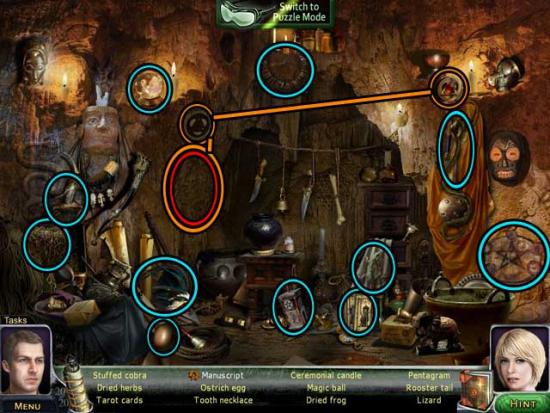
Therapy Room
Office
Therapy Room
Side Garden
Therapy Room
Office
Hidden Office
Therapy Room
Front Garden
Therapy Room
Front Garden
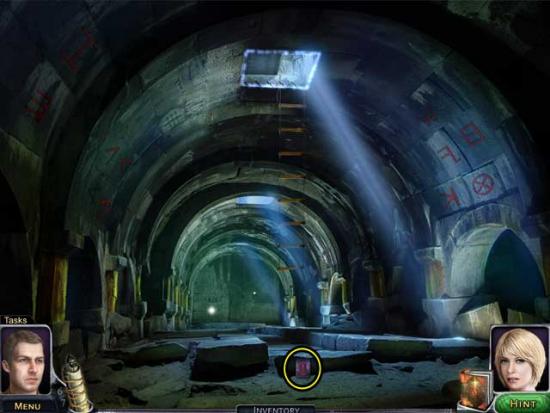
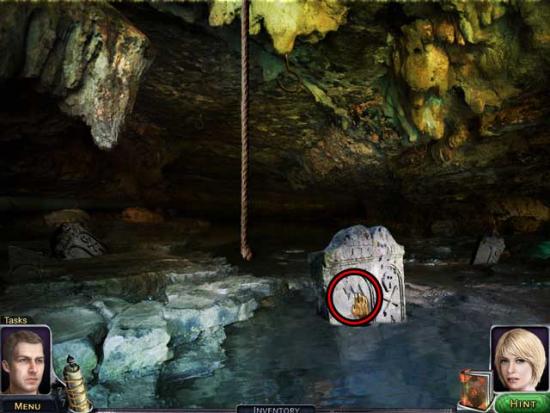
Inside the Well
Hidden Office
Side Garden
Front Garden

Inside the Well
Side Garden
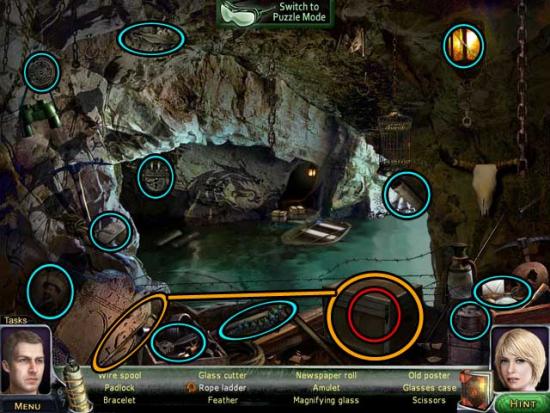
Catacombs
Side Garden
Front Garden
Inside the Well
Therapy Room
Office

Side Garden

Catacombs
Therapy Room
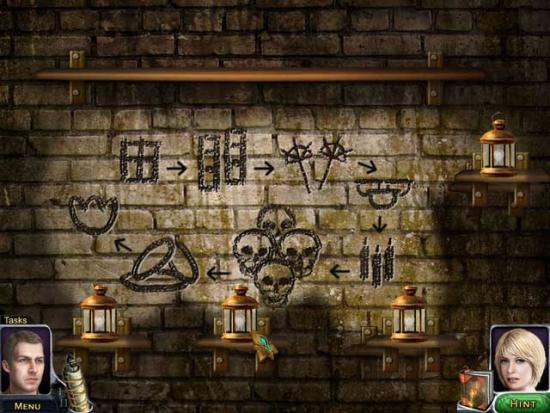
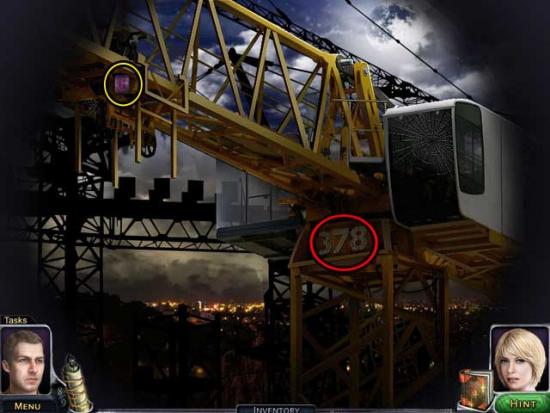
Coordinates

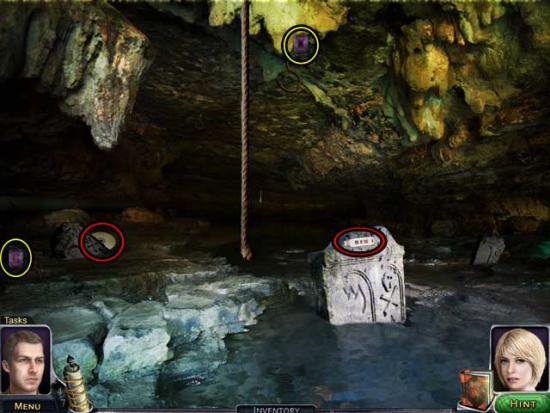
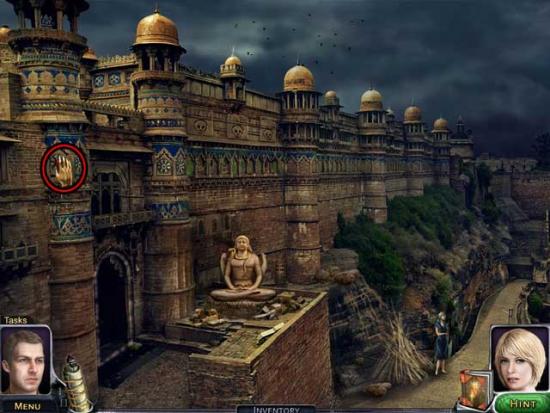
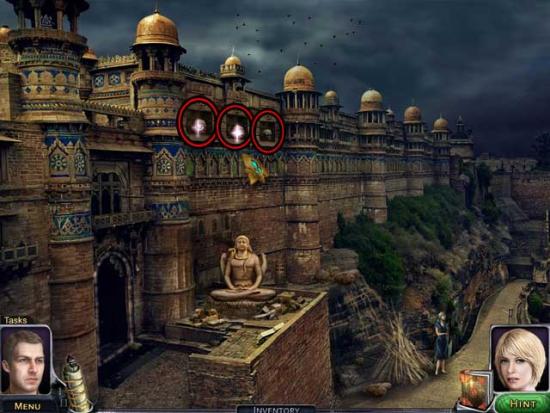
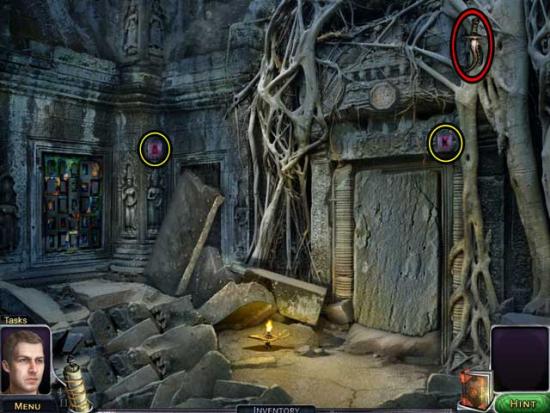
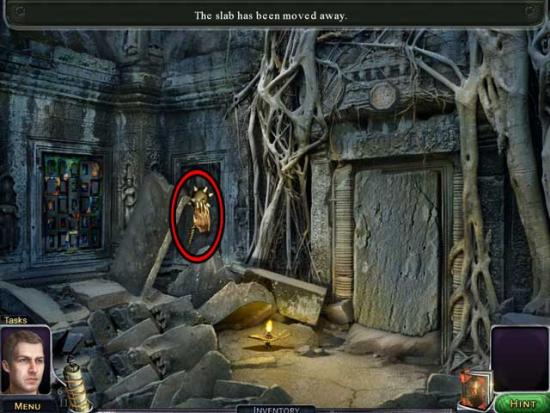
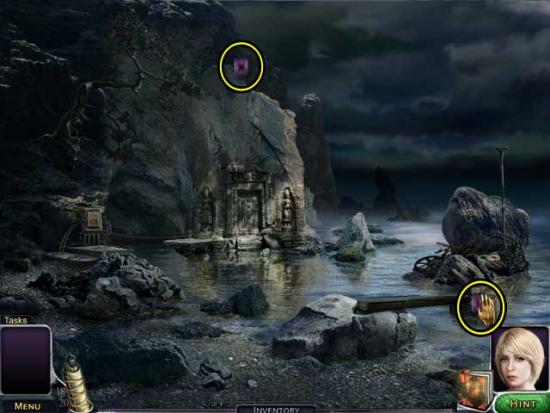
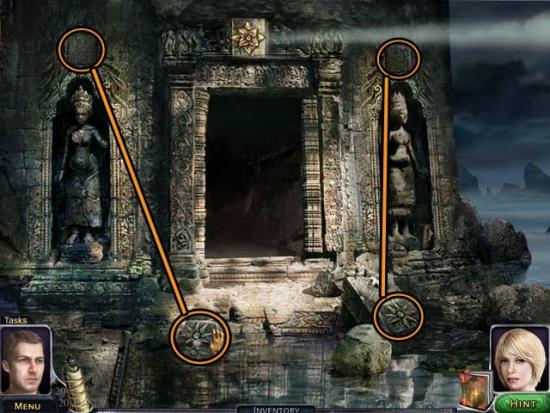
Temple Entrance
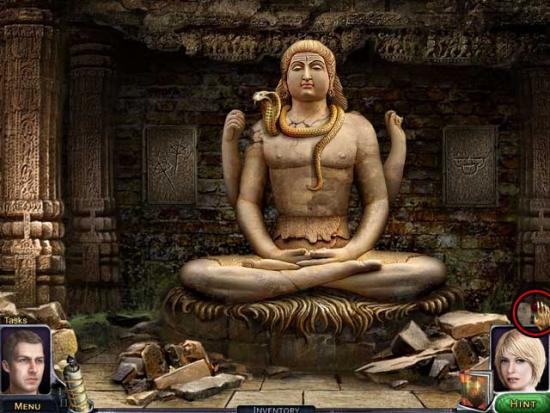
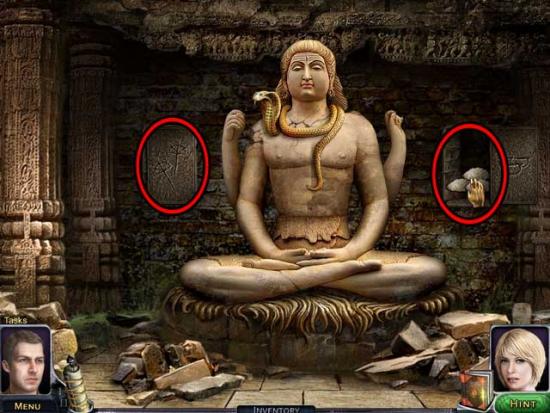
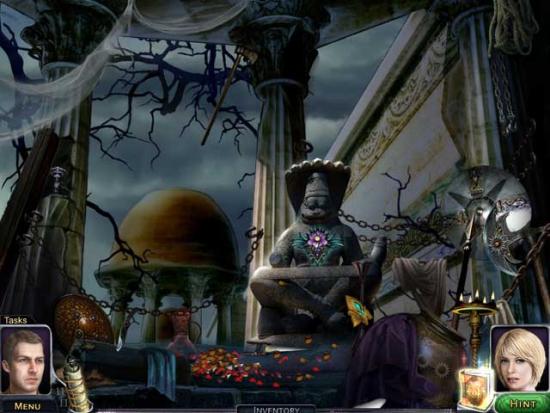
Shiva Statue
Temple Entrance
Shiva Statue
Temple Entrance
Courtyard
Temple Entrance
Shiva Statue
Courtyard
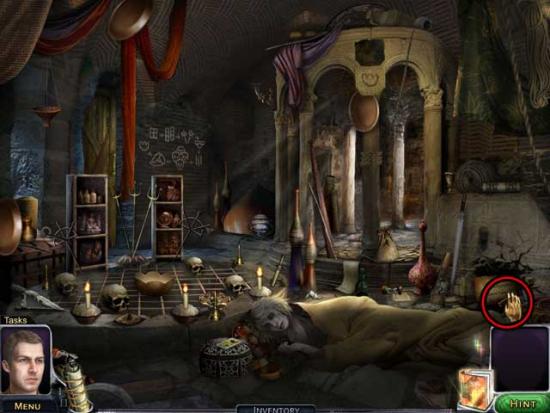
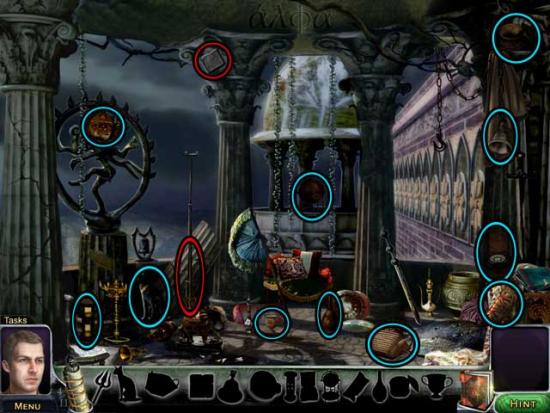
Altar Room
Courtyard
Temple Entrance
Shiva Statue
Altar Room
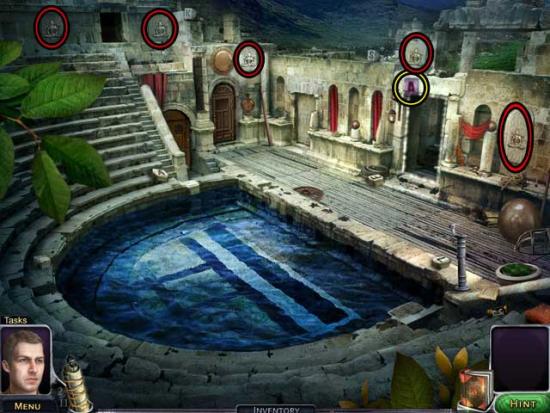
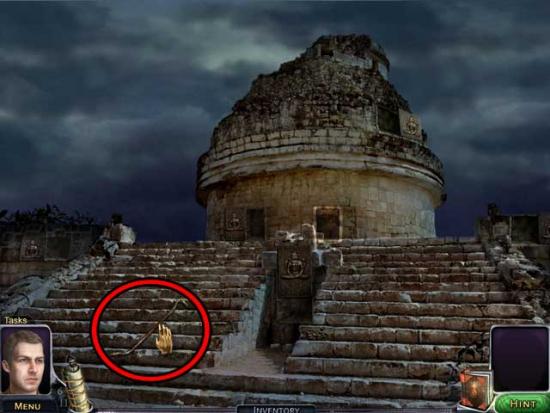
Temple Steps
Temple Pool
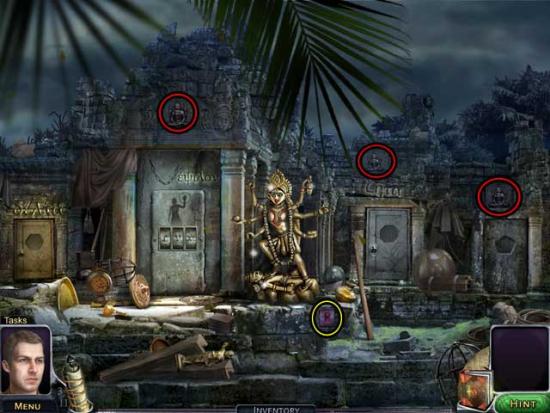
Kali Statue
Temple Pool
Temple Steps
Temple Pool
Shiva Statue
Temple Pool
Kali Statue
Ruins
Kali Statue
Temple Steps
Ruins
Kali Statue
Temple Pool
Temple Steps
Temple Pool
Kali Statue
Temple Pool
Kali Statue
Altar Room
Ruins
Kali Statue
Balcony
Kali Statue
Ruins
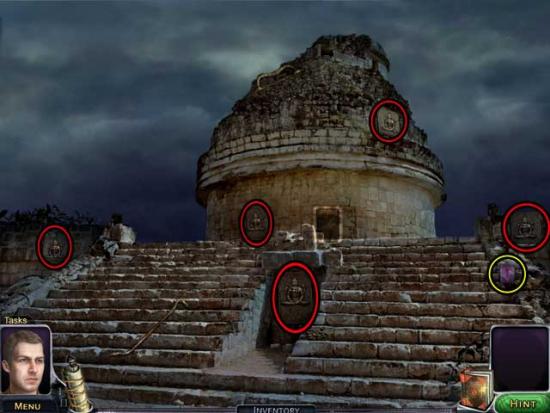
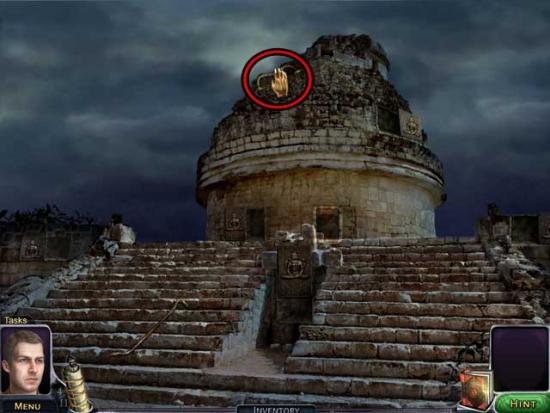
Sun Room
Kali Statue

Balcony
Shiva Statue
Temple Entrance
Temple Pool
Kali Statue
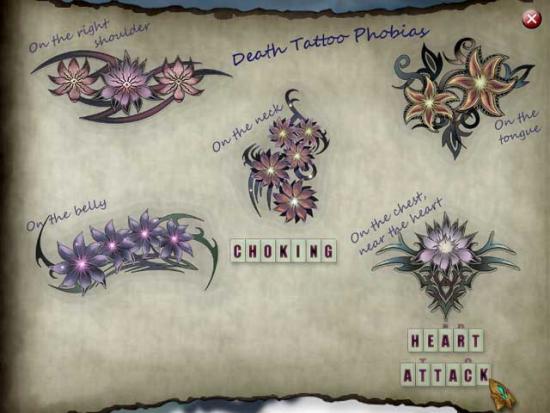
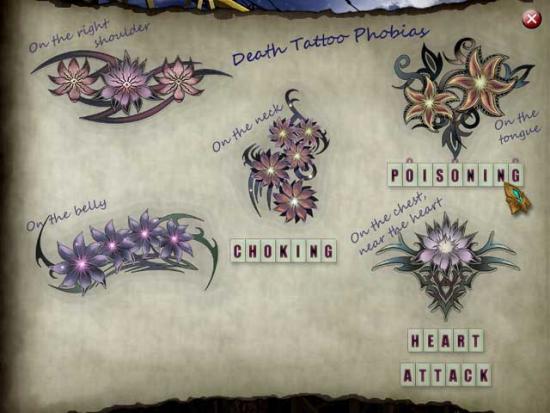
Tattoo Statue
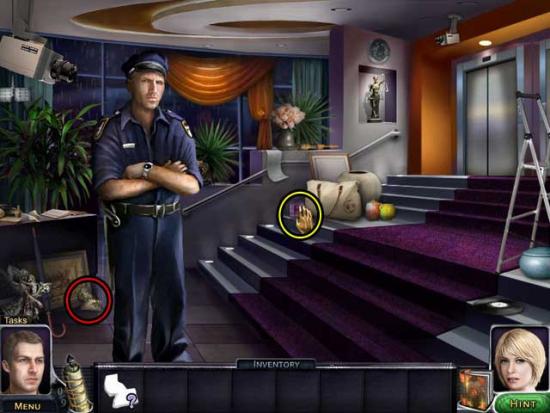
Lobby
Elevator (Ground Floor)

Lobby
Elevator (Ground Floor)
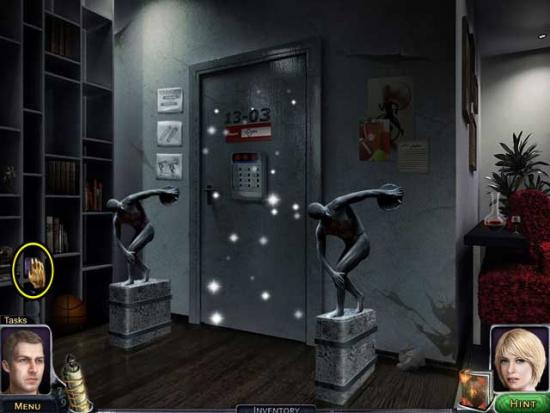
Entrance 13F
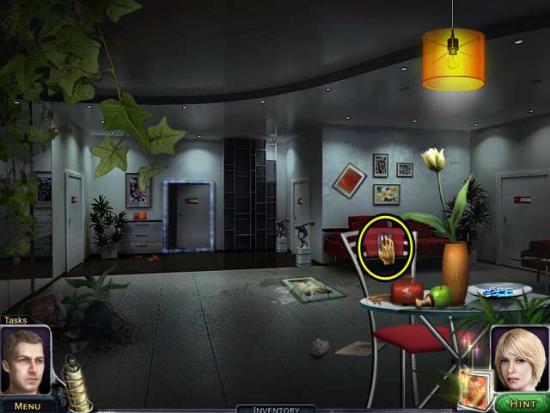
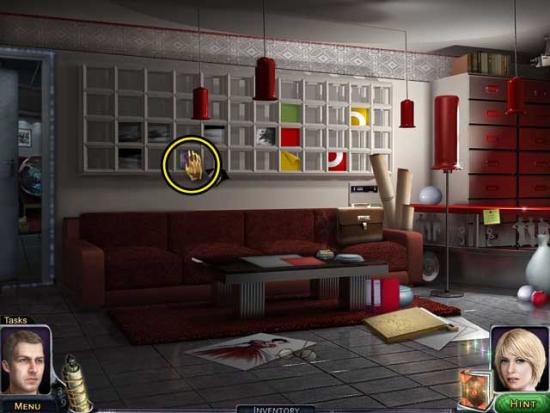
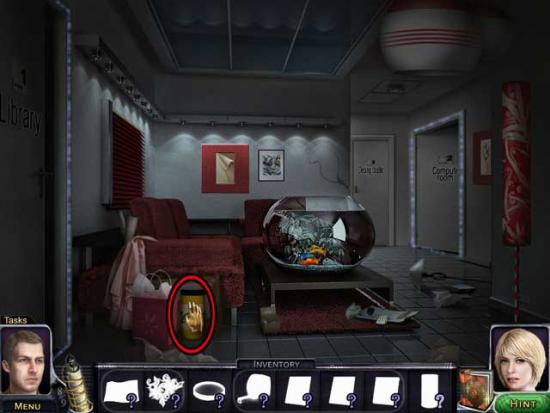
Lounge
Waiting Room
Entrance 13F
Lounge
Entrance 13F

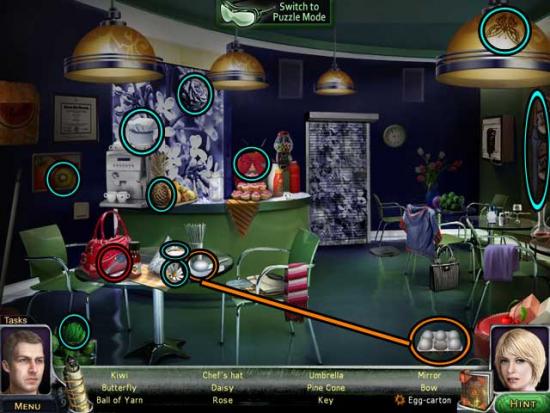
Cafeteria
Waiting Room
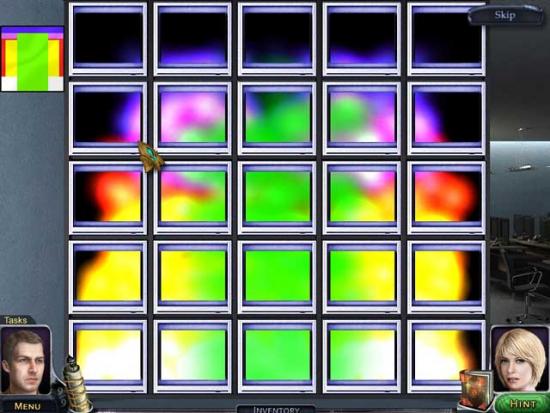
Computer Room

Lounge
Entrance 13F
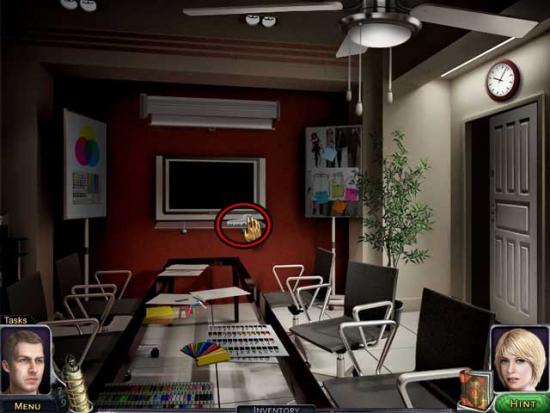
Meeting Room
Waiting Room
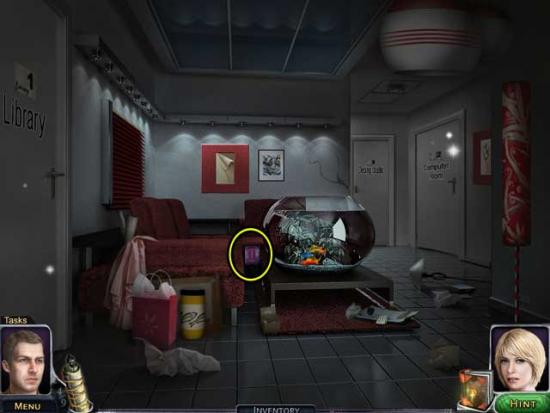
Library
Elevator (13F)
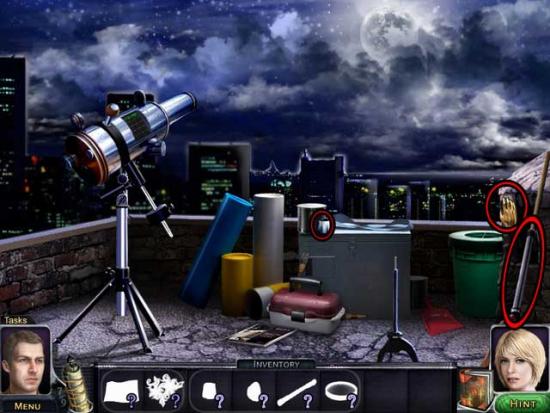
Rooftop
Elevator (51F)
Entrance 13F
Waiting Room
Library
Entrance 13F
Rooftop
Waiting Room
Cafeteria
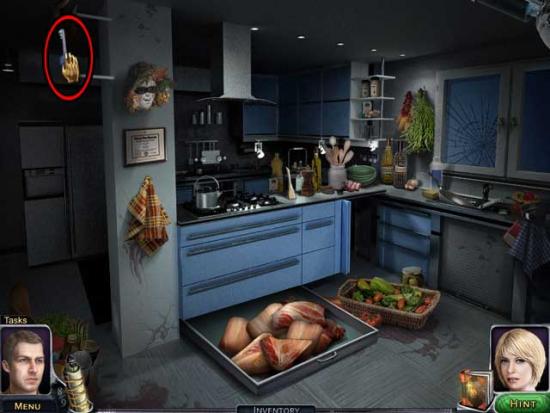
Kitchen
Waiting Room
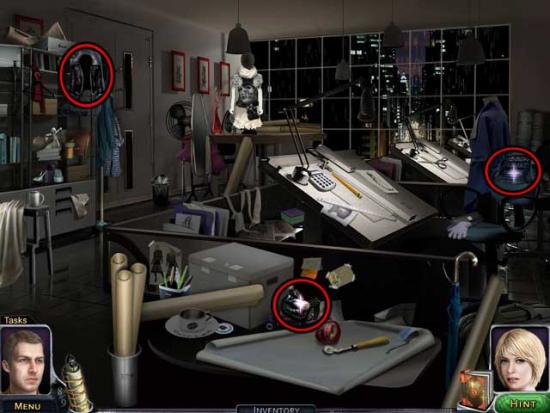
Design Studio
Rooftop
Library
Basement Garage
Security Station
Basement Garage
Library
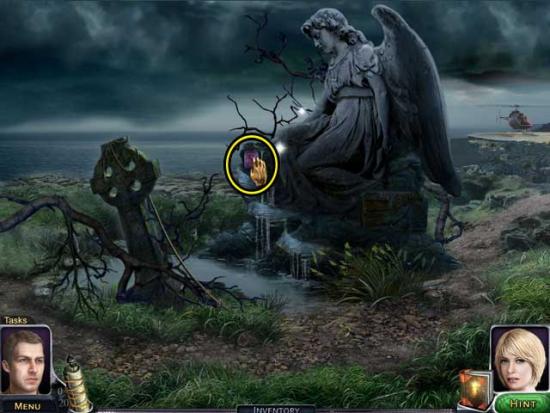
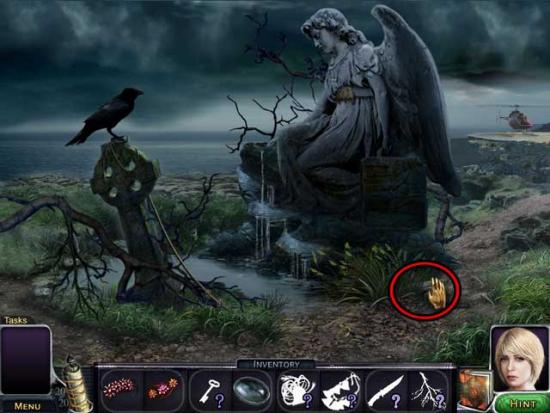
Angel Statue
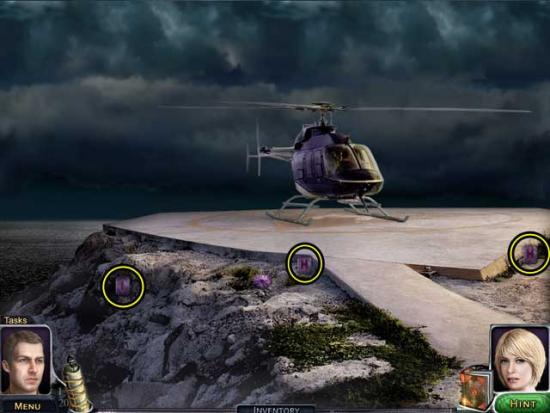
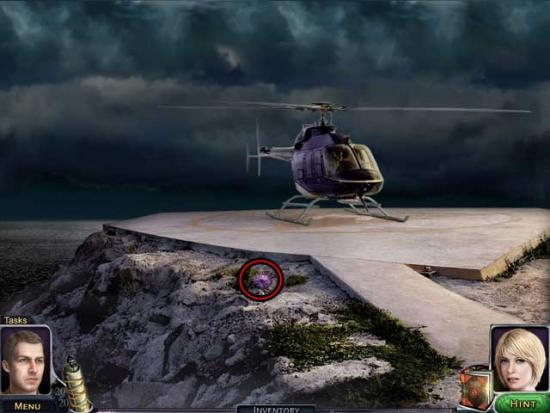
Helicopter Pad
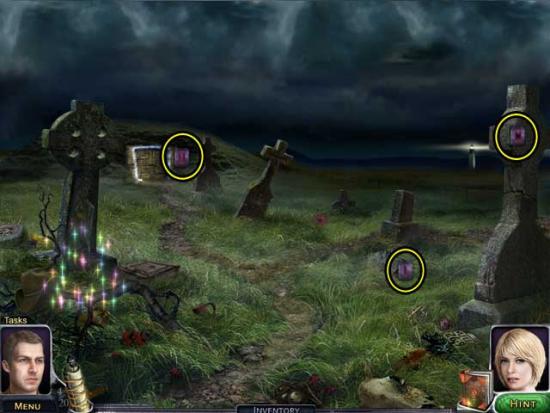
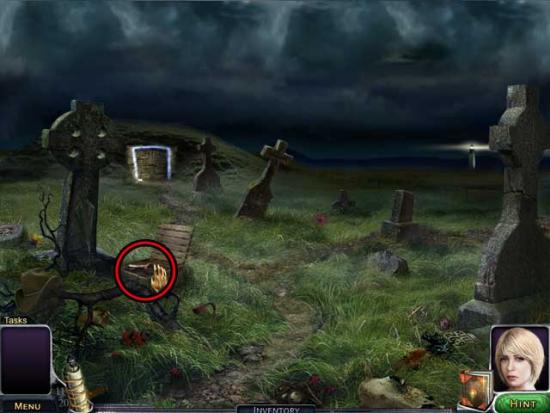
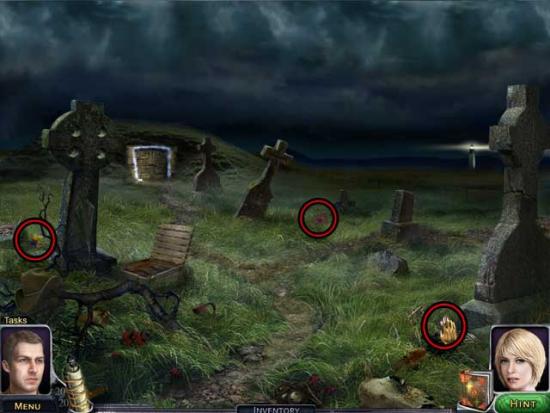
Graveyard
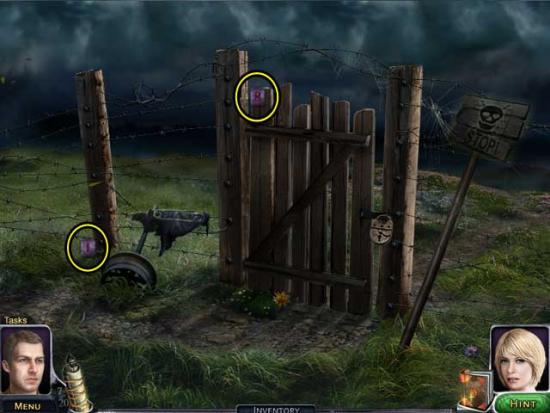
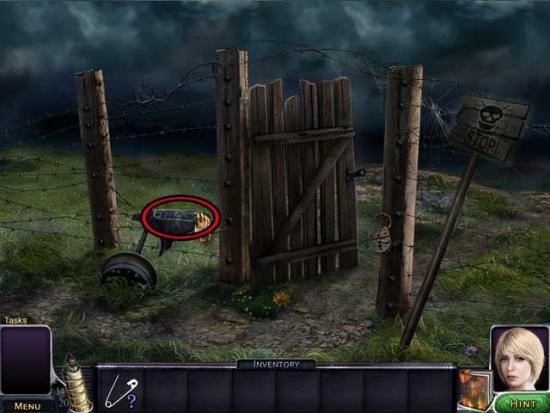
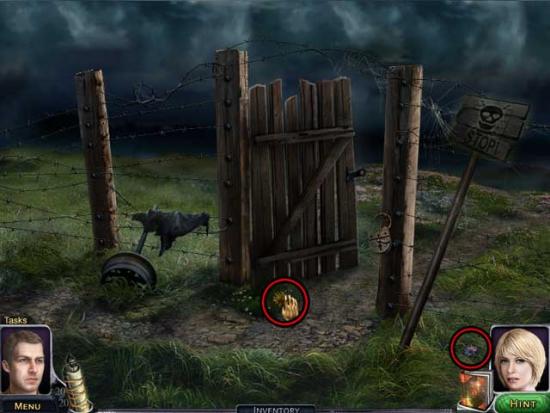
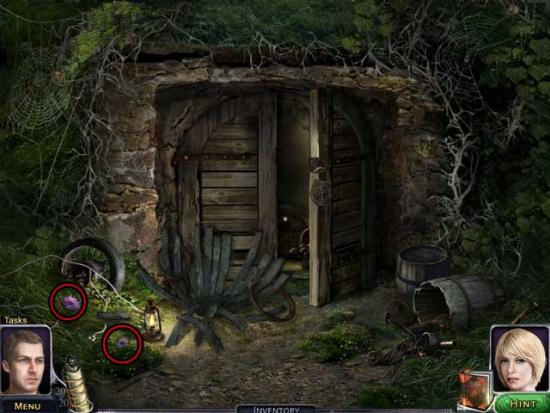
Wooden Gate
Angel Statue
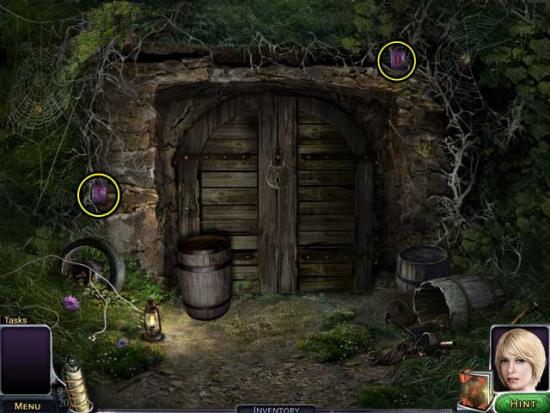
Cellar Entrance
Wooden Gate
Helicopter Pad
Graveyard
Wooden Gate
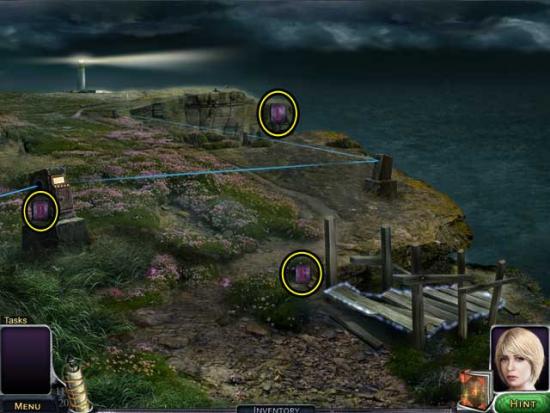
Cliff Edge
Wooden Gate
Cliff Edge
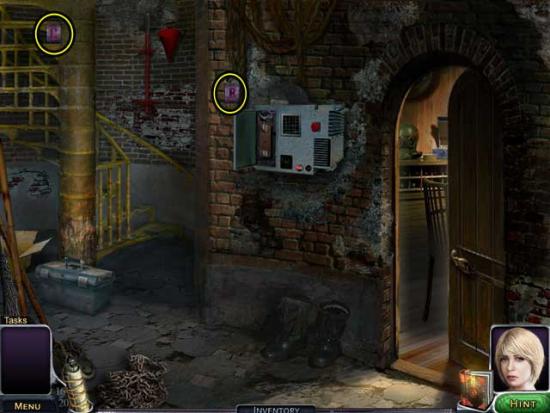
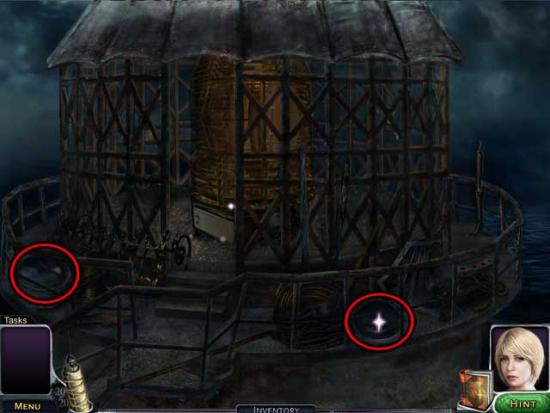
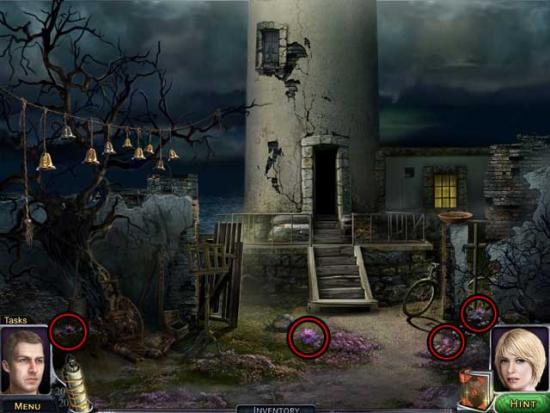
Lighthouse Entrance
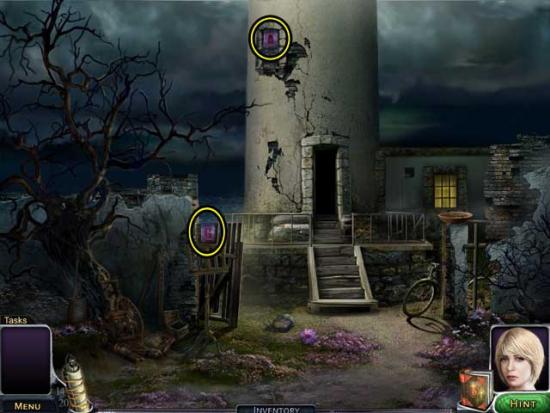
Lighthouse Foyer
Shoreline
Cave Entrance
Lighthouse Foyer
Lighthouse Lookout
Lighthouse Foyer
Lighthouse Lookout
Angel Statue
Cellar Entrance
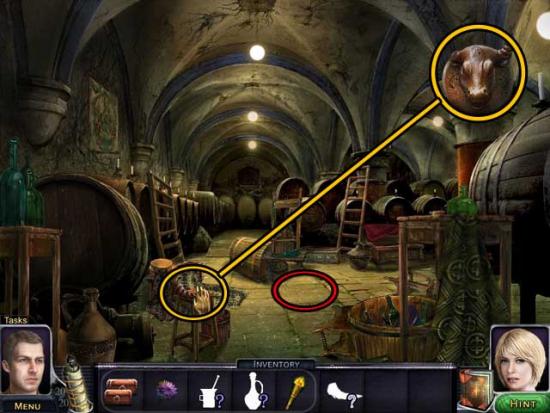
Cellar
Cellar Entrance
Lighthouse Entrance
Shoreline
Lighthouse Entrance
Cave Entrance
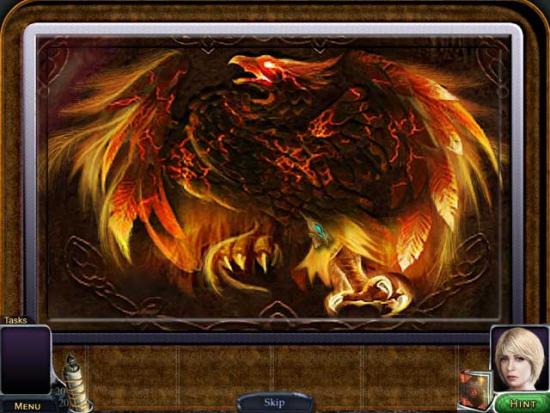
Phoenix Altar
Cave Entrance
Shoreline
Cliff Edge
Wooden Gate
Graveyard
Cellar Entrance
Cellar
Helicopter Pad
Lighthouse Entrance
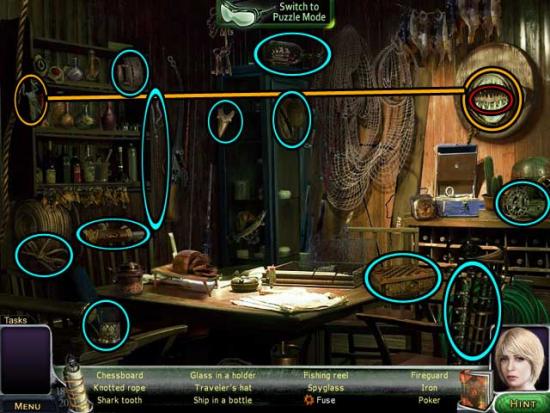
Dining Room
Phoenix Altar
Congratulations! You’ve completed Our Worst Fears: Stained Skin!
