![Digimon UP Tier List [Supports, Buddies, and Partners]](/wp-content/uploads/2026/07/digimon-up-tier-list.jpg "Digimon UP Tier List [Supports, Buddies, and Partners]")
Digimon UP Tier List [Supports, Buddies, and Partners]
These Digimon will get you UP the leaderboard.

![Haze Seas Boss Drops [Chances, Locations, and How to Spawn]](/wp-content/uploads/2026/07/haze-seas-boss-drops.jpg "Haze Seas Boss Drops [Chances, Locations, and How to Spawn]")

Welcome to the Oddly Enough: Pied Piper walkthrough on Gamezebo. Oddly Enough: Pied Piper is a hidden object adventure game played on the PC created by Alawar Entertainment. This walkthrough includes tips and tricks, helpful hints, and a strategy guide for how to complete Oddly Enough: Pied Piper.
Welcome to the Oddly Enough: Pied Piper walkthrough on Gamezebo. Oddly Enough: Pied Piper is a hidden object adventure game played on the PC created by Alawar Entertainment. This walkthrough includes tips and tricks, helpful hints, and a strategy guide for how to complete Oddly Enough: Pied Piper.
Town Gate

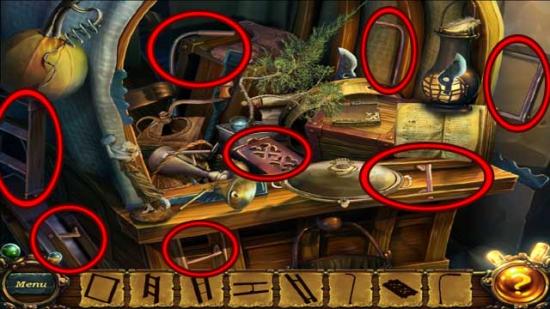
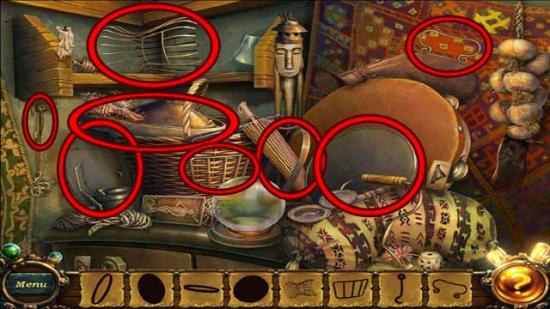
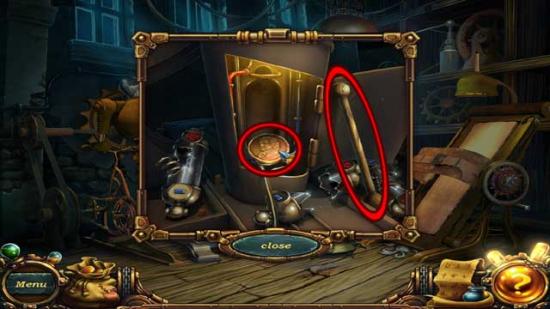
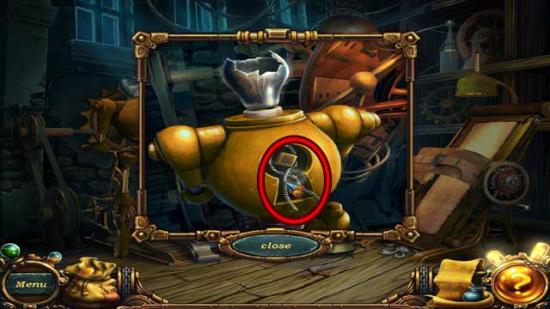
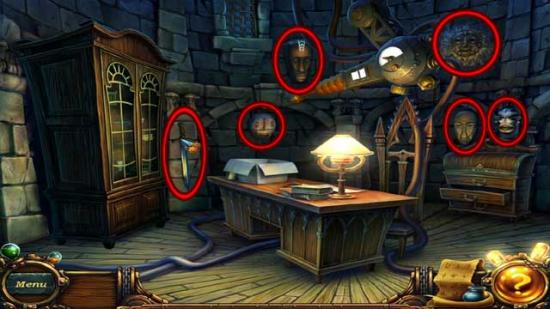
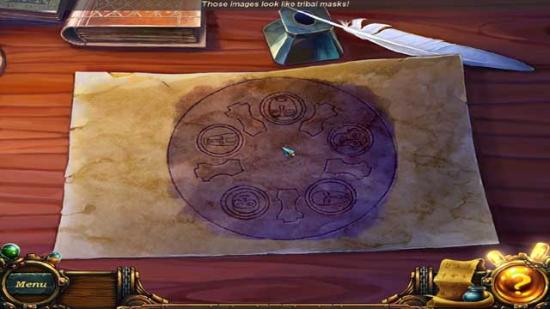
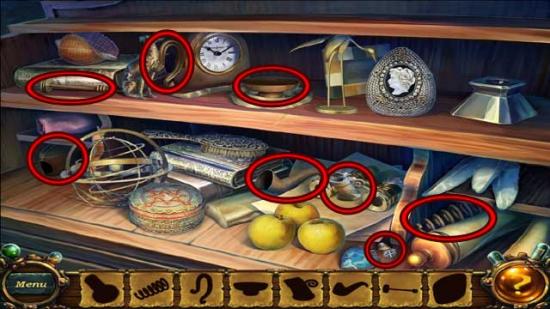
Town Square
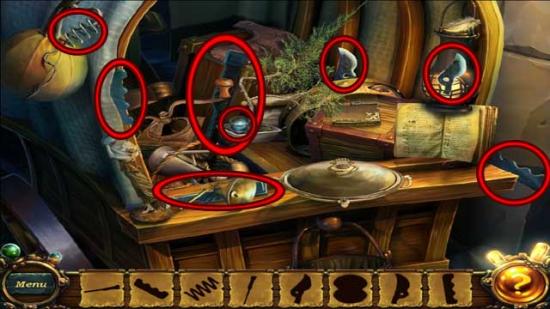
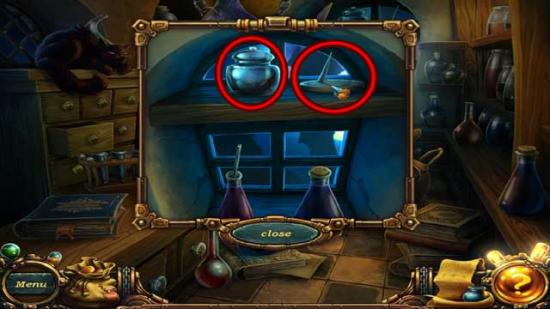
Apothecary
Town Square
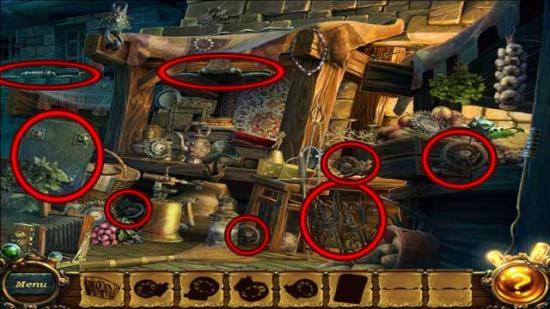
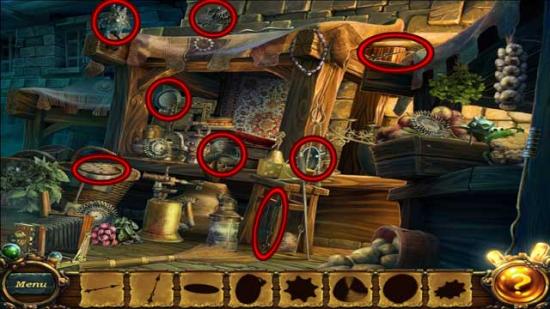
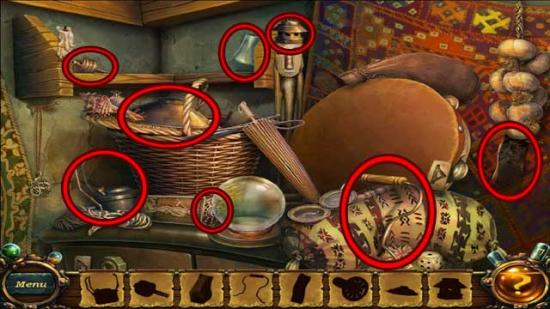
Town Stalls
Town Square
Apothecary
Town Stalls
Town Square
Fortune Teller
Apothecary
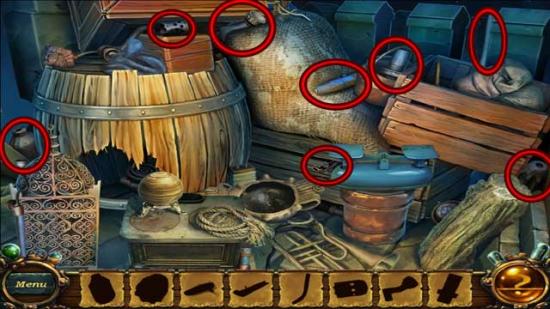
Town Stalls
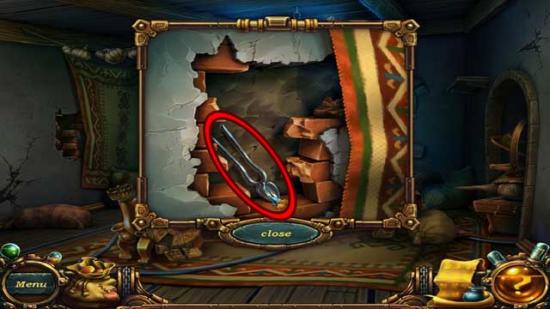
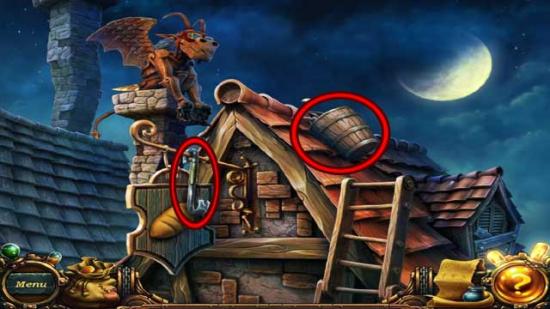
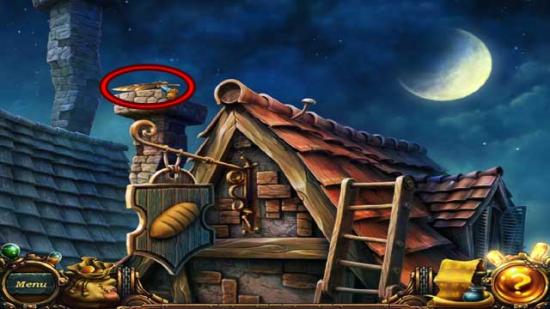
Roof
Town Stalls
Roof
Apothecary
Fortune Teller
Roof
Town Square
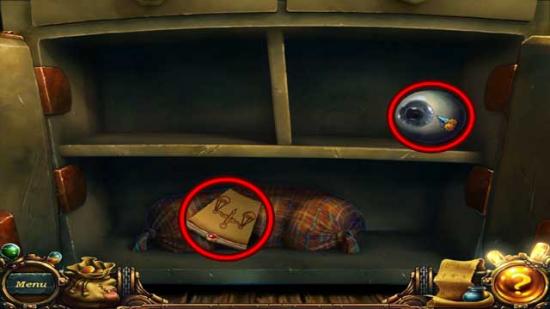
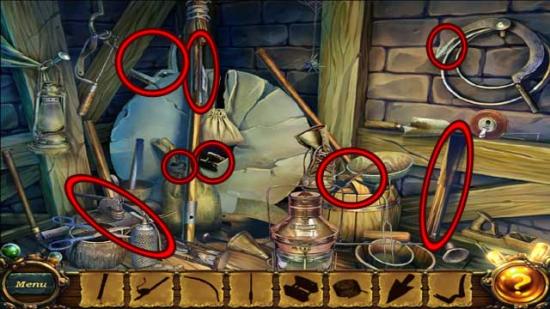
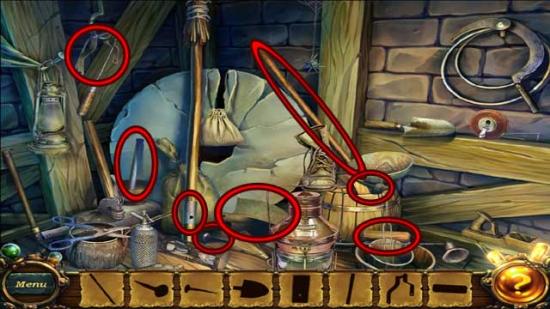
Bakery
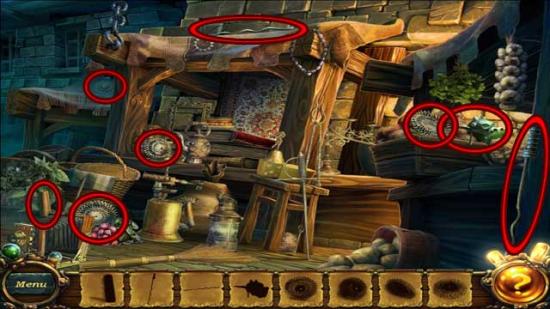
Town Stalls
Roof
Bakery


Town Stalls
Apothecary
Town Stalls
Square
Well
Square
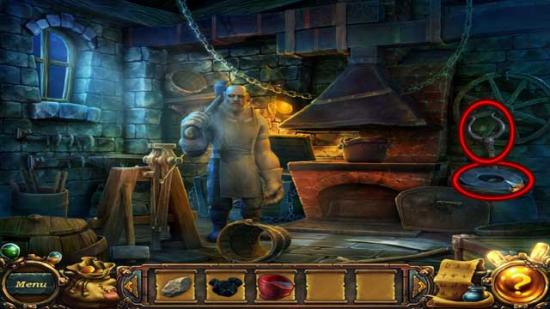
Forge
Square
Garden
Square
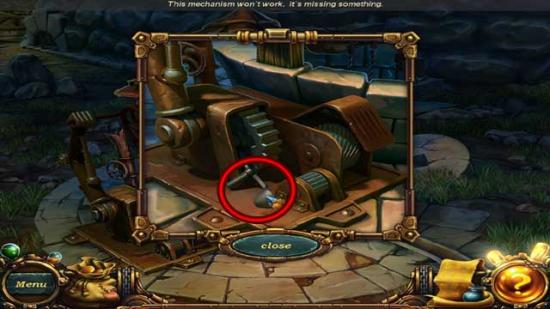
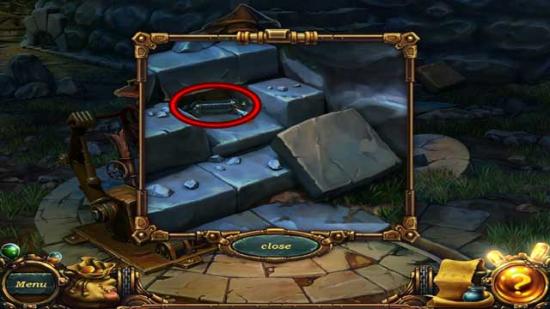
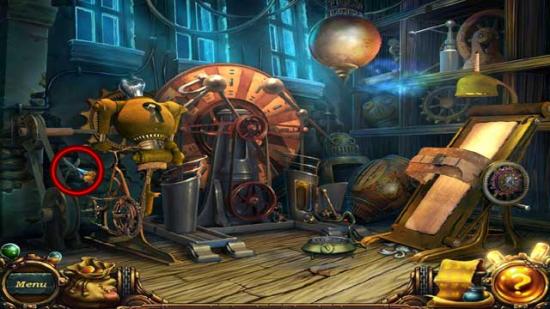
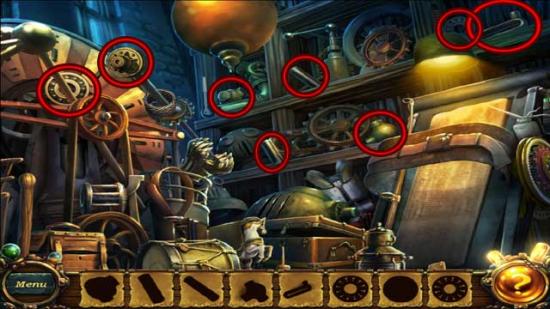
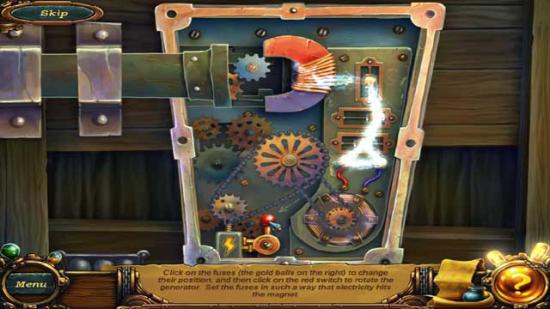
Workshop
Forge
Workshop
Square
Art Studio
Square
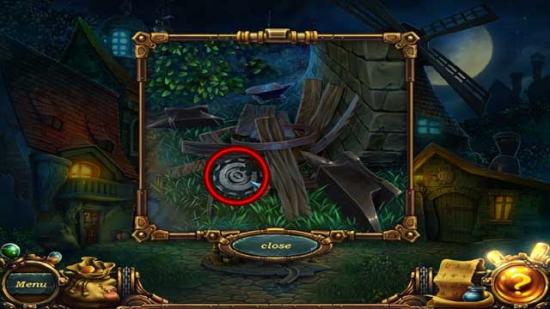
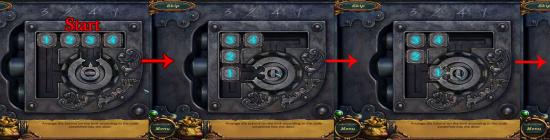
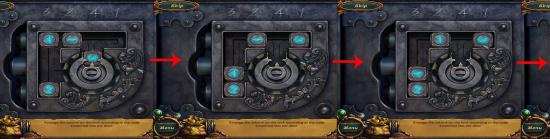
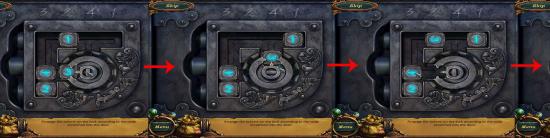
Windmill
Workshop
Garden
Art Studio
Workshop
Garden
Workshop
Well
Workshop
Windmill
Well
Garden
Art Studio
Windmill
Workshop
Forge
Art Studio
Garden
Windmill
Garden
Workshop

Well
Garden
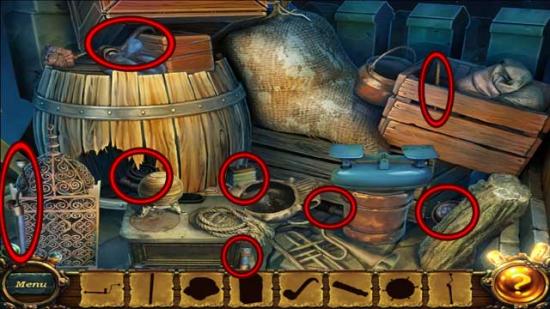
Entrance
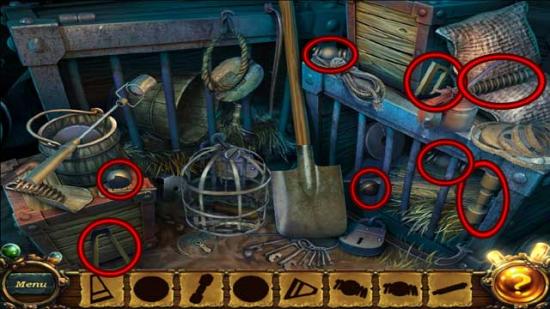
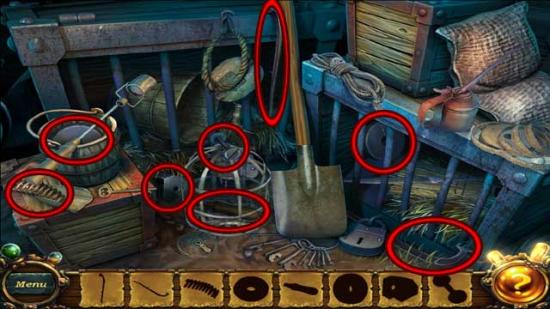
Tiger Cage
Entrance
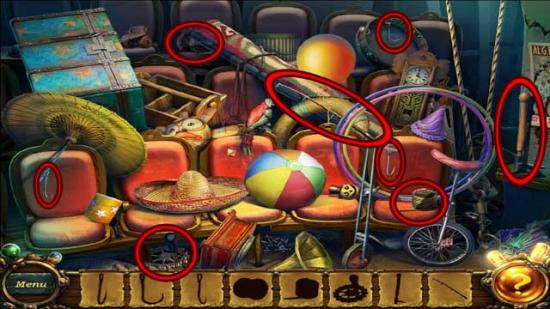
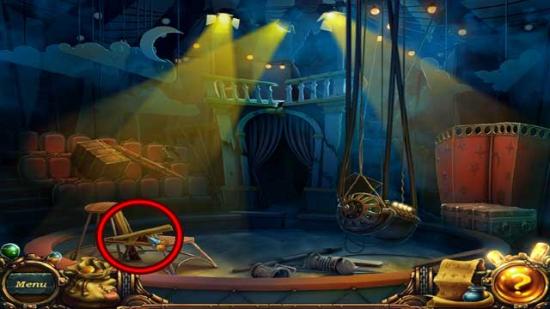
Circus Tent
Tiger Cage
Circus Tent
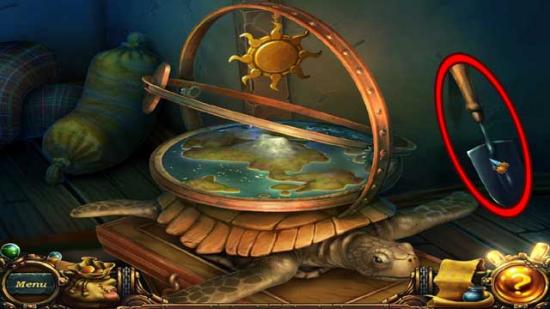
1)Click on cannon and it should expel an acorn. Place the acorn on top of the brown mound.
2)Click on the “wind” (old man face) at the top to blow the clouds away, making it rain.
3)The rain will cause the acorn to grow into a tree.
4)Click on the “wind” again, then click on the lightning god to cause him to light the tree on fire. The umbrella will appear.
5)Give the umbrella to the soldier, then move the fire to his torch to light it.
6)Click on the “wind” again, and the sun will start moving up and down. Click on the cannon to move its position, then click on the soldier to fire until you hit the sun.
Tent Interior
Tiger Cage
Tent Interior
Entrance


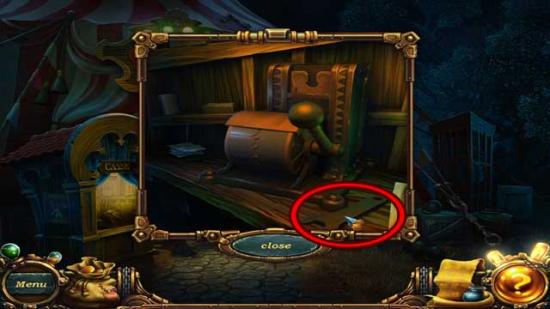
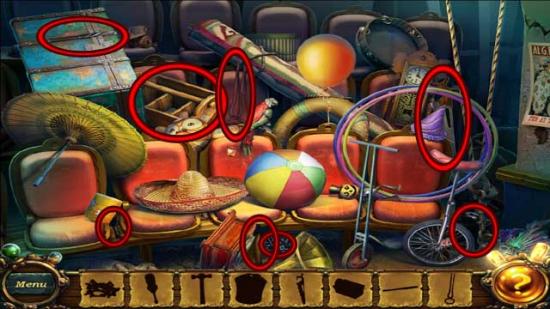
Magician’s Caravan
Tiger Cage
Entrance
Magician’s Caravan
Tent Interior
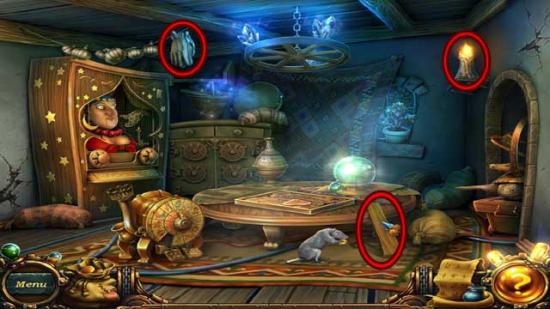
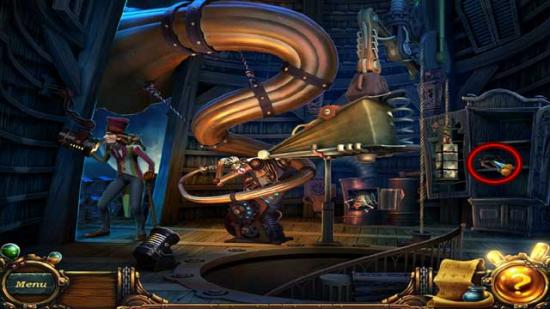
Main Room
Balcony
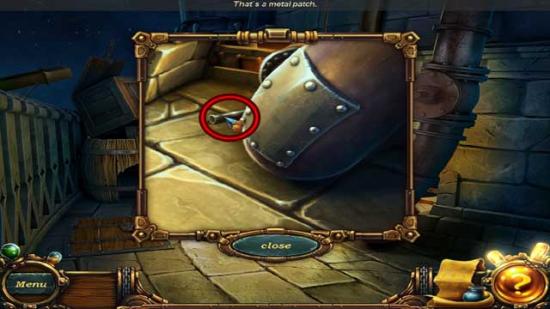
Main Room
Office

Main Room
Control Room
Main Room
Vault
Main Room
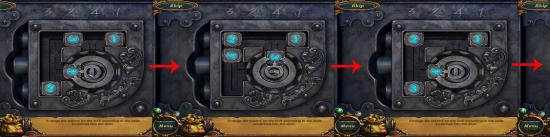
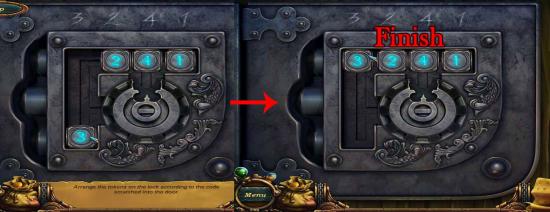
Piper’s Door
Vault
Office
Vault

Basement
Control Room
Office
Basement
Piper’s Door
Balcony
Piper’s Door
Balcony
Piper’s Door
Basement
Piper’s Door
Tower Top
Office
Basement
Office
Balcony
Tower Top
Basement
Tower Top
Balcony
Tower Top
Congratulations! You’ve completed Oddly Enough: Pied Piper!
