![Digimon UP Tier List [Supports, Buddies, and Partners]](/wp-content/uploads/2026/07/digimon-up-tier-list.jpg "Digimon UP Tier List [Supports, Buddies, and Partners]")
Digimon UP Tier List [Supports, Buddies, and Partners]
These Digimon will get you UP the leaderboard.


![Haze Seas Boss Drops [Chances, Locations, and How to Spawn]](/wp-content/uploads/2026/07/haze-seas-boss-drops.jpg "Haze Seas Boss Drops [Chances, Locations, and How to Spawn]")

Welcome to Gamzebo's walkthrough for Mystic Diary – Lost Brother. The setting is the late 19th century, presumably the Victorian Era. The main character is a young man studying magic who realizes that his brother Gustav who is an archeologist has gone missing. Our young magician interrupts his studies to embark upon an adventure in search of his missing brother with the help of a mysterious diary. GENERAL TIPS: There is no timer in this game so you can take as long as you need to find…
a:1:i:0;a:2:s:13:”section_title”;s:38:”Mystic Diary: Lost Brother Walkthrough”;s:12:”section_body”;s:45597:”
Welcome to Gamzebo’s walkthrough for Mystic Diary – Lost Brother.
The setting is the late 19th century, presumably the Victorian Era. The main character is a young man studying magic who realizes that his brother Gustav who is an archeologist has gone missing. Our young magician interrupts his studies to embark upon an adventure in search of his missing brother with the help of a mysterious diary.
GENERAL TIPS:
HINTS:
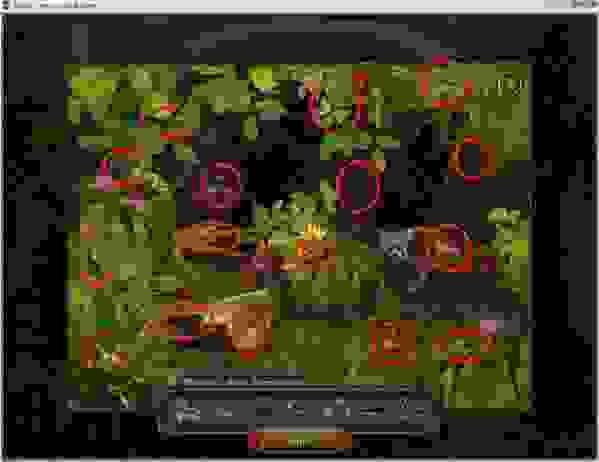
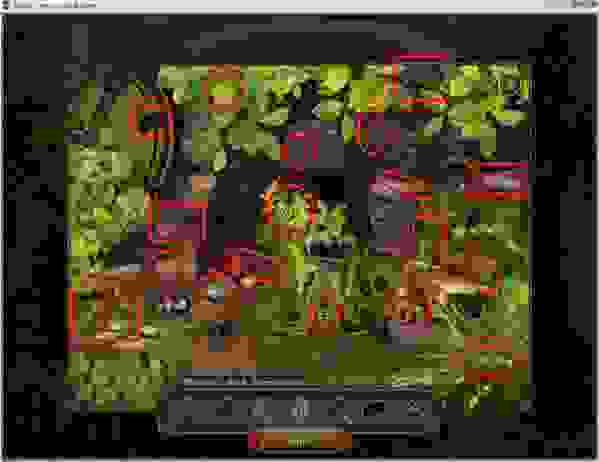
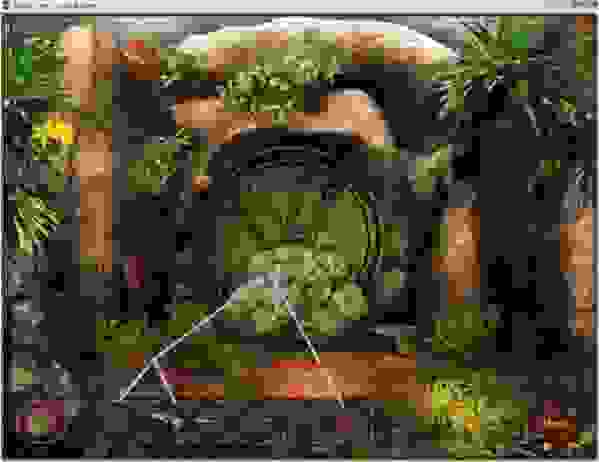
WALKTHOUGH:
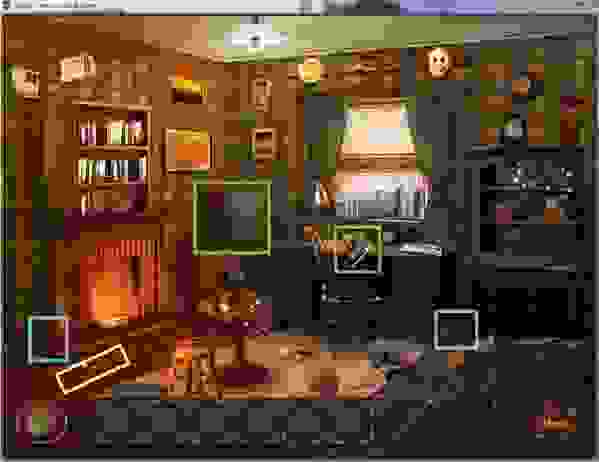
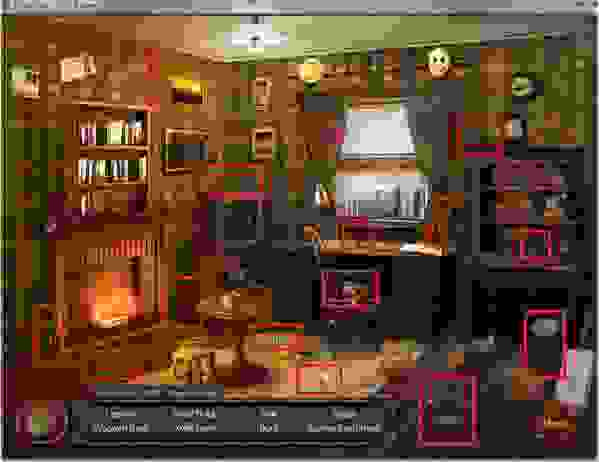
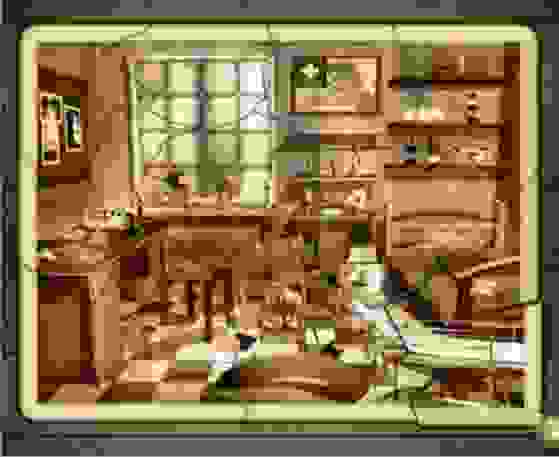
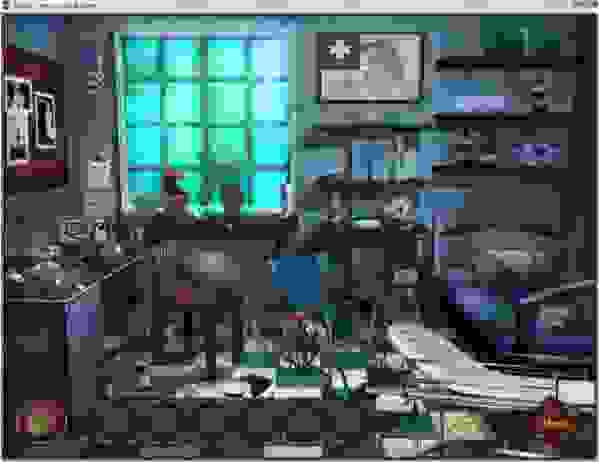
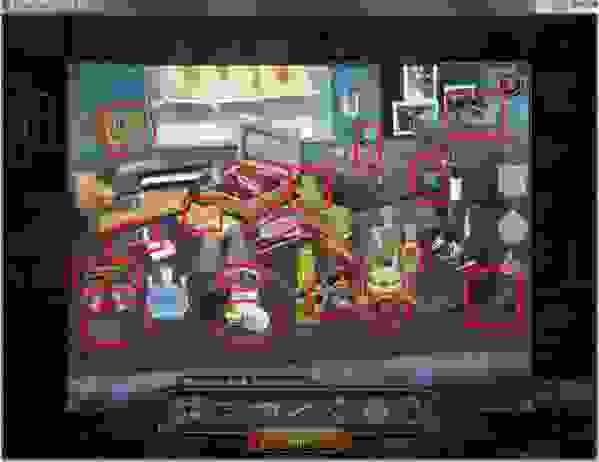
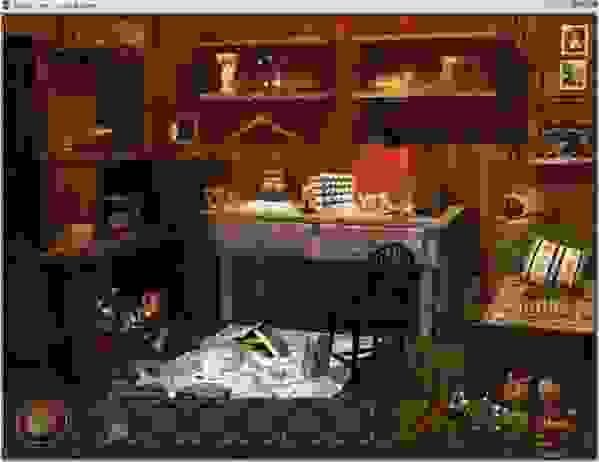
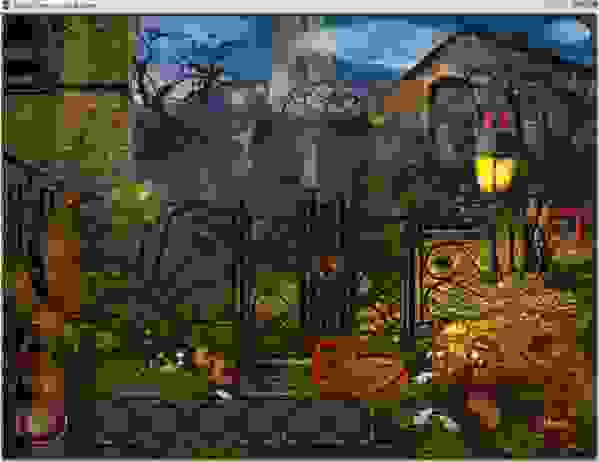
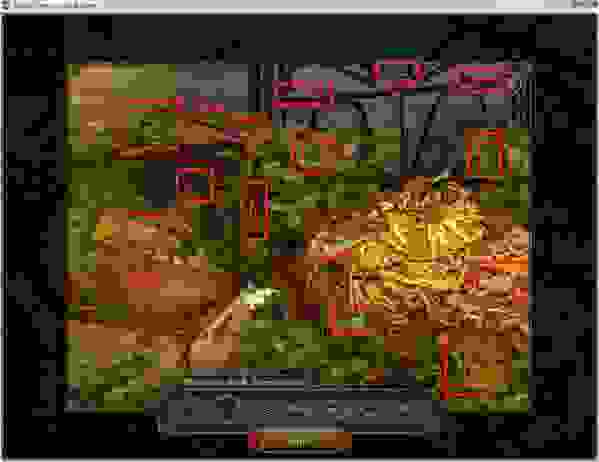
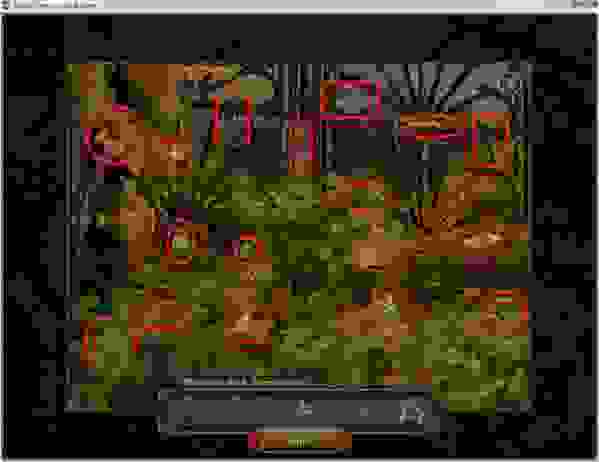
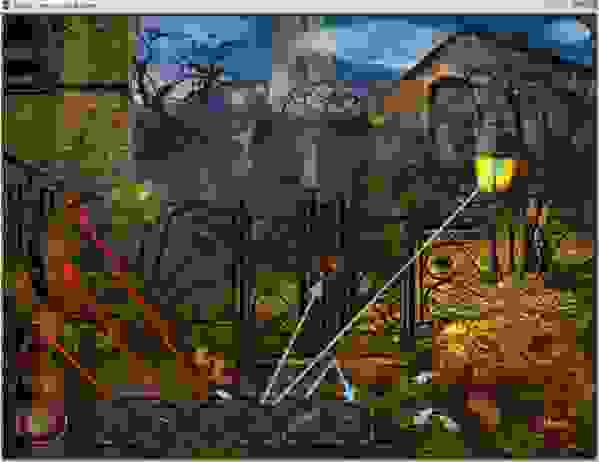
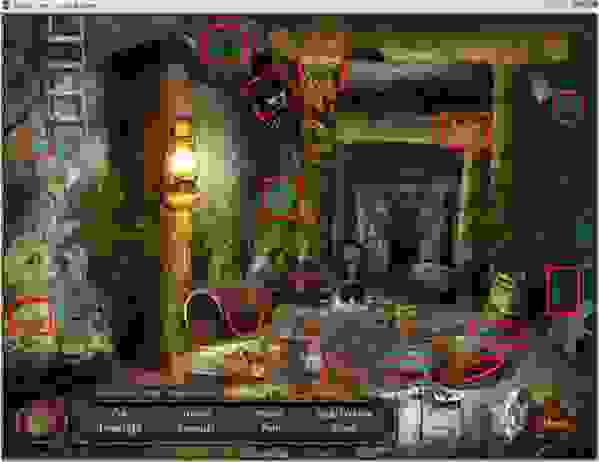
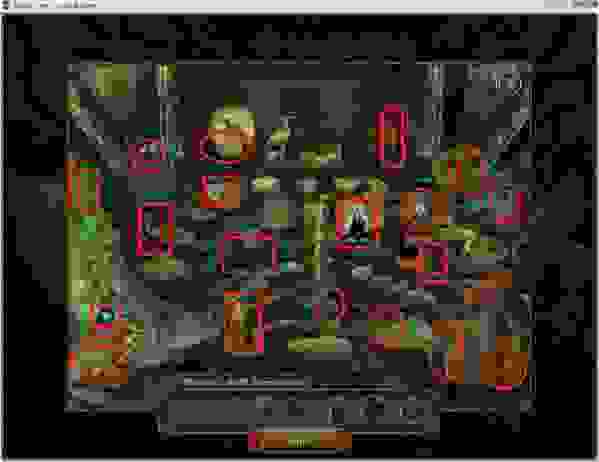
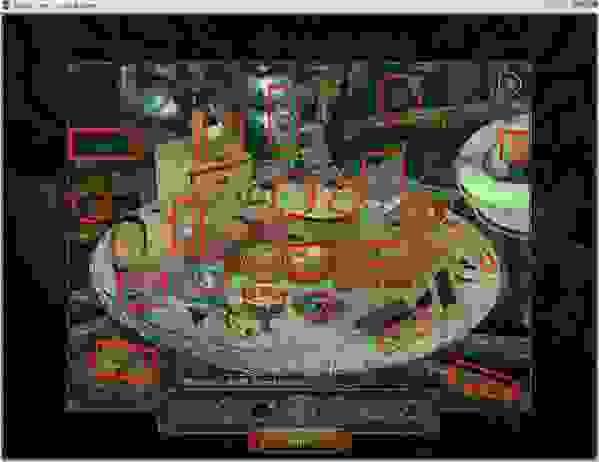
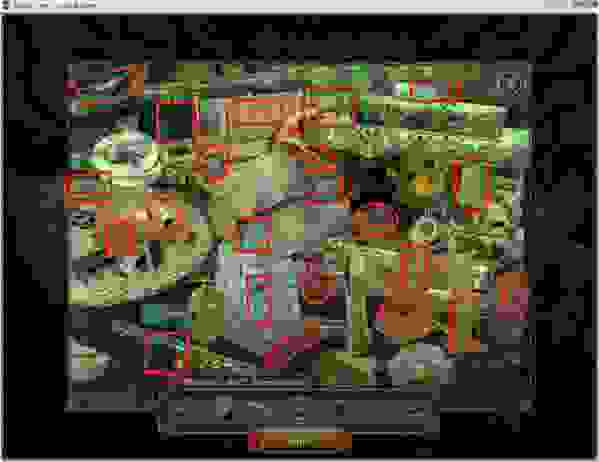
CHAPTER 1: The Message

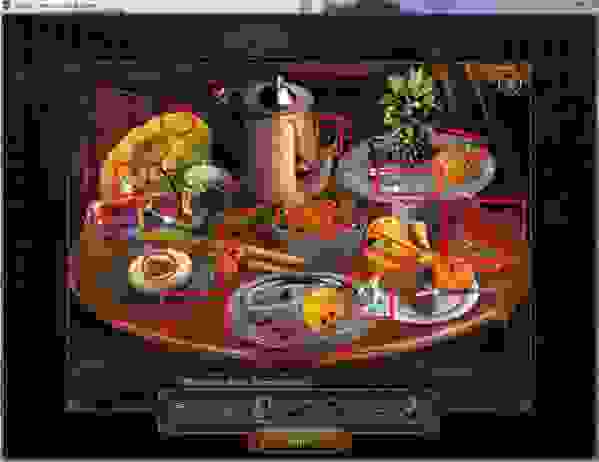
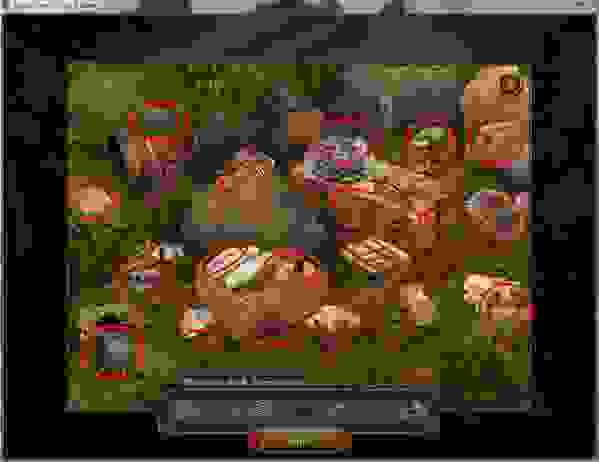
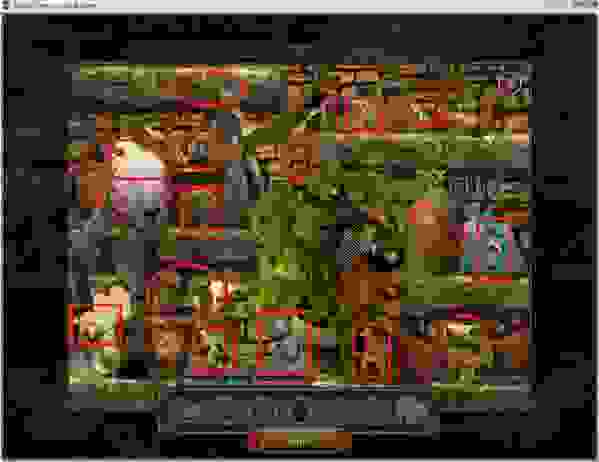
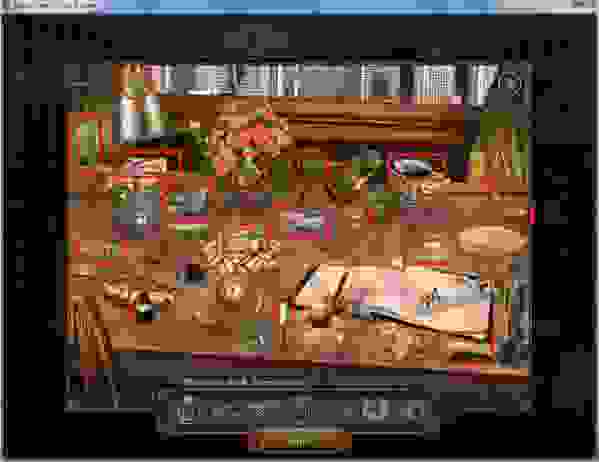
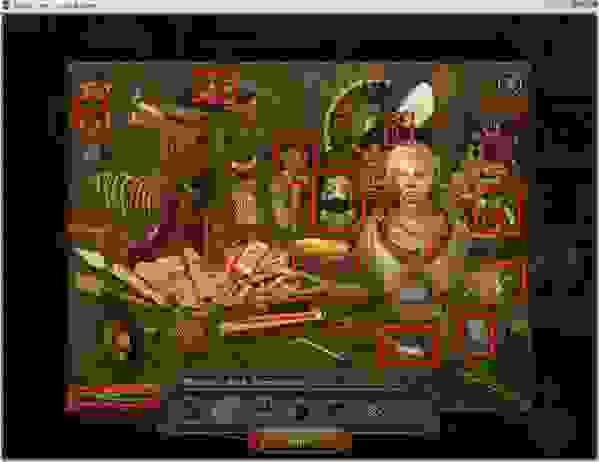
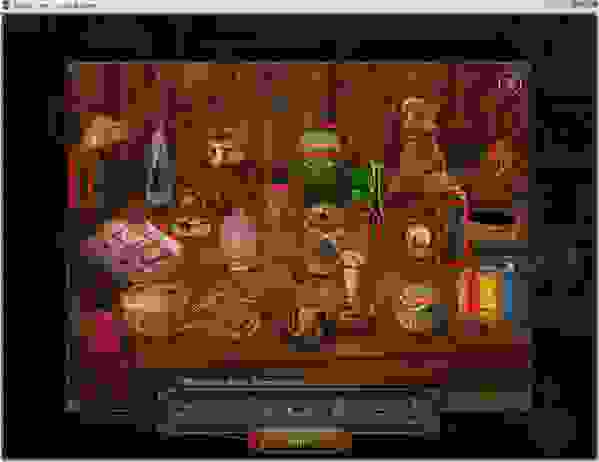
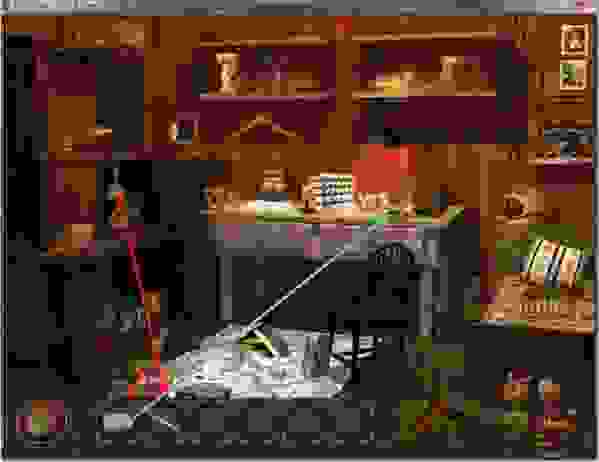
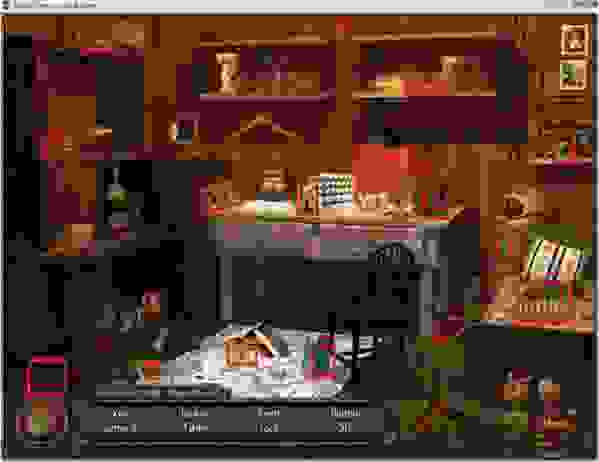
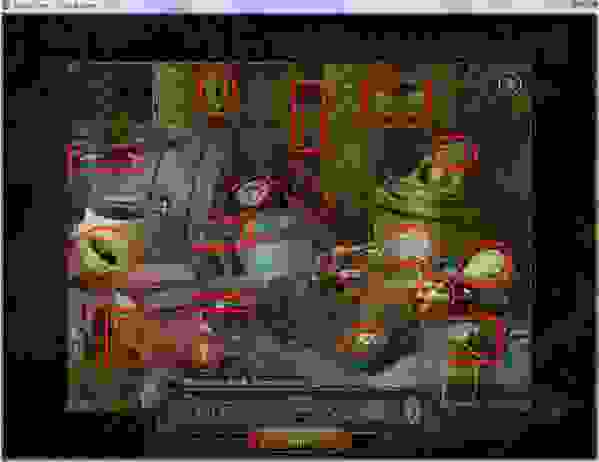
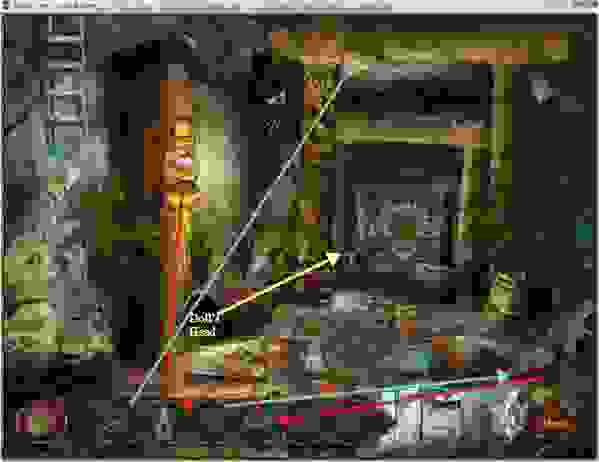
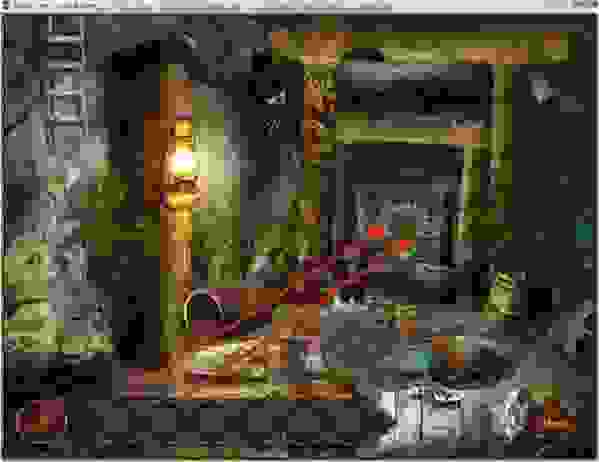
Table Mini Scene
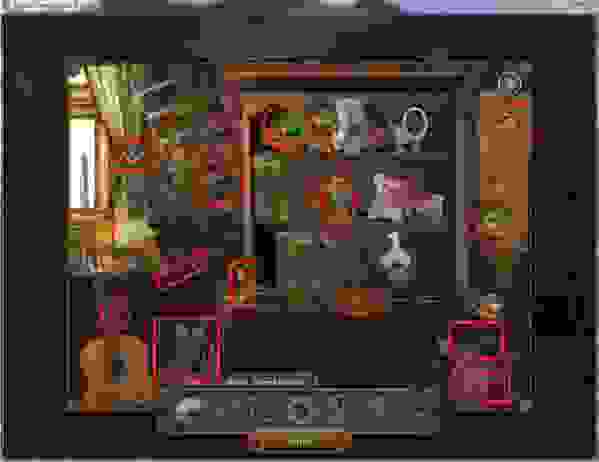
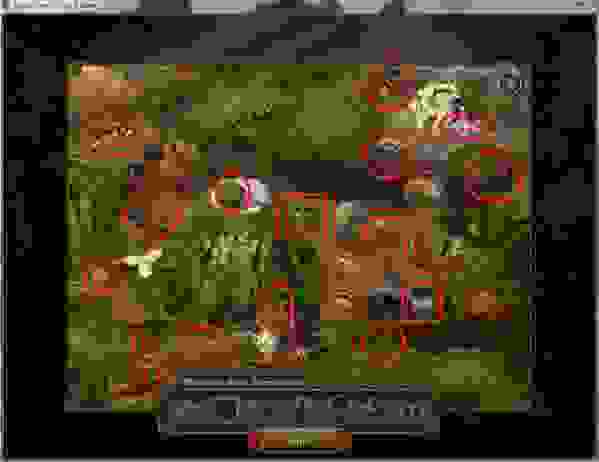
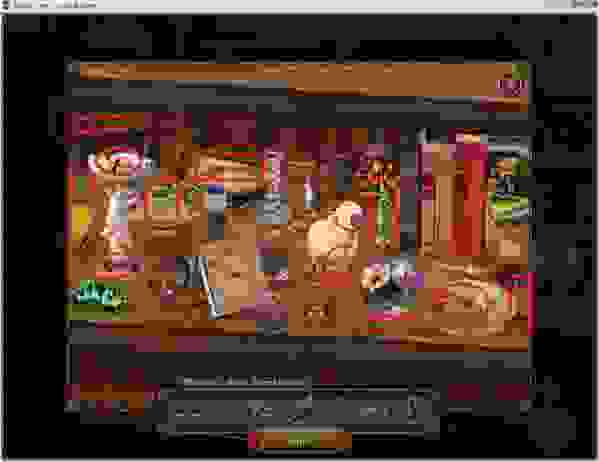
Bookcase Mini Scene
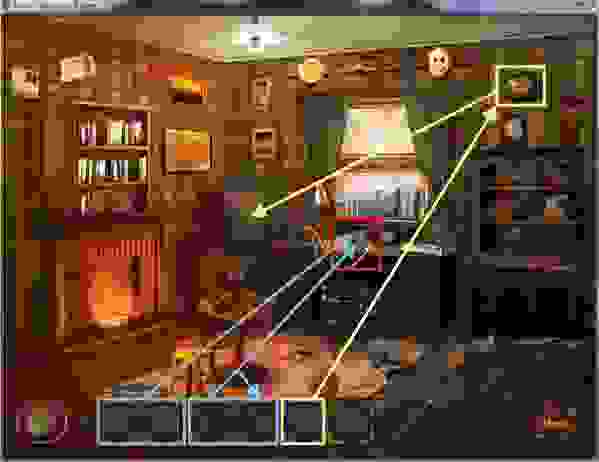
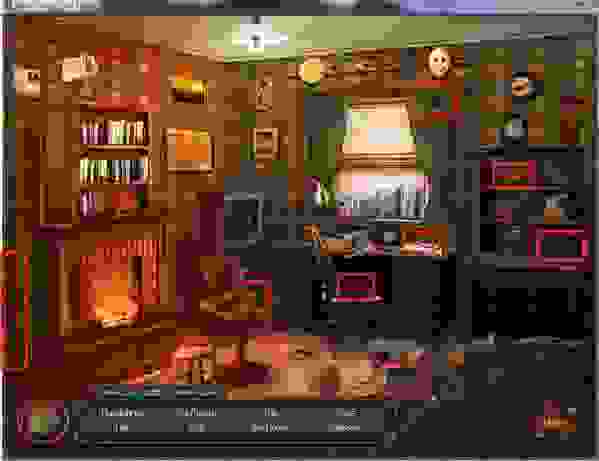
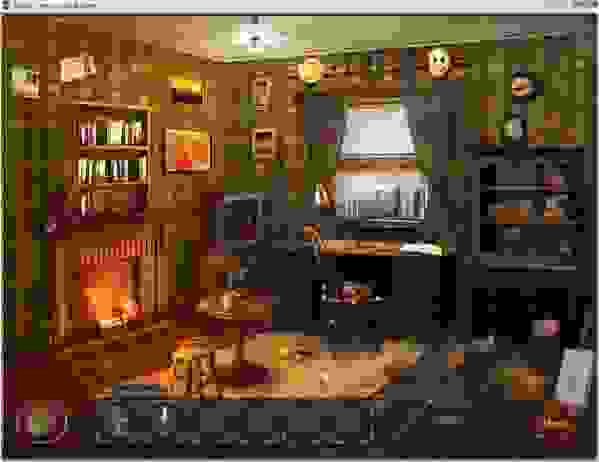
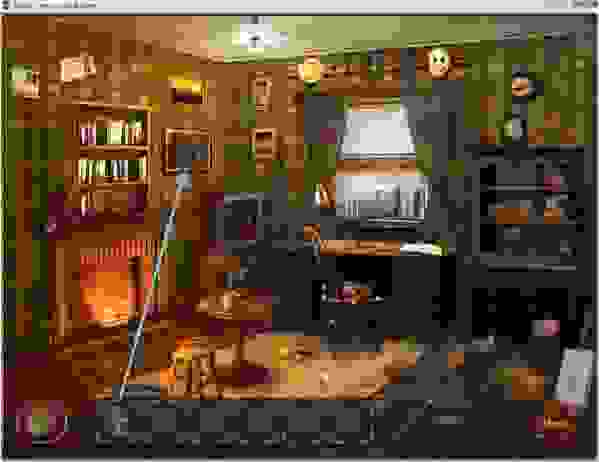
Back to the Apartment
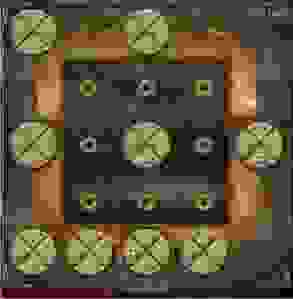
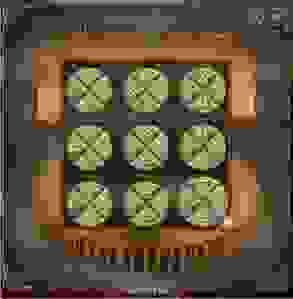
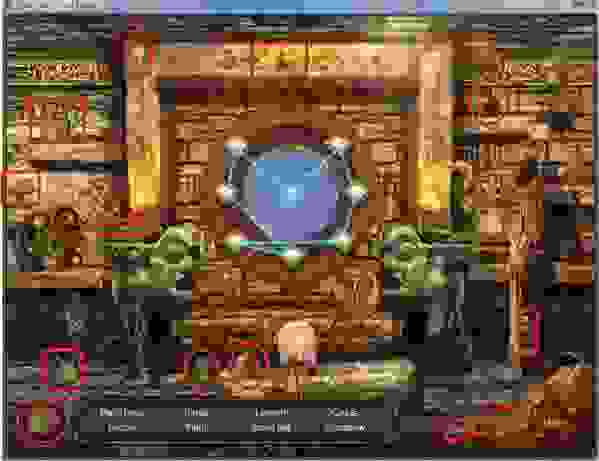
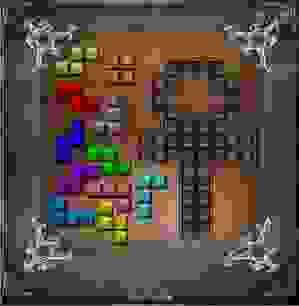
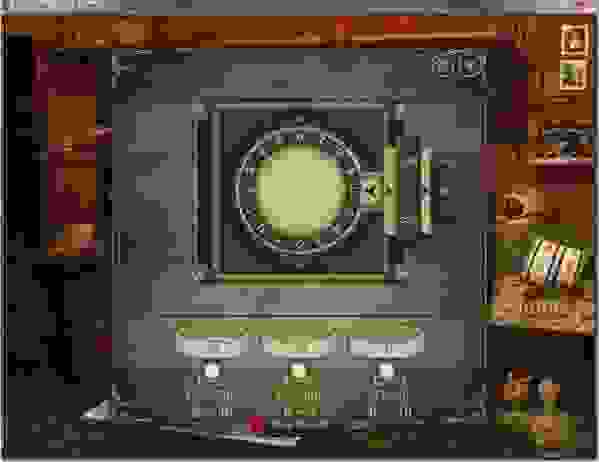
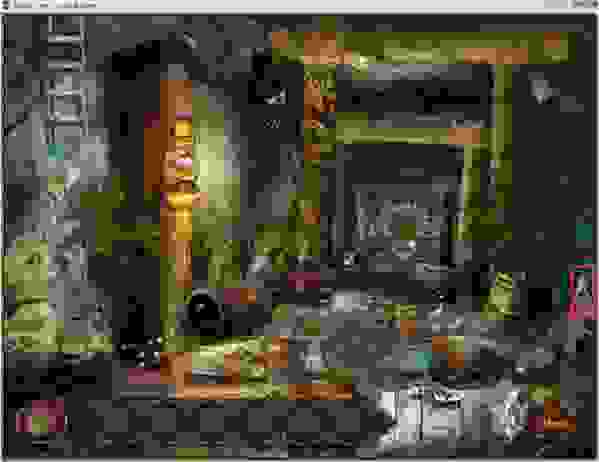
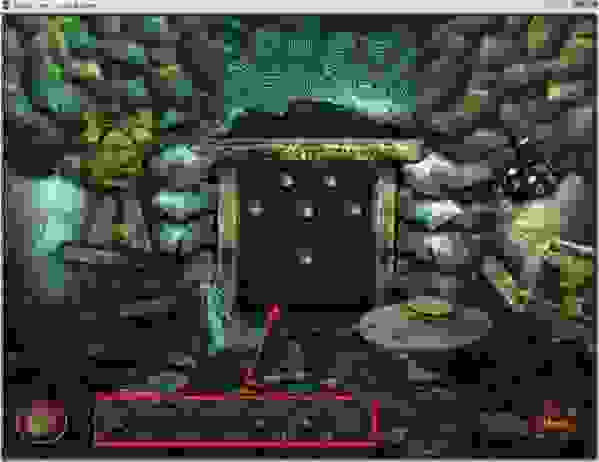
Safe Puzzle
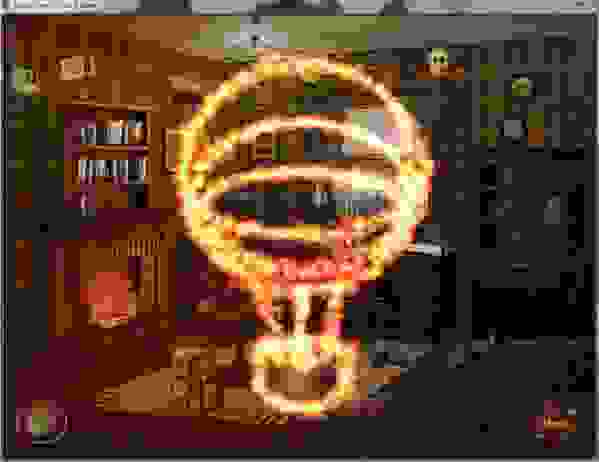
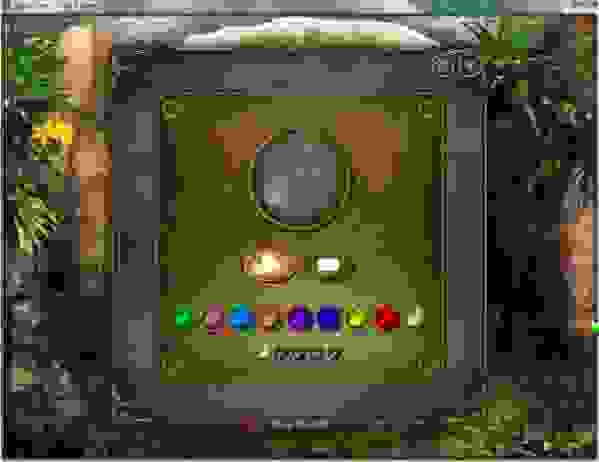
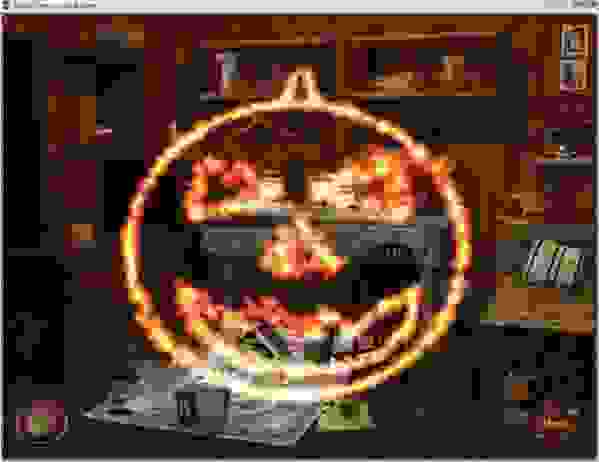
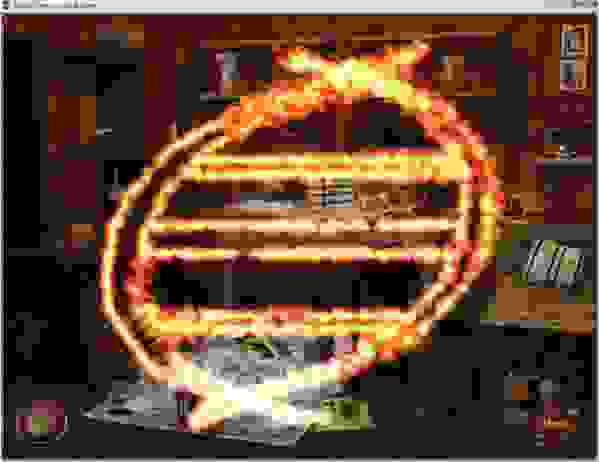
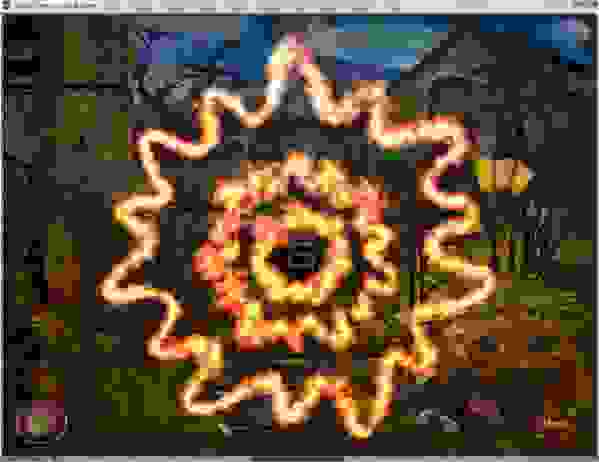
Magic Time
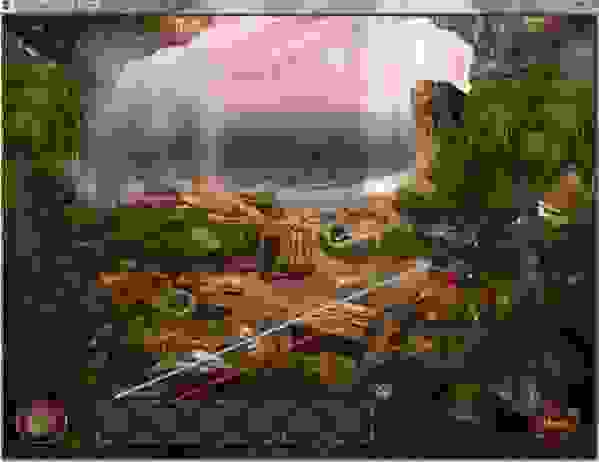
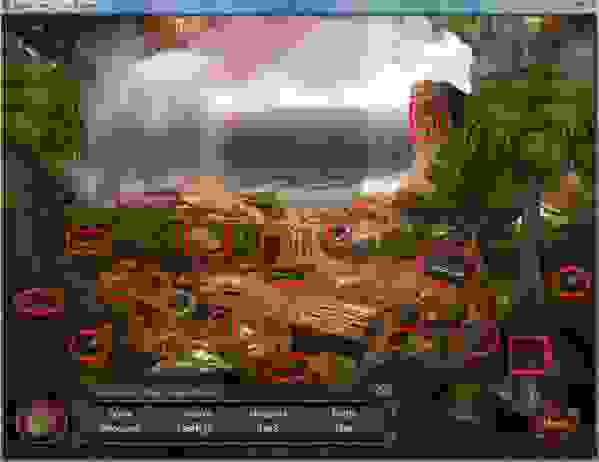
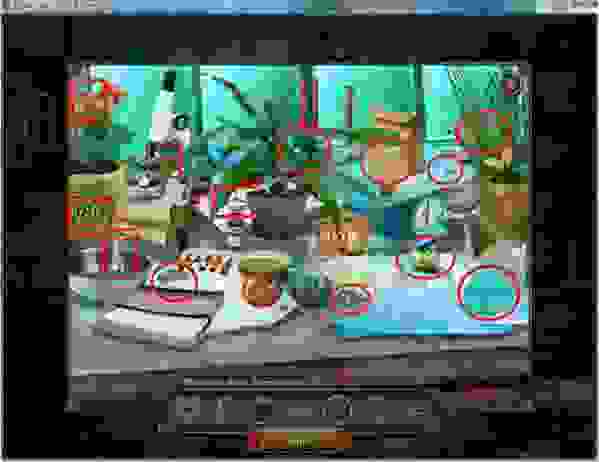
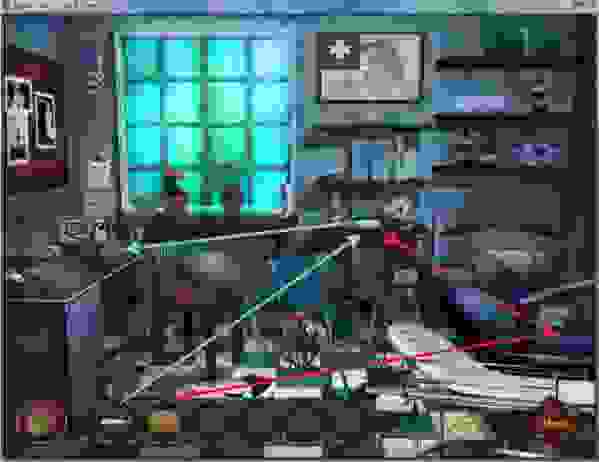
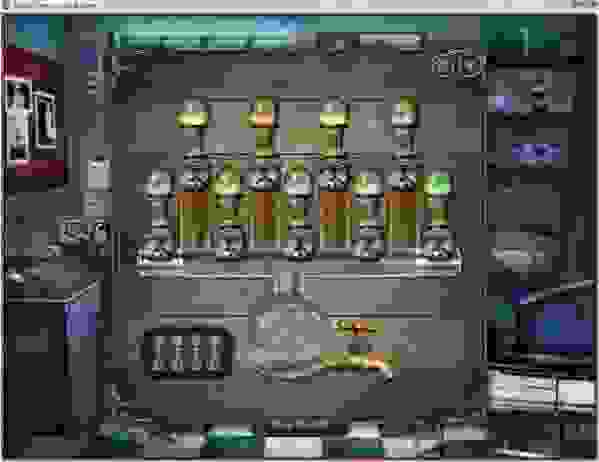
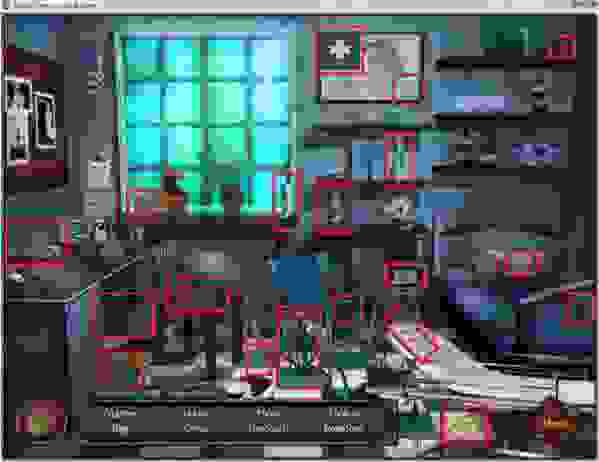
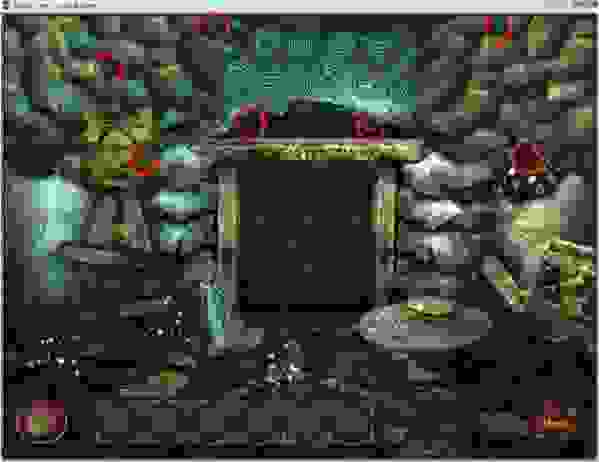
CHAPTER 2: Beached
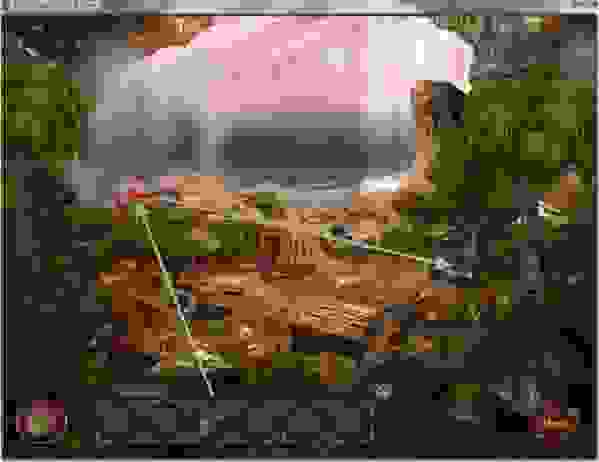
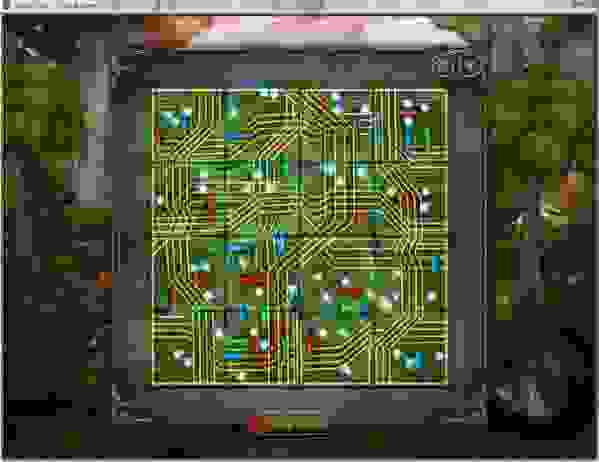
Circuit Board Puzzle
Magic Time
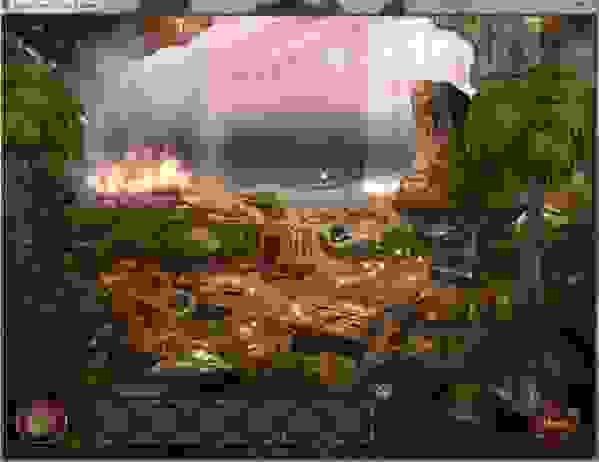
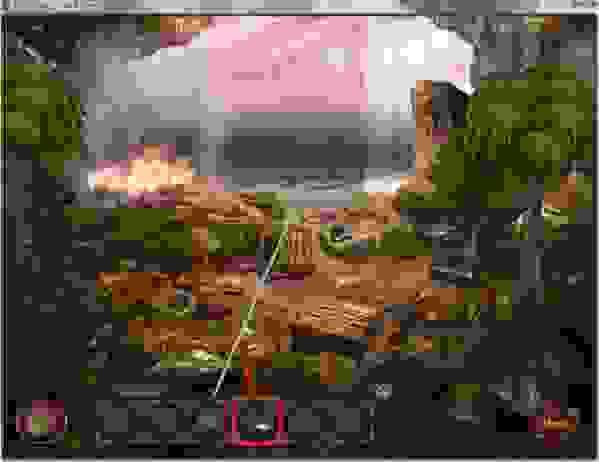
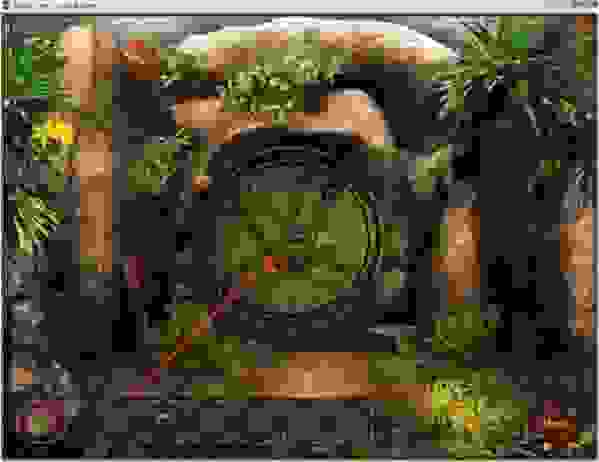
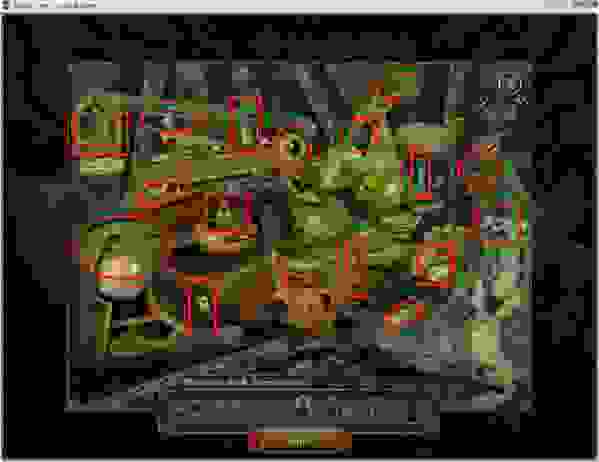
CHAPTER 3: Welcome to the Jungle


Repeat the Sequence Puzzle
Magic Time

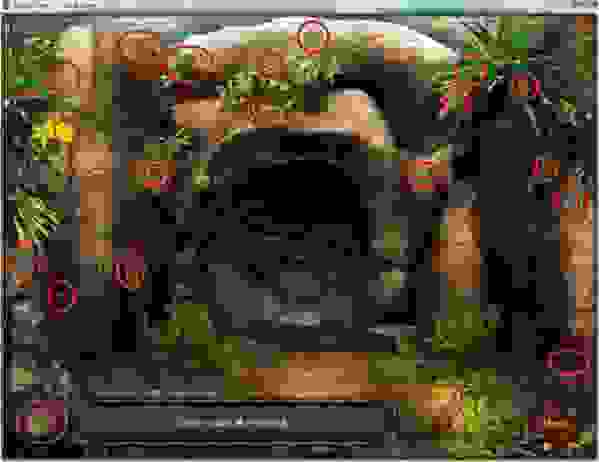
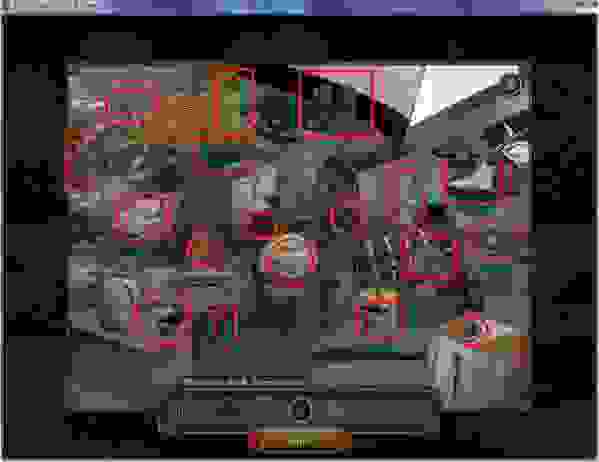
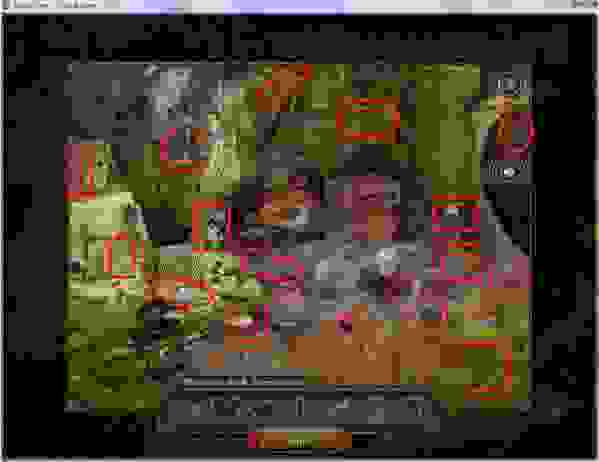
CHAPTER 4: The Ancient Cave
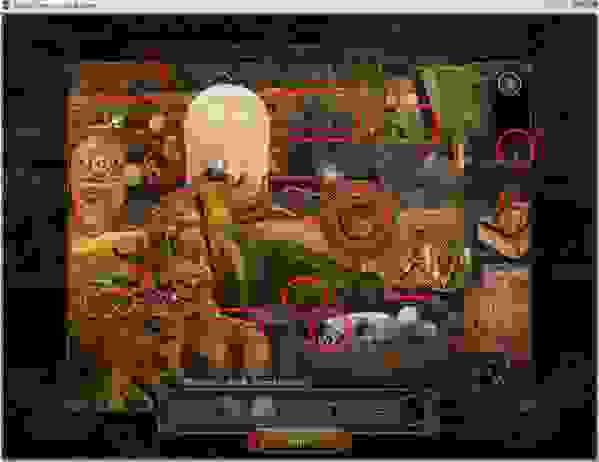
Critter Puzzle

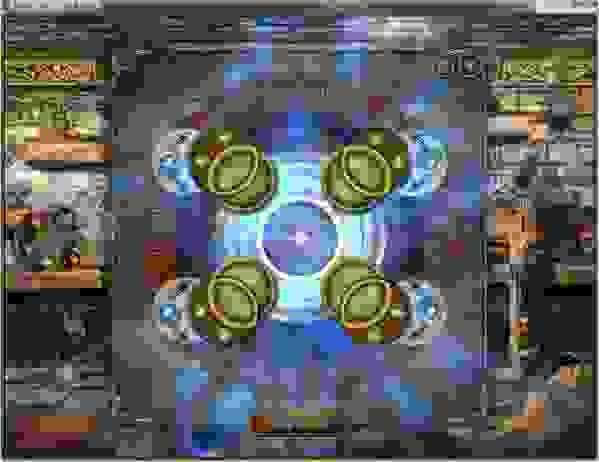
Magic Time

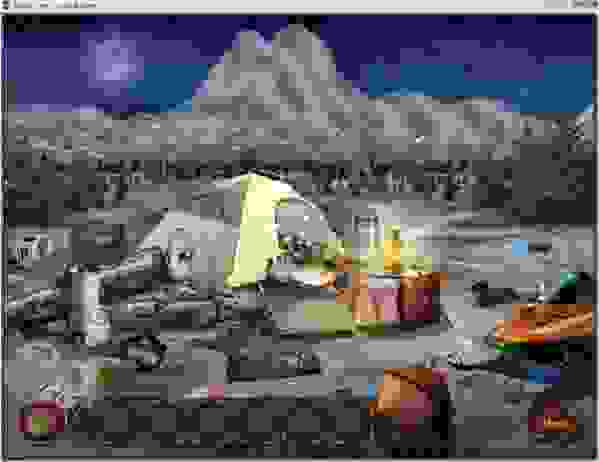
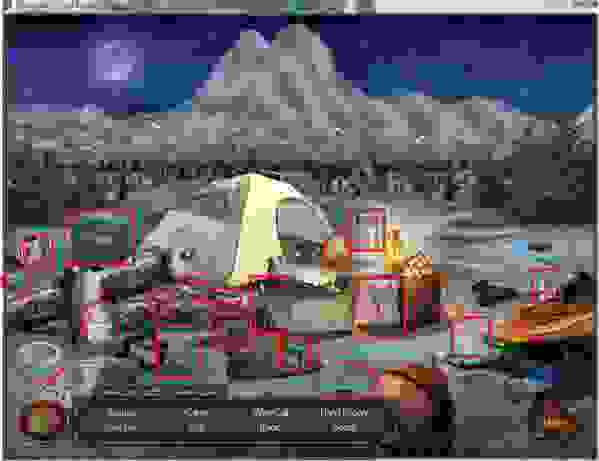
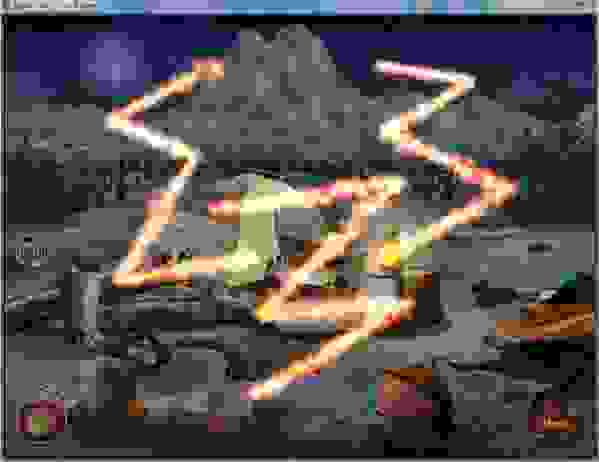
CHAPTER 5: Artic Campsite
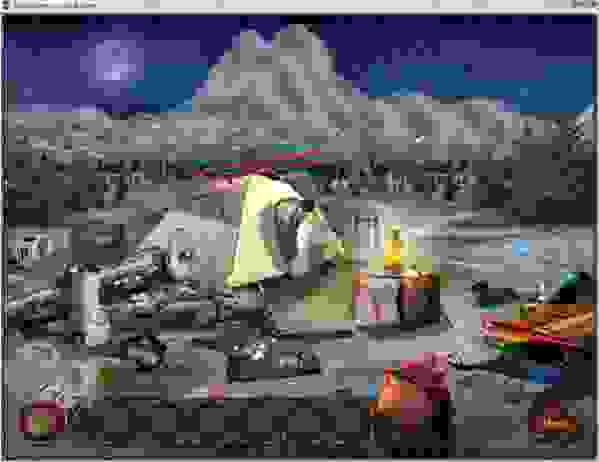

Hide and Seek Puzzle

Magic Time
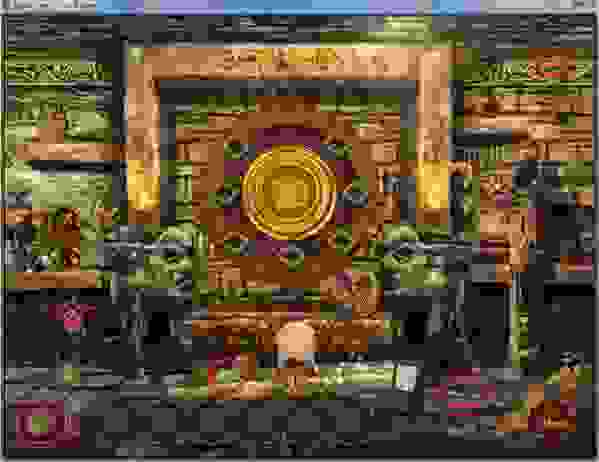
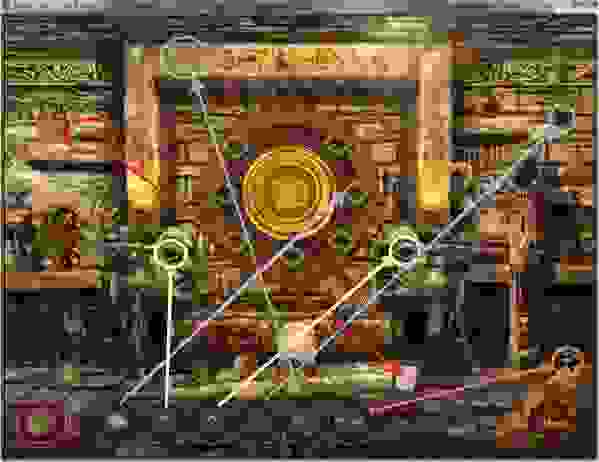
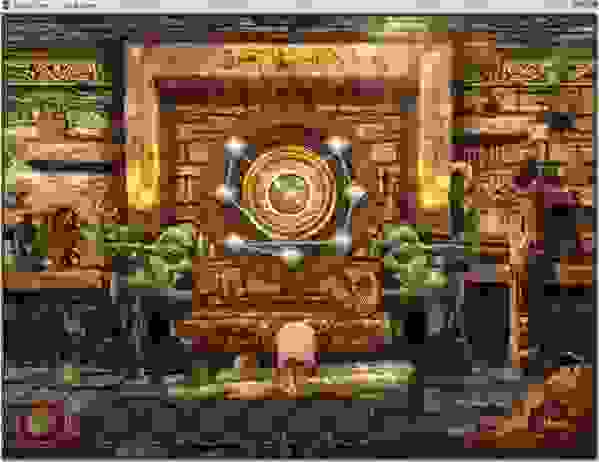
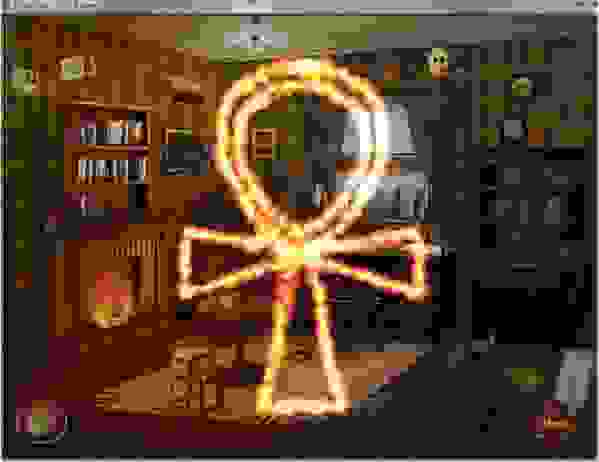
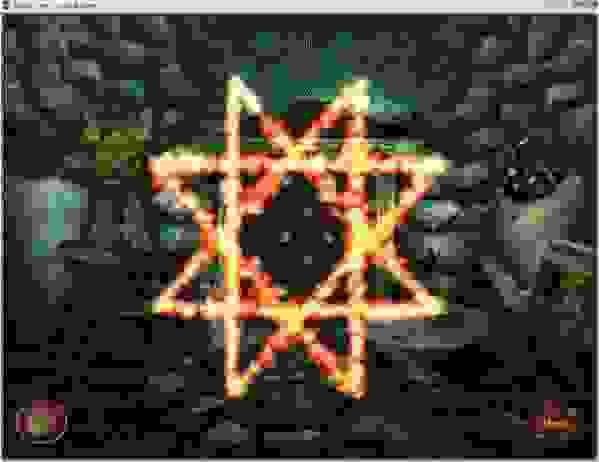
CHAPTER 6: The Mysterious Symbol
Ankh Puzzle

Magic Time
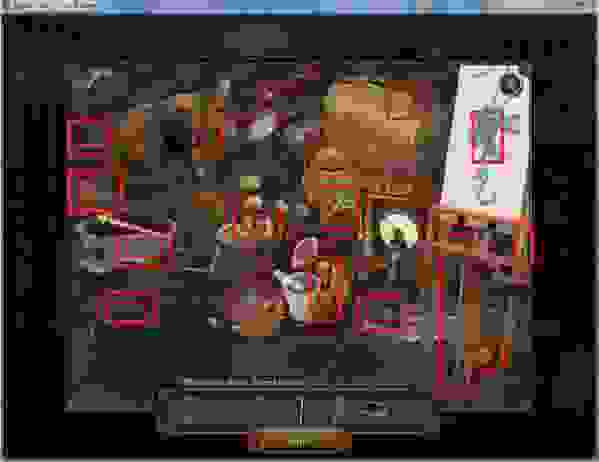
CHAPTER 7: Photo Sabotage
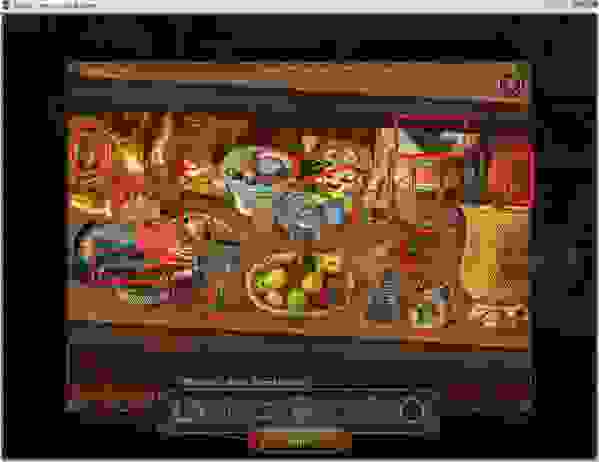
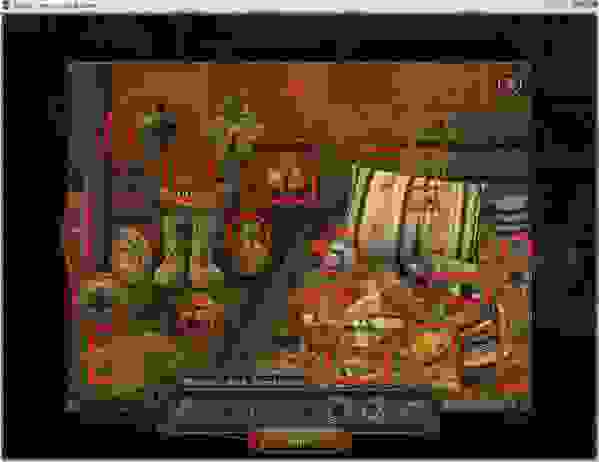
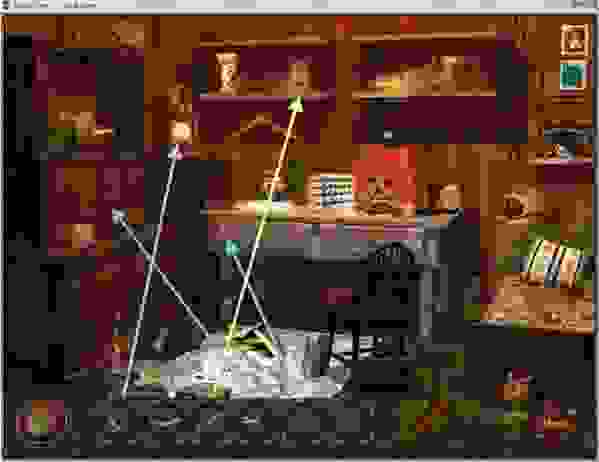
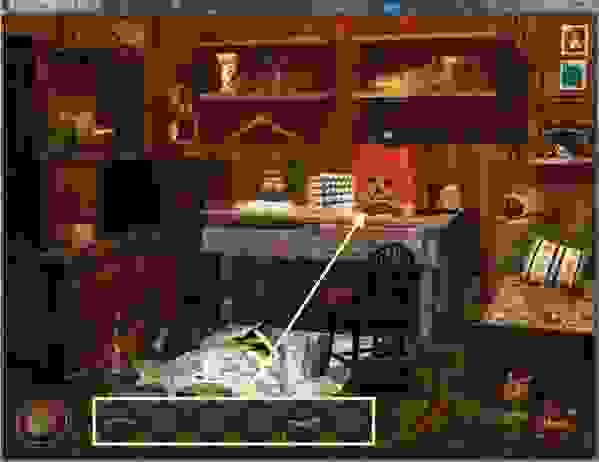
Photo Puzzle

Magic Time
CHAPTER 8: THE Unsanitary Sanitarium
Flask Puzzle
Magic Time

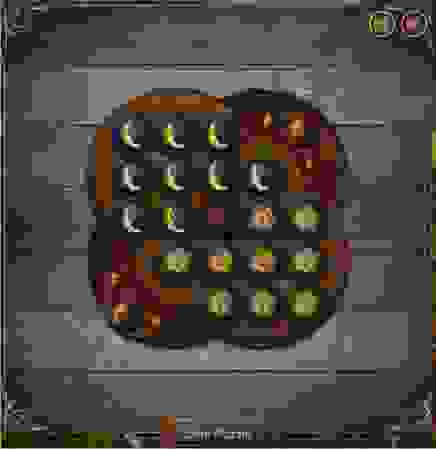
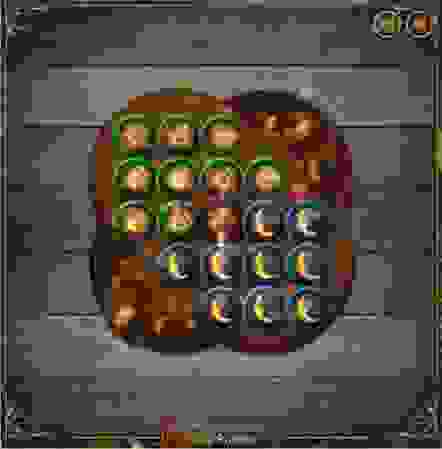
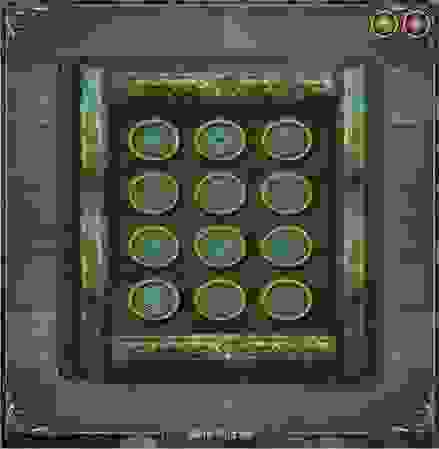
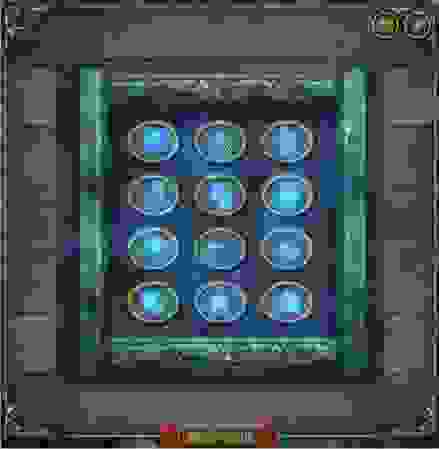
CHAPTER 9: The Breakthrough

Analysis Puzzle
Magic Time
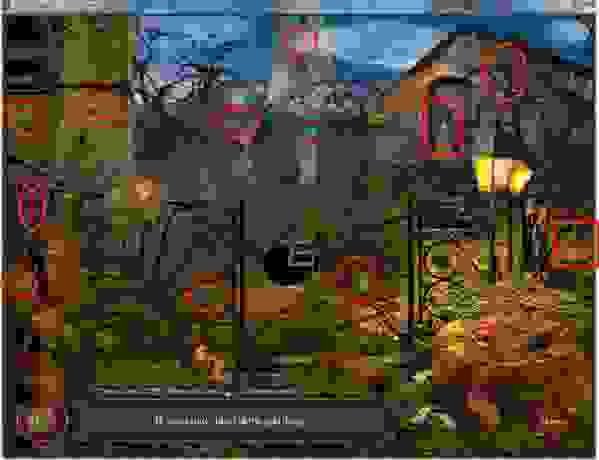
CHAPTER 10: The Dark Manor
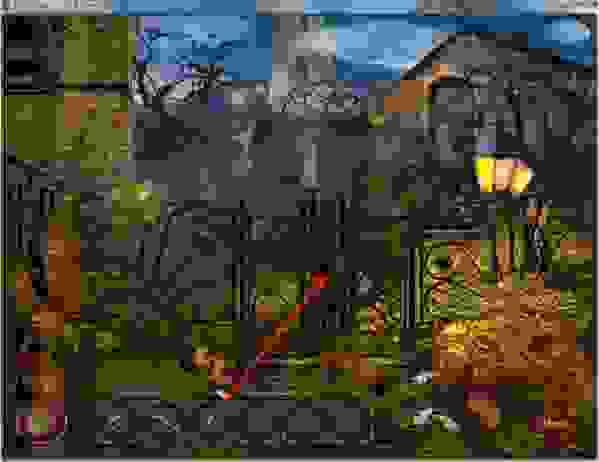
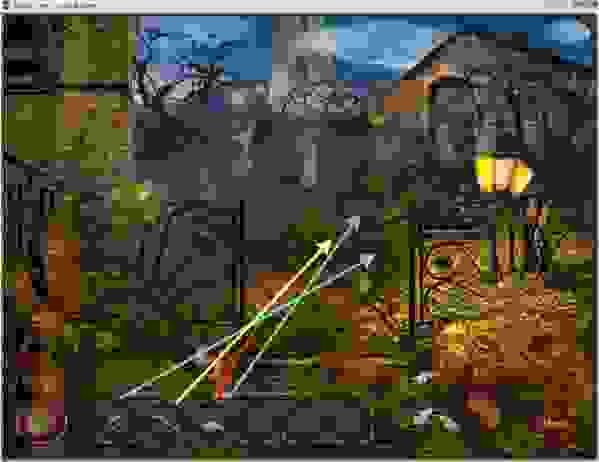
Night and Day Puzzle
Magic Time
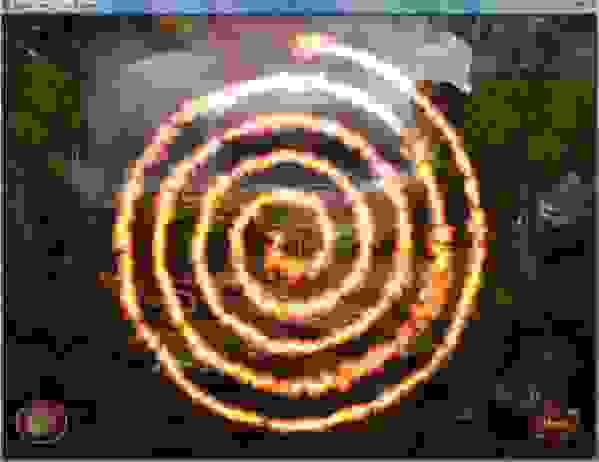
CHAPTER 11: Underground Passage
Spiral Maze Puzzle

Magic Time

CHAPTER 12: The Final Portal
Magic Time
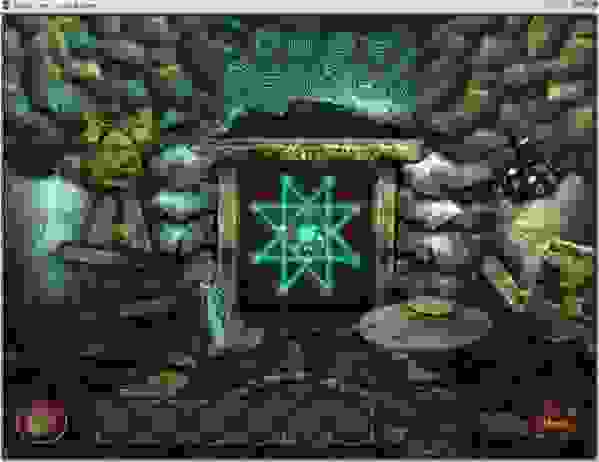
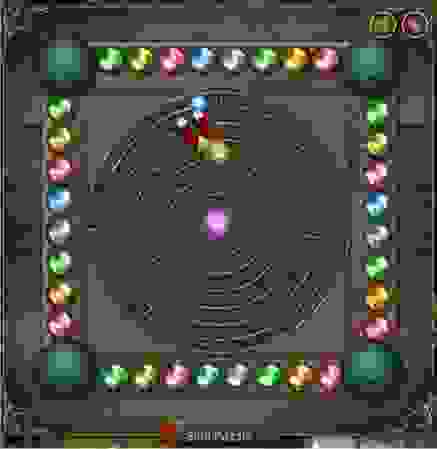
Magic Symbol Puzzle
CONGRATULATIONS………YOU FOUND GUSTAV.
“;
