![Digimon UP Tier List [Supports, Buddies, and Partners]](/wp-content/uploads/2026/07/digimon-up-tier-list.jpg "Digimon UP Tier List [Supports, Buddies, and Partners]")
Digimon UP Tier List [Supports, Buddies, and Partners]
These Digimon will get you UP the leaderboard.


![Haze Seas Boss Drops [Chances, Locations, and How to Spawn]](/wp-content/uploads/2026/07/haze-seas-boss-drops.jpg "Haze Seas Boss Drops [Chances, Locations, and How to Spawn]")

Welcome to the Mystery Trackers: Raincliff walkthrough on Gamezebo. Mystery Trackers: Raincliff is a Hidden Object Game played on the PC created by Elephant Games. This walkthrough includes tips and tricks, helpful hints and a strategy guide on how to complete Mystery Trackers: Raincliff.
Welcome to the Mystery Trackers: Raincliff walkthrough on Gamezebo. Mystery Trackers: Raincliff is a Hidden Object Game played on the PC created by Elephant Games. This walkthrough includes tips and tricks, helpful hints and a strategy guide on how to complete Mystery Trackers: Raincliff.
This hidden object game requires visiting several locations and using inventory items to advance play.
Main Menu:
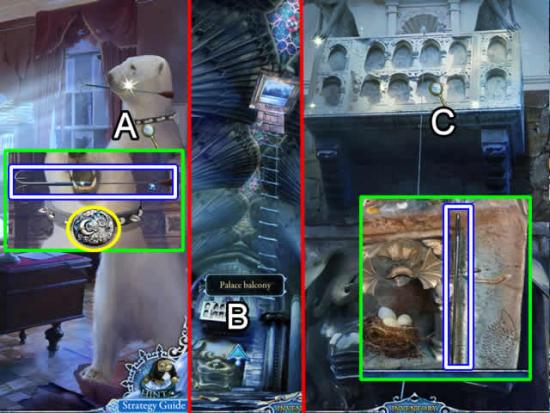
Screen Navigation:
Symbol Meanings:
A short clip explains the background and introduces the story line for play.
If you are not familiar with hidden object games, click “Yes” when asked if you would like a tutorial. This will show you how to interact with objects and characters. Also click “Yes” you want to obtain all of the achievements.
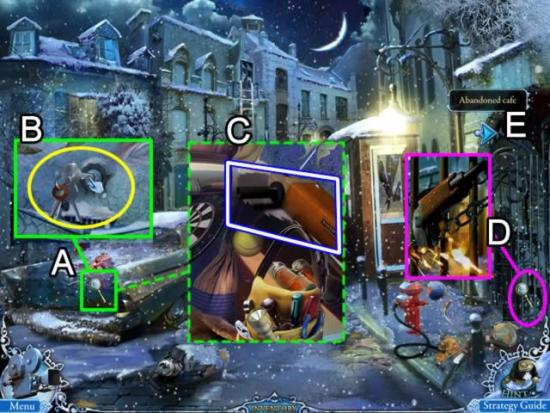
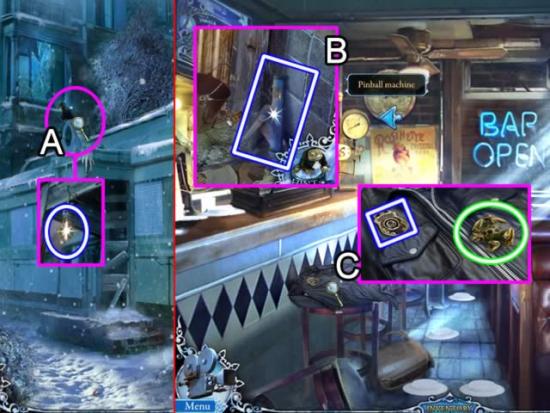
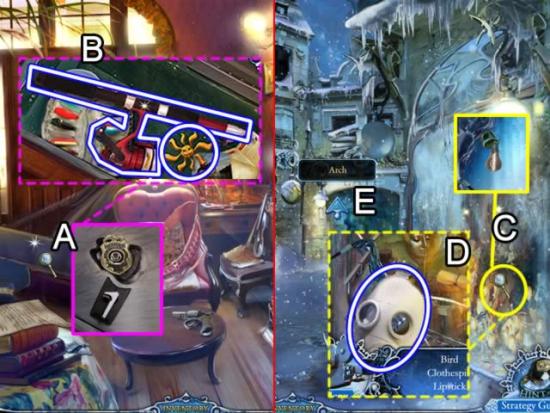
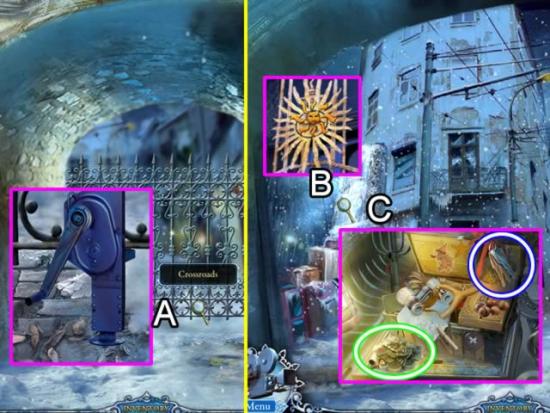
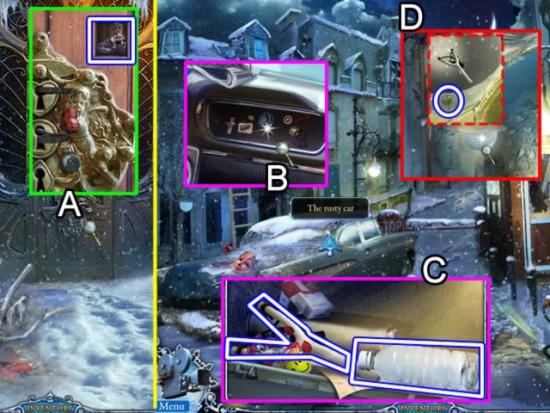
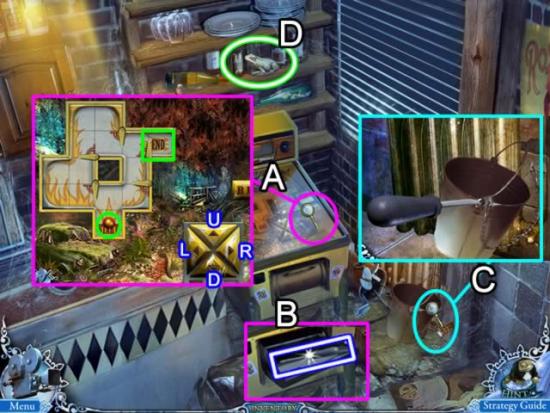
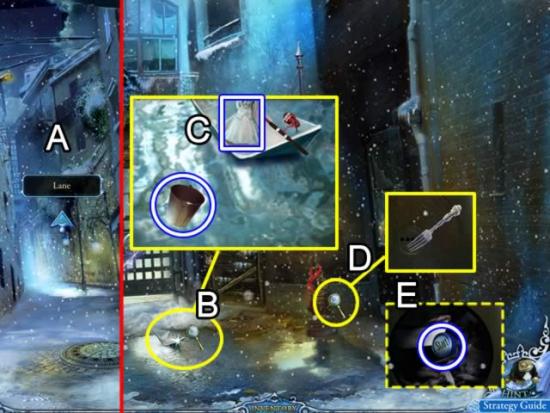
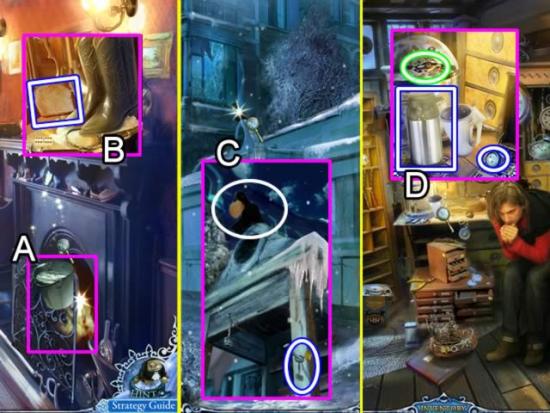
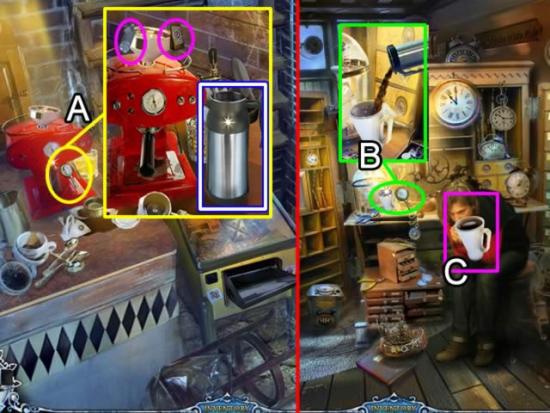
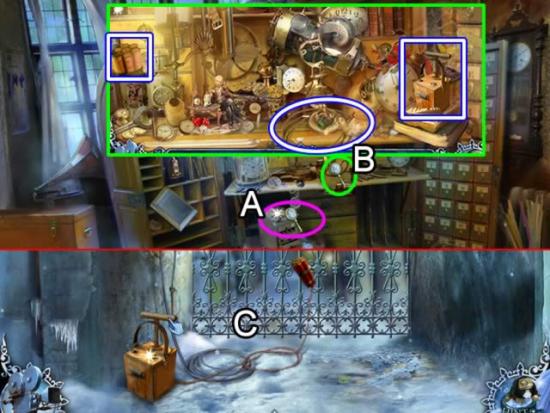
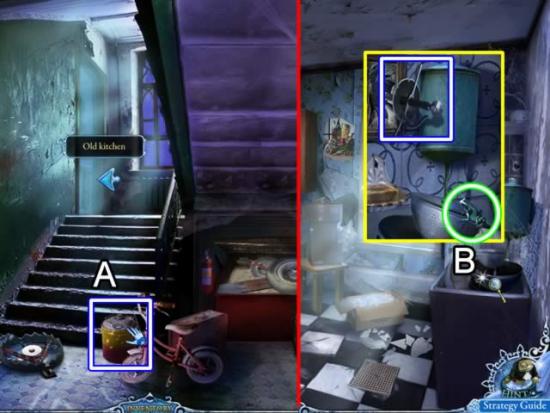
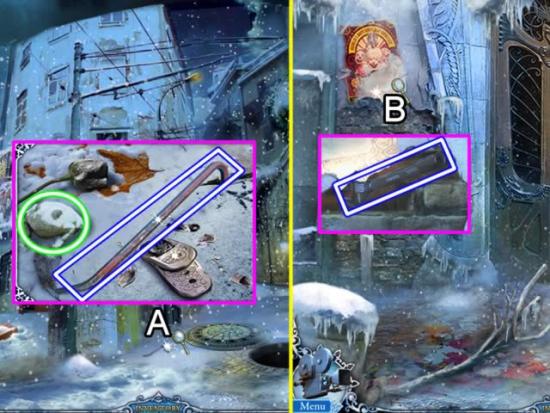
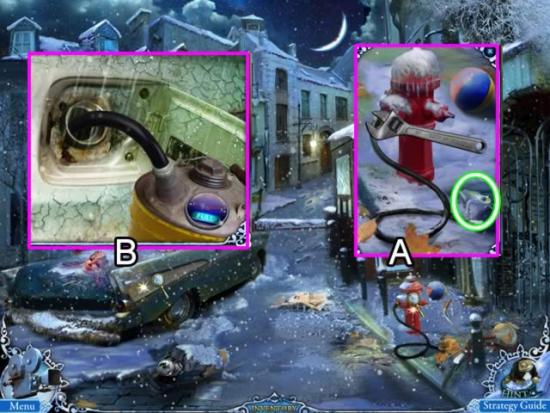
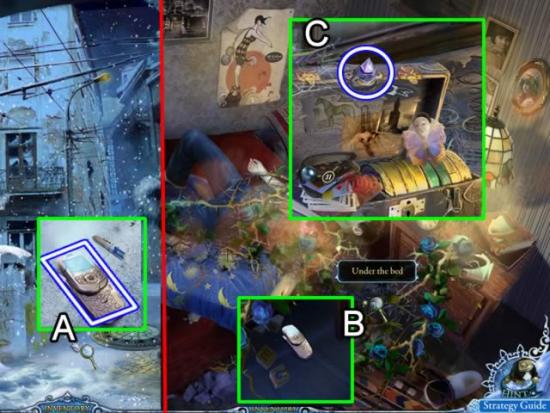
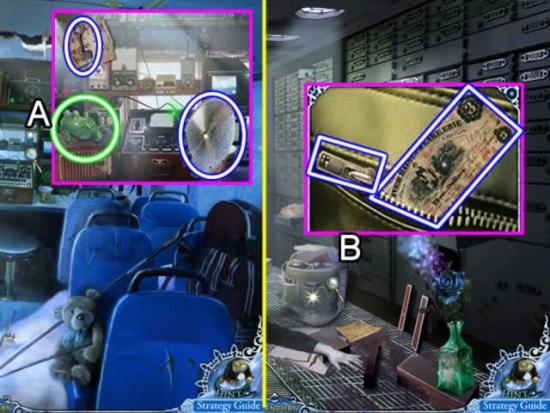
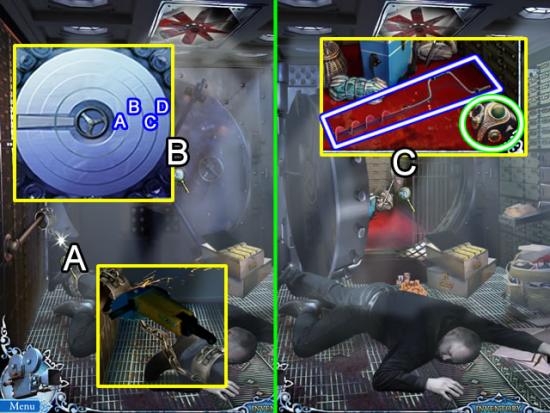
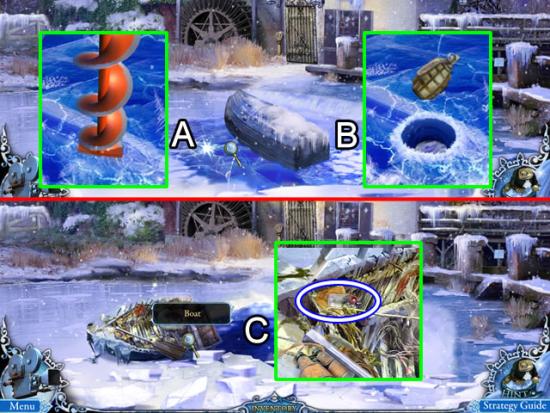
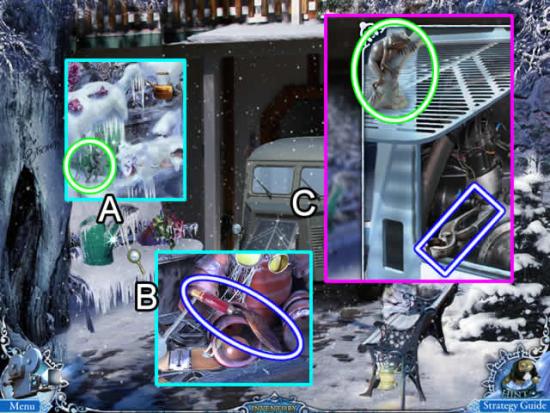
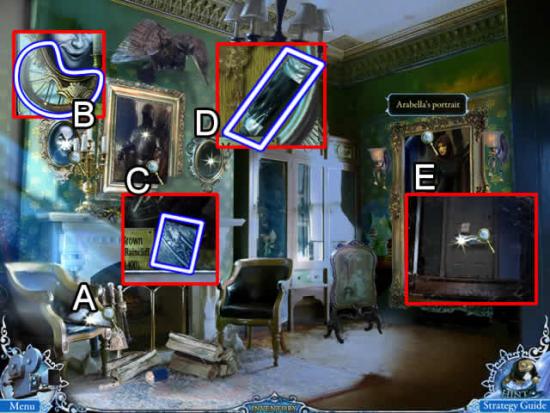
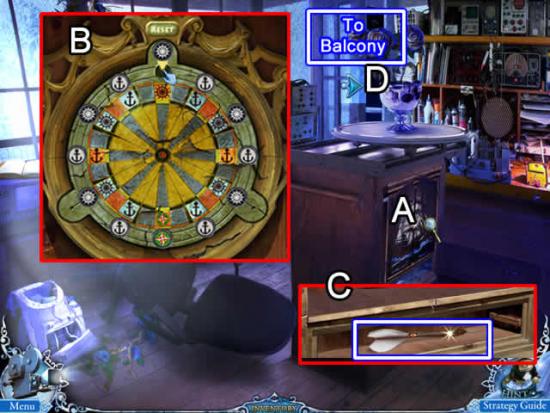
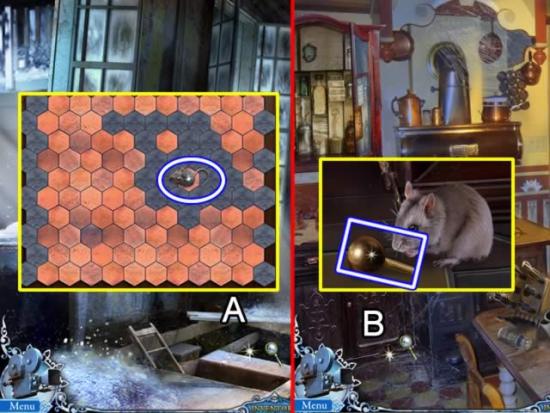
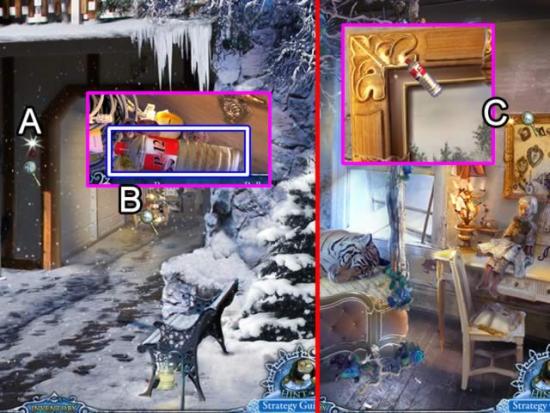
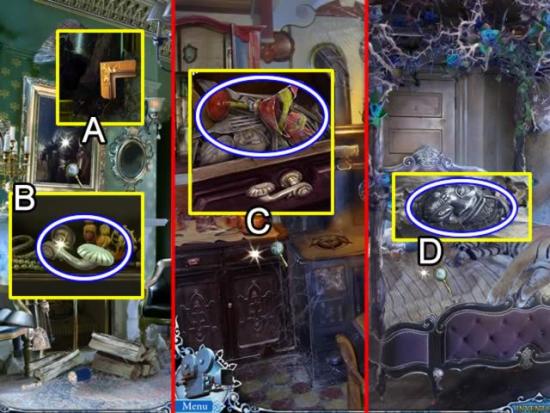
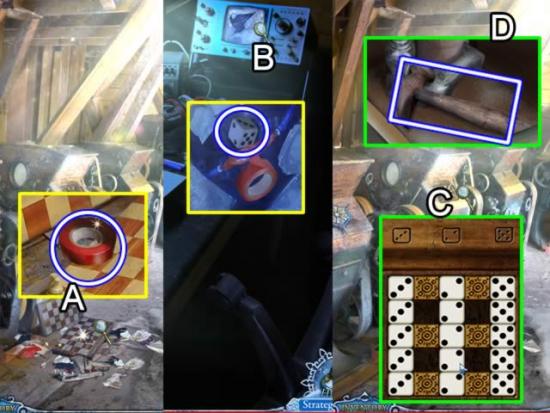
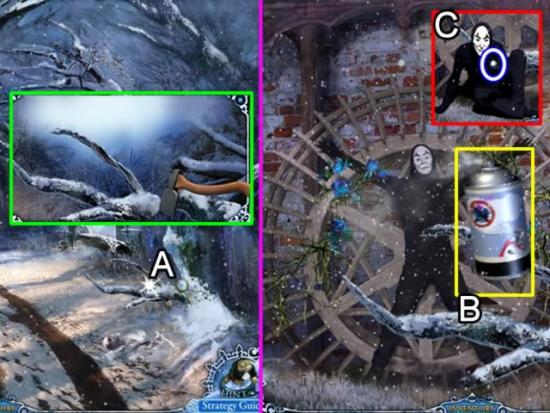
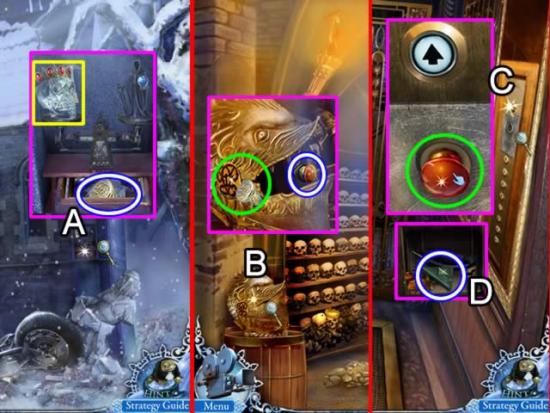
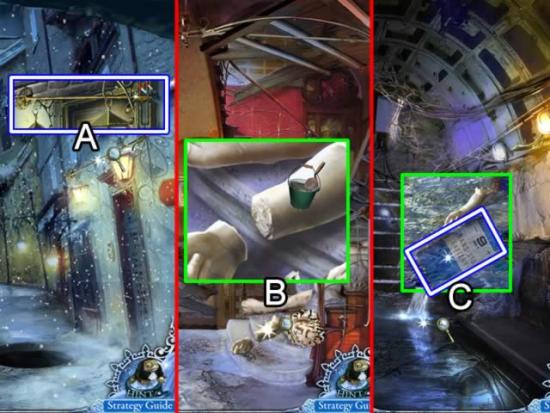
The objects for hidden object scenes are randomly generated. That is why only inventory items are shown. They are highlighted in white with a blue border.
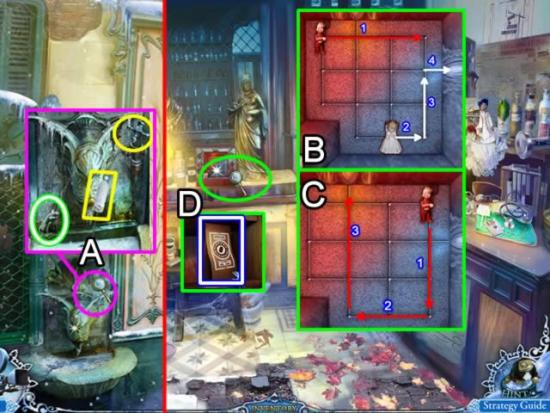
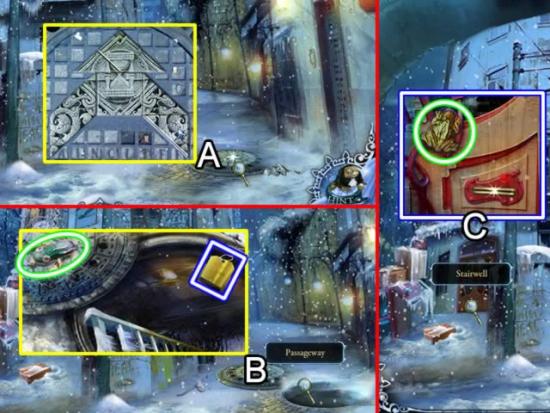
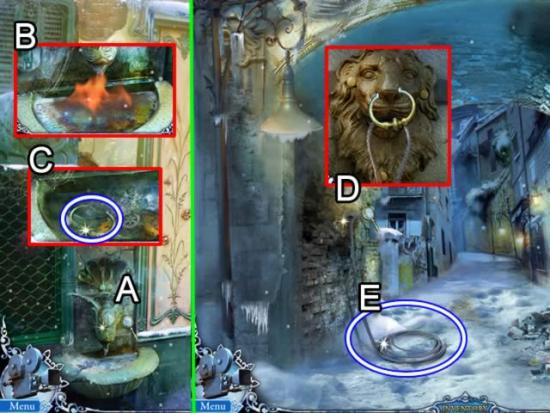
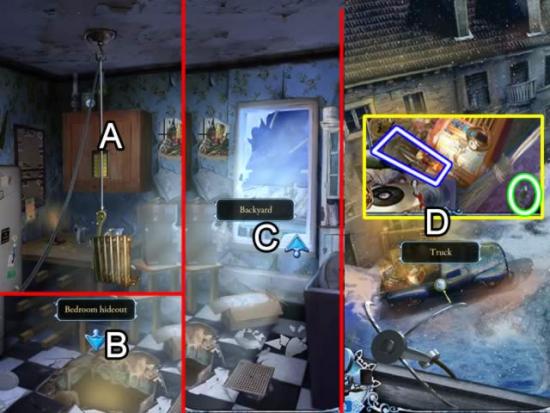
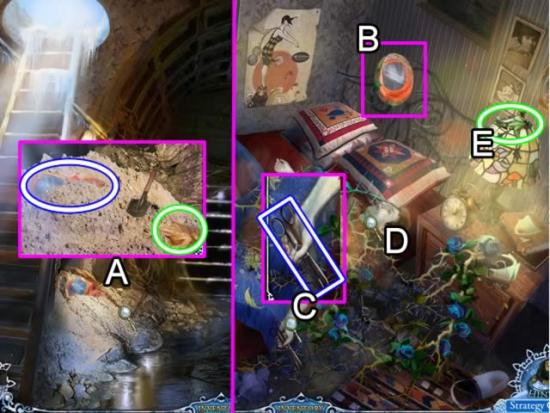
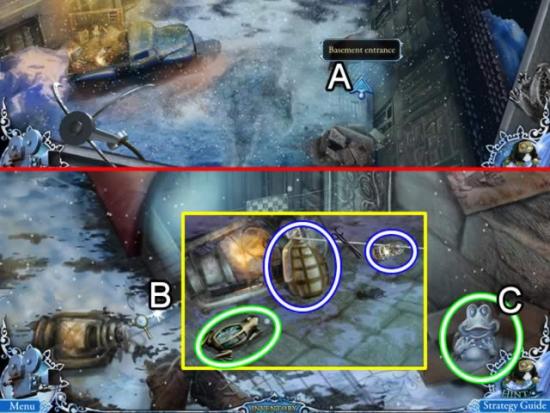
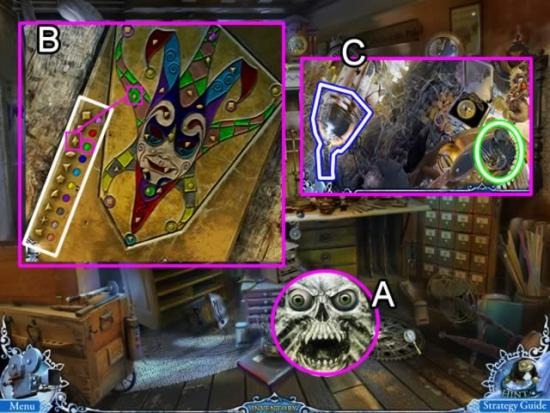
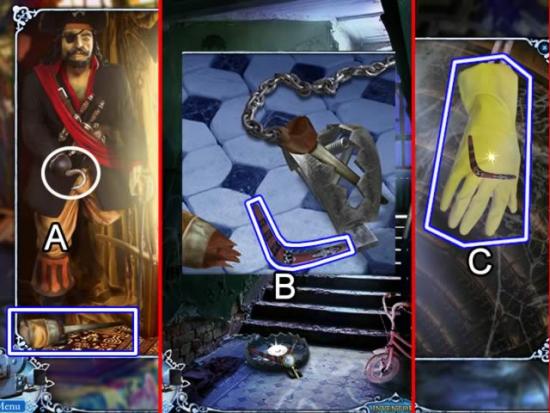
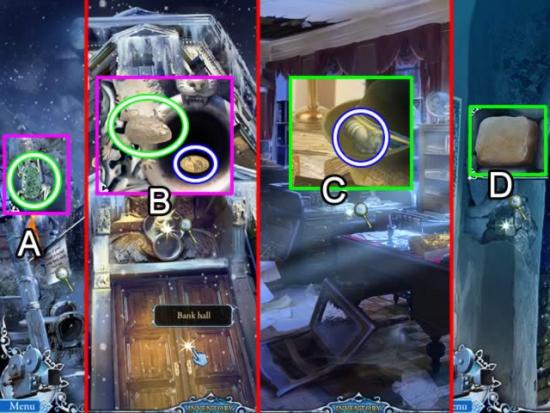
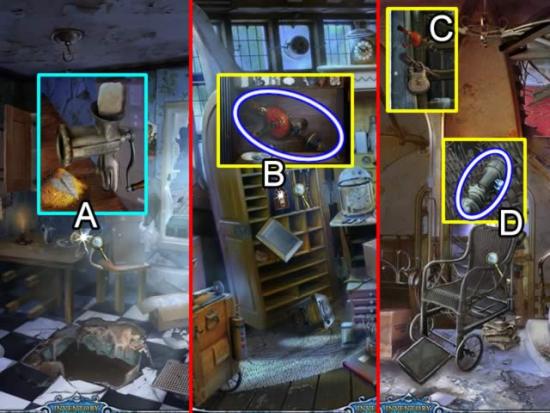
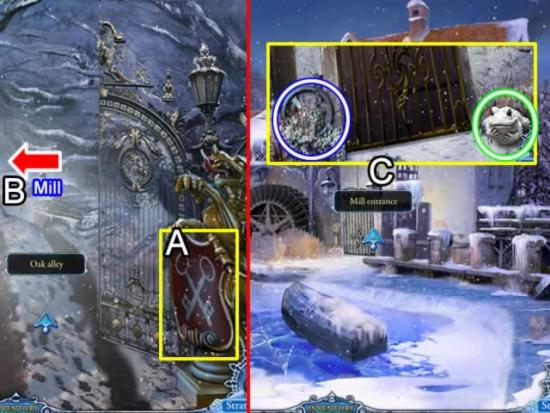
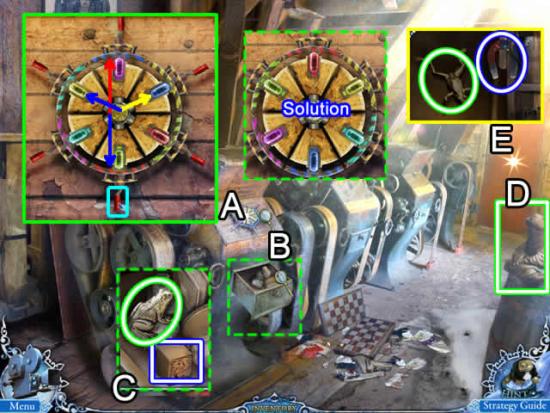
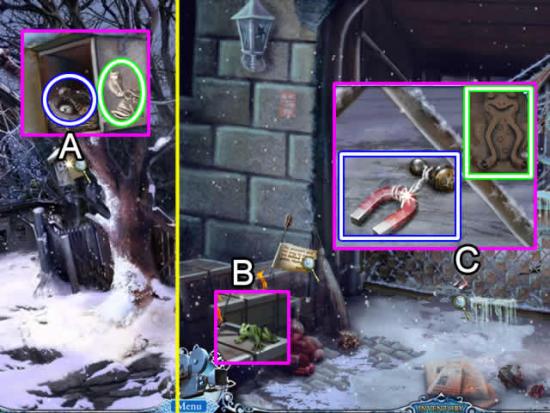
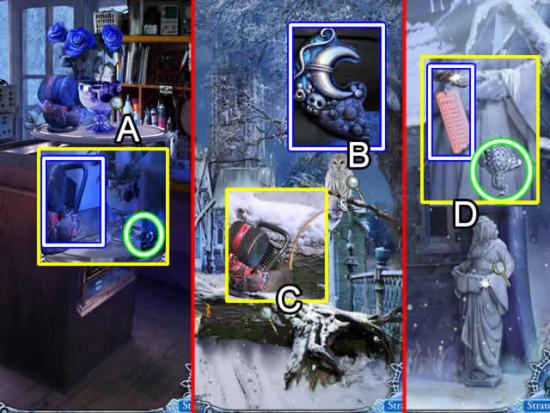
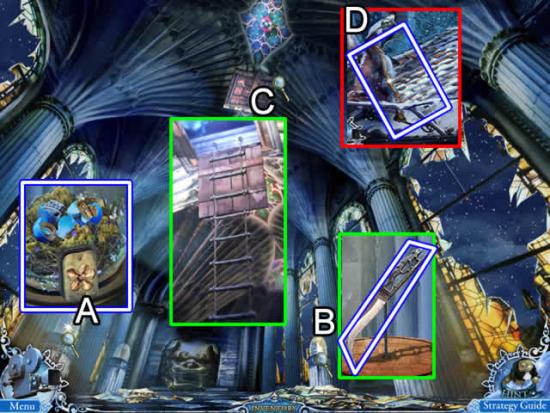
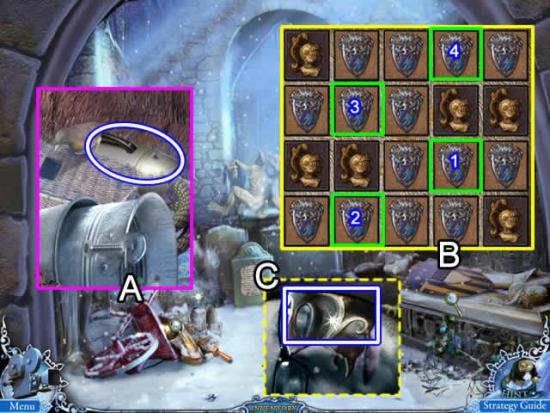
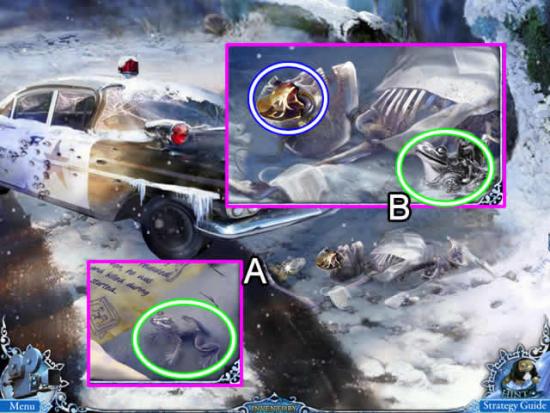
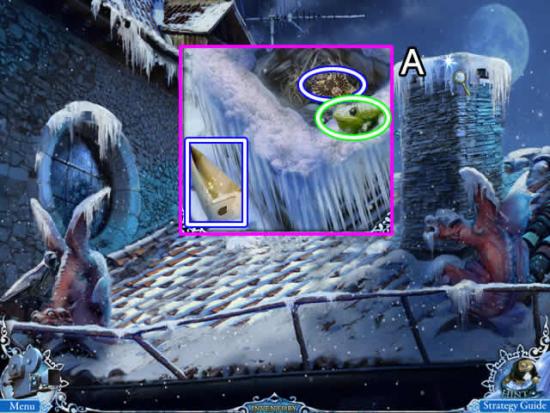
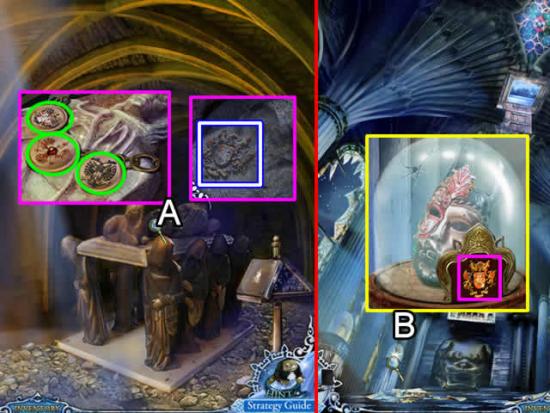
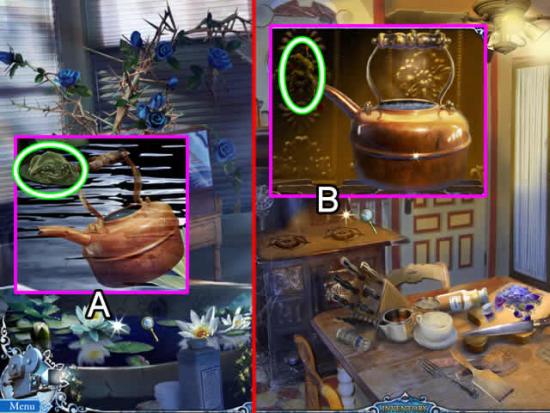
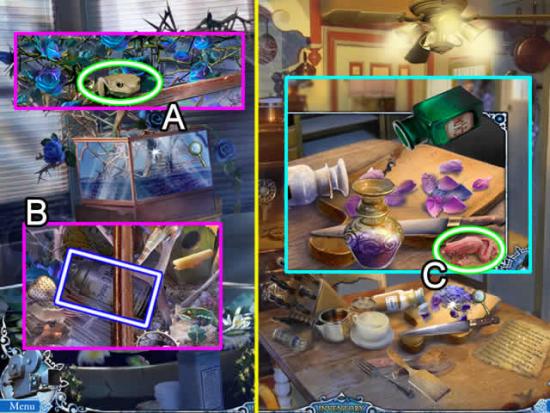
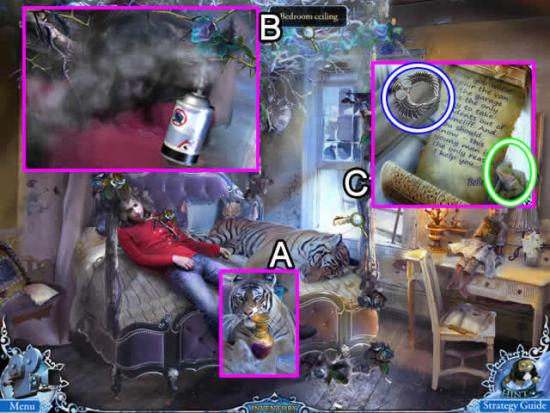
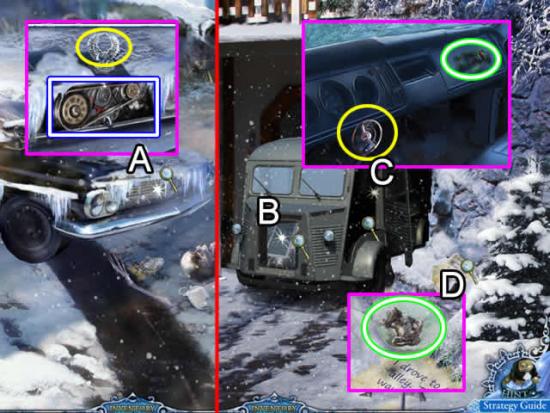
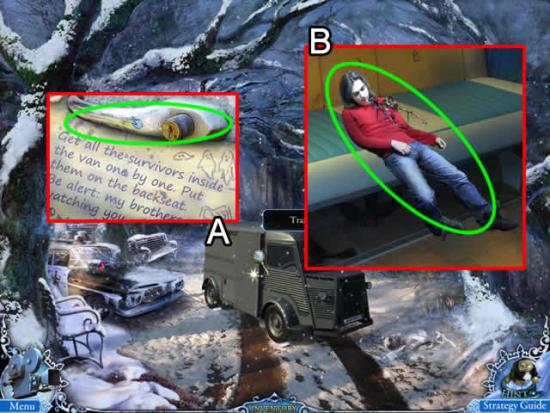
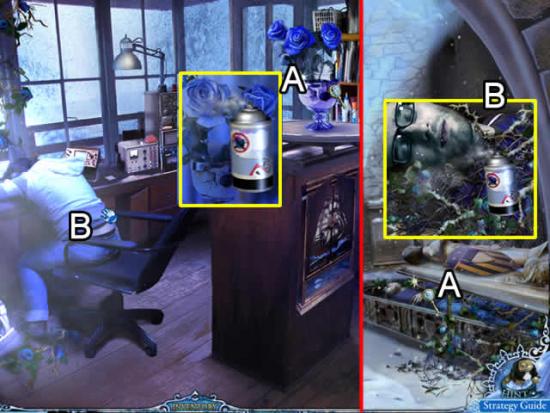
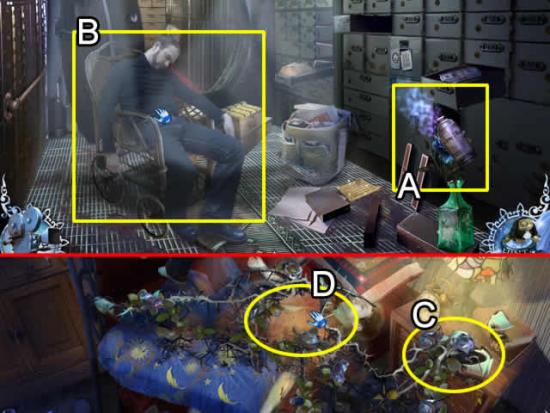
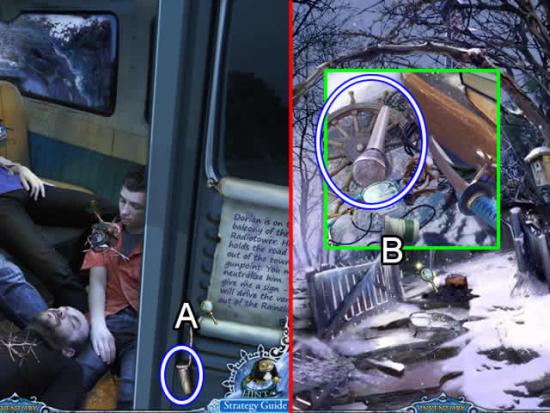
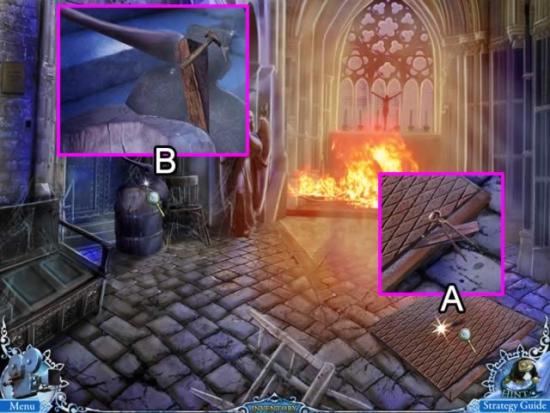
With the exception of a hidden object area, most inventory items are not collected from a scene until they are needed. This includes the hidden frogs. Collected frogs are not numbered in this guide as you may pick them up in a different order. Frogs are highlighted in white with a green border. When you encounter a frog in a scene, always collect it first: scenes close automatically when a task is complete and you may not be able to access the scene again.
Assumptions:

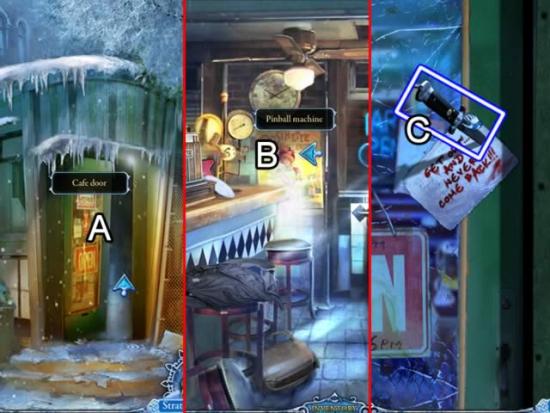
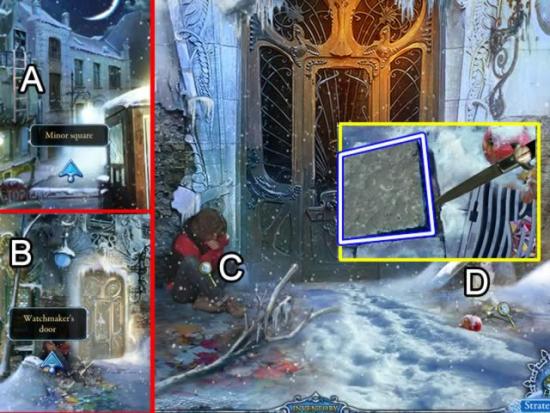
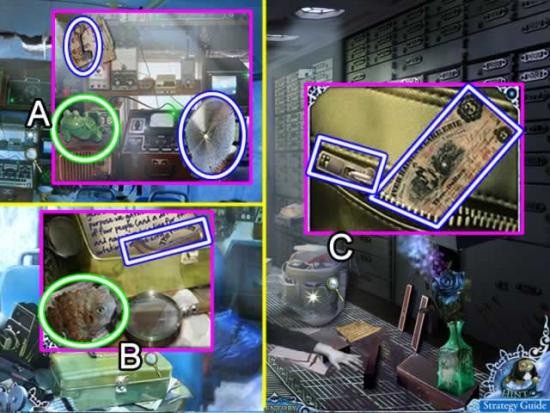
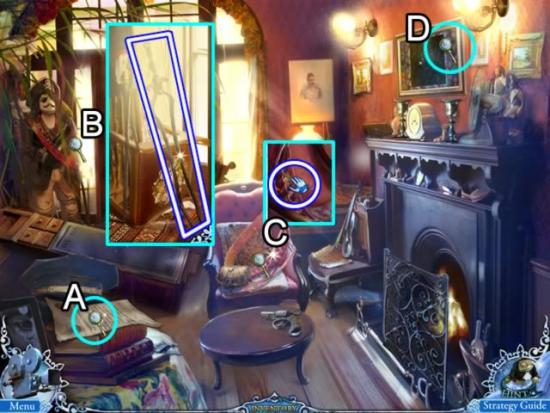
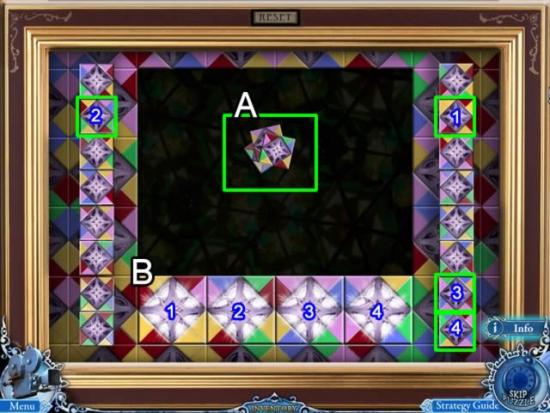
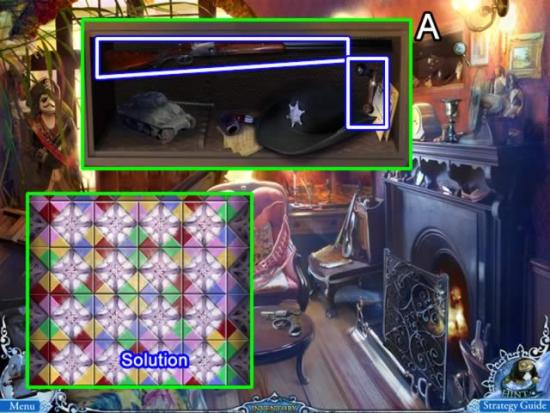
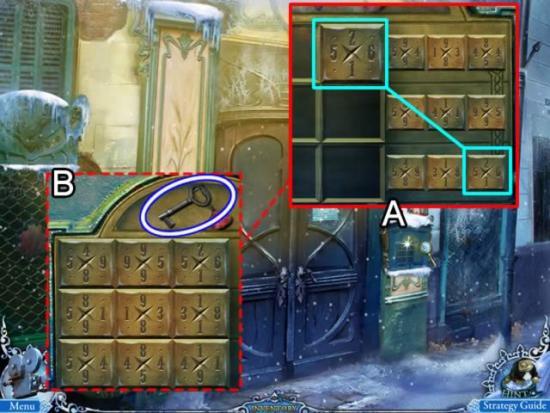

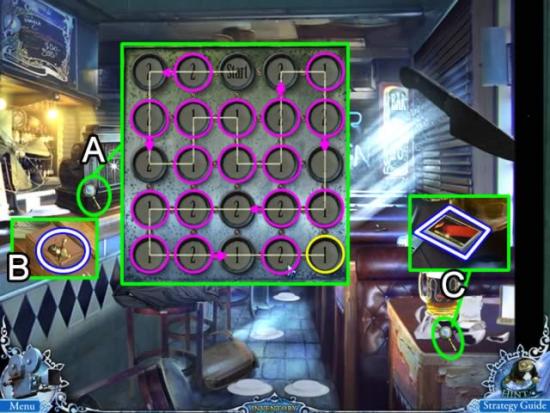
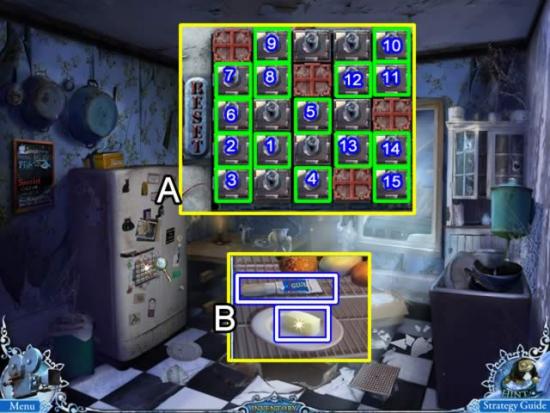

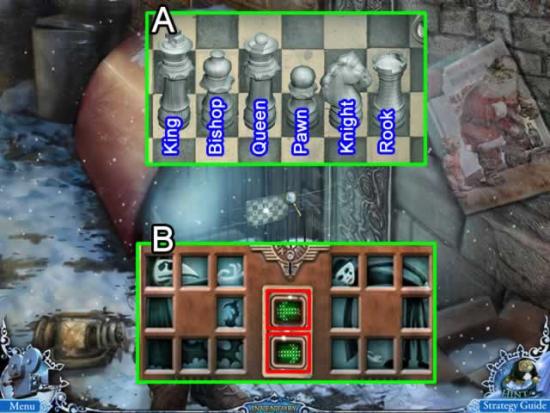
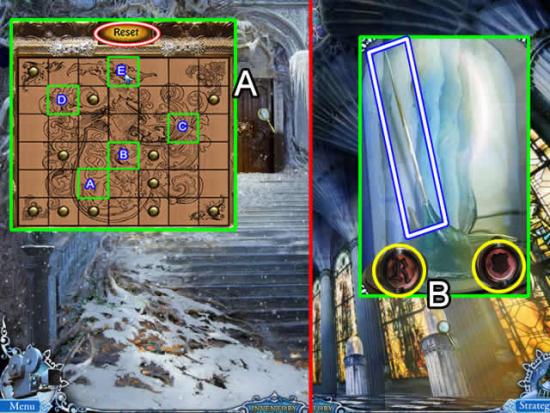
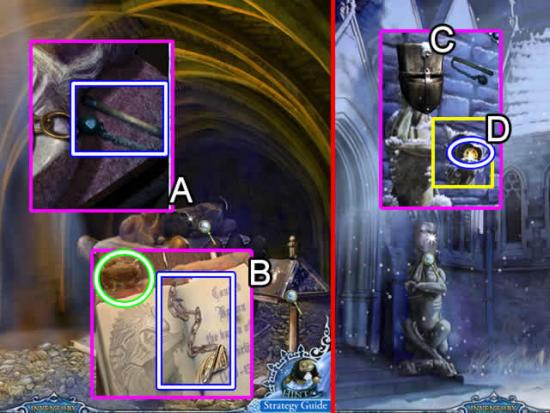
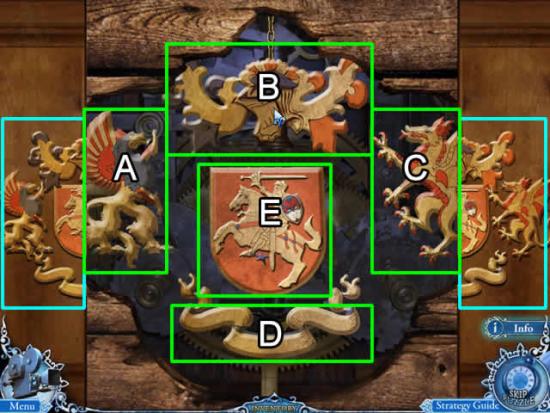
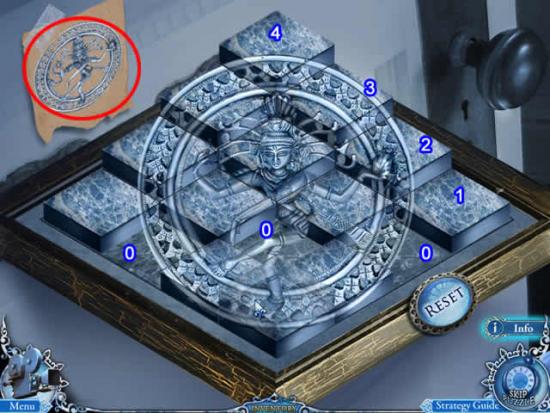
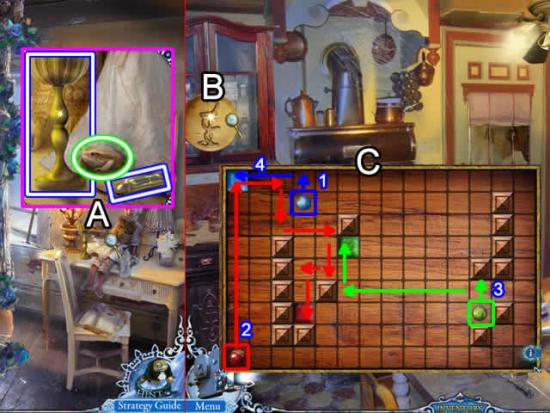
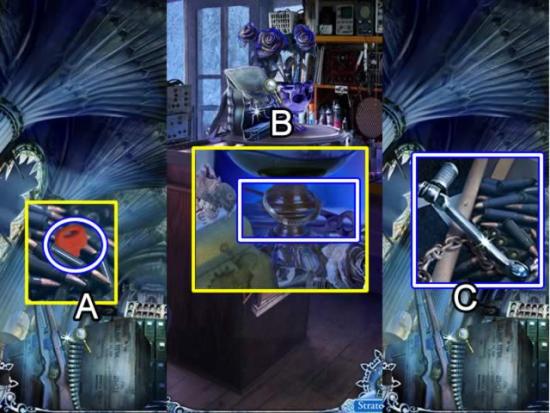
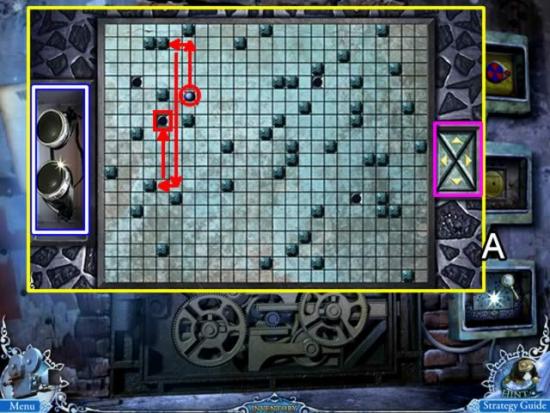
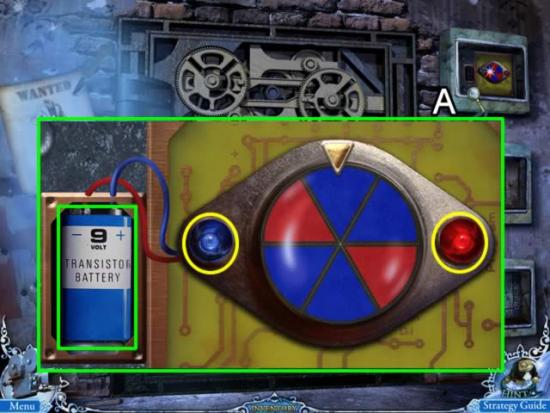
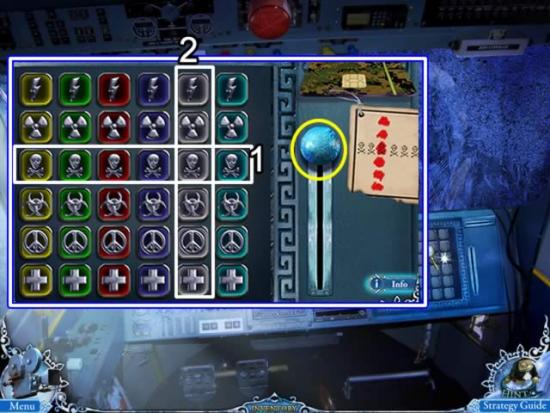
Open the book on the desk (A). Place the AMBER BUTTON to start the puzzle.

Congratulations! You have completed playing the Mystery Trackers – Raincliff Collector’s Edition. Return to the Main Menu to access the bonus material.


Congratulations! You have completed the bonus play for the Mystery Trackers – Raincliff Collector’s Edition.
