![Digimon UP Tier List [Supports, Buddies, and Partners]](/wp-content/uploads/2026/07/digimon-up-tier-list.jpg "Digimon UP Tier List [Supports, Buddies, and Partners]")
Digimon UP Tier List [Supports, Buddies, and Partners]
These Digimon will get you UP the leaderboard.


![Haze Seas Boss Drops [Chances, Locations, and How to Spawn]](/wp-content/uploads/2026/07/haze-seas-boss-drops.jpg "Haze Seas Boss Drops [Chances, Locations, and How to Spawn]")

My Star developed for the iPhone and iPod Touch by Orange FT lets you rock a little piece of virtual heaven while earning your way to stardom. How many units will you sell? Will you make it to the top of the charts? Hang your posters in real world locations so everyone will know you’re a star. Gamezebo’s My Star quick start strategy guide will provide you with tips, tricks, and hints on how to play your best game.
My Star developed for the iPhone and iPod Touch by Orange FT lets you rock a little piece of virtual heaven while earning your way to stardom. You’re a star and everyone will know it with your cool house, top of the line instruments and trendy clothing. Learn to play your instruments over time while earning fame points and Star Cash. Look forward to daily jam sessions when visiting your friends. All that rehearsal will pay off when you join them in your studio to record your next hit. How many units will you sell? Will you make it to the top of the charts? Hang your posters in real world locations so everyone will know you’re a star. Gamezebo’s My Star quick start strategy guide will provide you with tips, tricks, and hints on how to play your best game.
Getting Started

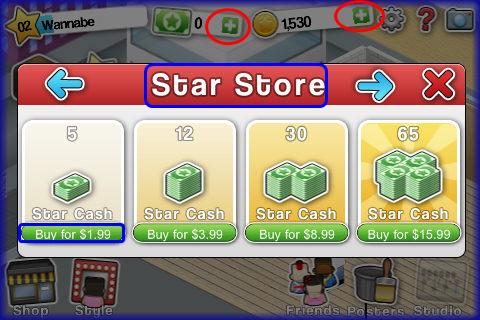
Game Currency
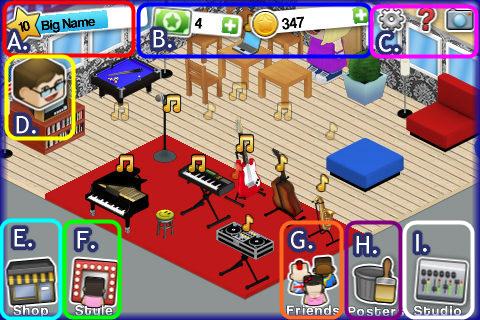
Game Screen Elements
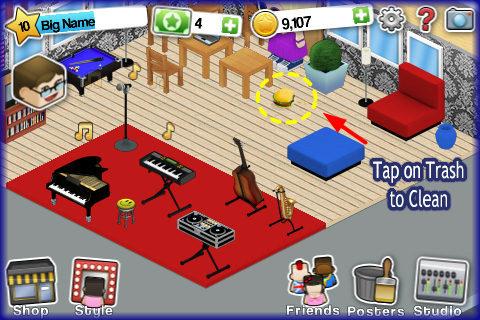
Cleaning up Trash
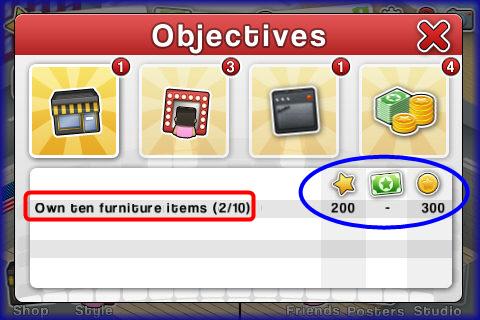
Goals and objectives
Purchasing and Making Money from Instruments
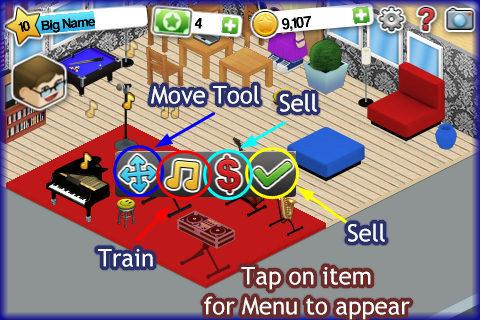
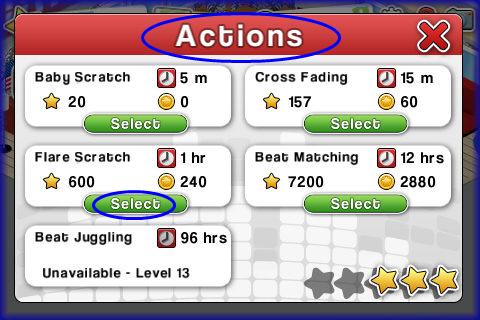
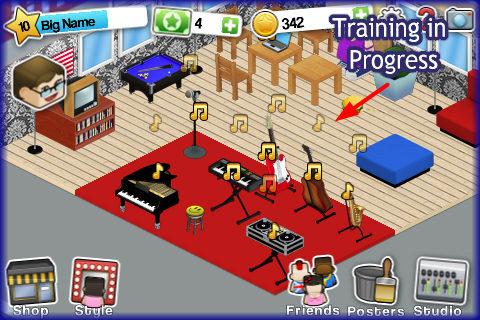
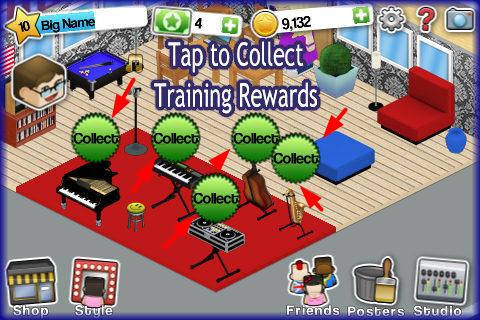
Instrument Training Sessions
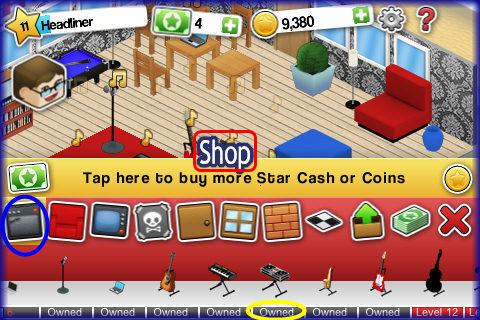
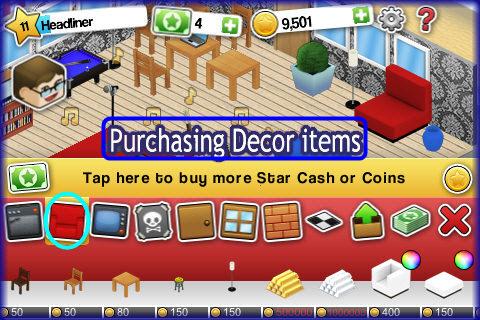
Purchasing and Placing items in your House
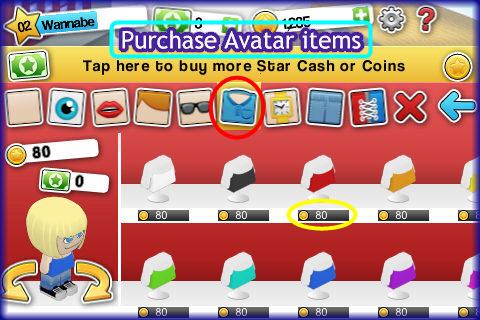
How to Style your Avatar
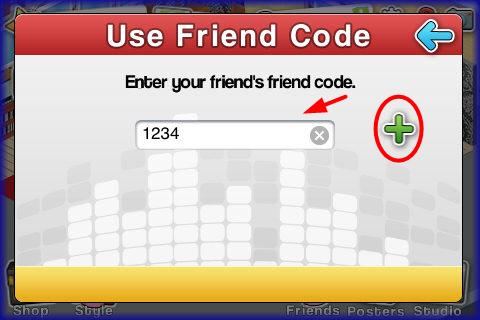
Adding and Visiting Friends

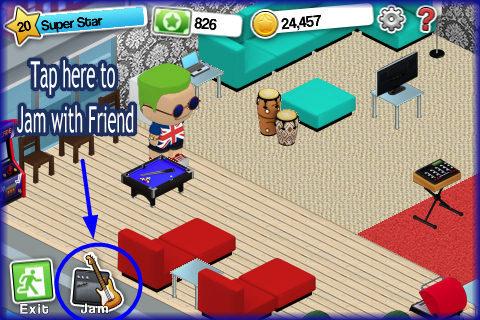
Jam Sessions with friends

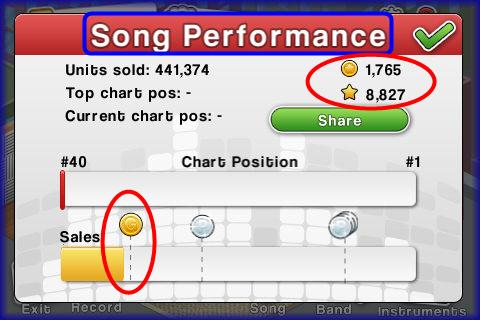
Spending time in the Studio- Recording Songs with Friends

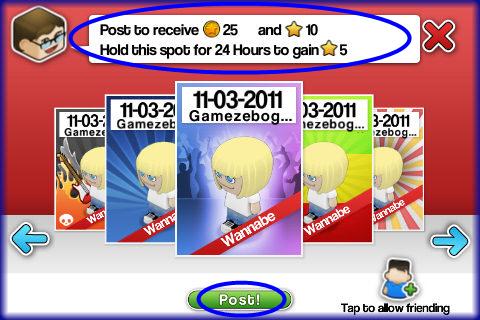
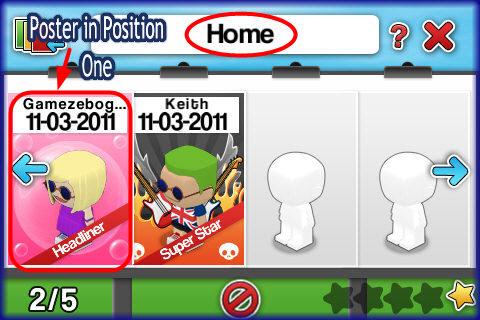
Placing Posters (Social Location Component)
Congratulations!
