![Digimon UP Tier List [Supports, Buddies, and Partners]](/wp-content/uploads/2026/07/digimon-up-tier-list.jpg "Digimon UP Tier List [Supports, Buddies, and Partners]")
Digimon UP Tier List [Supports, Buddies, and Partners]
These Digimon will get you UP the leaderboard.


![Haze Seas Boss Drops [Chances, Locations, and How to Spawn]](/wp-content/uploads/2026/07/haze-seas-boss-drops.jpg "Haze Seas Boss Drops [Chances, Locations, and How to Spawn]")

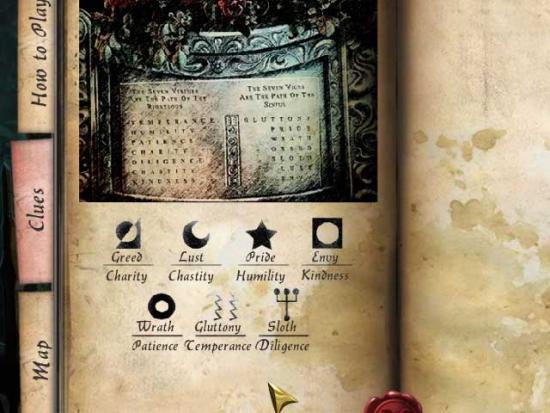
Welcome to the Lost Chronicles: Salem walkthrough on Gamezebo. Lost Chronicles: Salem is a hidden object adventure game played on the PC created by Vast Studios and Nat Geo Games. This walkthrough includes tips and tricks, helpful hints, and a strategy guide for how to complete Lost Chronicles: Salem.
Welcome to the Lost Chronicles: Salem walkthrough on Gamezebo. Lost Chronicles: Salem is a hidden object adventure game played on the PC created by Vast Studios and Nat Geo Games. This walkthrough includes tips and tricks, helpful hints, and a strategy guide for how to complete Lost Chronicles: Salem.
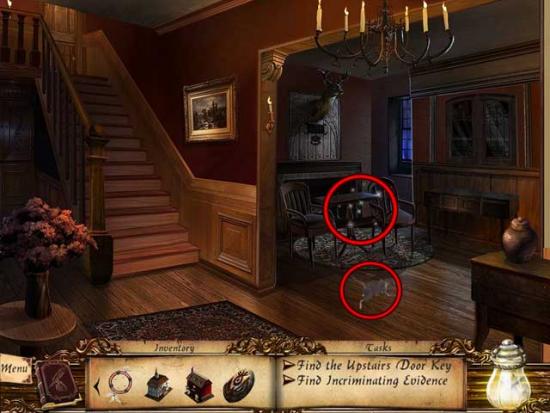
Home

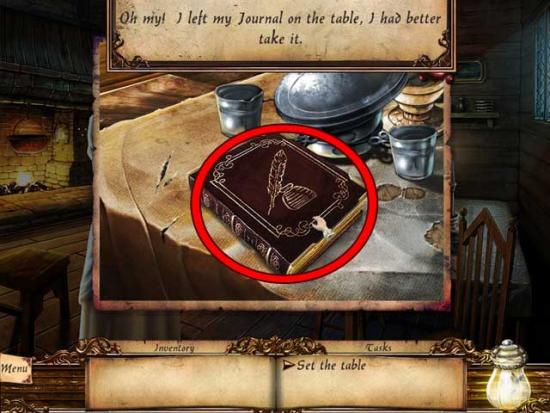
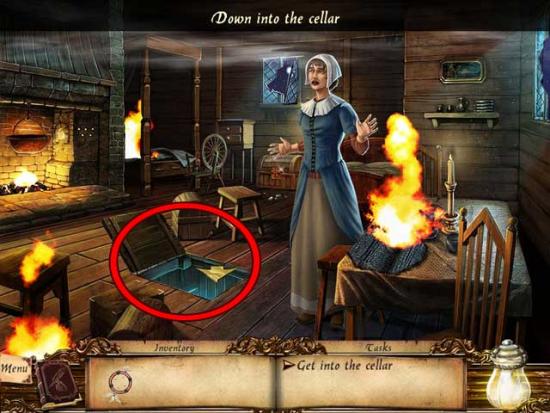
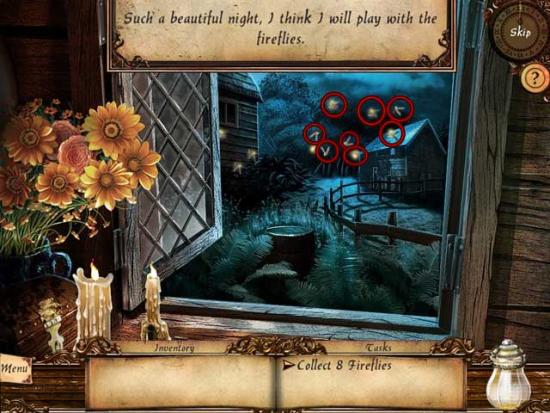
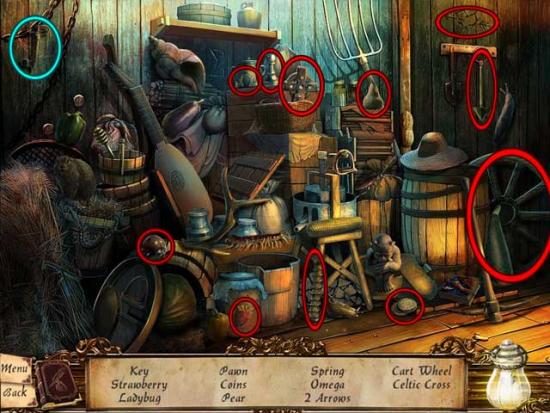
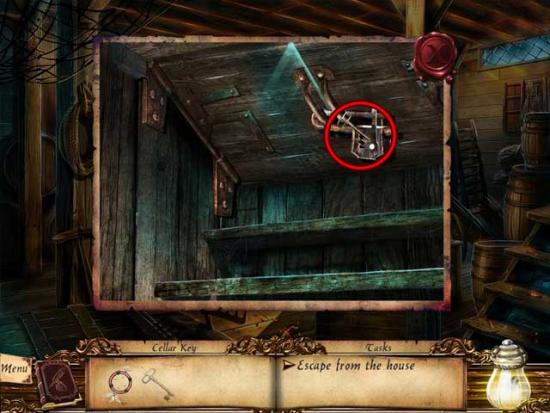
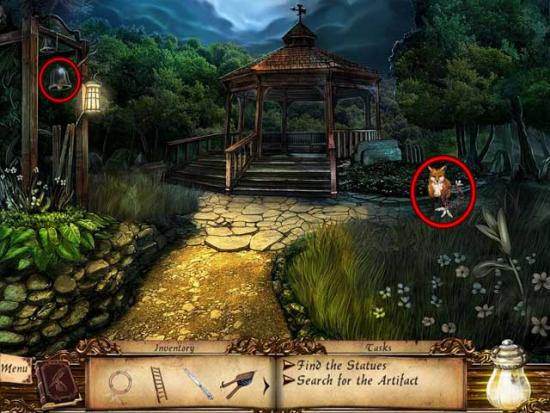
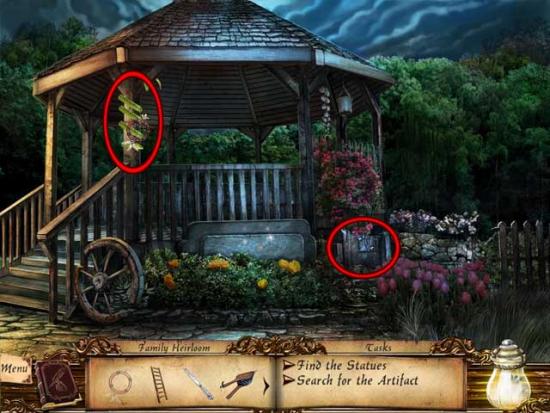
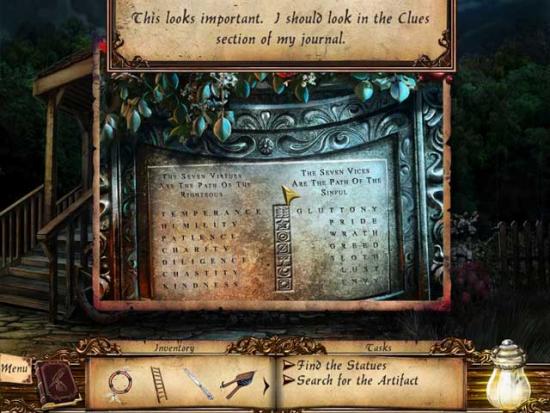
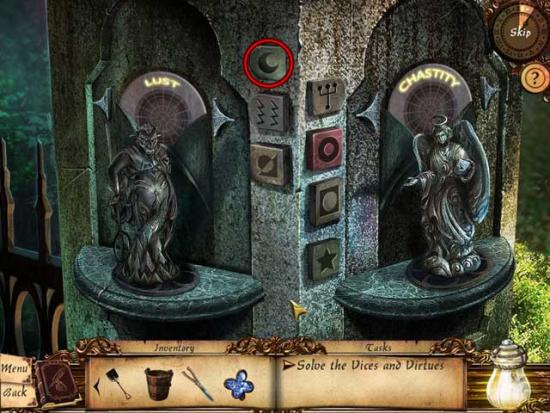
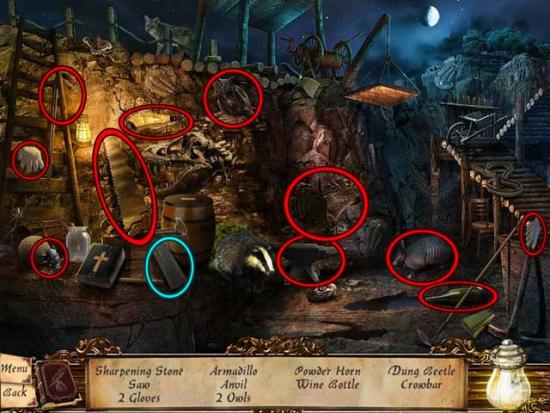
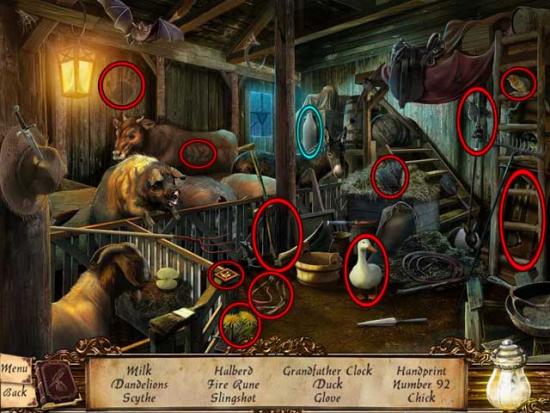
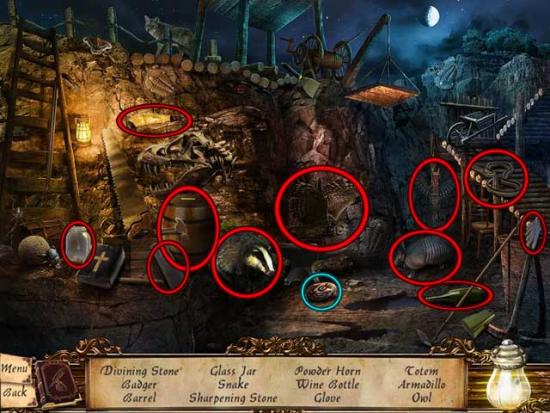
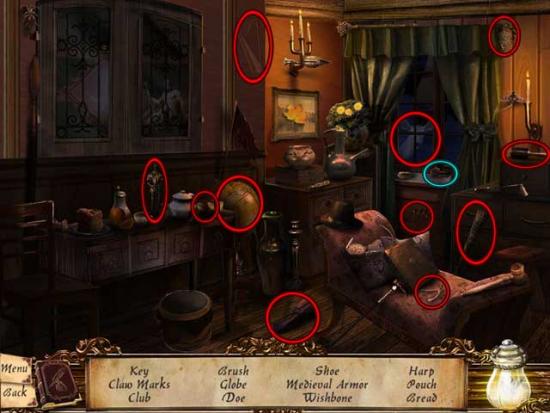
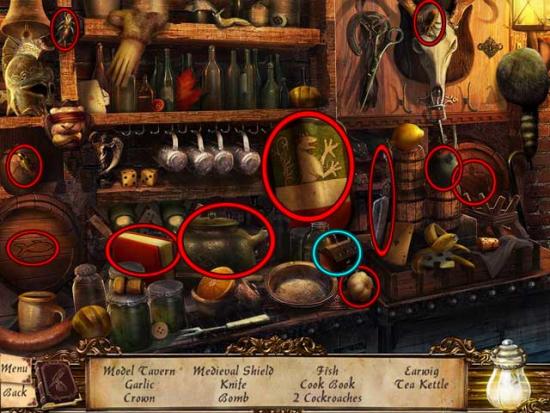
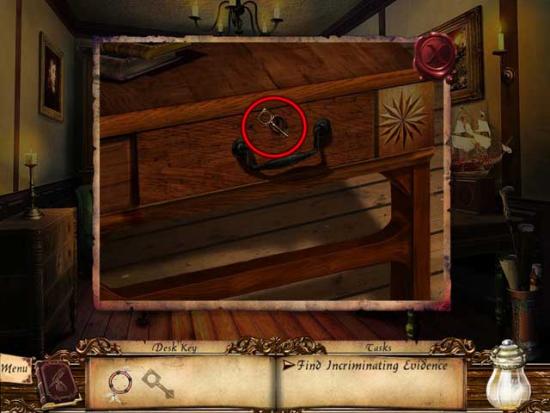
Cellar
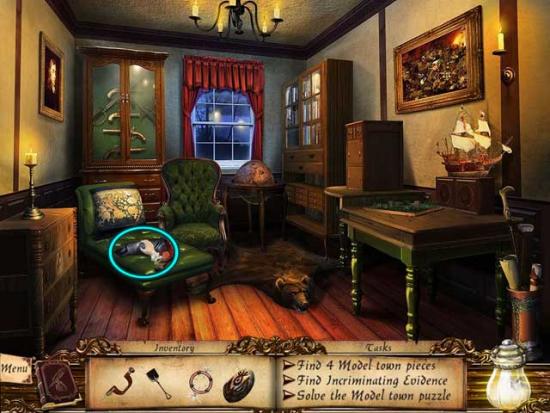
Back Yard
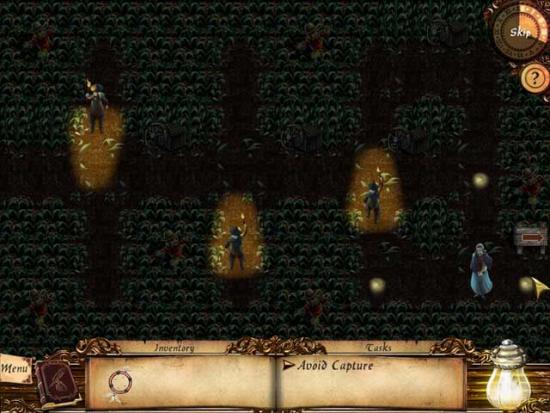
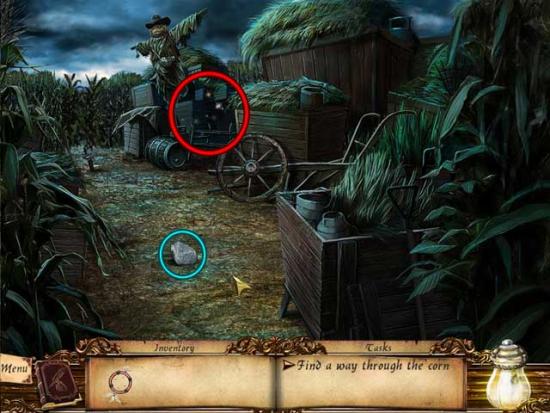
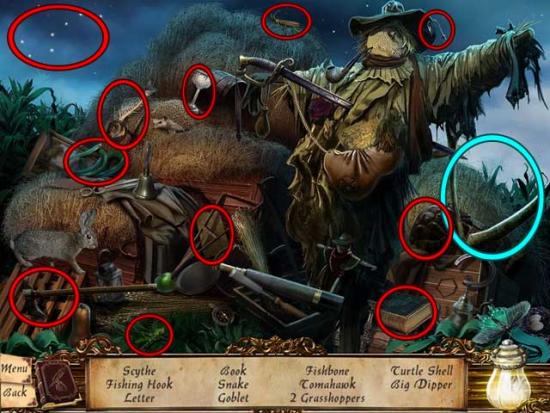
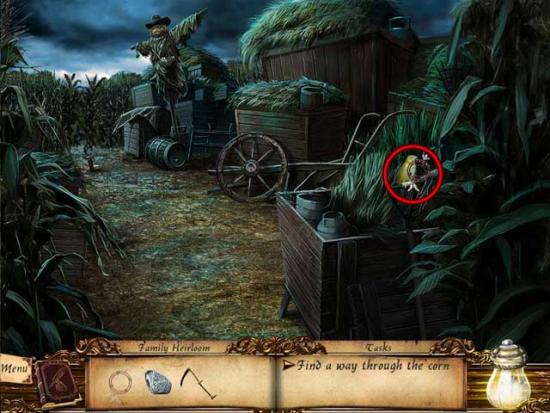
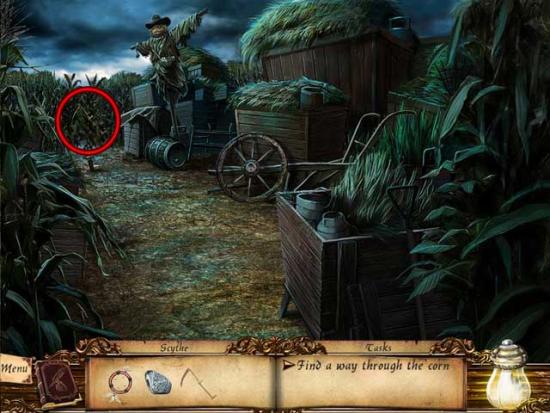
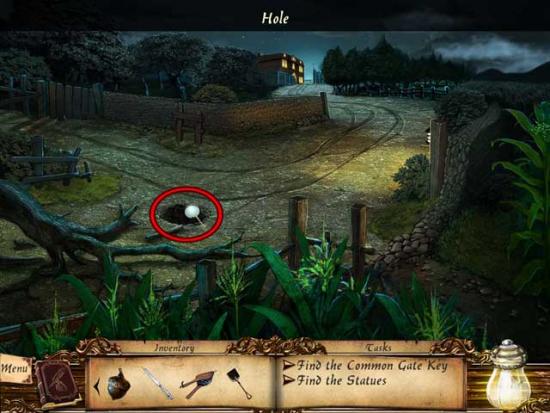
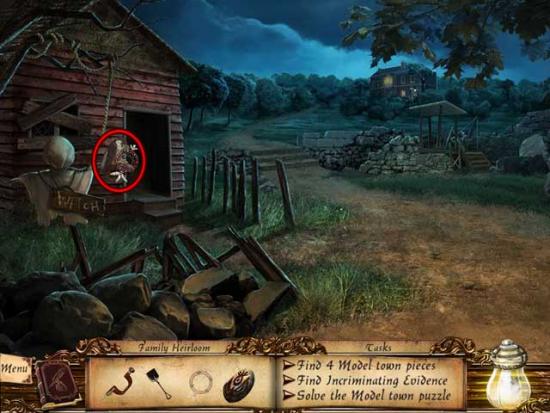
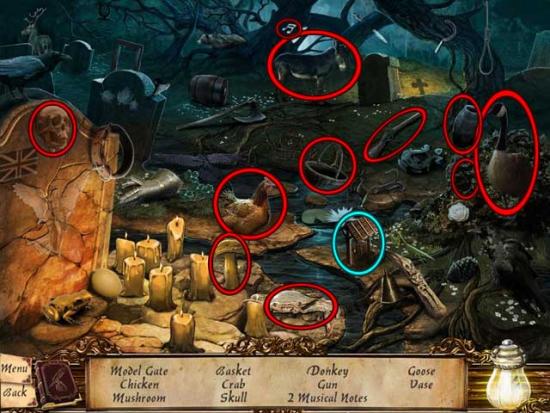
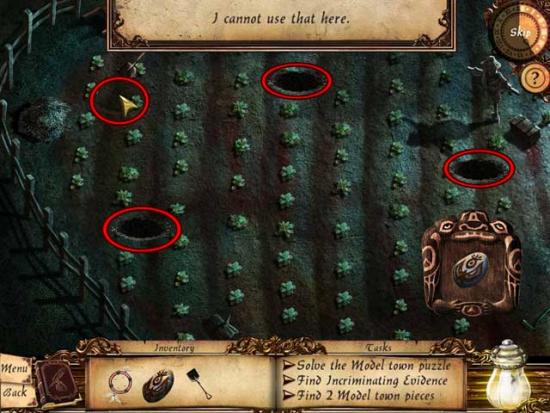
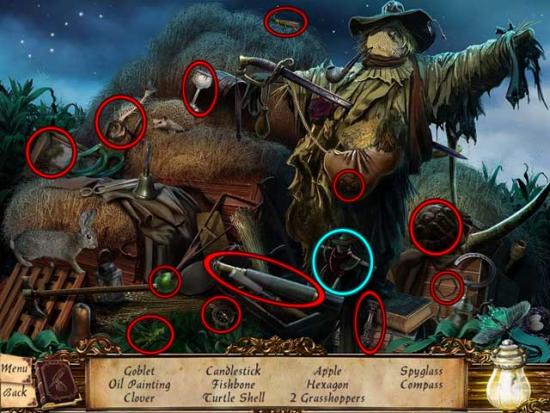
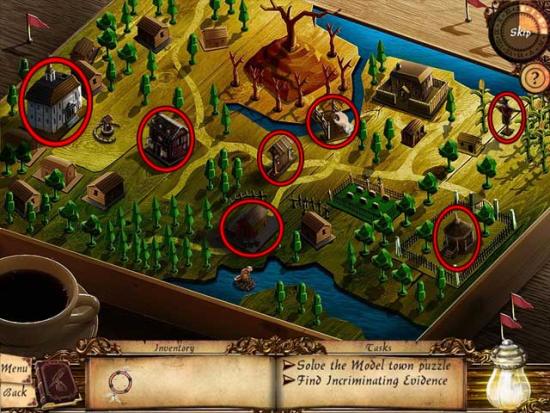
Corn Field
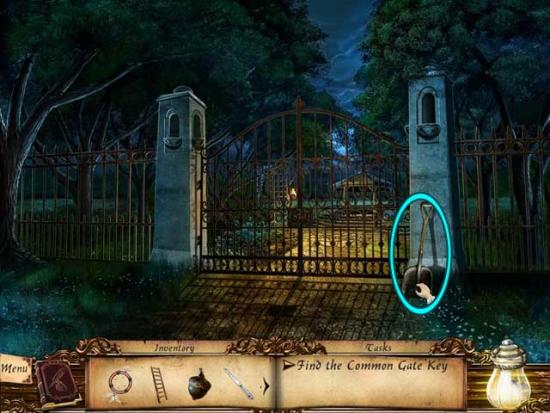
Prison Lane North
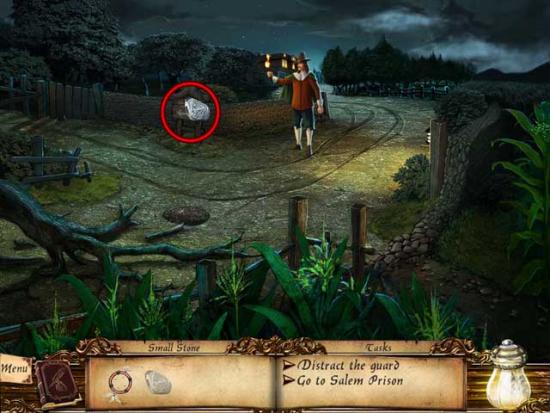
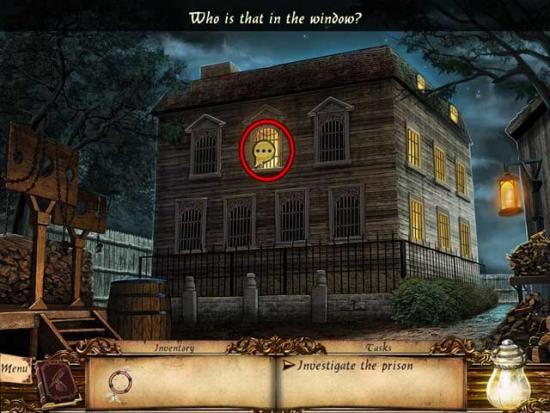
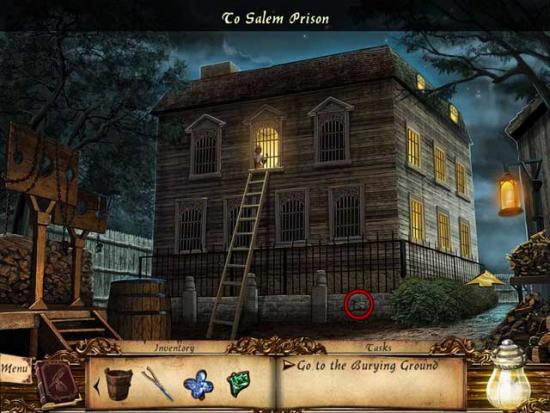
Salem Prison
Prison Lane North
Prison Lane South
Main Street
Main Street East
Home
Main Street East
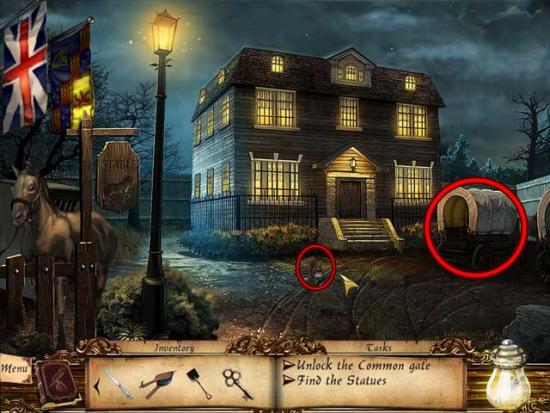
Salem Common
Prison Lane North
Salem Common
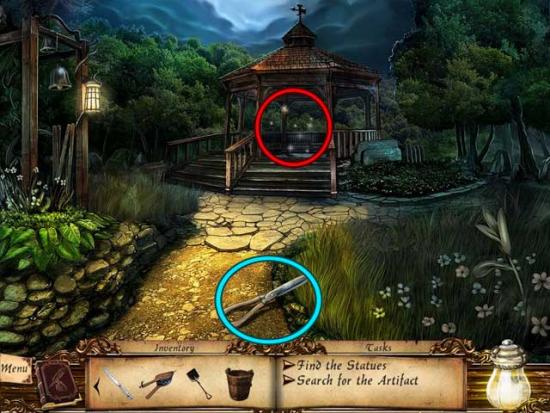
Salem Common Park
Park East

Salem Common
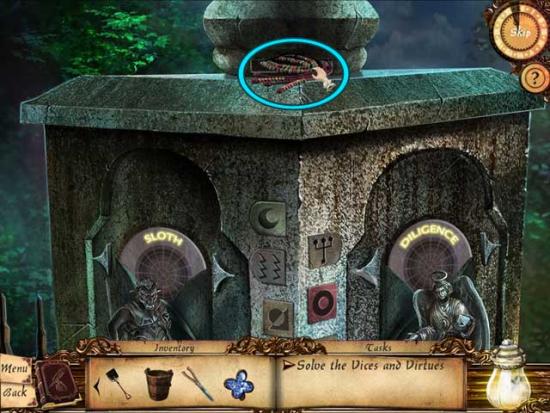
Salem Prison

Main Street
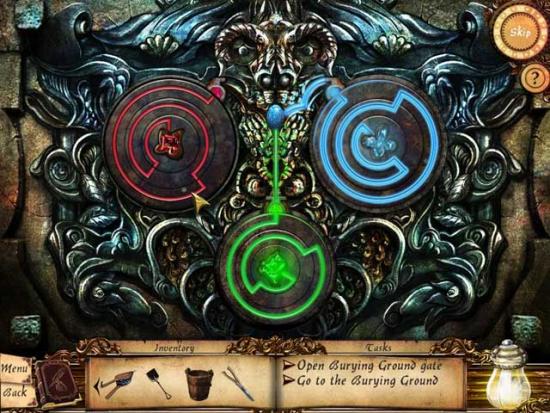
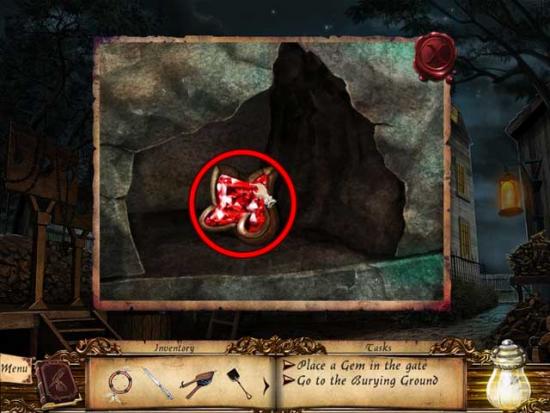
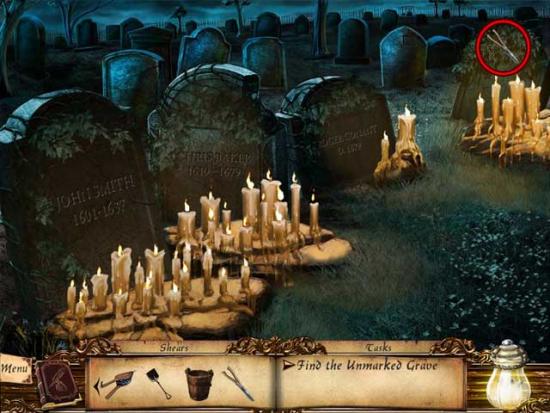
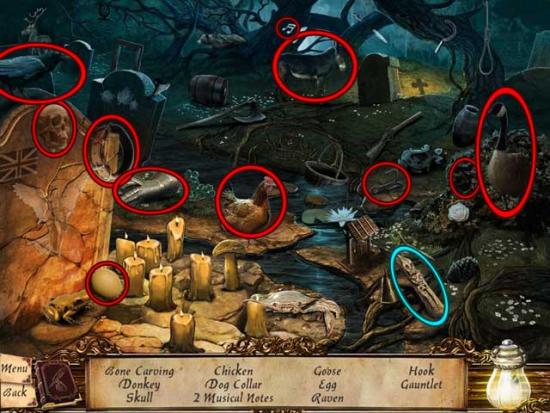
Burying Ground

Salem Prison
Main Street
Main Street East
Park East
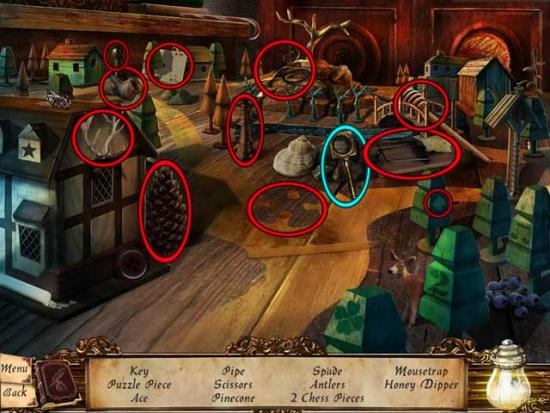
Back Yard
Corn Field
Back Yard
Main Street
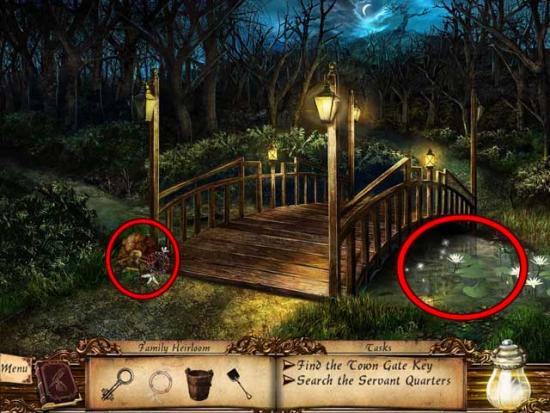
Bridge Street
Salem Bridge

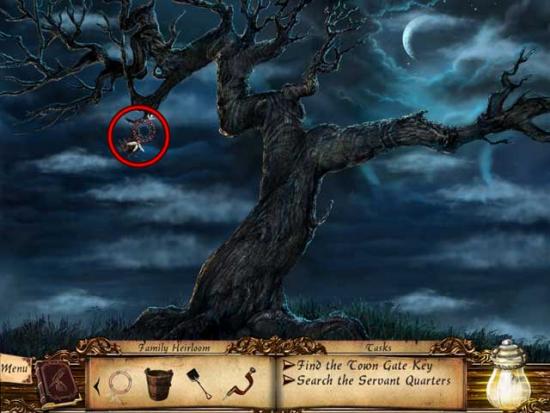
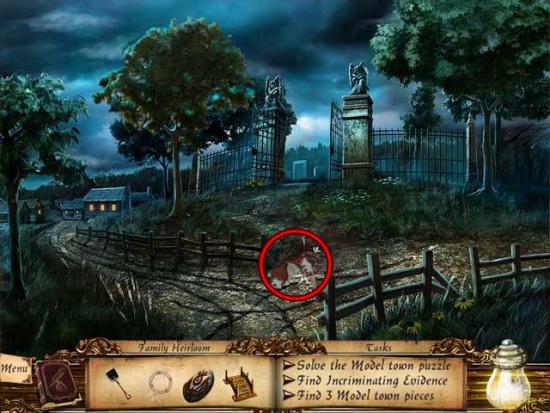
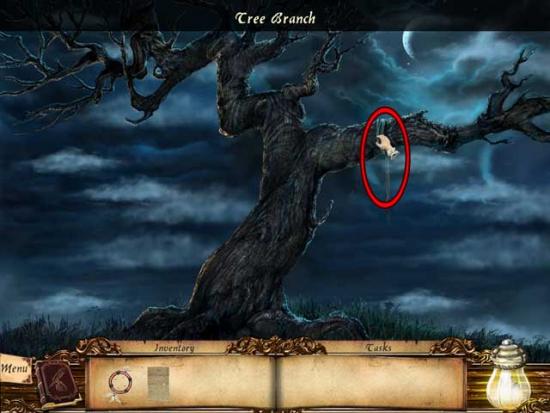
Gallow Hills Road
Gallows Hill
Bridge Street
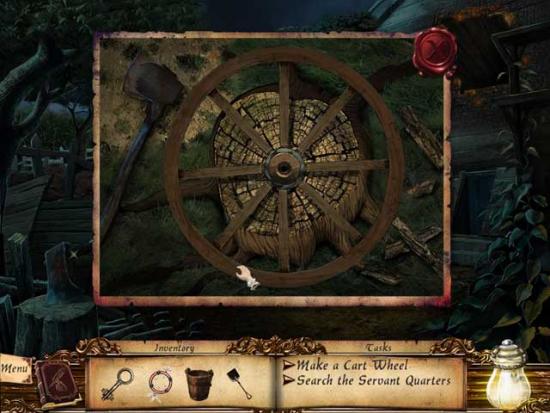
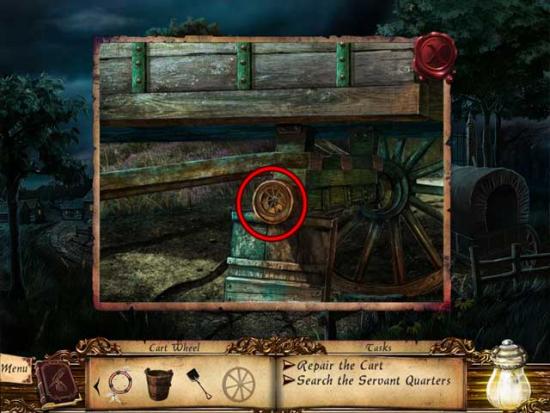
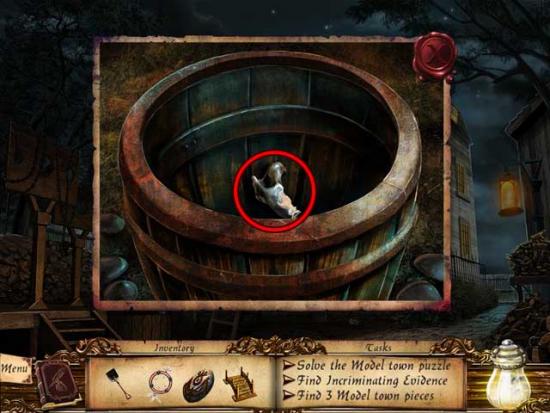
Mill Pond Farm
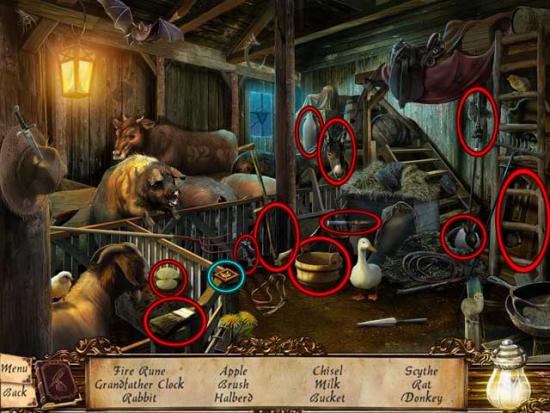
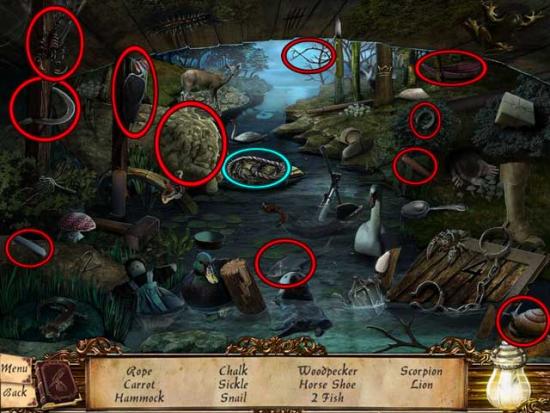
Mill Pond
Mill Pond Farm
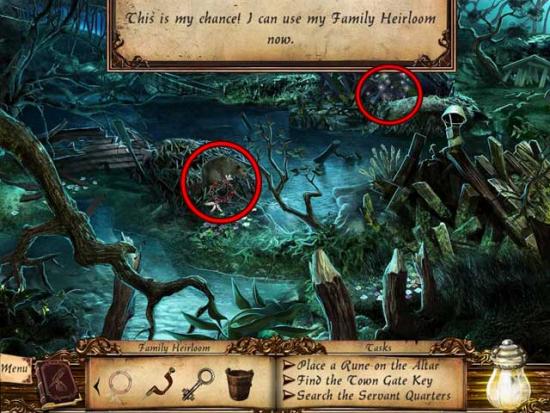
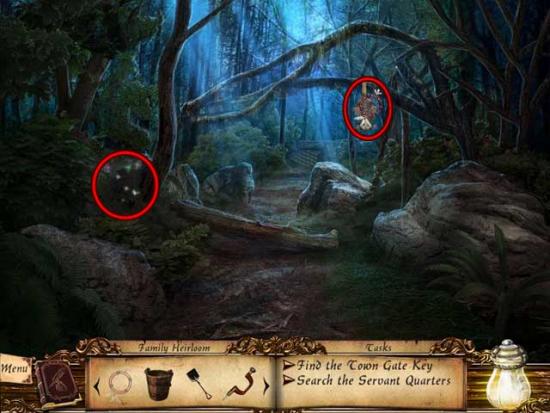
Forest Path
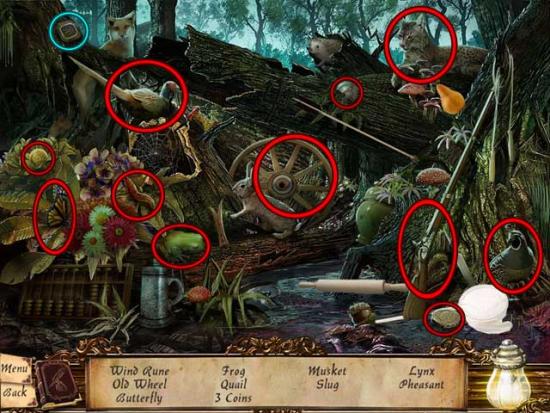
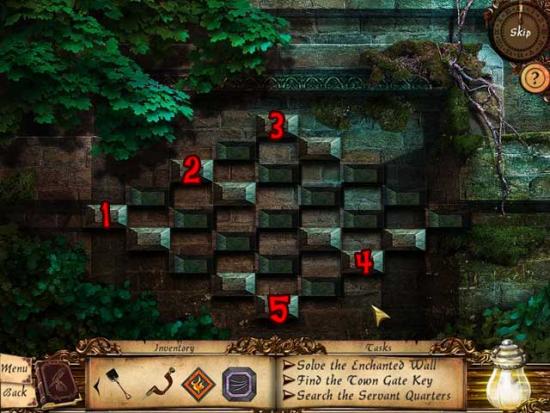
Forest Grove
Bridge Street
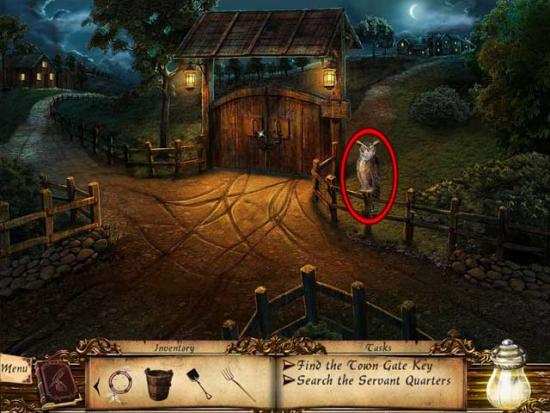
Salem Road
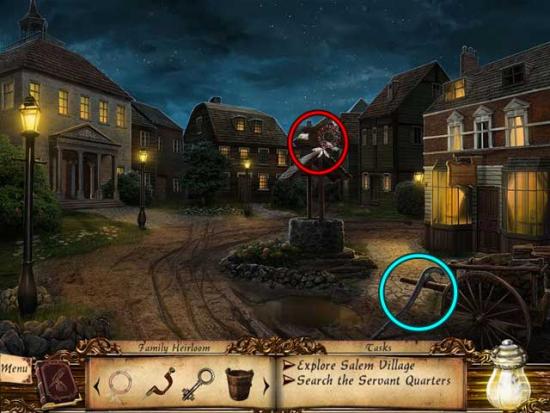
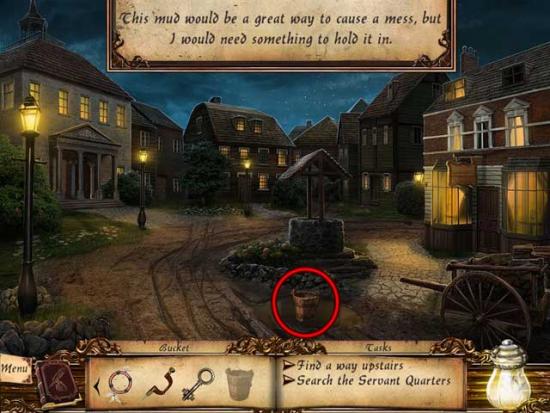
Salem Village
Parris Home Front
Salem Village
Village North
Village Center
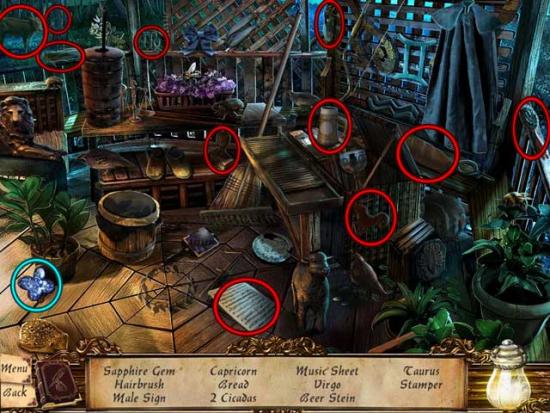
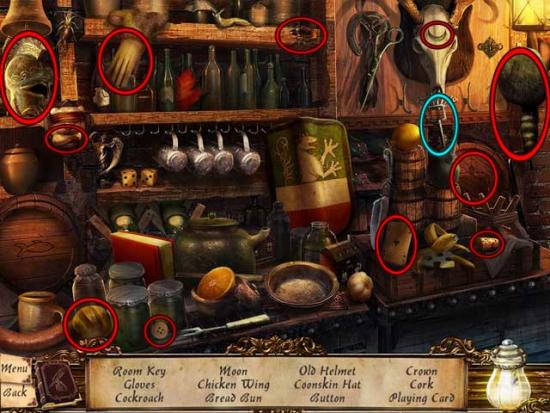
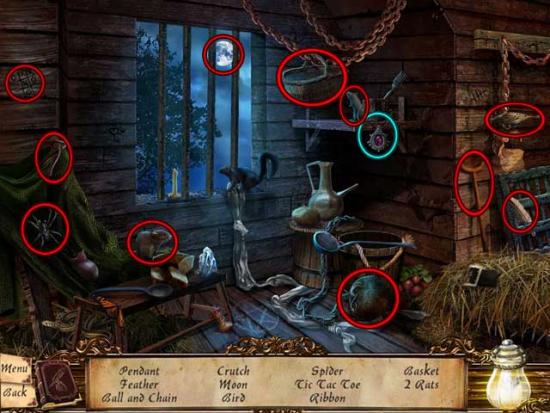
Ingersolls Tavern
Village Center
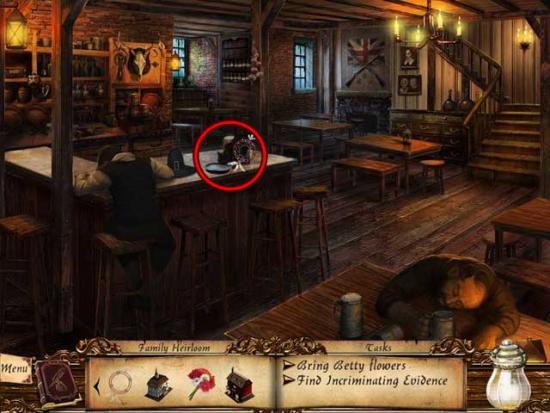
Ingersolls Tavern
Upstairs Hallway
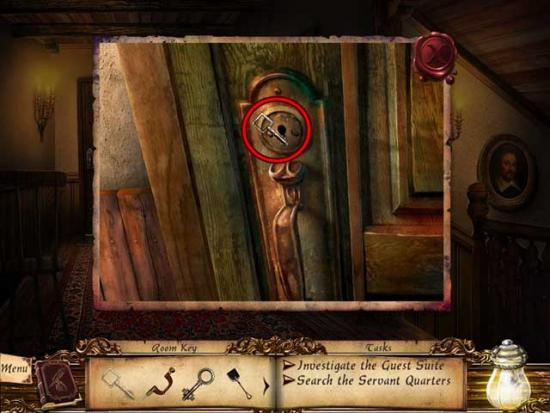
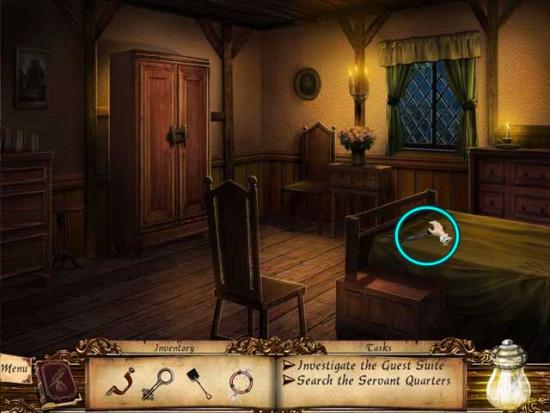
Guest Suite
Prison Lane South

Guest Suite
Village Center
Salem Meeting House
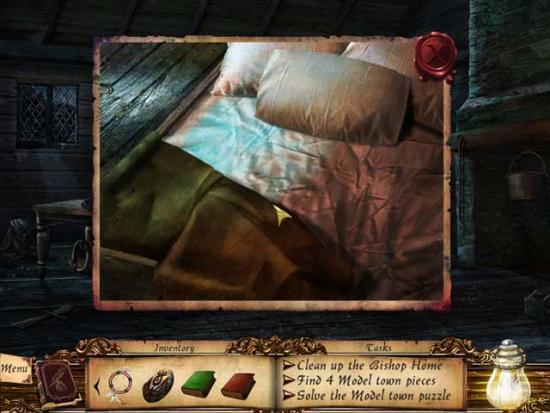
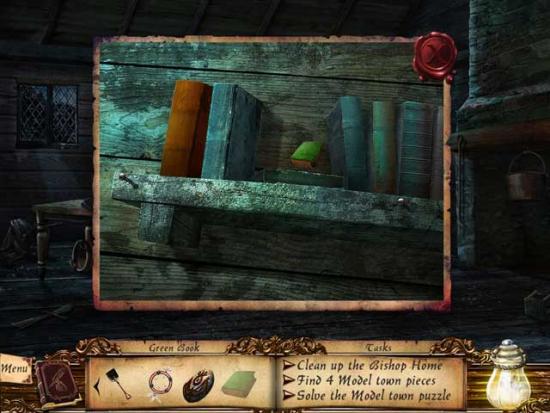
Home
Cellar

Home
Salem Prison
Main Street
Mill Pond Farm
Ingersolls Tavern
Salem Meeting House
Parris Home Front
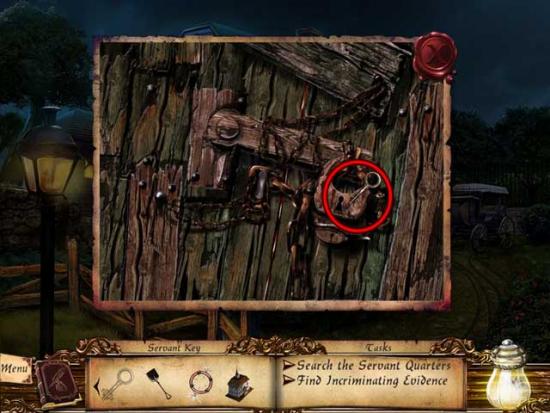
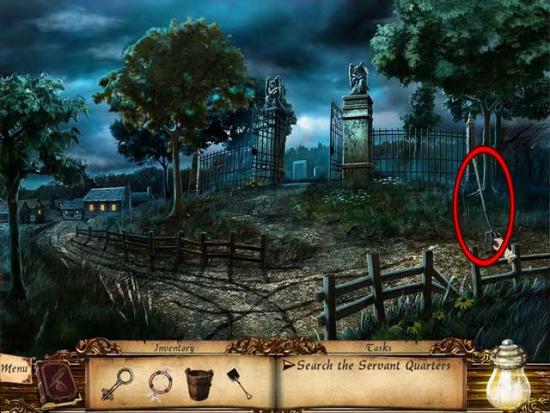
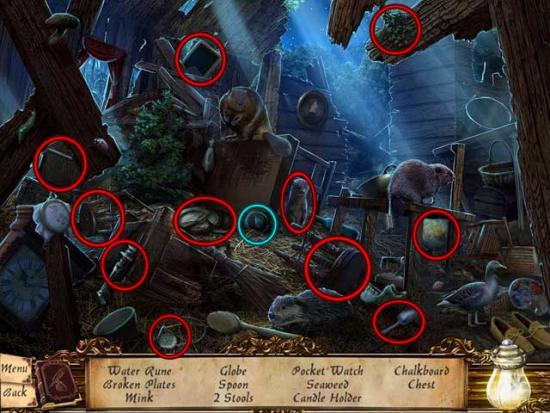
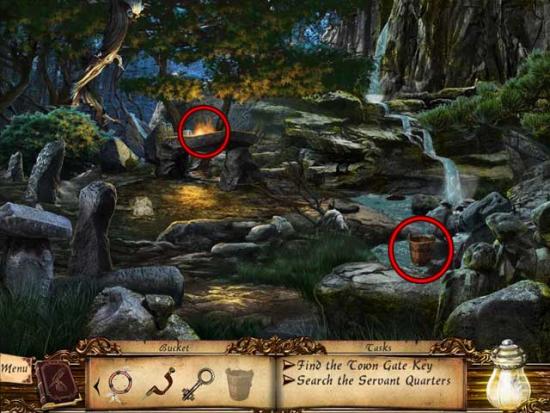
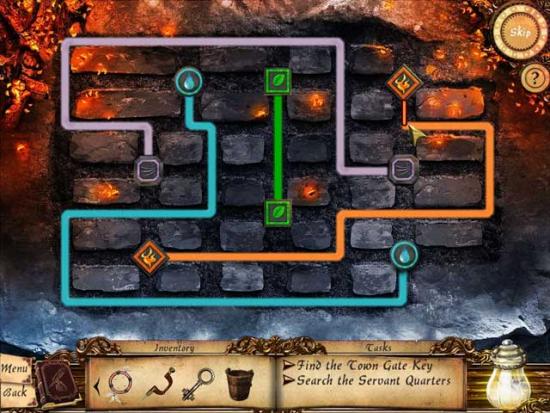
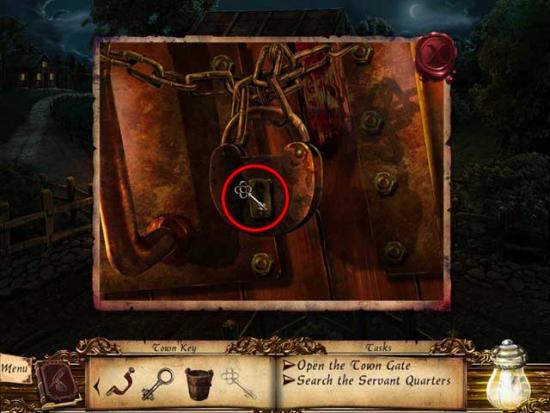
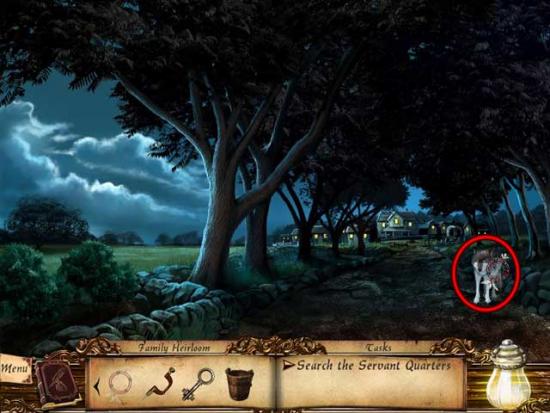
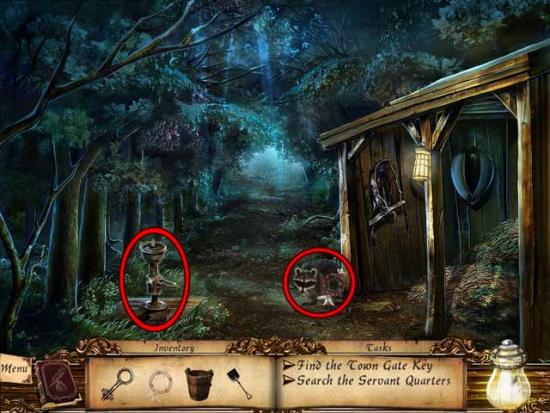
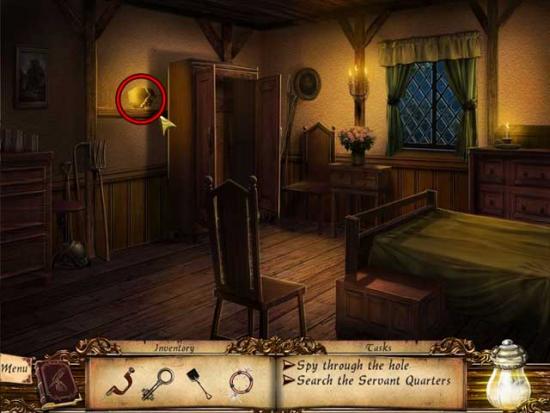
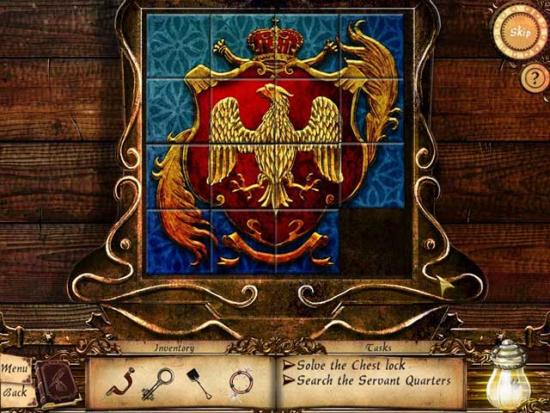
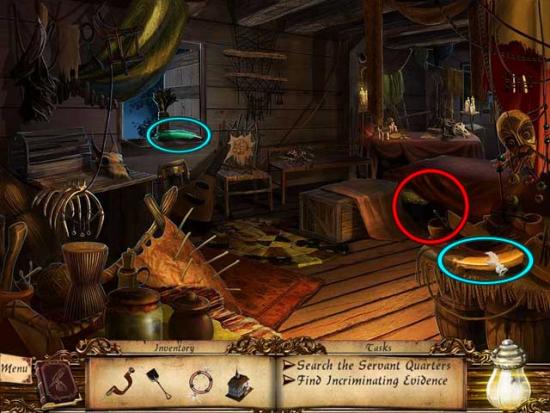
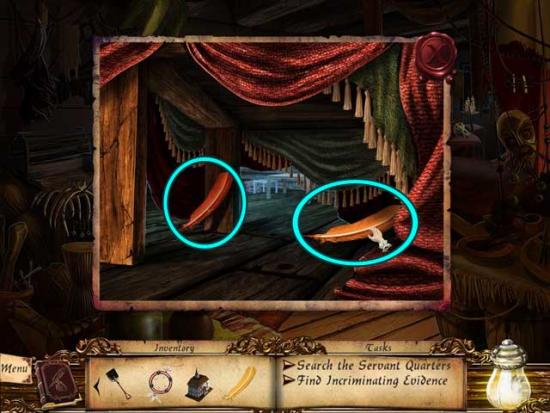
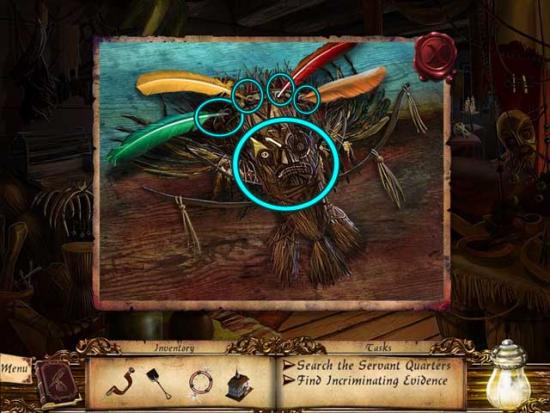
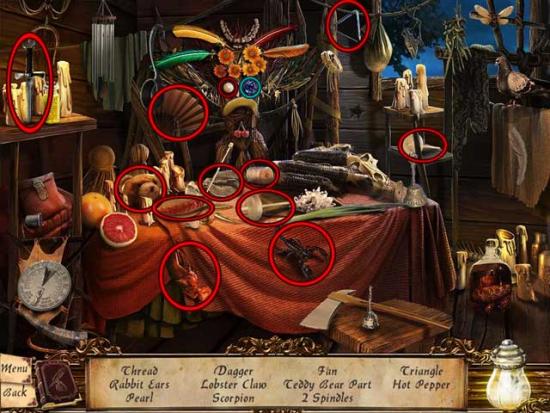
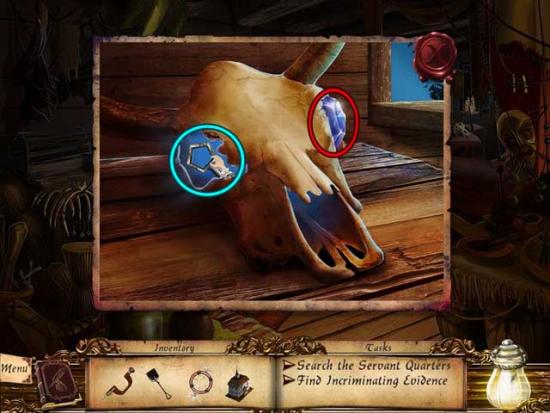
Servant Quarters
Parris Home Front
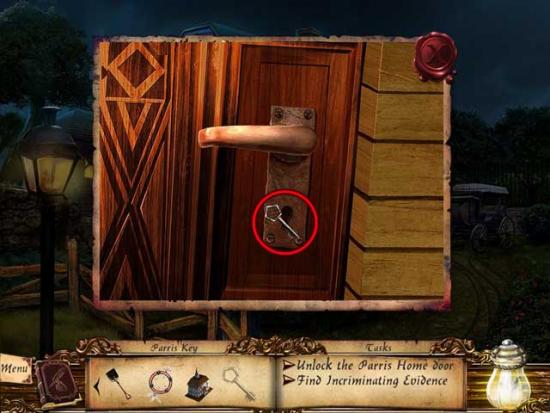
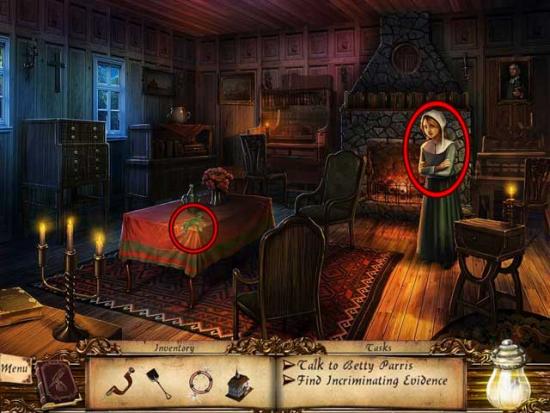
Parris Home
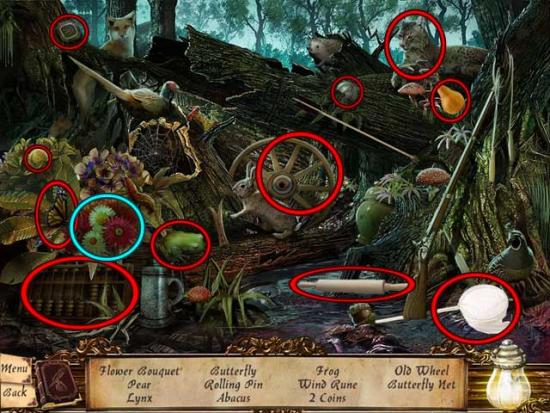
Forest Path
Parris Home
Village North
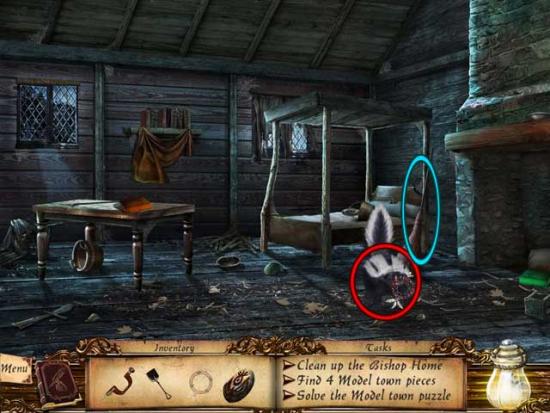
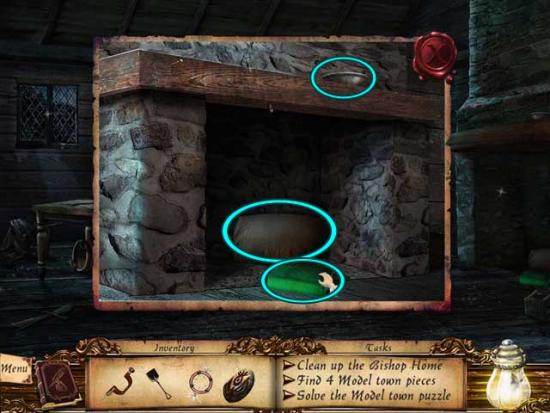
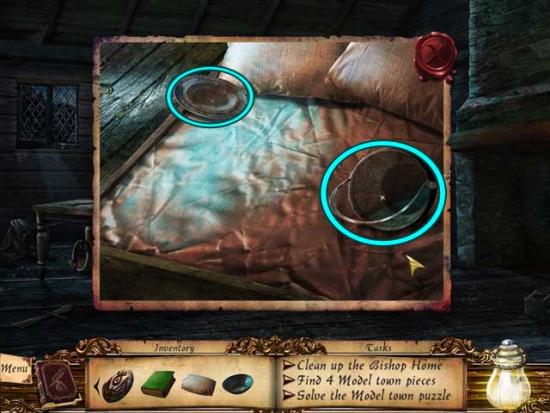
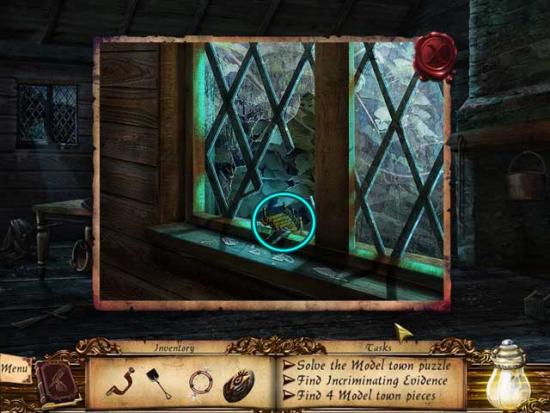
Bridget Bishops House
Putnam Home (Outside)
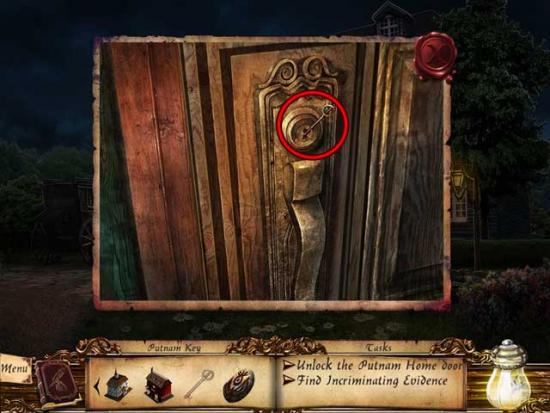
Putnam Home
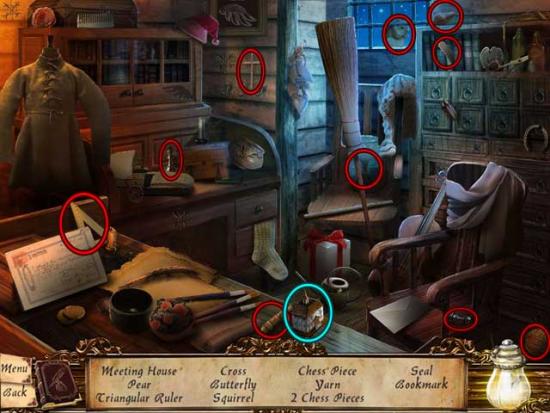
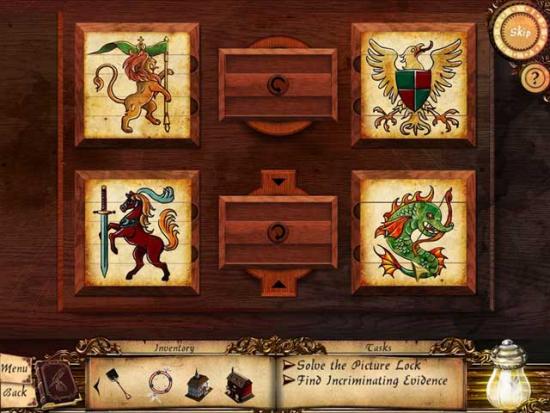
Study
Village North
Ingersolls Tavern
Burying Ground
Mill Pond Farm
Corn Field
Study
Salem Meeting House
Bridge Street
Salem Bridge
Gallows Hill
Jail Cell
Congratulations! You’ve completed Lost Chronicles: Salem!
