![Digimon UP Tier List [Supports, Buddies, and Partners]](/wp-content/uploads/2026/07/digimon-up-tier-list.jpg "Digimon UP Tier List [Supports, Buddies, and Partners]")
Digimon UP Tier List [Supports, Buddies, and Partners]
These Digimon will get you UP the leaderboard.


![Haze Seas Boss Drops [Chances, Locations, and How to Spawn]](/wp-content/uploads/2026/07/haze-seas-boss-drops.jpg "Haze Seas Boss Drops [Chances, Locations, and How to Spawn]")

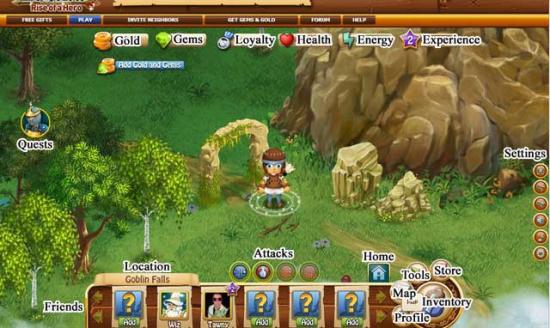
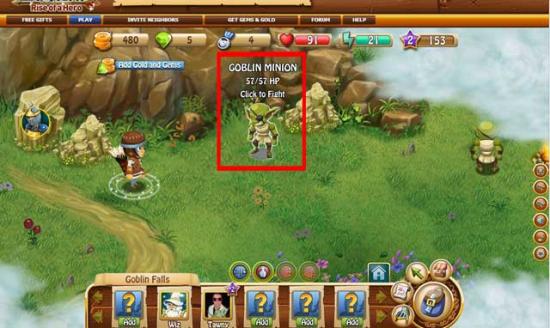
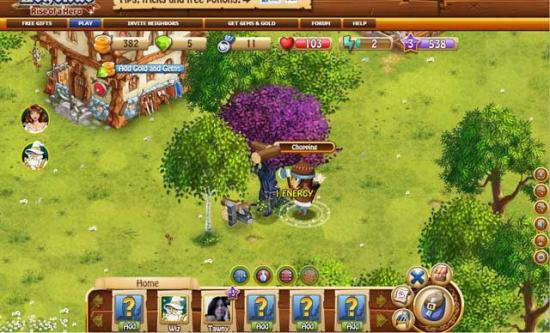
Legends: Rise of a Hero is a social fantasy role-playing game created by Mob Science and Zynga. Embark on a quest to save the princess and restore the kingdom to its former glory while battling hoards of monsters and forging your own weapons! Gamezebo’s quick start strategy guide will provide you with detailed images, tips, information, and hints on how to play your best game.
Legends: Rise of a Hero is a social fantasy role-playing game created by Mob Science and Zynga. Embark on a quest to save the princess and restore the kingdom to its former glory while battling hoards of monsters and forging your own weapons! Gamezebo’s quick start strategy guide will provide you with detailed images, tips, information, and hints on how to play your best game.
Getting Started

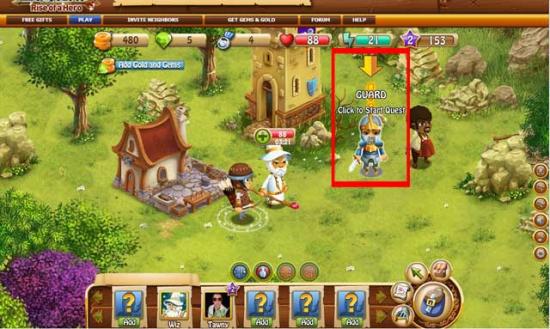
How to Play
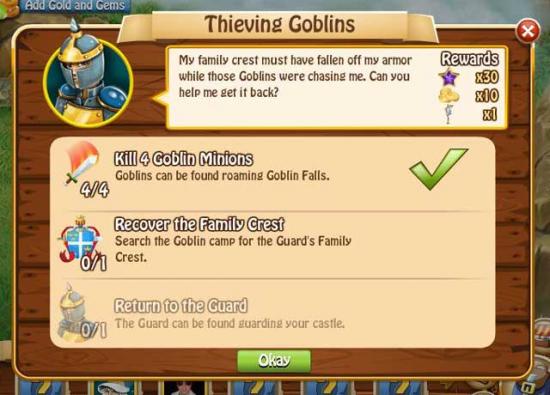
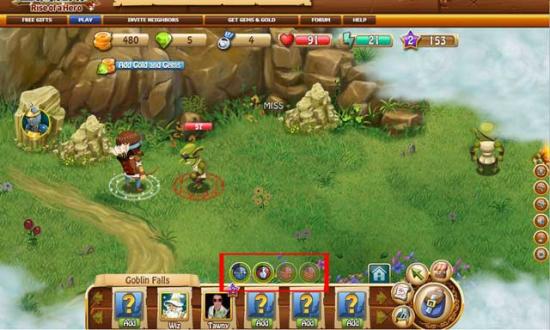
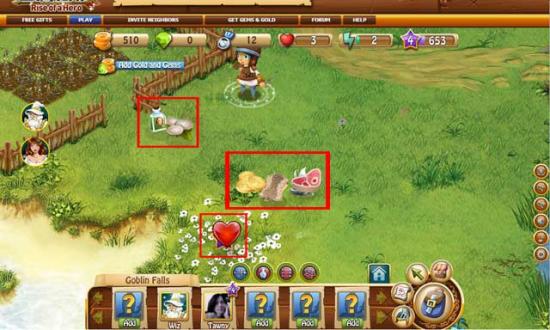
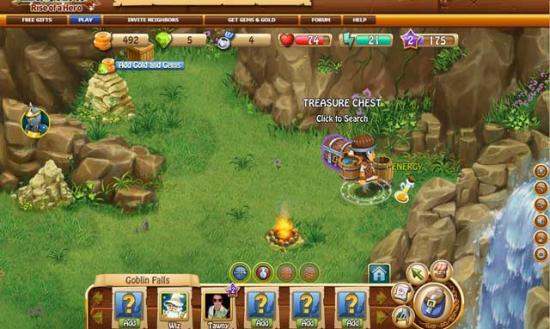
Tips and Tricks
Congratulations!
You have completed Gamezebo’s quick start guide for Legends: Rise of a Hero. Be sure to check back often for game updates, staff and user reviews, user tips, forums comments and much more here at Gamezebo!
