- Wondering how to get Monopoly GO! free rolls? Well, you’ve come to the right place. In this guide, we provide you with a bunch of tips and tricks to get some free rolls for the hit new mobile game. We’ll …
Best Roblox Horror Games to Play Right Now – Updated Weekly
By Adele Wilson
Our Best Roblox Horror Games guide features the scariest and most creative experiences to play right now on the platform!The BEST Roblox Games of The Week – Games You Need To Play!
By Sho Roberts
Our feature shares our pick for the Best Roblox Games of the week! With our feature, we guarantee you'll find something new to play!All Grades in Type Soul – Each Race Explained
By Adele Wilson
Our All Grades in Type Soul guide lists every grade in the game for all races, including how to increase your grade quickly!
In Fear I Trust Walkthrough
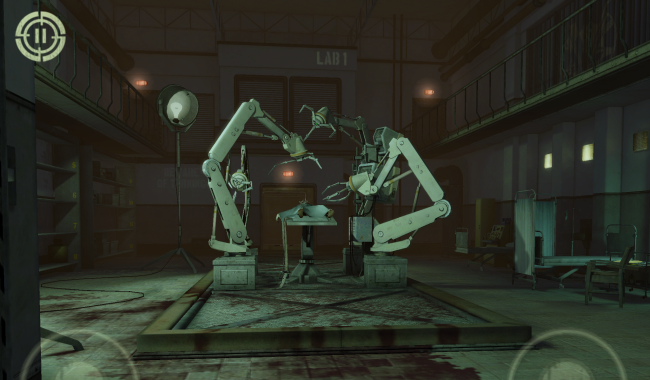
In Fear I Trust is a first-person puzzle adventure game from Chillingo in which you must explore and solve puzzles to progress through a horrific environment. Gamezebo’s walkthrough will provide you with detailed images, tips, information, and hints on how to play your best game.
Game Introduction – In Fear I Trust
In Fear I Trust is a first-person puzzle adventure game from Chillingo in which you must explore and solve puzzles to progress through a horrific environment. Gamezebo’s walkthrough will provide you with detailed images, tips, information, and hints on how to play your best game.
How to Play
- Swipe the screen or use the right stick to adjust your camera angle.
- Double-tapping a space will move you to it.
- Pinching outwards will activate “retrospective vision,” and allow you to see otherwise invisible clues in the environment and highlight interactive objects.
- Dragging an item from your inventory bar on the left will sometimes allow you to place it on another object in the game. If you have the object needed for the item, it will be highlighted on the left-hand side.
- The solutions to most puzzles are hidden behind retrospective vision. Use it often, but know that if you have it on for too long without resting, you will be unable to use it for a short time.
- When your character is gasping for breath that means he cannot use retrospective vision. Wait for him to catch a second wind before using it again.
Episode One
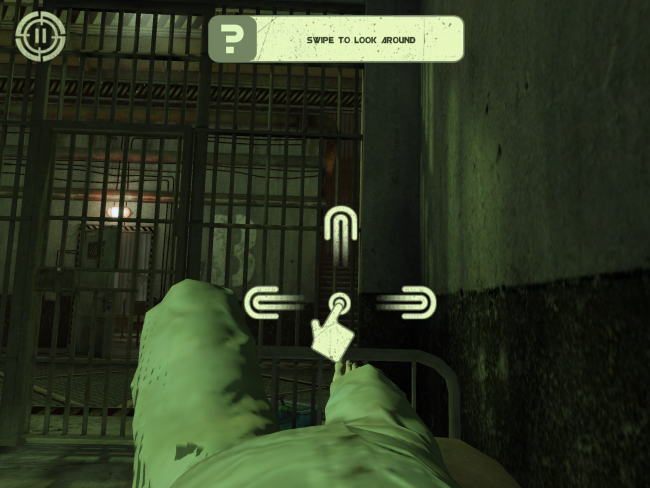
- Follow the onscreen tutorial prompts.
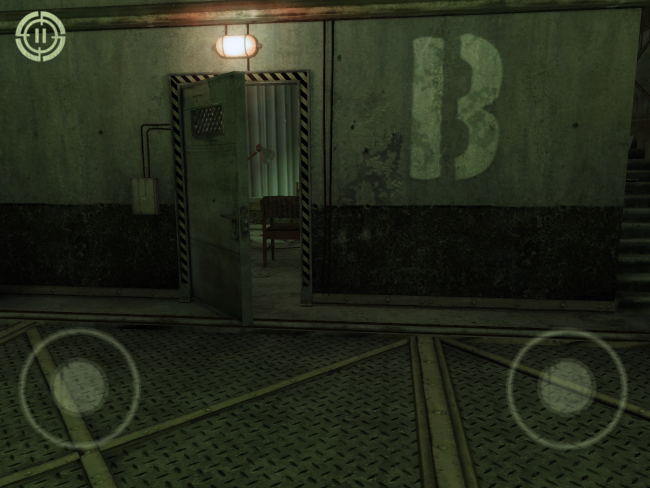
- Once you have control of your character, you’ll find yourself outside of your cell.
- Walk left down the hallway to the last cell with the open door.
- Enter the cell.
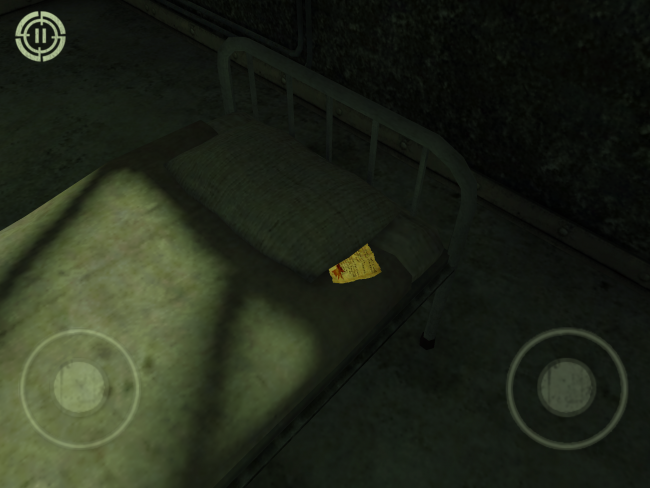
- Tap on the DIARY PAGE.
- Follow the onscreen tutorial prompts regarding journal navigation.
- Exit the cell.
- Enter the room across from the cell you originally found yourself in.
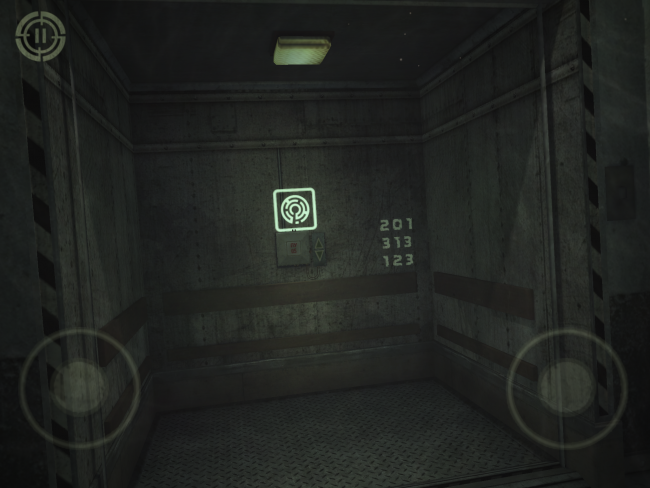
- In the left-hand side of the room, there is a fuse box. Activate retrospective vision to see a set of numbers.
- The numbers should read 201, 313, and 123.
- Exit the room.
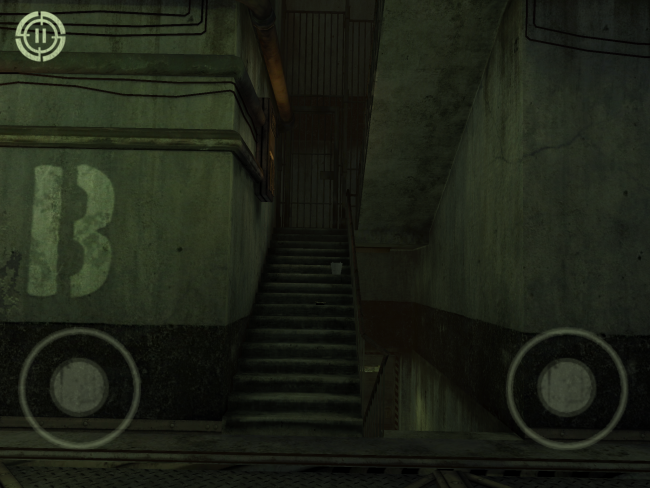
- On your left as you exit the room there is a staircase next to the letter B. Go down the stairs.
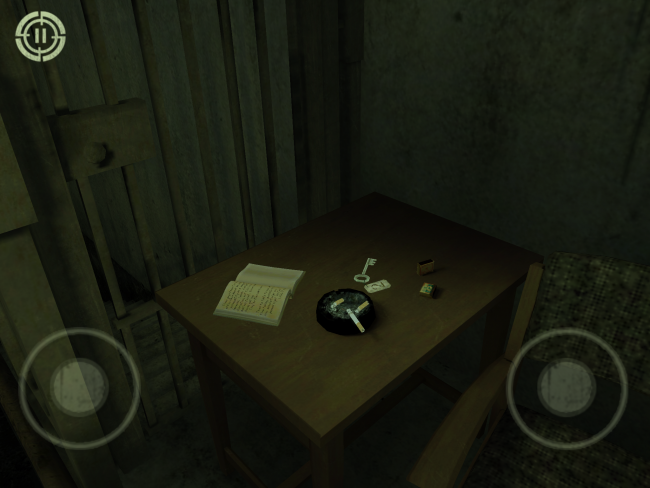
- At the bottom of the stairs is a coffee table. You can pick up the SECURITY JOURNAL, as well as KEY #2.
- Head back up the stairs.
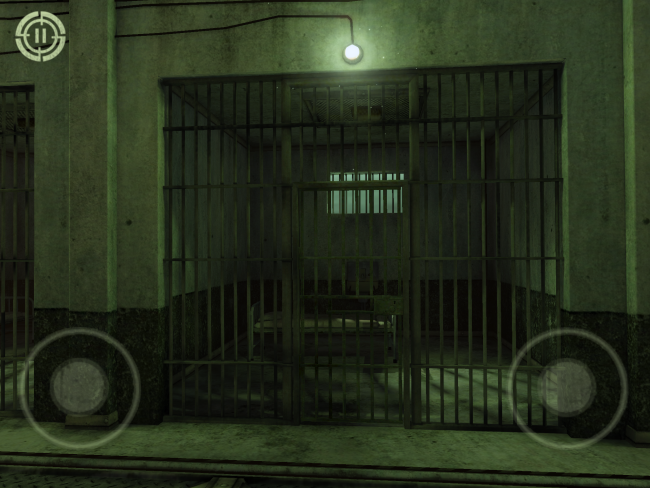
- Between the cell you woke up in and the cell with the DIARY PAGE there is a locked cell door.
- Approach the door and tap on it.
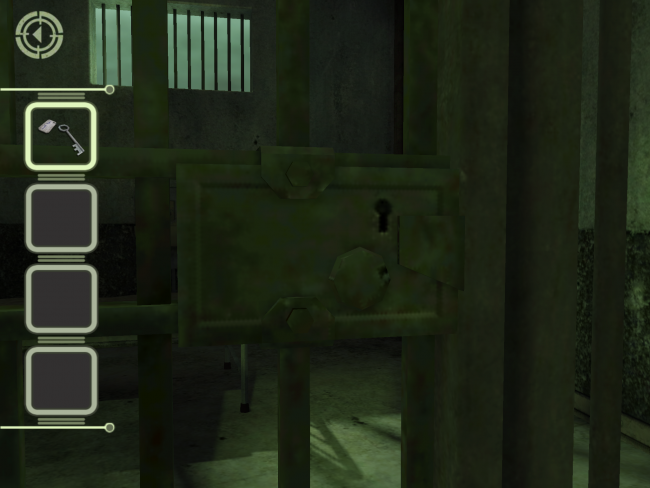
- Tap KEY #2 to select it, and drag it to the lock on the cell door.
- Turn KEY #2 until the door opens. You may have to rotate it all the way around several times.
- Enter the room and approach the sink.
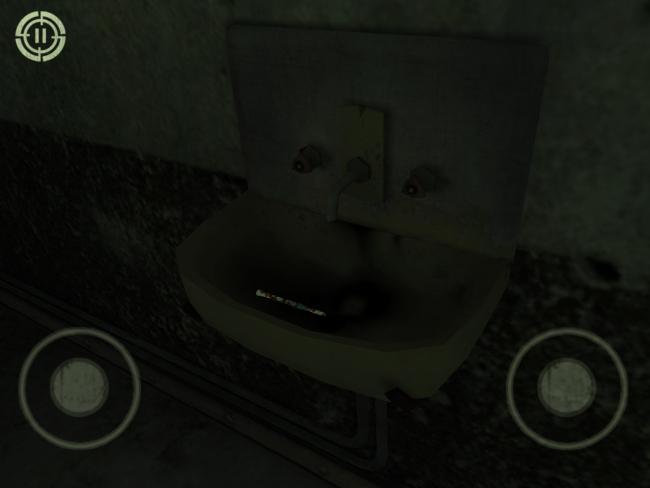
- In the sink is the SCALPEL. Tap the item to collect it.
- Exit the cell.
- Return to the room across from your original cell.
- Approach the fuse box, and then tap on it to zoom in.
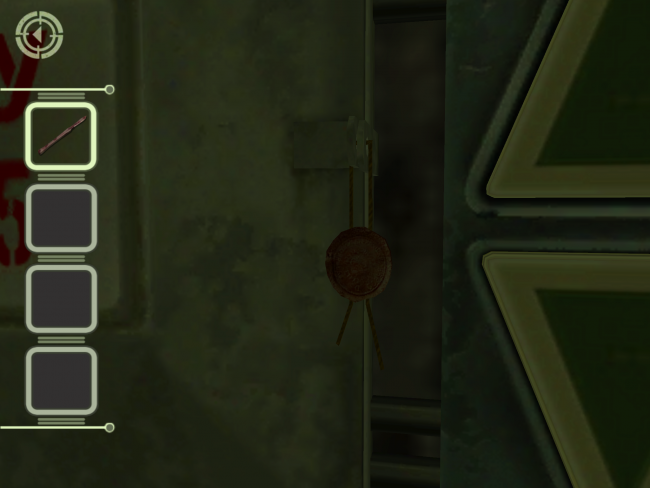
- Select and drag the SCALPEL to the round lock on the fuse box.
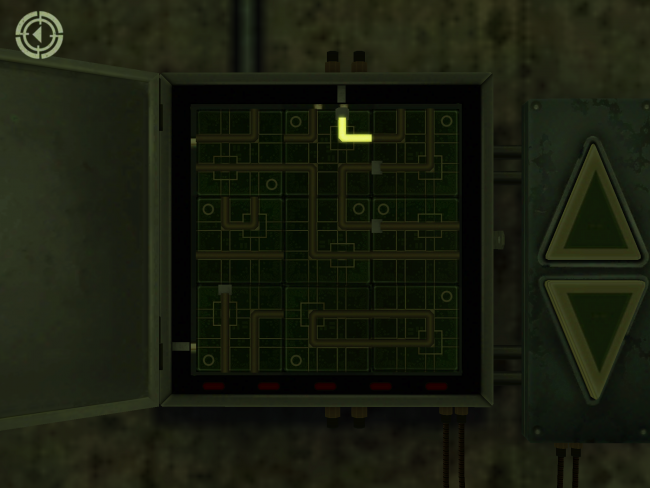
- Now the fuse box should be open and inside you’ll find the first real puzzle of the game.
- All you need to do is tap each tile until all of them are lit. There is only one correct rotation for each tile, so as long as they’re lit up, you’ve done it.
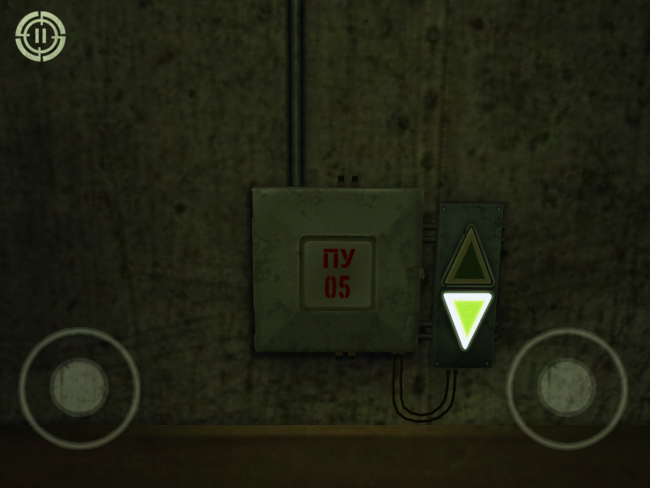
- Once all tiles are lit, the camera will zoom out to reveal a lit elevator button.
- Tap the illuminated button.
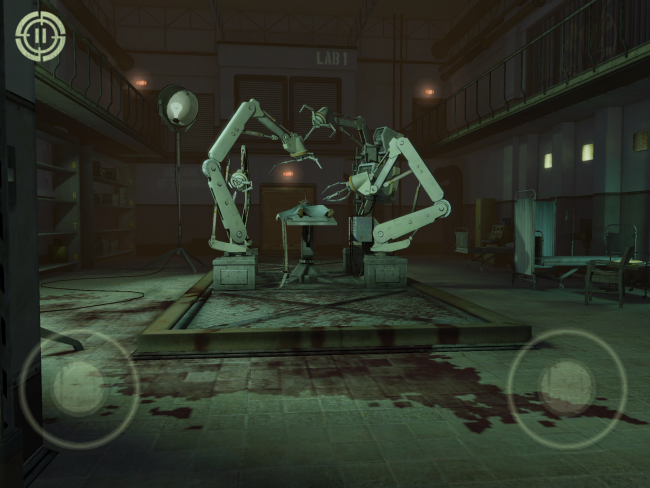
- Now we find ourselves in some kind of operating theater.
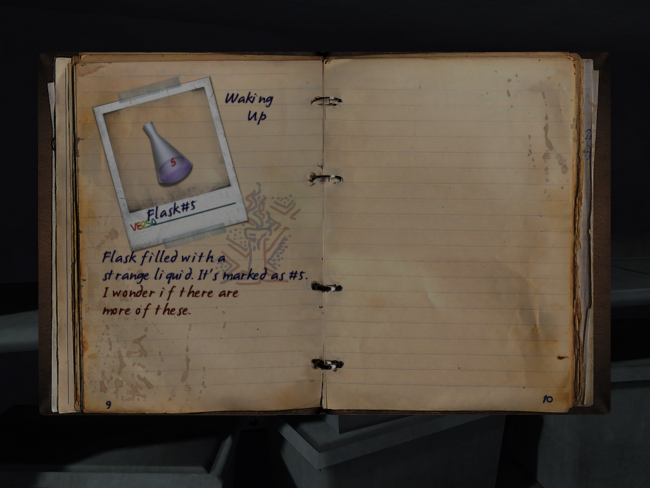
- Along the wall to the left are a LIST OF SUBJECTS and FLASK #5. The LIST is optional, but you must collect the FLASK. If you have trouble seeing them, you can always activate retrospective vision by pinching outwards.
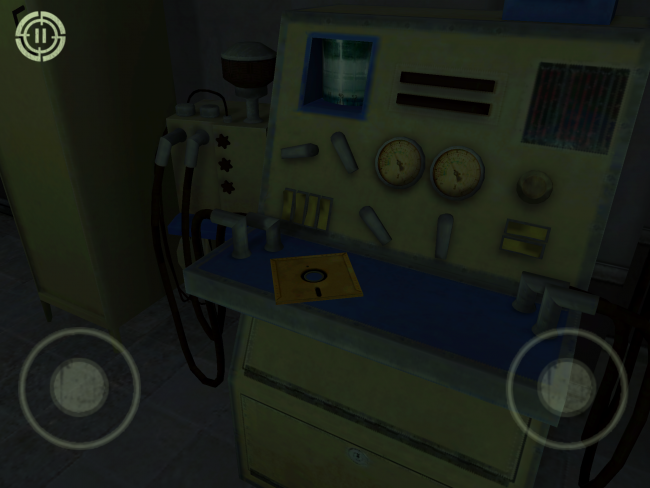
- On the right-hand side of the room (as you enter from the elevator) is another set of diary pages, but also a DISK.
- Tap on the DISK (which looks like a yellow floppy disk) to collect it.
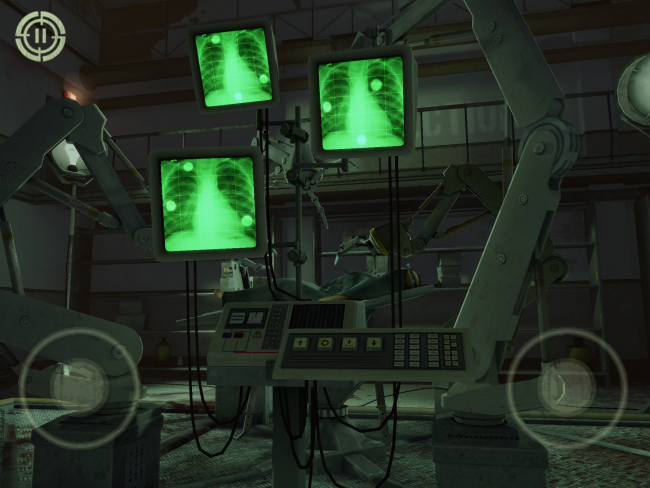
- Finally, we direct our attention to the elephant in the room – the operating machine in the center.
- Approach the machine from the side with the green monitors and tap on the control panel to zoom in.
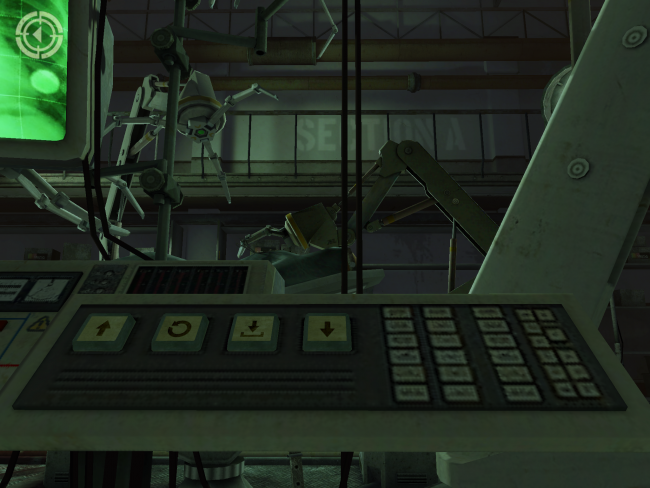
- The “puzzle” here is really just pressing the buttons in the correct order. Whenever you press the correct button in the sequence, the mechanical claw will move to a new position. If you press the wrong button, it will move back to its original spot.
- Press the CIRCLE.
- Press the UP ARROW.
- Press the DOWN ARROW.
- Press the ARROW AND LINE.
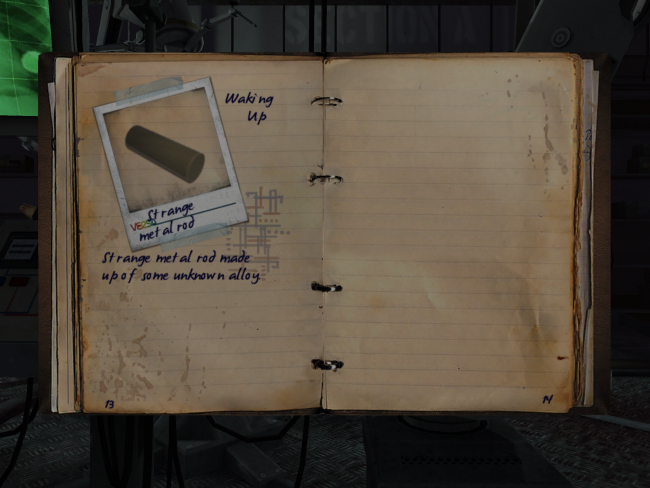
- You will automatically collect the METAL ROD when the puzzle is complete.
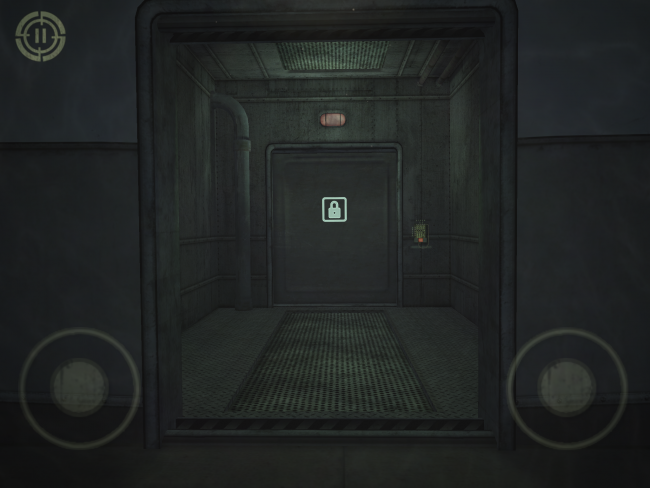
- There should be one other open door to the right (when you’re facing the control panel).
- Enter the room.
- Approach the panel with the red button
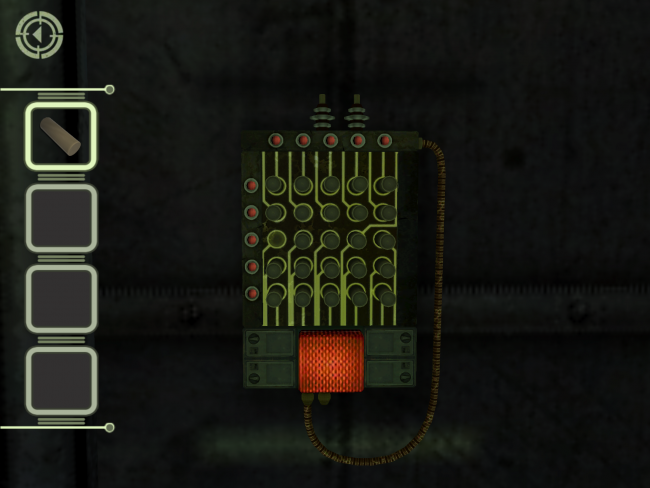
- Tap on the panel with the red button to zoom in.
- Select the METAL ROD and drag it to the panel
- Activate retrospective vision.
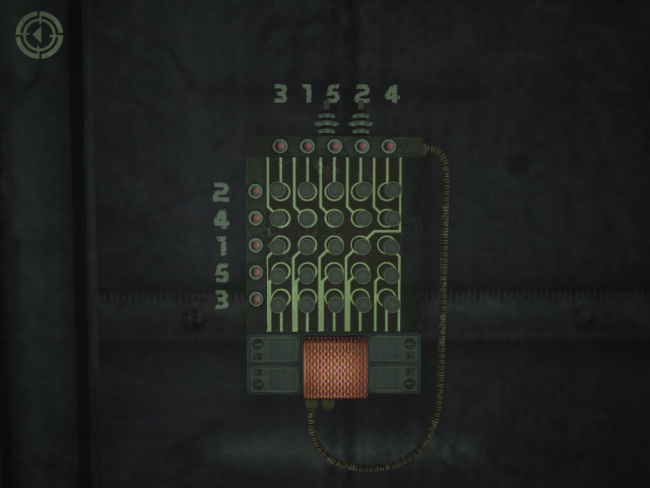
- You should see a series of numbers above and to the left of the panel. You only need one of these sequences, and which one it is doesn’t really matter. Let’s just pick the top row.
- The top row reads 3, 1, 5, 2, and 4.
- Enter in the sequence of numbers down each column, assuming the number above the column is the correct number and the top rod in each is number one.
- Press the red button.
- Your camera should zoom out.
- Look at the door to the left and follow the convenient instruction.
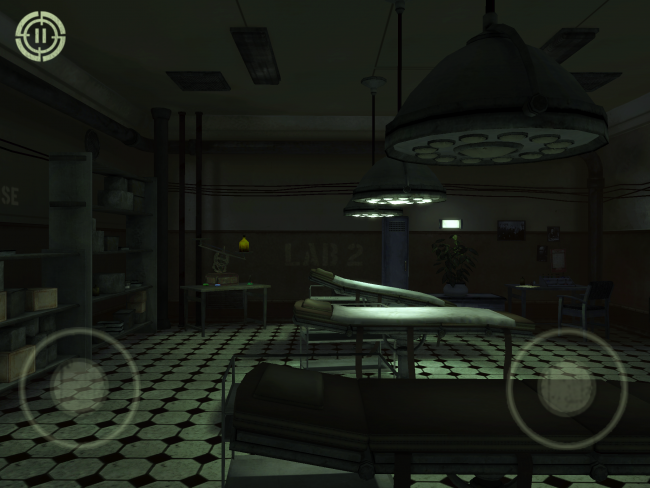
- Now we’re in some kind of hospital ward.
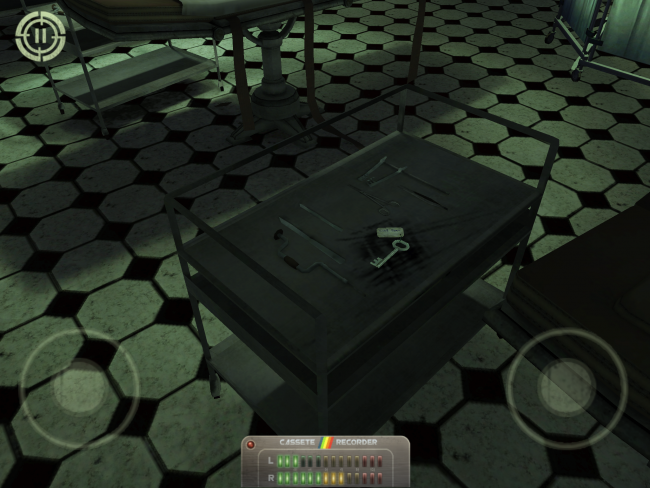
- Directly in front of you is another KEY.
- Tap to collect the KEY.
- On the shelf to the left is FLASK #2
- Tap to collect FLASK #2.
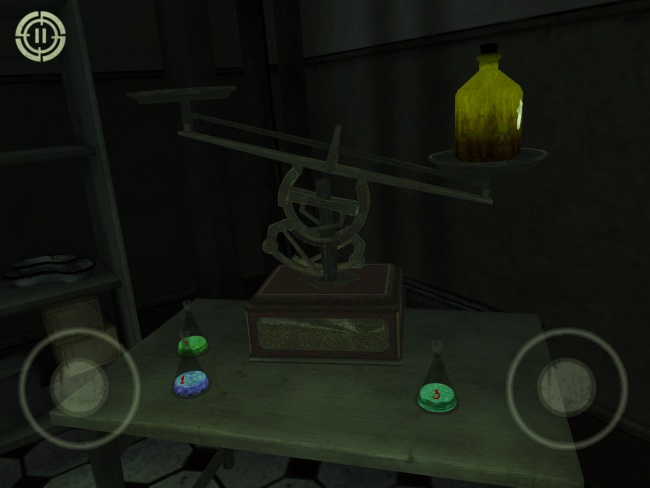
- In the far left-hand corner of the room is a scale. Approach it and tap on it to zoom in.
- You should automatically place FLASK #5 and FLASK #2 on the table in front of the scale.
- Zoom out and look to the side of the weight on the right-hand part of the scale.
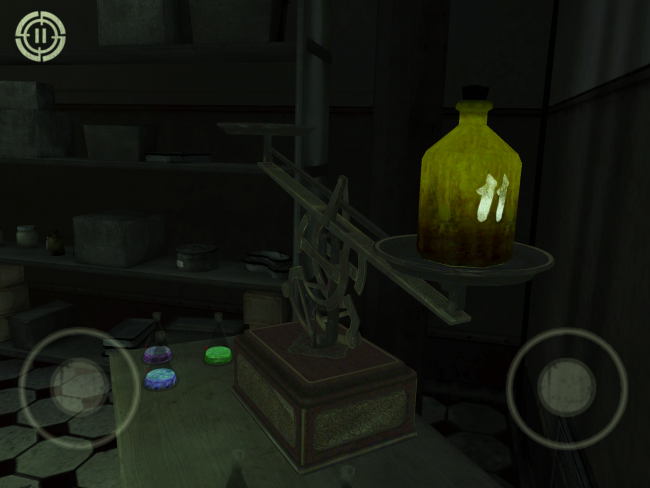
- The side of the weight says “11” so we’ve got a pretty good idea of what we need to do.
- Zoom in on the scale again.
- Place the flasks on the left-hand side of the scale by tapping on them. You want the sum of the numbers on the flasks to equal 11.
- If you don’t feel like doing the math, just tap the flasks marked 2, 4 and 5 to reveal a secret compartment.
- Tap on the compartment to collect the HOME PHOTO.
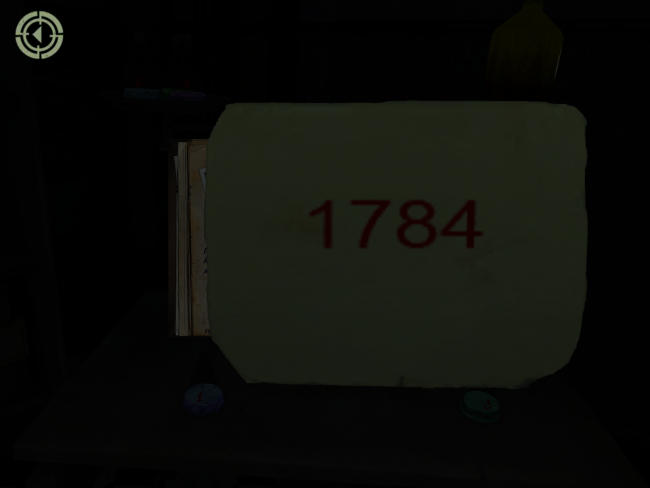
- Examine the HOME PHOTO in your journal.
- Spin the HOME PHOTO around to see the sequence written on the back – 1784.
- Exit your journal. This should trigger a cutscene.
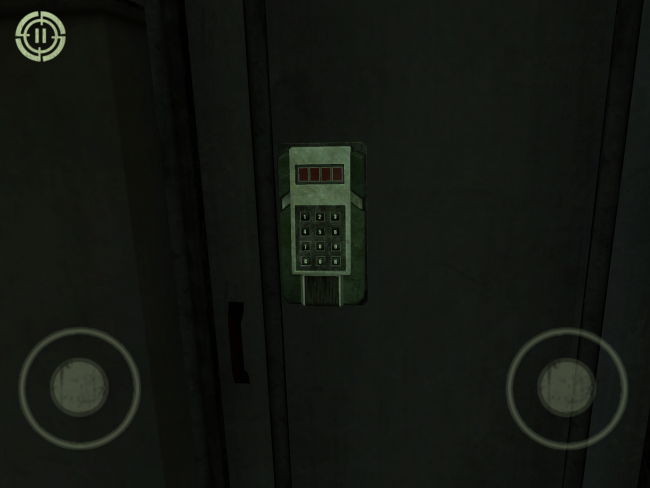
- On the opposite side of the room is a door with a keypad.
- Approach the door and tap on the keypad to zoom in on it.
- Enter the sequence from the HOME PHOTO, which of course is 1784.
- Tap the “K” button at the bottom-right of the keypad.
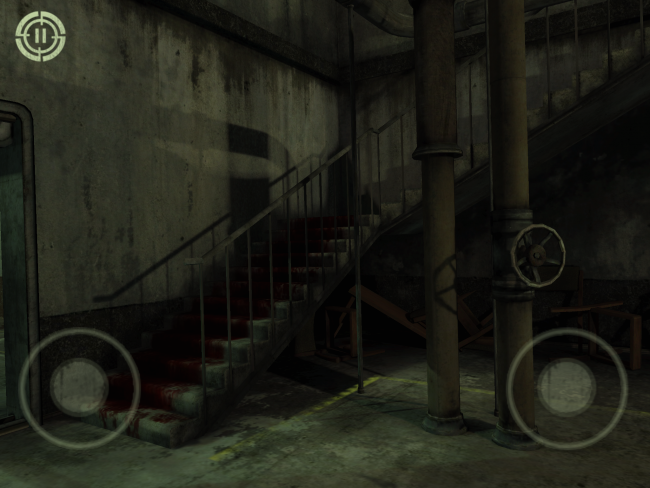
- Now we’re at the foot of another staircase.
- Instead of heading up the stairs, go through the door on the left.
- Stop in the middle of the floor and activate retrospective vision.
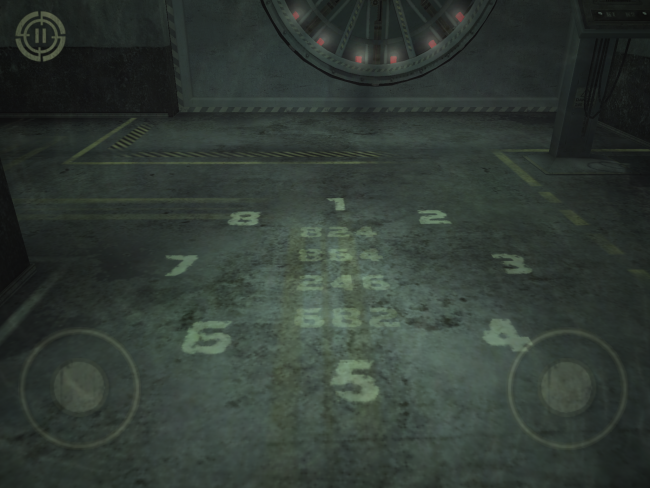
- On the floor is a pattern of numbers. You can use the photo above later on for reference.
- Now head back into the room from before and go up the staircase.
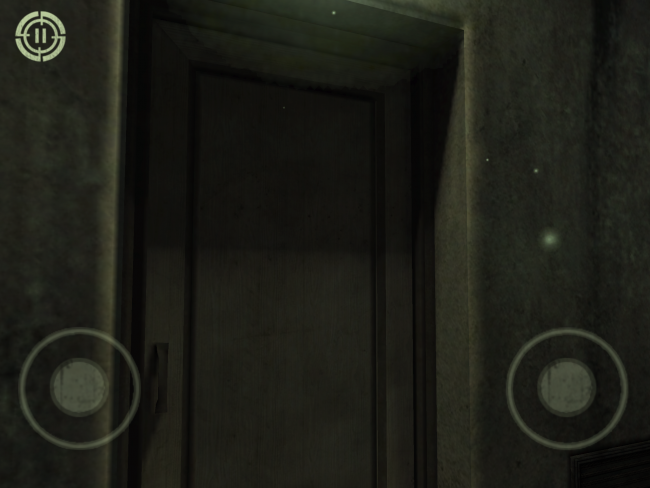
- At the top of the stairs there is a door. Approach it and tap on it to enter.
- This should trigger a cutscene.
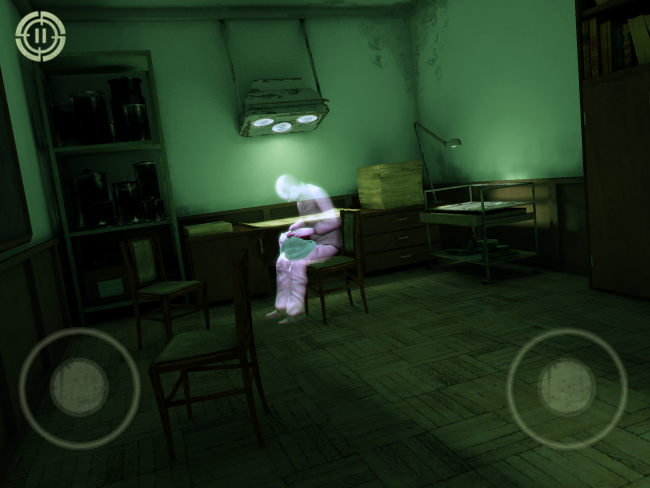
- Approach the spot where the “ghost” was sitting and tap on the cow’s head to return to the office from before.
- Now that you’re back, you can collect the audio and text logs on the right-hand side of the room, if you wish.
- Enter the door at the far end of the long office on your left.
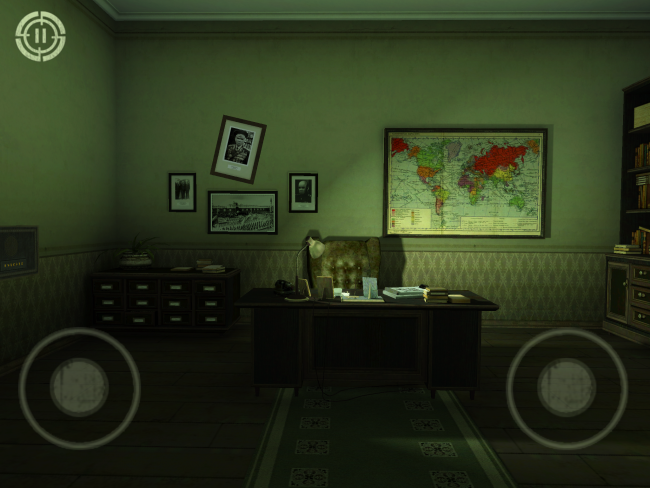
- You should see a room that looks like the photo above.
- In here, there are several more optional text logs in front of you that you can pick up.
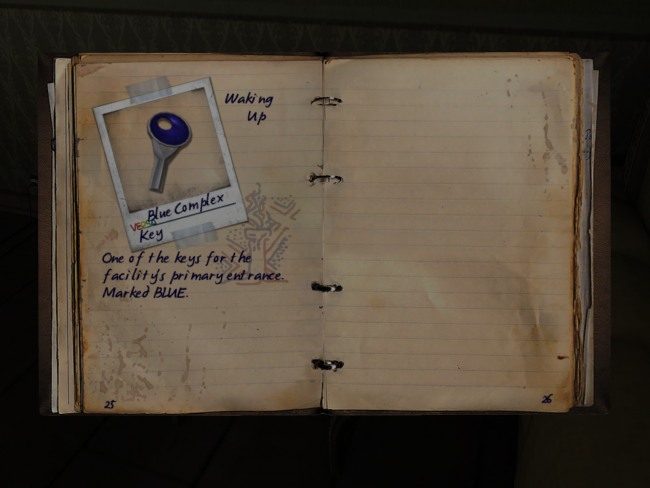
- On the right-hand side of the room is a coffee table with the BLUE COMPLEX KEY. Tap on it to pick it up.
- If you want to, you can also open the wall safe on the opposite side of the room to get another optional log.
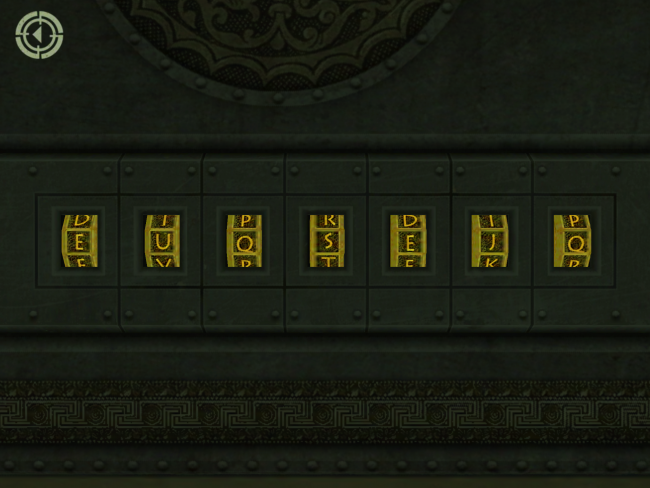
- To open the wall safe, approach the combination lock and enter “CURTAIN.” This word is visibly written throughout the room on the walls if you have retrospective vision turned on.
- Tap inside the compartment to collect the AGREEMENT.
- Exit the room
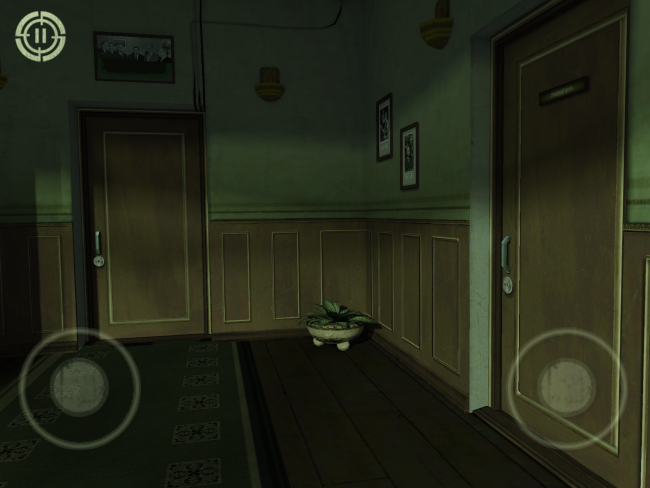
- As you are leaving the room to go back to the stairwell, there will be another door on your left.
- Approach the door and tap on it to zoom in. Then select and use the KEY, rotate it several times, and tap the now-unlocked door to open it.
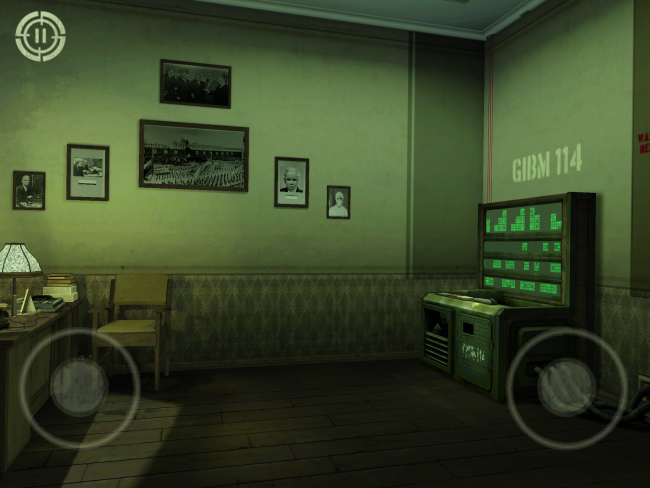
- Now we’re in some kind of secondary office with a computer to the side.
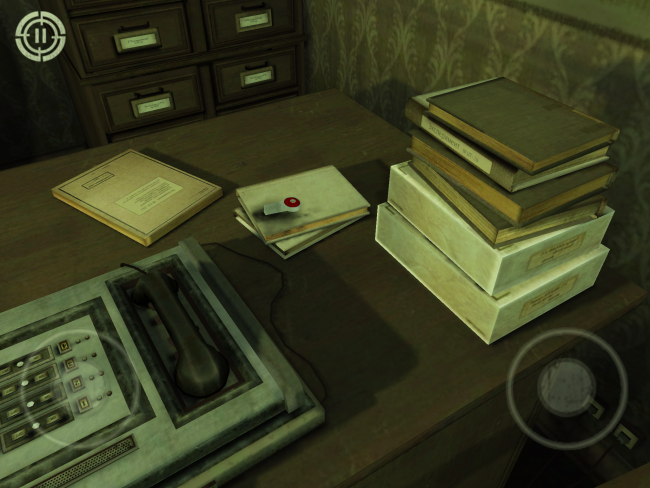
- On the desk to the left is a journal entry, as well as the RED COMPLEX KEY.
- Tap to collect the RED COMPLEX KEY.
- Before you exit the room, you might want to collect a few more things – although these are totally optional and you can just head downstairs if you want.
- The first is another text log on the coffee table opposite the desk. This will trigger yet another cutscene.
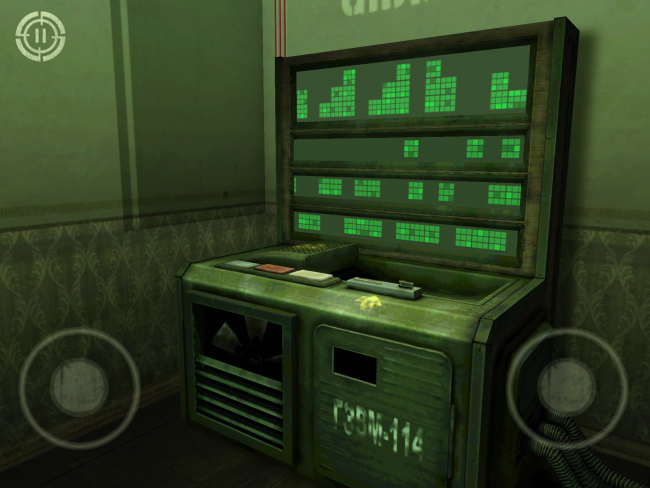
- Next, approach the computer with the green symbols and tap on it to zoom in.
- Select and use the DISK we collected before to activate the computer.
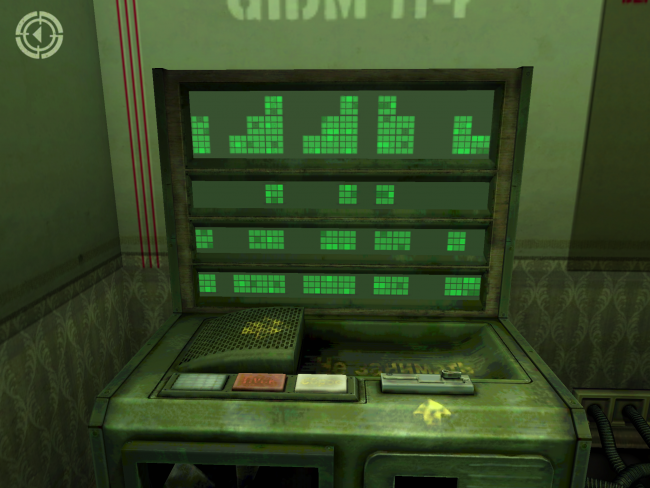
- All you need to do here is match up the bottom three lines so that their squares match the patterns of the top row.
- Use the photo above for reference if you need to.
- When you’re done, press the red button on the computer to retrieve PERSONAL FILE #17.
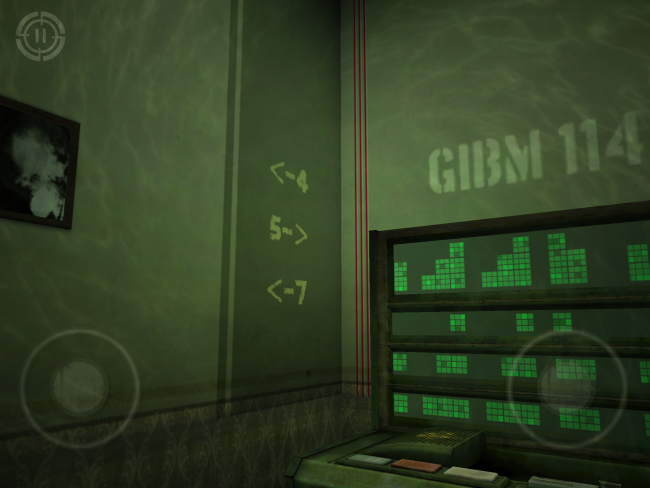
- Before leaving the last thing you need to do is turn on retrospective vision and examine the wall to the left.
- You should see a clue that looks like the photo above – a series of numbers and arrows.
- Head back downstairs to the room with the giant vault door and the hidden number sequence on the floor.
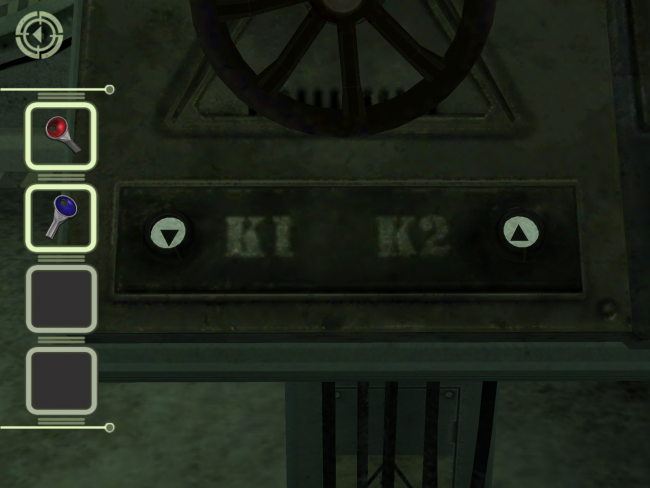
- Tap on the valve to zoom in.
- Select the RED and BLUE COMPLEX KEYS and drag them to their respective slots on the panel.
- The camera should zoom out.
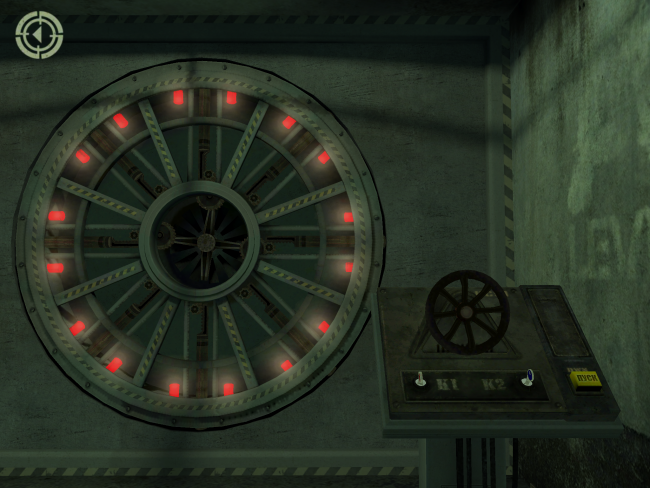
- Remember the sequence of numbers on the floor from before? Each of those numbers represents a segment of the massive vault door on the wall in front of you. The top segment is number one and it increases by one as you go clockwise around the door until you reach number eight.
- The sequences from before read 824, 864, 246 and 682.
- The objective here is to match up the three spokes inside the vault door to each three-digit number – then press the yellow button on the panel – in order. Doing so should change the red lights to green.
- You rotate the spokes inside the vault door by rotating the valve on the control panel in the desired direction.
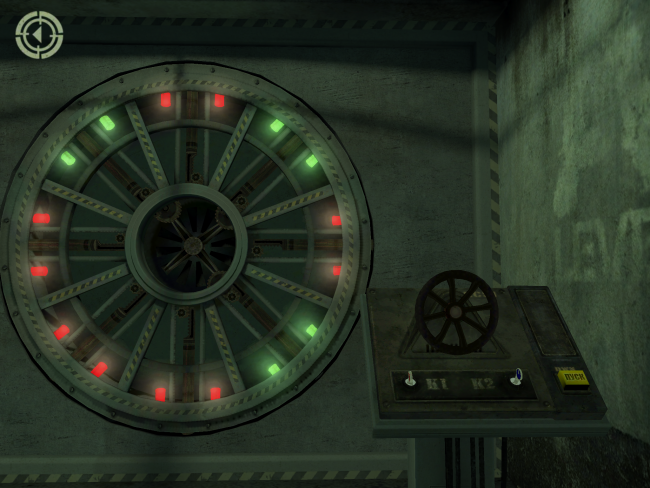
- For example, you first sequence – 824 – should look something like this after you press the yellow button.
- Continue for the next three sequences.
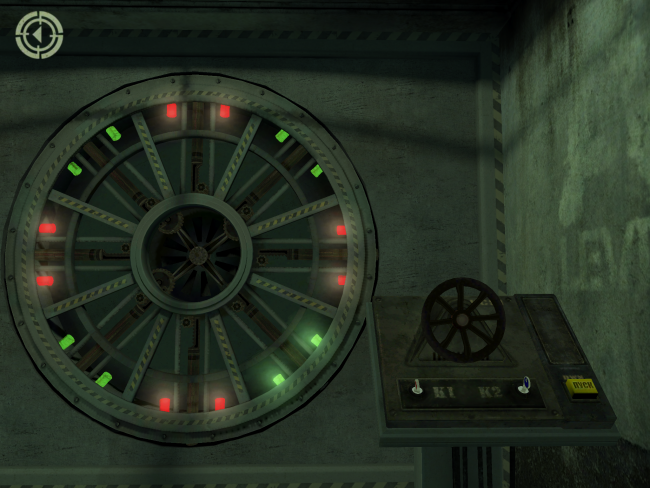
- Once you’ve entered all of the sequences there are still four red lights on the vault door.
- That’s because the numbers on the floor are only half of the combination. If you look at the numbers, each of them only includes even numbered segments. So, we need to repeat the same combination, but this time using odd numbered sequences.
- Since there is no number nine segment on the wheel, we can assume that the sequence goes backwards by one on each number, rather than forwards by one. So the next sequence of numbers to input becomes 713, 753, 135 and 571.
- Don’t ask me how the game expects you to come to this conclusion without an extremely lucky guess or a lot of trial and error.
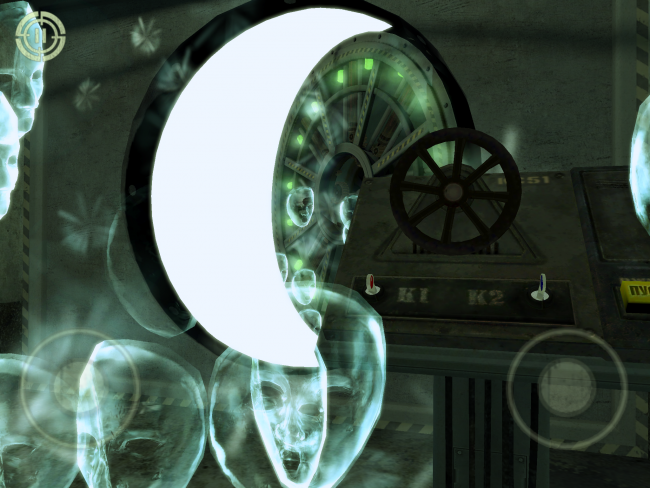
- Once the segments are all green, the vault door will open and you will have completed episode number one!
- Note that if your game crashes after completing the episode (which it did for me every time) you can still reboot the game and select episode two from the main menu, starting it as if you were just continuing from episode one.
Episode Two
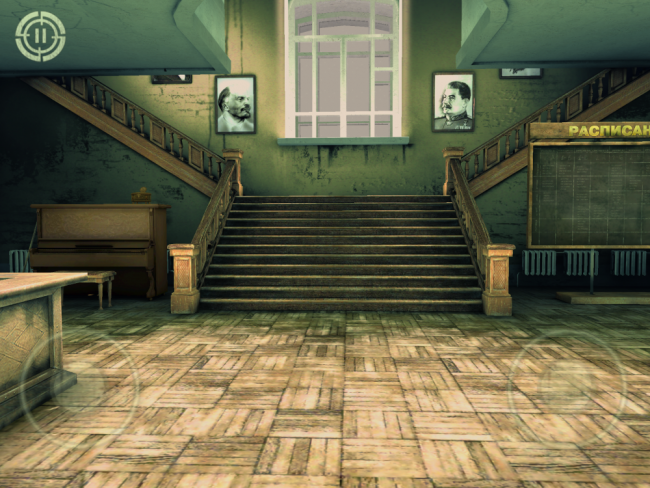
- Now we find ourselves in the opening lobby of a school building.
- First, turn to your left and head into the hallway. This should trigger a series of cutscenes as the “ghost” pushes you away.
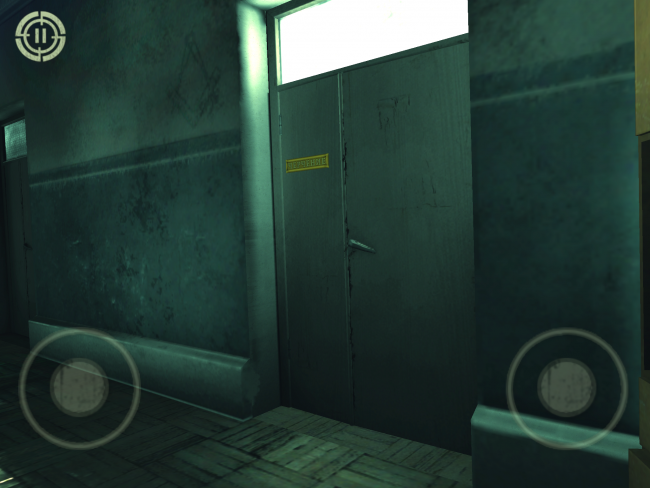
- When you wake up, go through the door on the right side of the hall. The one on the left is currently locked.
- There are some logs to collect in the main room, as well as a book that will fall off the shelf in the main room at the back with an overhead projector.
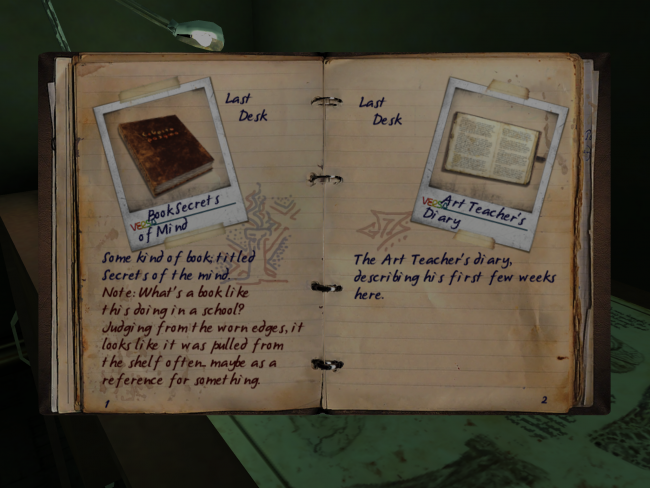
- Tap the book to collect SECRETS OF MIND.
- You can now exit the art room, but we’ll be coming back here later.
- Head back into the main lobby.
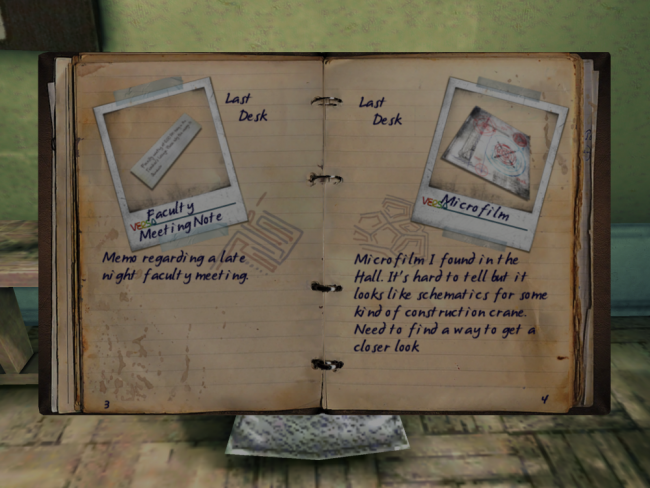
- There are a couple of collectible logs in here as well. You can pick them up if you choose.
- On the bench on the right-hand side of the room (assuming we’re coming in from Episode One) you can pick up the MICROFILM.
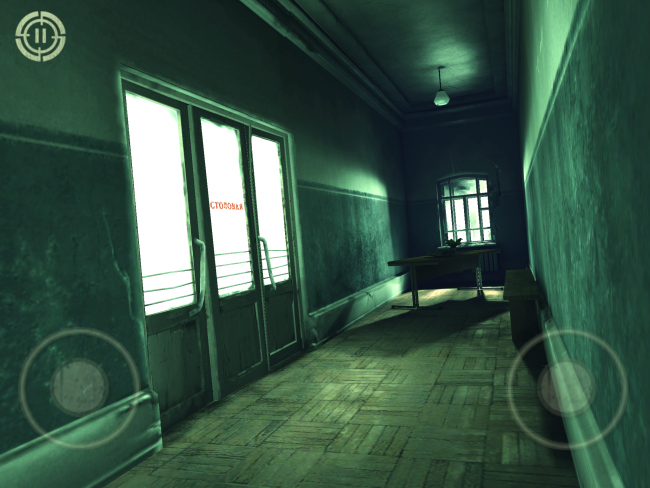
- Now head into the right hallway (the one opposite the area where we triggered the cutscene) until you see a set of double doors.
- Approach the doors and enter.
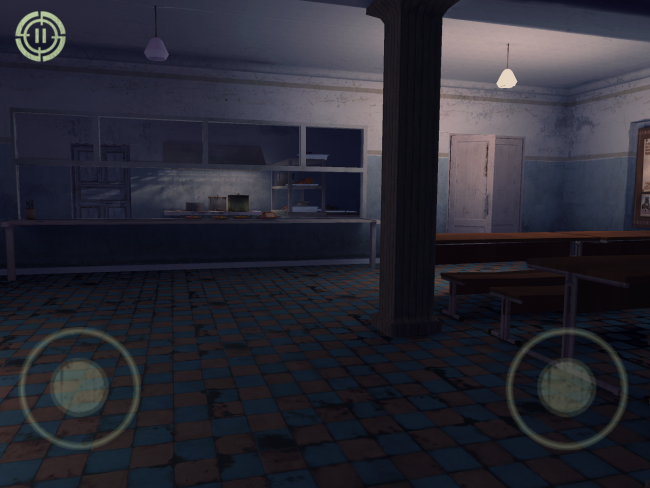
- Once you’re inside, a short scene will play.
- There are several things that we need to pick up in here, so make sure you get everything.
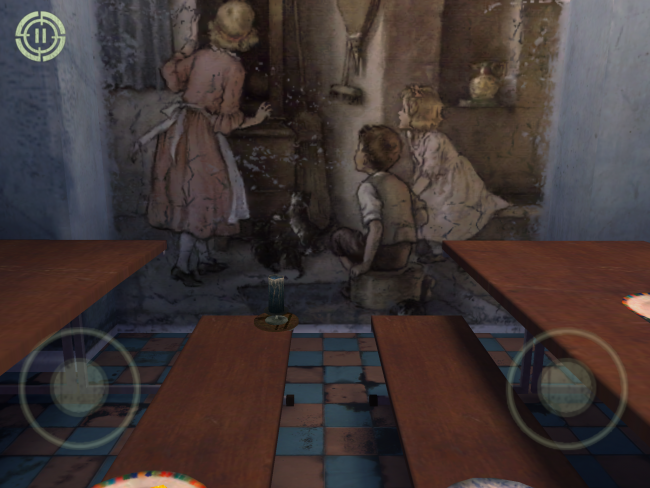
- The first item is a black candle on the left, sitting in front of the ominous painting on the lunch table’s seat.
- Tap it to collect the BLACK CANDLE.
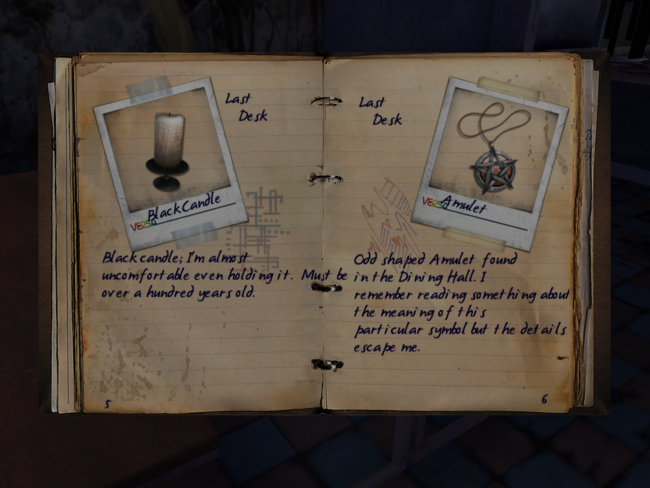
- Just a few tables down from that is the AMULET. Tap this to collect it as well; we’ll need it for the art room we were in earlier.
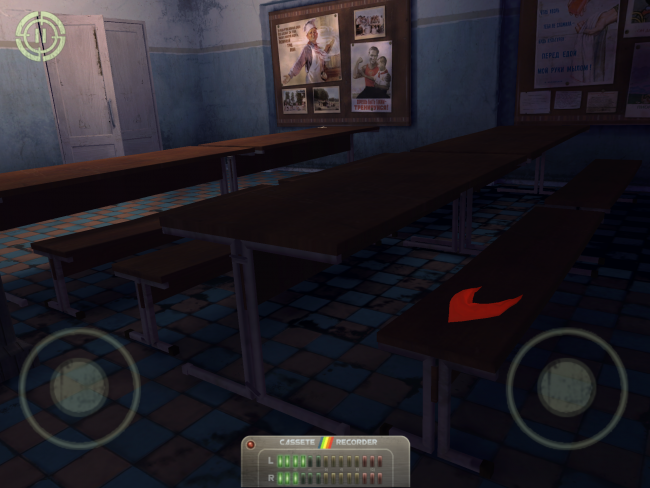
- Assuming you are facing the tables nearest the wall with the painting, make a 180.
- Behind you is another set of lunch tables, one of which holds the PIONEER TIE. Tap and collect it.
- This will trigger another cutscene.
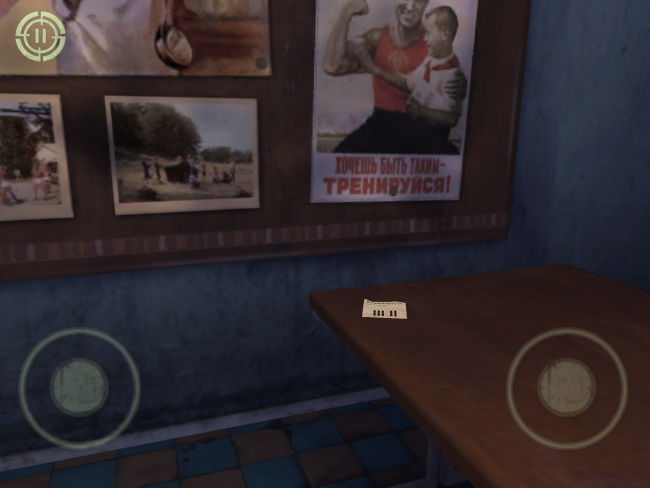
- Closer to the same wall nearest the PIONEER TIE is another object by a bulletin board.
- Approach the object and tap it to collect the PIANO GUIDE.
- We don’t strictly need this item to complete an upcoming puzzle, but the game runs on the assumption that we do, so let’s just grab it to be safe.
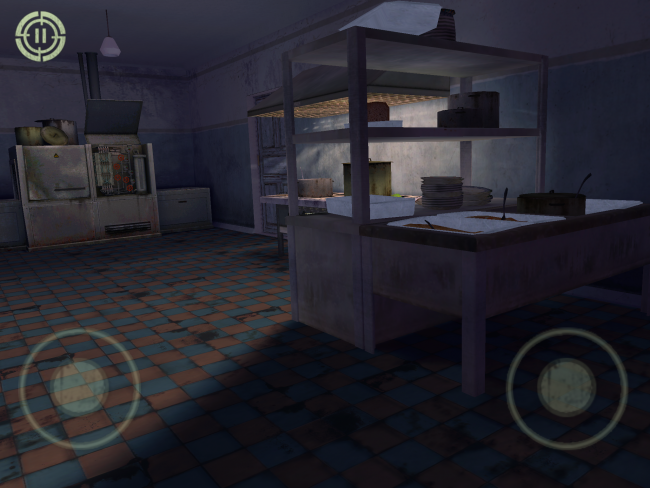
- Next to the PIANO GUIDE is a set of doors leading to the kitchen.
- Head inside to the kitchen.
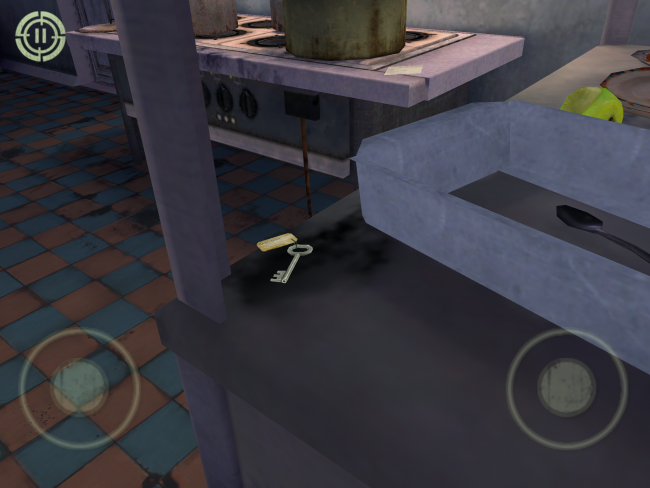
- Right in front of you, on the kitchen counter, is the BASEMENT KEY. Tap it to collect.
- There’s also another optional note right across from the BASEMENT KEY if you’d like to grab that, too.
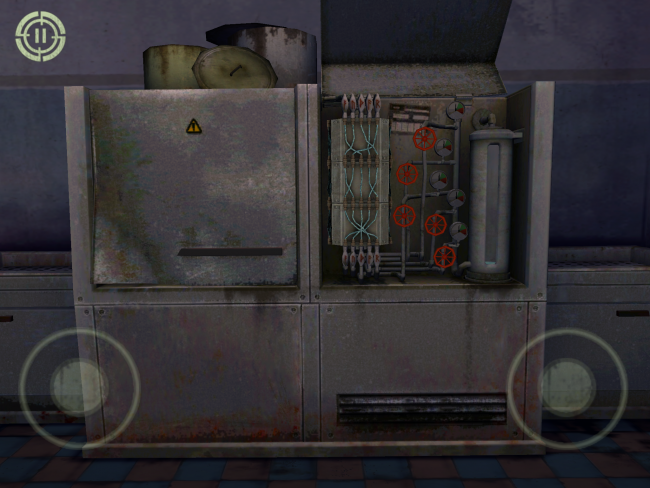
- At the end of the kitchen is some sort of pump contraption.
- Approach the pump and tap it to zoom in.
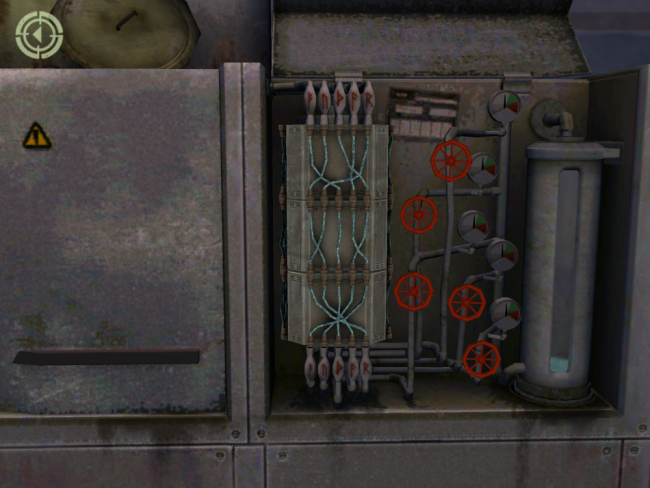
- The objective of this puzzle is to rotate each of the blue hoses so that each of them reaches the matching end on the bottom.
- Unfortunately, all of the hoses are rotatable, so there’s no baseline to start from, which makes this puzzle mostly trial and error.
- Fortunately we can also just turn on retrospective vision to see a set of arrows on each segment of the column.
- Align the arrows visible in retrospective vision so that all of them point inward.
- The pump will activate automatically, signified by a humming noise.
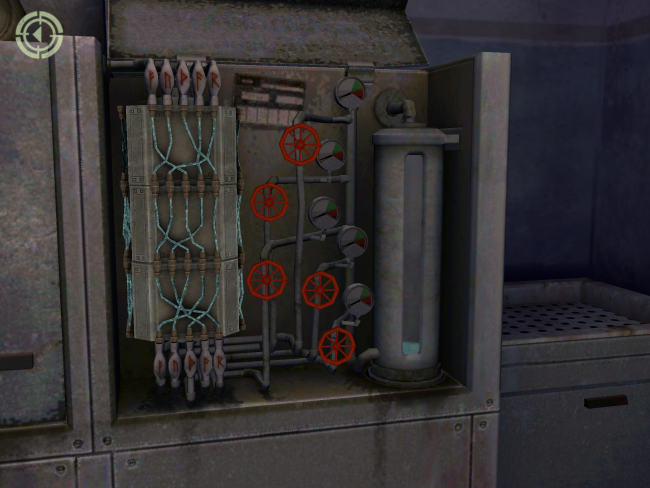
- Now that all the hoses are in place, it’s time to fill the tank on the right.
- This is achieved by tapping the red valves so that each of their pressure gauges reads in the green.
- Assuming that the top-most valve is number one and the bottom-most valve is number five, tap each valve in the following order: 1, 1, 3, 3, 5 and 5.
- You should automatically collect the BROCHE (or “broch” as the game’s mistranslation calls it).
- You can now exit the kitchen and, in fact, the dining room as well.
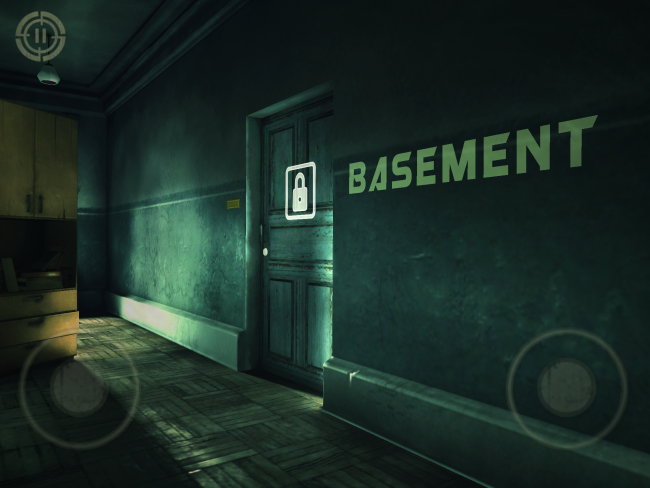
- Remember that hallway where we got thrown around by the ghost? Head back over there (the hallway opposite the one with the kitchen) and look for the basement door.
- Remember, you can use retrospective vision to see the labels of each of the doors in English.
- Approach the basement door and tap on it to zoom in.
- Select and use the BASEMENT KEY on the door.
- Rotate it several times to unlock the door.
- There’s not much in the basement besides a…
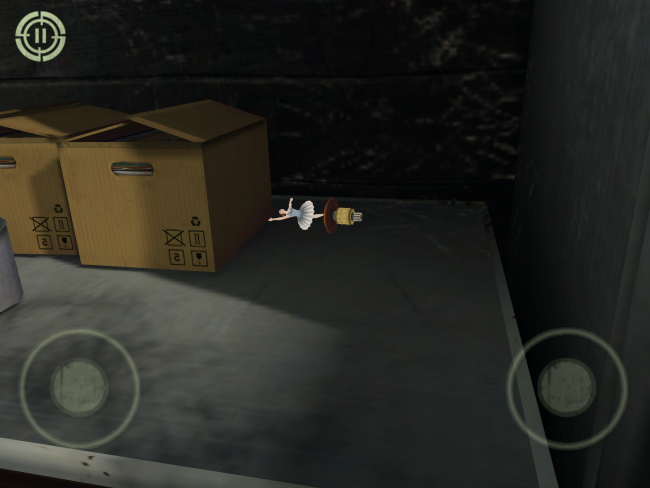
- …MUSIC BOX DETAIL right in front of you, and another journal entry opposite that.
- Collecting the journal entry will trigger a short bout of dialogue. After that, you’re free to leave the creepy basement and never come back.
- Return to the lobby.
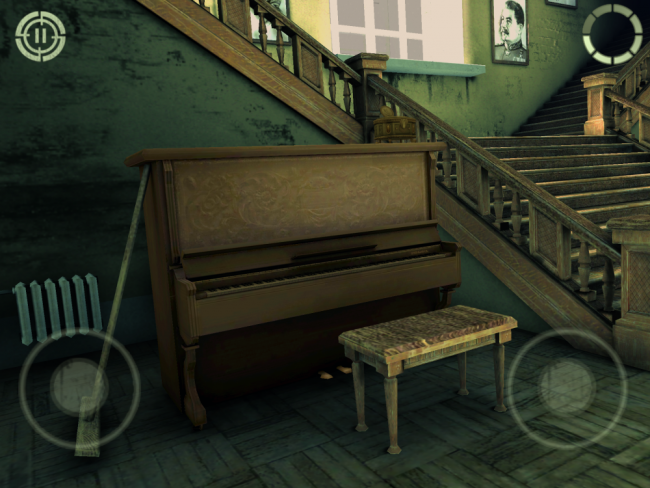
- In the lobby, there’s a fairly large piano. Approach it and tap it to interact.
- Use the MUSIC BOX DETAIL to “activate” the piano.
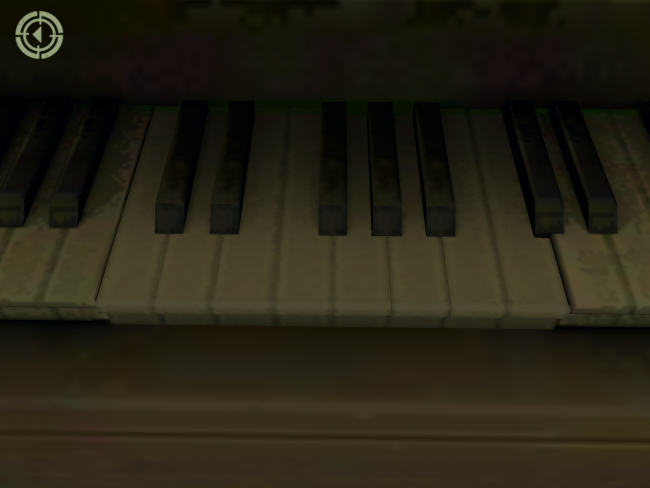
- This is where the PIANO GUIDE is meant to come into play. The idea is to use the front of the PIANO GUIDE to know which key is which, and the back of the guide to know the order in which to play the notes.
- Let’s just use retrospective vision instead.
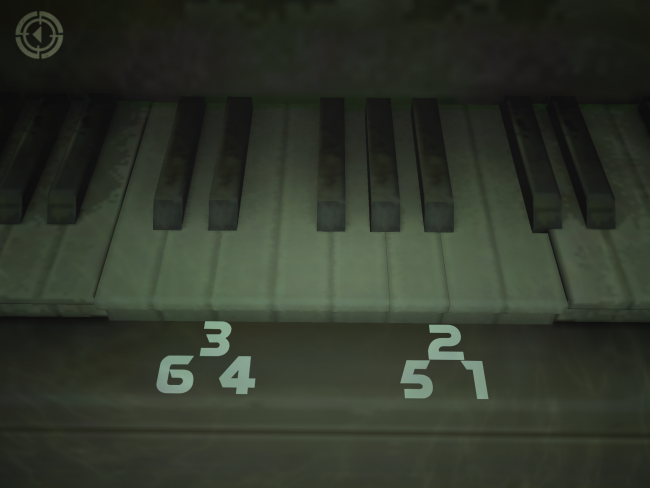
- Retrospective vision shows us exactly which keys to press and in which order. The higher numbers signify black keys, while the lower numbers indicate white keys.
- Simply press the keys in the order they appear in retrospective vision, or use the image above.
- When the correct keys are played, the camera will automatically zoom out. Now, we can go upstairs.
- I have no idea why the game doesn’t allow you to go upstairs until you’ve played the piano.
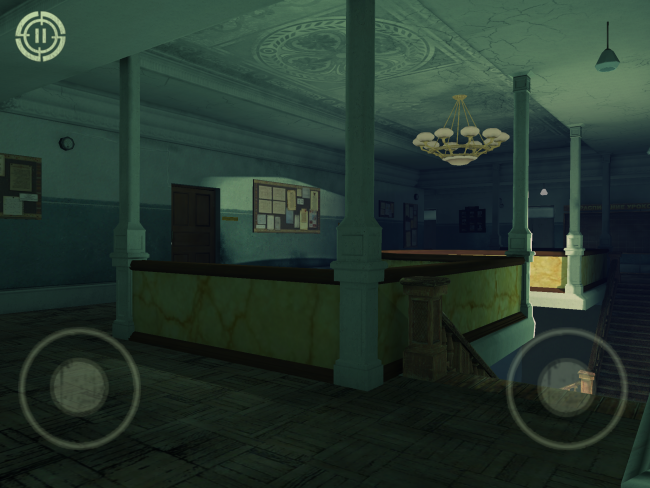
- And now we’re upstairs.
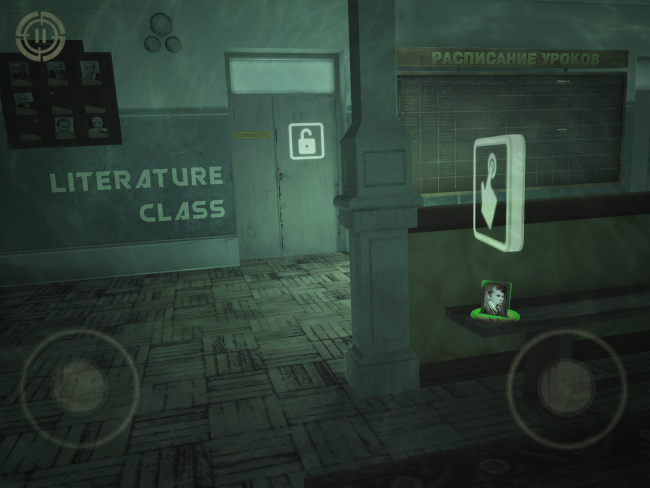
- Immediately, we’ll head for the literature classroom across the walkway.
- Before we hit the door, let’s pick up the CHILDREN PHOTO on the bench in the balcony.
- After that, approach the literature room door and enter.
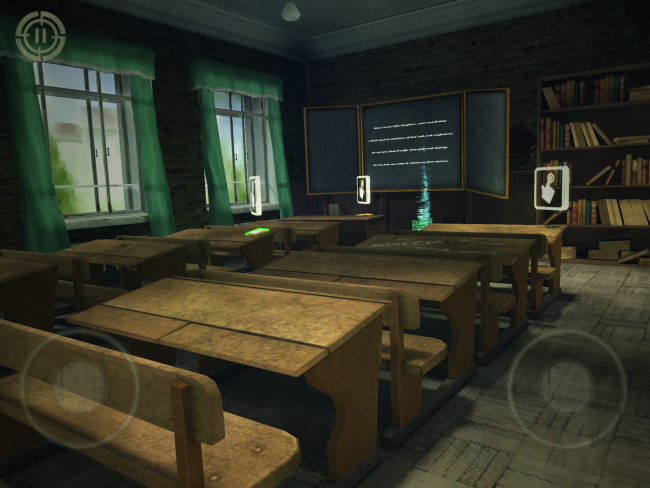
- True to its name, there’s plenty of reading material in this room.
- Walking towards the front of the class will trigger a cutscene
- You can collect the LITERATURE TEACHER’S JOURNAL on the teacher’s desk at the front as a collectible.
- The two items on the children’s desks are the POETRY BOOK and the BOBBY PIN.
- Collect them both.
- Exit the room.
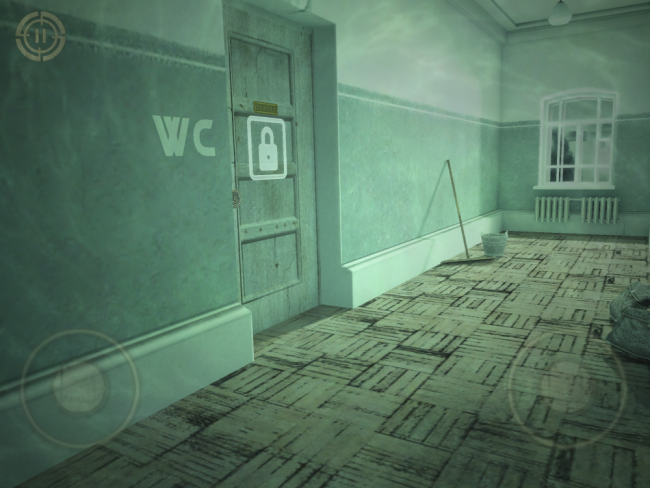
- Head to the opposite side of the upstairs floor to the well-lit hallway.
- Approach the door marked W.C. and tap it to zoom in.
- Select the BOBBY PIN and drag it to the padlock on the door.
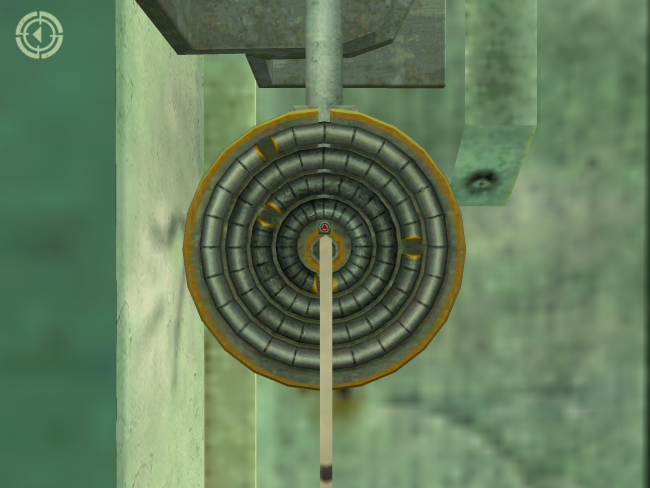
- The objective here is to unlock the door with the BOBBY PIN.
- To do so, rotate the BOBBY PIN in either direction until it starts to jiggle in the lock.
- When it starts to jiggle, continue to rotate the BOBBY PIN slowly in that same direction. If you’re moving slowly enough, you should trip the tumbler and activate the next one.
- Repeat this process for each of the tumblers on the lock.
- Enter the W.C.
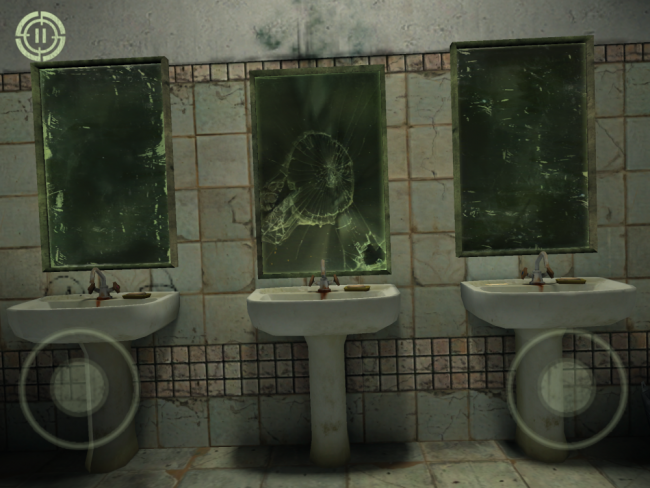
- Turn to the left so that you’re facing the broken mirrors.
- Activate retrospective vision.
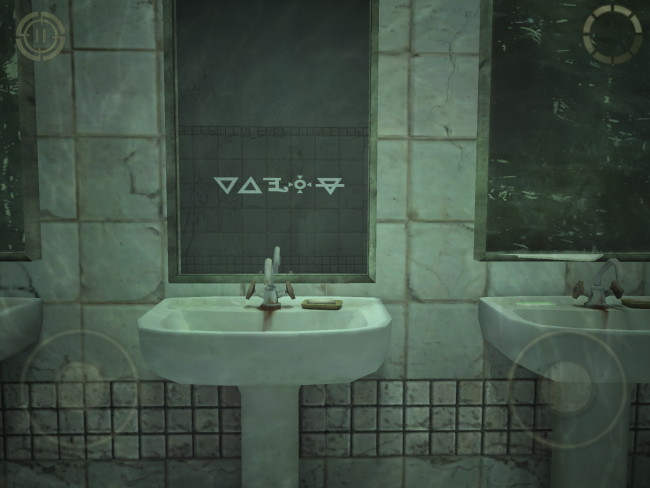
- The helpful ghost girl we’ve been encountering so far will leave a useful message for us to use later on.
- Before turning away from the mirrors, you can pick up the optional HIDDEN NOTE on the right-most sink.
- Turn towards the bathroom window and approach the windowsill
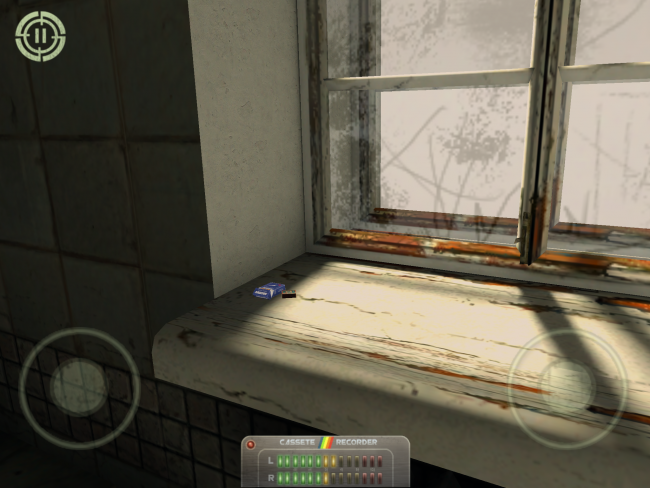
- On the windowsill is a set of smoker’s paraphernalia, including a set of MATCHES.
- Tap to collect the MATCHES.
- Exit the bathroom
- Return to the literature room where we collected the BOBBY PIN.
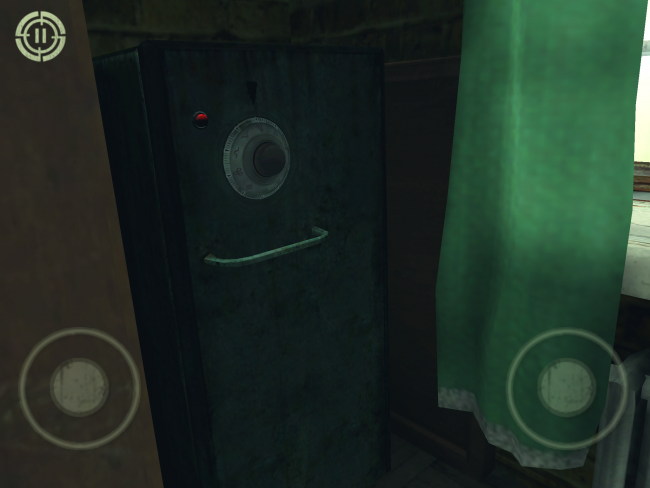
- Inside the Literature Room is a safe with a series of symbols instead of numbers for the combination.
- Tap on the dial to zoom in.
- Now we can use the sequence of symbols given to us in the bathroom to open the safe – just use the photo from before as a reference if you don’t remember.
- One odd and important point here is that the dial must be turned in a 360 degree arc first to activate the downward-facing triangle, despite the fact that the safe defaults to that symbol.
- Also, make sure that you rotate the safe’s dial first to the left, then the right, and so on. The combination will only work in this way.
- When the safe is open, you will automatically collect the MEETING ROOM KEY.
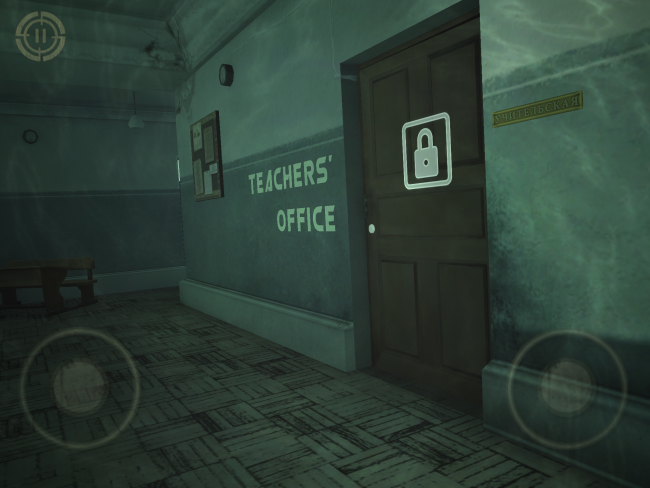
- The MEETING ROOM KEY, as it turns out, is used on the door to the Teachers’ Office, which is just down the hall from the literature room.
- Approach the door, select the MEETING ROOM KEY and drag it to the lock.
- Rotate the MEETING ROOM KEY several times to unlock the door.
- Enter the Teachers’ Office.
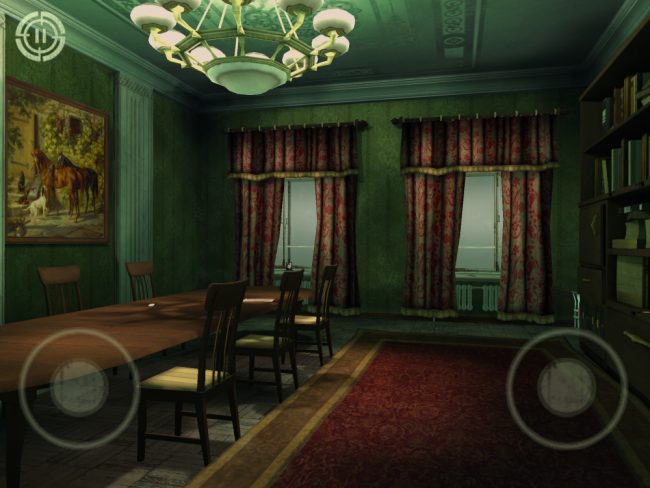
- Once inside, you should see a large table with several chairs, as in the image above.
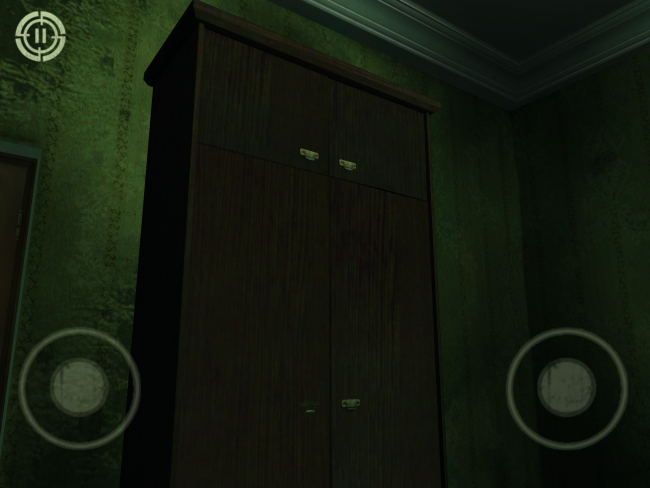
- Before moving forward, turn to your left.
- Tap on the cabinet to collect the INSIGNIA RING.
- Now you can push forward up to the table.
- There are several notes on the table, one of which will activate an… unsettling cutscene.
- Next, head to the windows and pick up another CHILDREN PHOTO.
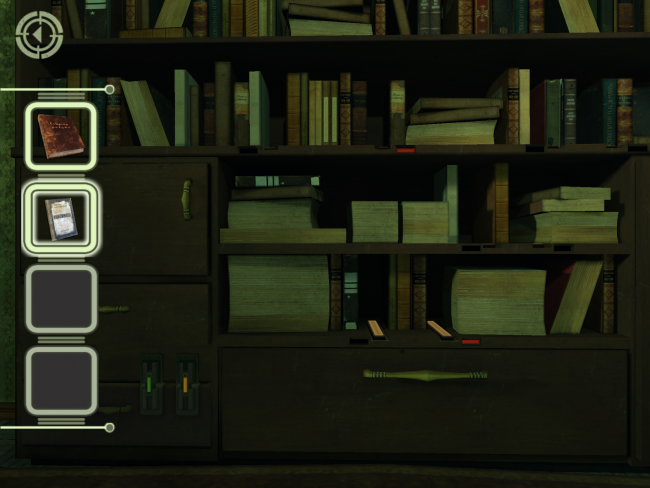
- Next, turn to face the bookshelf on the side of the room.
- Tap it to focus on it.
- The objective here is a basic matching memory game.
- Placing a book on one of the slots on the shelf will activate a color. You need to place the other book on the slot with the matching color in order to secure the proper lock.
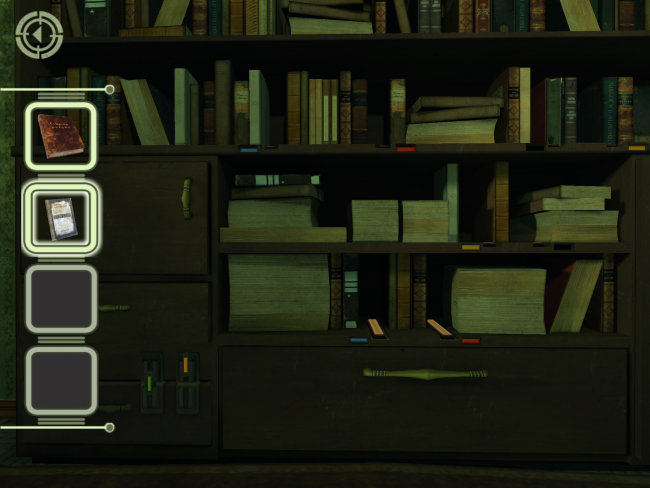
- Use the image above to recognize the orange, red, and blue slots. The remaining two slots signify the green lock.
- Securing all of the locks will automatically earn you your JOURNAL.
- Exit the room.
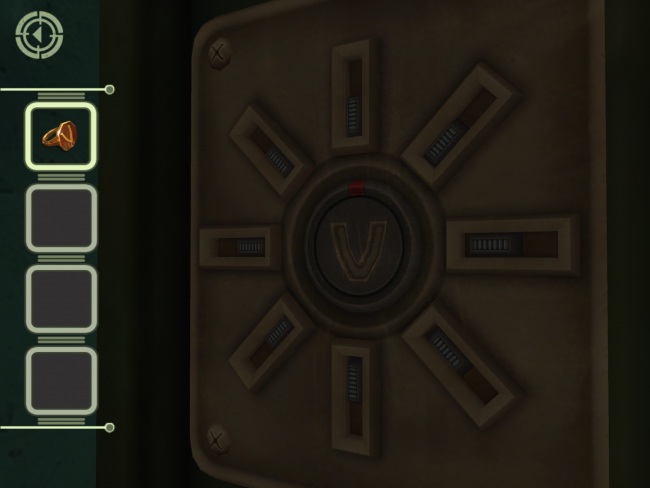
- Turn to your left as you exit the room and approach the other door on the same wall.
- Zoom in on the door to reveal the strange lock.
- Select and drag the INSIGNIA RING to the lock.
- To unlock this door, you must turn the key in the proper direction until each necessary tumbler has been tripped, then turn it the opposite direction until those tumblers have been tripped.
- Turn the INSIGNIA RING clockwise until four tumblers have been tripped, then start turning it counterclockwise to trip the remaining four.
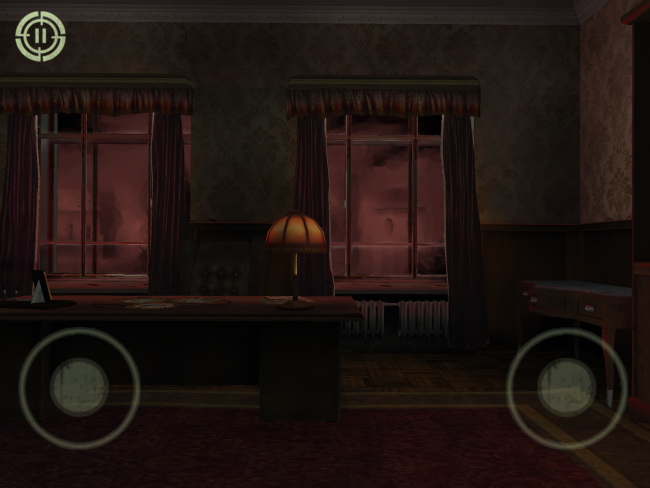
- You’re now in the Principal’s Office.
- There’s a single audio log to your left, but you can immediately focus on the Principal’s desk in front of you.
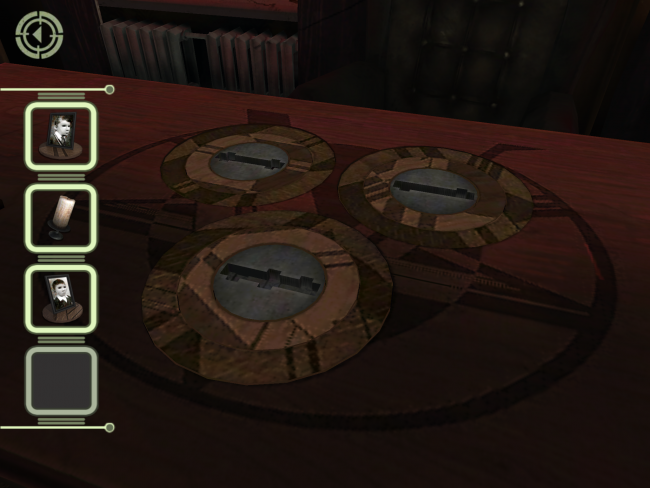
- Select and drag all of the items in your side bar to their slots on the desk.
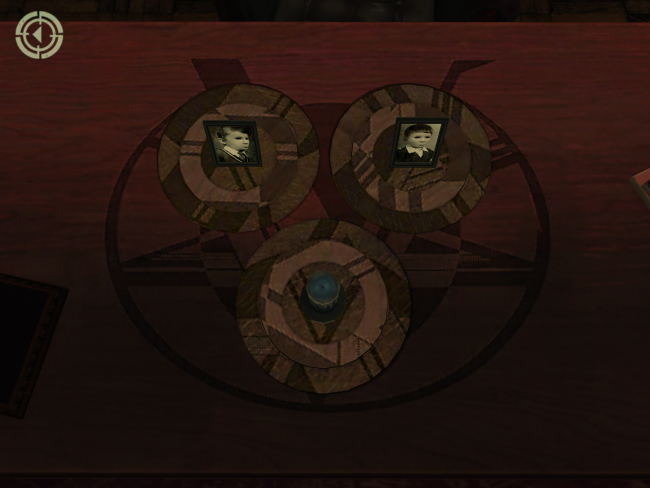
- Ostensibly, the idea here is to rotate the objects so that the symbol on the desk is perfectly aligned.
- However, you can basically just start turning the rings clockwise and counterclockwise until they lock into place, and then rotate the now-perfect disks into the proper alignment.
- Once the rings are aligned to form a solid plate, just align the plate with the symbol on the desk and let go. If you’re at least close, they will snap into place.
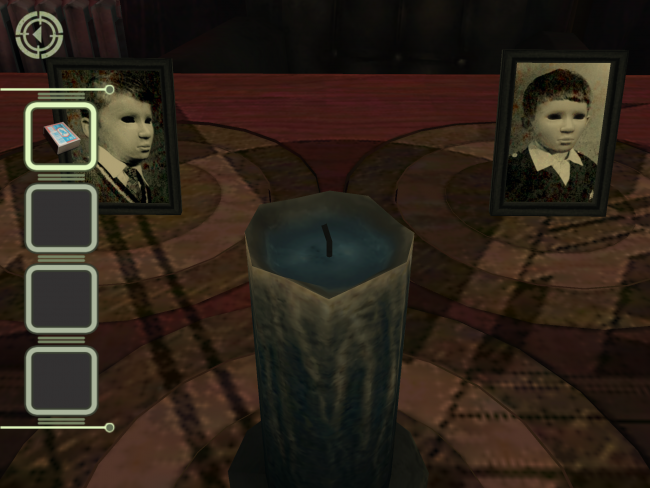
- Now just select and use the MATCHES on the candle to trigger the final cutscene of the episode.
Congratulations!
You have completed Gamezebo’s walkthrough for In Fear I Trust. Be sure to check back often for game updates, staff and user reviews, user tips, forums comments, and much more here at Gamezebo!
More articles...
Monopoly GO! Free Rolls – Links For Free Dice
By Glen Fox
Wondering how to get Monopoly GO! free rolls? Well, you’ve come to the right place. In this guide, we provide you with a bunch of tips and tricks to get some free rolls for the hit new mobile game. We’ll …Best Roblox Horror Games to Play Right Now – Updated Weekly
By Adele Wilson
Our Best Roblox Horror Games guide features the scariest and most creative experiences to play right now on the platform!The BEST Roblox Games of The Week – Games You Need To Play!
By Sho Roberts
Our feature shares our pick for the Best Roblox Games of the week! With our feature, we guarantee you'll find something new to play!All Grades in Type Soul – Each Race Explained
By Adele Wilson
Our All Grades in Type Soul guide lists every grade in the game for all races, including how to increase your grade quickly!


 “
“