
Best Horror Games On Itch.io – July 2026
Across a bounty of subgenres.![Haze Seas Accessories Tier List [Best Accessories to Equip]](/wp-content/uploads/2026/07/haze-seas-accessories-tier-list.jpg "Haze Seas Accessories Tier List [Best Accessories to Equip]")
Haze Seas Accessories Tier List [Best Accessories to Equip]
The accessories with the best stat buffs in Haze Seas.
![[Roblox] Evomon Shiny Hunting Guide – Including Prismatic and Pris Shinies!](/wp-content/uploads/2026/06/evomon-shiny-hunting-guide.jpg "[Roblox] Evomon Shiny Hunting Guide – Including Prismatic and Pris Shinies!")

High School Story Walkthrough
High School Story is a school simulation game from Pixelberry Studios, wherein you will be able to build your very own high school from scratch and then run it by throwing parties with your best friends. Planning all of these activities for your school can be a nightmare, but with Gamezebo’s quick start guide you’ll have all of the tips, tricks, and walkthroughs you’ll need to get ahead of the game.


- Prefer Gamezebo on Google

Game Introduction – High School Story
High School Story is a school simulation game from Pixelberry Studios, wherein you will be able to build your very own high school from scratch and then run it by throwing parties with your best friends. Planning all of these activities for your school can be a nightmare, but with Gamezebo’s quick start guide you’ll have all of the tips, tricks, and walkthroughs you’ll need to get ahead of the game.
Quick Start Guide
Getting Started

- To get started quickly, go ahead and click on the “Play Now” button at the top of this screen. High School Story is a free to play game, so there’s no worry if you discover it’s not your bag.
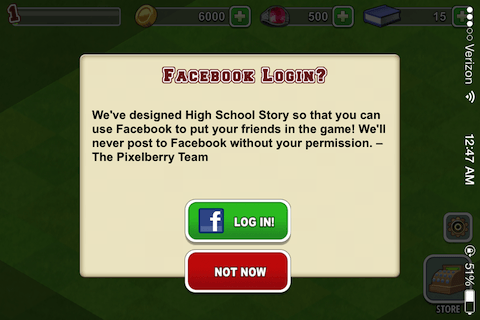
- Once you start High School Story for the first time, you will be asked if you would prefer to login using Facebook. As it is likely that most of your friends playing the game will use Facebook, logging in is recommended.
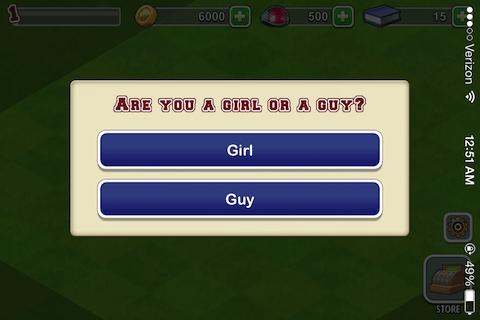
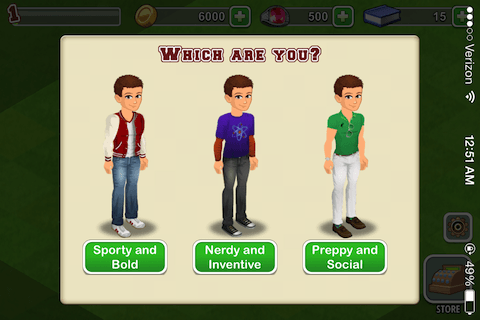
- Next, you will need to fill in some details such as your gender, and profile preference. You can choose to be Sporty, Nerdy, or Preppy. On the next screen, you’ll need to fill in your character’s name, as well as choose their hair, face details, and hair color.
- Now that you have your character, you can now begin the steps necessary to actually build the school you want to control.
Building the School
- On the school building screen, you can survey the land you will be building your school on.
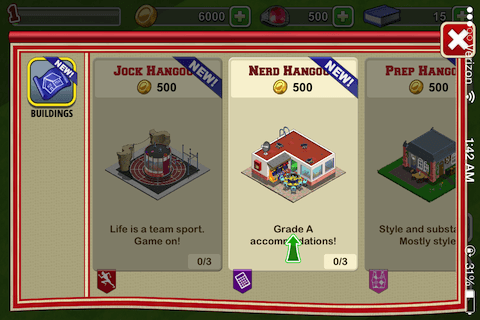
- In the bottom right corner of the screen, you will be able to see the “Store” button. Tap on this to be taken to a menu where you will have different buildings for you to build.
- Based on your profile, you will have a certain type of Hangout available on this screen. In our example, the Nerd Hangout was available to us simply because we chose the Nerdy profile earlier.
- You can tap on the Hangout to view additional information, as well as value, capacity, and maximum coins.
- When you’ve decided you’d like to purchase the Hangout, go ahead and tap the Buy button. You’ll then be taken into placement mode.
- In placement mode, you can drag the green outline of any building you are placing in order to find the proper spot to place it down. You can also tap on the “Flip” button to change which way the building is facing. When you’re ready, tap on the “Done” button.
- Once construction is complete on the hangout, tap on it to complete it.
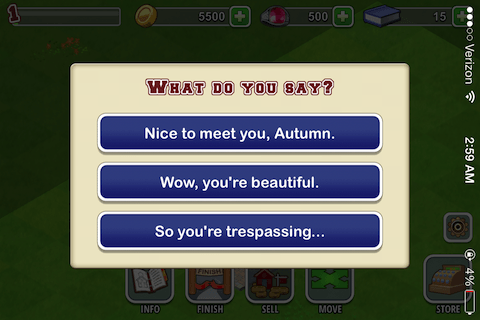
- Autumn will then speak with you about the hangout, and you’ll have to respond to her with any of the available options on the screen.
- After chatting some with Autumn, she’ll inform you that the school needs an Admissions Office before it can begin running.
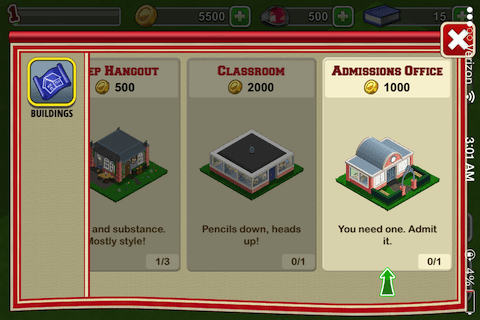
- To build an Admissions Office, head back into the Store and then swipe over to find the Admissions Office. You can then tap on it and place it just as you did previously with the Hangout.
- But what good are an Admissions Office and a Hangout without classmates to use them with?
- To add classmates, go back into the Store and then tap on the “Classmates” button to access the list of classmates you may add to your school.
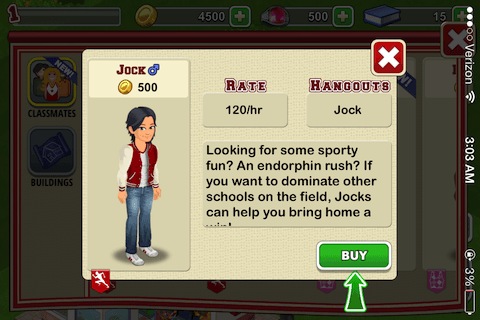
- You can swipe between the available classmates, and tap on them to see more information. Once you’ve decided on a classmate you’d like to buy for your school, you can then tap on them to purchase.
- Depending on the type of classmate you have purchased, you may need to build additional hangouts so they have a place to be while not in school.
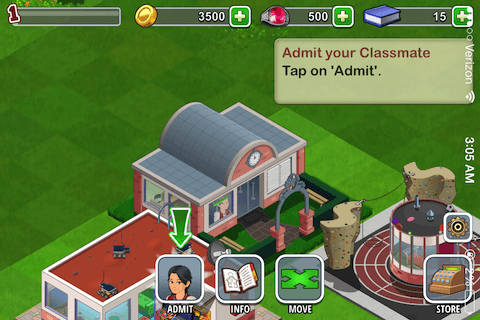
- Now you will need to admit the classmate into school using the Admissions Office. Tap on the Office, then on the “Admit” button near the bottom of the screen.
- Next, tap on the appropriate hangout for the classmate shown. Once you’ve done that, the classmate will be linked to the school and you’ll be able to customize their name, face, and hair just as you did with yourself.
- If you decided to link with Facebook, you can even choose to have a classmate linked to a friend on Facebook.
- Once you have additional classmates, you will need to build classrooms just as you did with the other buildings in this guide.
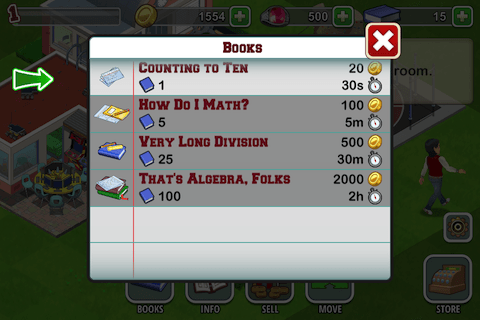
- Once you’ve done that, tap on a classroom, and then on the “Books” icon. Here, you can then choose which books to purchase for that classroom. These are how your school will make money, and how the students will learn.
- When you order the books, it can take time for them to arrive. You can rush them if you wish by spending “rings.” Rings are the premium currency in High School Story and must be purchased to use.
Congratulations!
You have completed Gamezebo’s quick start guide for High School Story. Be sure to check back often for game updates, staff and user reviews, user tips, forums comments and much more here at Gamezebo!

More articles...
-
Best Horror Games On Itch.io – July 2026
Across a bounty of subgenres. -
Haze Seas Accessories Tier List [Best Accessories to Equip]
The accessories with the best stat buffs in Haze Seas.