![Digimon UP Tier List [Supports, Buddies, and Partners]](/wp-content/uploads/2026/07/digimon-up-tier-list.jpg "Digimon UP Tier List [Supports, Buddies, and Partners]")
Digimon UP Tier List [Supports, Buddies, and Partners]
These Digimon will get you UP the leaderboard.
By Adele Wilson

By Adele Wilson
![Haze Seas Boss Drops [Chances, Locations, and How to Spawn]](/wp-content/uploads/2026/07/haze-seas-boss-drops.jpg "Haze Seas Boss Drops [Chances, Locations, and How to Spawn]")
By Adele Wilson

By Sho Roberts
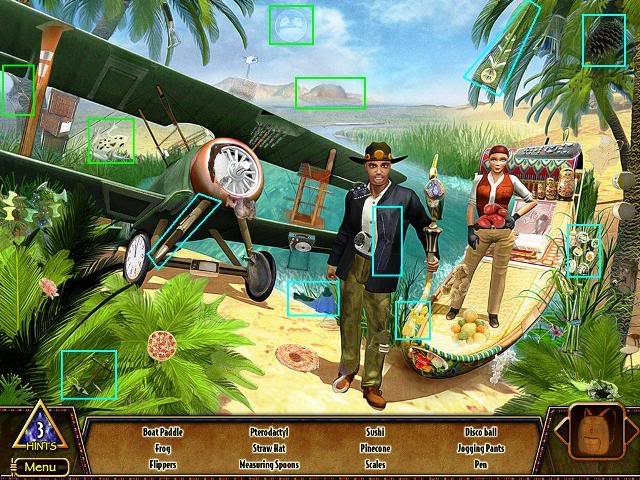
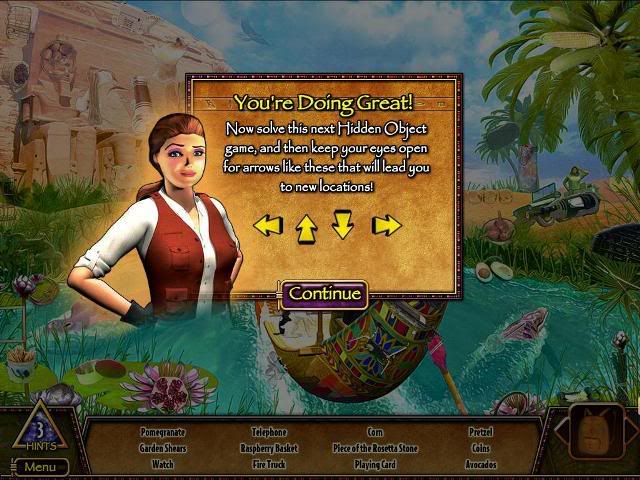
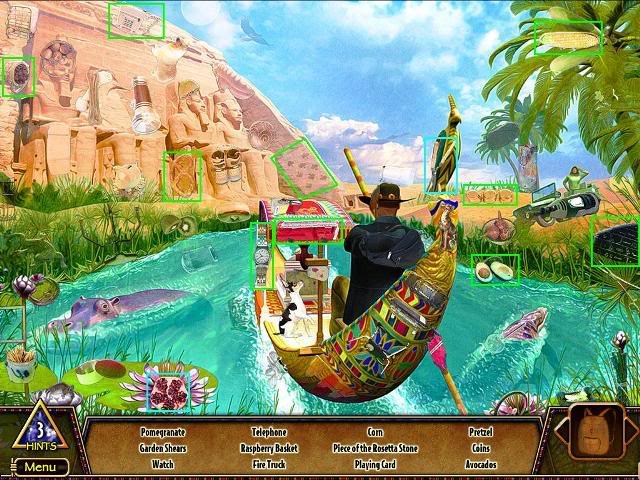
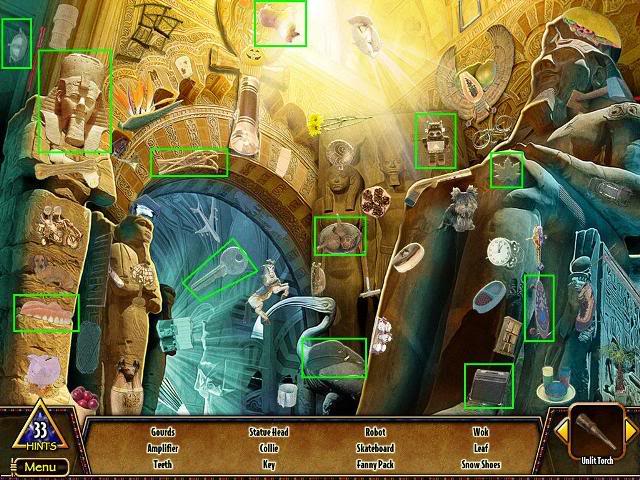
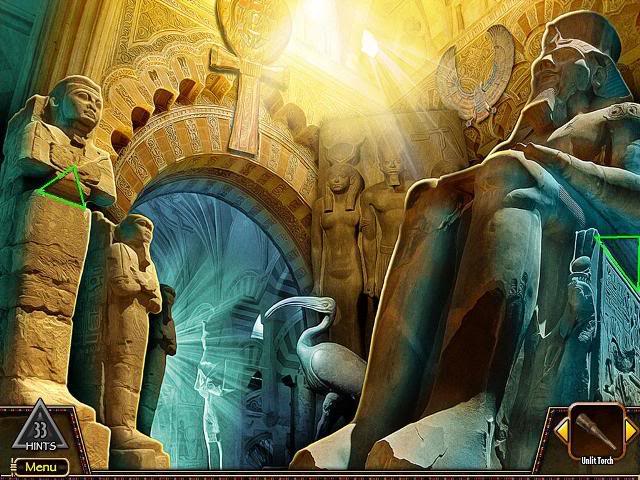
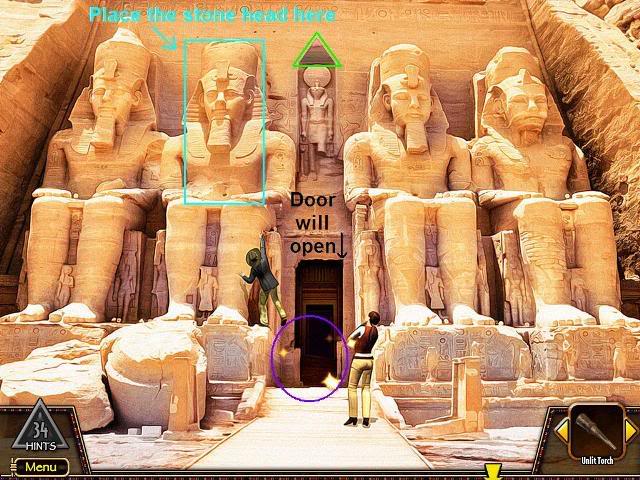
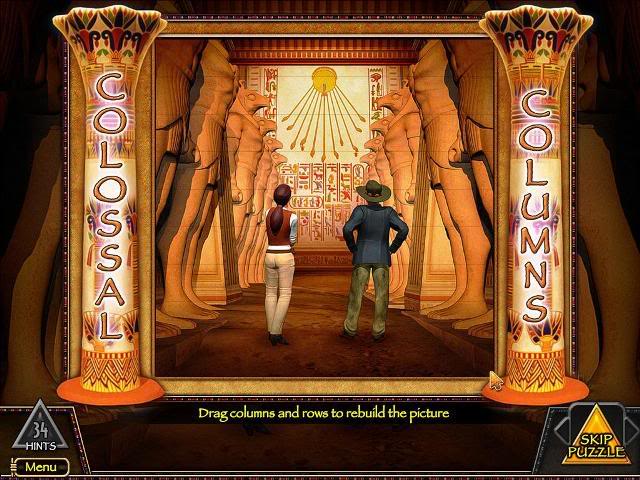
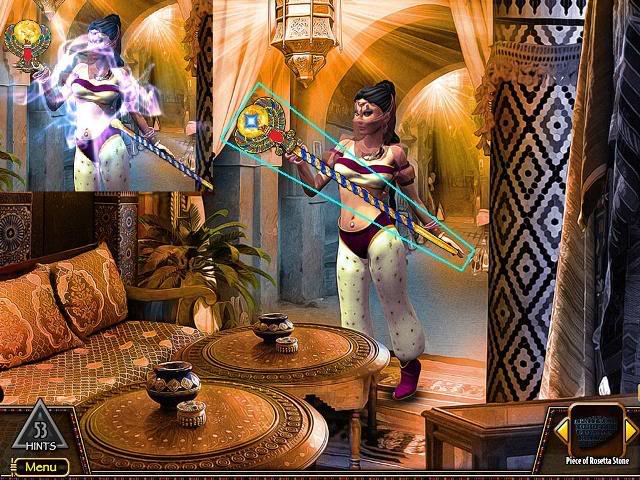
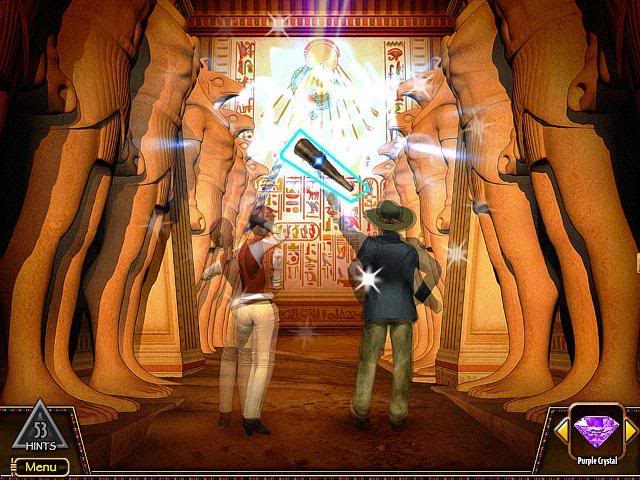
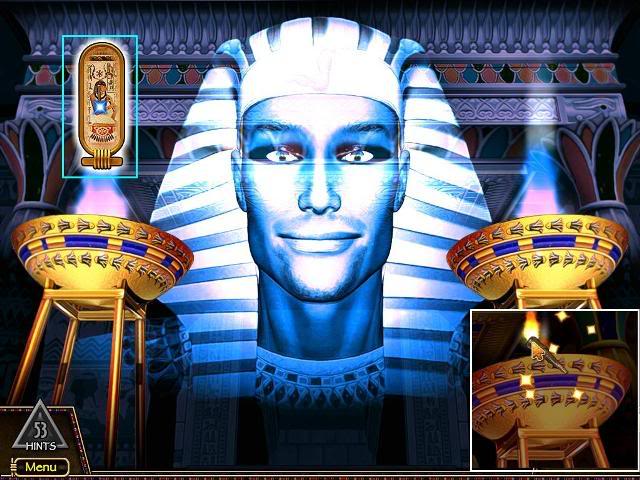
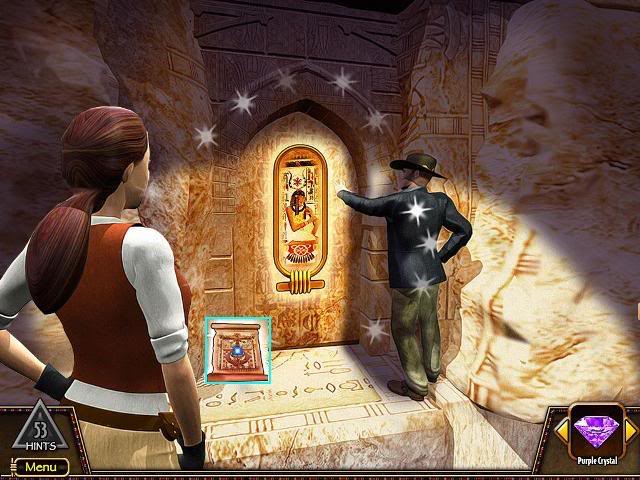
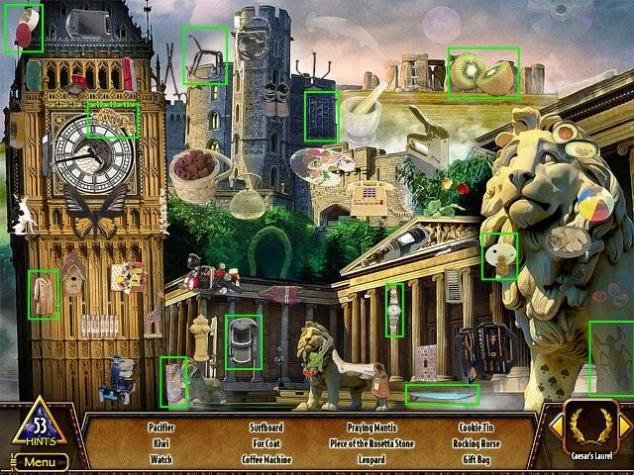
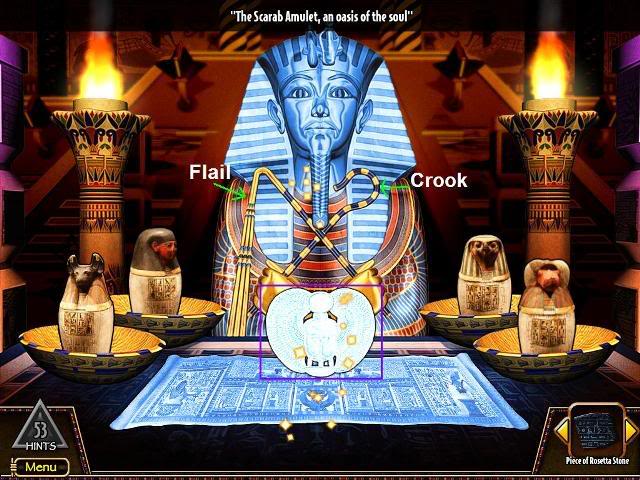
Welcome to Gamezebo's strategy guide for Hide and Secret 3: Pharaoh's Quest.GENERAL GAMEPLAYThis is an interactive adventure game where you collect items that are used in other scenes throughout your adventure. You are given clues within the dialogue of the game on where and how to use the items you find. There are hidden object games and picture reconstruction puzzle mini-games. There are no timers and no scoring in the game. You will travel from a base camp where you have an airpla…
a:1:i:0;a:2:s:13:”section_title”;s:48:”Hide & Secret 3: Pharaoh’s Quest Walkthrough”;s:12:”section_body”;s:72528:”
Welcome to Gamezebo’s strategy guide for Hide and Secret 3: Pharaoh’s Quest.

GENERAL GAMEPLAY
Hidden Object Games
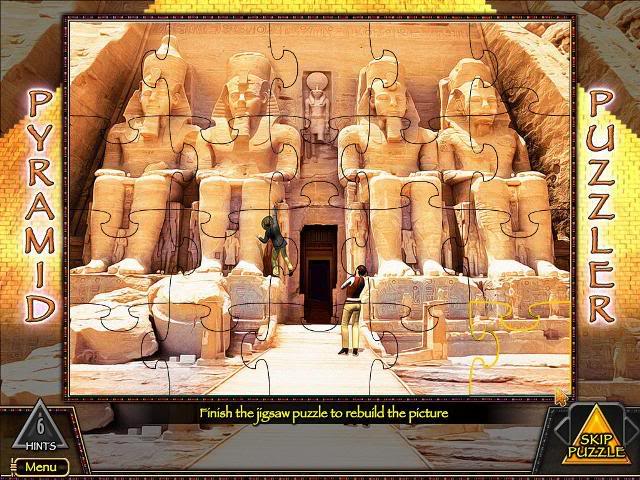
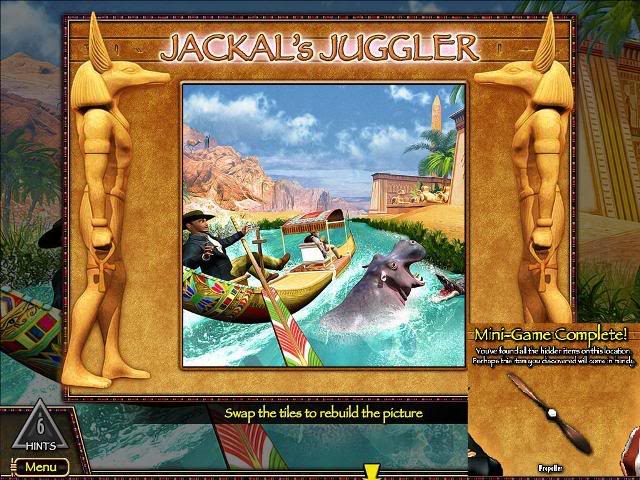
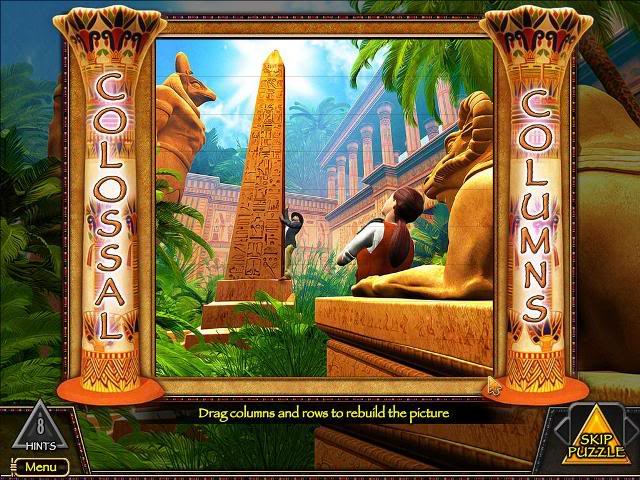
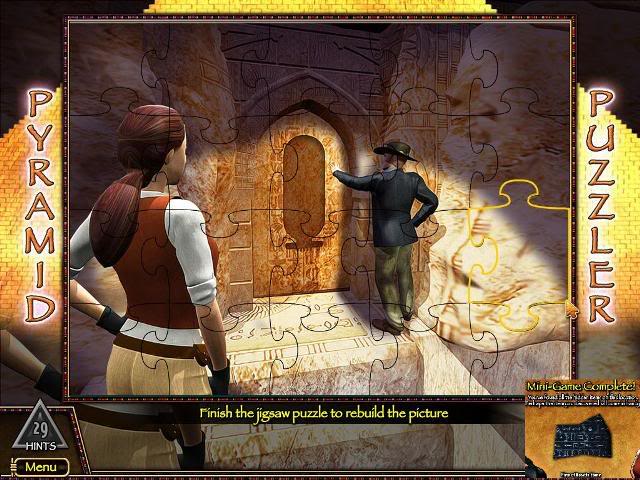
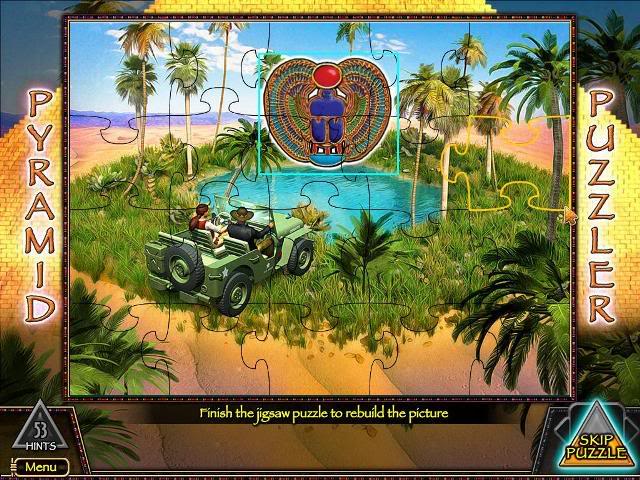
Mini-Games
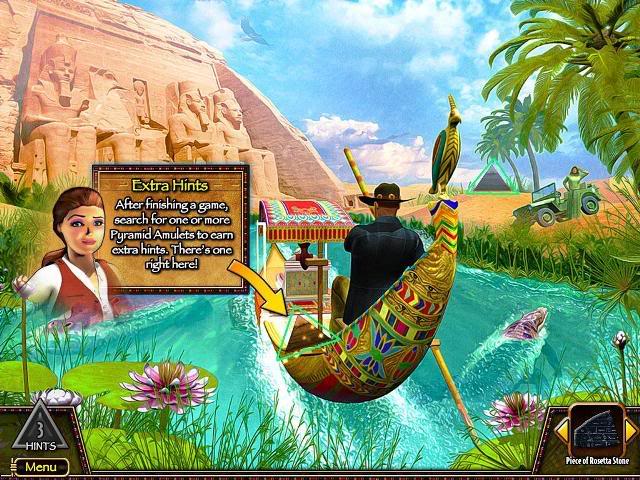
Hints
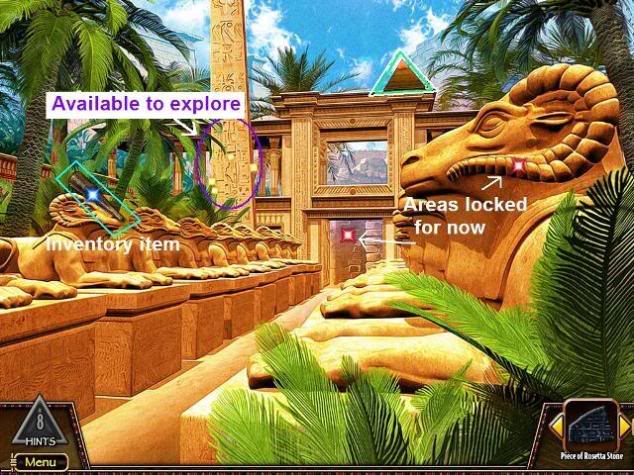
White, Blue and Red Sparkles
Inventory
WALKTHROUGH
You don’t have to follow this walkthrough in this exact order. Remember that some areas will need to be completed in order to trigger other areas to be unlocked.
Mini-Guide to the River – List of locations along the 4 river stops
First River Stop – Left
First River Stop – Right
Second River Stop – Left
Second River Stop – Right
Third River Stop – Left
Third River Stop – Right
Forth River Stop – Left
Forth River Stop – Right
Base Camp for Boat and Airplane
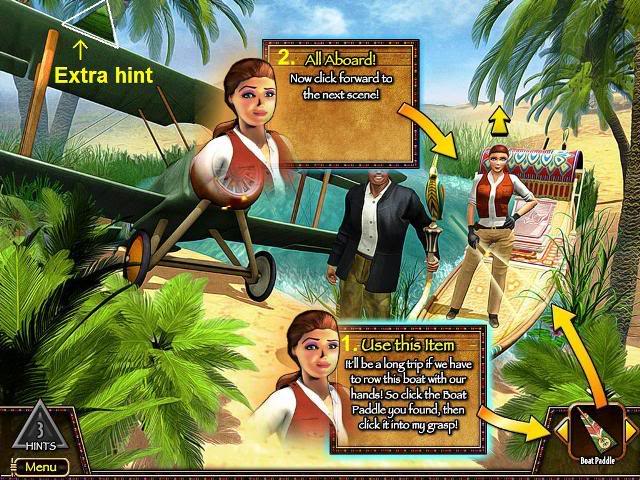
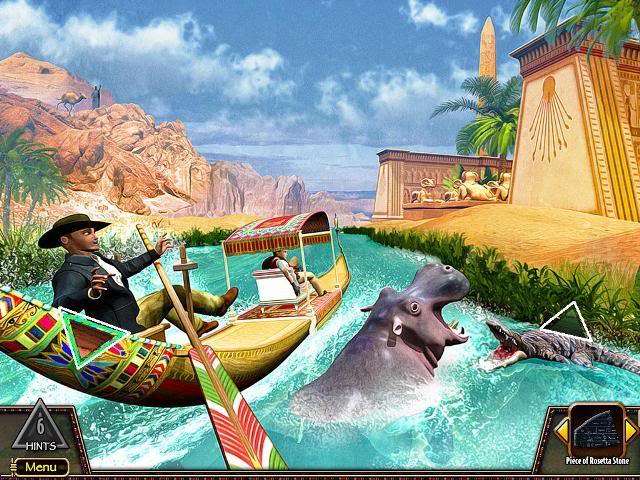
First Boat on the River Scene
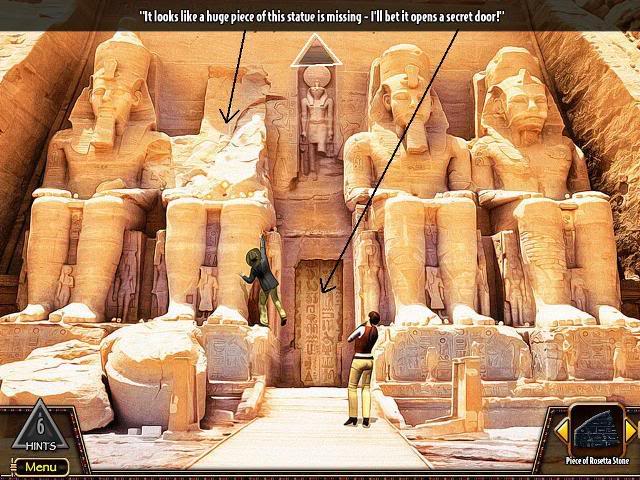
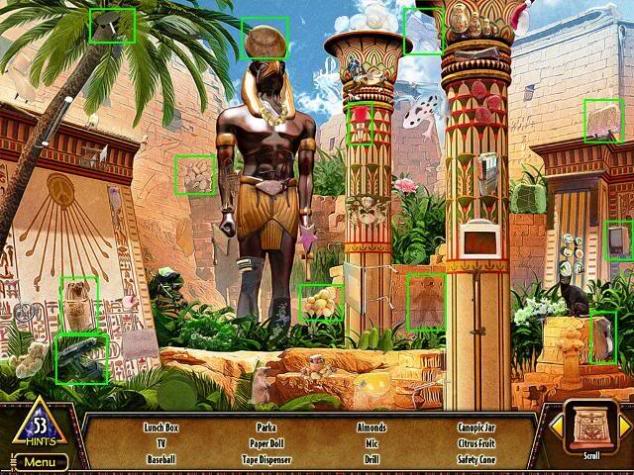
LEFT – Stone Pharaohs
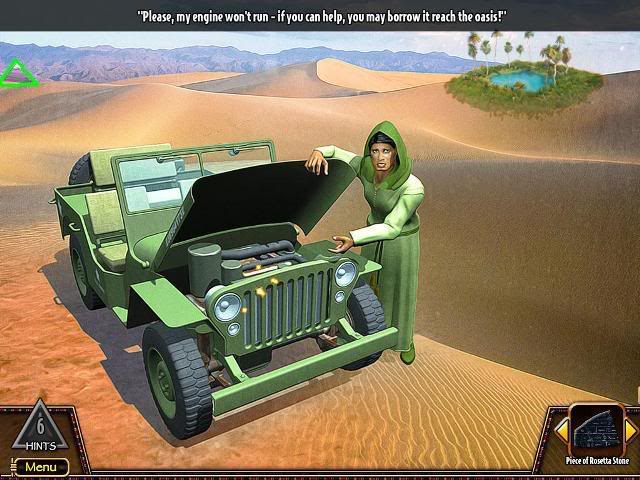
RIGHT – Stranded Motorist
Second Boat on the River Scene
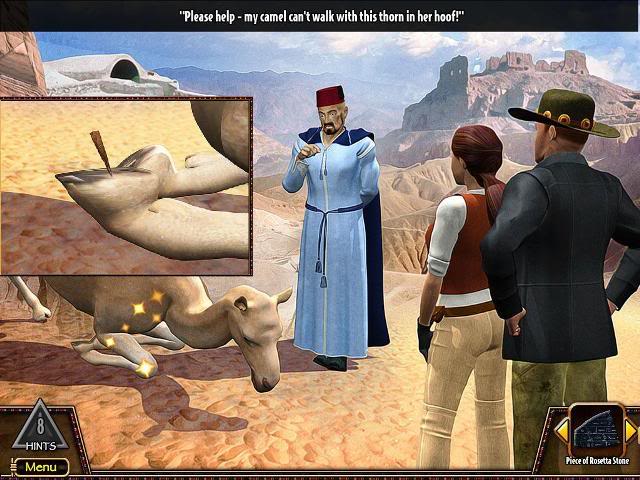
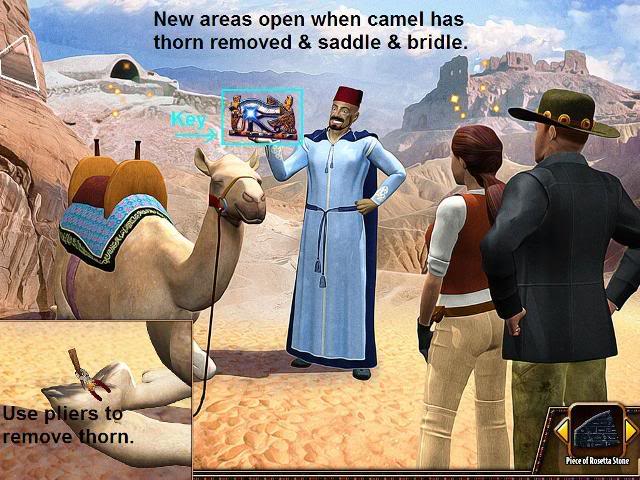
LEFT – The Man and the Camel
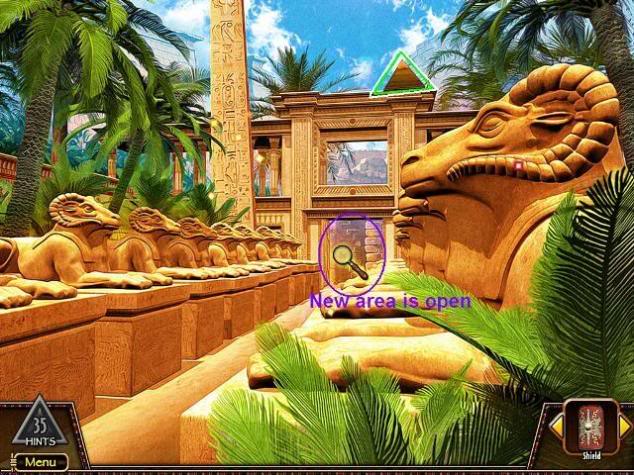
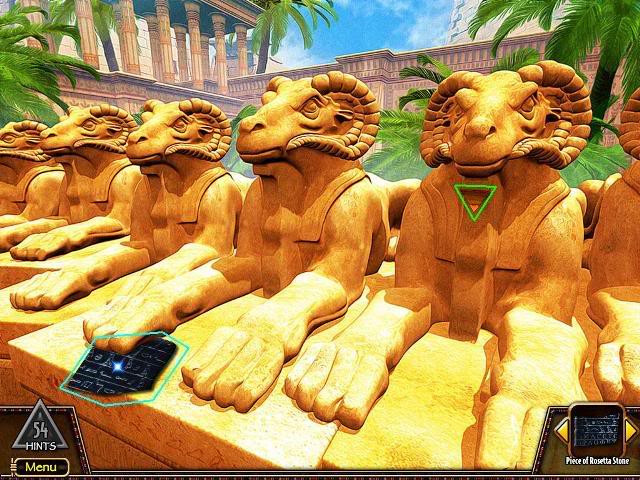
RIGHT – Rams on Guard
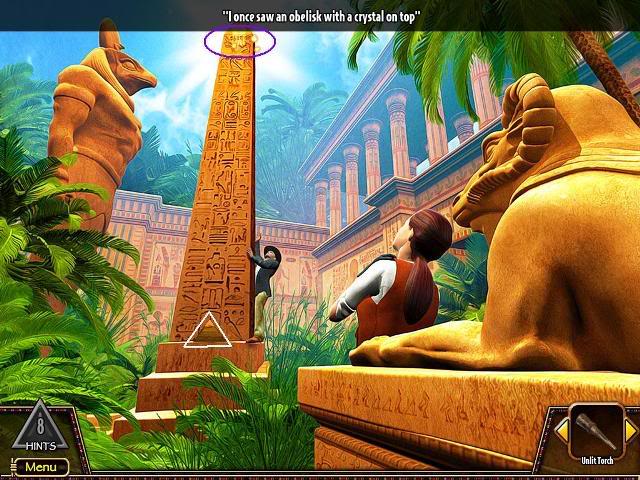
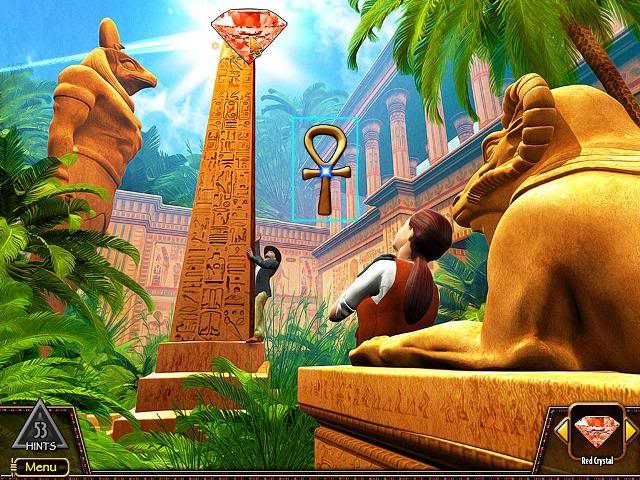
Obelisk
Third Boat on the River Scene
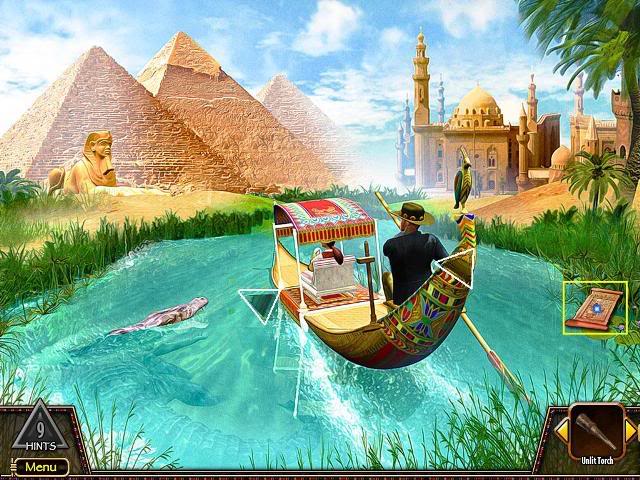
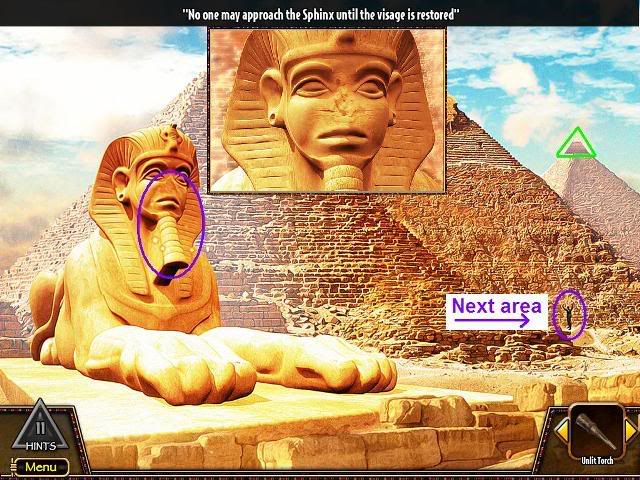
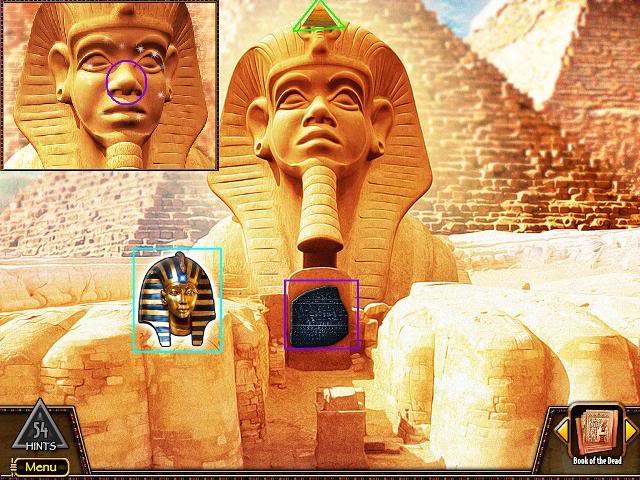
LEFT – Sphinx and Pyramid
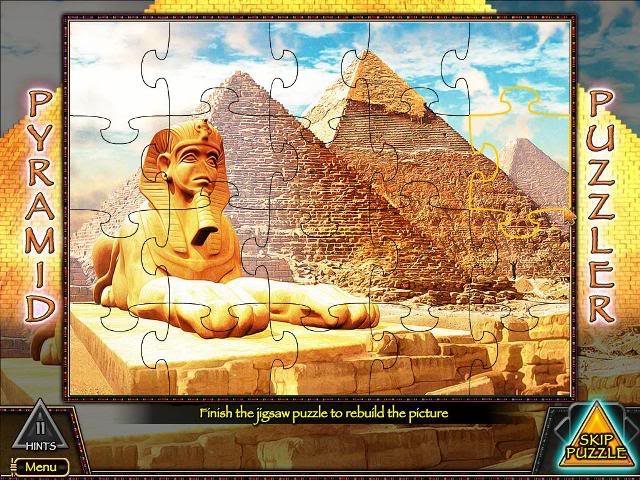
Sphinx
Pyramid
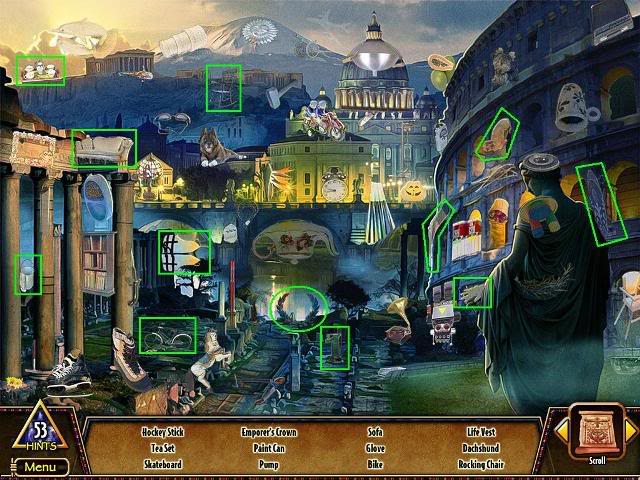
RIGHT – The City
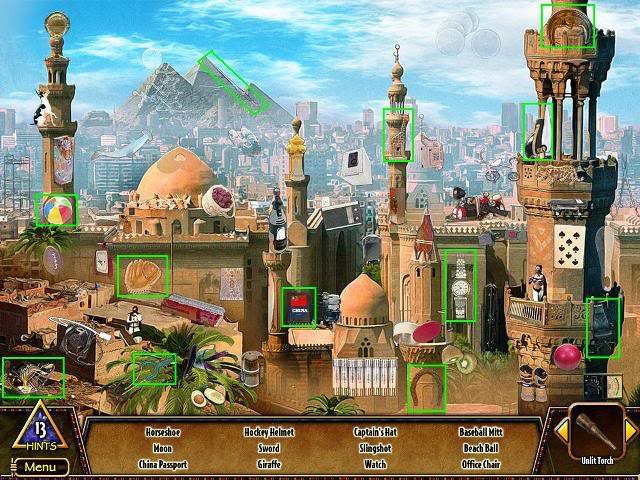
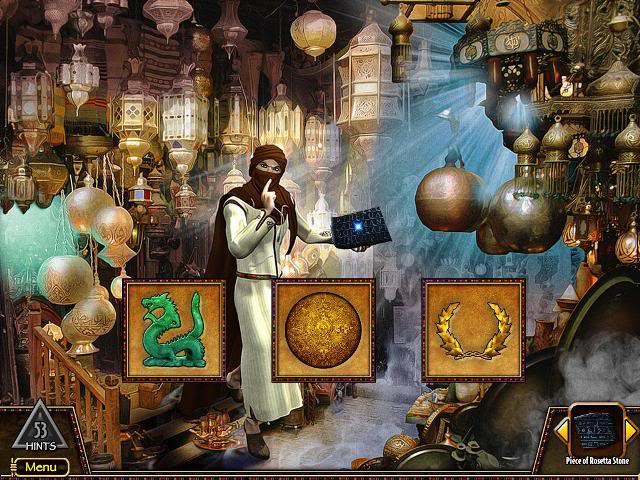
Market
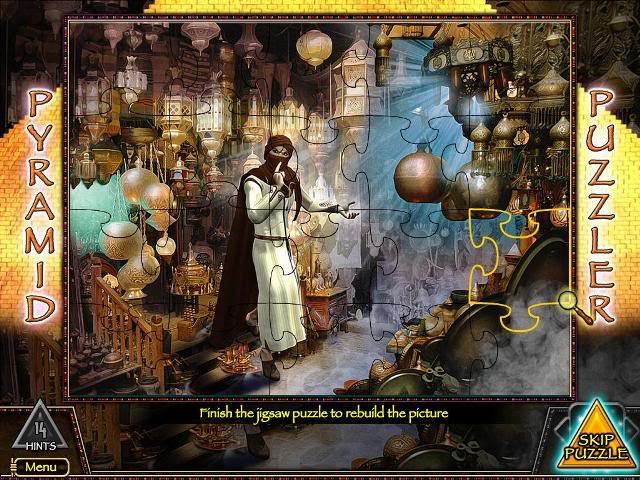
Tower
Forth Boat on the River Scene
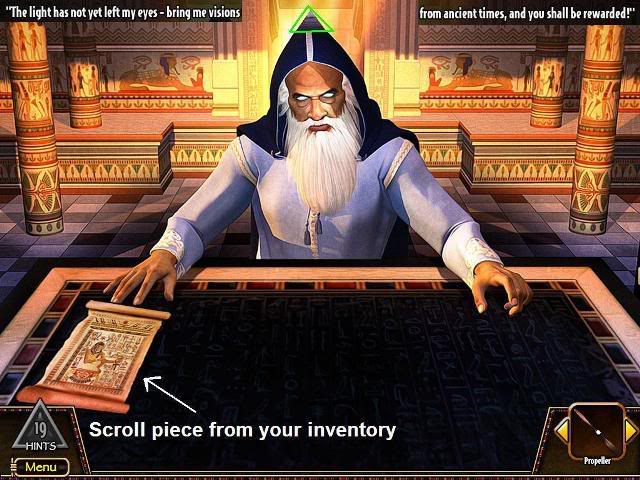
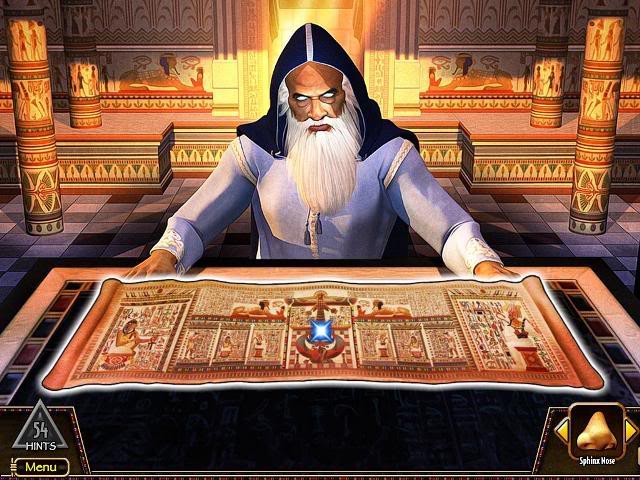
LEFT – The Seer
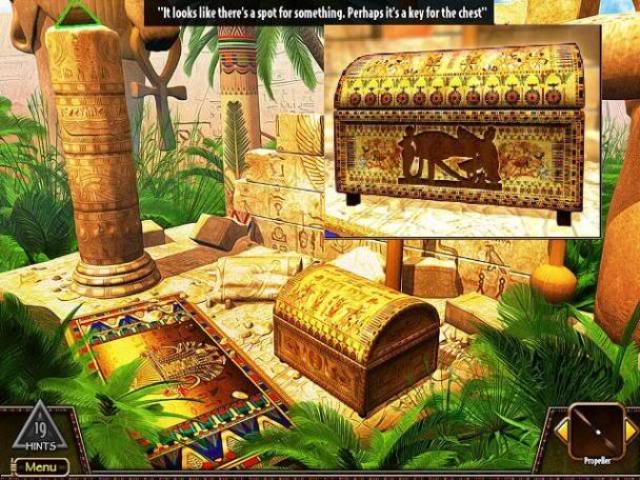
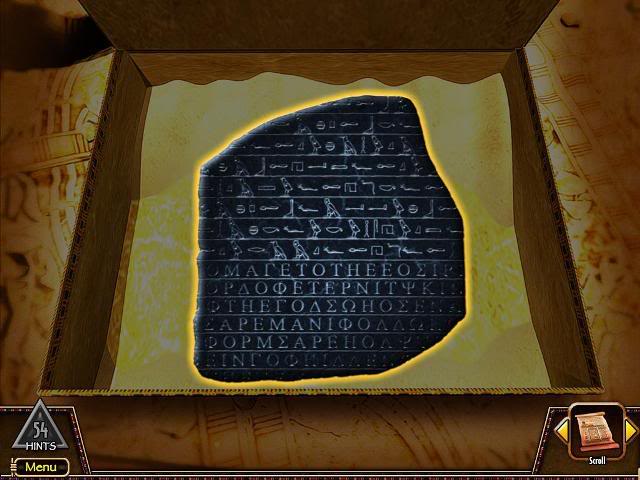
RIGHT – The Chest
Base Camp
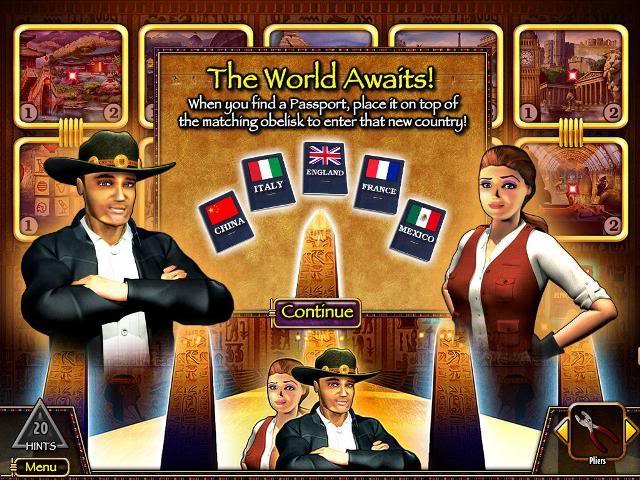
Passport Area
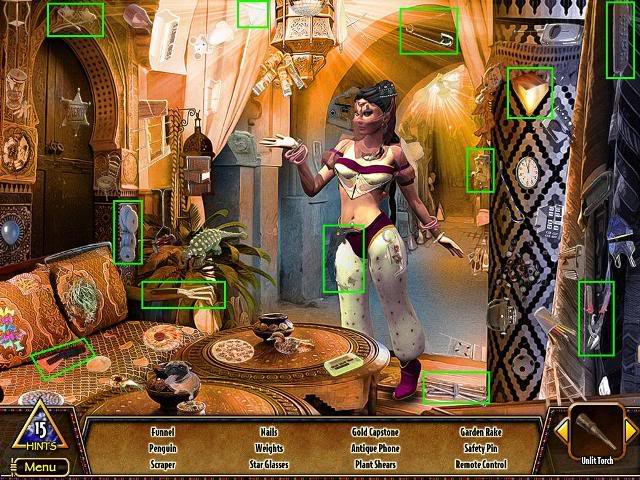
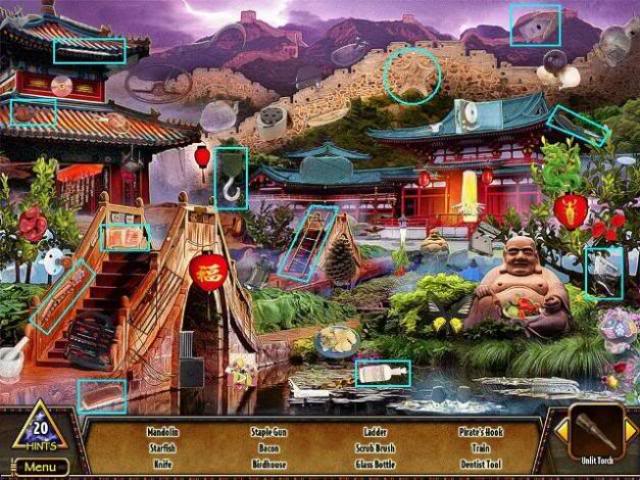
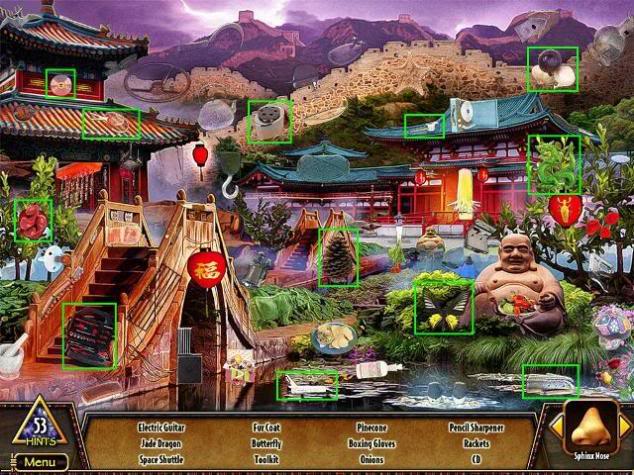
China – Top Row – Hidden Object Game
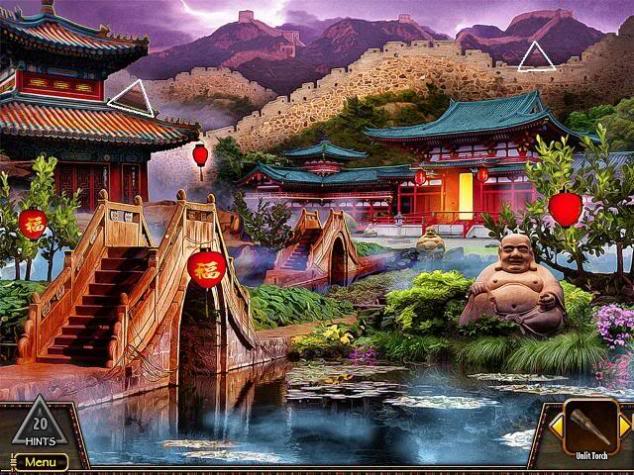
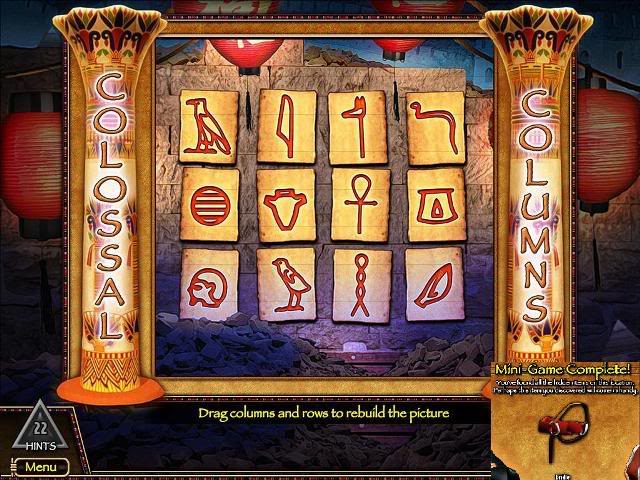
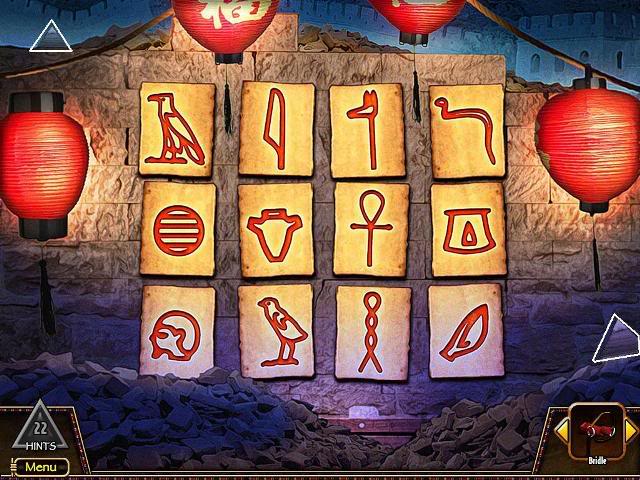
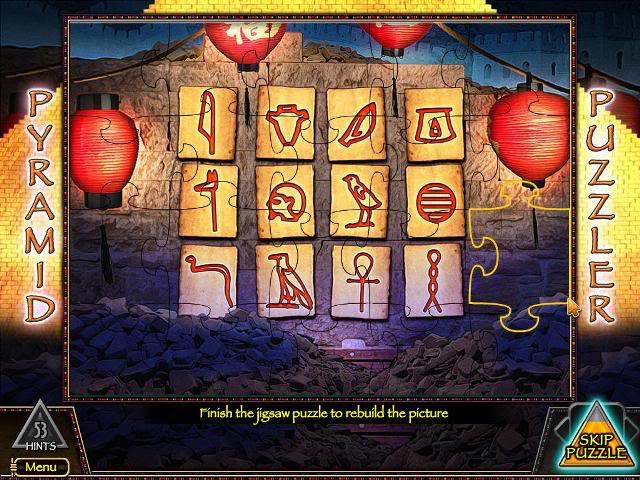
China – Lower Row – Puzzle Game
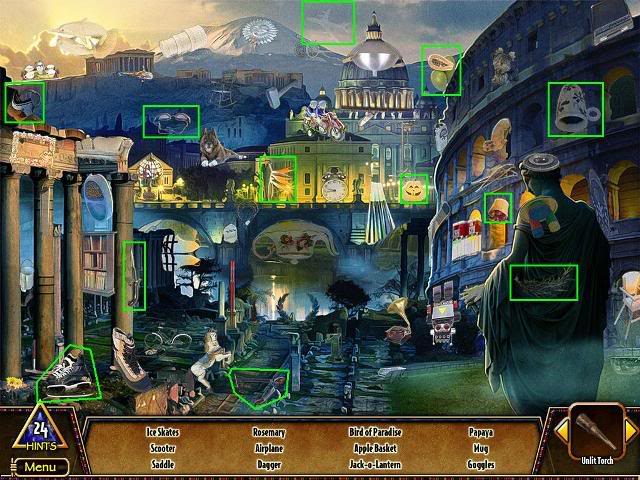
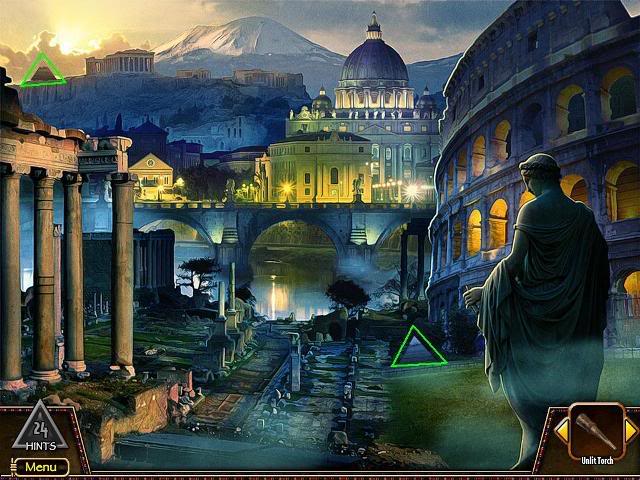
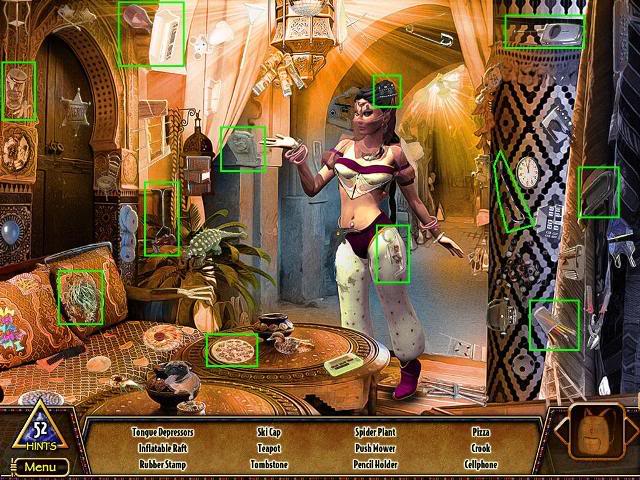
Italy – Top Row – Hidden Object Game
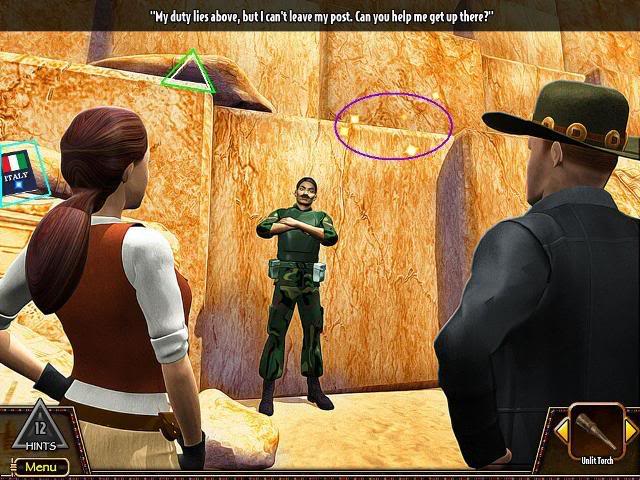
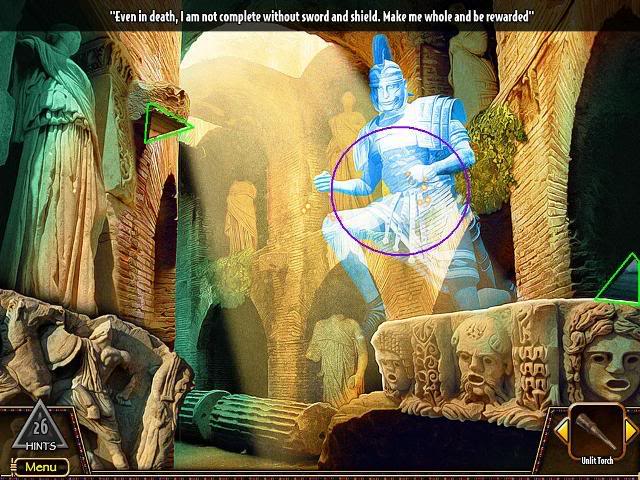
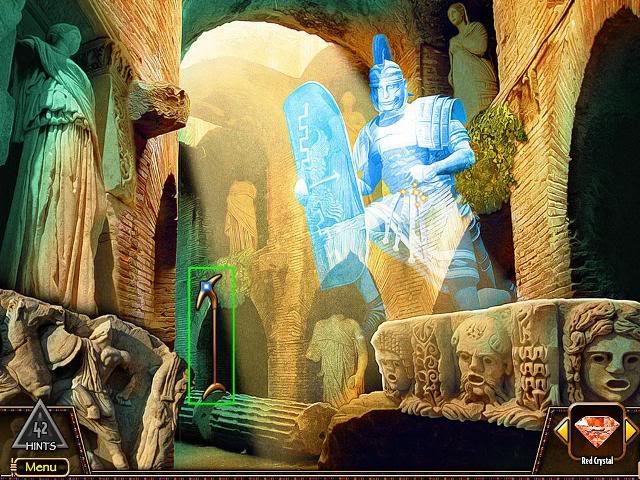
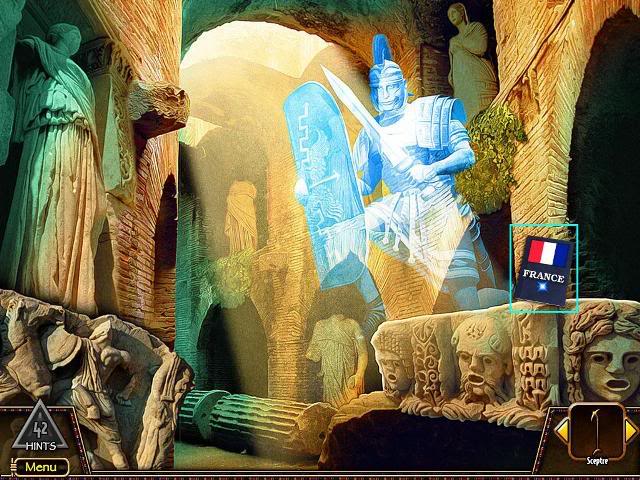
Italy – Lower Row – Warrior Ghost
LEFT – The Man and the Camel
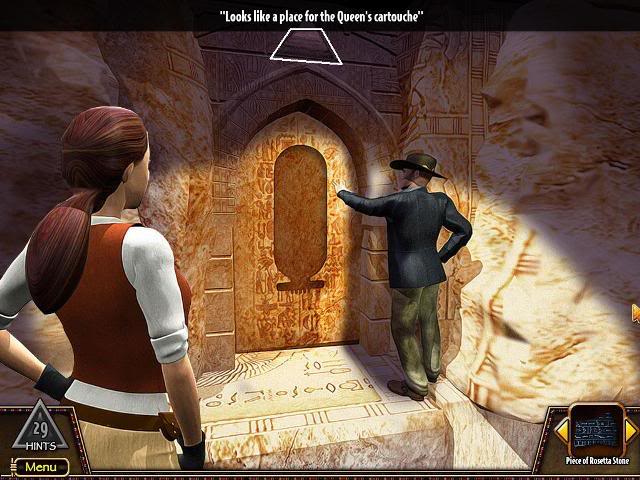
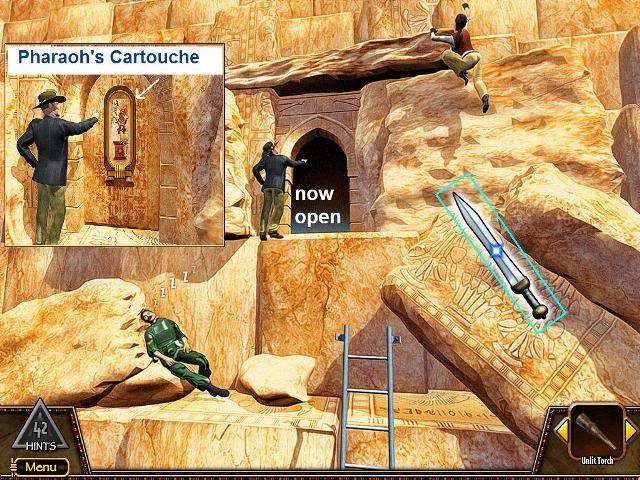
The Queen’s Cartouche and Tomb
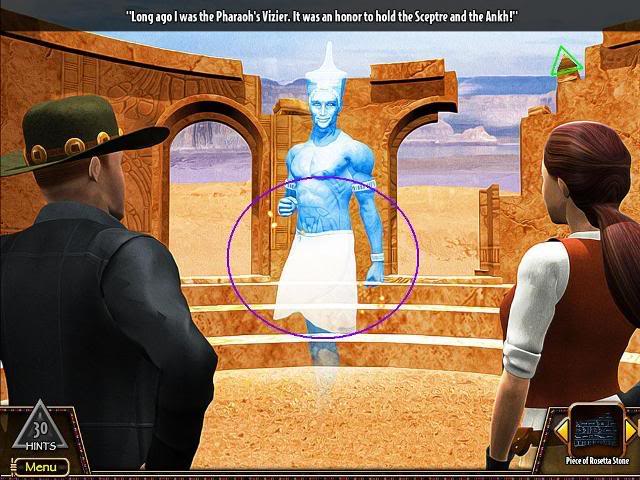
Vizier’s Ruins
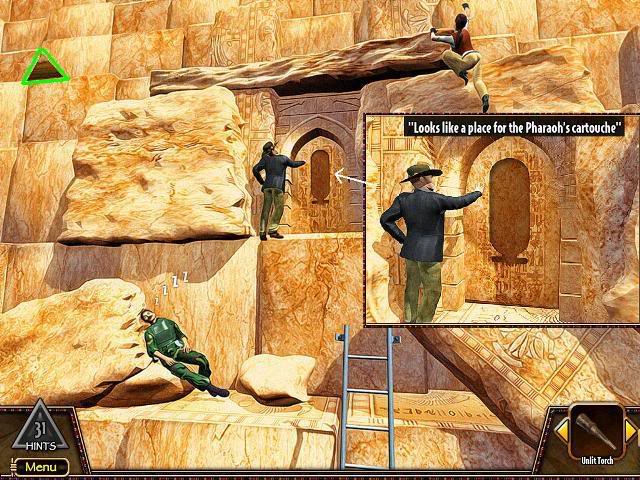
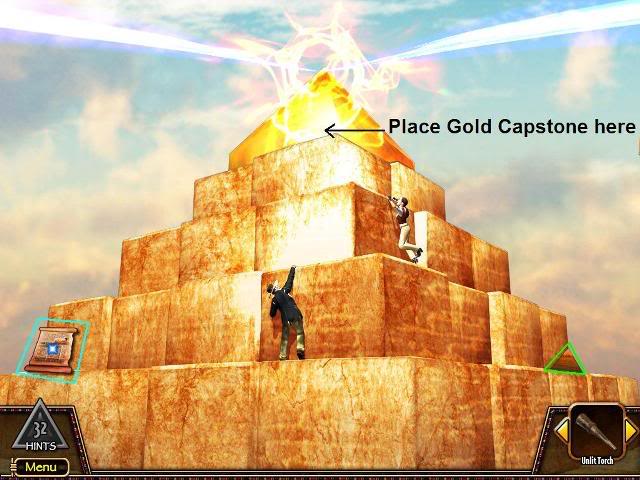
Pyramid
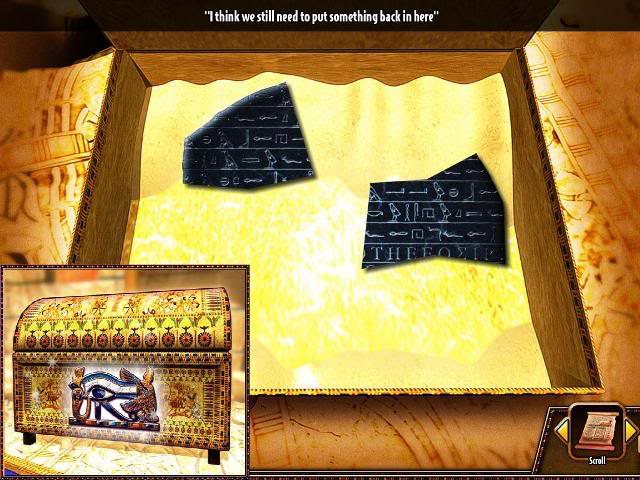
The Chest
The Seer
The City – Dome
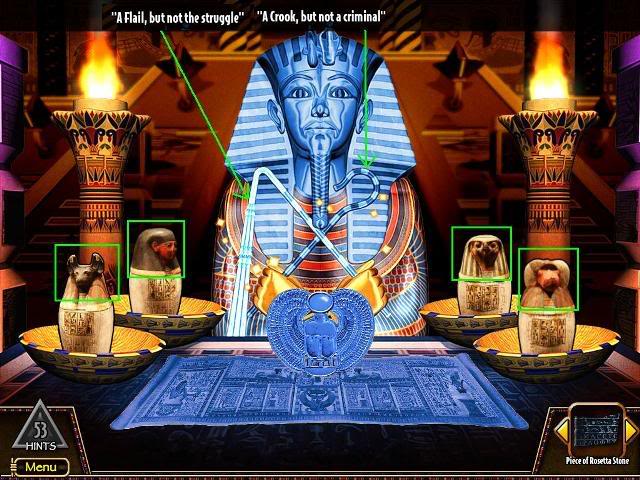
Stone Pharaohs
Rams on Guard
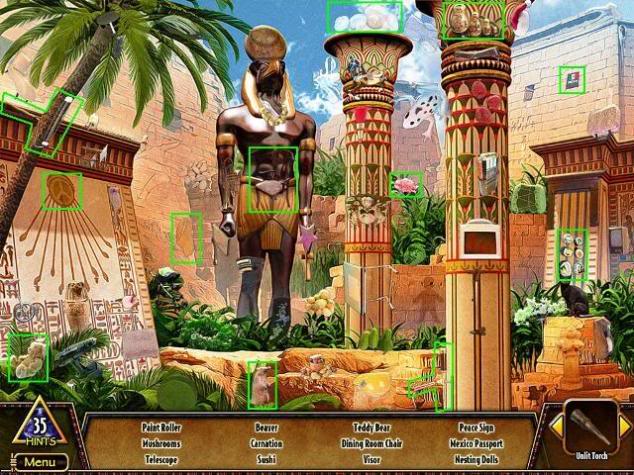
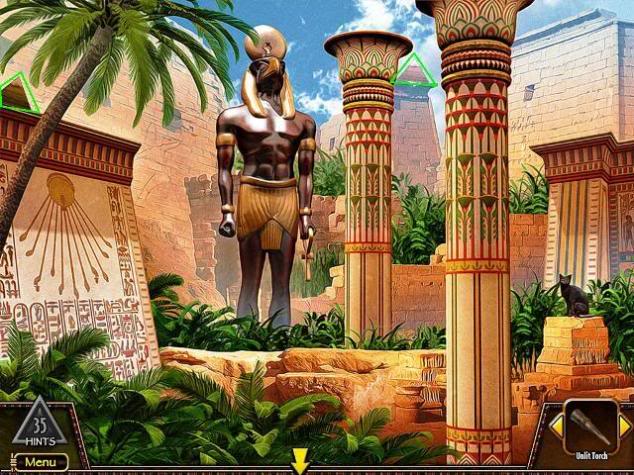
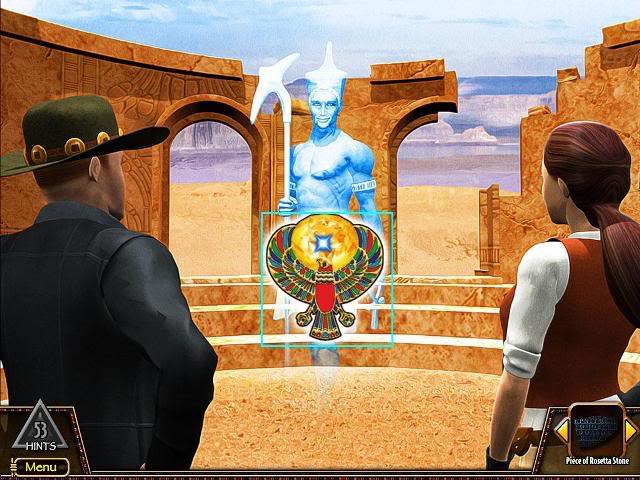
Statue of Horus
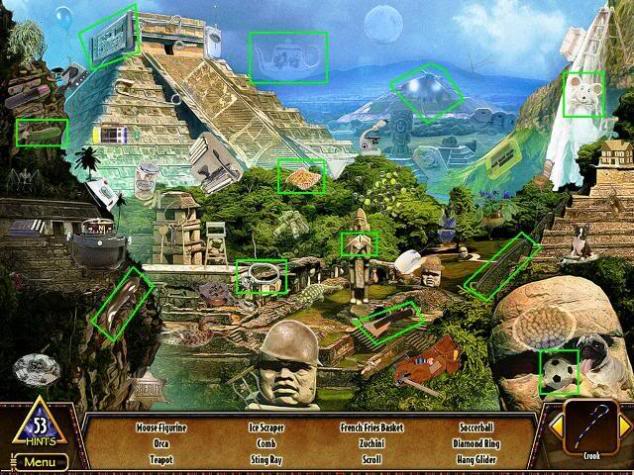
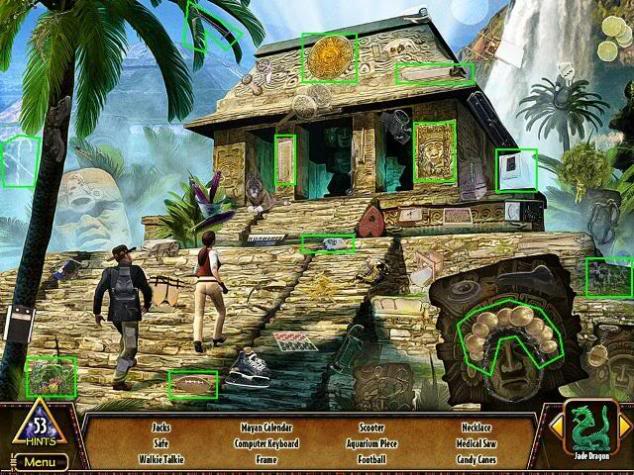
Mexico – Top Row – Hidden Object Game
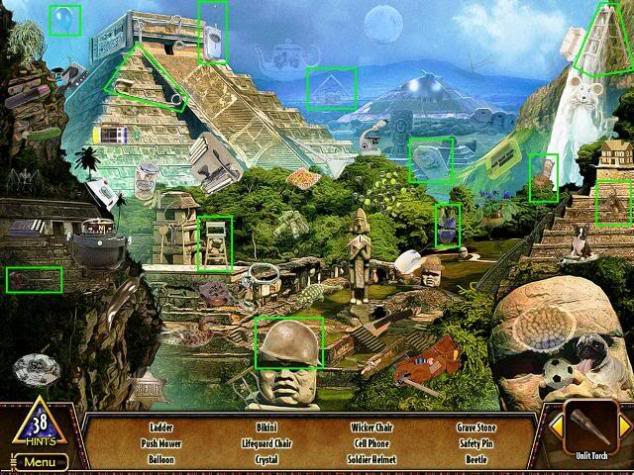
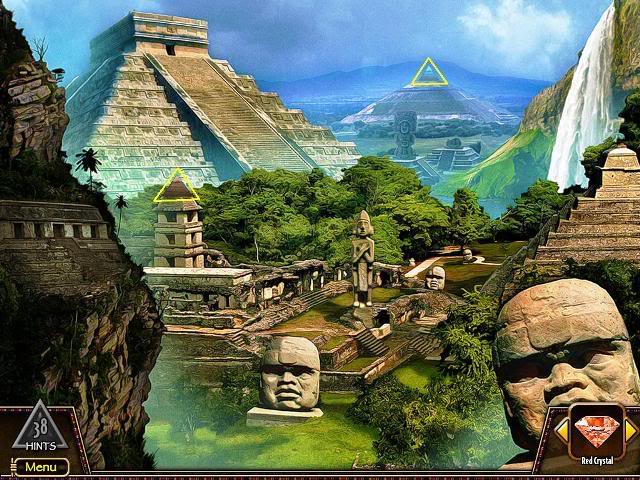
Mexico – Lower Row – Hidden Object Game
Italy – Lower Row – Warrior Ghost
Pyramid

Italy – Lower Row – Warrior Ghost
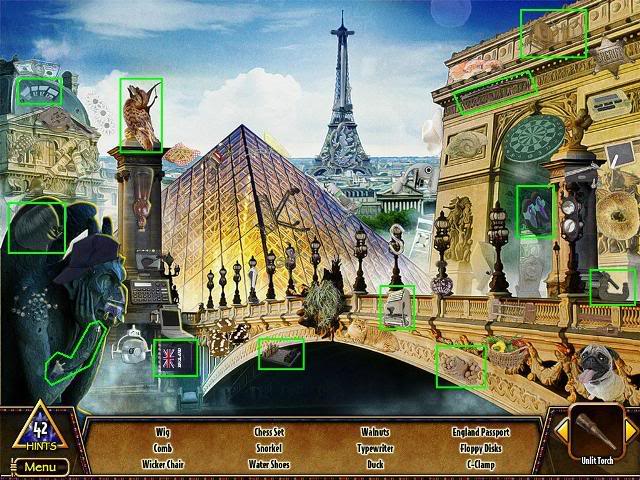
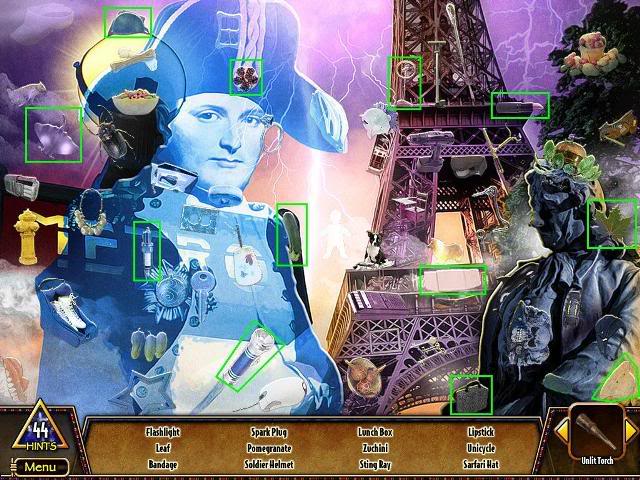
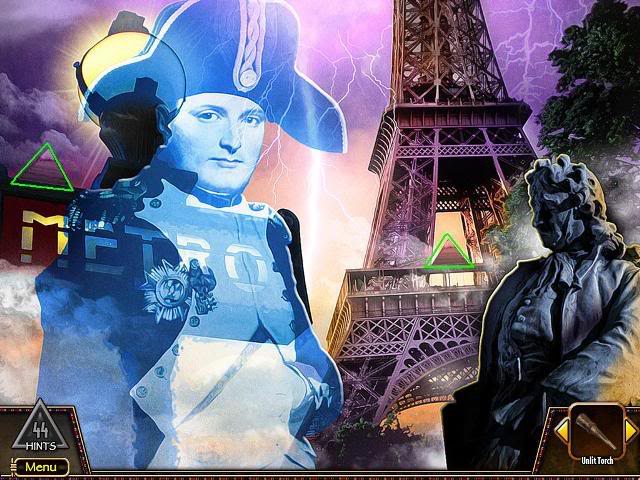
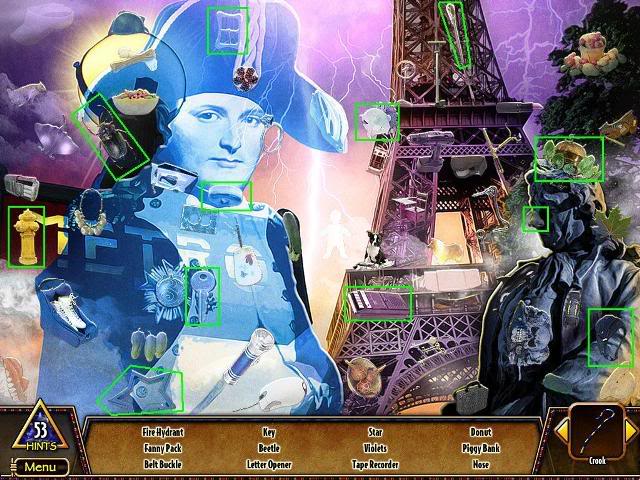
France – Top Row – Hidden Object Game
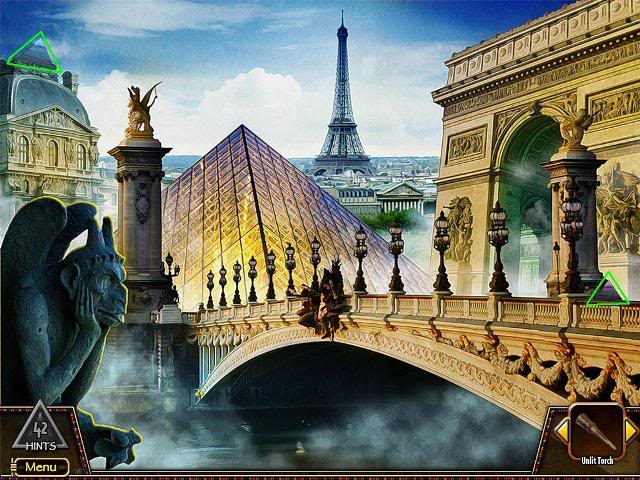
France – Lower Row – Hidden Object Game
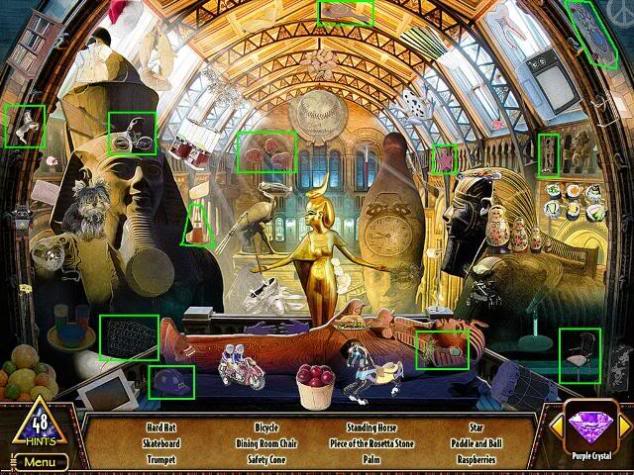
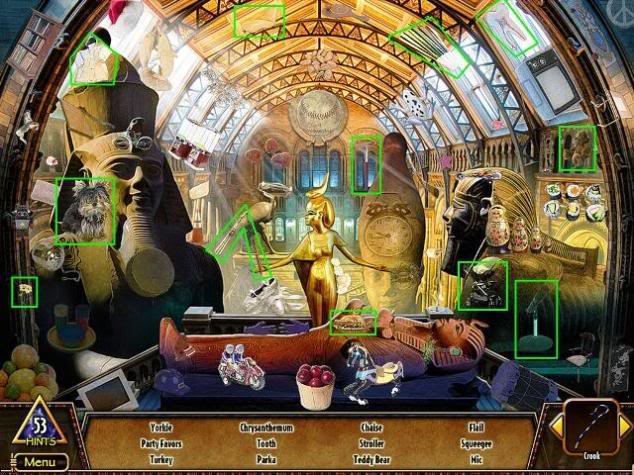
England – Top Row – Hidden Object Game
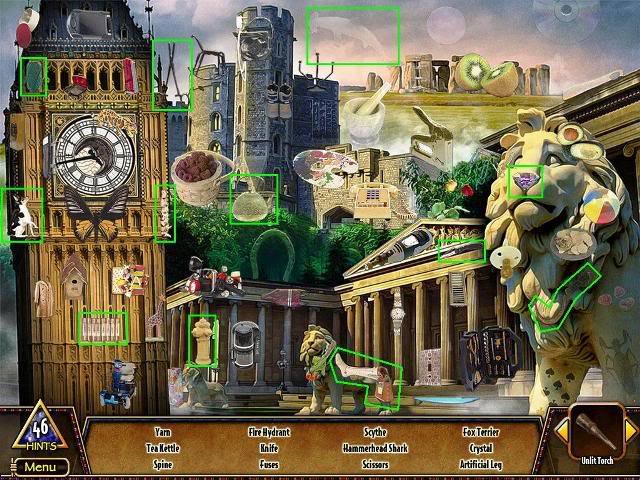
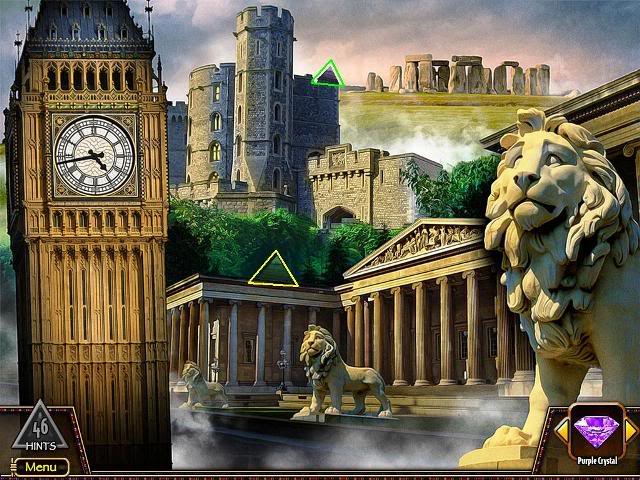
England – Lower Row – Hidden Object Game
Stranded Motorist
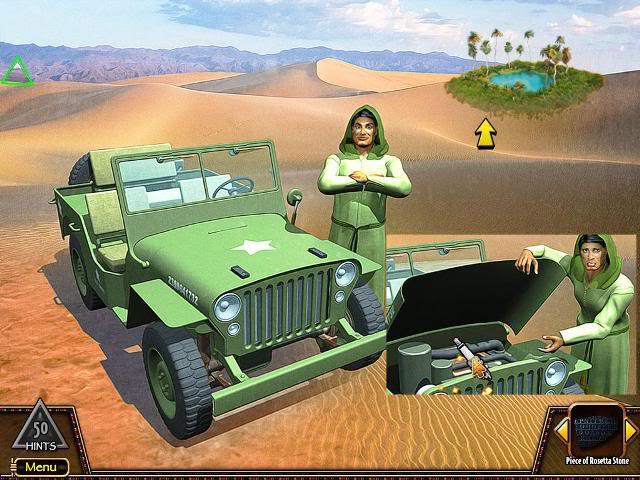
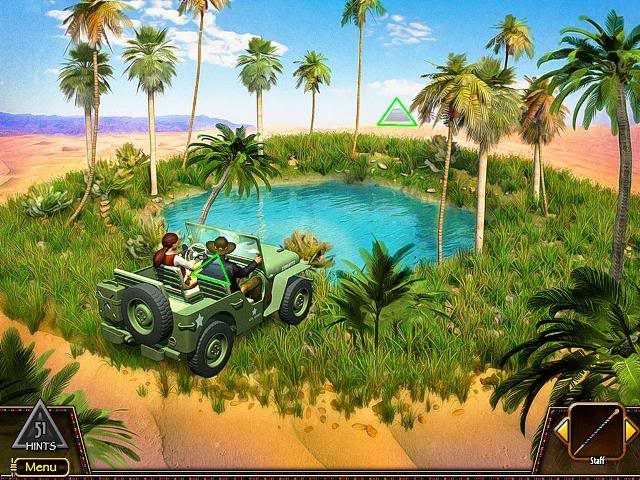
Oasis
Rams on Guard – Obelisk
Vizier’s Ruins
Tower
Stone Pharaohs
Pyramid
The Queen’s Cartouche and Tomb
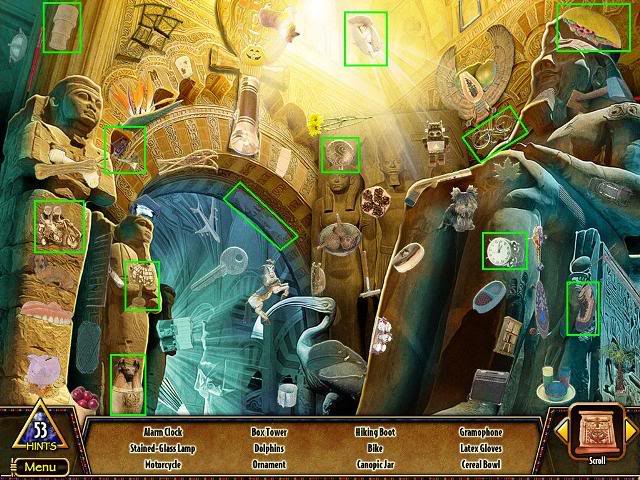
Inside the Queen’s Tomb

Rams on Guard – Statue of Horus
The City – Dome
China – Lower Row – Puzzle Game
Italy – Top Row – Hidden Object Game
England – Top Row – Hidden Object Game
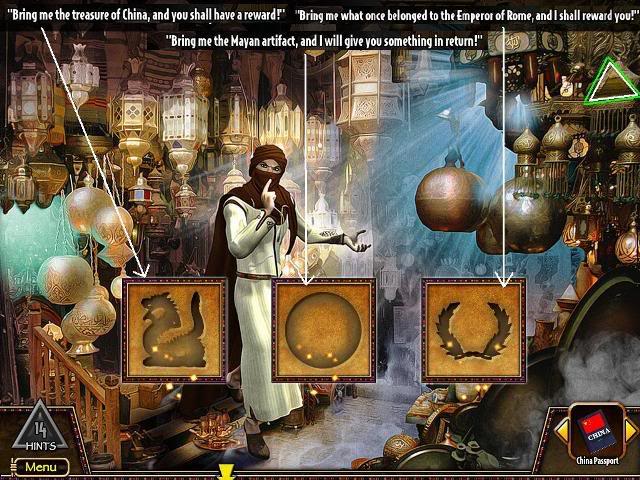
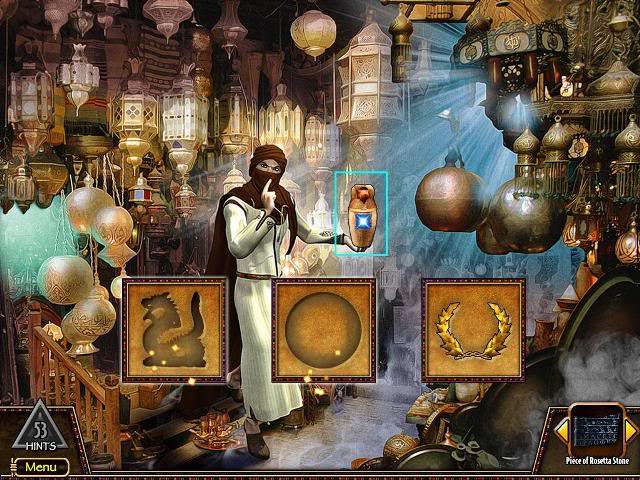
The City – Merchant in the Market
Inside the Queen’s Tomb
Rams on Guard
The City – Tower
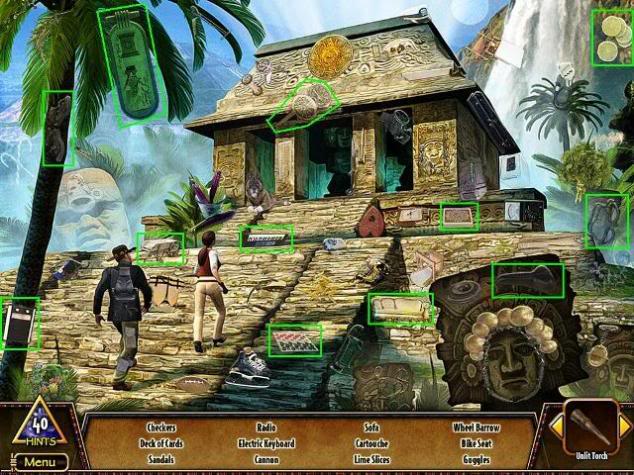
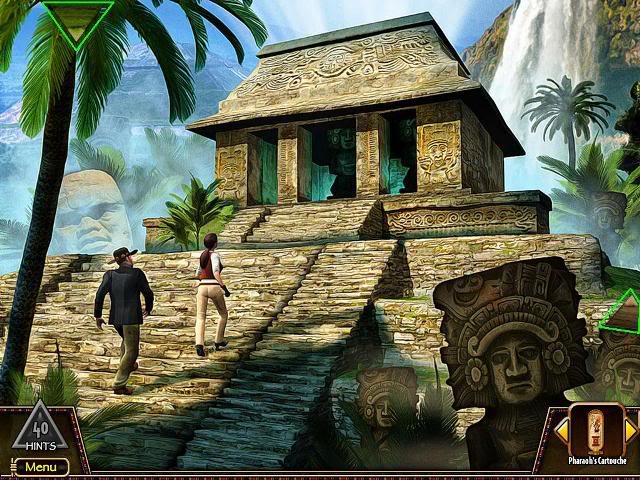
Mexico – Top Row – Hidden Object Game
France – Lower Row – Hidden Object Game
England – Lower Row – Hidden Object Game
Inside the Queen’s Tomb
China – Top Row – Hidden Object Game
Mexico – Lower Row – Hidden Object Game
France – Top Row – Hidden Object Game

Stranded Motorist
The City – Merchant at the Market
The Chest
The Seer
Sphinx
Inside the Queen’s Tomb
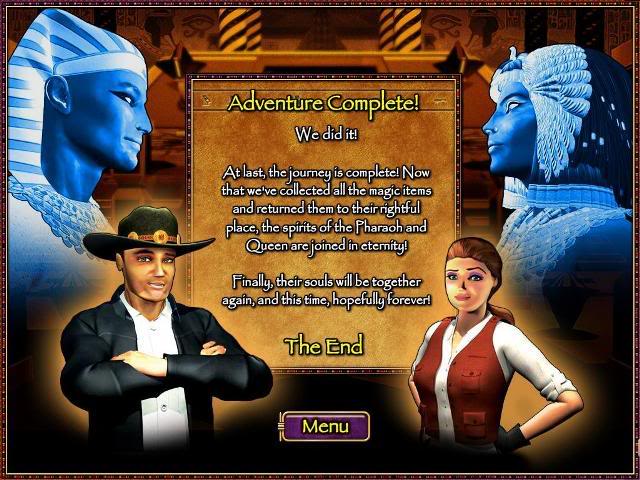
Congratulations! You have completed the adventure.
“;
By Adele Wilson
By Adele Wilson
By Adele Wilson
By Sho Roberts
