![Digimon UP Tier List [Supports, Buddies, and Partners]](/wp-content/uploads/2026/07/digimon-up-tier-list.jpg "Digimon UP Tier List [Supports, Buddies, and Partners]")
Digimon UP Tier List [Supports, Buddies, and Partners]
These Digimon will get you UP the leaderboard.

![Haze Seas Boss Drops [Chances, Locations, and How to Spawn]](/wp-content/uploads/2026/07/haze-seas-boss-drops.jpg "Haze Seas Boss Drops [Chances, Locations, and How to Spawn]")

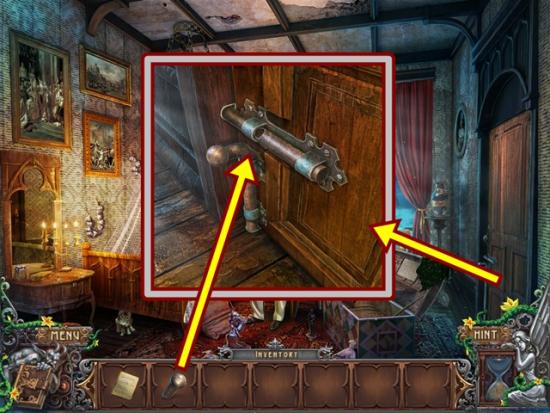
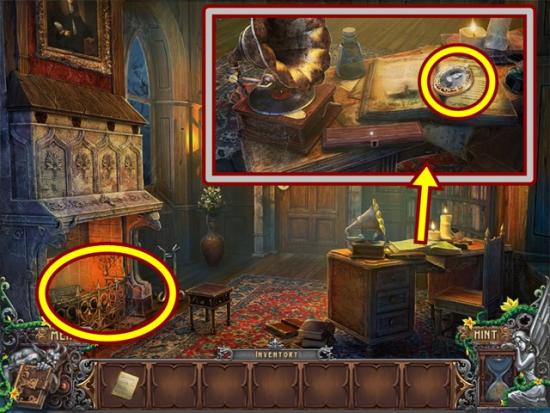
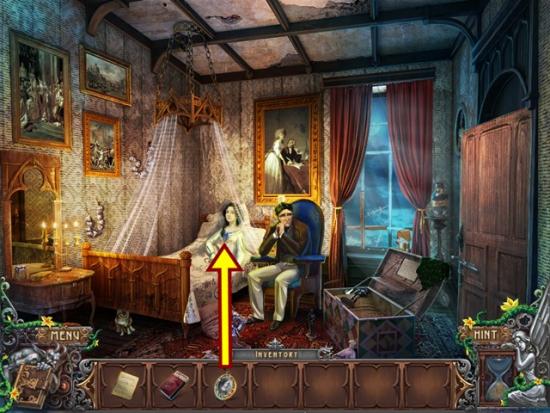
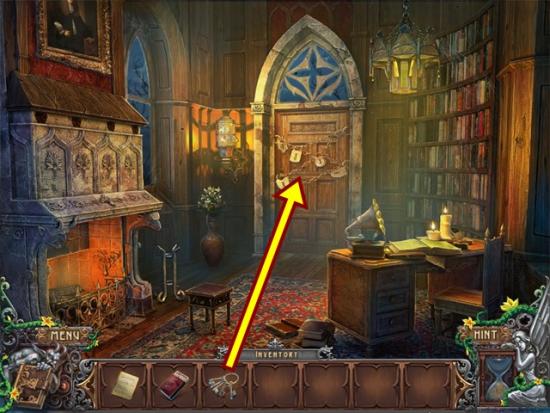
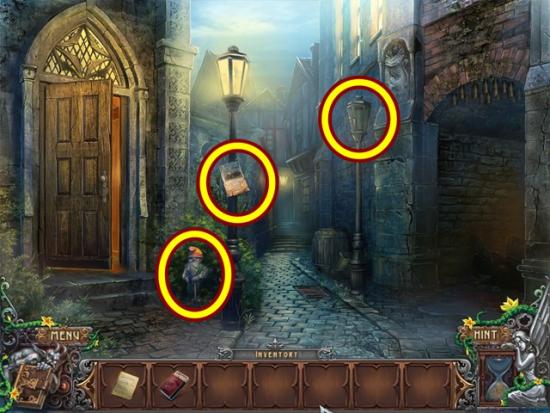
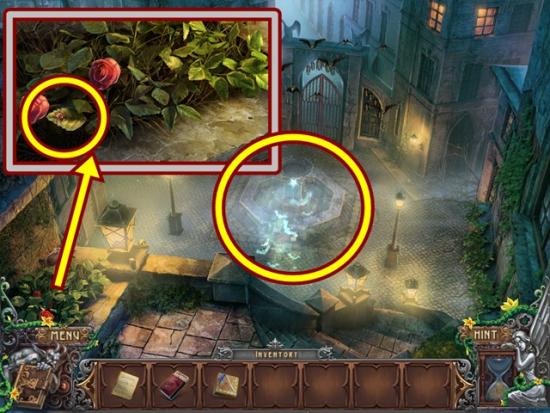
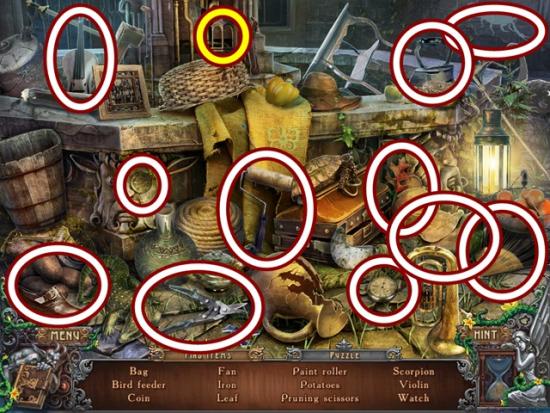
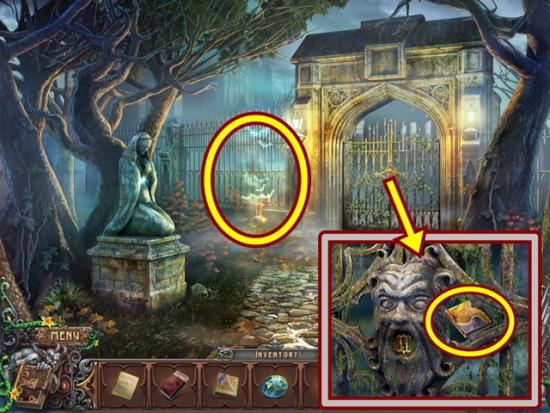
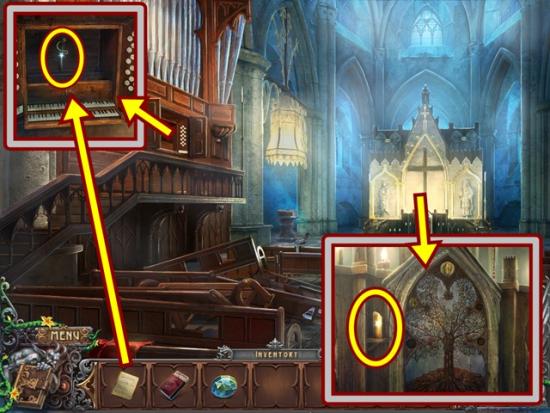
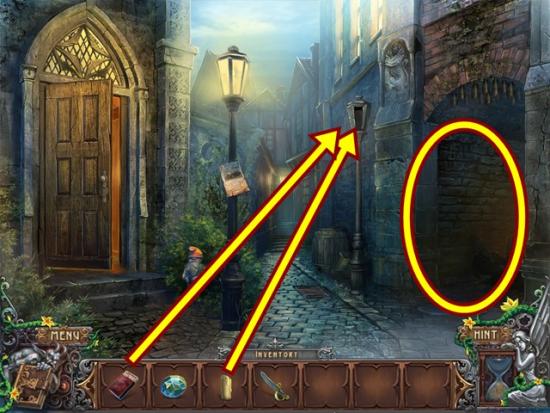
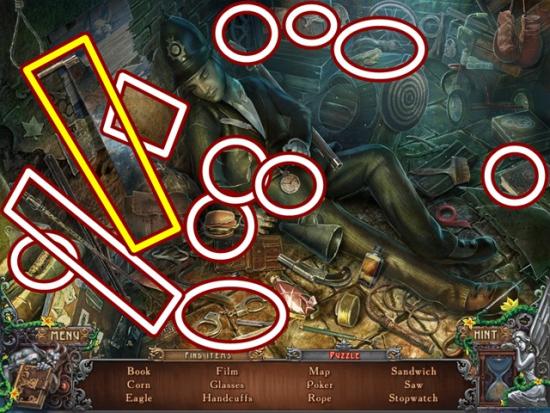
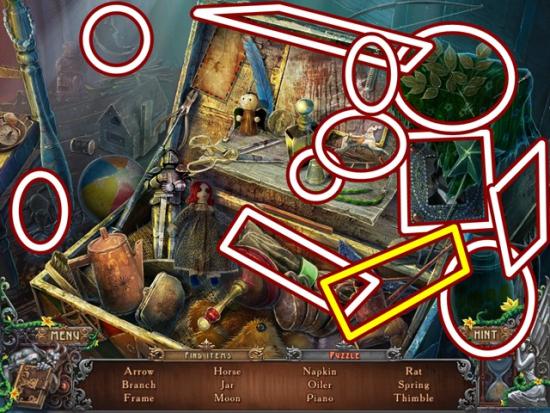
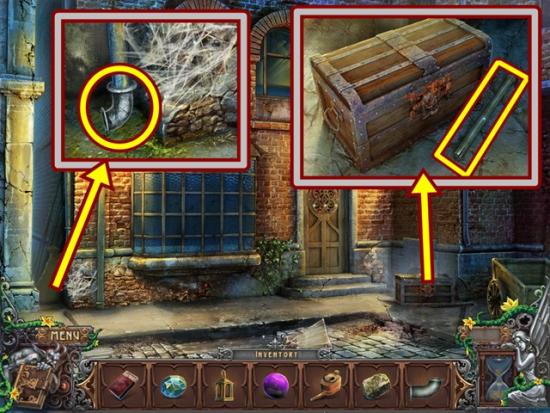
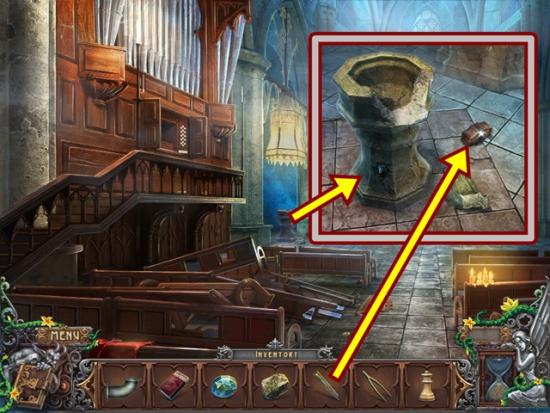
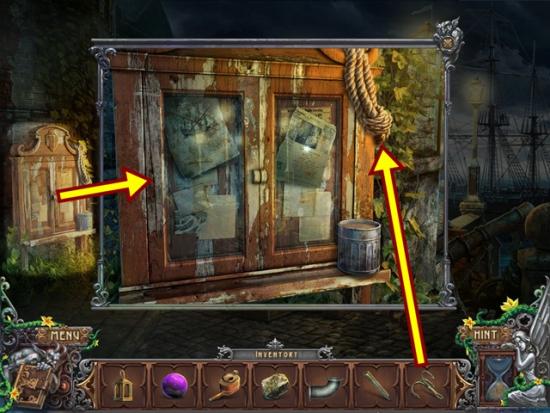
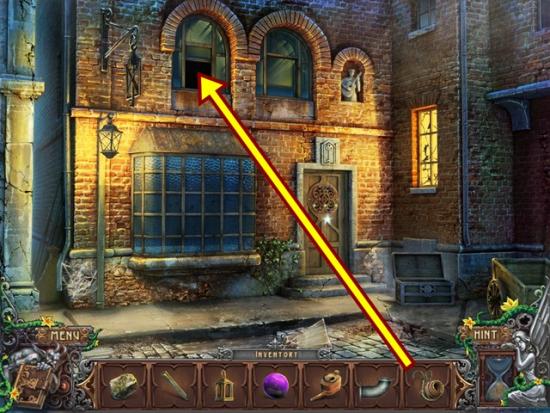
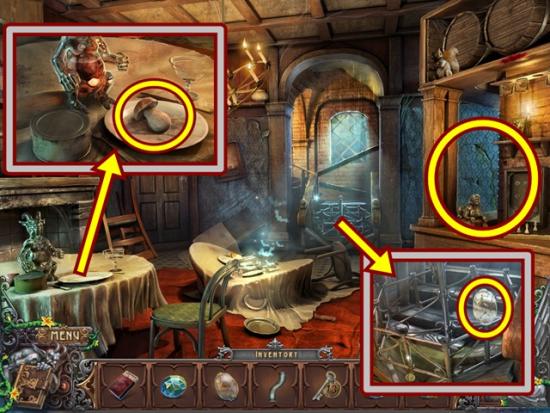
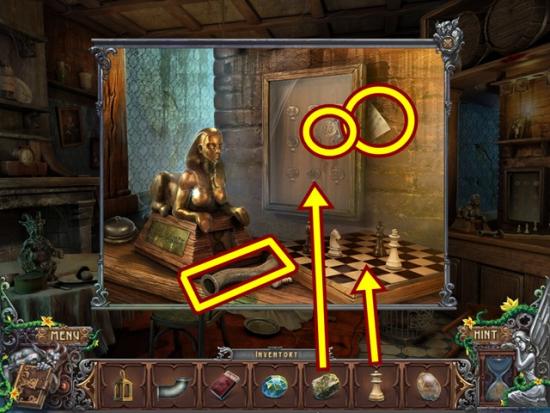
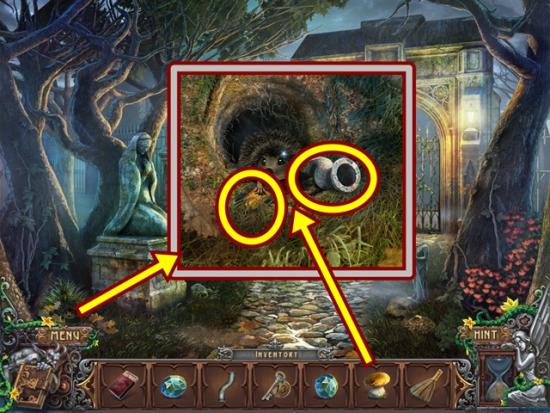
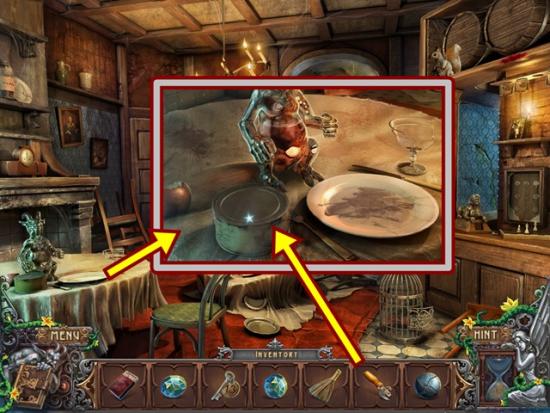
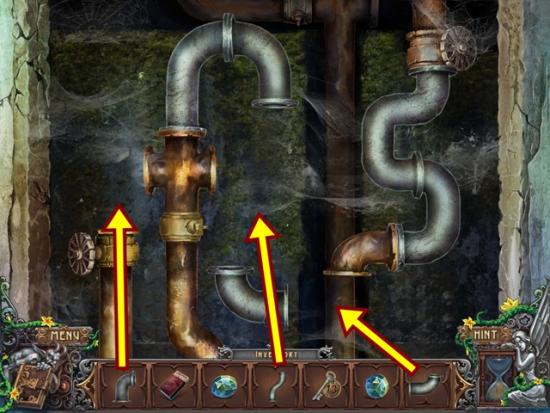
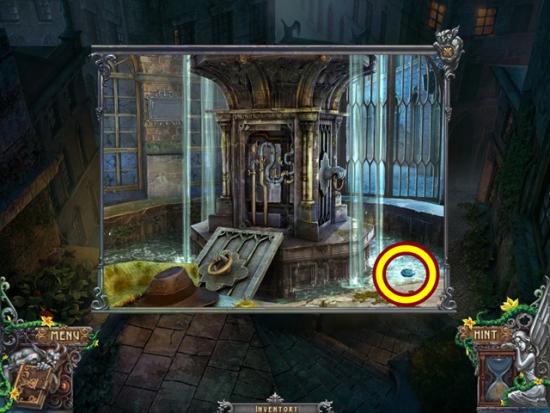
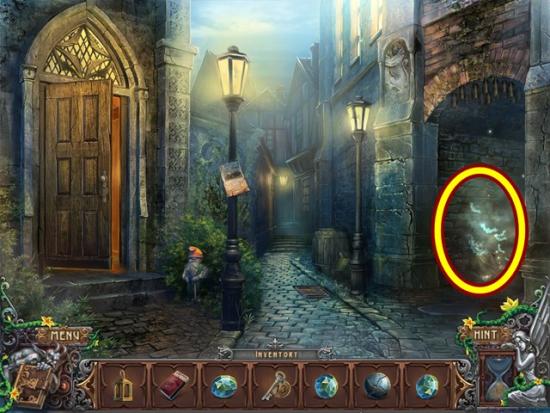
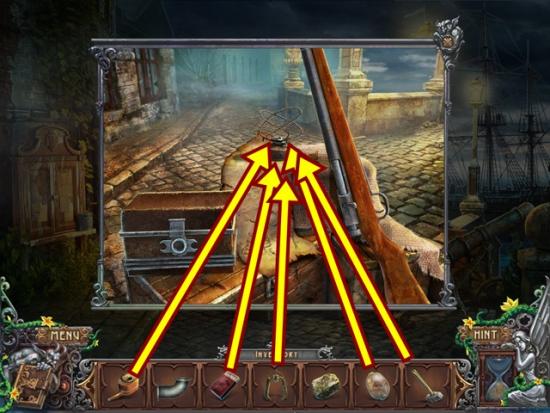
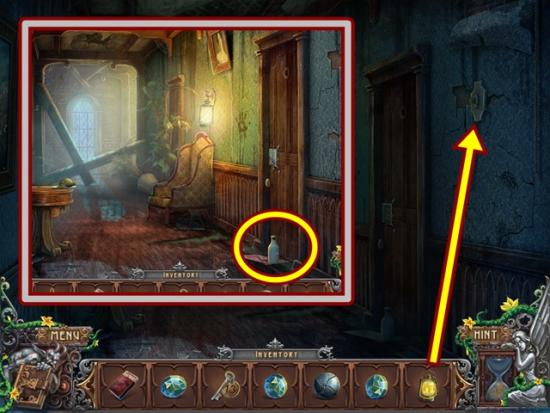
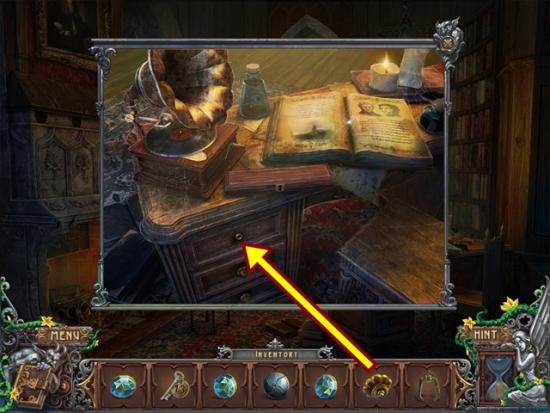
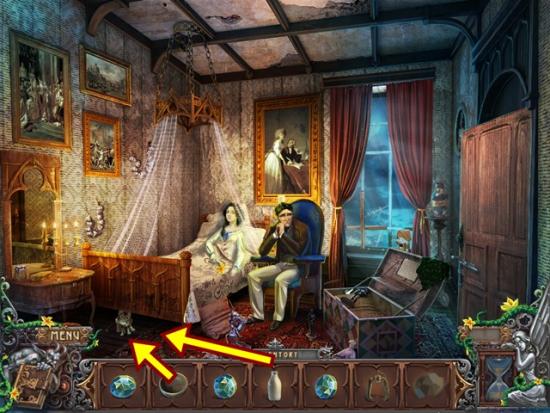
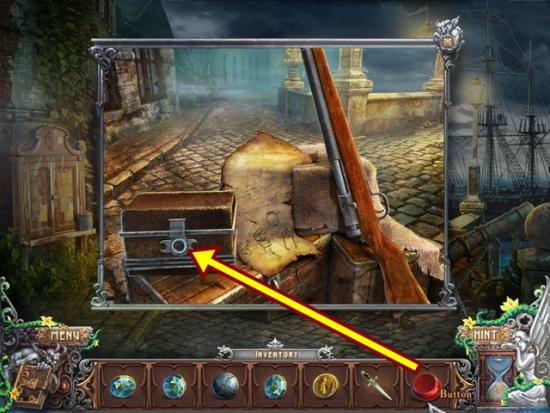
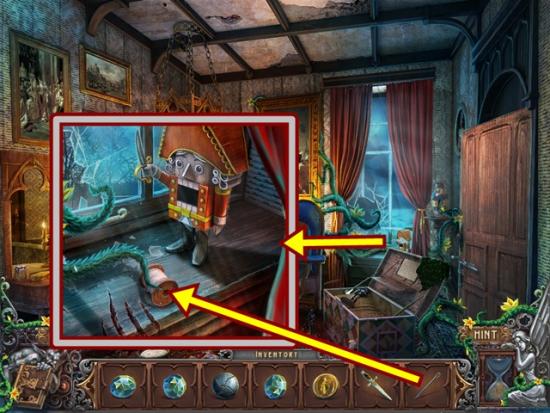
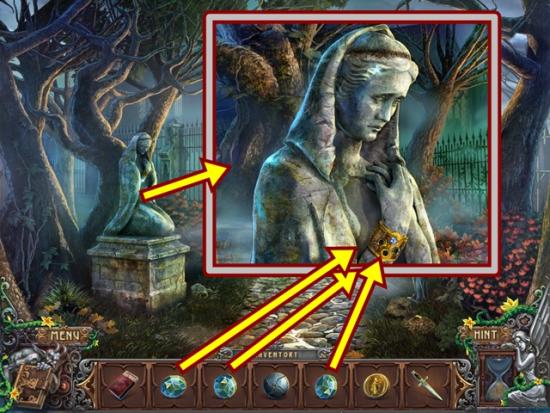
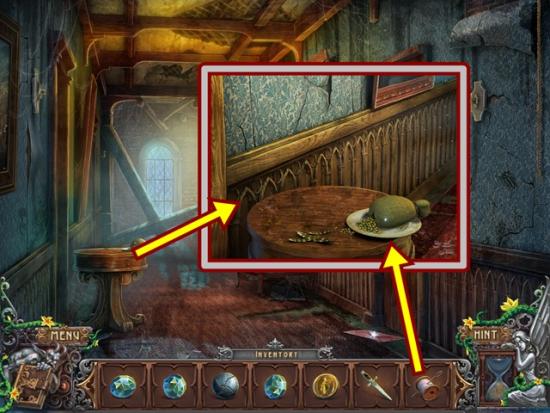
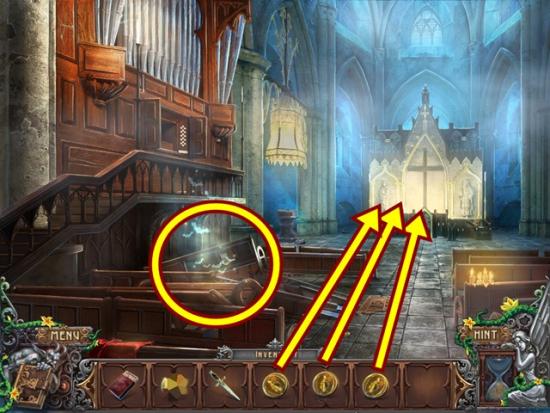
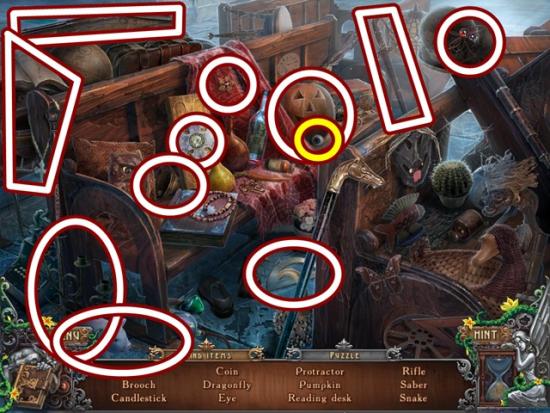
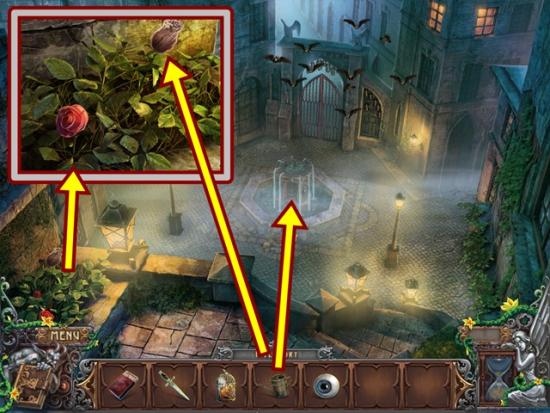
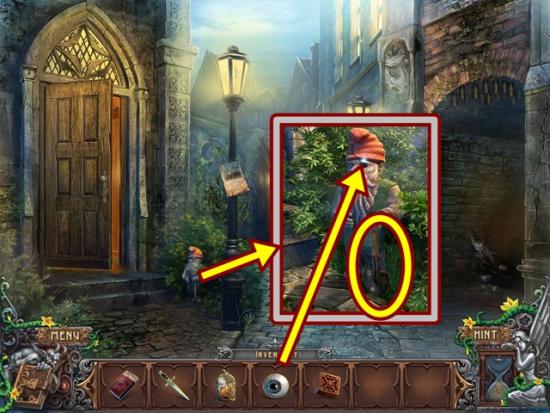
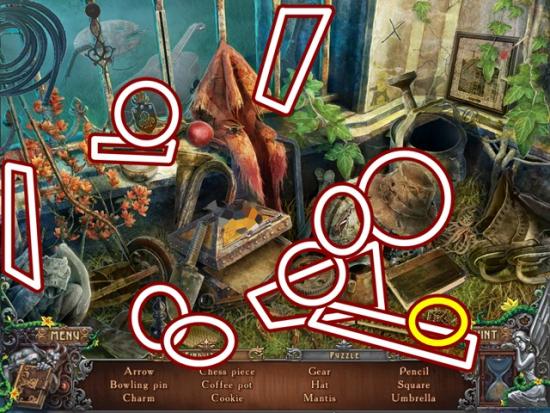
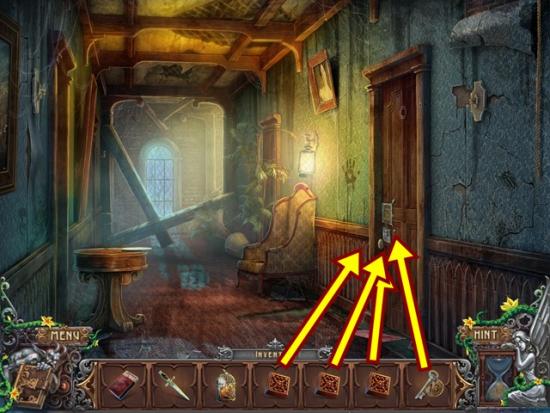
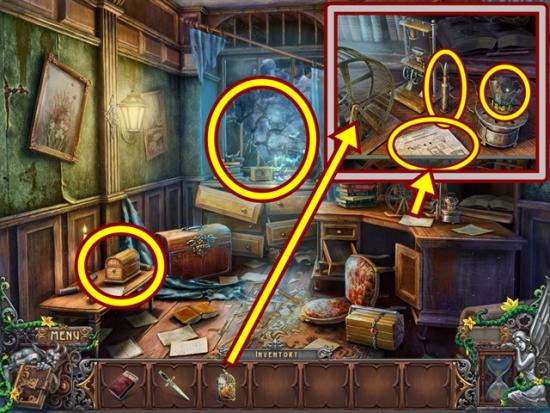
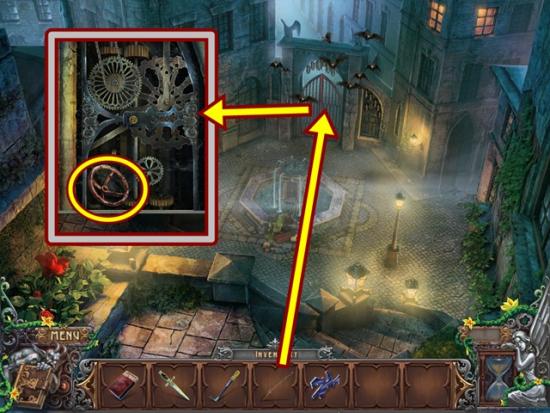
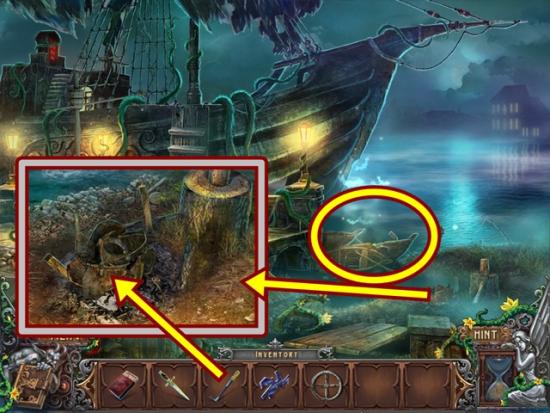
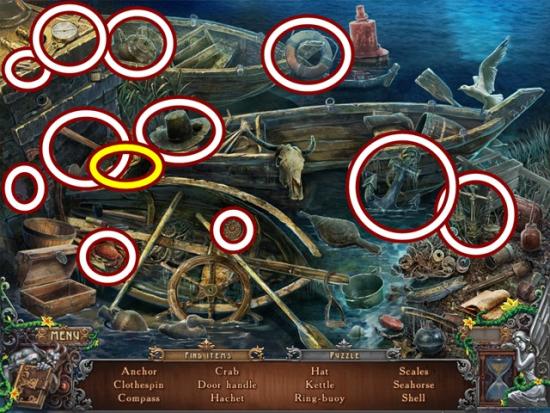
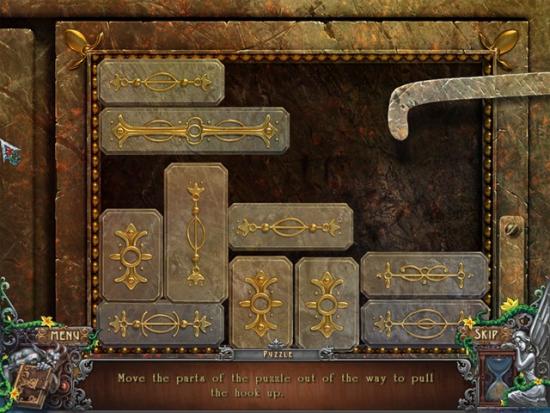
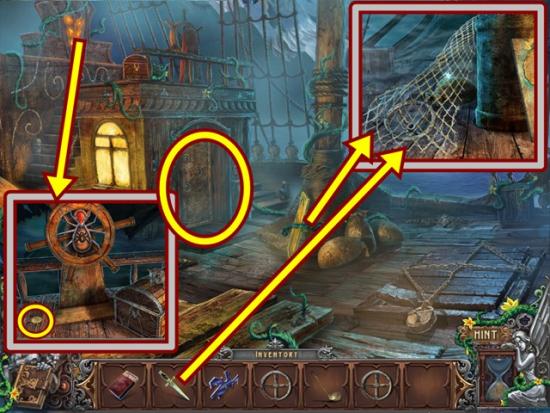
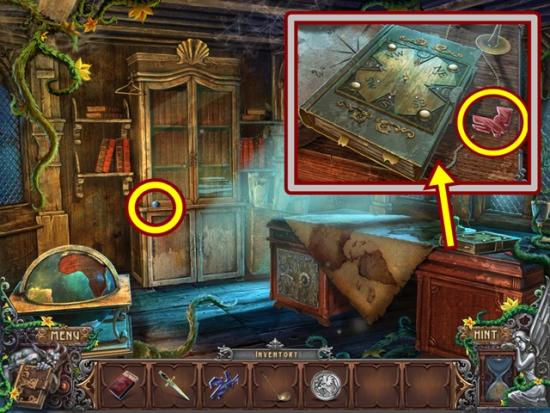
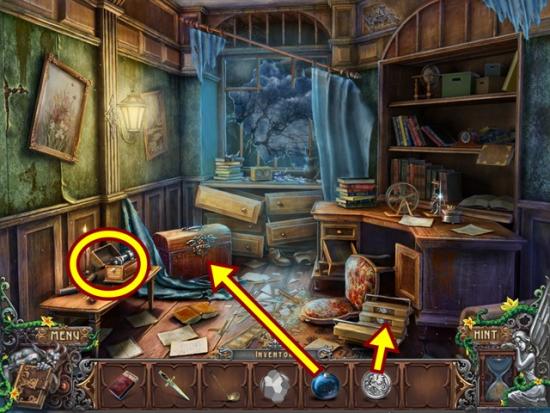
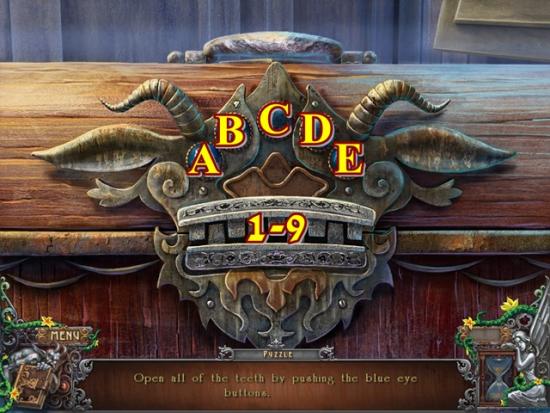
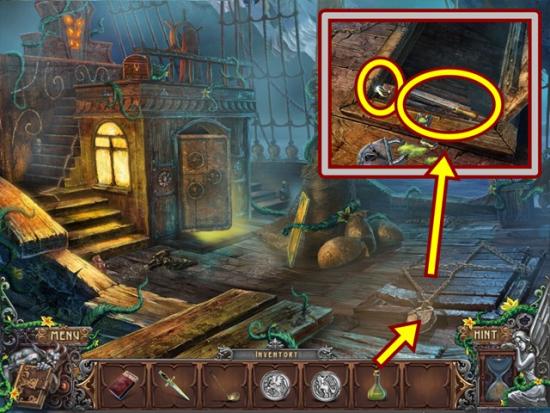
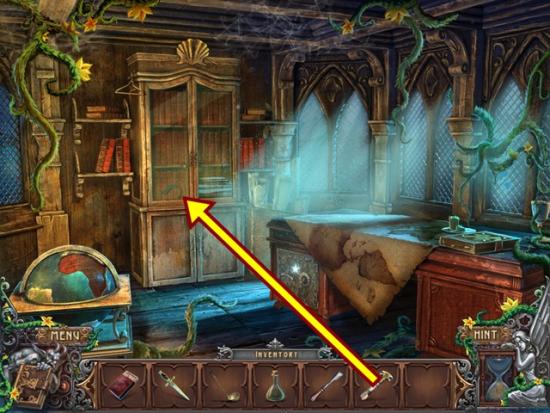
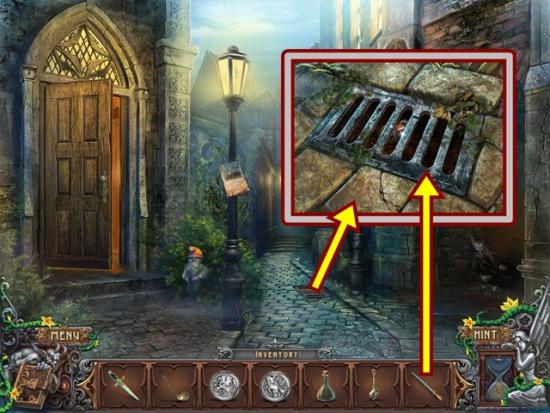
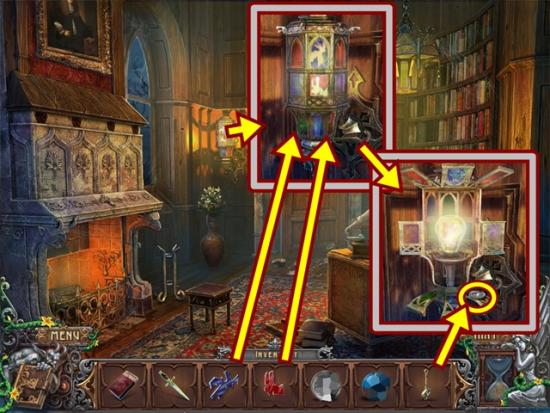
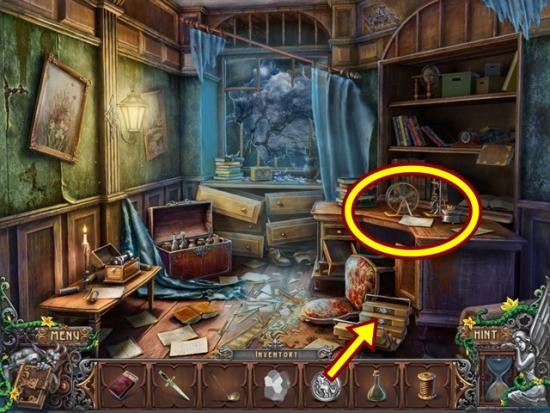
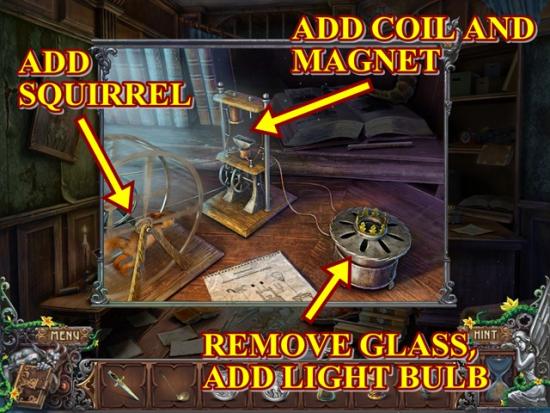
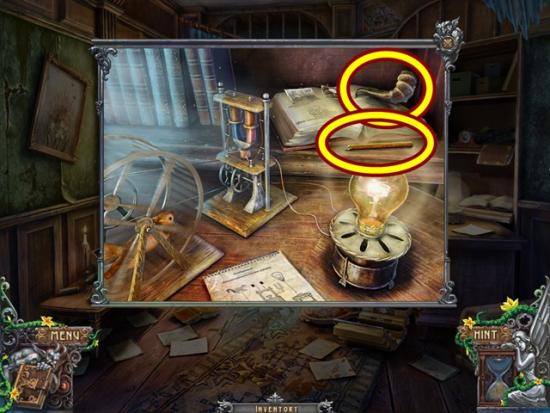
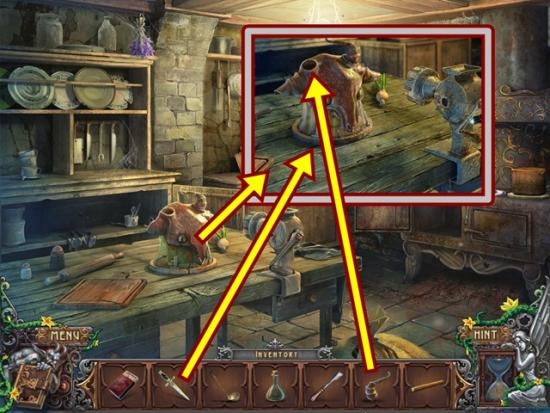
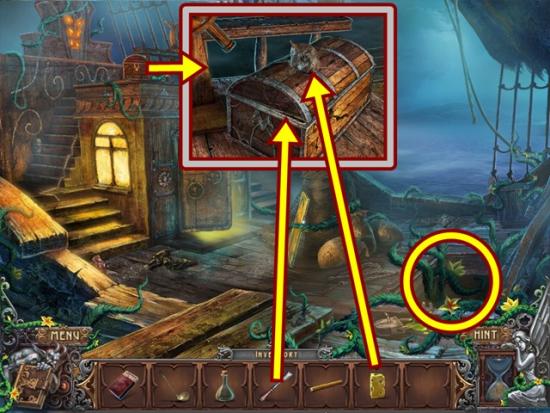
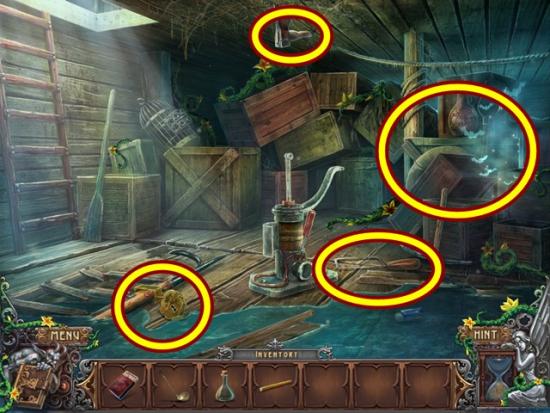
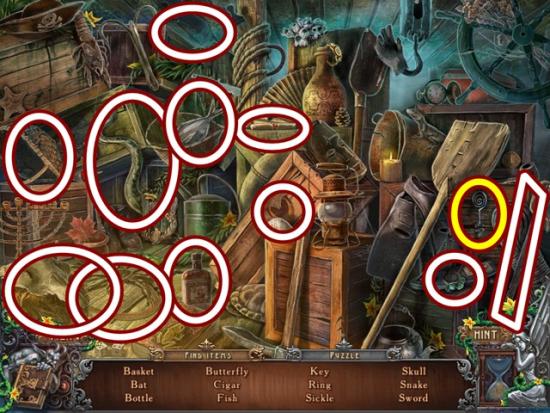
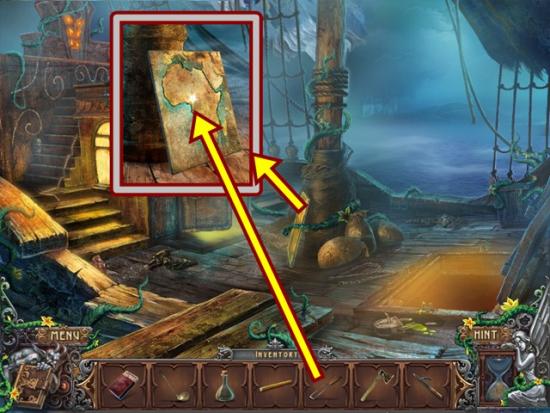
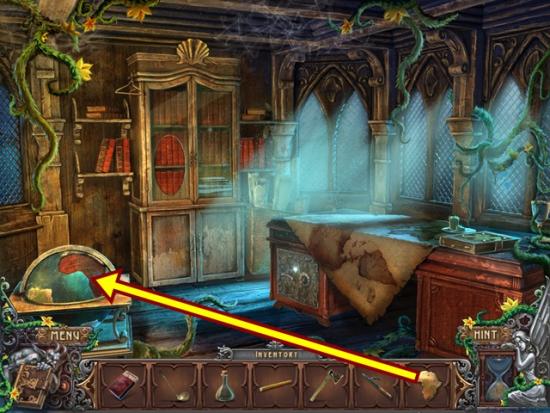
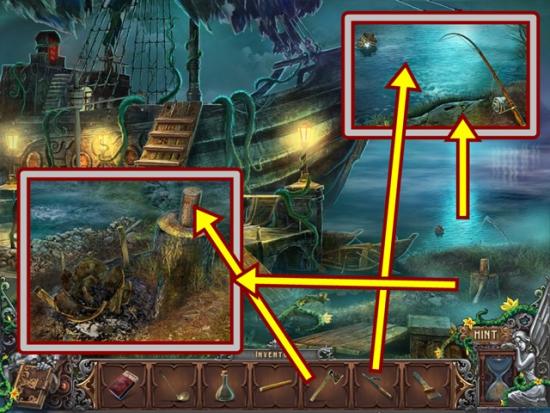
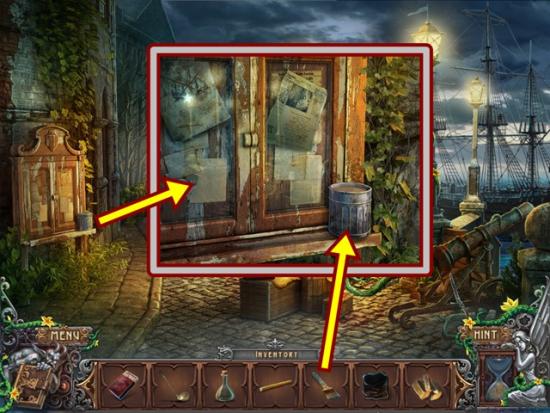
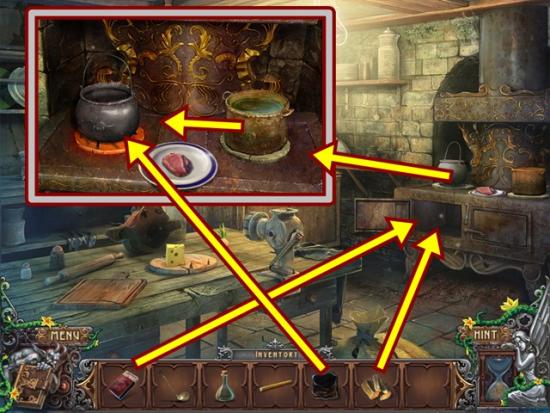
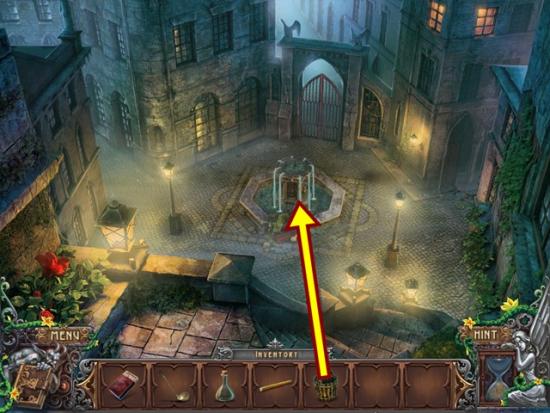
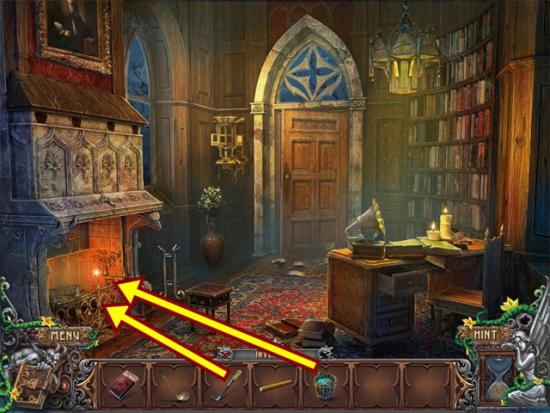
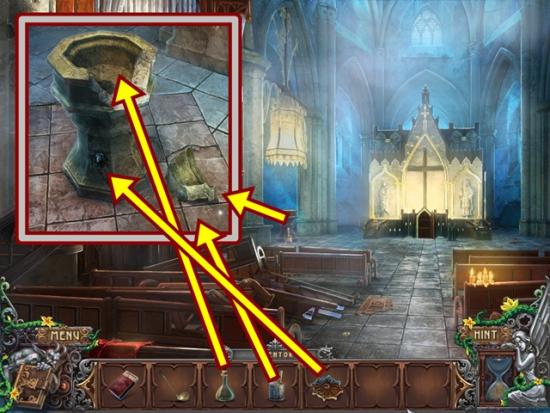
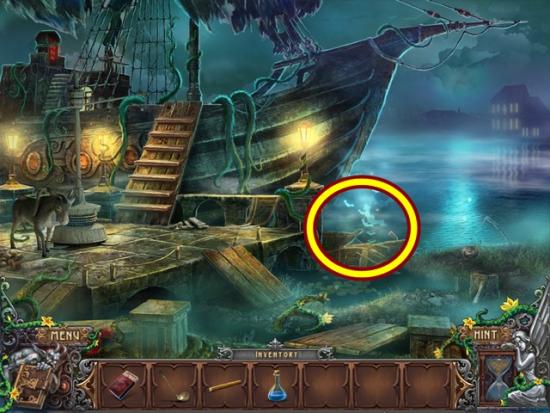
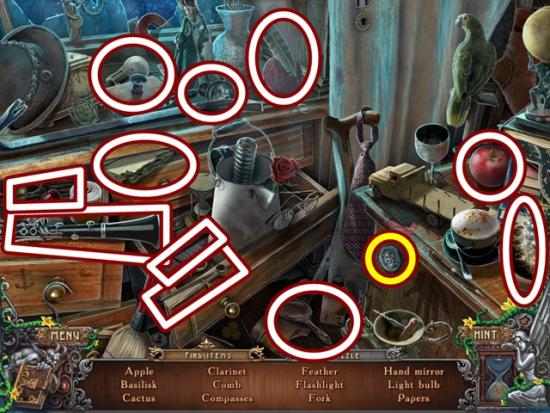
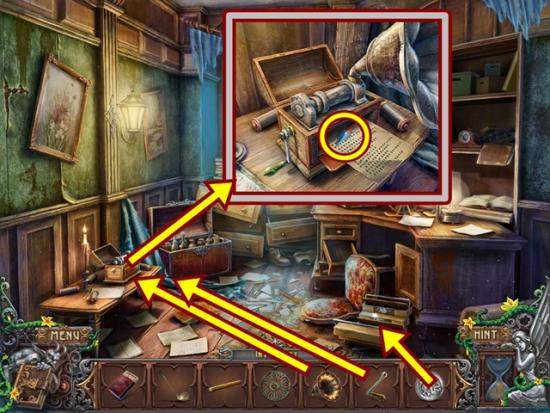
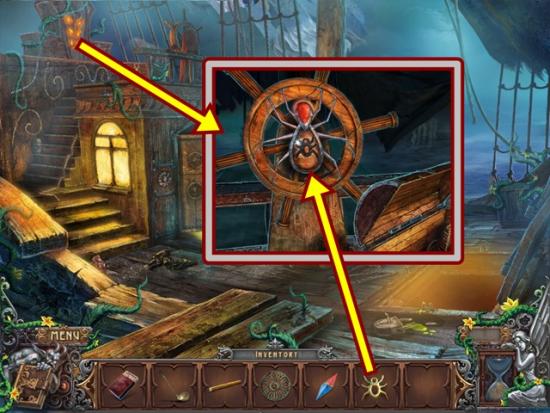
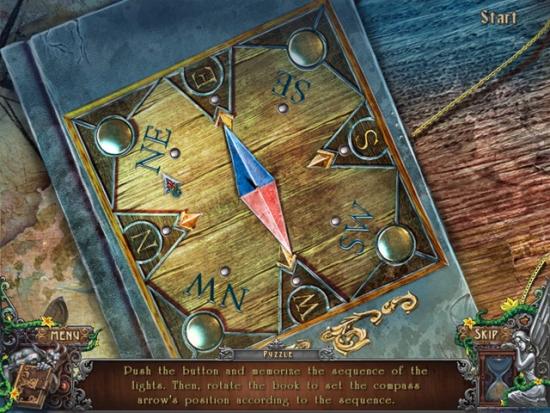
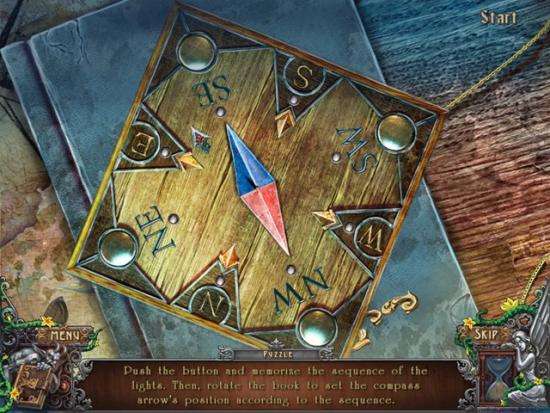
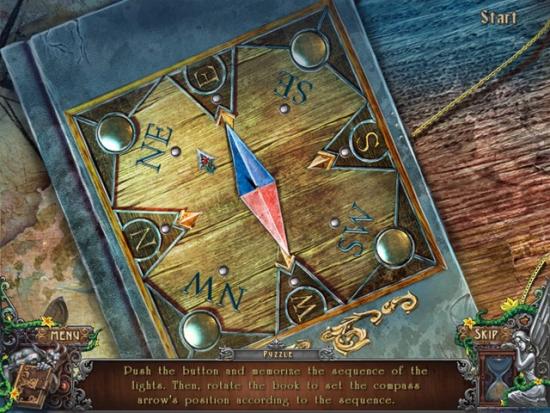
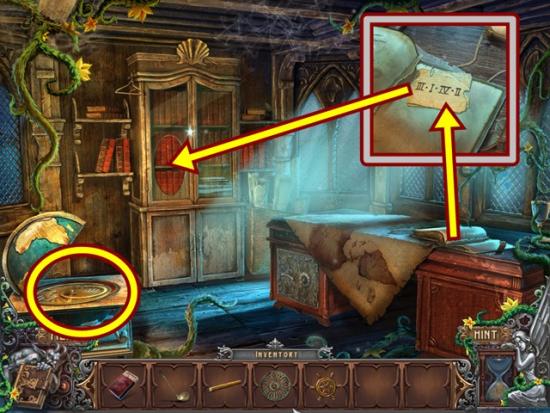
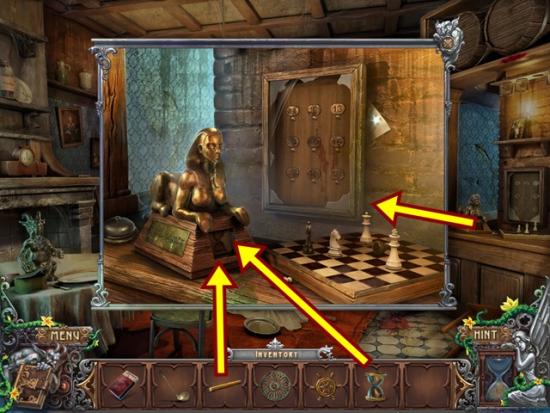
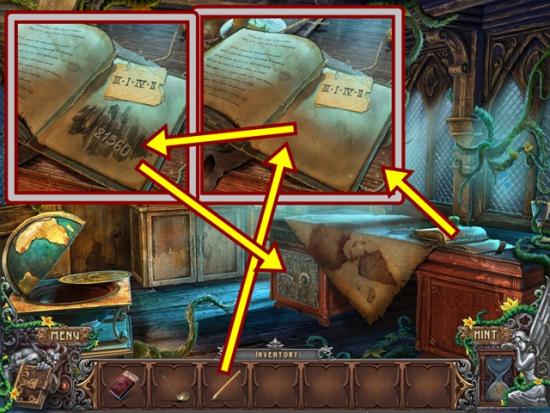
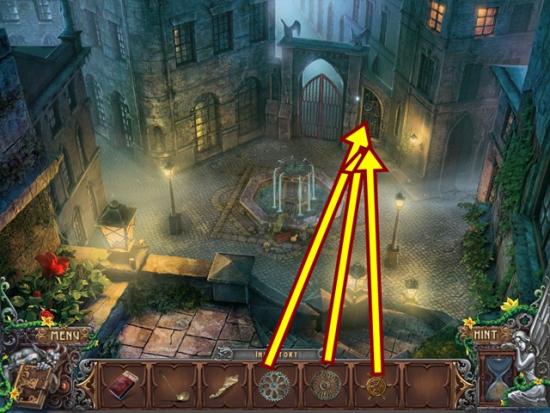
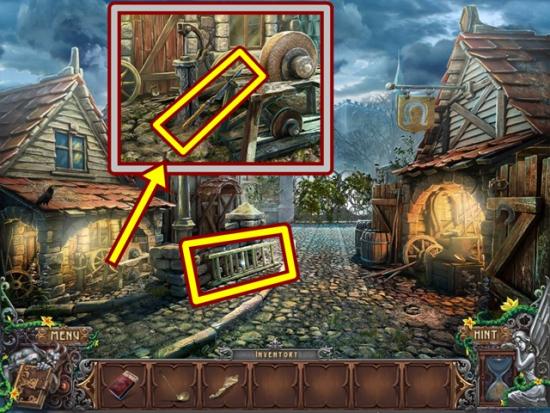
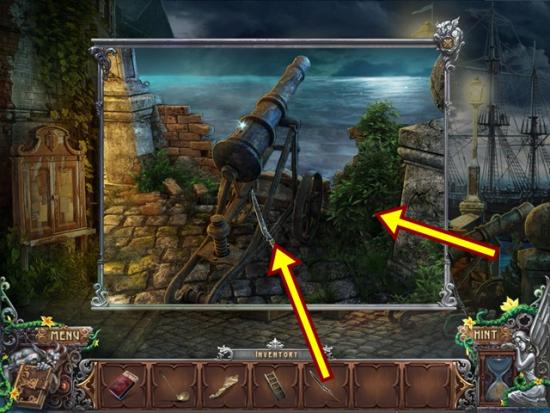
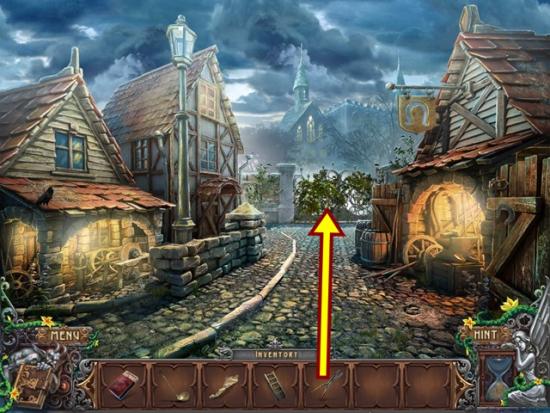
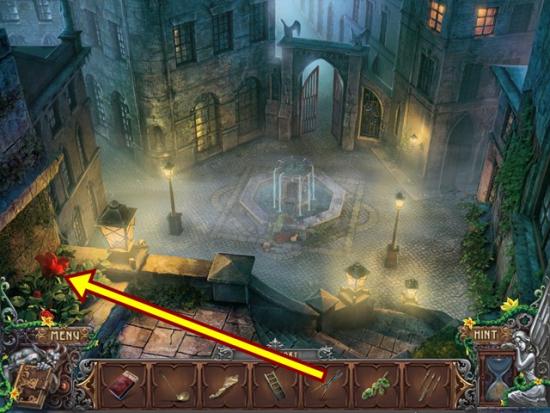
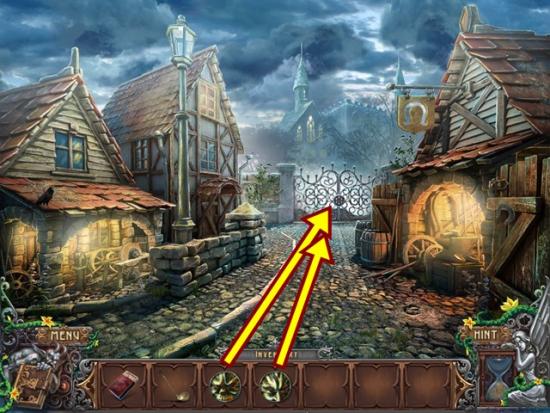
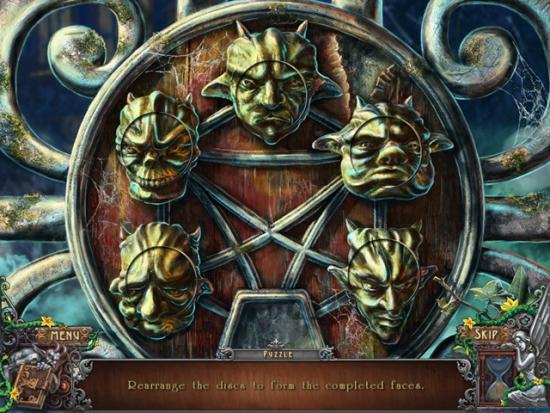
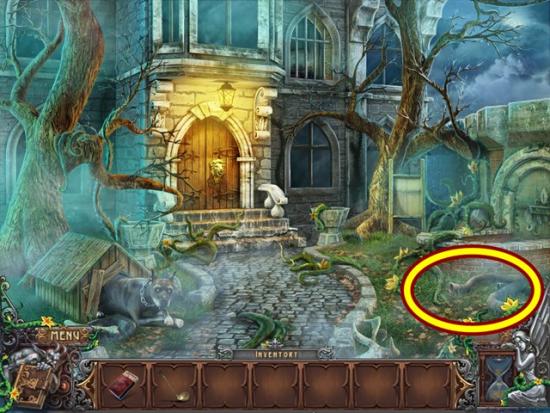
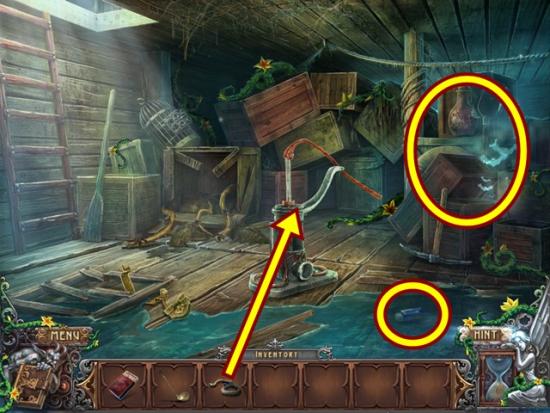
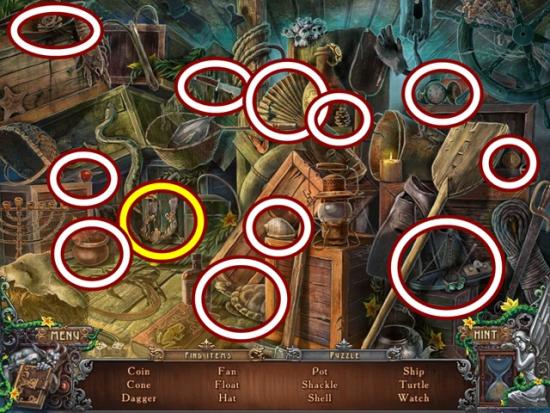
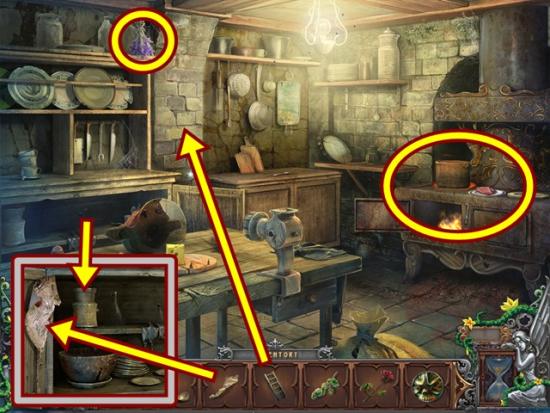
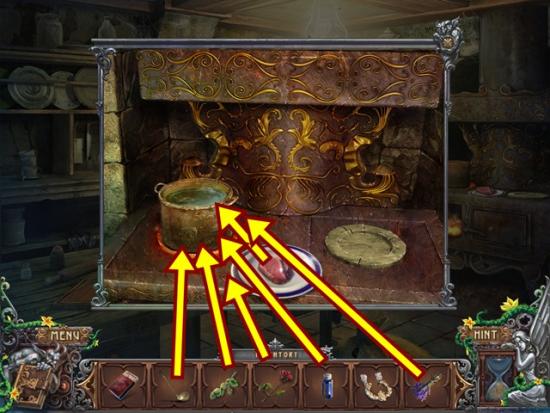
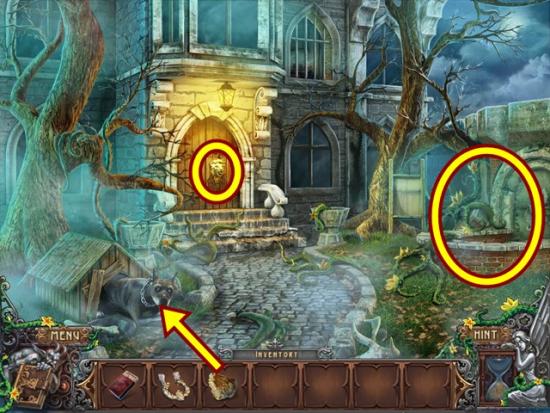
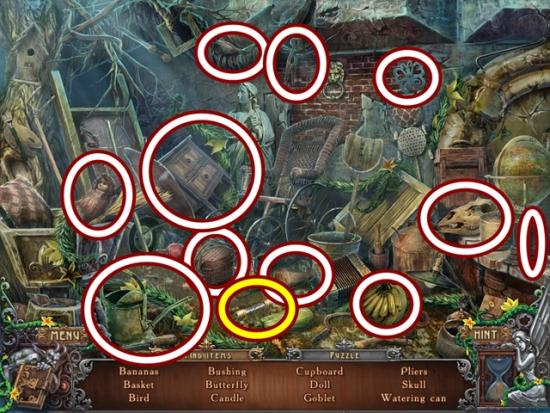
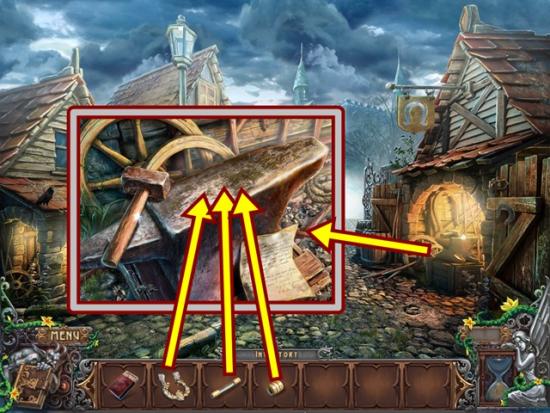
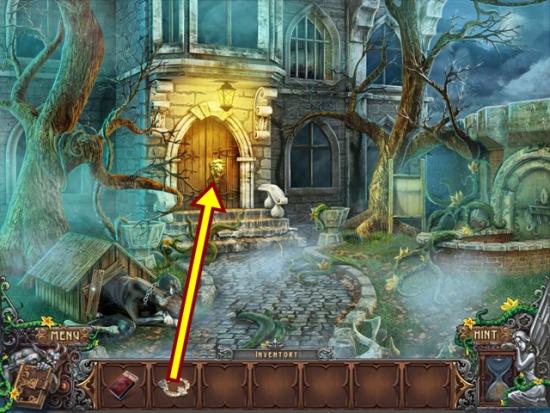
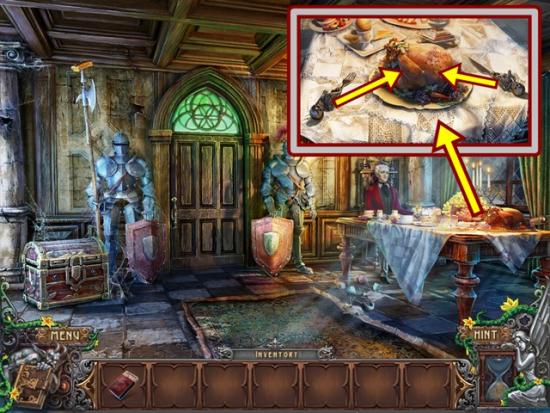
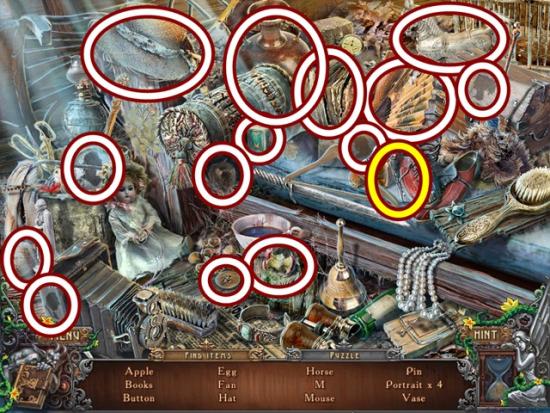
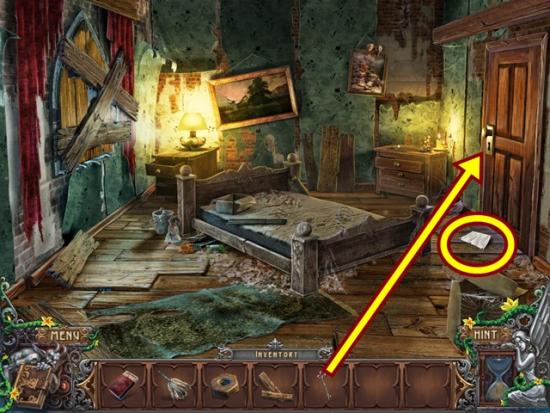
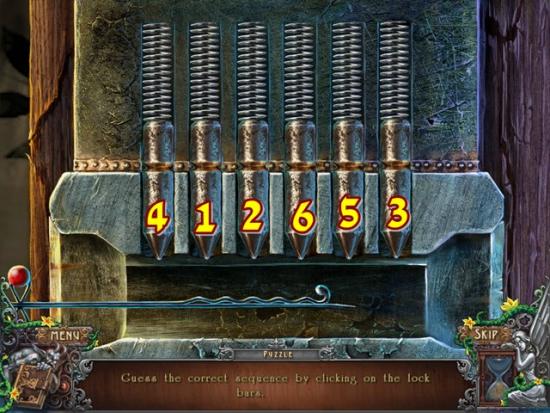
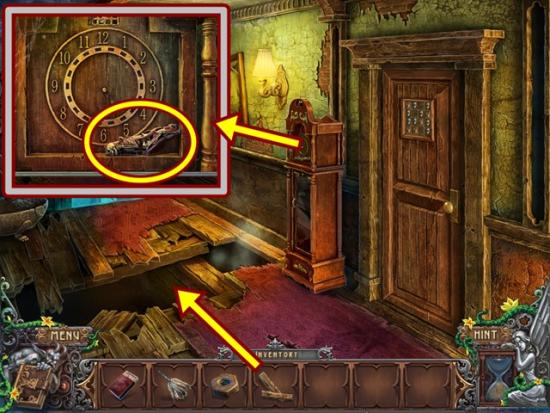
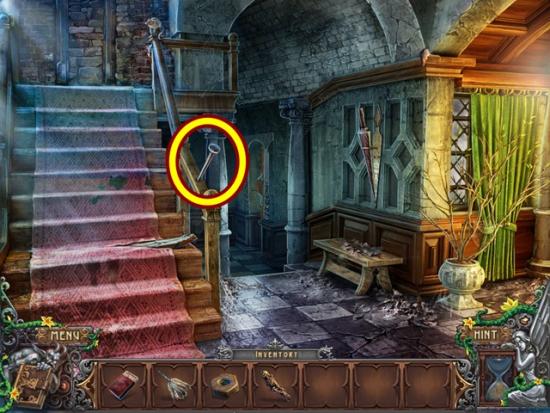
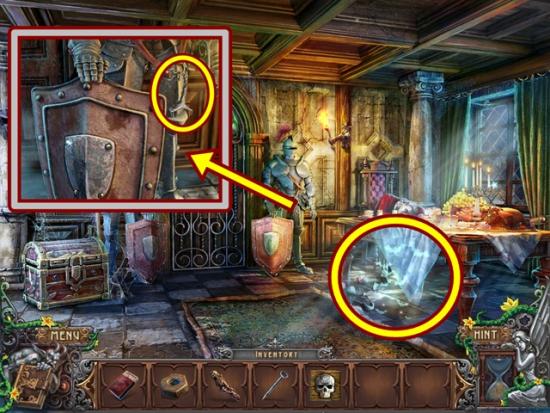
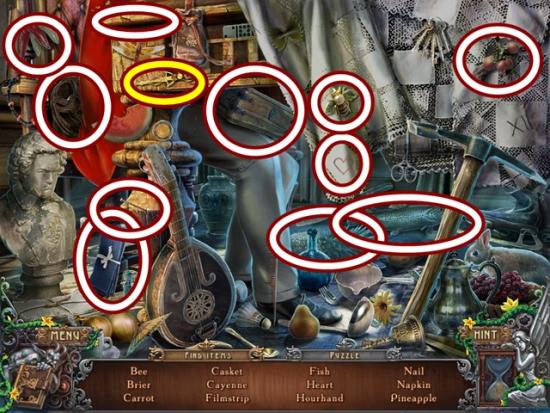
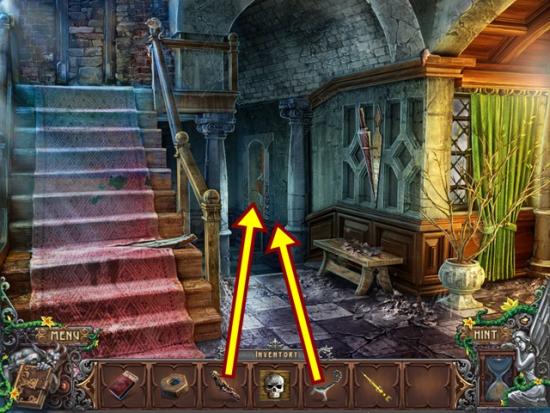
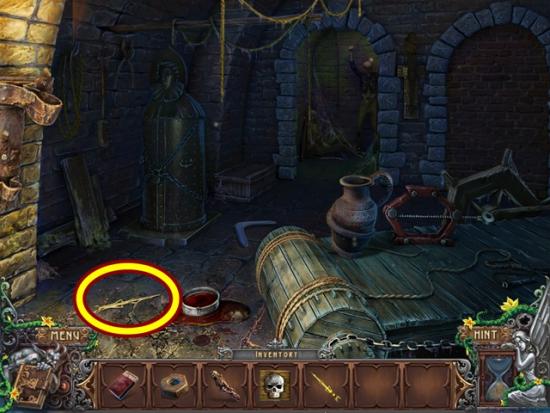
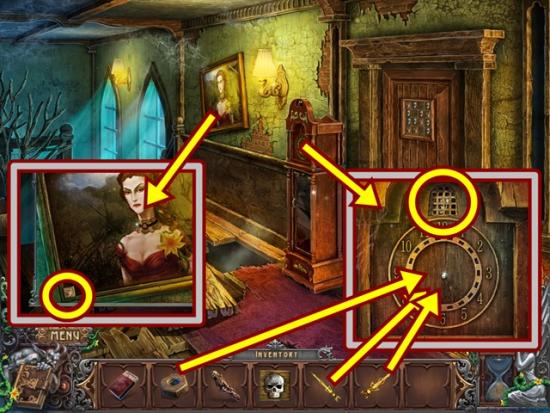
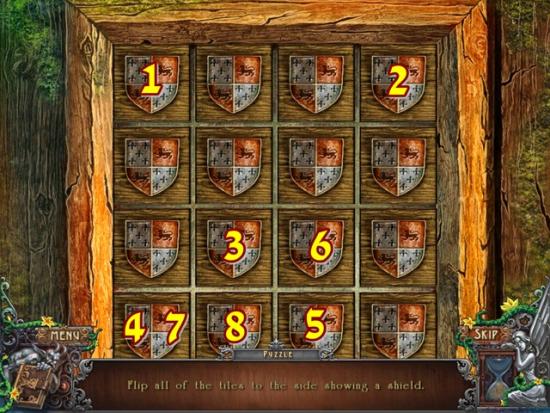
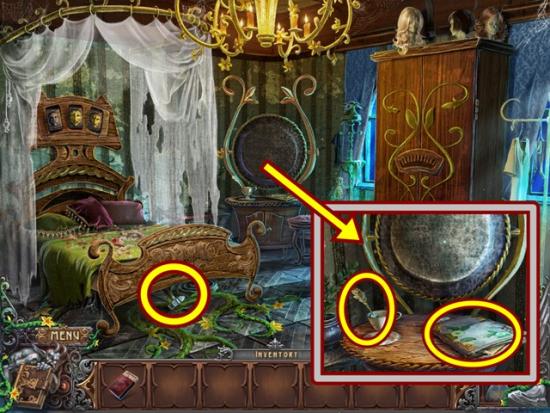
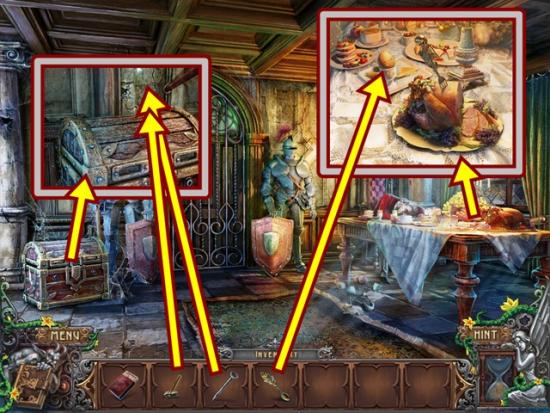
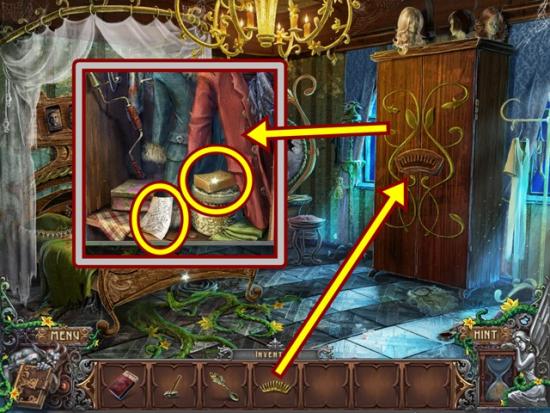
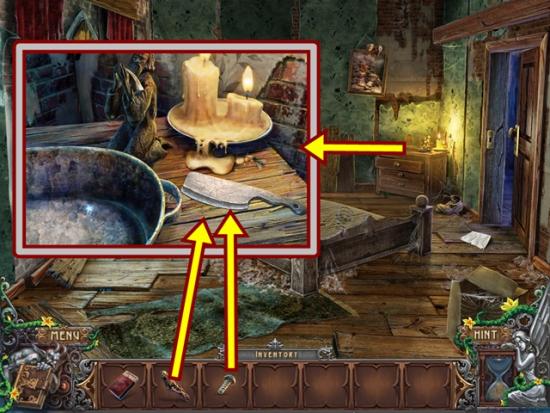
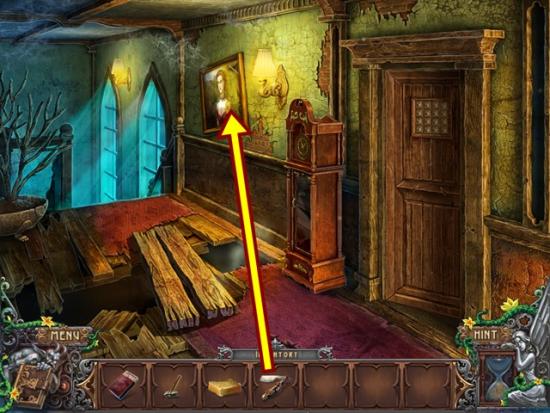
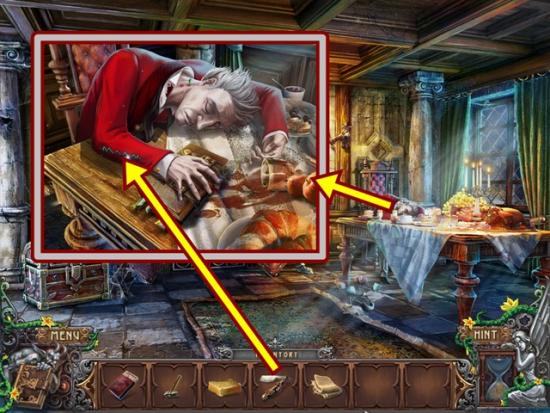
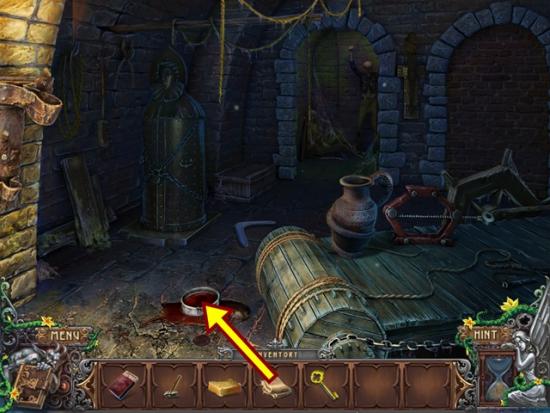
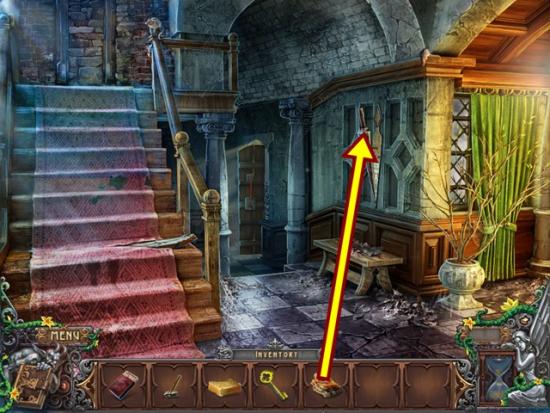
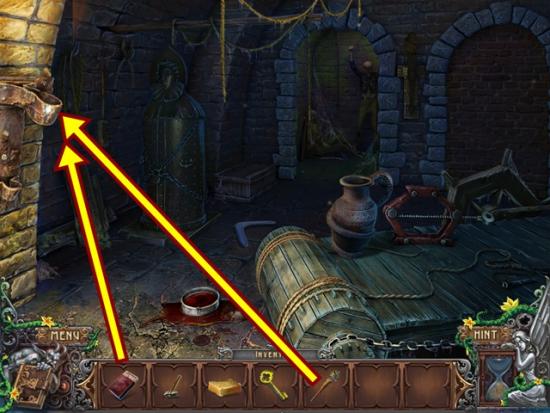
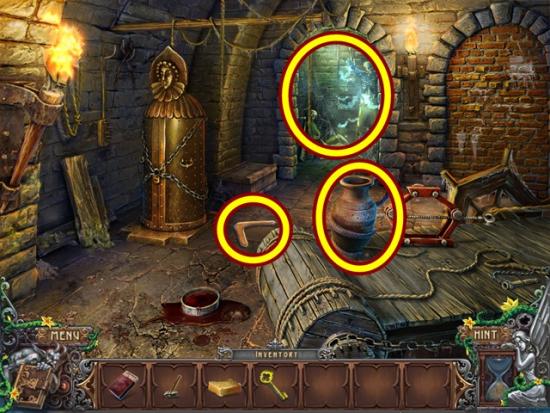
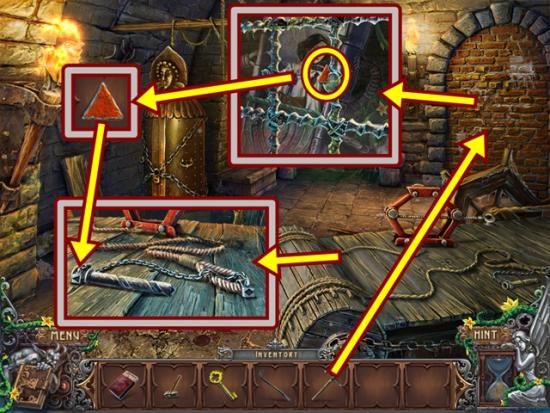
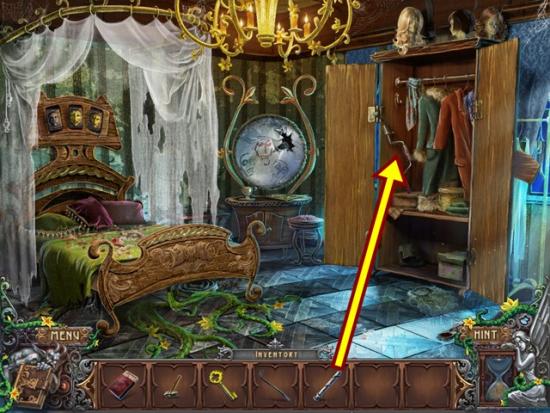
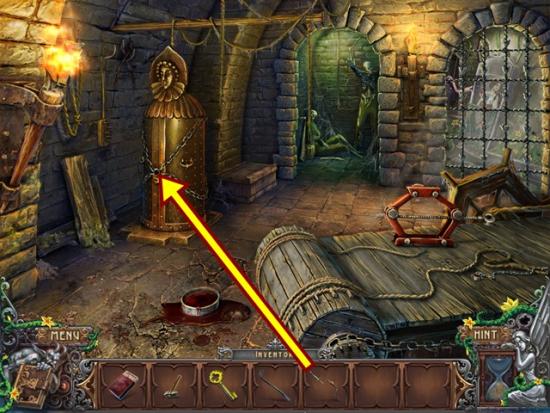
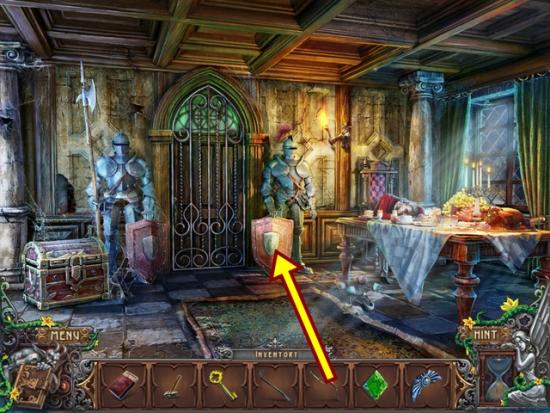
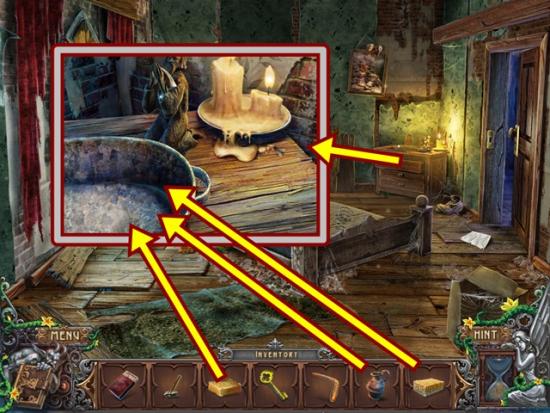
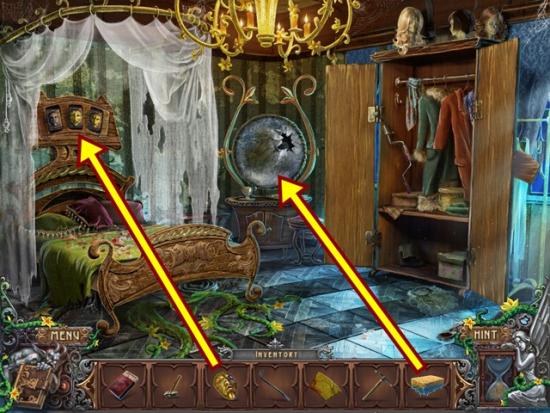
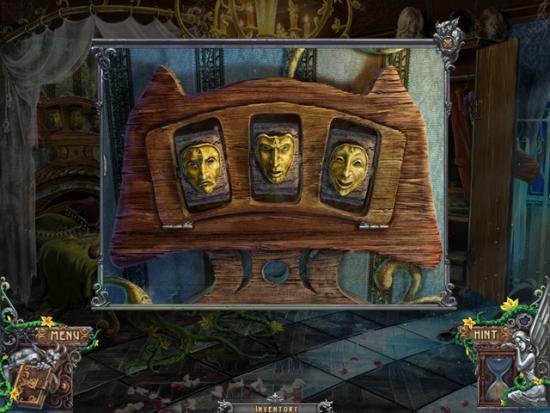
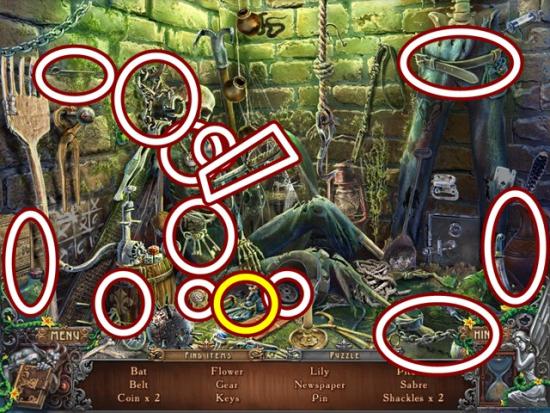
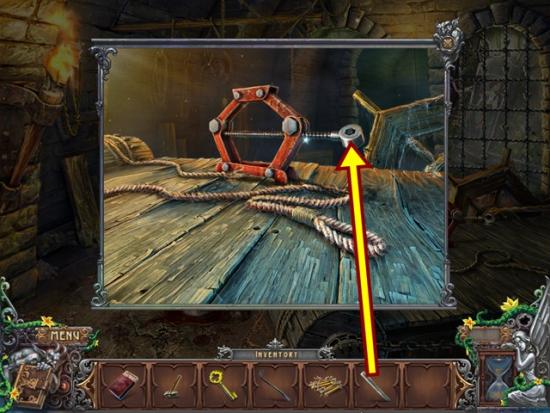
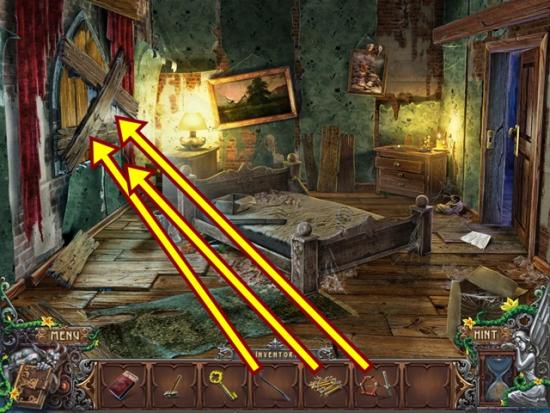
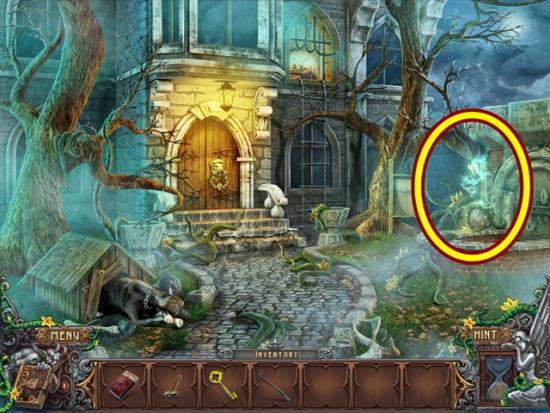
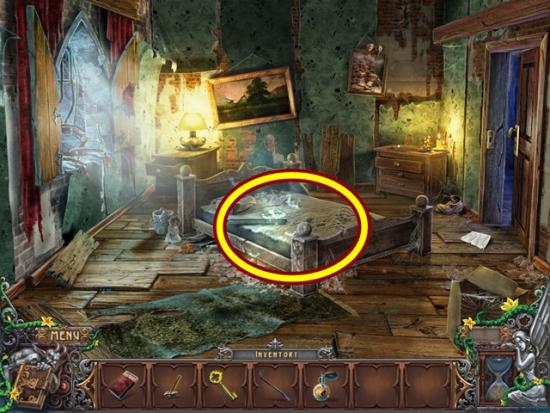
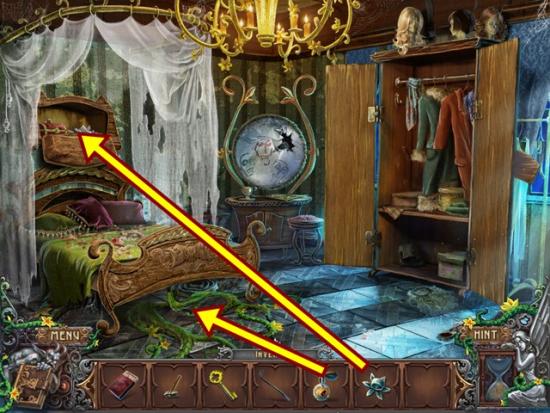
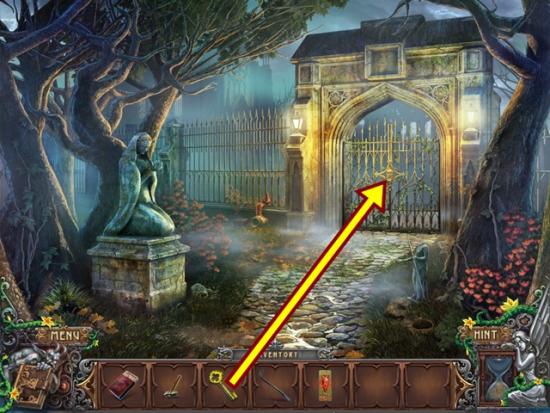
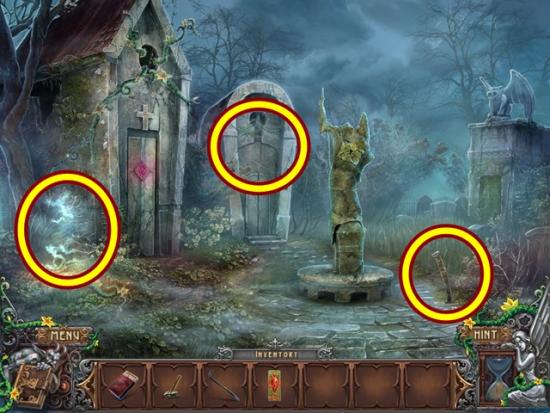
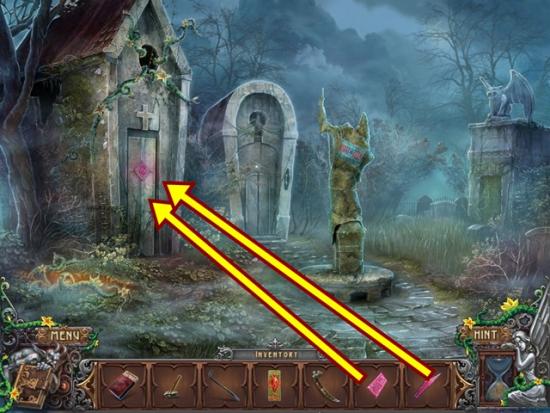
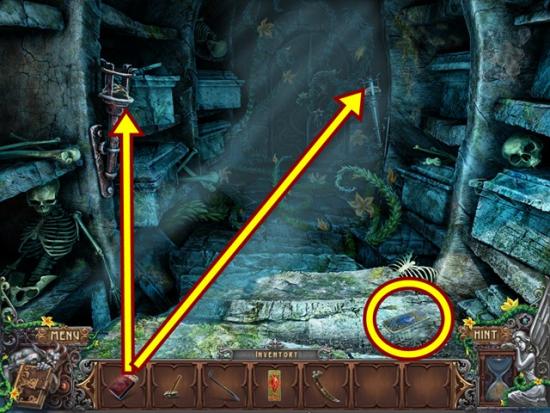
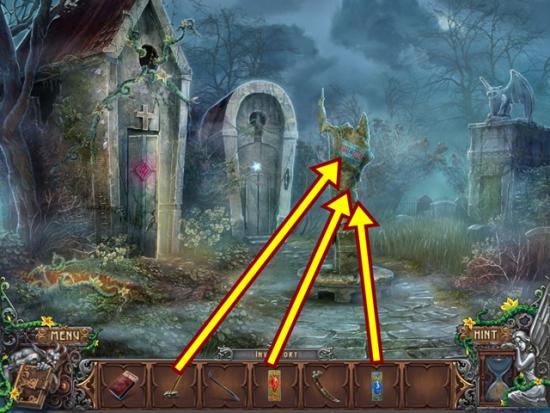
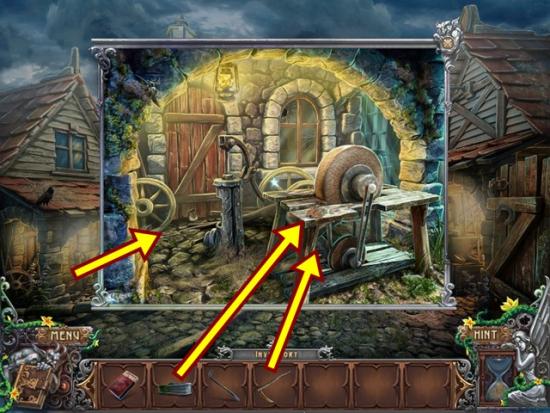
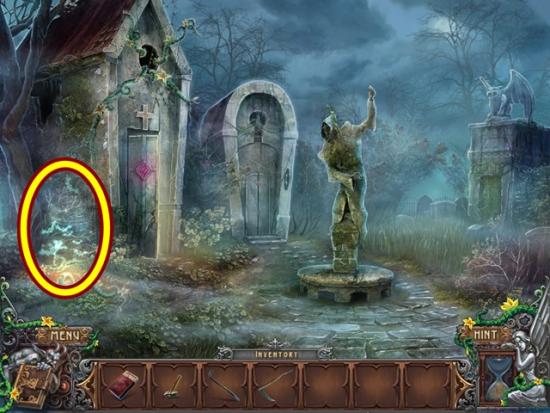
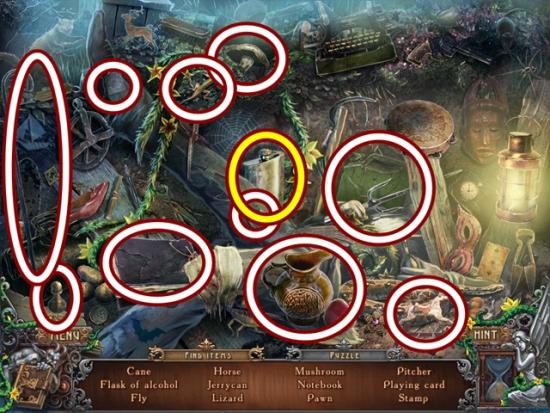
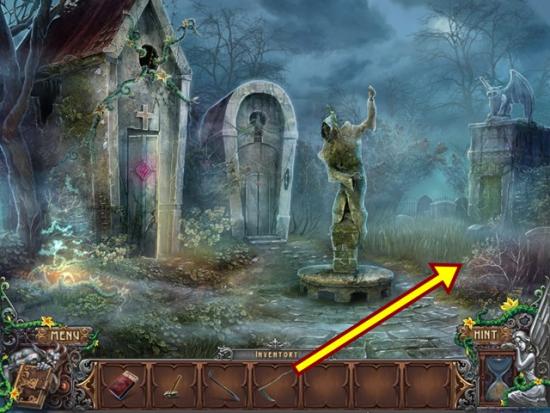
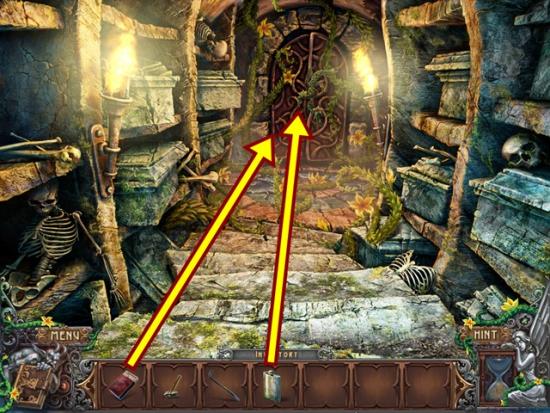
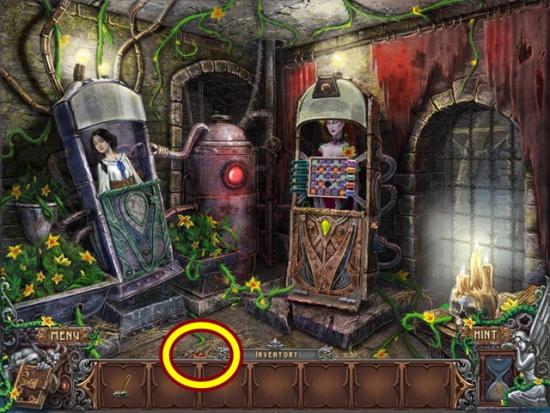
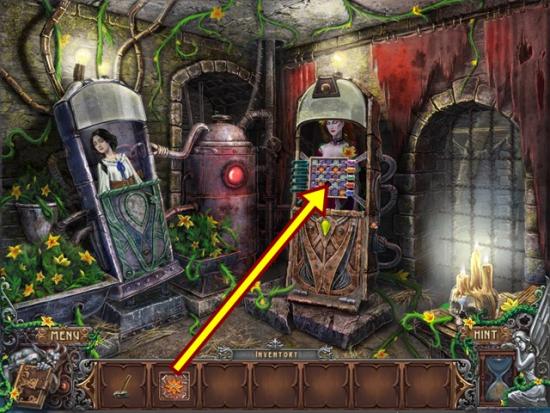
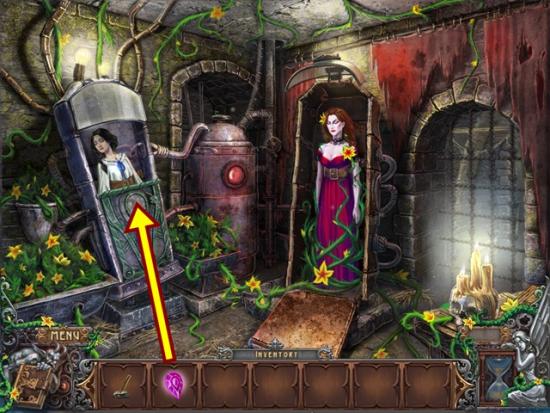
Fallen: The Flowers of Evil is an interactive hidden object puzzle game created by Taba Games. You will move from location to location solving hidden object hunts, mini-puzzles and picking up items to use in order to proceed in the game. Gamezebo’s strategy guide will provide you with detailed images, tips, information, and hints on how to play your best game.
Fallen: The Flowers of Evil is an interactive hidden object puzzle game created by Taba Games. You will move from location to location solving hidden object hunts, mini-puzzles and picking up items to use in order to proceed in the game. Gamezebo’s strategy guide will provide you with detailed images, tips, information, and hints on how to play your best game.
Difficulty Modes
Cursors
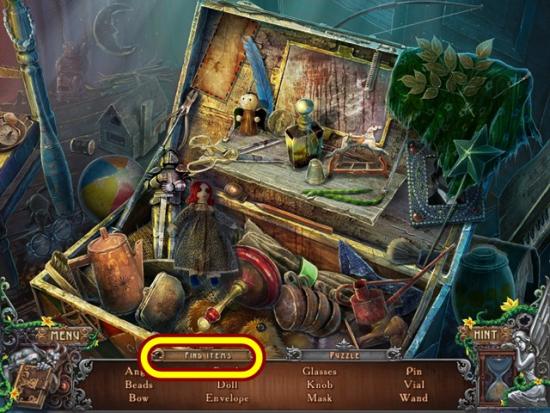
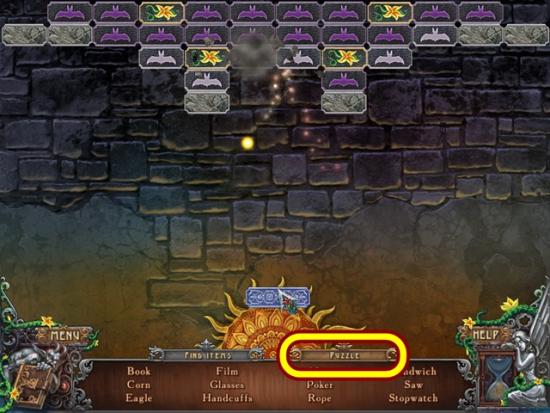
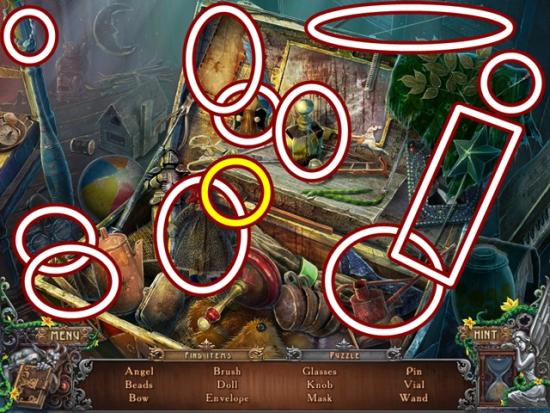
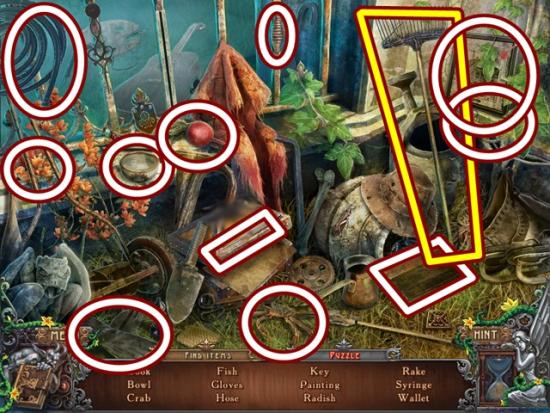
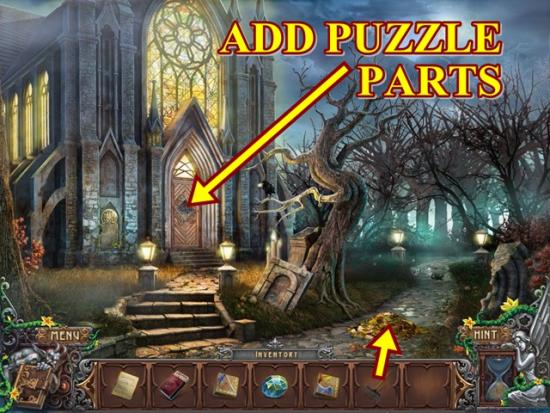
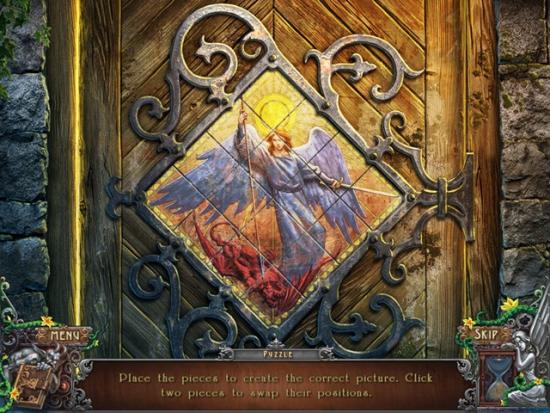
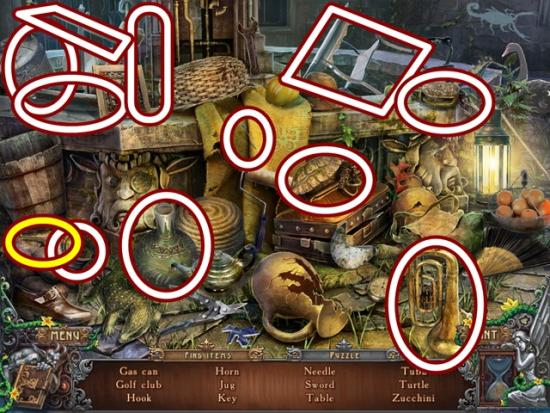
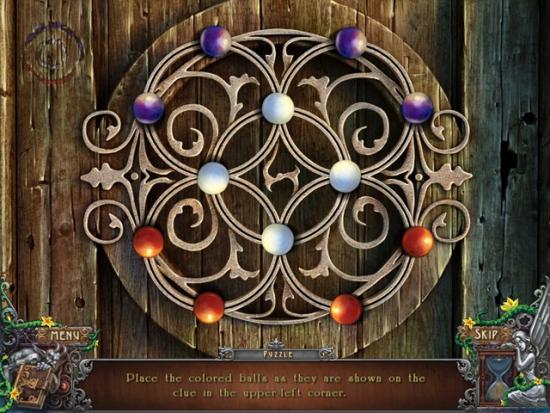
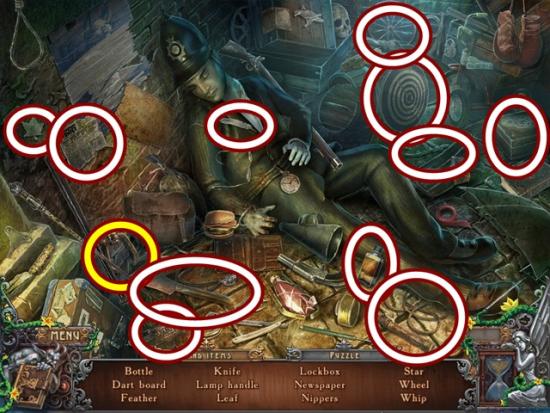
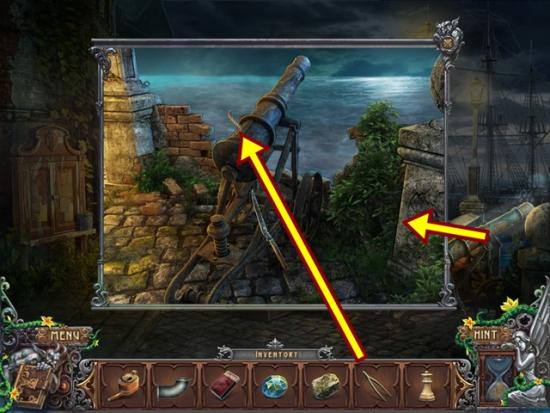
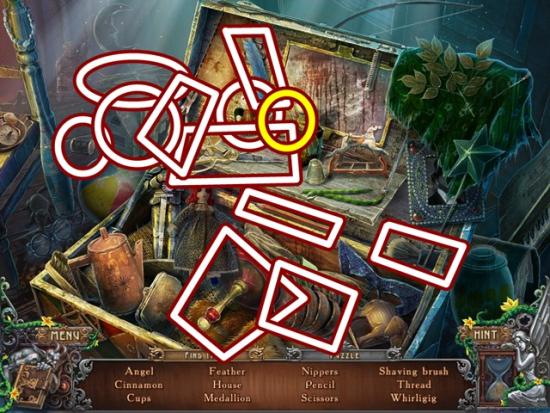
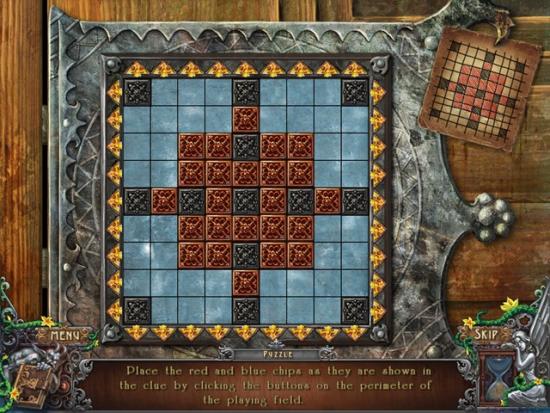
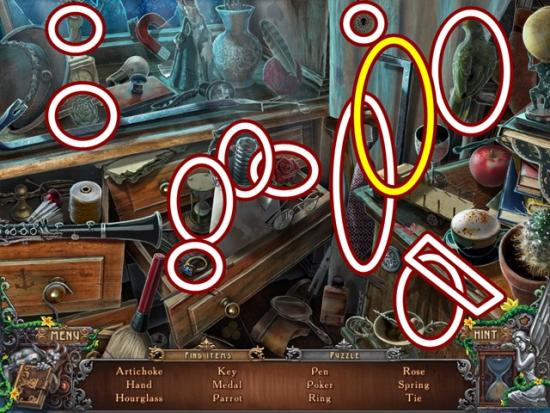
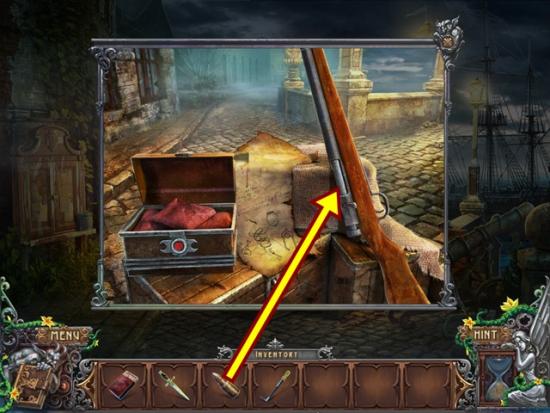
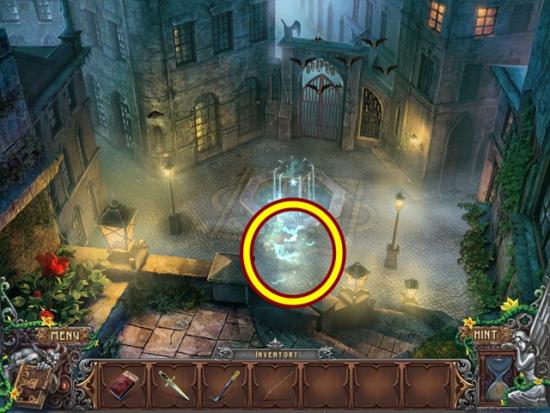
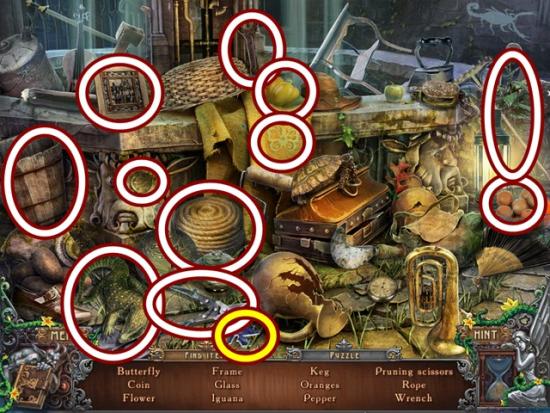
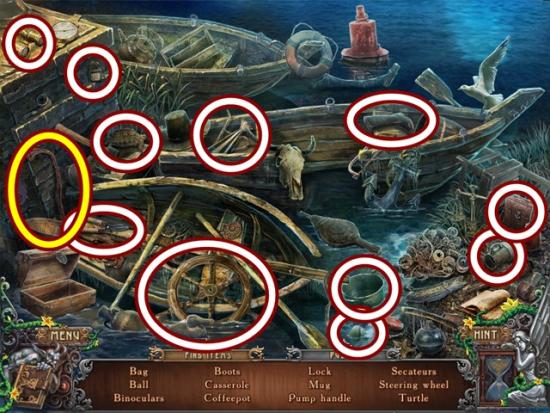
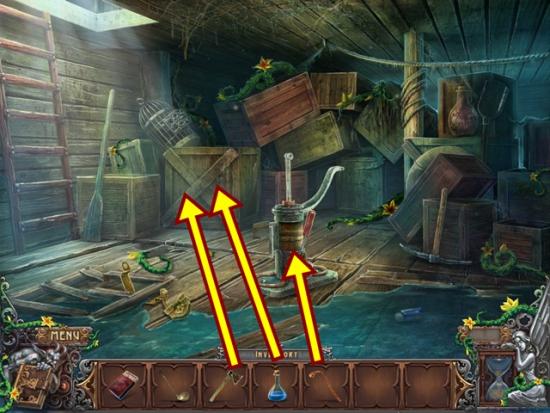
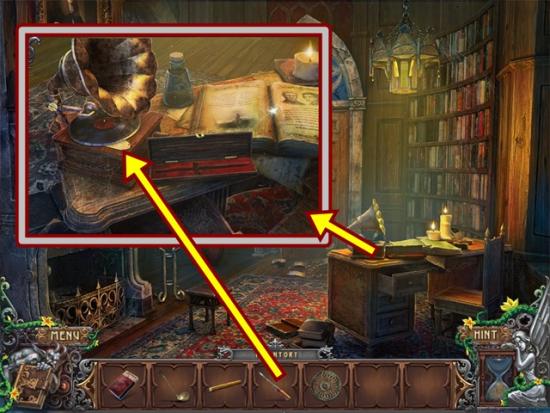
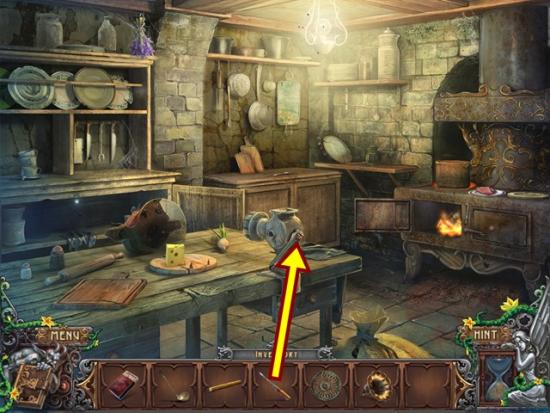
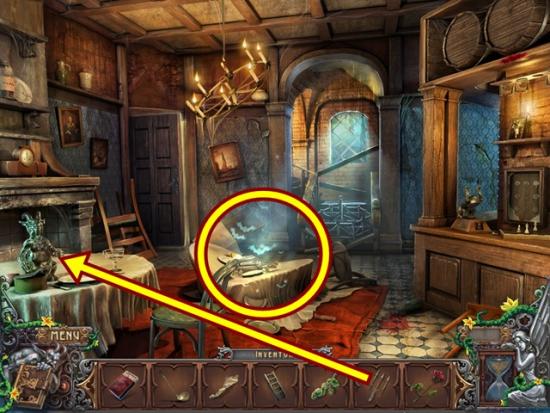
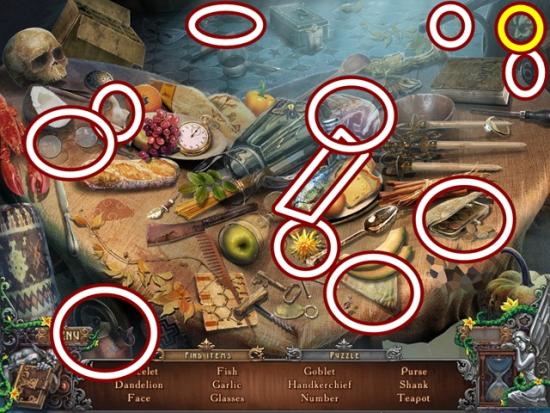
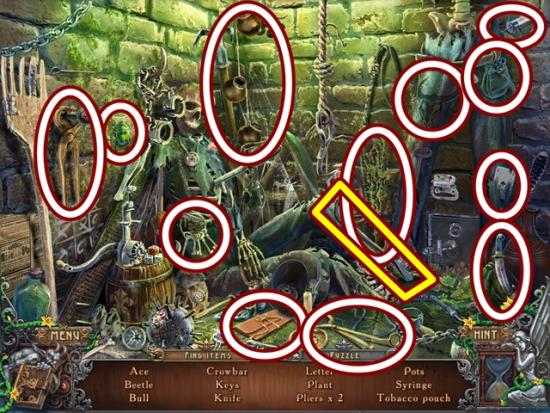
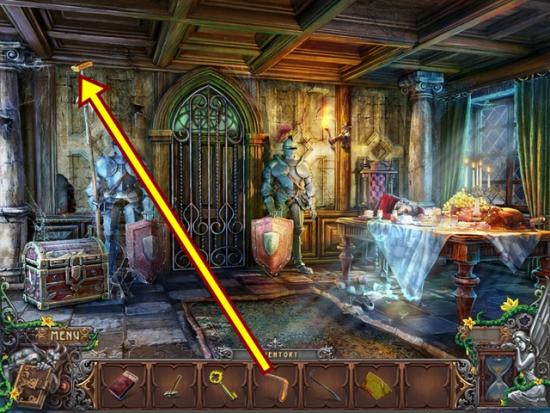
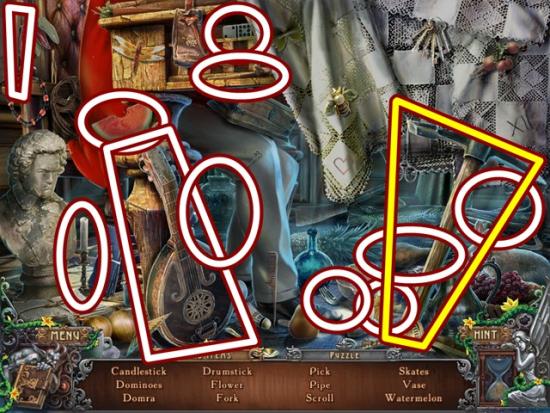
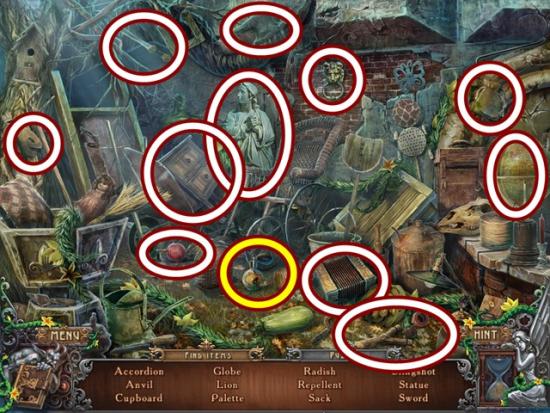
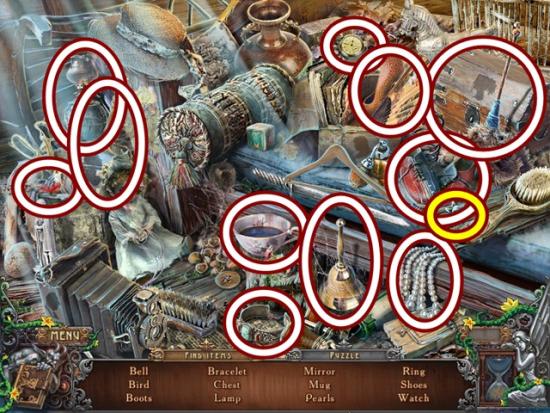
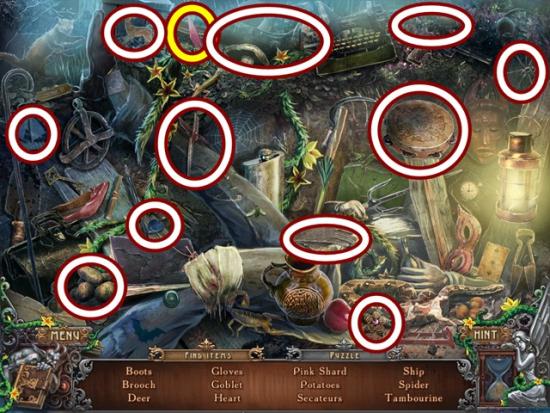
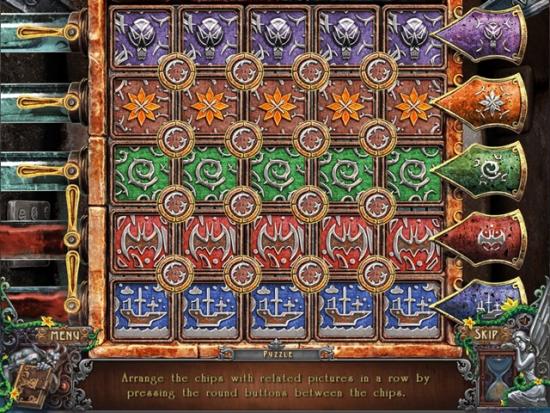
Hidden Objects scenes (HOS) or Block Bounce puzzle

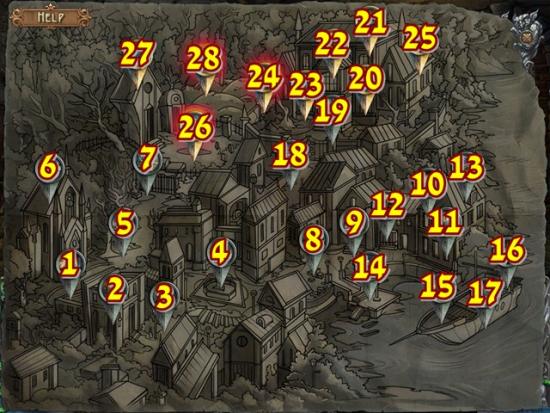
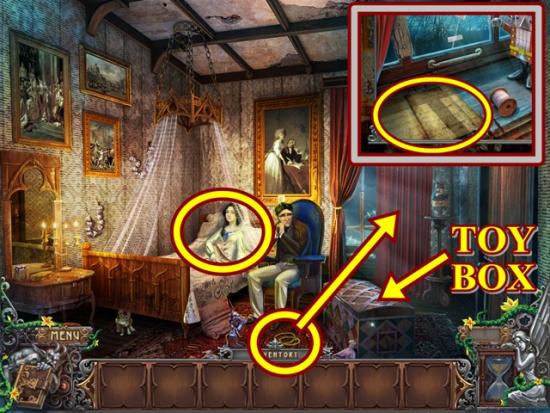
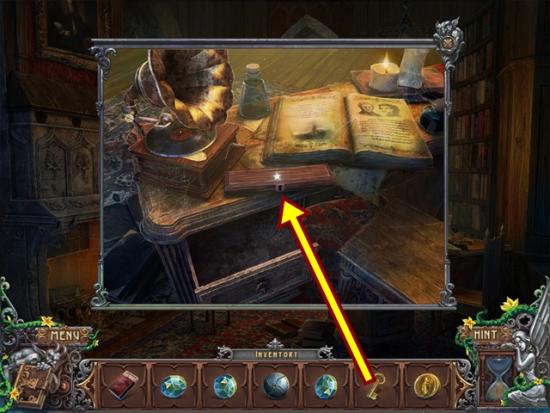
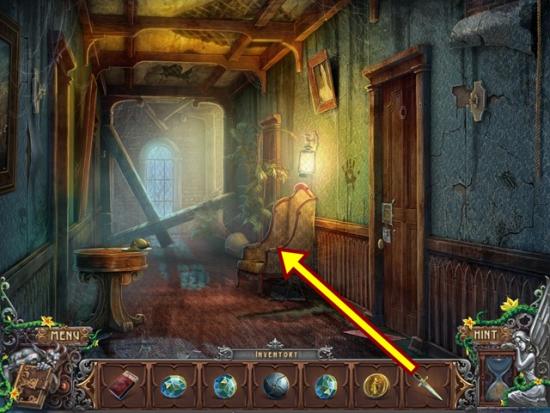
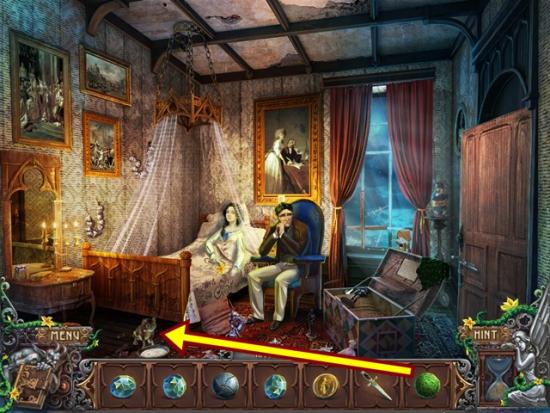
Journal and Map
Hint and Skip


Congratulations! You have completed Gamezebo’s walkthrough for Fallen: The Flowers of Evil. Be sure to check back often for game updates, staff and user reviews, user tips, forums comments and much more here at Gamezebo!
