![Hololive Dreams Tier List [Best Cards]](/wp-content/uploads/2026/07/hololive-dreams-tier-list.jpg "Hololive Dreams Tier List [Best Cards]")
Hololive Dreams Tier List [Best Cards]
The best cards for the best performances.


![Iron Soul Dungeon Weapon Tier List [Best Weapons]](/wp-content/uploads/2026/07/iron-soul-dungeon-weapon-tier-list.jpg "Iron Soul Dungeon Weapon Tier List [Best Weapons]")

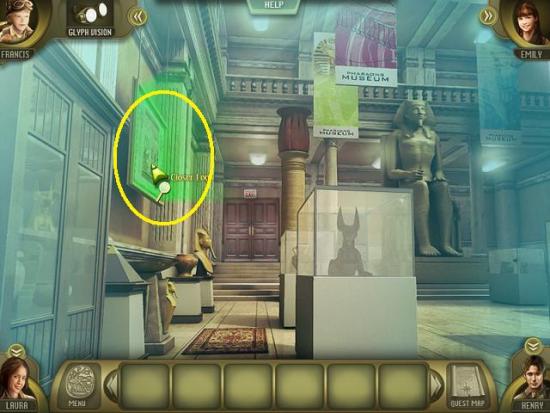
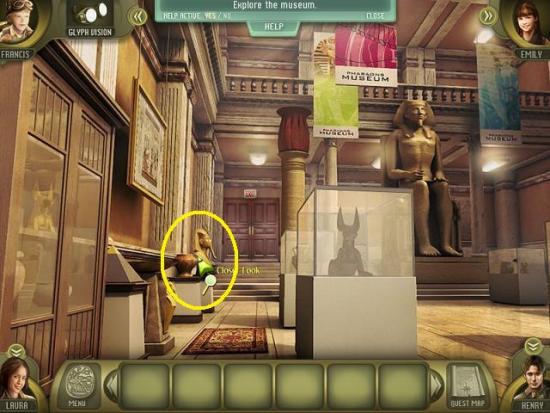
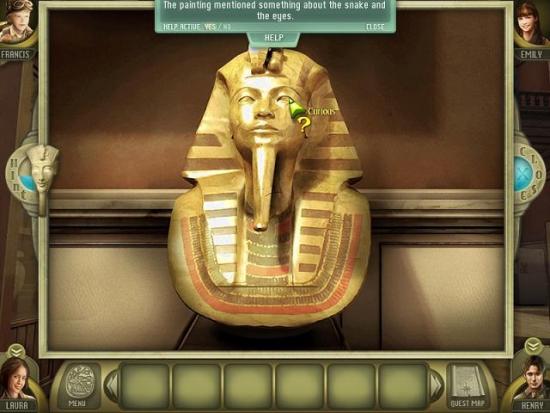
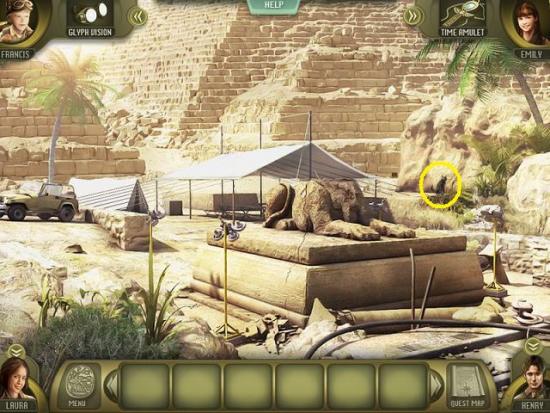
Welcome to the Escape the Lost Kingdom walkthrough on Gamezebo. Escape the Lost Kingdom is an adventure/hidden object game played on a PC or Mac created by Gogii. This walkthrough includes tips and tricks, helpful hints, and a strategy guide on how to complete Escape the Lost Kingdom.

Location cleared!
West Grounds
Valley of the Kings
Location cleared!
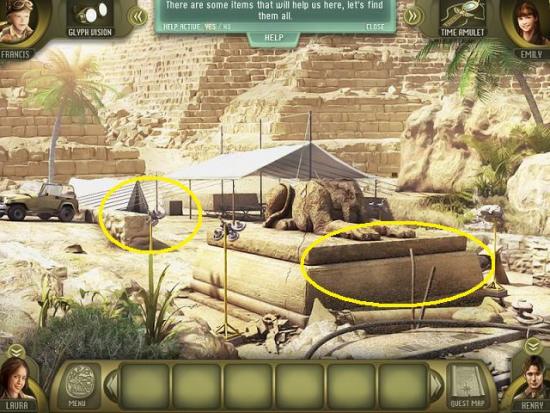
Valley of the Kings
Location cleared!
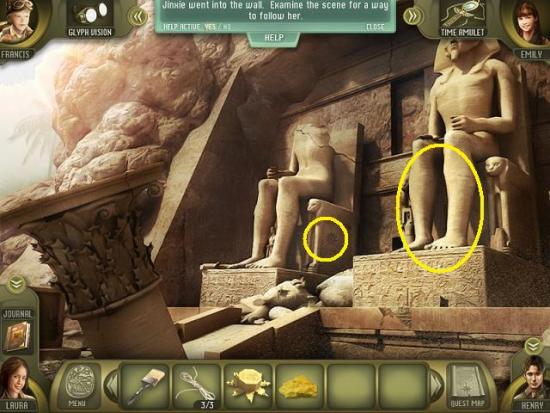
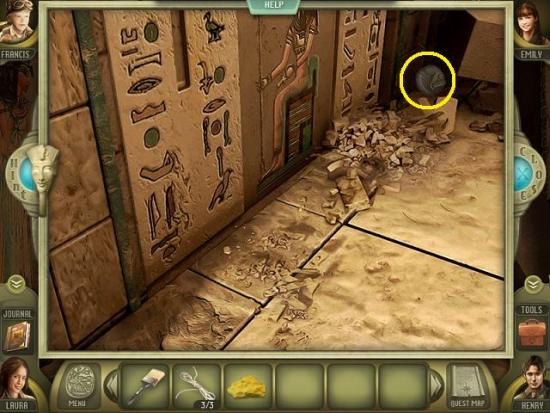
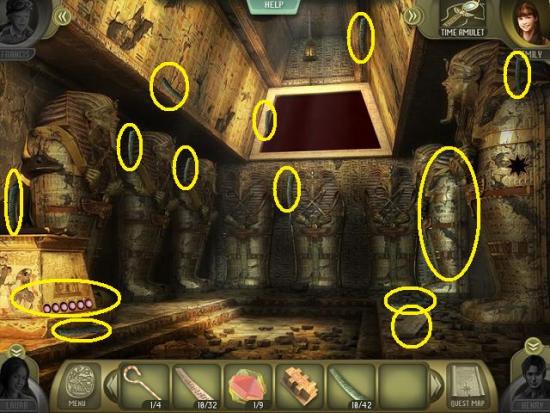
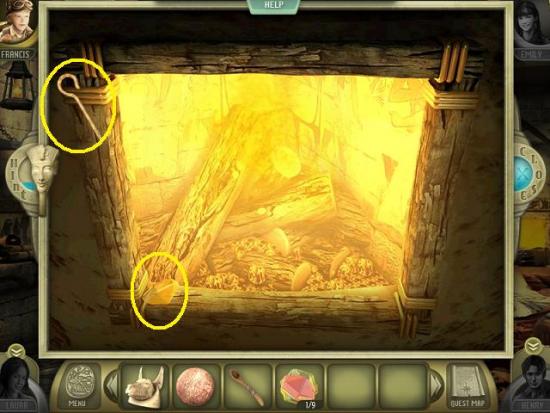
Pyramid Tunnel
Chapter complete!
Now you must choose a character to play. Your choice does not affect game play. There is no wrong choice.
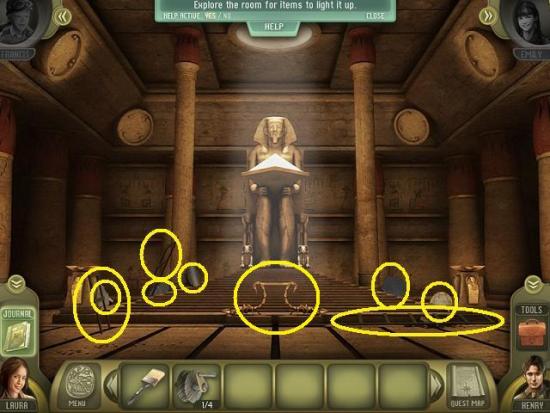
Temple of Light
Location cleared!
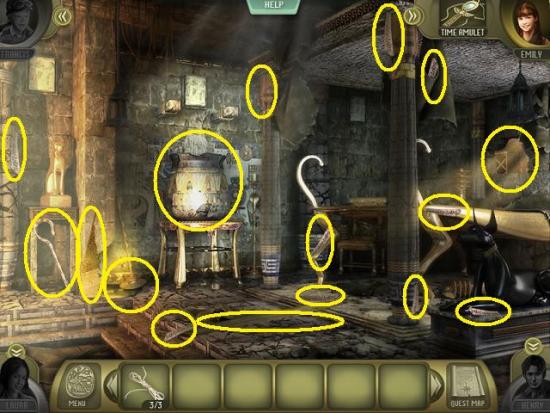
The Courtyard
Toy Maker’s Chambers
Location cleared!
The Courtyard
Torture Chamber
Location cleared!
The Courtyard
Location cleared!
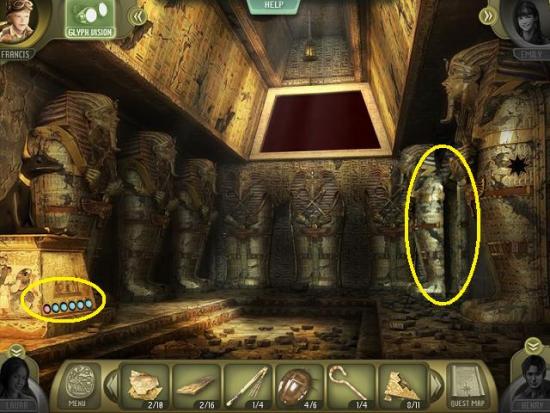
Priest’s Chamber
Location cleared!
Chapter complete!
Select Emily.
The Hallway
Princess’ Chambers
Location cleared!
The Hallway
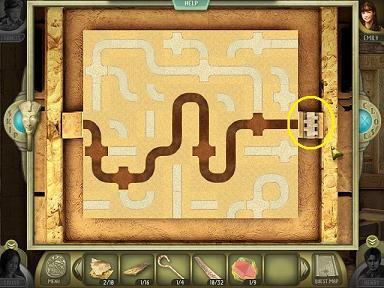
The Library

The Hallway
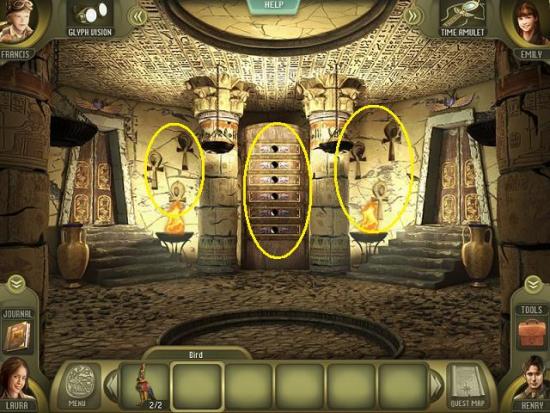
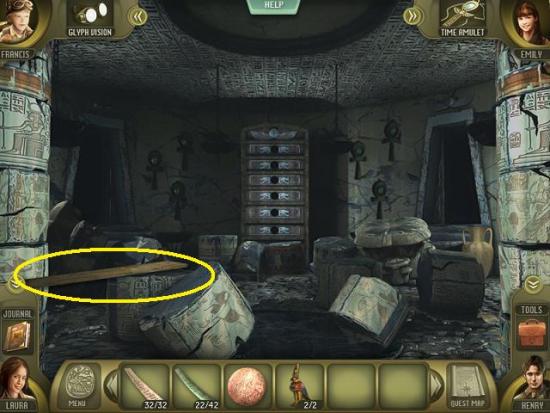
Ceremonial Halls
Hallway
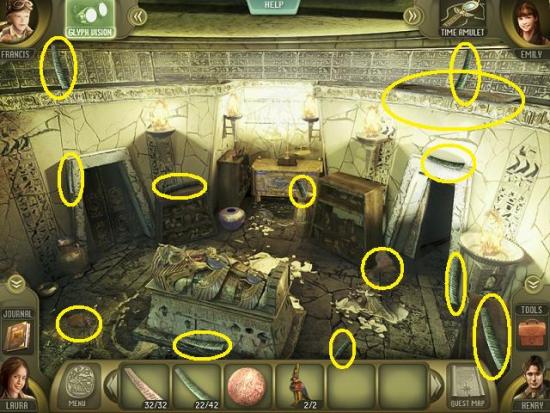
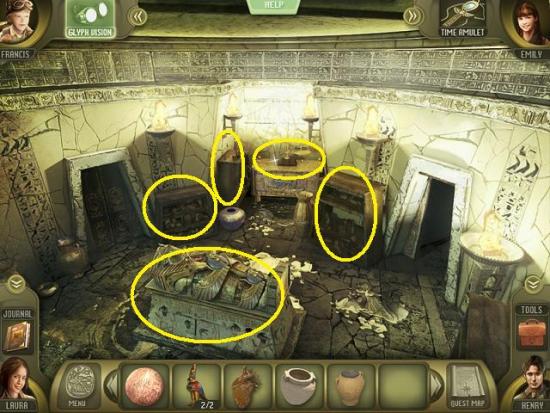
Burial Chamber
Chapter complete!
Select Francis.
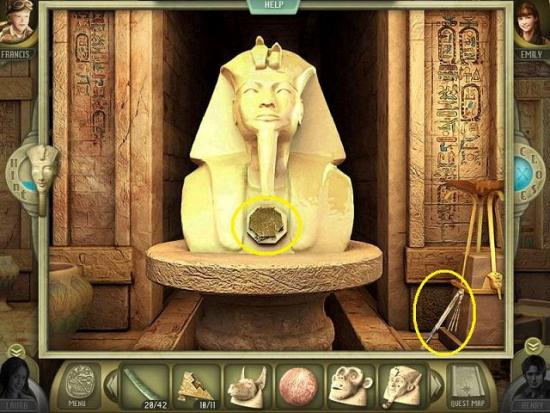
Hieroglyph Chamber

Location cleared!
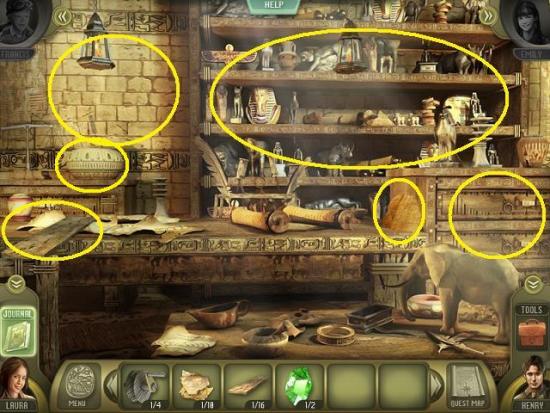
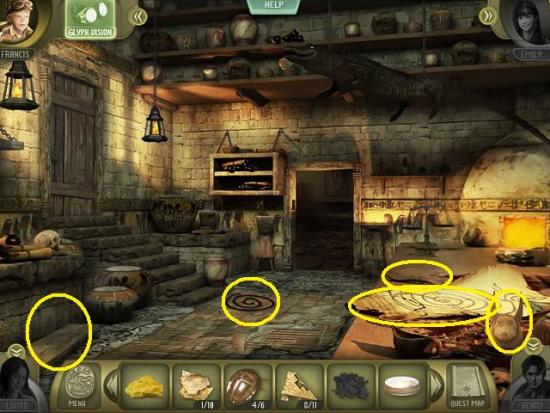
Alchemy Chamber
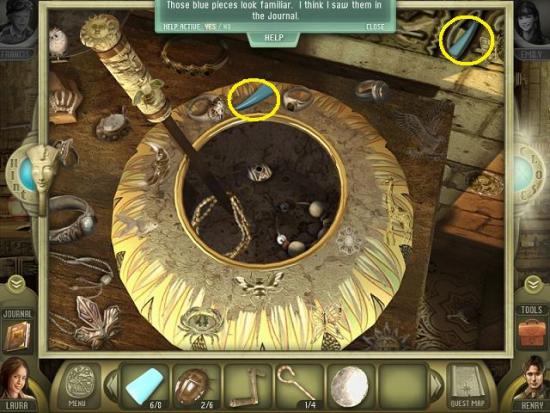
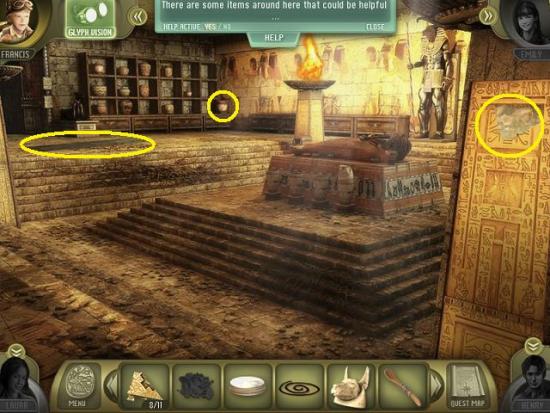
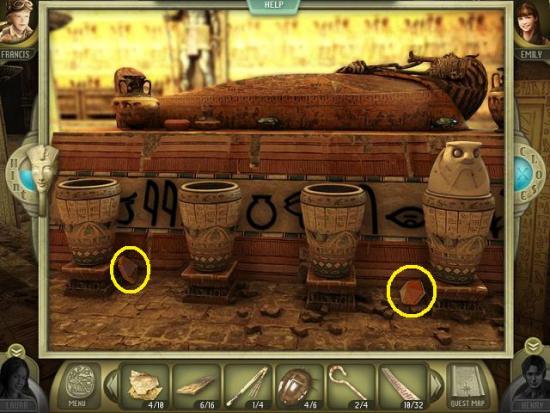
Embalmer’s Chamber
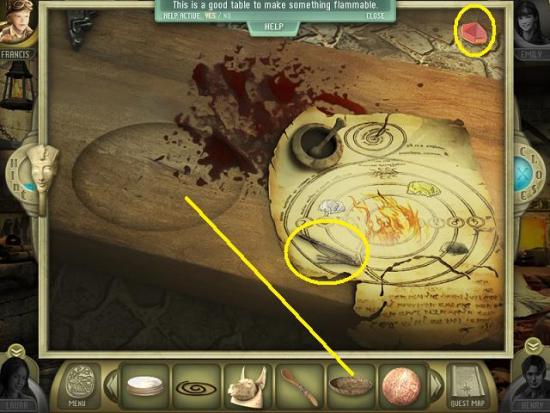
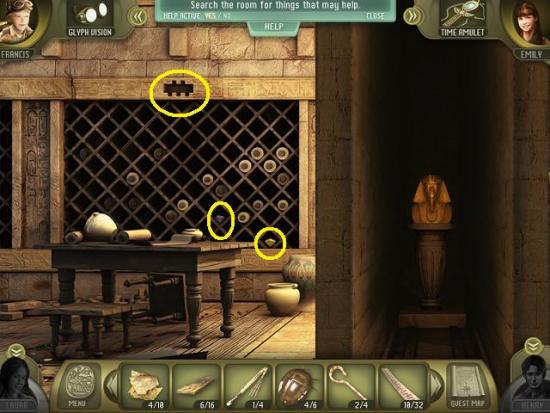
Alchemy Chamber
Location cleared!
Chapter complete!
Emily and Francis are now together.
Library
Ceremonial Halls
Location cleared!
Library
Location cleared!
Embalmer’s Chamber
Location cleared.
Burial Chamber
Chapter complete!
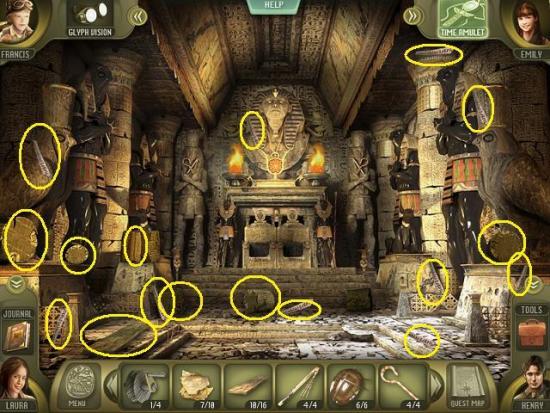
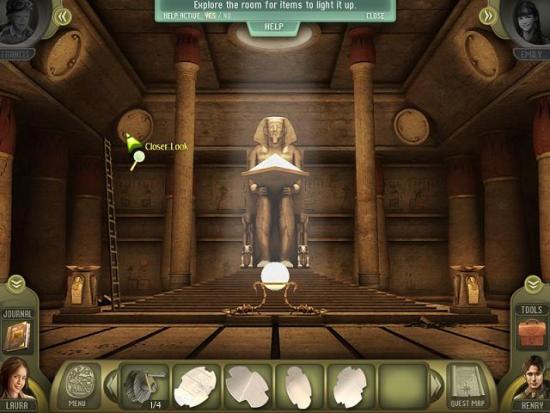
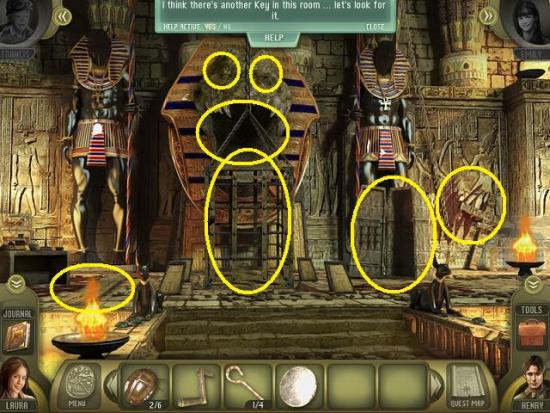
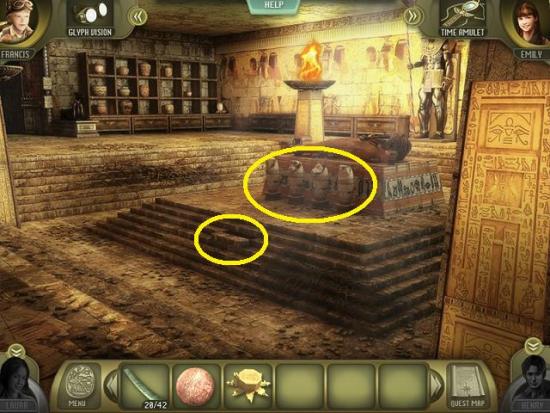
Throne Room
Location cleared!
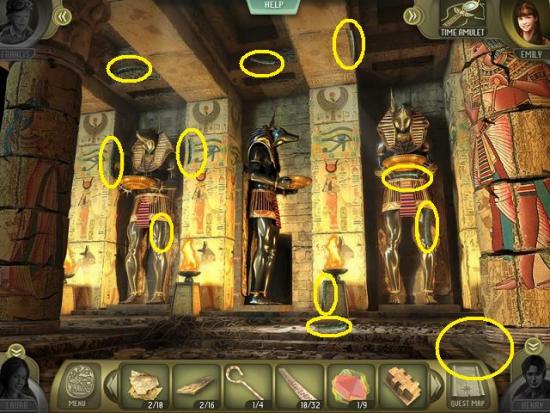
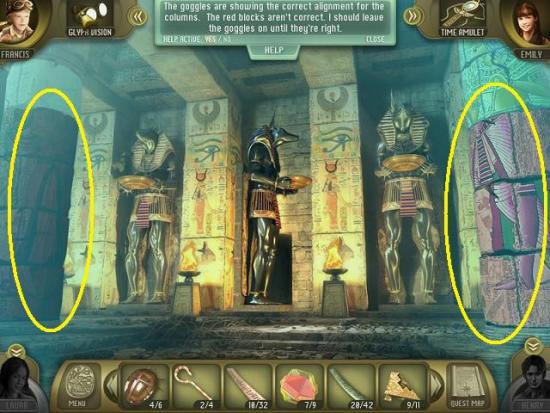
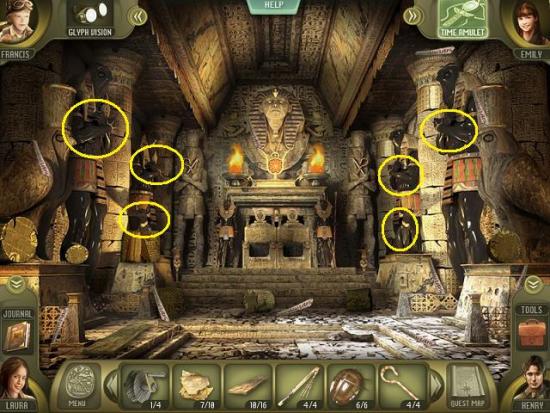
Hall of Gods
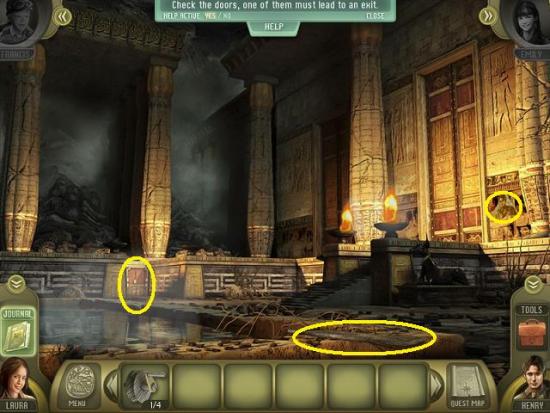
Temple Gates
Hall of Gods

Location cleared!
Location cleared!
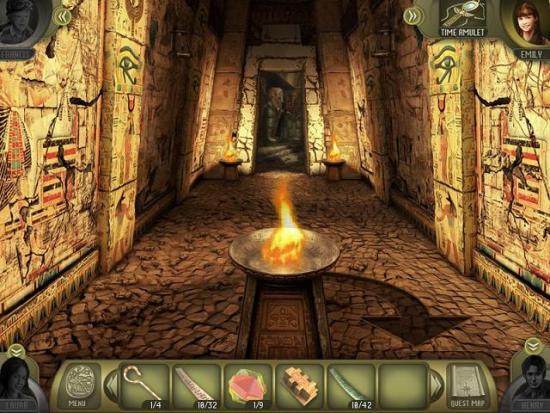
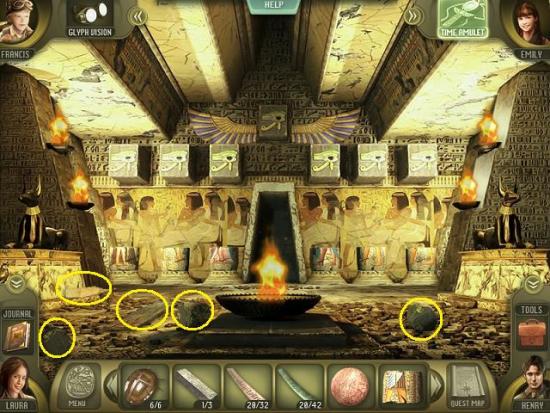
Interior Temple
Chapter complete!
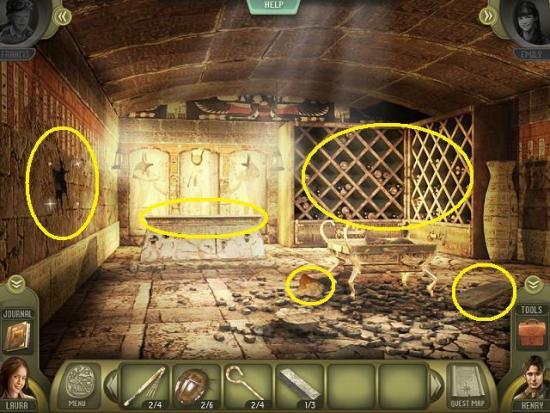
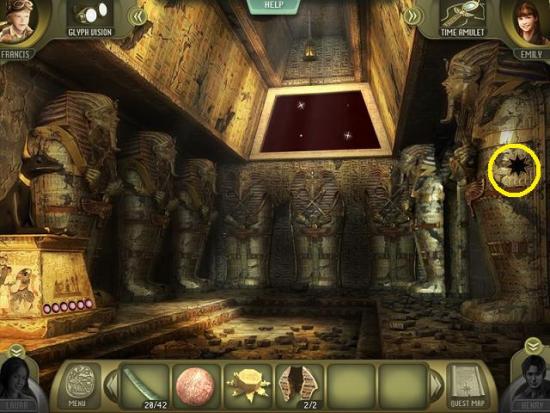
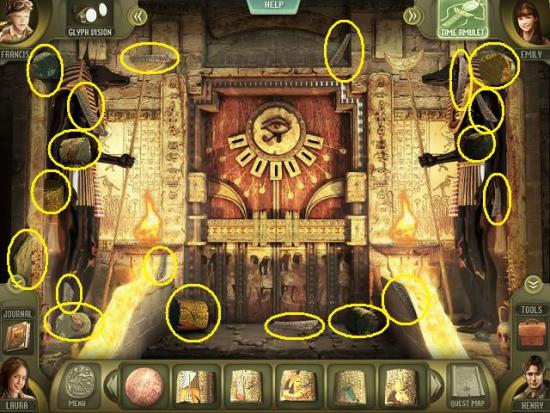
Interior Temple
Burial Chamber
Location cleared!
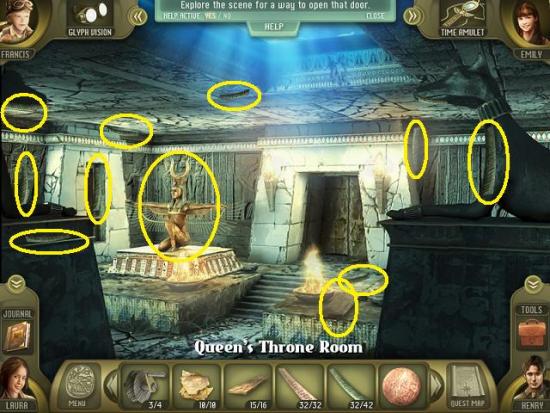
Queen’s Throne Room
Location cleared!
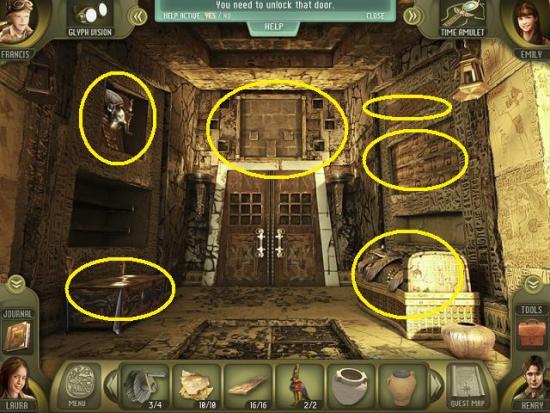
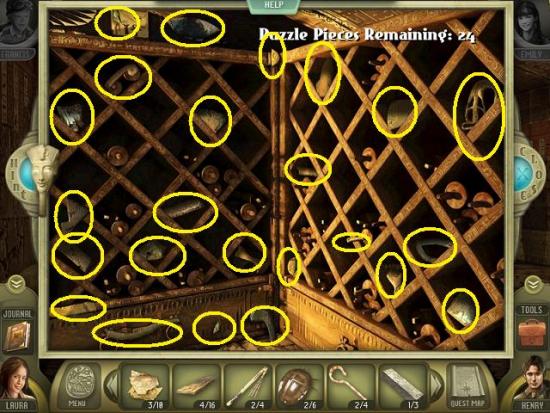
Puzzle Room
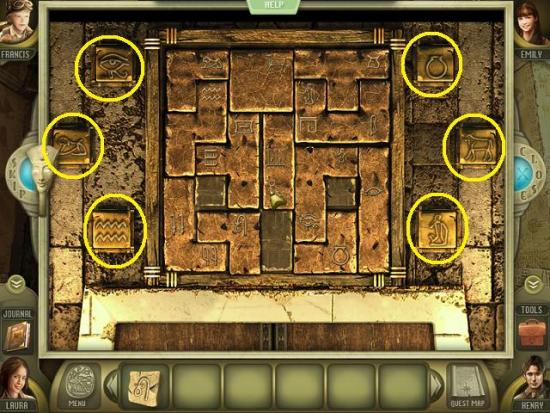
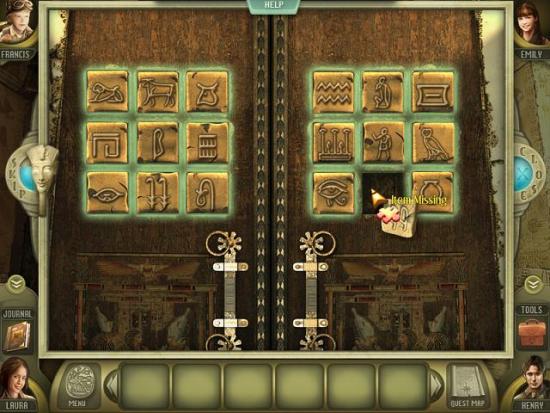
Location cleared!
Entrance to Treasure Room
Location cleared!
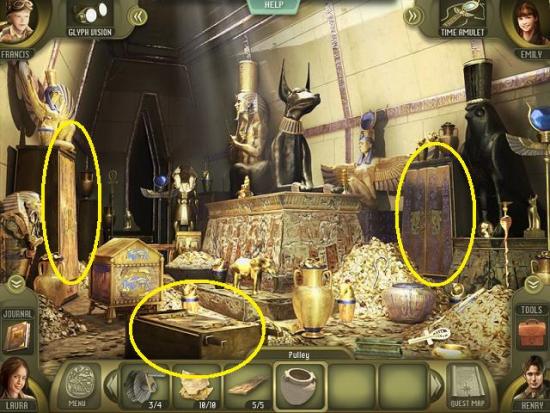
Treasure Room
Location cleared!
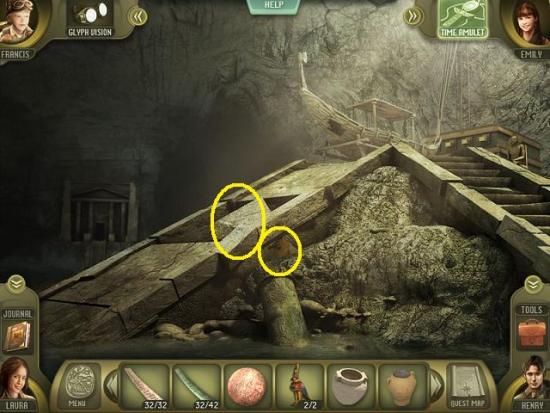
Boat Room
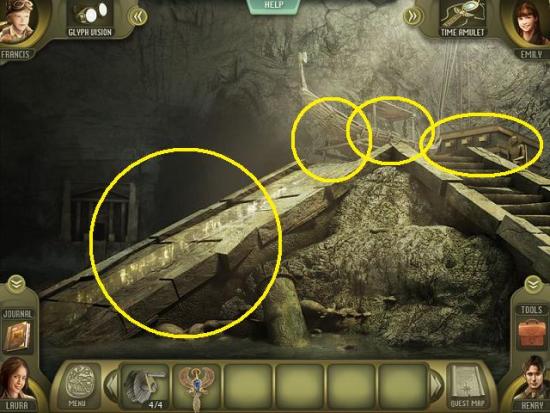
Cut scene.
Game over!
