![All VV Ultimatum Titles [How to Get]](/wp-content/uploads/2026/06/vv-ultimatum-titles.jpg "All VV Ultimatum Titles [How to Get]")
All VV Ultimatum Titles [How to Get]
Do titles provide buffs?


Welcome to Gamezebo's strategy guide for Enlightenus from Blue Tea Games. This Strategy Guide is divided into the following sections: General Tips (no spoilers)Room by Room Walkthroughs:Part 1 (Chapters 1-13)Part 2 (Chapters 14-25)Part 3 (Chapters 26-35)Part 4 (Chapters 36-end) GENERAL TIPS There is no timer.There is no penalty for wrong clicks.You will be using three different kinds of gameplay as you move through the game. Adventure Portion/Room View Tips Hidde…
a:1:i:0;a:2:s:13:”section_title”;s:23:”Enlightenus Walkthrough”;s:12:”section_body”;s:190789:”
Welcome to Gamezebo’s strategy guide for Enlightenus from Blue Tea Games.
This Strategy Guide is divided into the following sections:
General Tips (no spoilers)
Room by Room Walkthroughs:
Part 1 (Chapters 1-13)
Part 2 (Chapters 14-25)
Part 3 (Chapters 26-35)
Part 4 (Chapters 36-end)
Adventure Portion/Room View Tips
Hidden Object/Novel View Tips
Mini-game/ Painting View Tips
General Tips for Adventure Portion/Room View
General Tips for Hidden Object/Novel View
General Tips for Painting Mini-Games
General Tips for Other Mini-Games
WALKTHROUGH PART 1 (CHAPTERS 1-13)
This section has 5 different parts.
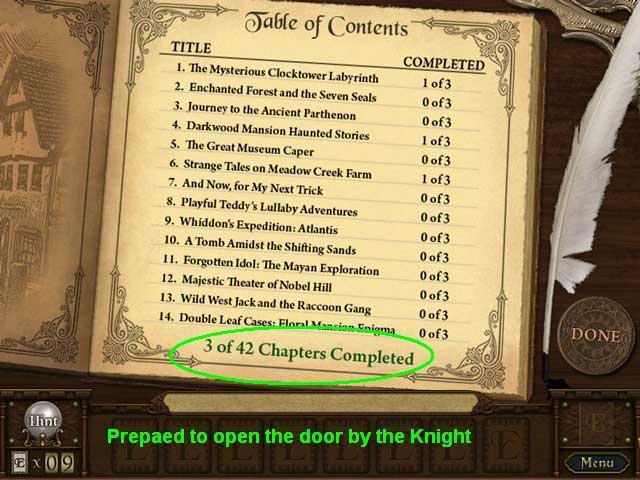
Help! I’m Stuck! Knight’s Door Checklist
To complete chapters 0-3 and unlock the Knight’s Door in the Entryway, you need to have done all the following:
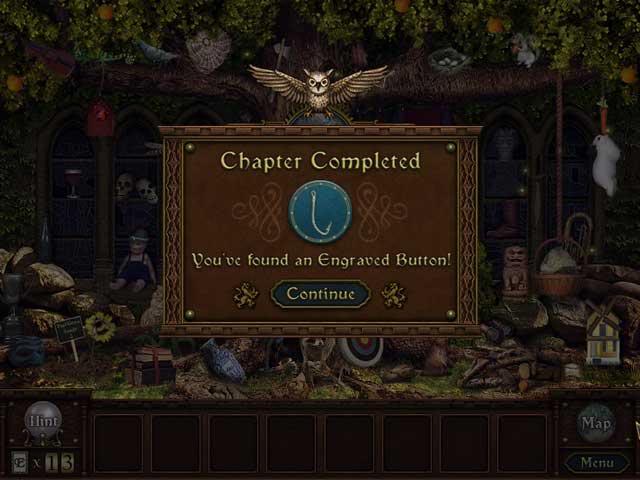
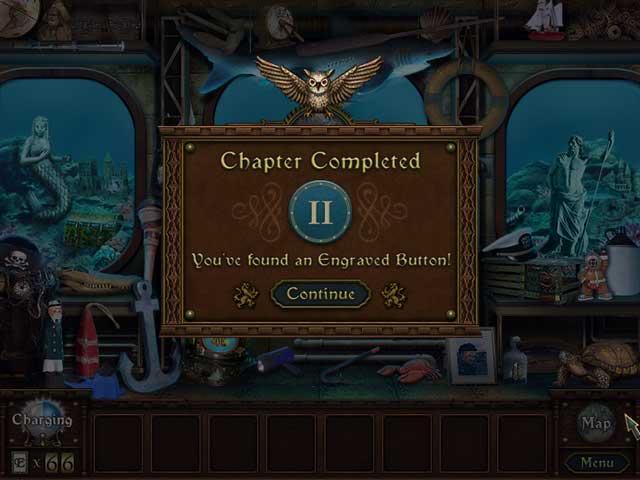
That will complete Chapters 1 – 3. in your journal (book icon on the lower right of the Room View scenes) and give you access to the next part of the game.

Help! I’m Stuck! Elevator Checklist
To complete chapters 4-13 and unlock the Elevator, you need to have done all the following after you go through the Knight’s Door:

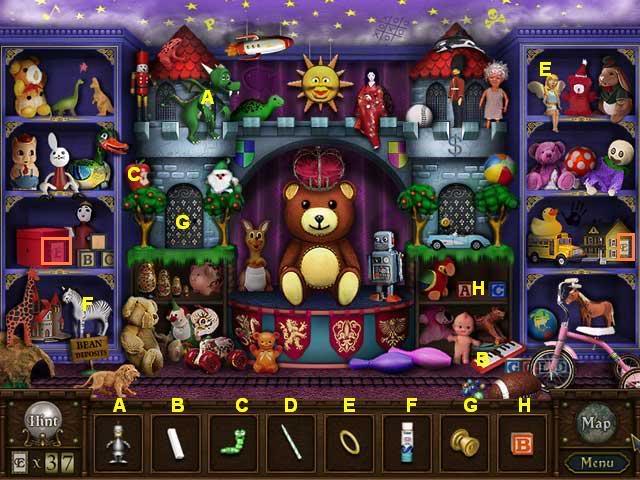
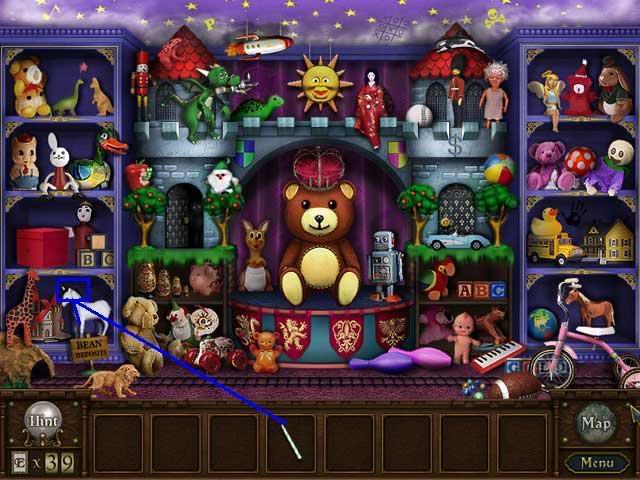
Rooms:
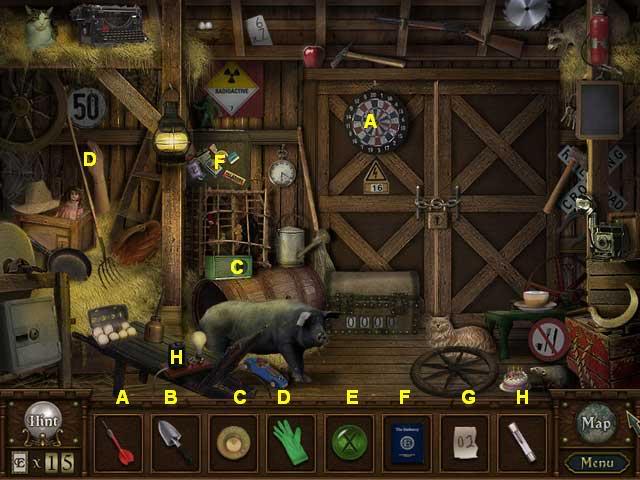
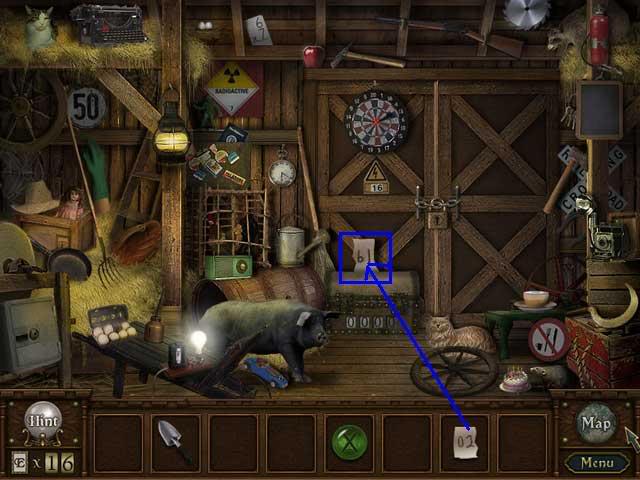
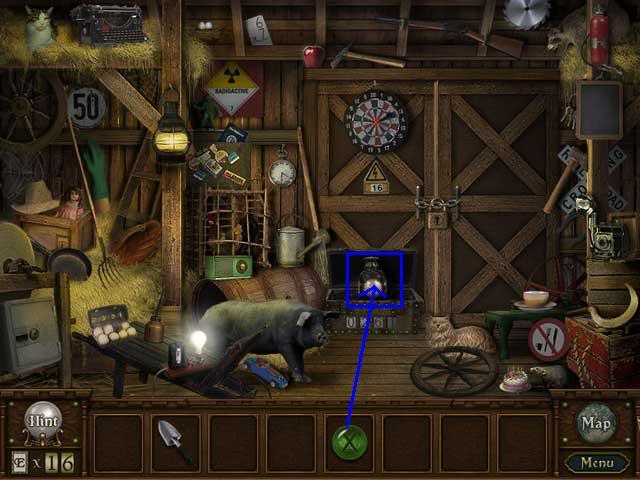
Front Door View (part of Entryway)
The Mall (hall with entrances to shops)
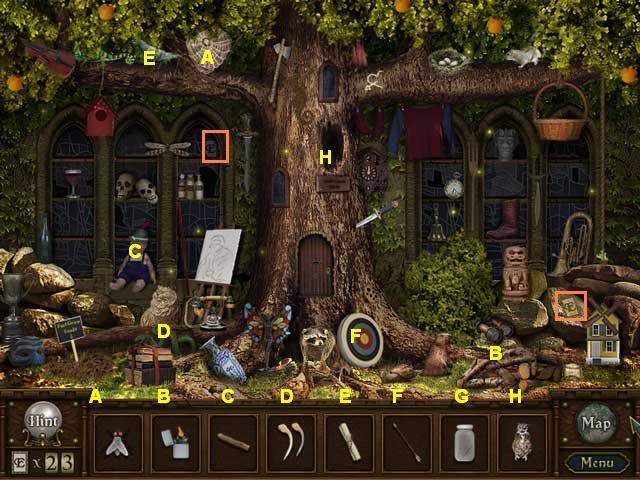
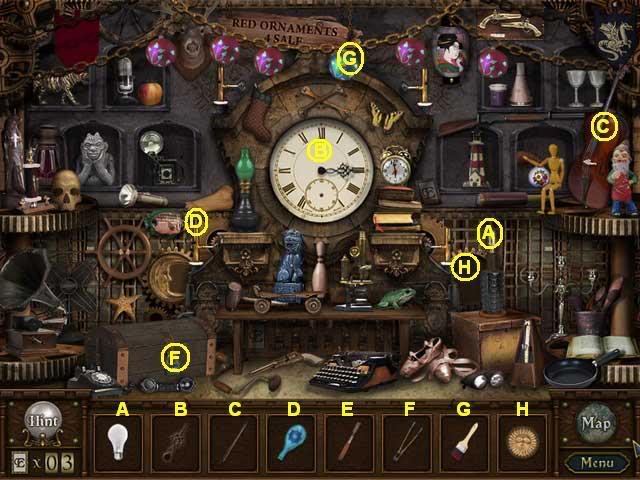
Things to See:
Things to Find:
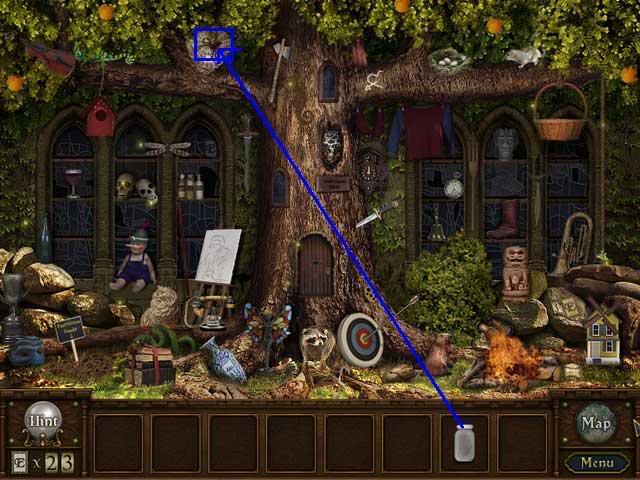
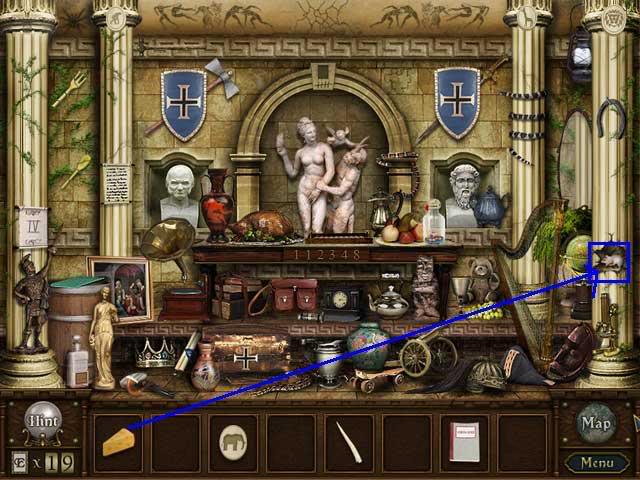
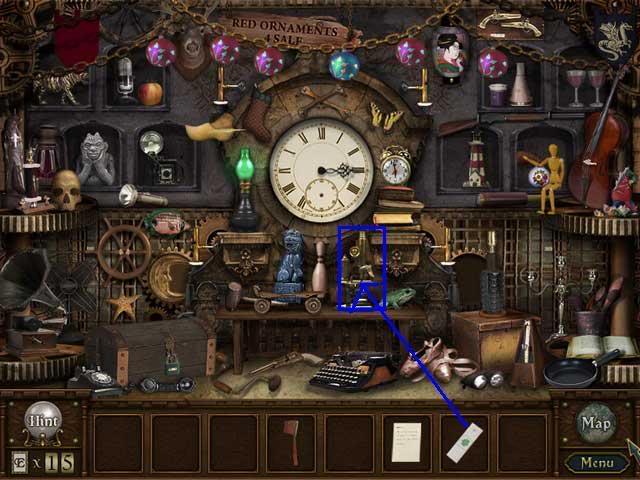
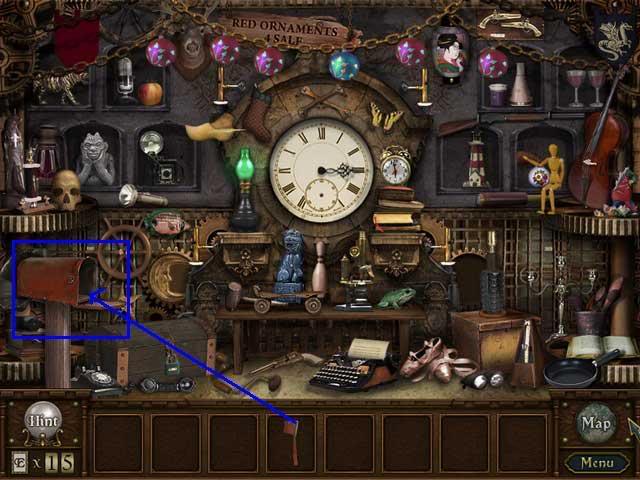
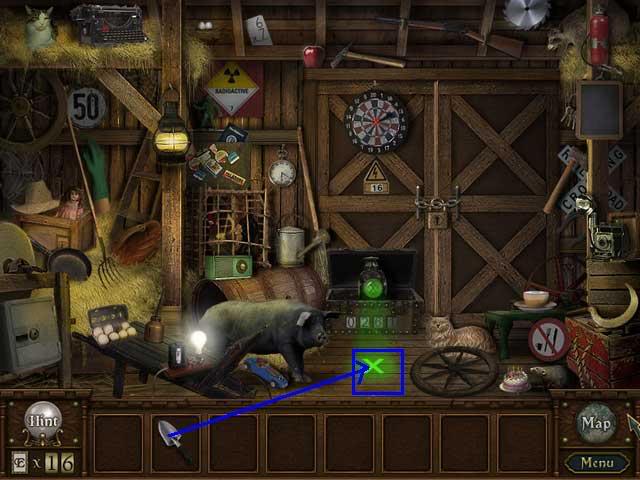
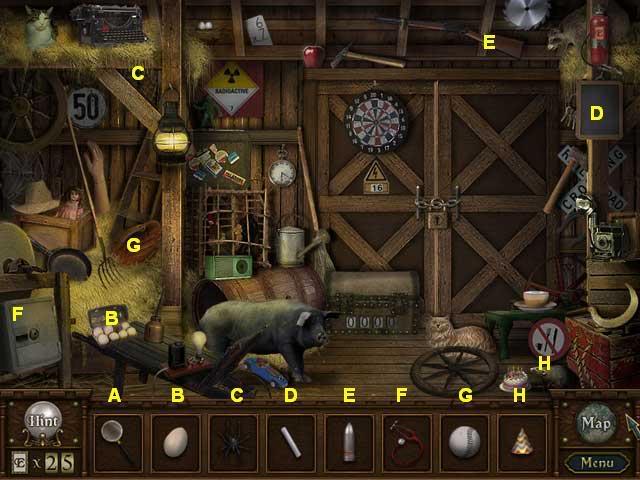
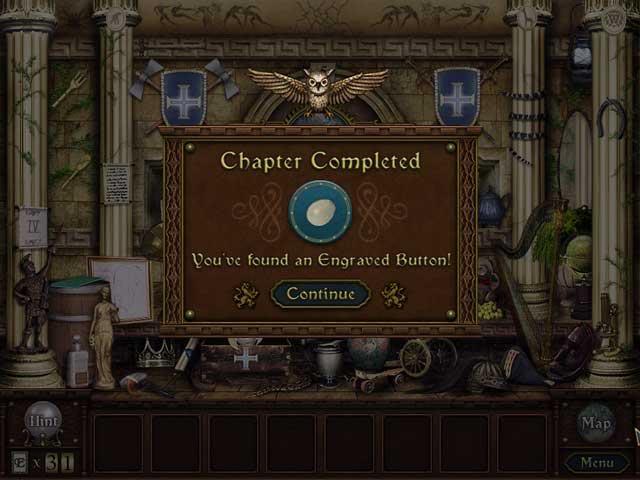
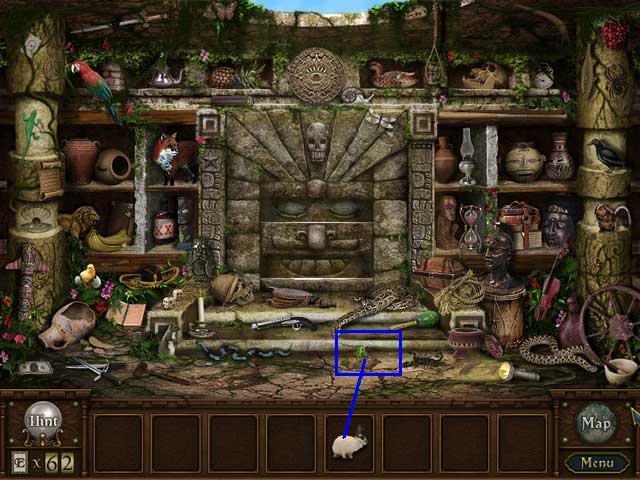
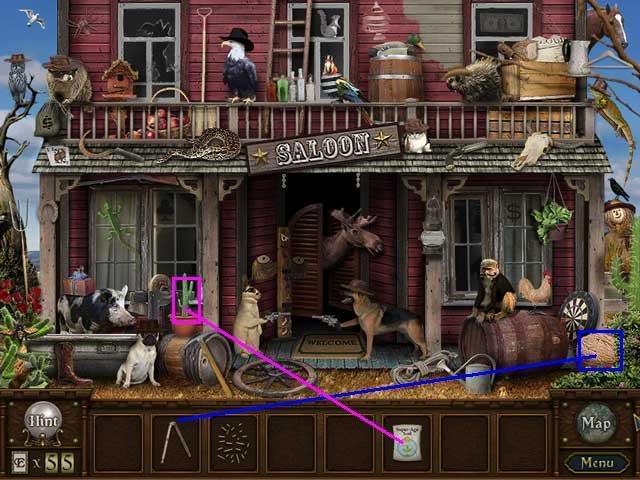
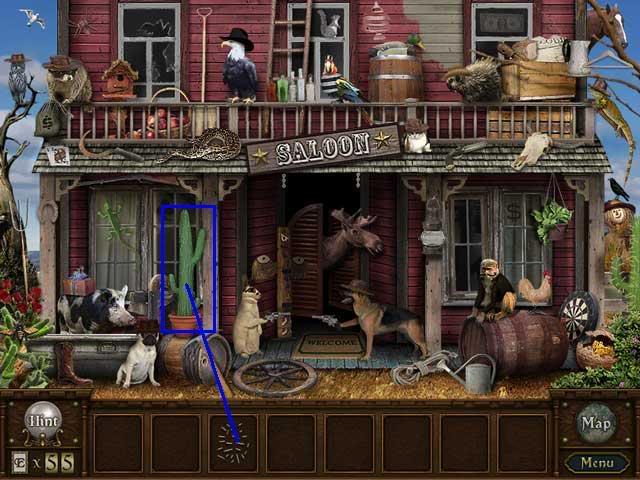
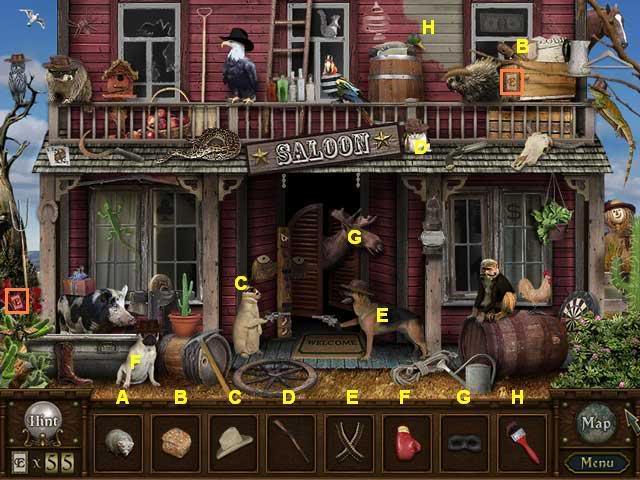
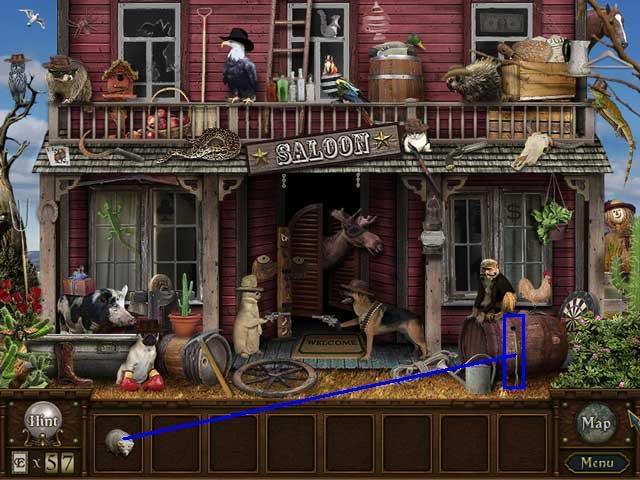
Glue button needed for Shawn the Enigmatic Toymaker (Potions Shop Upstairs)
Things to Do:
Exits
Things to See:
Things to Find:
Things to Do:
Exits:
Things to Find:
Things to Do:
Exits:
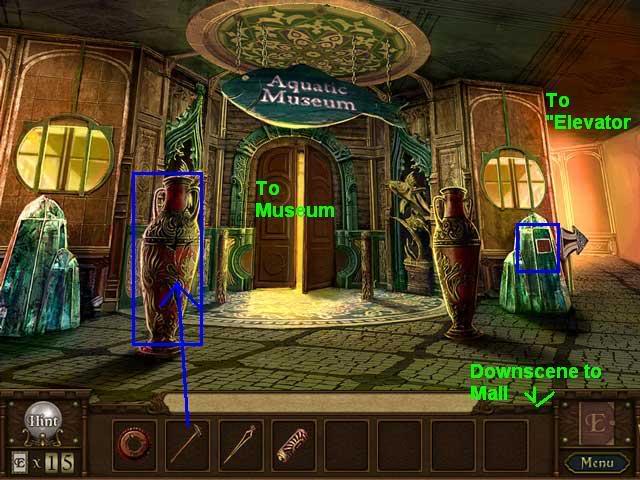
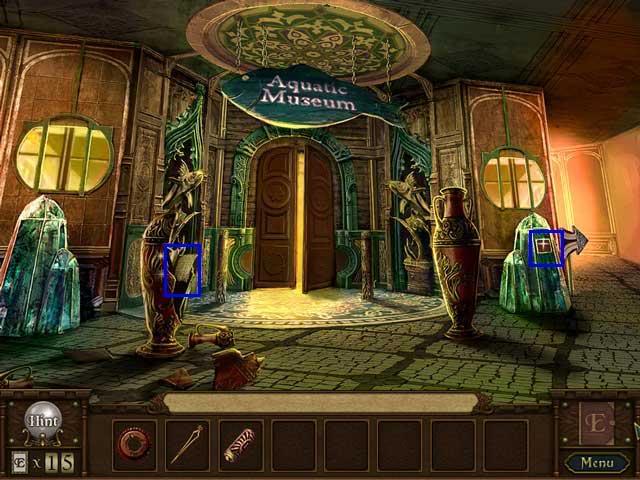
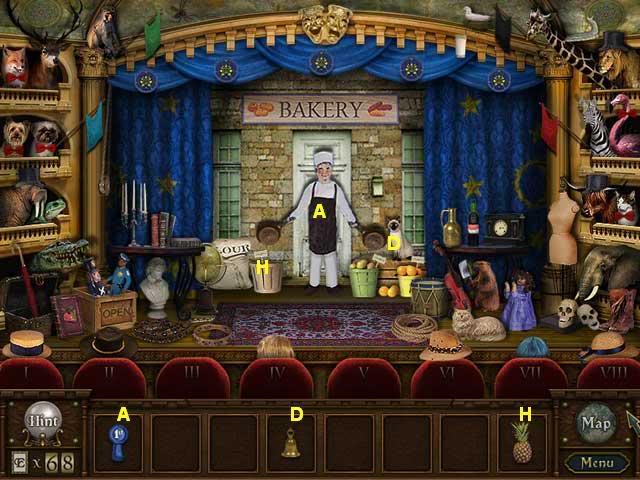
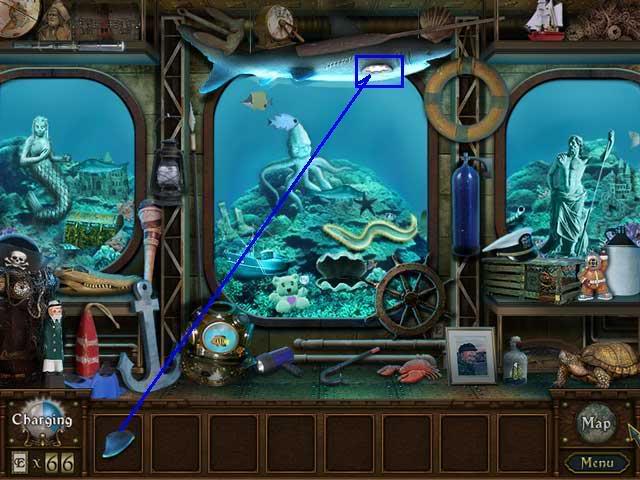
To get here, go to the Aquatic Museum Entrance, then click upscene to the right of the building.
Things to See:
Things to Find:
Things to Do:
Exits:
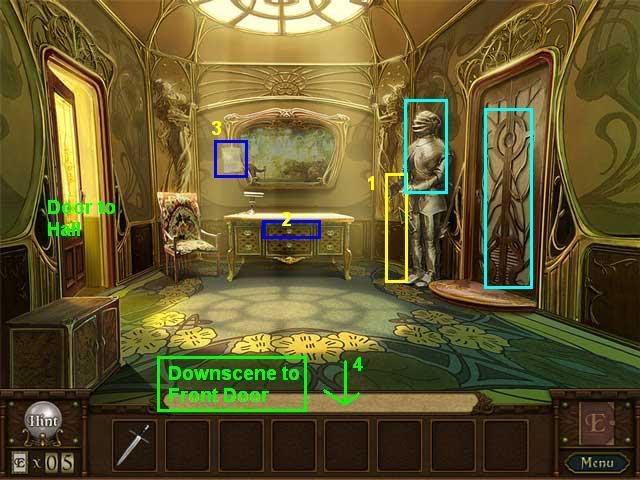
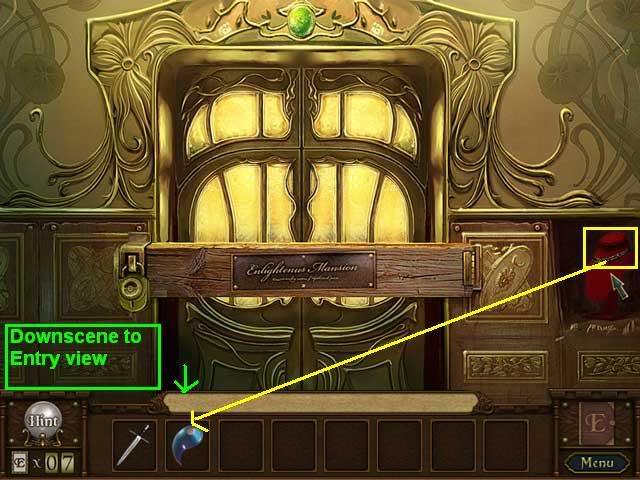
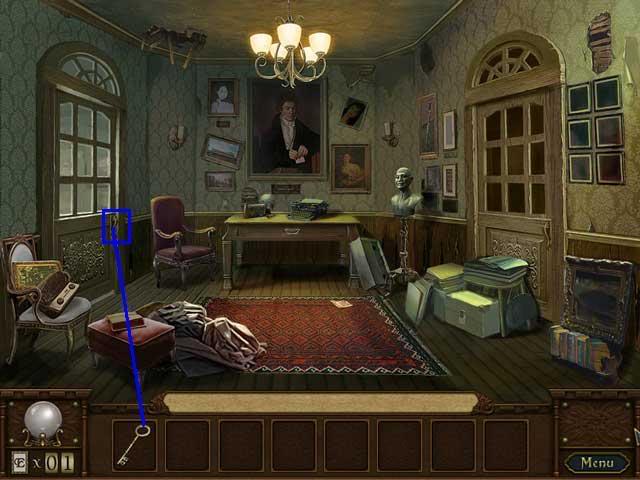
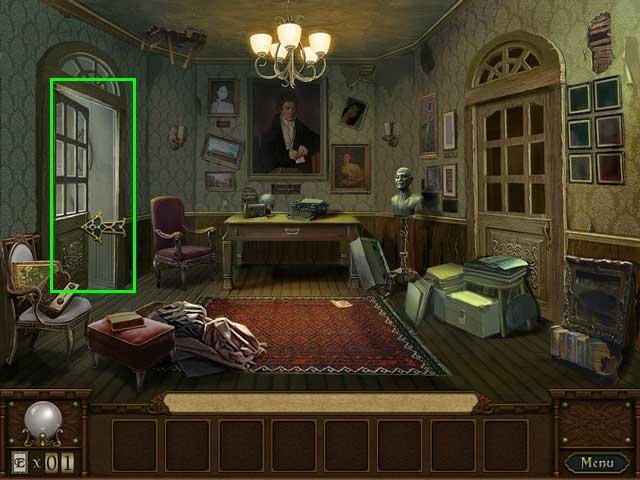
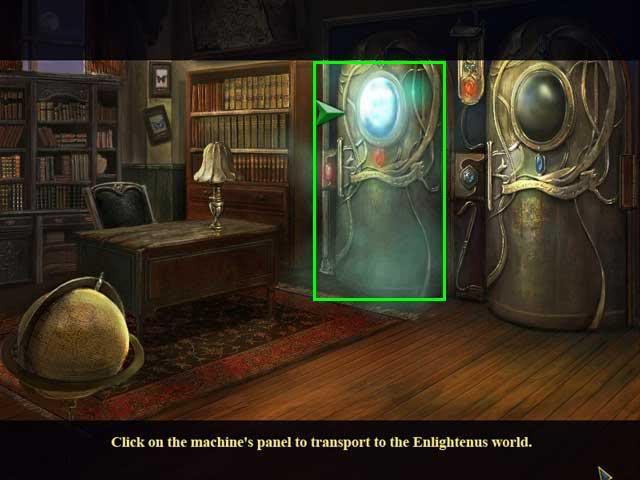
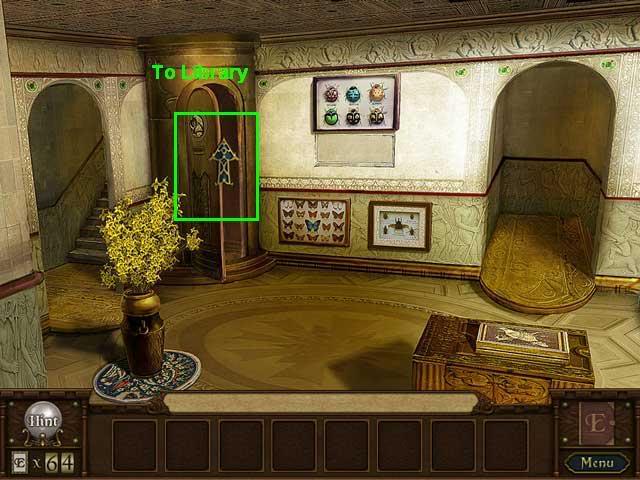
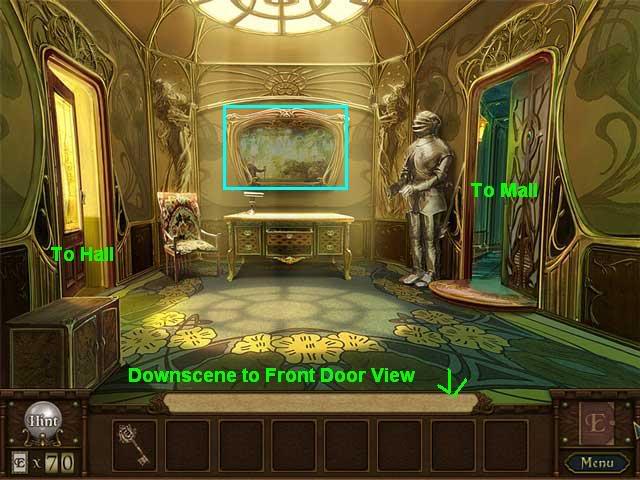
This is the Enlightenus version of the entryway. No matter which side you come from, you always see the same point of view, with the front door behind you, the hall door on your left, and the mall door on your right.
Things to see:
Things to Find:
Things to Do:
Solution:


Exits:
This is the Enlightenus version of the front door you first entered, you’re just seeing it from inside the Entryway.
Things to see:
Things to Find:
Things to Do:

Exits:
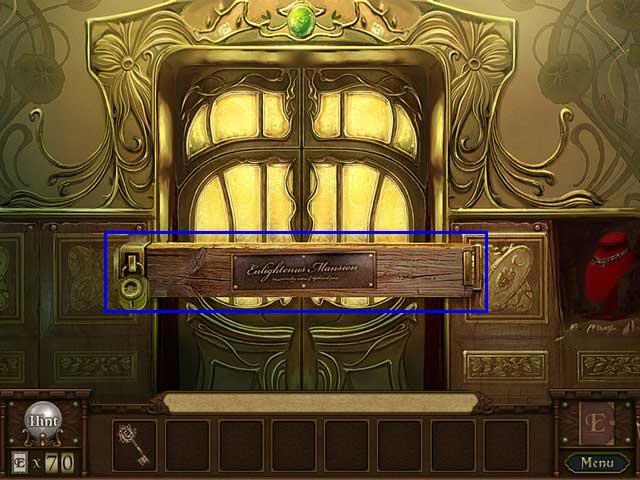
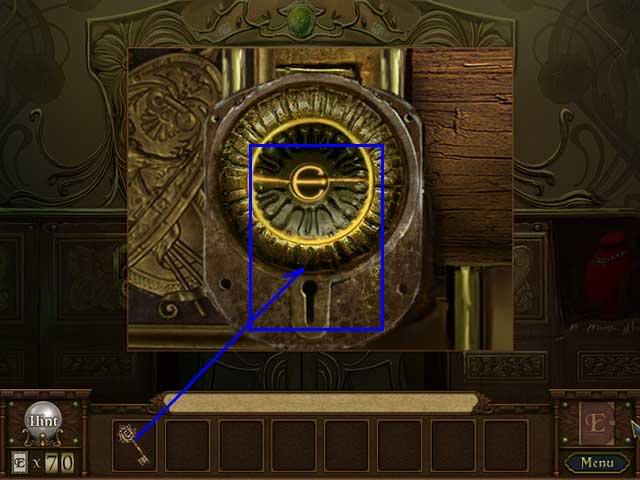
Front Steps of the Mansion
This is the starting point of the game.
Things to See:
Things to Find:
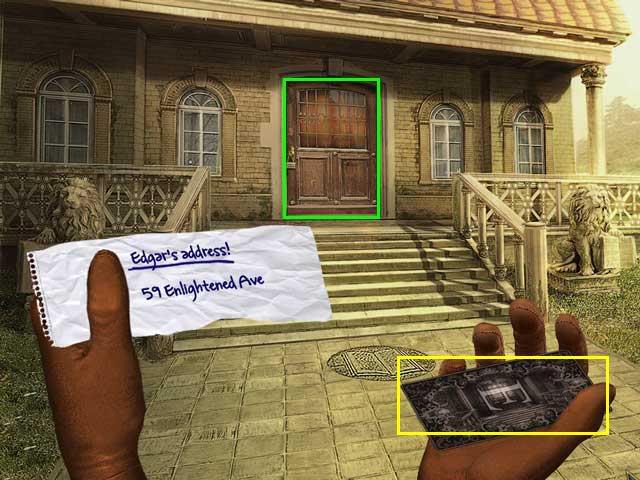
Things to Do:
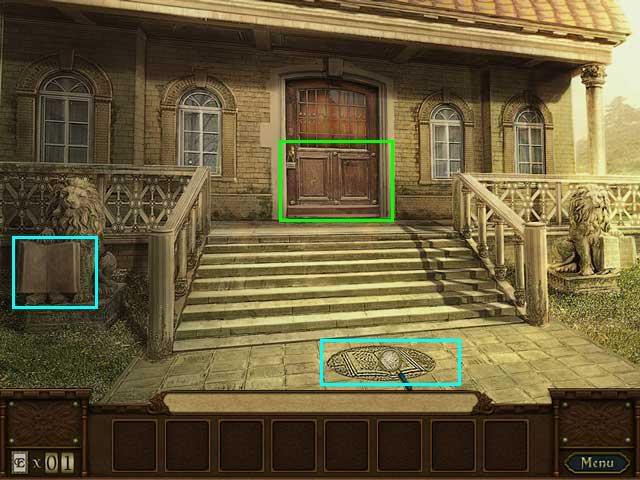
Exits:
This is the Enlightenus version of the hall.
Things to see:
Things to Find:
Things to do:
Exits:
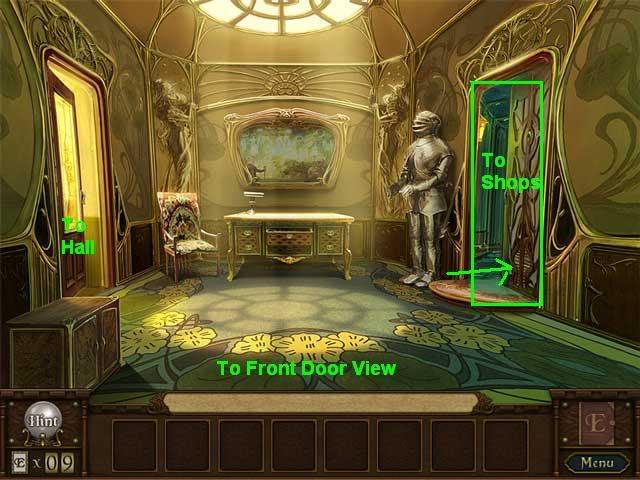
This is the hall that leads you to the various shops
Things to See:
Things to Do:
Solution:
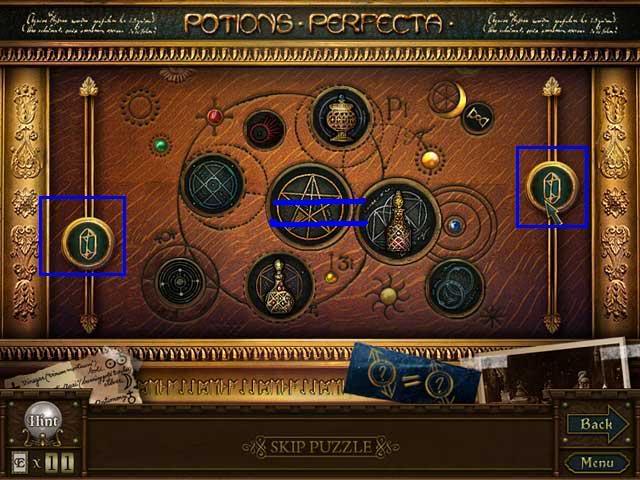
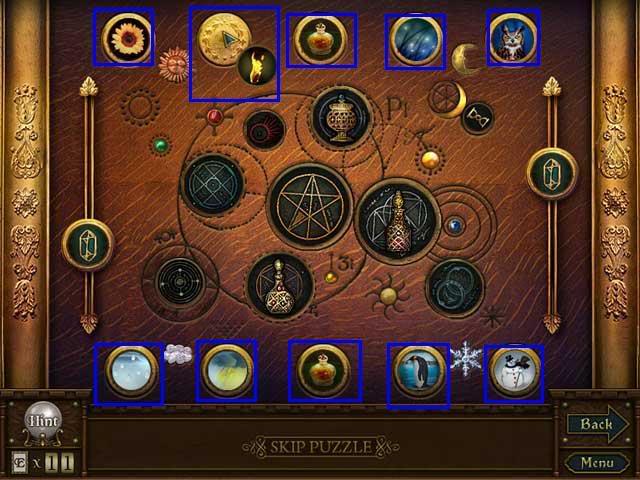
Sun: sunflower and man with sunglasses
Night: Owl and starry sky
Clouds: Rain and Lightning
Snowflake: Penguin and Snowman
Things to Find:
Exits:
You can only visit this room at the beginning of the game, before you travel to the Enlightenus world.
Things to see:
Things to Find:
Things to Do:
Exits:
You can only visit this room at the beginning of the game, before you travel to the Enlightenus world.
Things to see:
Things to do:
Click on the door at the top of the hall to enter the Study.
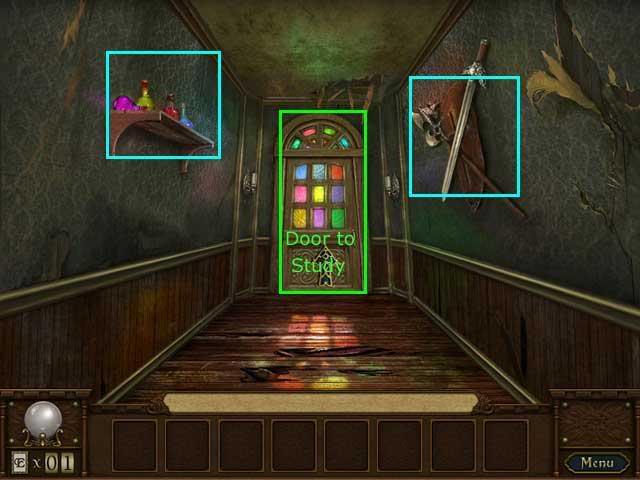
Exits:
Through the top door to the Mundane Study.
You can only visit this room at the beginning of the game, before you travel to the Enlightenus world.
Things to see:
Things to Find:
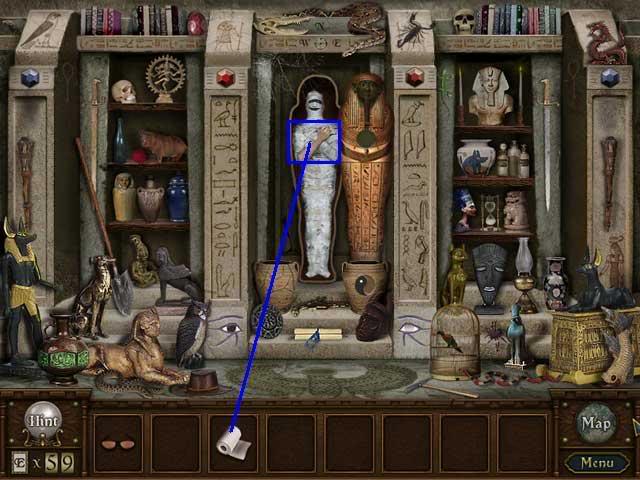
After you pick up the book, the famous author will appear and tell you more about the mystery.
Things to Do:
Exits:
Found in the mall
Things to see:
Things to Find:
Things to Do:
Exits:
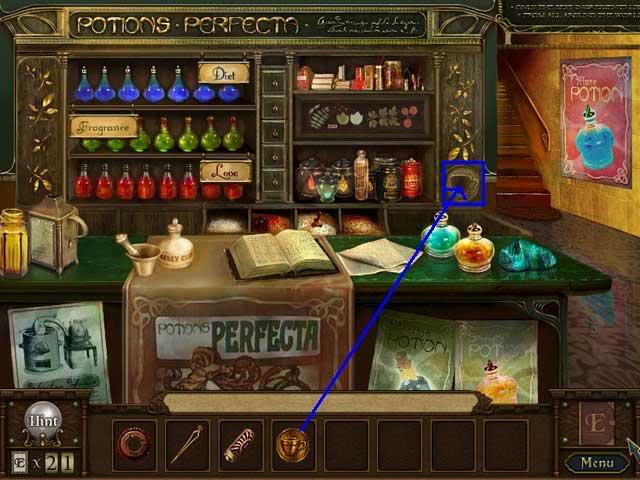
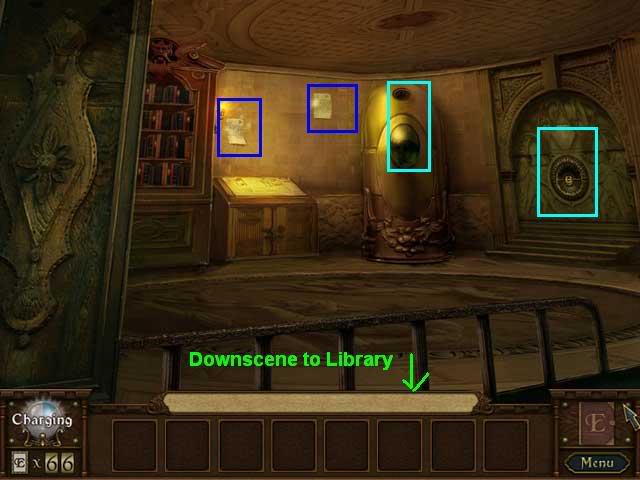
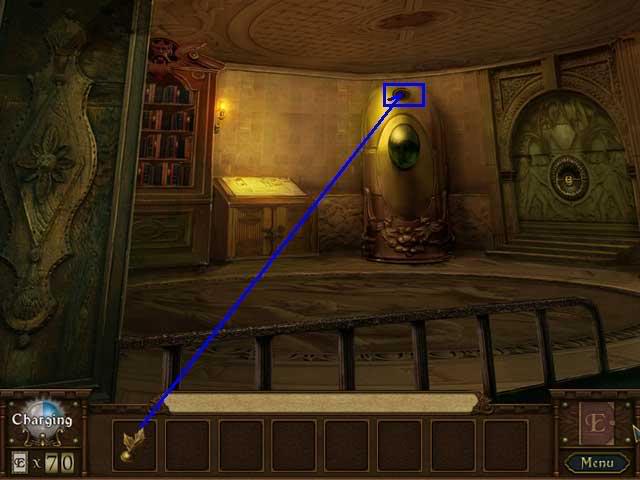
Downscene to Mall
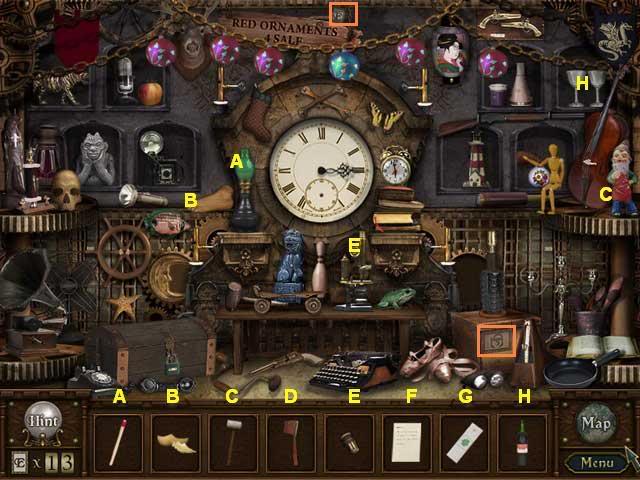
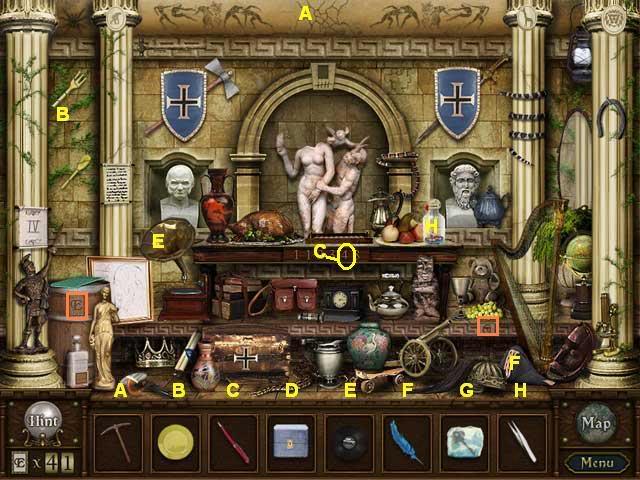
Things to See:
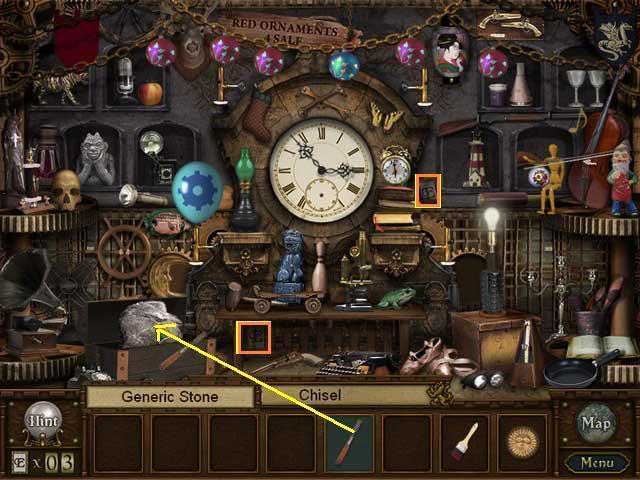
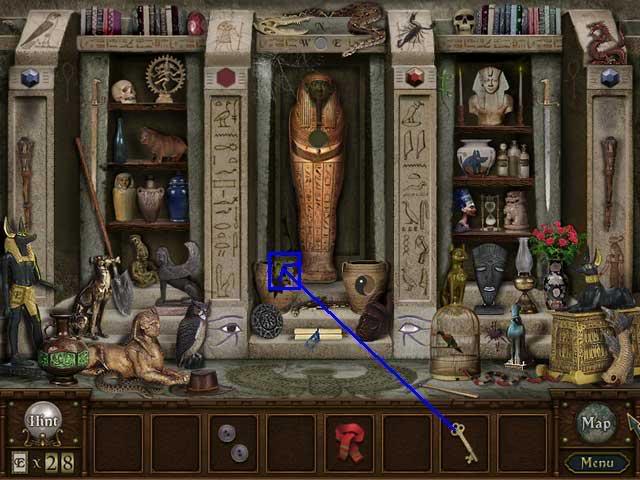
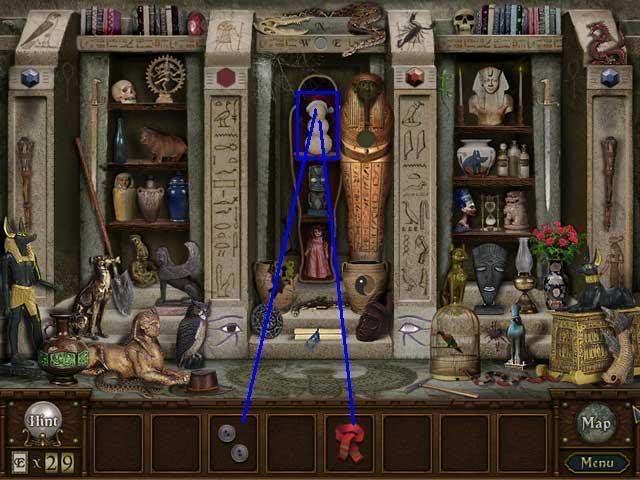
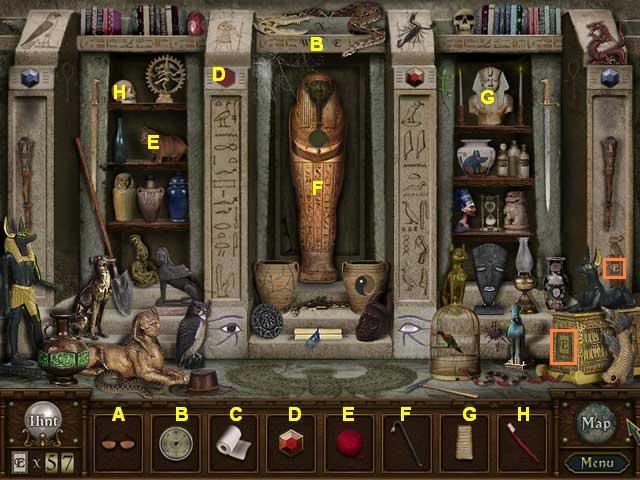
Notice the potions on the shelves.
1st Visit: notice the hollow panel on the right side
Things to Find:
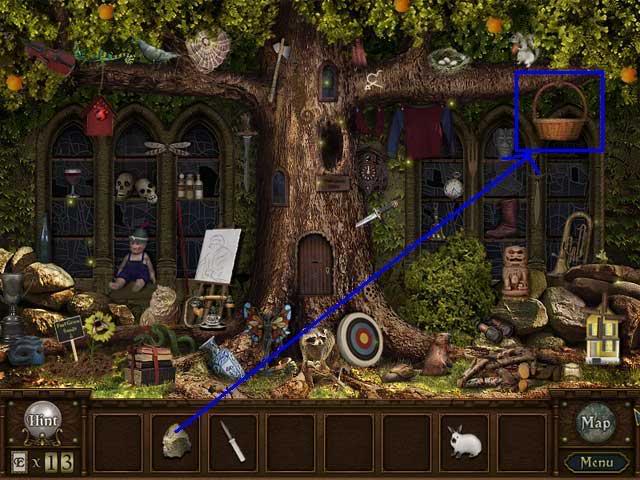
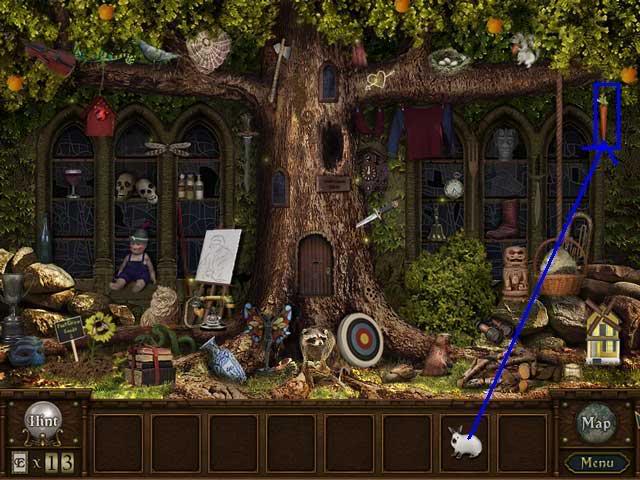
1st visit: Fishhook button needed for Jay the Legendary Fisherman (Aquatic Museum Exhibit Room)
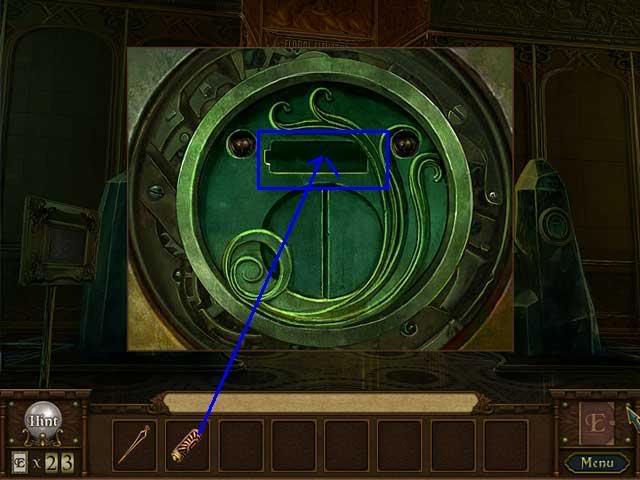
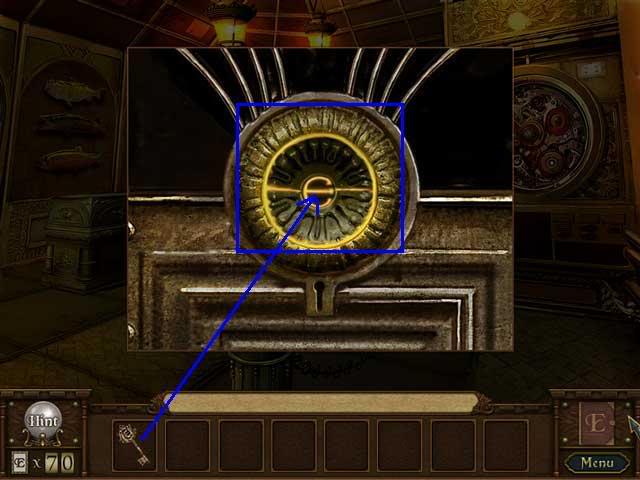
1st visit: Minute hand needed for the Elevator
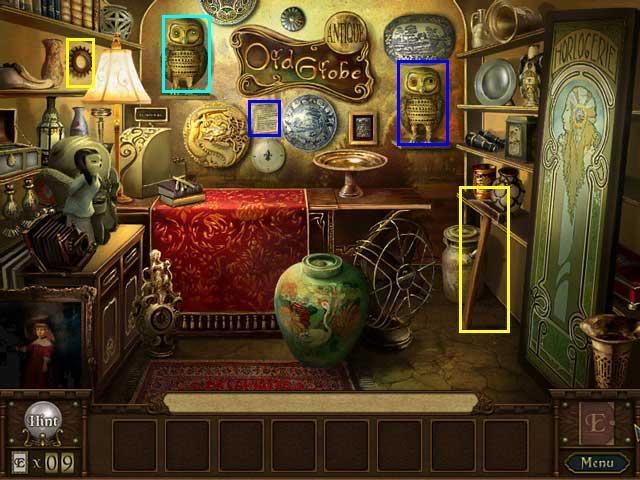
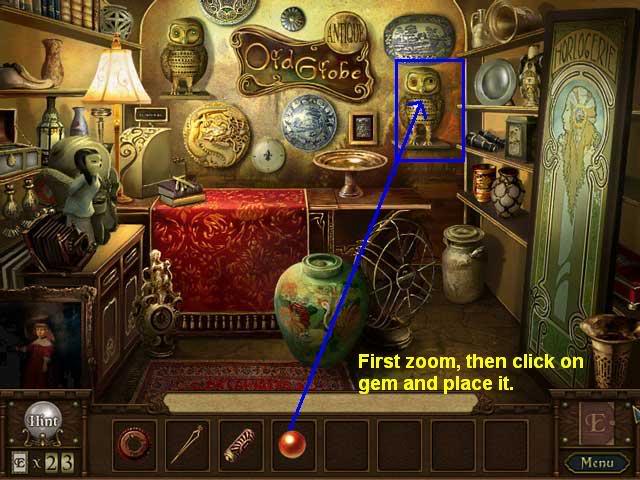
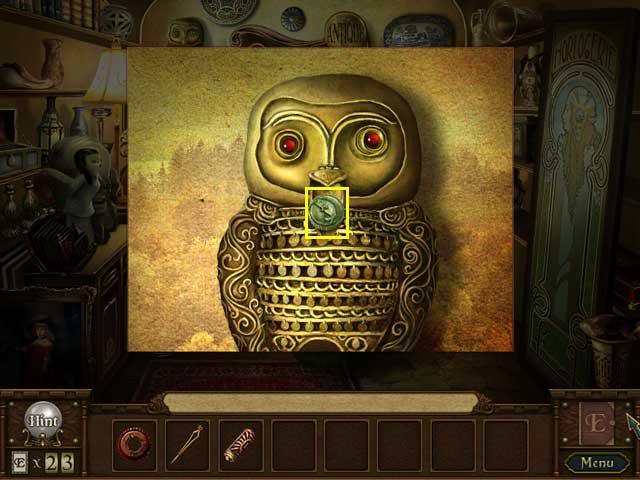
2nd visit: Ruby Gem in hollow panel needed for Owl (Old Globe Antiques)
2nd visit: Hammer button needed for Shawn the Enigmatic Toymaker (Potion Shop Upstairs)
Things to Do:
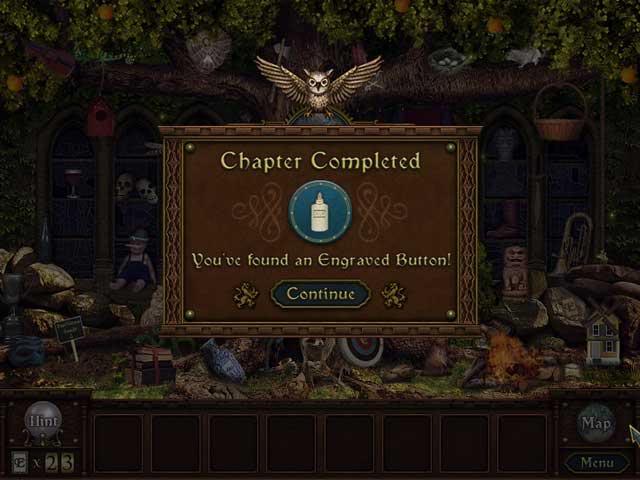
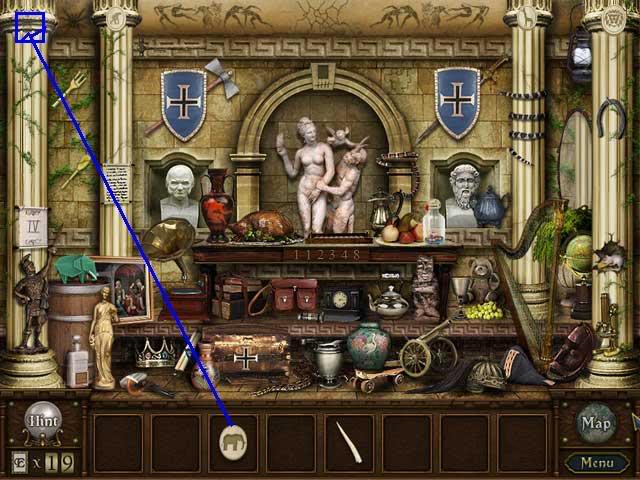
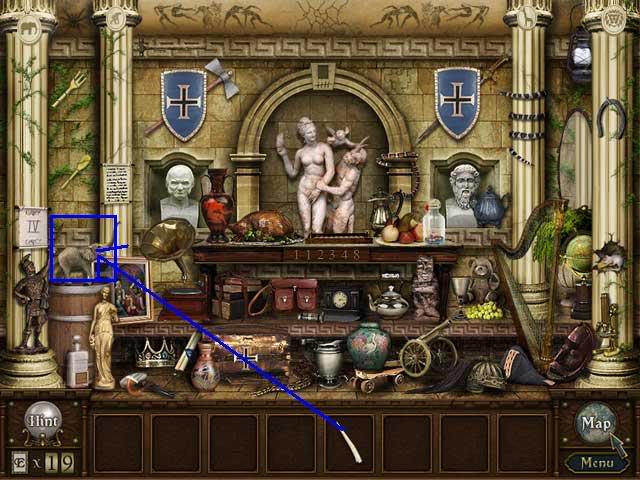
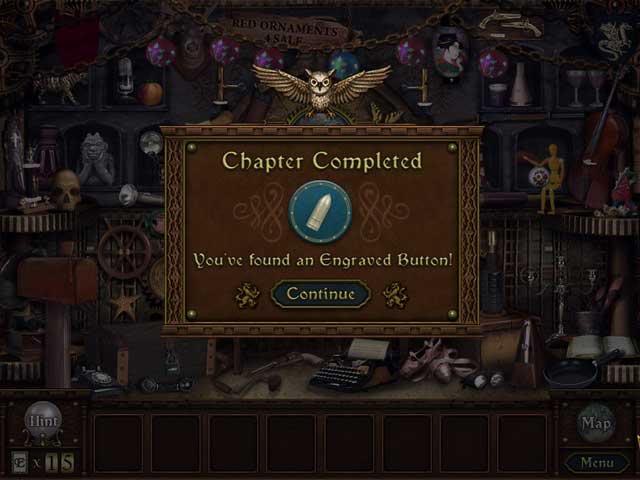
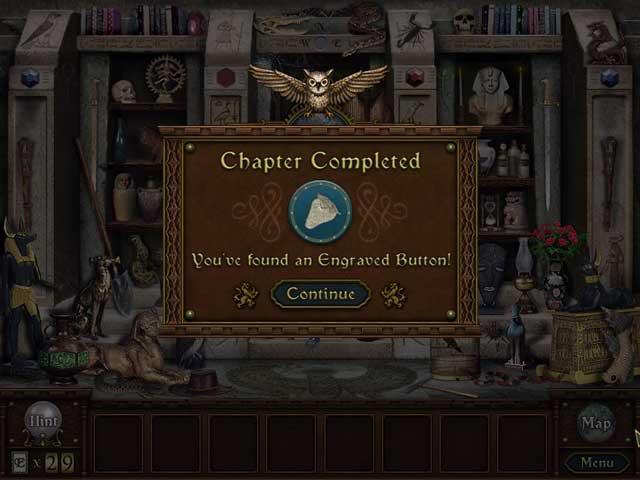
1st visit: Click on the glowing novel page on the left side to complete Enchanted Forest and the Seven Seals 1 and collect the Fishhook button.
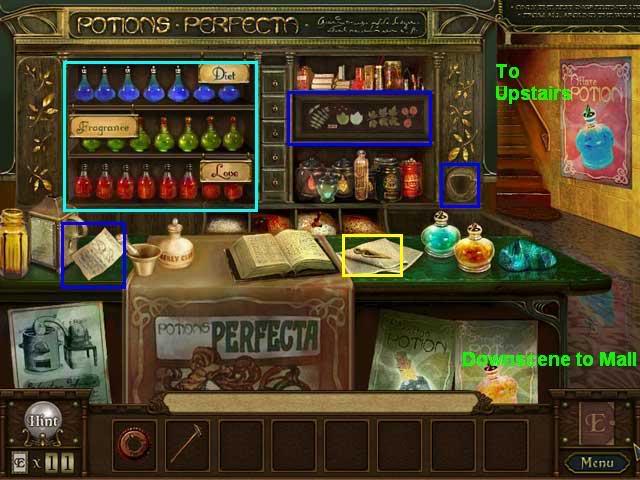
2nd visit, after you have the teacup emblem: put the teacup emblem in place.
Click on the glowing novel page revealed on the shelf and complete Playful Teddy’s Lullaby Adventures and collect the Hammer button.
Exits:
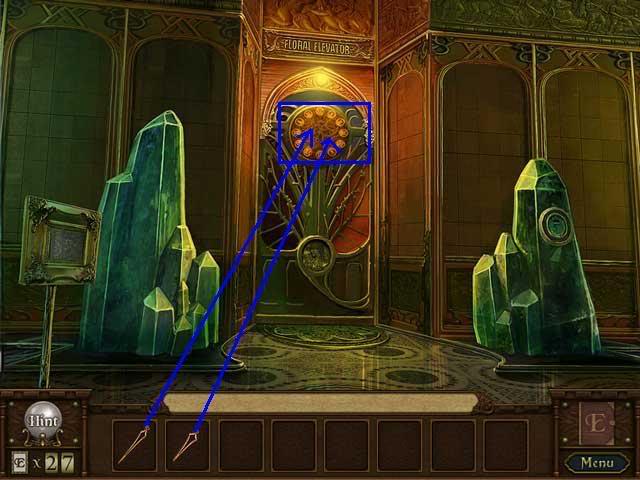
Go up the steps at the back to go to the Potion Shop Upstairs Room
Downscene to return to the mall.
Things to Find:
Things to Do:
Exits:
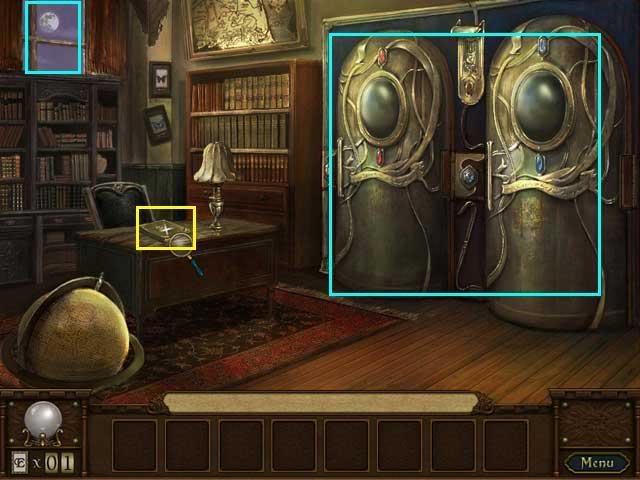
This is the Enlightenus version of the study.
Things to see:
Things to Find:
Things to Do:
Exits:
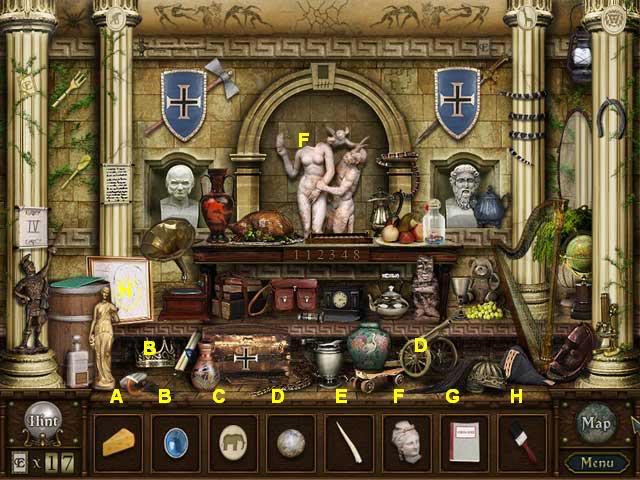
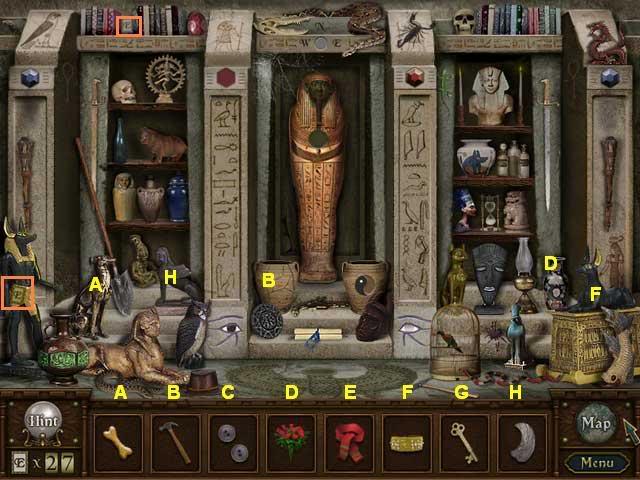
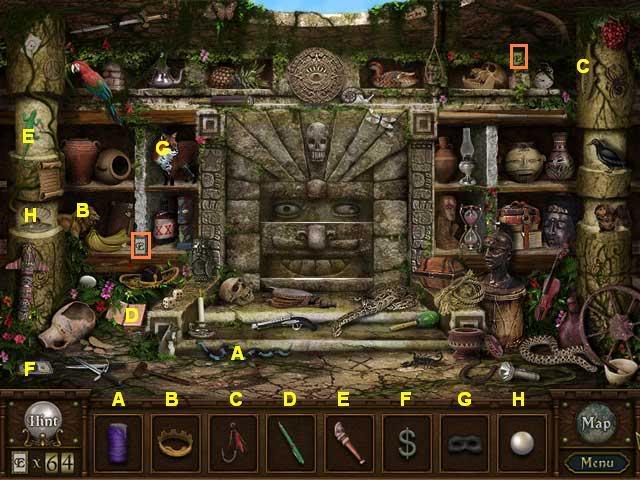
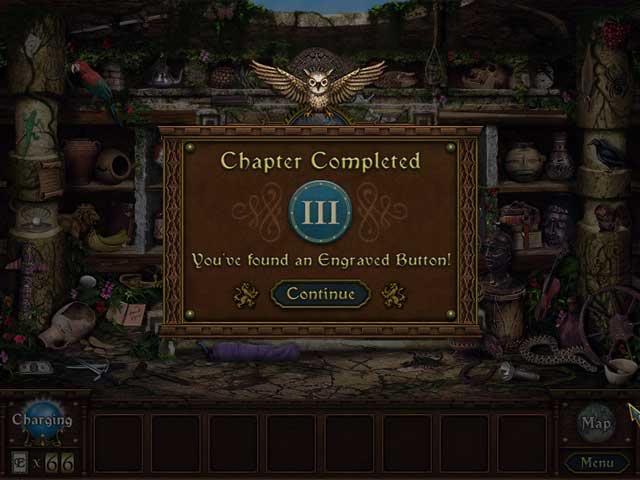
ALPHABETICAL CHAPTER GUIDE FOR HIDDEN OBJECT SCENES
Darkwood Mansion Haunted Stories
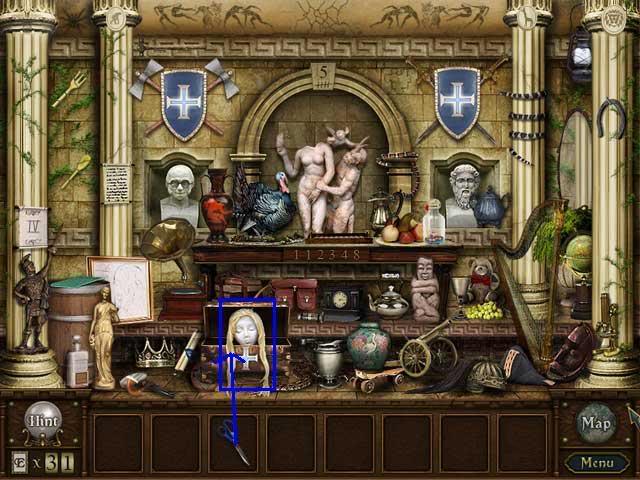
Enchanted Forest and the Seven Seals
Journey to the Ancient Parthenon
Mysterious Clocktower Labyrinth
Playful Teddy’s Lullaby Adventures
Strange Tales on Meadow Creek Farm
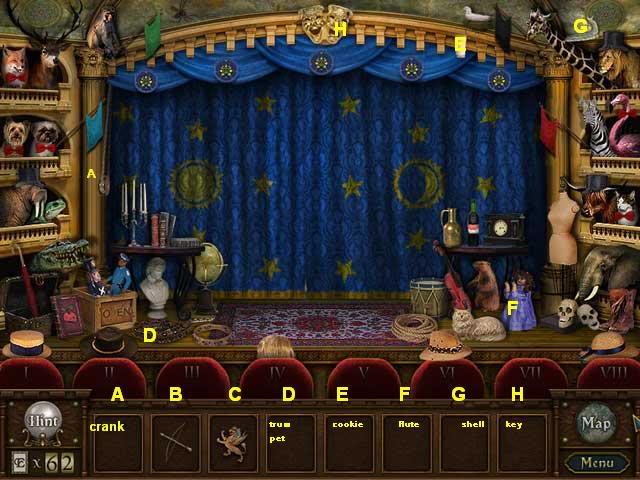
Visit 1 (Old Globe Antique Shop, back wall)
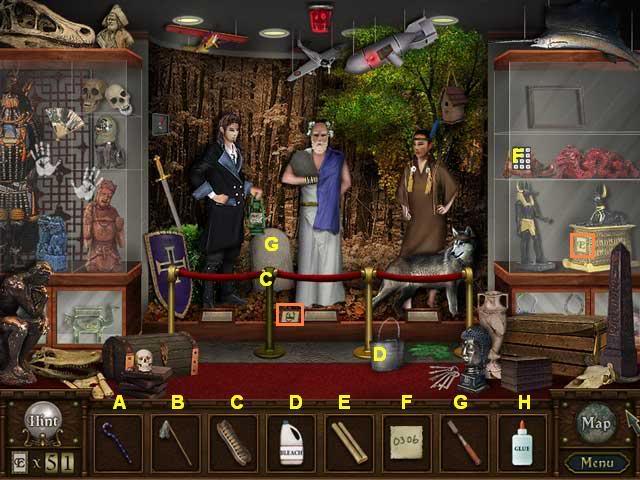
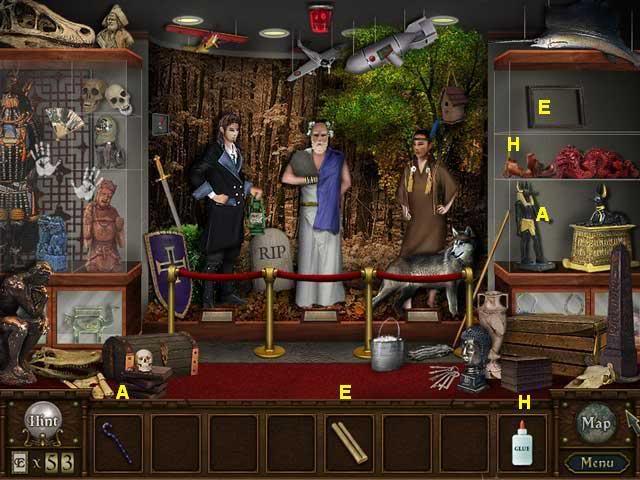
Inventory Objects:
Sequence 1:
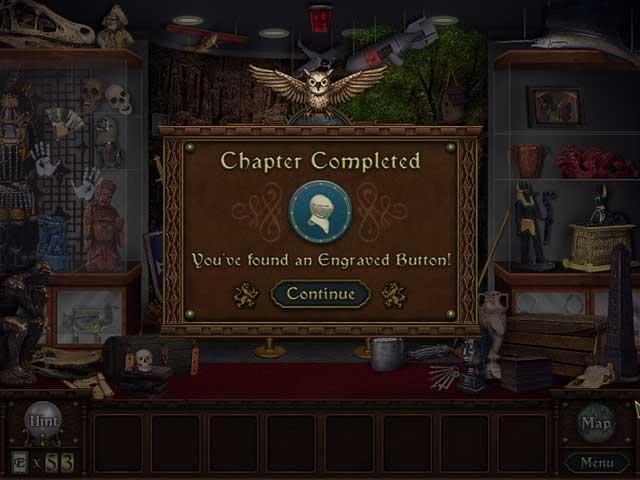
You collect
Darkwood Mansion Haunted Stories
Visit 1 (Entryway, back wall)
Inventory Objects:
Sequence 1::
You collect
Darkwood Mansion Haunted Stories
Visit 2 (Elevator, left crystal)
Inventory Objects:
Sequence 1:
Sequence 2:
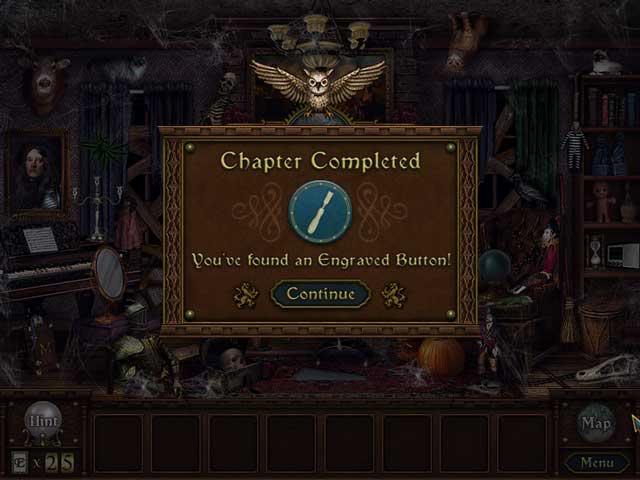
Axe à Whole Logs, lower center. Chopped wood will go in fireplace.
Match à Filled Fireplace
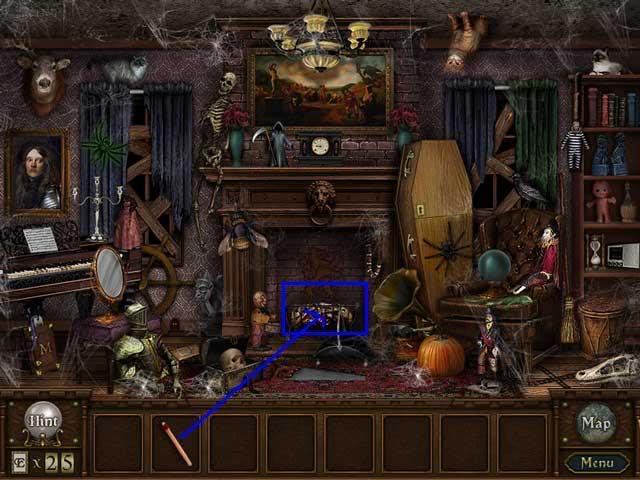
You collect
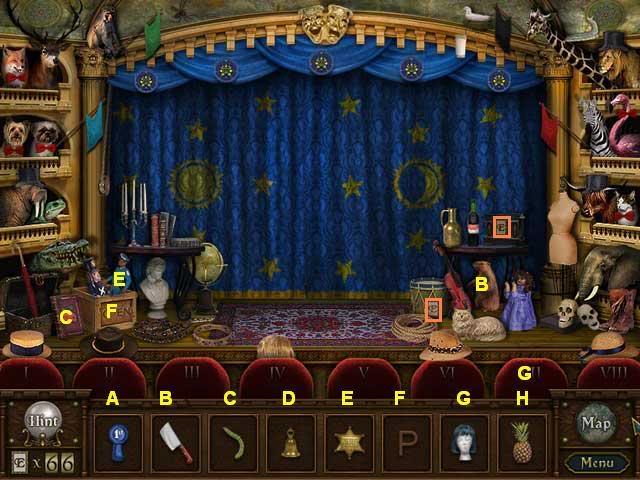
Enchanted Forest And The Seven Seals
Visit 1 (Potions Shop Downstairs, counter)
Inventory Objects:
Sequence 1
Sequence 2
You collect
Enchanted Forest And The Seven Seals
Visit 2 (Aquatic Museum Control Room, floor)
Inventory Objects:
Campfire Lighter à Logs, lower right
Wooden Nose à Noseless Doll, lower left
Fangs à Toothless Snake, lower left
Small Letter à Carrier Pigeon, branch upper left
Arrow à Target, lower center
Owl à Nocturnal Rest, center (make sure text label is correct)
Sequence 1:
Fly à Spiderweb, upper left. A spider will come out.
Bug Jar à Spider.
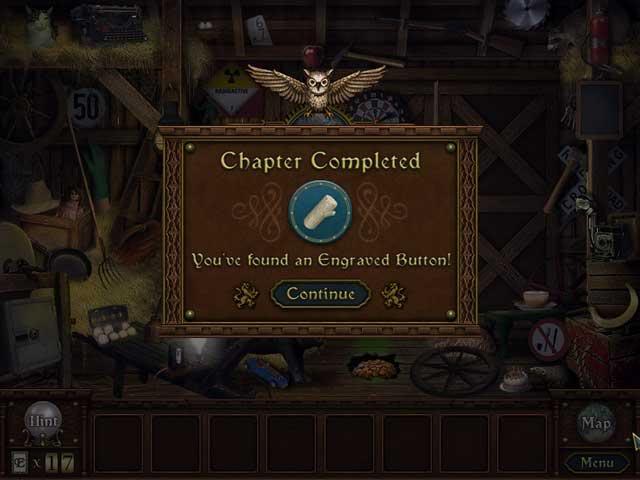
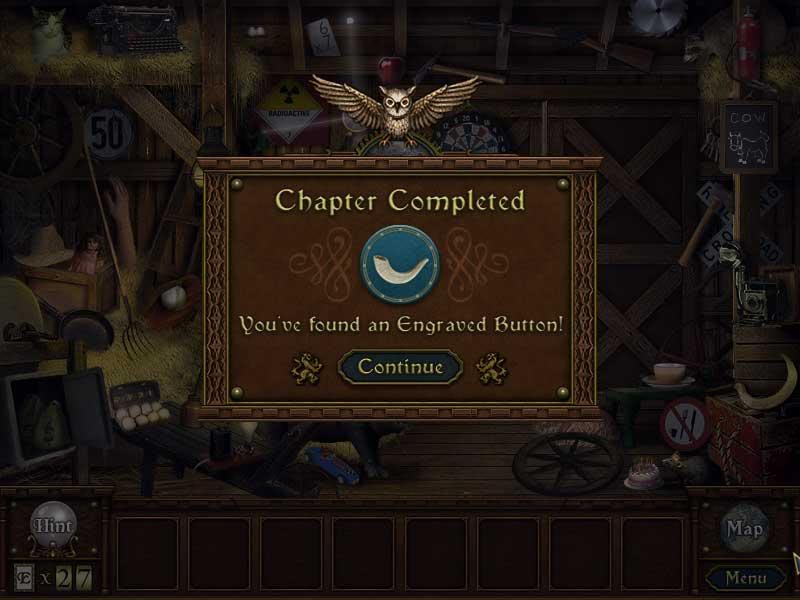
You collect:
Glue button needed for Shawn the Enigmatic Toymaker (Potions Shop Upstairs)
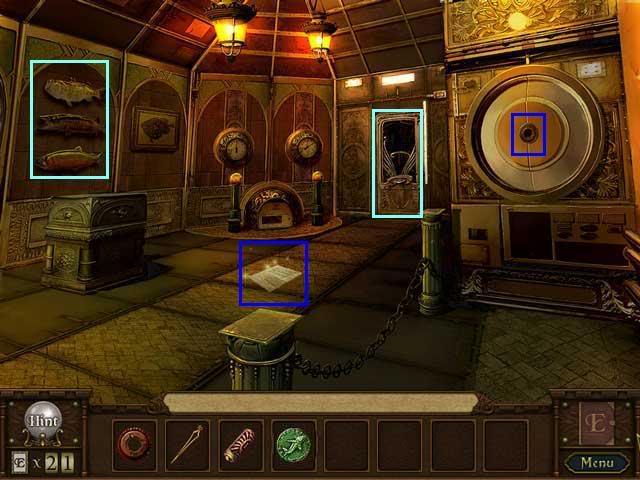
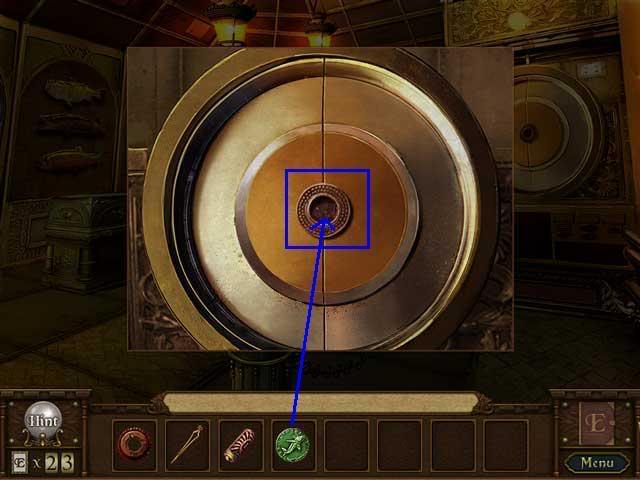
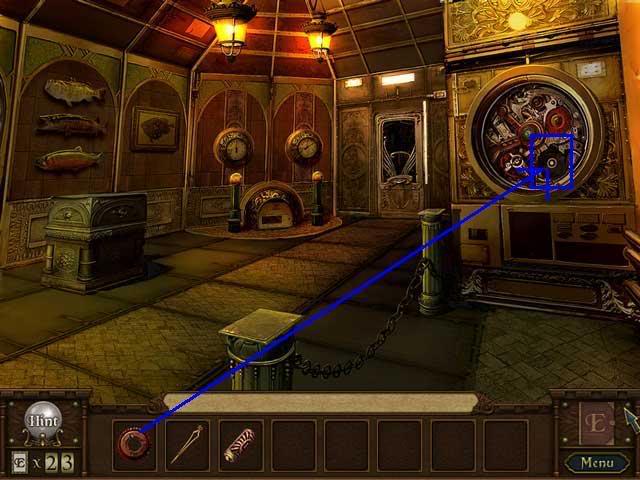
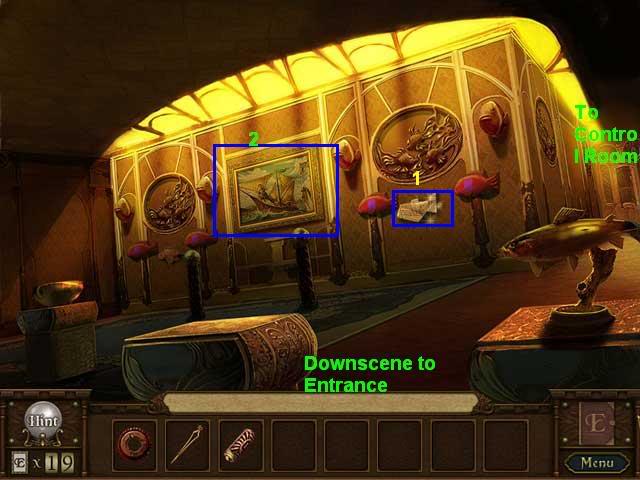
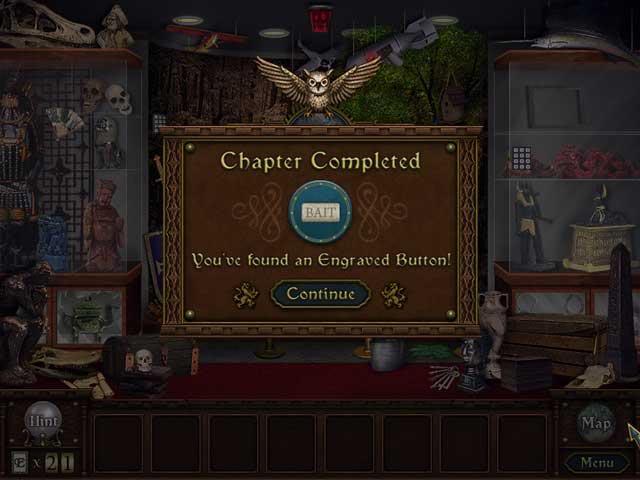
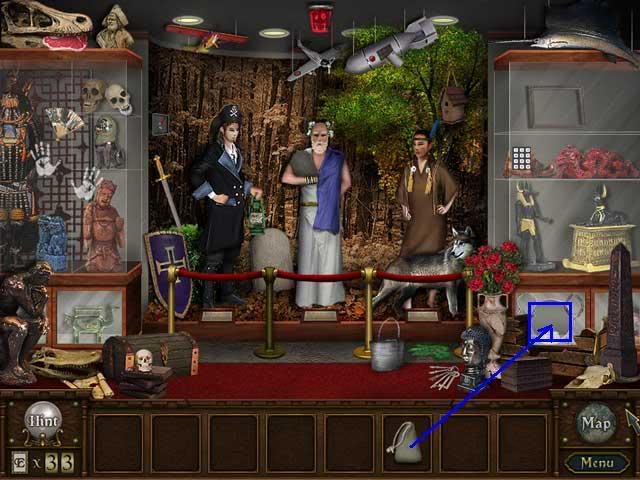
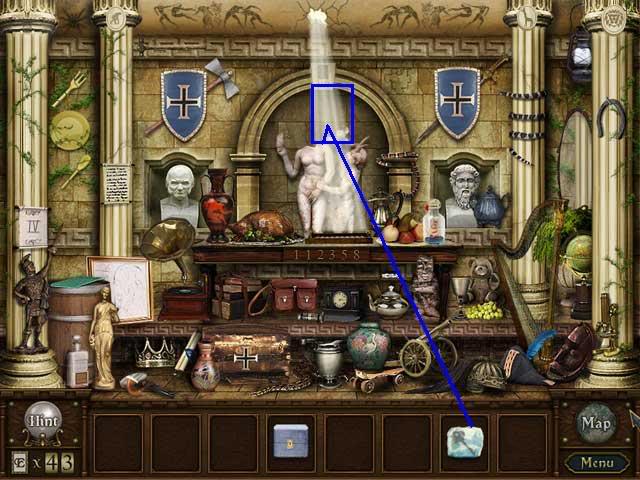
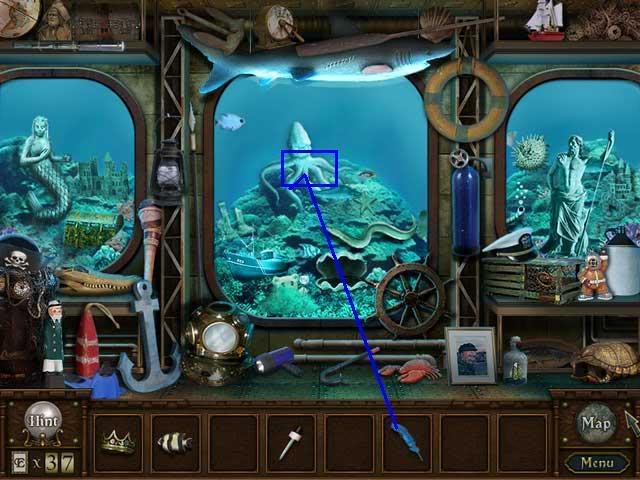
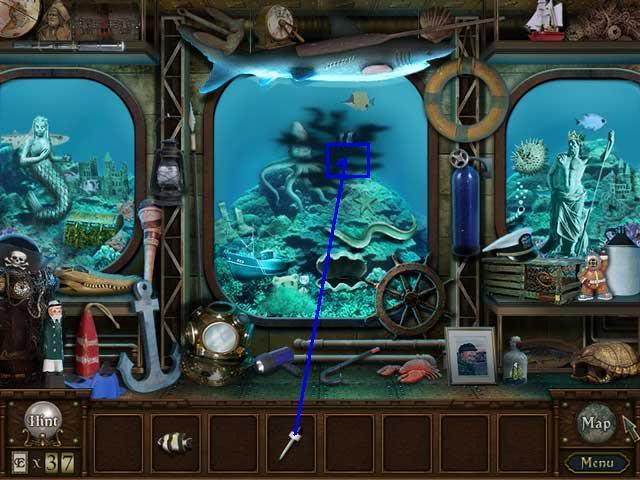
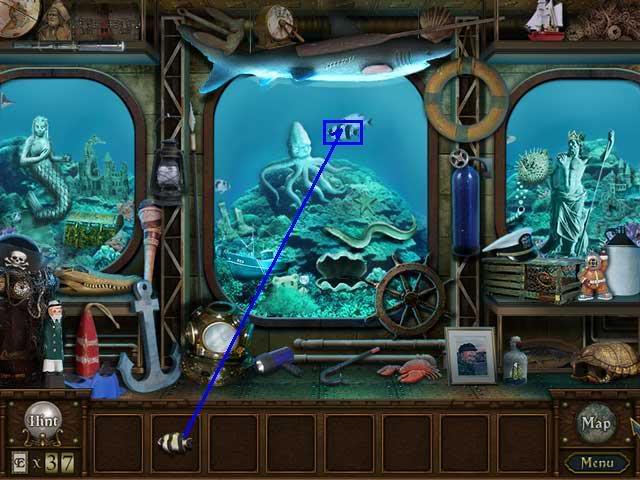
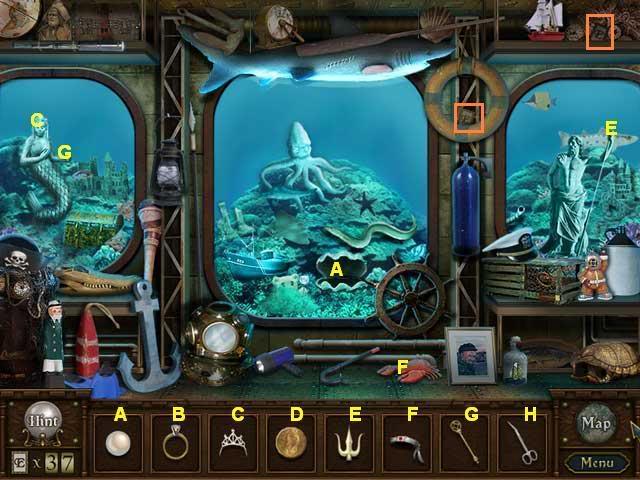
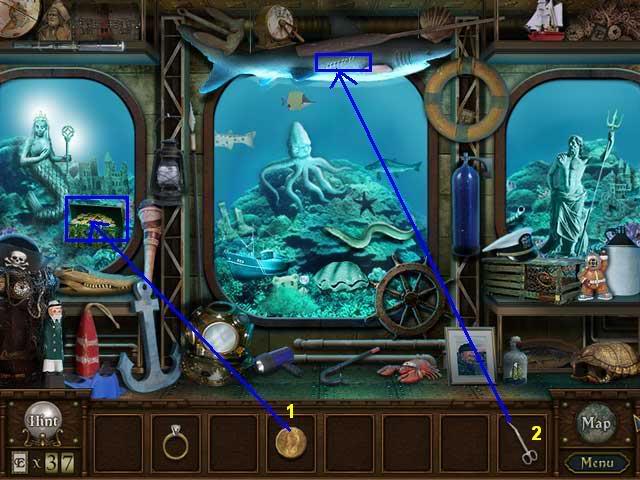
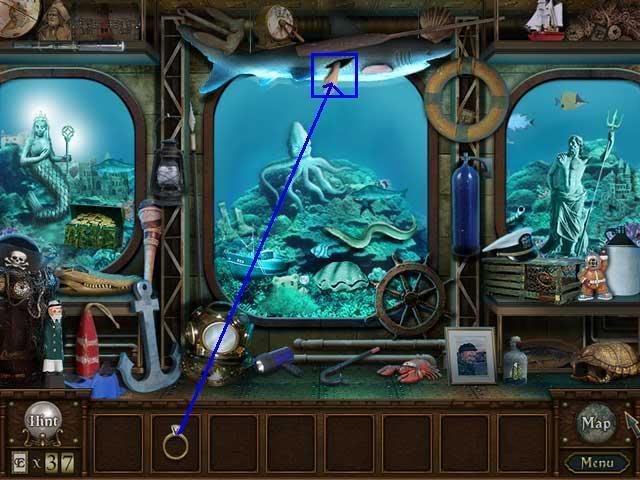
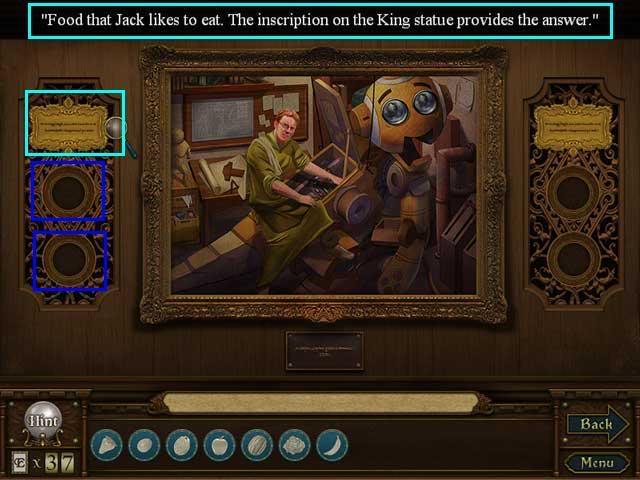
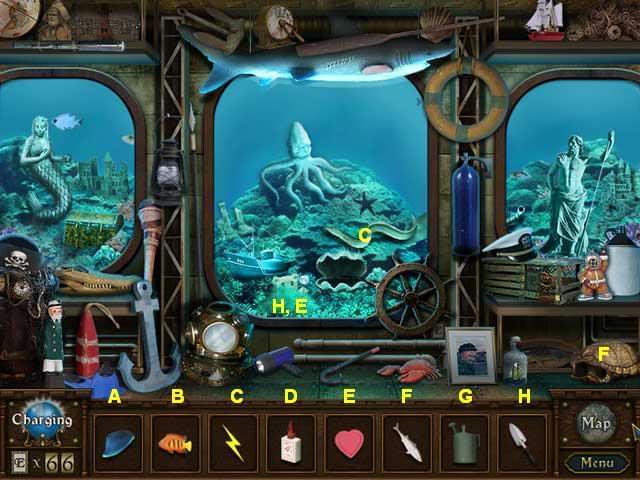
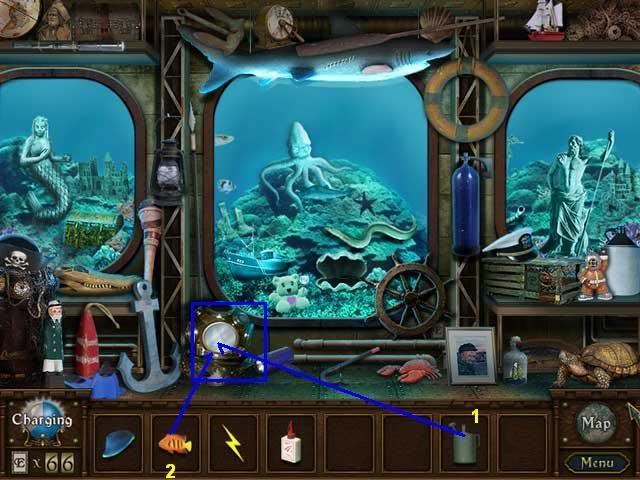
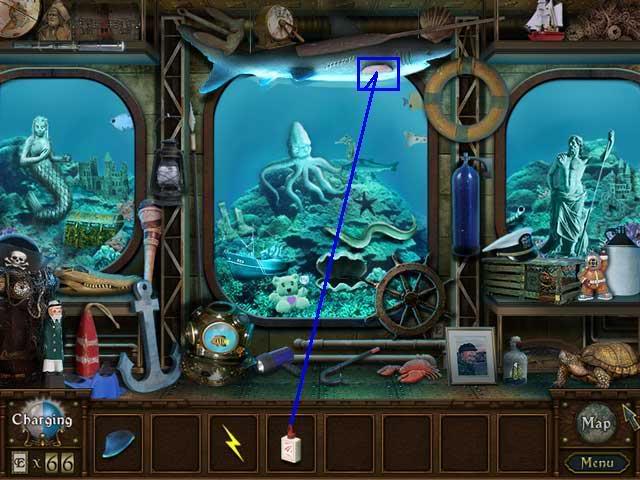
Visit 1 (Aquatic Museum Exhibit Room, on wall)
Inventory Objects:
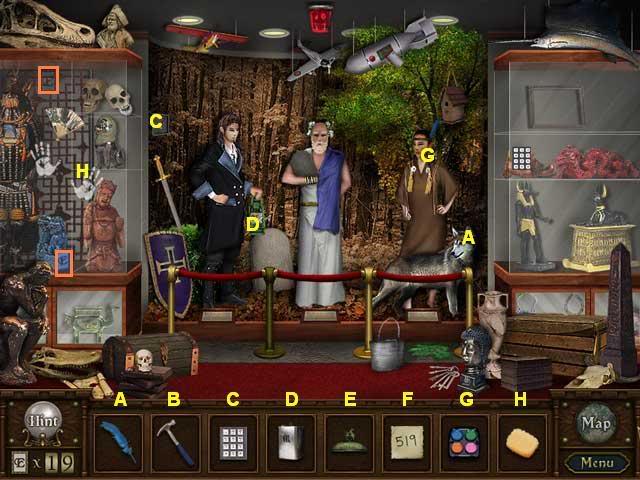
Sequence 1
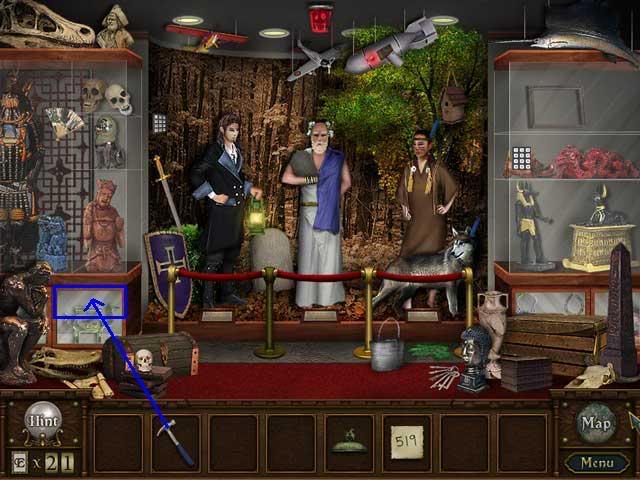

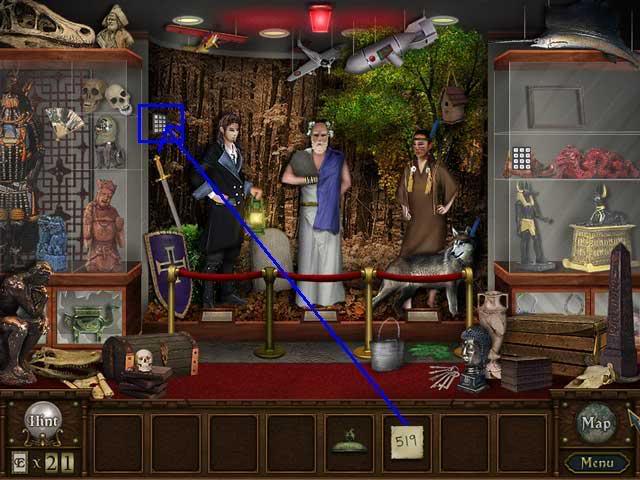
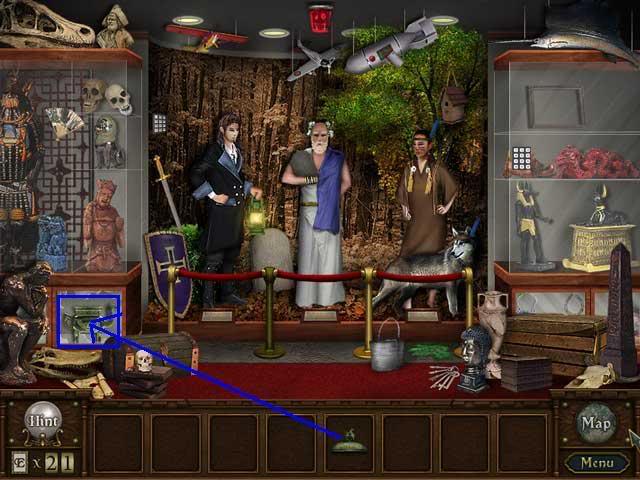
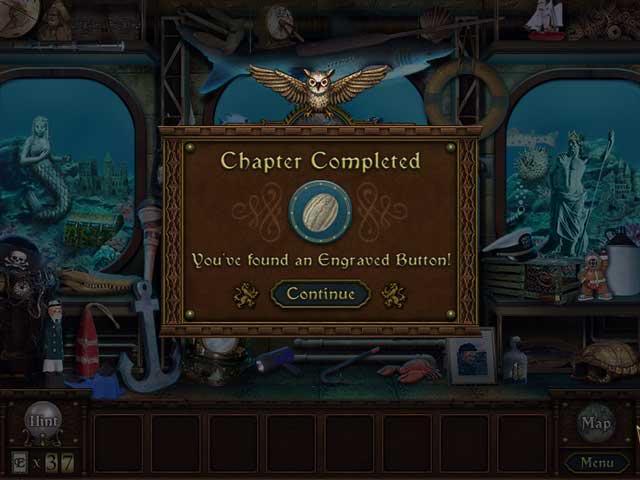
You collect:
Journey To The Ancient Parthenon
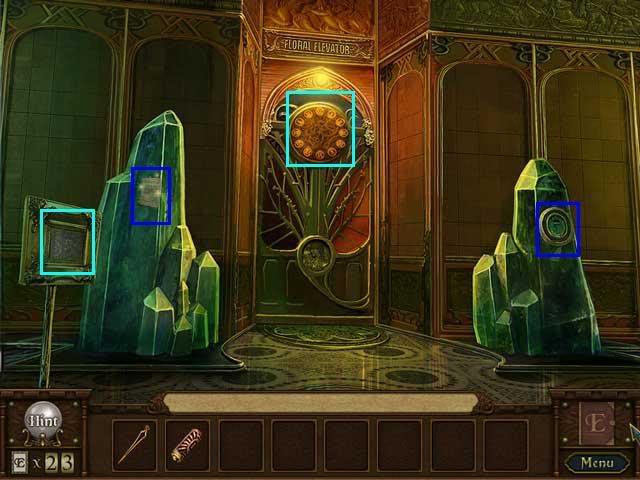
Visit 1 (crystal on rightside of Aquatic Museum Entrance)
Inventory Objects
Sequence 1
Sequence 2

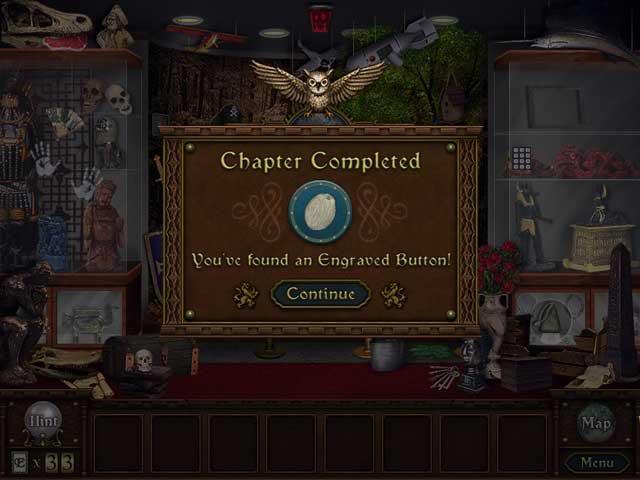
You collect:
Mysterious Clock Tower Labyrinth
Visit 1 (Study, right wall)
Inventory Objects:
Sequence:
You collect
Mysterious Clock Tower Labyrinth
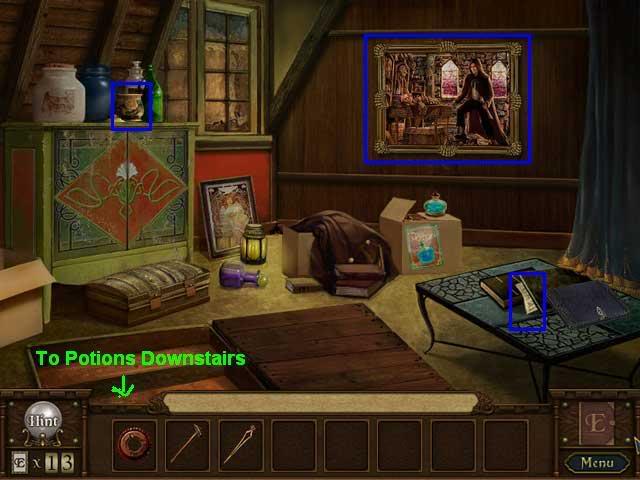
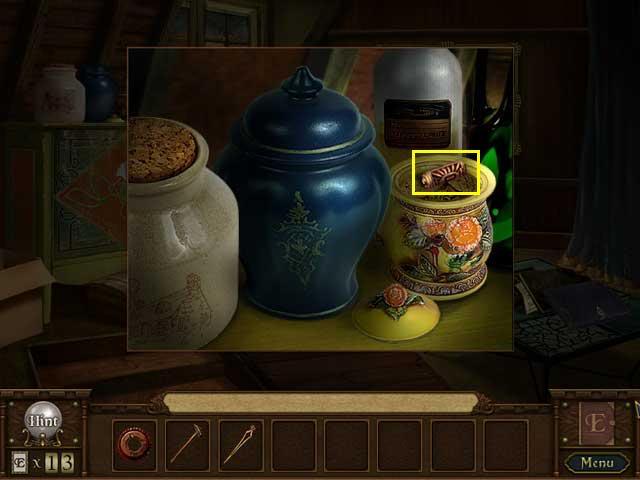
Visit 2 (Potions Shop Upstairs, on table in pile of books)
Inventory Objects:
Sequence 1:
Sequence 2:

You collect
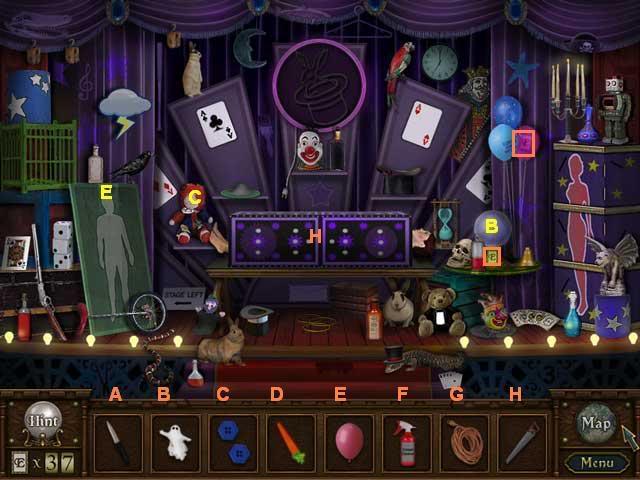
Playful Teddy’s Lullaby Adventures
Visit 1 (inside hollow shelf in Potions Shop Downstairs)
To open this hollow panel, you need the Tea Cup Emblem from the Jay the Legendary Fisherman portrait in the Aquatic Museum Exhibition Room.
Inventory Items:

Sequence 1:
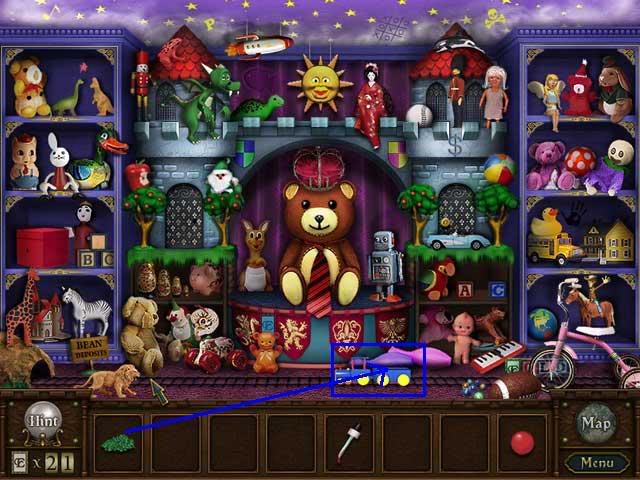
Sequence 2:
You collect:
Strange Tales On Meadowcreek Farm
Visit 1 (Hall, in green box on right wall)
To unlock the green box, you need to have gotten the sword from the Knight in the Entryway and put it back on the plaque on the wall above the green box.
Inventory Objects:
Sequence 1:
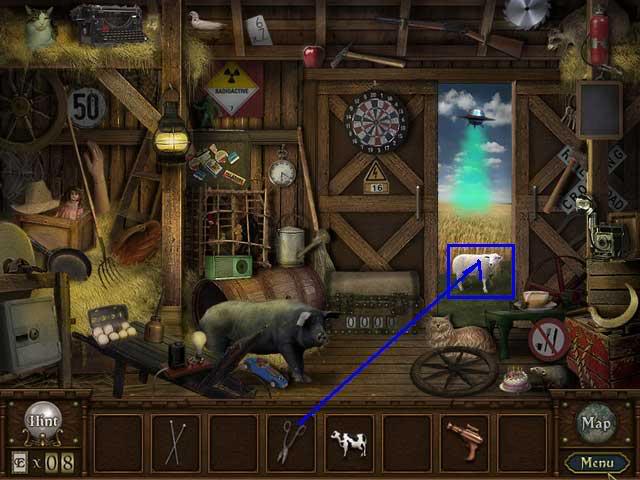
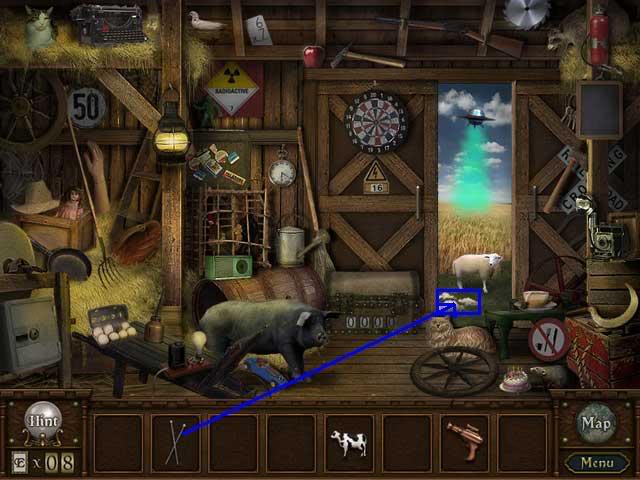
Sequence 2:
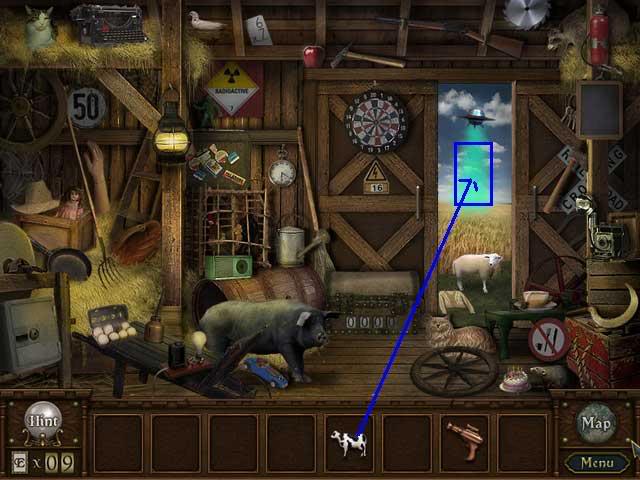
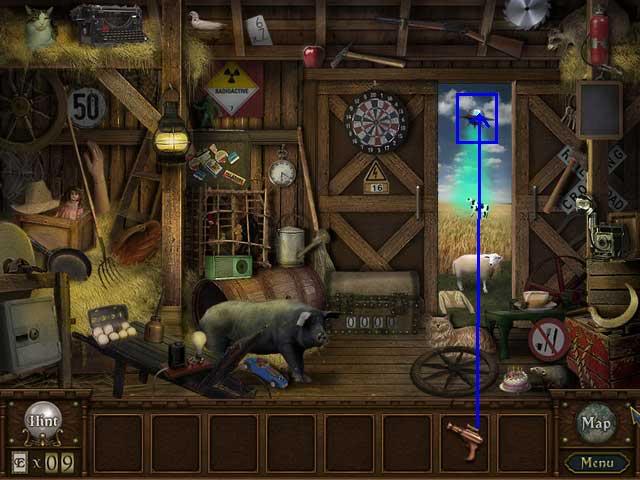
You collect:
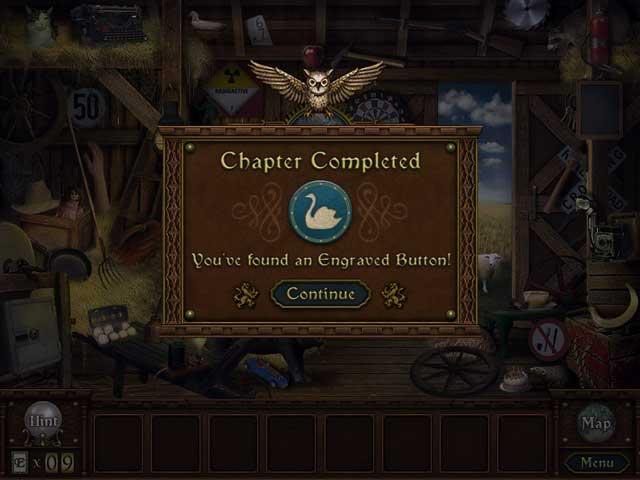
Strange Tales On Meadowcreek Farm
Visit 2 (Entrance to Aquatic Museum, inside cracked vase on left)
You will need to use the sledgehammer from the Old Globe Antiques Shop to break the vase and get to the page.
Inventory Objects:
Sequence 1:
You collect:
Log button for use in Jay the Legendary Fisherman portrait (Aquatic Museum Exhibit Room).
Strange Tales On Meadowcreek Farm
Visit 3 (Elevator, right crystal)
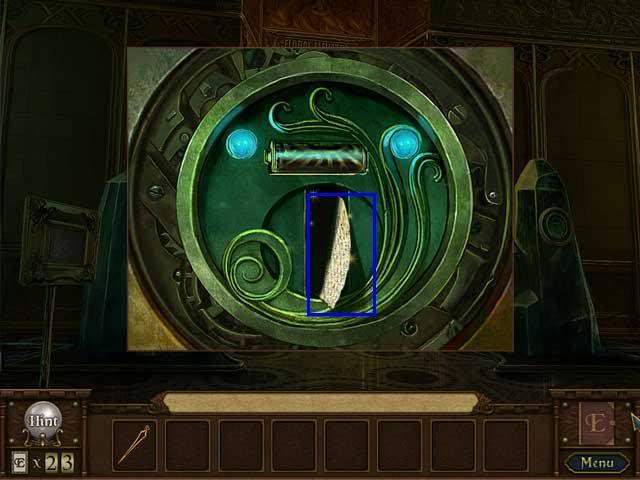
You will need to use the battery from the Potions Shop Upstairs to power the crystal and get to the page.
Inventory Objects:
Egg à Egg Carton, lower left
Spider -à Spiderweb, upper left
Chalk à Chalkboard, upper right
Thief’s stethoscope à Safe, lower left
Baseball à Baseball Glove, left
Tiny Party Hat à Birthday Rat, lower right
Sequence 1:
Bullet à Shotgun, upper center. This will fire and make a hole in the ceiling.
Magnifying glass à Beam of Light (from ceiling hole)
You collect:
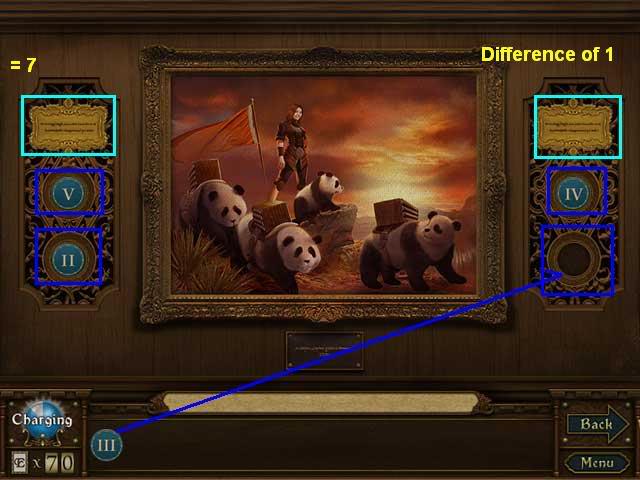
Hunting Horn button for use in Shawn the Enigmatic Toymaker portrait (Potion Shop Upstairs)
Located on wall of Aquatic Museum Exhibit Room
Tokens needed:
Solution:
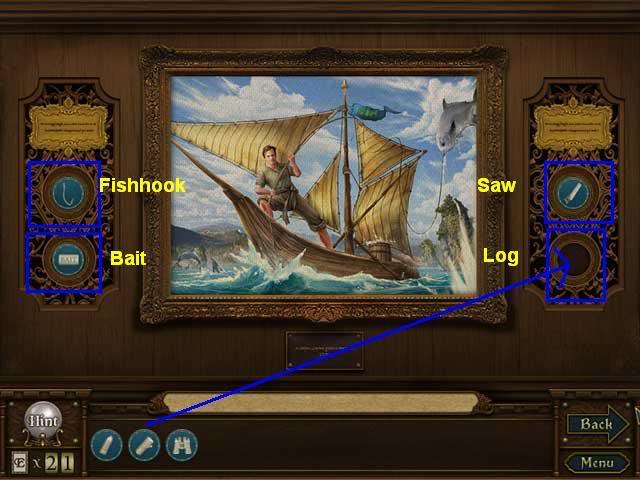
You collect:
Lovely Jane the Avian Caretaker Located on left wall of Hall
Tokens needed:
Solution:
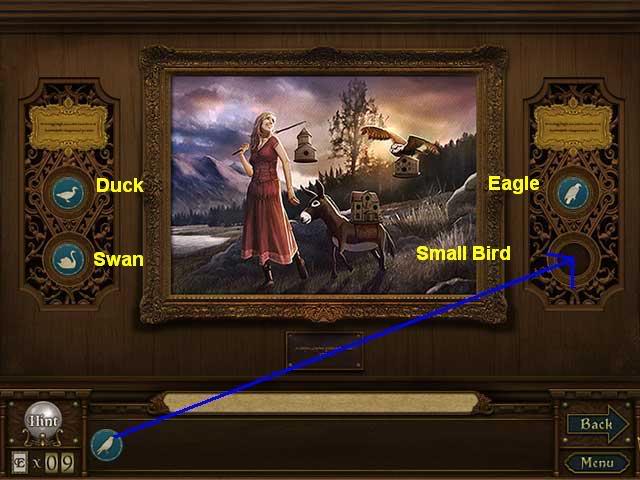
You collect:
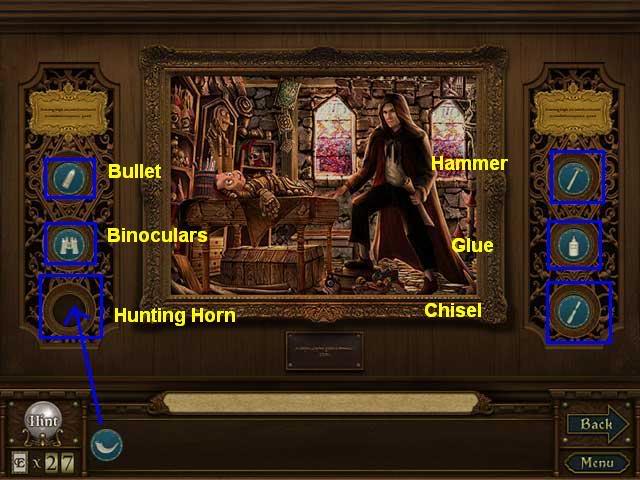
Shawn the Enigmatic Toymaker Located on back wall of Potion Shop Upstairs
Tokens needed:
Solution:
WALK WITH ME-my solution to the game
Because you can walk freely between unlocked rooms in the adventure portion, you may have done things in a different order. That’s fine. I just include this for people who want a directed walkthrough of the whole game.
WALKTHROUGH PART 2 (Chapters 14-25)
Part 1 had General Tips and covers Chapters 1-13, up until the point where you get the elevator working. Part 2 covers Chapters 14-25, up to the point where you open the Moon Door.
This section has 5 different parts.
HELP! I’M STUCK!
Help! I’m Stuck! Moon Door Checklist
To complete chapters 14-25 and unlock the Moon Door in the Human Home, you need to have done all the following:
That will complete Chapters 14 – 25. in your journal (book icon on the lower right of the Room View scenes) and give you access to the next part of the game.
ALPHABETICAL ROOM GUIDE
Rooms:
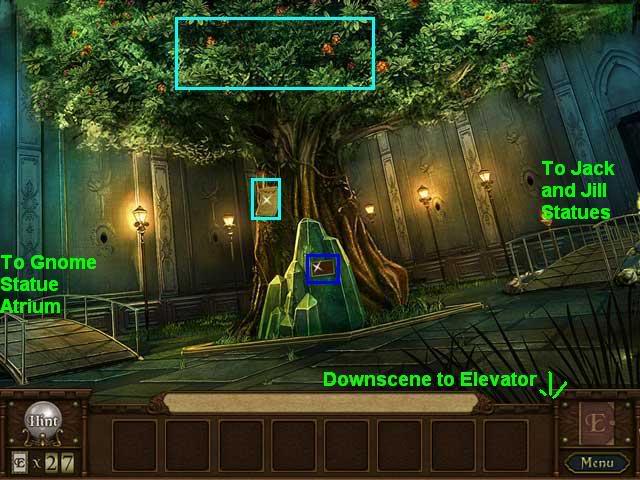
To enter this location, you must get the machete by doing the mini-game on the Jack statue.
Things to see:
Things to Find:
Things to Do:

Exits:
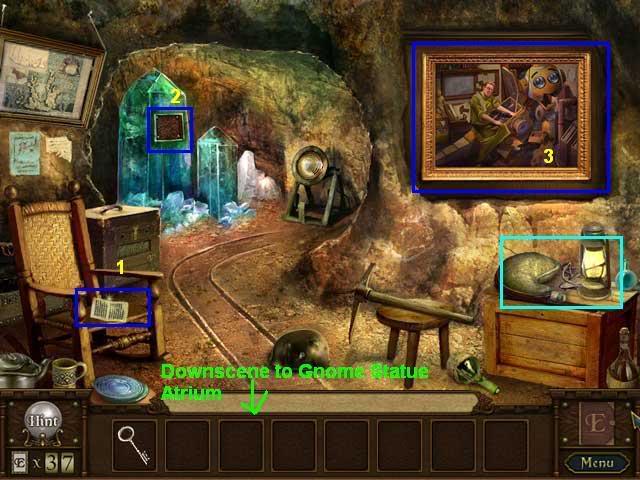
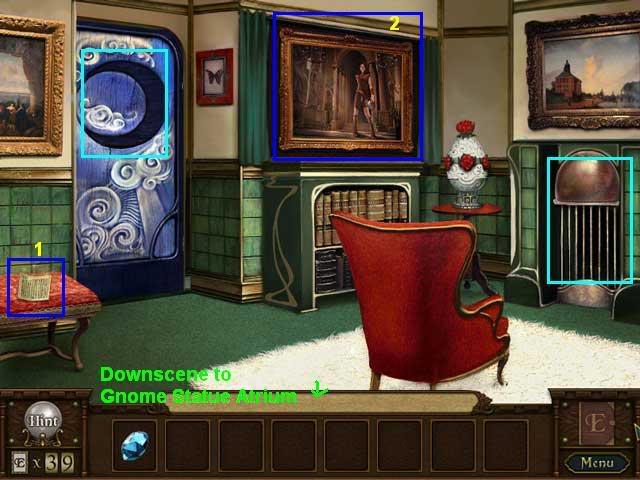
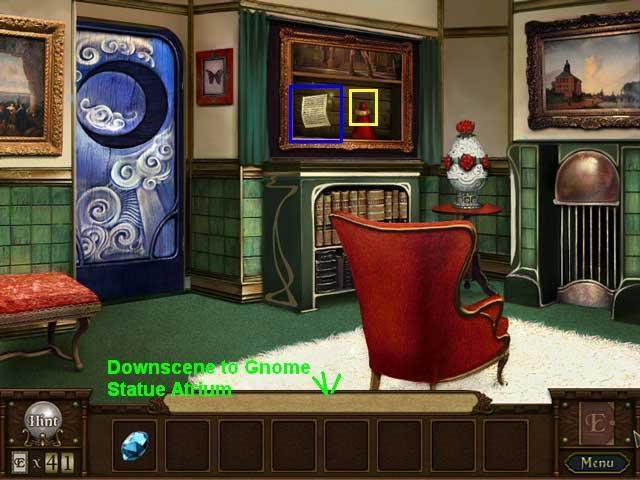
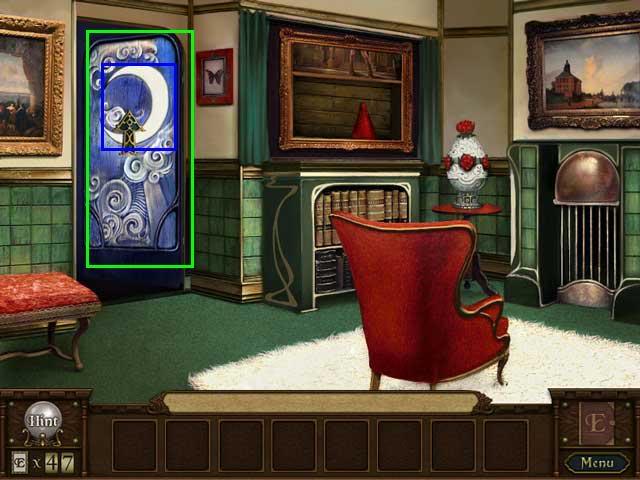
Downscene to the Gnome Statue Atrium.
When you come out of the Elevator at the end of Chapter One, this is the first thing you see.
Things to See:
Things to Find:
Things to Do:
Exits
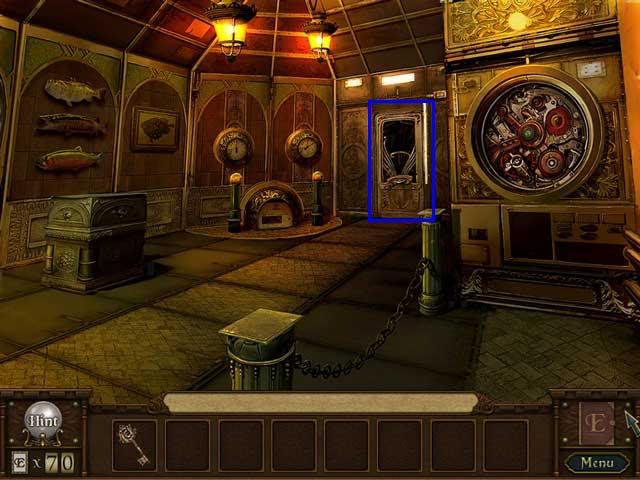
Elevator
Things to See
Things to Find:
Things to Do:
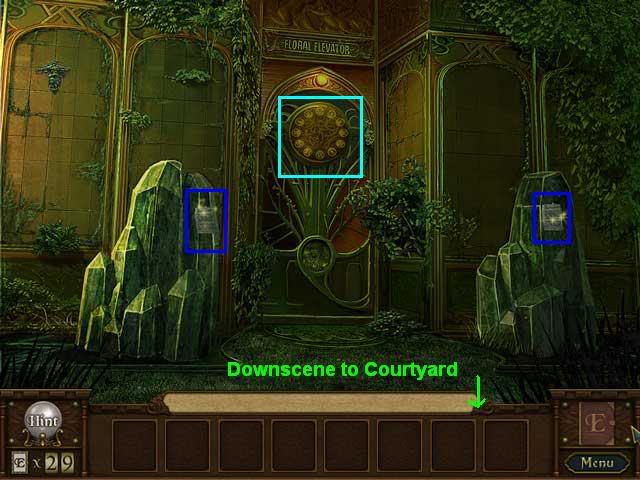
Exits:
Downscene to Courtyard
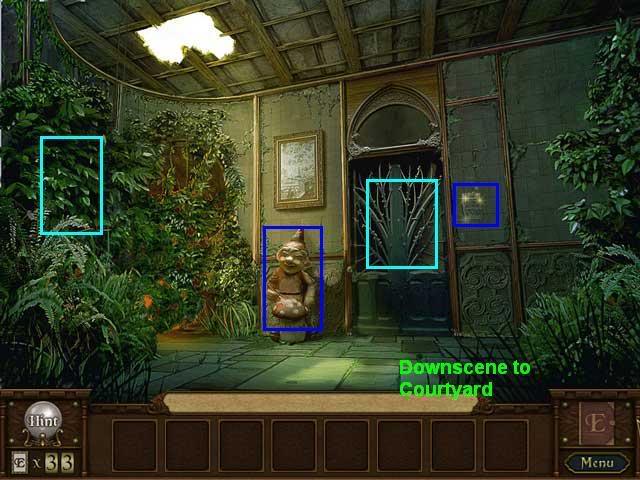
Things to See:
Things to Find:
Things to Do:
Exits:
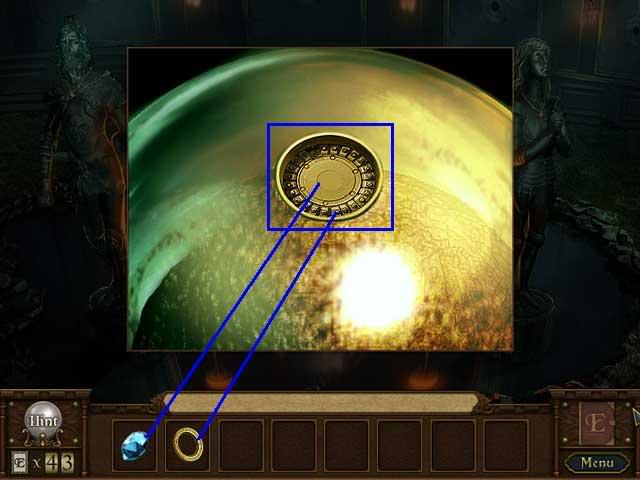
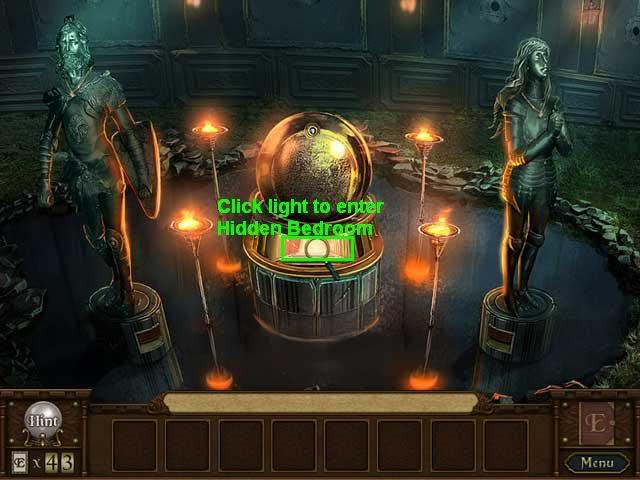
Hidden Bedroom
You get to this by placing the blue sapphire from the Colin the Whiz Kid Inventor portrait in the Cave and the Ring from the Melissa the Towering Giant portrait in the Human Home into the globe by the Jack and Jill Statues. When the globe opens, click on the glowing light at its base to enter the Hidden Bedroom.
Things to See:
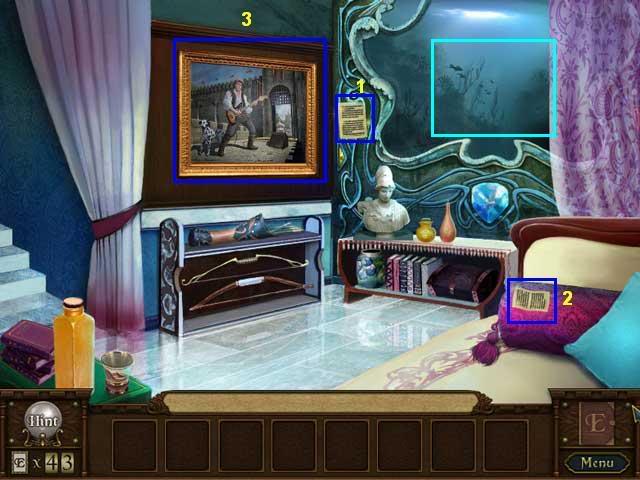
Things to Find:
Things to Do:
Exits:
To unlock the door to this location, you must get the Master Key by doing the mini-game on the Jill statue.
Things to See:
Things to Find:
Things to Do:
Exits:
Things to See:
Things to Find:
Things to Do:
Exits:
ALPHABETICAL CHAPTER GUIDE FOR HIDDEN OBJECT SCENES
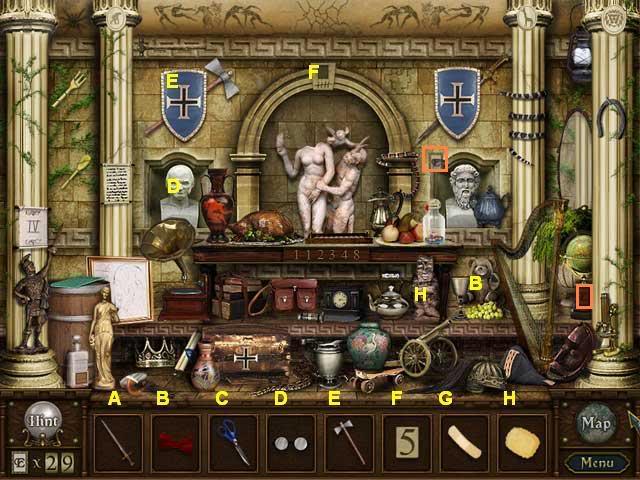
Forgotten Idol: The Mayan Expedition
Journey to the Ancient Parthenon
Mysterious Clocktower Labyrinth
Playful Teddy’s Lullaby Adventures
A Tomb Amidst the Shifting Sands
Whiddon’s Expedition: Atlantis
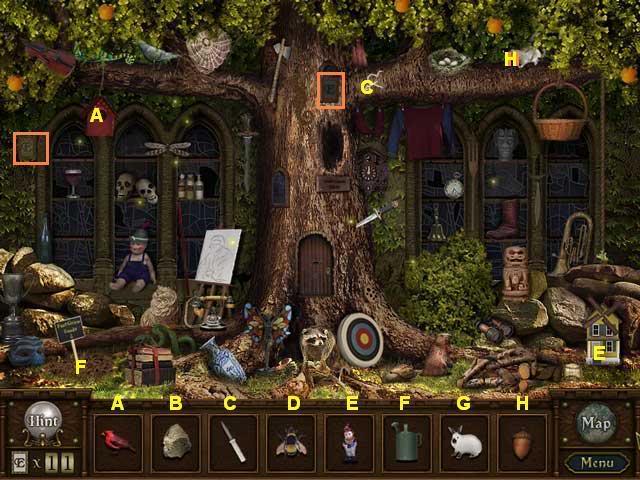
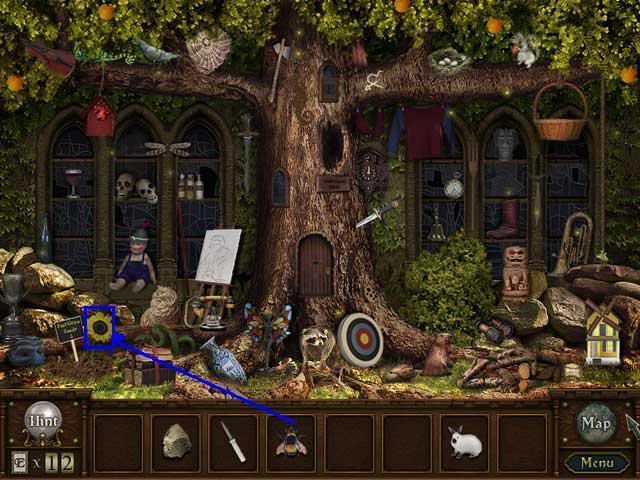
Visit 2 (Cave, on rocking chair)
Inventory Objects:
Sequence 1:
Balloon à Balloon Hook near figure’s head, left
Throwing Dagger à Pop the Balloon
Sequence 2
Extension cord à Short cord, left. Lights up neon sign.
Neon carrot à Neon rabbit, center.
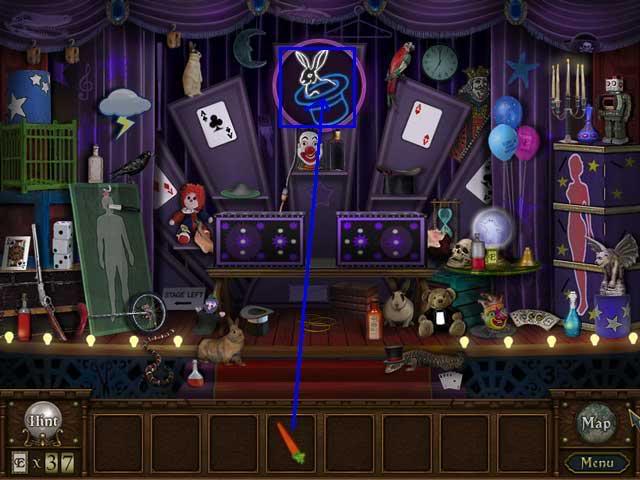
You collect
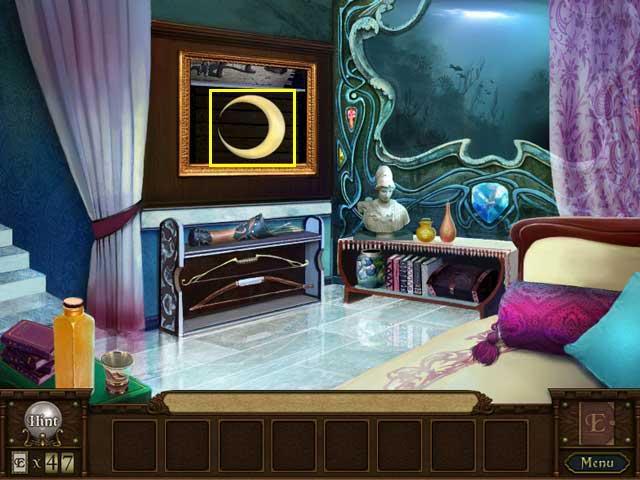
Visit 3 (Hidden Bedroom, on bed)
Inventory Objects
Sequence 1
You collect
Forgotten Idol: Mayan Exploration
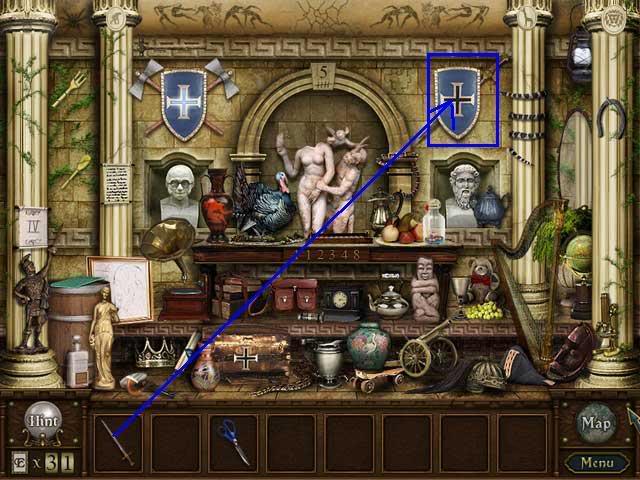
Visit 1 (Gnome Statue Atrium, Wall)
Inventory Objects:
Sequence 1:
You Collect:
Great Museum Caper
Visit 2 (Elevator, right crystal)
Inventory Objects:
Sequence 1
eu2 
You collect:
Journey To The Ancient Parthenon
Visit 2 (Elevator, left crystal)
Inventory Objects:
Sequence 1
You collect:
Journey to the Ancient Parthenon
Visit 3 (Human Home, behind Melissa portrait)
Inventory Objects
Sequence 1
You collect:
Mysterious Clocktower Labyrinth
Visit 3 (Human Home)
Inventory Objects
You collect
Playful Teddy’s Lullaby Adventures
Visit 3 (Cave, behind Colin’s portrait)
Inventory Objects:
Sequence 1:
You collect:
A Tomb Amidst the Shifting Sands
Visit 1 (Courtyard, on crystal)
Inventory Objects
Sequence 1:
You collect:
A Tomb Amidst the Shifting Sands 2
Visit 2 (Hidden Bedroom, near window)
Inventory Objects
Sequence 1
You Collect:
Whiddon’s Expedition: Atlantis
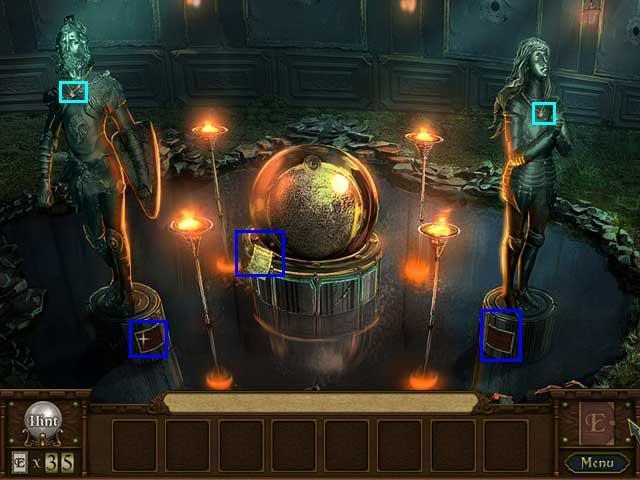
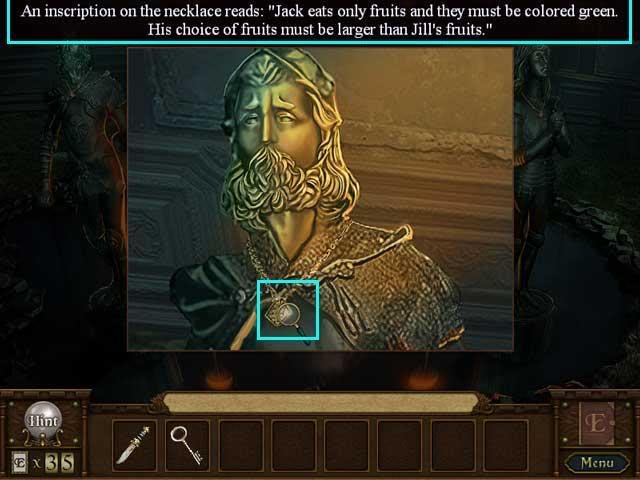
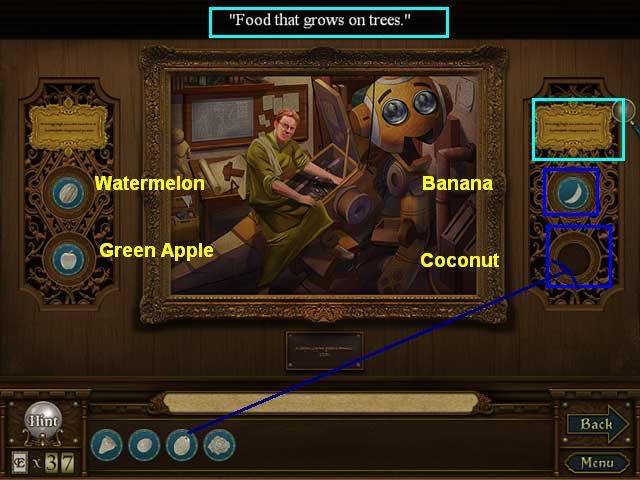
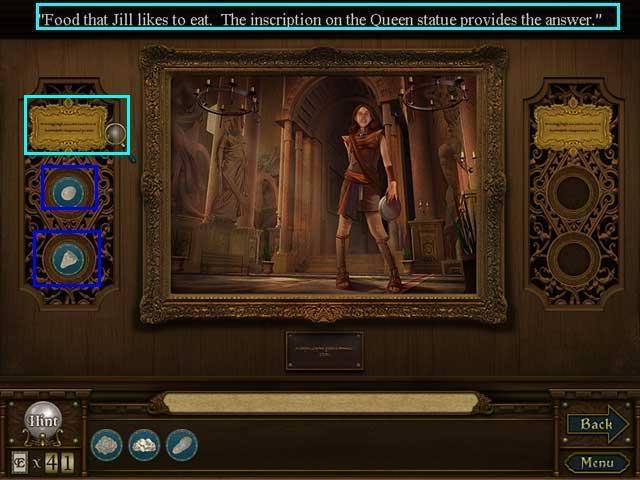
Visit 1 (Jack and Jill statues, on center globe)
Inventory Objects
Sequence 1
Sequence 2
You collect:
Whiddon’s Expedition: Atlantis
Visit 2 (Cave, green crystal)
Inventory Objects
Sequence 1
Sequence 2:
You collect:
ALPHABETICAL PAINTING GUIDE
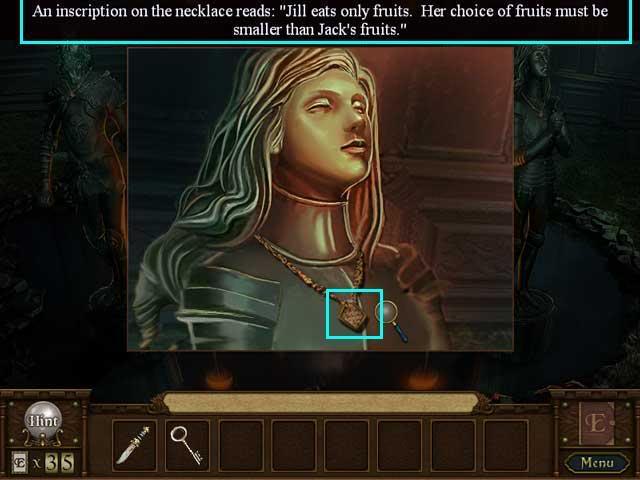
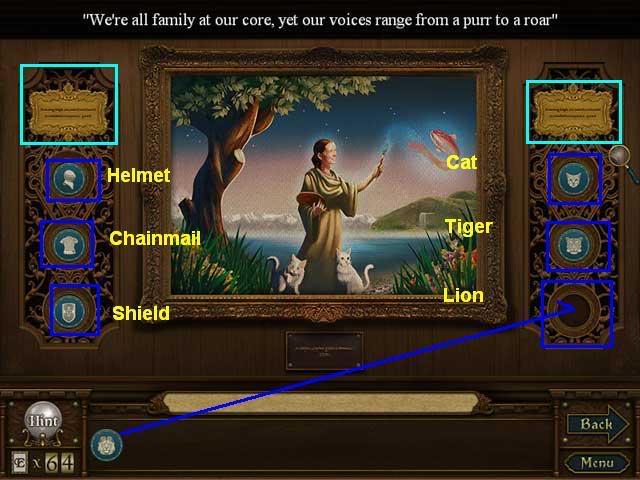
Located on wall of Cave. You will need to have read the inscriptions on the Jack and Jill statues to solve the puzzle.
Tokens needed:
Solution:
You collect:
Located on wall of Human Home. You will need to have read the inscriptions on the Jack and Jill statues to solve the puzzle.
Tokens Needed:
Solution:

You Collect:
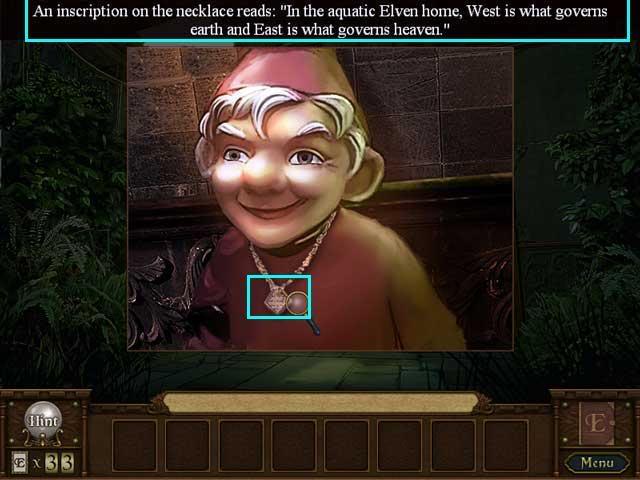
Located on wall of Hidden Bedroom. You will need to have read the inscription from the Gnome statue to solve the puzzle.
Tokens Needed:
Solution:

Left (West, Earth): Fire, Dirt, Wave
Right (East, Sky): Sun, Cloud, Moon
You Collect:
WALK WITH ME-my solution to the game
Because you can walk freely between unlocked rooms in the adventure portion, you may have done things in a different order. That’s fine. I just include this for people who want a directed walkthrough of the whole game.
WALKTHROUGH PART 3 (Chapters 26-35)
Welcome to part 3 of Gamezebo’s strategy guide for Enlightenus from Blue Tea Games. Part 1 covers Chapters 1-13 up until the point where you get the elevator working. Part 2 covers Chapters 14-25, up to the point where you open the Moon Door. Part 3 covers Chapters 26-35, up to the point where you unlock the Gilded Door.
SPOILER SECTION!!!!!
This section has 5 different parts.
HELP! I’M STUCK!
Help! I’m Stuck! Hints for the Gilded Door
You can do things in many different ways in this chapter. So it’s easy to feel stuck. To see everything you need to do, check the Walk with Me section, which is a complete walkthrough of this chapter.
Here are some common places people get stuck:
ALPHABETICAL ROOM GUIDE
Rooms:
Things to See:
Things to Find:
Things to Do:
Exits:
Things to See:
Things to Find:
Things to Do:
Exits:
Things to See:
Things to Find:
Things to Do:
Exits
Things to See:
Things to Find:
Things to Do:

Exits:
Things to See:
Things to Find:
Things to Do:
Exits
Things to See:
Exits:
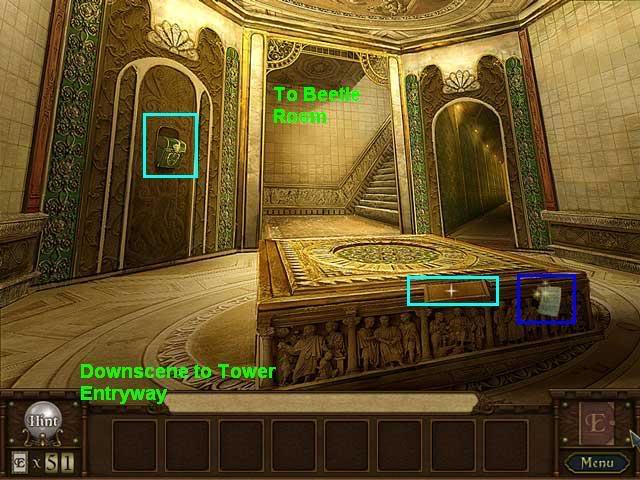
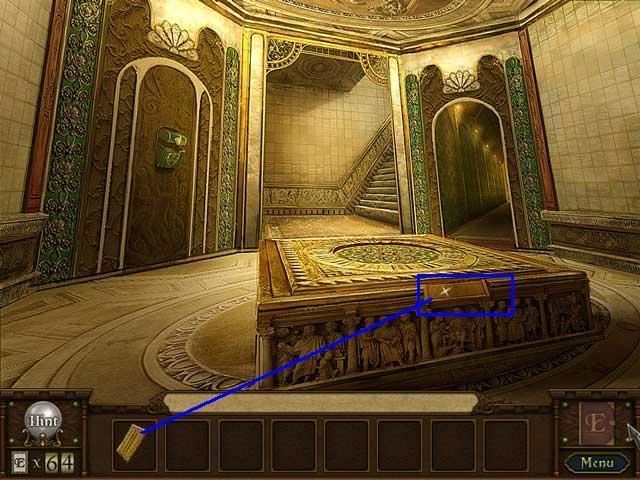
Tower Statues
Things to See:
Things to Find
Things to Do

Exits
Things to See:
Things to Find
Things to Do:
Exits:
ALPHABETICAL CHAPTER GUIDE FOR HIDDEN OBJECT SCENES
Darkwood Mansion Haunted Stories
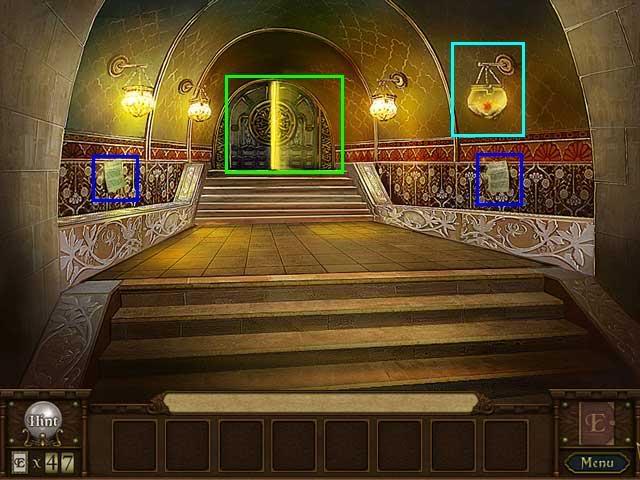
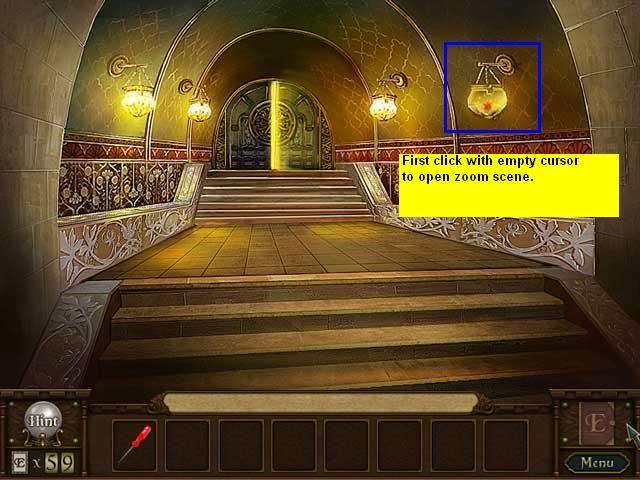
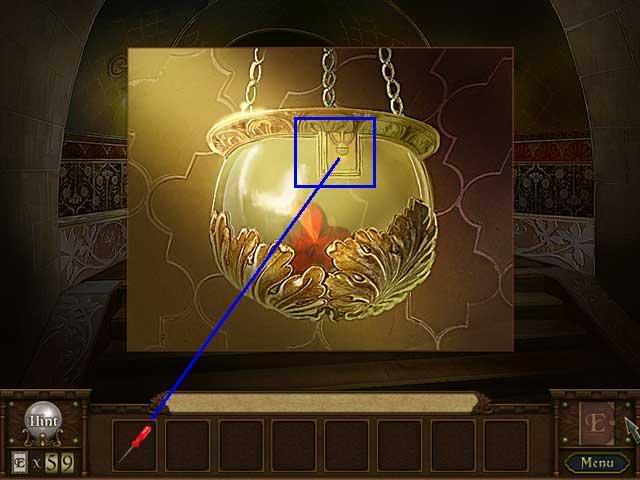
Visit 3 (Tower Entryway, right wall)
Inventory Objects
Sequence 1

You collect:
Enchanted Forest and the Seven Seals
Visit 3 (Tower Upstairs, green box)
Inventory Objects

Sequence 1
You collect

Forgotten Idol: Mayan Exploration
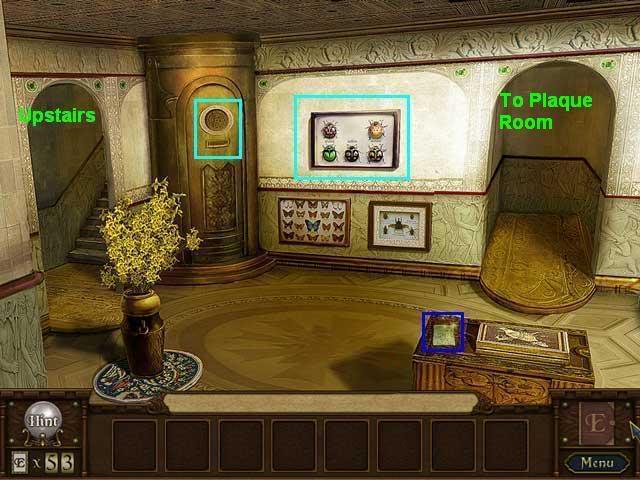
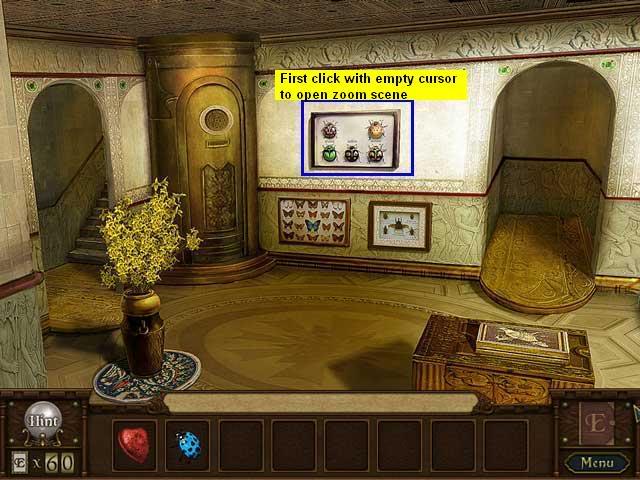
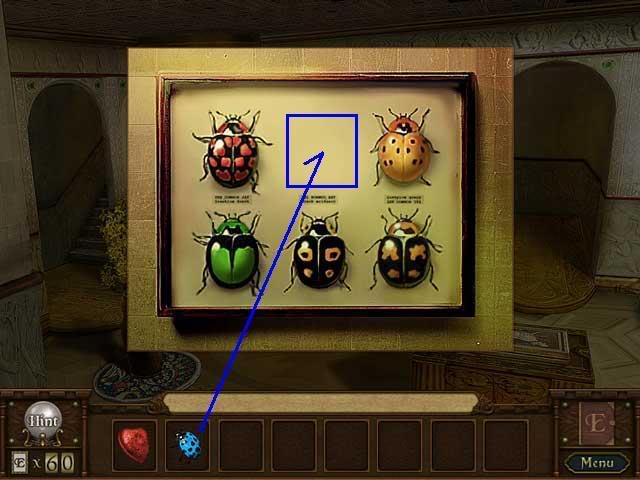
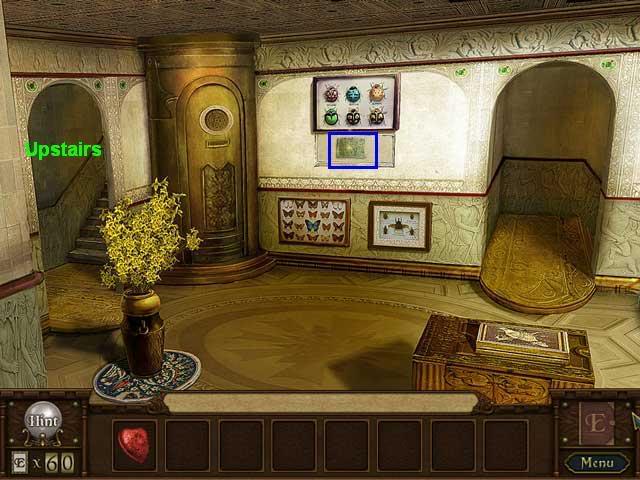
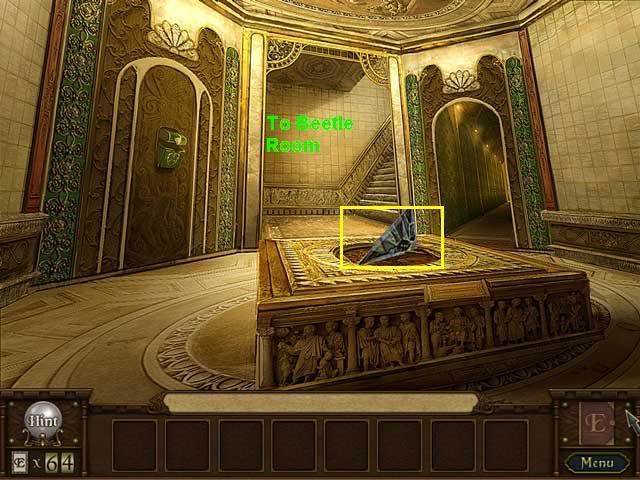
Visit 3 (Beetle Room, behind beetle display)
Inventory Objects:
Sequence 1:
You collect

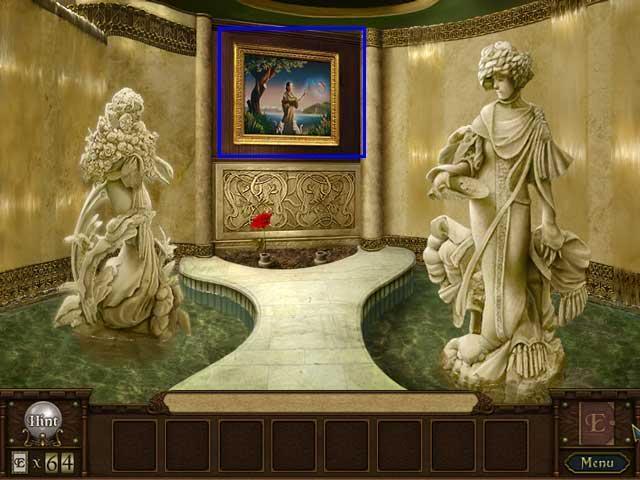
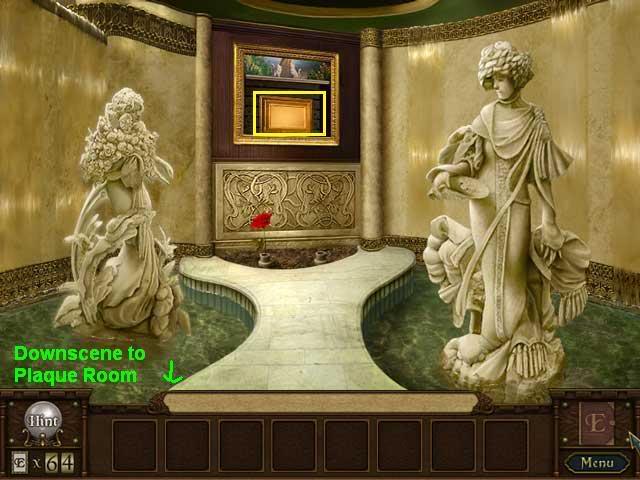
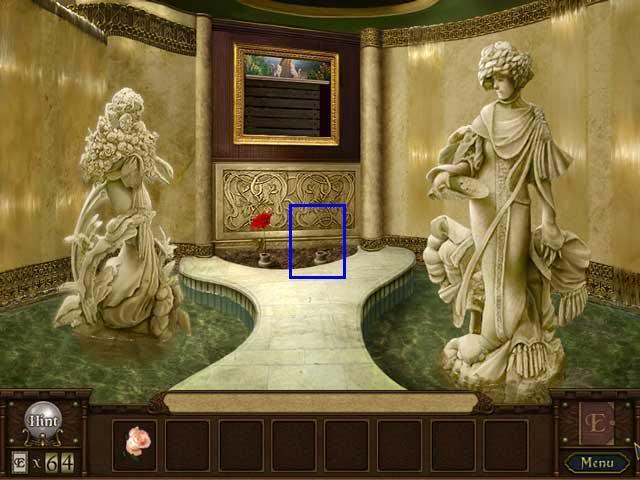
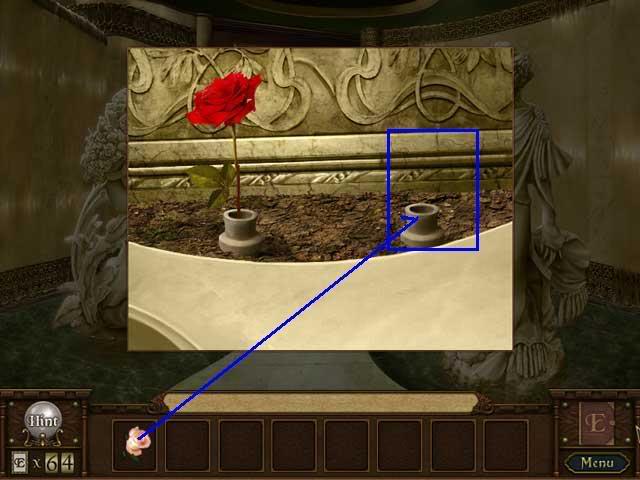
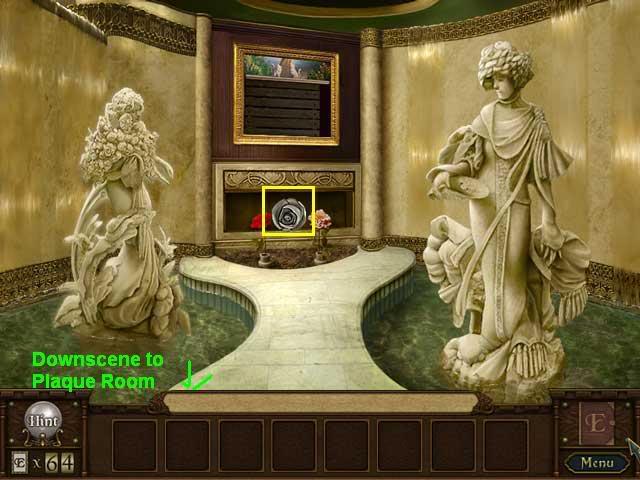
Visit 3 (Plaque Room)
Sequence 1:

Sequence 2:
You collect:
Majestic Theater of Nobel Hll
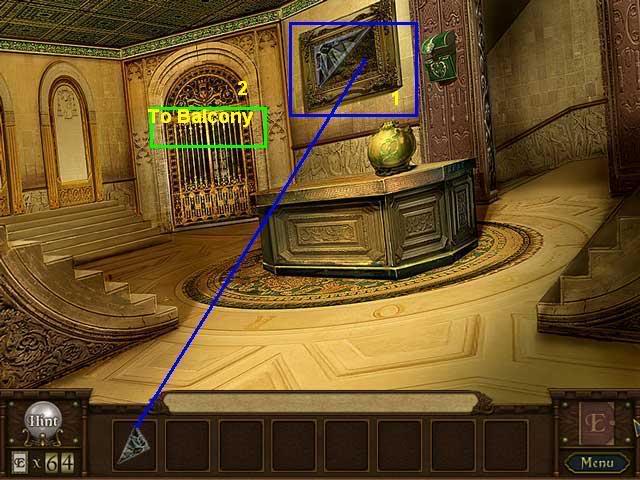
Visit 1 (Tower Entryway, left wall)
Inventory Objects
Sequence 1
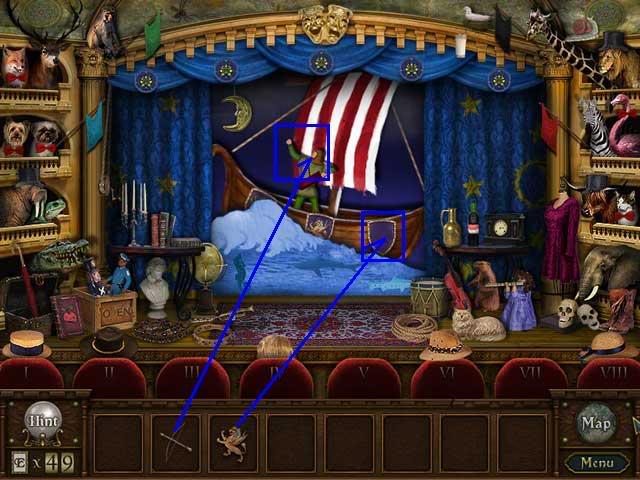
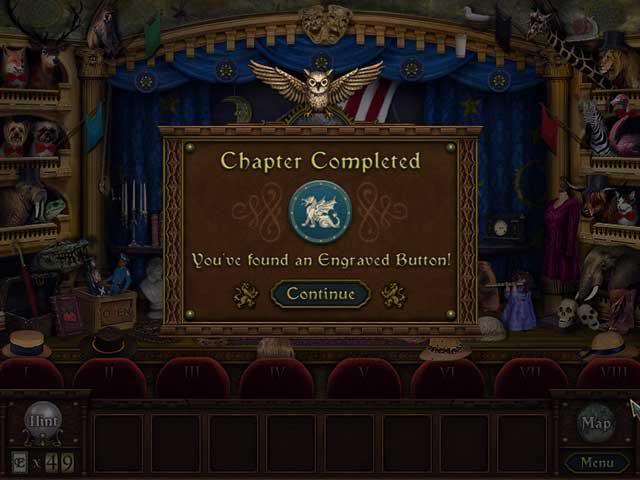
You Collect
Majestic Theater of Nobel Hill
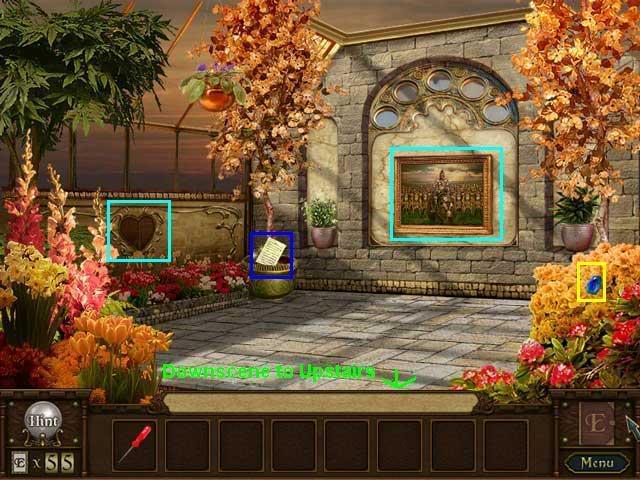
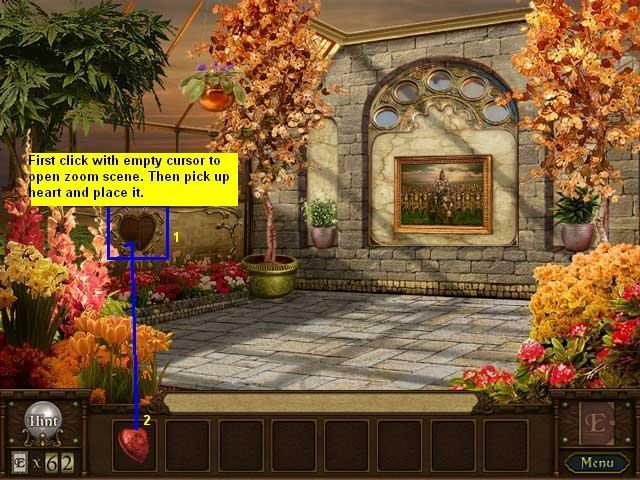
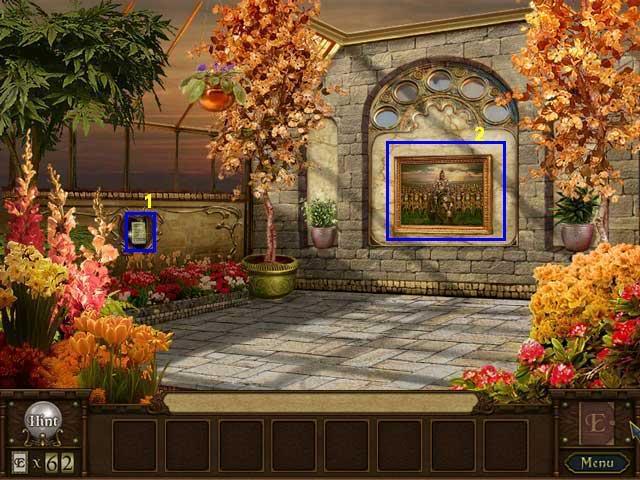
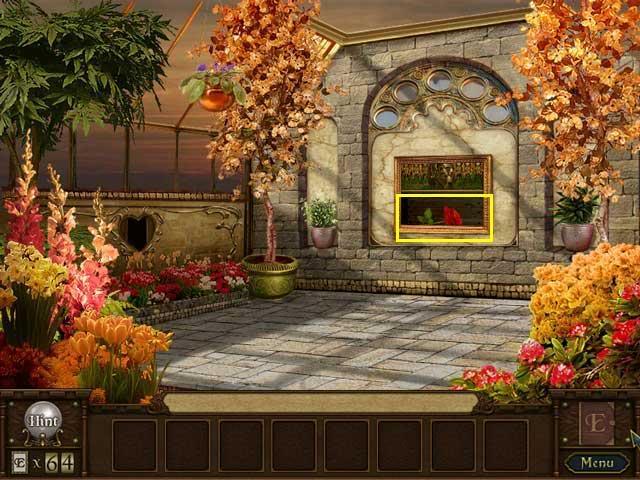
Visit 2 (Greenhouse, behind stone heart)
Inventory Objects
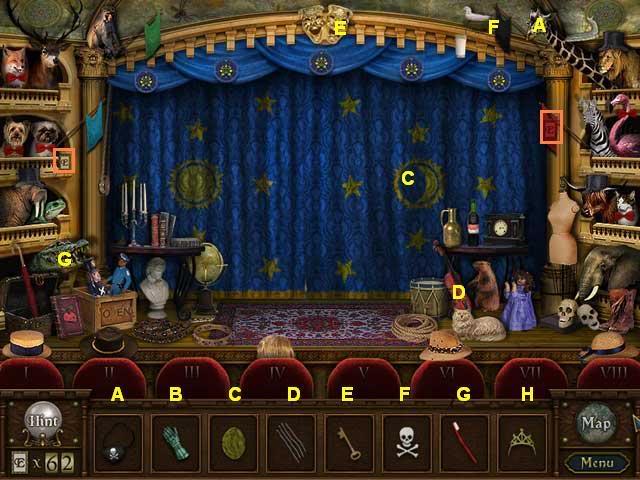
Sequence 1
You Collect
Playful Teddy’s Lullaby Adventure
Visit 3: Tower Statues
Inventory Objects:
You collect:
A Tomb Amidst the Shifting Sands
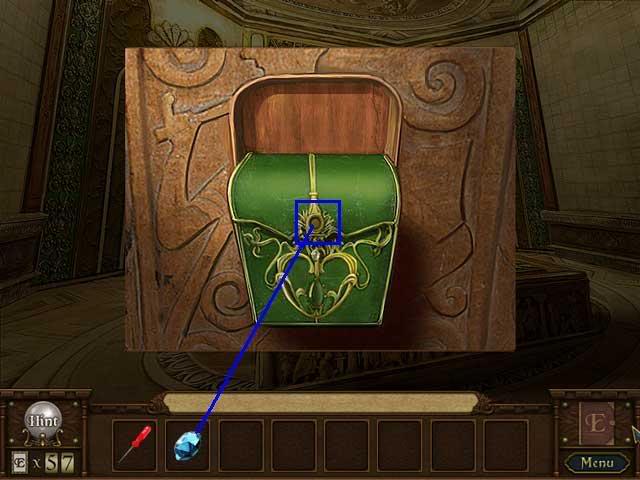
Visit 3 (Plaque Room, inside Green Box. You will need the blue sapphire from the right side of the Greenhouse to open this box.)
Inventory Objects
Sequence 1

You collect
West West Jack and the Raccoon Gang
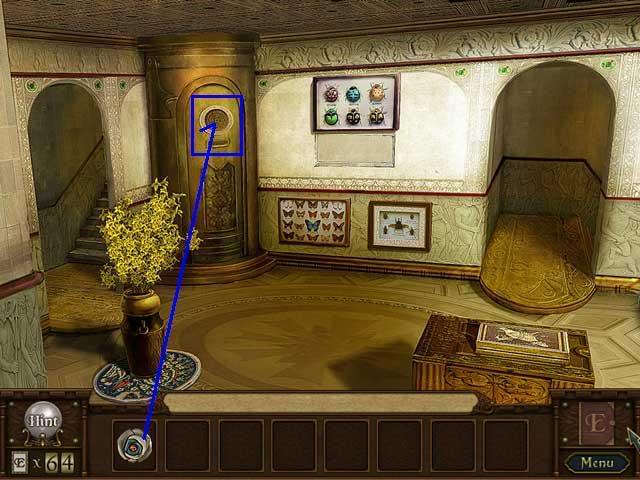
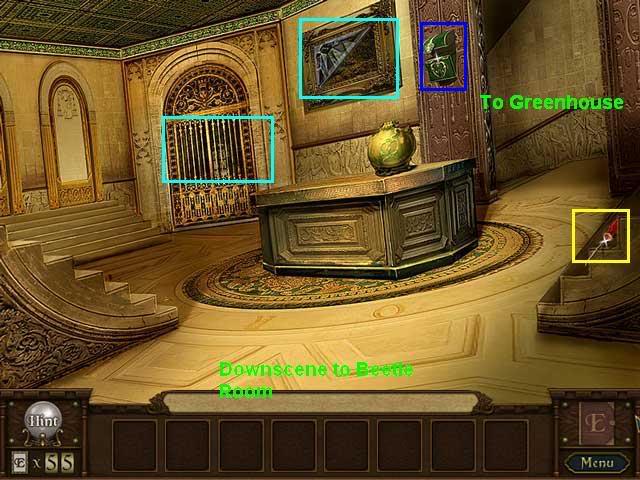
Visit 1 (Beetle Room)
Inventory Objects
Sequence 1
Sequence 2
You collect
Wild West Jack and the Raccoon Gang
Visit 2 (Greenhouse)
Inventory Objects
Sequence 1
You collect
ALPHABETICAL PAINTING GUIDE
Located on wall by Tower Statues.
Tokens Needed
Solution:
You collect:
Muscular Marvin the Grizzled General
Located on wall of Greenhouse.
Tokens needed:
Solution:
You collect:
WALK WITH ME-my solution to the game
Because you can walk freely between unlocked rooms in the adventure portion, you may have done things in a different order. That’s fine. I just include this for people who want a directed walkthrough of the whole game.
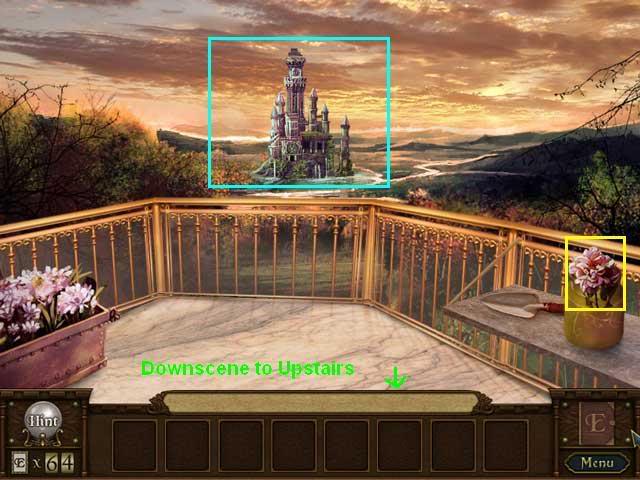
Once you go through the Moon Door at the end of Chapter two, you cannot go back. You start out on the Tower Grounds. You will see a scrolling title that says "Chapter Three."

WALKTHROUGH PART 4 (Chapters 36-end)
Welcome to part 4 of Gamezebo’s strategy guide.
SPOILER SECTION!!!!!
This section has 5 different parts.
HELP! I’M STUCK!
ALPHABETICAL ROOM GUIDE
Rooms:
Remember that locked door? Now you have a key.
Things to Do:

Exits:
Things to Do:
Exits:
Things to Do:
Exits:
This is a bonus room with extra credits and artwork.
Things to See:
Things to Do:
Exits:
Things to See:
Things to Do:
Exits:
Things to Do:

Exits:
Things to do:
Exits:
Things to Find:
Things to Do:
Exits:
Things to Find:
Things to Do:
Exits
Things to Do:
Exits:
Things to Do:
Exits:
ALPHABETICAL CHAPTER GUIDE FOR HIDDEN OBJECT SCENES
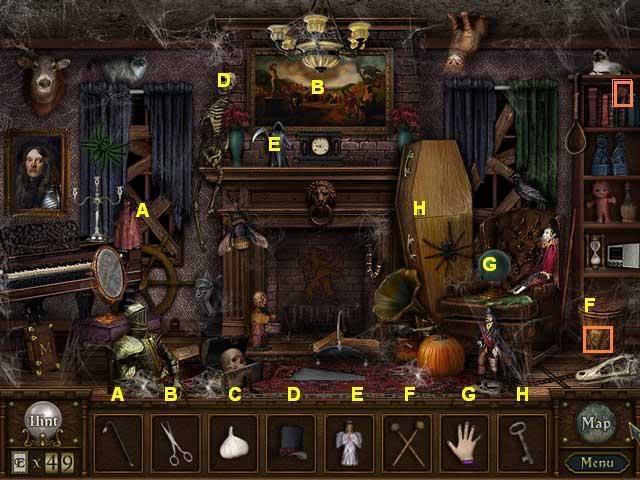
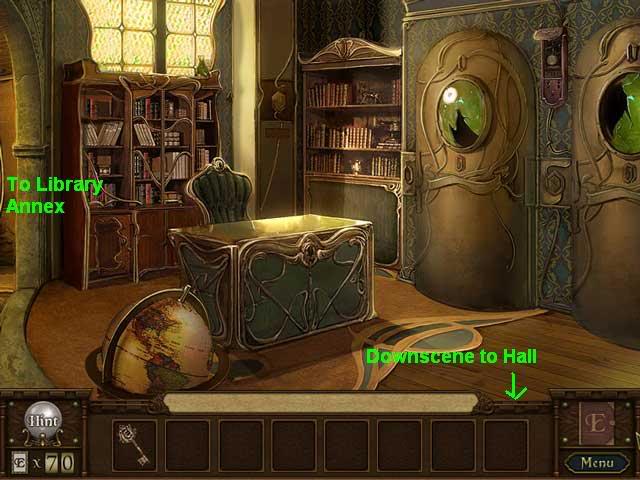
Forgotten Idol: Mayan Exploration
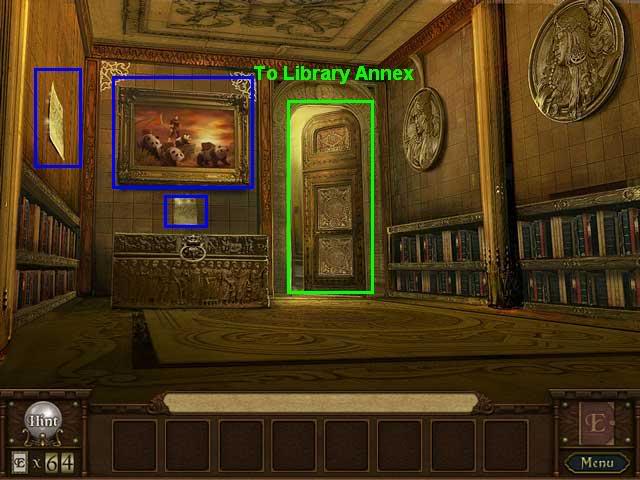
Visit 3 (Library, left wall)
Inventory Objects
You collect
Majestic Theater of Nobel Hill
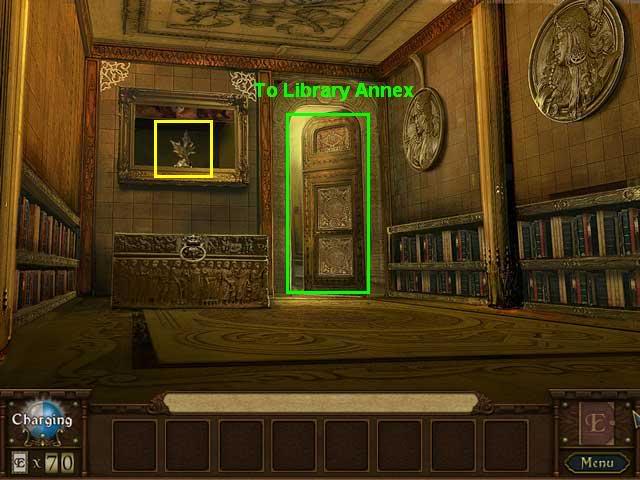
Visit 3 (Library Annex)
Inventory Objects:
Sequence 1
You collect
Wild West Jack and the Raccoon Gang
Visit 3 (Library Annex)
Inventory Objects
You collect
Whiddon’s Expedition: Atlantis
Visit 3 (Library)
Inventory Objects
Sequence 1
Sequence 2:
Sequence 3:
You collect
ALPHABETICAL PAINTING GUIDE
Located on wall in Library
Tokens Needed
Solution:
You collect:
Located on wall in Aquatic Museum Portrait Hall
Tokens Needed
WALK WITH ME-my solution to the game
Because you can walk freely between unlocked rooms in the adventure portion, you may have done things in a different order. That’s fine. I just include this for people who want a directed walkthrough of the whole game.
Once you go through the Gilded Door at the end of Chapter three, you cannot go back. You start out in the Library. You will see a scrolling title that says "Ending."

This ends the Strategy Guide.
“;
