![Digimon UP Tier List [Supports, Buddies, and Partners]](/wp-content/uploads/2026/07/digimon-up-tier-list.jpg "Digimon UP Tier List [Supports, Buddies, and Partners]")
Digimon UP Tier List [Supports, Buddies, and Partners]
These Digimon will get you UP the leaderboard.

![Haze Seas Boss Drops [Chances, Locations, and How to Spawn]](/wp-content/uploads/2026/07/haze-seas-boss-drops.jpg "Haze Seas Boss Drops [Chances, Locations, and How to Spawn]")

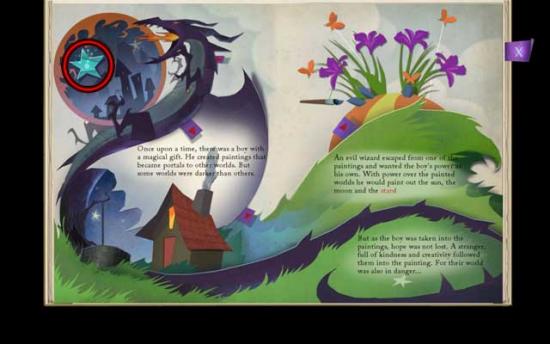
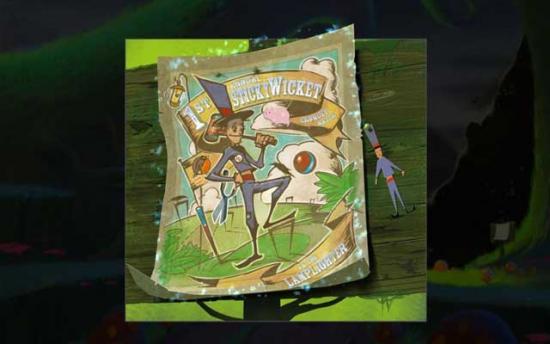
Welcome to Drawn: Trail of Shadows walkthrough on Gamezebo. Trail of Shadows is an adventure game played on the PC created by Big Fish Games. This walkthrough includes tips and tricks, helpful hints, and a strategy guide for how to complete Drawn: Trail of Shadows.
Welcome to Drawn: Trail of Shadows walkthrough on Gamezebo. Trail of Shadows is an adventure game played on the PC created by Big Fish Games. This walkthrough includes tips and tricks, helpful hints, and a strategy guide for how to complete Drawn: Trail of Shadows.
Fire

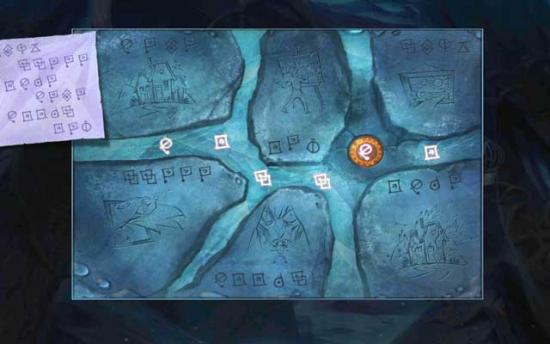
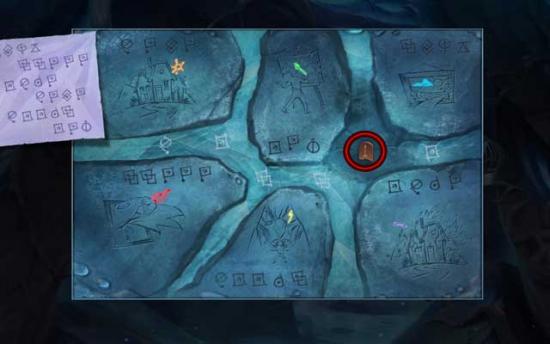
Field

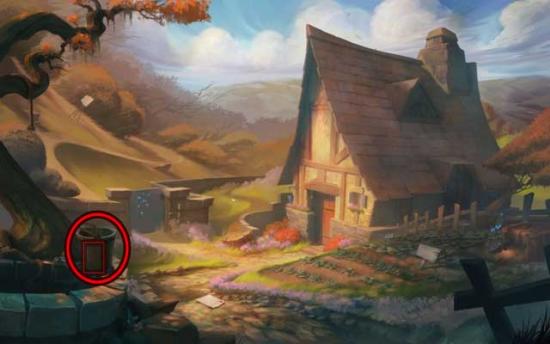
Cottage

Field

Hillside
Field
Cottage
Hillside
Forest
Forest
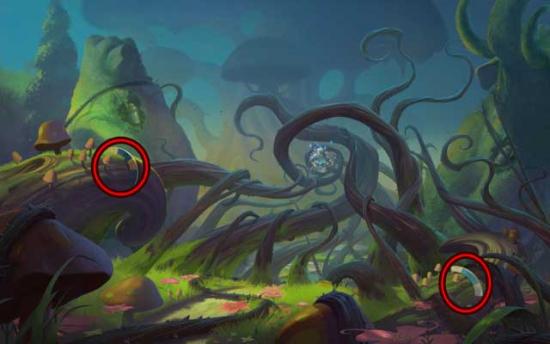
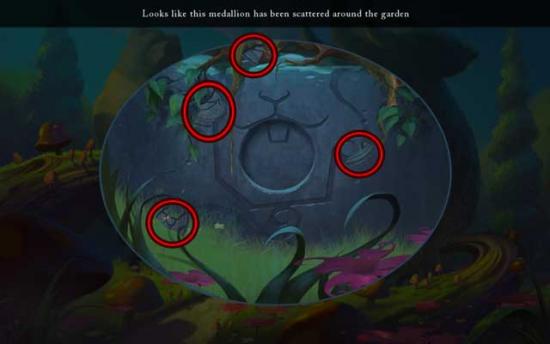
Garden
Hills
Forest
Garden
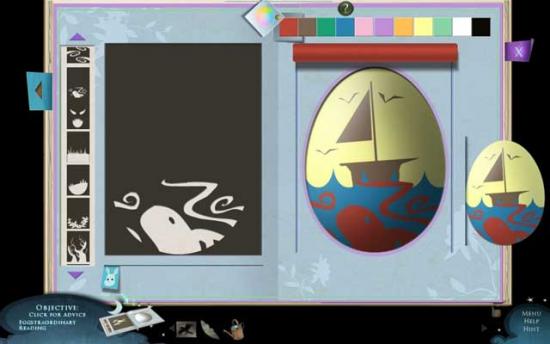
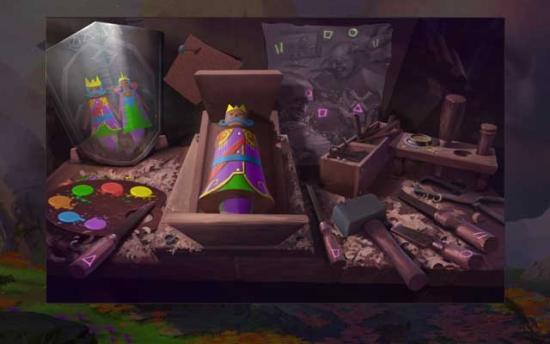
1)Choose the color Yellow and click to paint the egg yellow.
2)Choose the Ship stencil, then put it on top of the egg (this is a given in all remaining steps) and select the color Brown.
3)Choose the Water stencil, then select the color Blue.
4)Choose the Octopus stencil, then select the color Red.
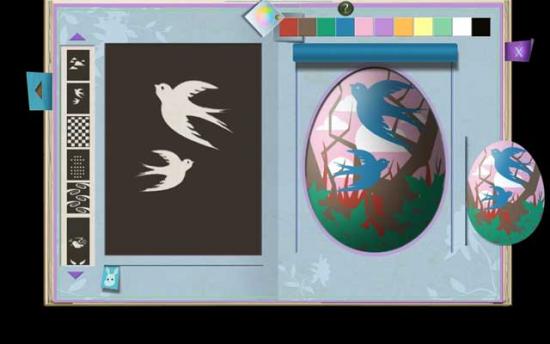
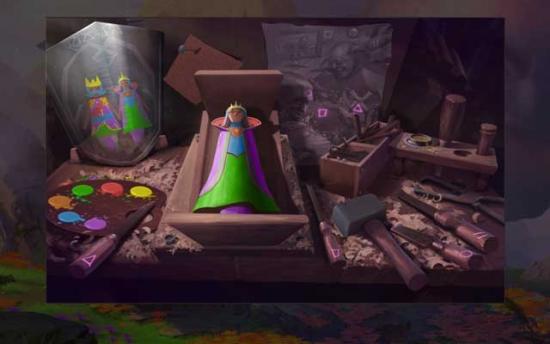
1)Choose the color Pink and click to paint the egg pink.
2)Choose the Cloud stencil, then select the color White.
3)Choose the Grass stencil, then select the color Red.
4)Choose the Branches/Brambles stencil, then select the color Brown.
5)Choose the Leaves/Scrubs stencil, then select the color Green (the one on the left).
6)Choose the Birds/Swallows stencil, then select the color Blue.
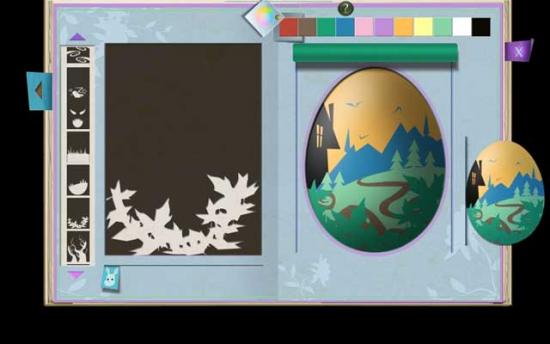
1)Choose the color Orange and click to paint the egg orange.
2)Choose the Houses stencil, then select the color Black.
3)Choose the Scary Face/Mountain stencil, then select the color Blue.
4)Choose the Hill w/trees stencil, then select the color Green (the one on the right).
5)Choose the Octopus stencil, then select the color Brown.
6)Choose the Leaves/Scrubs stencil, then select the color Green (the one on the left).
Forest
Garden
Hills
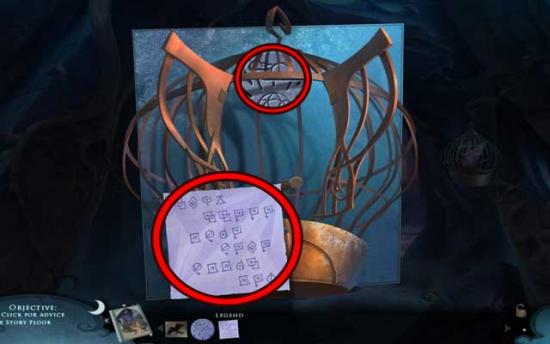
Lantern Tree
Forest
Lantern Tree
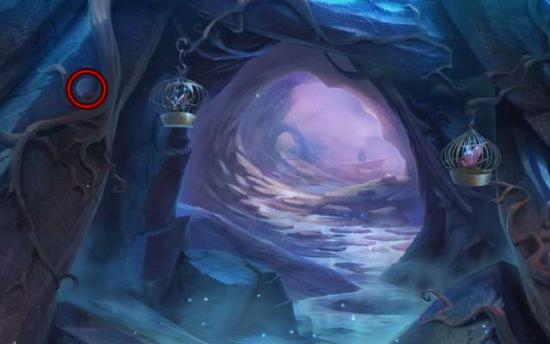
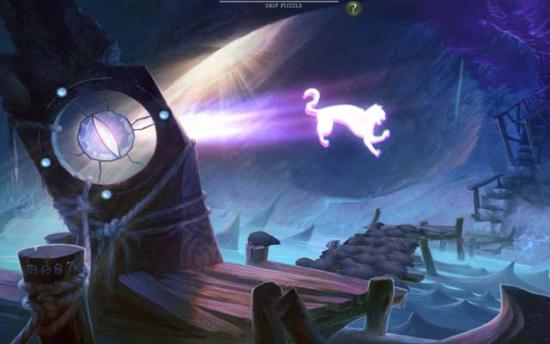
Cave Entrance

Downward Steps
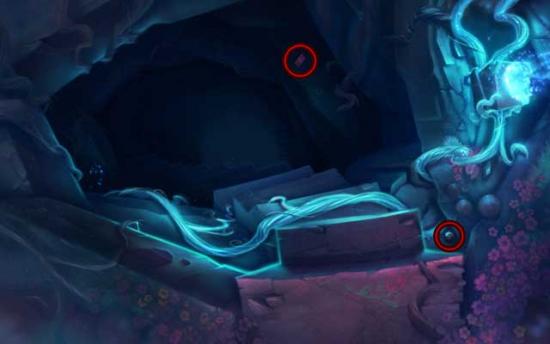
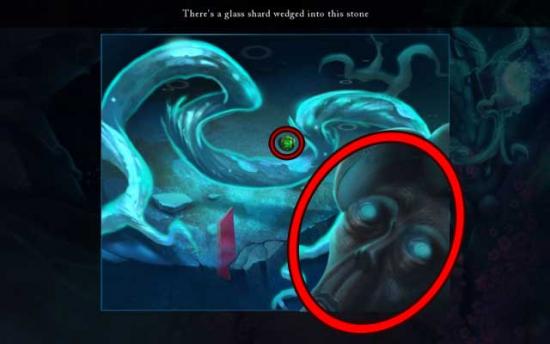
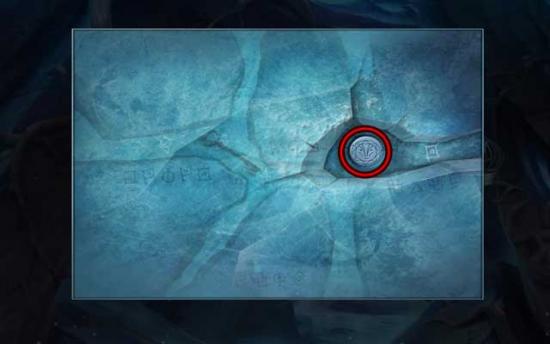
Cave
Downward Steps
Cave
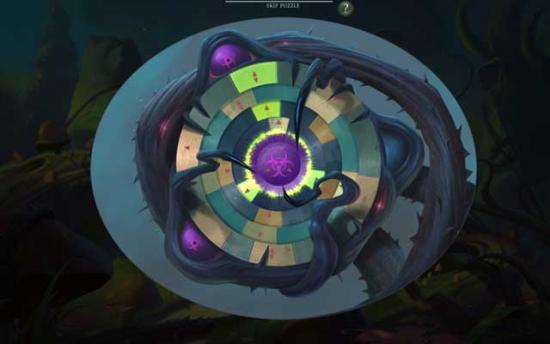
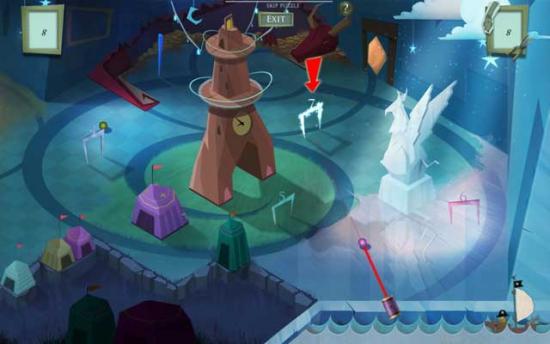
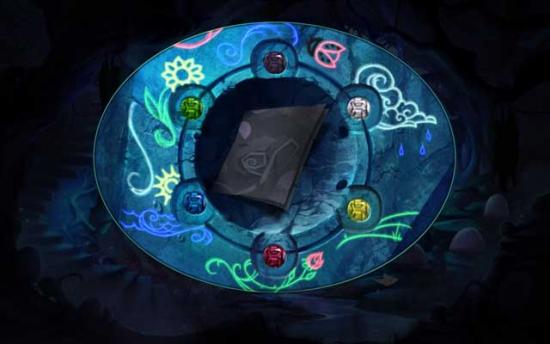
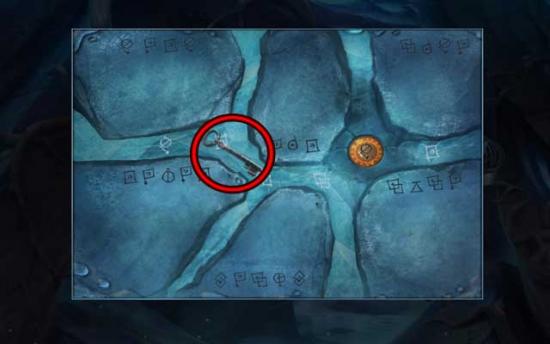
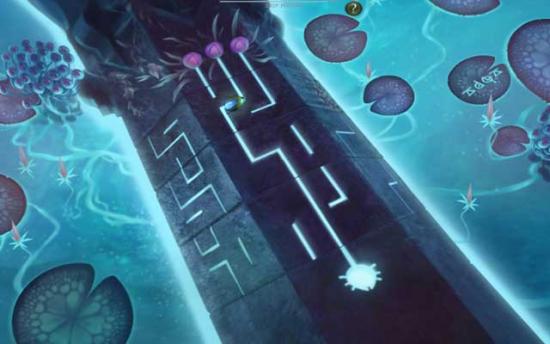
1) “Mind Your Step”: Select the Steps and trace the outline to proceed to the next area.
2) “The Inky Pitfall”: Select the Diagonal Line/Rope and trace the outline to proceed to the next area.
3) “Cornered!”: Select the Rectangle/Door Frame and trace the outline to proceed to the next area.
4) “Into the Sky”: Select the Ladder and trace the outline to proceed to the next area.
5) “Trapped!”: Select the Trampoline and trace the outline to proceed to the next area.
6) “An Ocean Away”: Select the Boat and trace the outline to proceed to the next area.
7) “The Village Below”: Select the Tree and trace the outline to proceed to the next area.
8) “Thorny Predicament”: Select the Flying Carpet and trace the outline to proceed to the next area.
9) “Locked!”: Select the Hanging Basket and trace the outline to proceed to the next area.
10) “Eye See You”: Select the Cannon and trace the outline to proceed to the next area.
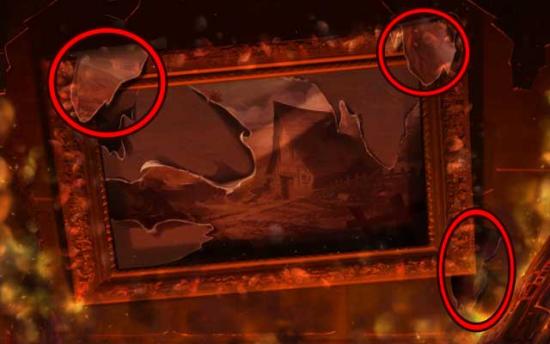
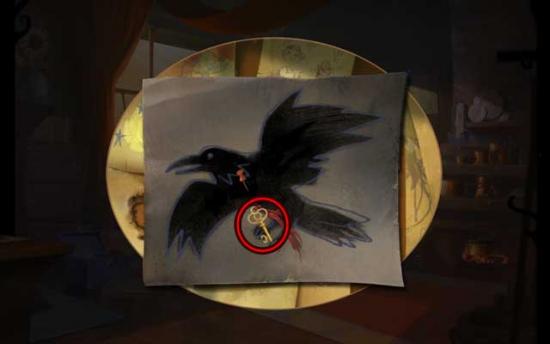
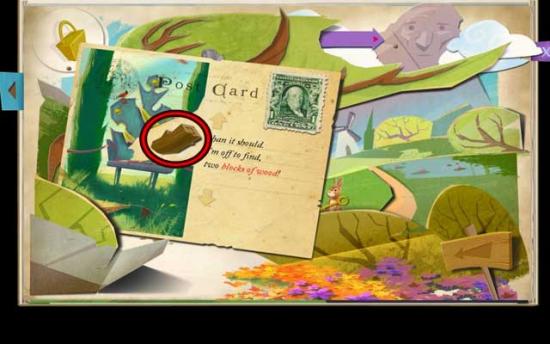
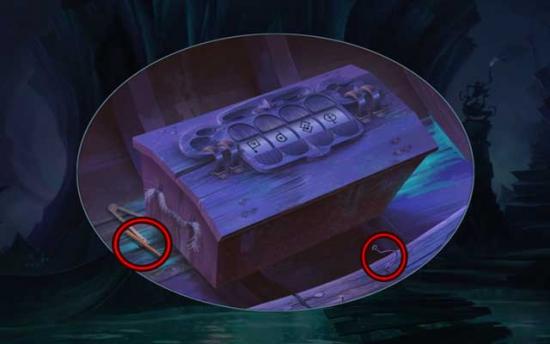
11) “The Prize”: Select the Key and trace the outline to complete the puzzle, adding the PAINTING SCRAP to your inventory.

Cave Entrance
Tunnel
Cliff Edge
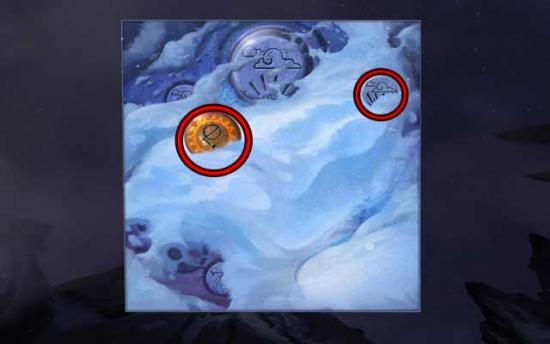
Tunnel
Cliff Edge

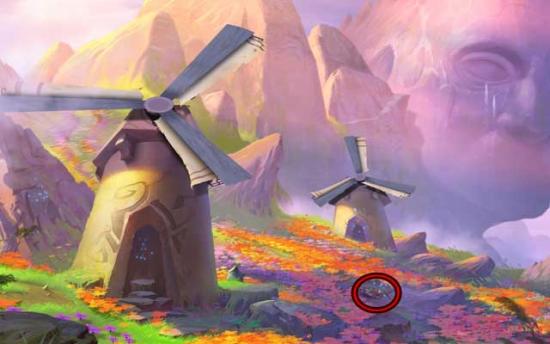
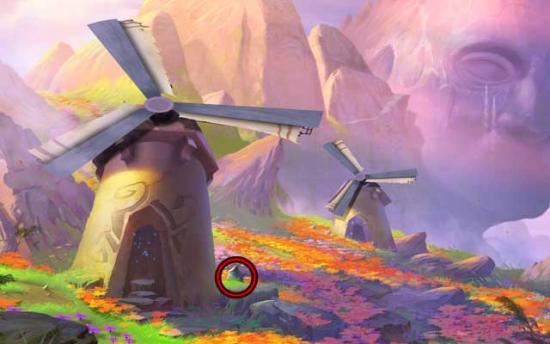
Windmills

Waterfall
Windmills
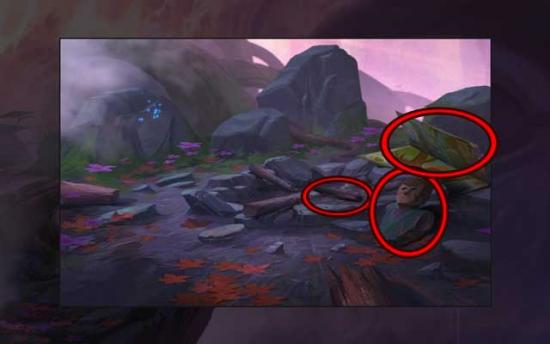
Cliff Edge
Windmills

Waterfall
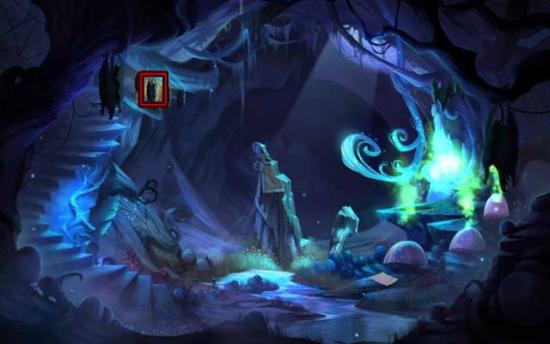
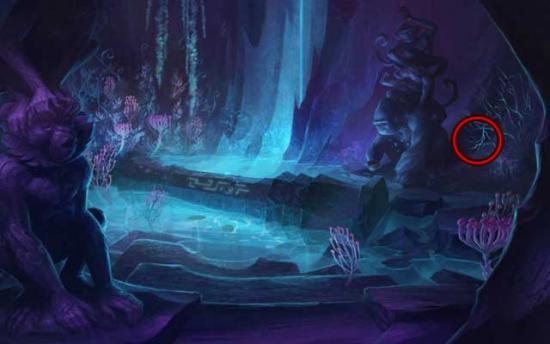
Head Entrance
Cavern
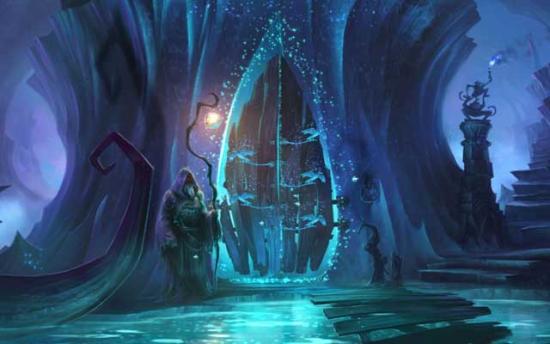
Door
Cove
Door
Cavern
Door
Cove
Door

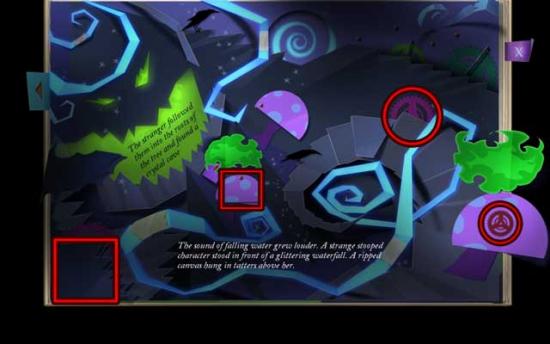
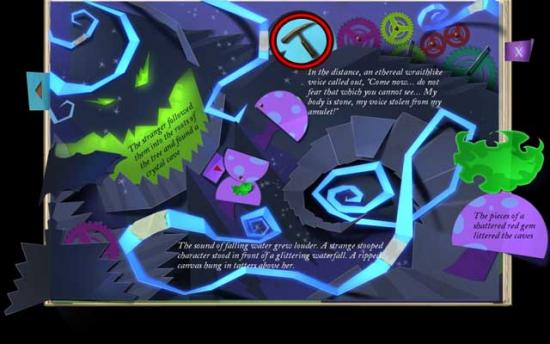
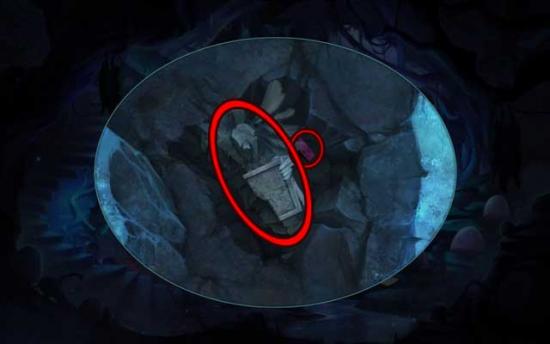
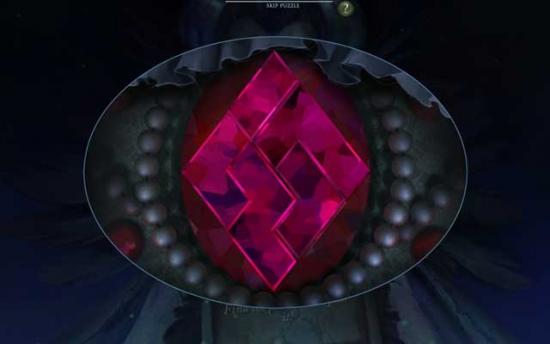
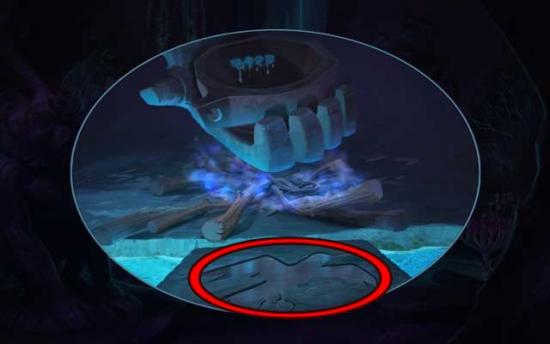
Waterfall Room
Cove

Waterfall Room
Door
Cavern
Bridge
Door
Bridge
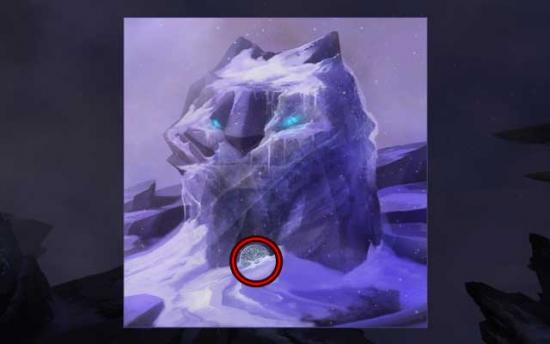
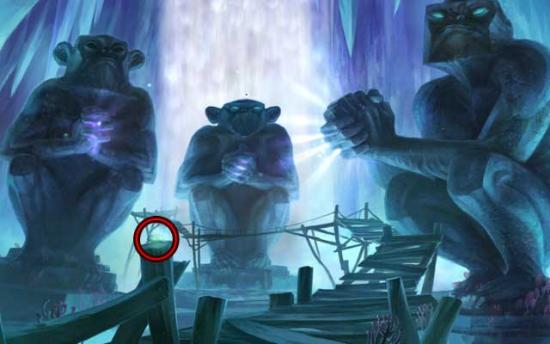
Giants Head
Waterfall Room
Giants Head

Waterfall Room
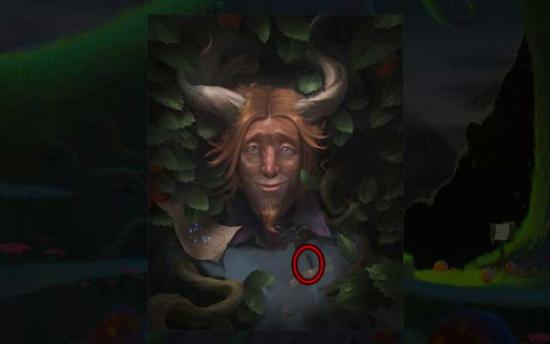
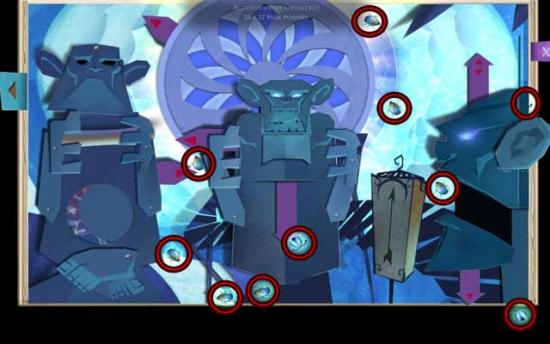
Archer
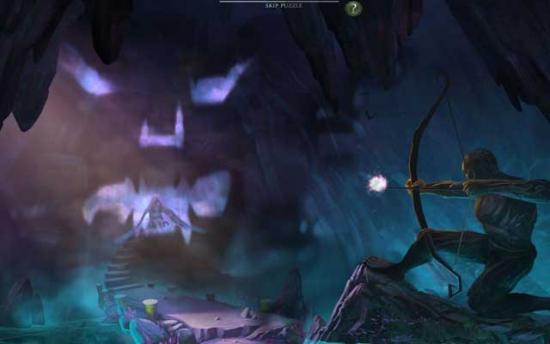
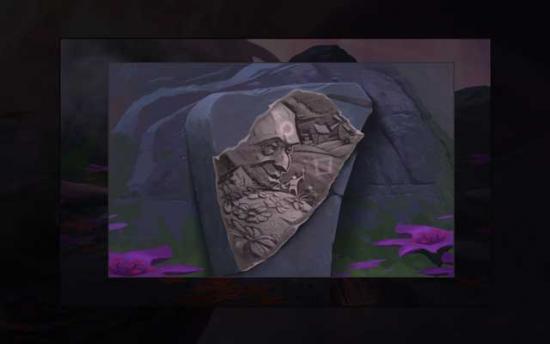
Giant Painting
Congratulations! You’ve completed Drawn: Trail of Shadows!
