![Digimon UP Tier List [Supports, Buddies, and Partners]](/wp-content/uploads/2026/07/digimon-up-tier-list.jpg "Digimon UP Tier List [Supports, Buddies, and Partners]")
Digimon UP Tier List [Supports, Buddies, and Partners]
These Digimon will get you UP the leaderboard.


![Haze Seas Boss Drops [Chances, Locations, and How to Spawn]](/wp-content/uploads/2026/07/haze-seas-boss-drops.jpg "Haze Seas Boss Drops [Chances, Locations, and How to Spawn]")

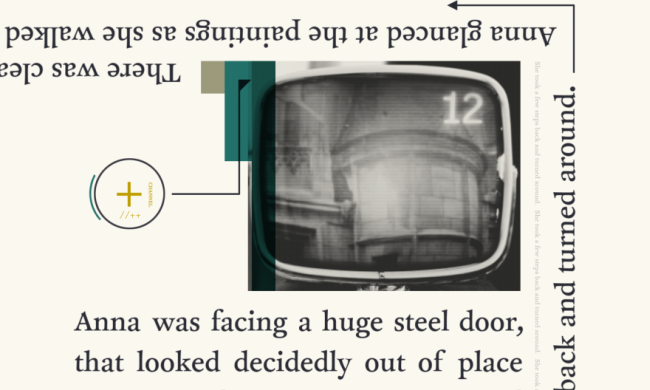
Device 6 is a puzzle game/interactive novel created by Simogo. In this game, you play as Anna, a woman who’s been stranded on a mysterious island teeming with cryptic messages and curious puzzles. If she wants answers, she needs to solve everything that’s put in front of her. Gamezebo’s walkthrough will provide you with detailed images, tips, information, and hints on how to play your best game.
Device 6 is a puzzle game/interactive novel created by Simogo. In this game, you play as Anna, a woman who’s been stranded on a mysterious island teeming with cryptic messages and curious puzzles. If she wants answers, she needs to solve everything that’s put in front of her. Gamezebo’s walkthrough will provide you with detailed images, tips, information, and hints on how to play your best game.
Overview: Anna wakes up in what appears to be a mansion or a castle. She has no idea where she is, and no memory of how she got there. The castle is seemingly abandoned, save for some creepy mannequins, dolls, and voice recordings. There appears to be a door leading to the outside world, but it’s locked.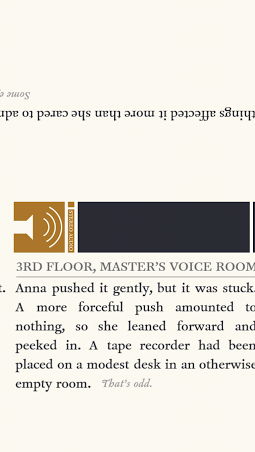
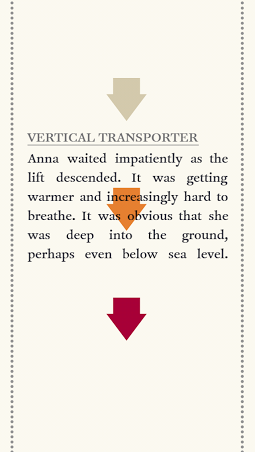
Overview: Anna finds herself on a bridge that’s home to three stuffed bears. The bears have a lot to say about secret codes, which come into play when Anna enters an eerie area stocked with missiles.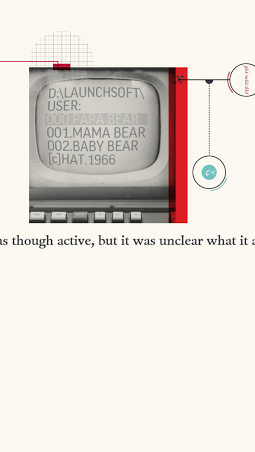
Overview: Anna finds herself in a beautiful garden, but her freedom is as distant as ever. She acquires a special chapter-exclusive item to help her through the garden’s puzzles.

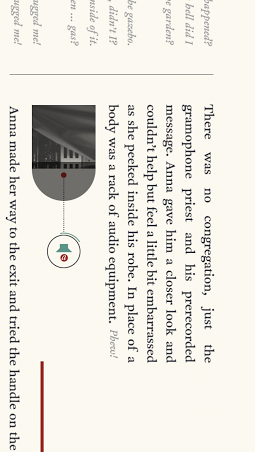
Overview: Anna wakes up in a coffin. A funeral is being held on her behalf, but the recorded eulogy isn’t anything like a traditional prayer. Anna encounters some truly bizarre puzzles in this chapter, including one wedged in the midst of hypnotized sheep.
Overview: Anna is invited to attend a show that includes a song on her behalf. She’s getting closer to finding some answers. Maybe.
Congratulations!
You have completed Gamezebo’s walkthrough for Device 6. Be sure to check back often for game updates, staff and user reviews, user tips, forums comments and much more here at Gamezebo!

 “
“