- Wondering how to get Monopoly GO! free rolls? Well, you’ve come to the right place. In this guide, we provide you with a bunch of tips and tricks to get some free rolls for the hit new mobile game. We’ll …
Best Roblox Horror Games to Play Right Now – Updated Weekly
By Adele Wilson
Our Best Roblox Horror Games guide features the scariest and most creative experiences to play right now on the platform!The BEST Roblox Games of The Week – Games You Need To Play!
By Sho Roberts
Our feature shares our pick for the Best Roblox Games of the week! With our feature, we guarantee you'll find something new to play!Type Soul Clan Rarity Guide – All Legendary And Common Clans Listed!
By Nathan Ball
Wondering what your odds of rolling a particular Clan are? Wonder no more, with my handy Type Soul Clan Rarity guide.
Delaware St. John – The Curse of Midnight Manor Walkthrough
Welcome to Gamezebo's walkthrough for Delaware St. John – The Curse of the Midnight Manor. Guide Navigation1. General Tips2. Story 1- The Fate of VandalsRestore Power to the GeneratorReaching Room 111Finding Ghosts in the BasementGet to Room 104Navigating the Endless HallsHeather's Last Moments3. Story 2- Done With MirrorsThe Dead MagicianRestoring the ElevatorFixing Arthur BunnyRoom 204 and the HunterThe Secret of Room 300Finding Roxanne BlackThe Fate of Faye and Rupert GENERAL TIPS …
a:1:i:0;a:2:s:13:”section_title”;s:59:”Delaware St. John – The Curse of Midnight Manor Walkthrough”;s:12:”section_body”;s:45514:”
Welcome to Gamezebo’s walkthrough for Delaware St. John – The Curse of the Midnight Manor.
Guide Navigation
1. General Tips
2. Story 1- The Fate of Vandals
- Restore Power to the Generator
- Reaching Room 111
- Finding Ghosts in the Basement
- Get to Room 104
- Navigating the Endless Halls
- Heather’s Last Moments
- The Dead Magician
- Restoring the Elevator
- Fixing Arthur Bunny
- Room 204 and the Hunter
- The Secret of Room 300
- Finding Roxanne Black
- The Fate of Faye and Rupert
- There is a tutorial available in the main menu screen that will teach you how to play the game and the various functions of the VIC device.
- The VIC device has three functions: Connect, Photo, and Record. Connect allows you to talk to Kelly, Photo allows you to send a picture of what you see to her for further evaluation, and Record lets you record any sound for her to hear and give input on as well.
- Moving in the game is simple: use the arrow key icons to proceed to another view or location.
- To exit any close-up, move the cursor near the bottom of the screen and click to exit.
- If you get stuck at any point in time, you can connect to Kelly for helpful hints and puzzle solutions.
- Subtitles can be switched on or off, or the language changed in the Options menu.
Time to start the adventure! Delaware arrives at Morrisville Manor- dubbed by locals as the notorious Midnight Manor, once a grand hotel that suffered suspicious tragedies that led to rumors of a curse and its eventual downfall. With the flashlight batteries low and Delaware’s little light left flickering, Kelly chimes in via the VIC and informs Delaware that there’s a backup generator in the basement.
Restore Power to the Generator
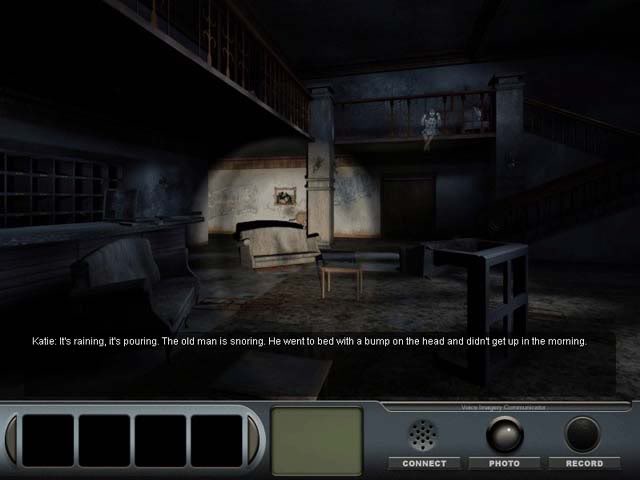
Lobby
- Following Kelly’s directions, proceed forward and to the right. The ghost of a small girl will begin singing and vanish once she’s done.

- Proceed forward to the door on the far end of the room (click forward three times).
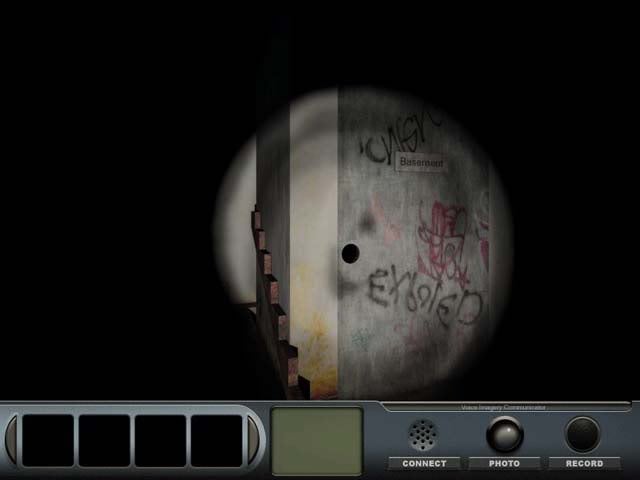
- Open the door and enter to proceed to the Basement.
Basement
- The Basement can be difficult to navigate. If you get lost it’s a good idea to turn a full circle to the left or right to get a better idea of your surroundings. From the entrance, turn left.
- Continue forward (x2) and a chair will mysteriously move across the room. Looks like the place is haunted.
- Walk forward twice more and open the door to find that area of the Basement flooded- Delaware’s not going in without some sort of protection, so exit.
- Turn left and you’ll notice the eye icon will appear over what appears to be a pair of boots. Click on them to move closer and add them to your inventory.
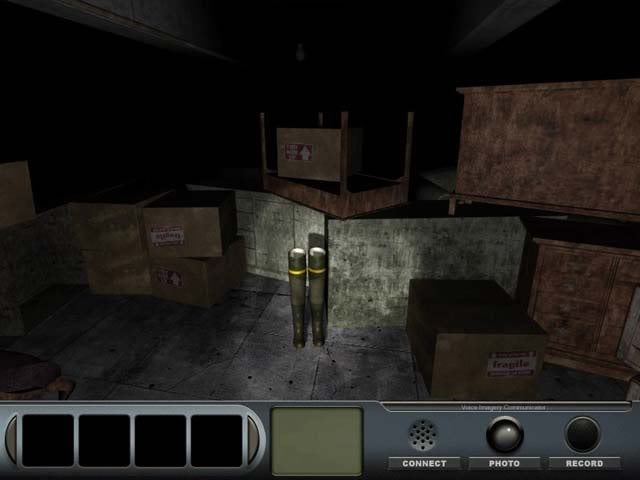
- Once you’ve acquired the wading Boots, go back and turn right. Enter the door which leads to the flooded basement area where you just were.
- Proceed forward. You’ll notice the eye icon appears over some electrical panels.
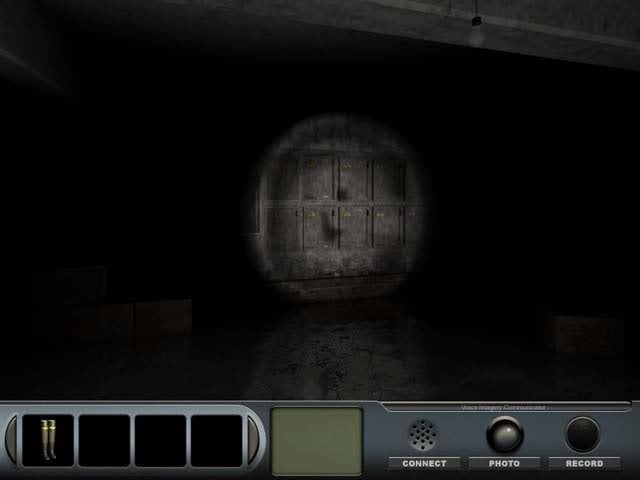
- Click the slightly open panel twice to find a note inside the door leaving a hint to the code of the generator. You can take a picture of it for Kelly’s input, and if you’re stuck on the code, call her again for the puzzle solution. Exit the electrical panel.
- Turn right twice to find the generator. Click on it (eye icon appears) to be taken to a keypad. Click "On" followed by 6-3-2-8 to activate the generator. Just in time!
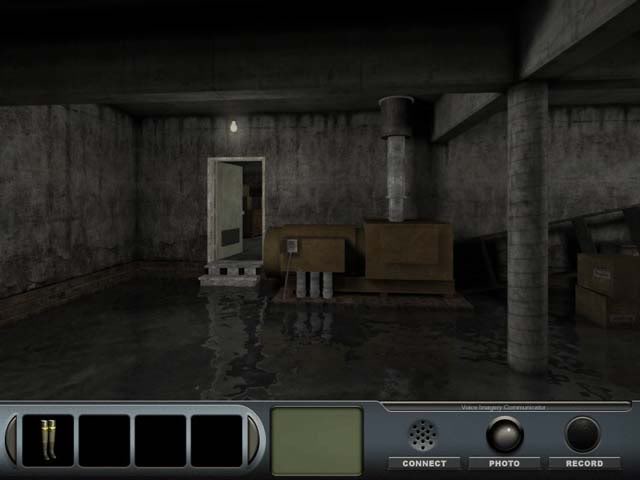
- To exit the Basement, proceed forward x2, right, forward again, right (angled up slightly), and forward once more. You’ll find yourself in the Lobby again.
Reaching Room 111
Lobby
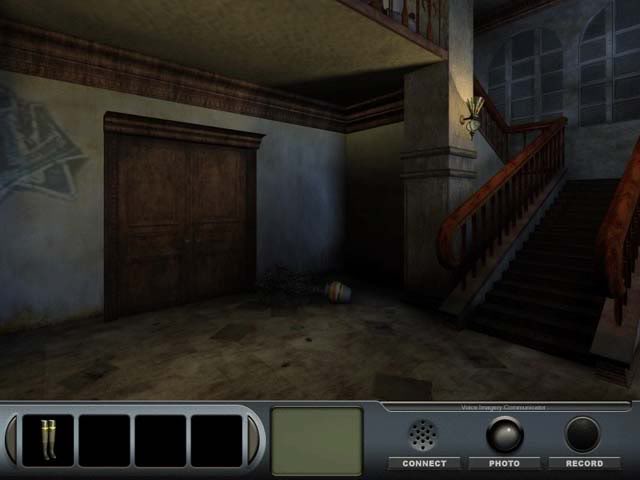
- Upon entering the Lobby again, the ghosts of five teenagers will appear, converse, and subsequently vanish. Turn right and proceed forward. Take a closer look at the stairwell (eye icon), and you’ll find the bottom steps have rotted out.
- Exit the stairwell and proceed left. Walk forward, then proceed left twice. Walk forward once more and open the large wooden doors to enter the Lounge.
Lounge
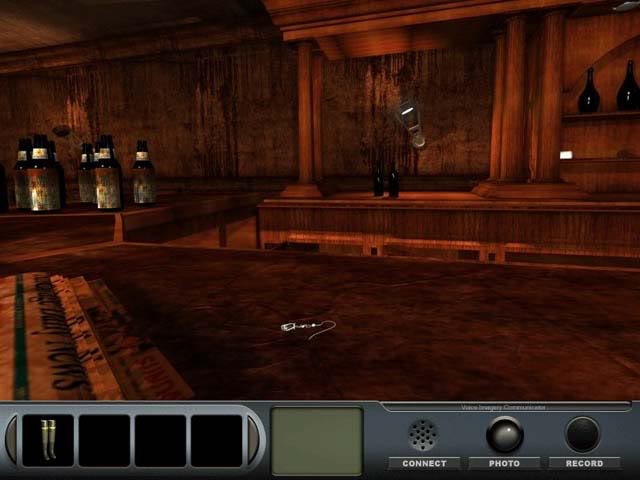
- Once inside, turn to the left and proceed forward towards the bar. The ghosts of two teens will appear, until one begins choking. Once they disappear, look at the top of the bar. There’s an Earring lying there, and it’s not that old. Pick it up and add it to your inventory.
- Exit the close-up of the bar and turn to the right. There’s a Step Ladder, click on it to add it to your inventory.
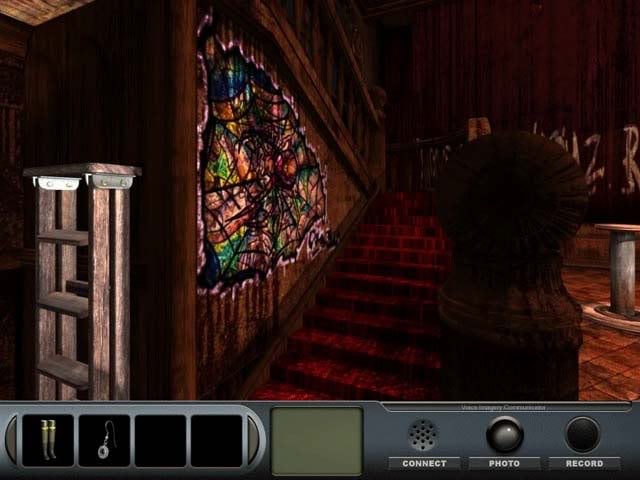
- Turn to the right and proceed forward. Before re-entering the Lounge, Kelly will chime in over the VIC and Delaware will ask her to run a check for missing persons. Proceed to the Lobby.
Lobby
- Once in the Lobby, turn right (x2) and proceed forward (x2) to return to the stairwell with the bottom steps missing.
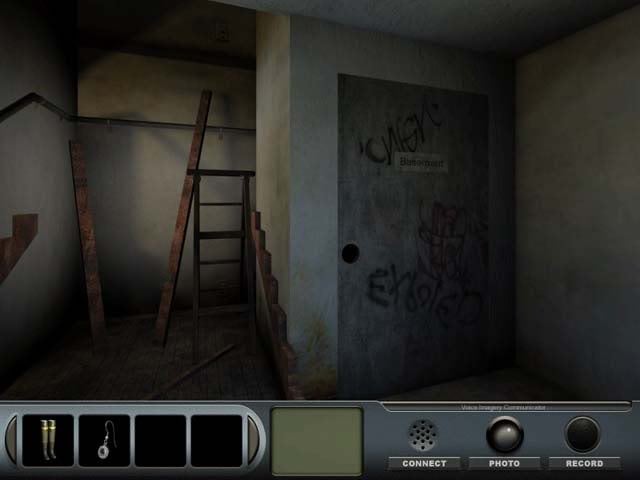
- Use the Step Ladder in the broken stairwell to reach the next floor.
First Floor
- Upon reaching the First Floor, you can check the elevator, but turns out it’s out of order.
- Turn left and the ghosts of the teens will appear again. One will disappear while the other runs for help. Proceed forward twice and enter Room 111 on the left.
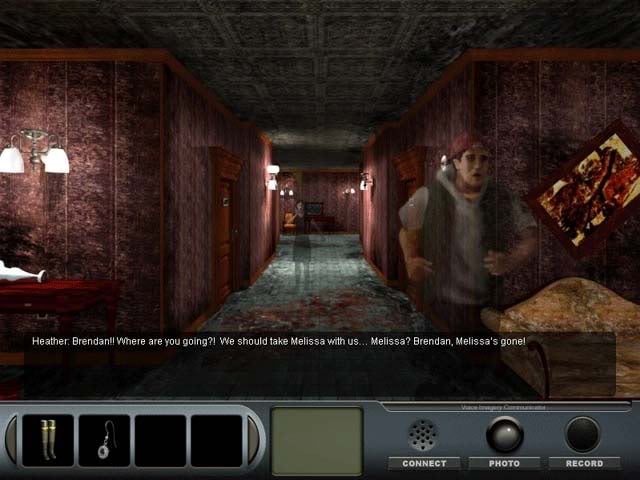
Room 111
- Take a closer look at the body outline on the bed: it appears to be burnt. After making the observation and on closer inspection, you’ll find an Earring just like the one downstairs. Use the Earring from your inventory on the Earring lying on the bed. They’ll disappear and Melissa’s ghost will thank you.
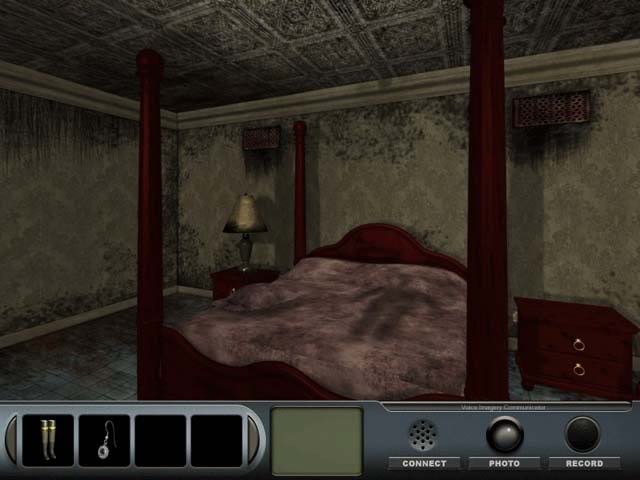
- Turn left and look at the Journal lying on the couch. Click on it to read it. It belongs to one of the teens, Heather Malcolm, who writes about her suspicions of the manor being haunted and that she’s going down to the basement to look for her friend. Exit the Journal and it will automatically be added to your inventory.
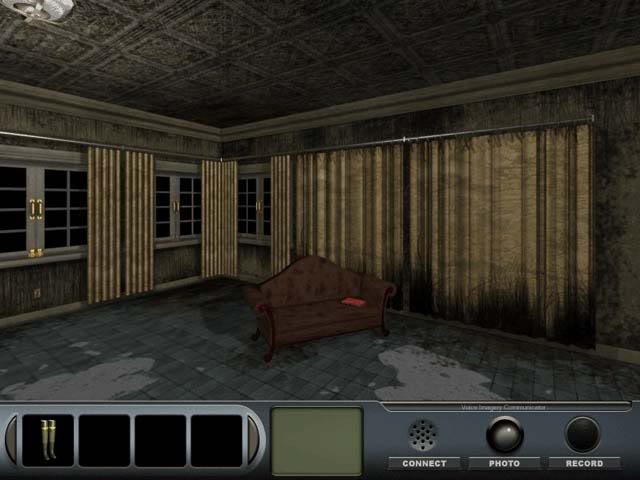
- Turn to the left twice, ignoring the red door for now, and exit the room. Outside Delaware will talk with Kelly about the body outline, but she still hasn’t found any missing persons reports.
Finding the Ghosts in the Basement
First Floor
- Proceed forward (x2), and then turn to the right.
- Open the door with the large red EXIT above it and enter the stairwell. The next level cannot be accessed due to excess junk, so proceed down. You’ll find yourself in the Lobby.
Lobby
- Once in the Lobby, turn right and enter the Basement.
Basement
- Once in the Basement, turn to the left and then proceed forward. Two of the teen ghosts will appear, commenting on the junk in the Basement.
- Continue forward, then turn right. The same two ghosts will reappear, checking out a door, and vanish with a scream.
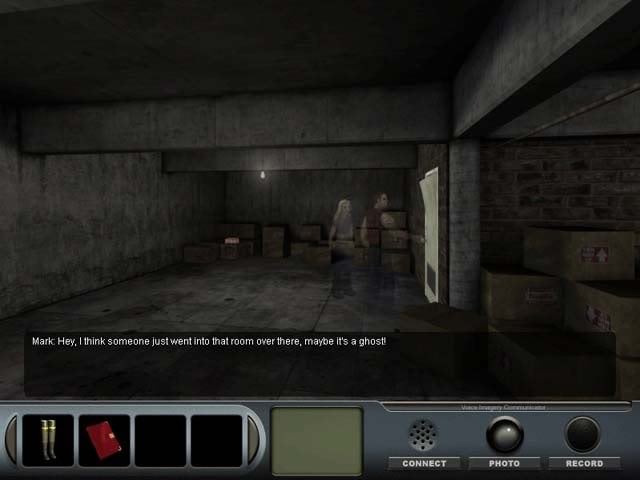
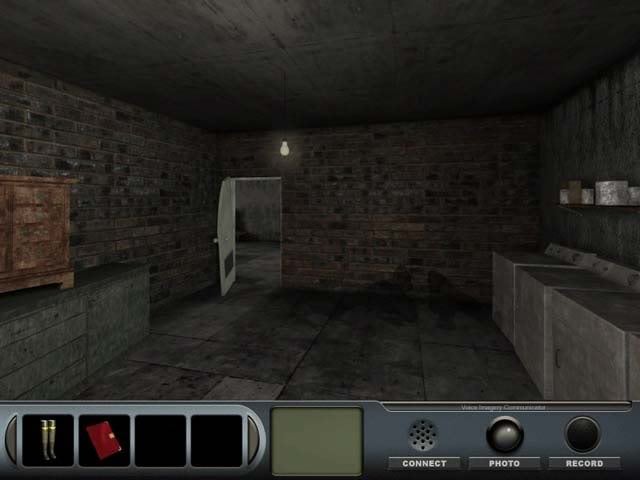
- Continue over to the door at which the ghosts were standing. Kelly will chime in saying she found a missing persons report on five teens with familiar names. Proceed to break down the door. Enter the Laundry Room.
Laundry Room
- Turn left twice. There’s two body outlines on the far wall next to the open door. Click them (eye icon) and Delaware will have a vision of a dead tree.
- Leave the Laundry Room for now, proceeding through the Basement the way you came and back up to the Lobby.
Lobby
- Once in the Lobby, proceed forward (x2) and ascend the leftmost stairs.
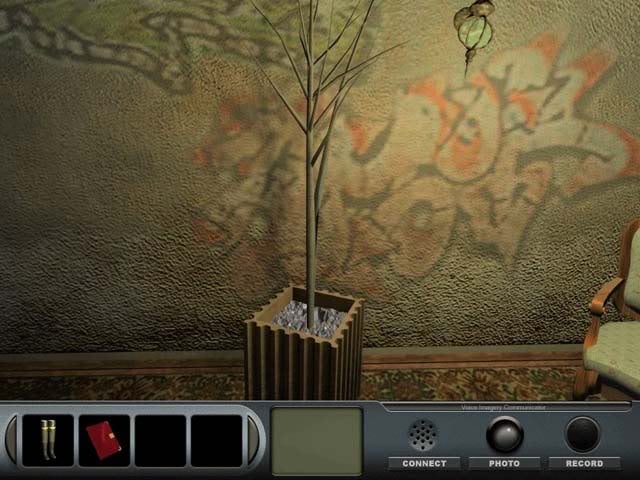
- Proceed forward, and turn to the left. It’s the tree from Delaware’s vision. Click on it when the eye icon appears to get a view of the planter. Click again when you see the eye icon to discover the Key to Room 104.
Get to Room 104
- Exit the close-up of the planter and turn left.
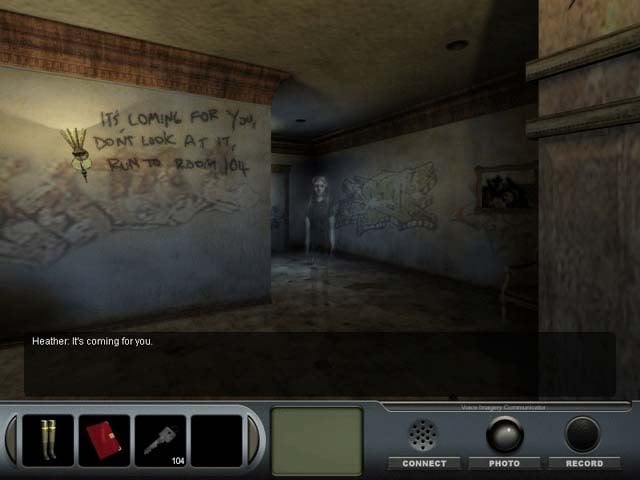
- Proceed straight twice and then turn to the right. Go forward again until you’re stopped by a ghost, giving you a warning that something’s coming for you. A cutscene reveals there’s some sort of monster in the Basement. You’ll have to run to Room 104 without making a wrong turn.
- Proceed forward twice and climb the Step Ladder.
First Floor
- Turn to the right and proceed forward twice. Continue towards the left door.
- Use the Key on the lock to open the door to Room 104 and enter. If you take a wrong turn, you’ll be returned to the Lobby where you’ll need to try again.
Room 104
- The monster seems to have been stopped and disappears. Kelly calls and Delaware tells her of the monster.
- Turn to the left and proceed forward, then turn left and open the Closet.
- Look inside the Closet to find another mysterious outline and a page from a journal. Click on the outline to hear a voice chant "You can’t see me here" before the outline vanishes. Click on the journal page to read more. Once you’re done, exit.
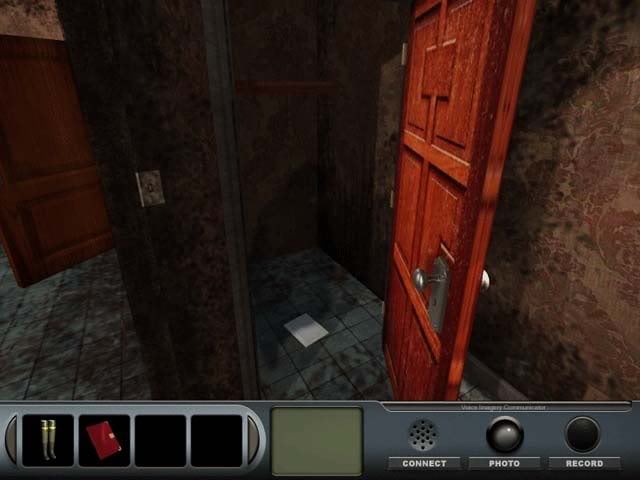
- Walk forward to exit the room.
Navigating the Endless Halls
First Floor
- Upon exiting the room, Delaware will comment on the halls: they’ve changed and seem to go on forever. Proceed forward twice and Heather’s ghost will appear, writing something on the wall. They’re directions.
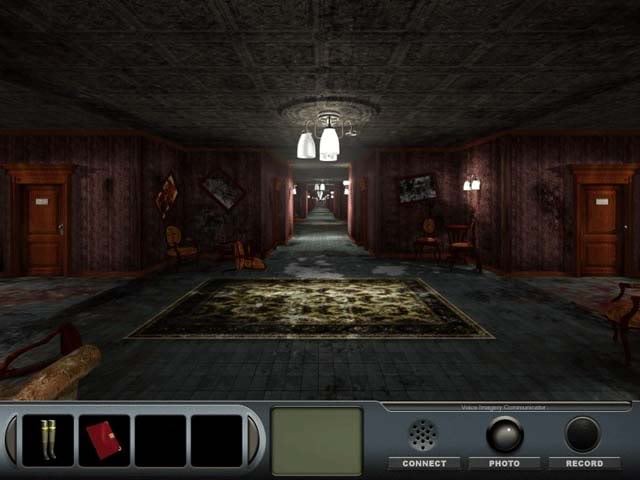
- Right, Right, Forward: Exit the close-up of the wall, and proceed forward (x2) until you’re standing in the center of the intersection. You’ll know you’re in the center when you’re standing on (i.e. You can no longer see it) the middle carpet. Turn right. Proceed forward (x3) to the next intersection and turn right. Continue forward six more times and you’ll find the ghost again, this time standing at a door.
- Proceed forward, turn to the right, and enter through the door. You’ll find yourself in another set of hallways, but the ghost is here to help you again. Click on her writing on the wall to reveal the next set of directions.
- Forward, Left, Left, Right, Forward: Exit the close-up of the wall and proceed forward x5. Turn left and go forward x3. Turn left yet again and go forward another x3. Turn right and proceed forward x6. The ghost will appear again, this time guiding you to the left door. Go forward, left, and enter.
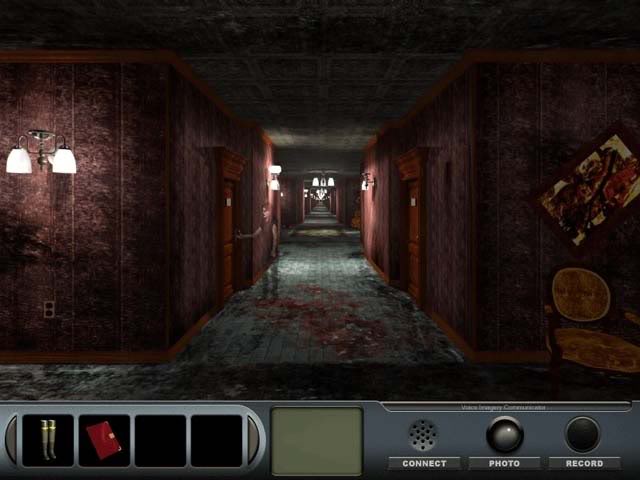
- Another set of halls! Click on the ghost to read her directions.
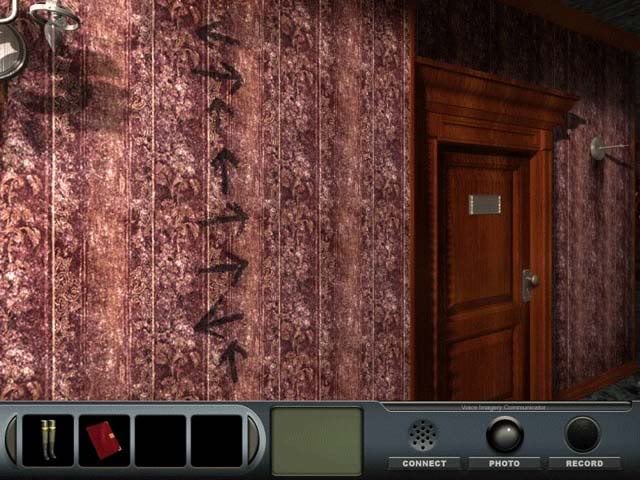
- Left, Right, Forward, Forward, Right, Right, Left, Forward: Exit the close-up of the wall and proceed forward x2 to the intersection. Turn left, proceed forward 3x. Turn right, walk forward x9. Turn right and walk forward x3, take a left and go forward x6. The ghost will appear in front of the door on the left. Go forward once more and turn to the left, open the door to find yourself in the familiar stairwell.
- Proceed down the stairs and forward once into the Lobby.
Heather’s Last Moments
Lobby
- In the Lobby, proceed forward once (if you haven’t already) and you’ll encounter two of the teen ghosts again: Heather is sitting on the couch. Once she disappears, take a closer look.
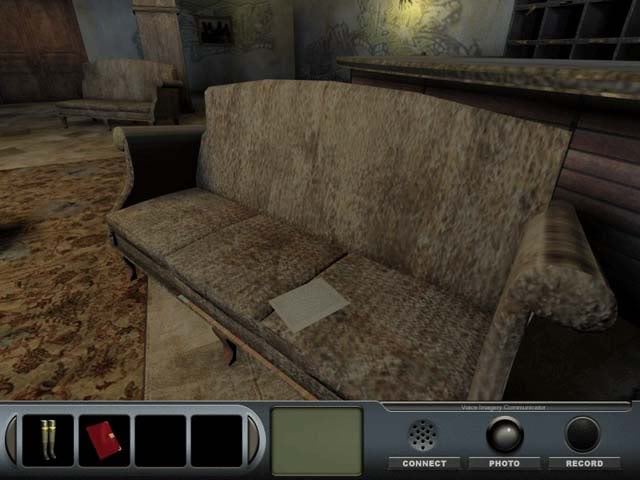
- Pick up the journal page on the couch and read it. Heather wrote about spirits not wanting them to leave. Exit the journal.
- Turn left twice and proceed forward towards the double doors. Open them to enter the Lounge once again.
Lounge
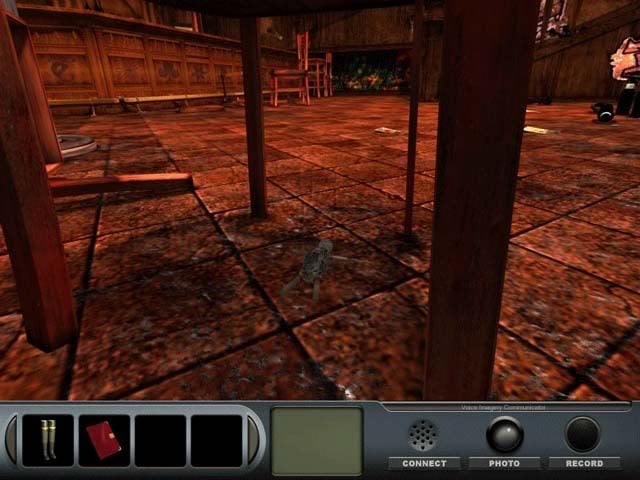
- Turn to the left: a chair will mysteriously repair itself. Take a closer look under the chair to find the final missing journal page.
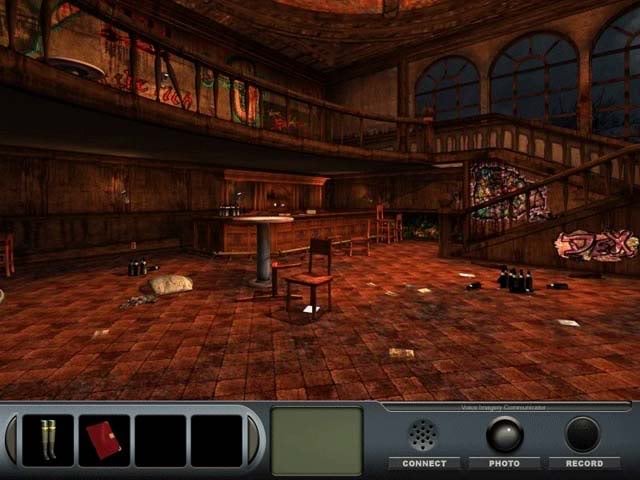
- After reading the final journal page, Heather’s Ornament will appear. Take a picture of it for Kelly’s input: it’s a dispel charm that wards off evil spirits. After she informs you, you can pick it up. Exit the close-up.
- Upon exiting the close-up, Heather’s ghost will appear on the balcony, followed by a roar. Evil spirits will begin to appear. Use the Dispel charm (click on it in your inventory first, then) click on the evil spirit with it to make them disappear. Delaware will slowly proceed closer to and further up the stairs as he overcomes the evil spirits with the charm. If you are too slow, you will have to start over. Go forward towards the balcony to restart the sequence.
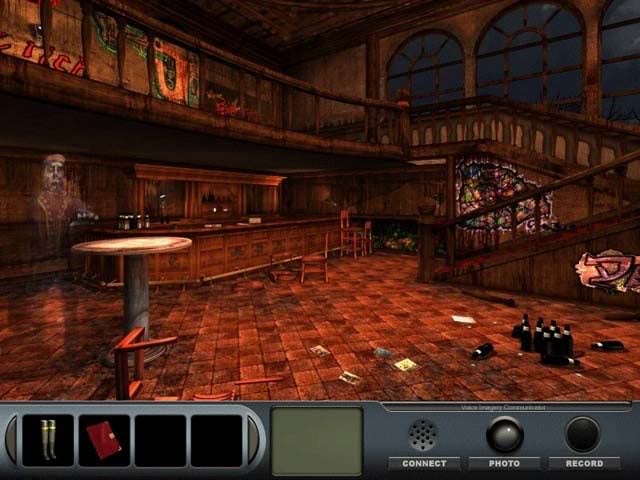
- Up on the balcony, there is another shadowy outline on the floor. Click on it, and on closer inspection it doesn’t disappear like the others. Place the journal from your inventory on the outline. Heather will thank you.
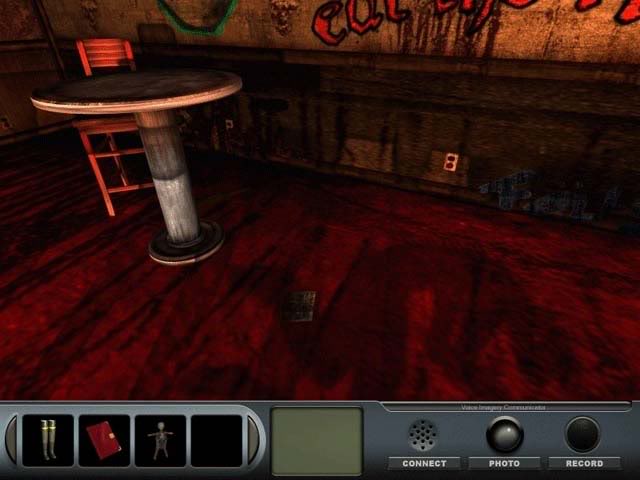
- While the teens have found peace, Delaware knows that’s not why he’s come: something else is going to occur. Story 2 has now been unlocked in the main menu. Click "New Game" and Story 2 to access it.
You can select this story under "New Game" once you’ve completed the first. You/Delaware will start out this story in the Lounge. Several ghosts are there watching a magic act, but then they disappear, the magic box is still remaining.
The Dead Magician
Lounge
- Click on the Magic Box/coffin to open it. Inside is the body of the magician, stabbed through with the four swords. Exit the close-up.
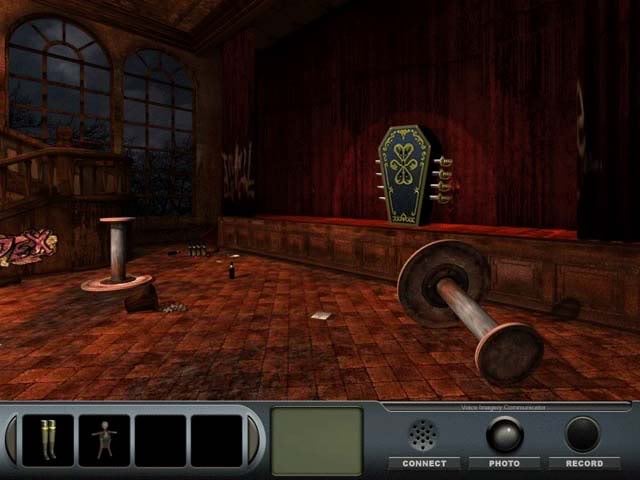
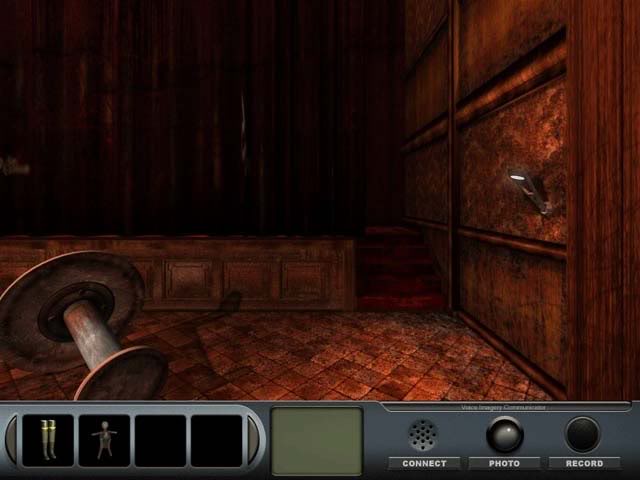
- Turn to the right and proceed forward up onto the stage. From there, proceed towards the Bulletin Board.
- Taking a closer look at the poster of the magician makes Delaware uneasy. Use the photo tool to take a picture for Kelly to analyze. All she’ll see is a newspaper clipping.
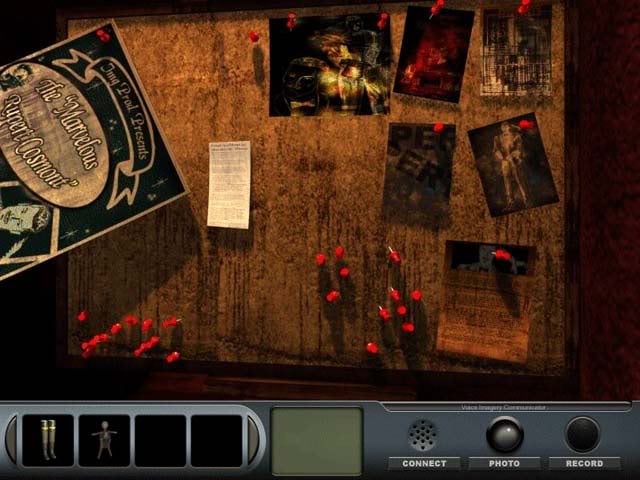
- Click on the poster again to reveal the newspaper clipping. Click on it for a closer view, and take a photo for Kelly. An internet search on her part reveals that the magician’s assistant committed suicide the night after the magician died, in Room 204. She also wants to look further into the death of Roxanne Black, which took place just a few days prior.
- Exit the close-up of the clipping and the bulletin board, and exit the stage by walking forward.
- Turn left, opening the doors and proceeding into the Lobby.
Restoring the Elevator
Lobby
- Once in the Lobby, move twice to the right and proceed forward into the stairwell where you’ve placed the Step Ladder. Climb the ladder to the First Floor.
First Floor
- Once on the First Floor, click on the elevator button. There seems to be power, but it’s still not working. Call Kelly and she’ll reveal that there’s a manual lock located in the Basement.
- Turn twice to the right and access the stairwell via the door with the large EXIT above it. Proceed down the stairs into the Lobby.
Lobby
- Turn right in the Lobby, back to the step ladder area, only this time open and enter the Basement door.
Basement
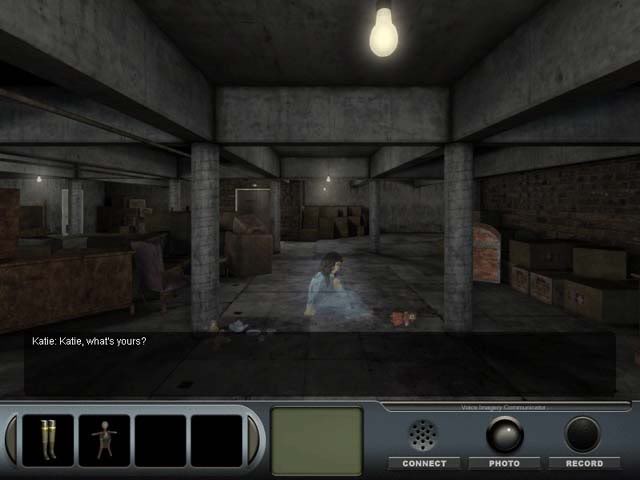
- Once in the Basement, turn left. There’s a ghost playing on the floor who introduces herself as Katie before suddenly vanishing.
- Proceed forward x2 and look at the elevator controls/lock panel hidden behind the boxes to the left.

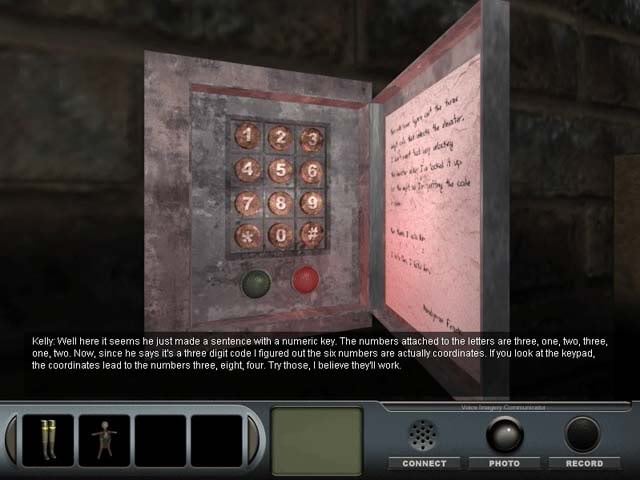
- Inside the lock panel is a note from the Handyman, Frank, who’s created another code for the lock. Written down is "Ben thinks I hate him" with the numbers 2-4-3-1-2 below each word. Underneath is written "I hate Ben, I hate him", which according to the number puzzle, equals 3-1-2-3-1-2. However the note hints that the code is only three digits. The solution, instead of being the actual code, are coordinates (3,1),(2,3), and (1,2) for the keypad, revealing the real code: 3-8-4. (Of course, you can always just call Kelly for the puzzle solution).
- Exit the close-up of the note and input the code 3-8-4 to unlock the elevator.
- Once unlocked, leave the close-up of the lock panel and exit the basement by turning right twice and proceeding forward to the exit.
Lobby
- In the Lobby, turn to the right and proceed forward. Climb the step ladder to the First Floor.
First Floor
- Now back on the first floor, push the elevator call button, and this time it will open. Delaware will enter automatically. Once inside, push the "2" button for the second floor.
Second Floor
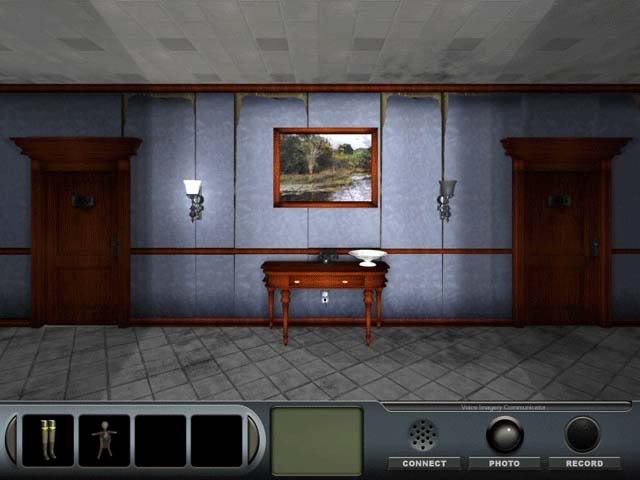
- Exit the elevator and turn to the left. Proceed forward until you encounter two rooms and the end of the hall: Room 204 is on the left. Try to enter Room 204, but you’ll find the door is locked.
Fixing Arthur Bunny
Second Floor
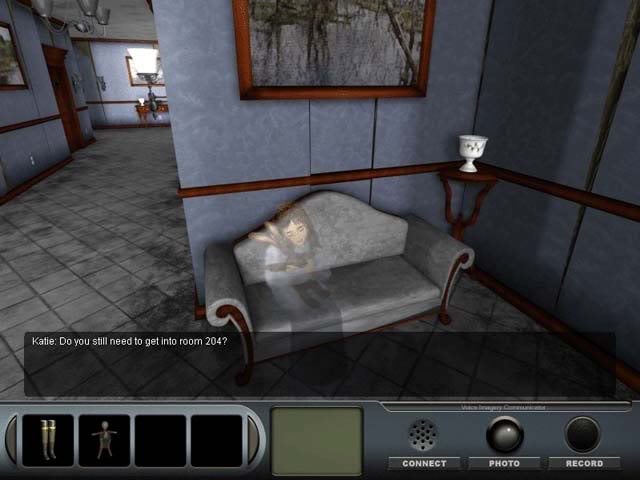
- Go back (arrow pointing down) and proceed forward back to the main area with the elevator. Katie’s ghost will appear on the couch, distraught over her beloved Arthur Bunny being broken. Katie disappears after Delaware offers to fix it.
- Proceed forward and look at the couch: Arthur Bunny will appear, an arm and a leg missing. Delaware will have a vision of the missing leg lying among many boxes.
- Exit the close-up, turn to the right and call the elevator. Go back down to the first floor.
First Floor
- Exit the elevator and proceed into the stairwell via the door with the large EXIT above it: you can’t miss it from the elevator. Proceed down the stairs and into the Lobby.
Lobby
- Turn right, and proceed forward to enter the Basement.
Basement
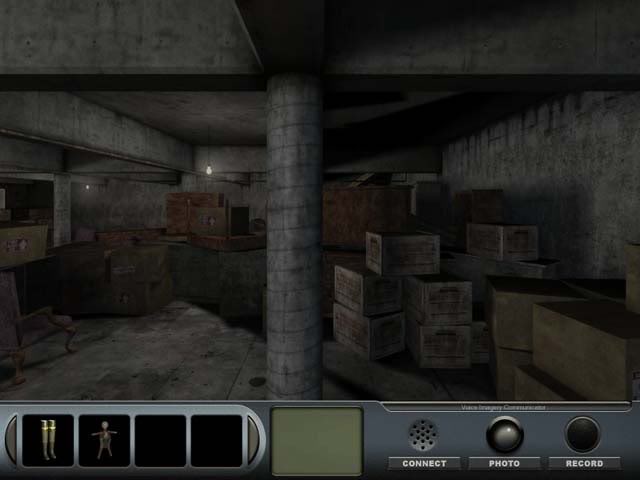
- Once in the Basement, turn left, go forward x2, left, forward, and finally left once more. Look at the stack of boxes on the right side: Arthur Bunny’s leg is there, just like in the vision. Pick it up and add it to your inventory.
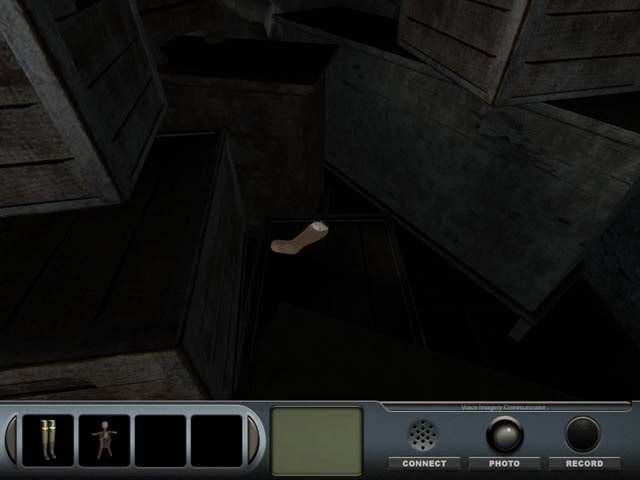
- Retrace your steps (exit close-up, left, forward, right, and forward to the stairs) to exit the Basement.
Lobby
- Turn right and proceed forward to the stairwell area. Climb the step ladder to the first floor.
First Floor
- Call the elevator and take it to the second floor.
Second Floor
- Exiting the elevator, turn to the right and look at the couch: Arthur Bunny will appear. Take the leg from your inventory and place it next to the Bunny. Delaware will have yet another vision, this time of an arm on a small table.
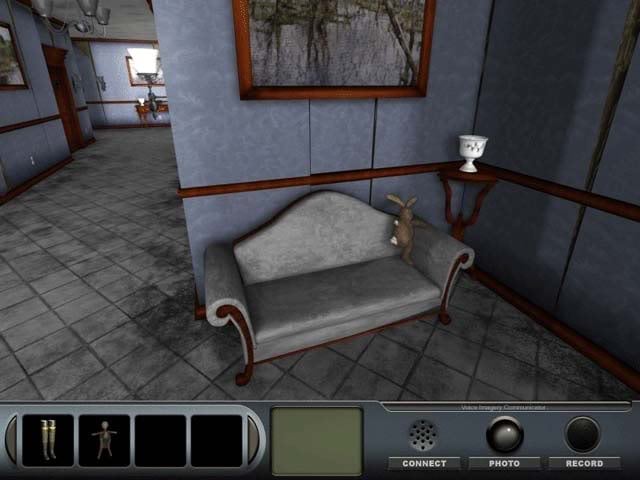
- Exit the close-up, turn right, and call the elevator. Take the elevator to the third floor.
Third Floor
- Leave the elevator and turn left, proceeding down the hall until you see both end rooms clearly. Click on the table to the right of room 306: the bunny arm is there. Pick it up and add it to your inventory.

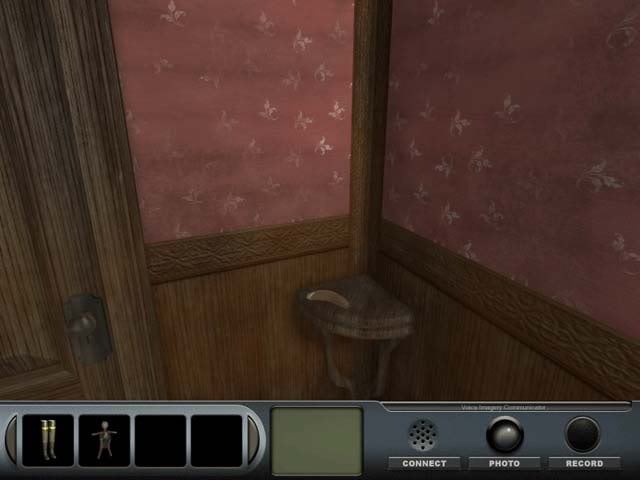
- Exit the close-up and proceed back. Go forward once, then turn right: there’s a strange outline on the wall where room 300 should be from a door that’s been completely covered.
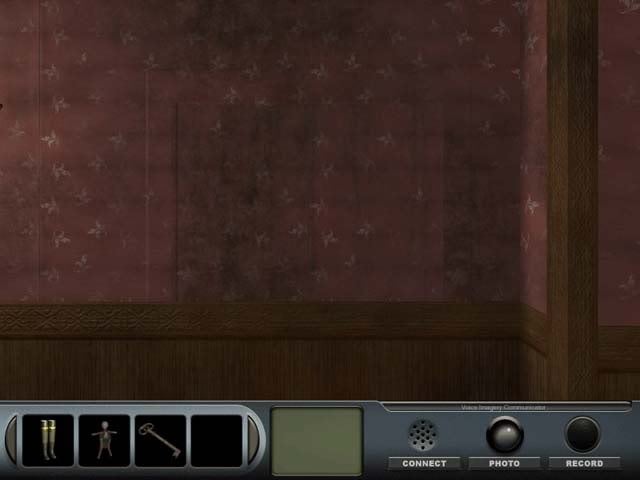
- Proceed left and forward, and turn right and call the elevator again. Take it to the second floor.
Second Floor
- Exit the elevator and turn right. Look at the couch to make Arthur Bunny appear and place the remaining arm from your inventory next to it. Katie will thank you and encourage you to try opening Room 204 again.
Room 204 and the Hunter
Second Floor
- Leave the couch close-up, turn left (or right) twice, and move down the hall. Room 204 is on the left. Open it and proceed inside.
Room 204
- Upon entering the room, furniture will magically appear. Proceed forward towards the desk and take a closer look.
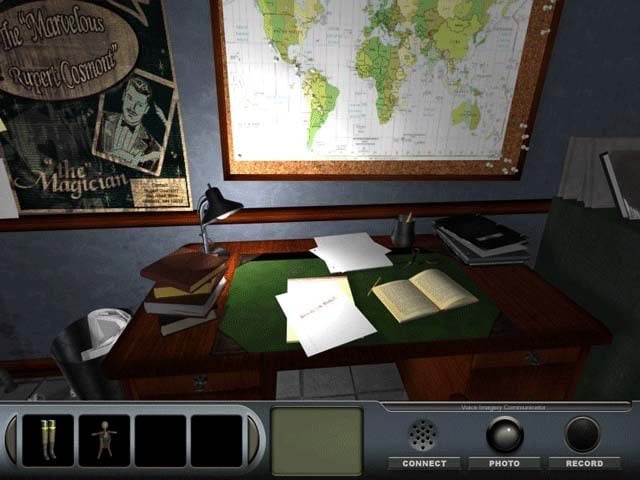
- There’s a piece of paper on the desk. Look closer to find the name "Roxanne Black" written on it. Exit the desk and it will vanish.
- Turn right (towards the exit). A woman’s voice chimes "I’ll never forgive him". Turn right once more and exit the room.
Second Floor
- Outside the room, Heather appears again, warning you the Hunter’s coming for you again and to head for the Lounge. You know the drill: get to the lounge without making a wrong turn, or you’ll have to start over. (Note: Pausing the game for a few moments in this sequence will also force you to start over again.)
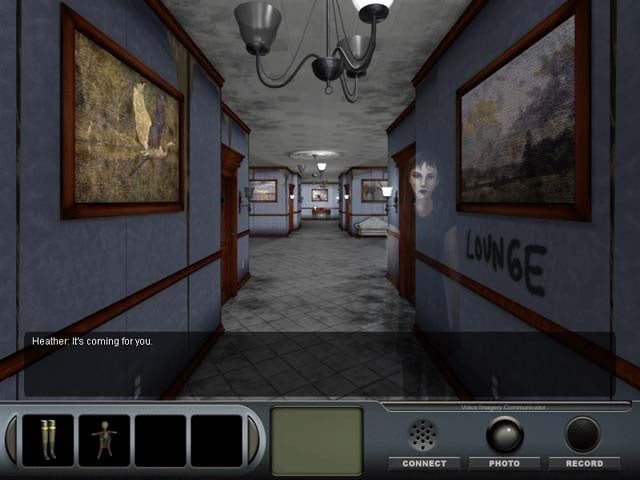
- Go forward twice, turn right, and call the elevator. Take it to the first floor.
First Floor
- Exit the elevator and head straight towards the stairwell (door with the large EXIT over it). Enter and proceed down the stairwell to the Lobby.
Lobby
- Walk forward, turn left twice, and walk forward to the double doors. Open them and enter the Lounge.
Lounge
- Once inside, Delaware is safe. Kelly calls, talking more about the Hunter, but more importantly, unearths the fact that Victoria and her daughter Katie were the original owners of the manor. Rumor has it they either ran away or were murdered.
- Turn around and exit the Lounge.
Lobby
- Once inside the Lobby, a little girl will appear before Delaware. His vision blurs, revealing the secret door of Room 300.
- Turn twice to the right and proceed forward. Climb the ladder to the first floor.
The Secret of Room 300
First Floor
- Call the elevator once on the first floor and take it to the third.
Third Floor
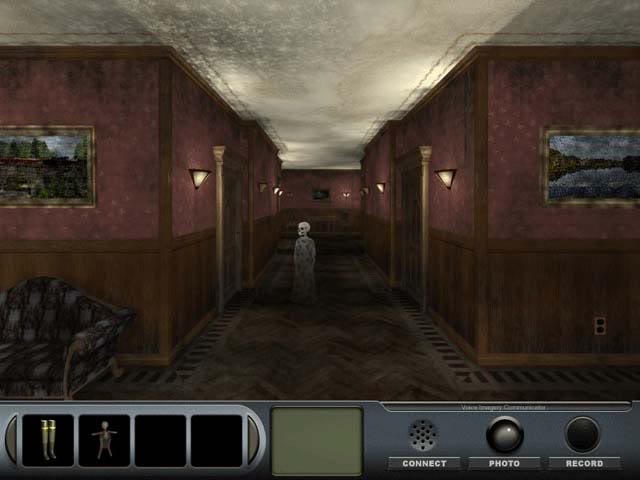
- Exit the elevator and turn left. Katie will appear, and turn into a ghostly skeleton as the door to Room 300 reappears. Continue forward, turn left, and open the door.
Room 300
- Enter the room and turn right: Delaware sees two ghostly men holding knives to Victoria and her daughter Katie. Take a closer look at the nightstand between the two beds to find a key. Add it to your inventory and exit the close-up.
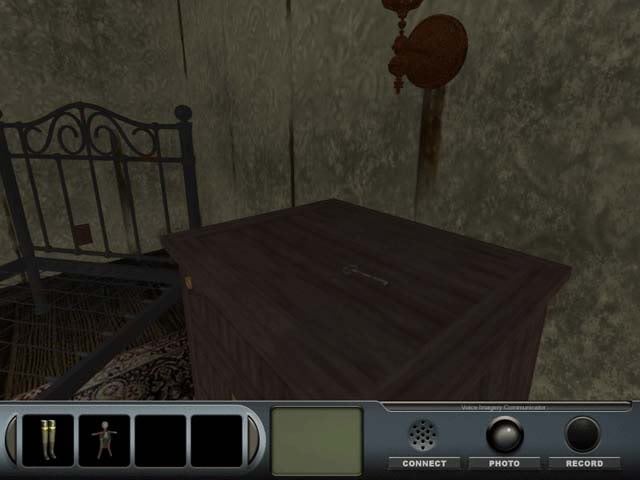
- Turn right. Kelly will chime in over the VIC, and Delaware will inform her of the ghosts he saw. Once their conversation is finished, exit the room and turn left or right twice: the door has once again disappeared.
Third Floor
- Turn left, forward, and finally right. Call the elevator, and when it opens you’ll see the attacker ghosts taking Victoria and Katie down. Take the elevator to the first floor.
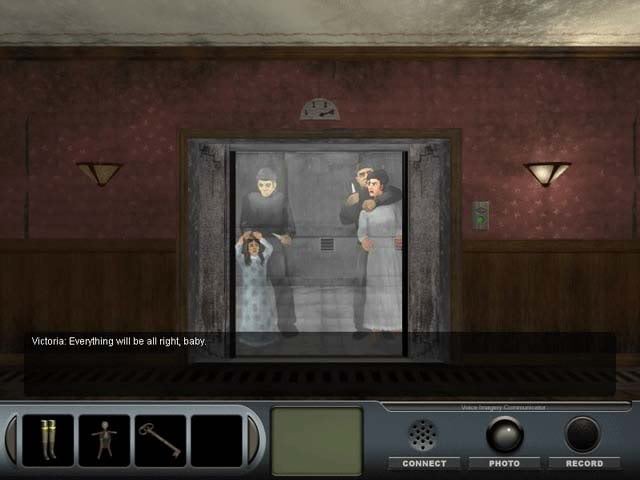
First Floor
- Proceed forward and take the stairs down to the Lobby.
Lobby
- Turn right and move forward. Enter the Basement.
Basement
- Turn left and move forward once. Turn right to get a closer view of the large chest, and click on it for a close-up. Use the Key on the chest to open it: inside are two corpses: the bodies of Victoria and Katie. Kelly calls to inform you more on Roxanne Black: she was a maid who died from falling down the third floor stairs while carrying towels.
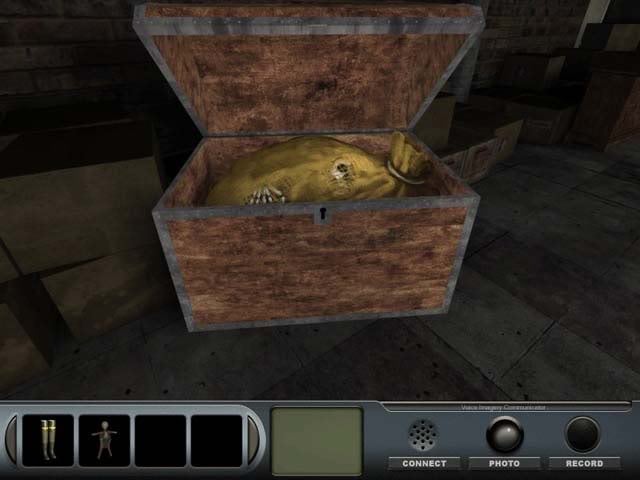
- Exit the close-up of the chest, turn right, and proceed to exit the basement.
Finding Roxanne Black
Lobby
- Turn right and move forward, take the ladder up to the first floor.
First Floor
- Once on the first floor, turn and take the elevator to the third floor.
Third Floor
- Exit the elevator and proceed forward towards the door with the large EXIT above it: the third floor stairwell. Enter.
- Inside the stairwell, a dark outline can be heard along with a haunting mumbling. Press the Record button to have Kelly analyze the noise: it’s a voice, repeating "Room 306, Closet" over and over again, but backwards. Exit the stairwell.
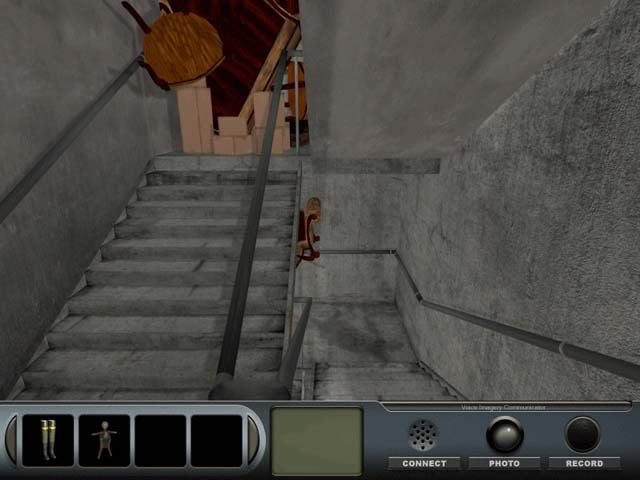
- Turn right, walk forward, and turn right again. The door to Room 306 is locked/jammed, so pound on the door and enter.
Room 306
- Once inside, turn around until you’re once again facing the door through which you entered: there’s a door on either side of it. Click on the rightmost one.
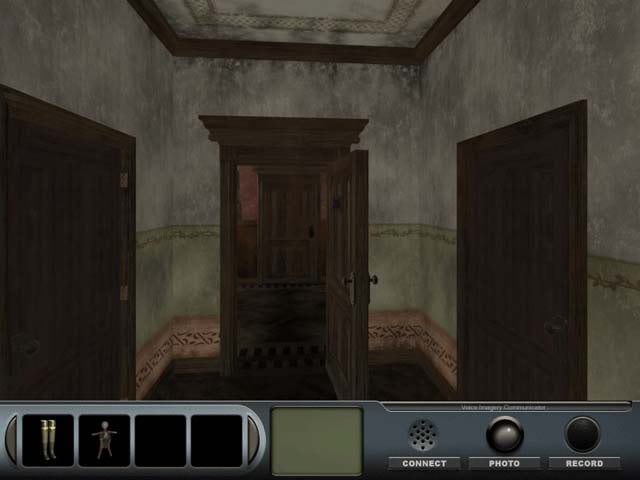
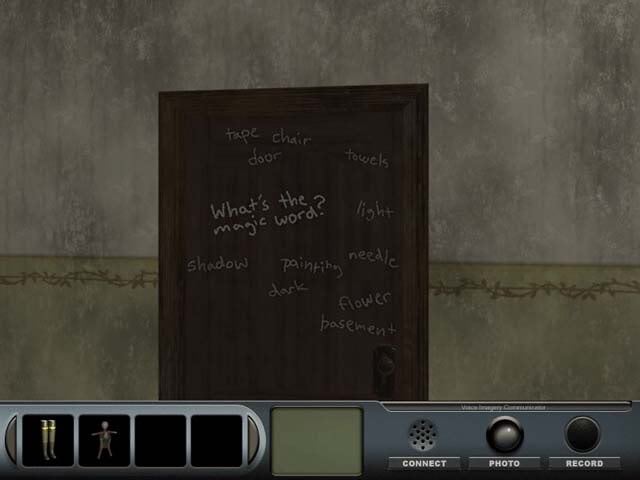
- Words appear on the closet door, asking what the magic word is. Select "towels" and the door will open. Enter the closet and pick up the Keepsake chest Key.
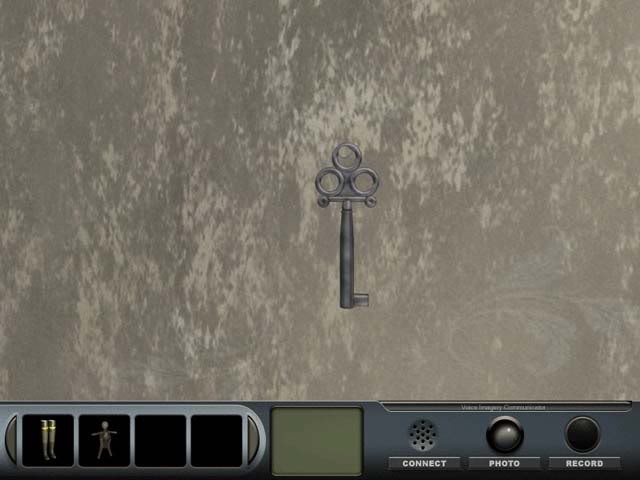
- Exit the closet and Room 306.
Third Floor
- Turn left and proceed to the landing, taking the elevator to the first floor.
First Floor
- Exit the elevator and proceed down the stairs (EXIT door) to the Lobby.
Lobby
- Turn right and proceed forward, enter the Basement.
Basement
- Once inside, turn left and walk forward x2, then turn right. In the distance you’ll see the Keepsake Box: click on it for a closer view.
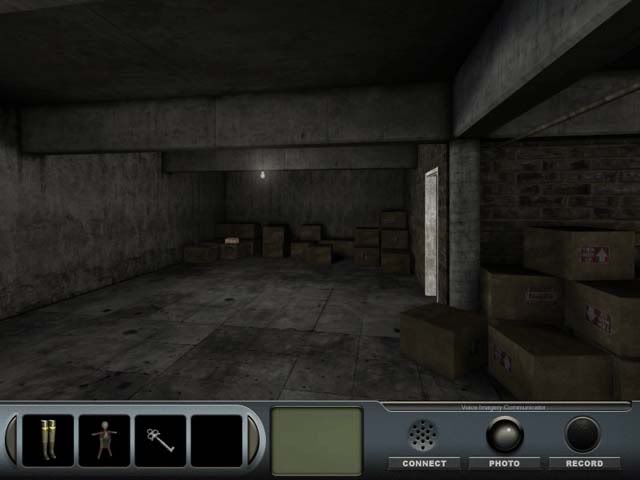
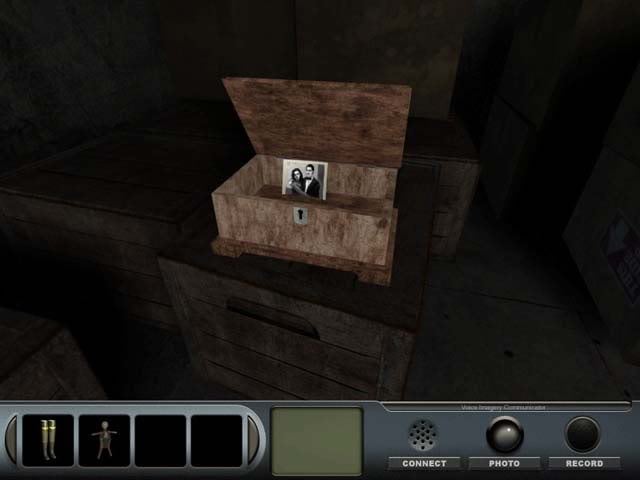
- In the close-up, use the Keepsake Key to open the box: inside is a photo. Use the Photo function of the VIC to send the image to Kelly, who deduces it’s a photo of Roxanne and the magician, Rupert: they were having an affair. Pick up the photo to add it to your inventory and exit the close-up.
- Turn to the right and continue forward to leave the Basement.
Lobby
- Turn right and move forward. Climb the ladder to the first floor.
First Floor
- Turn and take the elevator to the third floor.
Third Floor
- Exit the elevator and proceed forward into the stairwell. Once inside, click on the Photo in your inventory and place it on the body outline. A voice from beyond thanks you. Exit the stairwell, proceed forward, and take the elevator to the second floor.
The Fate of Faye and Rupert
Second Floor
- Exit the elevator, turn left, and proceed to the end of the hall. Enter room 204 on the left.
Room 204
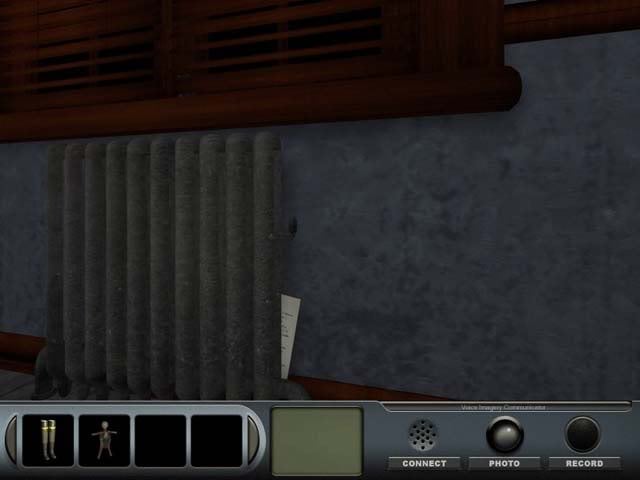
- Once inside, turn left. A vision of Faye appears before Delaware, enraged at Roxanne and Rupert’s affair. Once she disappears, look at the heater just to the left of her. Behind it is hidden a note. Pick it up to find a full confession from Faye: it’s been here all these years.
- Exit the close-up and turn left. Leave the room.
Second Floor
- Down the hall you’ll catch a glimpse of the Hunter, who’s returned once again. Kelly will chime in via the VIC to inform you that all the protected rooms are actually traps intended for the Hunter.
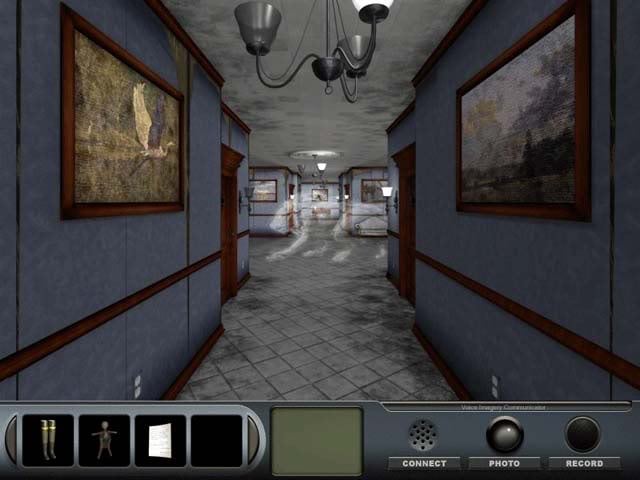
- Proceed forward and Heather’s ghost will appear. She hints you should run to Room 305.
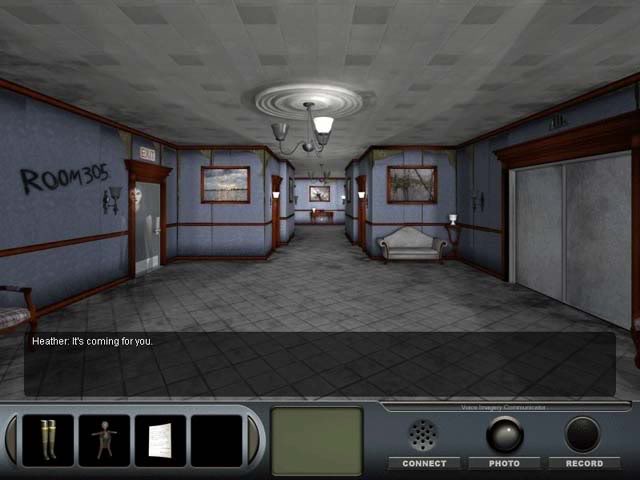
- Move forward and turn right. Take the elevator to the third floor.
Third Floor
- Leave the elevator and turn left. Move forward until the end of the hall, and then proceed to Room 305 on the right.
- Try and open the door, but it’s stuck. Use force to pound it open and enter.
Room 305
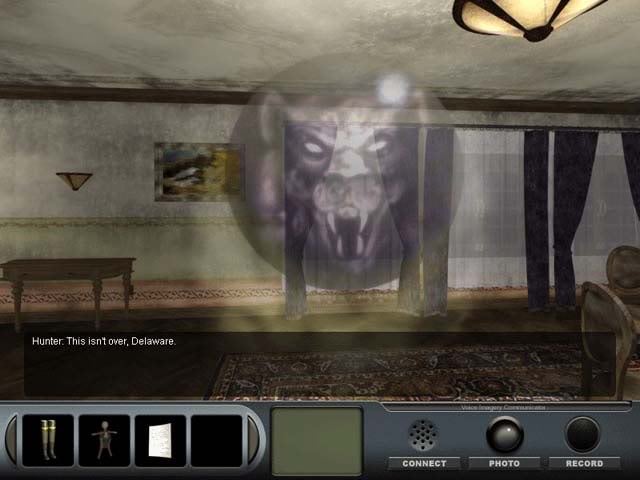
- The Hunter follows Delaware inside, but can’t harm him. He informs Delaware that while he personally has failed, others will come. Even if Delaware doesn’t know his role or purpose, they do, and he must be stopped.
- Turn and leave the room.
Third Floor
- Proceed towards the landing and take the elevator to the first floor.
First Floor
- Exit the elevator and proceed down the stairwell to the Lobby.
Lobby
- Move forward, then left twice. Proceed towards the double doors and open them to enter the Lounge.
Lounge
- Once inside the Lounge, look at the stage curtain and the coffin containing the impaled magician will reappear.
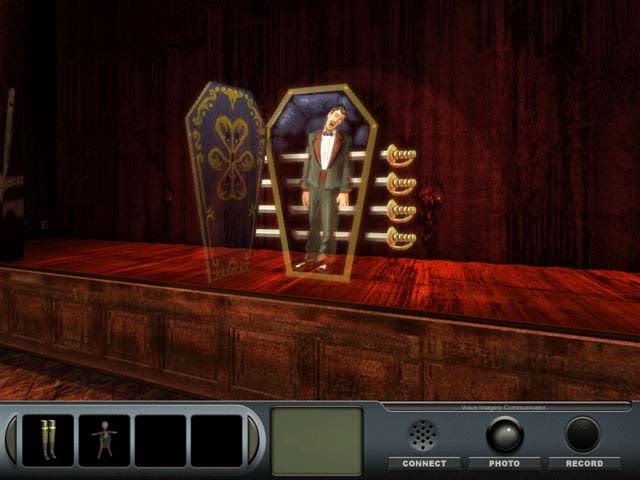
- Use the Confession in your inventory on the dead magician. Rupert thanks you before vanishing.
- Kelly chimes in via the VIC again, her and Delaware discussing the case, the ghosts, and the words of the Hunter. Satisfied with the work done, Delaware surmises they should move on to eggs and pancakes.
Congratulations, you’ve finished the game!
“;
More articles...
Monopoly GO! Free Rolls – Links For Free Dice
By Glen Fox
Wondering how to get Monopoly GO! free rolls? Well, you’ve come to the right place. In this guide, we provide you with a bunch of tips and tricks to get some free rolls for the hit new mobile game. We’ll …Best Roblox Horror Games to Play Right Now – Updated Weekly
By Adele Wilson
Our Best Roblox Horror Games guide features the scariest and most creative experiences to play right now on the platform!The BEST Roblox Games of The Week – Games You Need To Play!
By Sho Roberts
Our feature shares our pick for the Best Roblox Games of the week! With our feature, we guarantee you'll find something new to play!Type Soul Clan Rarity Guide – All Legendary And Common Clans Listed!
By Nathan Ball
Wondering what your odds of rolling a particular Clan are? Wonder no more, with my handy Type Soul Clan Rarity guide.


