![Digimon UP Tier List [Supports, Buddies, and Partners]](/wp-content/uploads/2026/07/digimon-up-tier-list.jpg "Digimon UP Tier List [Supports, Buddies, and Partners]")
Digimon UP Tier List [Supports, Buddies, and Partners]
These Digimon will get you UP the leaderboard.


![Haze Seas Boss Drops [Chances, Locations, and How to Spawn]](/wp-content/uploads/2026/07/haze-seas-boss-drops.jpg "Haze Seas Boss Drops [Chances, Locations, and How to Spawn]")

Citizen Grim is an adventure game developed by Eruptive Games. In this game you will have to survive the masses of Reapers in the post-apocalyptic world of GRIM. Gamezebo’s quick start strategy guide will provide you with detailed images, tips, information, and hints on how to play your best game.
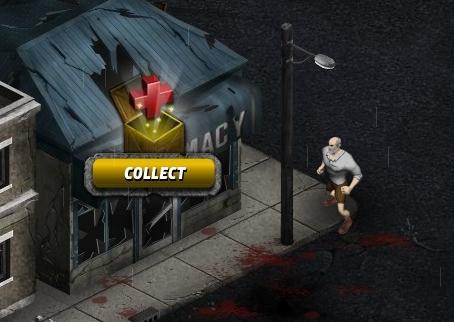
Citizen Grim is an adventure game developed by Eruptive Games. In this game you will have to survive the masses of Reapers in the post-apocalyptic world of GRIM. Gamezebo’s quick start strategy guide will provide you with detailed images, tips, information, and hints on how to play your best game.
Getting Started
Citizen Grim basics

Resources


Buildings

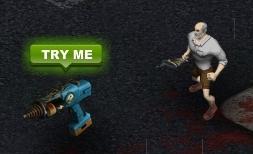
Weapons
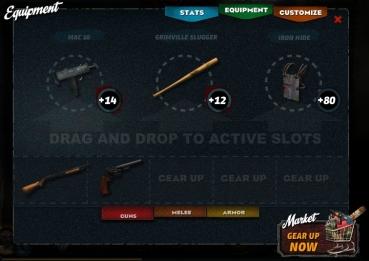
Weapon tips:
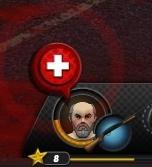
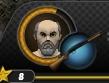
Mercenaries
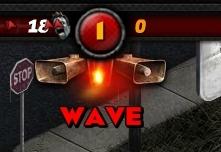
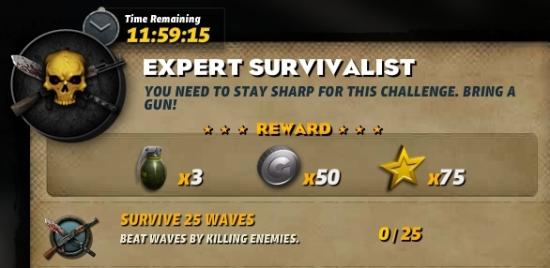
Missions
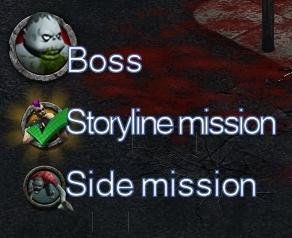
Mission tips
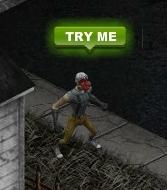
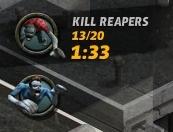
Types of enemies
Note: If you stack waves, it is possible that certain enemies will appear one or sometimes two waves sooner then described.
General tips
Congratulations!
You have completed the quick start guide for Citizen Grim by Stomp Games. Be sure to check back often for game updates, Staff and user reviews, user tips, forum comments, and much more here at Gamezebo.
