![Digimon UP Tier List [Supports, Buddies, and Partners]](/wp-content/uploads/2026/07/digimon-up-tier-list.jpg "Digimon UP Tier List [Supports, Buddies, and Partners]")
Digimon UP Tier List [Supports, Buddies, and Partners]
These Digimon will get you UP the leaderboard.


![Haze Seas Boss Drops [Chances, Locations, and How to Spawn]](/wp-content/uploads/2026/07/haze-seas-boss-drops.jpg "Haze Seas Boss Drops [Chances, Locations, and How to Spawn]")

Welcome to the Celtic Lore: Sidhe Hills walkthrough on Gamezebo. Celtic Lore: Sidhe Hills is a hidden object adventure game played on the PC created by ZenProducers. This walkthrough includes tips and tricks, helpful hints, and a strategy guide for how to complete Celtic Lore: Sidhe Hills.
Welcome to the Celtic Lore: Sidhe Hills walkthrough on Gamezebo. Celtic Lore: Sidhe Hills is a hidden object adventure game played on the PC created by ZenProducers. This walkthrough includes tips and tricks, helpful hints, and a strategy guide for how to complete Celtic Lore: Sidhe Hills.

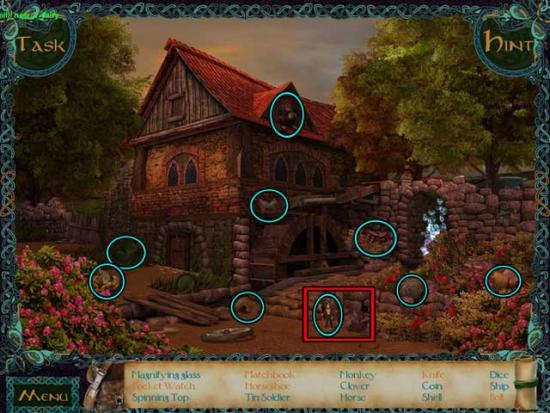
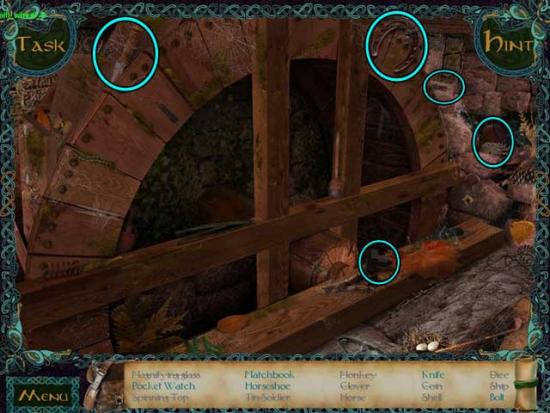
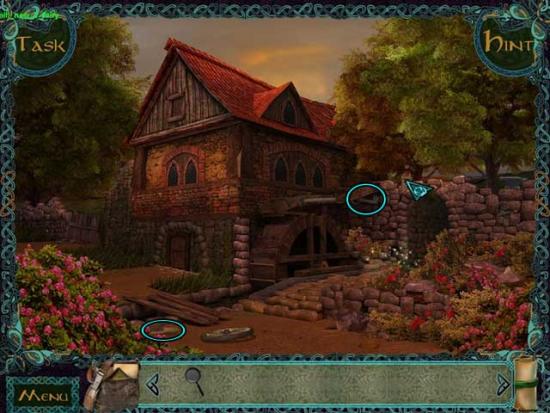
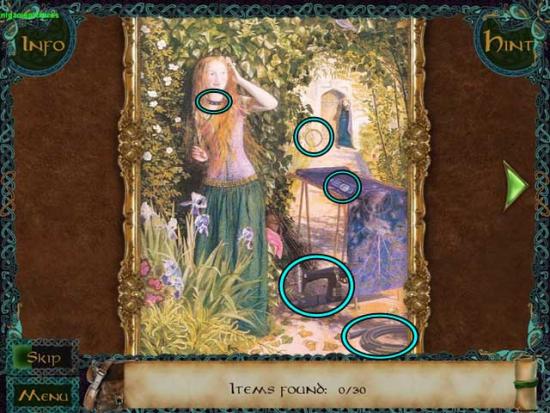
Watermill
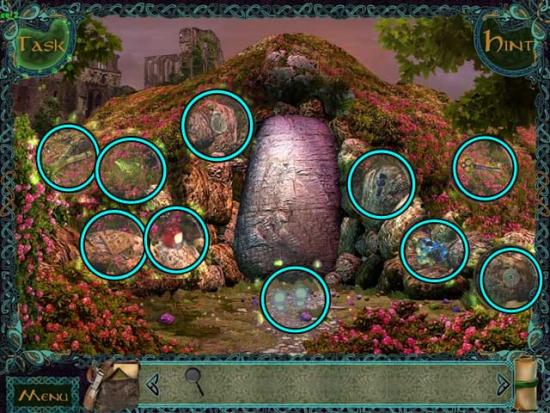
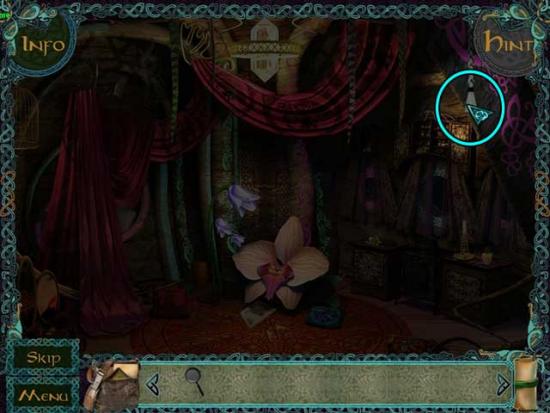
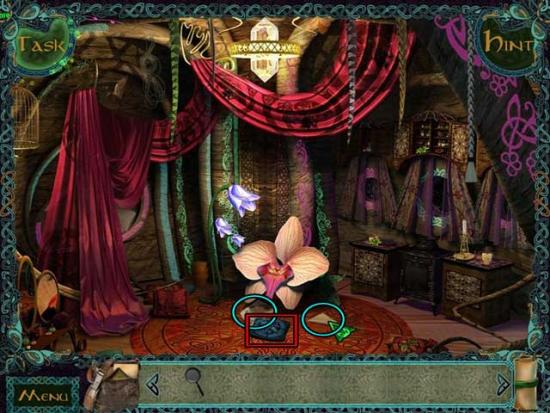
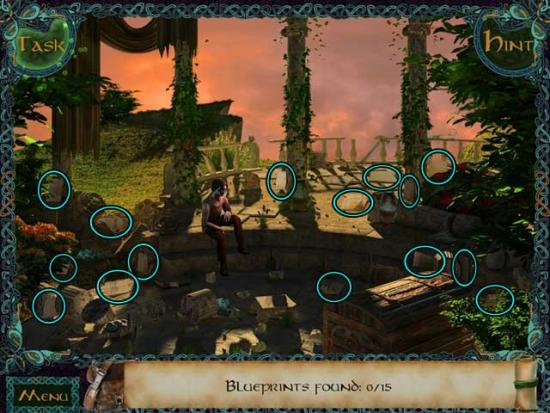
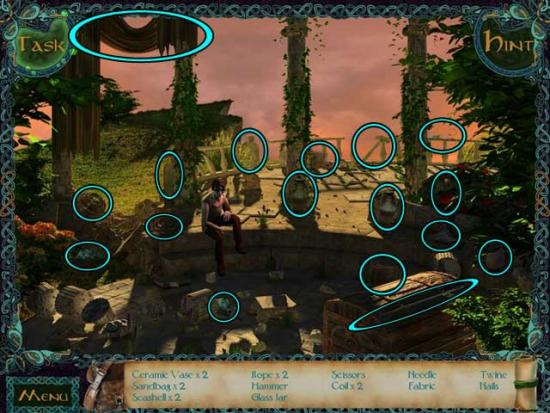
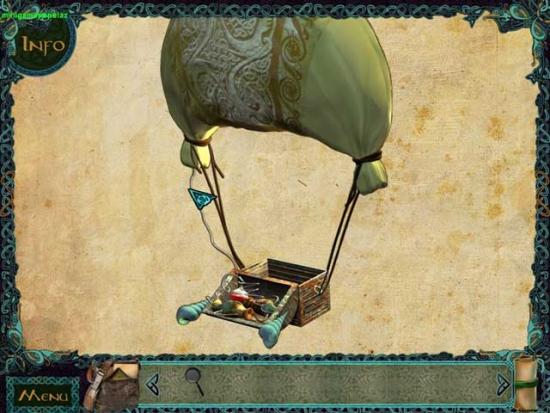
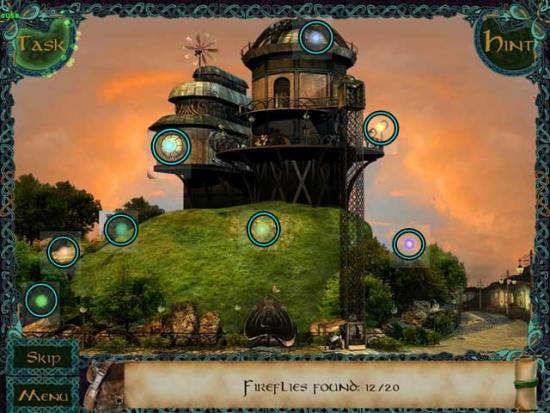
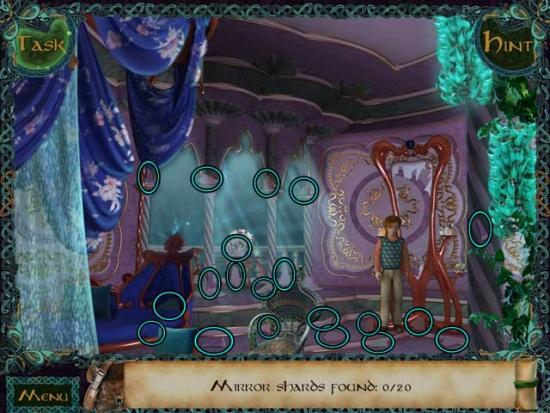
Hill
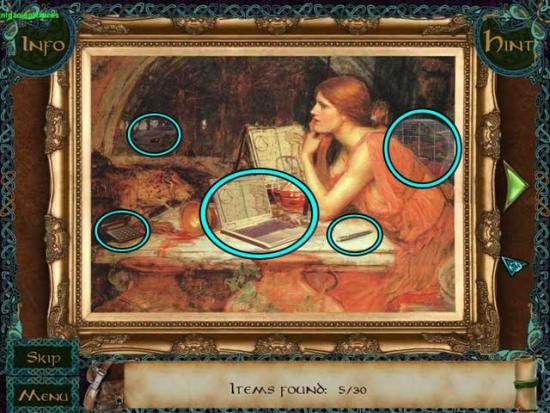
Watermill
Hill
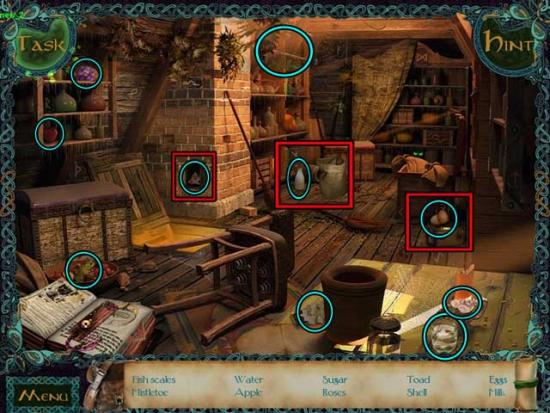
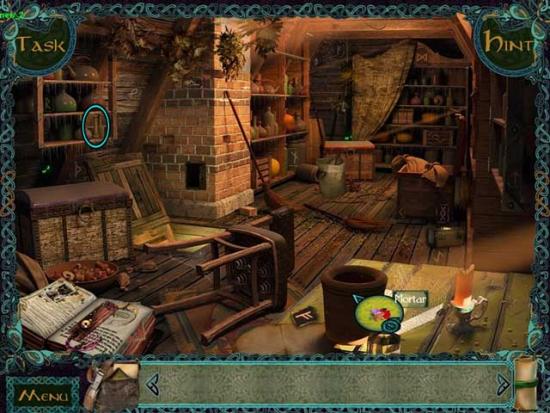
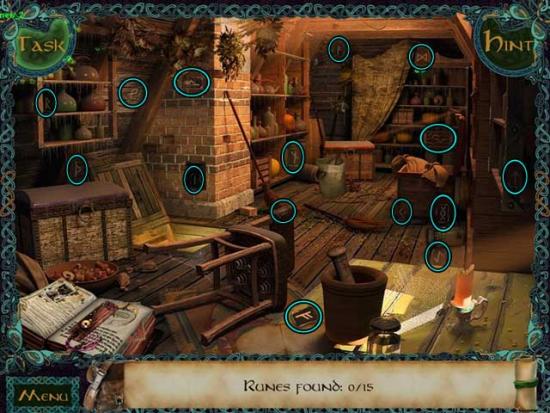
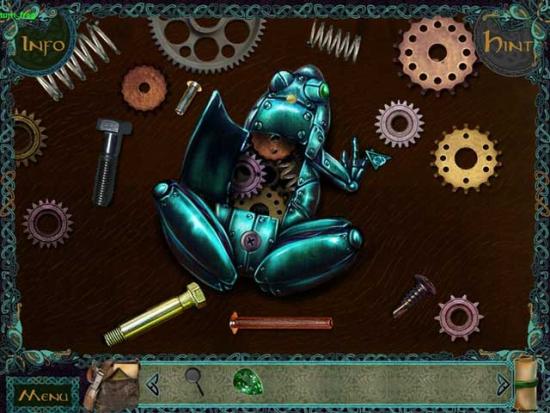
Attic
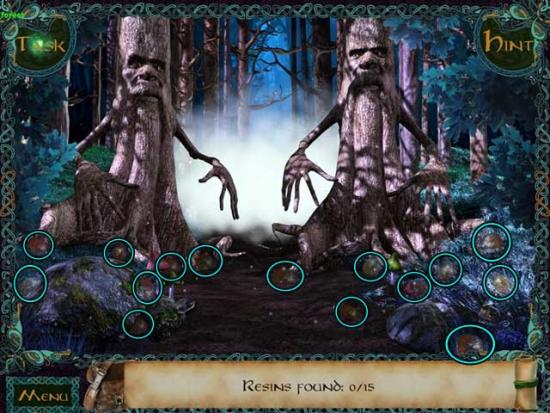
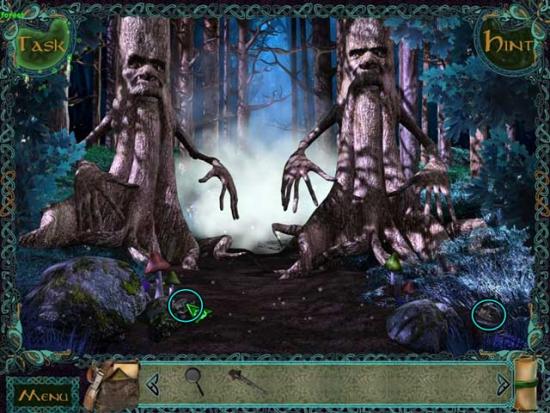
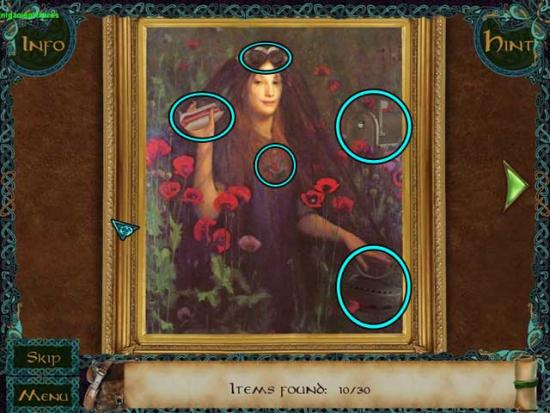
Hill
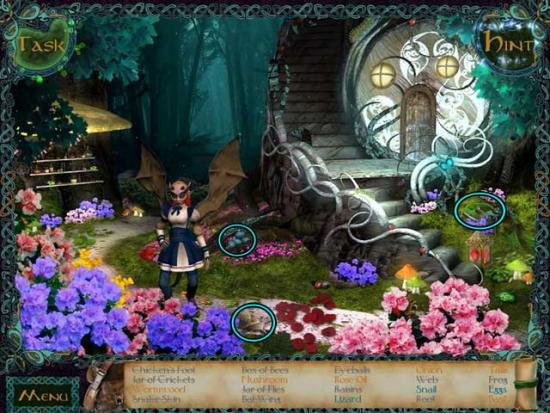
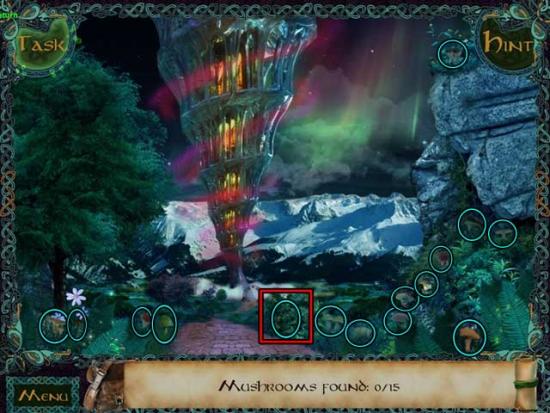
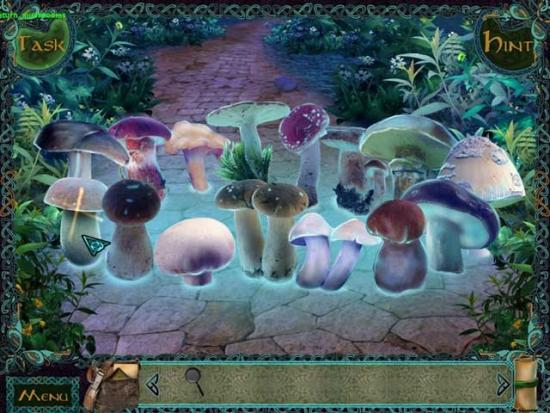
Forest

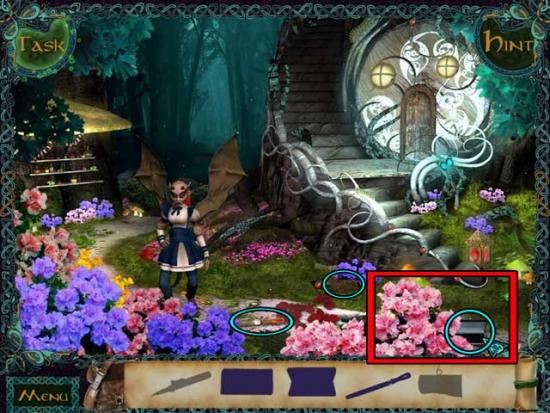
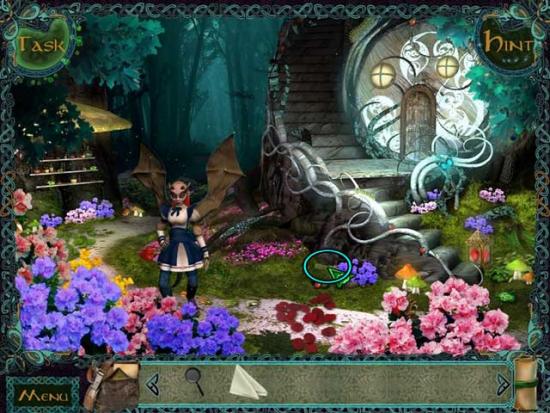
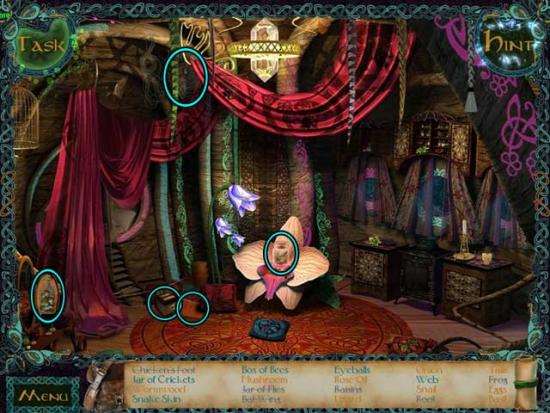
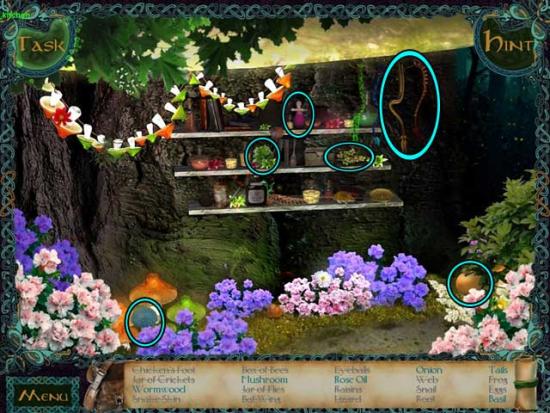
Dragonette’s Clearing
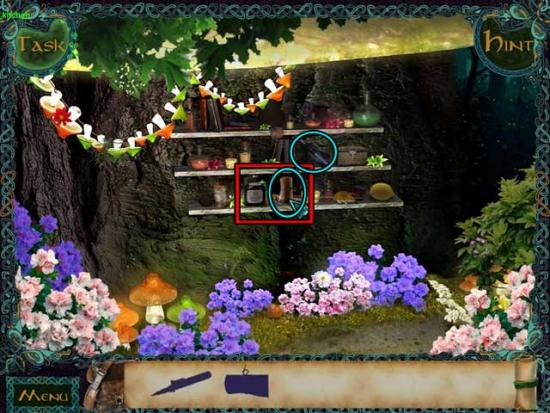
Pantry
Dragonette’s Clearing
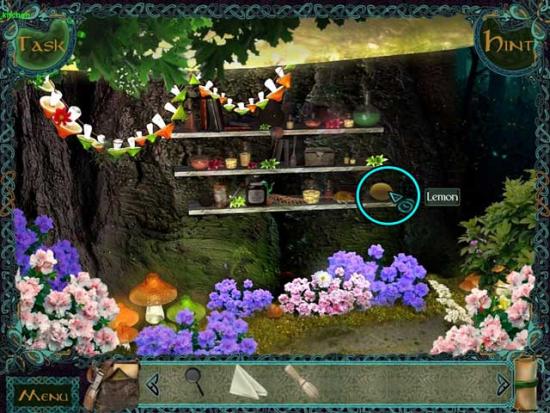
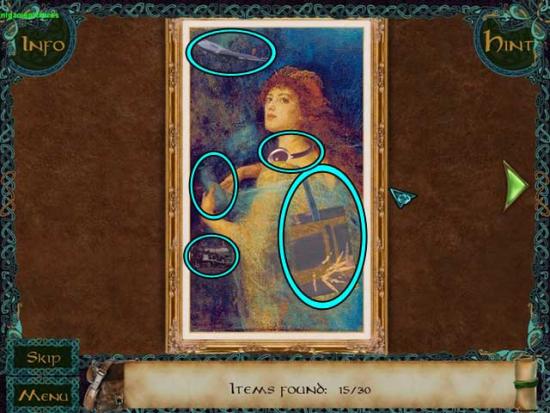
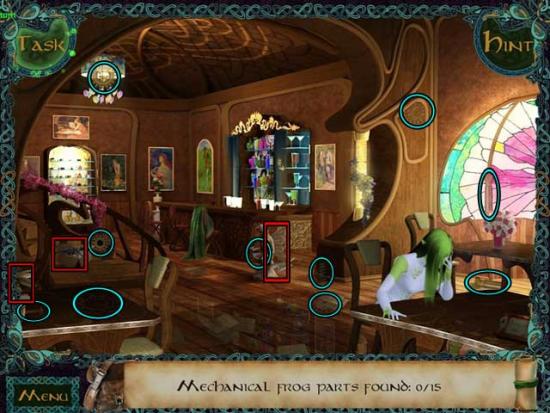
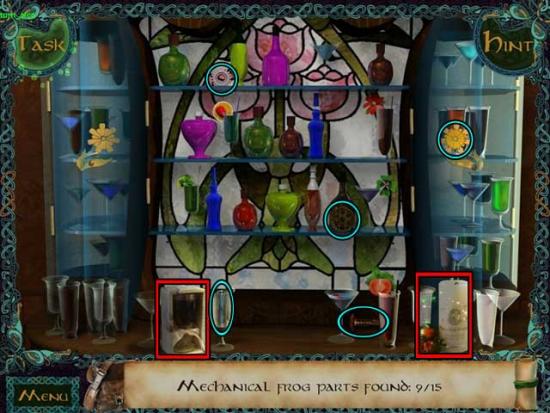
Dragonette’s Home
Kitchen
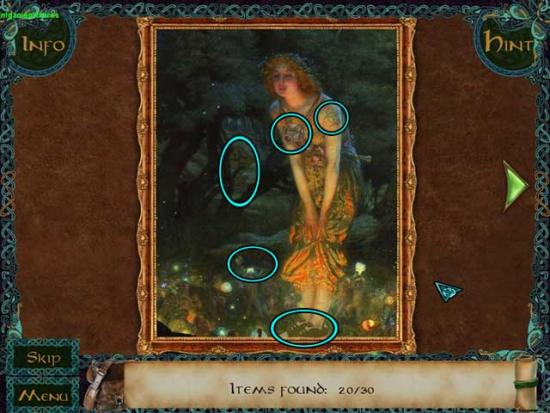
Dragonette’s Clearing
Pantry
Kitchen
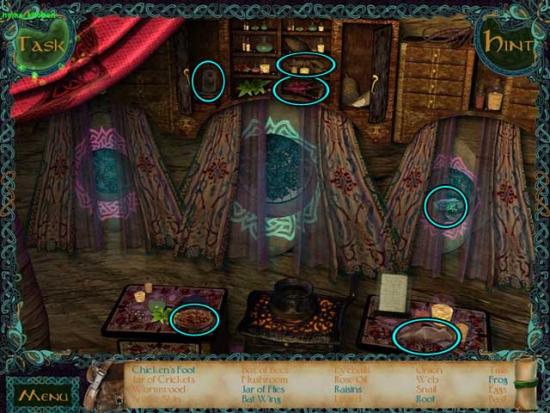
Dragonette’s Home
Dragonette’s Clearing
Pantry
Kitchen
Dragonette’s Clearing
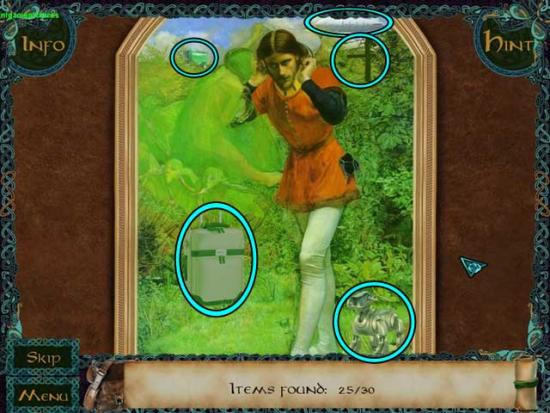
Forest’s Edge
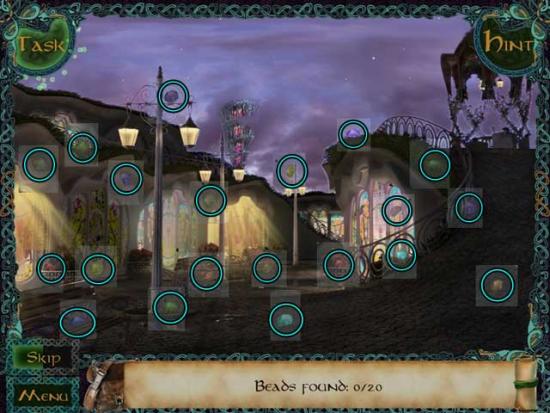
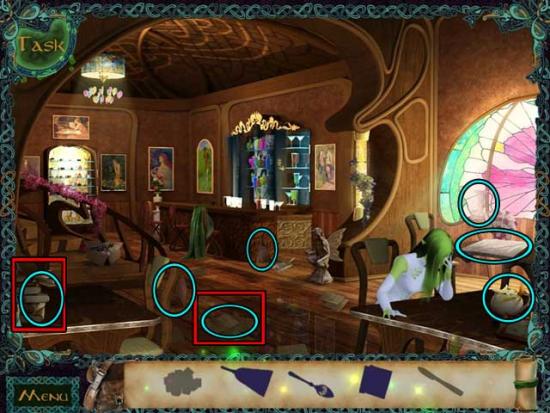
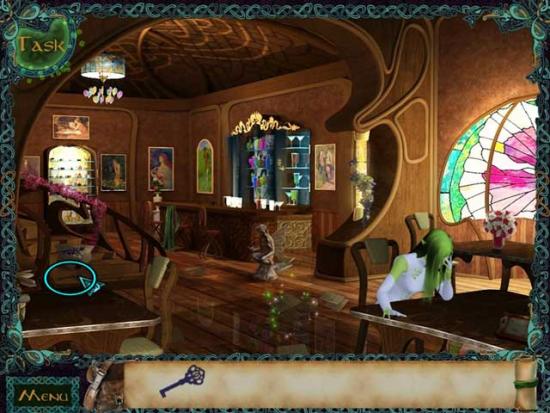
Main Street

Gremlin’s House
Main Street
Sidhe Square
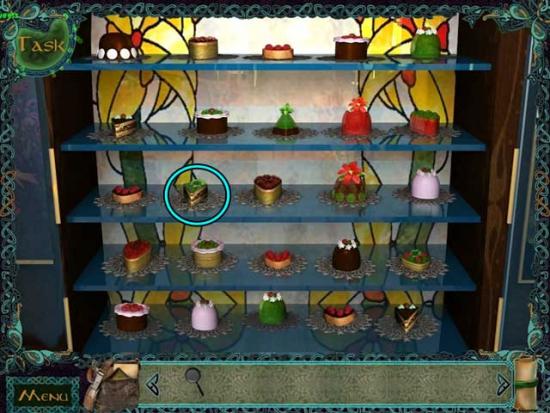
Tavern
1) Banshee hates triangle cakes the most.
2) Banshee doesn’t like puff pastry.
3) Banshee adores cream and can’t stand jelly!
4) Banshee loves red berries and fruits!
5) Banshee hates clover.
6) Never trust women! What they say, do the opposite!
Sidhe Square
Gremlin’s House
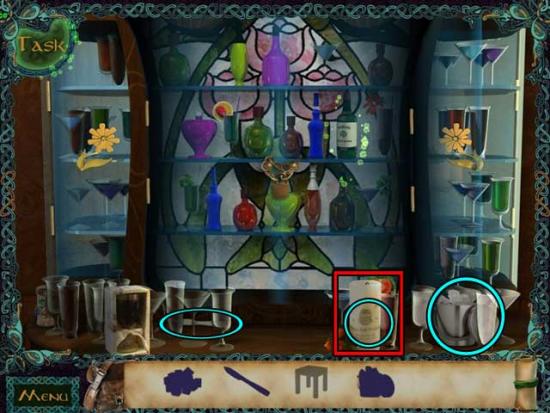
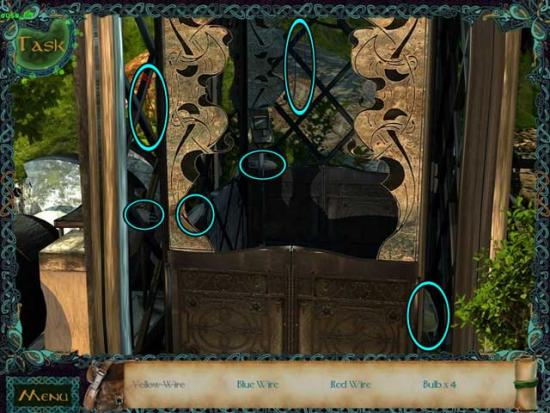
Elevator
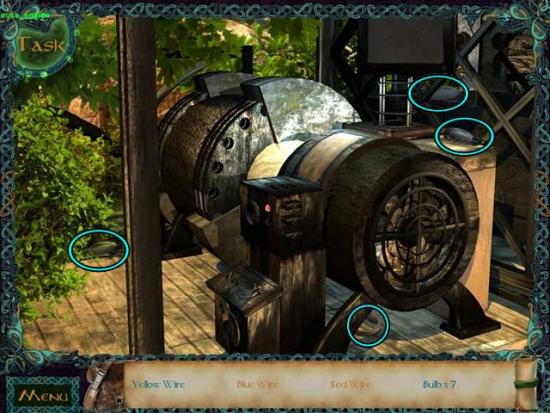
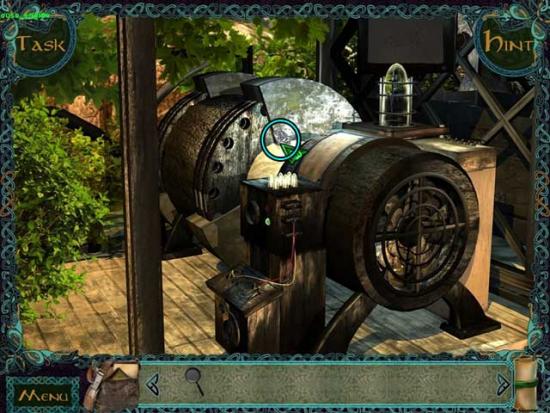
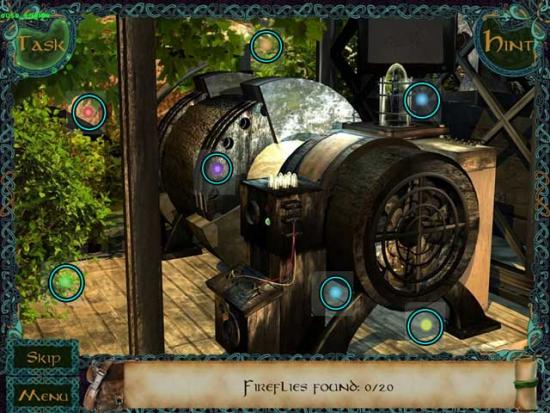
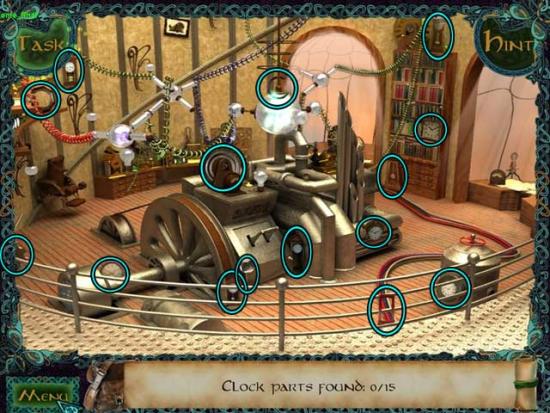
Engine
Elevator
Engine
Elevator

Gremlin’s House
Engine
Elevator
Gremlin’s Home
Sidhe Square
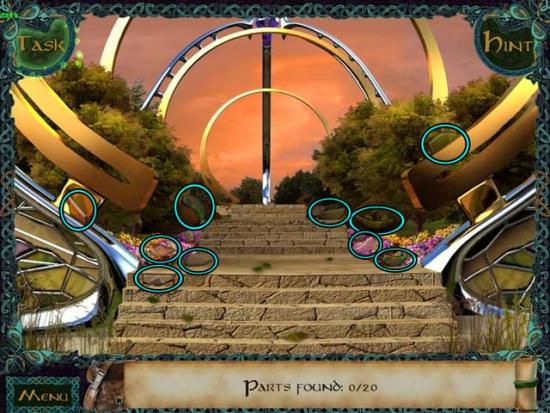
Rainbow
Stairs
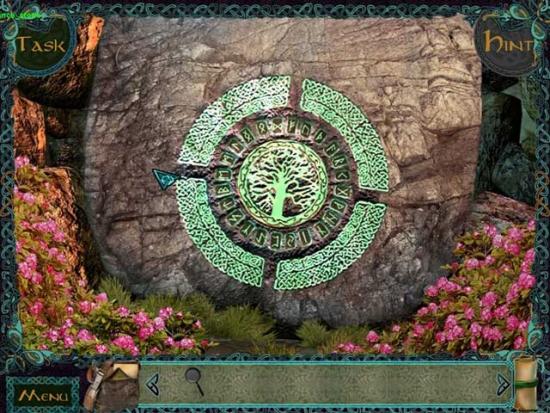
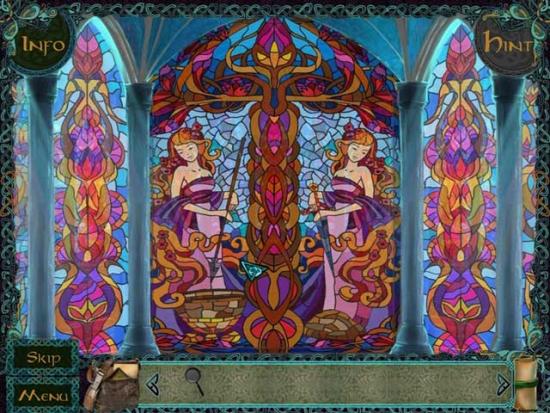
Portal

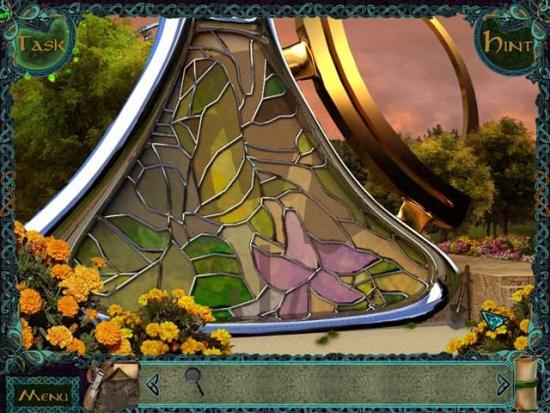
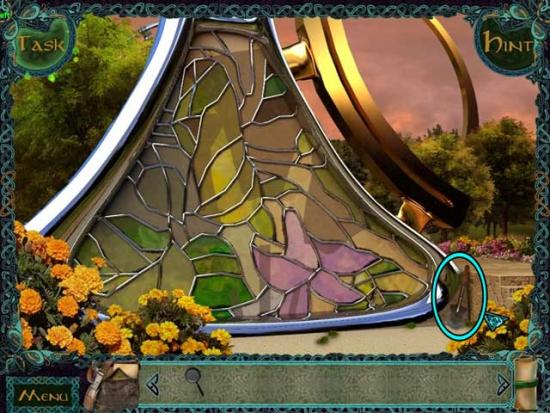
Mosaics

Portal
Rainbow
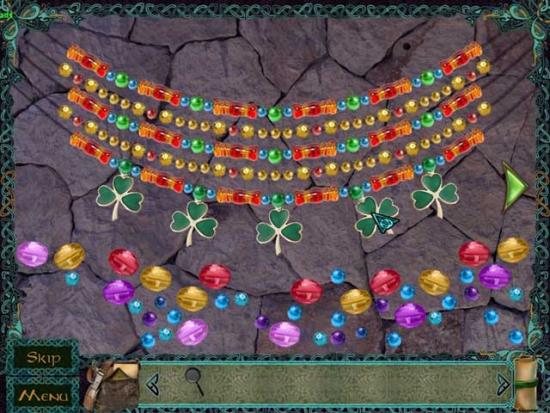
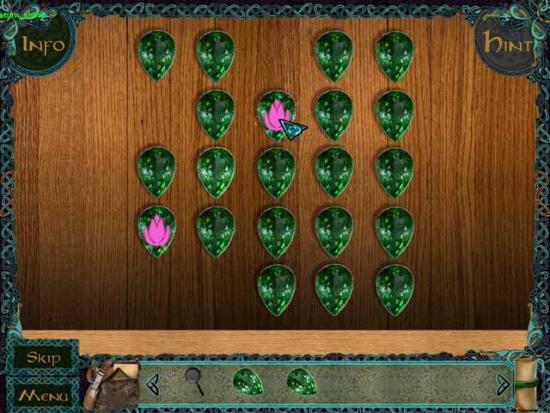
Clover Meadow
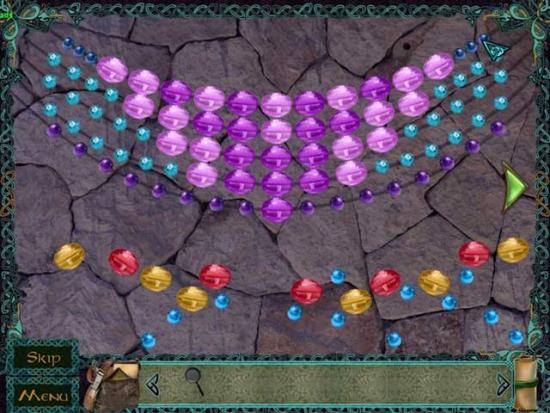
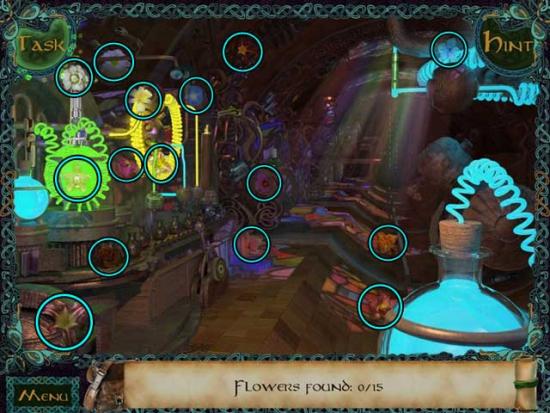
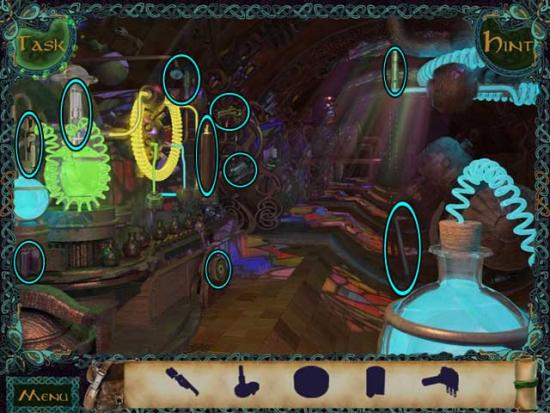
Laboratory
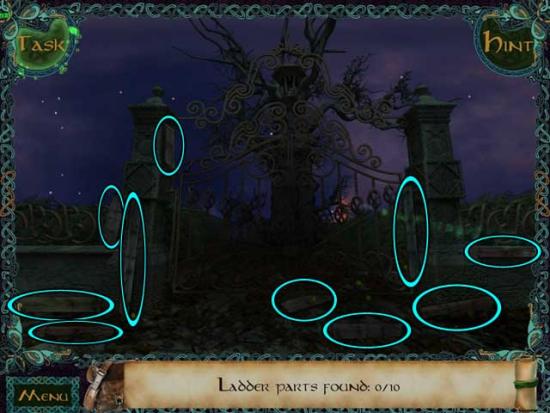
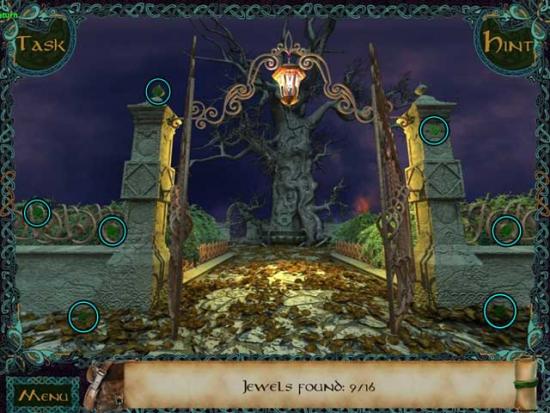
Gate
Garden
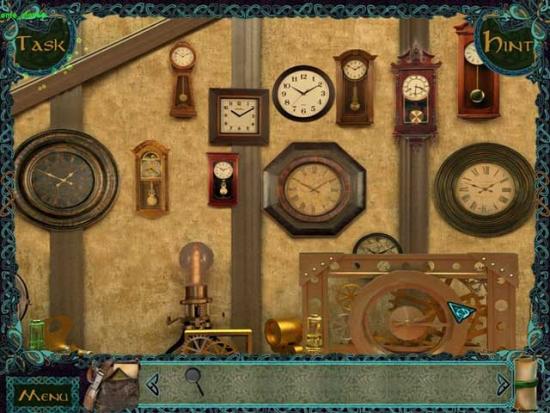
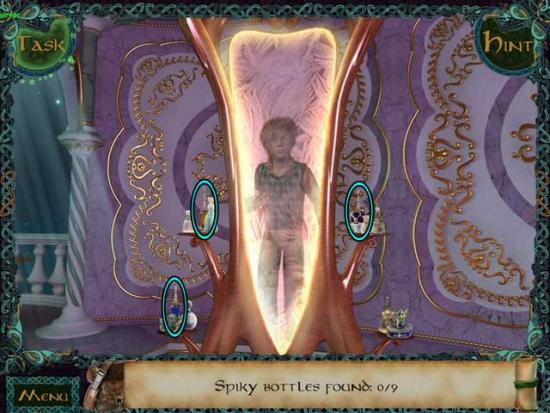
Tower

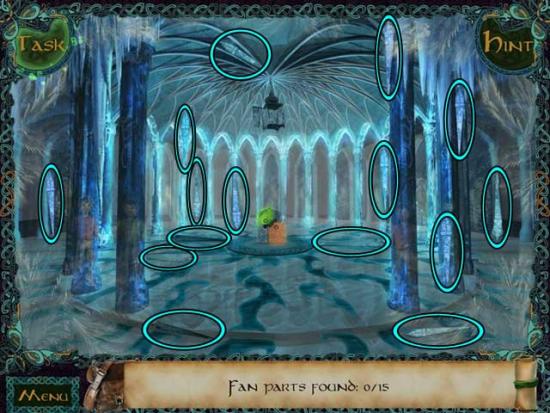
Tower Hall
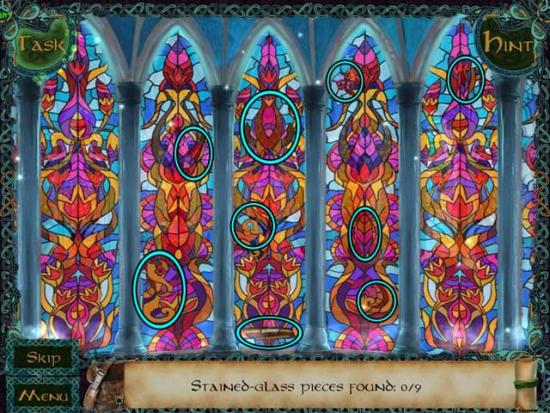
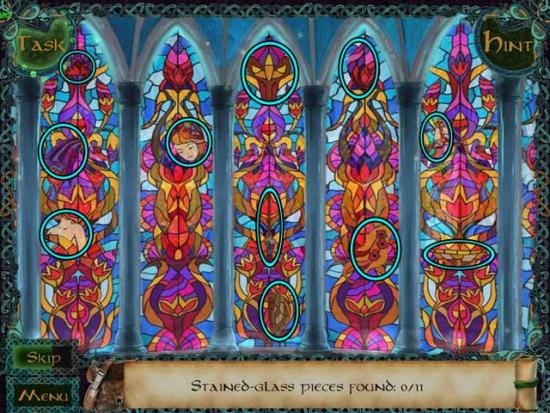
Ice Hall
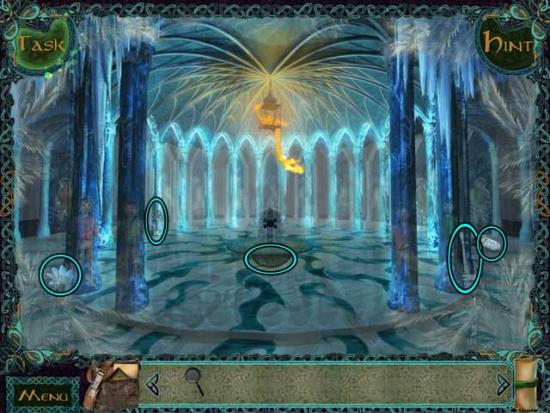
-FLOWER: Element of Earth
-FAN: Element of Air
-ICICLE: Element of Water
-FEATHER: Element of Fire
Queen’s Room


Tower
Gate
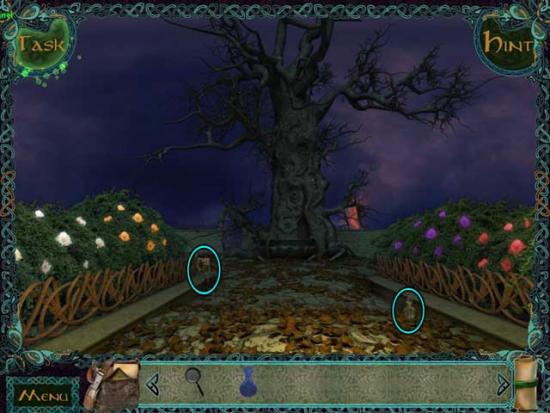
Garden
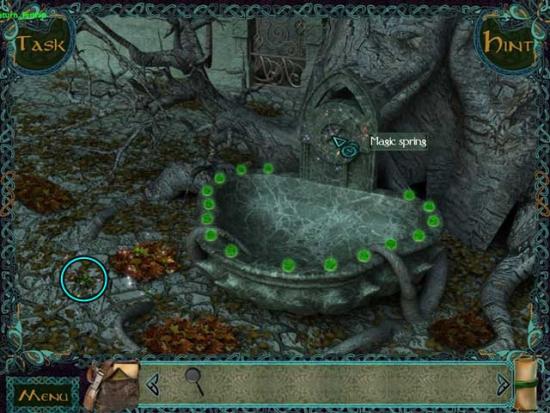
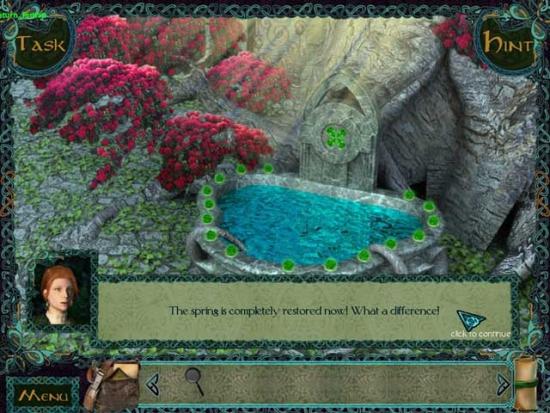
Spring

Garden
Gate
Spring
Sidhe Square
Tavern
Gremlin’s Home
Spring
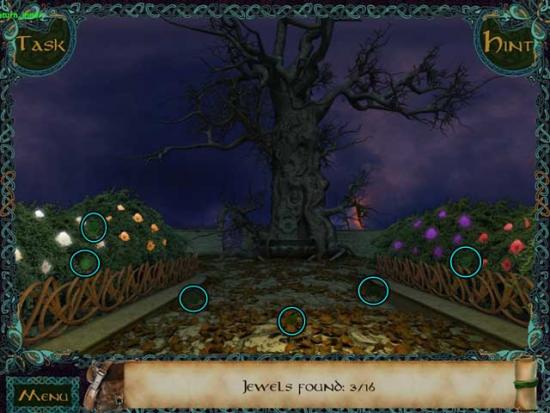
Forest’s Edge
Congratulations! You’ve completed Celtic Lore: Sidhe Hills!
