![Digimon UP Tier List [Supports, Buddies, and Partners]](/wp-content/uploads/2026/07/digimon-up-tier-list.jpg "Digimon UP Tier List [Supports, Buddies, and Partners]")
Digimon UP Tier List [Supports, Buddies, and Partners]
These Digimon will get you UP the leaderboard.


![Haze Seas Boss Drops [Chances, Locations, and How to Spawn]](/wp-content/uploads/2026/07/haze-seas-boss-drops.jpg "Haze Seas Boss Drops [Chances, Locations, and How to Spawn]")

Struggling with the Atomic Heart Testing Grounds? No need to worry! We’ve created an Atomic Heart Testing Ground guide, covering each Testing Ground, and detailing how you can complete them. Atomic Heart is a brand new action RPG set in a strange …
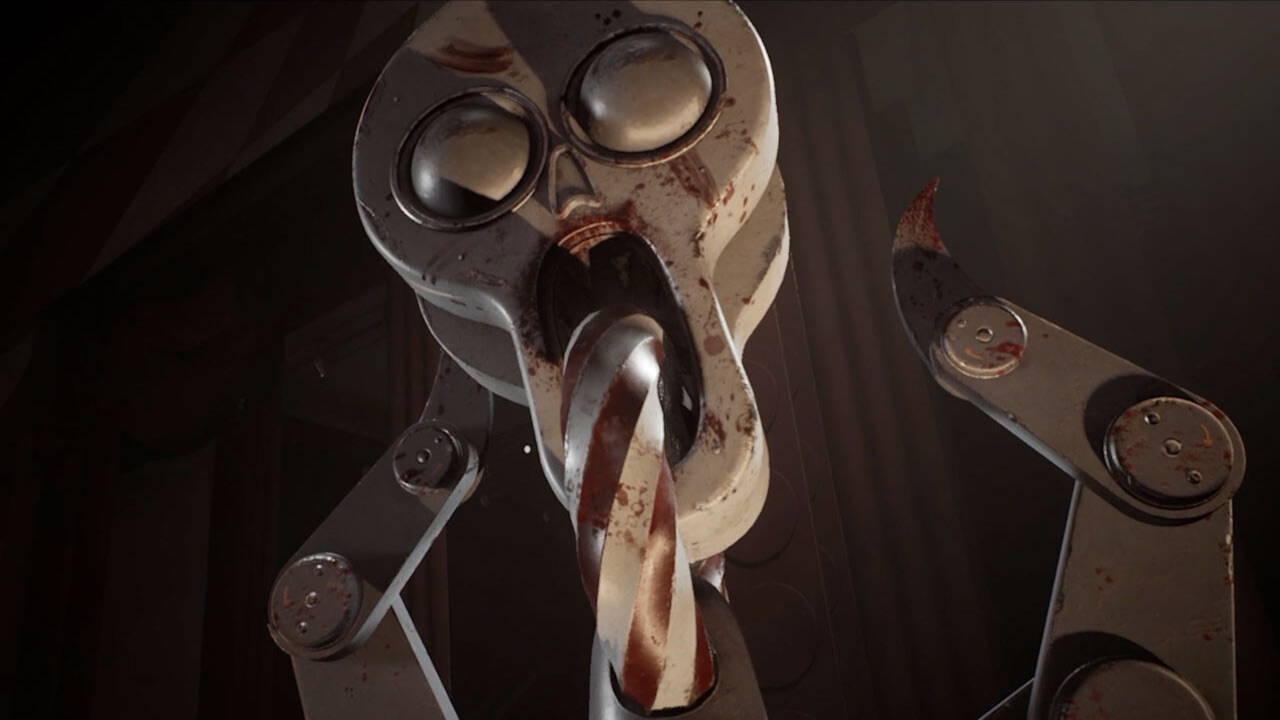
Struggling with the Atomic Heart Testing Grounds? No need to worry! We’ve created an Atomic Heart Testing Ground guide, covering each Testing Ground, and detailing how you can complete them.
Atomic Heart is a brand new action RPG set in a strange world, where a fictional 1955 USSR has had an upgrade. The game focuses on the AI assistants, known as the Kollektiv. Due to a technological nightmare, the robots begin attacking Humans, and you’re tasked with stopping them.
For more information about the game, check out the official Atomic Heart website. If you’re looking for more guides, check out our Atomic Heart Enemies guide, Atomic Heart VSync guide, and our Atomic Heart weapons guide.
We’ll now crack on with the guide at hand. We’ll go through each Testing Ground individually, providing mini-tutorials on how to get past each one. We’ll also continue to update this guide and add more Testing Ground tutorials, so make sure to check back again soon.
The first Testing Ground puzzle you’ll come up against. To access it, follow these steps…
Testing Ground 1 is completed by using the magnetic pull of the ceiling to your advantage. You can shoot magnets and zap them to the ceiling, and then again to move the metal wall.
Follow these simple steps to complete the first puzzle room…
Follow these steps to transition from the first to the second puzzle room…
Follow these steps to complete the second puzzle room…
