![Digimon UP Tier List [Supports, Buddies, and Partners]](/wp-content/uploads/2026/07/digimon-up-tier-list.jpg "Digimon UP Tier List [Supports, Buddies, and Partners]")
Digimon UP Tier List [Supports, Buddies, and Partners]
These Digimon will get you UP the leaderboard.


![Haze Seas Boss Drops [Chances, Locations, and How to Spawn]](/wp-content/uploads/2026/07/haze-seas-boss-drops.jpg "Haze Seas Boss Drops [Chances, Locations, and How to Spawn]")

Welcome the Agatha Christie: 4:50 from Paddington walkthrough on Gamezebo. Agatha Christie: 4:50 from Paddington is a hidden object adventure game played on the PC created by I-Play . This walkthrough includes tips and tricks, helpful hints, and a strategy guide to how to complete Agatha Christie: 4:50 from Paddington.
Welcome the Agatha Christie: 4:50 from Paddington walkthrough on Gamezebo. Agatha Christie: 4:50 from Paddington is a hidden object adventure game played on the PC created by I-Play . This walkthrough includes tips and tricks, helpful hints, and a strategy guide to how to complete Agatha Christie: 4:50 from Paddington.
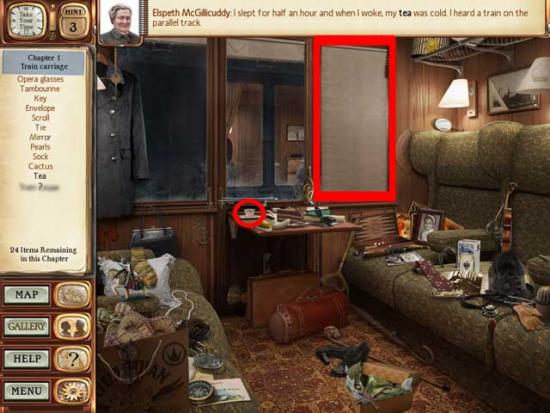
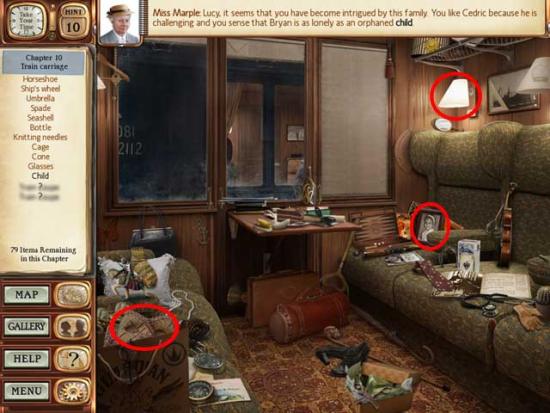
Train Carriage

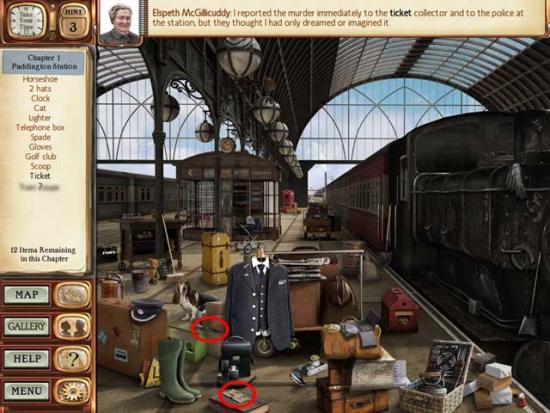
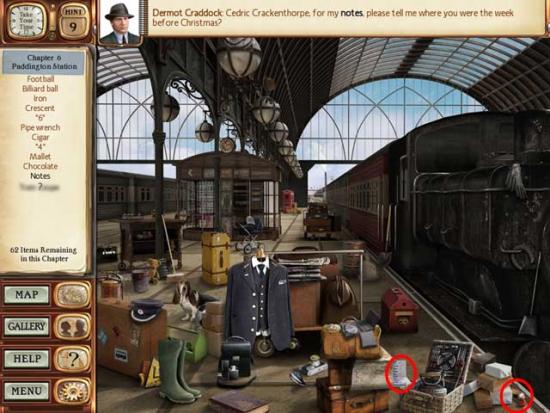
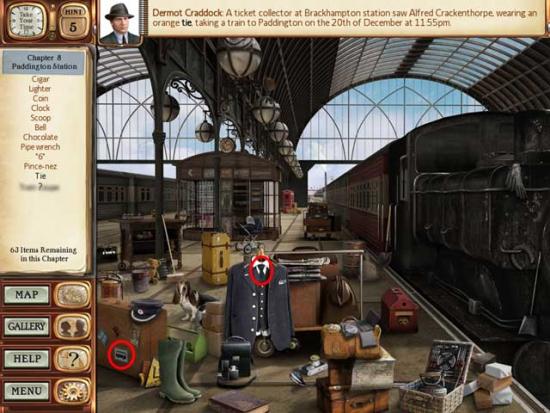
Paddington Station
Rummage
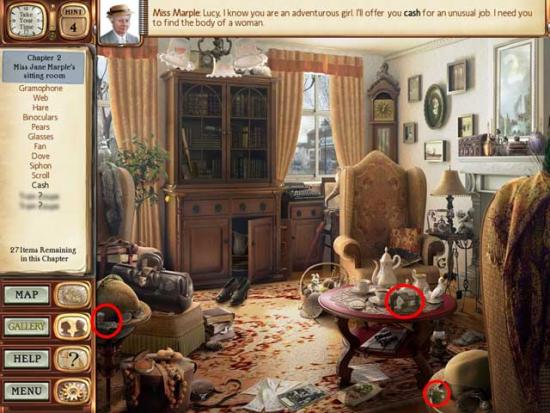
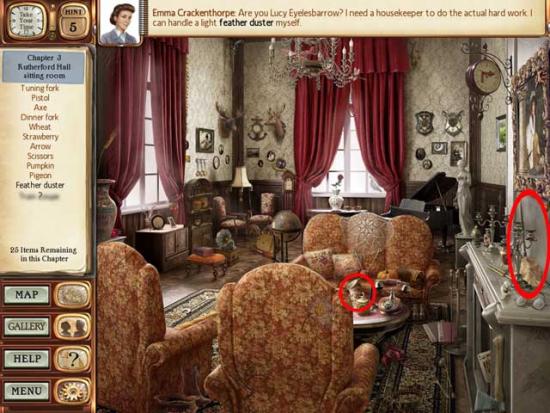
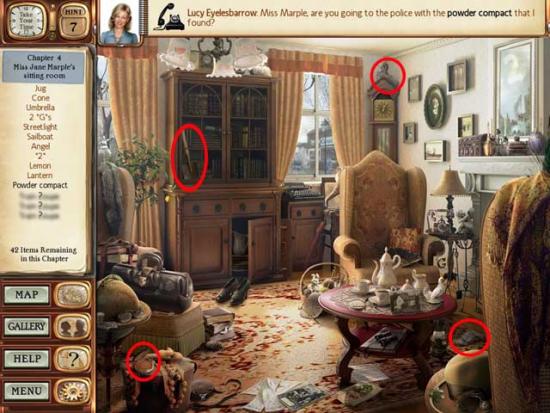
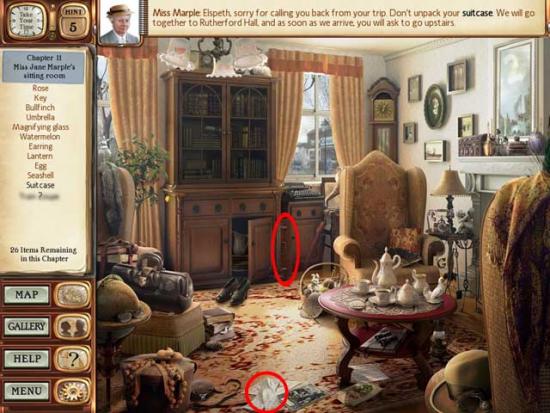
Miss Jane Marple’s Sitting Room
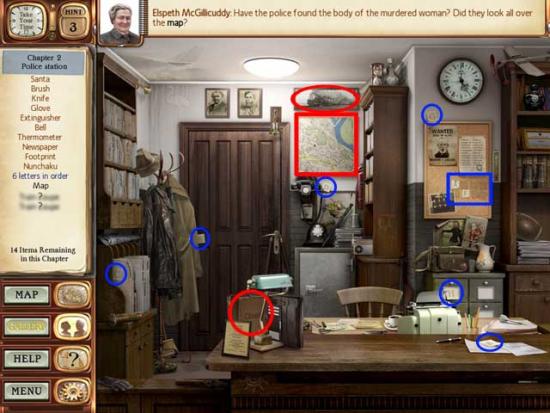
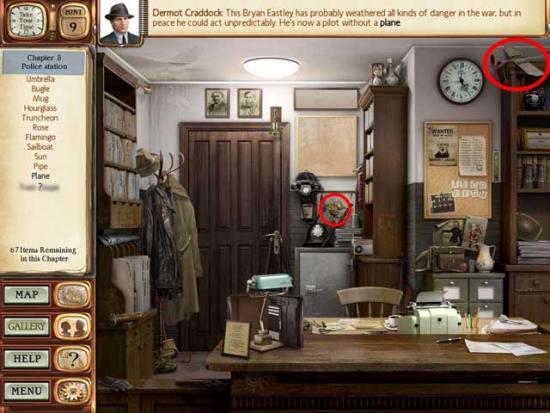
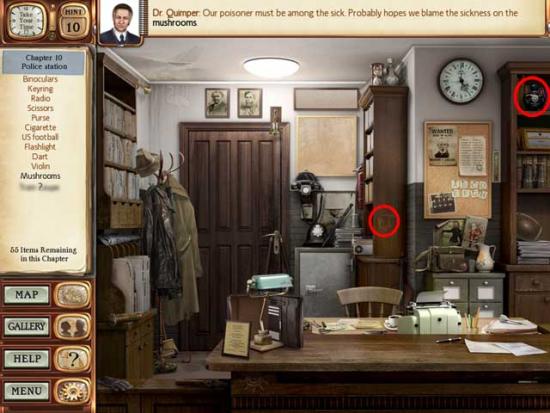
Police Station
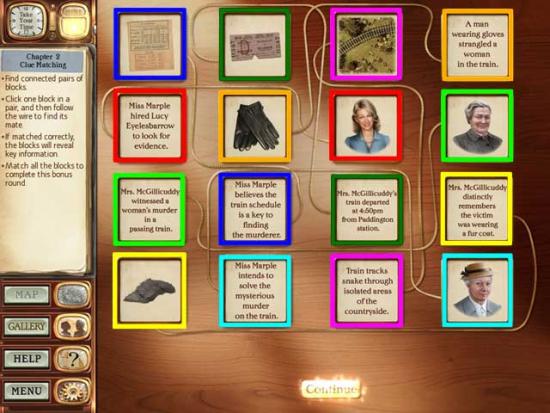
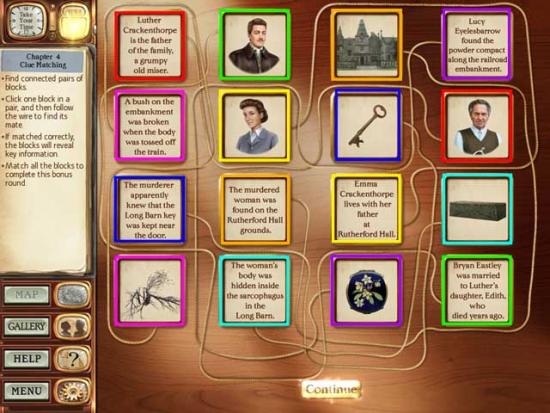
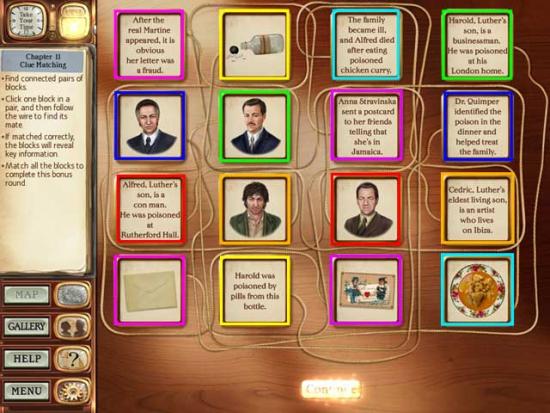
Clue Matching
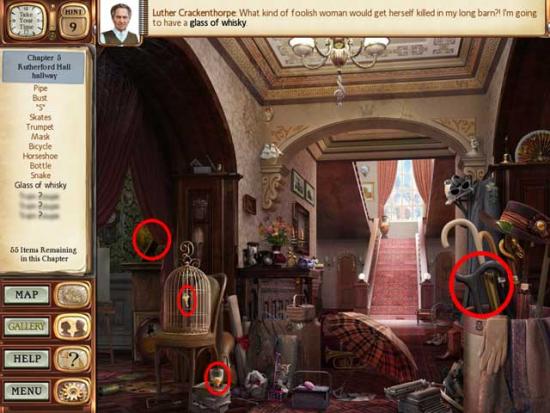
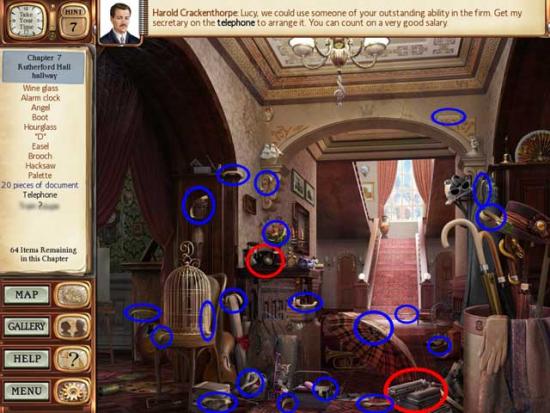
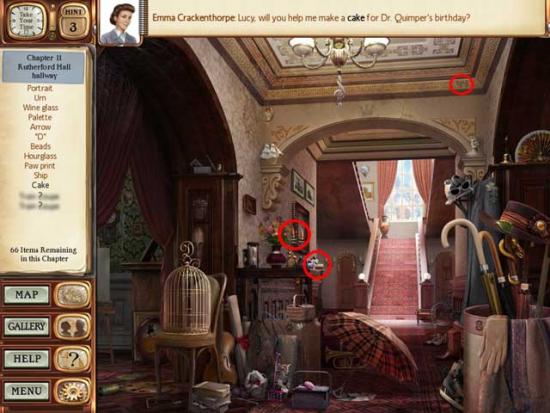
Rutherford Hall Hallway

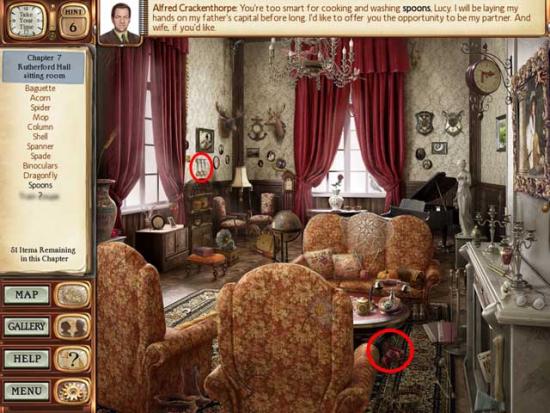
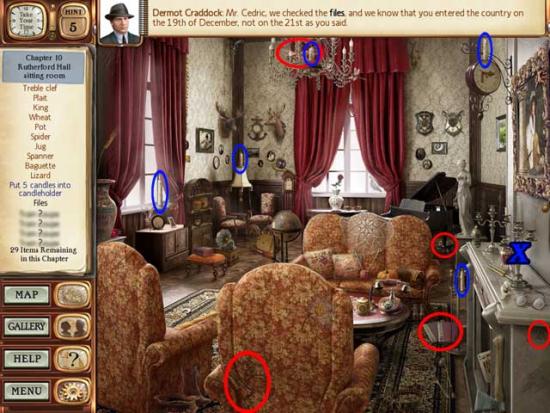
Rutherford Hall Sitting Room
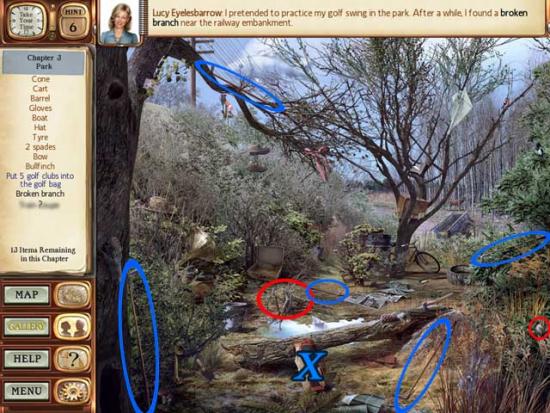
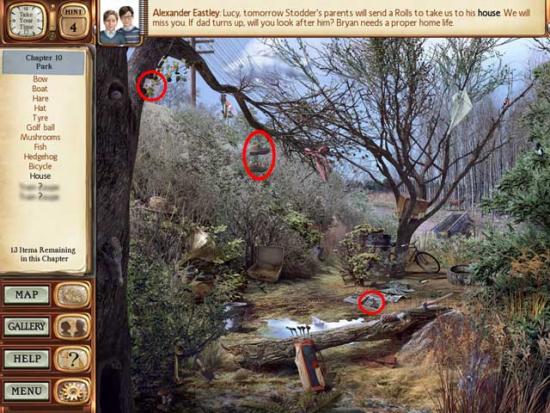
Park
Rummage
Train Carriage

Miss Jane Marple’s Sitting Room
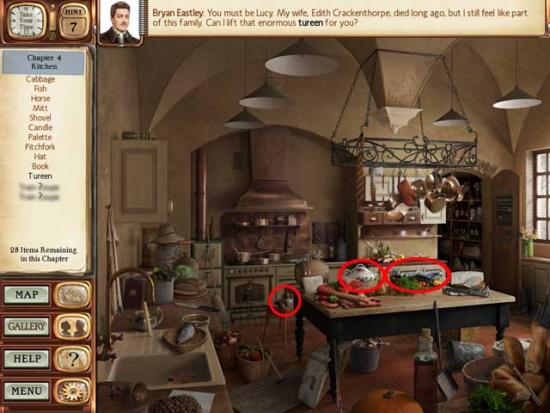
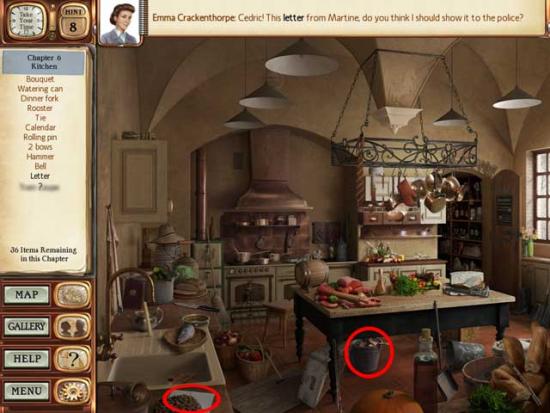
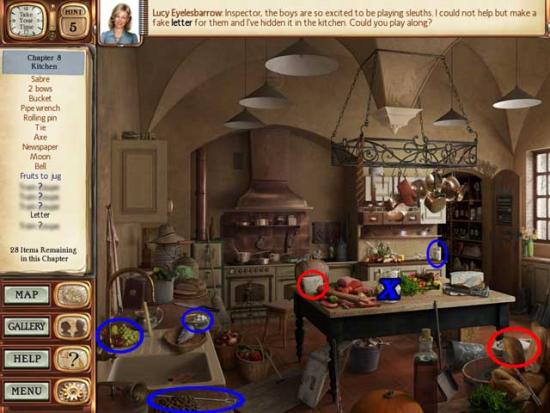
Kitchen
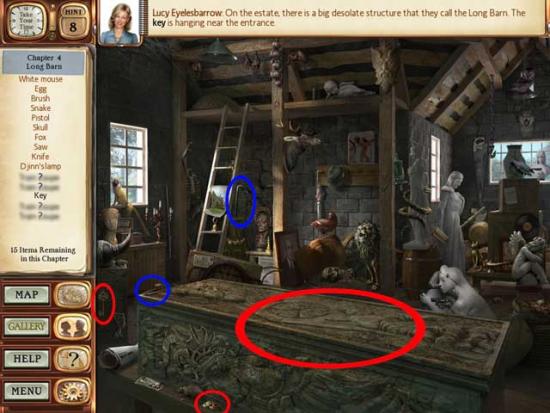
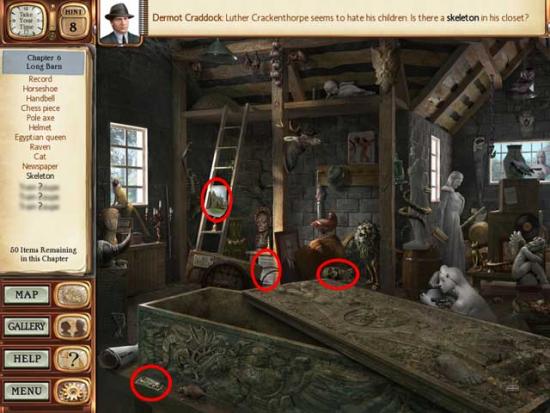
Long Barn
Clue Matching
Police Station
Rutherford Hall Hallway
Rutherford Hall Sitting Room

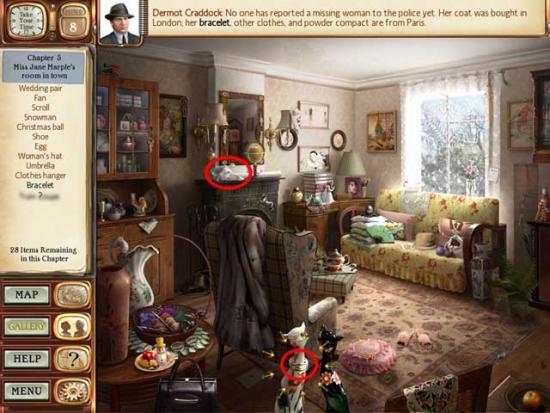
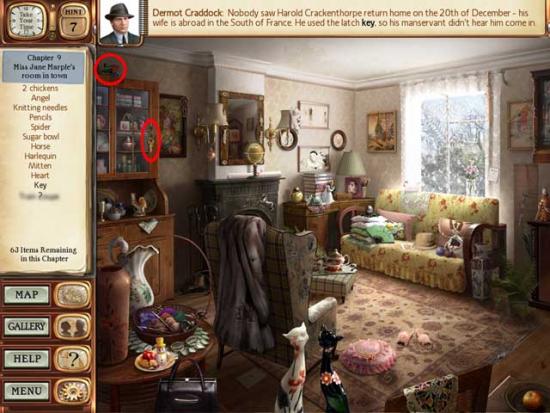
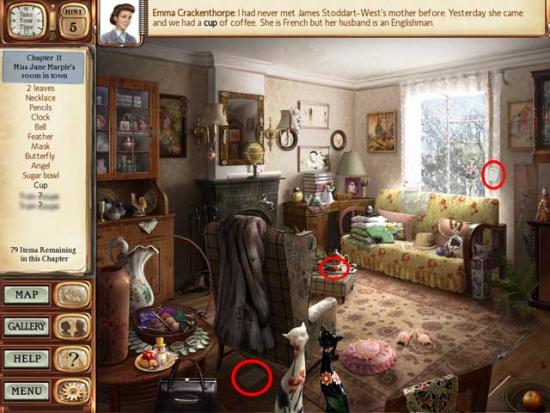
Miss Jane Marple’s Room in Town
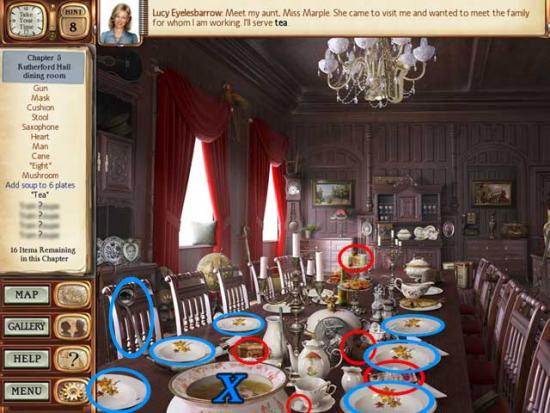
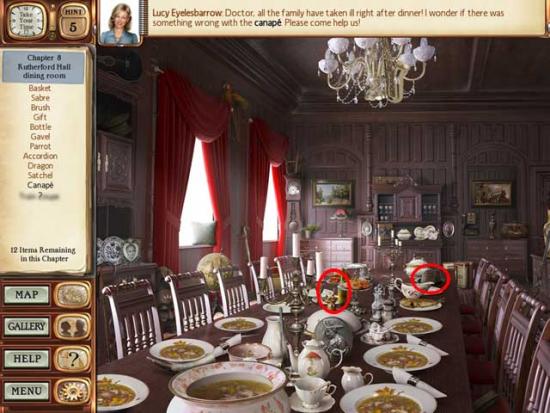
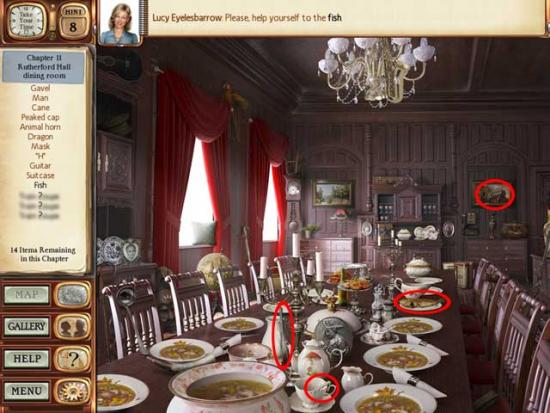
Rutherford Hall Dining Room
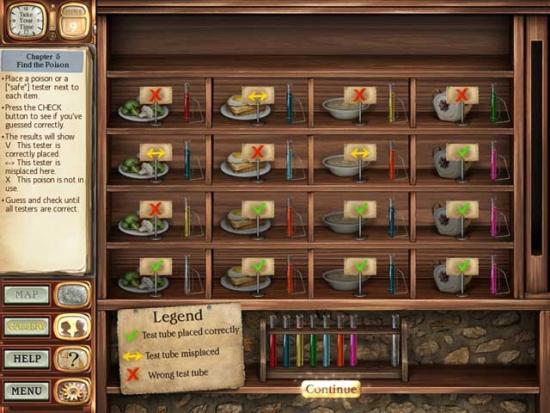
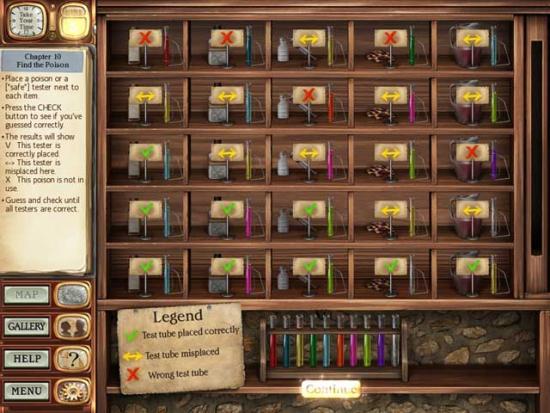
Find the Poison
Guess the Murderer
Paddington Station
Long Barn
Kitchen
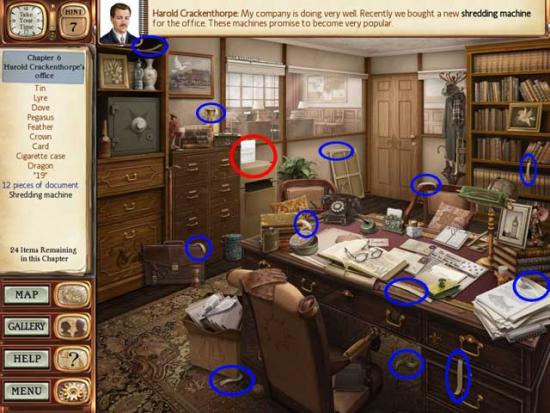
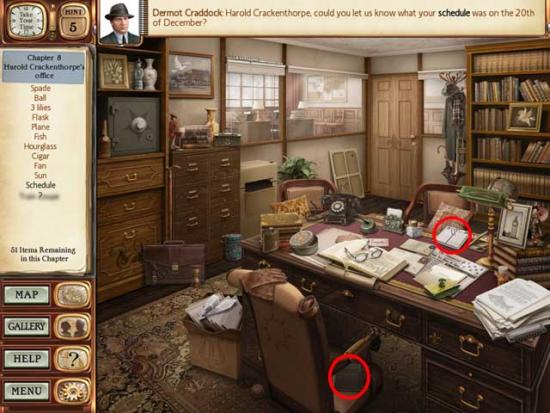
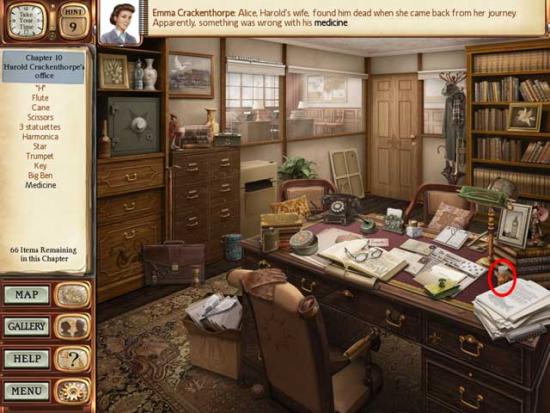
Harold Crackenthorpe’s Office
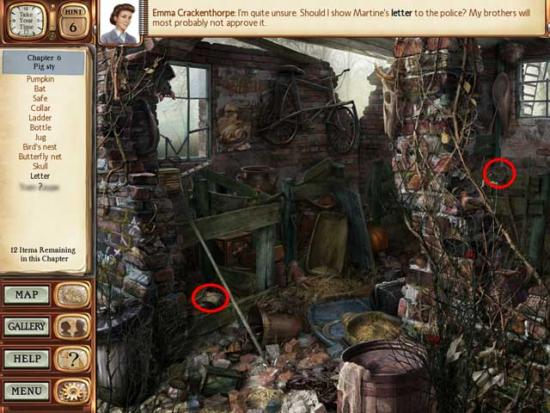
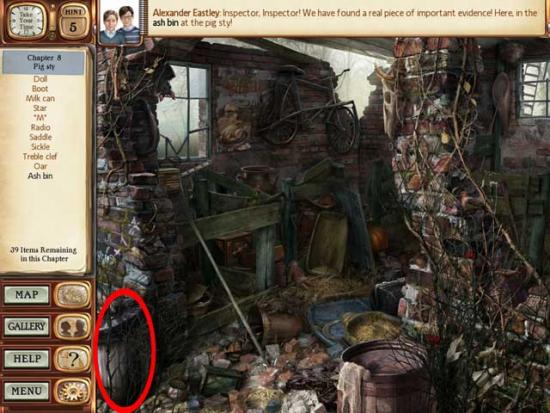
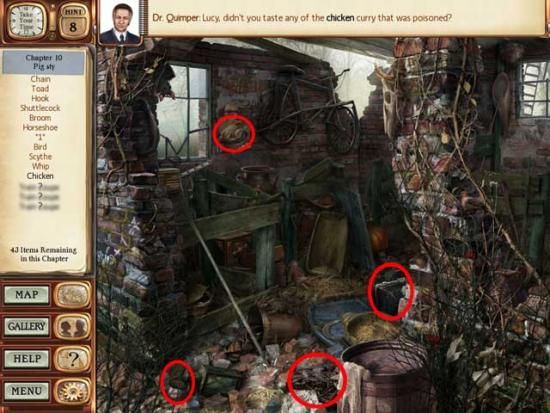
Pig Sty
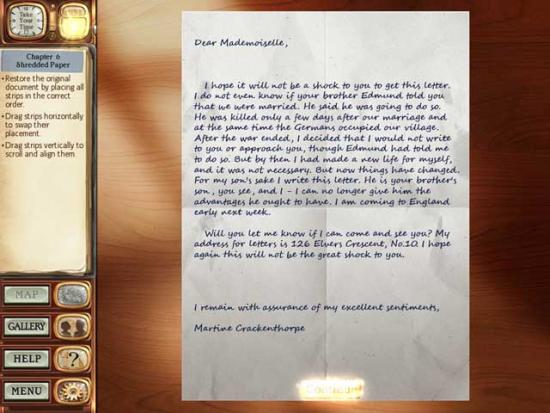
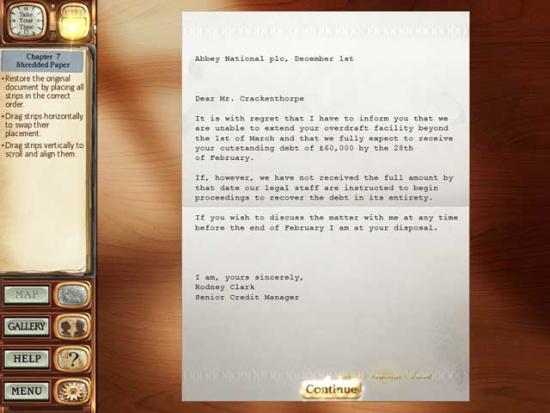
Shredded Paper
Rutherford Hall Hallway
Rutherford Hall Sitting Room
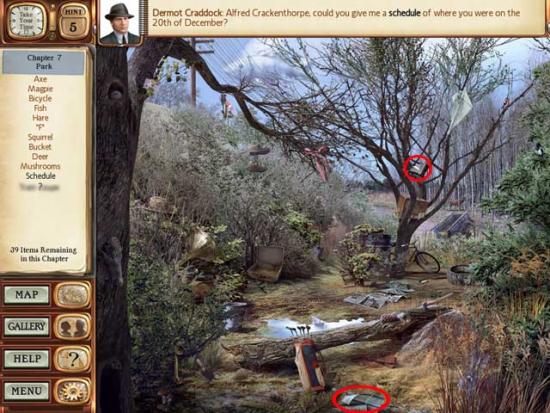
Park
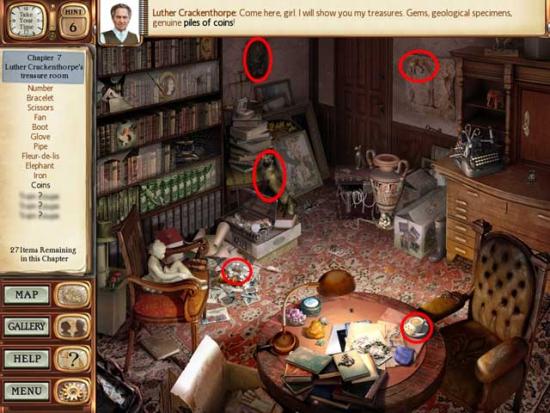
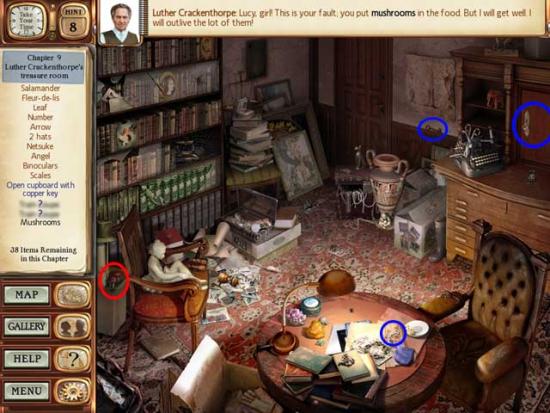
Luther Crackenthorpe’s Treasure Room
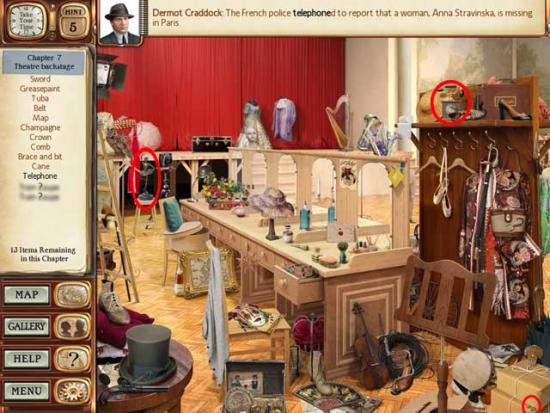
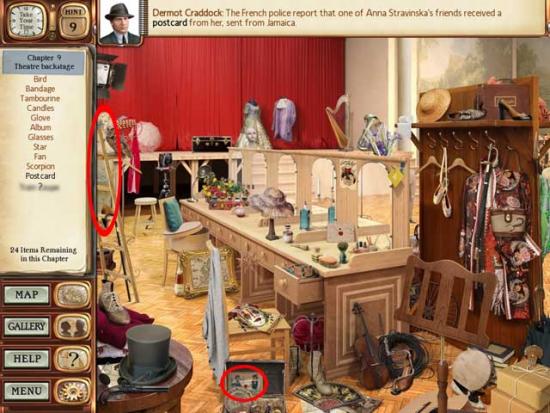
Theatre Backstage
Shredded Paper
Paddington Station
Harold Crackenthorpe’s Office
Pig Sty
Kitchen
Rutherford Hall Dining Room
Rummage
Guess the Murderer
Miss Jane Marple’s Room in Town
Long Barn

Luther Crackenthorpe’s Treasure Room
Theatre Backstage
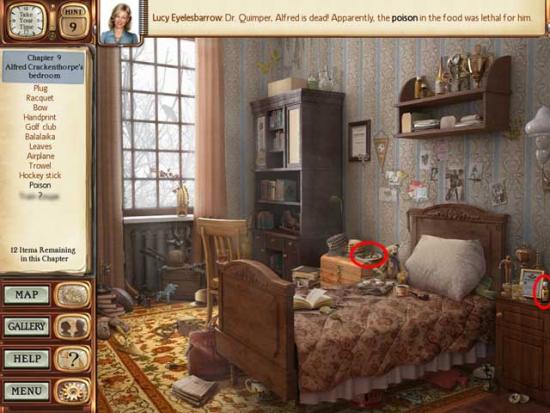
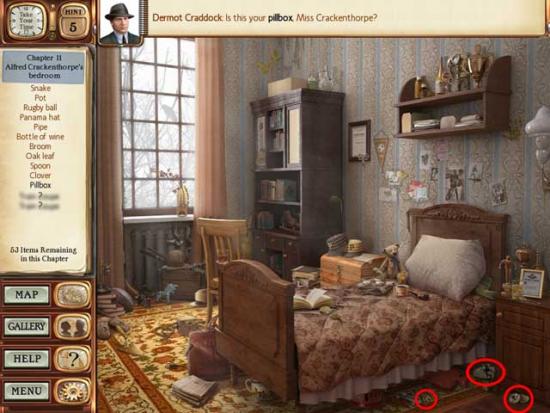
Alfred Crackenthorpe’s Bedroom
Find the Poison

Train Carriage
Harold Crackenthorpe’s Office
Police Station
Pig Sty
Rutherford Hall Sitting Room
Park
Find the Poison
Miss Marple’s Room in Town
Rutherford Hall Hallway
Alfred Crackenthorpe’s Bedroom
Theatre Backstage

Miss Jane Marple’s Sitting Room
Clue Matching
Guess the Murderer

Rutherford Hall Dining Room
And now, the murderer will be revealed. Did you guess correctly and solve the mystery? Congratulations, you’ve completed the game!
