
Grow A Garden 2 Base Price List
What's the most valuable crop?![Evomon Best Starter [Leafbun, Blazpup, or Bubble?]](/wp-content/uploads/2026/06/evomon-best-starter.jpg "Evomon Best Starter [Leafbun, Blazpup, or Bubble?]")
Evomon Best Starter [Leafbun, Blazpup, or Bubble?]
Grass-type, Fire-type, or Water-type?![Evomon Tier List [META and BEST Evomon]](/wp-content/uploads/2026/06/evomon-tier-list.jpg "Evomon Tier List [META and BEST Evomon]")
Evomon Tier List [META and BEST Evomon]
The Evomon dream team.
![[Roblox] Evomon Shiny Hunting Guide – Including Prismatic and Pris Shinies!](/wp-content/uploads/2026/06/evomon-shiny-hunting-guide.jpg "[Roblox] Evomon Shiny Hunting Guide – Including Prismatic and Pris Shinies!")
How to Record Your PC Screen: A Step-by-Step Guide
We are all increasingly living our lives through screens, whether at work or play. That’s why screen recording software is becoming an absolutely essential tool. Not only does it let you create a record of important work-related actions and events, …


- Prefer Gamezebo on Google

We are all increasingly living our lives through screens, whether at work or play. That’s why screen recording software is becoming an absolutely essential tool.
Not only does it let you create a record of important work-related actions and events, but it allows you to record your favorite gaming moments for posterity, pride, and post-match analysis.
You may never have used screen recording software before, but take it from us: once you do, you’ll find that the applications are limitless.
Here’s a quick guide on installing and using EaseUS RecExperts, one of the very best screen recording tools on the market.
First, head to the EaseUS RecExperts product page and click on the relevant download link. You’ve got the choice between a paid version with a free trial, or a free version.
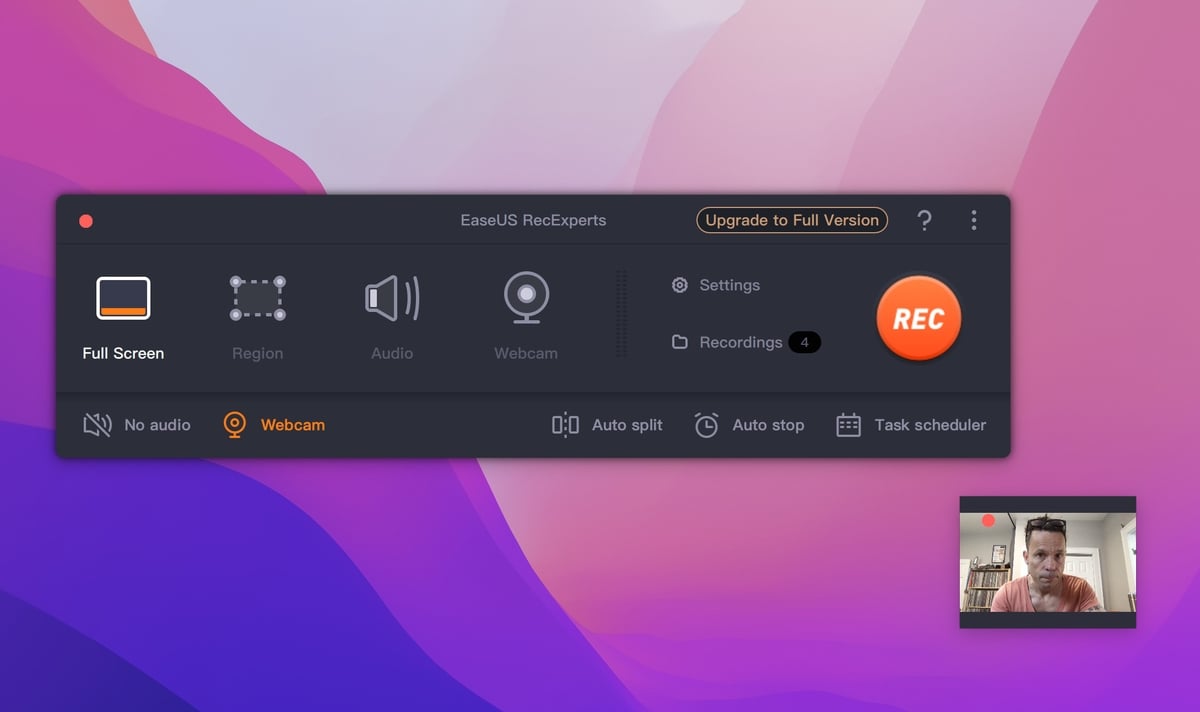
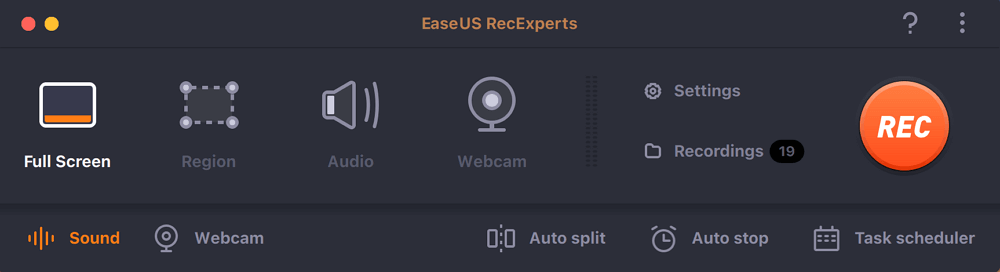
Once you’ve downloaded and installed EaseUS RecExperts on your computer, you’ll hit the main menu. Here you can choose between recording your entire screen or a region of it.
You’ll also have the option to record system sound, microphone sound, and webcam.
Each of these options comes with its own menu. In the Webcam menu you can determine resolution, position, display shape, opacity, and rotation, while in the System sound menu you can test settings and make tweaks.
If you’ve got the Pro version of EaseUS RecExperts, you can also apply Microphone noise reduction and Microphone boost at this stage.
A Pro subscription will also let you auto split or auto stop your recordings when they reach set file sizes or times, and schedule tasks for certain times and with certain parameters.
There’s a settings menu, too, where you can set the storage path for your files, determine the output format, quality, bitrate, sampling rate, and framerate, and much more.
It’s also possible to create and apply a watermark, even if you’re using a free account. Just tap the Watermark icon and follow the prompts.
At the edge of the main menu there’s a sidebar that allows you to select screen, audio, game, webcam, or online video – that is, from video platforms like YouTube and others.
There are differences between these processes, but we’ll keep it simple here and walk you through the basic PC screen recording process.
If you’re looking to record a region of your screen, simply tap ‘Region’ and select the area with the selection tool.
If you’re happy to record the whole screen, you can just go ahead and jump straight to the big orange ‘REC’ button.
After a short countdown, EaseUS RecExperts will start recording the specified area.
Beneath the recording you’ll see a menu console, with options for stopping, pausing, taking a screengrab, setting a timer, adjusting the recording volume, and minimising the window.
Plus, there’s a basic Paint-esque drawing tool, allowing you to draw, write, and create shapes in a variety of colors. This is for annotating the footage you’re recording, but you can just have fun with it.
Once your recording is done you’ll be taken straight to an editing suite, where you can trim the footage, add opening and closing credits, extract the audio, adjust the playback speed, take screenshots, and adjust the volume.
Plus, at this stage you can name your file, choose where to save it, import other files, and more.
It’s important to note here that you only get to use one minute of your footage with the free version of EaseUS RecExperts, so you might want to pony up for the full version if you want to get the most out of this versatile and intuitive piece of software.

More articles...
-
Grow A Garden 2 Base Price List
What's the most valuable crop? -
Evomon Best Starter [Leafbun, Blazpup, or Bubble?]
Grass-type, Fire-type, or Water-type? -
Evomon Tier List [META and BEST Evomon]
The Evomon dream team.