- Wondering how to get Monopoly GO! free rolls? Well, you’ve come to the right place. In this guide, we provide you with a bunch of tips and tricks to get some free rolls for the hit new mobile game. We’ll …
Best Roblox Horror Games to Play Right Now – Updated Weekly
By Adele Wilson
Our Best Roblox Horror Games guide features the scariest and most creative experiences to play right now on the platform!The BEST Roblox Games of The Week – Games You Need To Play!
By Sho Roberts
Our feature shares our pick for the Best Roblox Games of the week! With our feature, we guarantee you'll find something new to play!Type Soul Clan Rarity Guide – All Legendary And Common Clans Listed!
By Nathan Ball
Wondering what your odds of rolling a particular Clan are? Wonder no more, with my handy Type Soul Clan Rarity guide.
Geostorm Walkthrough – How to Complete the Optional Objectives in Dubai
Geostorm is a turn-based puzzle game in the vein of Lara Croft GO. Players will help a trio of characters escape a series of natural disasters while avoiding dangerous hazards caused by tsunami, arctic freeze, and a lightning storm. The …

Geostorm is a turn-based puzzle game in the vein of Lara Croft GO. Players will help a trio of characters escape a series of natural disasters while avoiding dangerous hazards caused by tsunami, arctic freeze, and a lightning storm. The puzzles are primarily styled after Sokoban, in which characters will have to push or pull objects to clear paths and reach new areas safely.
Most of the levels in the game contain optional objectives related to finding information or completing a stage in a particular fashion or number of moves. This guide will cover the optional objectives for the first location of the game, Dubai, and its eleven levels.
Level 1 – Executive Offices
The first level doesn’t contain any optional objectives. You simply need to make it to the end of the stage. This stage is fairly straightforward and is primarily used to show off the different actions you’ll be using to progress through the game: moving, swimming, breaking glass with an axe, pushing desks, etc.
Level 2 – Waiting Area
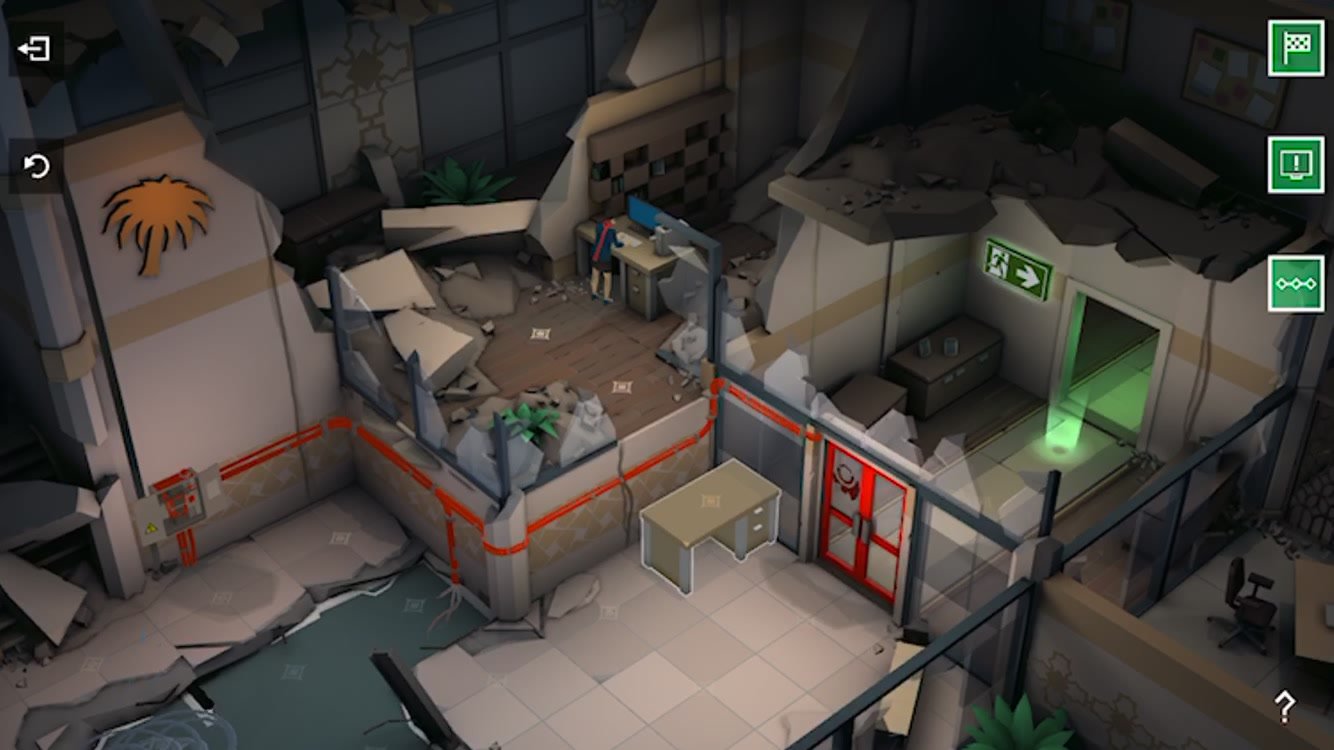
Objective 2: Optional – Download the satellite schematics
Objective 3: Optional – Escape in 21 moves or less
You cannot complete both of these optional objectives in the same attempt. Getting the schematics will always take more than 21 moves. Complete the level with the schematics first, then replay it with the minimum move count.
The schematics can be reached by pushing the desk into the northeast corner near the orange exit door. Climb up on the desk and then climb onto the floor just above it. The computer with the schematics is up here; stand in front of the computer and tap it to download them.
We’ve detailed the exact steps for the move-limit objective below:
- Move 1: Step northeast toward the orange breaker box.
- Move 2: Step northeast again, so you’re now standing in front of the breaker box.
- Move 3: Turn off the breaker box.
- Move 4: Jump into the water directly south of the breaker box.
- Move 5: Swim south one tile, so you’re just west of the desk.
- Move 6: Move south once more so you’re standing on the floor diagonally southwest from the desk.
- Move 7: Move east one tile so you’re directly below the desk.
- Move 8: Push the desk north into the water.
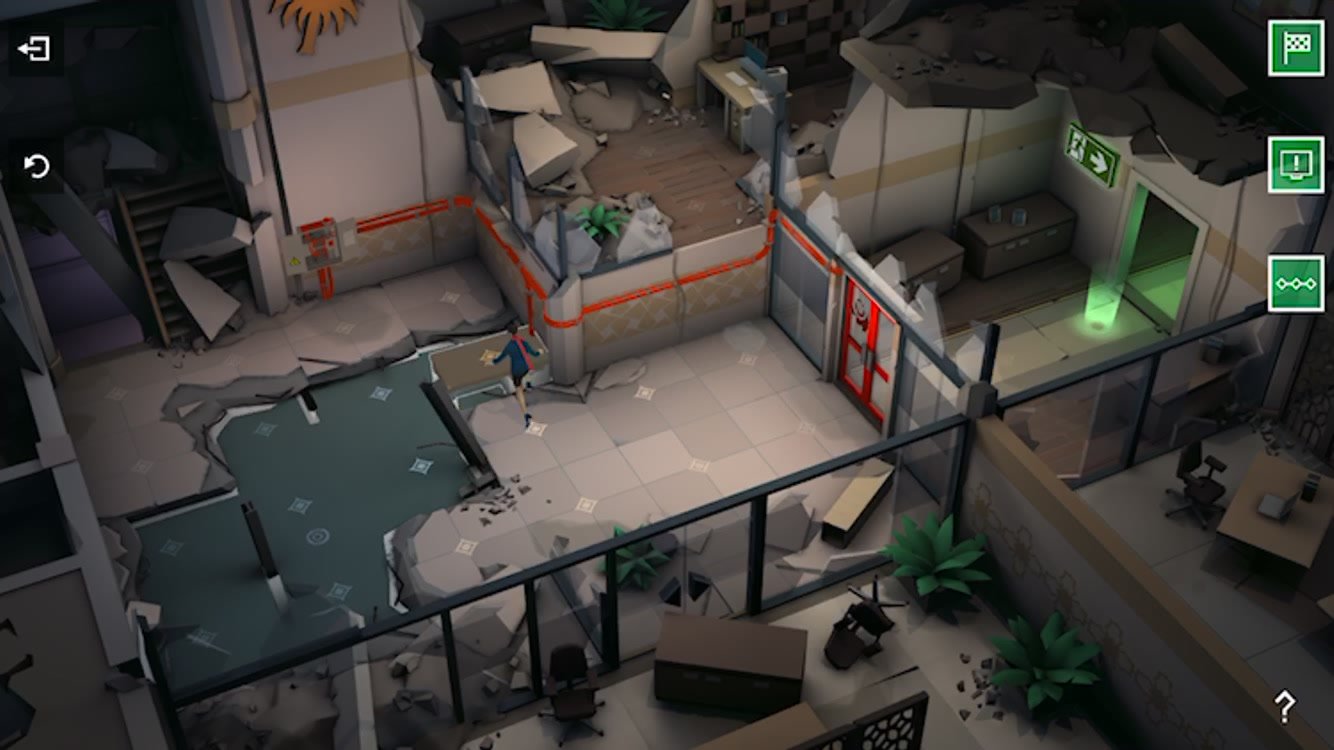
- Move 9: Step onto the desk.
- Move 10: Step onto the floor just north of the desk.
- Move 11: Step west one tile so you’re in front of the breaker box again.
- Move 12: Turn the breaker box on.
- Move 13: Step east to where you were just standing.
- Move 14: Step back onto the desk.
- Move 15: Step south off the desk, back onto the southeastern floor.
- Move 16: Move south one tile.
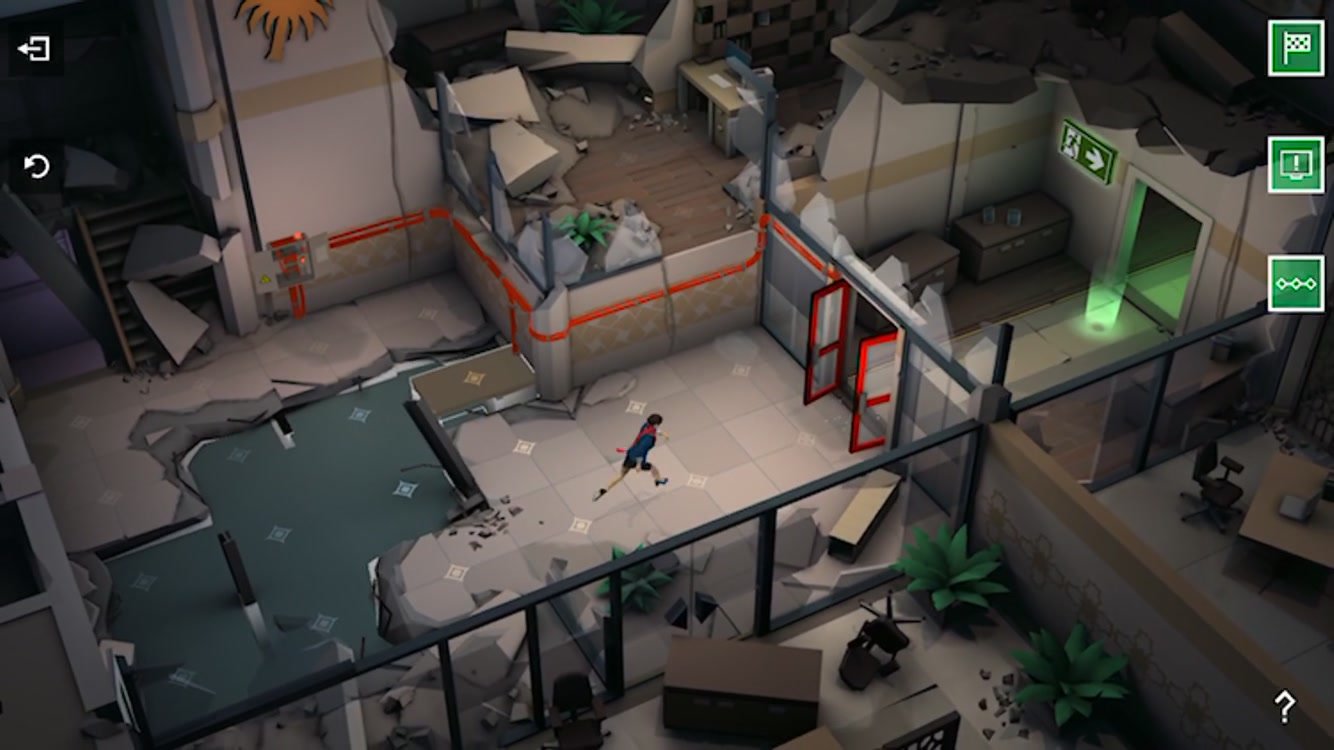
- Move 17: Move east toward the exit.
- Move 18-20: Keep moving east toward the exit.
- Move 21: Step onto the green exit point.
Level 3 – Hallway
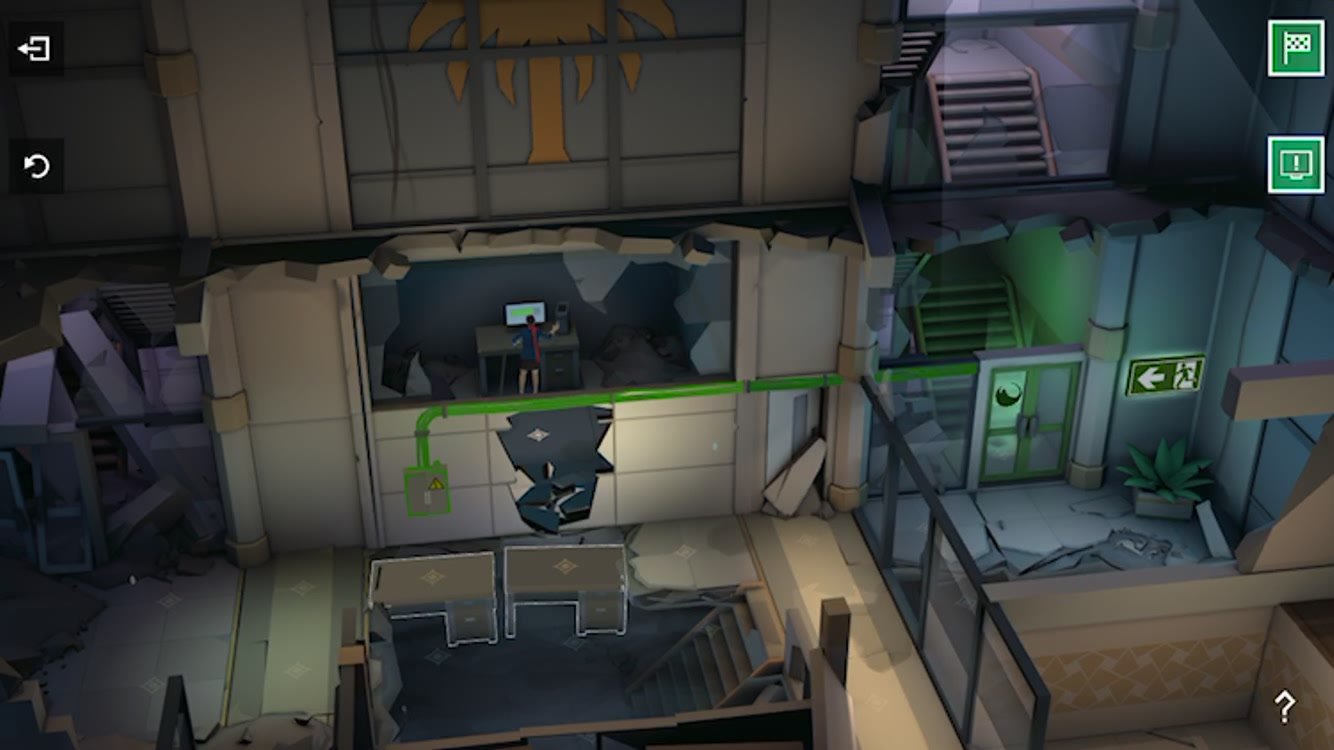
Objective 2: Optional – Download the satellite schematics
The schematics in this level are behind a cracked wall just north of the stairs. You don’t have to do anything special to reach them since you need the axe and the desk from the first room to beat the stage. After you break the glass to empty the water into the pit near the stairs, push the desk into the pool, stand on it, and tap the cracked wall to break it. Walk up a tile to reach the computer.
Level 4 – Helipad
Objective 2: Optional – Download the satellite schematics
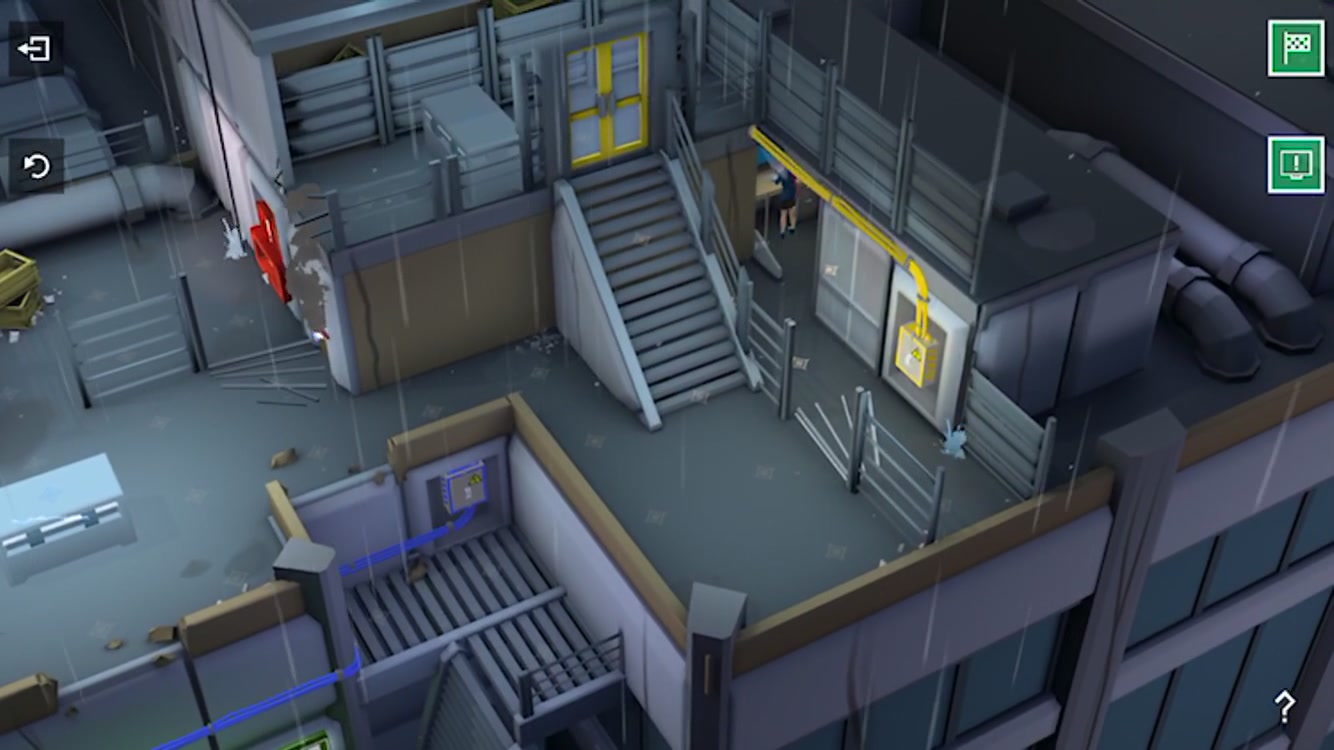
The Helipad is one of the few stages in Dubai that has more than one area with multiple “exit” points. The schematics are in the second area, on the roof. Grab the axe from the emergency glass just northeast of where you begin the second part of the stage. Then head to the southeast side of the roof. Break the metal bars in front of the yellow breaker box. From the breaker box, head north. The computer with the schematics is tucked away in an alcove directly north of the breaker box.
Level 5 – Reception
Objective 2: Optional – Escape in 38 moves or less
The key to completing this level in the fewest steps possible is remembering that Denise can jump down into water, and that water makes upper areas more easily accessible. We’ve listed the exact steps below:
- Move 1: Step west of the doorway you emerge from at the start so you’re standing below the broken wire.
- Move 2: Step west once more so you’re in the corner.
- Move 3: Step south so you’re just west of the desk.
- Move 4: Push the desk east one tile.
- Move 5: Push the desk east one more tile. It should be directly below the blue breaker box.
- Move 6: Head south one tile.
- Move 7: Head west one tile.
- Move 8: Head west again.
- Move 9: Head south, to the foot of the stairs.
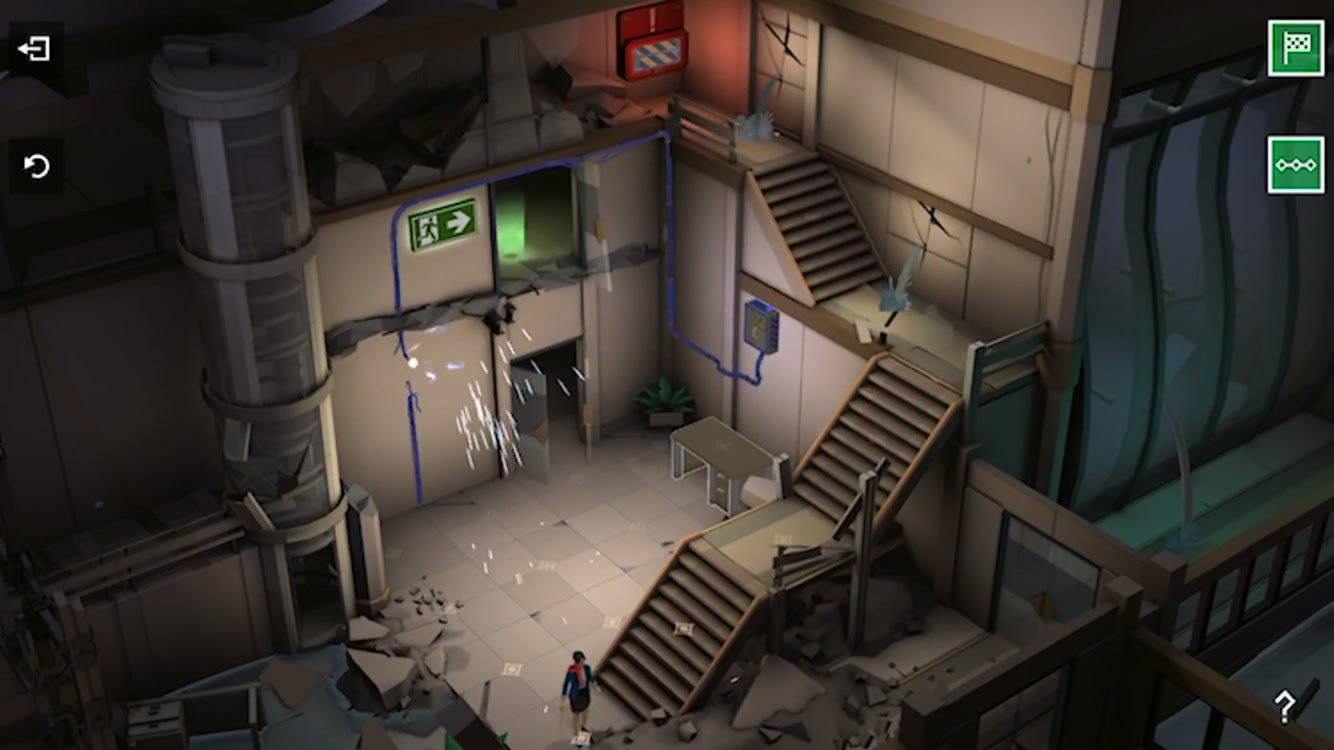
- Move 10 – 13: Head east up the stairs.
- Move 14 – 17: Head northwest along the upper hallway to the end where the emergency glass is.
- Move 18: Break the emergency glass for an axe.
- Move 19: Move southeast one tile so you’re standing in front of the cracked wall.
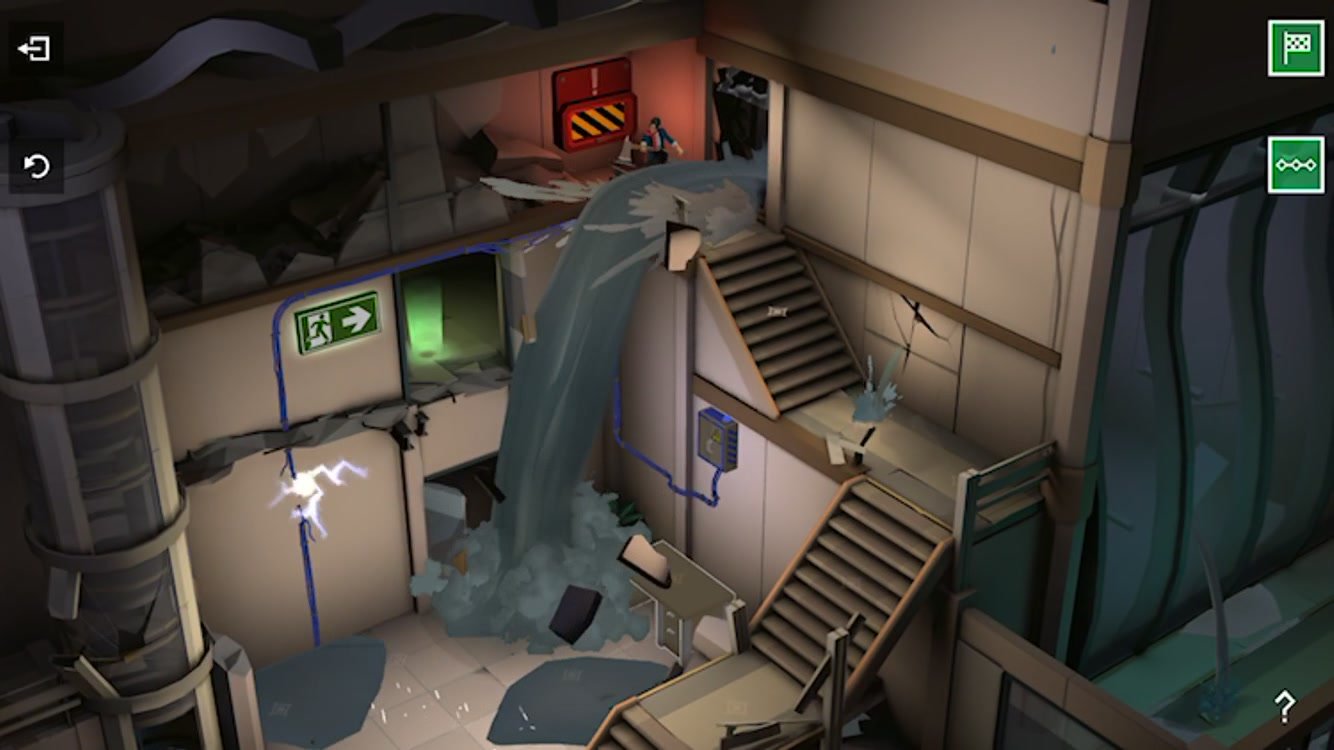
- Move 20: Break the cracked wall with your axe, releasing a pool of water below.
- Move 21: Move southeast one tile to the stairs.
- Move 22: Move southeast one more tile to the next cracked wall.
- Move 23: Jump west off the upper hallway into the water below.
- Move 24: Move north onto the desk.
- Move 25: Turn off the blue breaker box.
- Move 26: Move south off the desk.
- Move 27: Move west one tile.
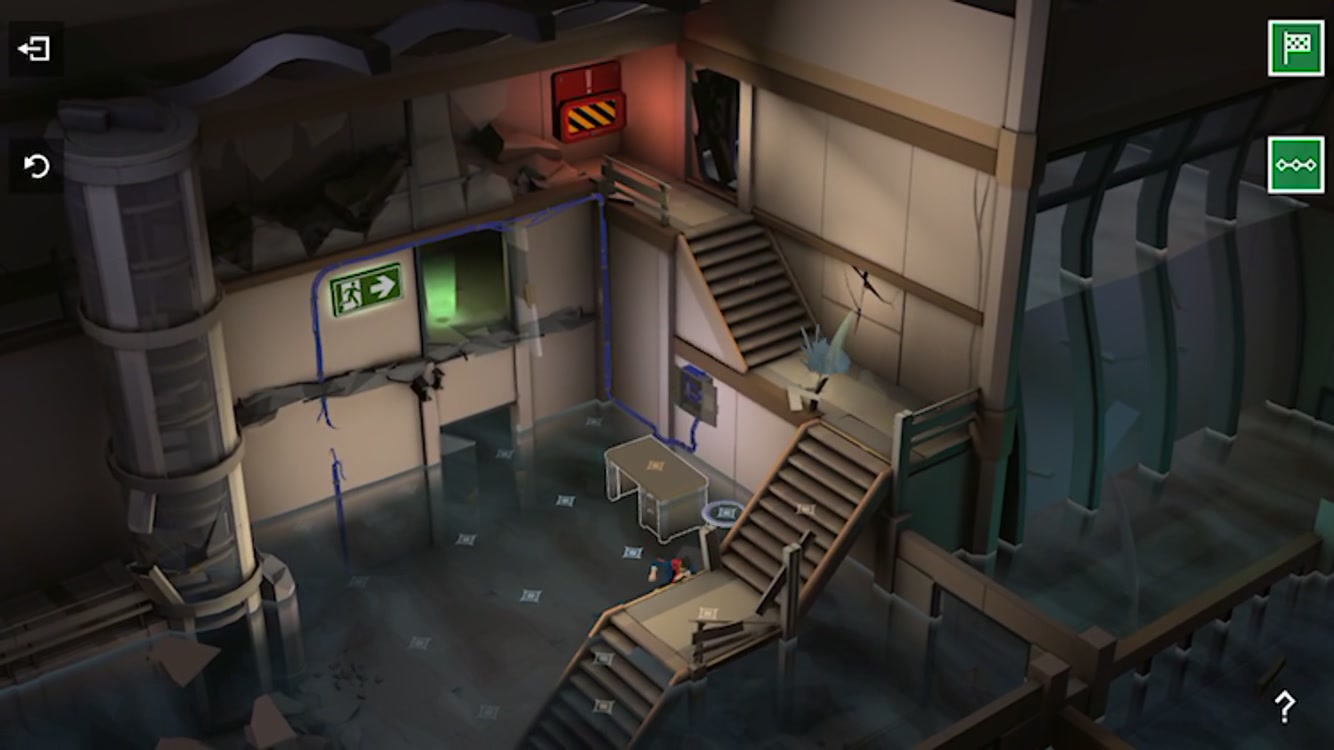
- Move 28: Move south onto the stairwell platform.
- Move 29: Move east up the stairs.
- Move 30: Move up the stairs once more to the hallway.
- Move 31: Move northwest one tile to the cracked wall.
- Move 32: Pick up your axe.
- Move 33: Break the cracked wall, releasing another stream of water below.
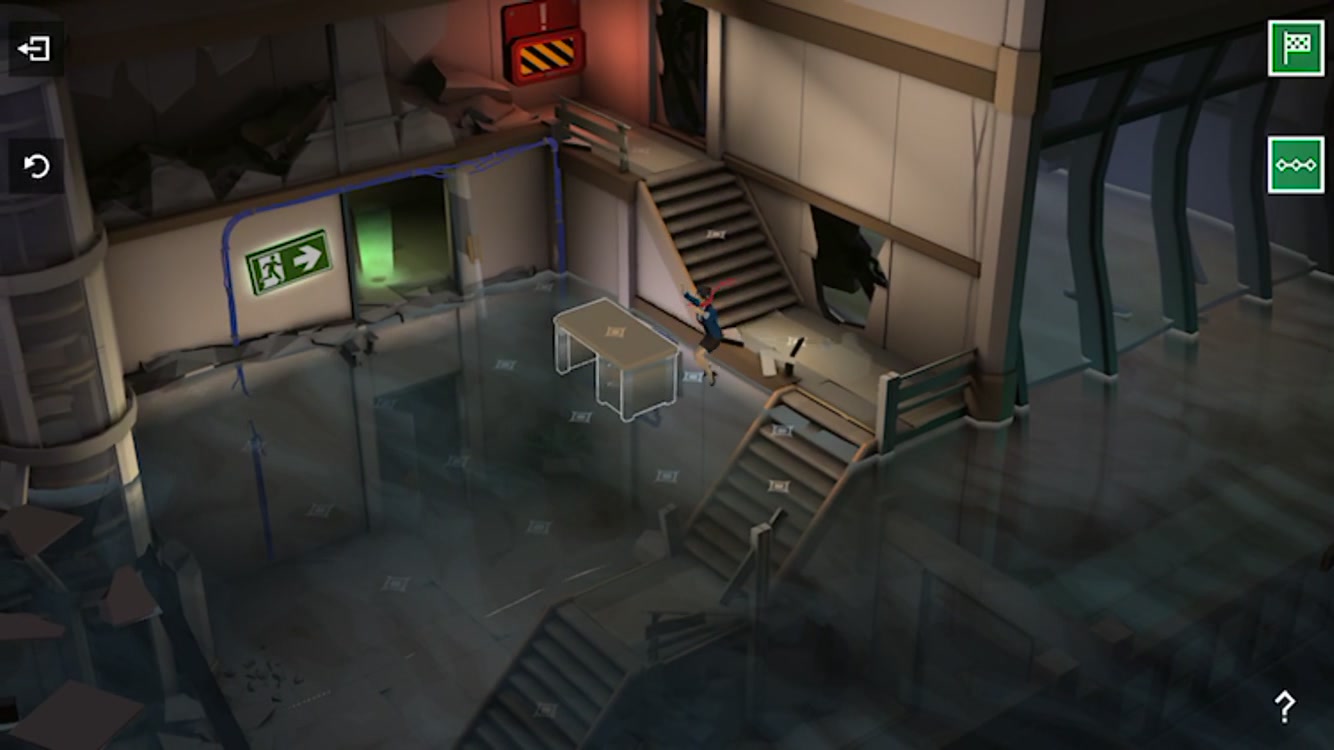
- Move 34: Jump west into the water.
- Move 35: Swim west one tile.
- Move 36 – 38: Swim north to the exit.
Level 6 – Accounting
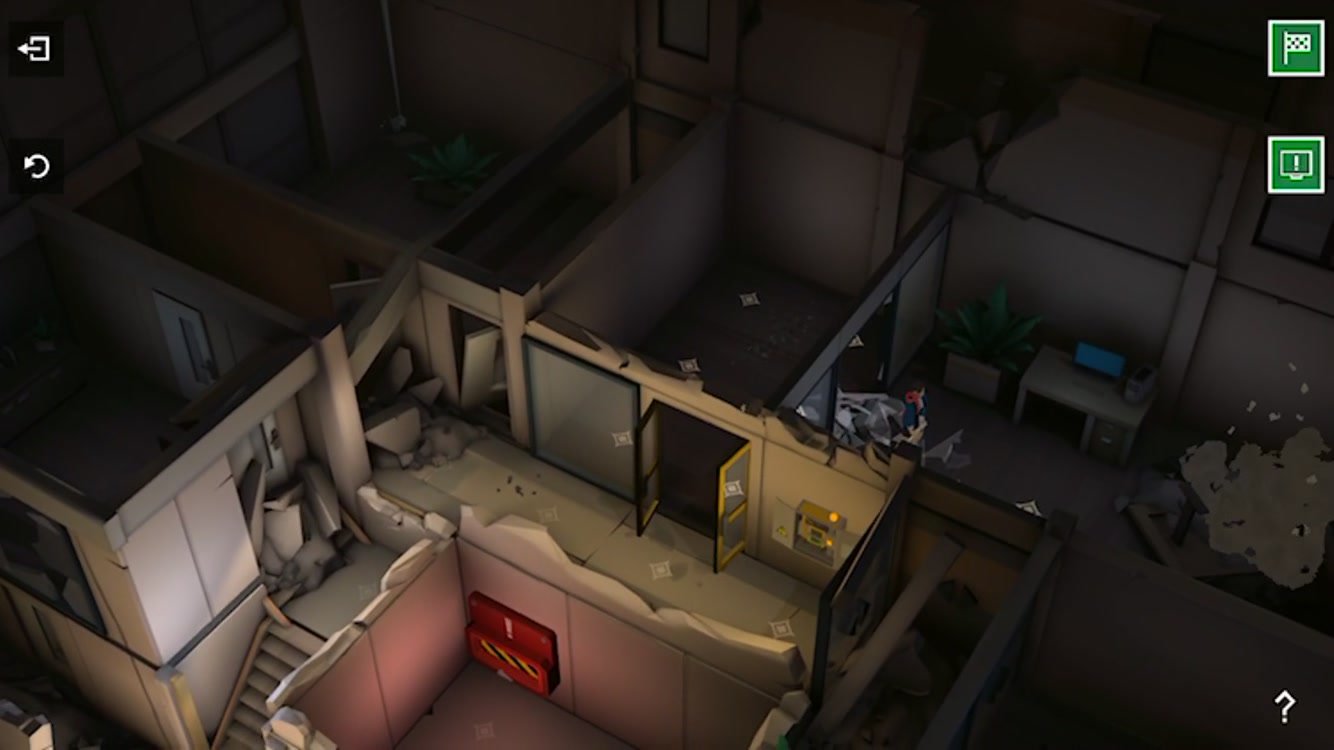
Objective 2: Optional – Download the satellite schematics
To reach the schematics in level 6, you have to complete most of the stage as normal. Turn on the yellow breaker box, then the red box, then the blue. After you open the blue doors and grab the axe, head back to the yellow breaker box at the top of the stairs. Walk through the yellow doors and use the axe to break the glass wall on the east side of the room. The computer with the schematics is in the room just past this glass wall.
Level 7 – Skybridge
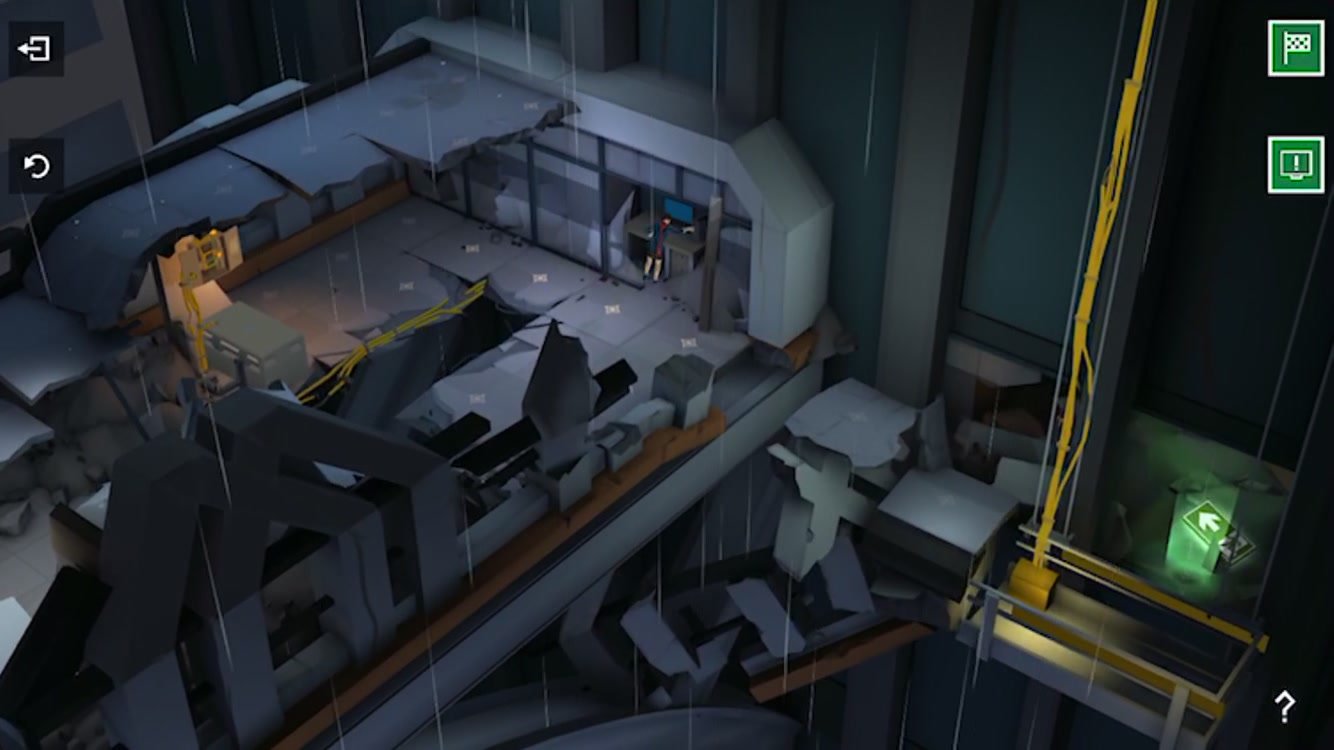
Objective 2: Optional – Download the satellite schematics
These schematics are near the very end of the level. You have to push the second desk down from the upper platform on the far eastern side of the stage in order to access the yellow breaker box. When you first push the desk down, it lands in front of a small alcove that contains the computer with schematics. Download them on your way back through after turning on the yellow breaker.
We found actually getting to the point with the yellow breaker fairly challenging: the hardest part of this level is getting the first desk where you need it to go. You have to push it onto the first cracked floor, then run back around and pull it onto the solid flooring to the south. Push it east twice and then north onto the third piece of cracked floor. You then need to hop onto the platform just east of where you’re standing and drop down east of the desk, pulling it off the cracked floor. Denise should never step on any part of the cracked floor in this level.
Level 8 – Research Department
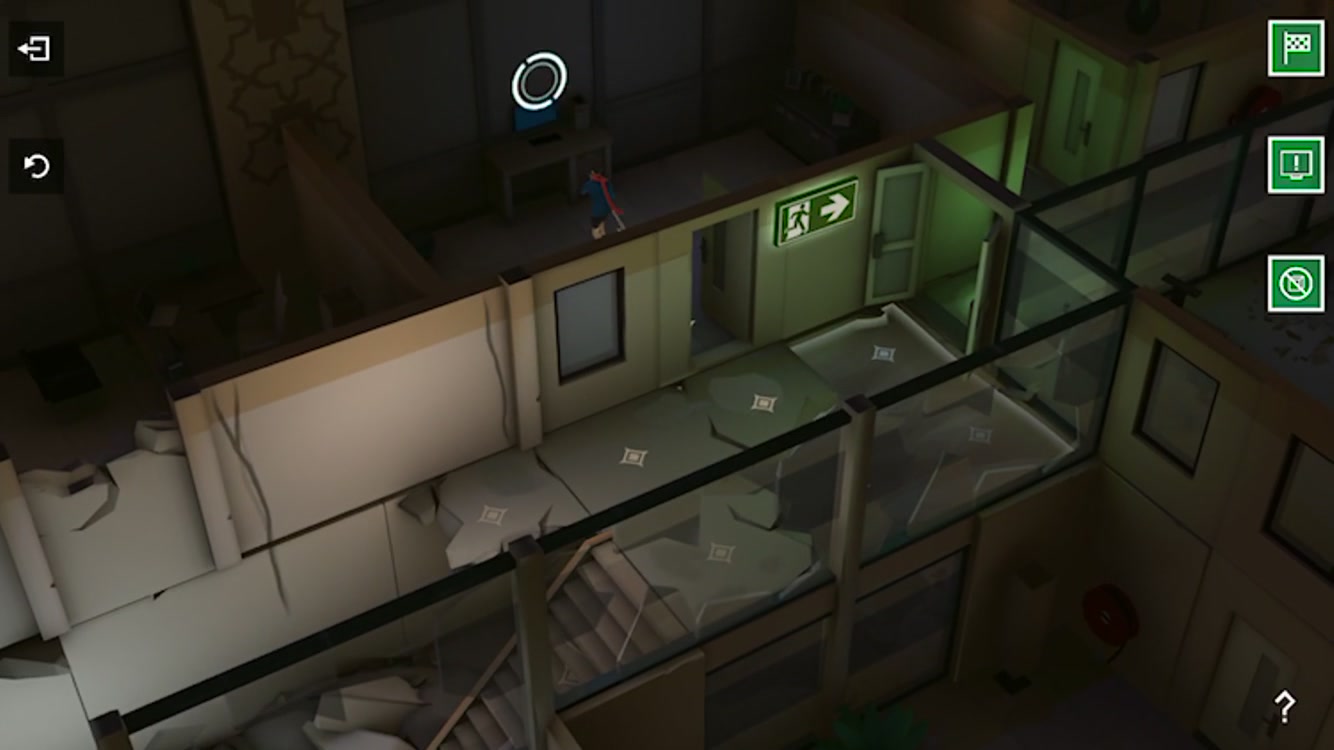
Objective 2: Optional – Download the satellite schematics
Objective 3: Optional – Escape without using the red item
The schematics for this stage are in a room right before the exit. Progress through the level like normal. Once you reach the green exit sign on the northeast wall, look for an open door just west of it. Head north through that door into a room with the schematics computer.
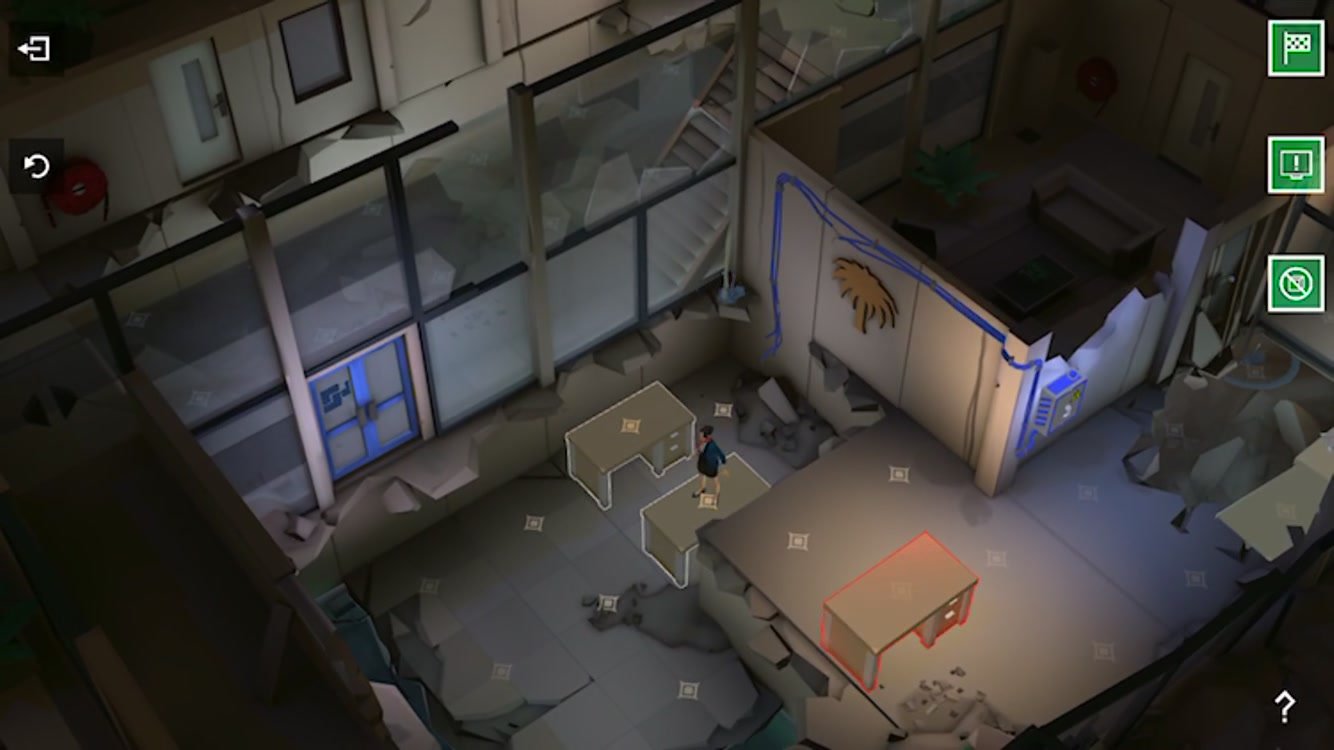
To complete the level without using the red item—a desk near the blue breaker box—push the two desks in the lower area (before it’s flooded by turning on the blue breaker) east so they are two glass partitions east of the blue doors. Then, instead of exiting through the blue doors, use your axe to break this glass partition and exit through the opening.
Level 9 – Meeting Rooms
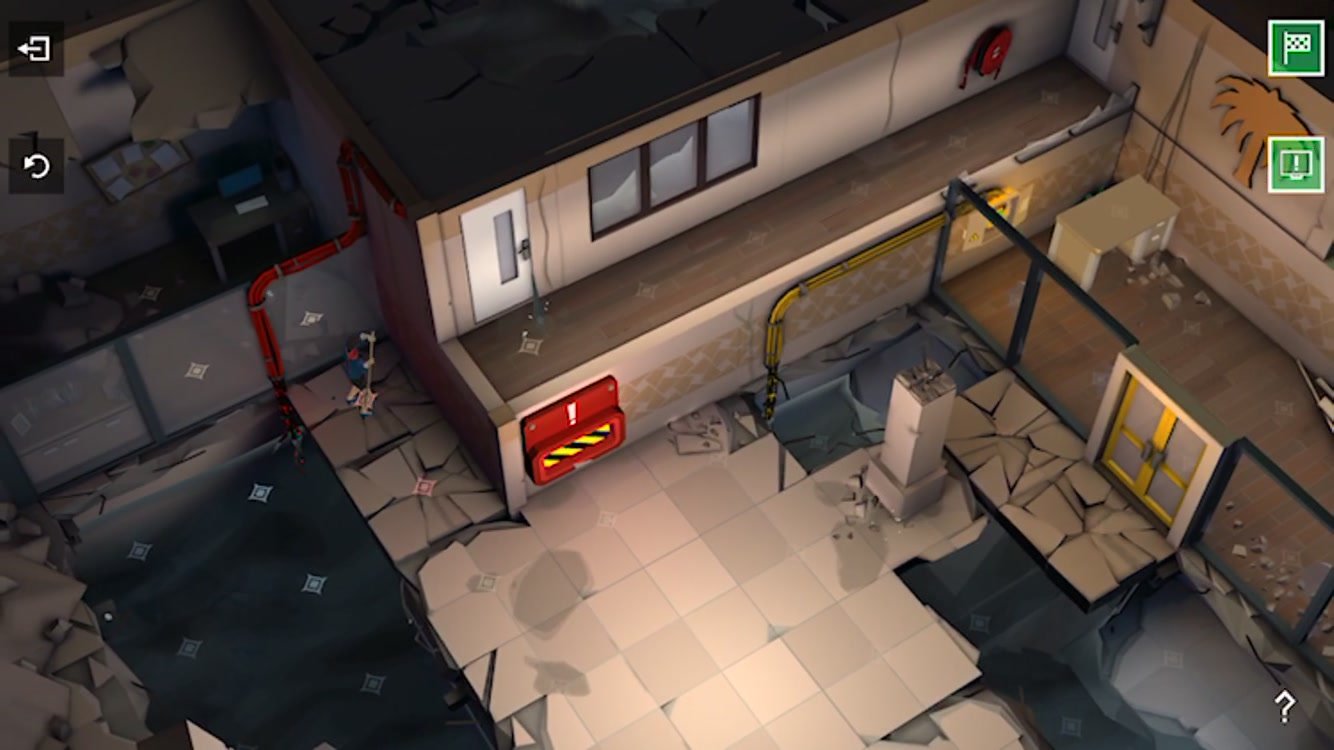
Objective 2: Optional – Download the satellite schematics
We found this to be one of the trickier stages in Dubai. The majority of the level is designed around reaching the exit: if you can get to that point, you can easily retrieve the schematics. After you get to the platform right by the exit, turn off the red breaker box. Jump back down and push the desk back north next to the yellow breaker box. Make sure you have your axe with you, then jump to the hallway above the yellow breaker and head west. Jump down onto the first cracked floor tile just northwest of the emergency glass where you got the axe. Walk north onto the other cracked tile and use your axe to break the glass partition. The computer is inside this room. After you retrieve the schematics you can just swim back since you turned off the electricity in this area.
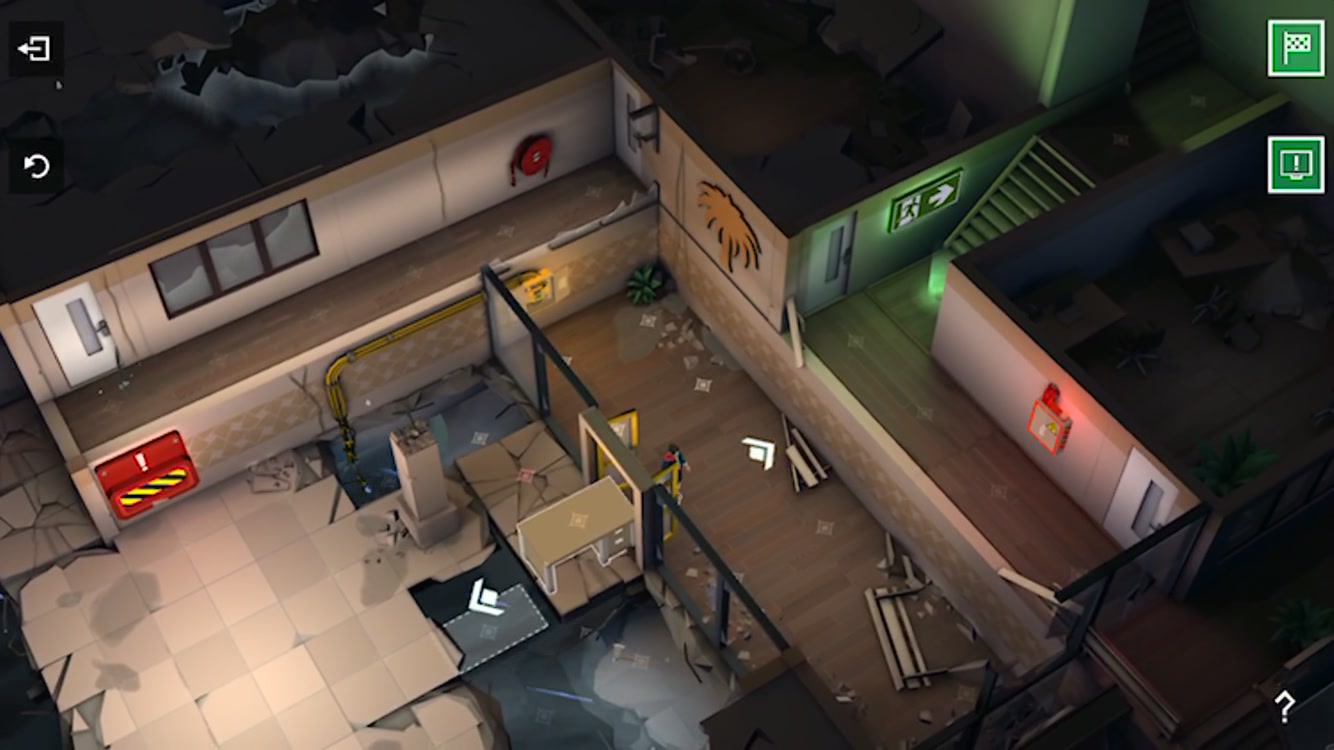
If you’re having trouble getting to that point: your first primary goal is to get the desk from the western room to the eastern room, through the yellow doors. Use the desk to get up to the upper hallway to the north and drop down near the yellow breaker, but don’t turn it on yet. Break the glass partitions near the yellow door, then swim back to the desk. You’ll have to push it over the cracked floor tiles, but Denise can walk around the cracked tiles via the water while the yellow breaker is off. Once the desk is next to the yellow doors, turn on the breaker and pull it through.
Level 10 – Upper Management
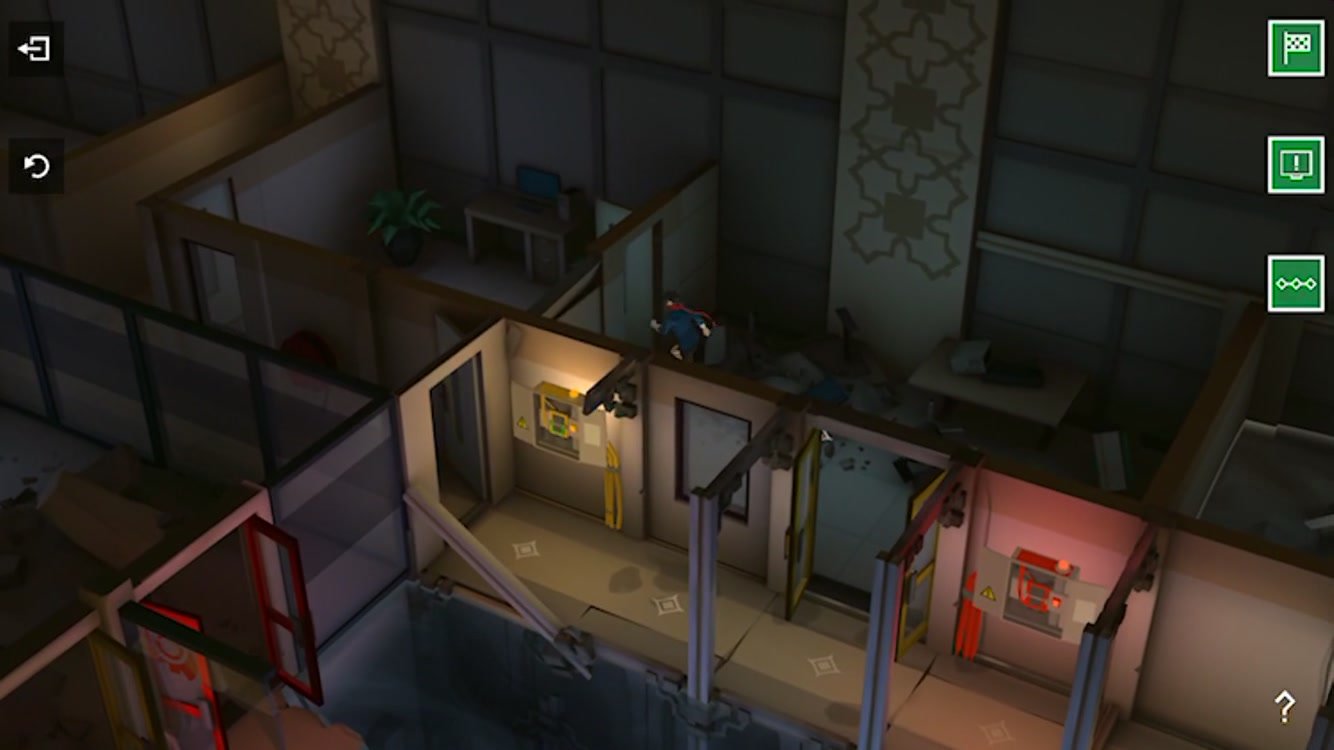
Objective 2: Optional – Download the satellite schematics
Objective 3: Optional – Escape in 34 moves or less
Just like in level 2, you cannot reach the schematics and finish in the optional turn limit on the same attempt. Play through the stage once, grabbing the schematics, and then replay to complete objective #3. The schematics are in a room connected to the room behind the yellow doors: after you hit the red breaker and then the yellow breaker, enter the yellow doorway room (the one you can reach) and then go through the door that is ajar to the northwest to reach the computer.
The steps for completing the level in 34 moves are detailed below:
- Move 1 – 3: Move east to the red breaker box.
- Move 4: Turn on the red breaker box.
- Move 5 – 7: Move west back to the yellow breaker box.
- Move 8: Turn on the yellow breaker box.
- Move 9 – 14: Move east down the hallway to the stairs.
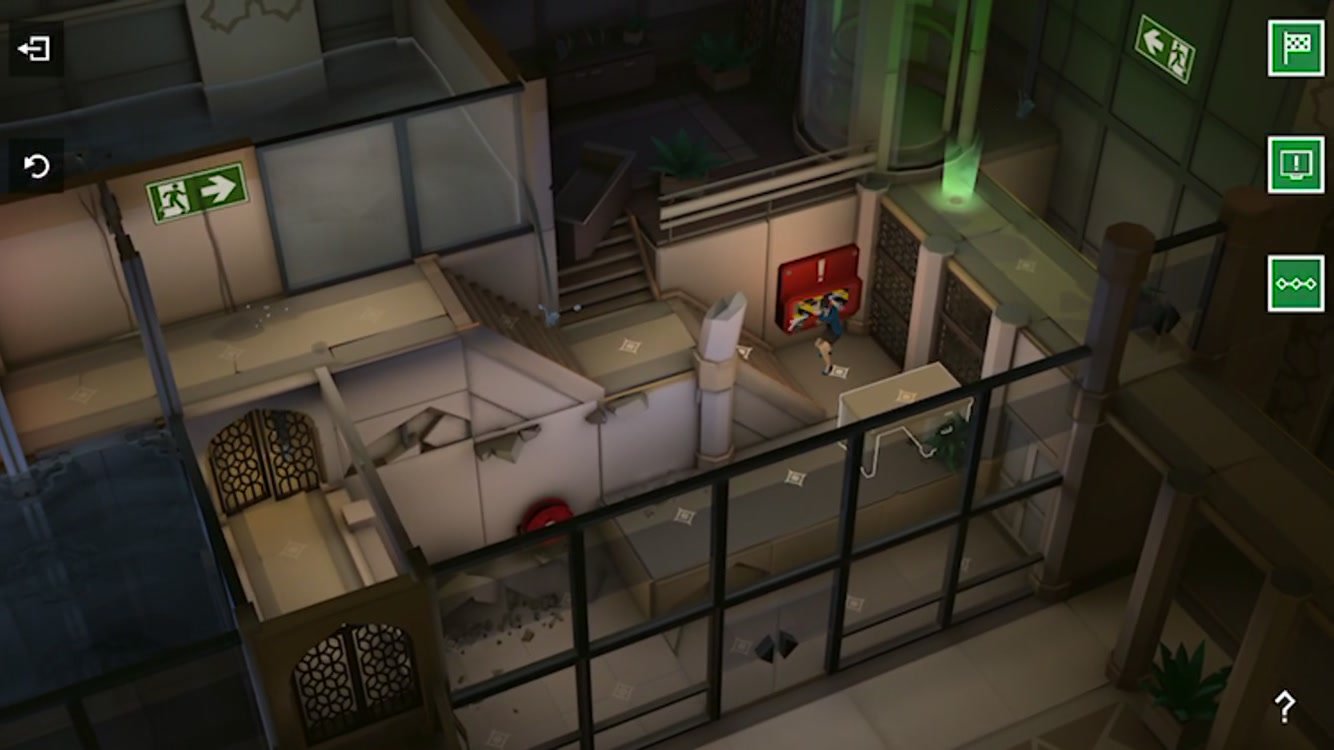
- Move 14 – 18: Move down the stairs to the emergency glass.
- Move 19: Break the emergency glass to get an axe.
- Move 20 – 23: Move back up the stairs until you’re right at the top of them. You should be in front of a glass partition and one space east of the green exit sign.
- Move 24: Break the glass with your axe. Water fills the room below.
- Move 25: Move one tile west, just under the green exit sign.
- Move 26: Move south, dropping into the gated bridge one level down.
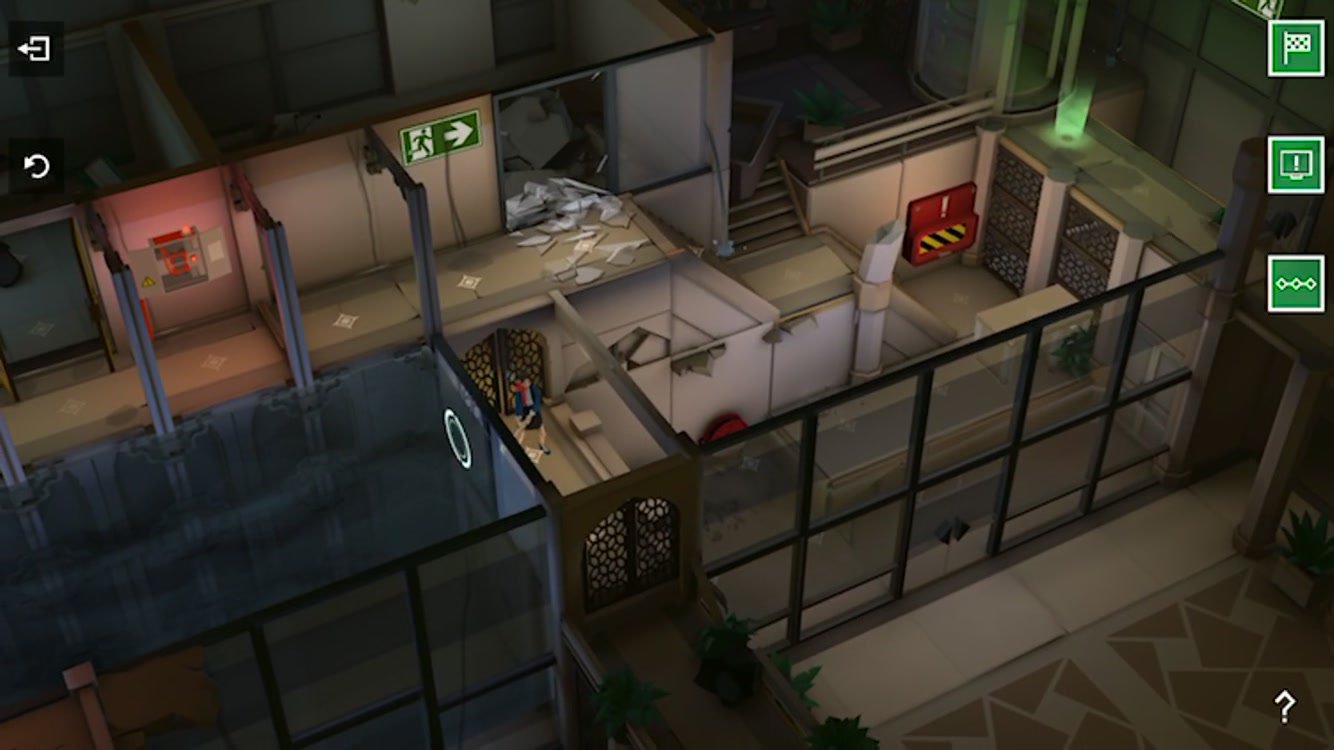
- Move 27: Break the glass to the west. The water from the other room fills the one to your east.
- Move 28 – 32: Jump east into the water and swim straight east to the desk.
- Move 33: Move east from the desk to the platform above.
- Move 34: Move north to the green exit point.
Level 11 – Rescue
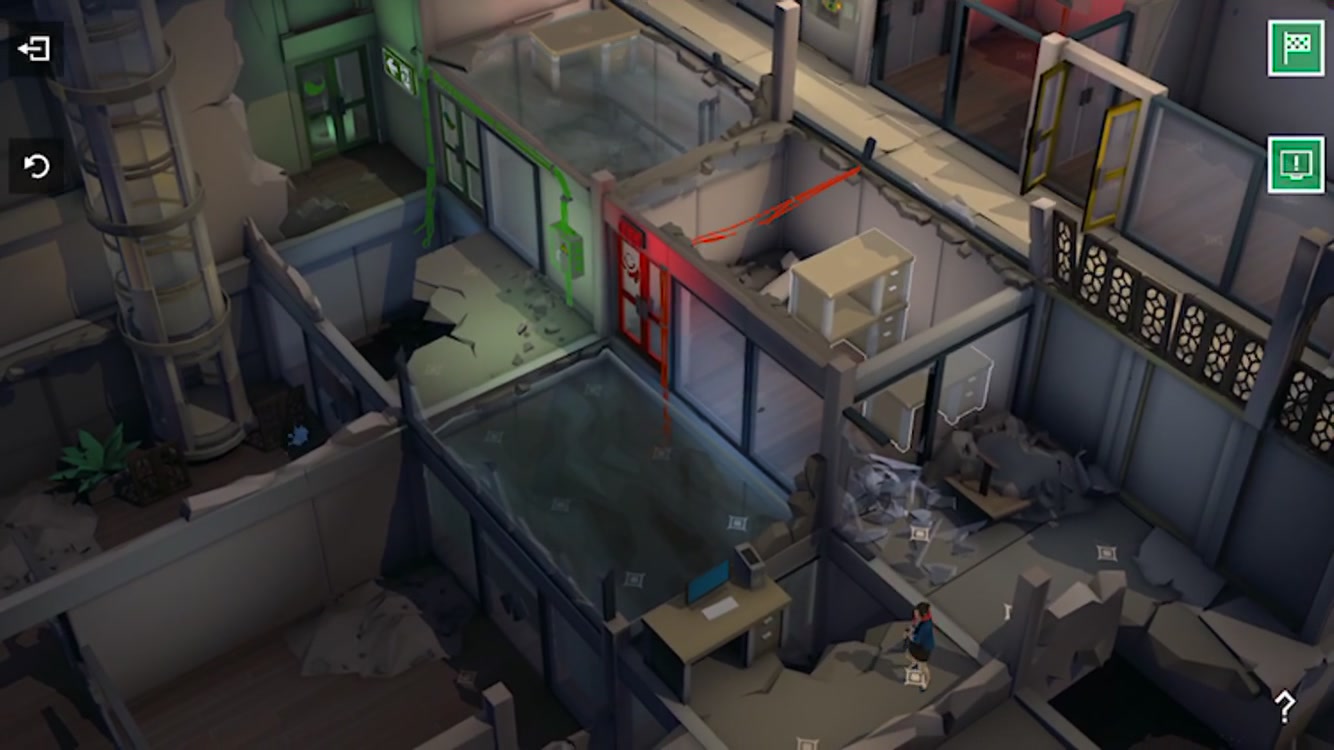
Objective 2: Optional – Download the satellite schematics
The schematics for this level are in a slightly hard-to-see area to the south. After you’ve turned on the red breaker box and drained that room of water, use your axe to break the glass wall on the southeast side of the red door room. Walk through the broken glass to the southeast, then turn west to reach a small platform with the computer.
Solving this stage is a bit tricky but a lot of fun to figure out. Our main recommendation is to make sure you drop the desk from the red breaker box room on top of one of the desks in the room below (the red door room). This will allow you to freely move between the upper and lower levels as needed.
More articles...
Monopoly GO! Free Rolls – Links For Free Dice
By Glen Fox
Wondering how to get Monopoly GO! free rolls? Well, you’ve come to the right place. In this guide, we provide you with a bunch of tips and tricks to get some free rolls for the hit new mobile game. We’ll …Best Roblox Horror Games to Play Right Now – Updated Weekly
By Adele Wilson
Our Best Roblox Horror Games guide features the scariest and most creative experiences to play right now on the platform!The BEST Roblox Games of The Week – Games You Need To Play!
By Sho Roberts
Our feature shares our pick for the Best Roblox Games of the week! With our feature, we guarantee you'll find something new to play!Type Soul Clan Rarity Guide – All Legendary And Common Clans Listed!
By Nathan Ball
Wondering what your odds of rolling a particular Clan are? Wonder no more, with my handy Type Soul Clan Rarity guide.


