- Wondering how to get Monopoly GO! free rolls? Well, you’ve come to the right place. In this guide, we provide you with a bunch of tips and tricks to get some free rolls for the hit new mobile game. We’ll …
Best Roblox Horror Games to Play Right Now – Updated Weekly
By Adele Wilson
Our Best Roblox Horror Games guide features the scariest and most creative experiences to play right now on the platform!The BEST Roblox Games of The Week – Games You Need To Play!
By Sho Roberts
Our feature shares our pick for the Best Roblox Games of the week! With our feature, we guarantee you'll find something new to play!All Grades in Type Soul – Each Race Explained
By Adele Wilson
Our All Grades in Type Soul guide lists every grade in the game for all races, including how to increase your grade quickly!
Bertram Fiddle Episode 1: A Dreadly Business walkthrough: All puzzle solutions
Bertram Fiddle is a bumbling Victorian explorer and detective with two episodes (so far) worth of point and click (or tap) adventures. His hunt for Geoff the Murderer, a shadowy crime figure in London, is best explored on your own …
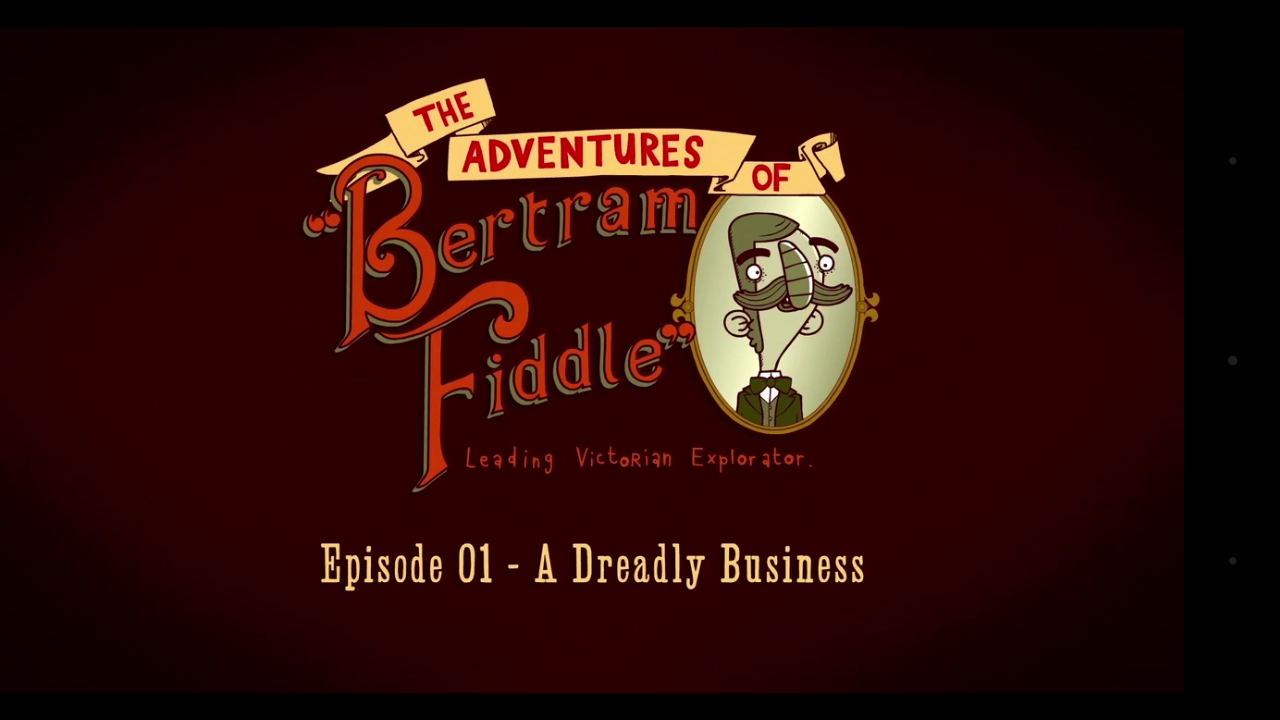
Bertram Fiddle is a bumbling Victorian explorer and detective with two episodes (so far) worth of point and click (or tap) adventures. His hunt for Geoff the Murderer, a shadowy crime figure in London, is best explored on your own so you can get the full breadth of puns and enjoyment from the search. But if you’re stuck or just want a quick route through, here’s a full, in-depth walkthrough of Bertram Fiddle Episode 1: A Dreadly Business:
Chapter 1
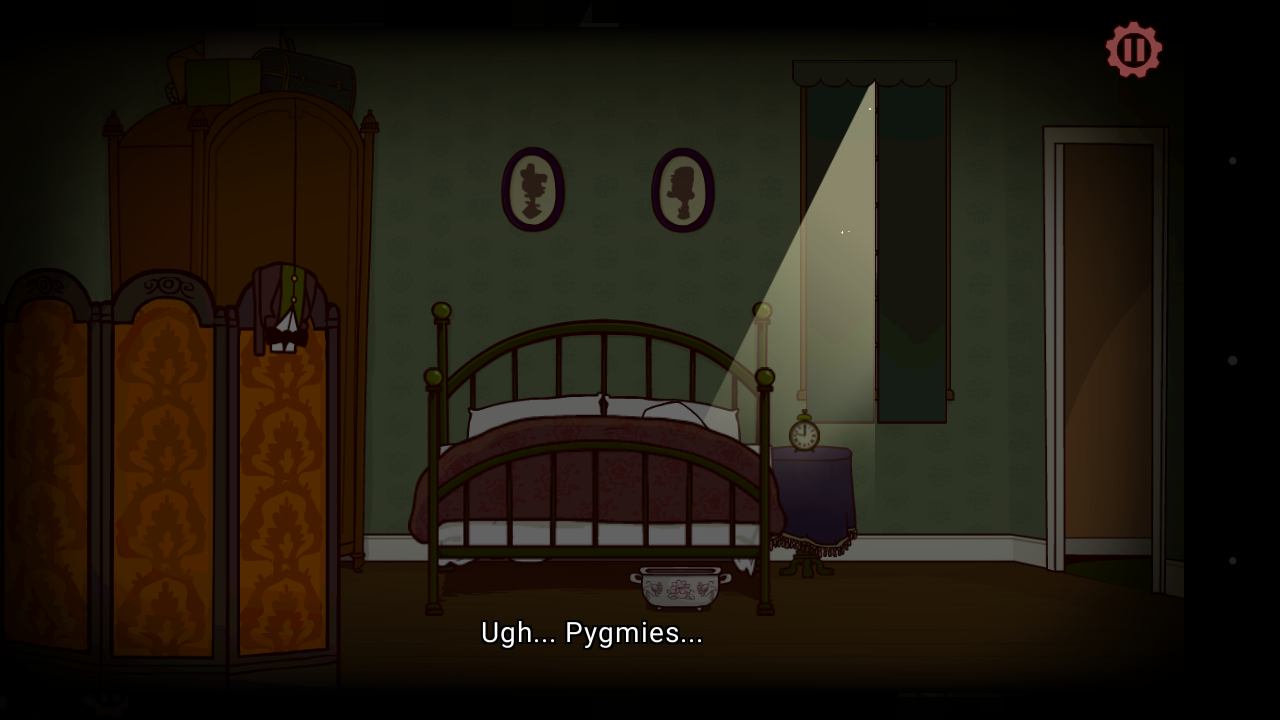
Tap the alarm clock once it rings to wake up Bertram. Open the window for some light, then tap his suit and he’ll get dressed for the day. From there, tap the door to leave.
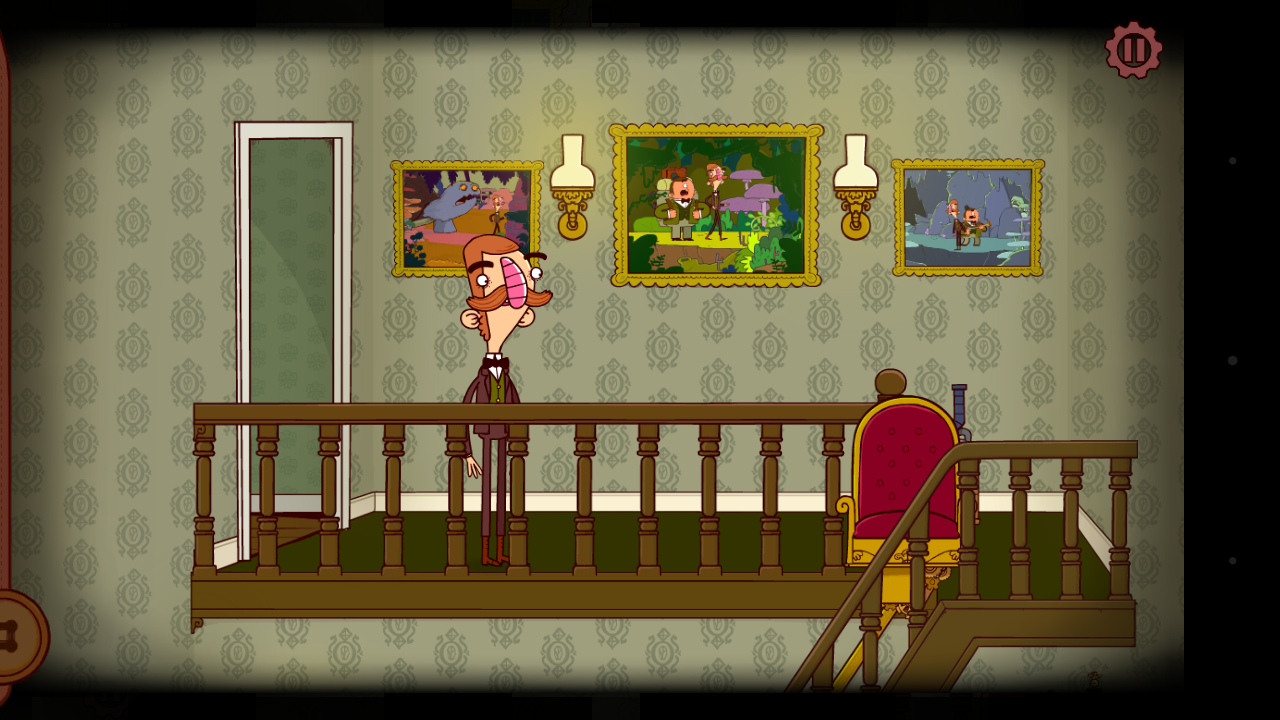
In the hallway, the photographs are just for fun and insight into Betram’s personality and history. There will be a lot of things like that along your adventure, and many include interesting jokes or references. To progress, tap the rag to add it to your inventory, then tap the chairlift to descend.
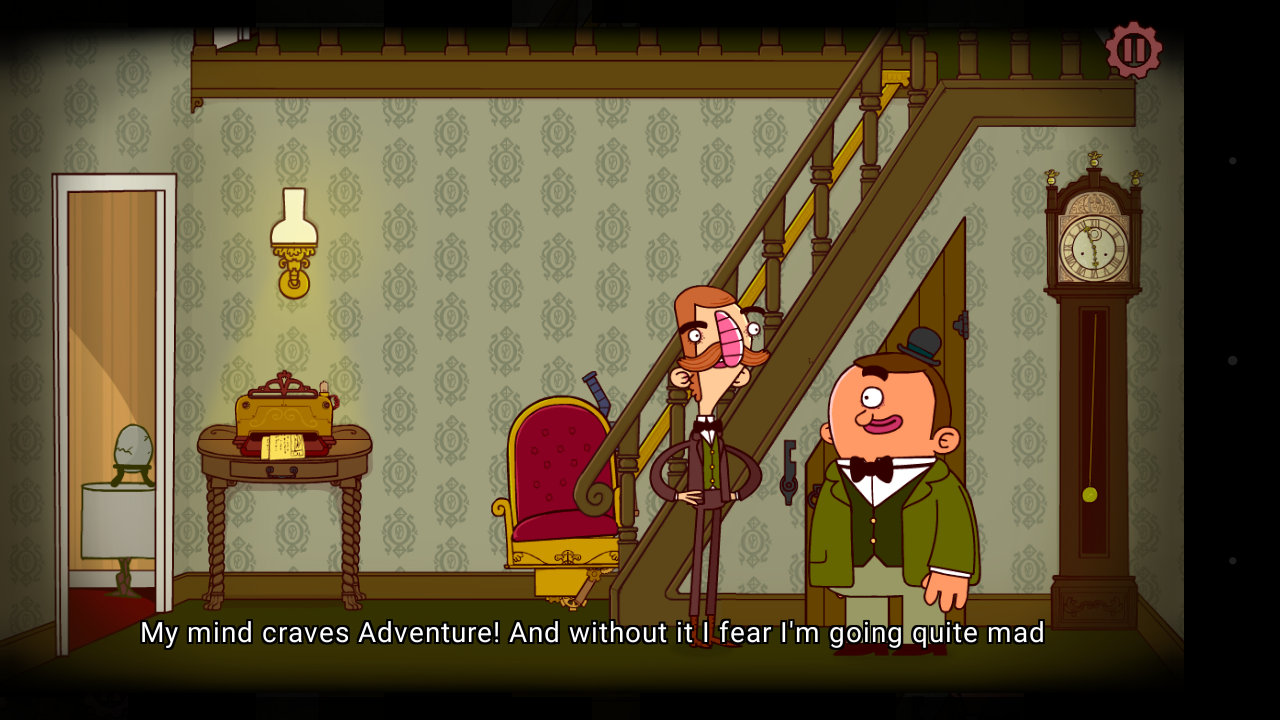
Gavin is locked in his room. Tap once to discover this, then again to let him out. After the conversation, tap the telegrams on the left of the screen (before the door) to read them, then head out the door to the left with Gavin.
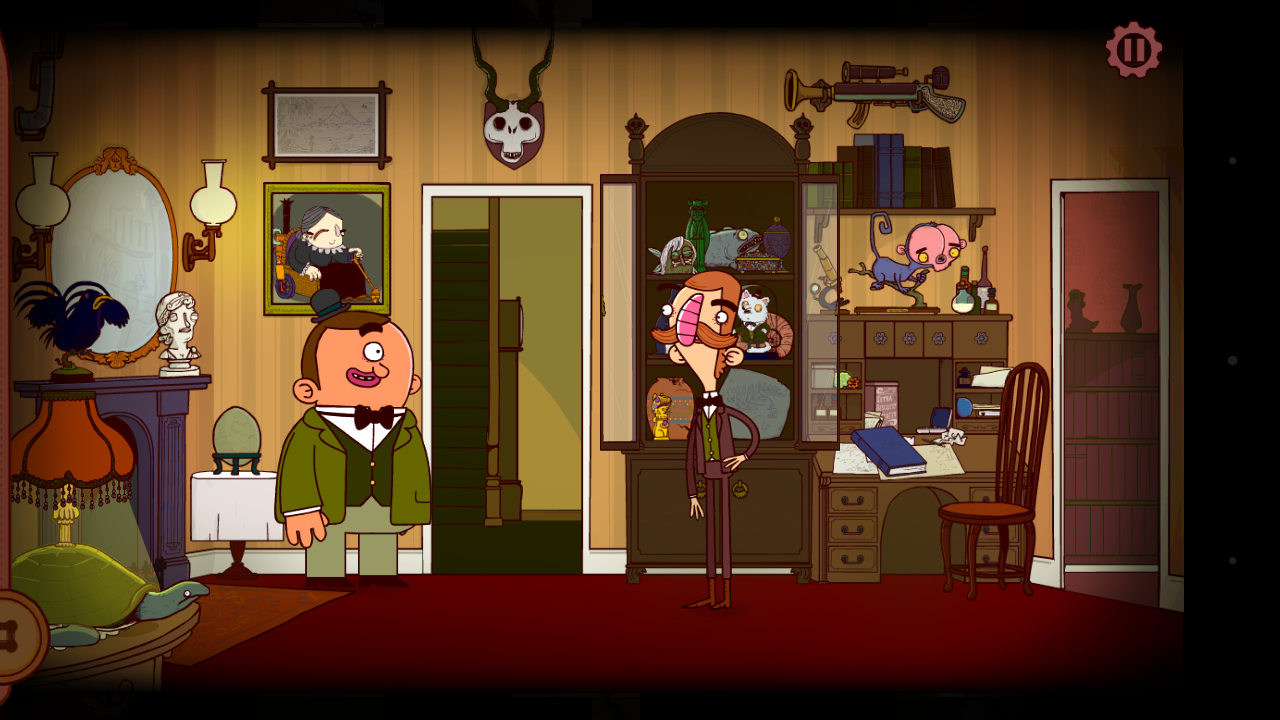
In the next room, there’s some fun flavor exploration to be done, but the only thing you need to do is tap the glass case once to open it, then again to collect the Tyrannosaur arm bone. Head out the door to the right.
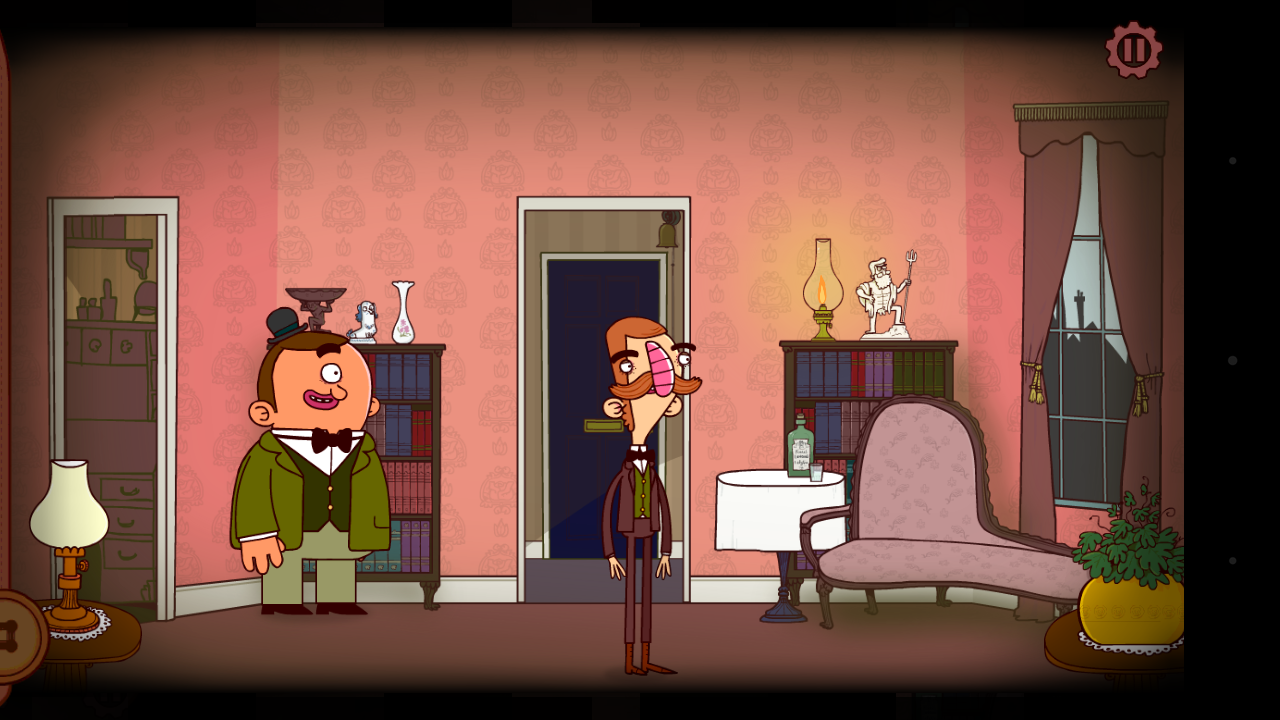
In this room, speak to Wortha. When she gets upset, you’ll be prompted to give her the rag you collected upstairs. She wants you to take the dog to the groomer, but the dog doesn’t want to listen to you. Bait Foofy by tossing the bone from the previous room into her crate, then collect the crate. Exit through the center door.
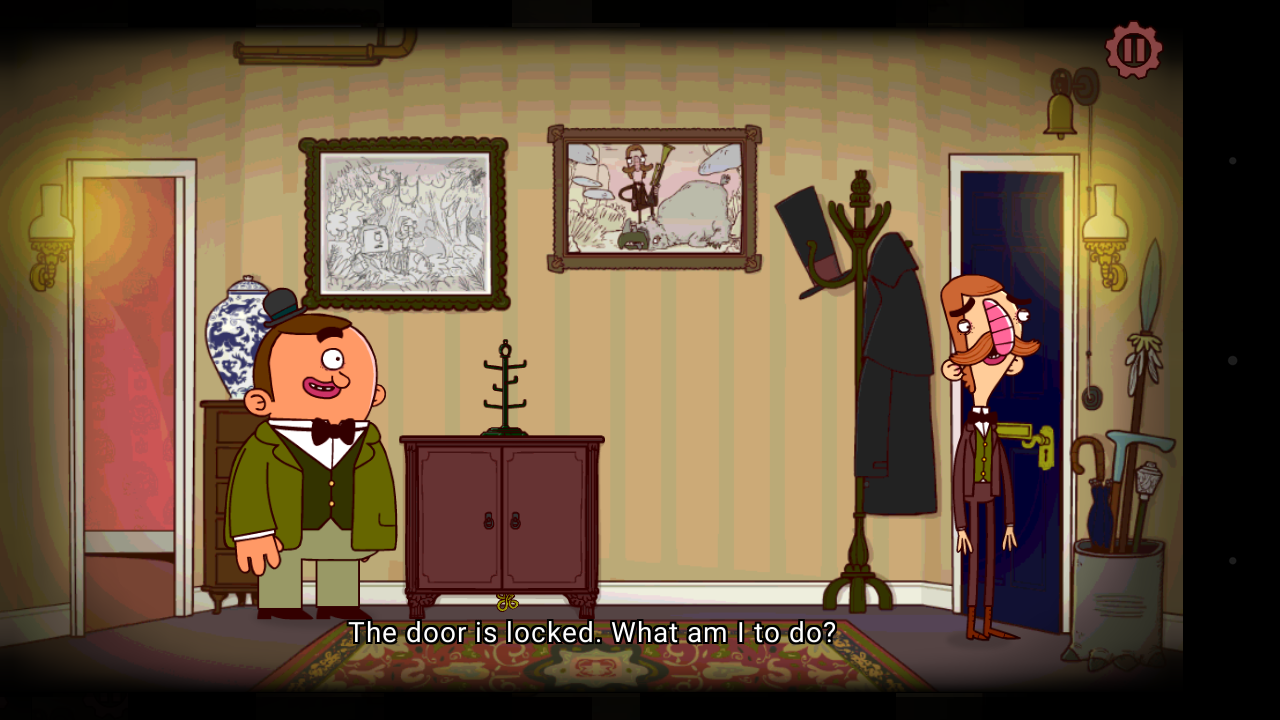
The door in the hall is locked, and the key seems to be underneath the cabinet. Bertram can’t move it himself, so enlist Gavin to move it for you and collect the key. Use the key on the door and out you go.
Once outside, a mysterious figure will bump into Bertram and mix up his bag with Floofy’s carrier. You’ll enter a chase sequence where you need to dodge the people to catch up with the figure. There’s no way to actually catch him, so just survive into the next chapter.
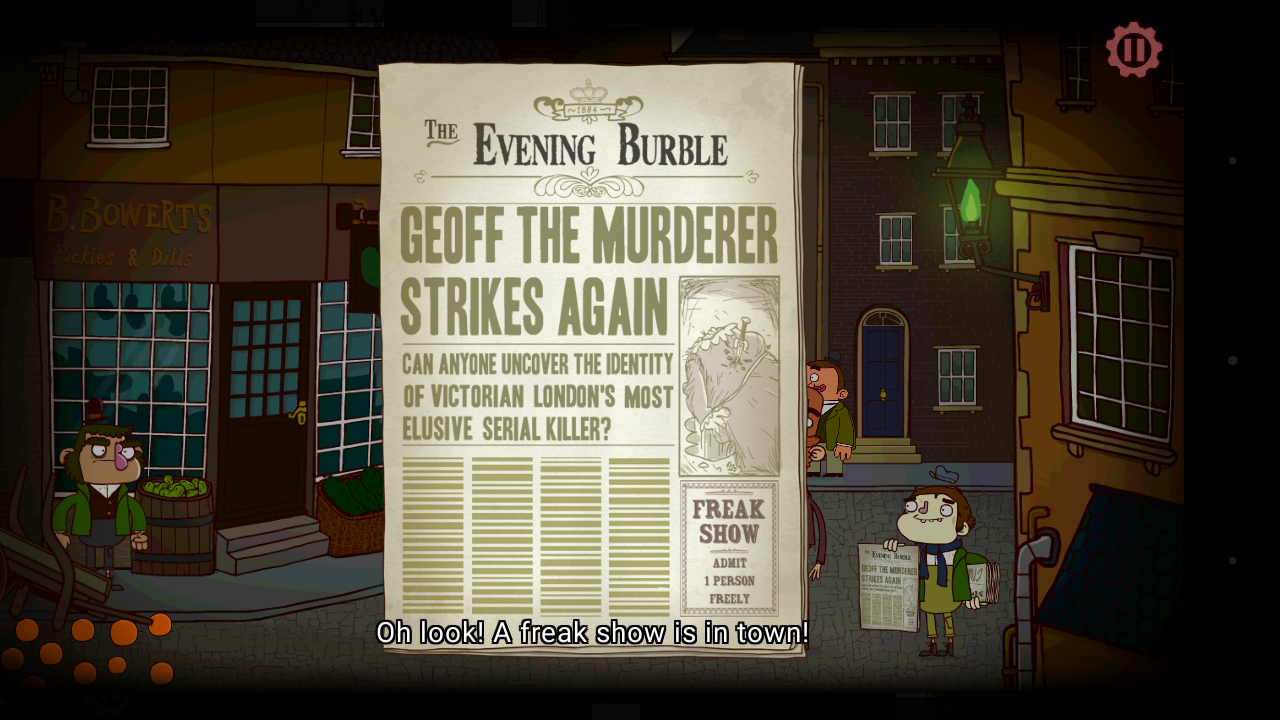
Chapter 2
You’ll acquire a nose at the start of the chapter from the shadowy figure. Speak to the paperboy for a lead, then exit to the right.
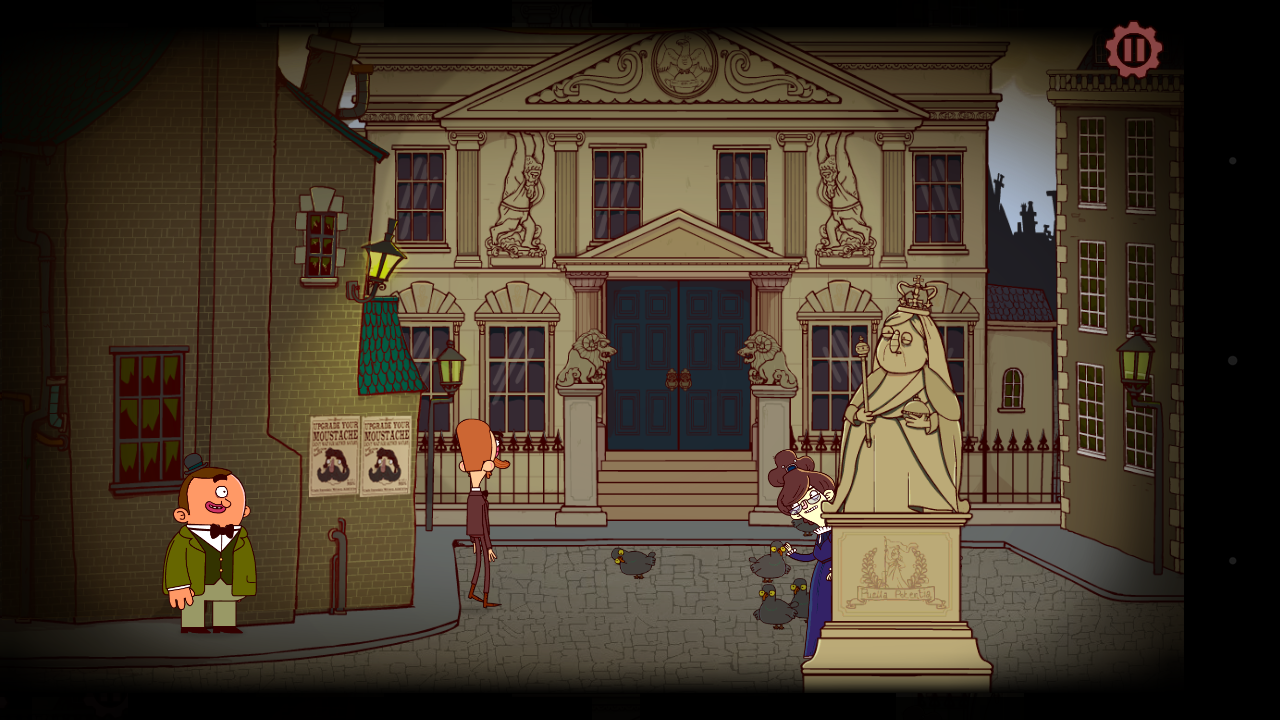
As you head into the club you’ll be stopped by a reporter, but it’s just for a brief conversation. Enter the club again once you’re finished.
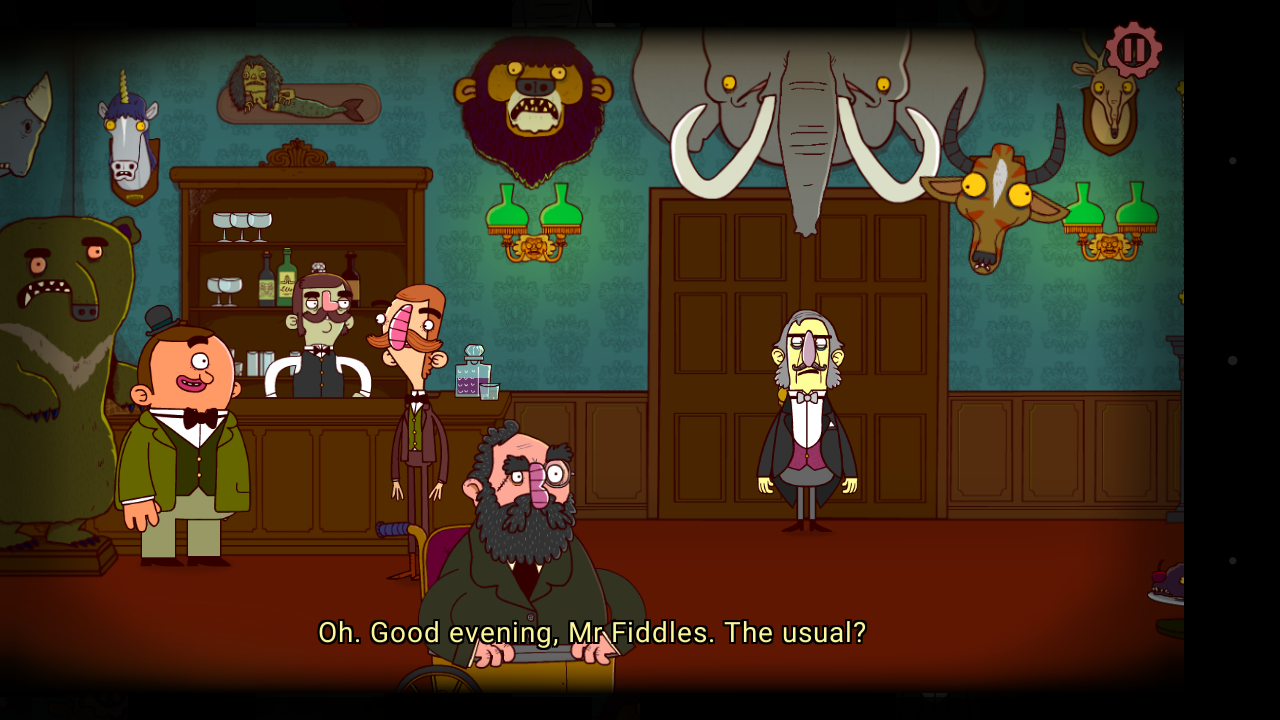
Get tea from the bartender, then talk to the gentleman guarding the door underneath the elephant head. Bertram isn’t allowed in the Gold Members area, so you’ll have to find some other way to see Holmes. Collect a skewer from the hors-d’oeuvres platter, then speak to the gentleman leaning up against the fireplace to get his partner to move. You can now use the skewer you collected to let the creature out, distracting the door guard and allowing you to enter the Gold Members room.
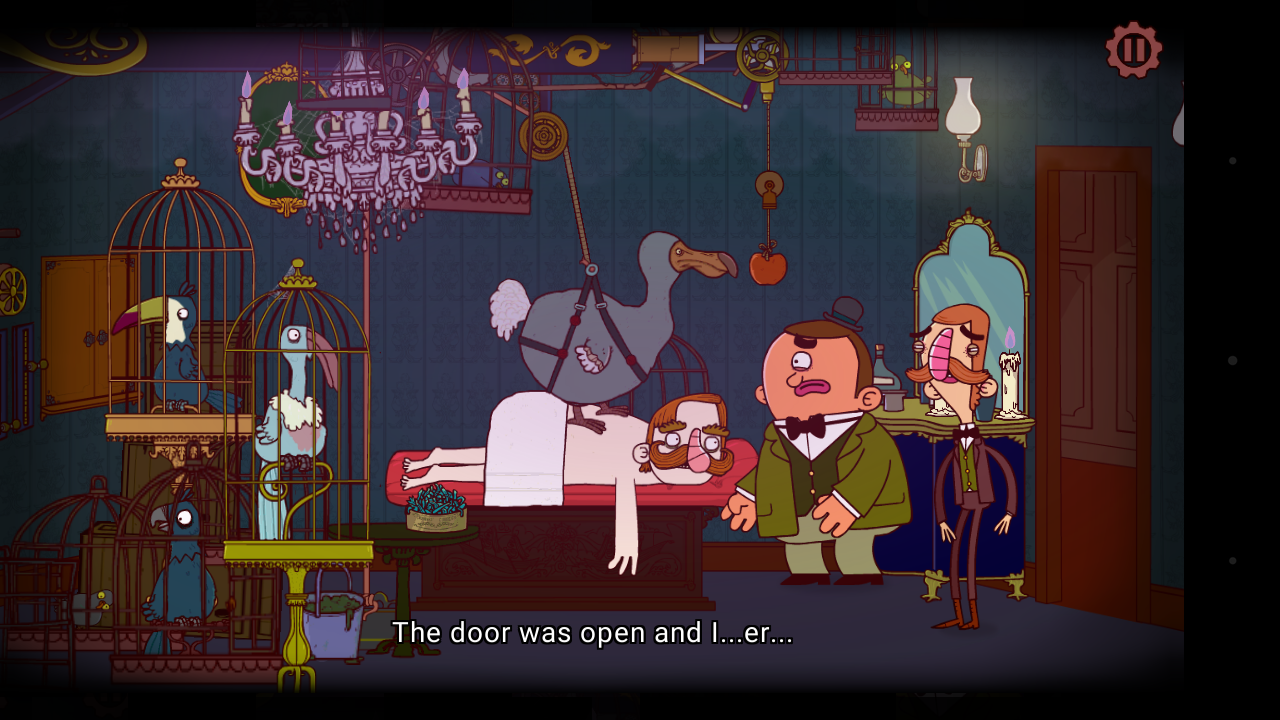
From the hallway, start by entering the open door to find a very odd scene. Collect the leaves in the basket next to the, erm, massage, then head back out. The other door is where Sherlock is, so enter.
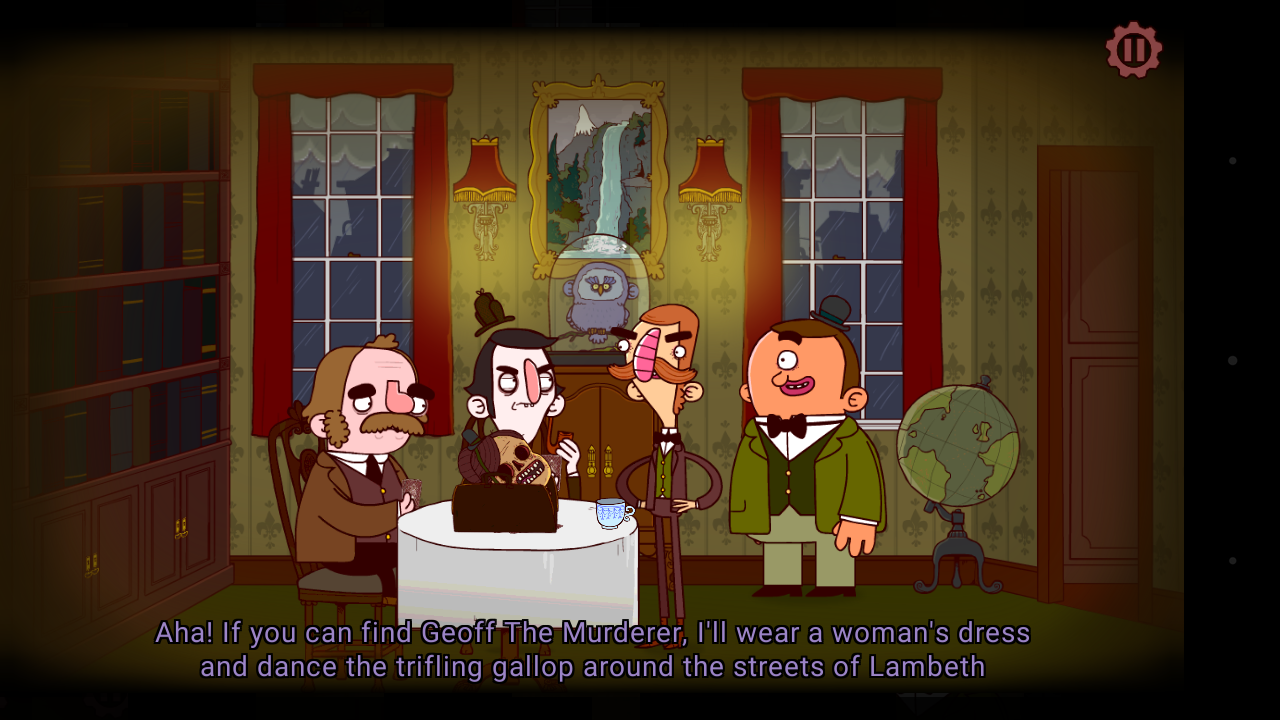
Speak to Sherlock and, when prompted, look in the bag. You’ll be able to attach the nose to the head, so do so. Now it seems Watson has something to say to us, but Sherlock won’t let him, so it’s time to bust out the relaxing leaves from earlier. Mix them with the tea you have, and offer it to Sherlock. Holmes will point you to your next destination, and now you can leave. You’ll have to stop to speak to the reporter, but keep backtracking until you’re outside the Adventurer’s Club, then head right.

Enter Lord Arthwipe’s home and speak to him until he sends you off to Lady Ravisham. Take the carriage waiting outside.
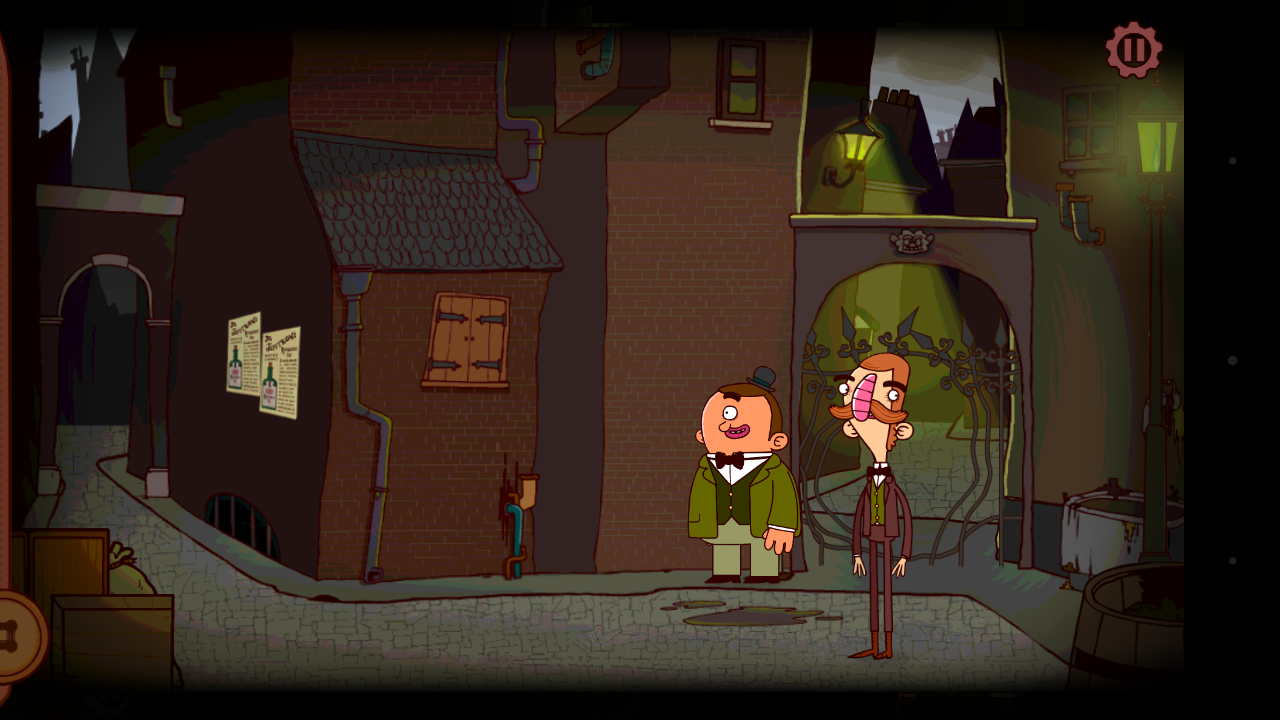
Chapter 3
Once you get control, grab the oar to the right, then use Gavin to pry the bars apart and head through.
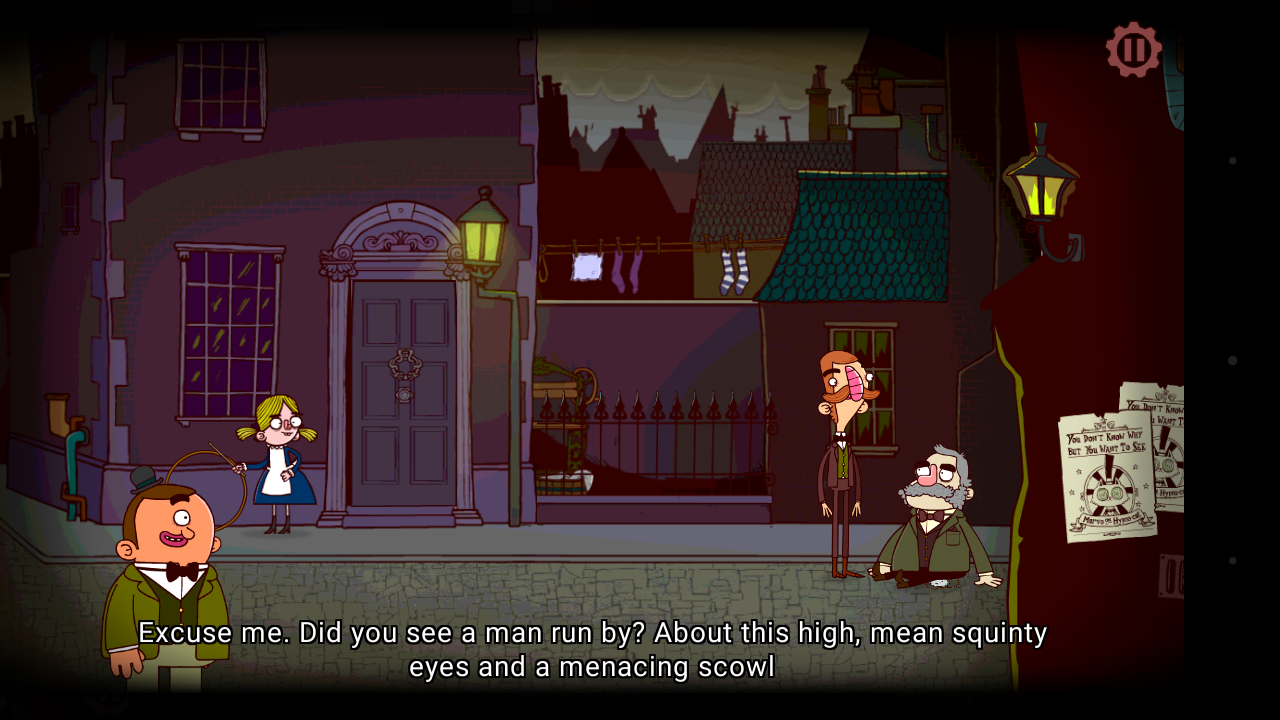
On the next screen, you need those pink undergarments. Use the oar to knock them down, then pick them up. Then speak to the man sitting on the ground, and take the broken monocle he leaves behind. You can’t enter Count Fulchmuckle’s abode right now, so head right to Lady Ravisham’s instead.
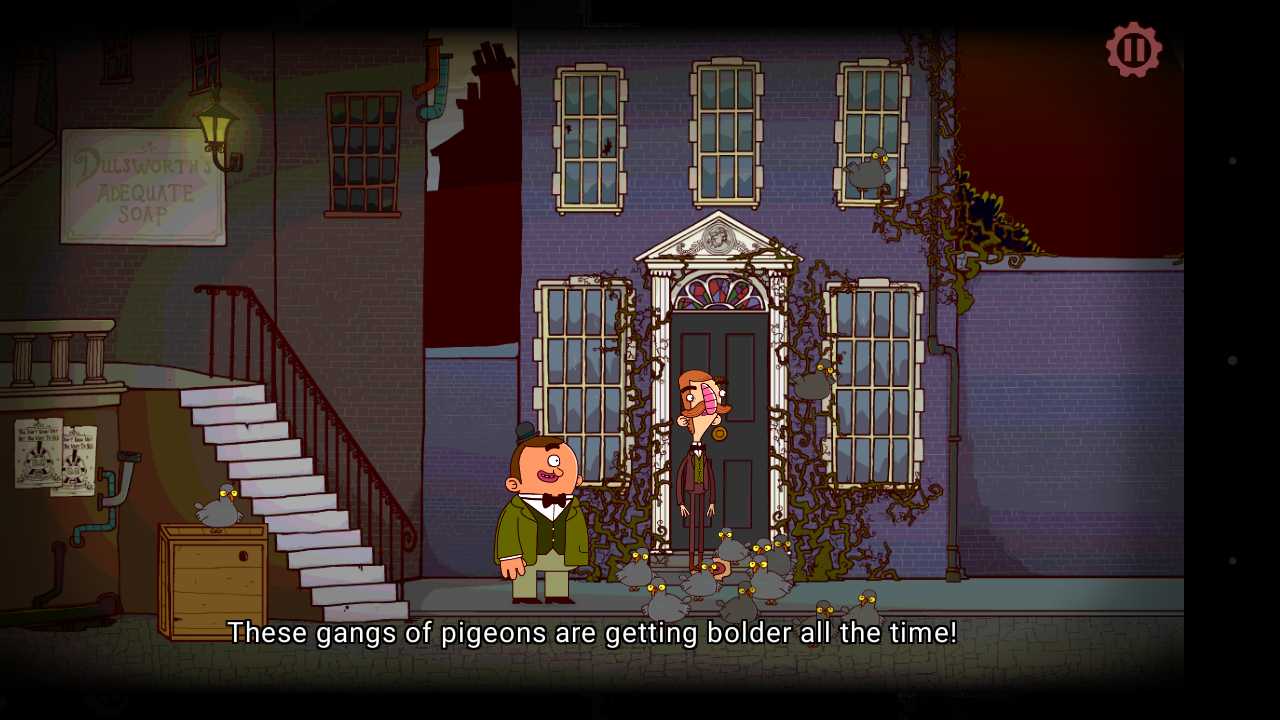
Lady Ravisham’s place is guarded by lots of pigeons. Shoo them off, collect the mouth they have, and stick it on the head. Then go inside.
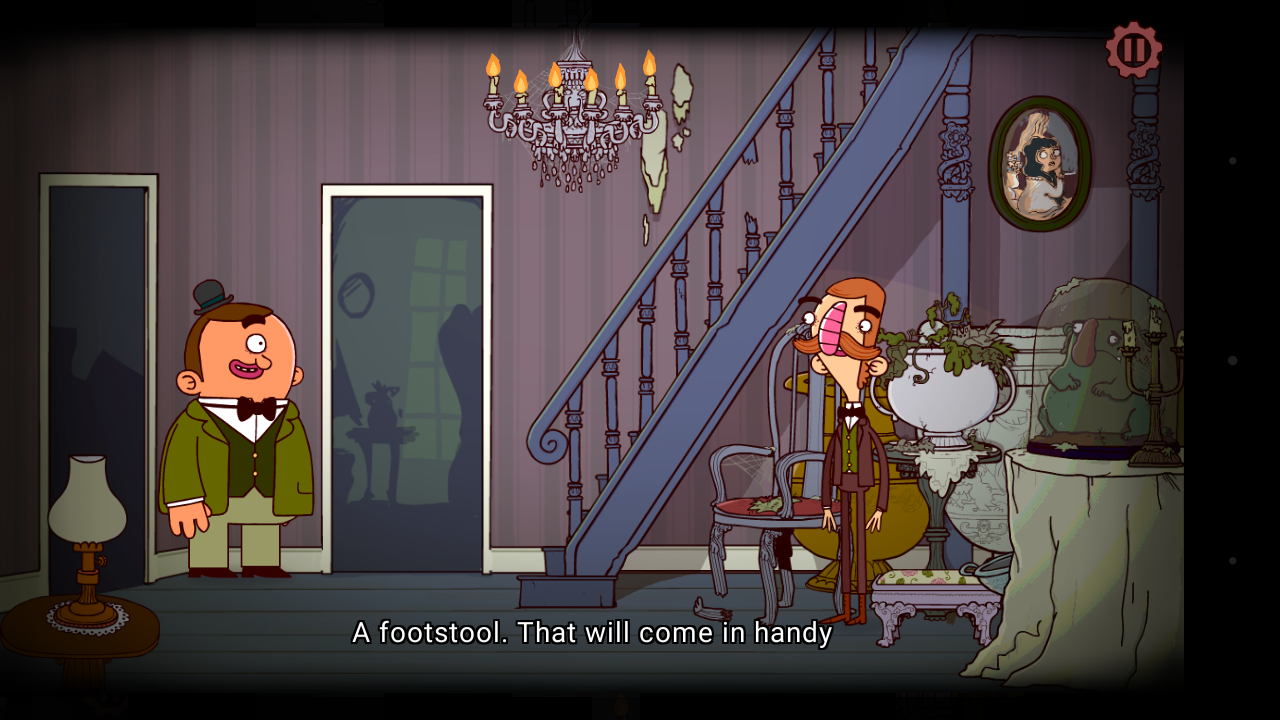
Grab the footstool in the lobby, and enter Ravisham’s room. Take the gramophone horn before you speak to Ravisham herself, and give it to her so she can hear you. The parrot seems to know something, but he’s not talking, so take the ring from the mantlepiece and leave.
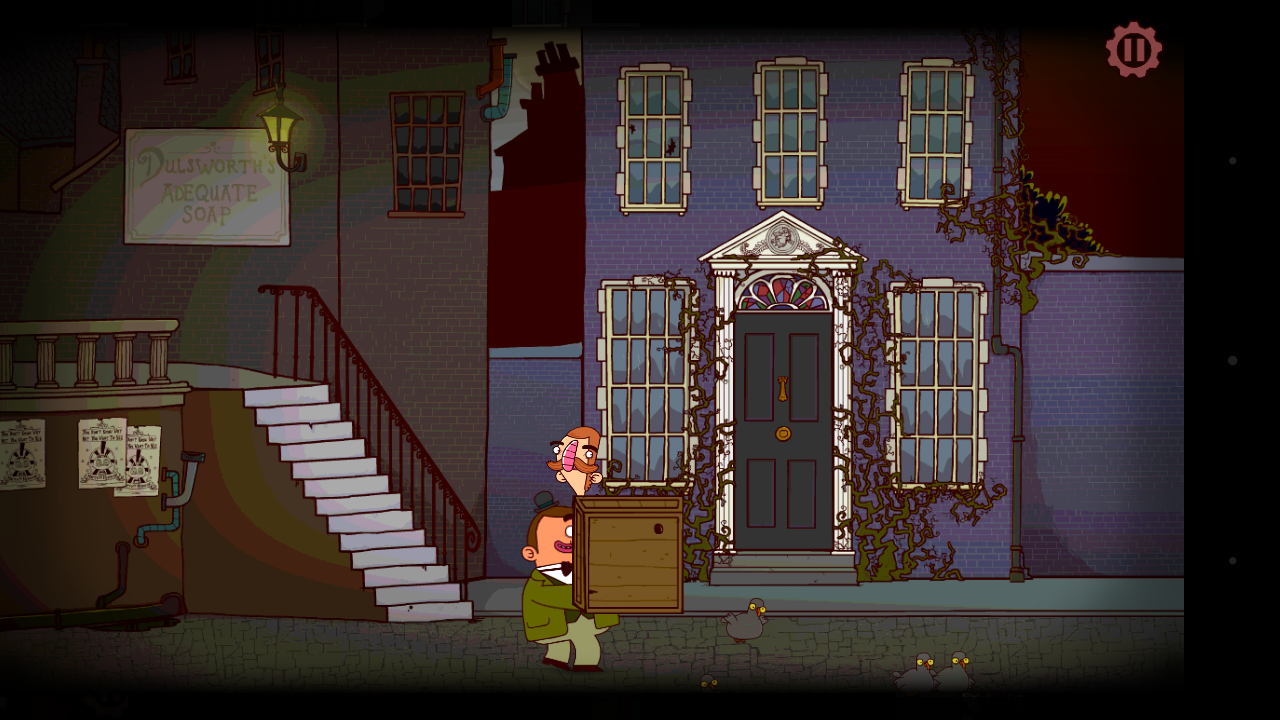
You need to get over the wall. First, ask Gavin to move the big crate on the left side of the screen for you. Add the footstool, but it’s still not high enough. To the right is a “portable steam plinth” that Gavin can move into place for you. You’ll need to ask Gavin to lift the steam plinth once you’re up there to send you both over the wall.
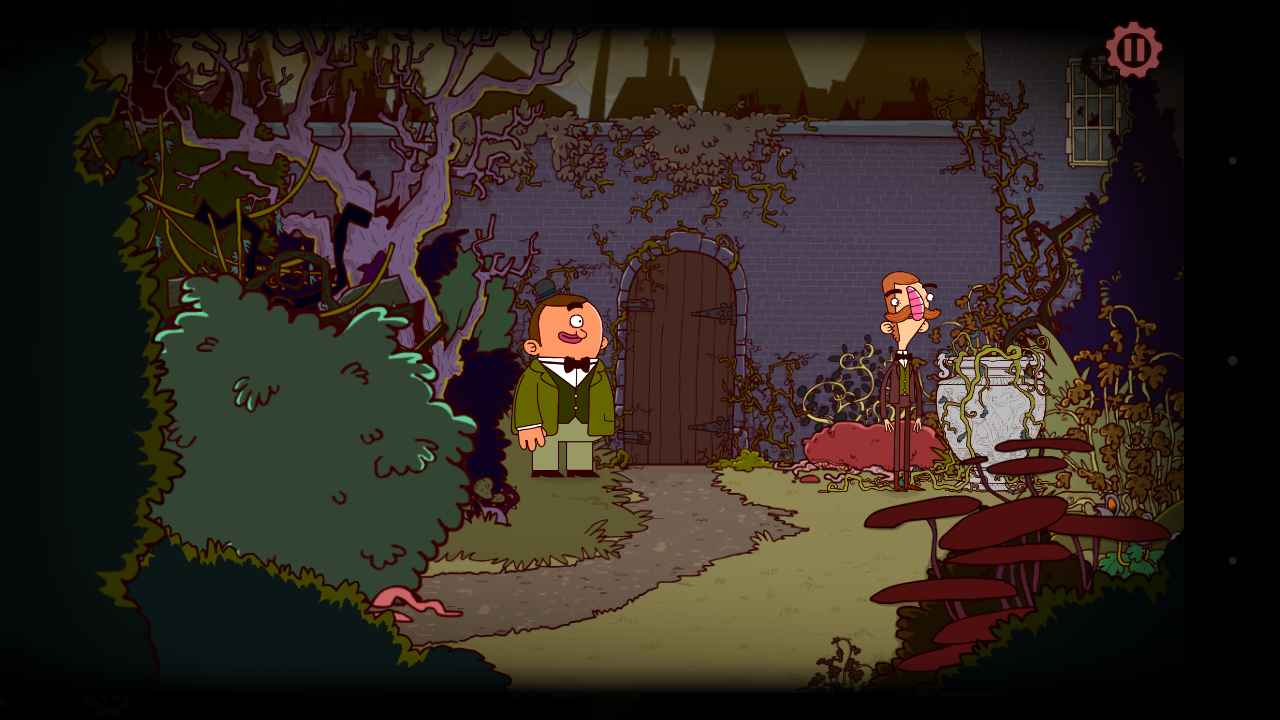
You can collect a vine from the plant to your right and examine the bush to the left to discover its true nature. You’re done here, so leave the garden and return to the house. Now with the vine you can head upstairs and swing across the gap in the floor. Use the vine on the chandelier to do so, then ask Gavin to push you. There’s a biscuit in the cabinet for the bird you can collect, then head upstairs.
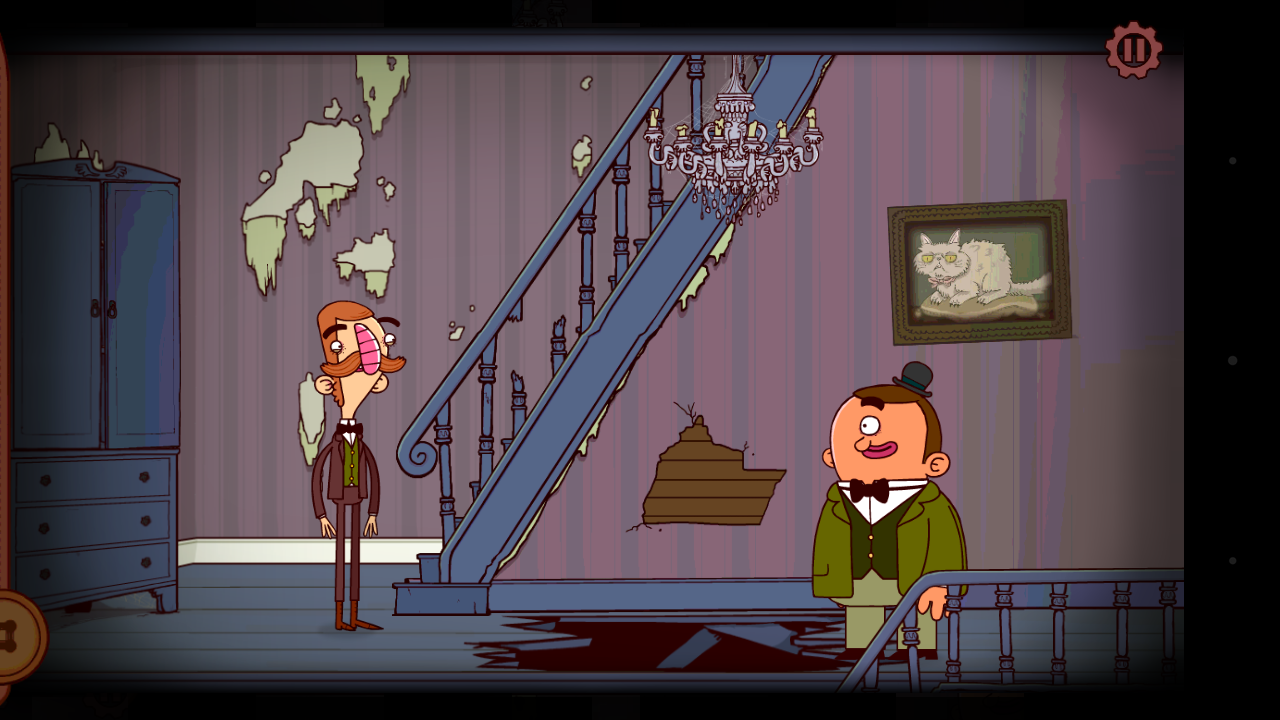
The cracker was all you needed, but since you can’t get back across, you need the portrait from the attic to cross the hole in the floor. Collect it and use it on the hole, then return and give the biscuit to the bird. It will ask you to meet it in the attic, so follow it back up.
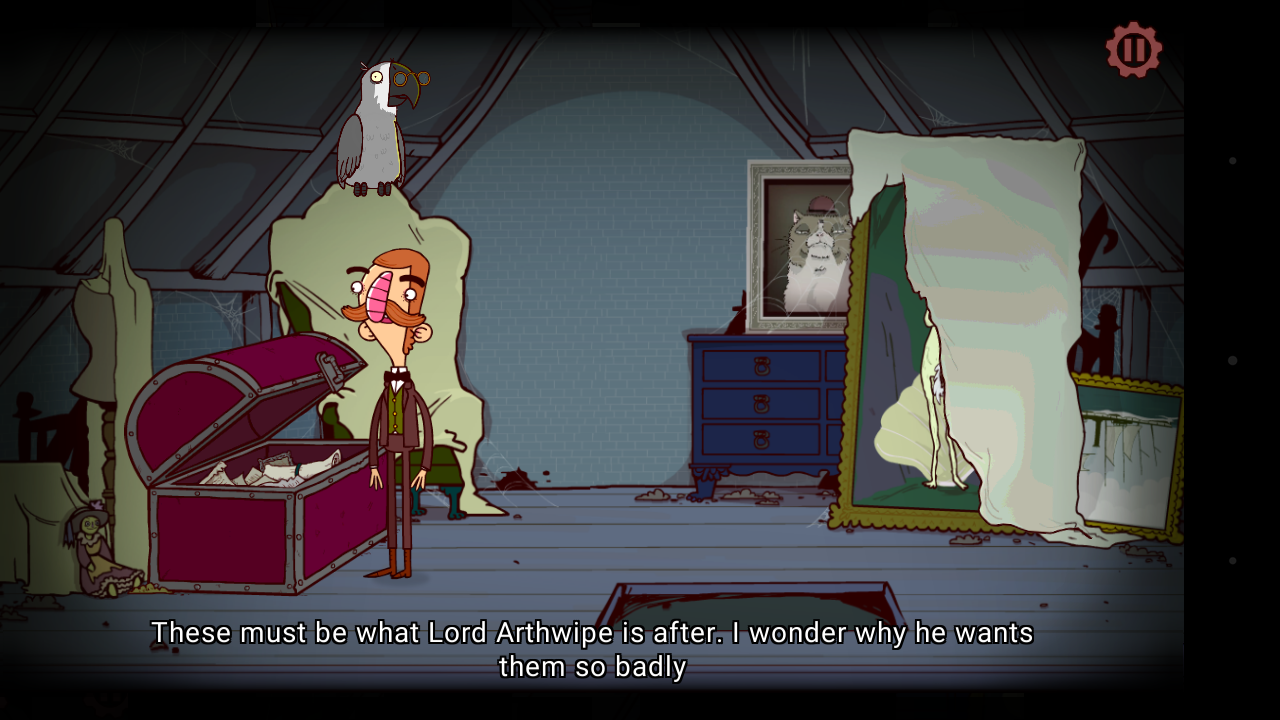
The bird will give Bertram the code to the chest, which contains the photos of Lord Arthwipe you need. You’re done here, so leave the house and head to the left (lower level), entering the tunnel.
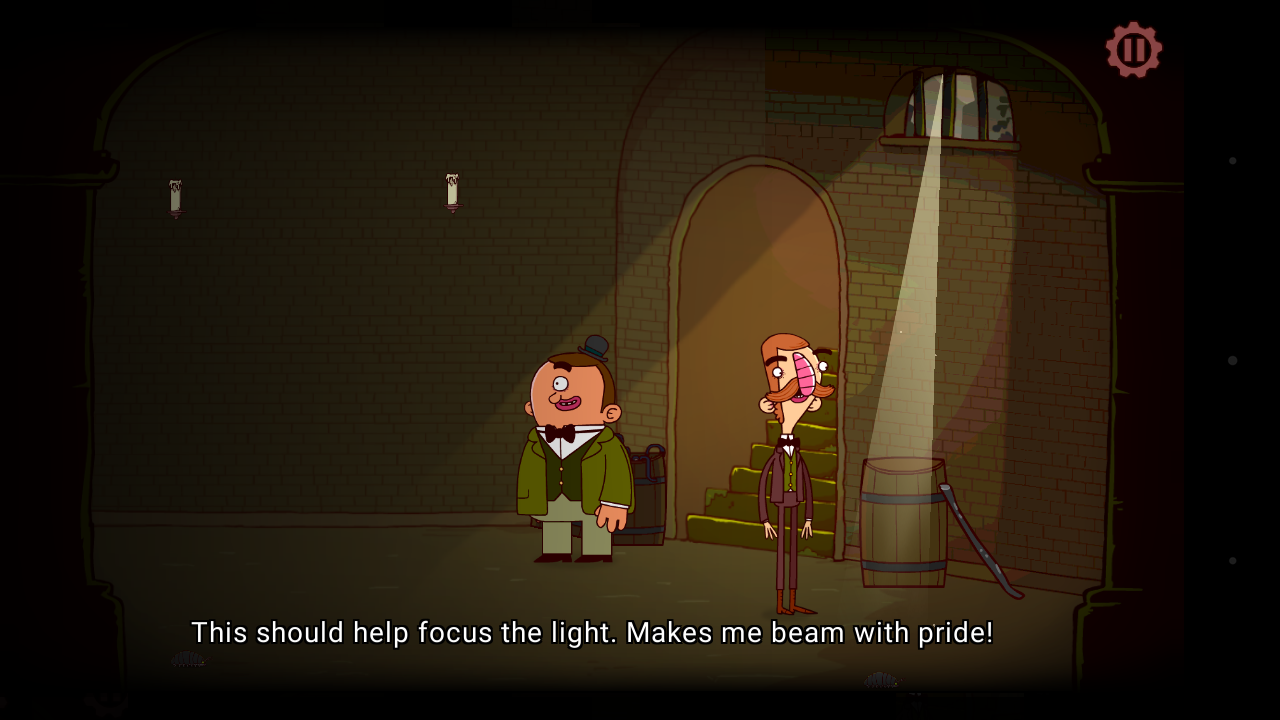
It’s too dark in the tunnel. Combine the ring and the monocle from earlier, then use them on the barrel. You’ll get the ring back. Head left to see who is down here. It’s Count Fulchmuckle! Even though he has a giant bug to eat, he’s still not satisfied, so he’ll need something else before he’ll offer a clue.
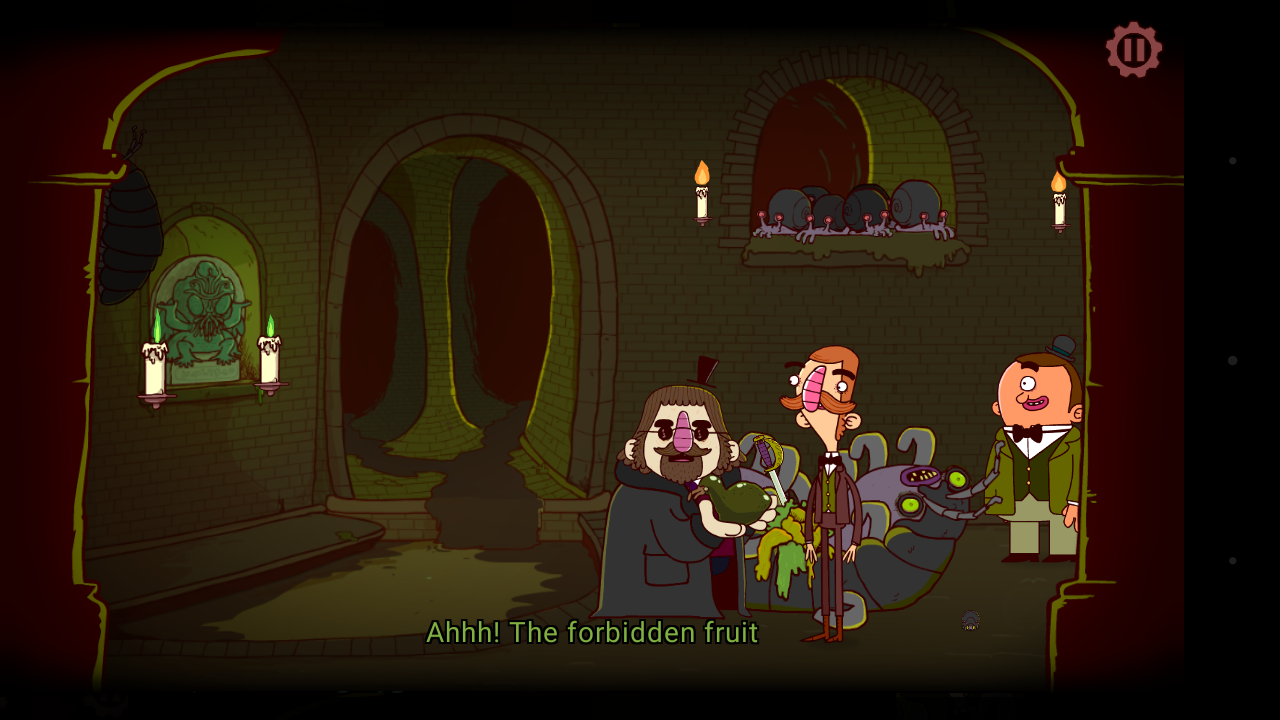
Exit the tunnel, then head right past Ravisham’s place. Keep going right until you reach a fruit stand. Use the undergarments on the roof leak and request an avocado in repayment. Head back to Fulchmuckle and give him that to snack on. In return, you’ll receive a sword. Have we encountered anything recently that could be fought with one of those?
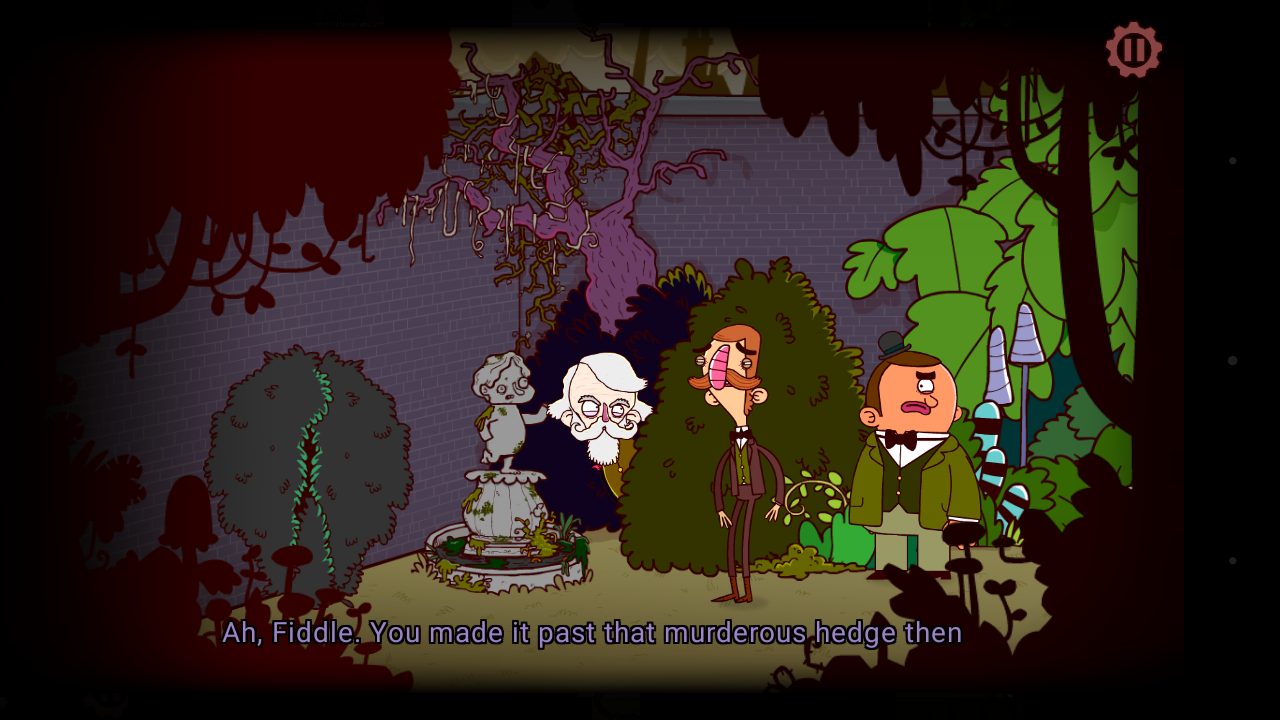
How about Ravisham’s man-eating plant? Use the sword on it, and with that out of the way, you can continue down the path. Lord Arthwipe is hiding behind a bush, and you can give him the photos from earlier. He’ll give you more information and open up a secret passage for you, right into Chapter 4.
Chapter 4
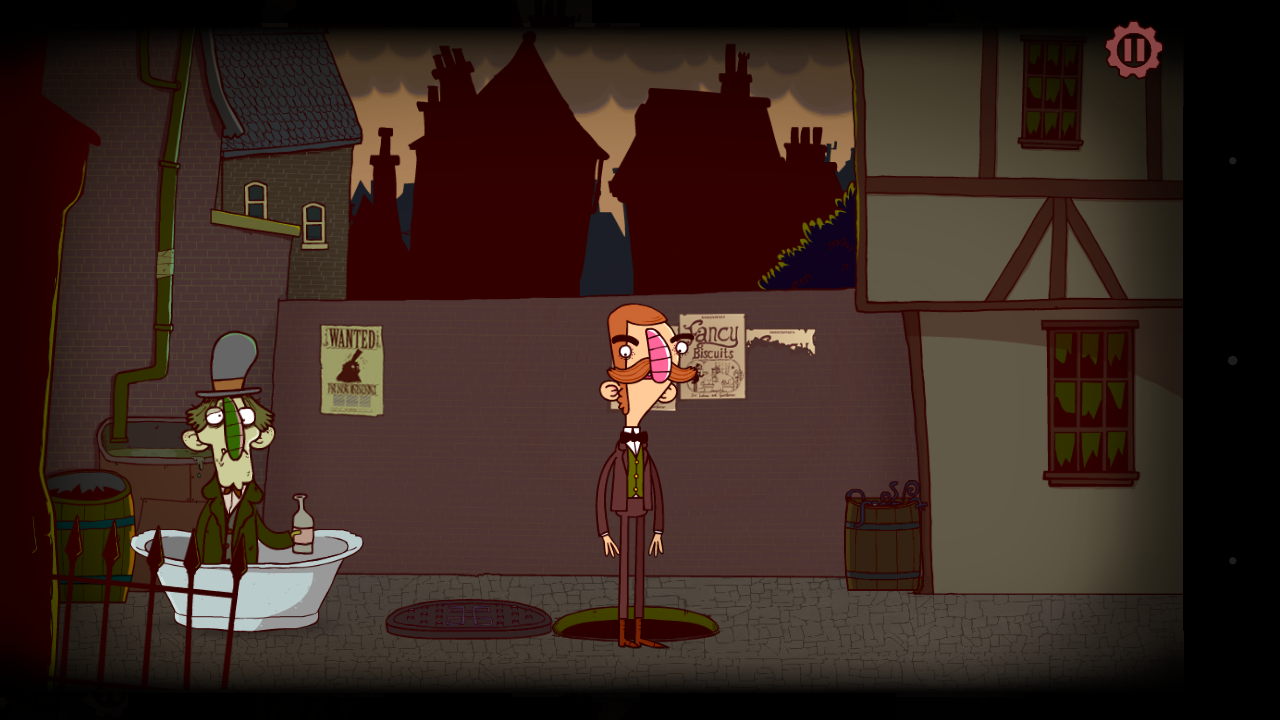
Tap the manhole cover to escape, then place the eye you acquire onto the head. Speak to the fellow in the tub, then exit right.
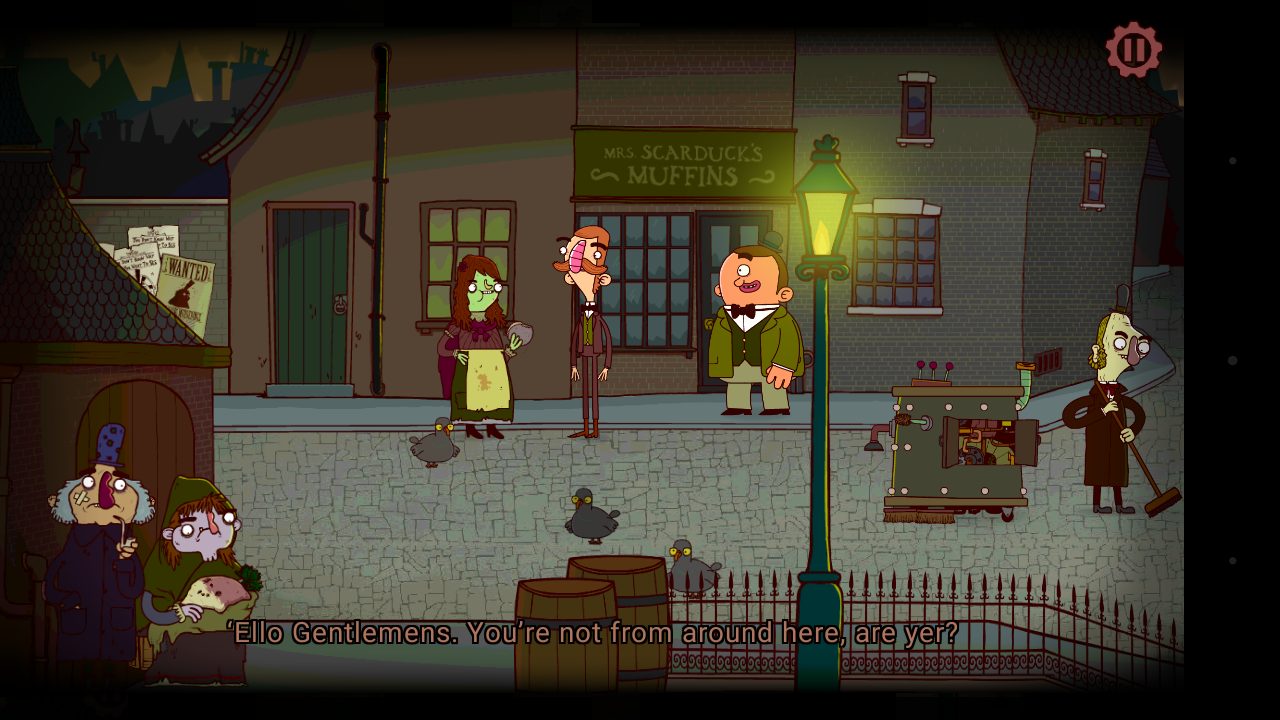
To the left is a woman in front of the muffin shop. Speak with her first and collect the muffin she drops. Head left again.
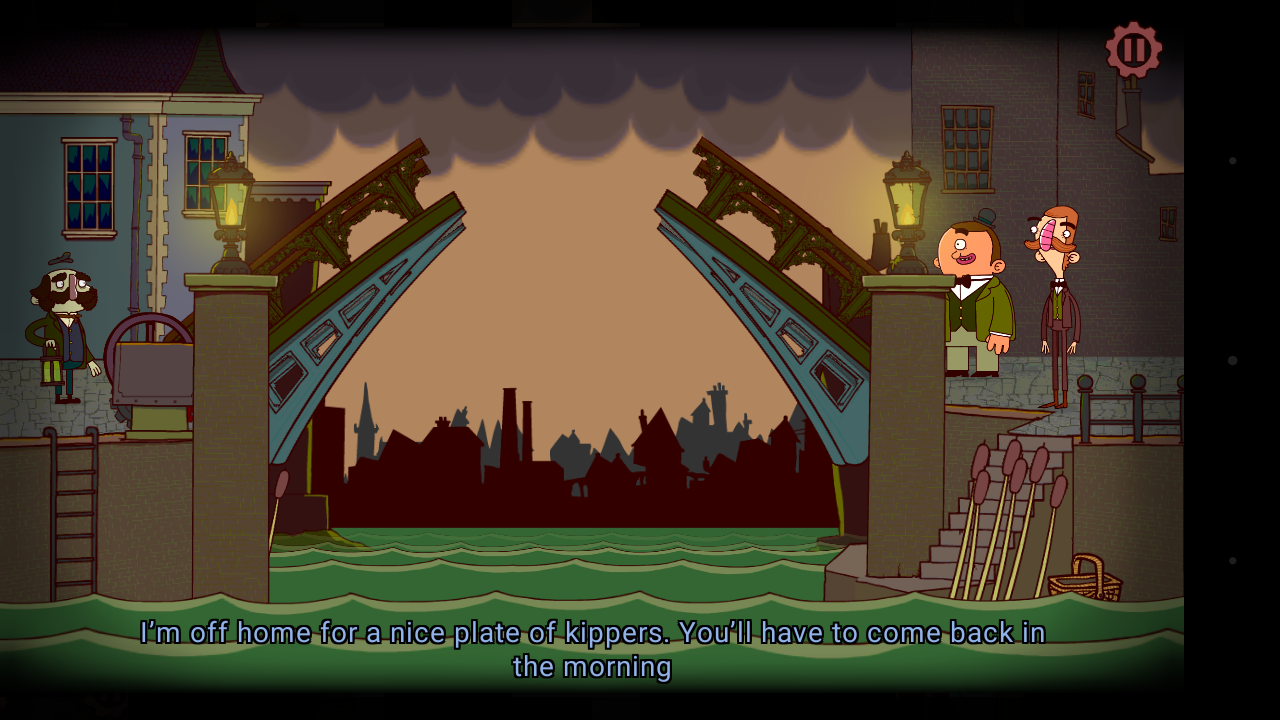
You can’t cross the bridge, but grab a reed on the bottom of the screen and return to the right. Speak to the woman holding a baby (?) at the bottom left of the screen then use the reed you just collected on her so she can poke it full of holes into a flute. Guess who this is for? Yup. Return to the man in the tub and exchange the flute for his tub, which you can then use to cross the water. But you’ll need an oar first.
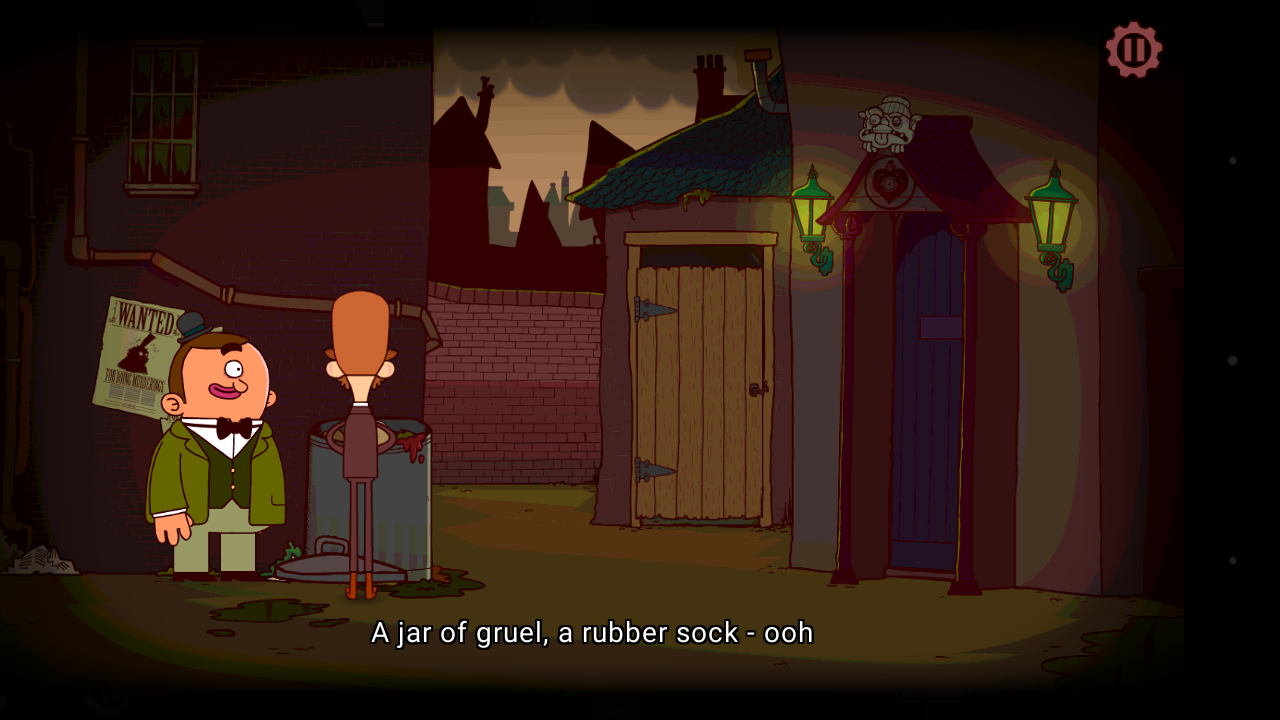
From the street with the muffin shop, head right. Get the cork out of the garbage, then open the latrine-er, “meditation chamber.” Give the muffin bit to the rat and collect the brush. Return to the previous screen.
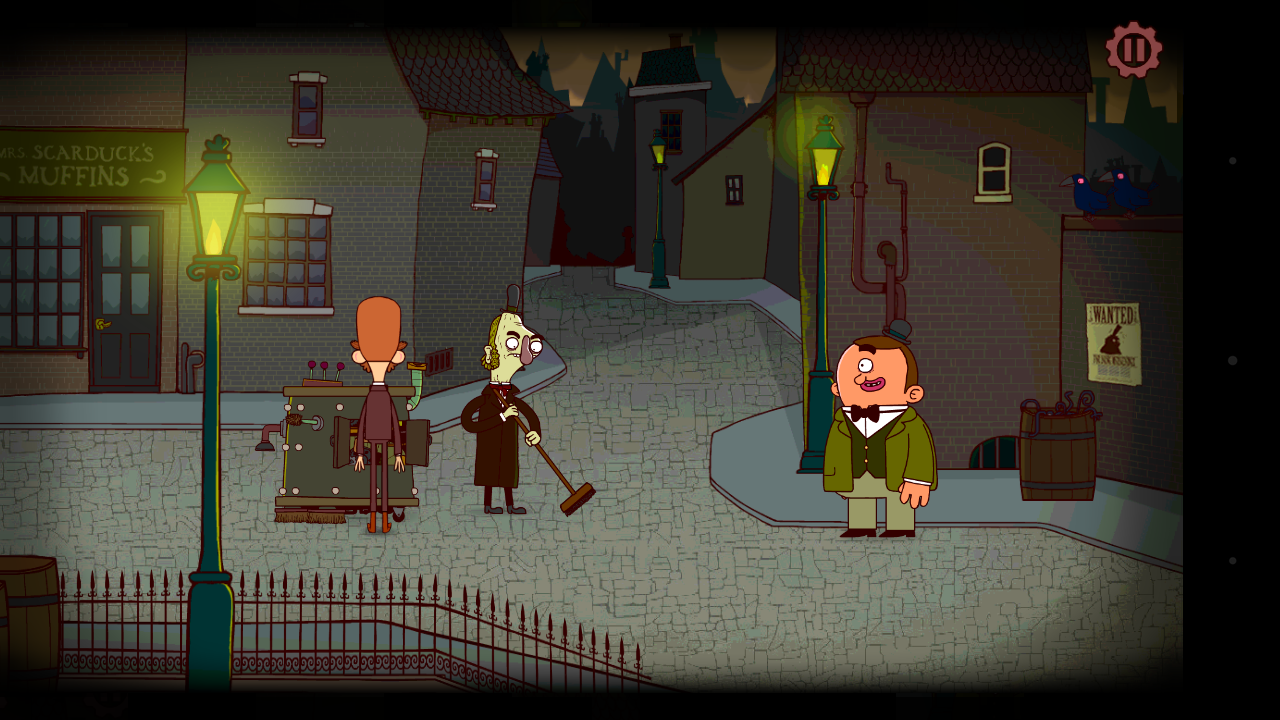
It’s finally time to visit the street sweeper dead center of this screen. Use the cork on his machine to fix it and collect the broom he leaves behind. Finally, you have an oar and a boat. Return to the bridge and drop the tub in the water, then use the broom on the tub, then direct Gaven to the tub. He’ll lower the bridge for you. Head across!
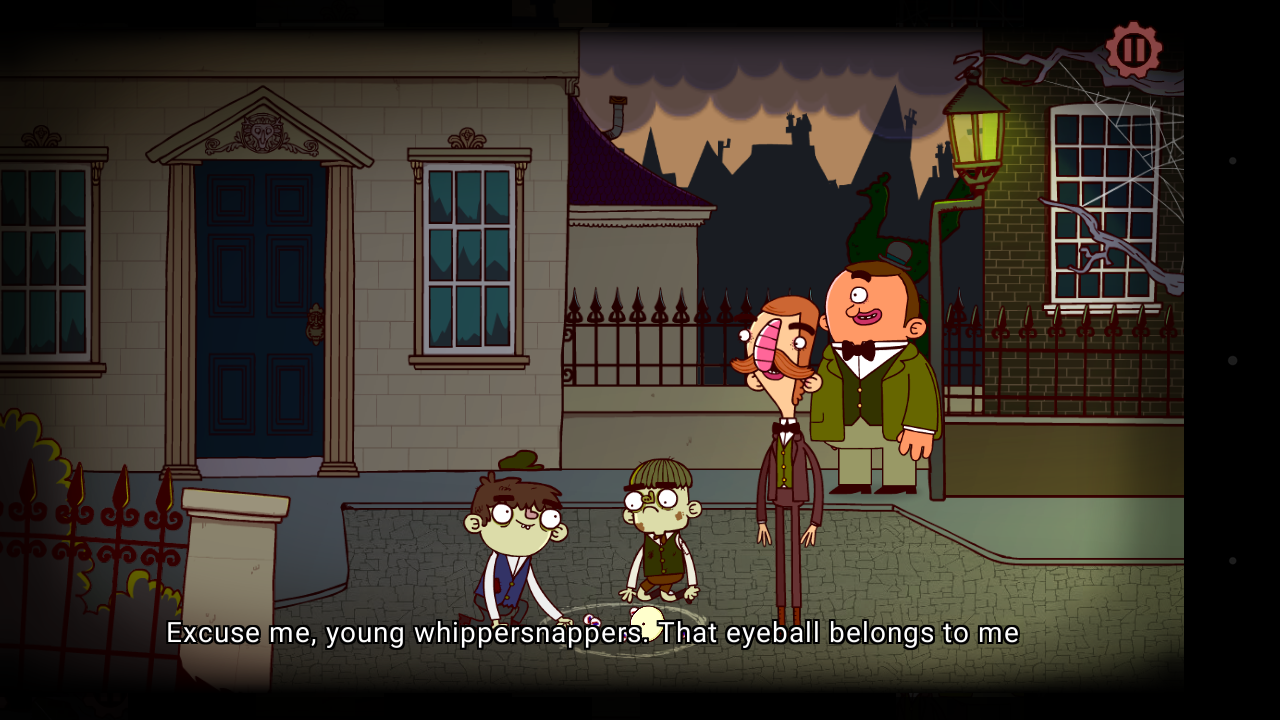
Use the brush you acquired in the Meditation Room on the spider web to cover it in webs, then speak to the marble playing children. You need a marble of your own to win that eyeball they’re playing with. Go into the house behind them.
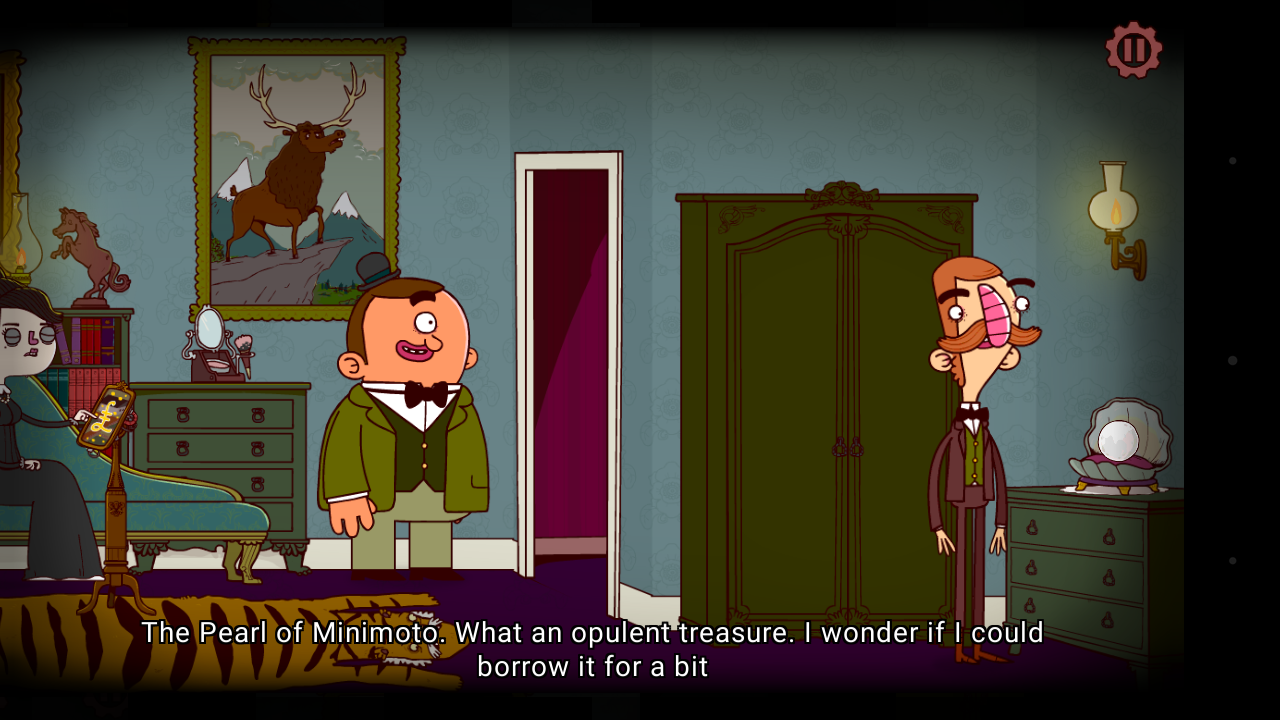
The pearl is just sitting there, and you can just take it. Do so. But don’t leave yet. There are twins in the wardrobe who want candy. You don’t have candy, but you can make something that looks like it. Roll the webbed brush from earlier in the blush sitting on the dresser to trick them into thinking it’s cotton candy, and you’ll learn an interesting fact about their father.
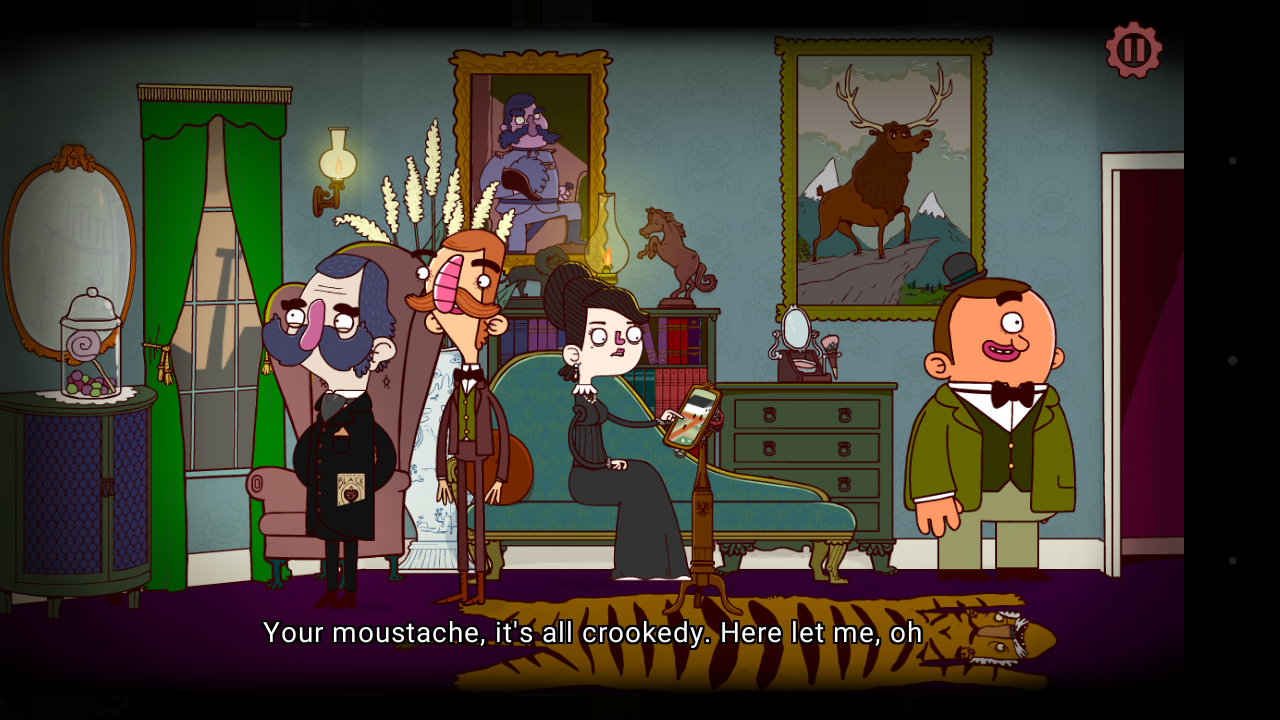
Cross the room to the man and examine the man’s mustache. He’ll drop his invitation, which you can take once he’s done being sad. Now you’re done here and can leave the house.
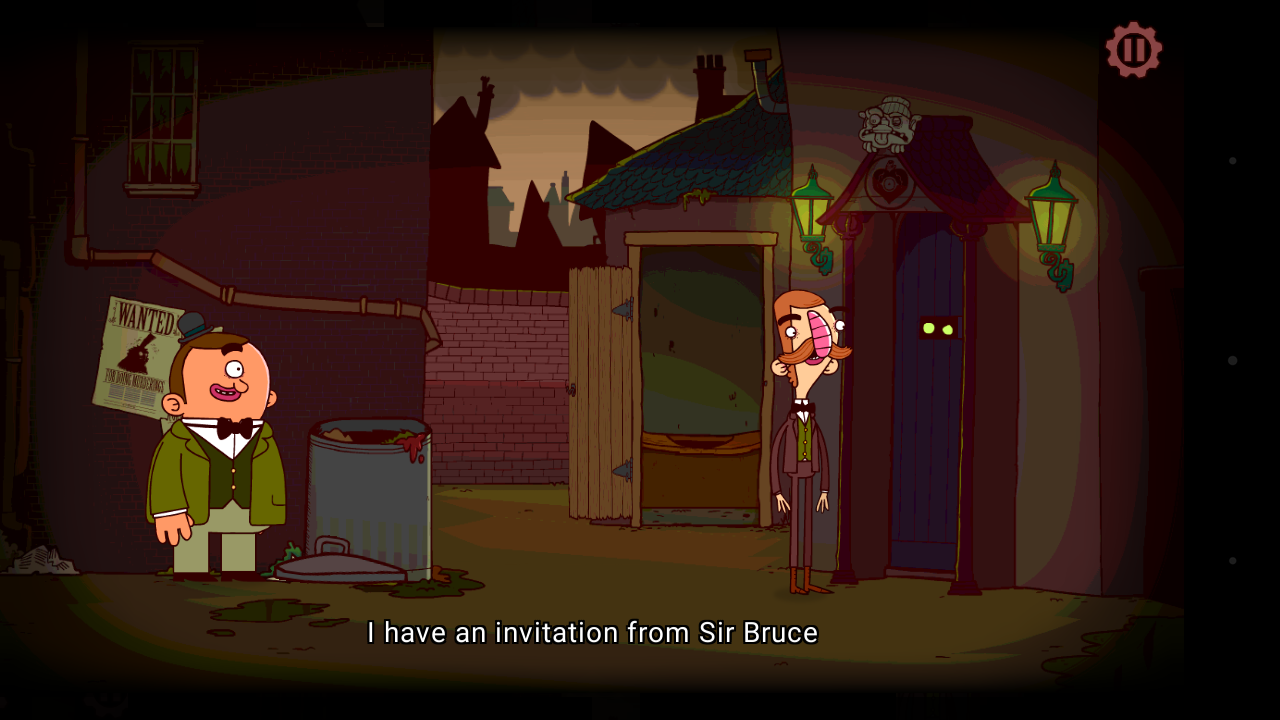
Time to play marbles. Use the pearl, get the eye, put it on the head. Now you have some backtracking to do. Head all the way right to where the Meditation Room was and use the invitation on the door to visit Madame Blackheart.
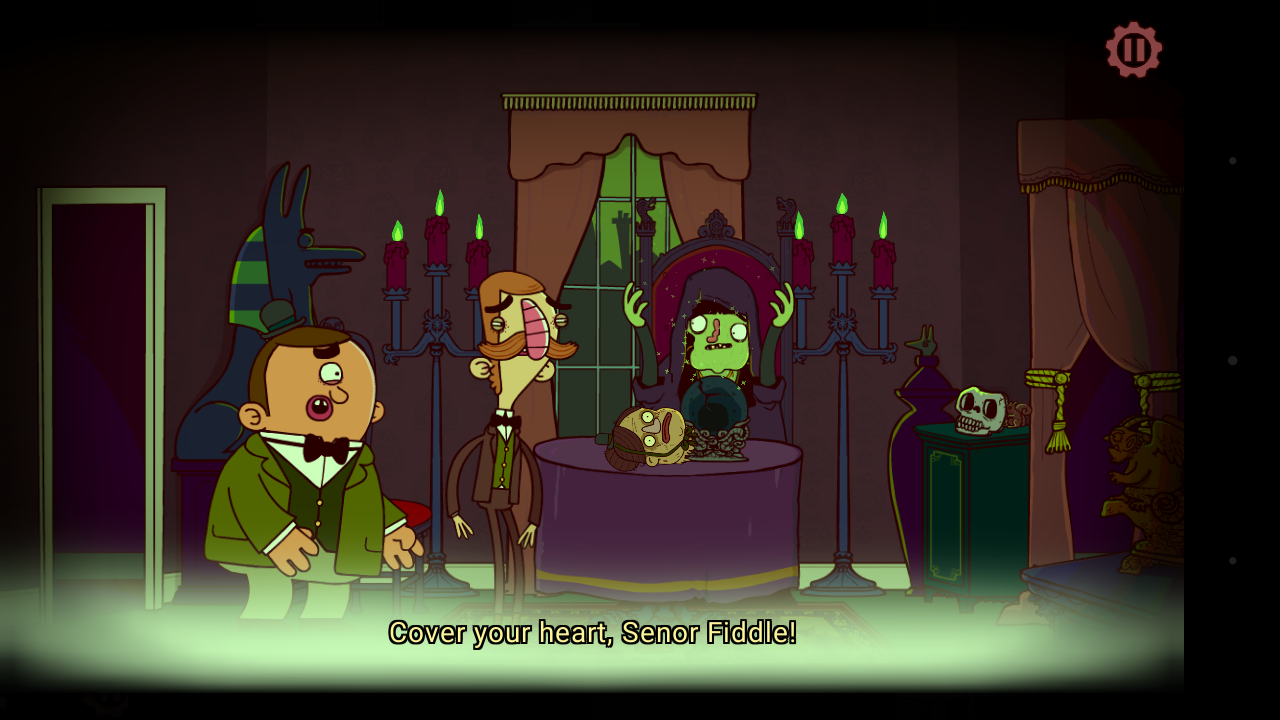
Inside, speak to the fortune teller. She’ll examine the head, then ask for payment. Give her the diamond. After a brief scene, you’ll enter another chase sequence where you must dodge tombstones and outrun phantoms. Swipe up and down to dodge and you’ll eventually end up in a new area.
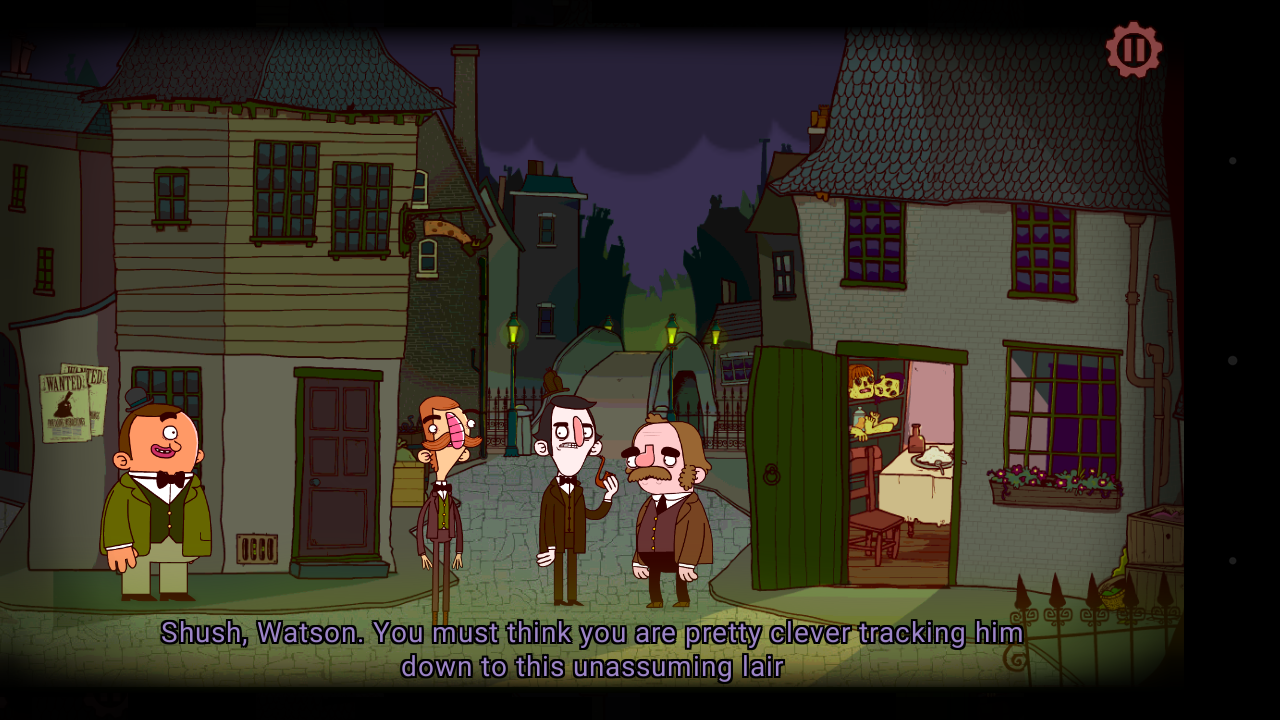
Head right to find the murderer’s house, and Sherlock is there. Go inside after a brief conversation.
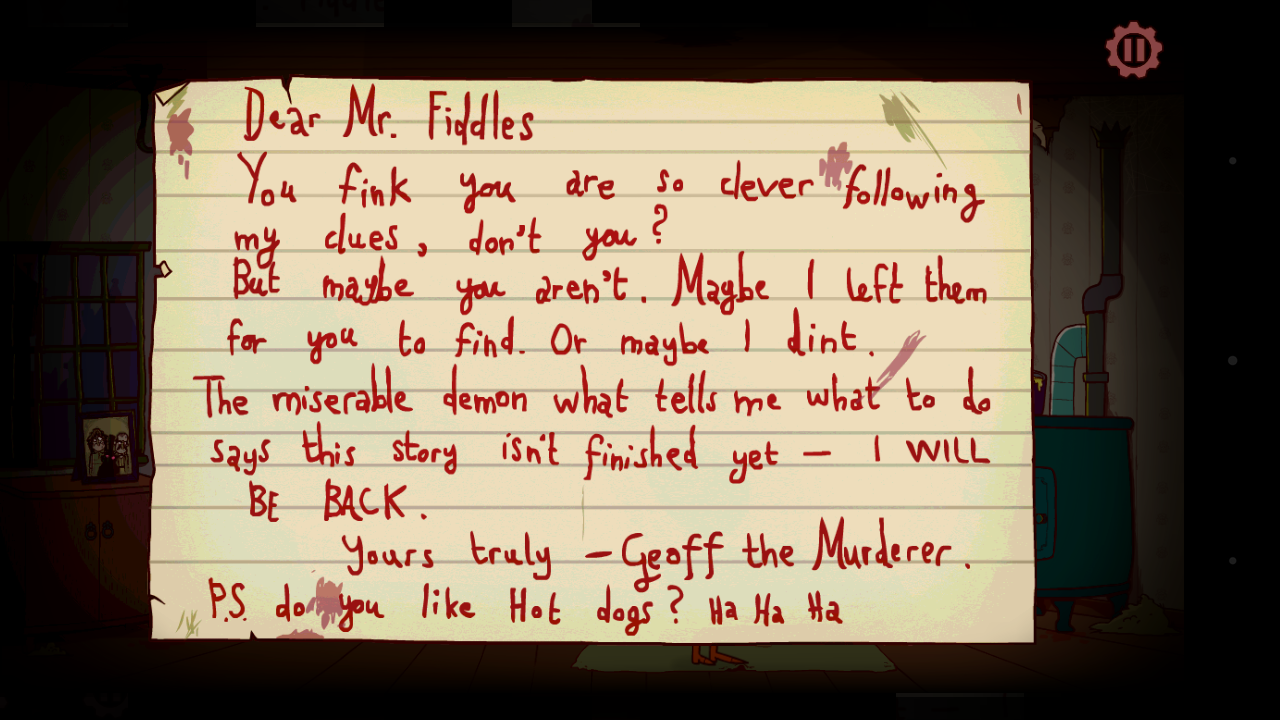
Check the table first, then the oven, then have Gavin move the table to reveal Foofy. You’ve reached the end! Leave the house for the final scene. Congratulations! Onward to episode 2.
More articles...
Monopoly GO! Free Rolls – Links For Free Dice
By Glen Fox
Wondering how to get Monopoly GO! free rolls? Well, you’ve come to the right place. In this guide, we provide you with a bunch of tips and tricks to get some free rolls for the hit new mobile game. We’ll …Best Roblox Horror Games to Play Right Now – Updated Weekly
By Adele Wilson
Our Best Roblox Horror Games guide features the scariest and most creative experiences to play right now on the platform!The BEST Roblox Games of The Week – Games You Need To Play!
By Sho Roberts
Our feature shares our pick for the Best Roblox Games of the week! With our feature, we guarantee you'll find something new to play!All Grades in Type Soul – Each Race Explained
By Adele Wilson
Our All Grades in Type Soul guide lists every grade in the game for all races, including how to increase your grade quickly!


