- Wondering how to get Monopoly GO! free rolls? Well, you’ve come to the right place. In this guide, we provide you with a bunch of tips and tricks to get some free rolls for the hit new mobile game. We’ll …
Best Roblox Horror Games to Play Right Now – Updated Weekly
By Adele Wilson
Our Best Roblox Horror Games guide features the scariest and most creative experiences to play right now on the platform!The BEST Roblox Games of The Week – Games You Need To Play!
By Sho Roberts
Our feature shares our pick for the Best Roblox Games of the week! With our feature, we guarantee you'll find something new to play!Type Soul Clan Rarity Guide – All Legendary And Common Clans Listed!
By Nathan Ball
Wondering what your odds of rolling a particular Clan are? Wonder no more, with my handy Type Soul Clan Rarity guide.
Shadows Remain Walkthrough
Shadows Remain is a suspenseful AR adventure game by Halfbrick. In this game, players take on the role of Emma as she realizes her son has gone missing in their new home. Emma is transported to the same home in …
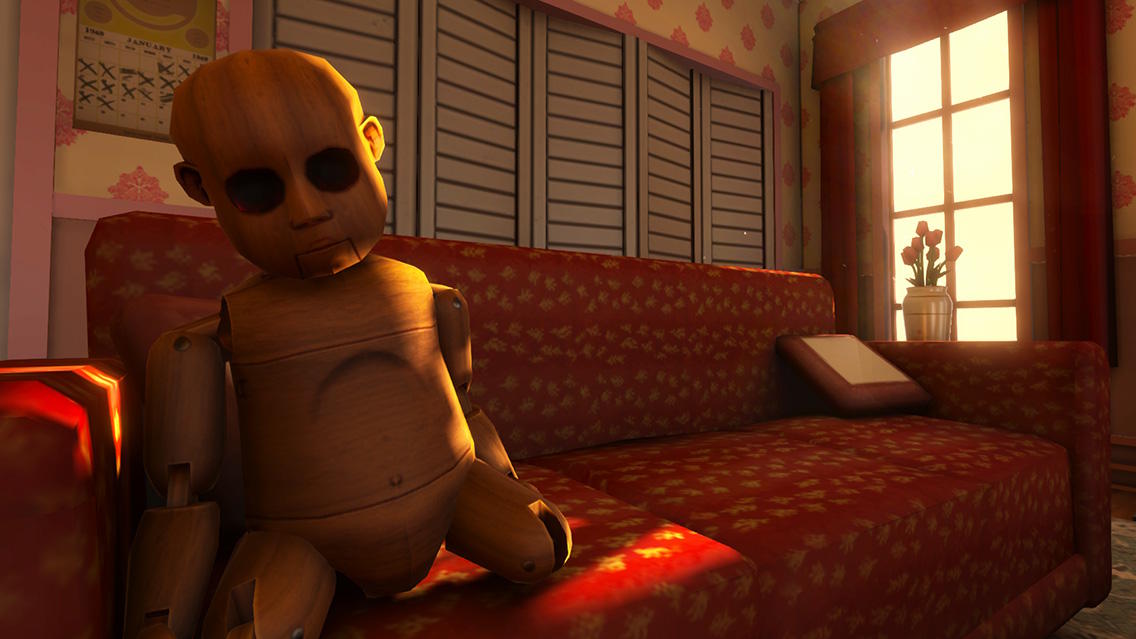
Shadows Remain is a suspenseful AR adventure game by Halfbrick. In this game, players take on the role of Emma as she realizes her son has gone missing in their new home. Emma is transported to the same home in the past and tasked with unraveling the mystery of what happened to its previous owners in order to find her child. Gamezebo’s Shadows Remain Walkthrough will provide step-by-step instructions on how to solve the house’s puzzles and navigate to the end of this first episode.
A Note on AR
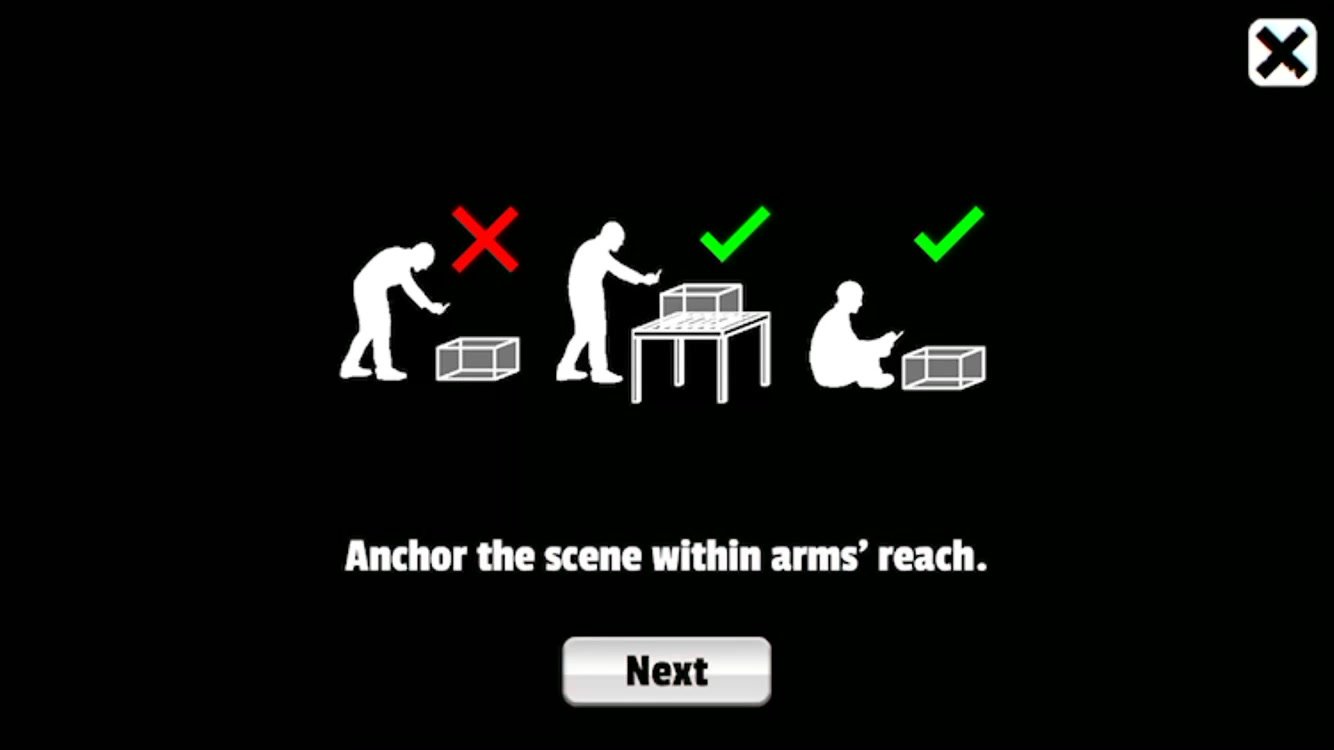
Shadows Remain is played with augmented reality: when you first begin the game, you’ll be asked to set up the scene on a textured, well-lit surface. We prefer to use a table or the floor, but even an empty couch cushion can work.
Be sure you can lean in or back slightly in order to zoom in and out. You can move around the scene by moving your phone, but you can also rotate the room by swiping. This makes it easier to look at an area up close instead of leaning all the way across the room. In the walkthrough below when we recommend moving to a specific part of a room, we mean “swipe to rotate” until you’re facing the correct direction.
The game takes place in first-person, so what you are looking at and where you are standing represents the same things Emma is seeing or standing near. When the game instructs Emma to “change your perspective,” you’ll need to move your phone around until you land on the right point of view. Because item locations and “left” or “right” will change depending on where you are standing, we will state our location when picking up objects.
Walkthrough
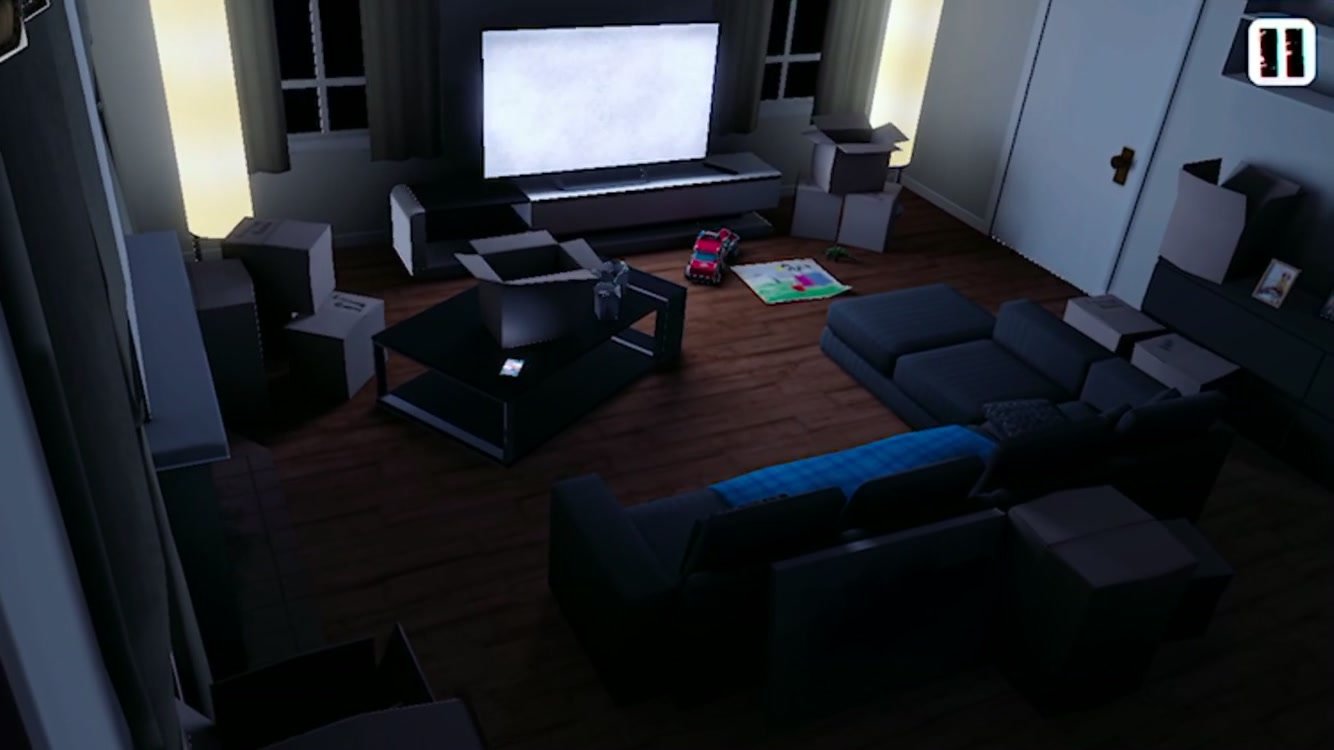
- The game begins in the present, at night, in the living room of Emma’s new house. Her phone is ringing.
- We’re standing behind the couch, facing the TV.
- Tap the phone that’s lighting up on the table in front of the TV.
- Emma has a short conversation with her husband, Simon. After she hangs up the phone, she begins to search for her son, Alex.
- You need to find three story items to progress.
- Tap the colorful drawing on the floor in front of the TV.
- Tap the toy dinosaur just right of the drawing.
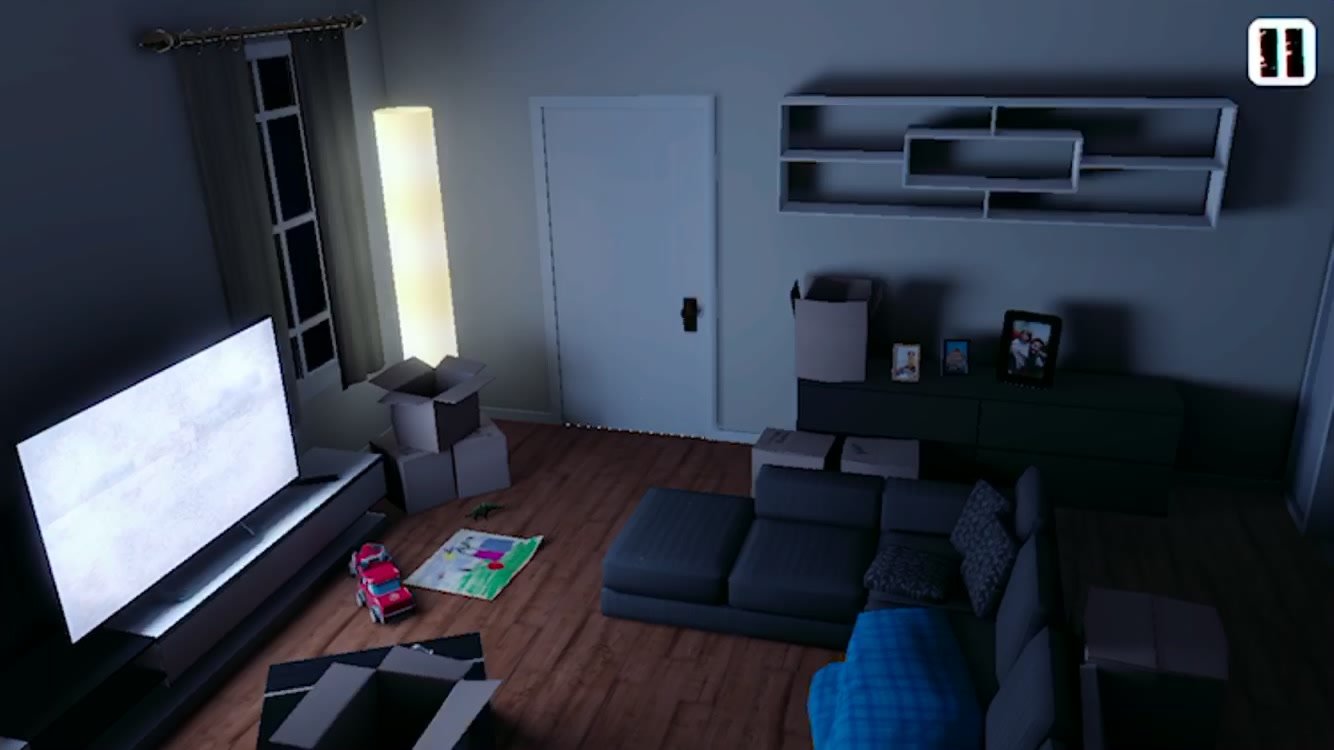
- Tap the picture frame on the shelf near the door, to the right of the couch.
- After you find the third item, Emma hears Alex’s voice. A pair of children appear on the TV screen and Emma is transported to the same room in the past.
- You need to find five story items to progress.
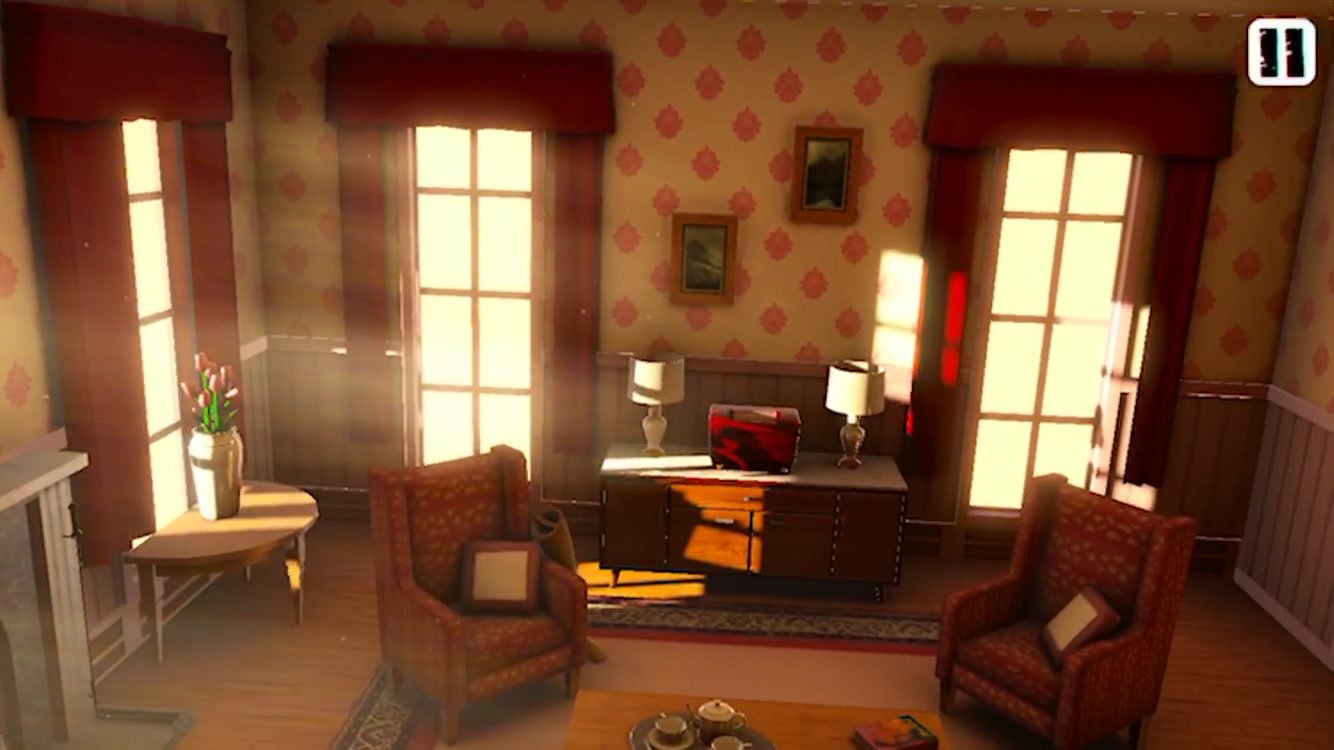
- We’re standing behind the couch, facing the red radio.
- Look down and tap the wooden dummy sitting on the couch.
- Tap the pink book on the coffee table just in front of the dummy.
- Tap the wooden leg leaning against the armchair just left of the radio.
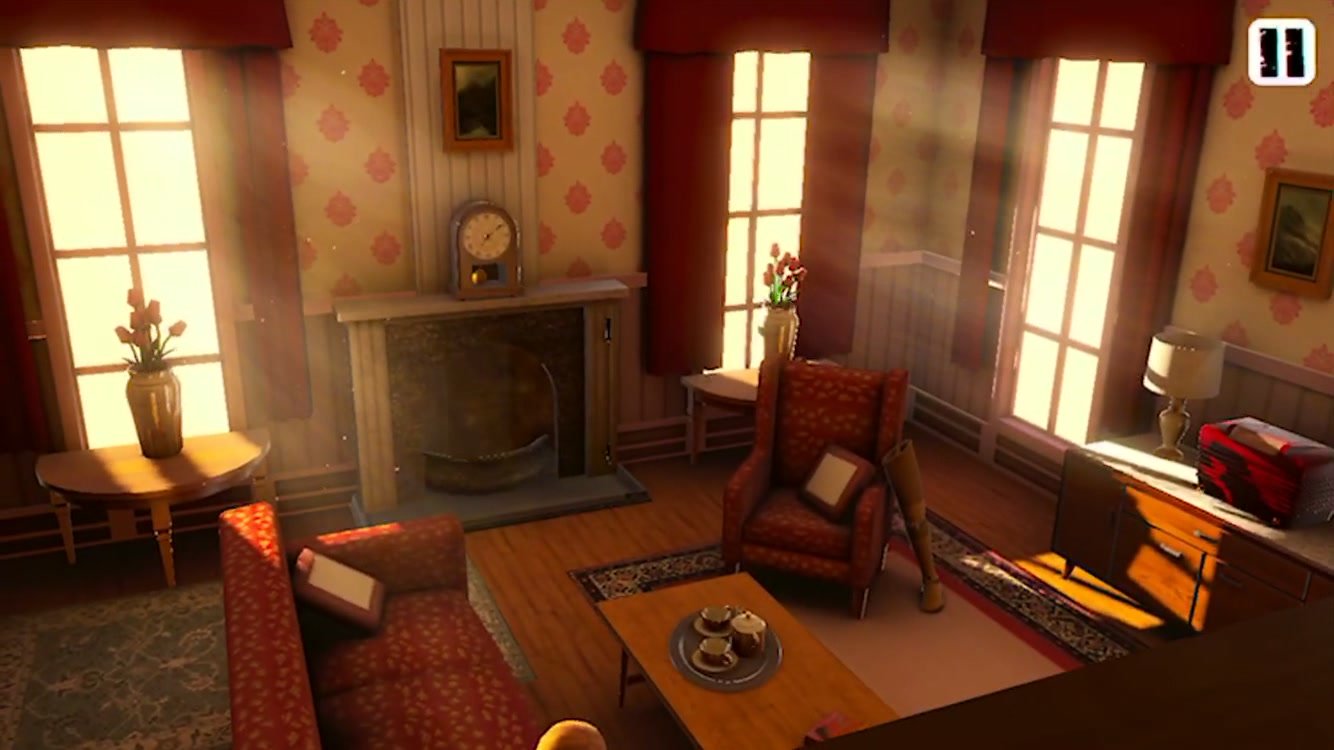
- Turn to your left and tap the clock on the fireplace mantle.
- Turn all the way around so you’re facing the couch.
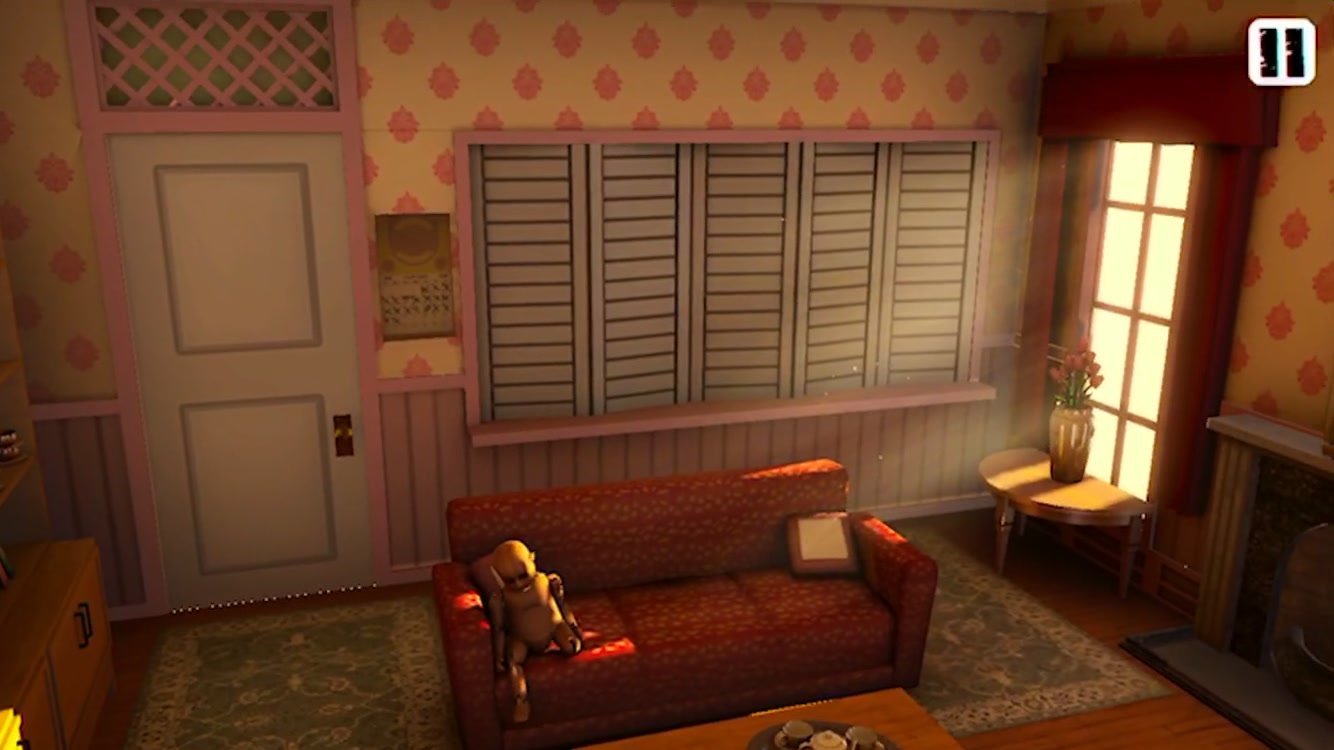
- Tap the calendar just right of the kitchen door.
- When the last item is found, the door to the left will quickly open and shut. A voice says to “Find the canary.”
- When the dialogue is finished, tap on the kitchen door left of the calendar.
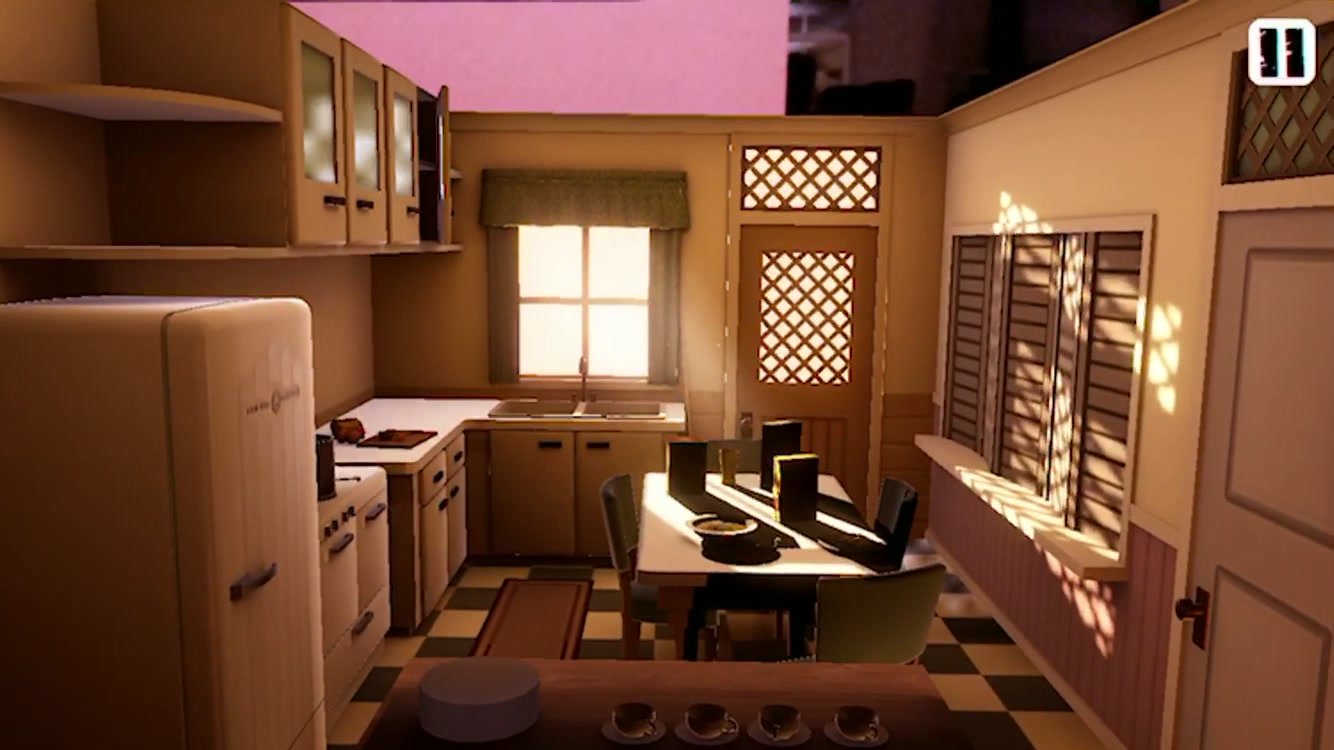
- Emma’s in the kitchen in the past. You need to find three story items to continue.
- We’re facing the kitchen sink.
- Tap the sink to discover a wedding ring in the garbage disposal. You might need to move in closer for it to register as tapping the sink instead of the cabinets.
- Tap the slightly ajar cabinet to the left and above the sink to find rat poison.
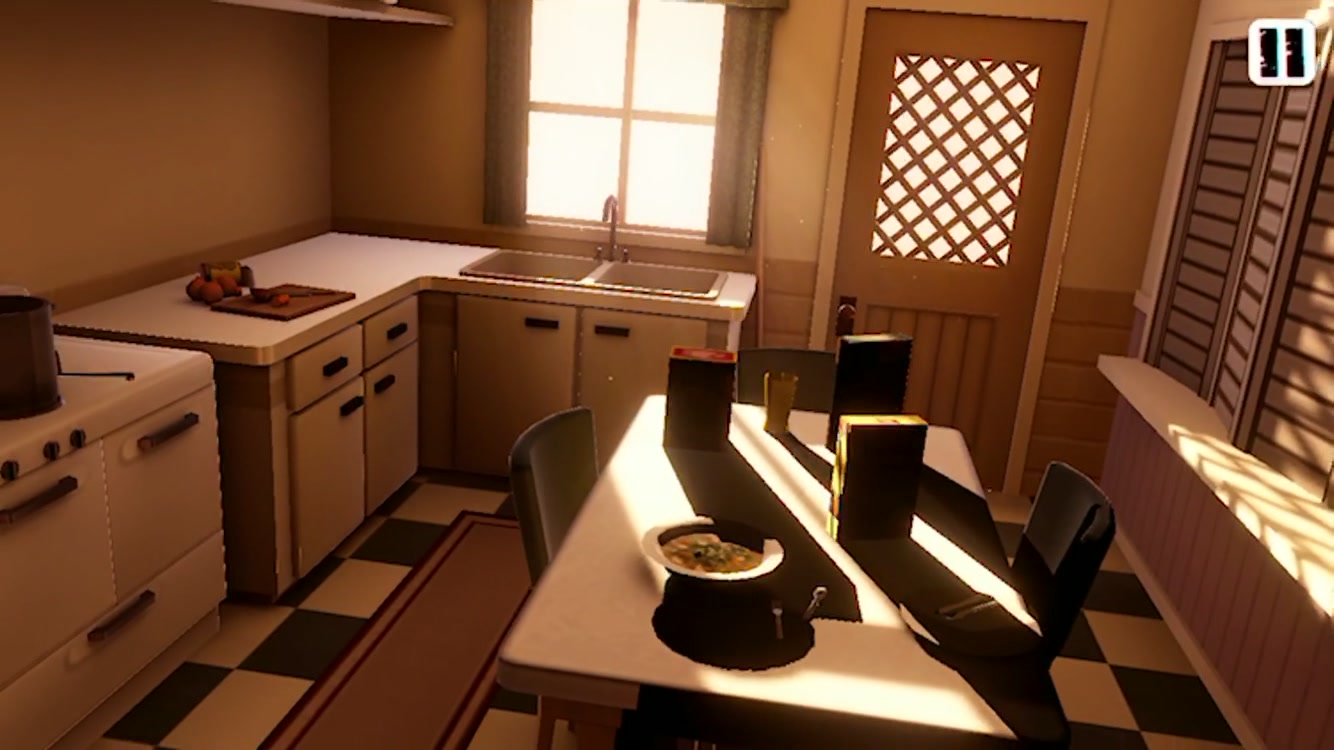
- Tap the bowl on the kitchen table.
- After all three items are found, you need to “find the canary.”
- Move around so you are standing in front of the sink, with the table just to your left.
- The shadow from the window and the boxes looks like a bird from the right angle.
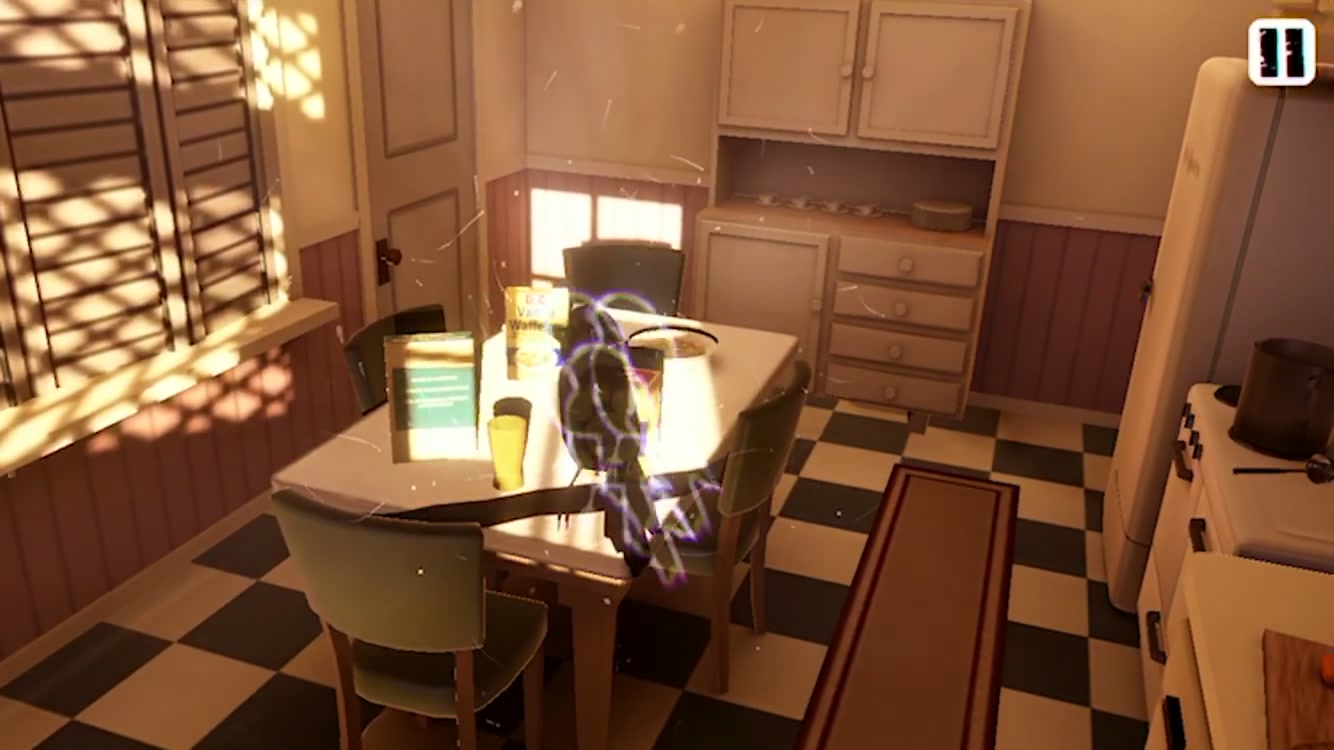
- Keep adjusting until the bird outlines overlap into a single image. Tap this image once it’s formed.
- Tap the kitchen door to exit.
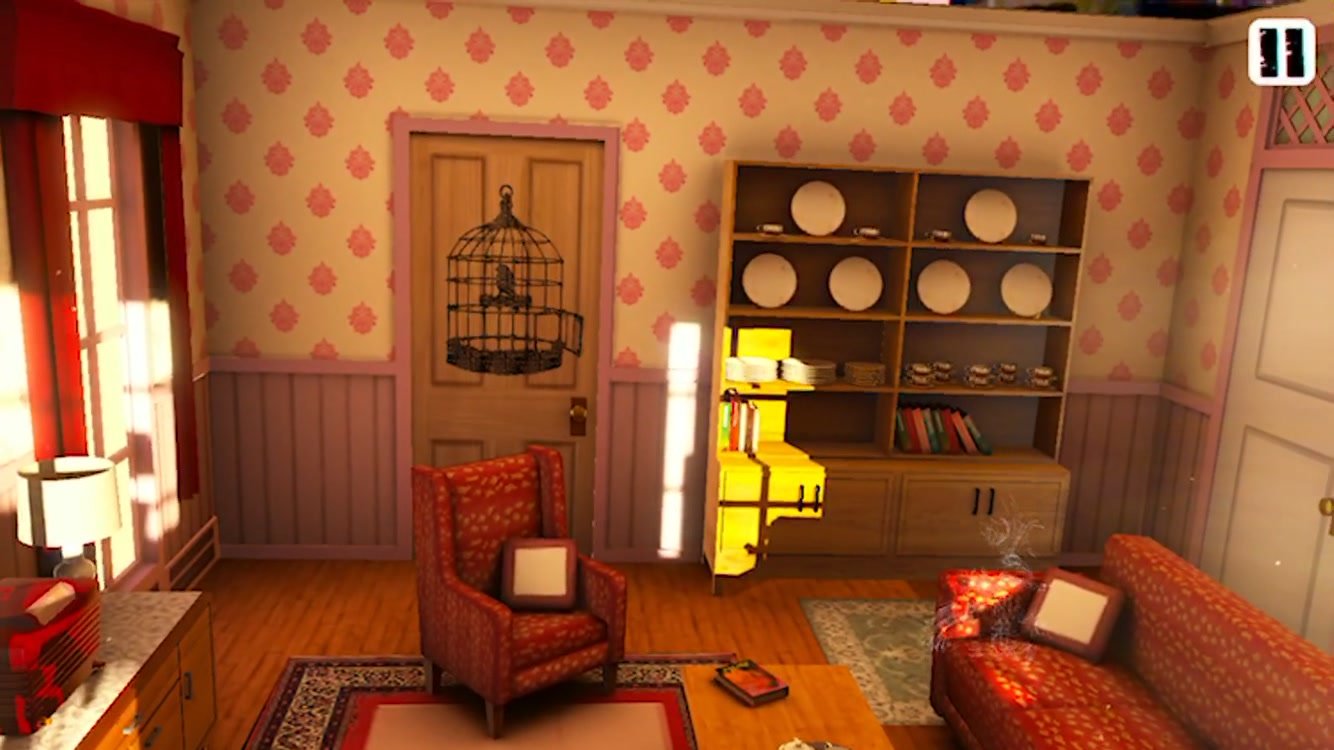
- Back in the living room, tap the cage on the door near the bookshelf.
- You’ll enter the bedroom. You need to find eight story items to progress.
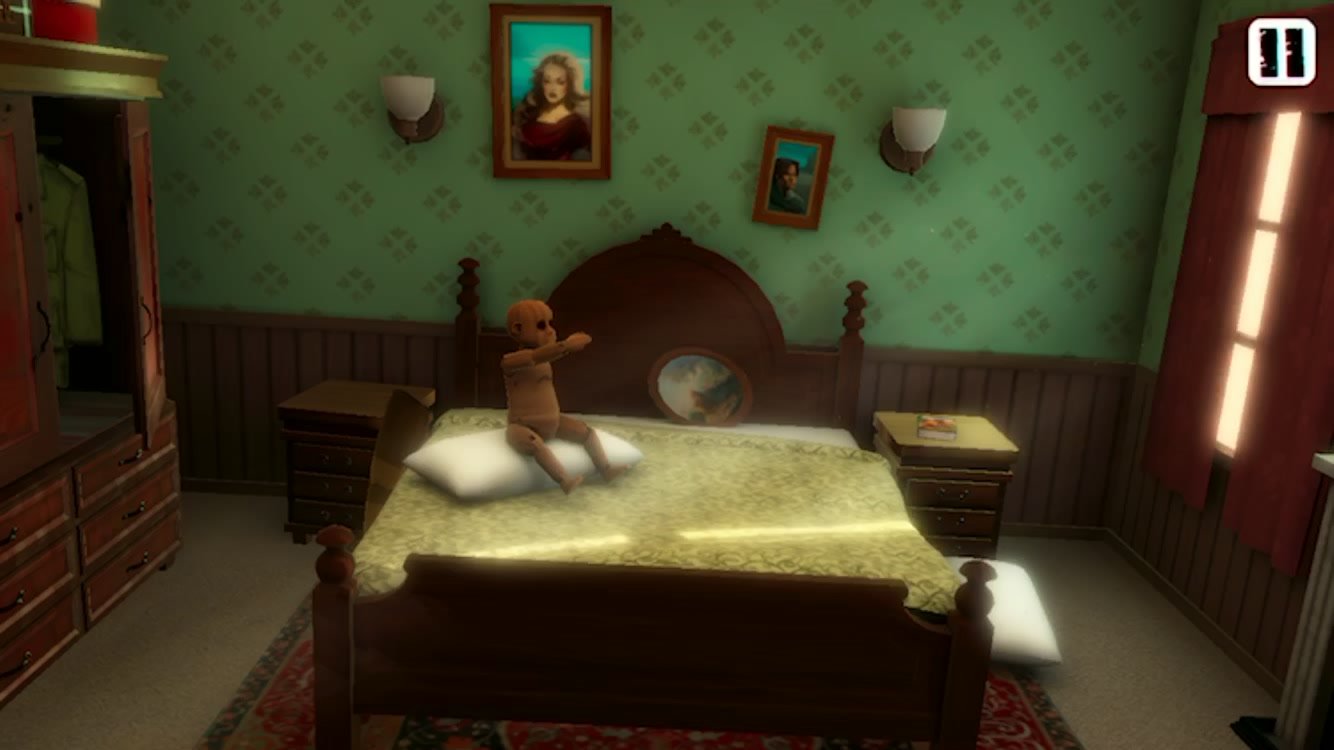
- We’re facing the bed.
- Tap the dummy on the bed.
- Tap the book on the righthand nightstand.
- Tap the ajar door on the wardrobe to find a military uniform.
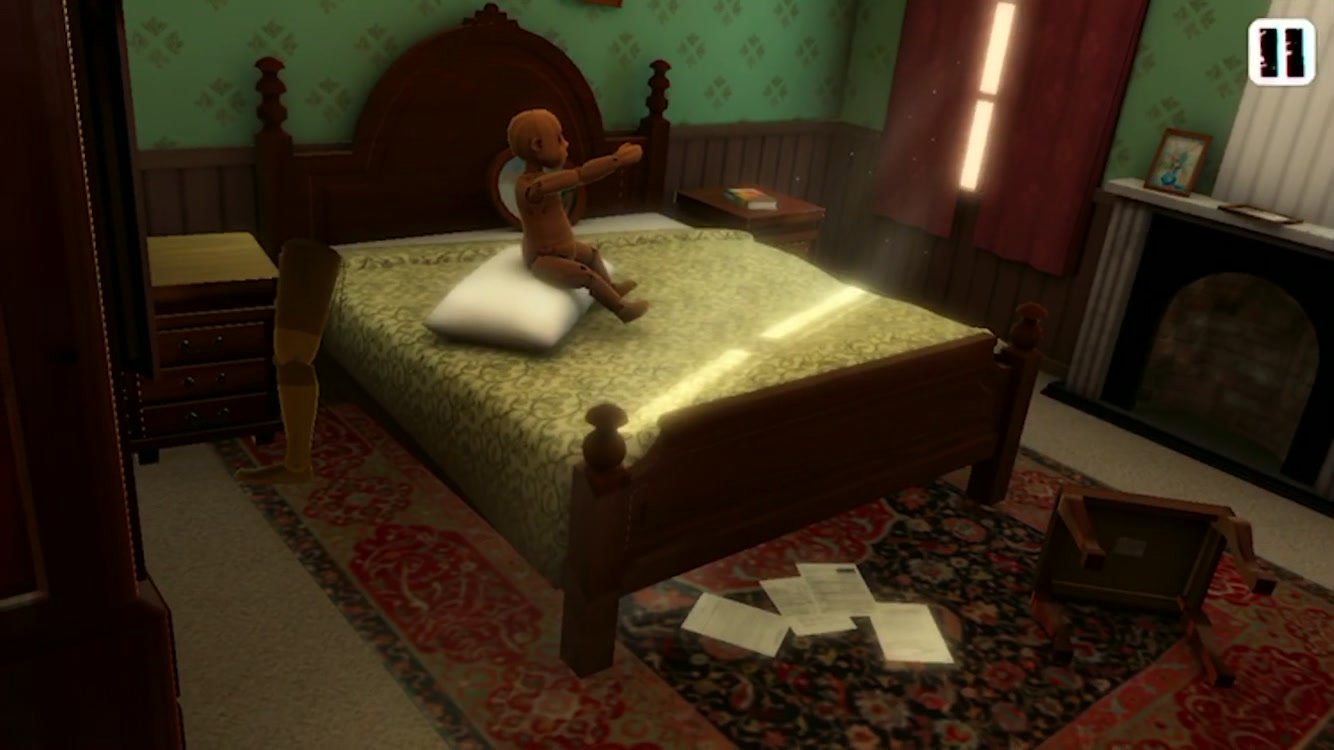
- Look down at the floor at the foot of the bed. Tap the papers on the rug.
- Turn to the right, towards the windows.
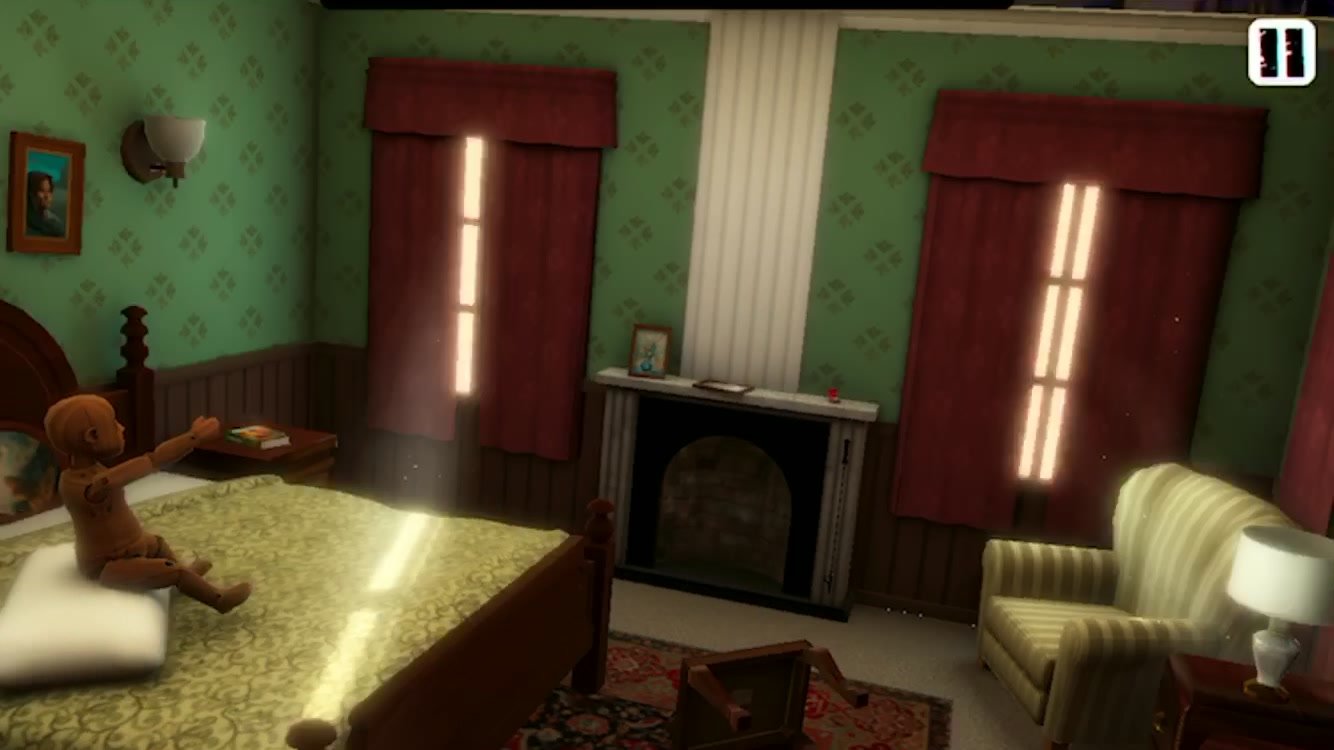
- Tap the knocked-over picture frame on the fireplace between the windows.
- Tap the small, open red box on the fireplace near the right window.
- Turn to face the dresser.
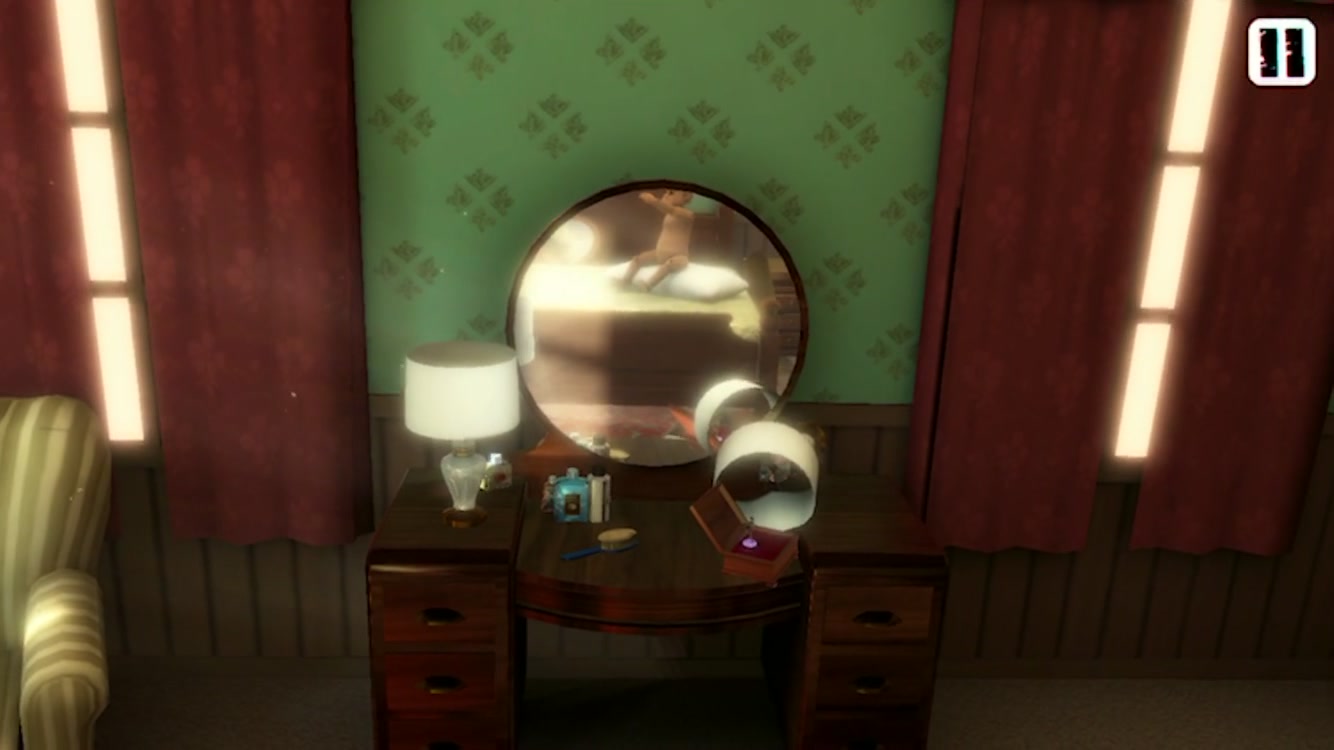
- Tap the wooden music box on the right side of the dresser, near the overturned lamp.
- Tap the overturned lamp.
- Once all eight items are found, another perspective puzzle begins.
- Turn to face the bed.
- There is a shadow on the headboard and one on the footboard: when lined up, they look like a woman.
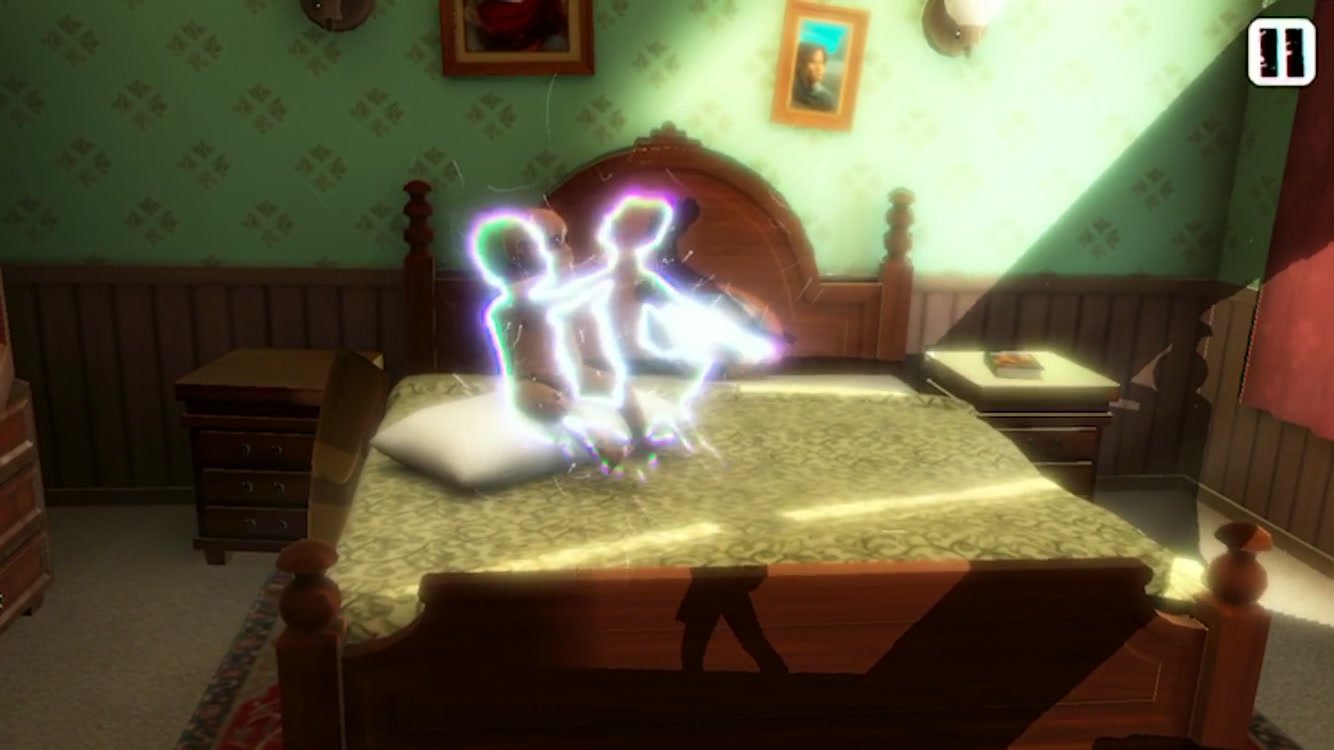
- You need these two shadows to line up and the dummy’s outstretched arm to reach the woman’s neck.
- Once the glowing outlines overlap, tap them.
- There’s a brief cut scene and then you’re in the basement workshop.
- You need to find four story items to progress.
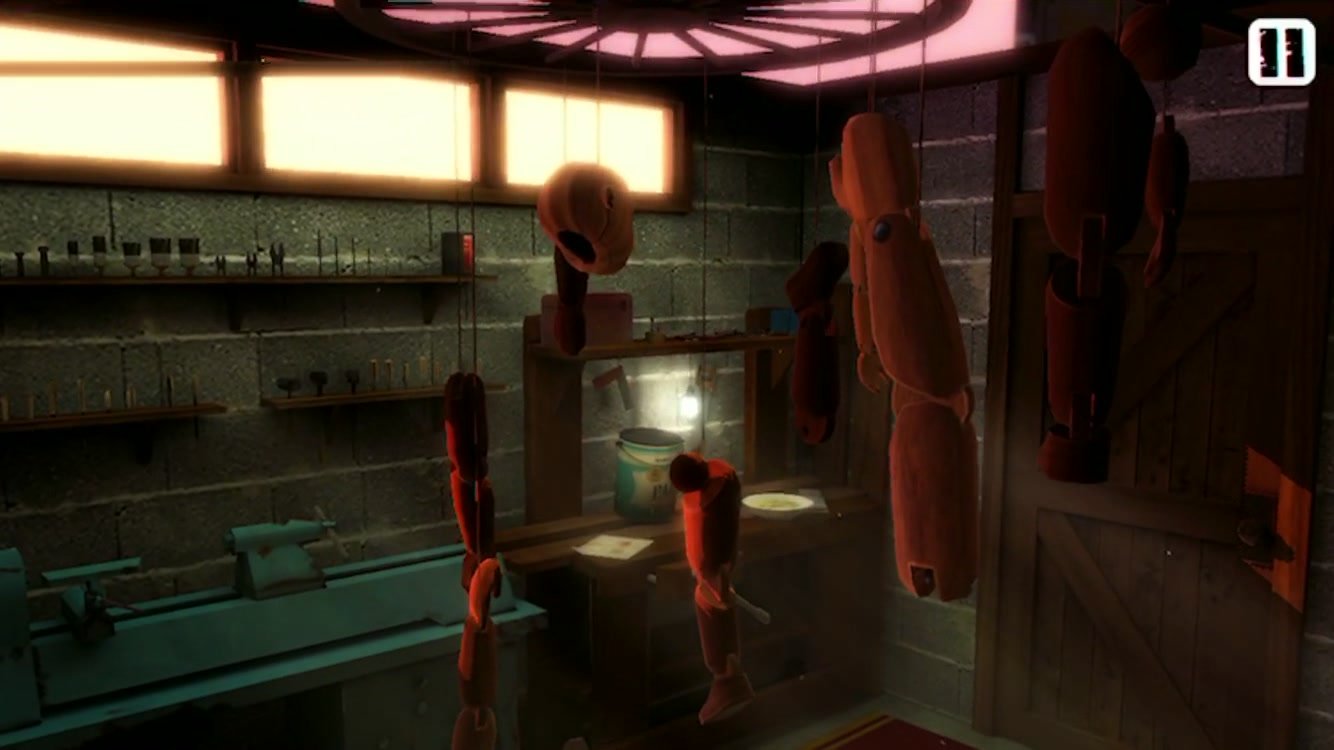
- We’re facing the workbench with the bare lightbulb over it, just left of the wooden door.
- Tap the bowl of food on the workbench.
- Tap the drawing just left of the bowl of food.
- Turn to the left so you’re facing the side of the room with the blue water heater.
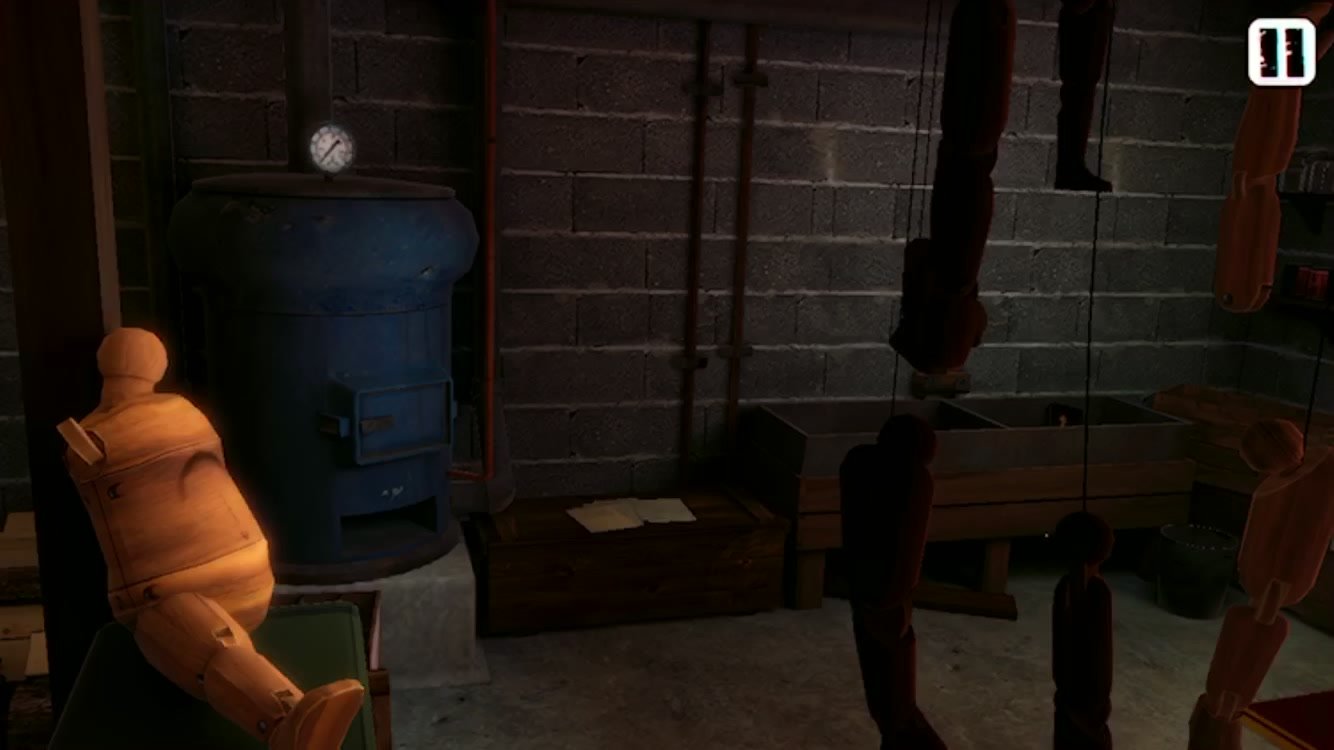
- Tap the pile of papers just right of the water heater.
- There is a sink to the right of the papers; tap the ruined book in the sink basin (you might have to get closer to see it).
- After all four items are found, another perspective puzzle begins.
- You need to stand in the position that puts the dangling body parts onto the dummy body back by the water heater.
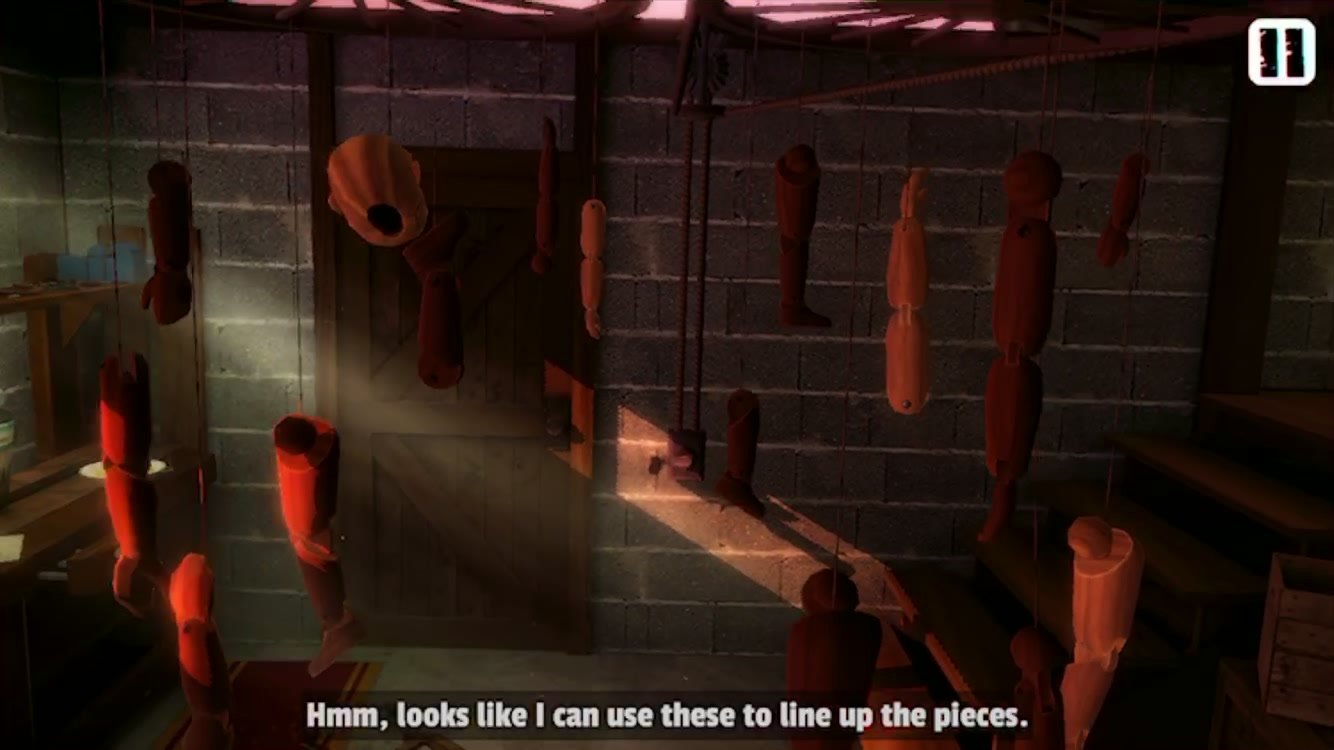
- First, tap the lever on the wall near the wooden door twice. This rotates the dangling limbs.
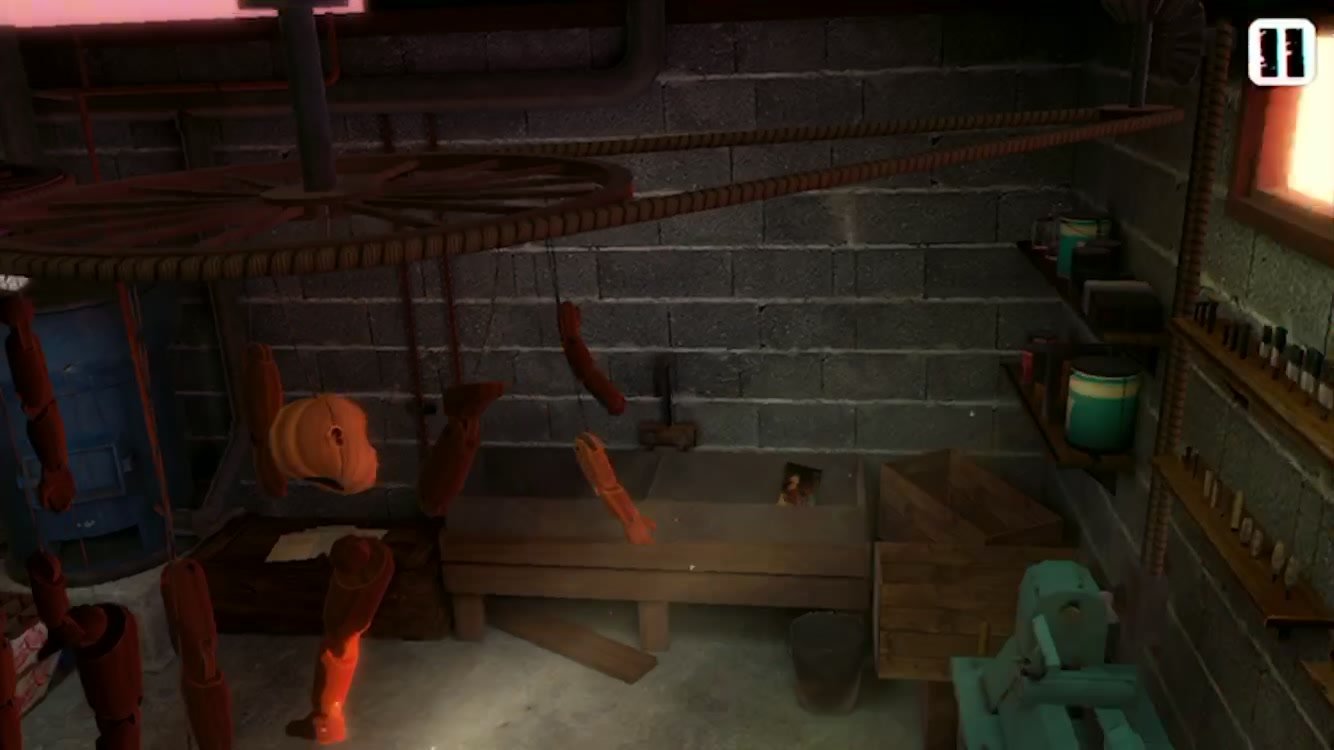
- Then tap the lever on the wall near the sink (it’s sort of hidden by the turquoise machinery) twice. This rotates the head.
- If you’re having trouble finding the wall levers, look up at the ropes connecting to the body parts and follow them to the appropriate wall area.
- After you’ve tapped both levers twice, stand by the workbench where the food bowl is. Face the dummy body, with the blue water heater to your upper-right.
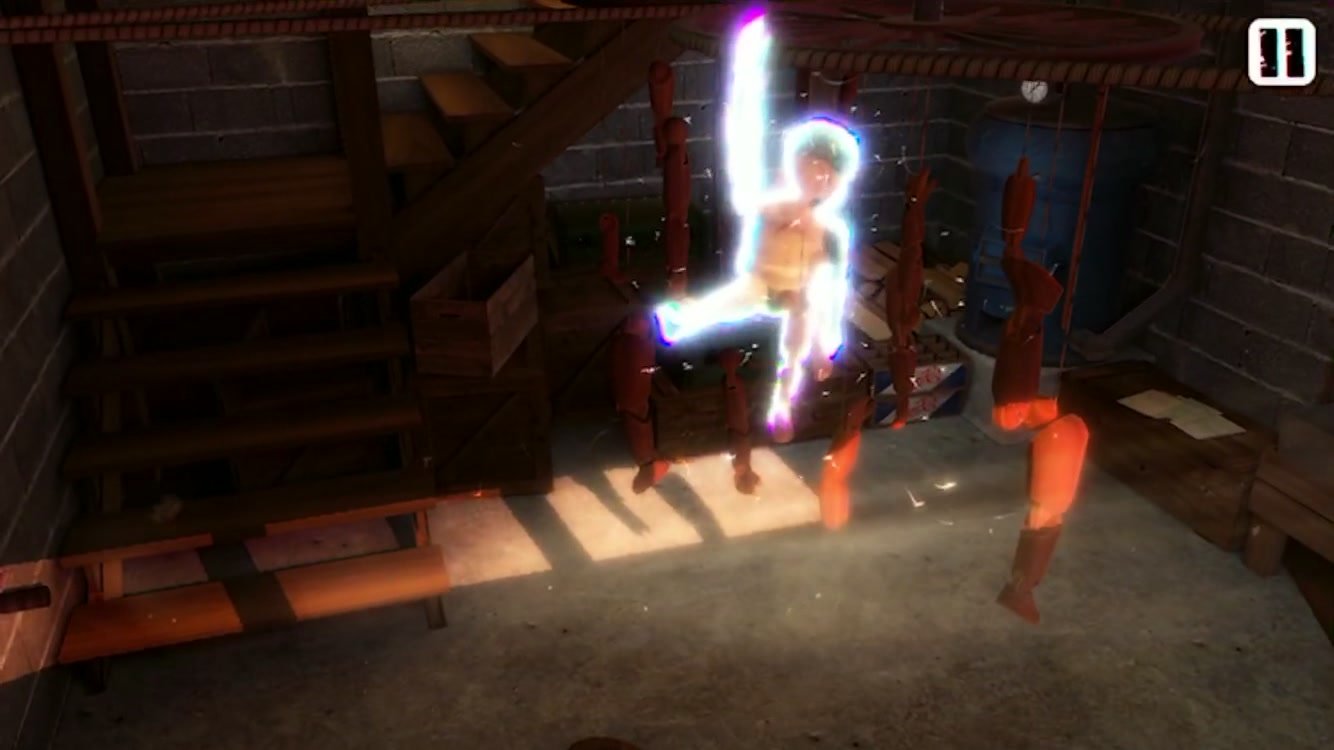
- Focus on adjusting your phone until the head is positioned on top of the body. The glowing perspective outlines should appear; then keep adjusting until they overlap.
- This perspective puzzle was very finicky for us. If it’s giving you trouble, try moving up and down as well as back and forth.
- Once you have the outlines overlapping as a single image, tap them.
- You’ll receive the final cut scene of the game. The first episode is complete.
More articles...
Monopoly GO! Free Rolls – Links For Free Dice
By Glen Fox
Wondering how to get Monopoly GO! free rolls? Well, you’ve come to the right place. In this guide, we provide you with a bunch of tips and tricks to get some free rolls for the hit new mobile game. We’ll …Best Roblox Horror Games to Play Right Now – Updated Weekly
By Adele Wilson
Our Best Roblox Horror Games guide features the scariest and most creative experiences to play right now on the platform!The BEST Roblox Games of The Week – Games You Need To Play!
By Sho Roberts
Our feature shares our pick for the Best Roblox Games of the week! With our feature, we guarantee you'll find something new to play!Type Soul Clan Rarity Guide – All Legendary And Common Clans Listed!
By Nathan Ball
Wondering what your odds of rolling a particular Clan are? Wonder no more, with my handy Type Soul Clan Rarity guide.


